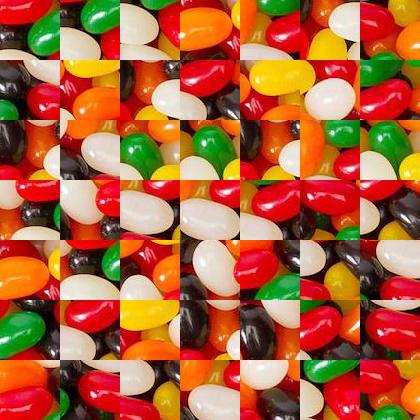
I decided to use the jelly beans and chess image sets.
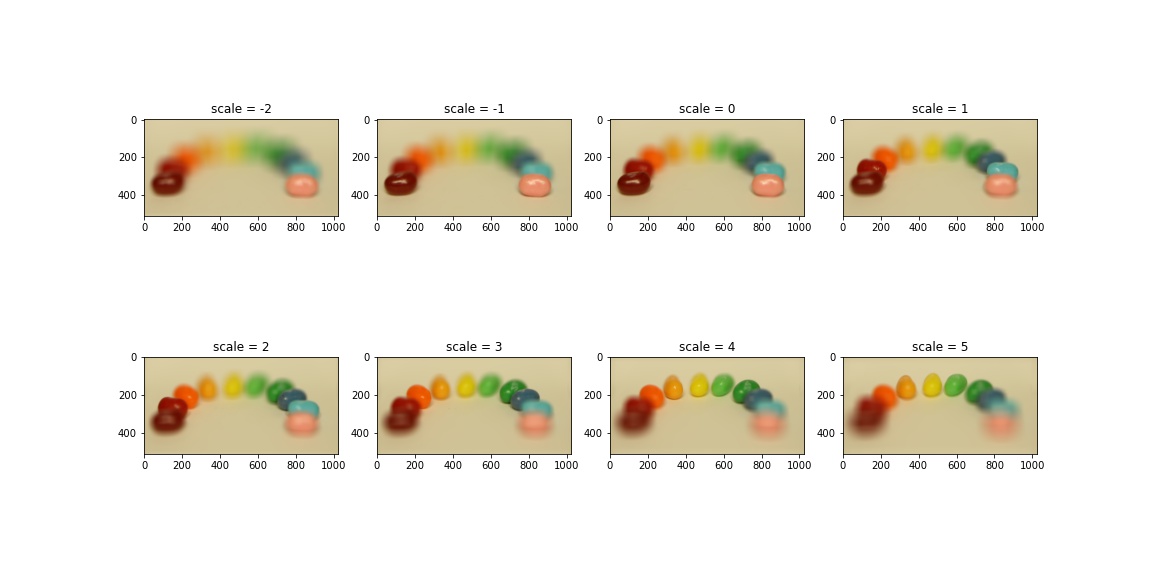
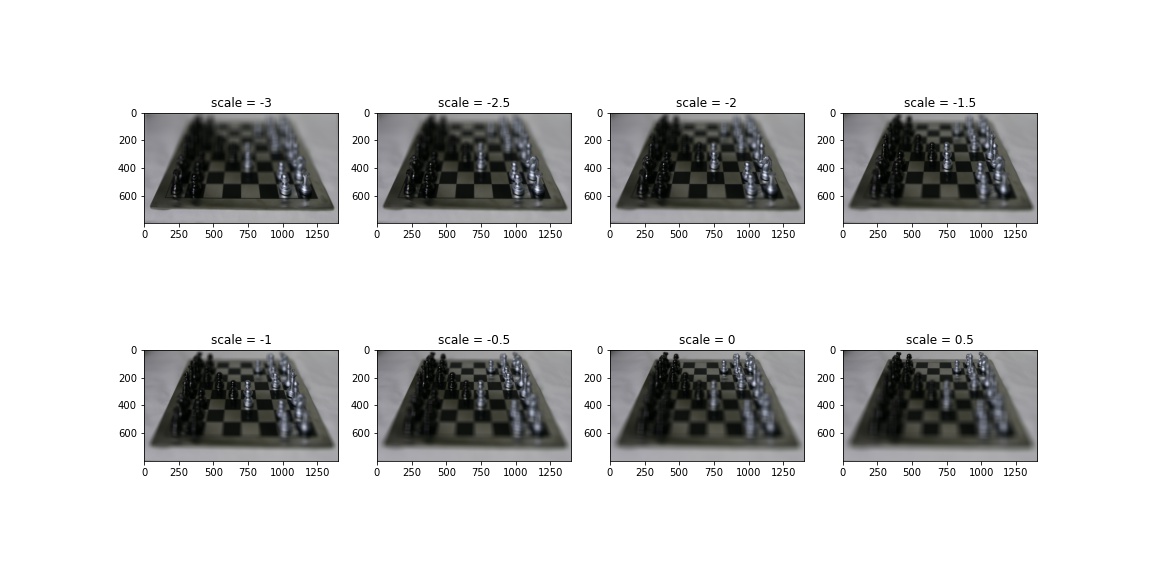
I shifted the images and averaged them together to achieve an effect similar to refocusing at different depths within an image. A parameter scale controls how much the shift is. This is a grid of the effects at different scales:
Here are GIF's of the above jellybeans and chess images:
I averaged together only images taken from cameras within a predefined radius from the center camera, producing an increasing bokeh effect around a single sharp area. This is a grid of the effects at different radii:
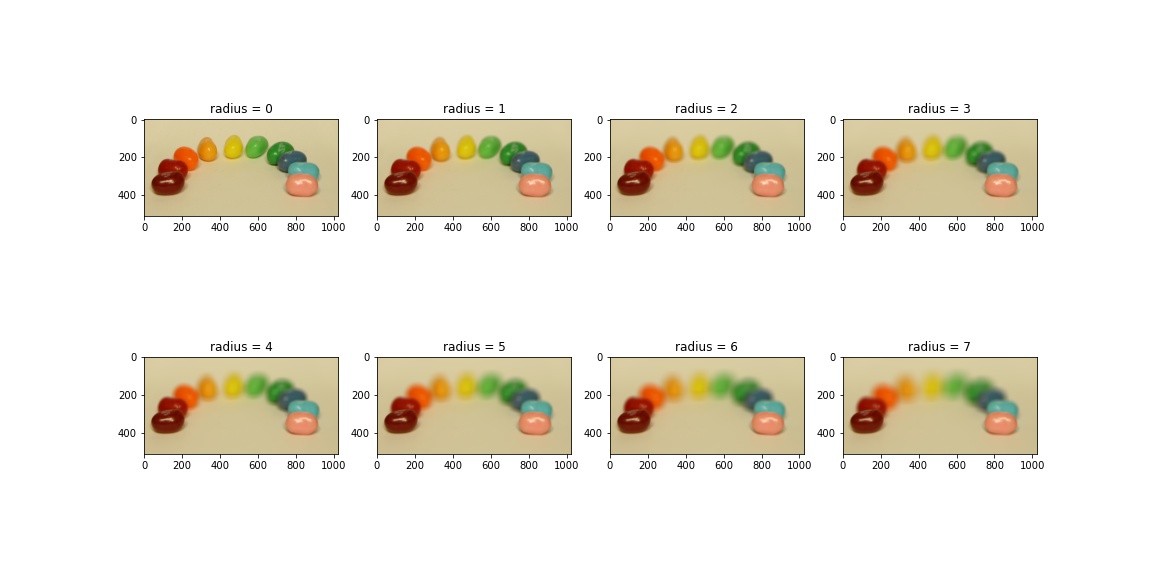
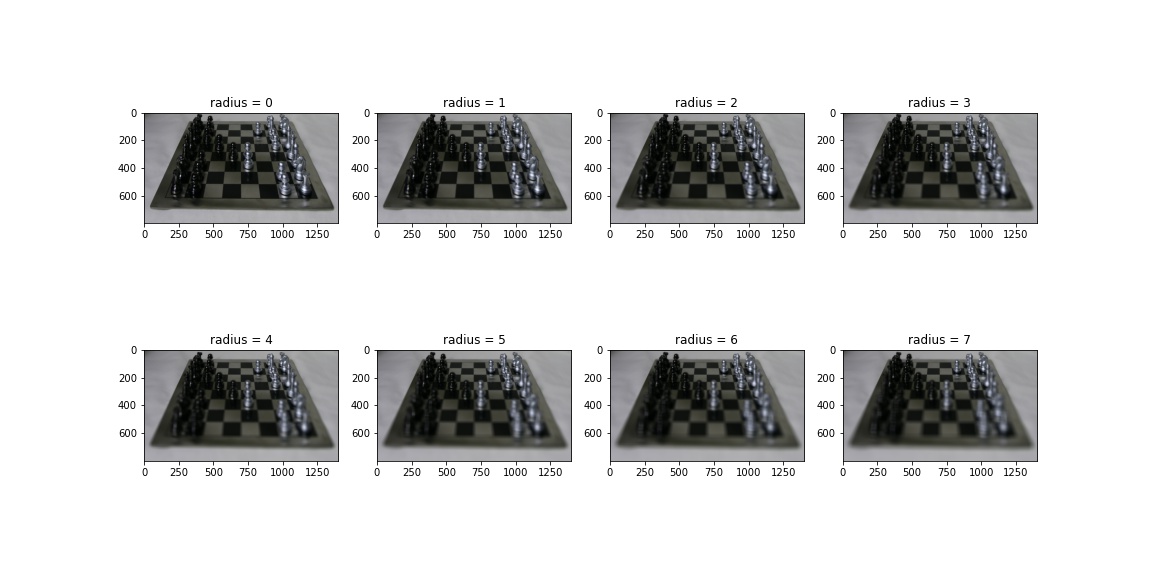
Here are GIF's of the above jellybeans and chess images:
For bells and whistles, I took 9 images in an approximate camera grid. These are the images I used:
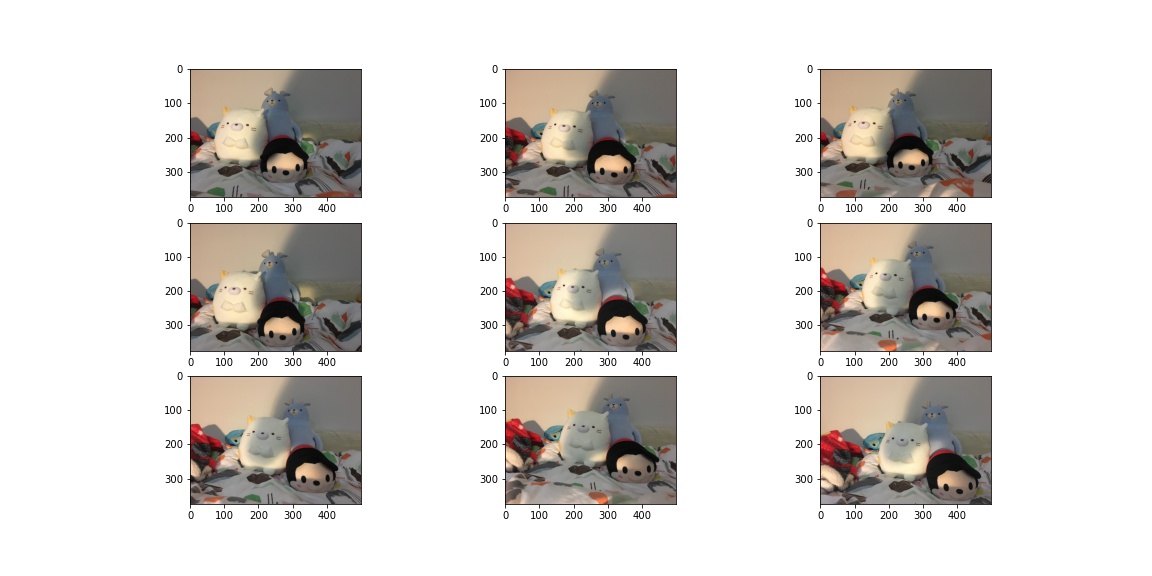
Here are the results of my depth and aperture functions applied to these images: quite frankly, they suck.
Refocus:
Aperture:
I think it's because I wasn't very precise in how much I shifted. Also, the sets given had 289 images, all adjusted for this purpose, so I would need a lot more pictures alongside some processing to make sure the results are nice
Actually, I thought this project was really cool, and the blurring effect was quite pretty: I especially like how the GIF's turned out, with certain parts sharpening in a roll. I didn't know this was possible, having always thought nice blurring could only be achieved with fancy tech in my camera, but it helps me understand how certain phones achieve nice portrait modes.
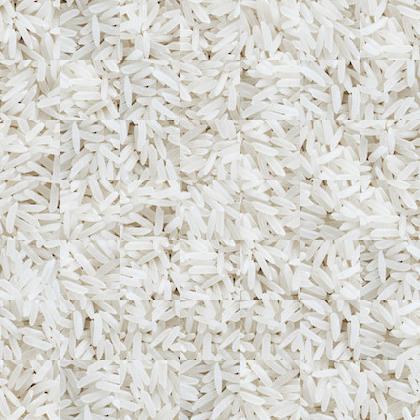
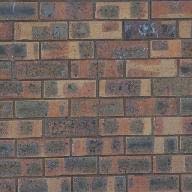
Here, we more intelligently choose which patches to use. We position the patches so there's overlap between neighboring patches, and then choose patches whose SSD errors in the overlap areas are within some factor of the SSD error of the the closest patch. As you can tell, it improves the look of the output, but it's not as continuous as we'd like. You can clearly see where each patch starts and ends:
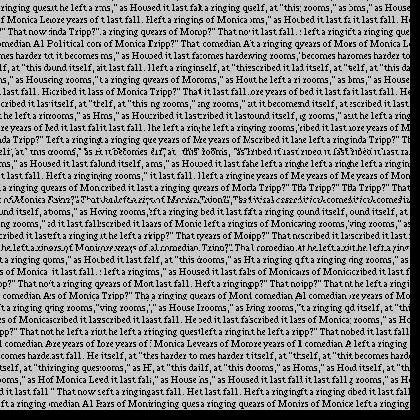
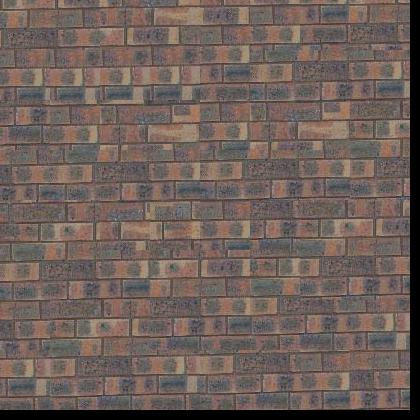
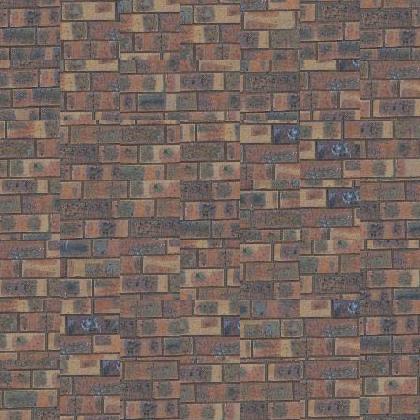
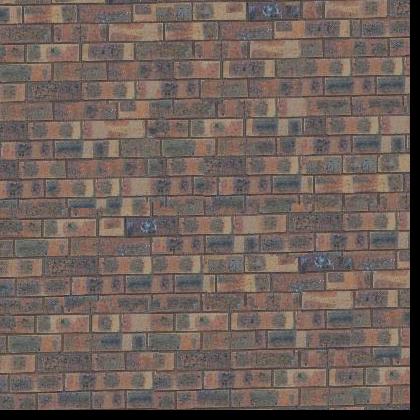
Adding on to the previous part, we found the problem was that you could very clearly see where the patches were placed since the cut is so linear. Thus, here, we find the best paths to cut through and divide the overlap between neighboring patches with to give the most continuous look. It definitely improves the choppy look from the previous section, and you need to take a closer look to figure out it's patched together:


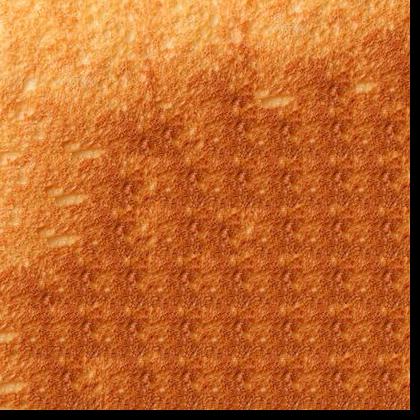
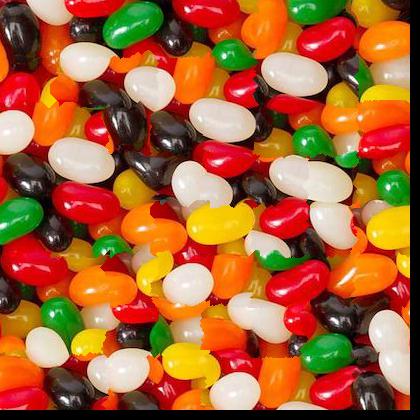
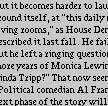
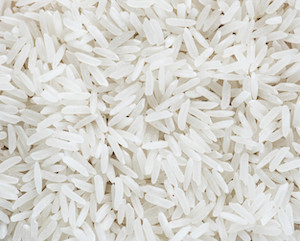
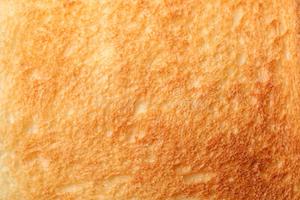
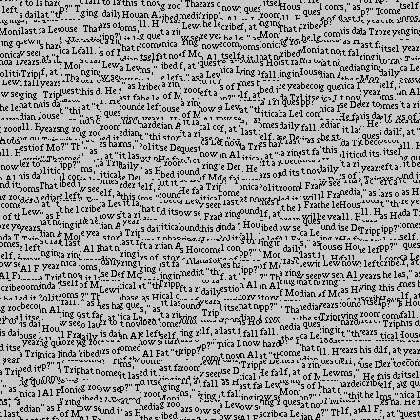
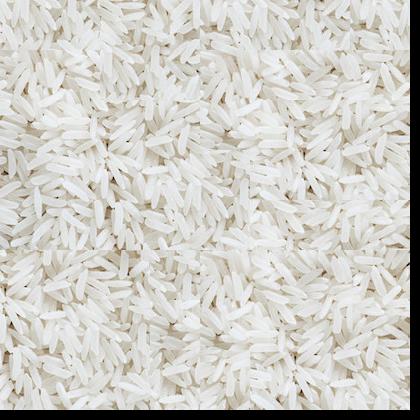
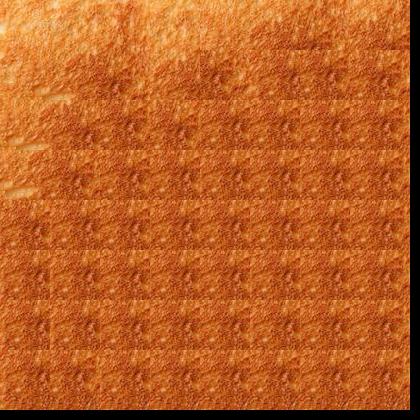
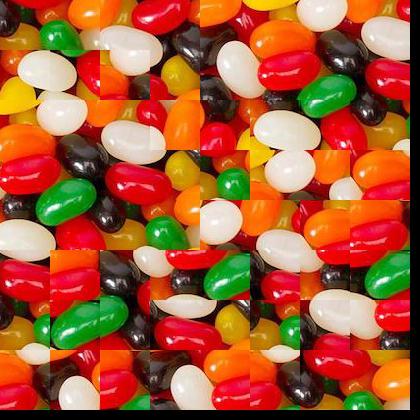
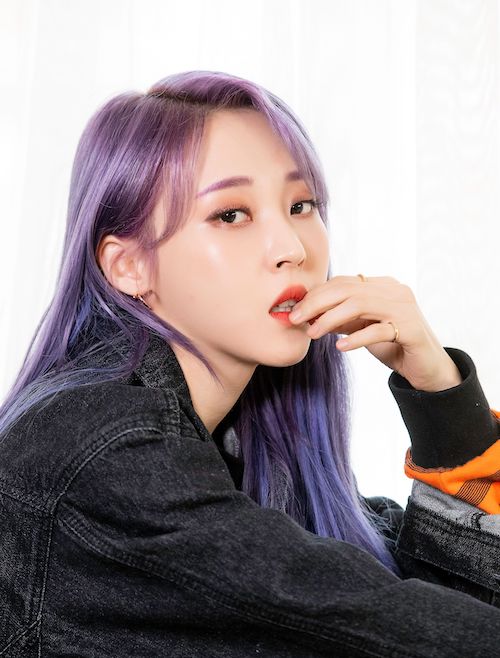
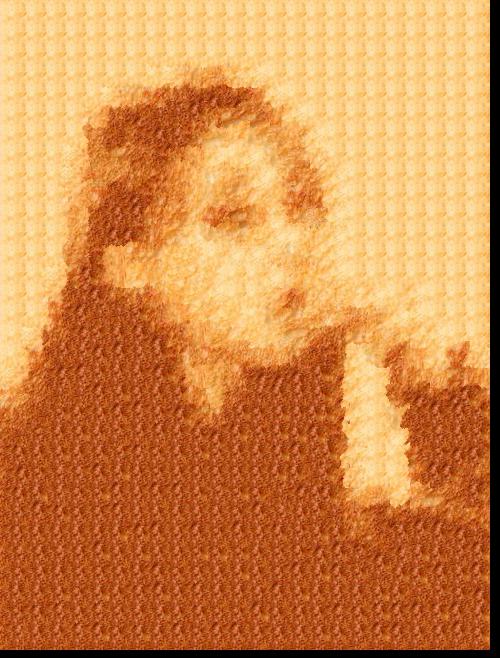
Finally, we extend the previous part to apply a target image to appear in a certain texture. The only addition this requires is changing how the SSD error is calculated: we add a weight and an additional term measuring the SSD error between the brightness of a target image patch and a texture patch we're considering adding. I selected the following two images to transfer, both of the greatest person in the world...Moonbyul (feast your eyes on this beauty):

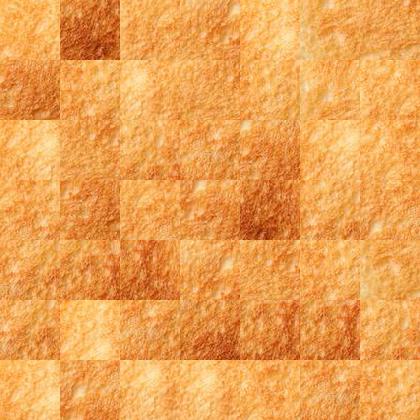
To no one's surprise, she's still stunning in toast and jelly bean form (how is such a person alive ?! literally a snack now):

I implemented my own cut function for finding seams using dynamic programming (didn't reference outside code).
This project is pretty cool: overlapping patches and seam finding produced surprisingly smooth results, and it was pretty fun to do. More importantly, I learned how to finally create my own repeated iPhone background screens using low-quality images, and cracked the code on how to make Moonbyul edible, both of which are pretty dope. From now on, I won't look at boring toast anymore. Only Moonbyul toast.