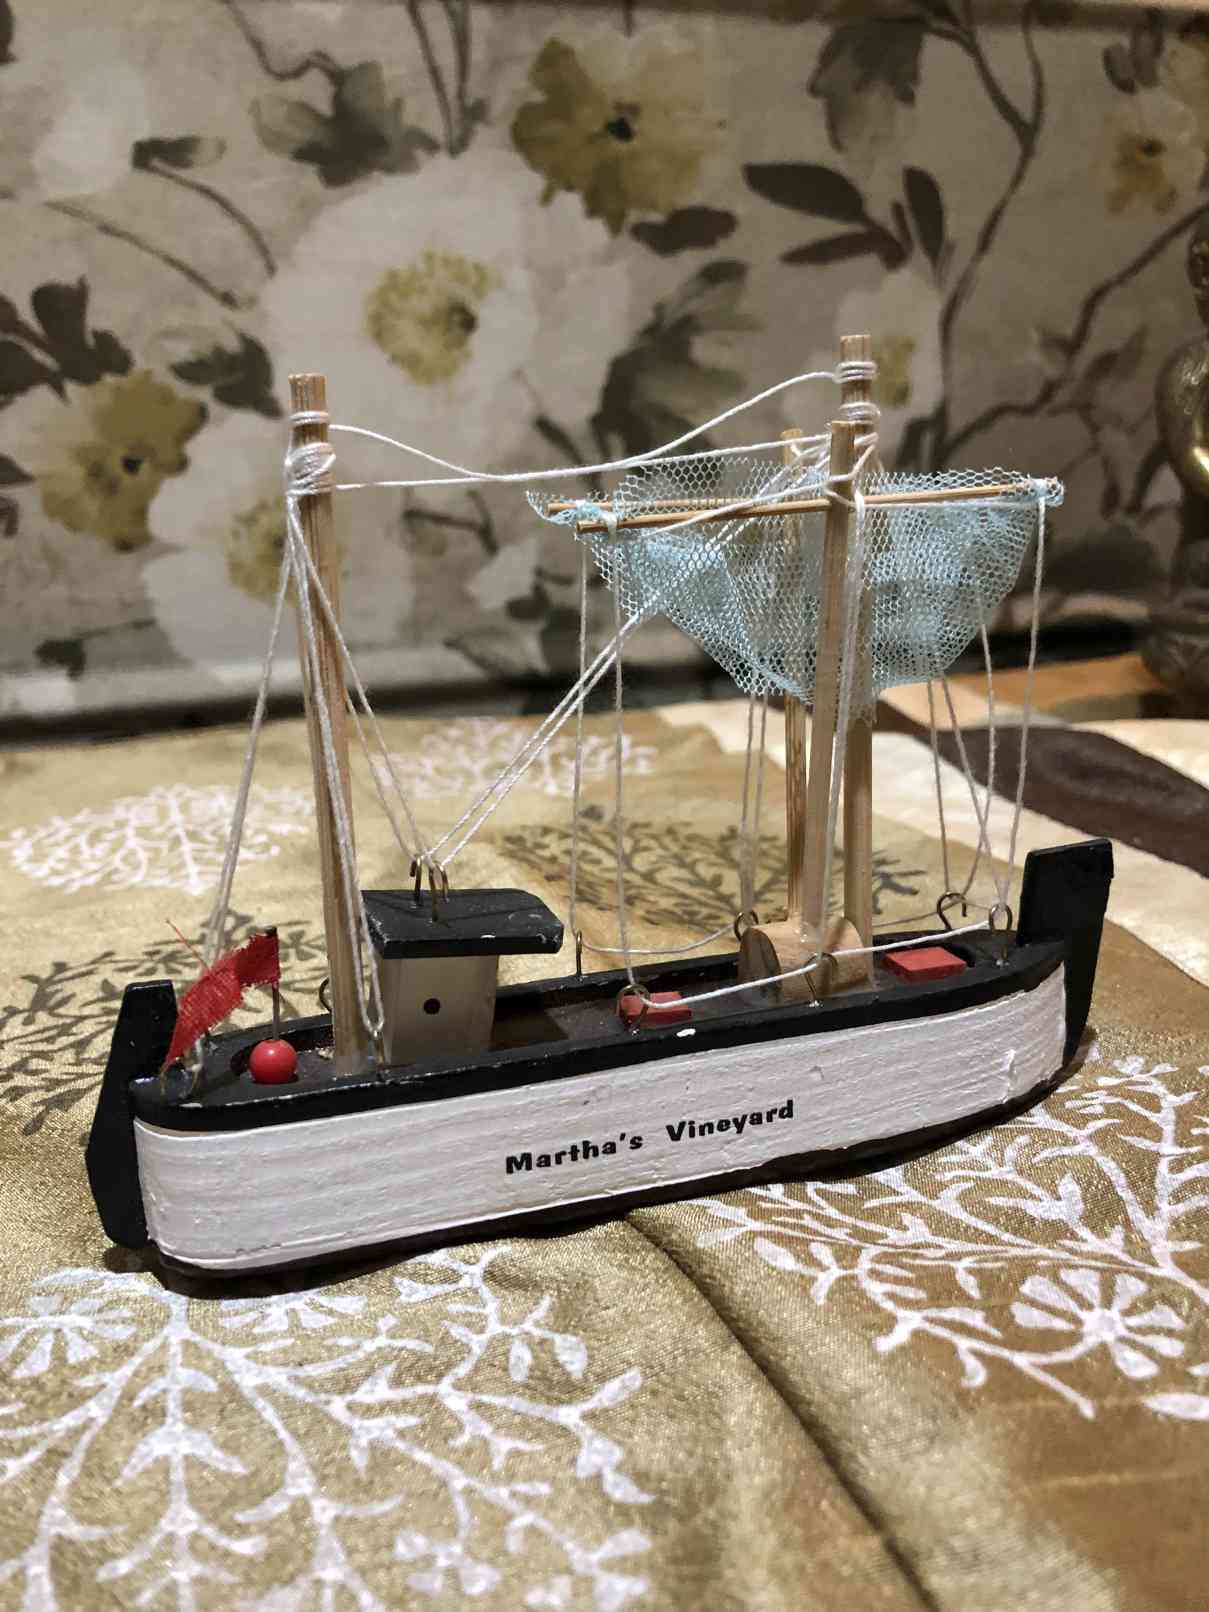
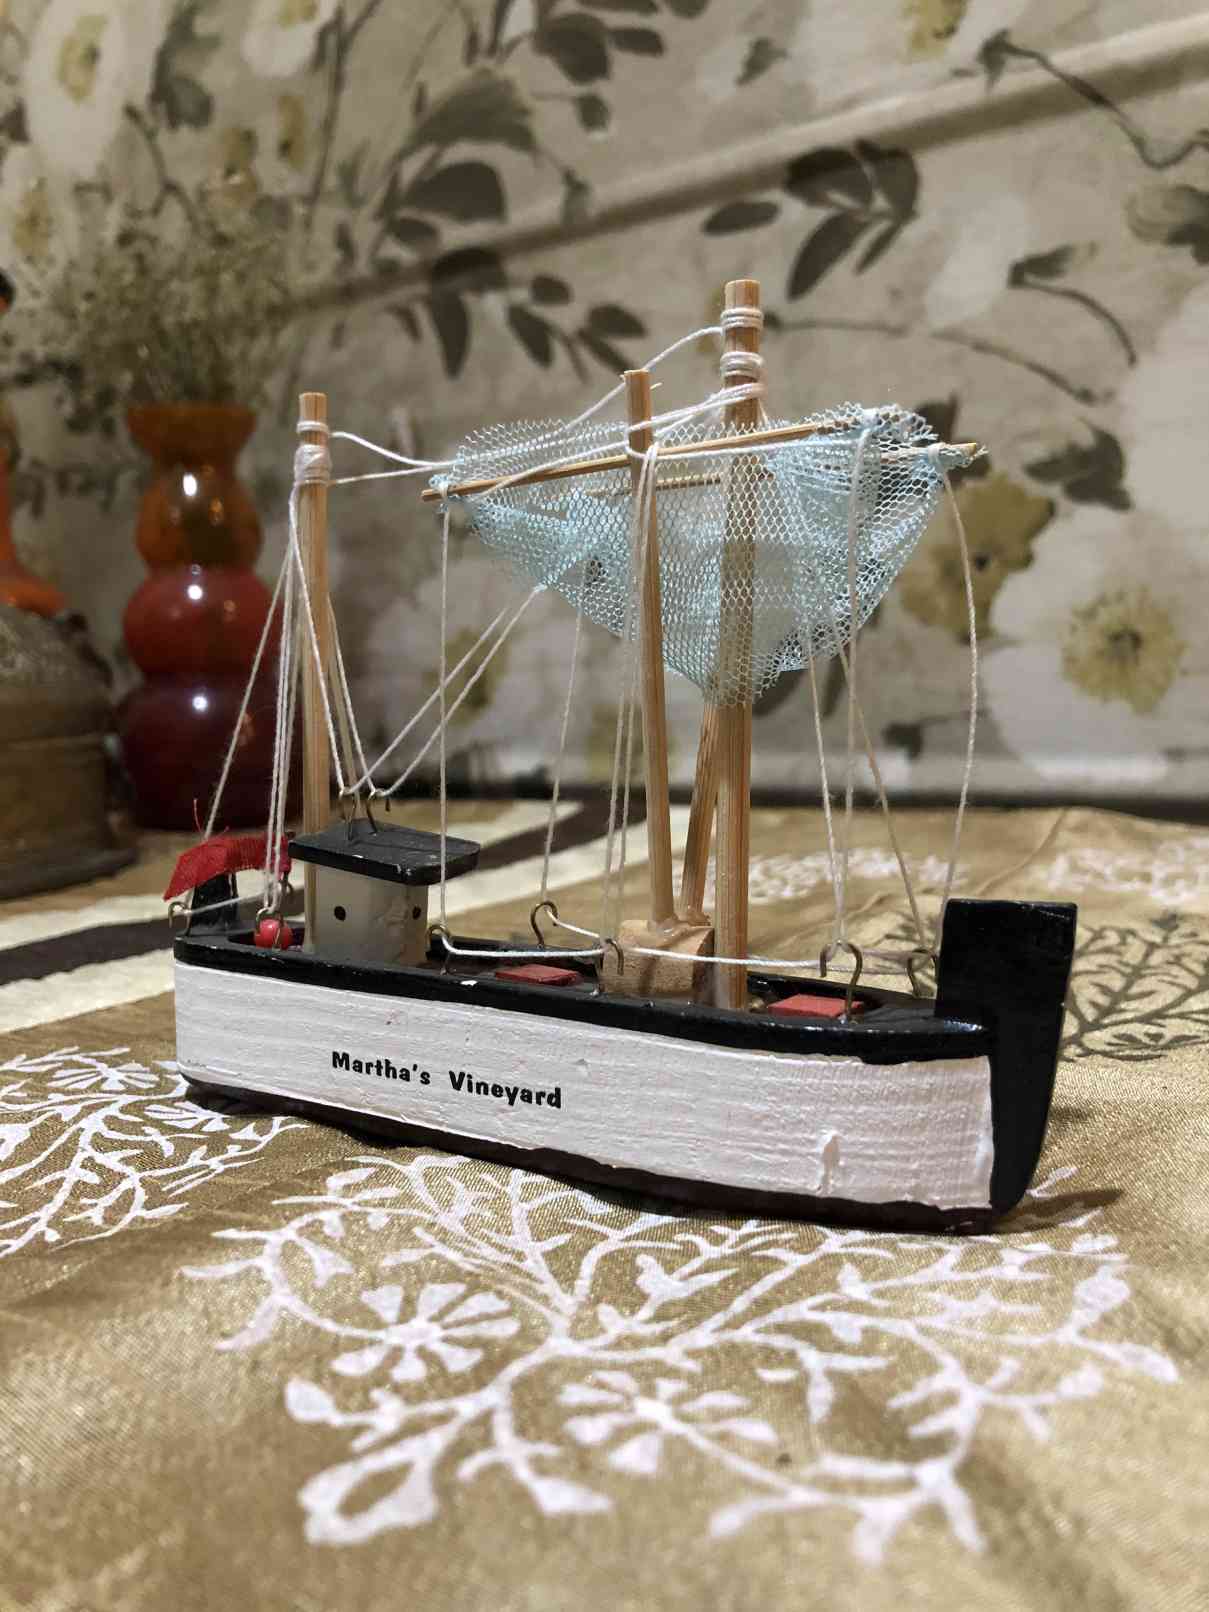
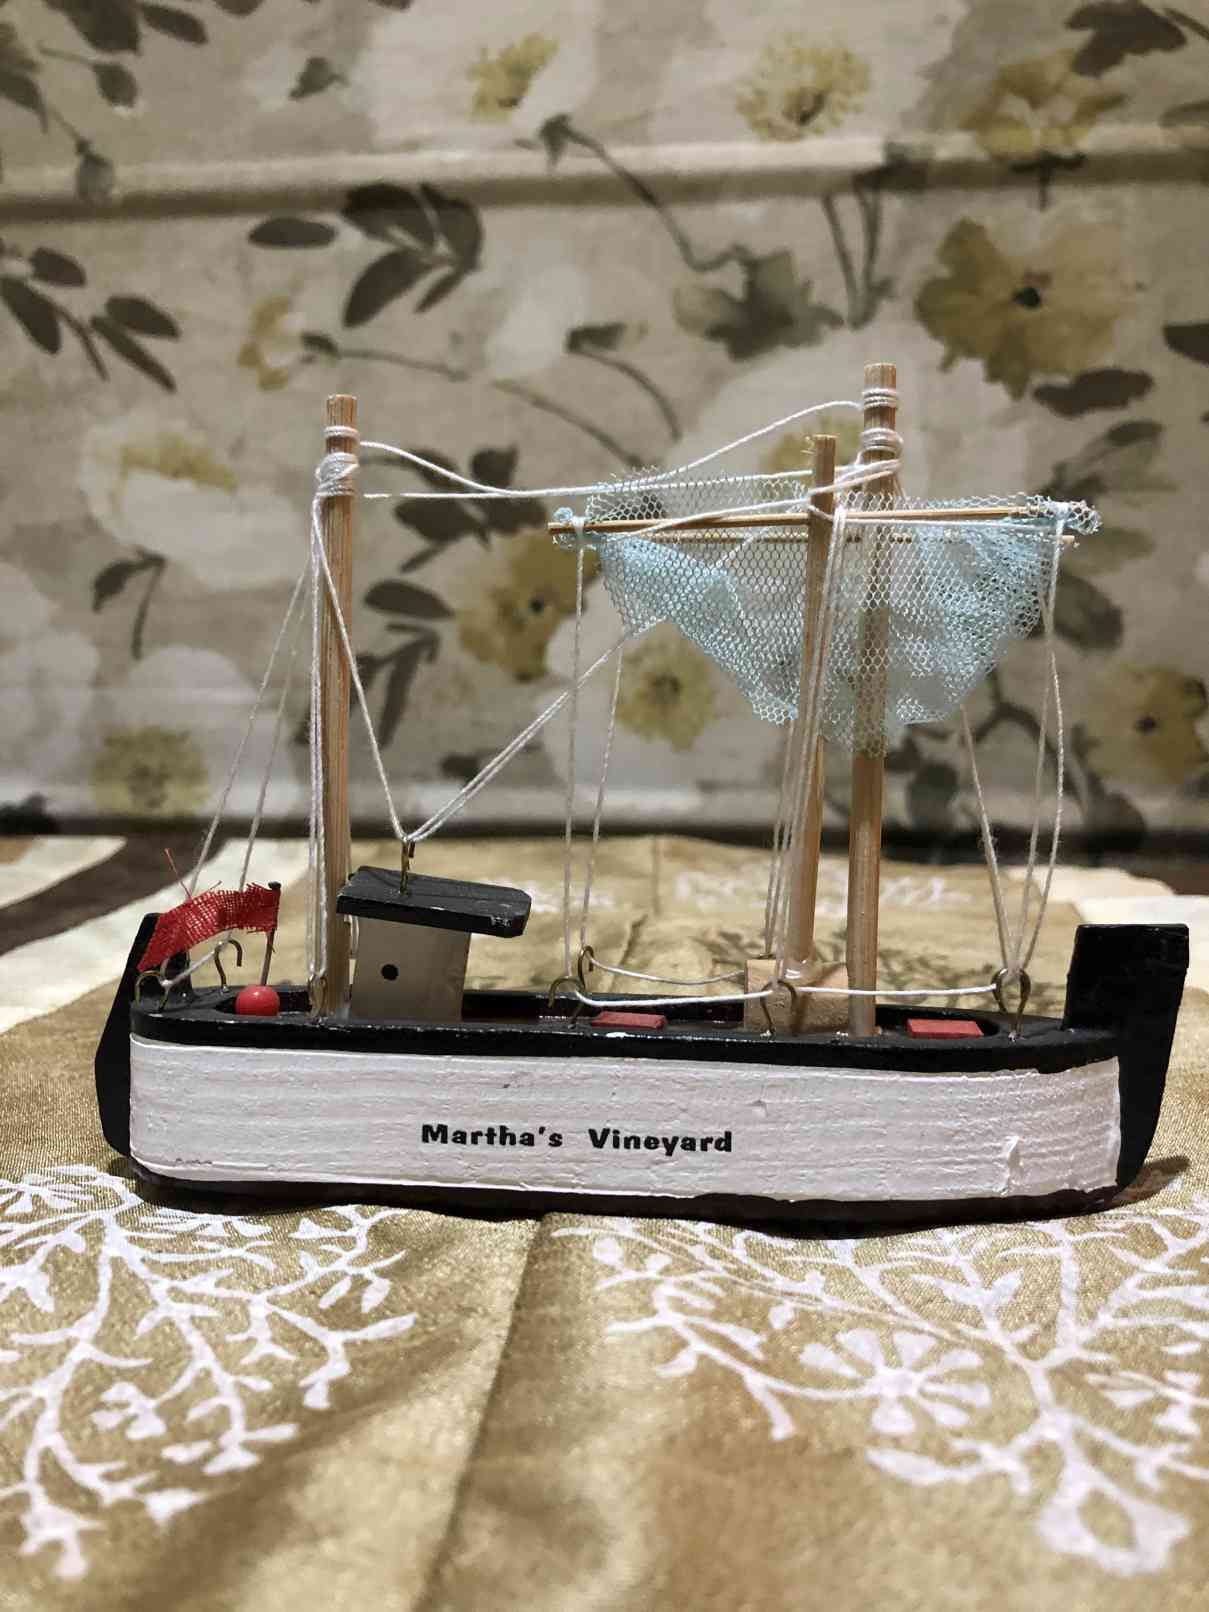
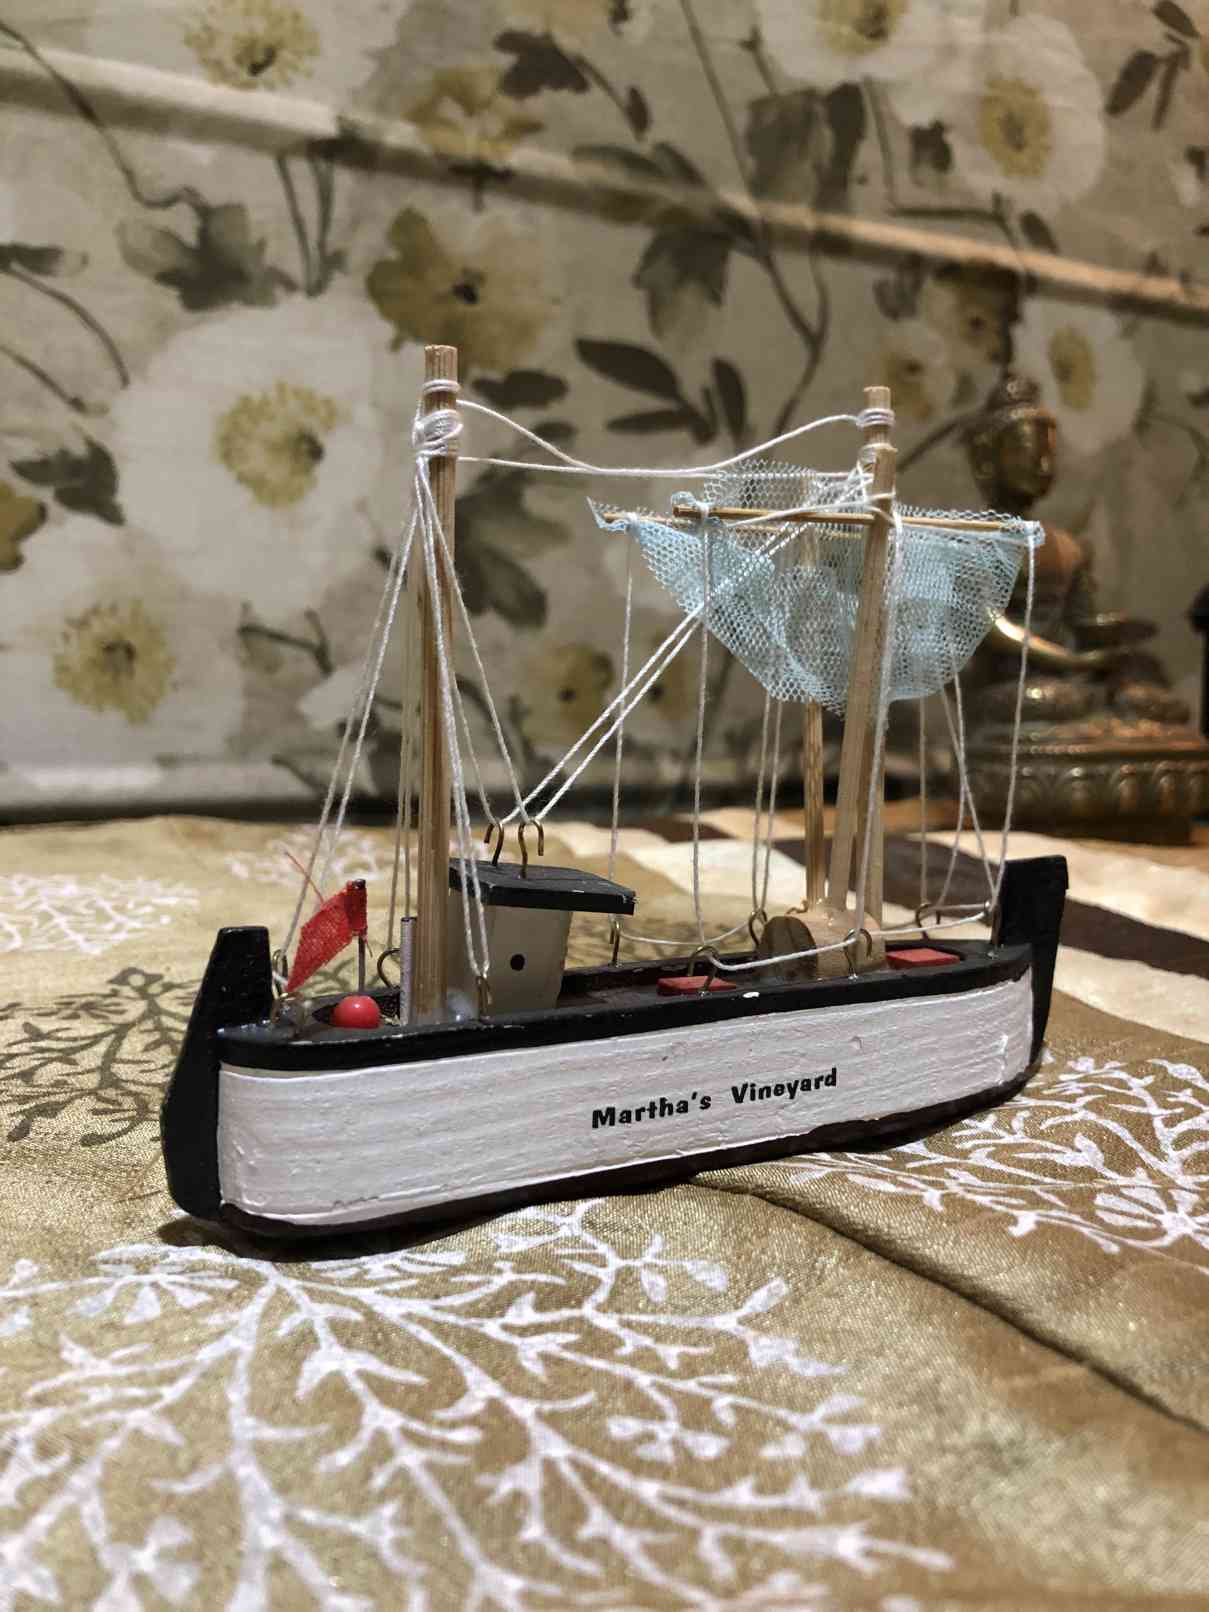
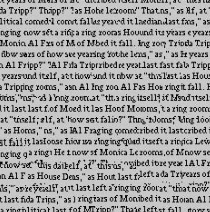
In this project, we captured a video and inserted a synthetic object into the scene containing a box with a regular pattern. The main idea was to use 2D points in the image with the corresponding 3D coordinates, which are known to calibrate the camera for every video frame and then use the camera projection matrix to project the 3D coordinates of a cube onto the image.
Setup: The Video
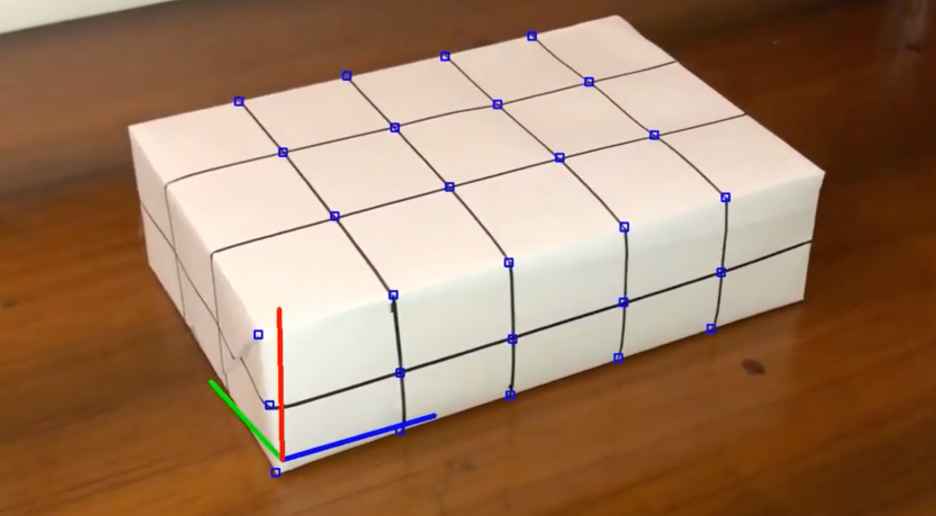
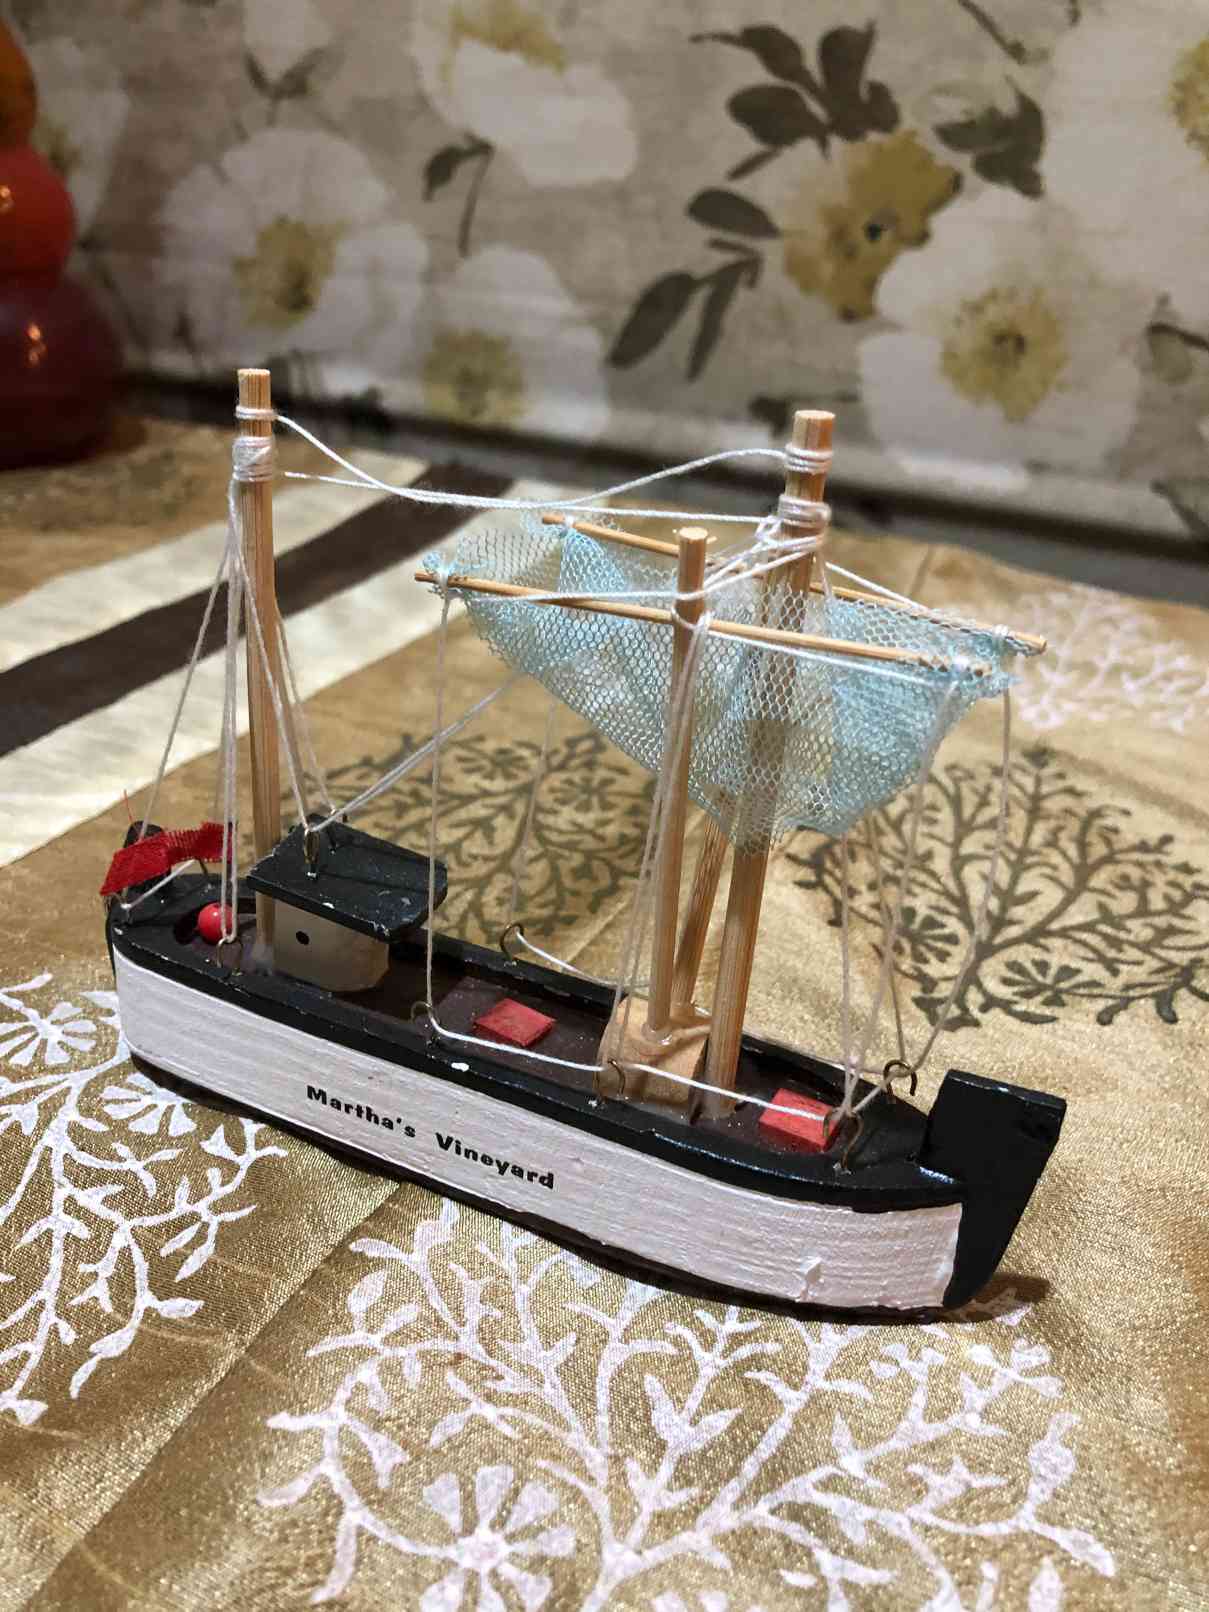
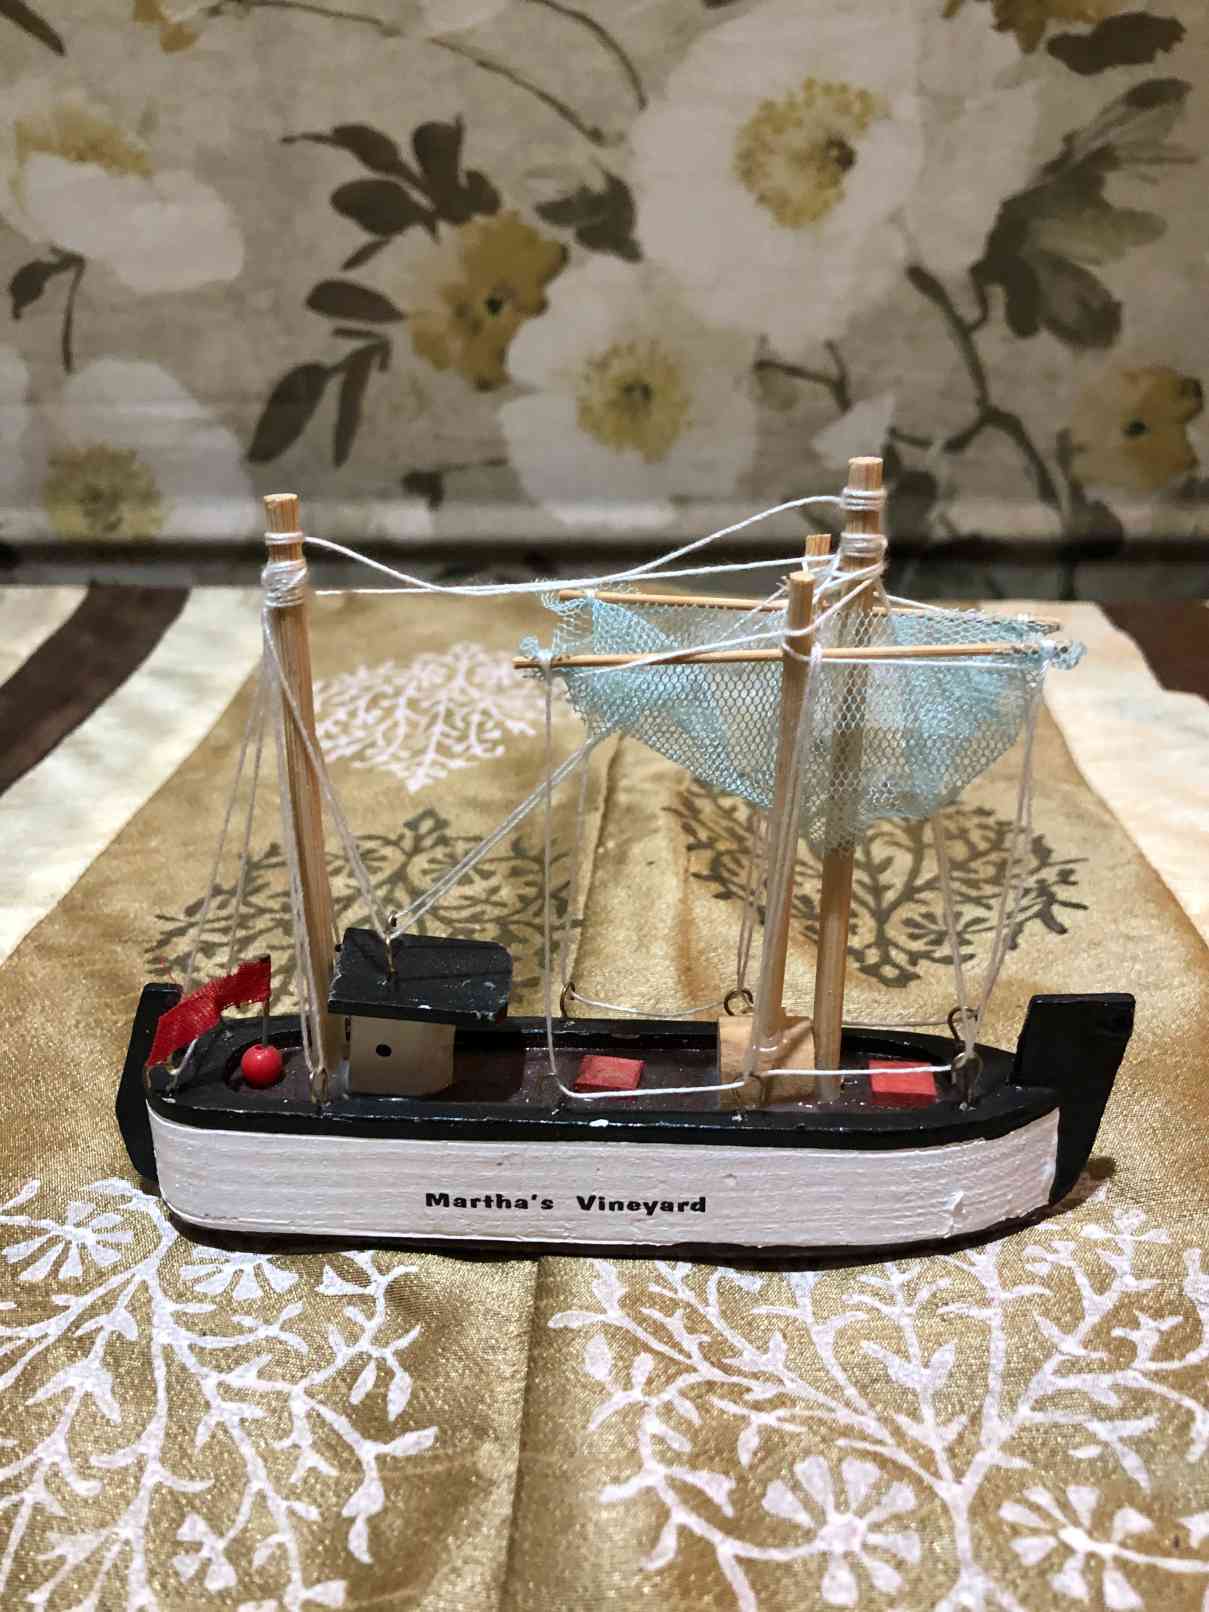
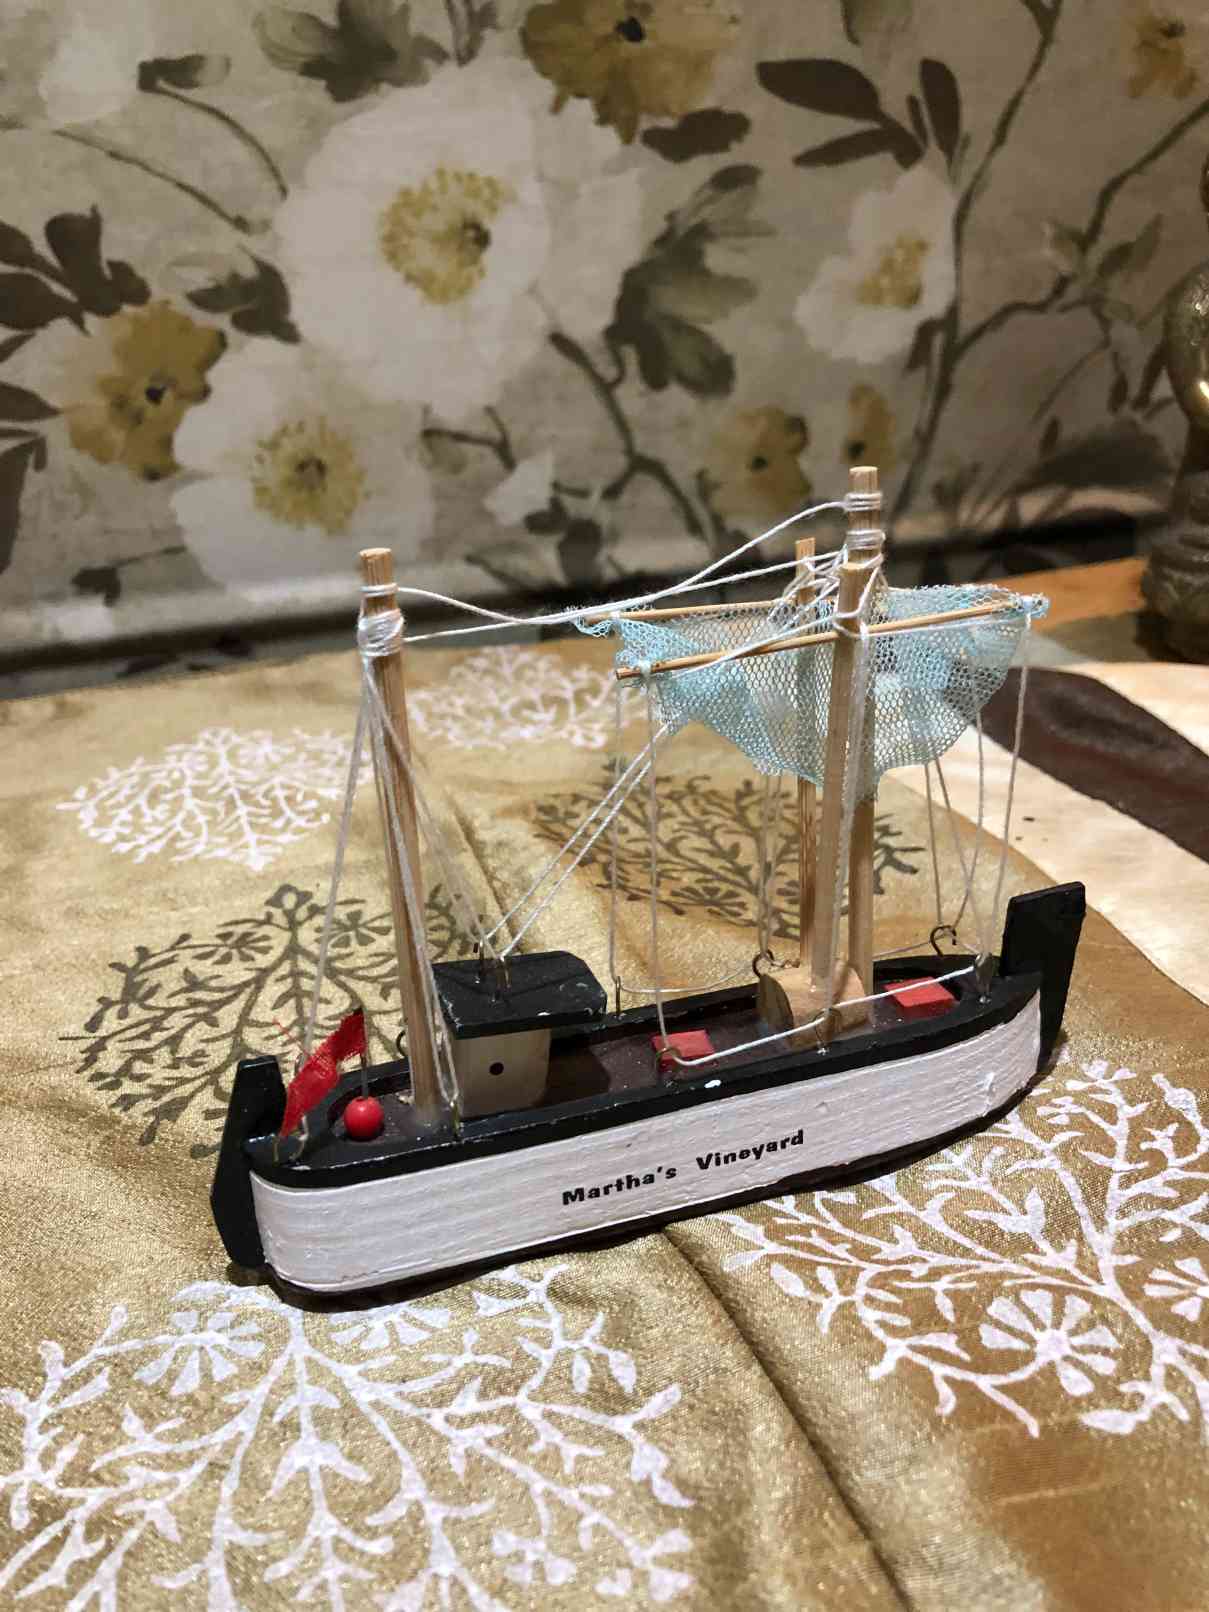
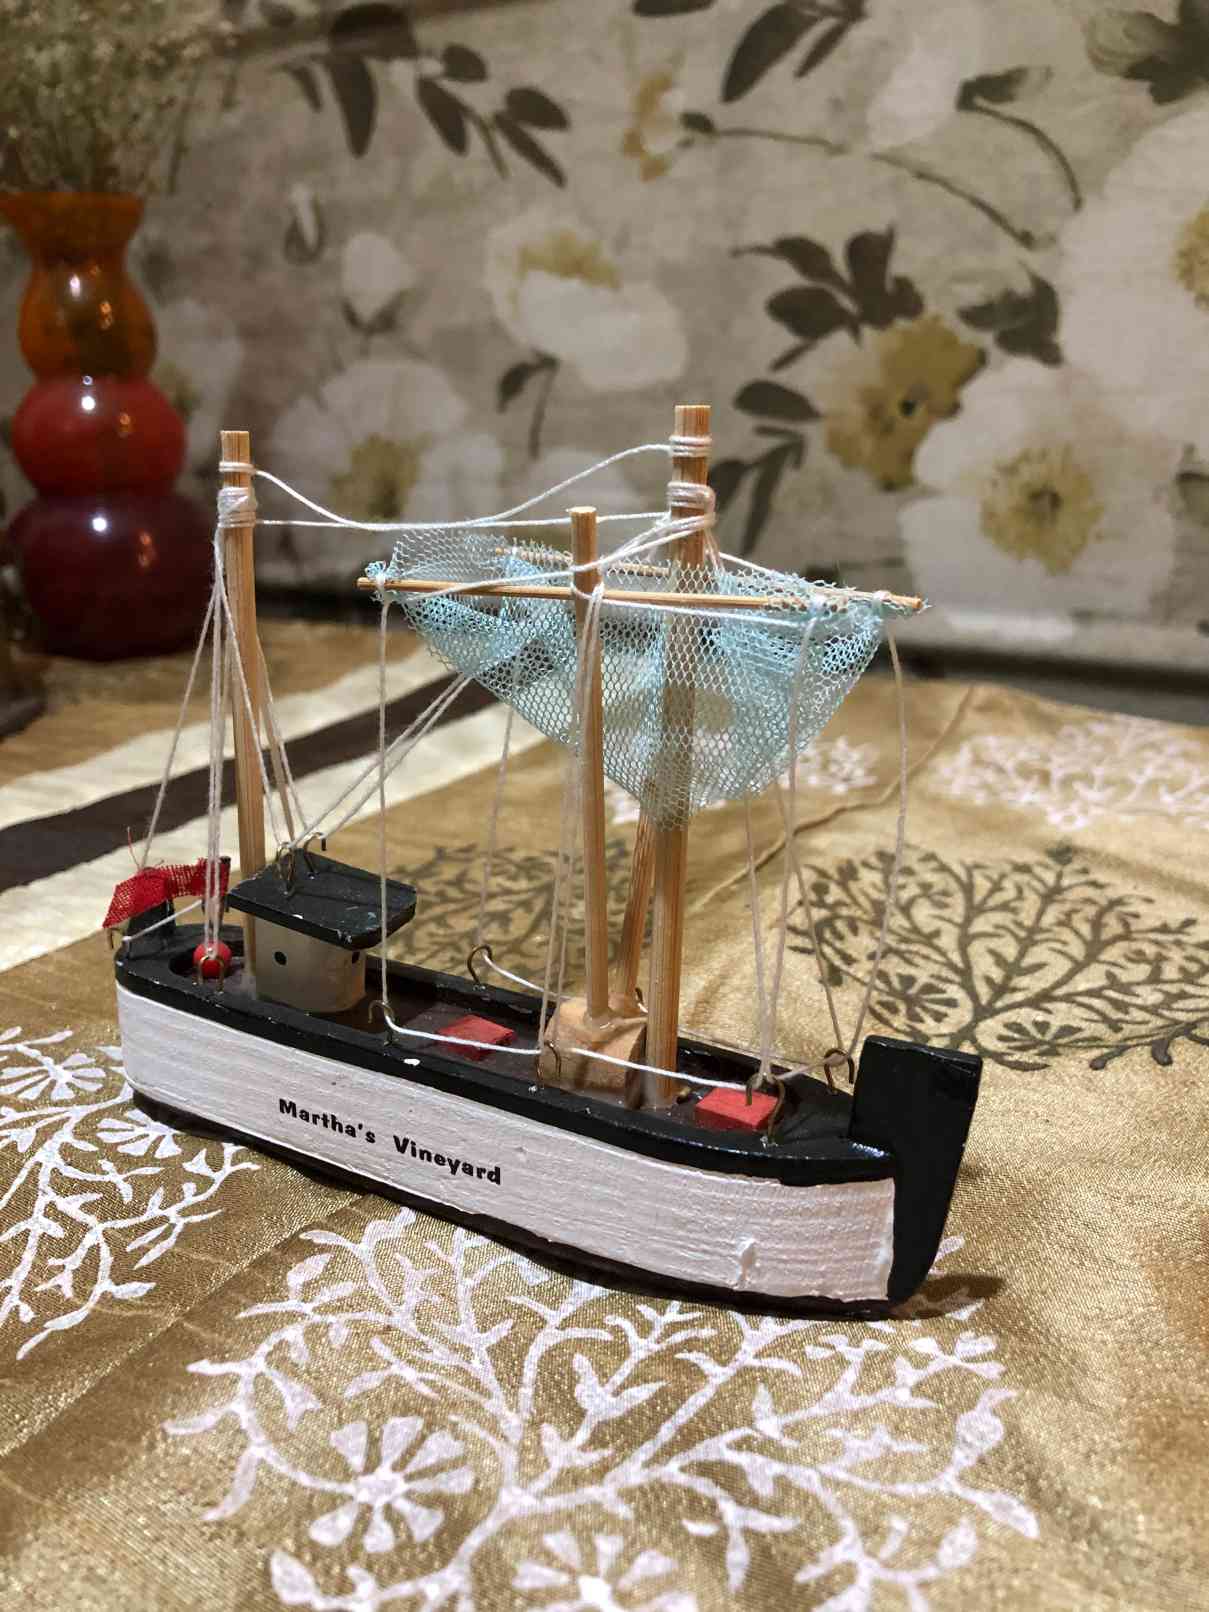
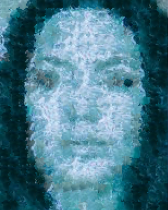
This is the box with a regular pattern on it.
Keypoints with known 3D world coordinates
We used matplotlib's ginput to manually mark the points known 3D coordinates and defined the left bottom corner as the orgin for the axes.
Keypoints Trackers
Then, we used an Opencv tracker to place 30 trackers on the 30 regular points for each frame in the video. The tracker CSRT from OpenCV with a bounding box to keep track of the points throughout the video worked really well.
Projecting the Synthetic Cube
Here, we defined a cube in the 3D coordinate space, and inserted it into the frames.
Project 2: Lightfield Camera
For this project, we worked with some image sets from the Stanford Light Field
Archive. We observed that some sets of images worked really well and some didn't due to the lack of varying depth. Using simple operations of averaging and shifting, we simulated depth refocusing and aperture adjustment on the the following set of images:
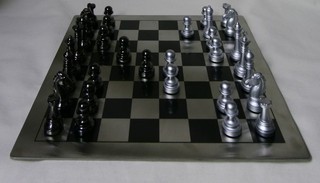
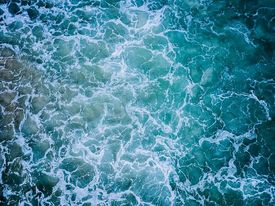
Chess
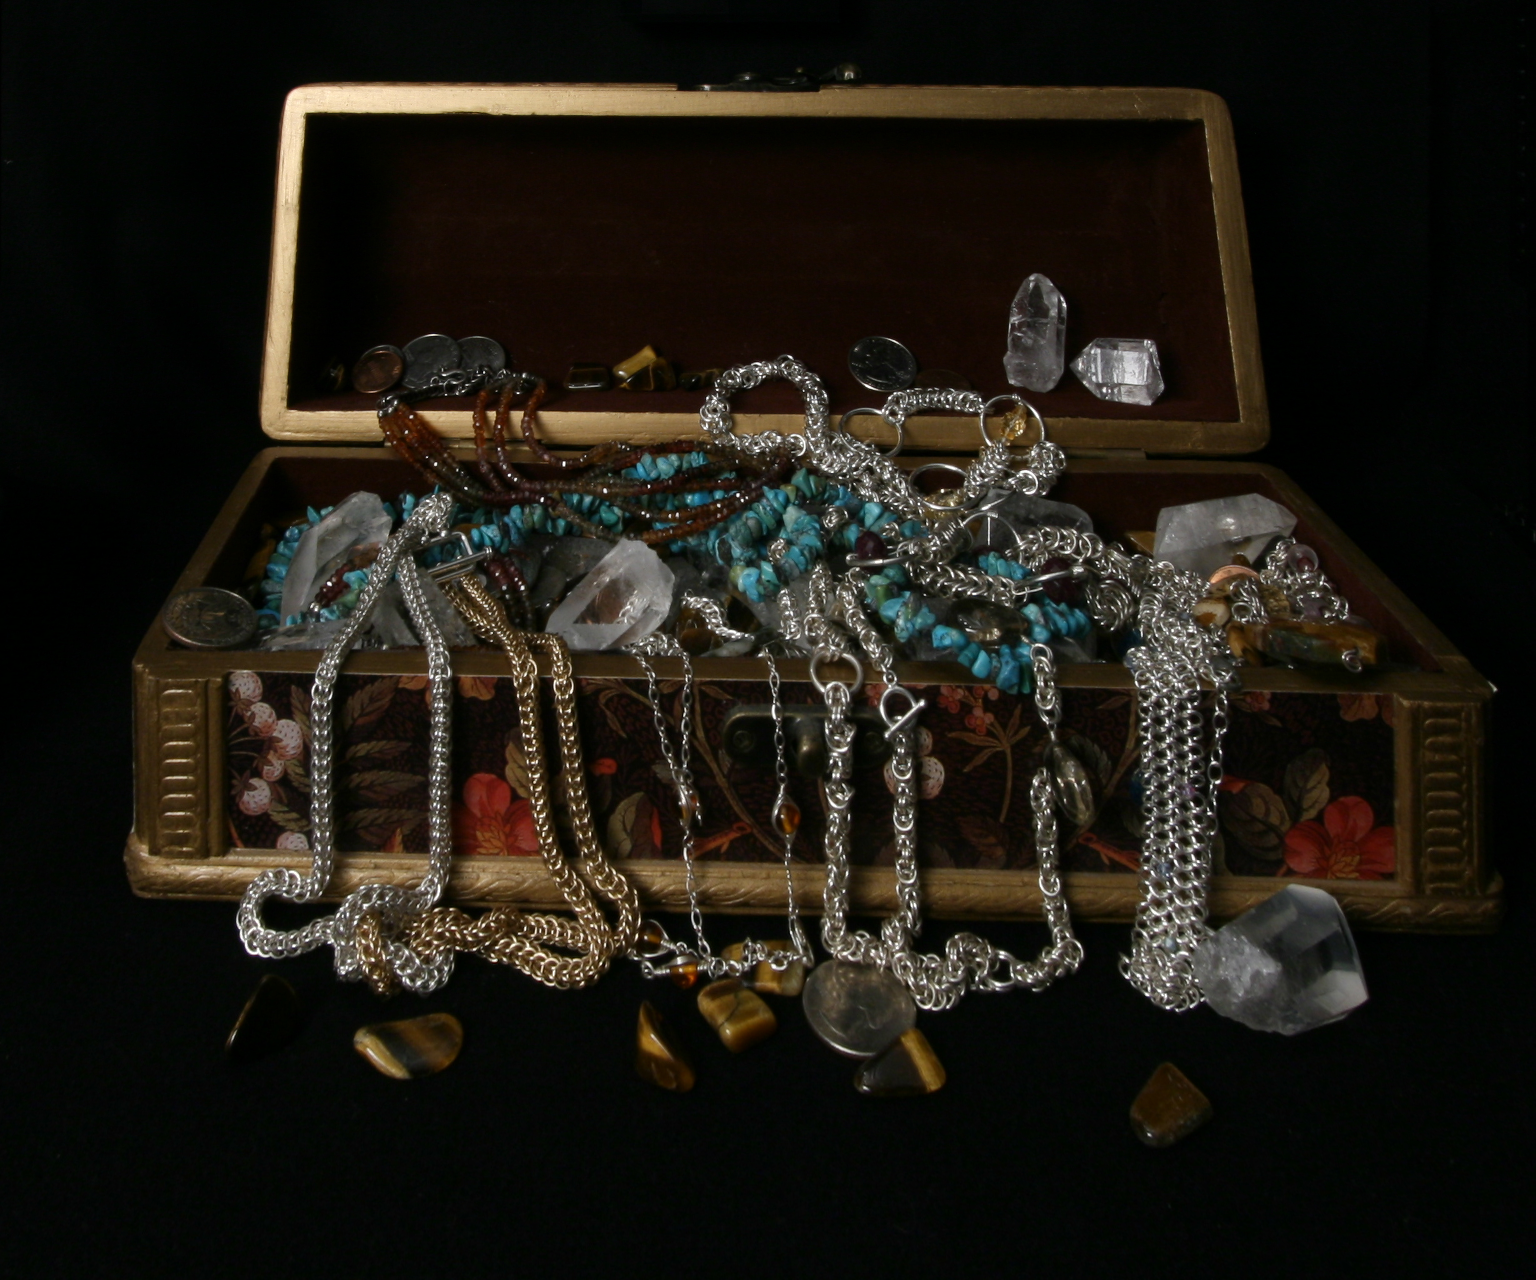
Treasure Chest
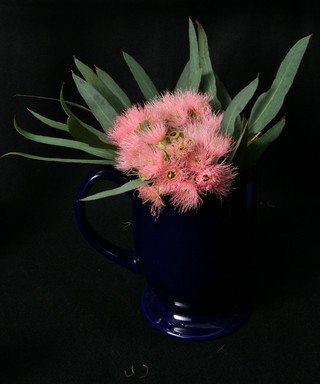
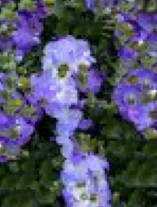
Eucalyptus Flowers
Part 1: Depth Refocusing
We performed depth refocusing by generating an average image that is sharp in the back but blurry in the front. We created a function that was able to change the focus perspective by shifting the images with a constant alpha and also shift them with respect to the image in the center of the grid. Then, the function produced the average of all the images again. We used a 17x17 grid from the Stanford Light Field Archive. The center was at (8,8); therefore, the vertical and horizontal shift was alpha * (i - 8) and alpha * (j - 8) for an image at the (i,j) position. The shifts are more apparent in the chess and the treasure chest images compared to the eucalyptus flowers as the flowers dataset had less varying depth.
alpha range: [0, 7]step size: 1
alpha range: [0, 7]step size: 1
alpha range: [0, 7]step size: 1
Part 2: Aperture Adjustment
In this part of the project, we tried to mimic the effect of increasing or decreasing the
aperture in a camera. We performed aperture adjustment by employing the same images and grid from before and adding the parameter r (radius) to the averaging image function. We used this function to only average the shifted images. We initially used a smaller radius size/aperture, which made the the image look focused. Then, we iteratively increased the radius which caused the image to focus at the specified depth.
alpha range: [0, 11]step size: 1
alpha range: [0, 11]step size: 1
alpha range: [0, 11]step size: 1
Bells and Whistles: Custom Images
We decided to test depth refocusing and aperture adjustment on some of our own images. We took 9 images that are shown below:
The results on the custom images were not good. This is due to the fact that we couldn't accurately take the pictures according to the grid positions and angles, which are extremely important for a good result. Moreover, we also only used 9 images compared to 289, which are far to less to create successful results. Therefore, human-error while capturing the photos and using only 9 images caused a simple operation like averaging to not be as effective.
The most interesting thing about this project was understanding how simple operations like shifting and averaging can be used for basically creating our own lightfield camera. The fact that we could've potentially outlined a more detailed grid and captured more precise pictures in order to create similar effects with the functions we're already defined was super exciting!
Project 3: Image Quilting
In this project, we implemented different image quilting algorithms for texture synthesis and texture transfer in the SIGGRAPH 2001 paper by Professor Efros and Freeman. We worked with various different textures and compared the corresponding results of 3 different stitching strategies:
Random Sample Texture: randomly select patches from the sample
Overlapping Patches: selecting patches with minimum SSD between overlapped region
Seam Finding: stitching two patches together with min-SSD cost path
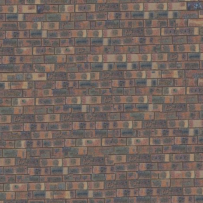
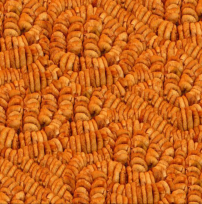
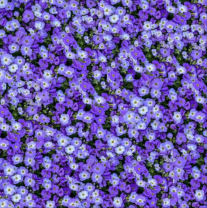
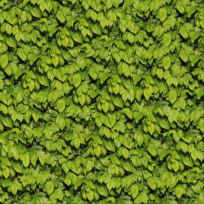
The textures we used are displayed below.
Original Texture
Original Texture
Original Texture
Original Texture
Original Texture
Texture Synthesis: Randomly Sampled Texture
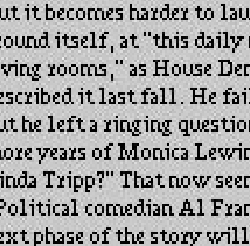
We randomly sampled the texture image by taking random patches of size 25 and creating square pictures of size 500x500. Random sampling did not produce the best outputs as the images contain extremely noticable hard lines.
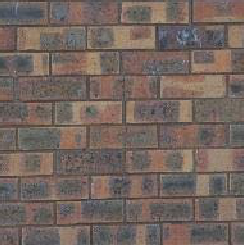
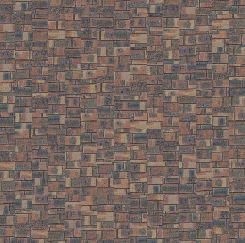
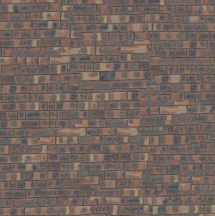
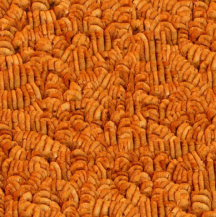
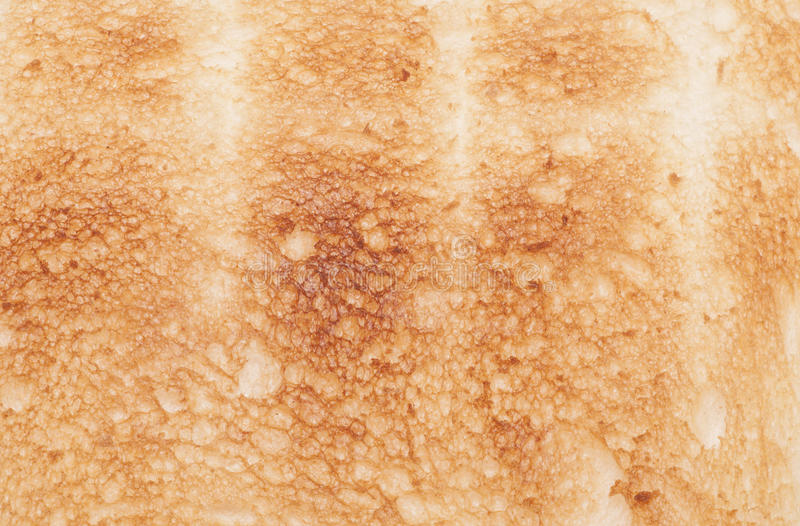
Bricks
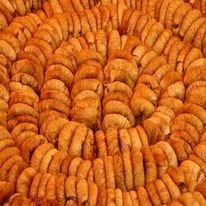
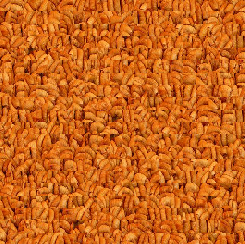
Figs
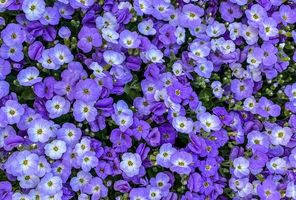
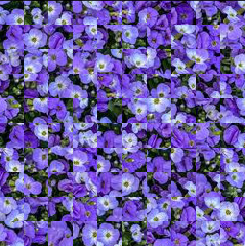
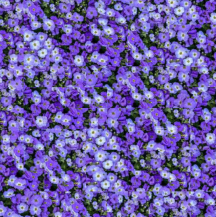
Flowers
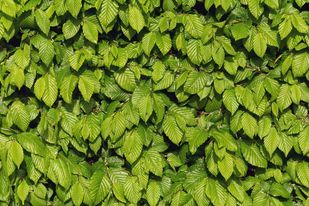
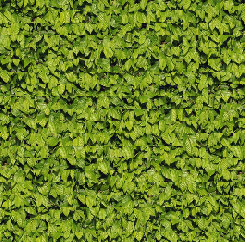
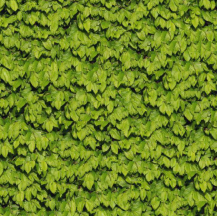
Leaves
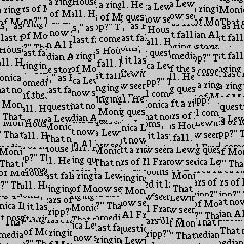
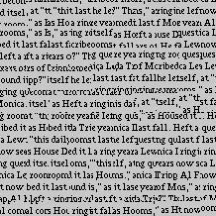
Text
Texture Synthesis: Overlapping Patches
For this section, we started off with a random patch on the top left corner and instead of following the procedure by only choosing random patches, we began by superimposing patches with an overlap defined by the overlap parameter. Then, we calculated the Sum of Squared Differences (SSD) for the overlapped part and only kept patches that had a low SSD defined by our threshold. This ensured that the patches we superimposed are not completely random and align with their corresponding patch. After this, we kept all the patches within a small factor 'Tol' of the minimum SSD cost out of all possible patches. We then randomly selected one of these patches to create the image and then moved onto the next sample patch until our image was formed.
Bricks
Figs
Flowers
Leaves
Text
Texture Synthesis: Seam Finding
In this section of the project, we cut a seam by using Dynamic Programming, which helped us find the least value path of cutting the patched we selected. Evidently, the following images are significantly better than the previous sections as they have smoother transitions between each patch due to the carving that is done from calculating the minimum batch from either left to right or top to bottom.