
Sergei Mikhailovich Prokudin-Gorskii was a man well ahead of his time. He was convinced as early as 1907 that color photography was the future, and he won the Tzar's special permission to travel across the vast Russian Empire and take color photographs of everything he saw including the only color portrait of Leo Tolstoy. He photographed people, buildings, landscapes, railroads, bridges... thousands of color pictures!
His idea was simple: record 3 exposures of every scene onto a glass plate using a red, a green, and a blue filter. There was no way to print color photographs until much later, but he envisioned special projectors to be installed in classrooms all across Russia so children would be able to learn about their country. This never happend, as he left Russia in 1918, right after the revolution, and never returned. Luckily his RGB glass plate negatives survived and were purchased in 1948 by the Library of Congress.
Since each of the three negatives are not exactly matched, we have to figure out how to align them so that the resultant image looks nice.
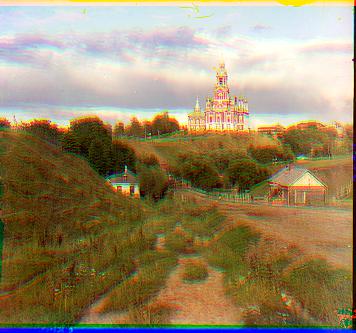
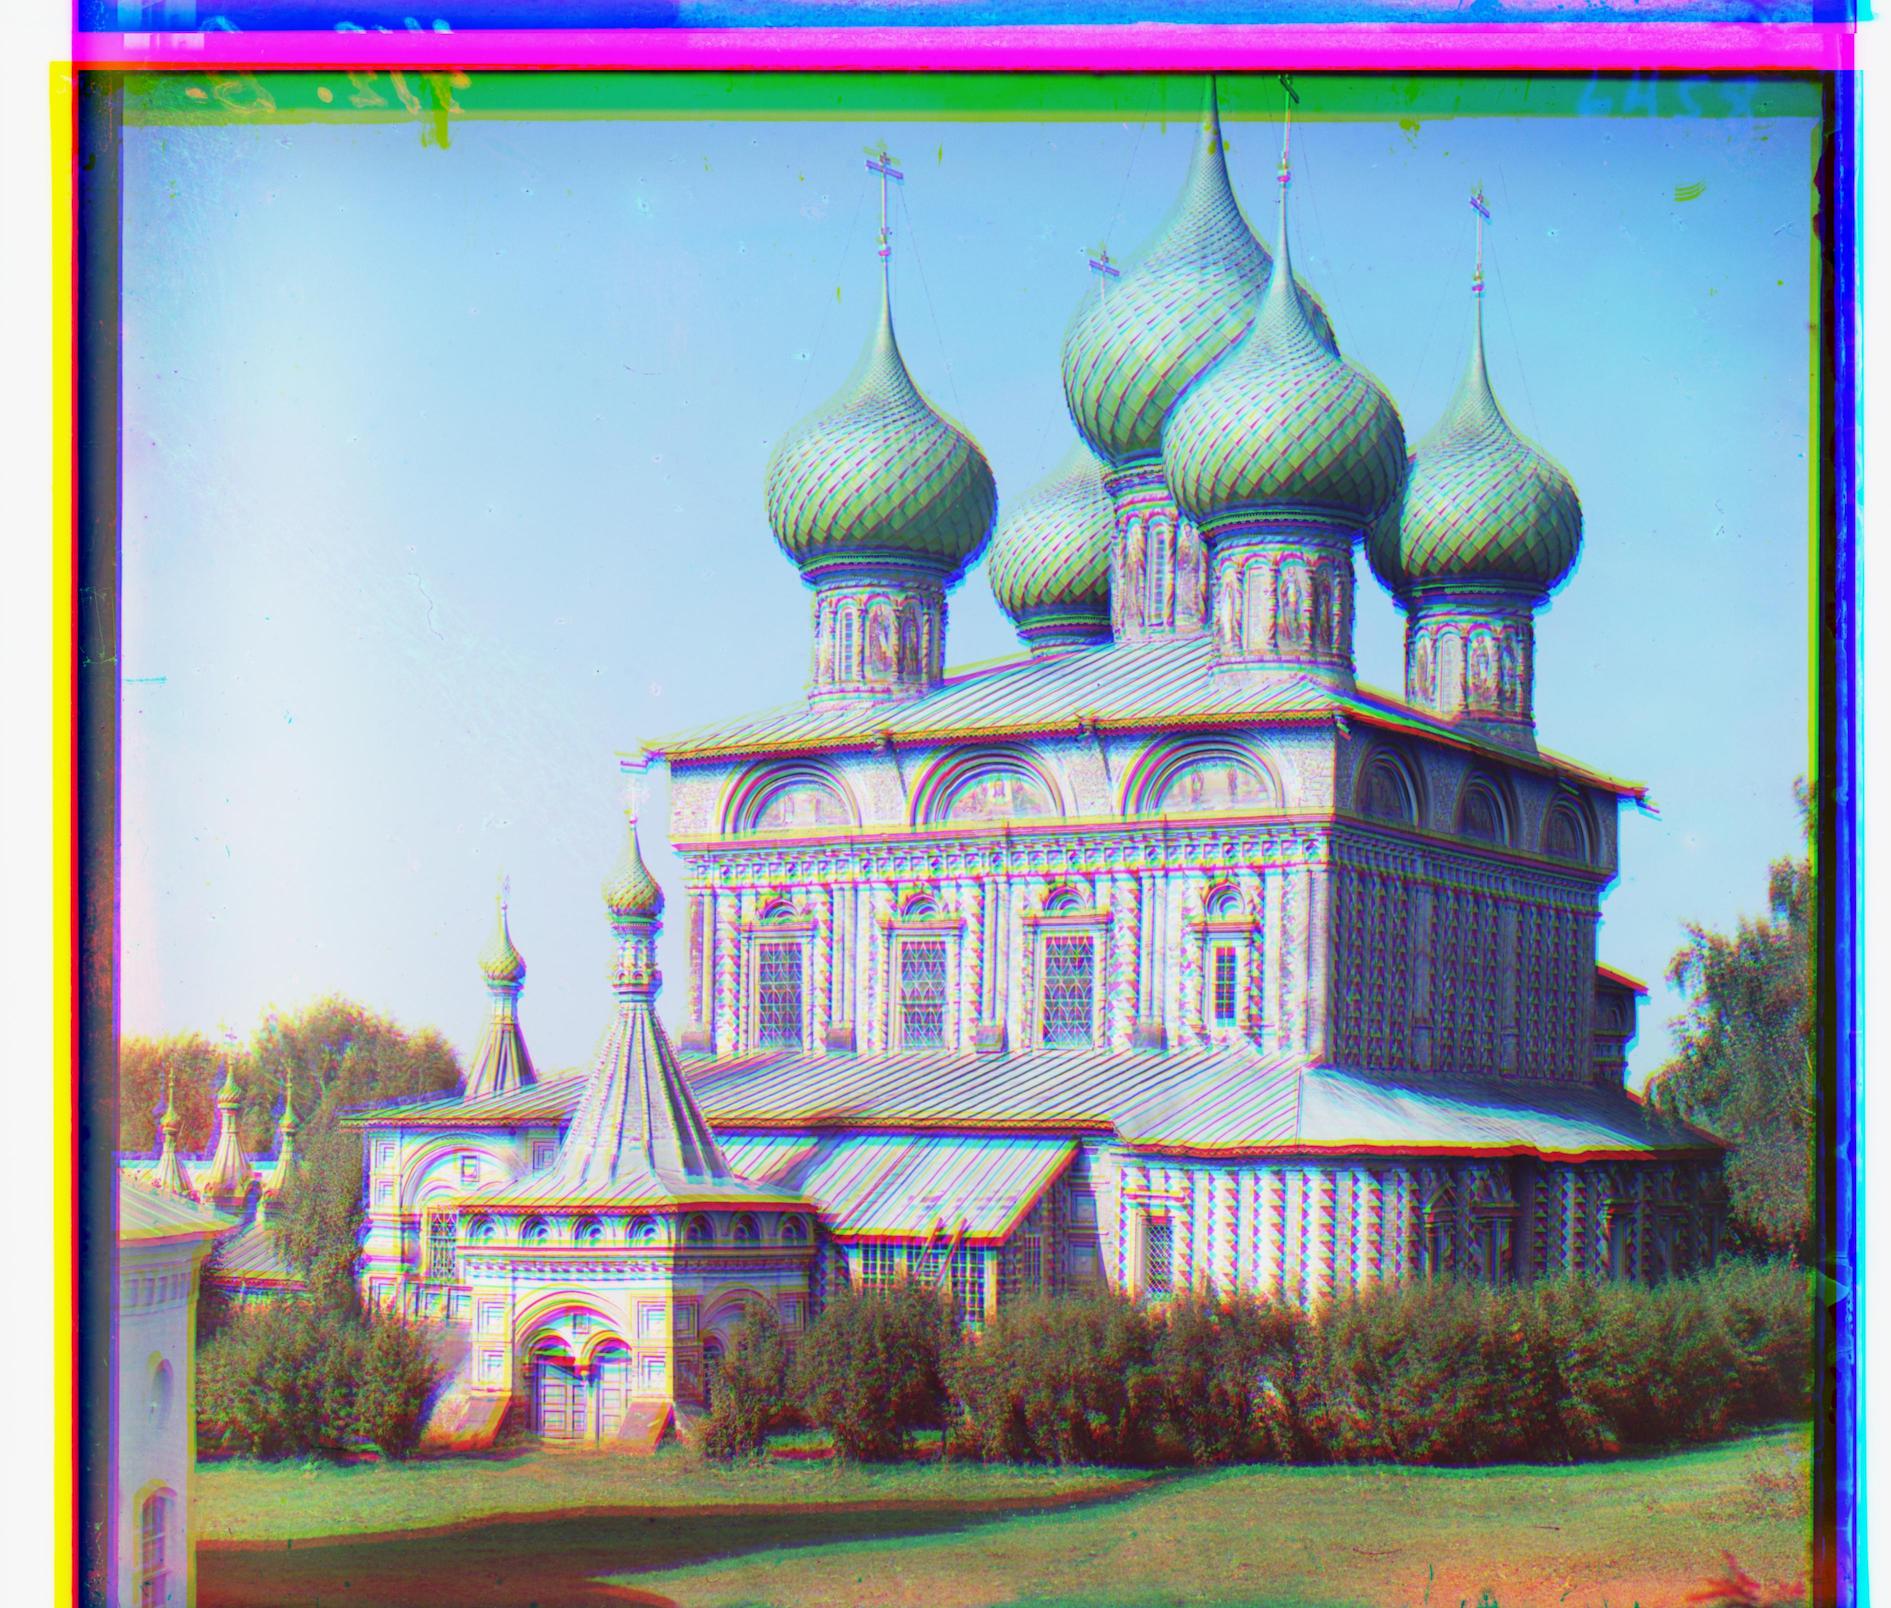
I implemented exhaustive search which just naively searches over all alignments in a range. Using a window of (-20, 20), this was able to get pretty OK results on the cathedral image, with the updated SSD (see "Evaluation Metric" below), however it was too slow - nearly 50 seconds just on the .jpg of the cathedral... would be far too slow on the .tif files!
To speed up the alignment search on the .tif images, which were must larger, I implemented an image pyramid to search over. This image pyramid downscaled the original image by a certain factor for a given number of levels, with the "top" of the pyramid being the smallest image and the "bottom" being the original. We start with the smallest image and do exhaustive search over a small range; we scale the best offset found on the smaller image to know what "range" we should perform exhaustive search in on the larger image in the next level of the pyramid, and so on until we get to the "bottom" or the original.
This helped speed up the computation on .tif images a lot, I was able to get all the processing time under 1 min (I timed with python's time module).
The parameters in the pyramid search were:
I noticed when I was going through the pyramid search, at the lower levels the best displacement was always very small, like -1 or 1, so I initially set the window to (-5, 5) and the scaling factor to 1.3 (meaning each image is 1 / 1.3 or ~.77 of its original size) and the number of levels to 9.
These params processed each image in ~20 sec and still had a bit of blur, though you could tell the colors were right:
Since these were running in 20 seconds each image, I tried increasing the window to (-10, 10). Running time was generally now around 40 seconds, maybe 60-70 seconds for the larger images.


The found alignments seemed nearly identical, so I reverted back to the window of (-5, 5).
Increasing the scaling factor past 2 I noticed yielded very blurred results, so I did not pursue this. Same with reducing the number of levels, but I was able to get OK results with levels of 5. But since time was pretty fast, I was able to increase.
I tried using both the Sum of Squared Distances (subtracting the images element wise, squaring that subtracted value, and summing across all pixels in the image) and the Normalized Cross Correlation (normalizing each image and taking the dot product) metric to evaluate the matching for the images.
I honestly could not tell much of a difference between the two in terms of performance on the sample images that I tried, so I decided to go with the Sum of Squared Distances just because the metric made more intuitive sense to me in terms of why it should work - we want to minimize the "distance" between the images.
However, even with Sum of Squared Distances I was getting a lot of "blur." When I inspected the cathedral.jpg test image and compared it against the color image I wanted, I realized that even if the images were lining up enough to make the grass appear the right color, the cathedral itself was washed of all its red hues. As the cathedral is the most detailed part of the image and in the center, this (combined with Professor Efros' tip in class) made me realize I should only perform SSD comparison on a cropped middle portion of the image. I lopped of 25% of the height width on each side (reducing height / width to the middle 50%), which also helped speed up computation a lot and improved the alignment.
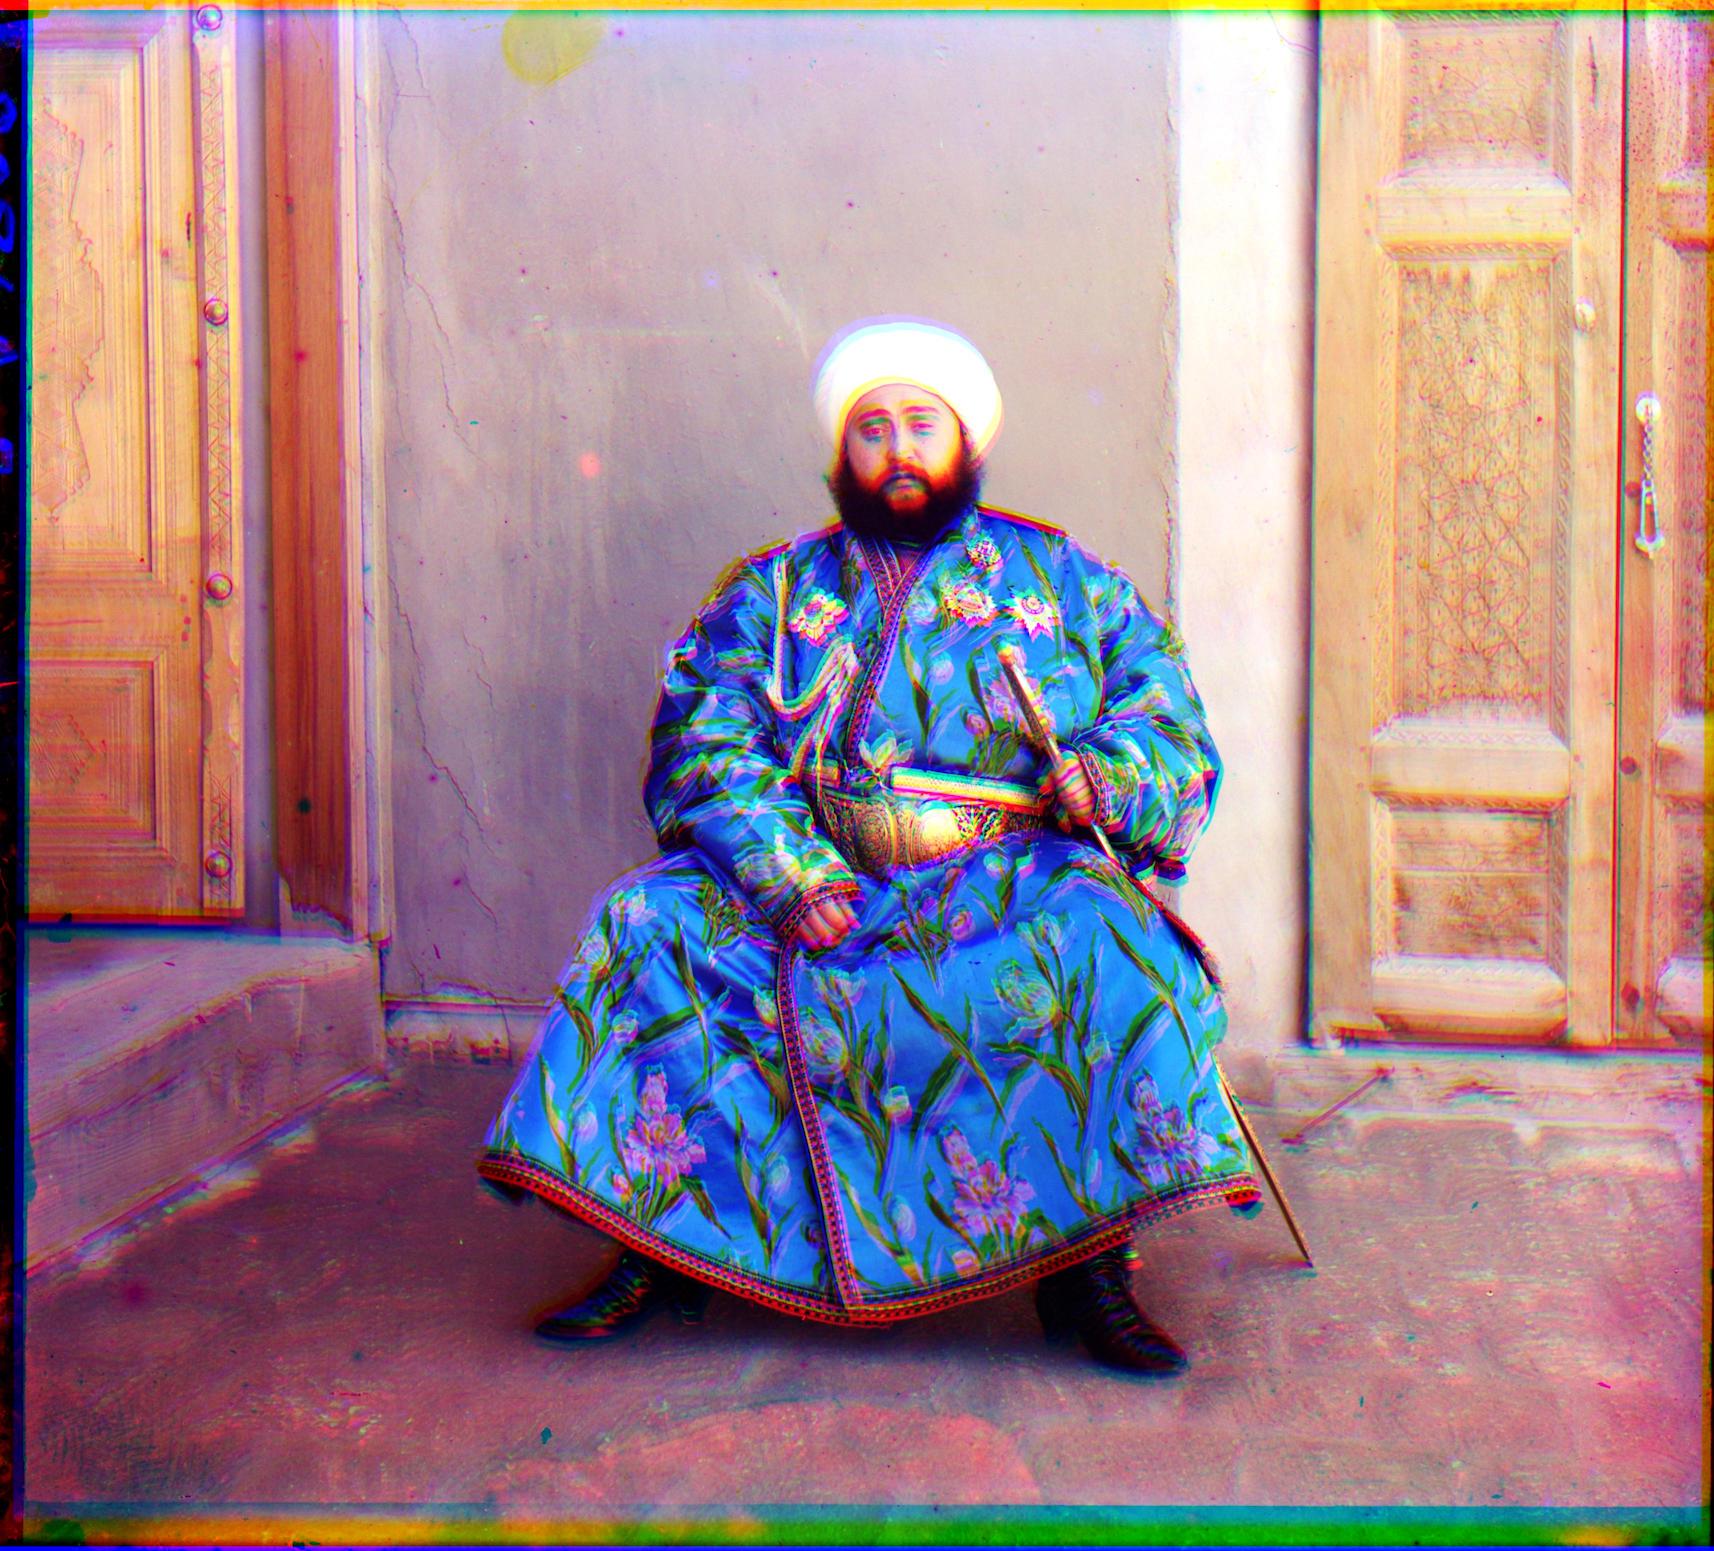
When doing the pyramid search, for emir.tif, I realized that the results were not as nice.
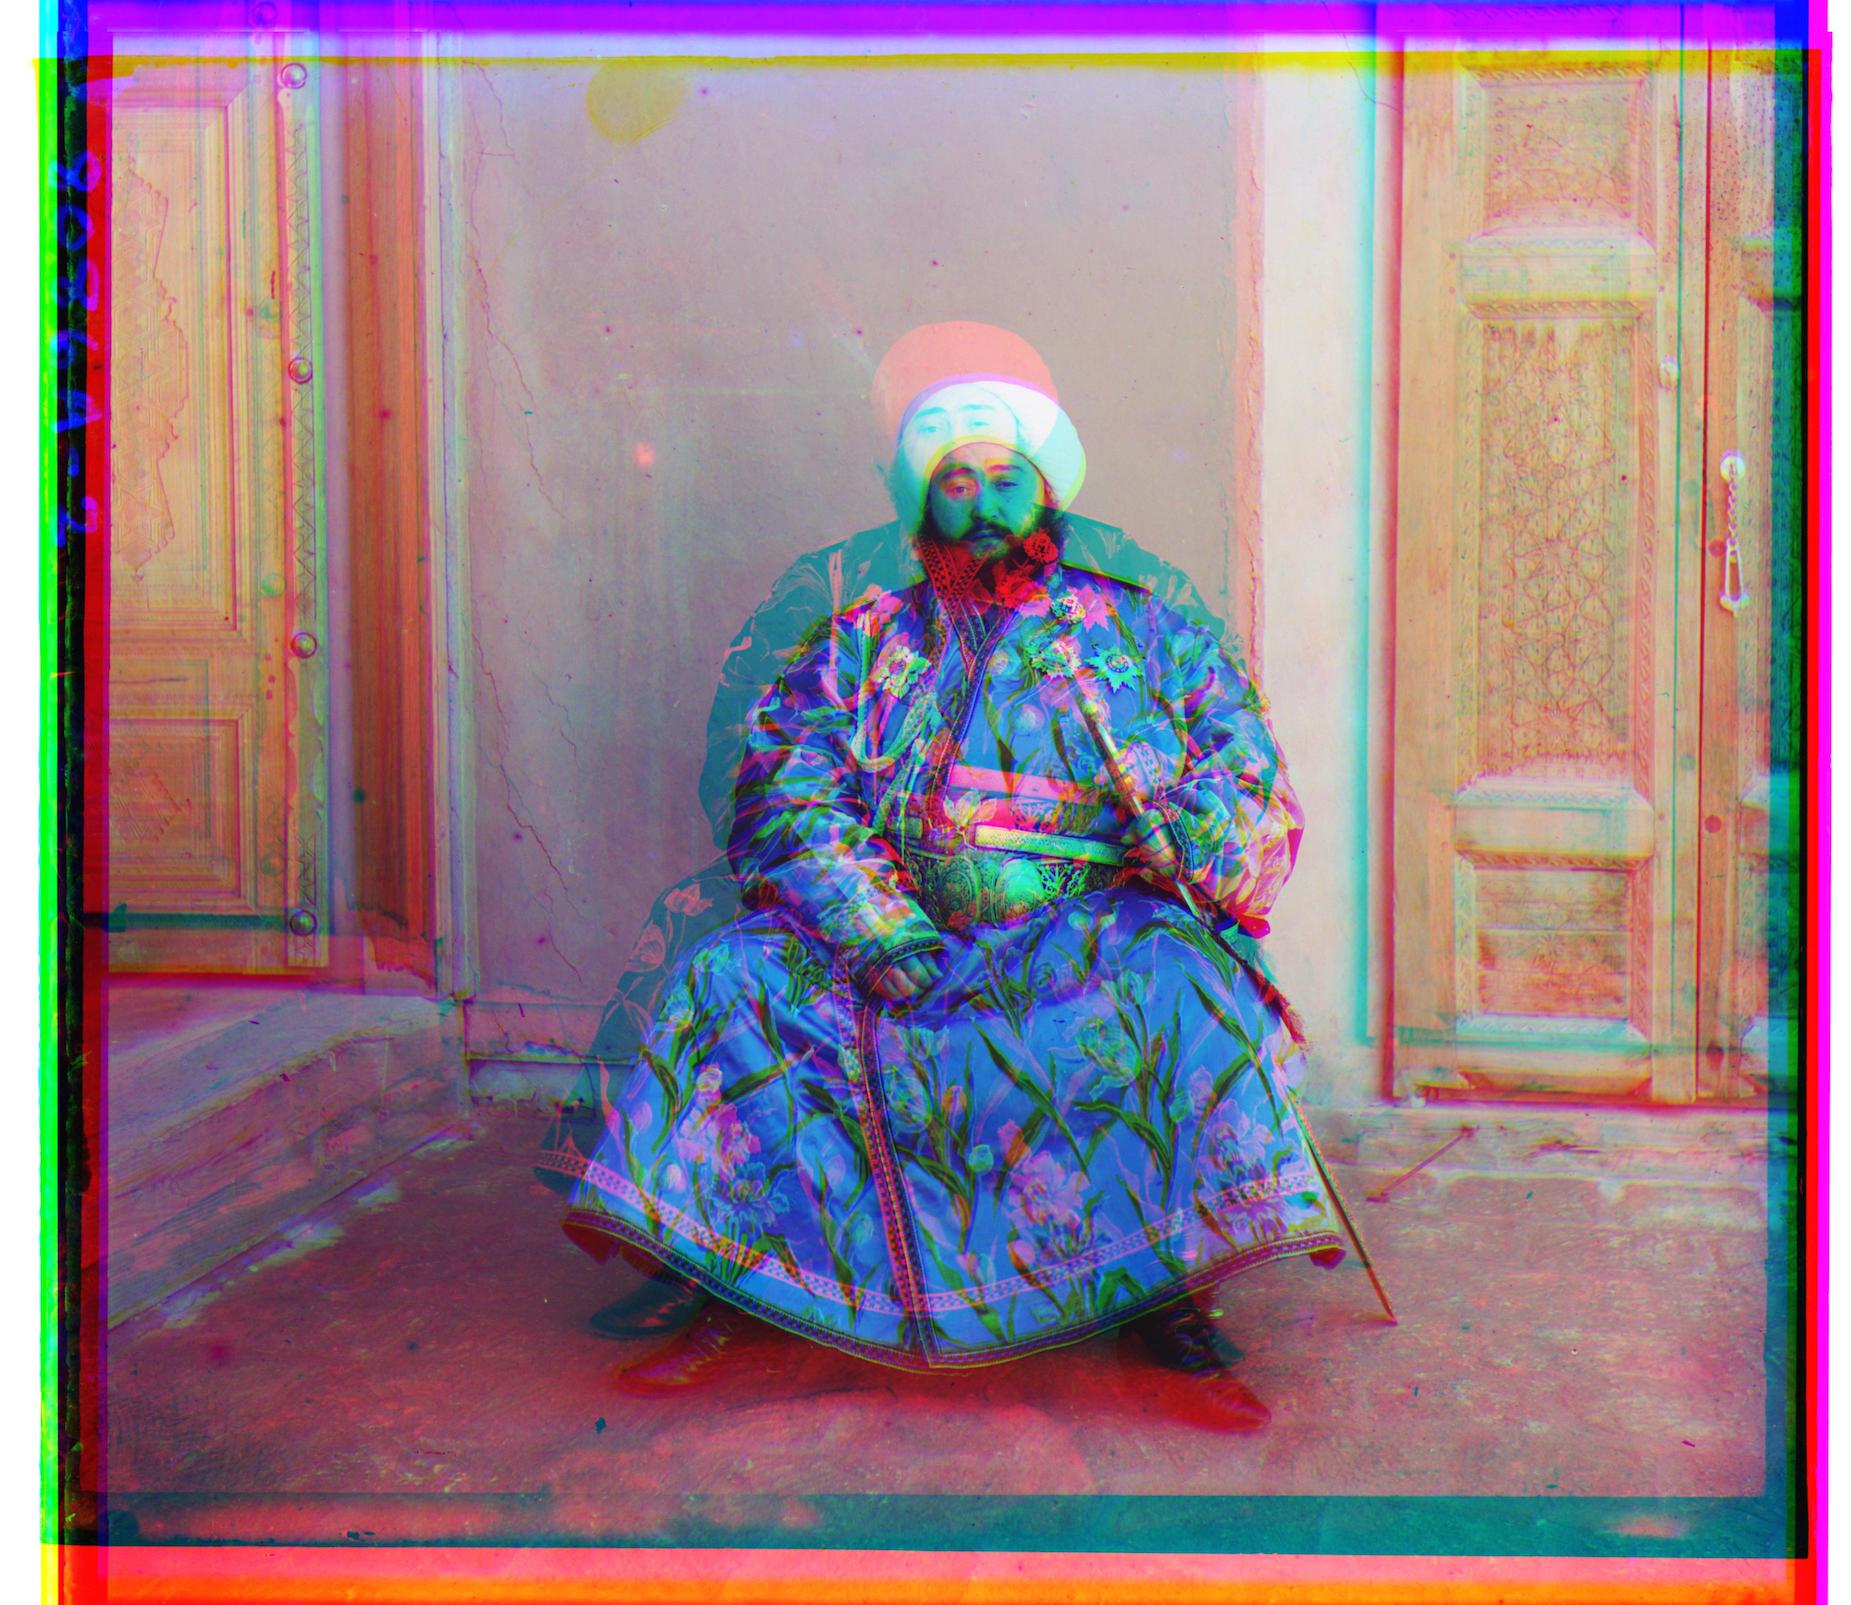
With base blue, the emir looks rather psychedelic. This is because the images to be matched do not actually have the same brightness values.
To address this, I tried using different channels as the "base" for the alignment. While I was previously using only blue channel as the default, I tried the emir in all three bases.
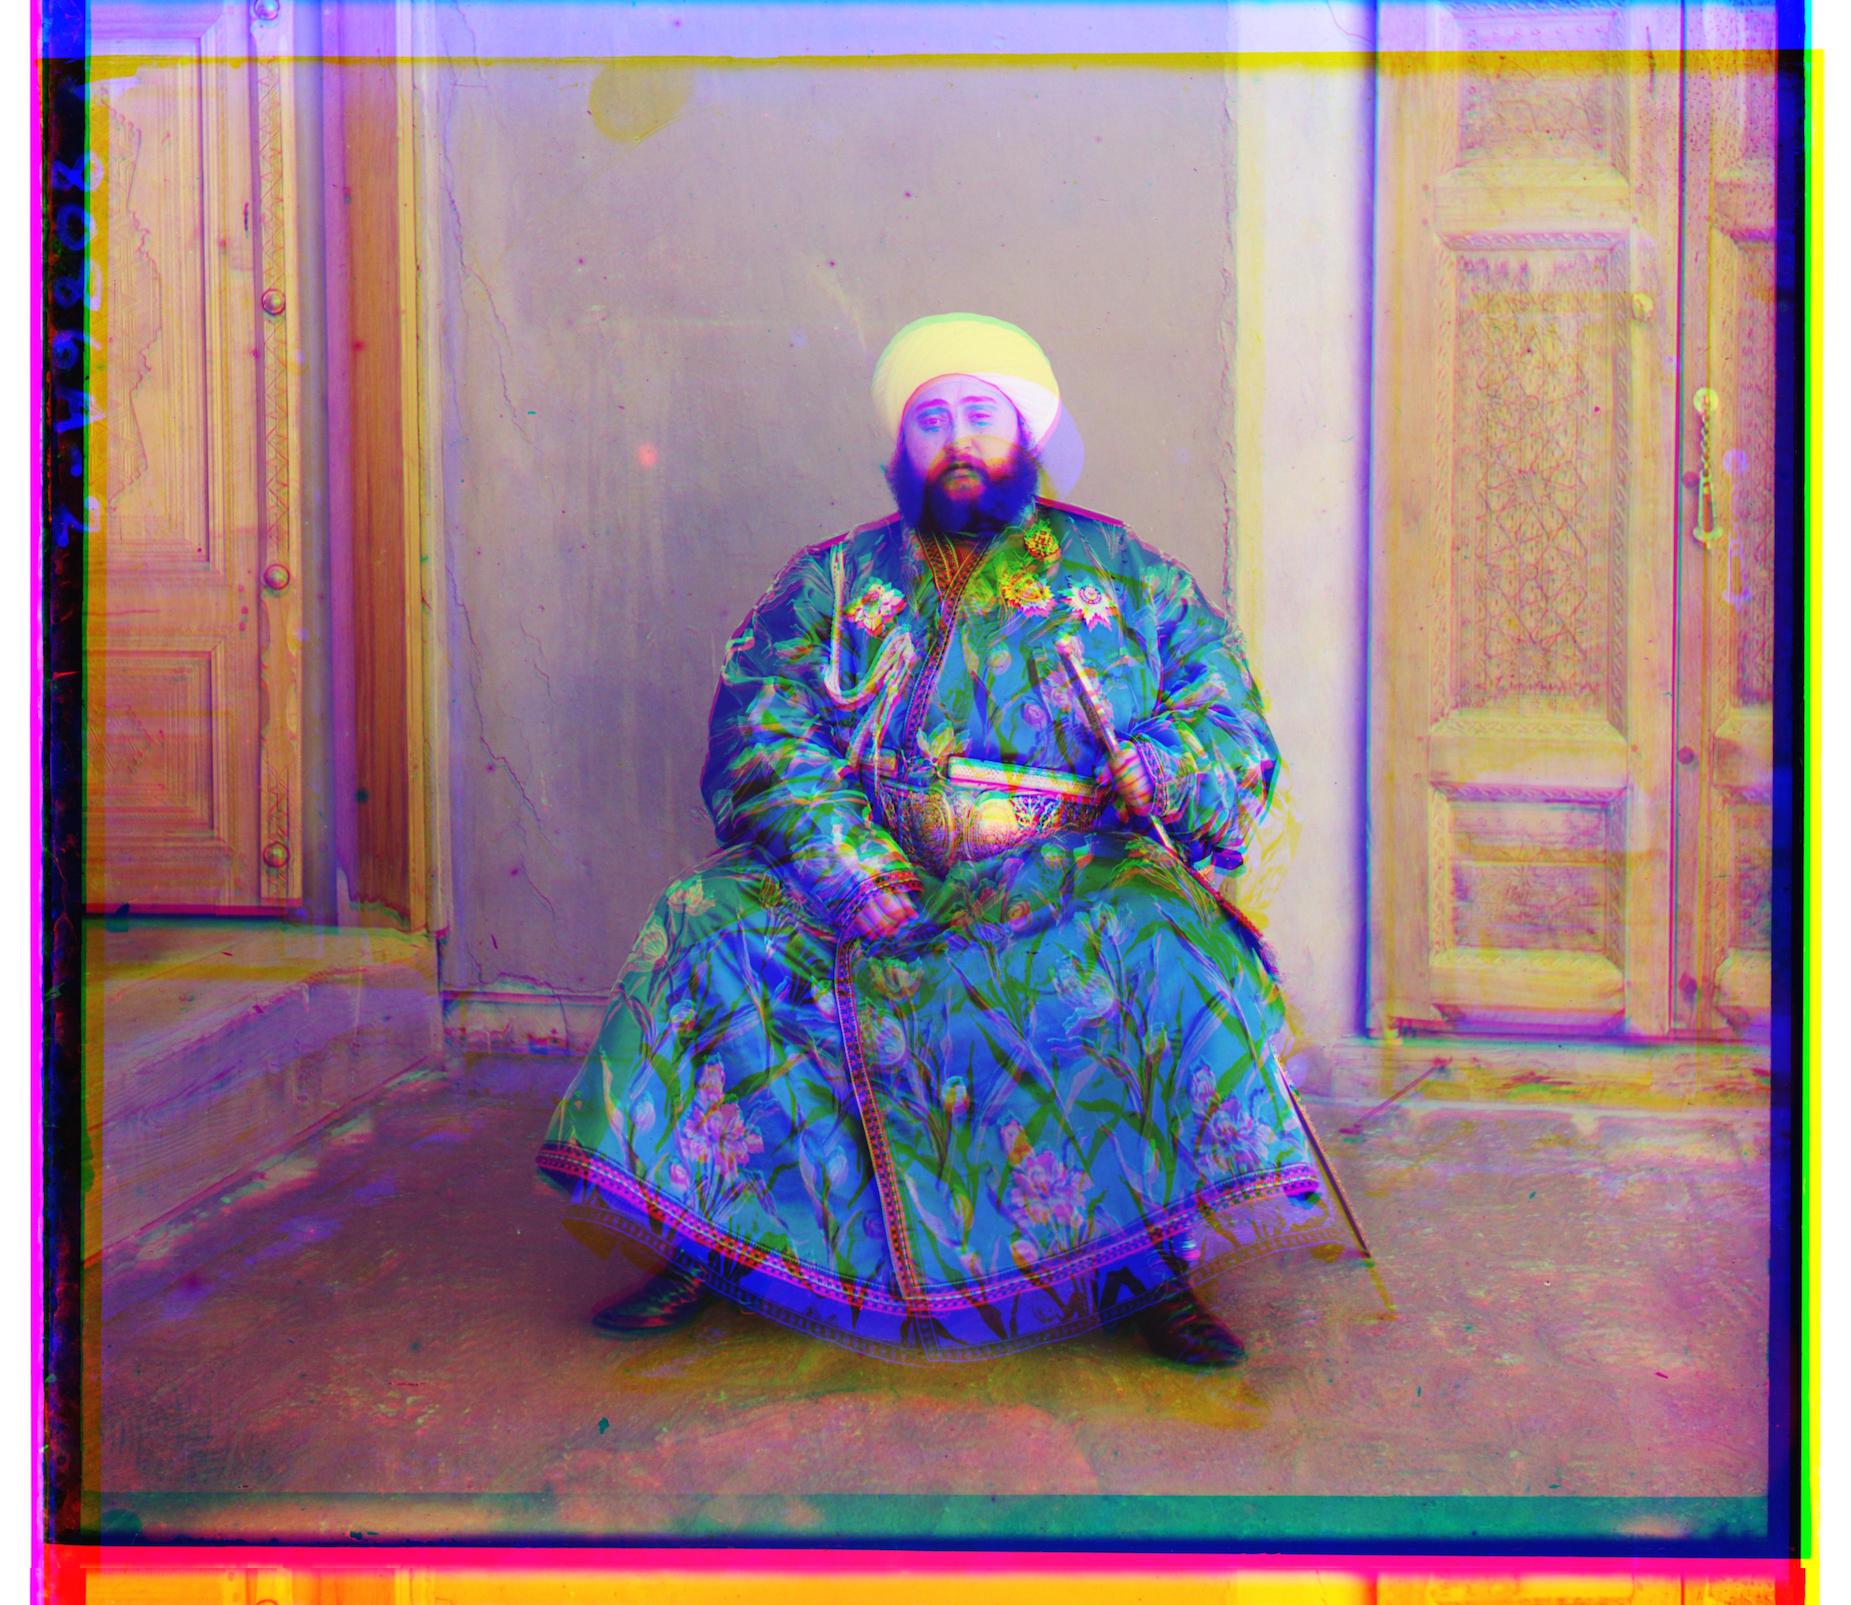
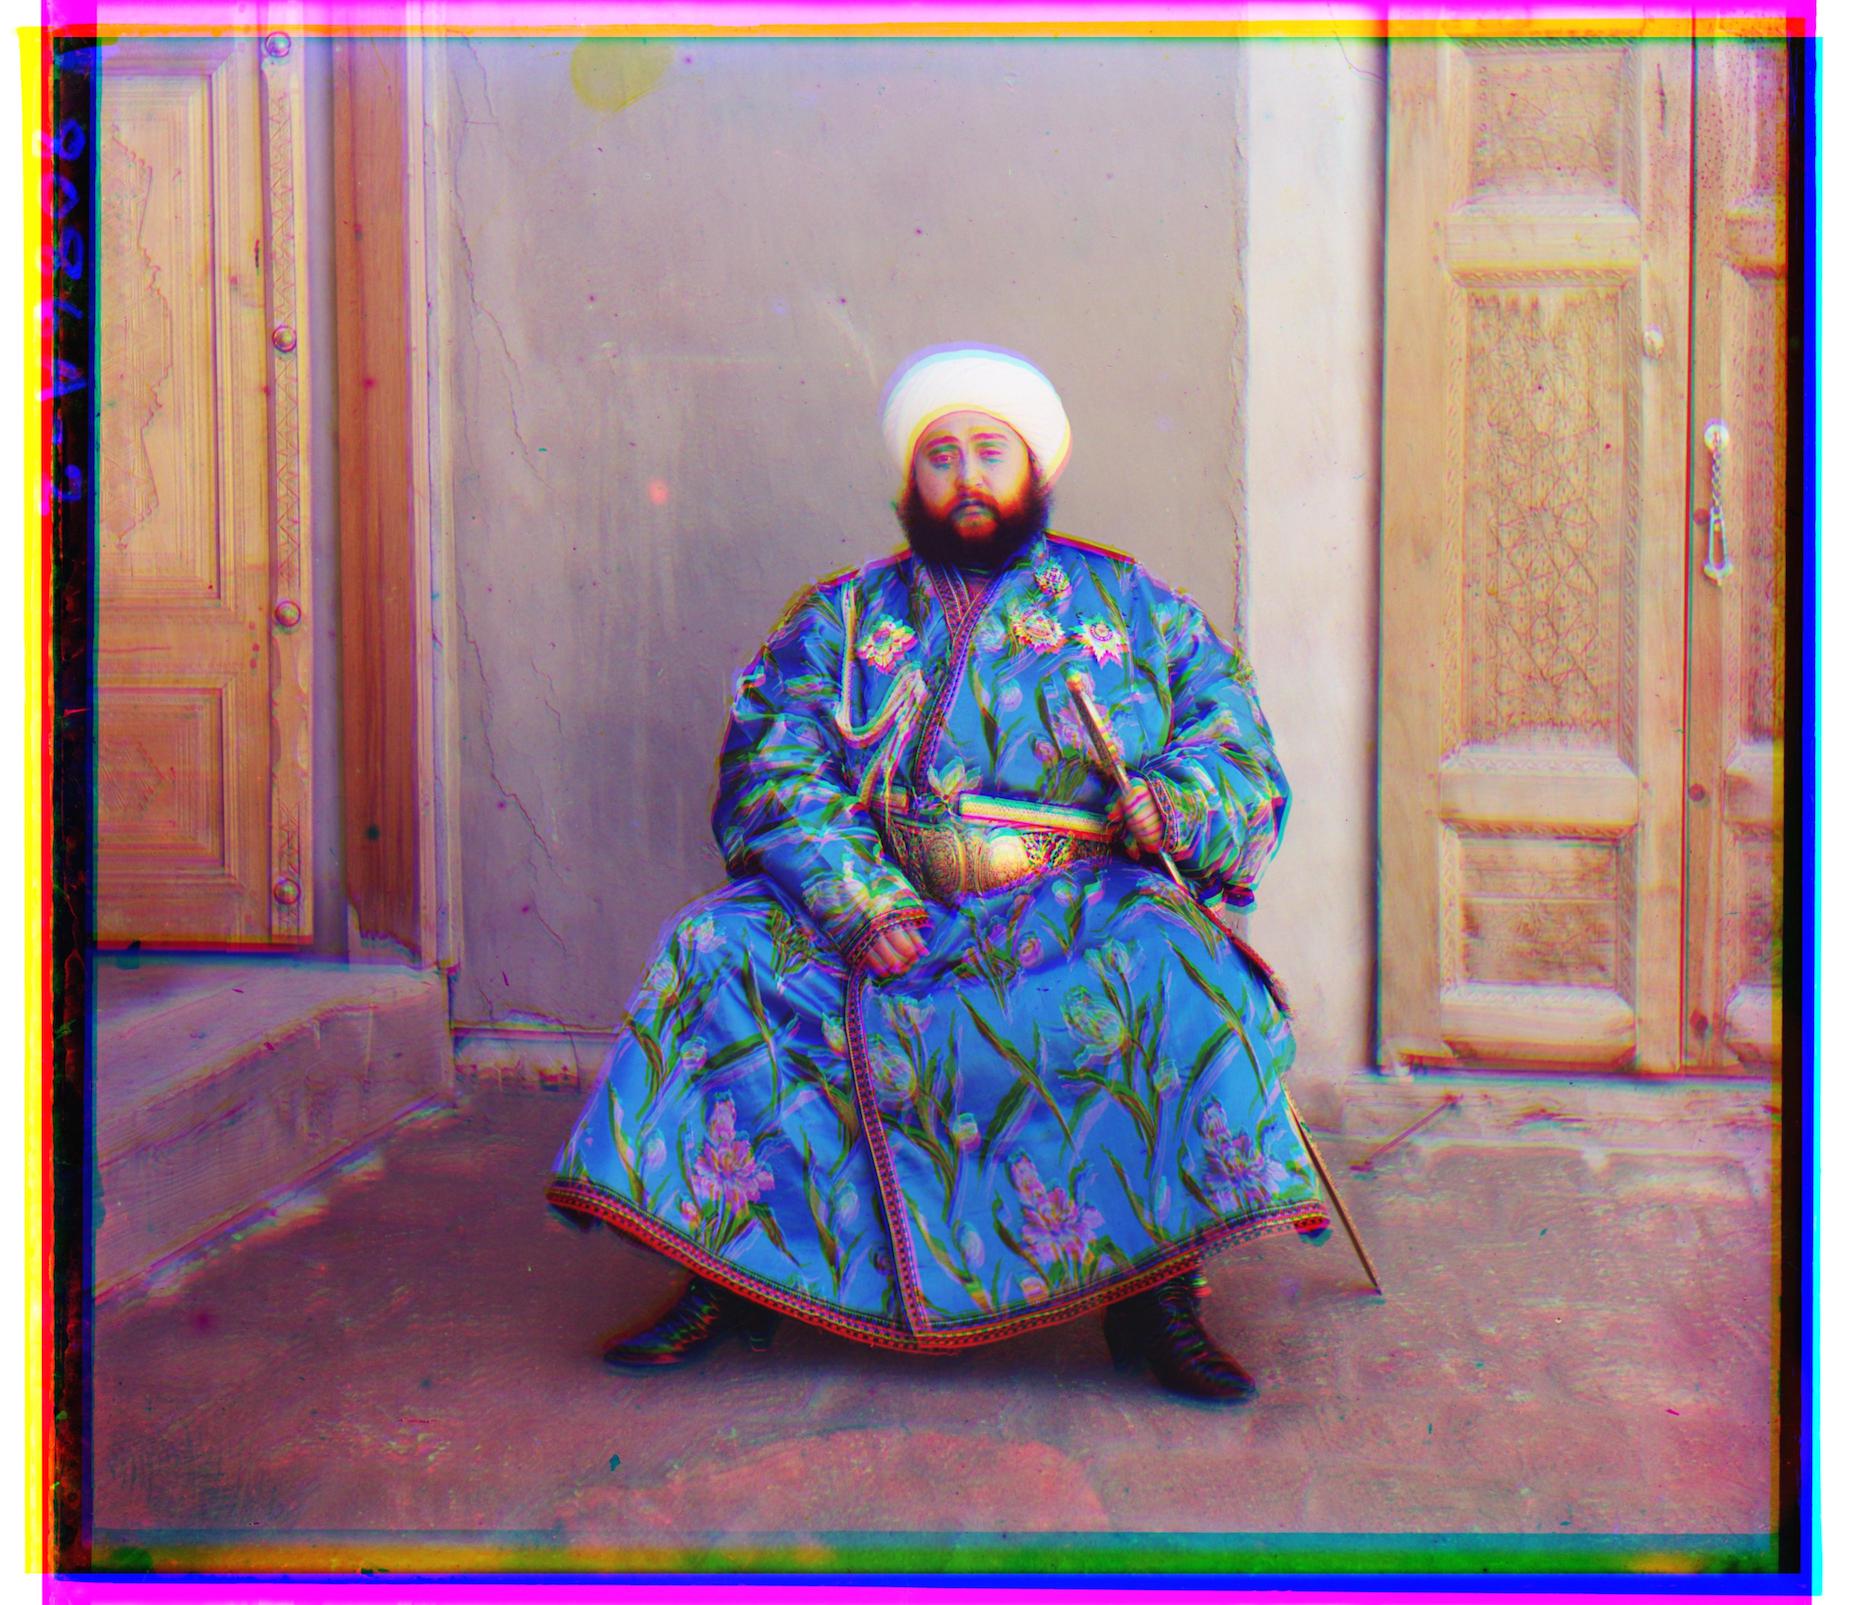
The Emir in base green, while not perfect in terms of sharpness, seemed to look a lot better than the blue and red Emirs. Since base green also yielded fairly good results for the other images I tried, I decided to use base green from there on out when trying different windows, pyramid parameters, bells and whistles, etc.
Here are comparisons of some other images between different bases:
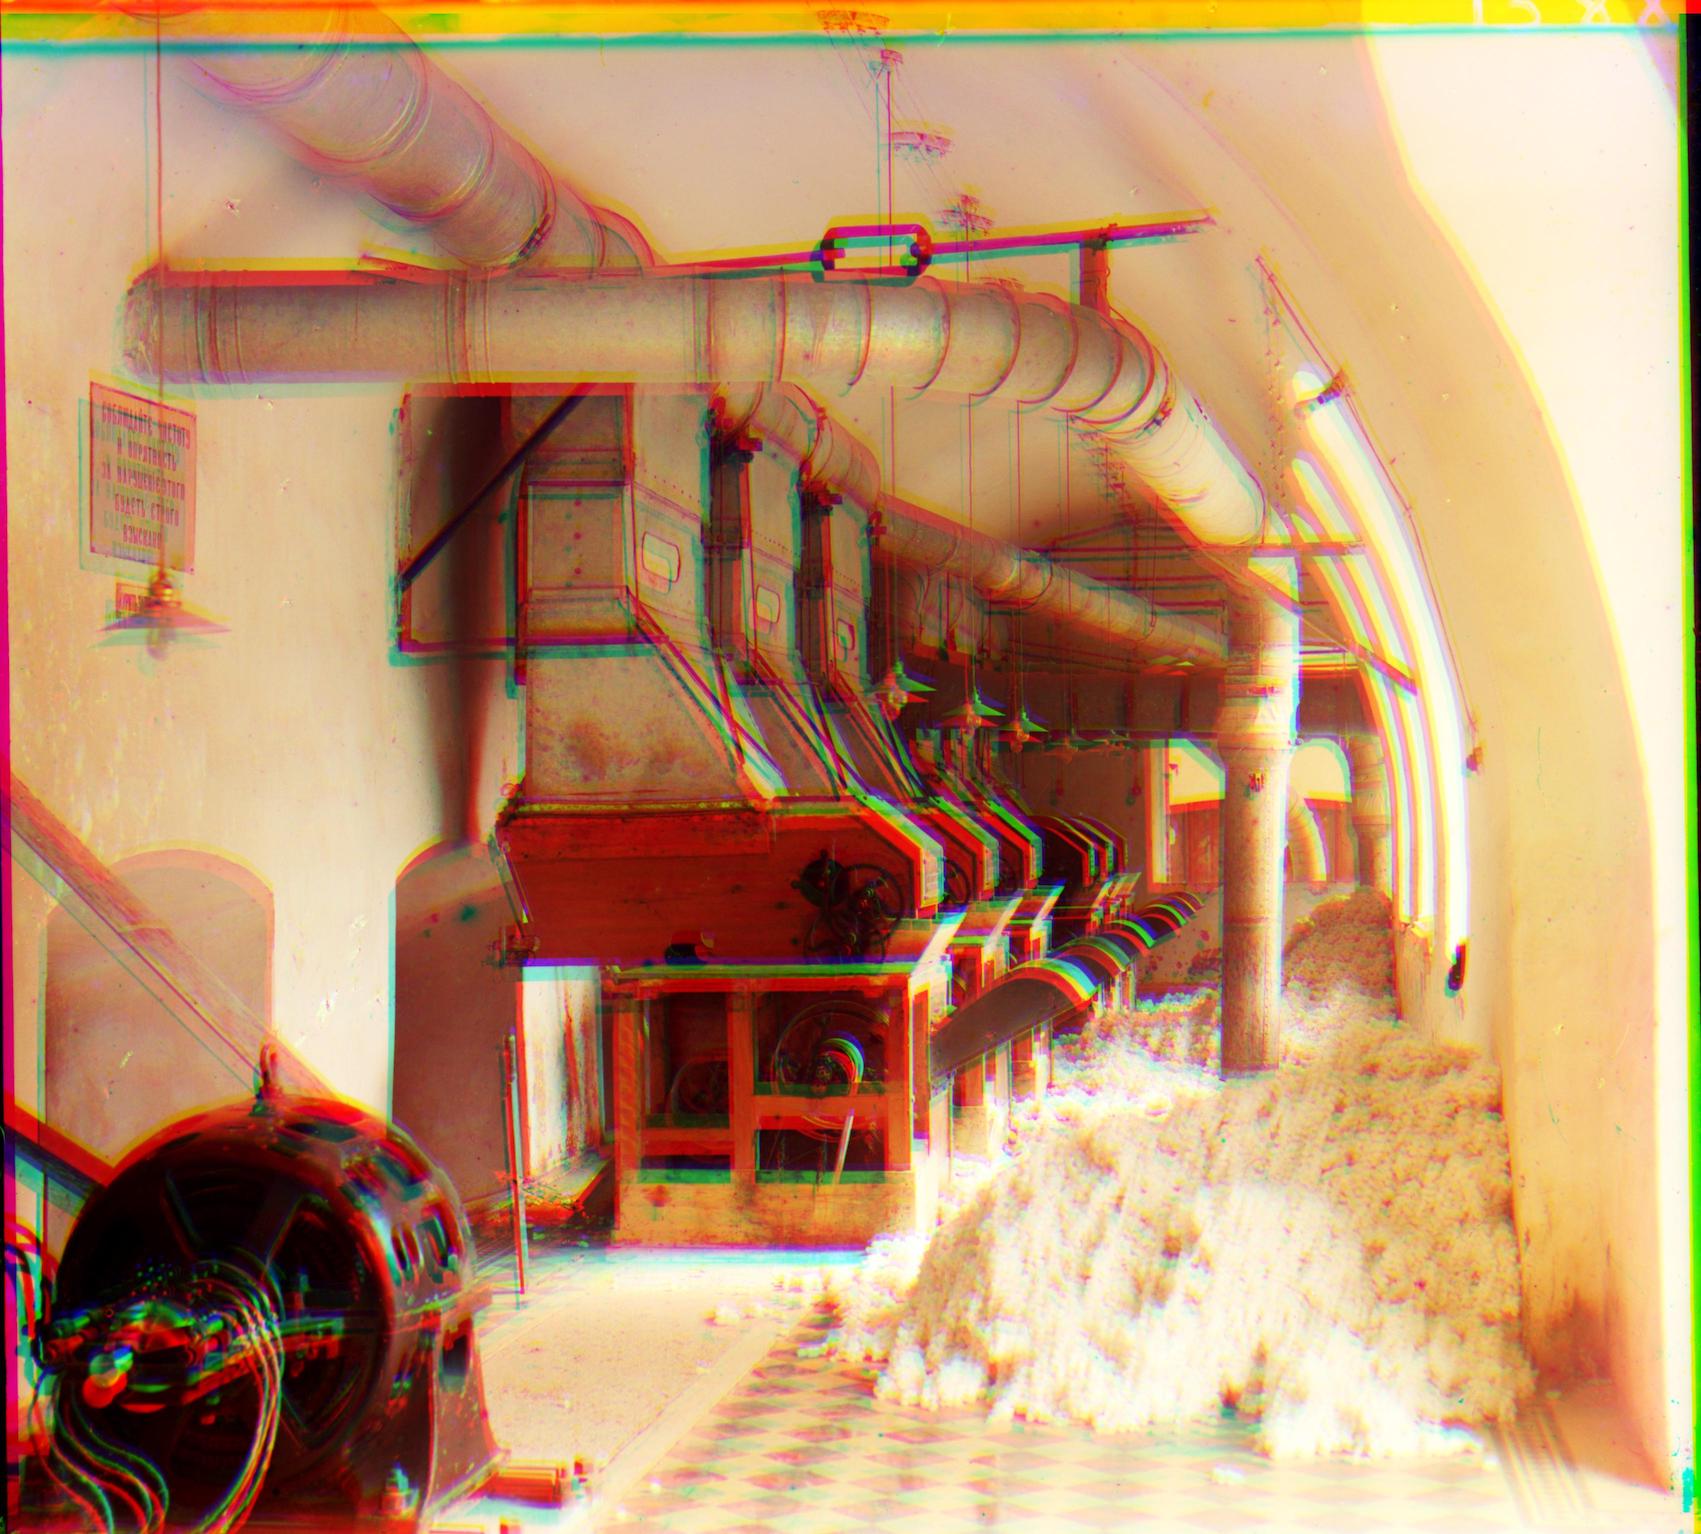
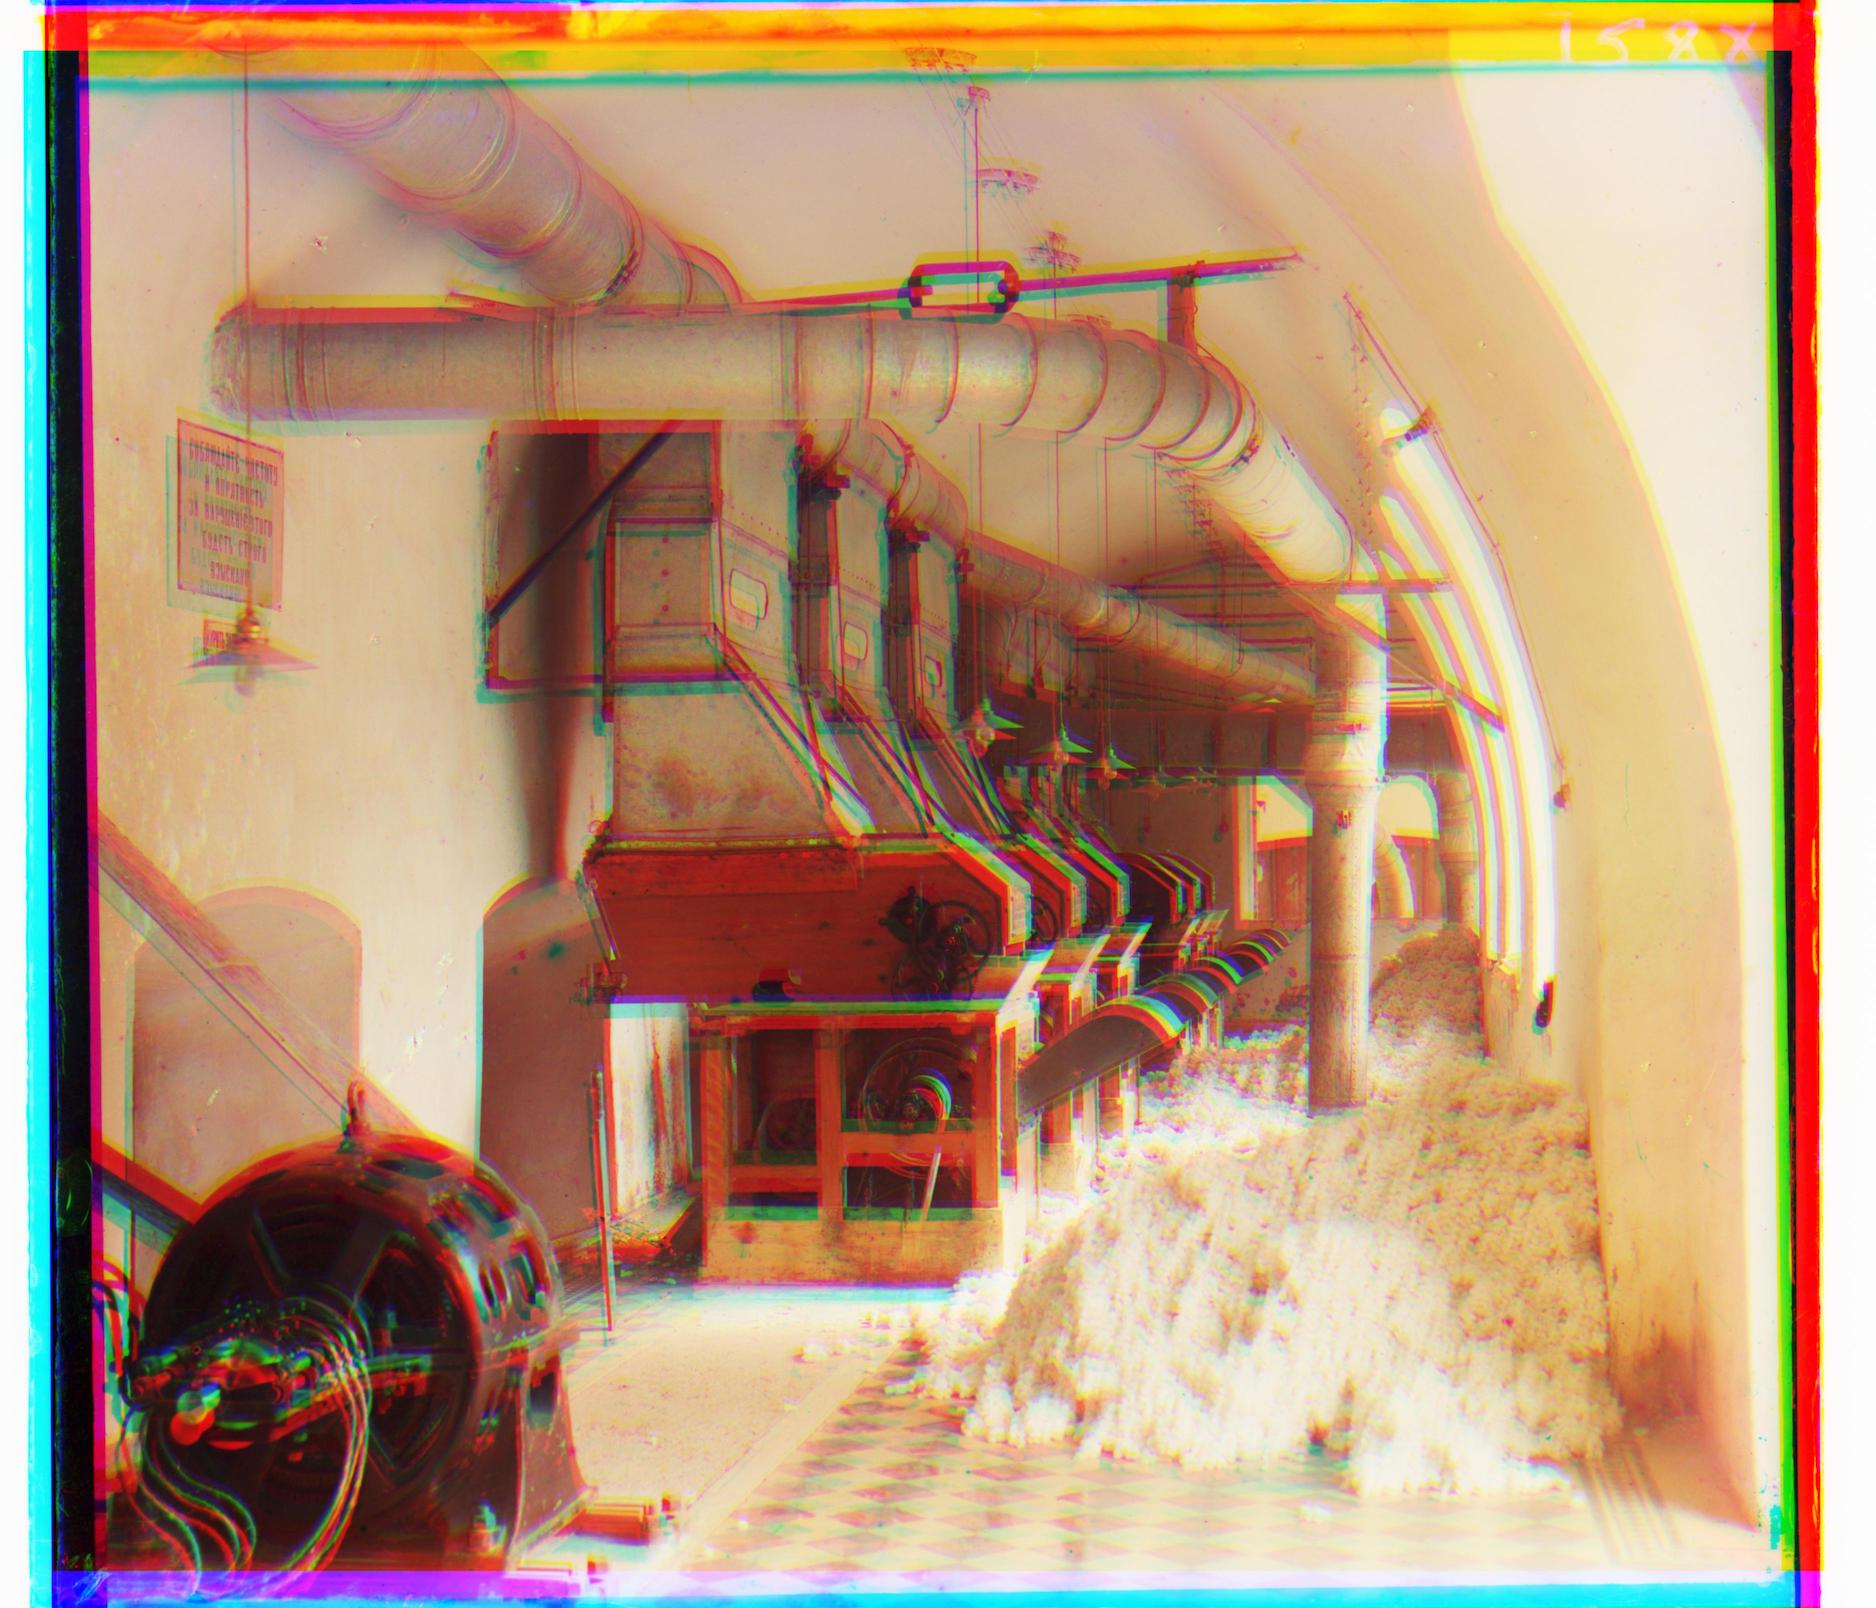
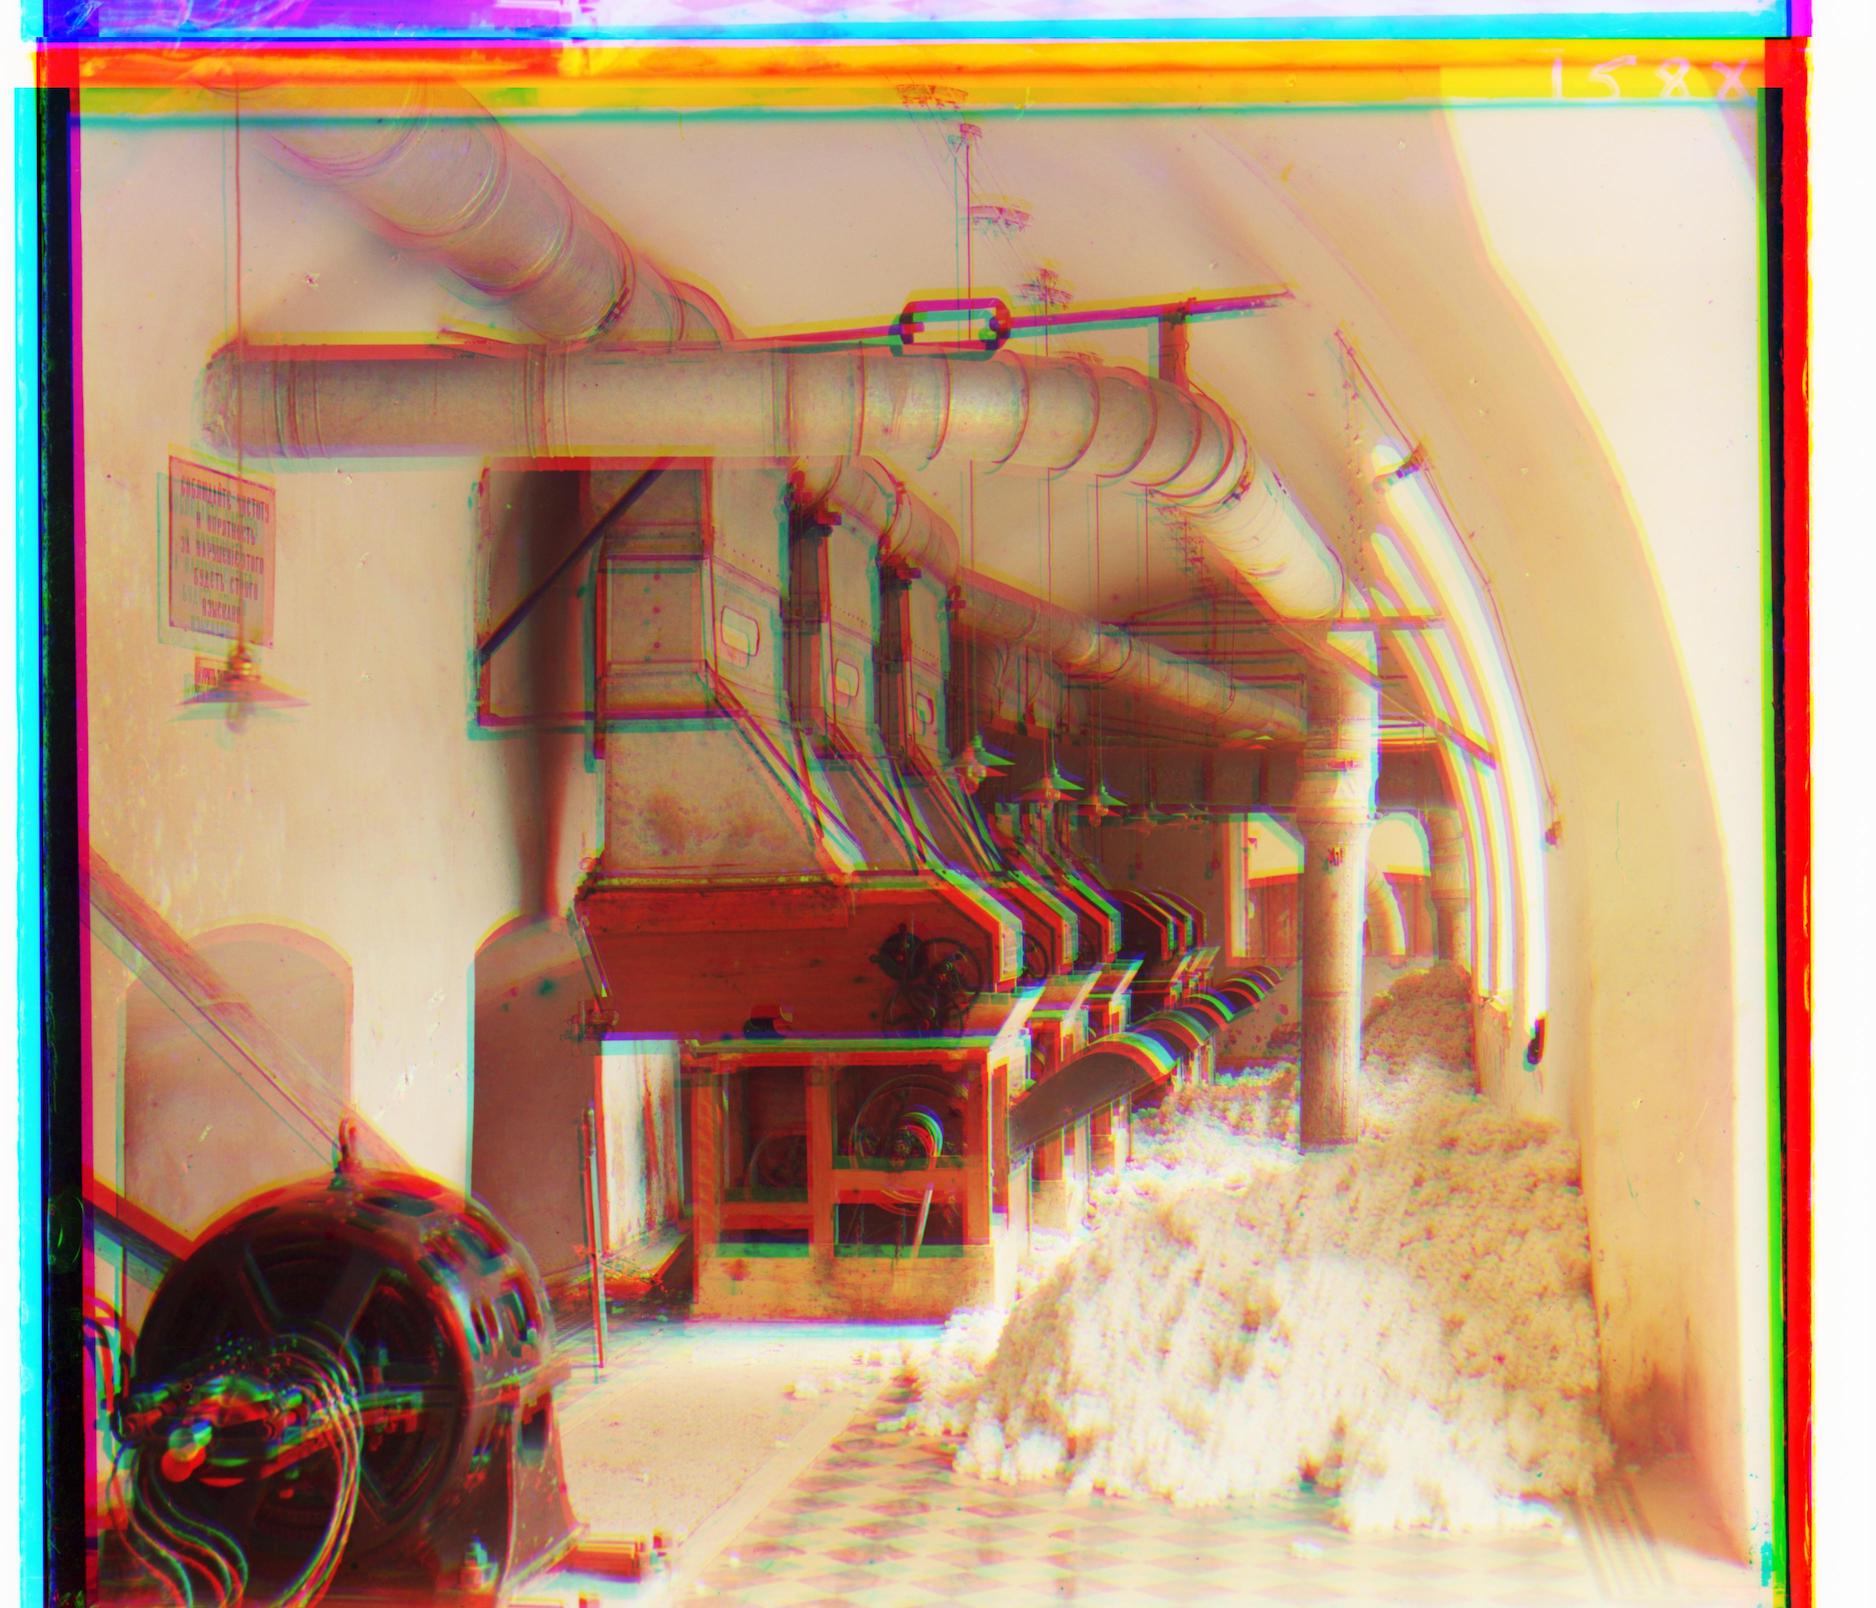
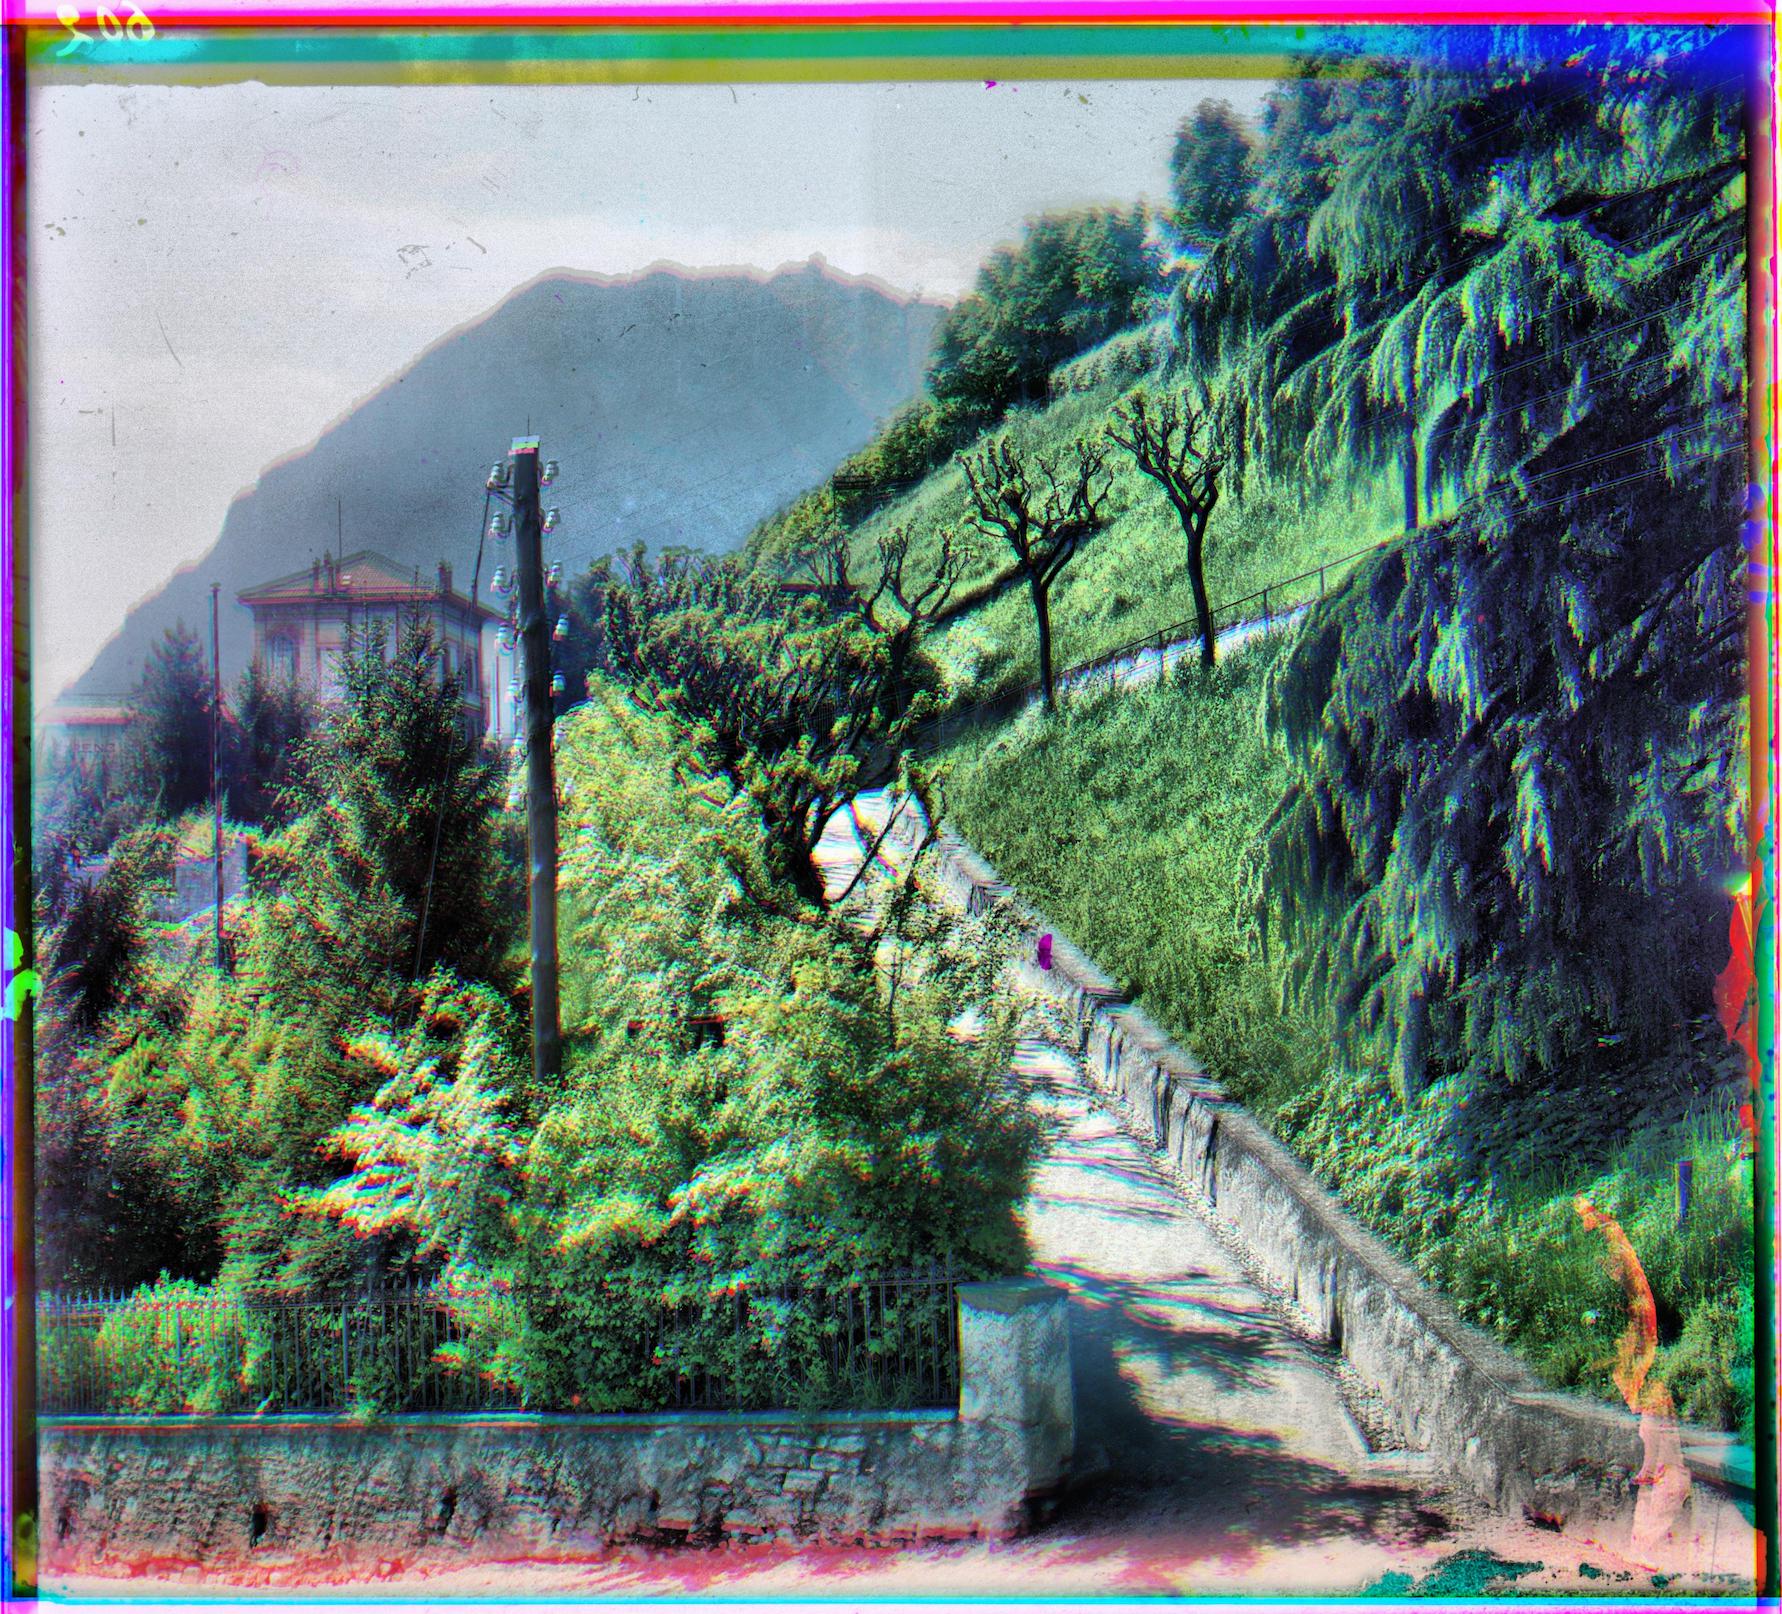
On "cotton mill", which I downloaded from LOC database.

On "siren", which I downloaded from LOC database.
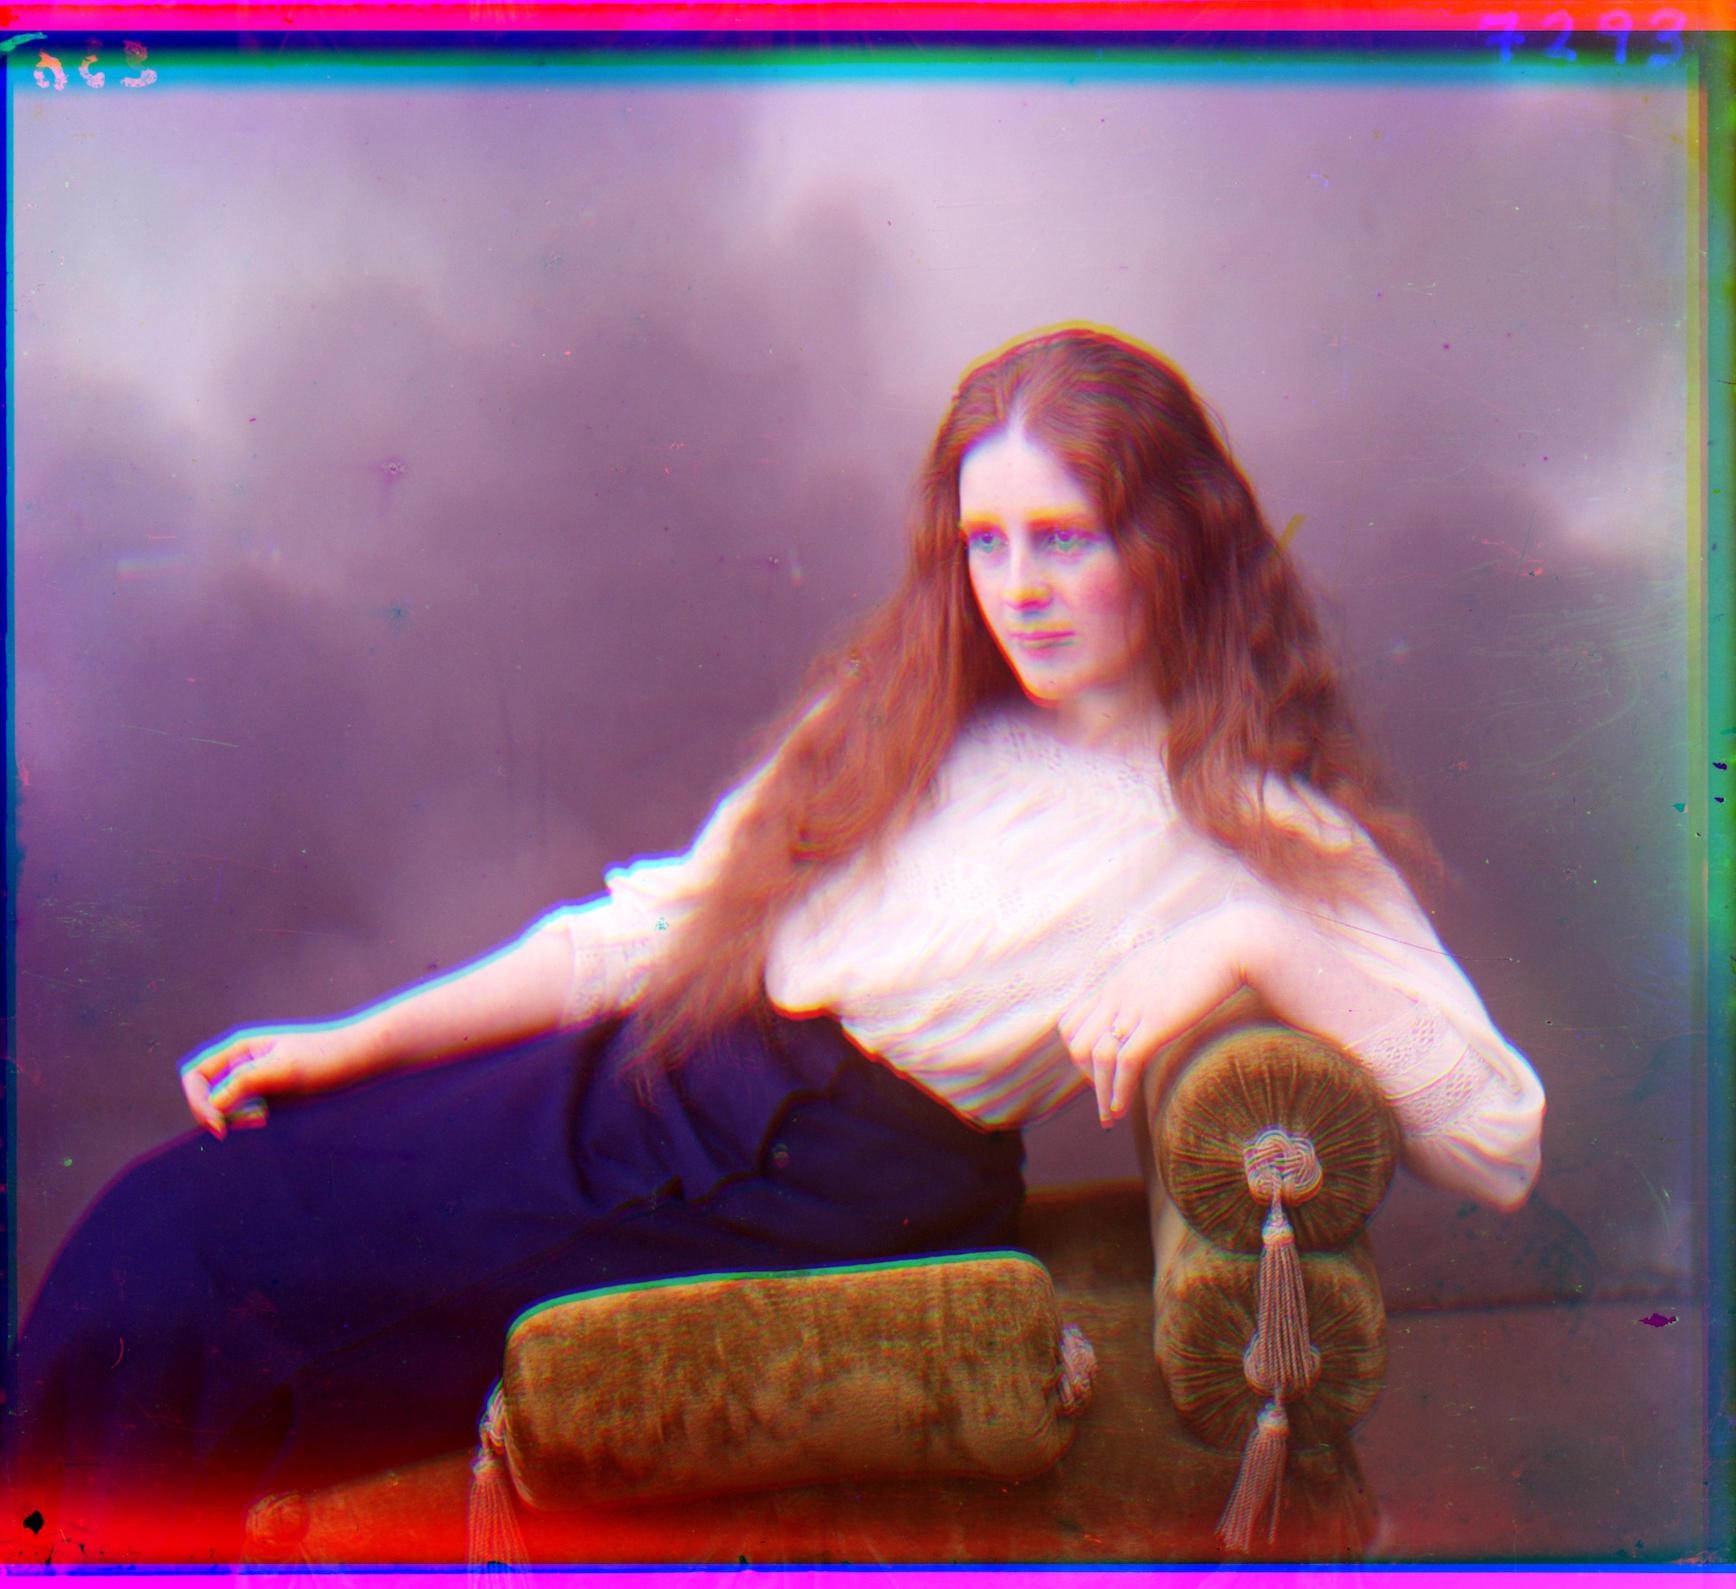
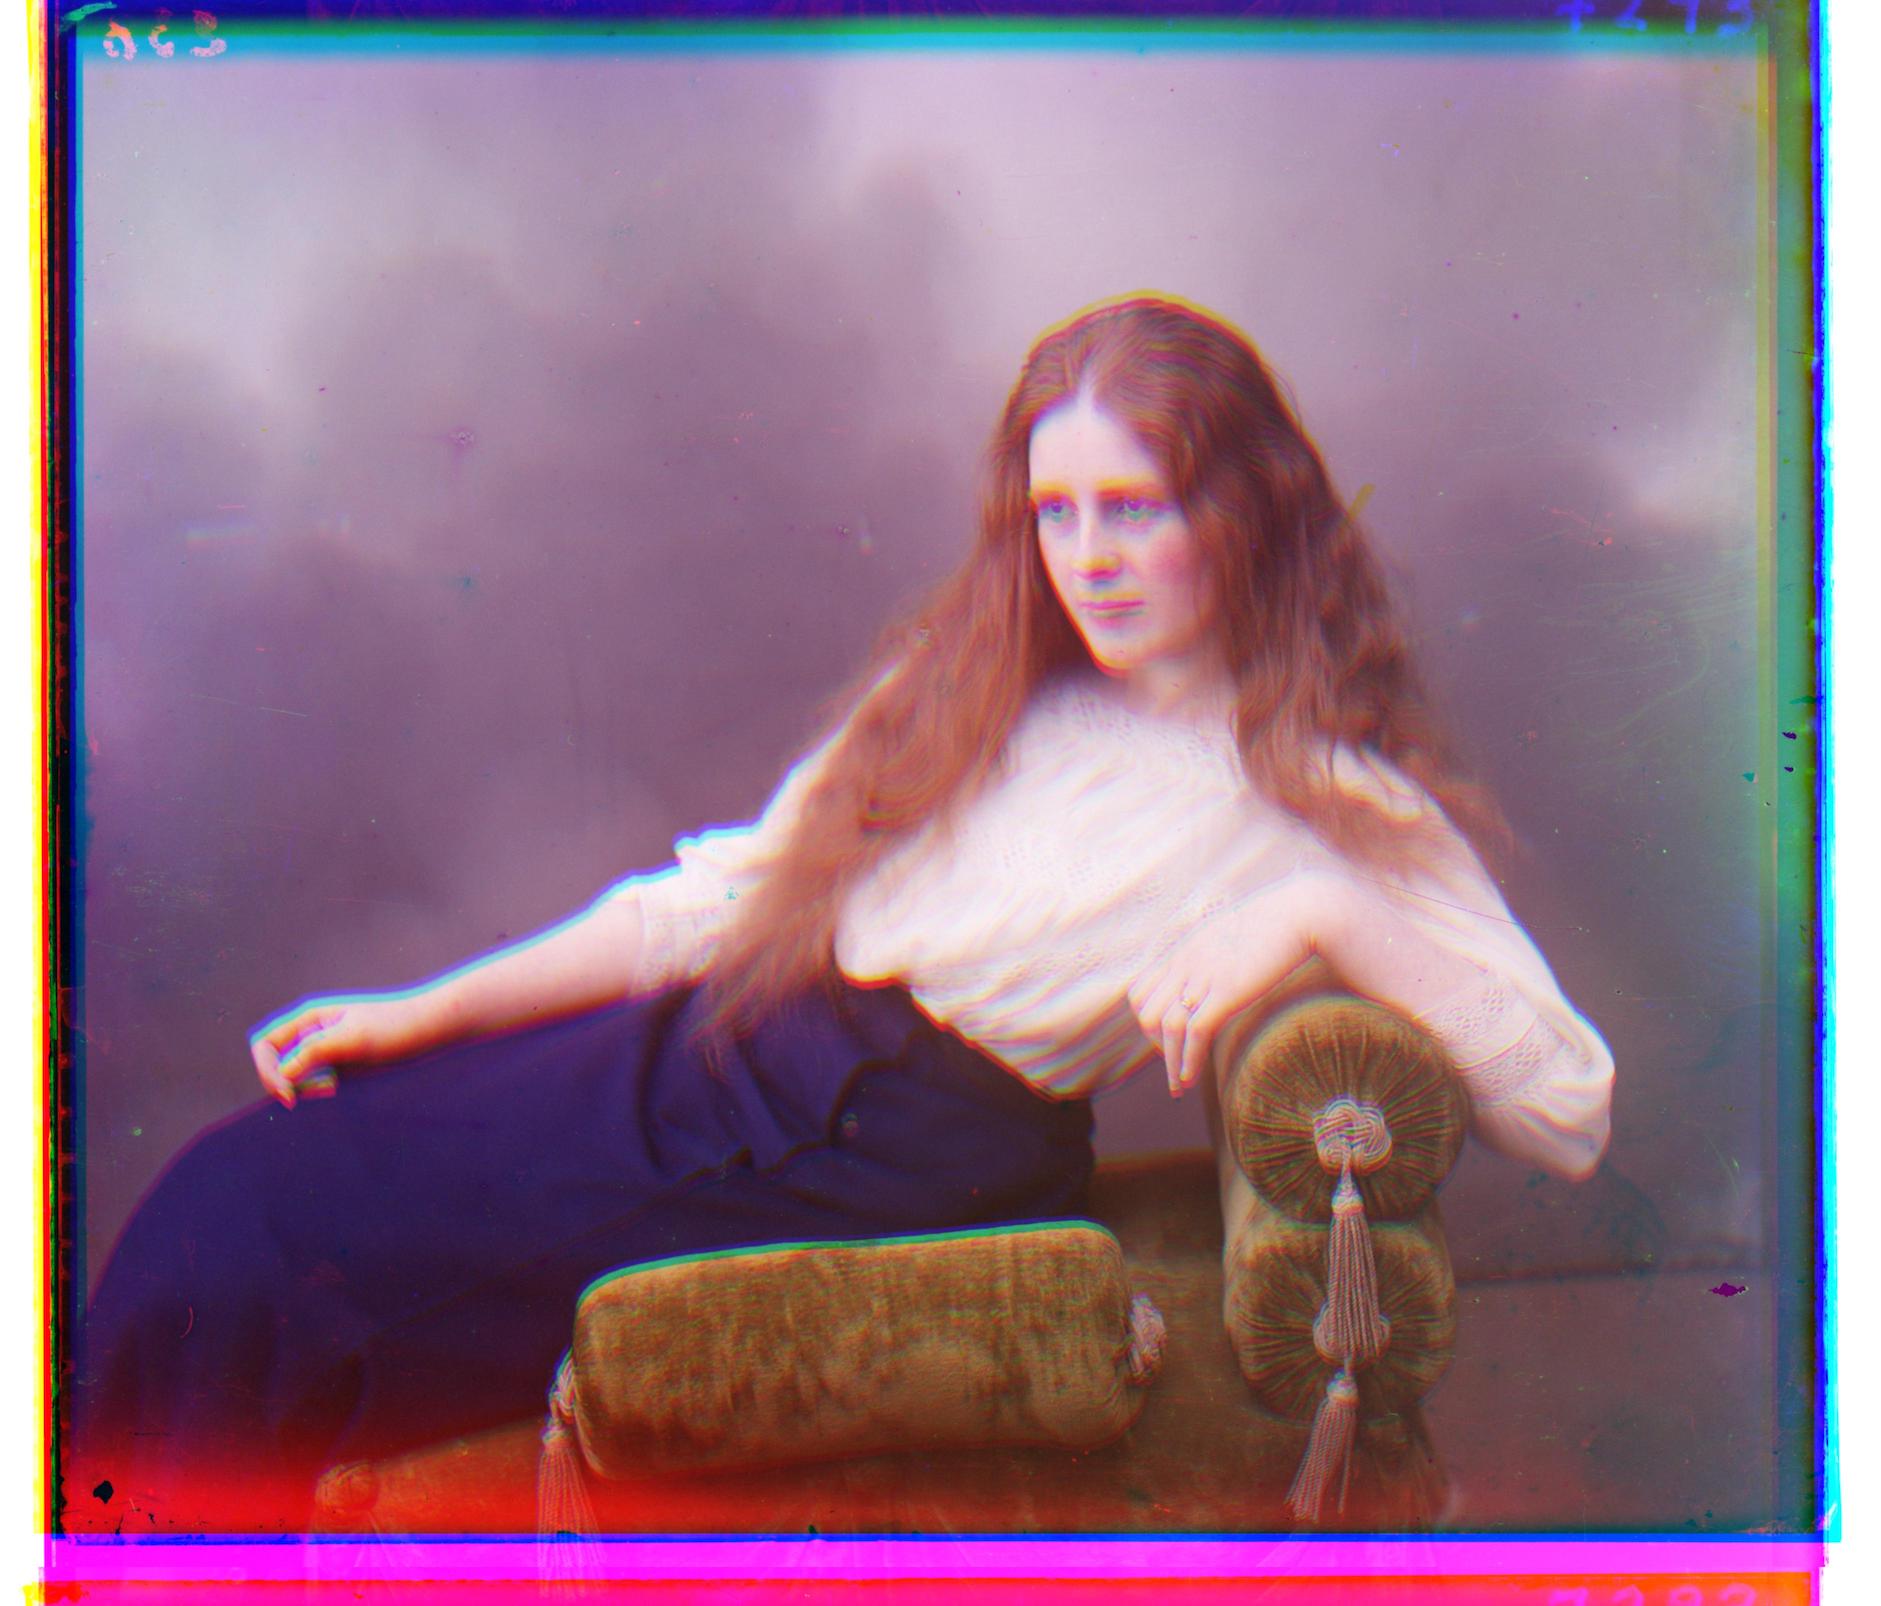
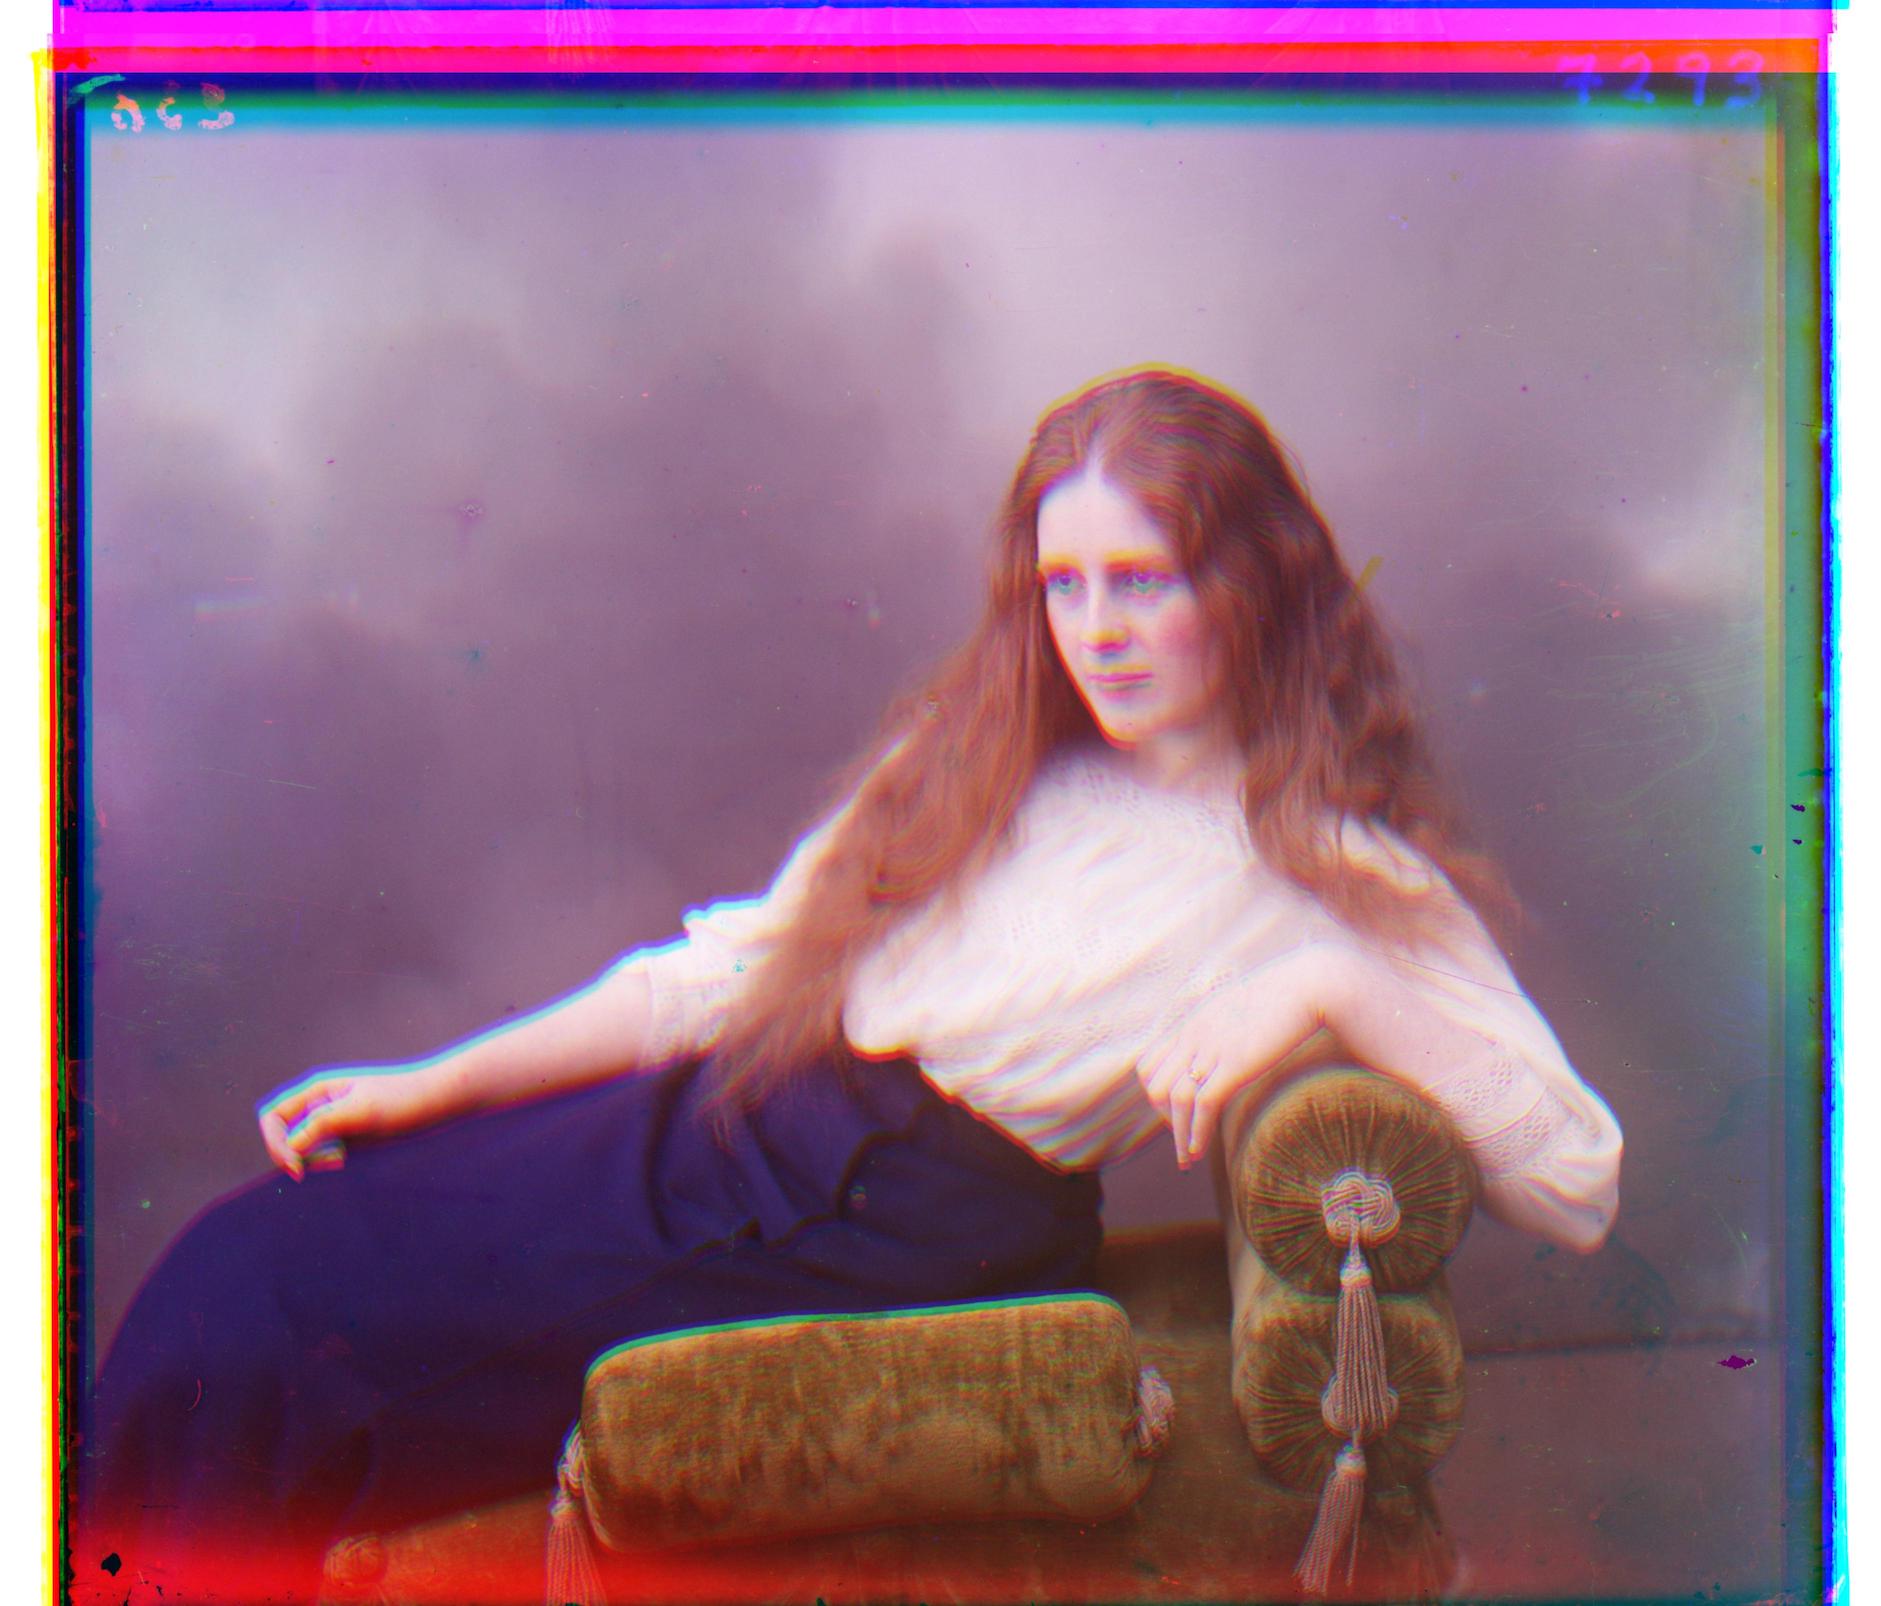
On Lady, one of the example images.

To make the images nicer, I wanted to work on automatic cropping and automatic contrasting.
First for the automatic cropping, I tried to use canny edge detection, which uses "a filter based on the derivative of a Gaussian in order to compute the intensity of the gradients" on a grayscale version of the image. Then based on the edge detector, I took the smallest and largest (x, y) points where edges were detected and tried to crop the image based on those points.
This was a huge fail. (Ignore for now the greyness - the grain is from the auto contrasting I tried to do, which was also a failure, and will be explained shortly.)
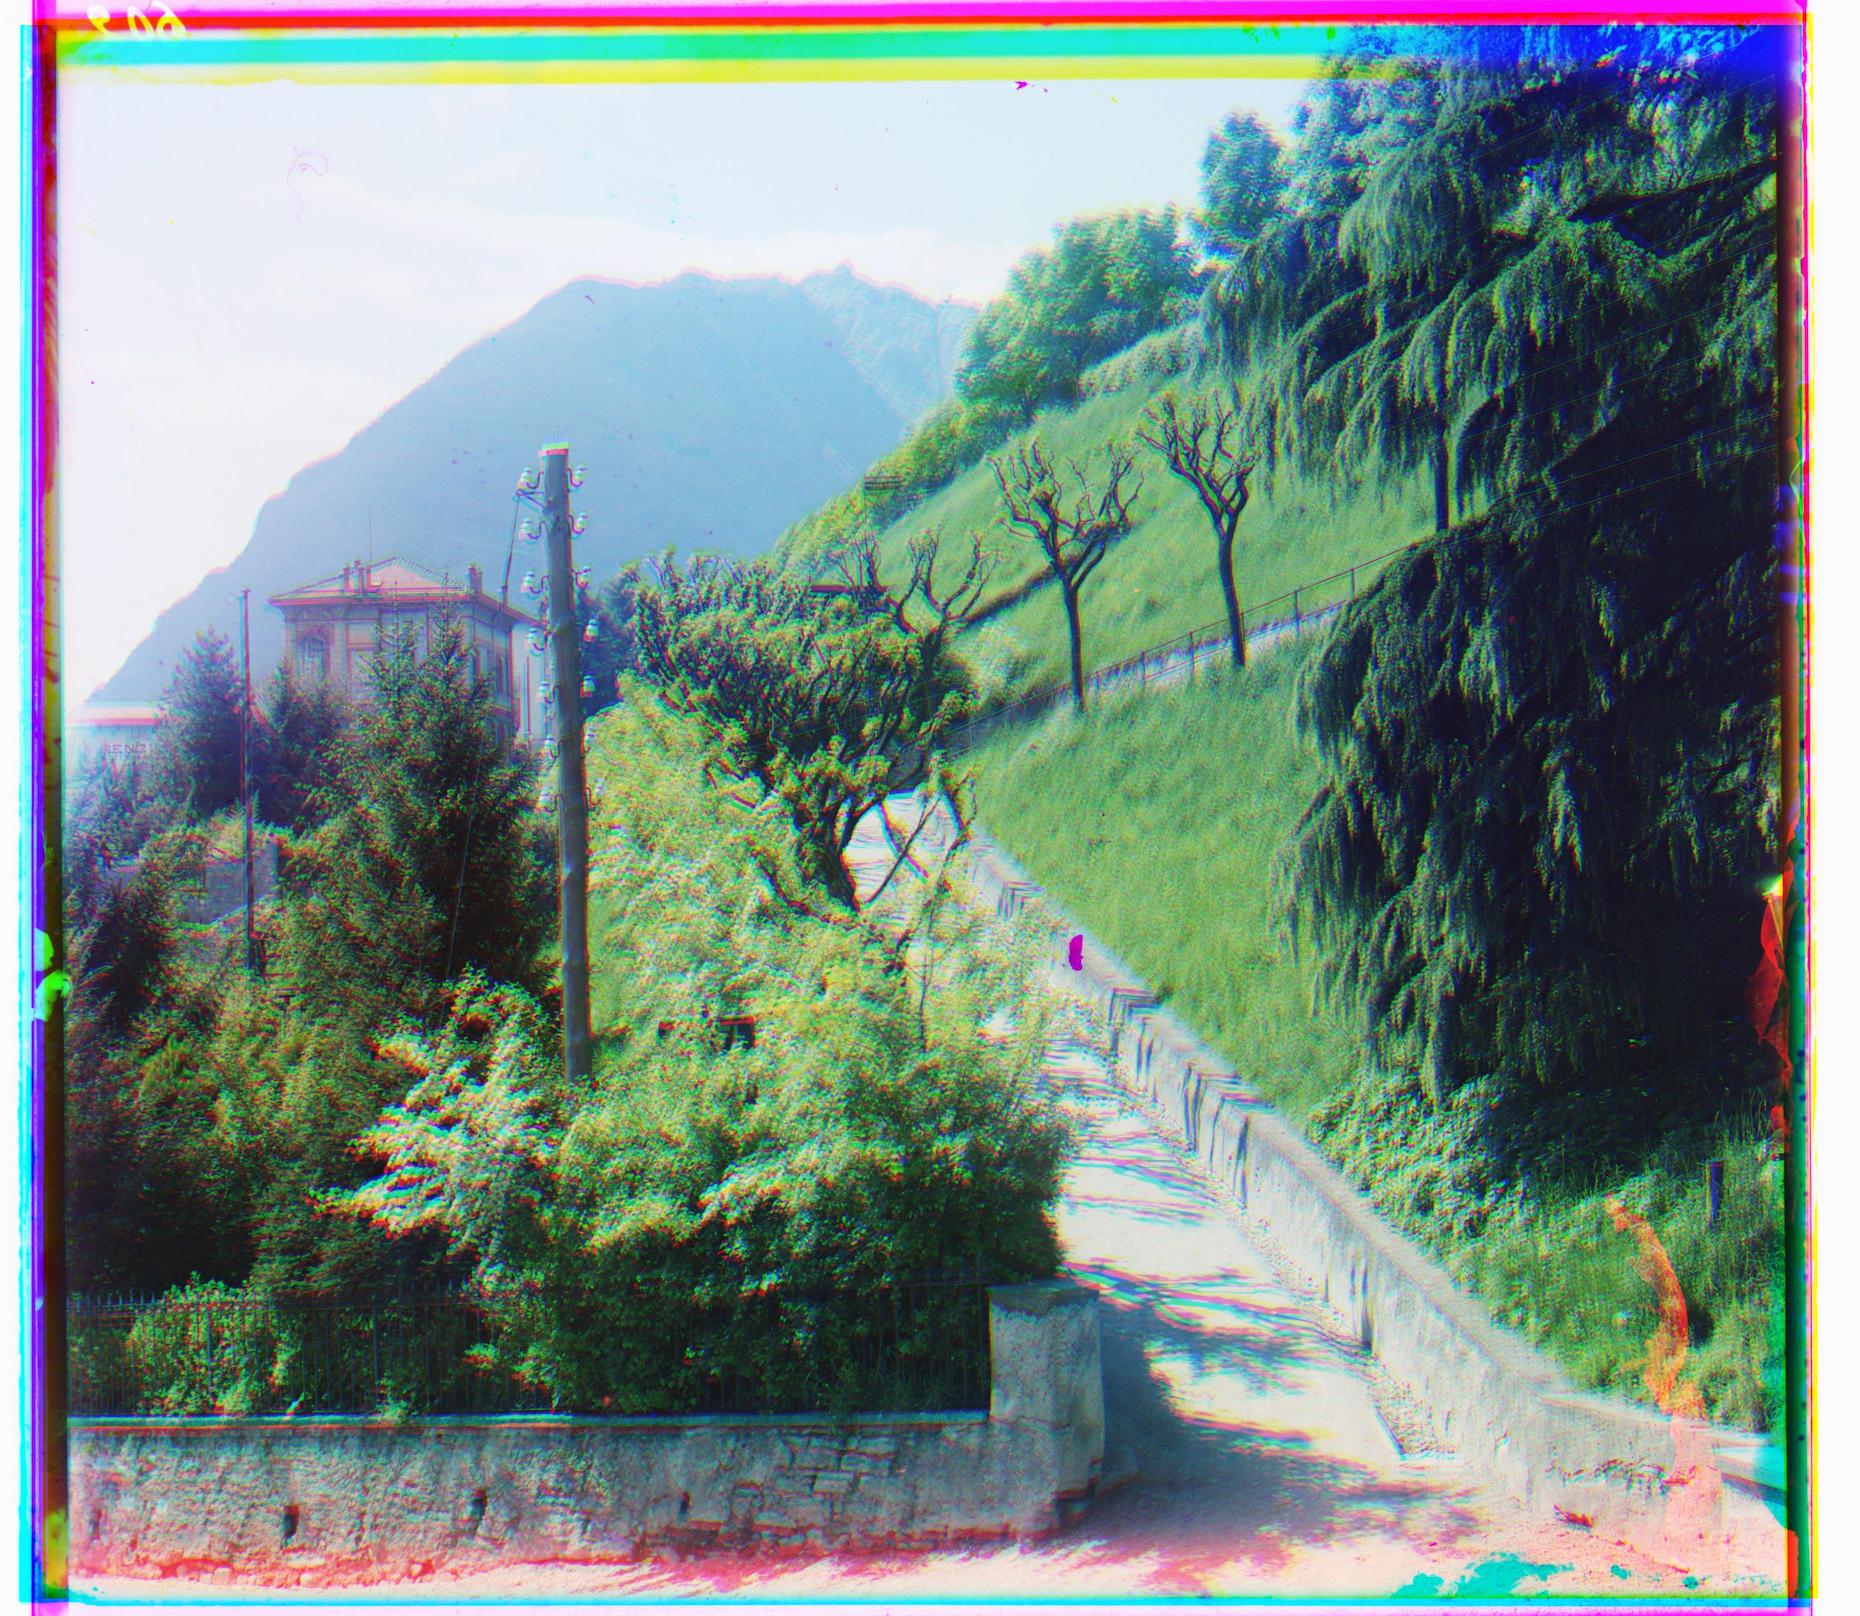
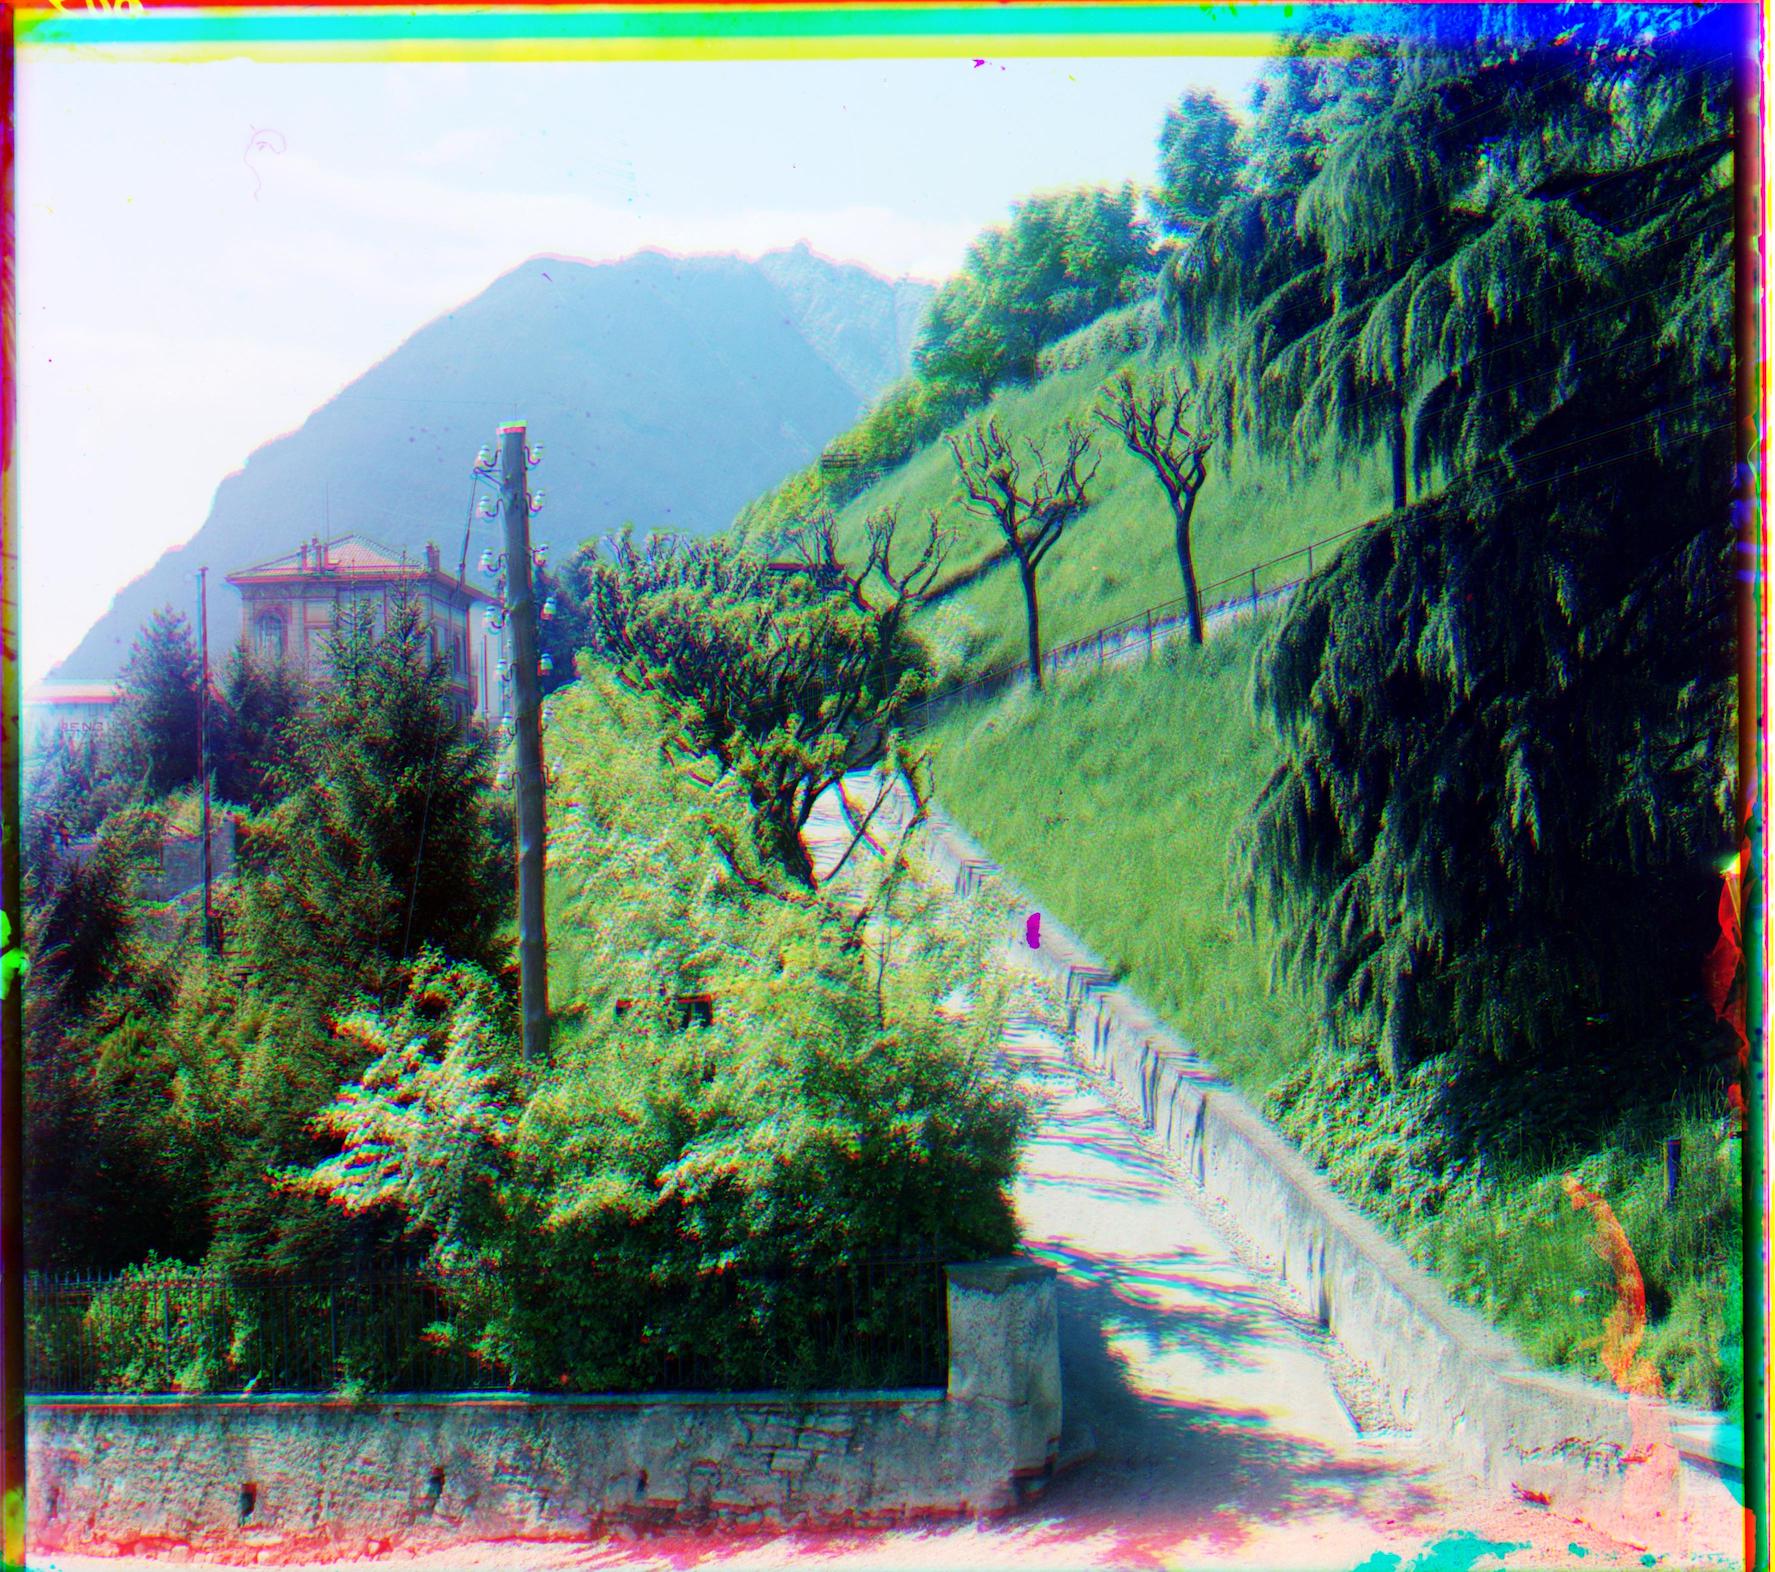
This is from "capri", which I downloaded from the LOC database.
As you can tell from the borders... there was simply no cropping... oops!
My hypothesis for why it doesn't work is that the canny edge detector detects edges even within the "noise" at the borders, and so chooses to include it. For instance, small artefacts like these on the border that we want to chop off would be detected and preserved:
Initally, to do the automatic contrasting, I tried to use adaptive histogram equalization. This was easy to do from the skimage.exposure module's equalize_adapthist method.
However this was not a good choice. While some details became more stark from the adaptive histogram equalization, it also ended up really showing the "grain" and noise in the film as well, so that the image became greyed and "dirty".
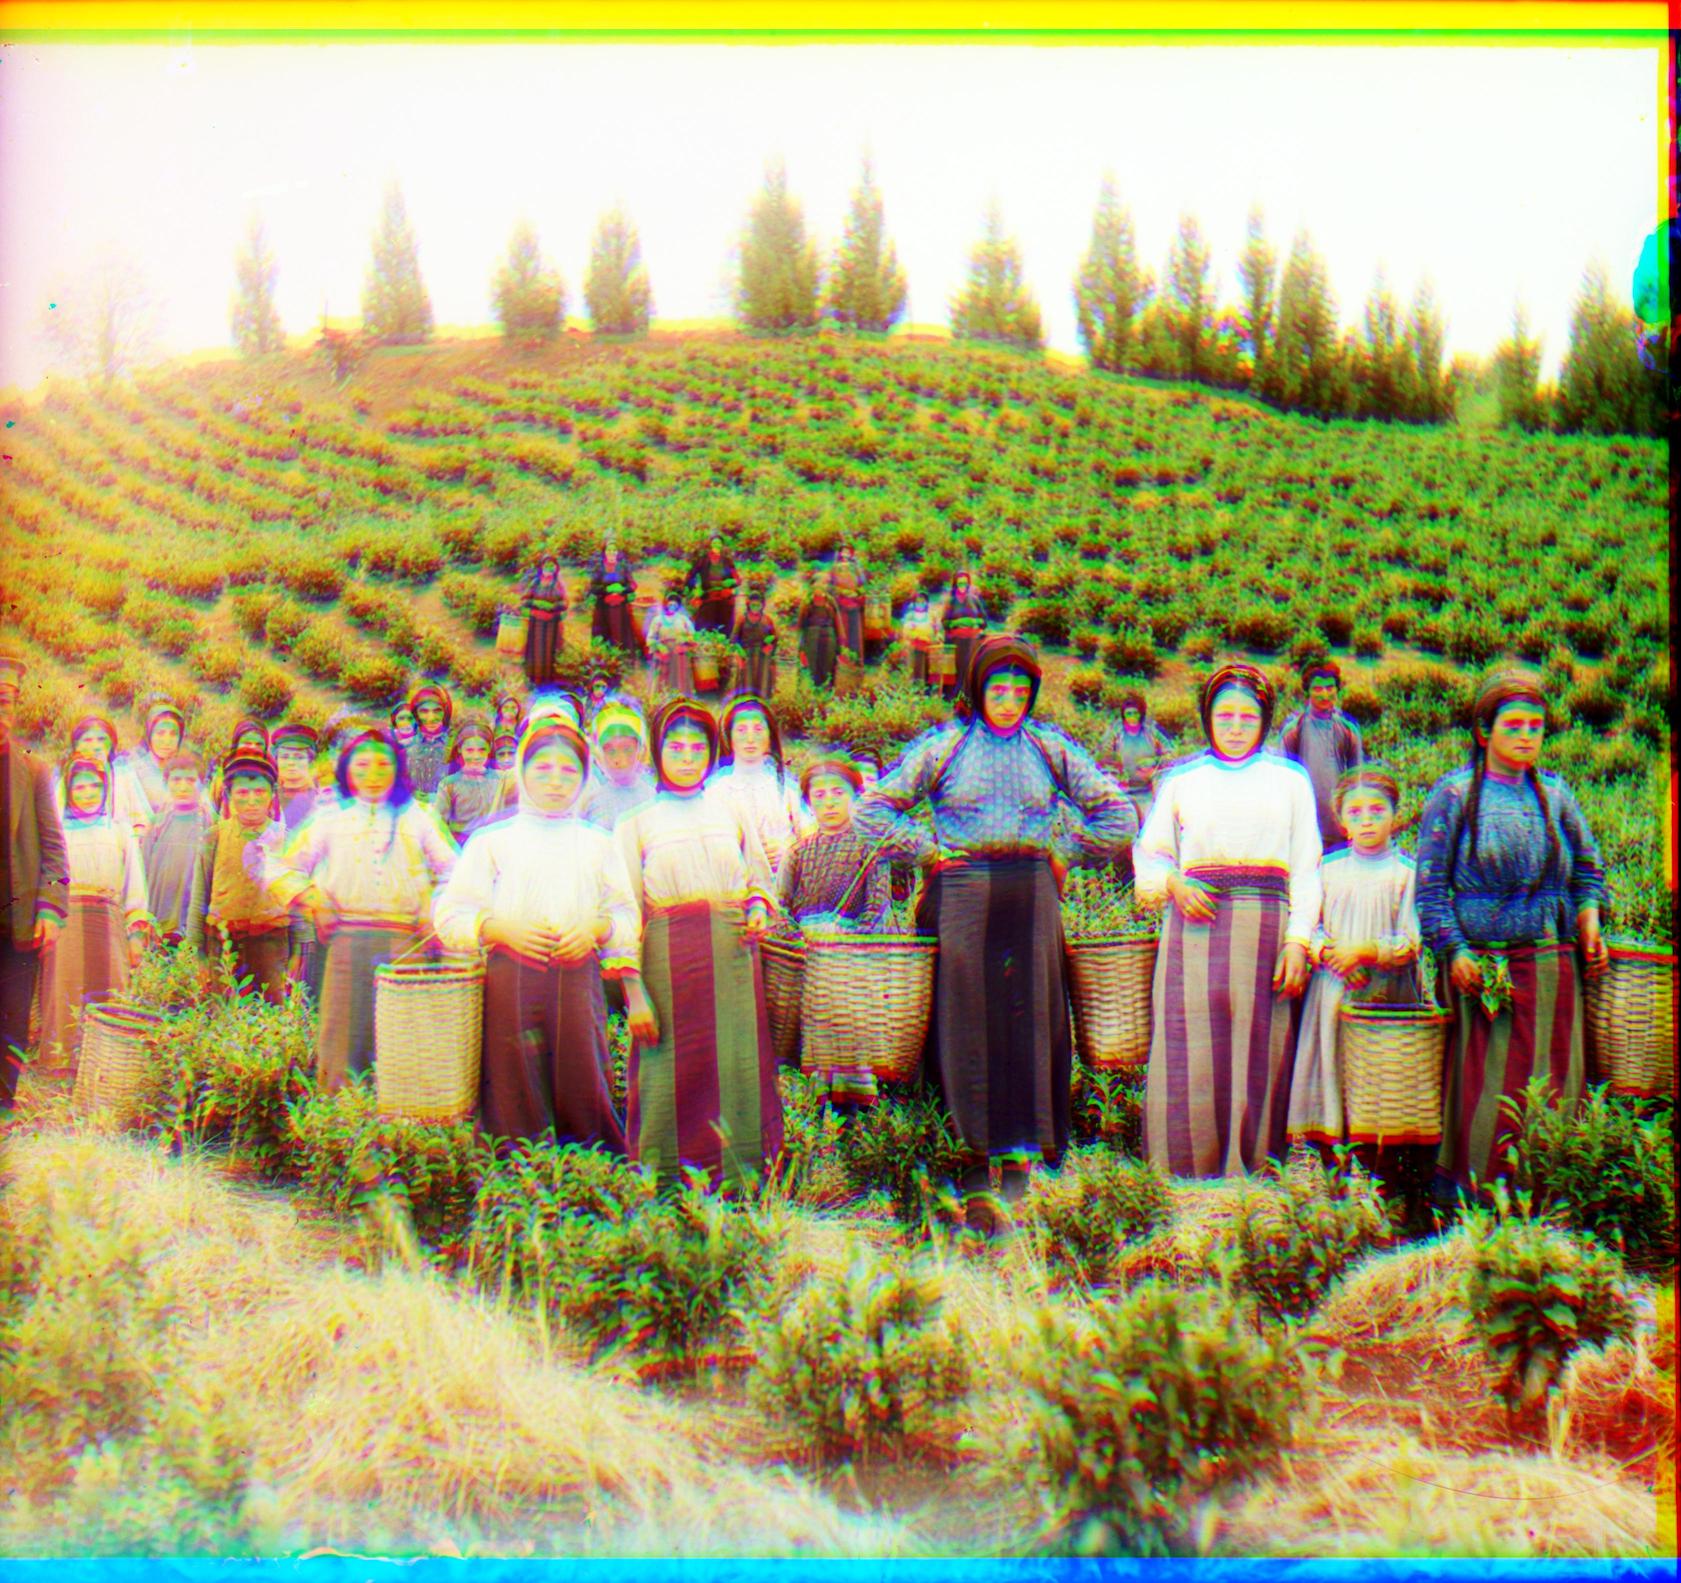
You can see this in capri above and harvesters below
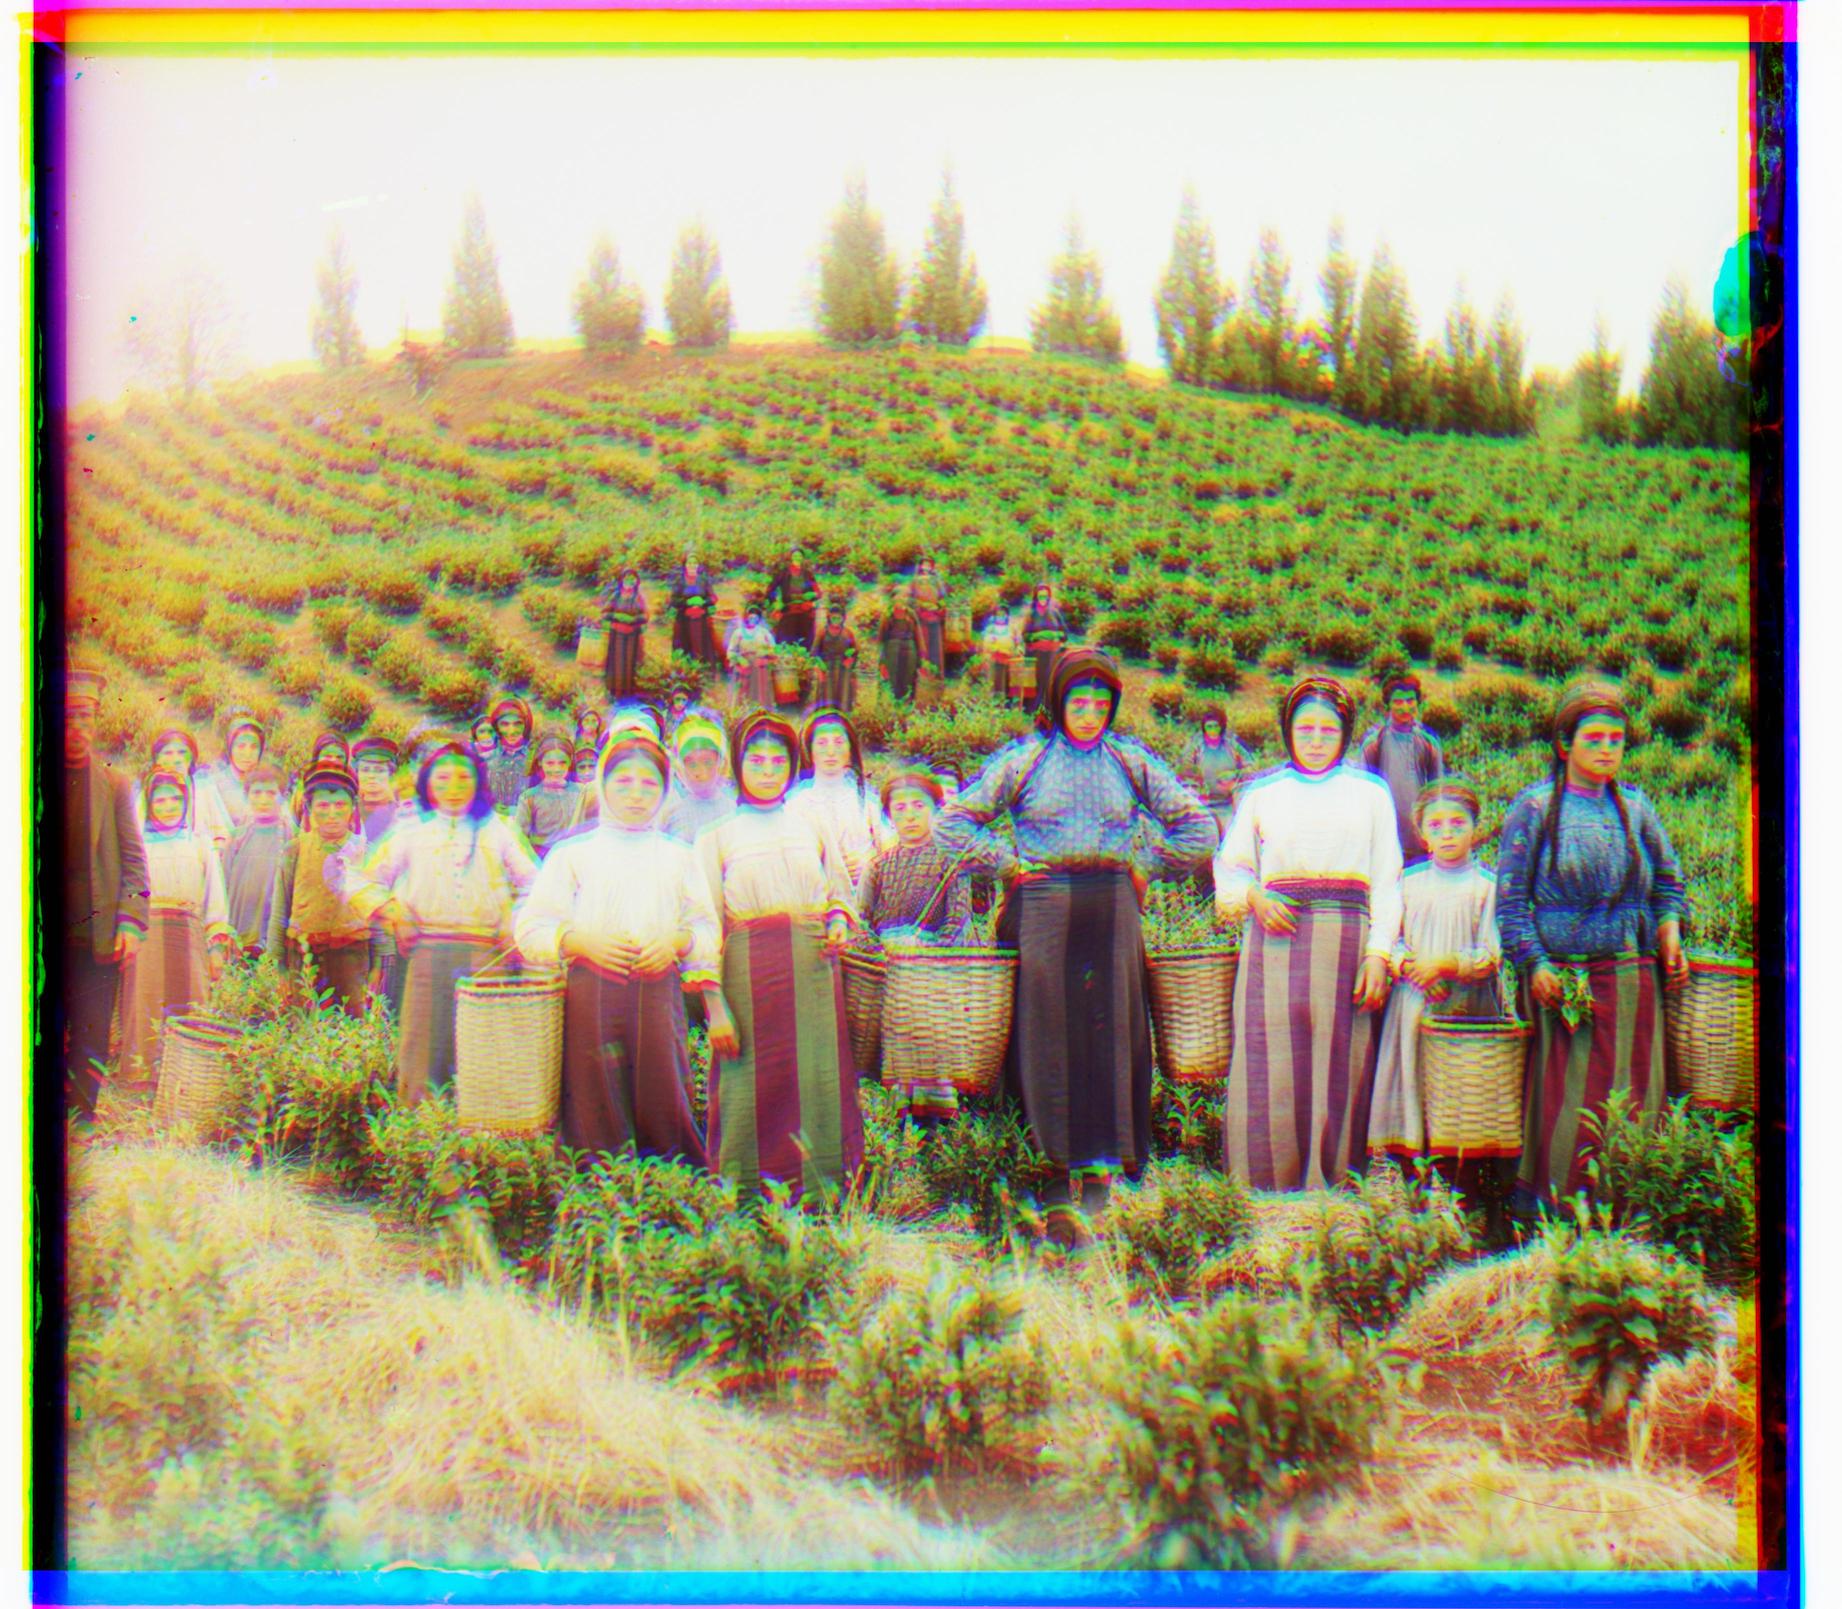
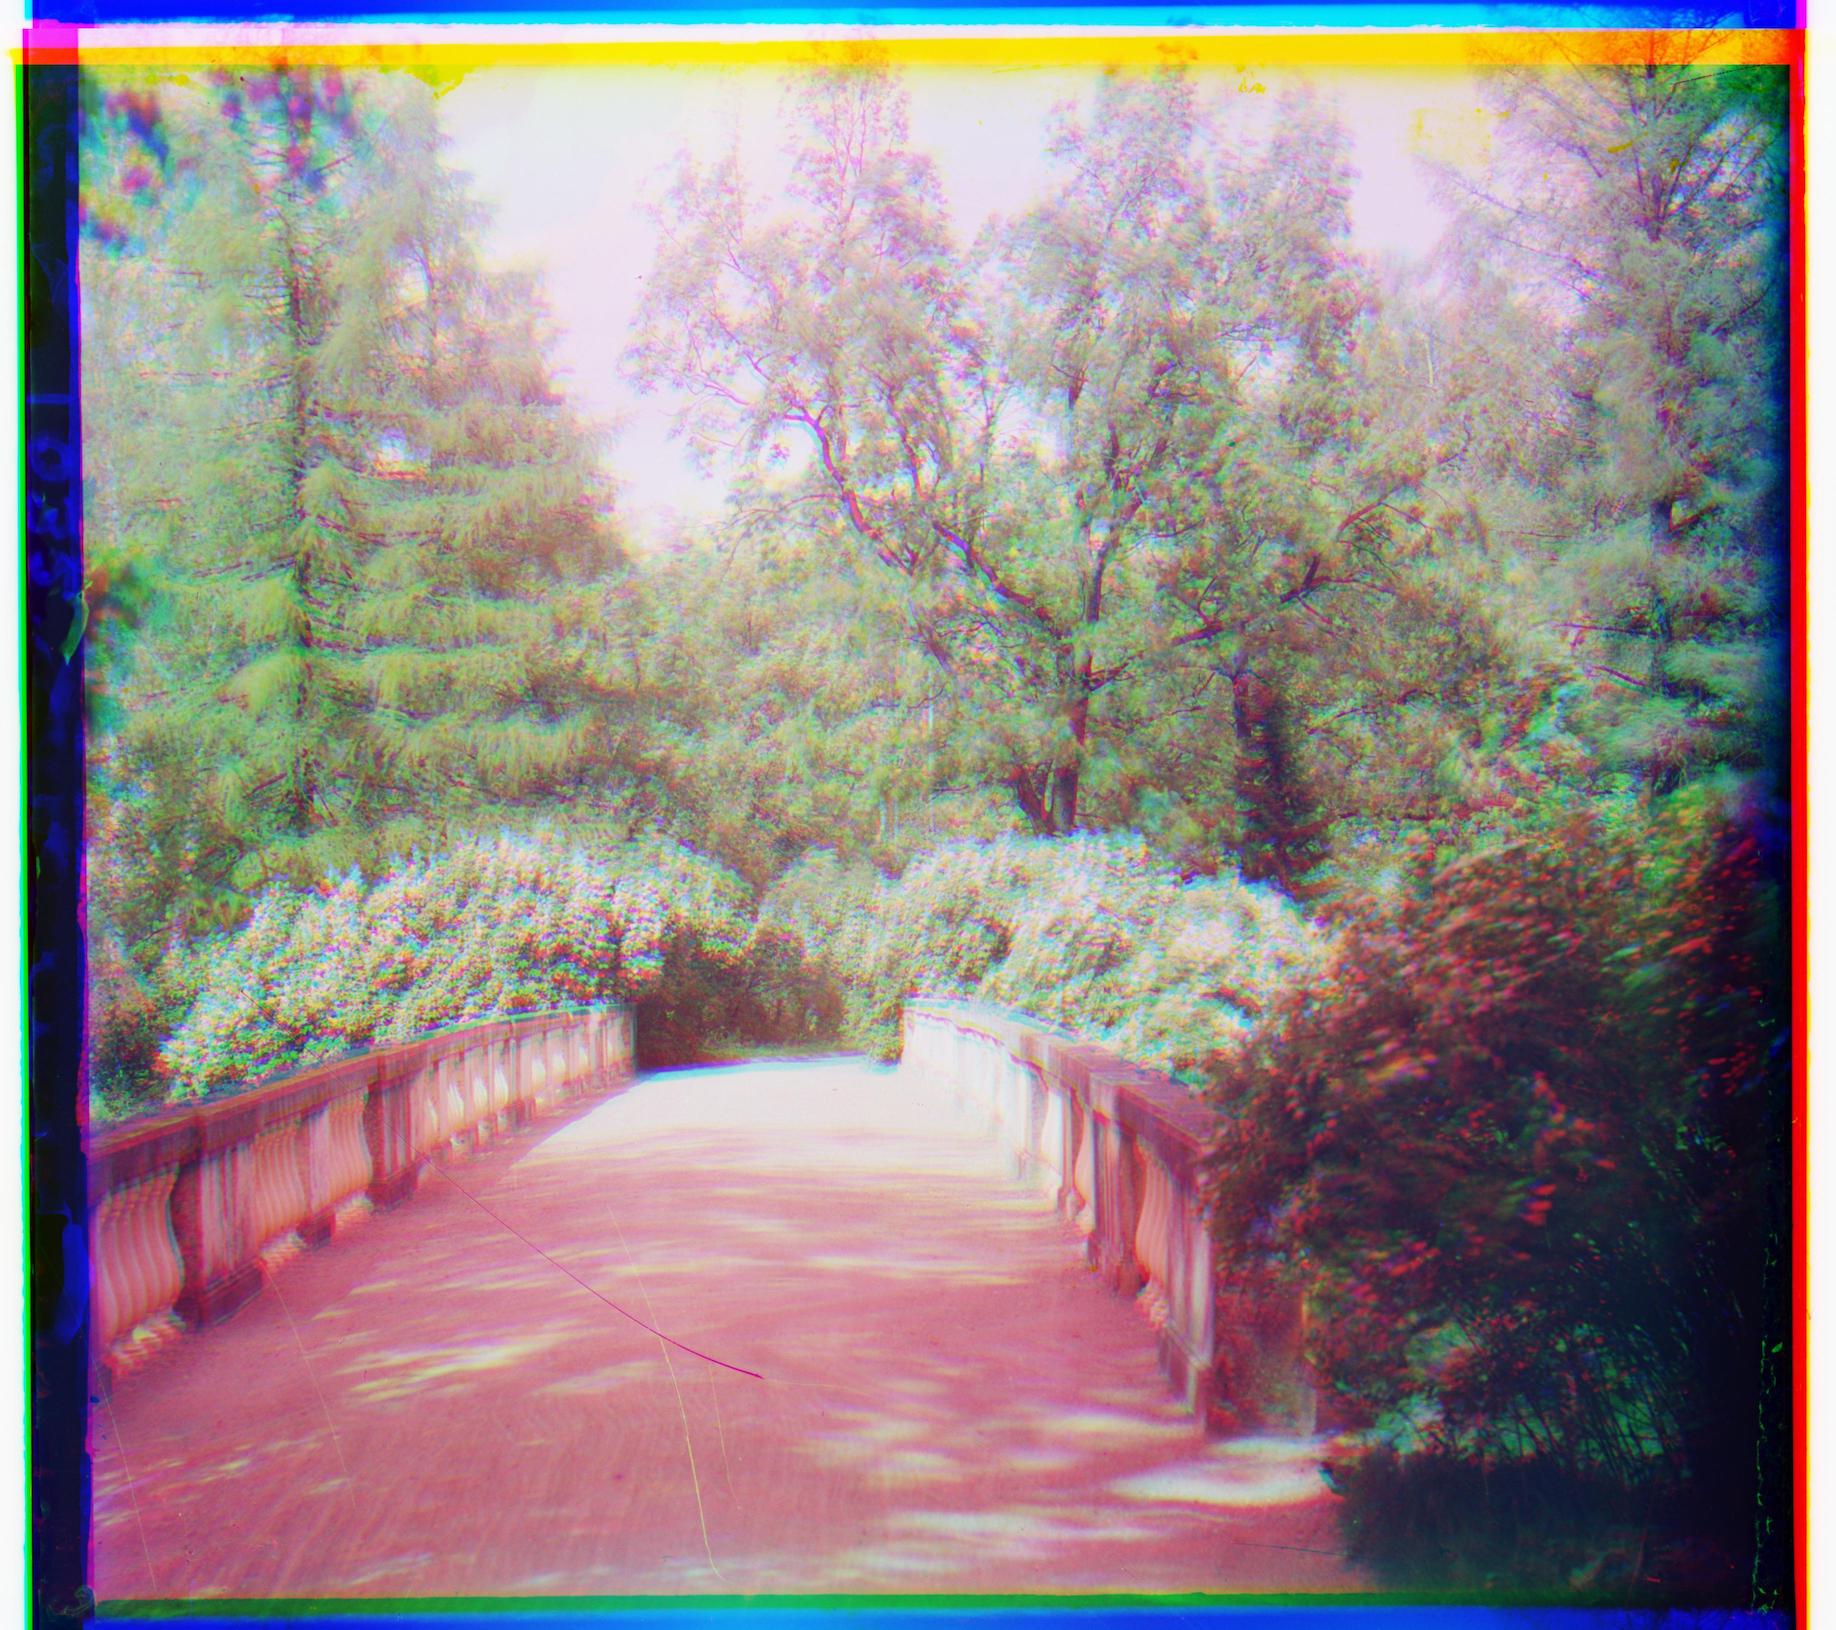
While the trees and the shrubbery is much more pronounced, and you can better make out the leftmost tree, the sky has also gone from a nice light overcast to a foreboding grey, and it has made the scratches, speckles, and "dust" in the images much more pronounced.
For my second attempt at autocrop and autcontrast, I decided to use the following methods:
To crop, I took the offsets calculated during the search face, summed the absolute values of each offset, and lopped that amount off from each side. I tried this because I felt that the borders were happening because when I rolled the image, some of the original image was wrapping around the other side and they were overlapping in weird ways.
To contrast, I tried using skimage's method for contrastive stretching instead of adaptive histogram equalization, rescaling the intensity using 2nd and 98th percentile values of the image as the input range.
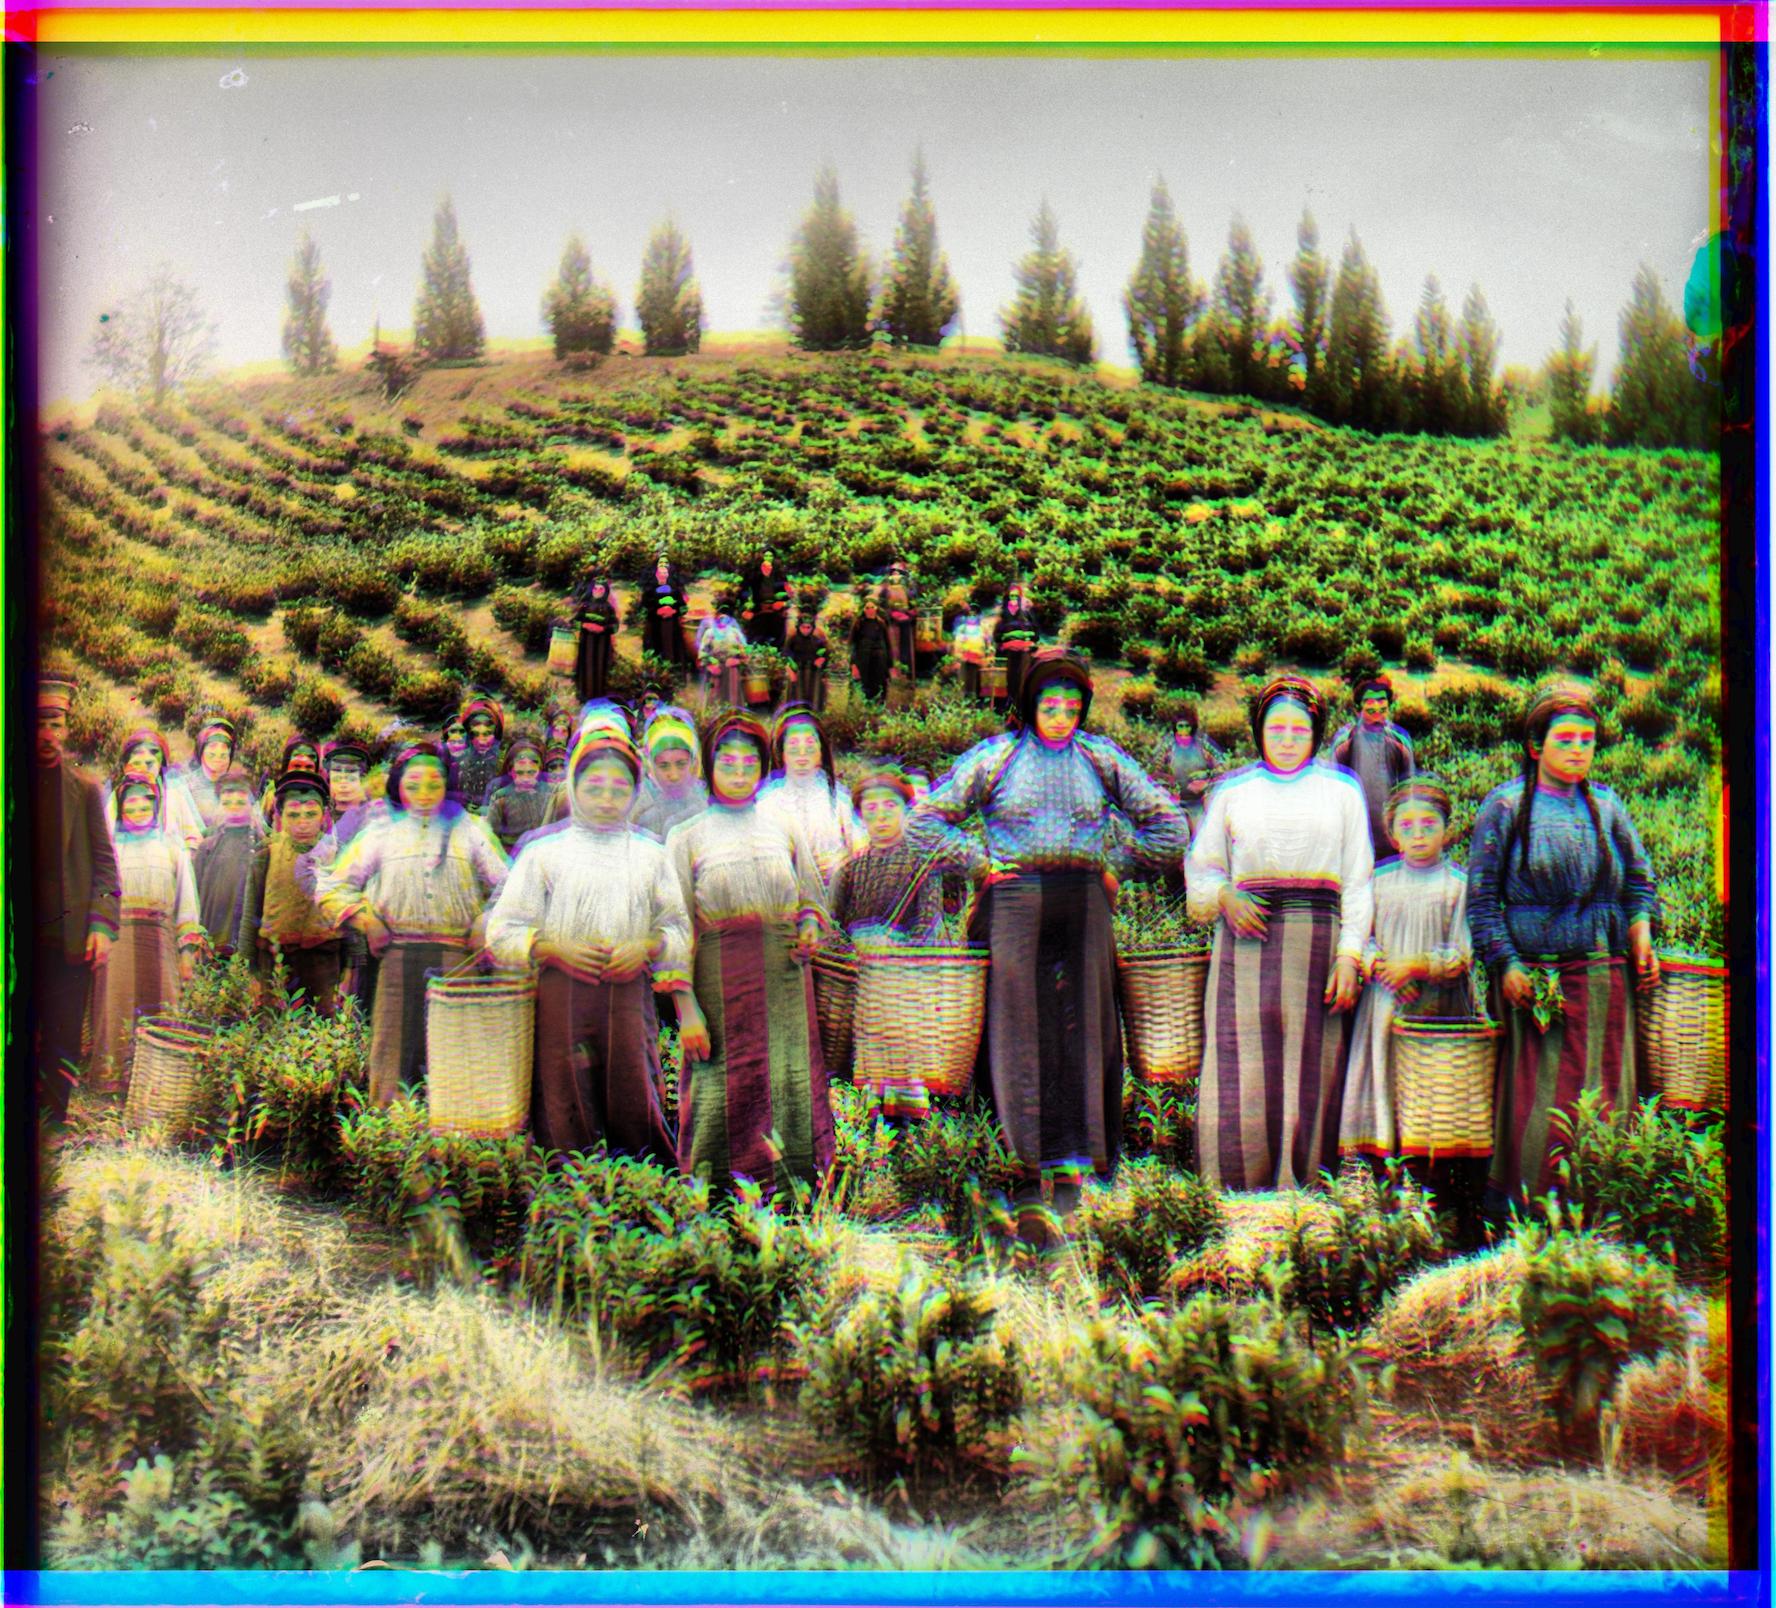
These two "bells and whistles" yielded nicer results.
As we can see, the contrast increased but is a lot more subtle and still looks "natural", while not introducing grey or speckled patches. While the borders still remain, I did manage to "tighten" them in / reduce their size. For example, the dark border on the side of the harvesters are nearly entirely gone.
| Image Name | Red Channel Offset | Blue Channel Offset |
|---|---|---|
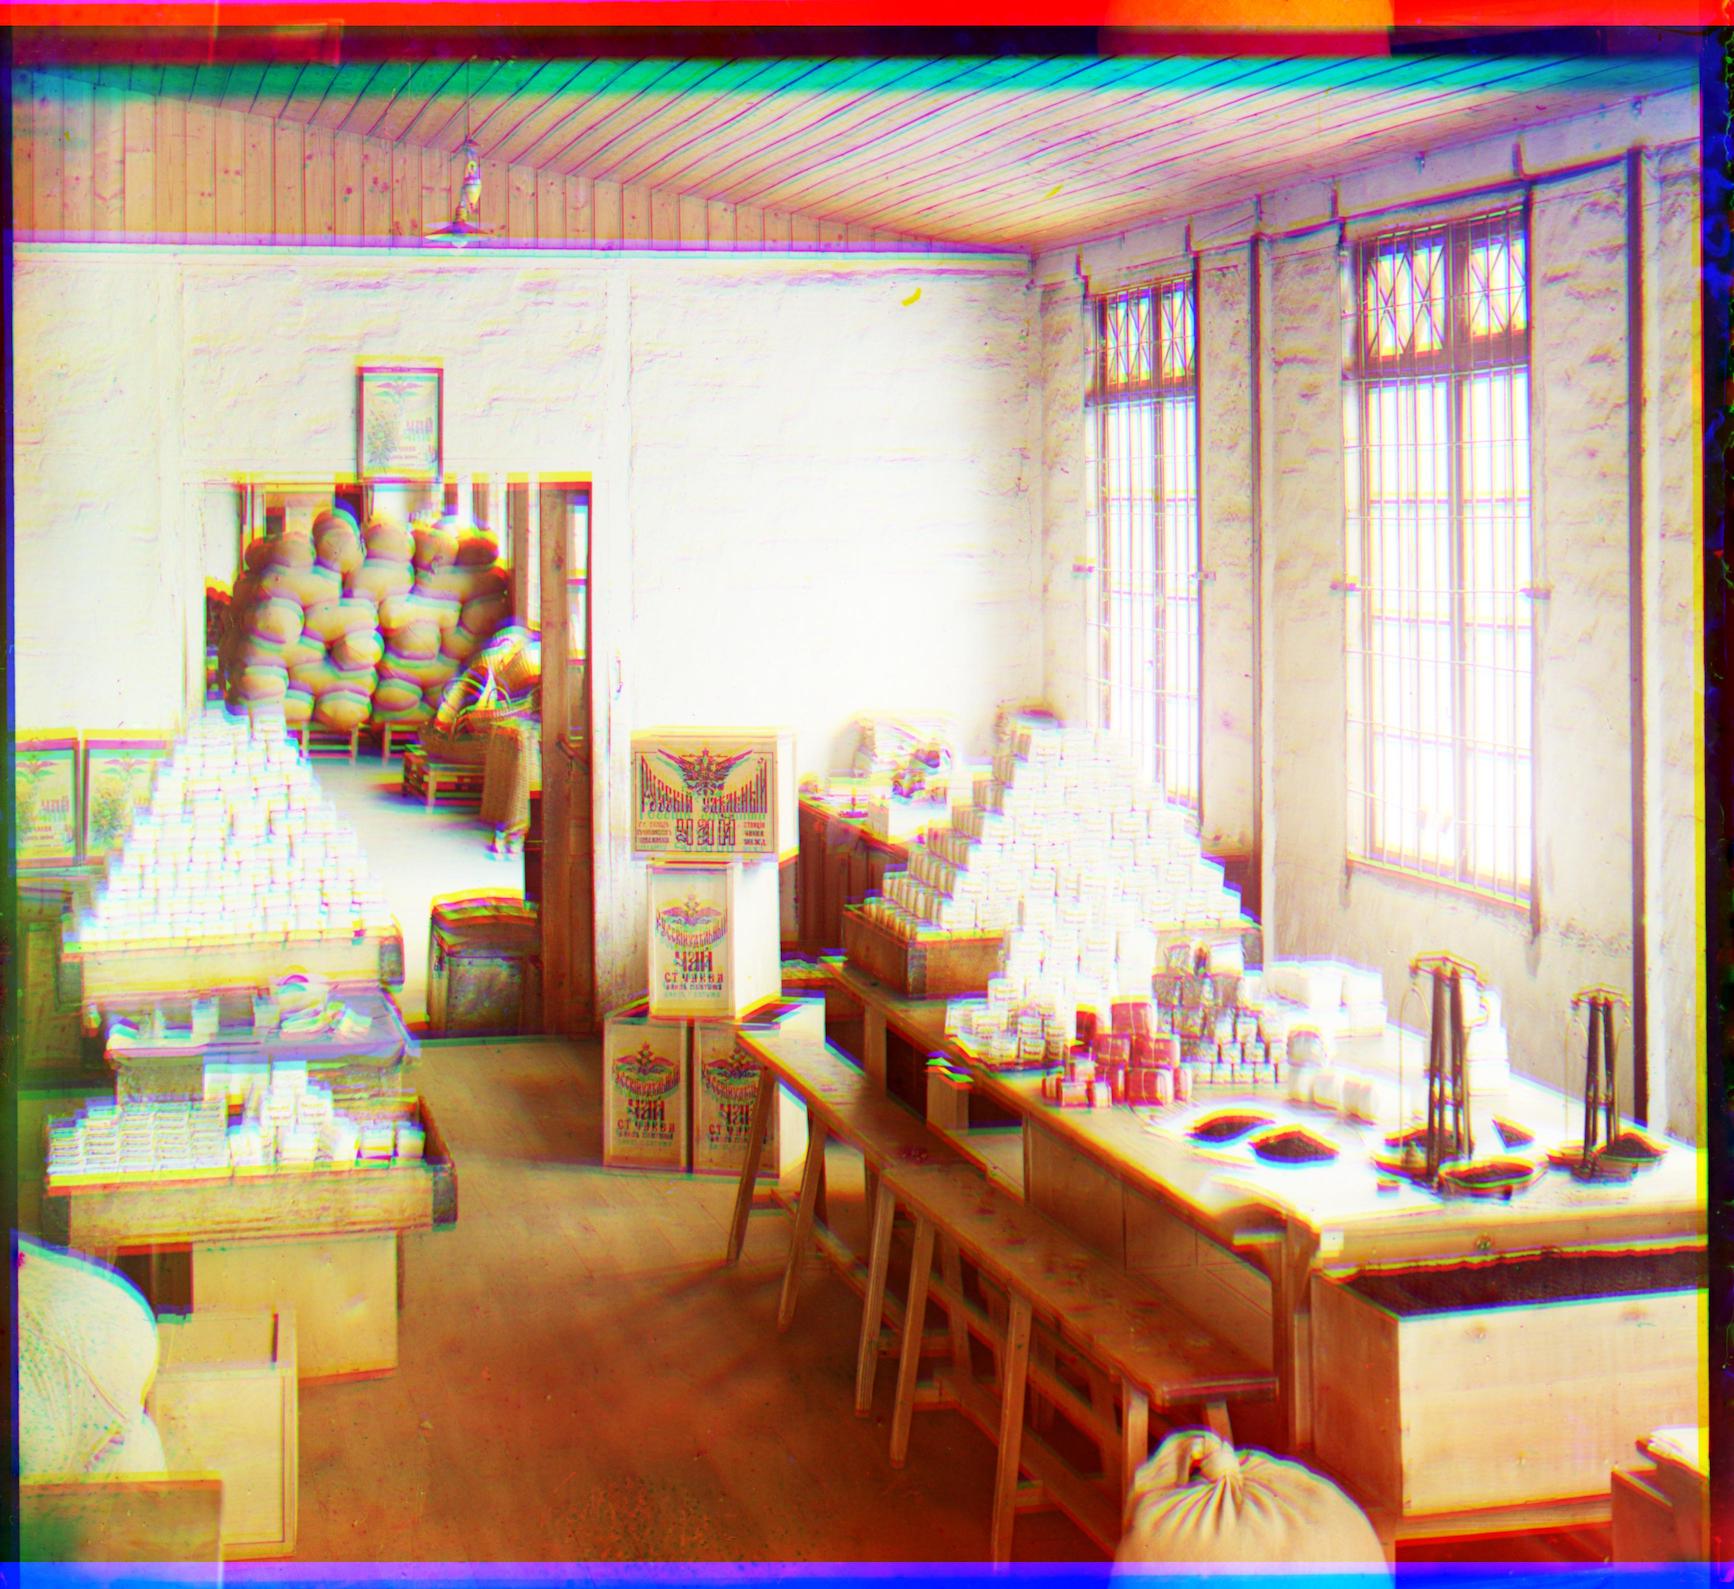
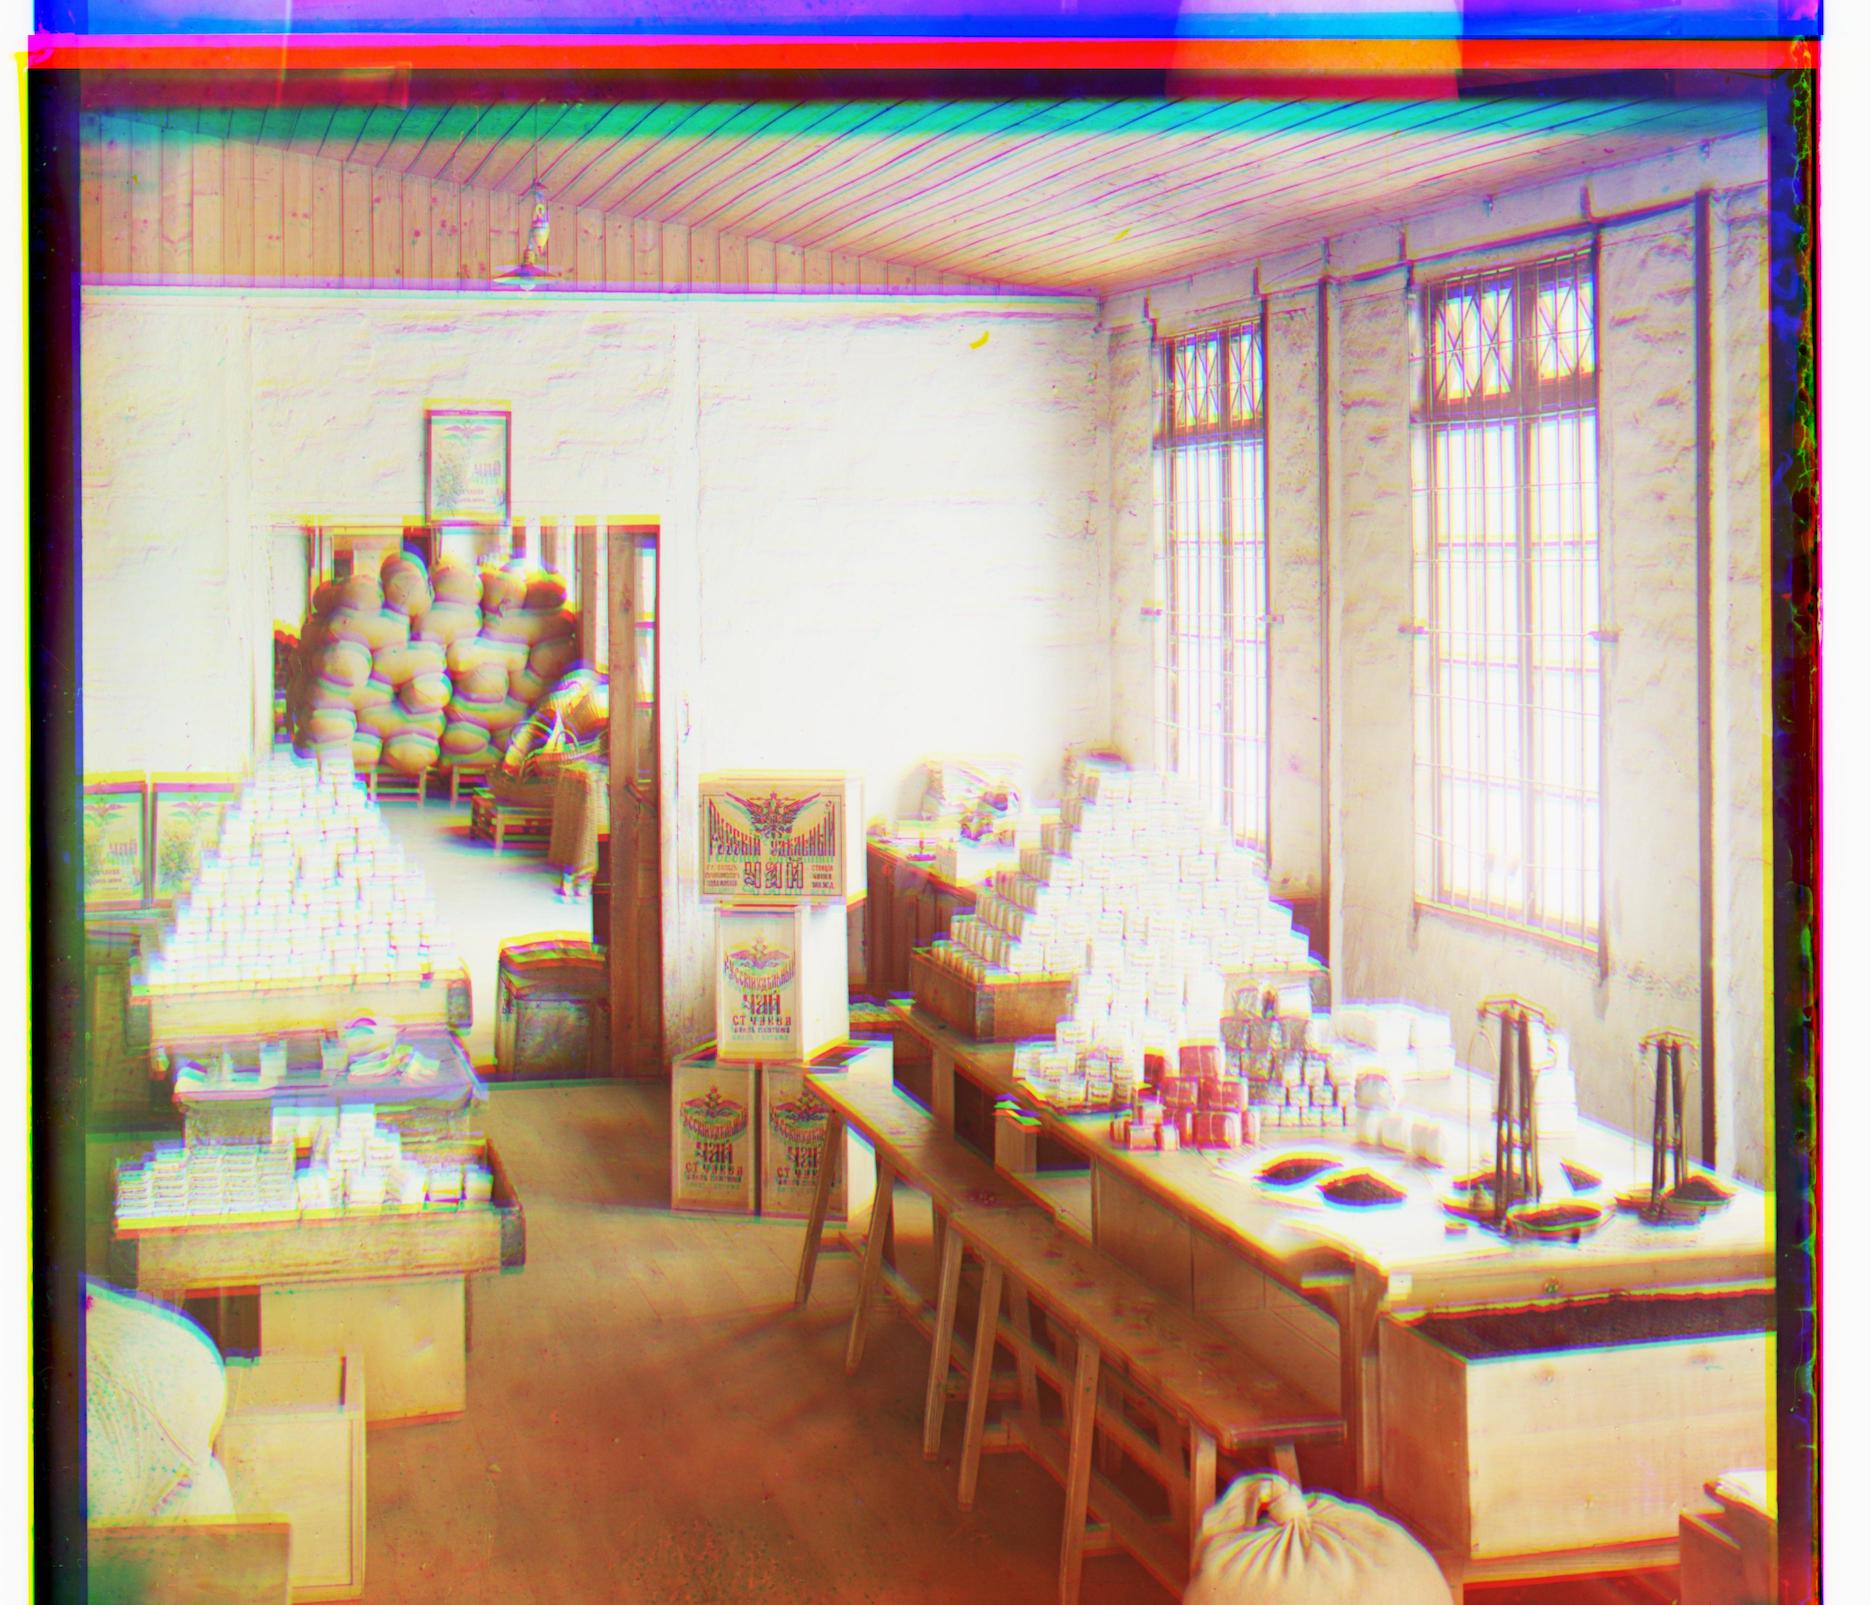
| workshop.tif | (-15, 67) | (1, -70) |
| emir.tif | (22, 74) | (-32, -63) |
| monastery.jpg | (1, 8) | (-3, 3) |
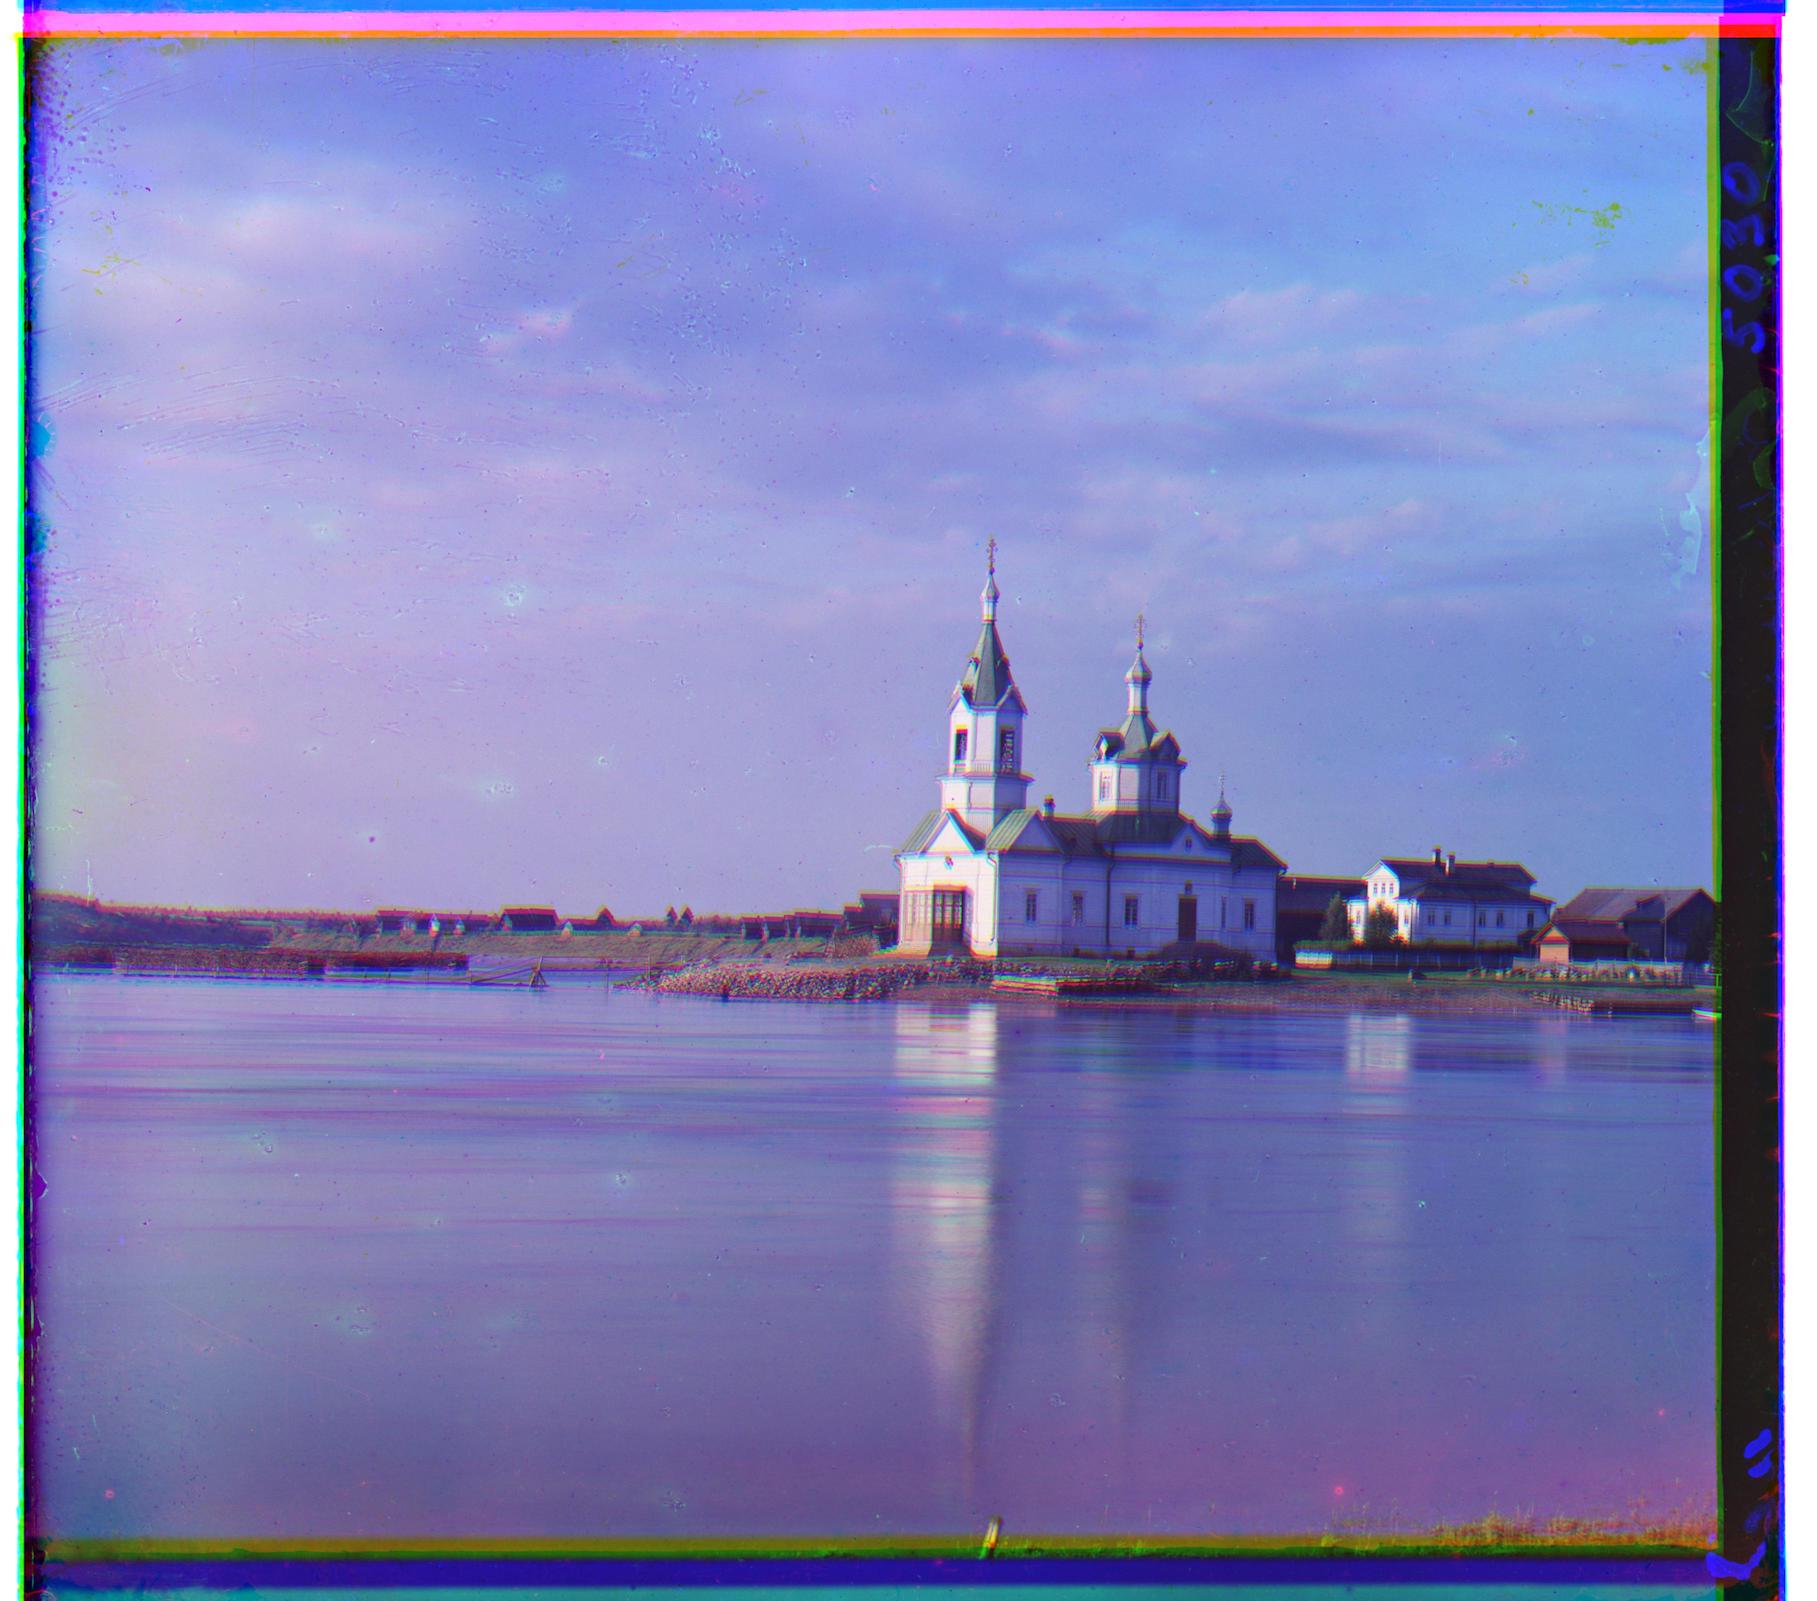
| church.tif | (-11, 43) | (-6, -33) |
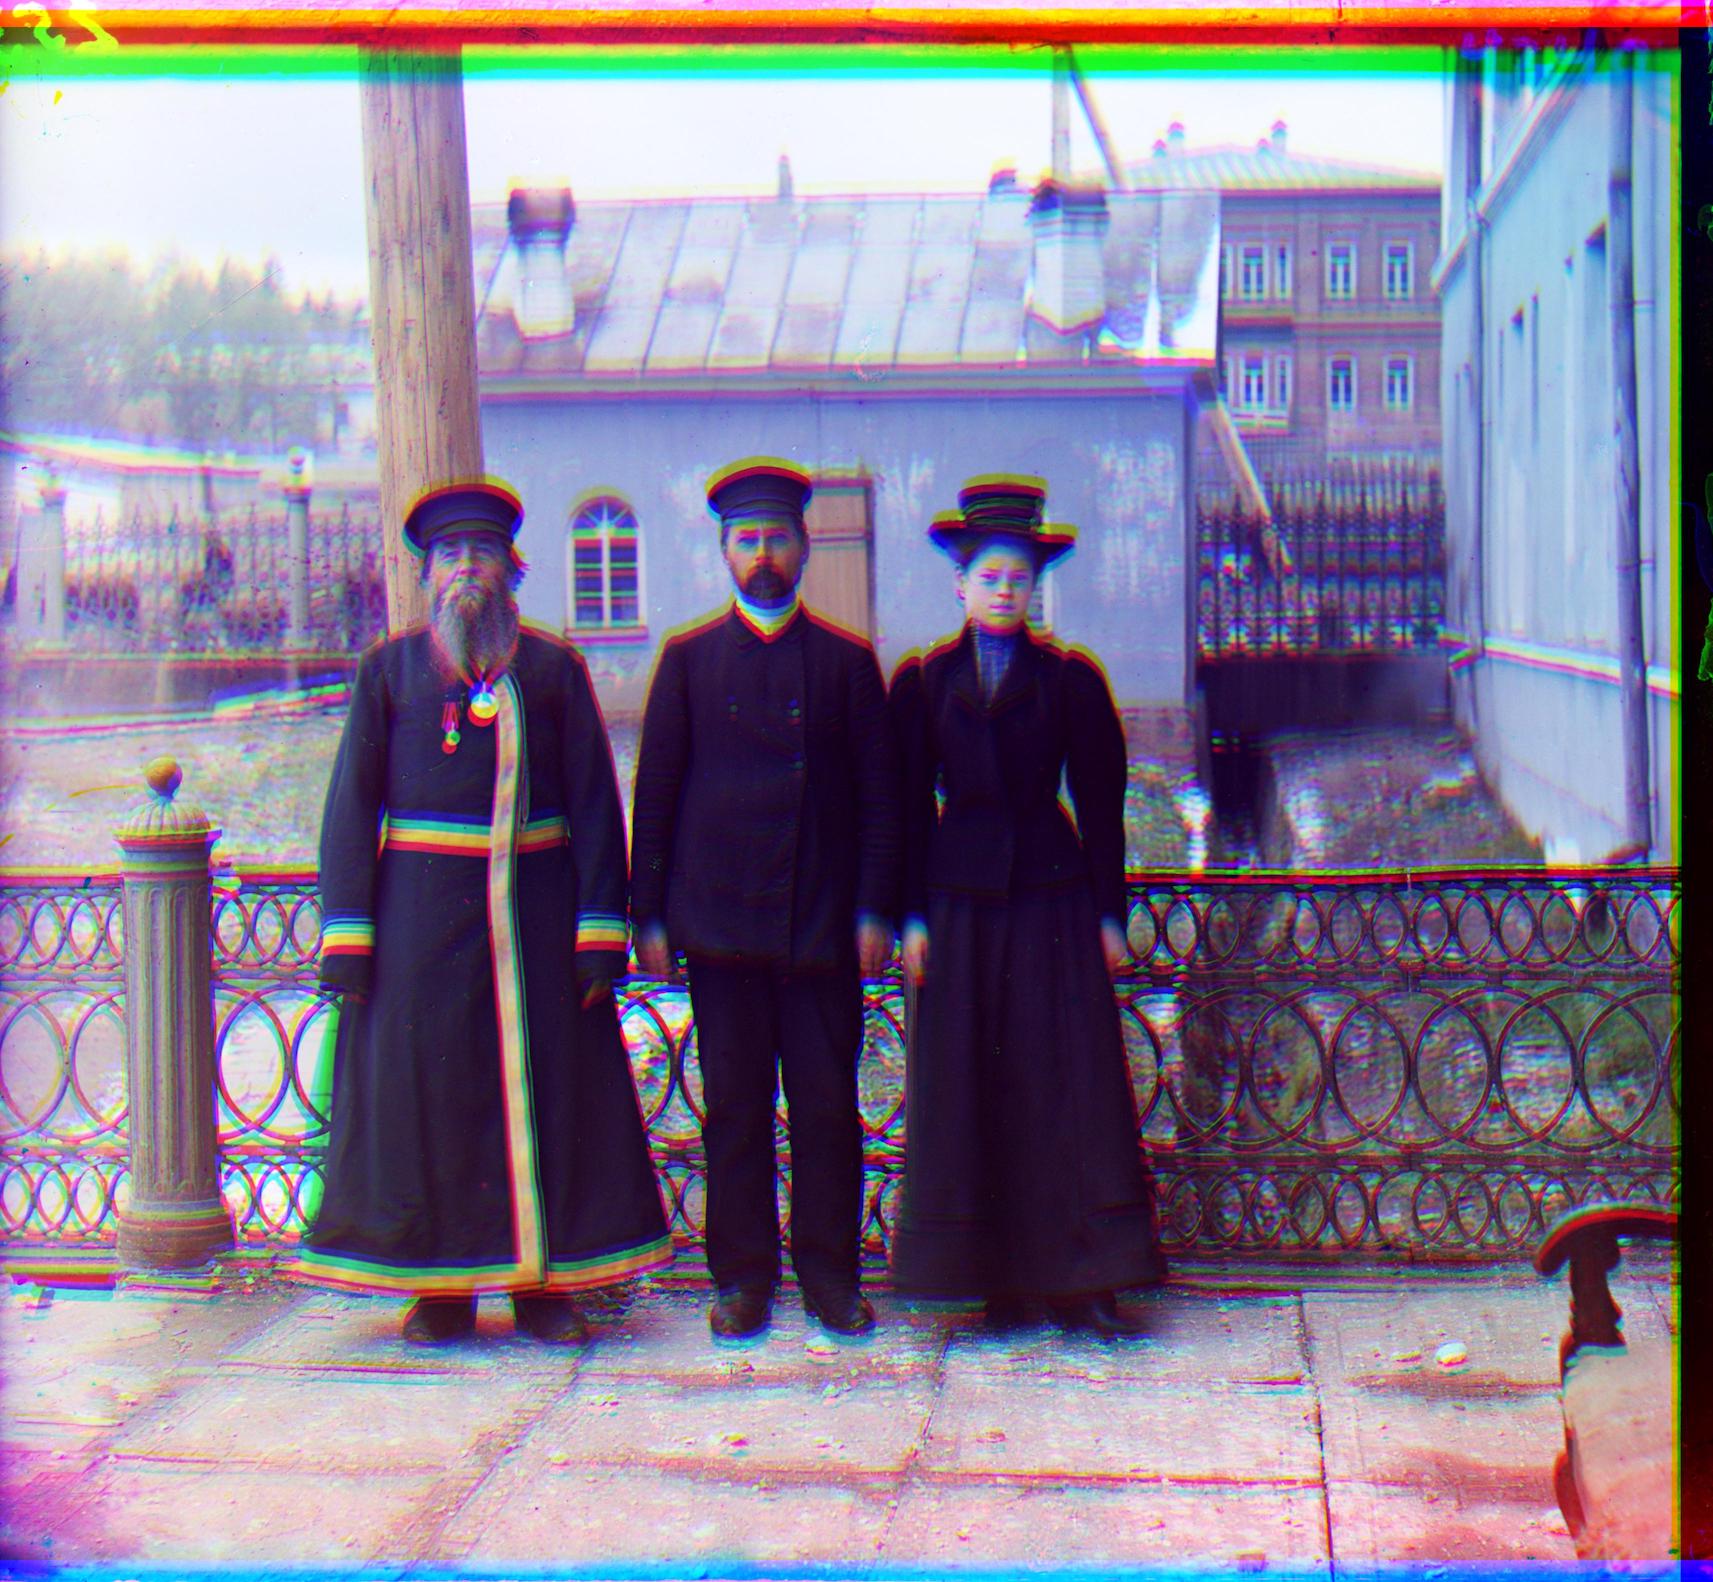
| three_generations.tif | (-4, 77) | (-19, -67) |
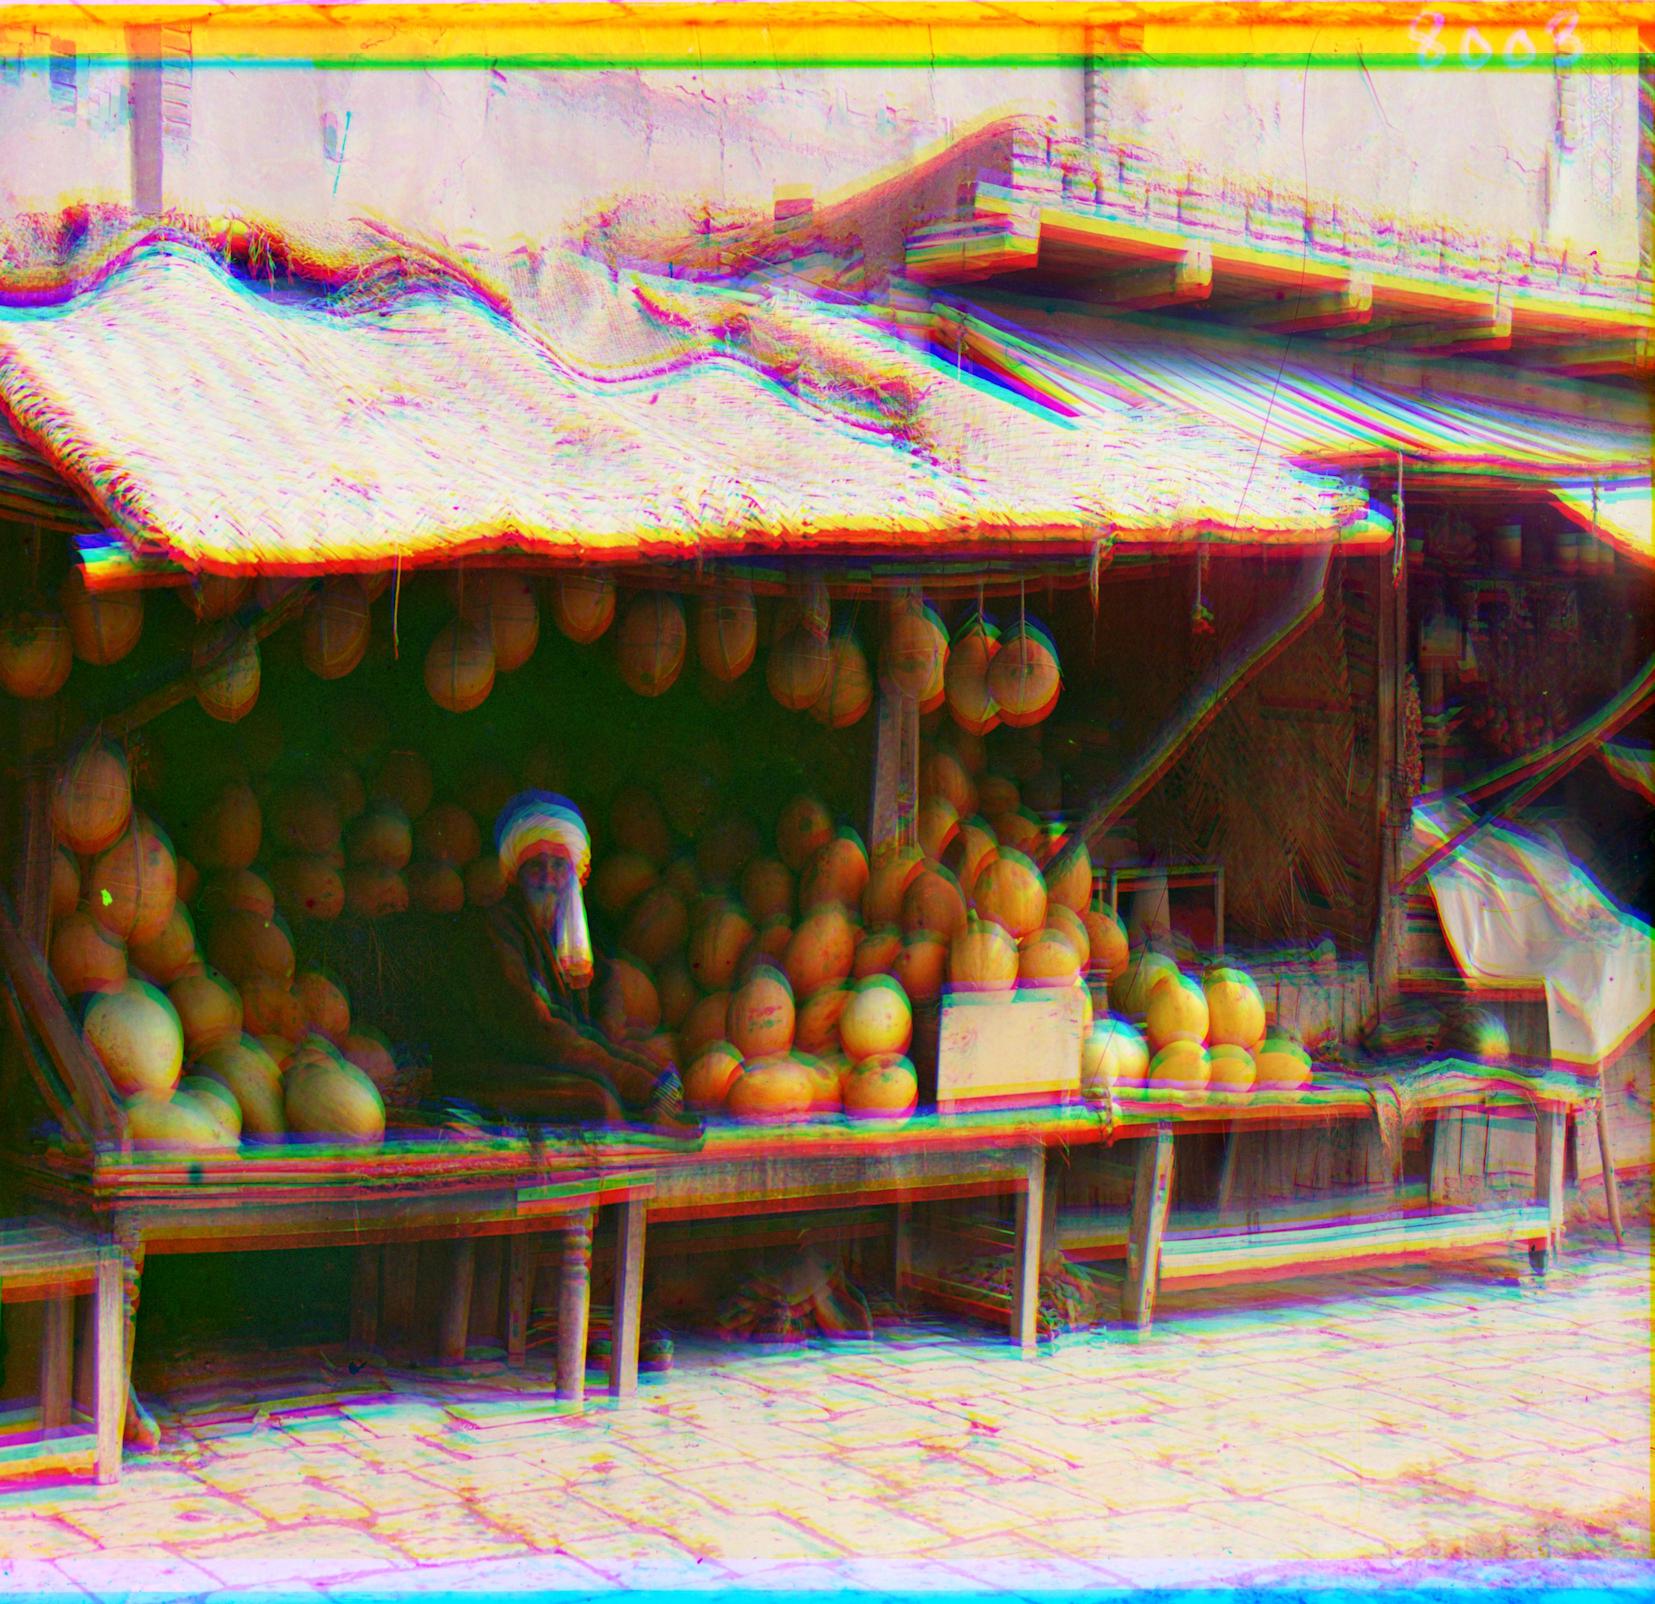
| melons.tif | (4, 123) | (-13, -107) |
| cotton_mill.tif Downloaded from here. | (-57, 101) | (17, -74) |
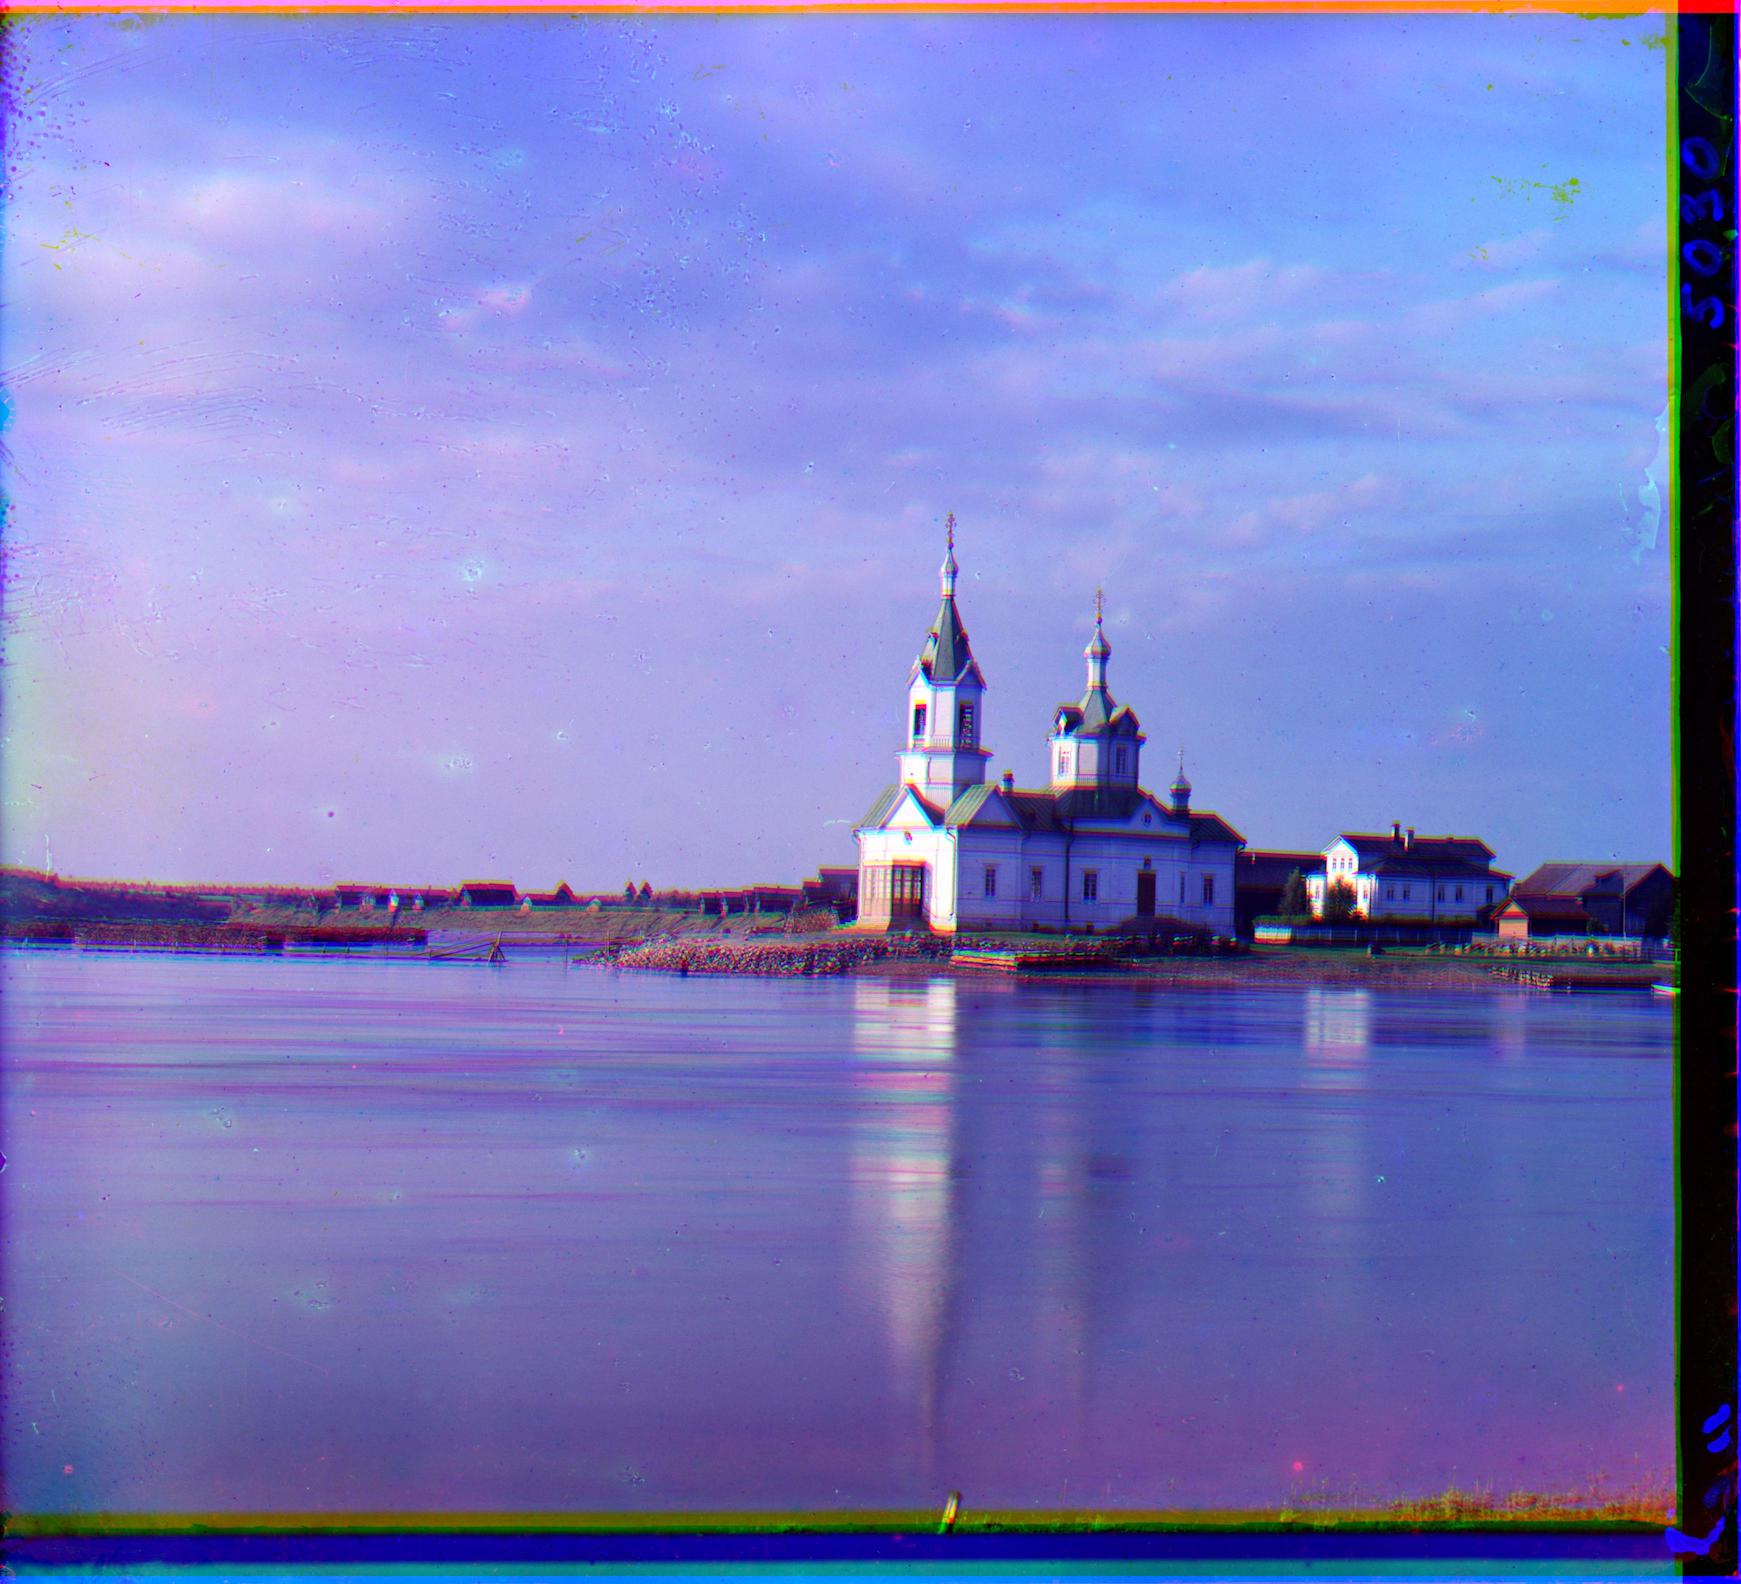
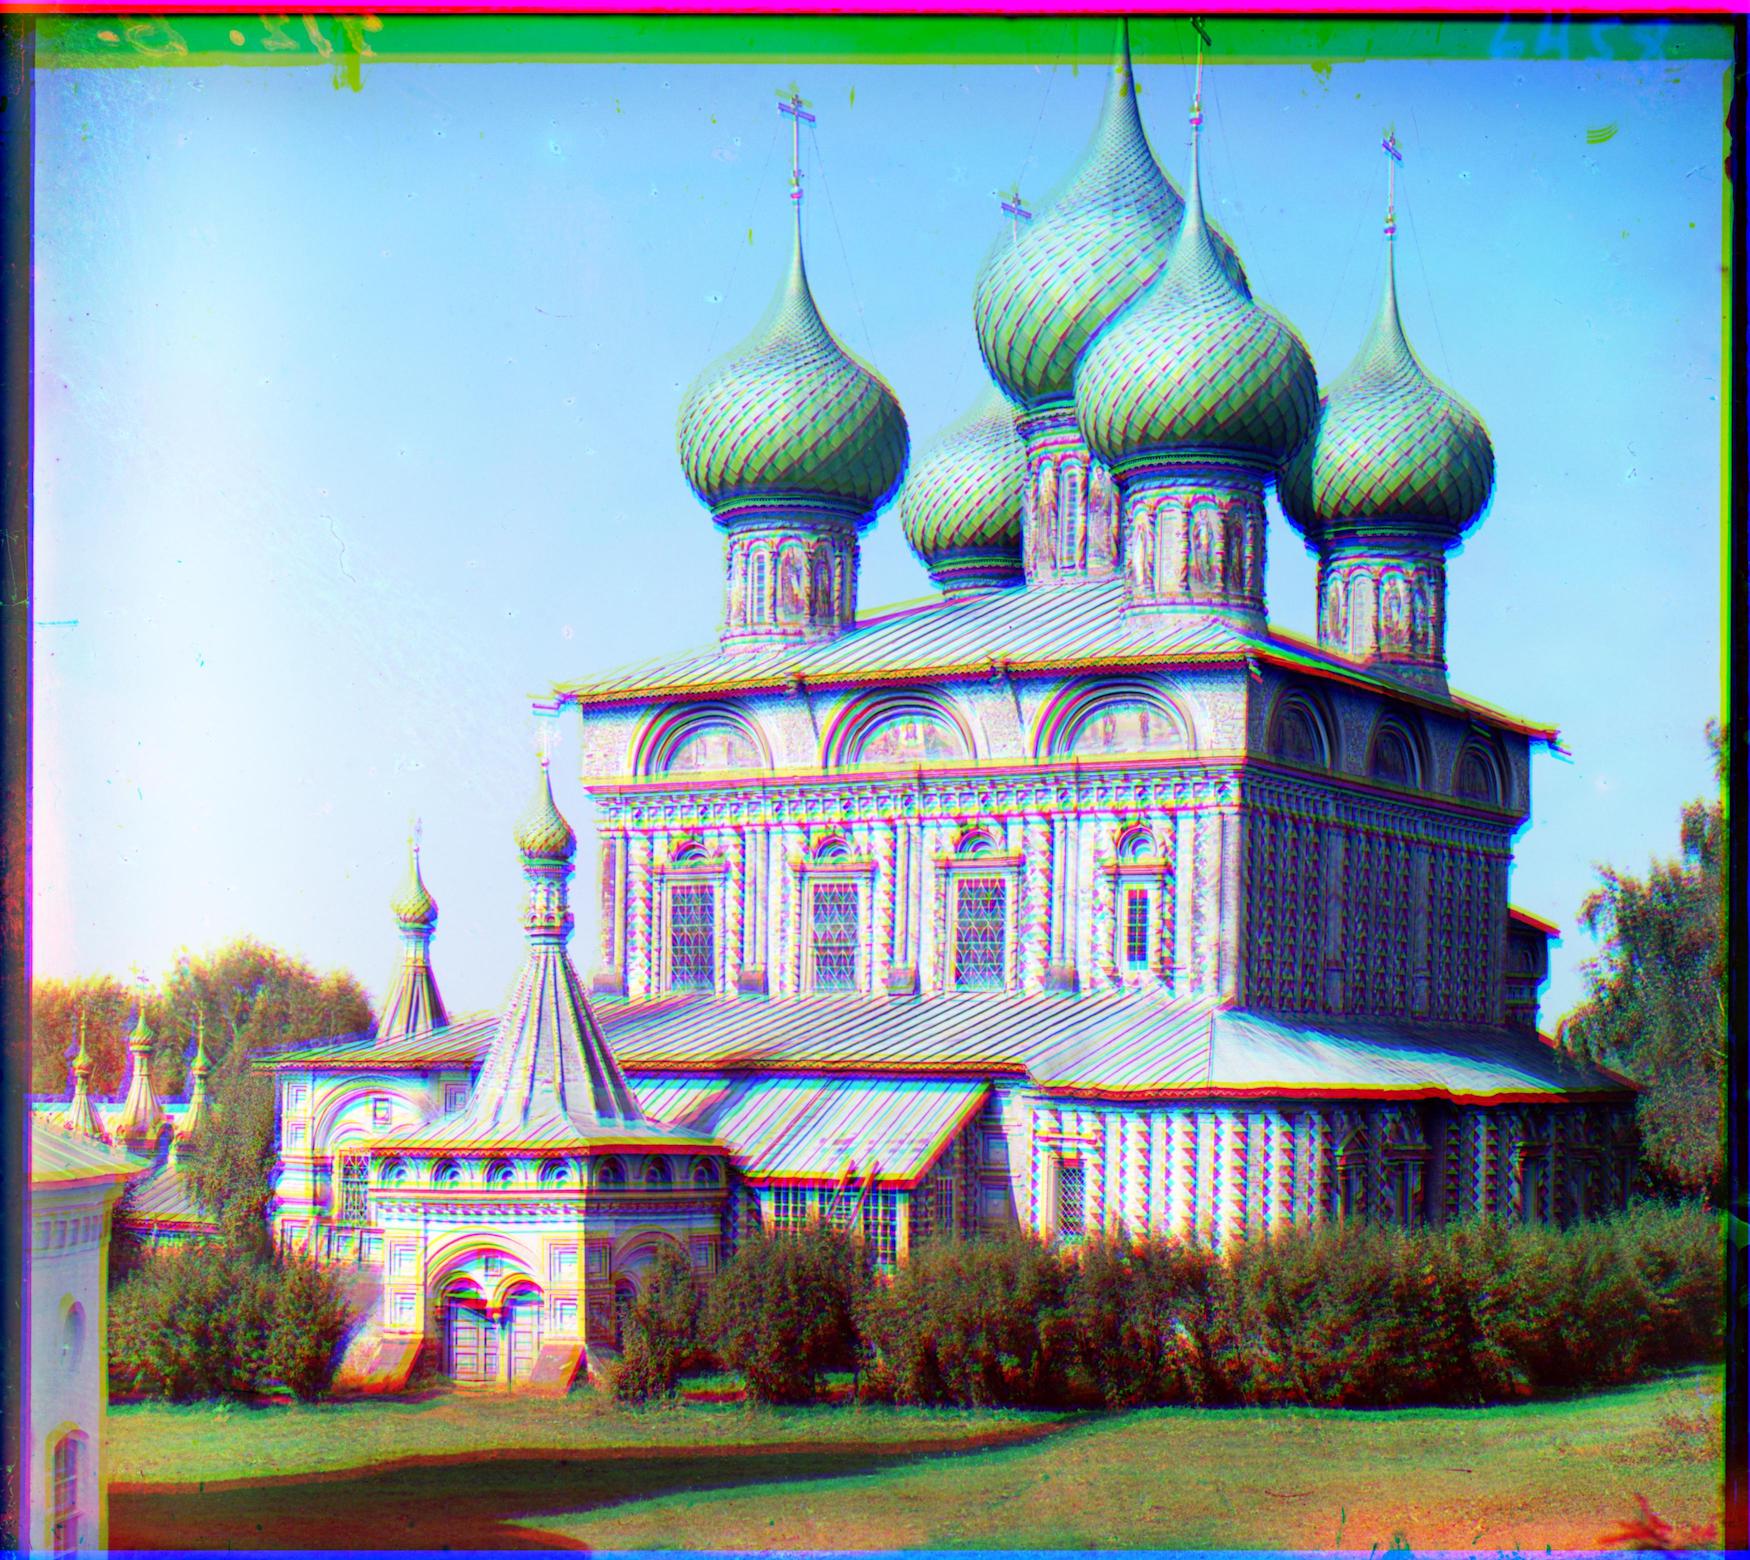
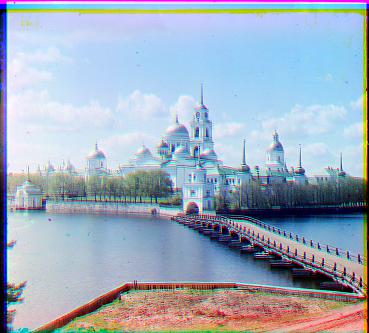
| onion_church.tif | (13, 74) | (-35, -67) |
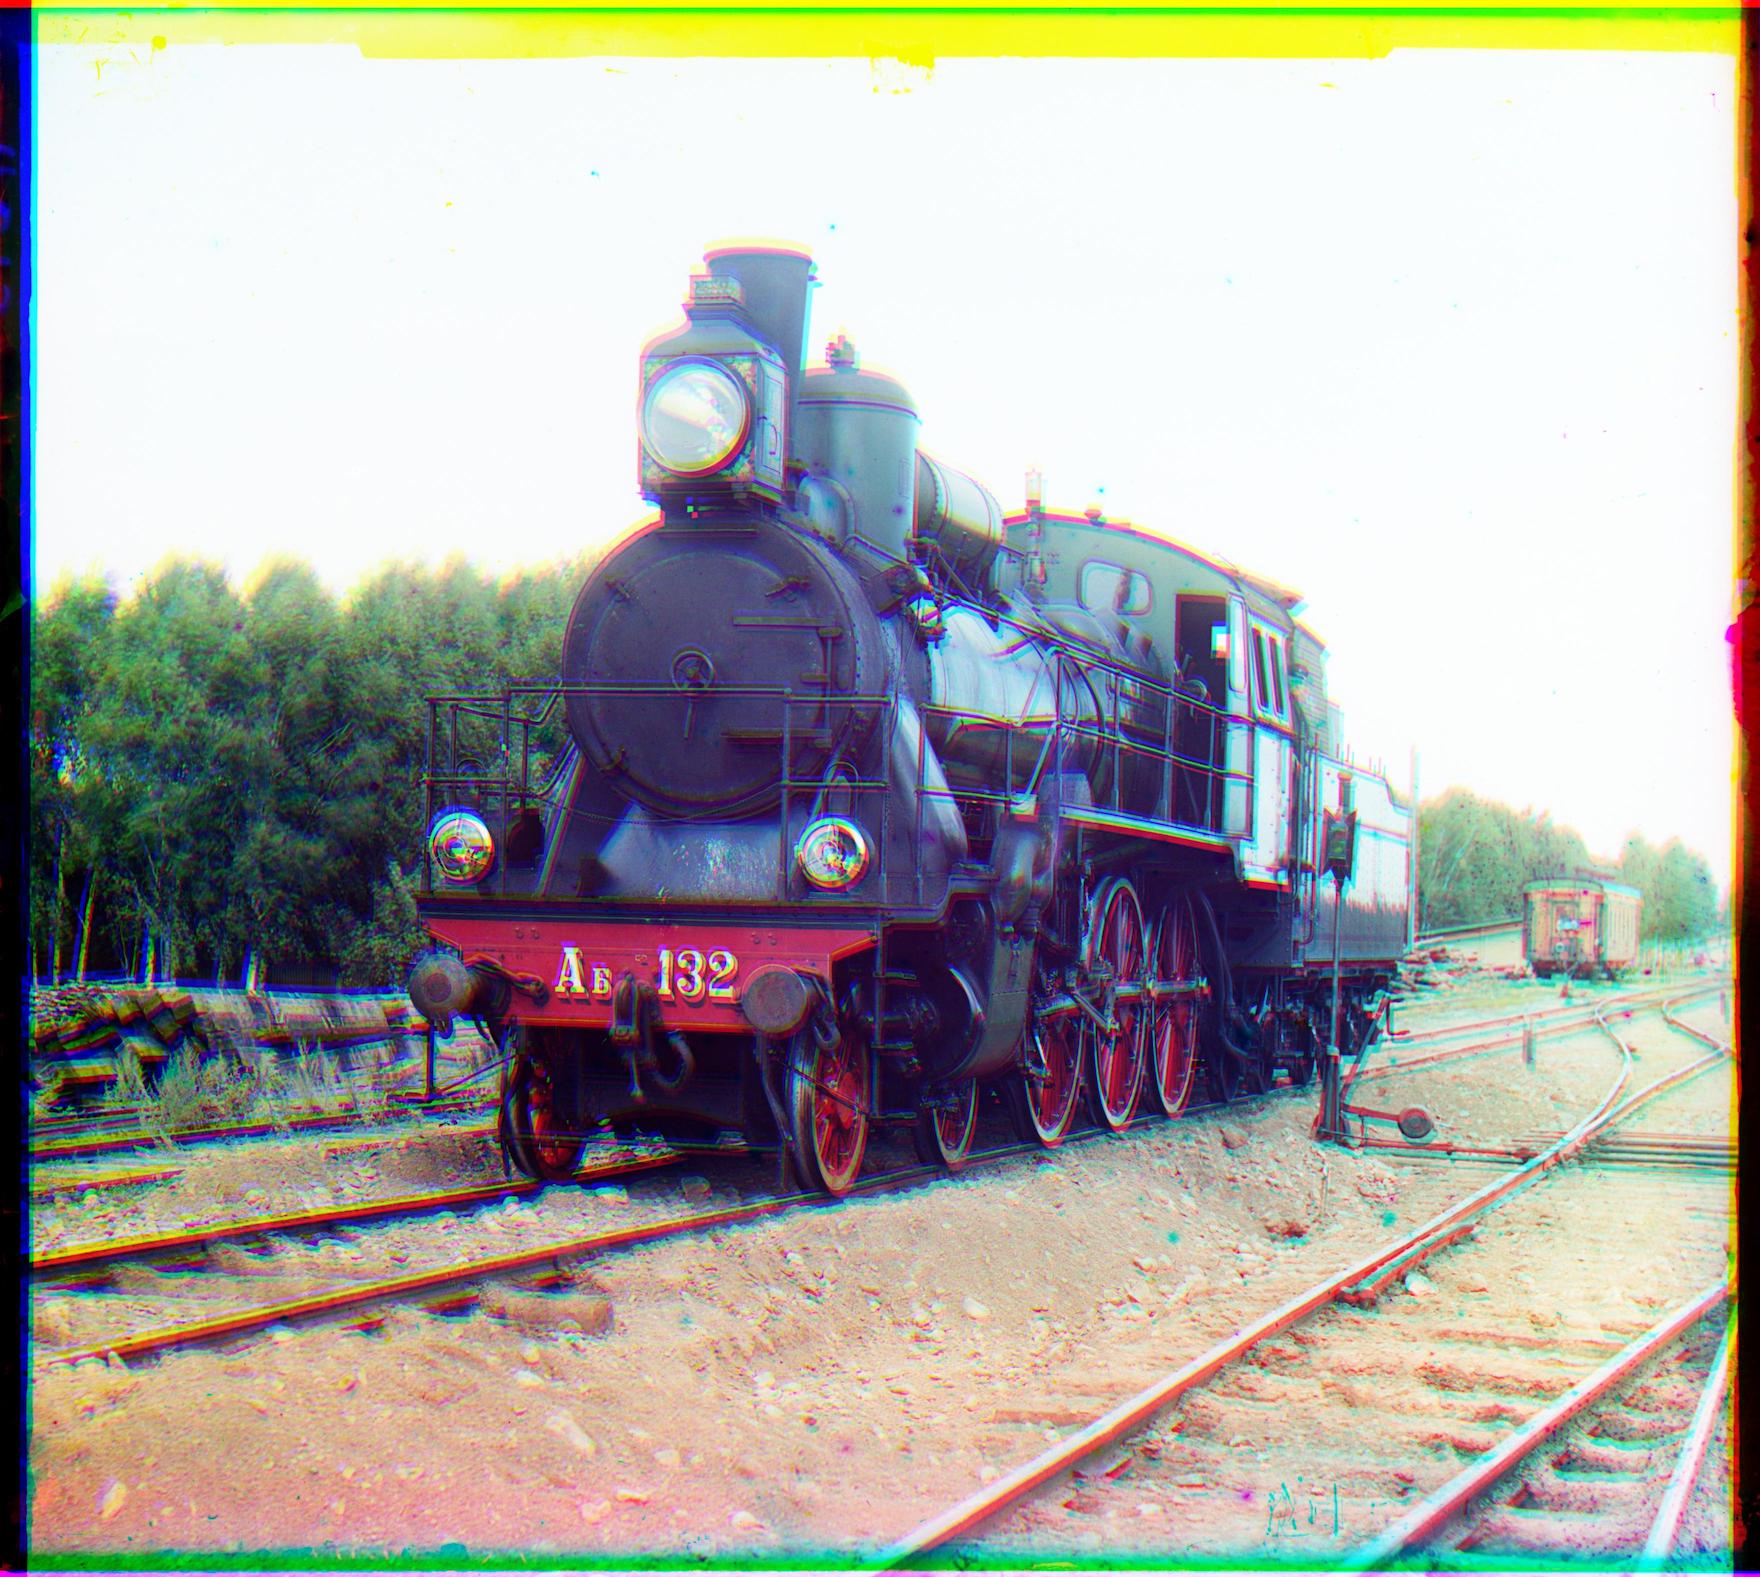
| train.tif | (34, 57) | (-8, -54) |
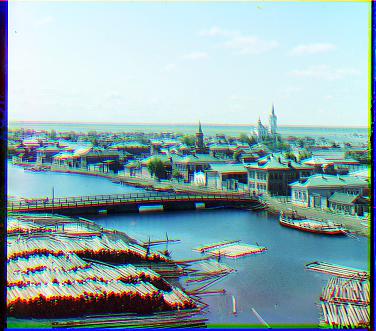
| tobolsk.jpg | (1, 6) | (-4, -4) |
| icon.tif | (7, 63) | (-22, -54) |
| cathedral.jpg | (1, 10) | (-3, -7) |
| siren.tif Downloaded from here. | (-36, 72) | (10, -57) |
| self_portrait.tif | (11, 128) | (-38, -101) |
| harvesters.tif | (-4, 84) | (-22, -77) |
| lady.tif | (6, 78) | (-11, -67) |
| capri.tif Downloaded from here. | (-22, 50) | (22, -35) |
Final "best" approach: Pyramid search with 9 levels, scale factor of 1.3, window of (-5, 5), using Sum of Squared Distances with base channel green, crop using offsets, and apply contrastive stretching.