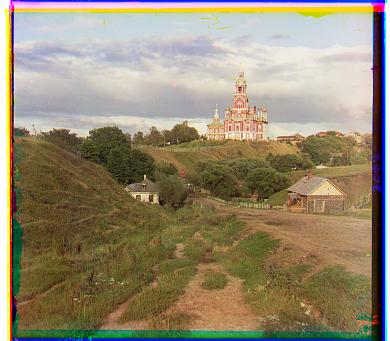
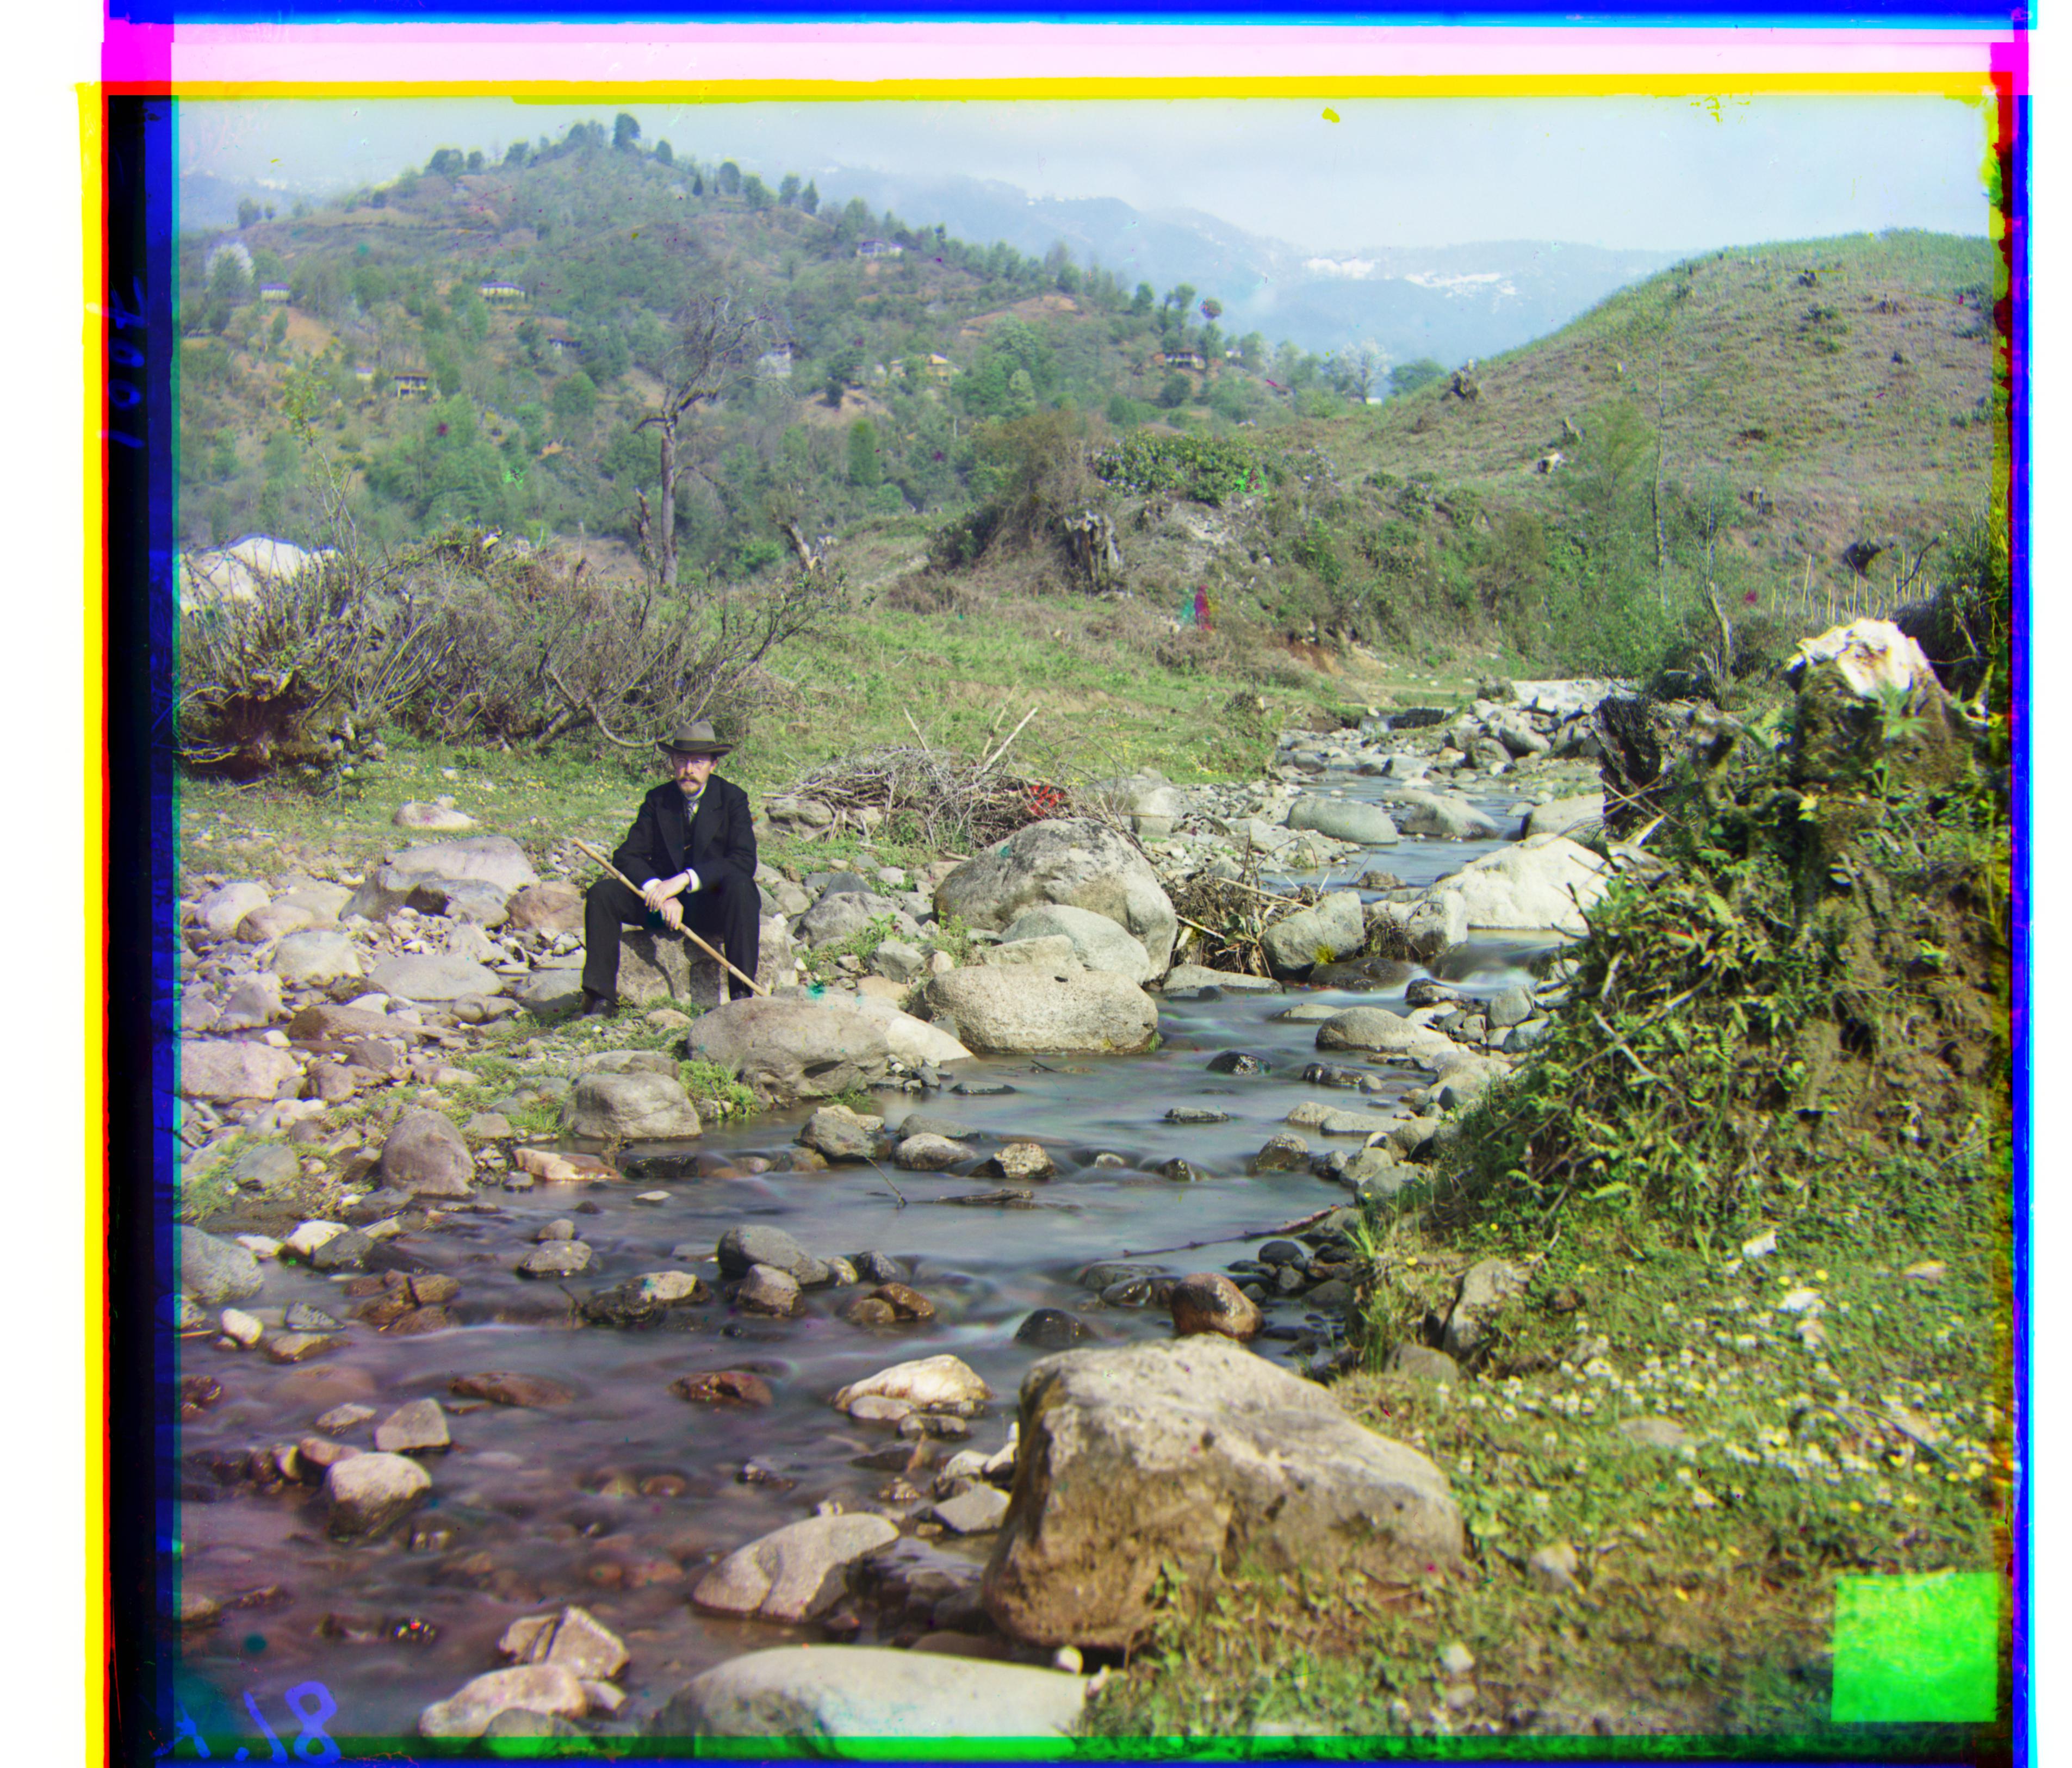
r offset: [12 3]; g offset: [5 2]
The aim of this project was to write an algorithm to colorize images in the Prokudin-Gorskii photo collection. In his photographic journey across the Russian Empire, Prokudin-Gorskii used a curious setup: three black-and-white film cameras, likely stacked on top of one another, each with a filter installed on the lens that let through only one color of light. Each photo would thus consist of three negatives, one for each color channel. If the negatives are combined correctly - in his vision, with a special projector - you end up with a single color photograph. The aim of this project is to do so automatically.
For my basic approach, I implemented a method (find_best_offset) which takes an image to be aligned, an image to align it to, an error function, and a maximum offset (15px by default). It exhaustively searches offsets within that range, scoring each using the error function and returning the offset that results in the least error.
This naive approach works well for small images. If the input image dimensions or the offset range is too large, it will become unworkably slow. (This is, after all, an exponential algorithm.)
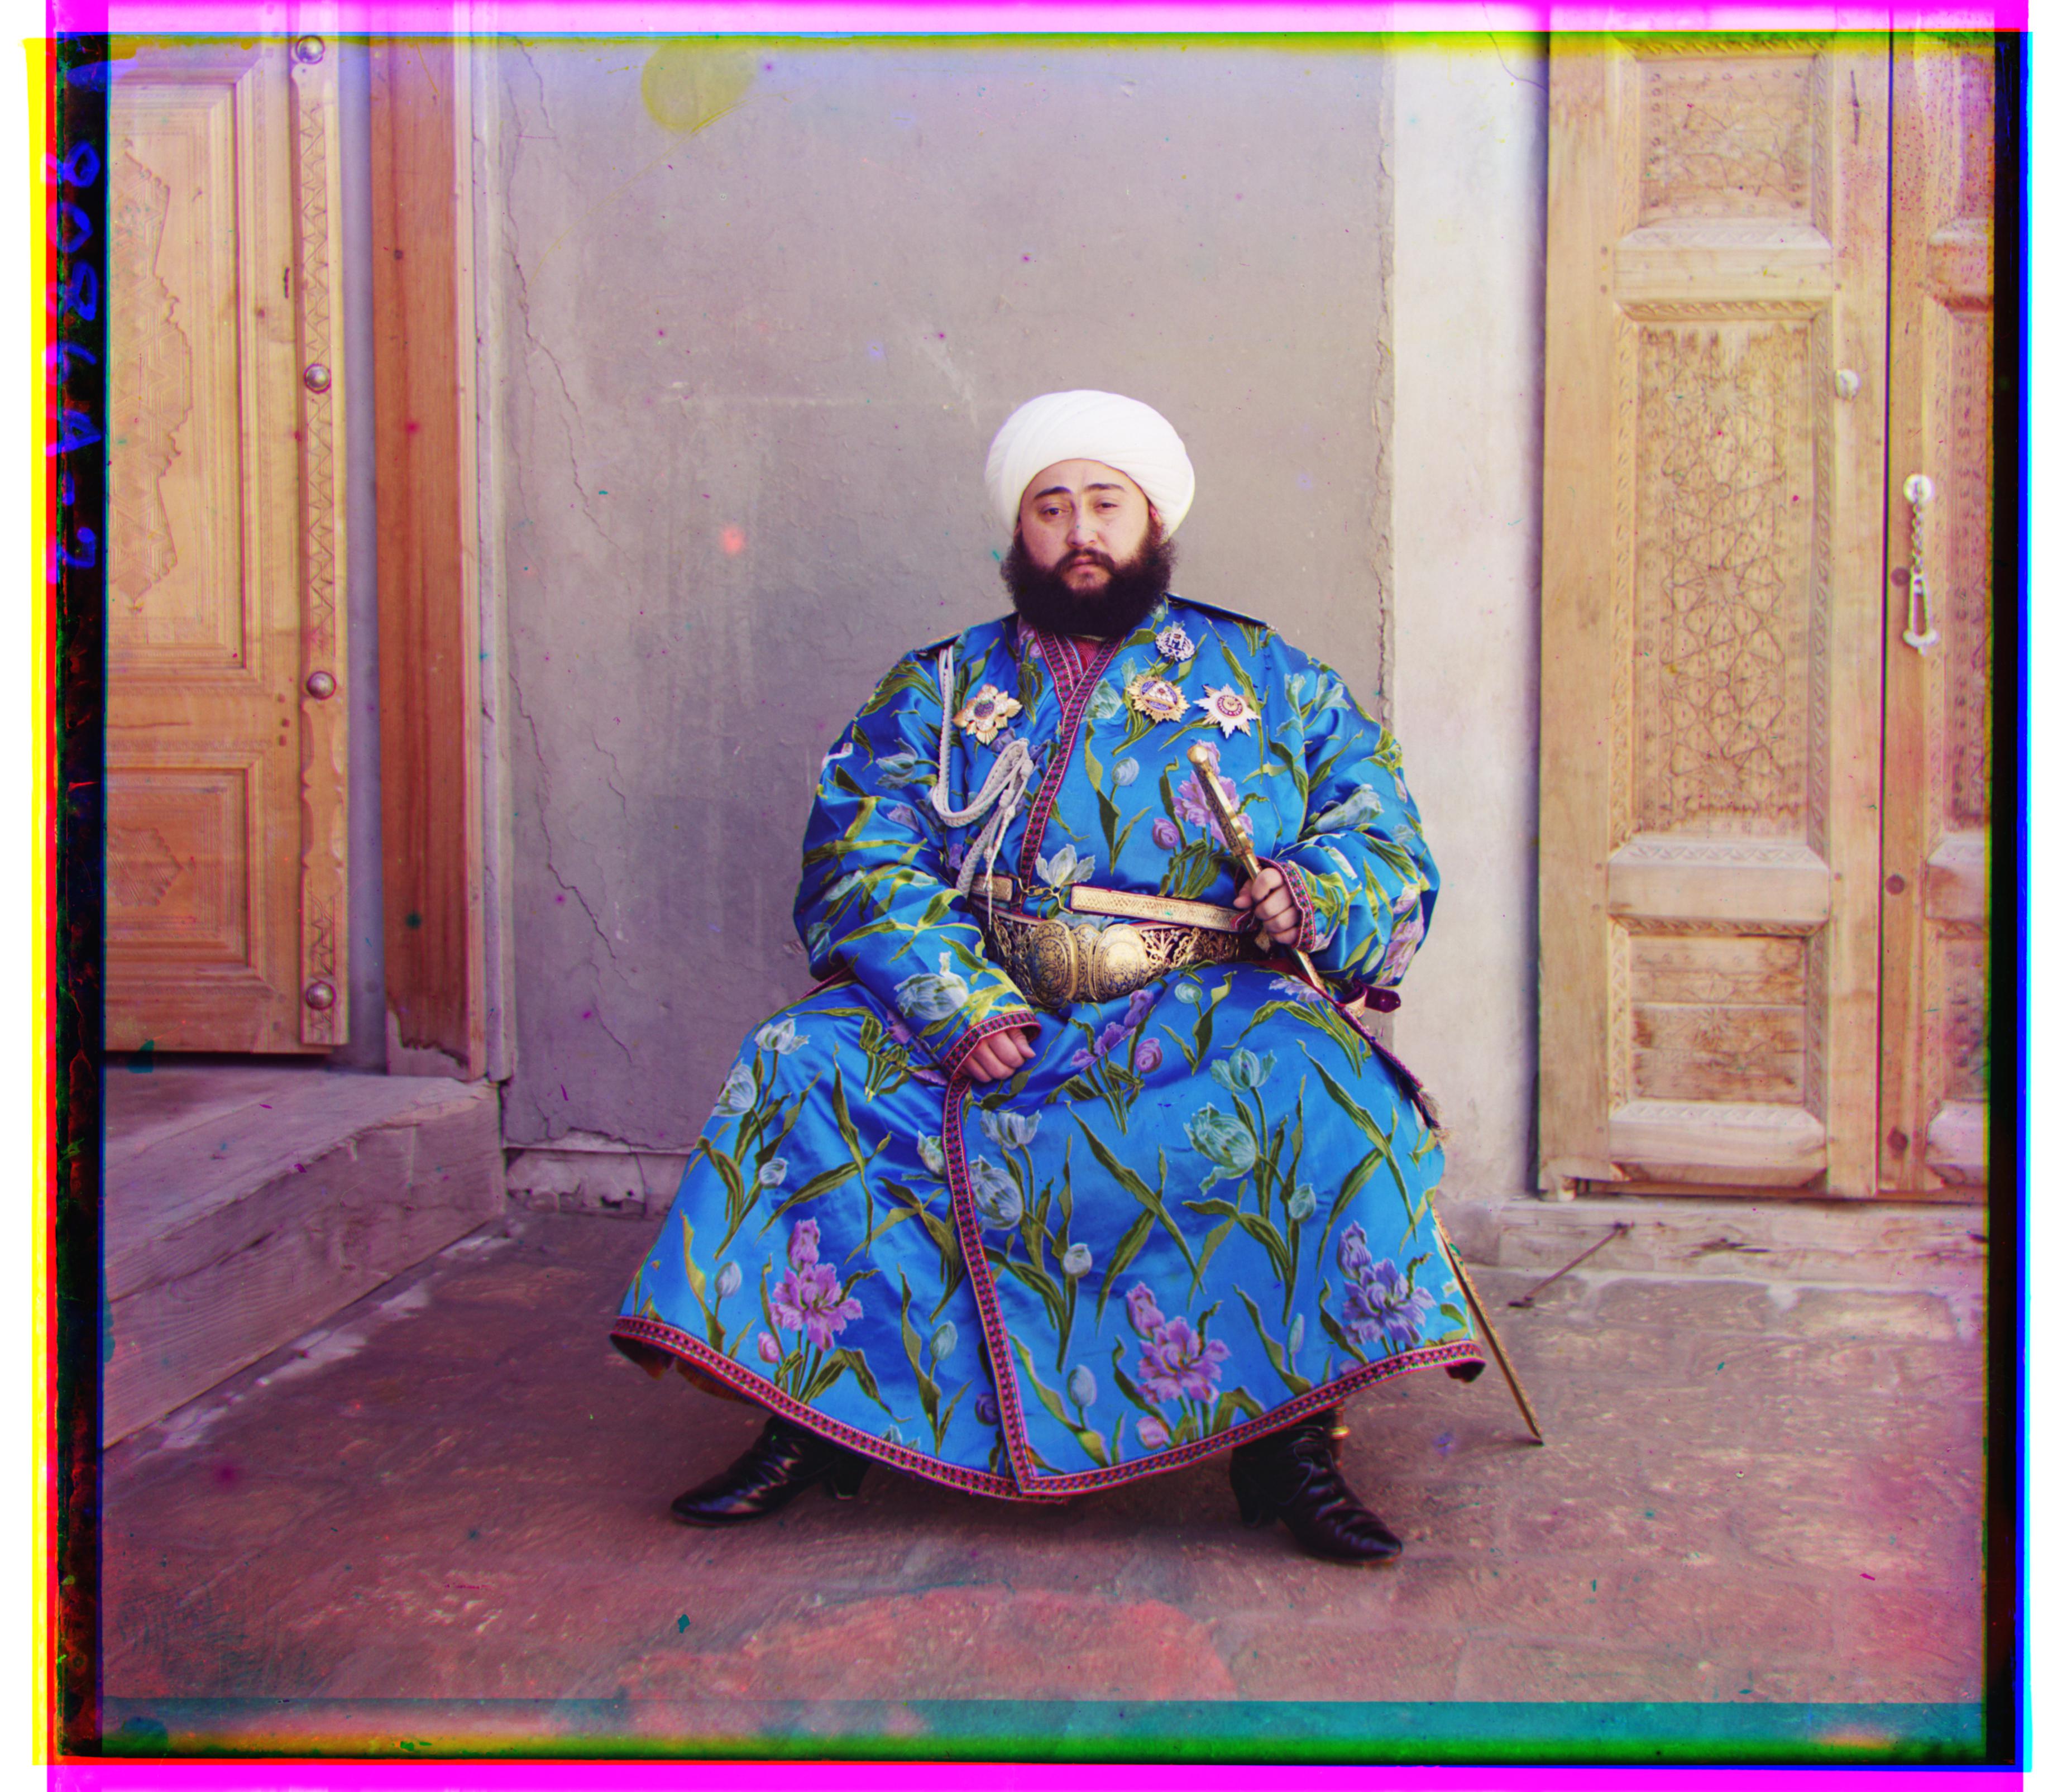
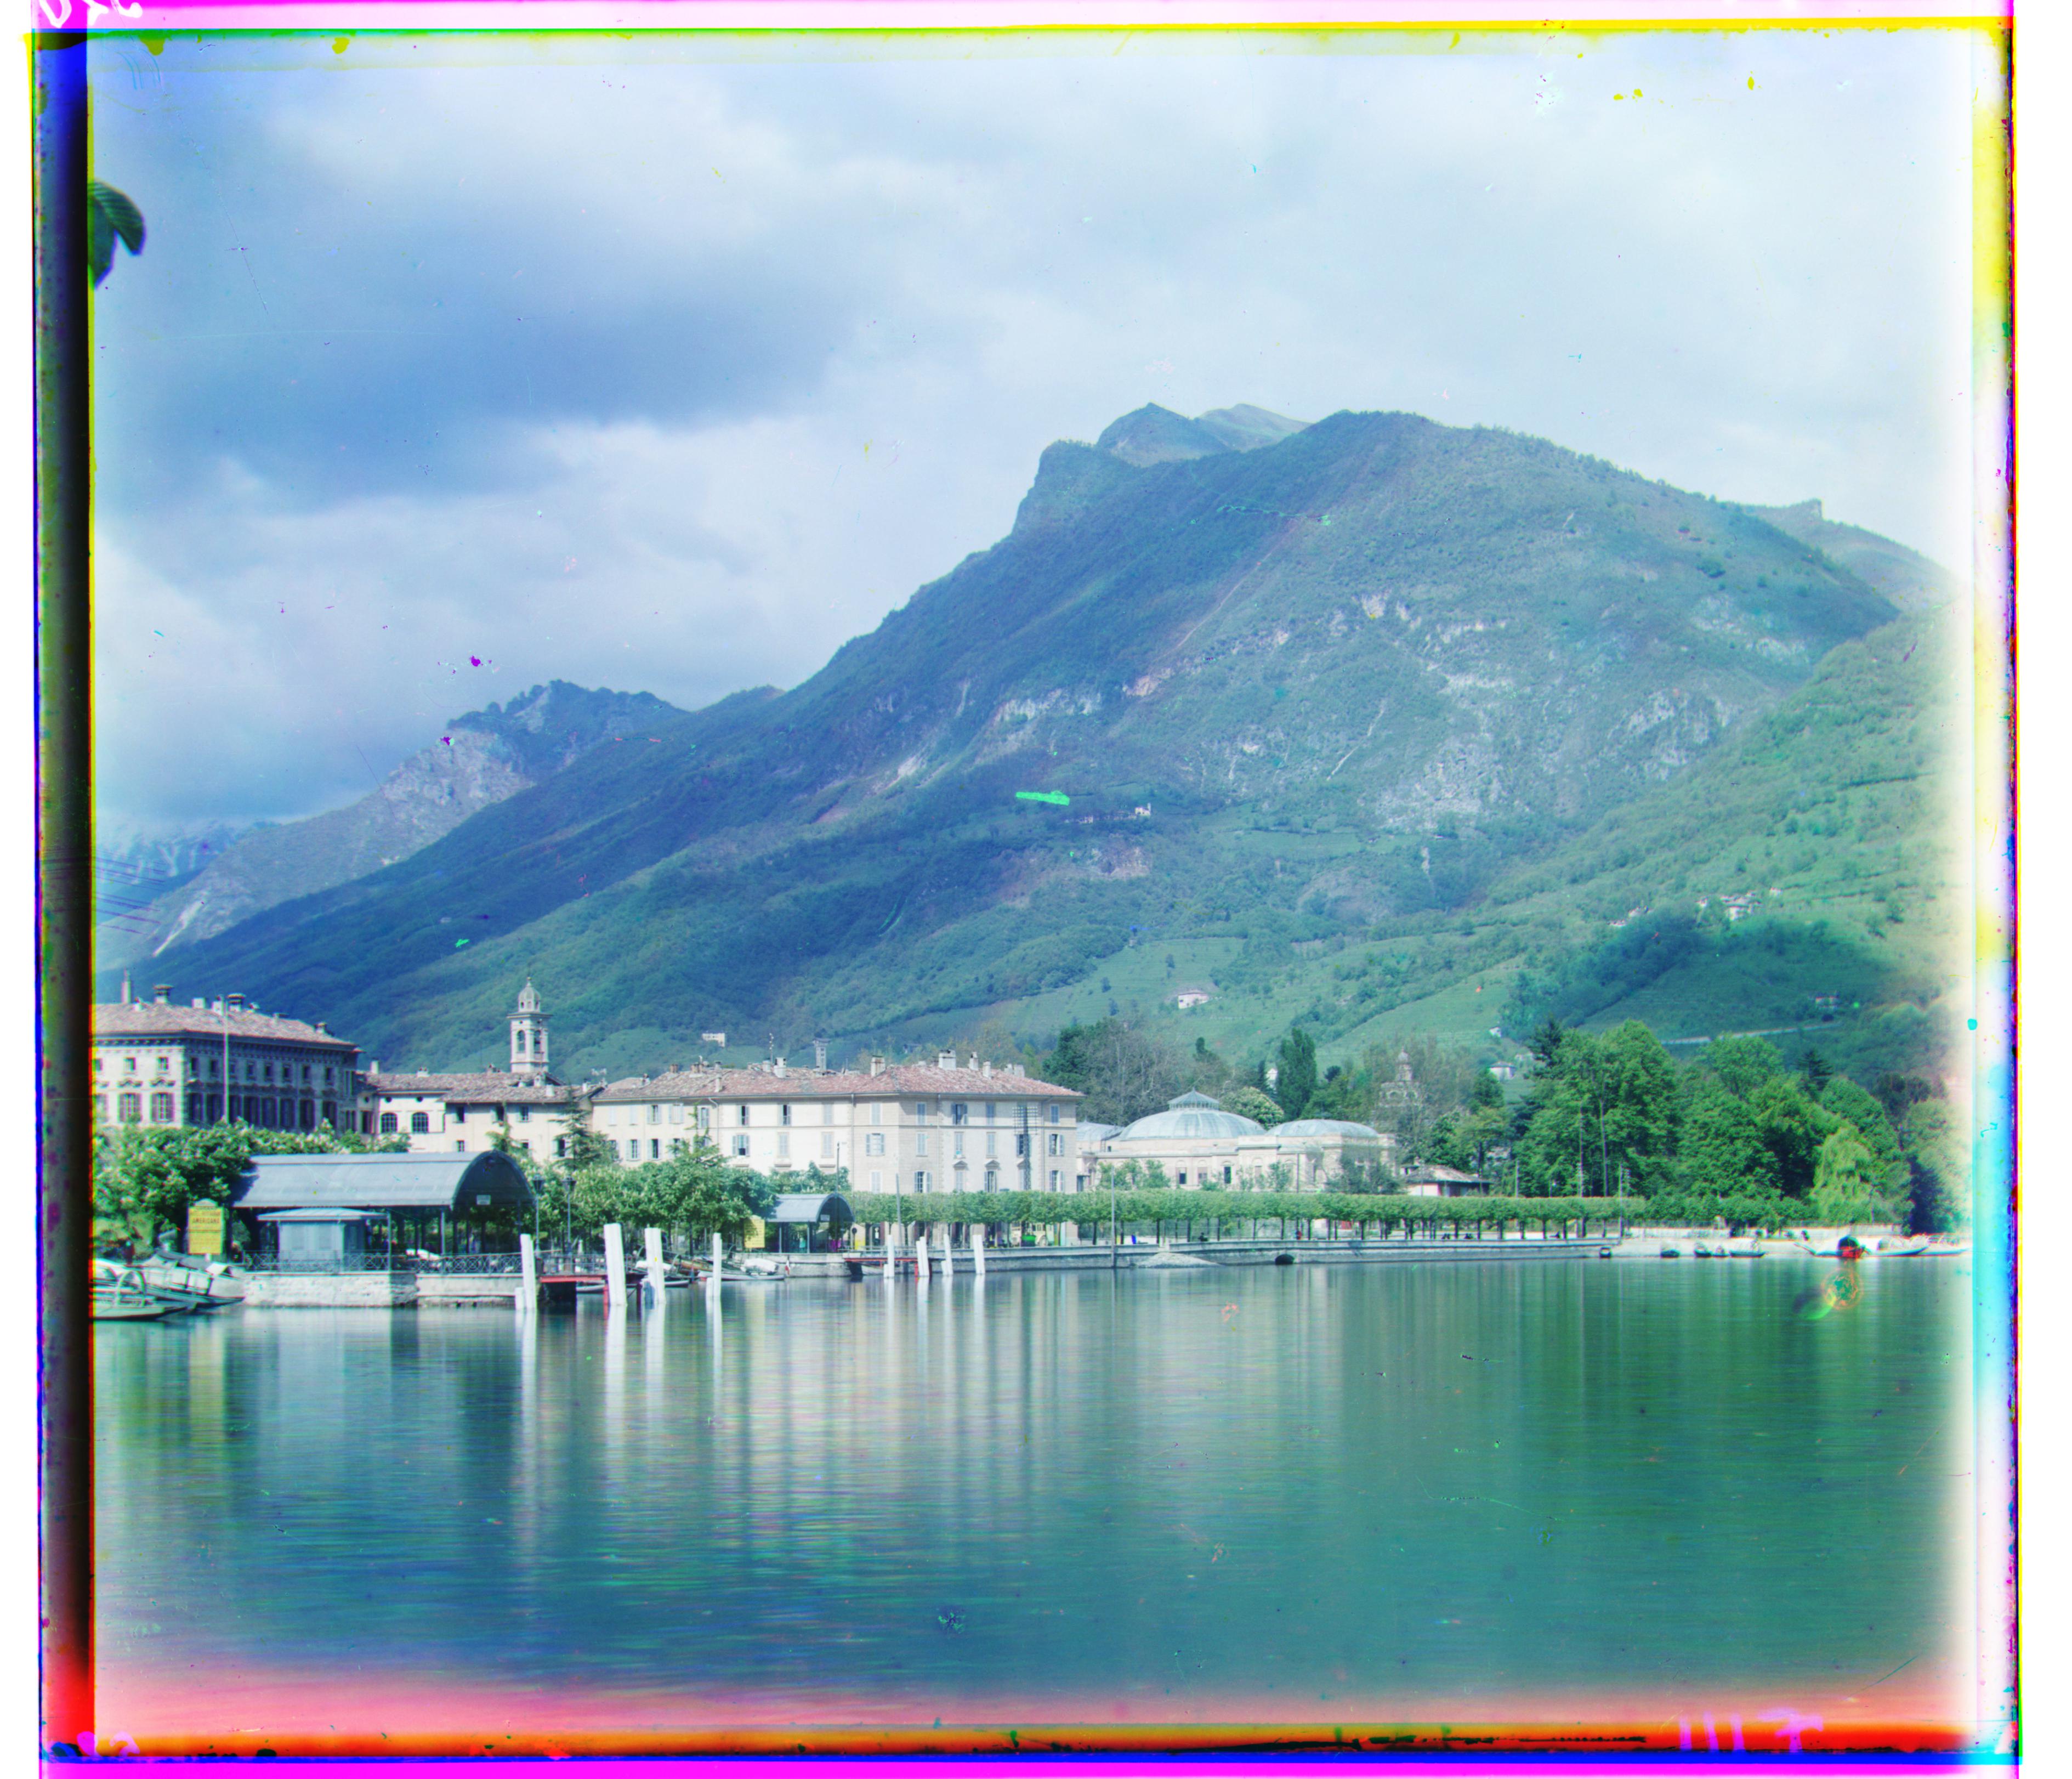
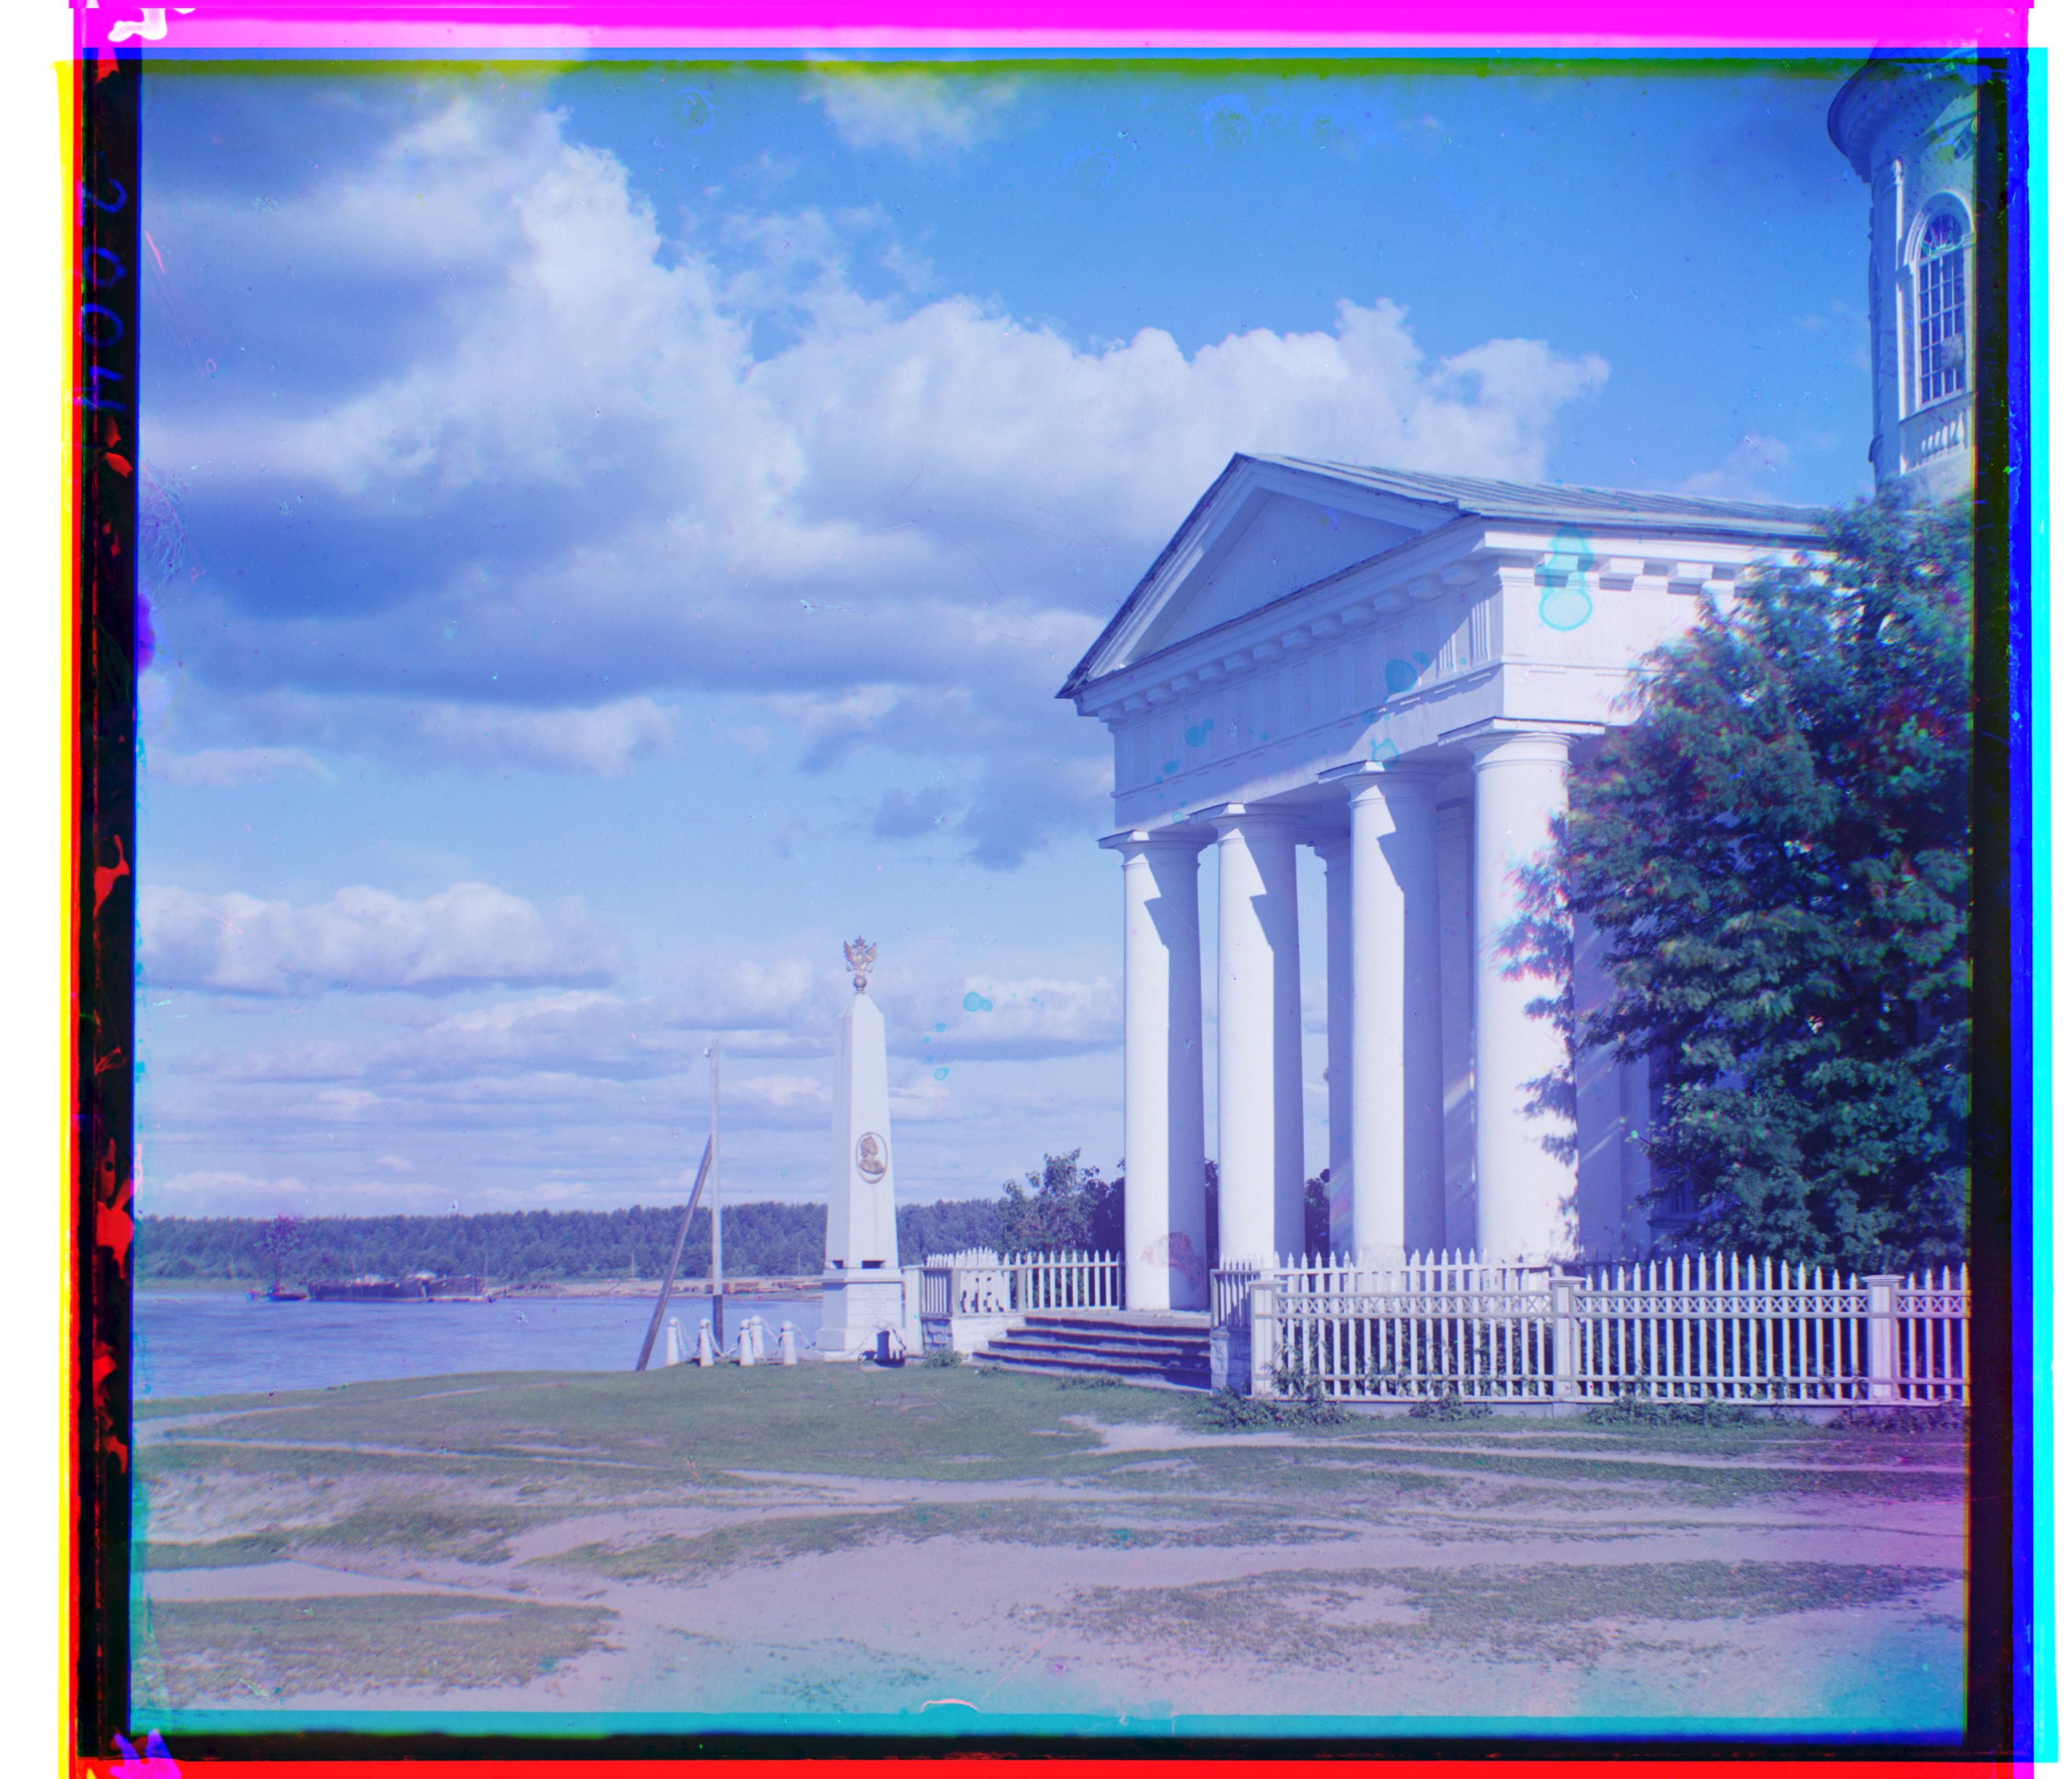
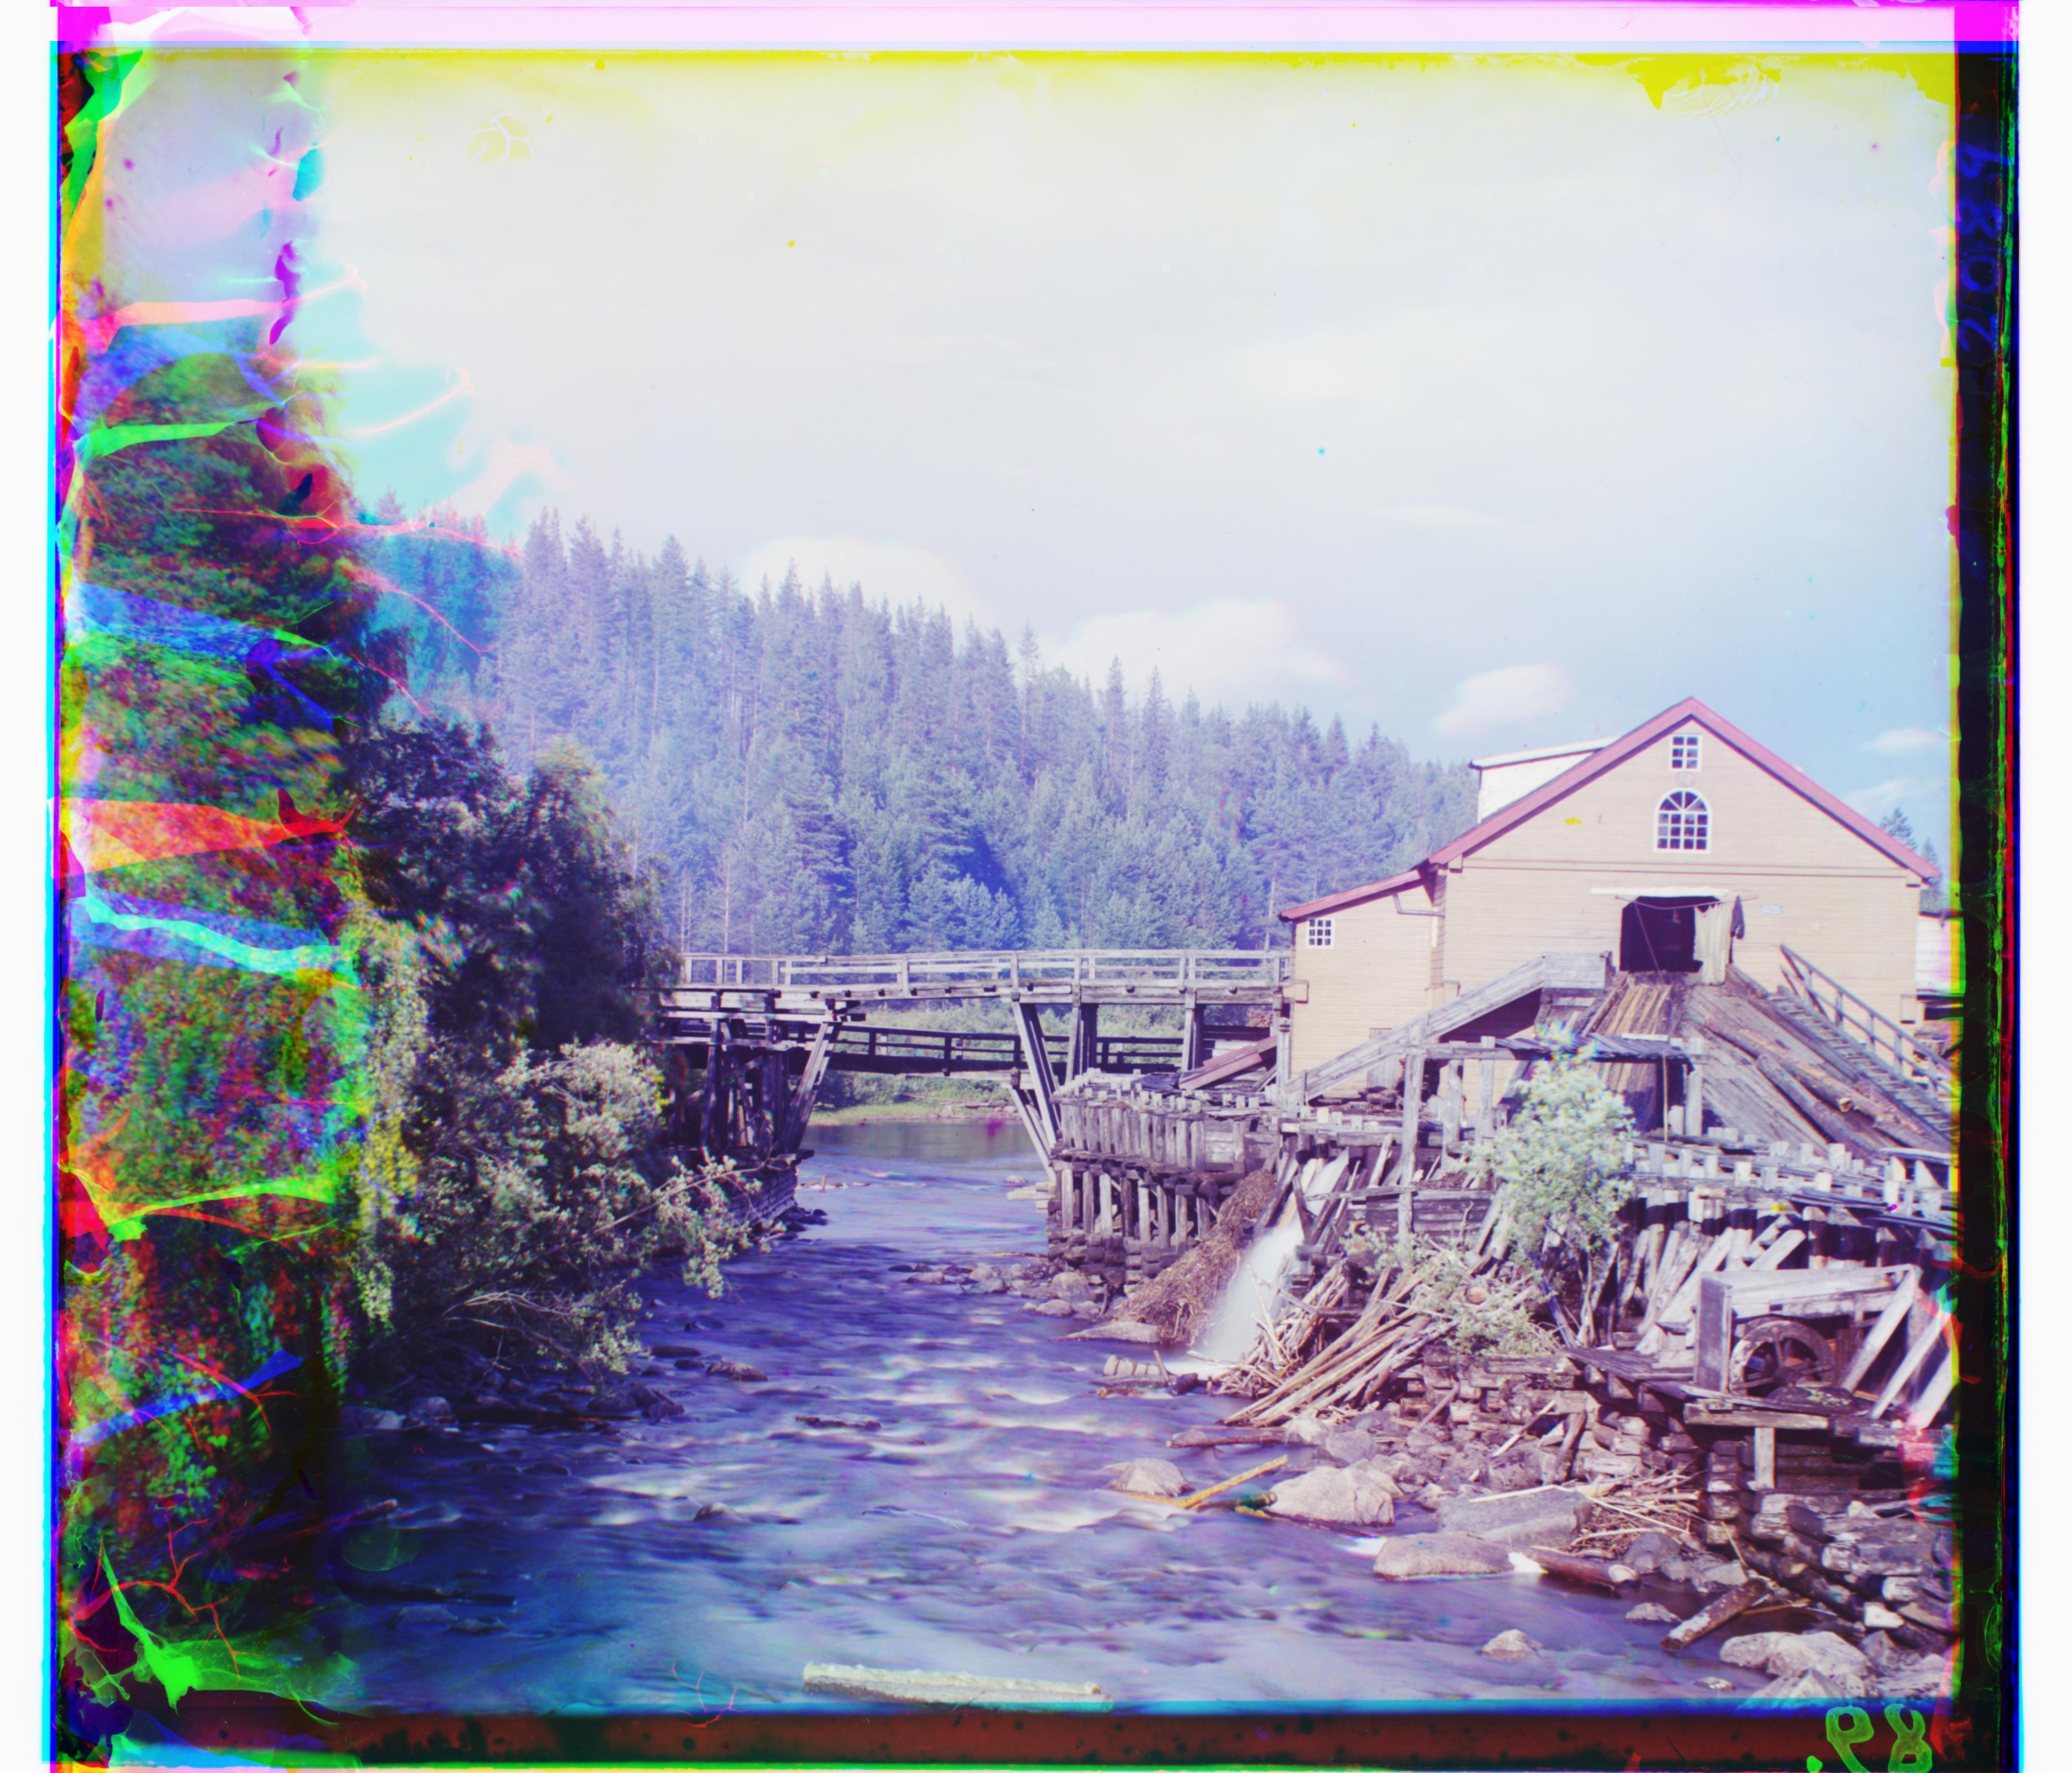
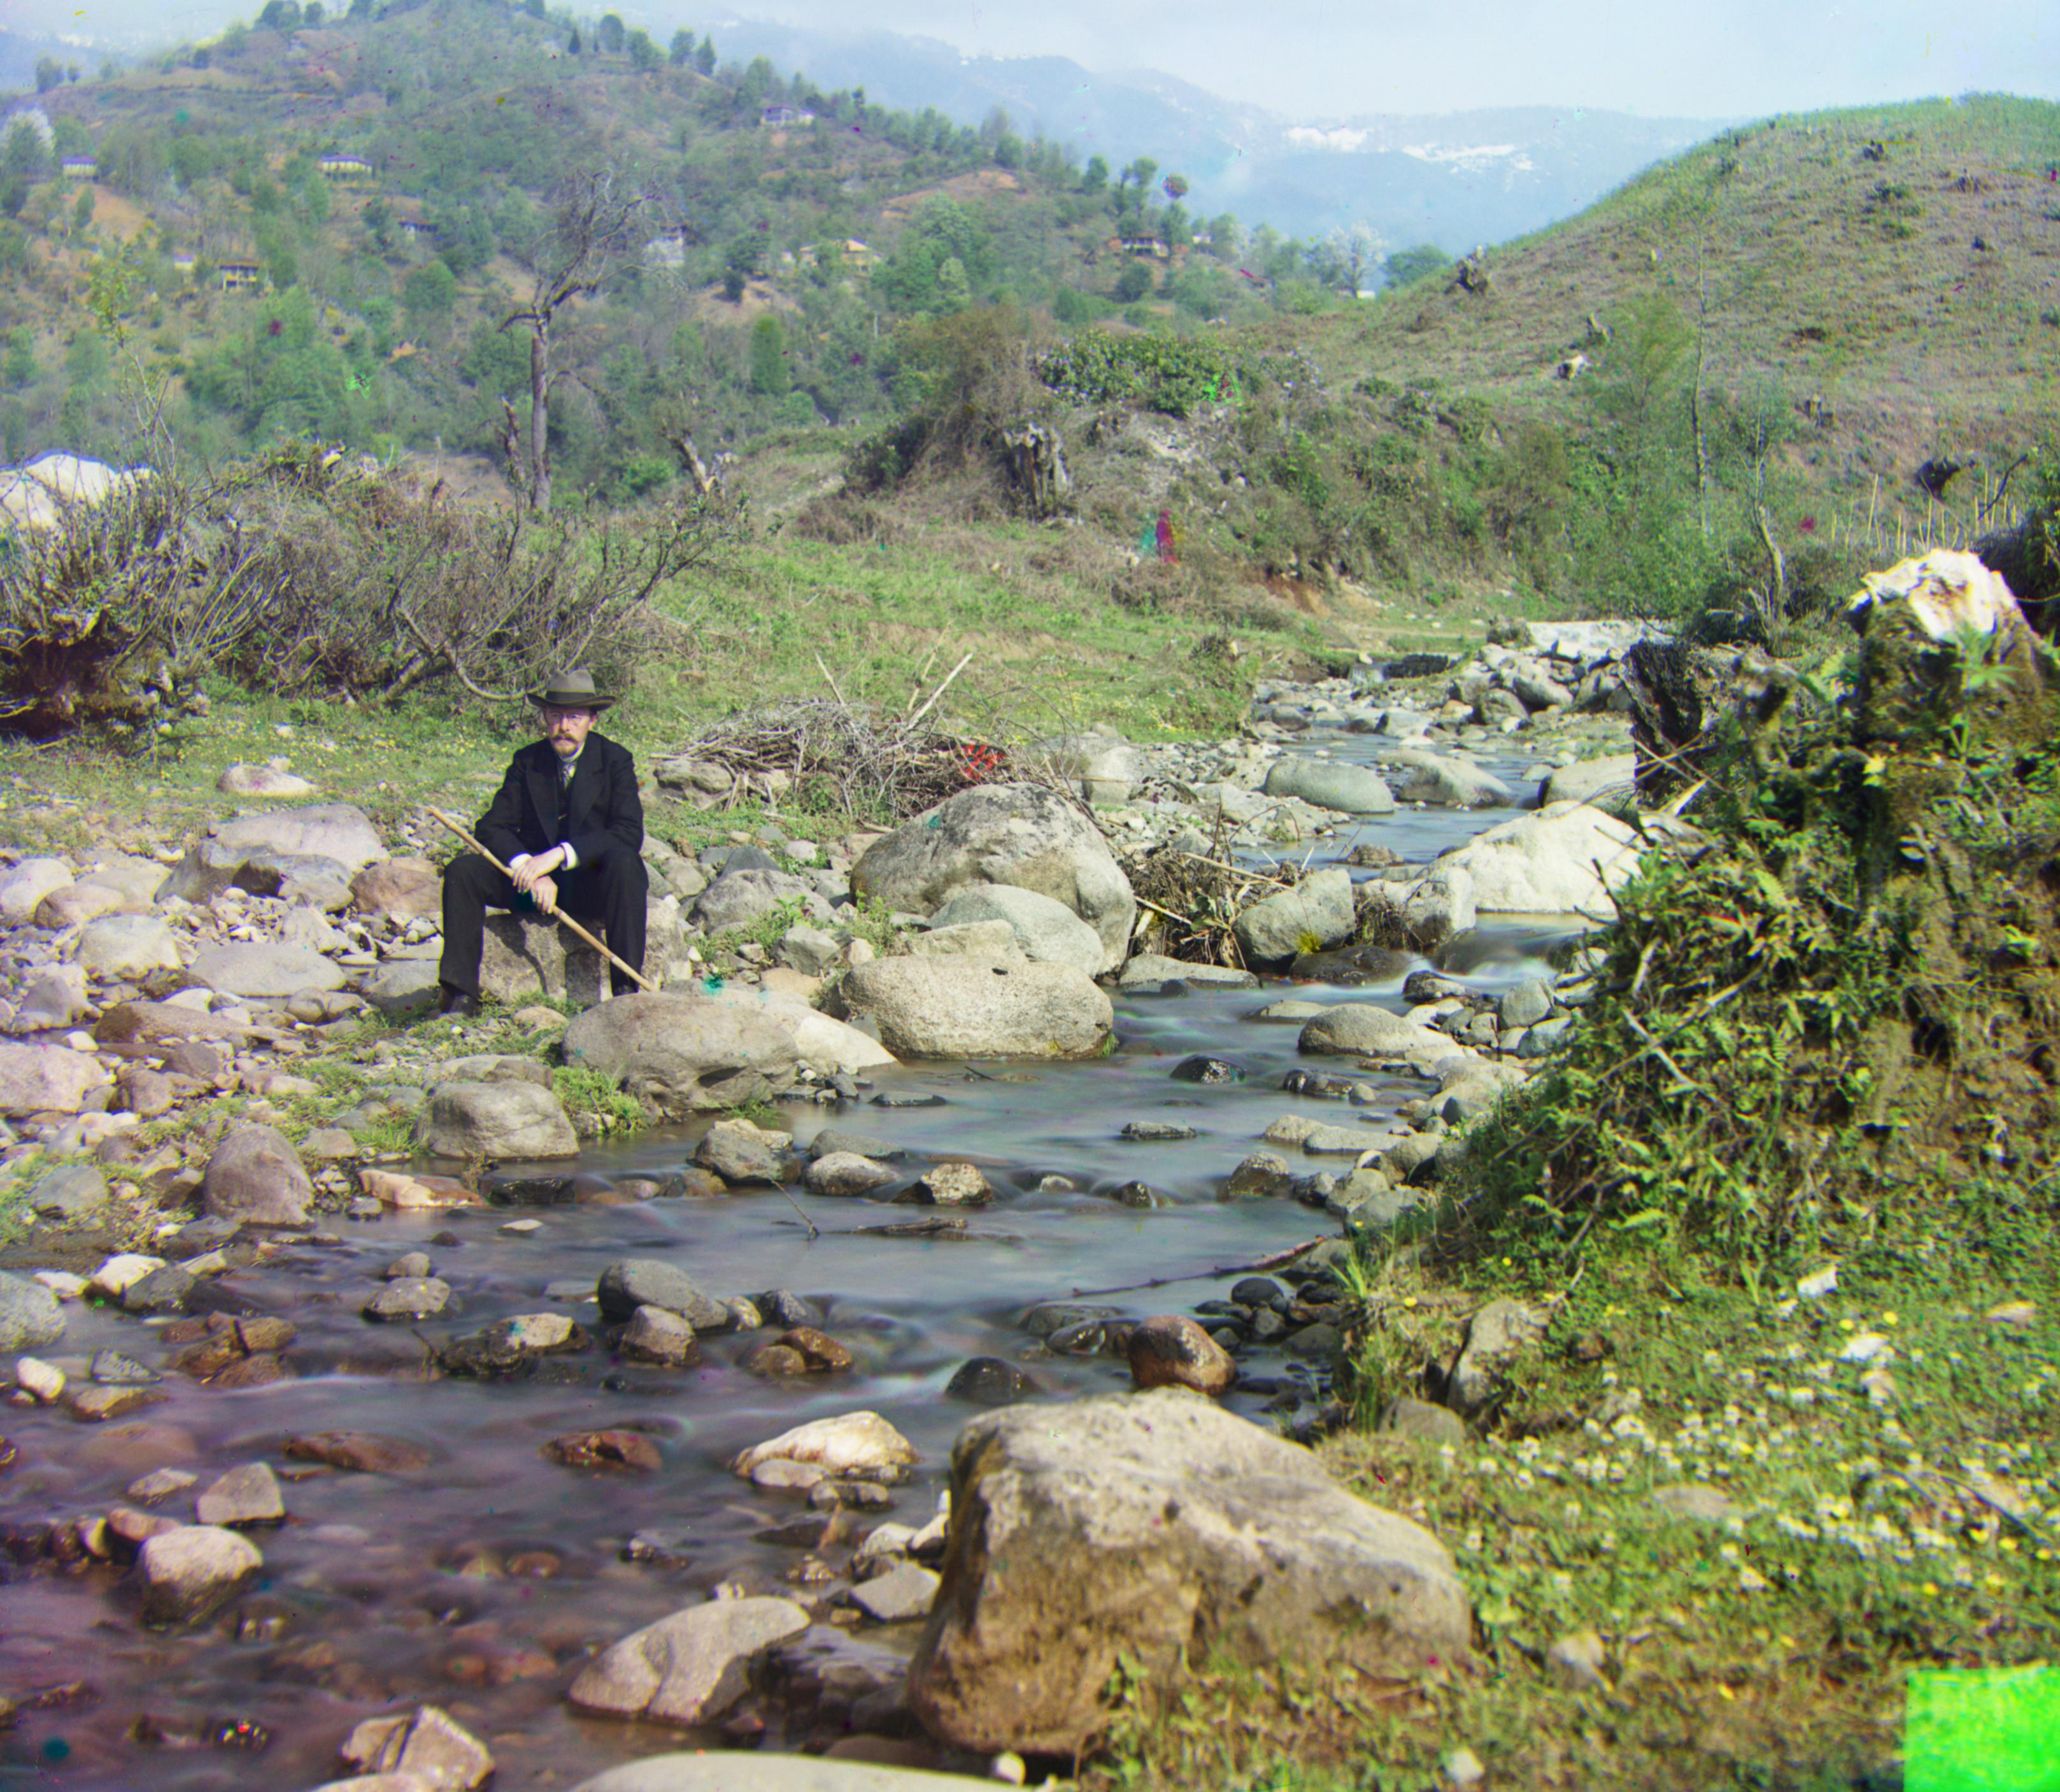
Results from this approach can be seen below. Offsets given as [y x] in accordance with the axis order of the images in numpy.
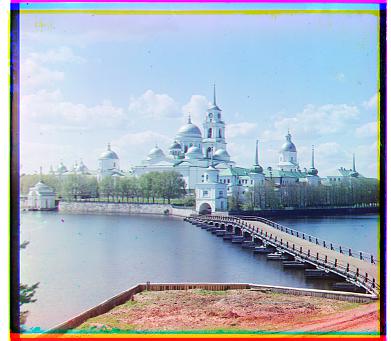
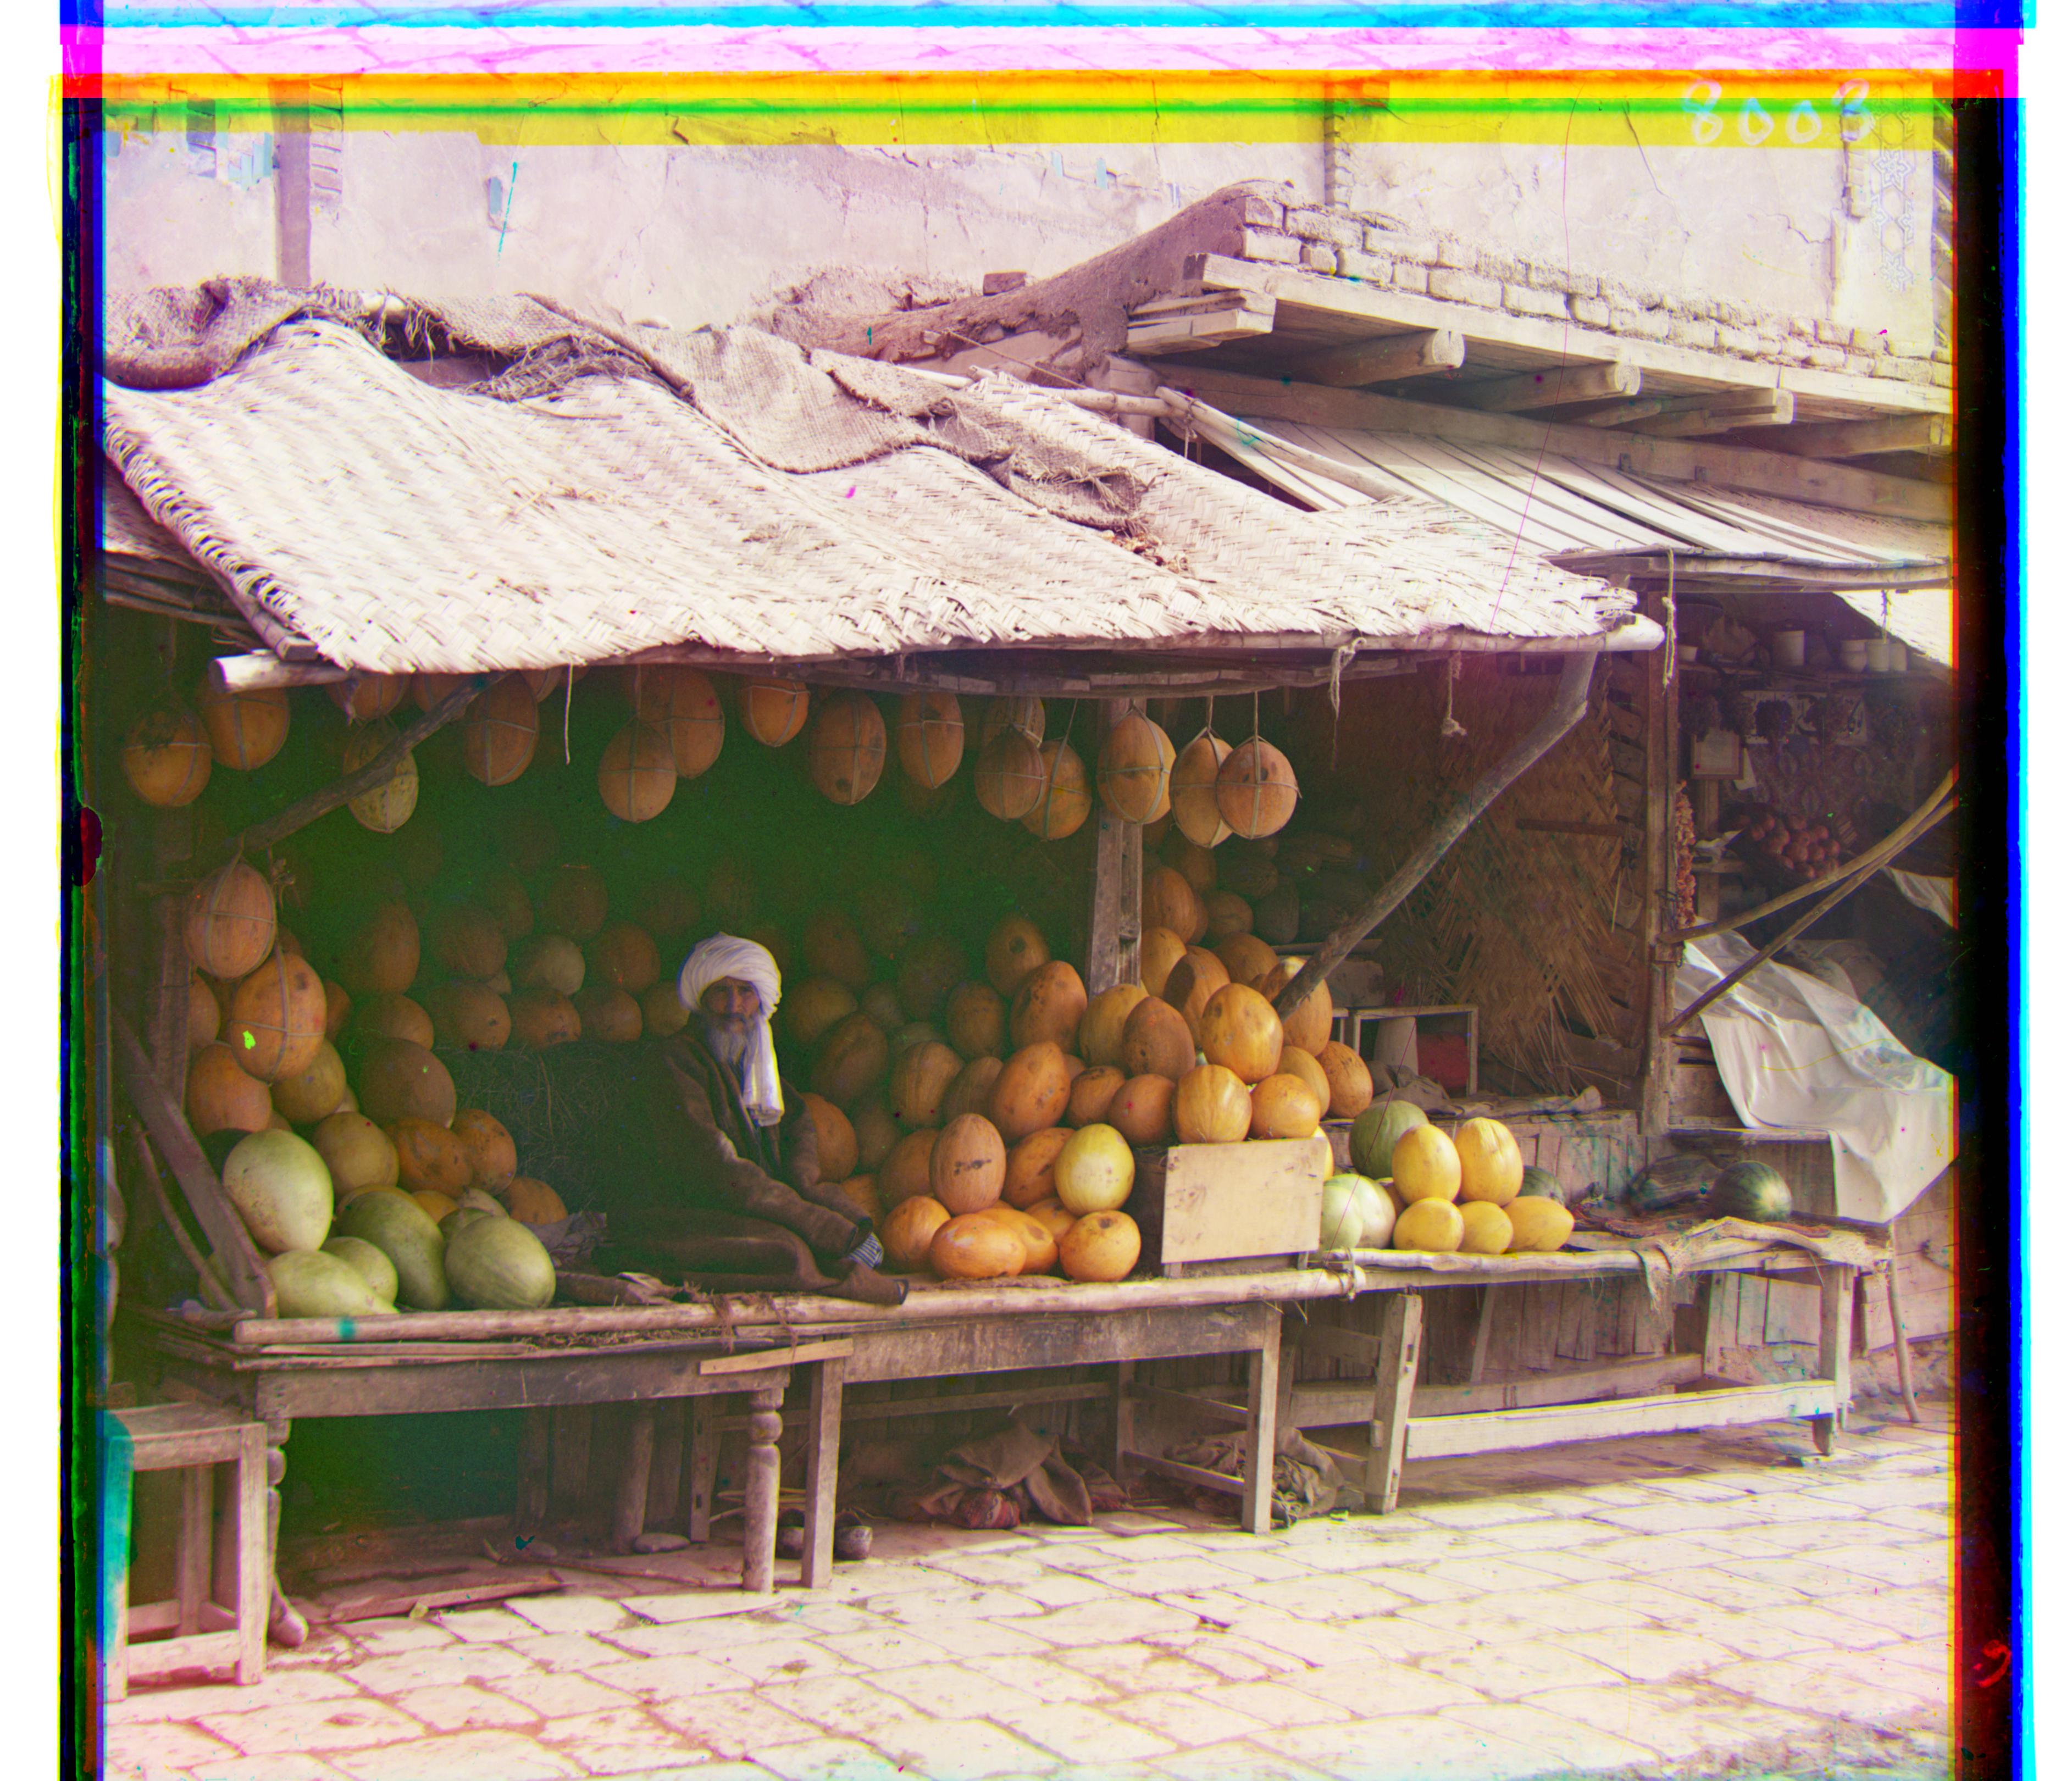
For larger images, I used a pyramid approach as outlined in the project spec. The procedure, find_best_offset_pyramid, is as follows:
find_best_offset.find_best_offset_pyramid on those scaled images, double the resulting offset, then use find_best_offset with a maximum offset of 1px to fine-tune the result.Results shown below.

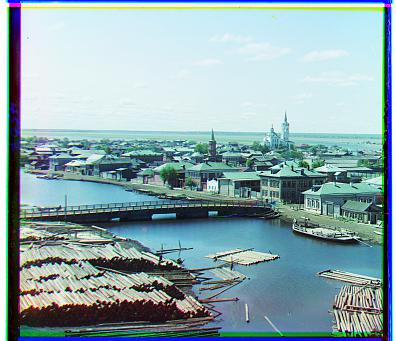
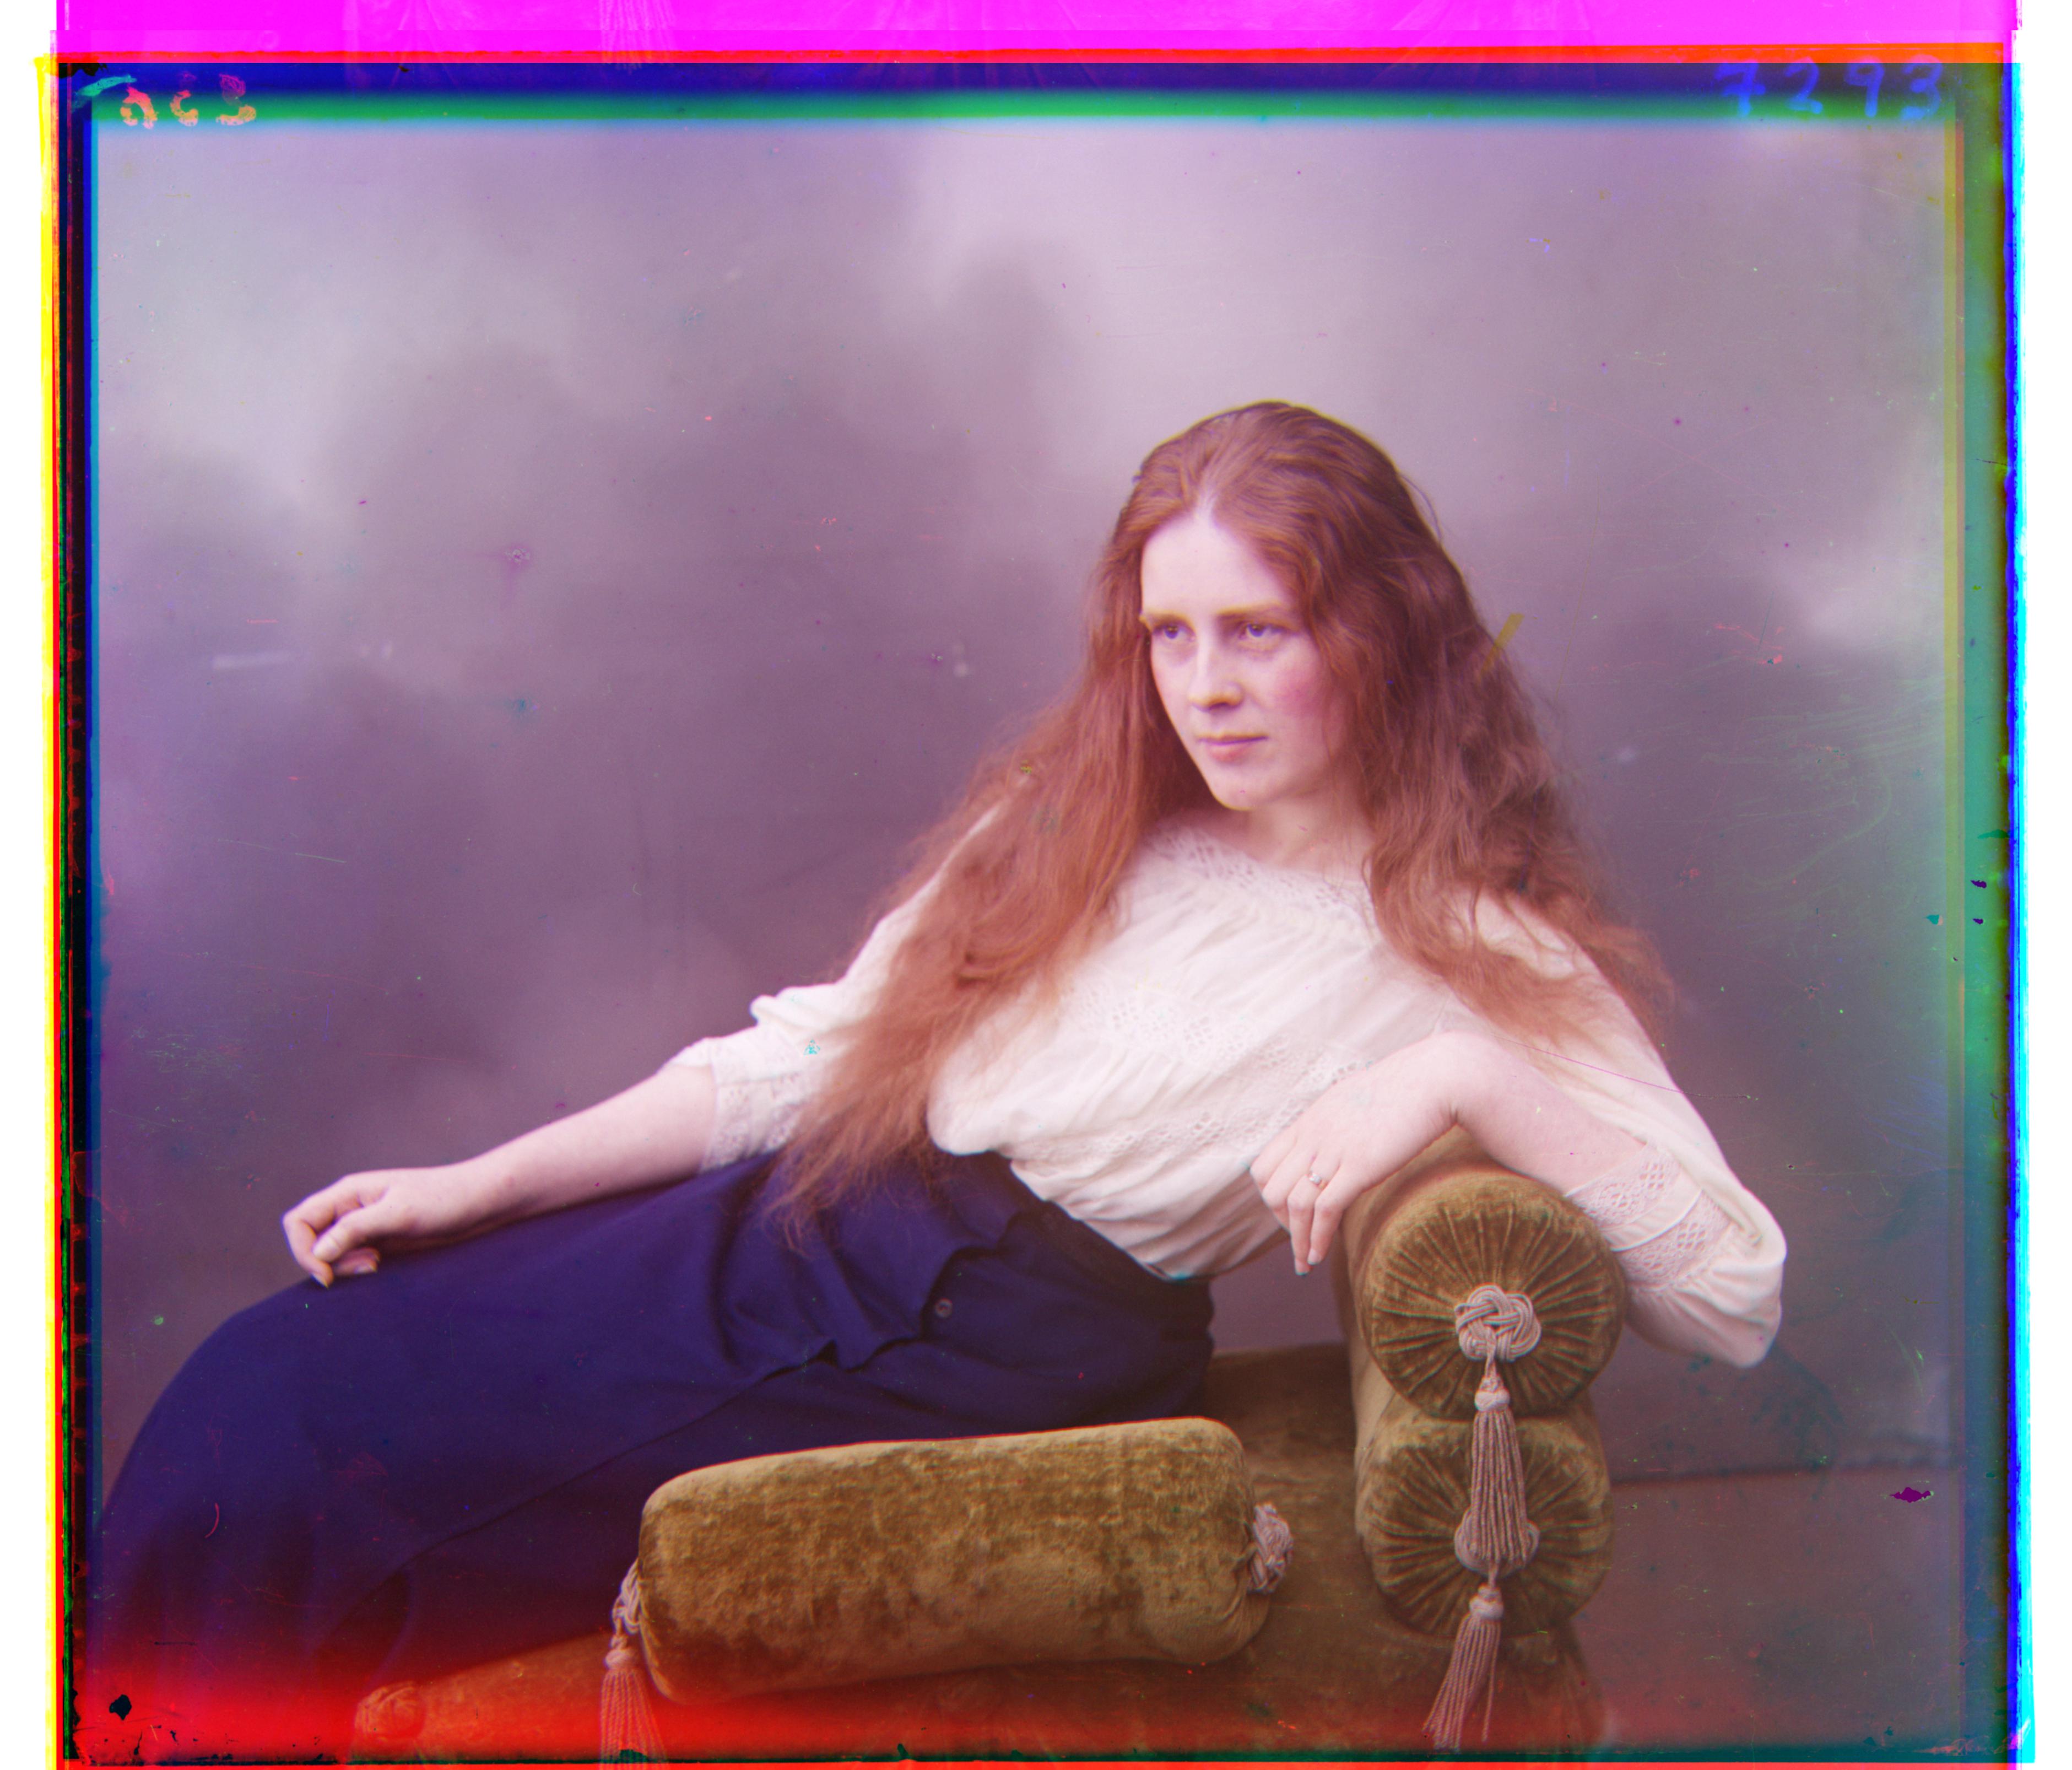
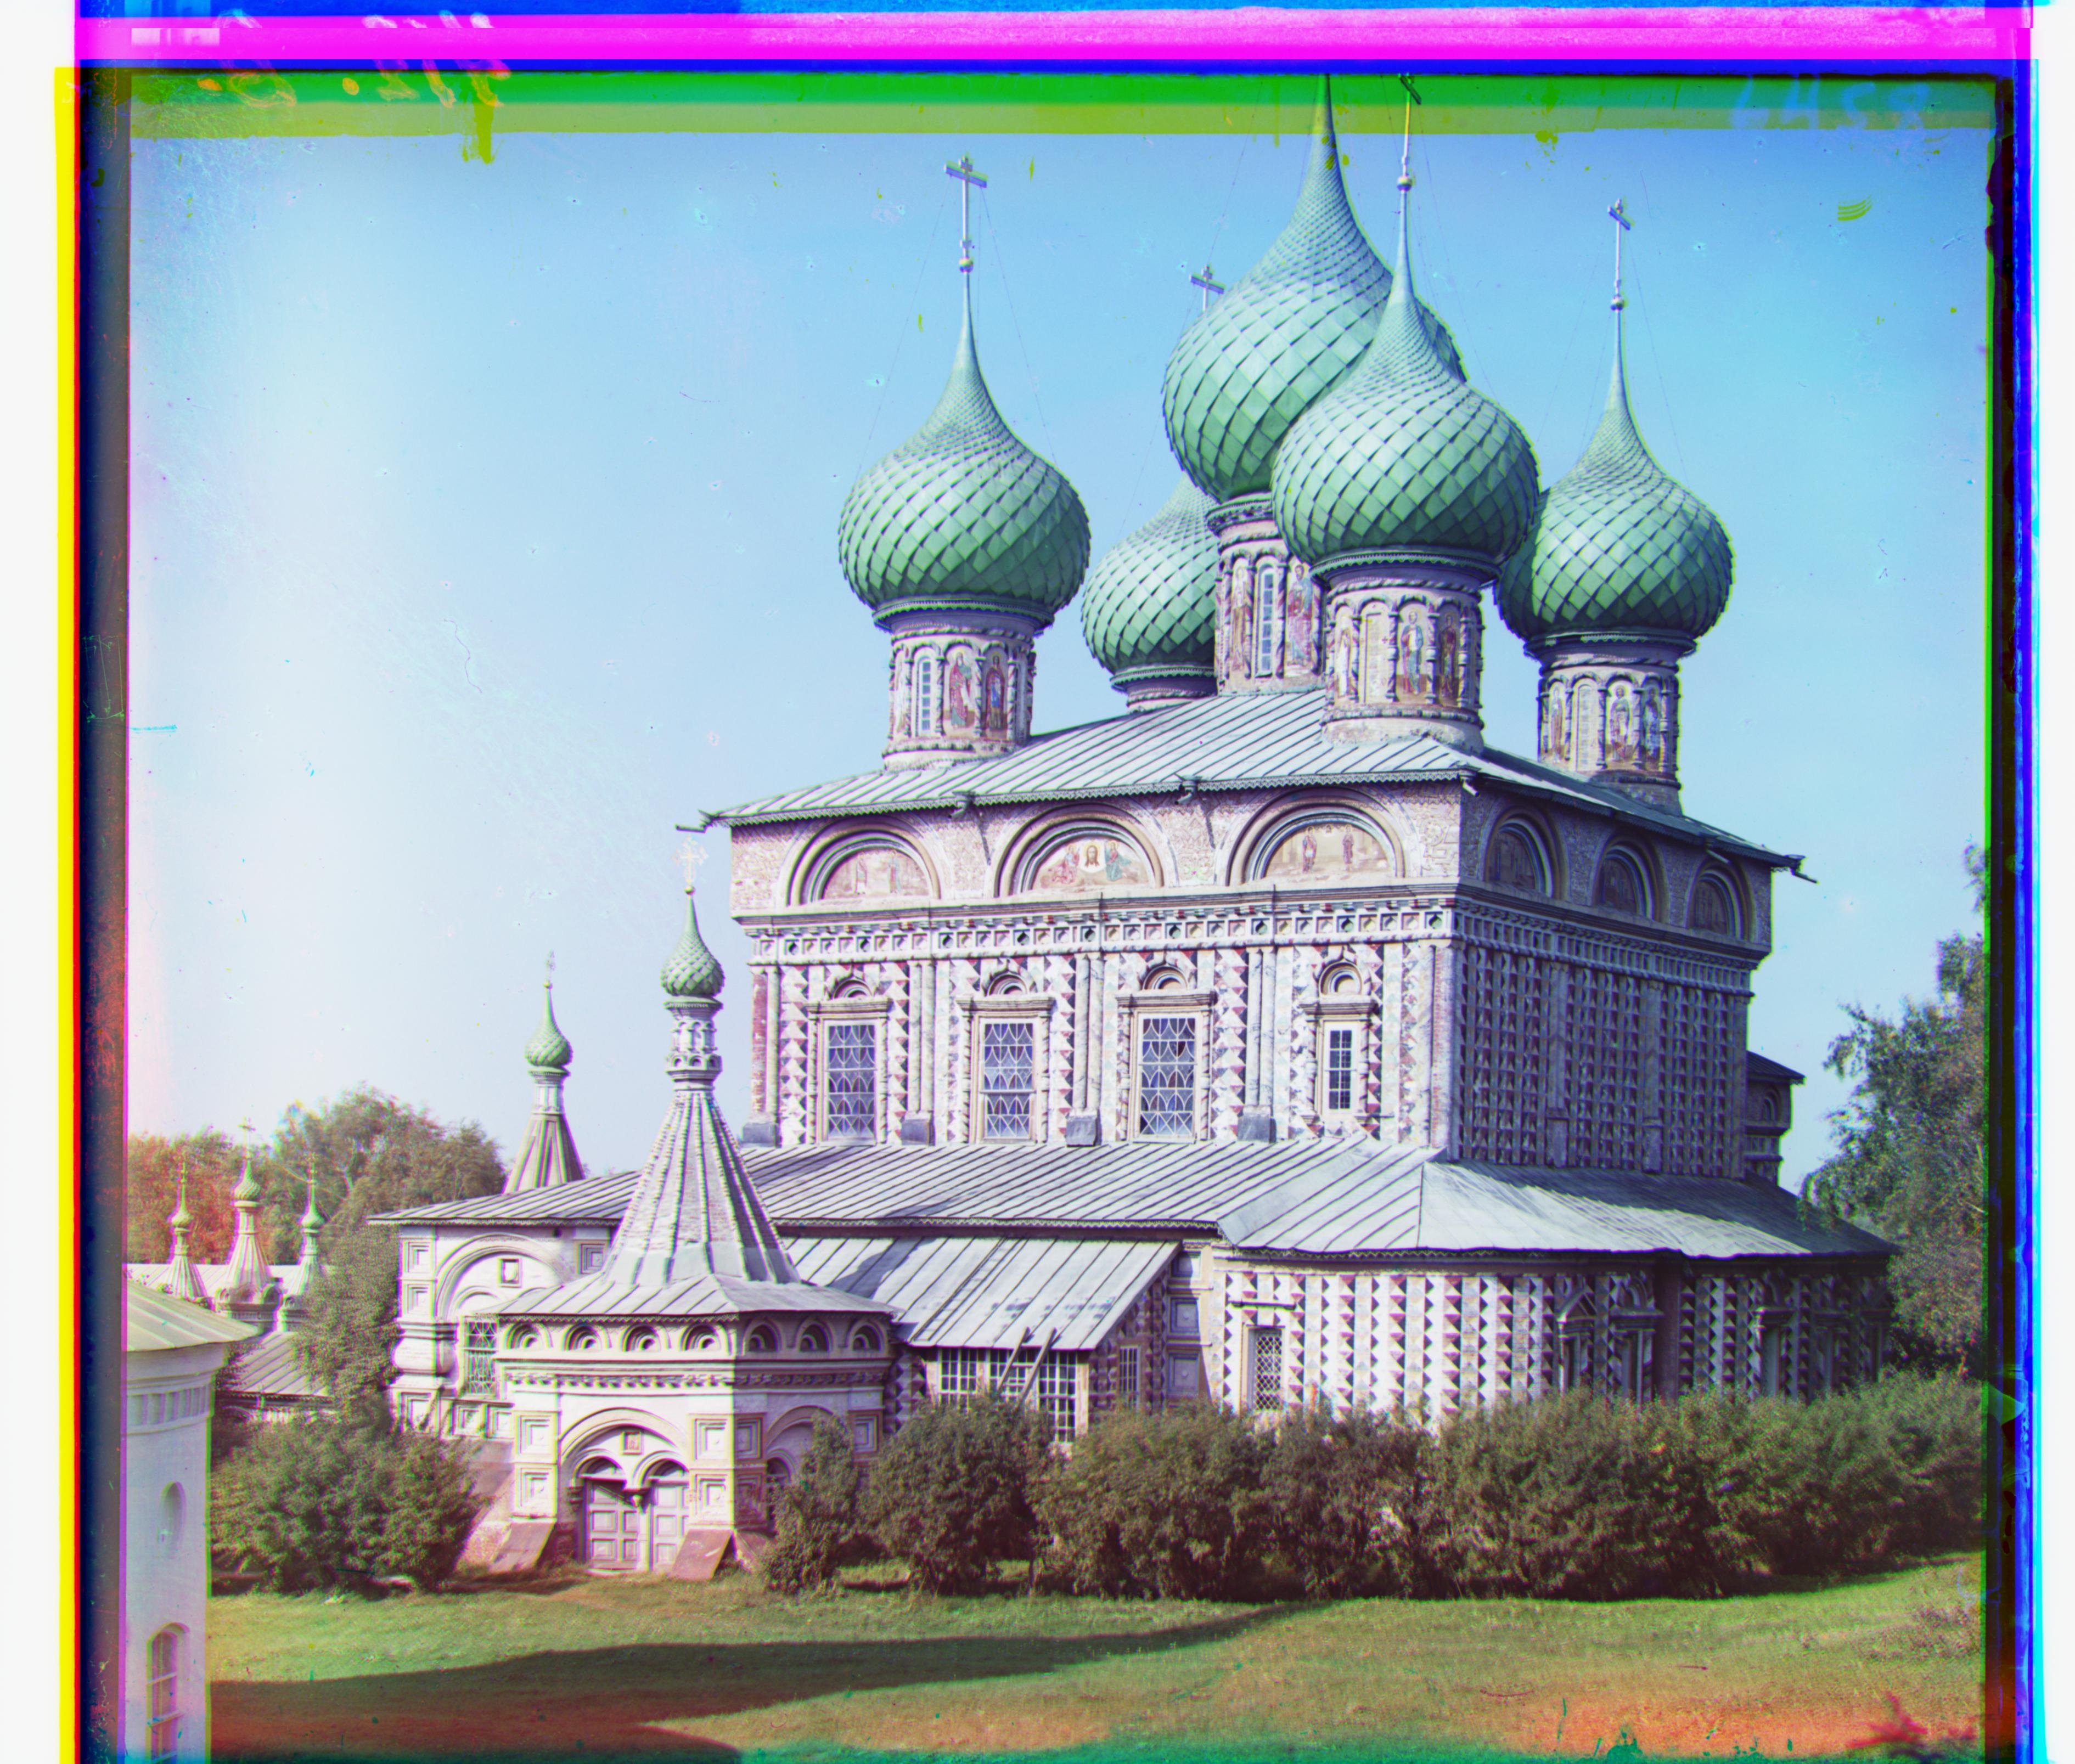
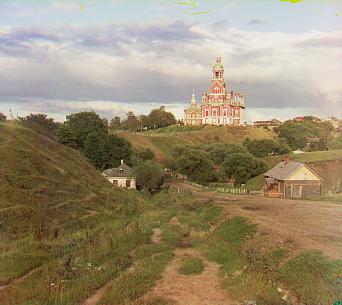
This one doesn't turn out great with default settings, since the blue channel is dissimilar to the others, but that can be resolved by using the green channel as the base instead of blue:
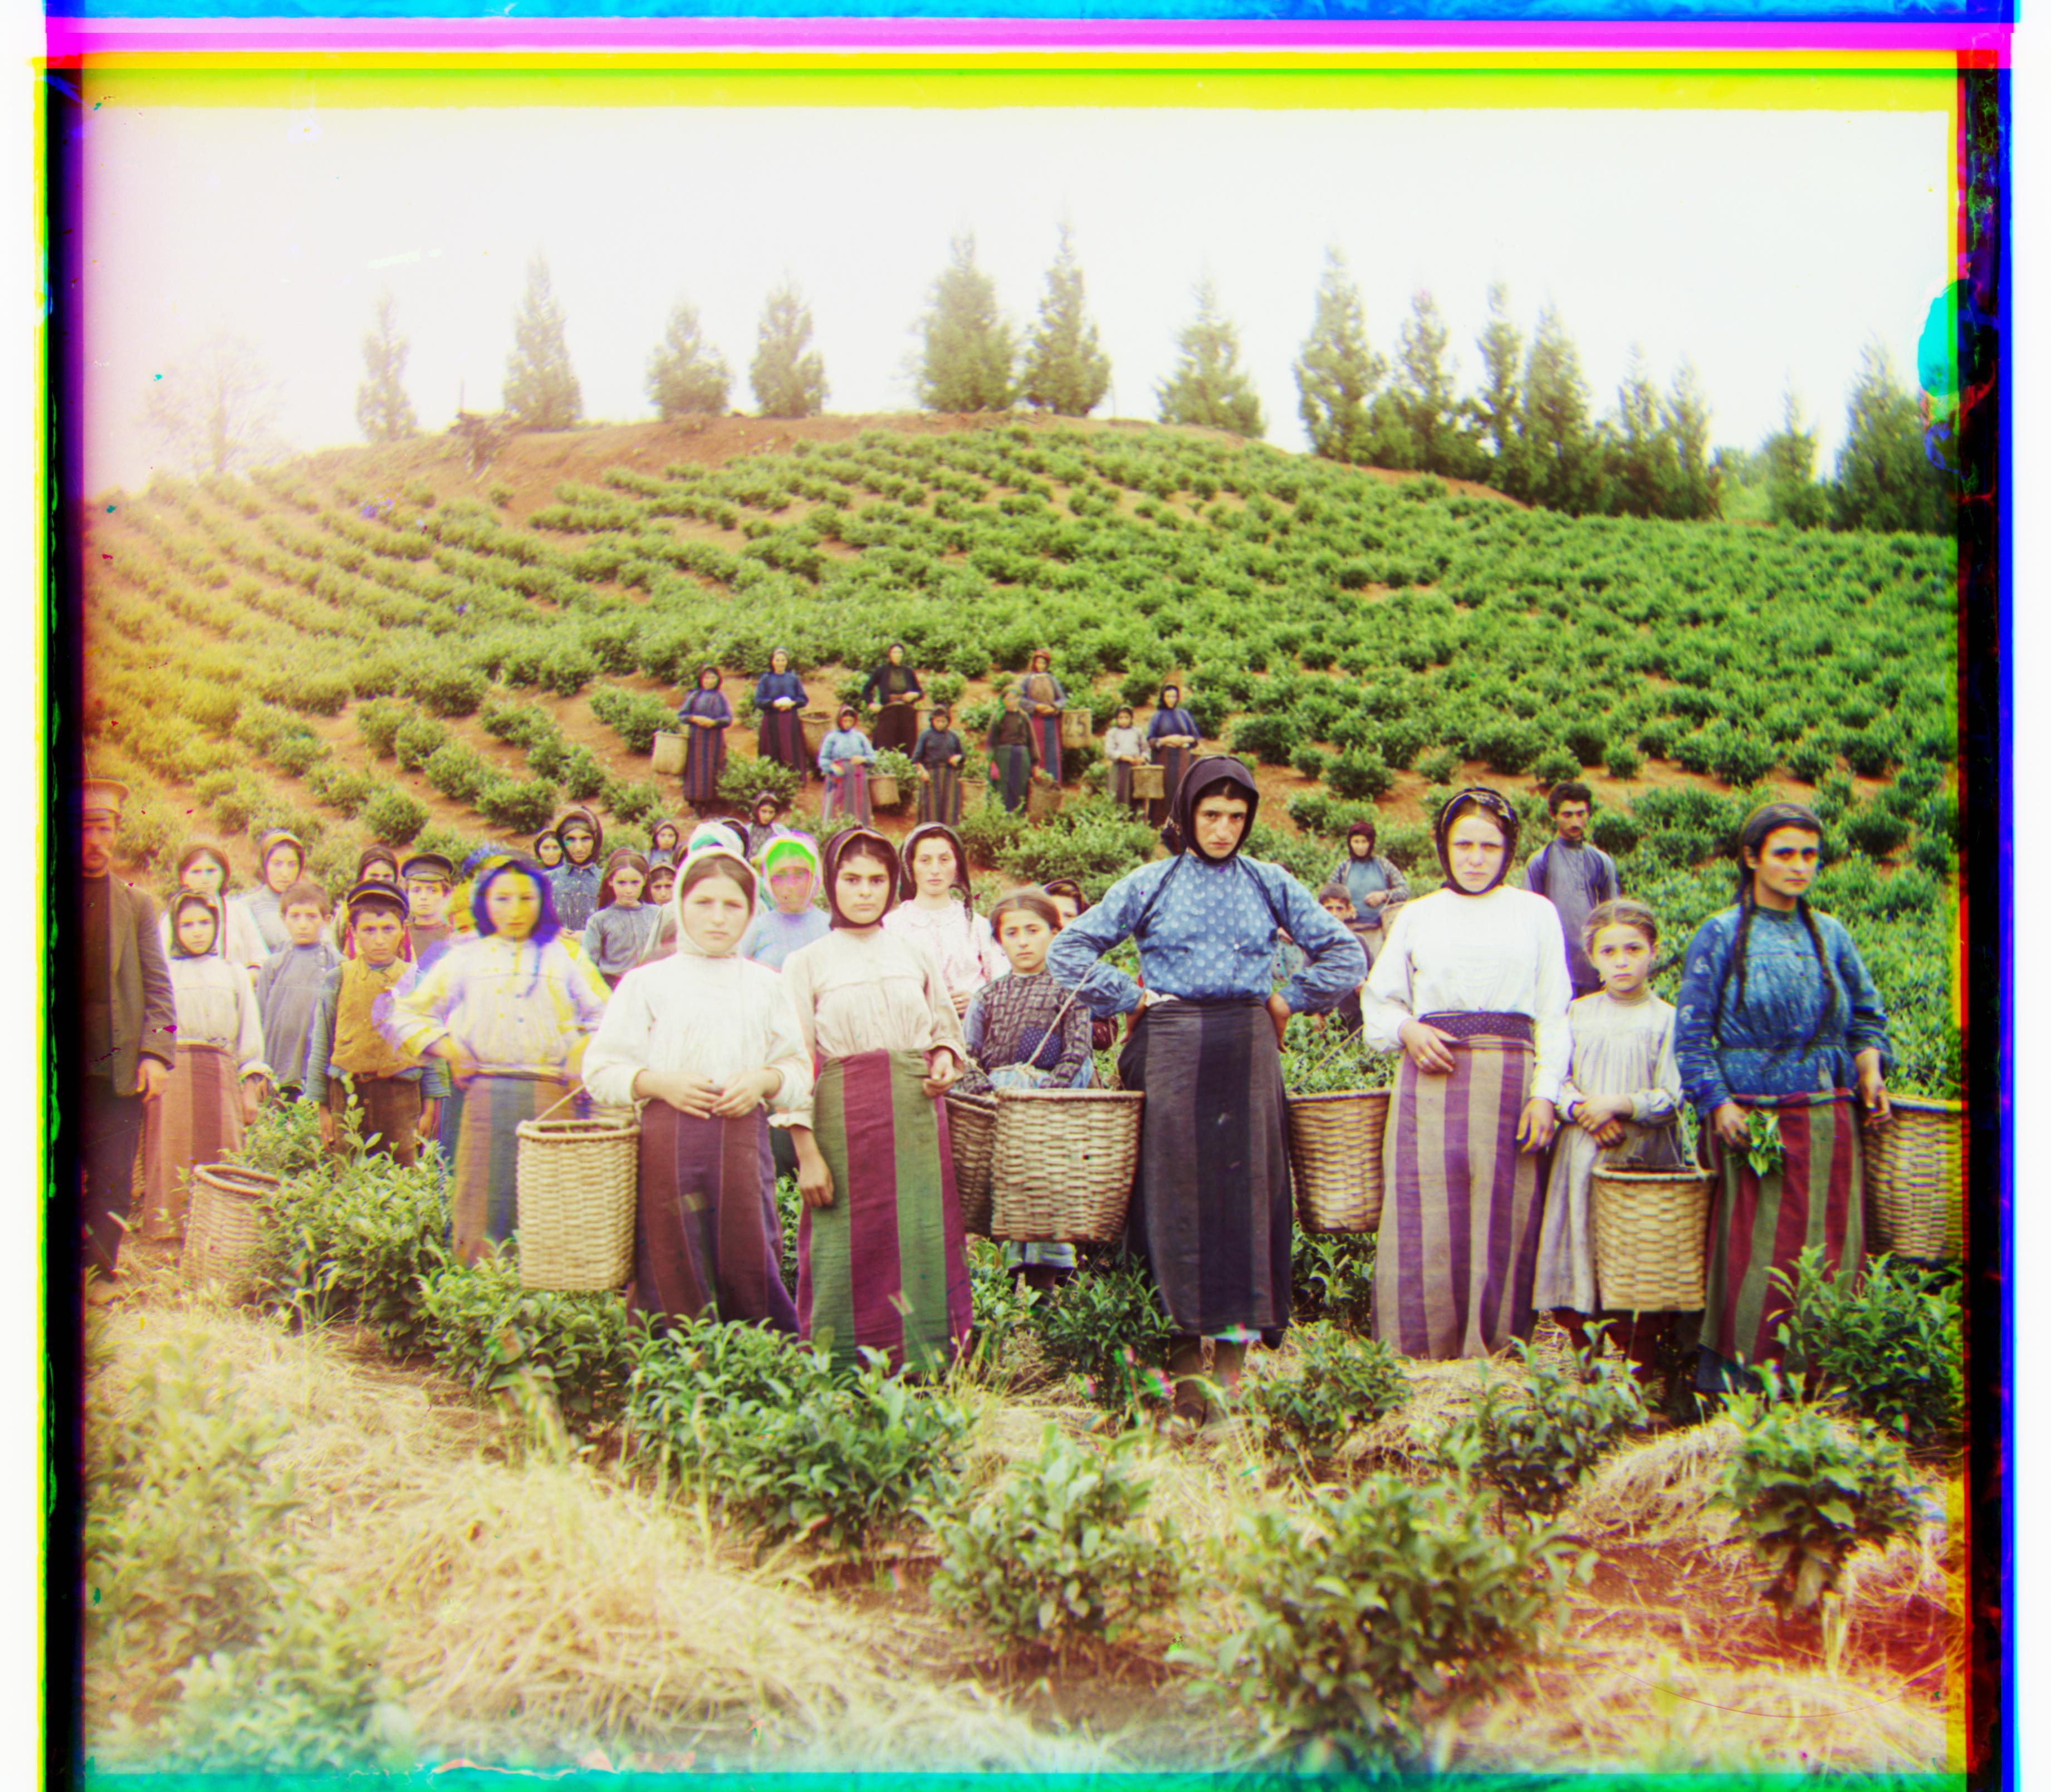

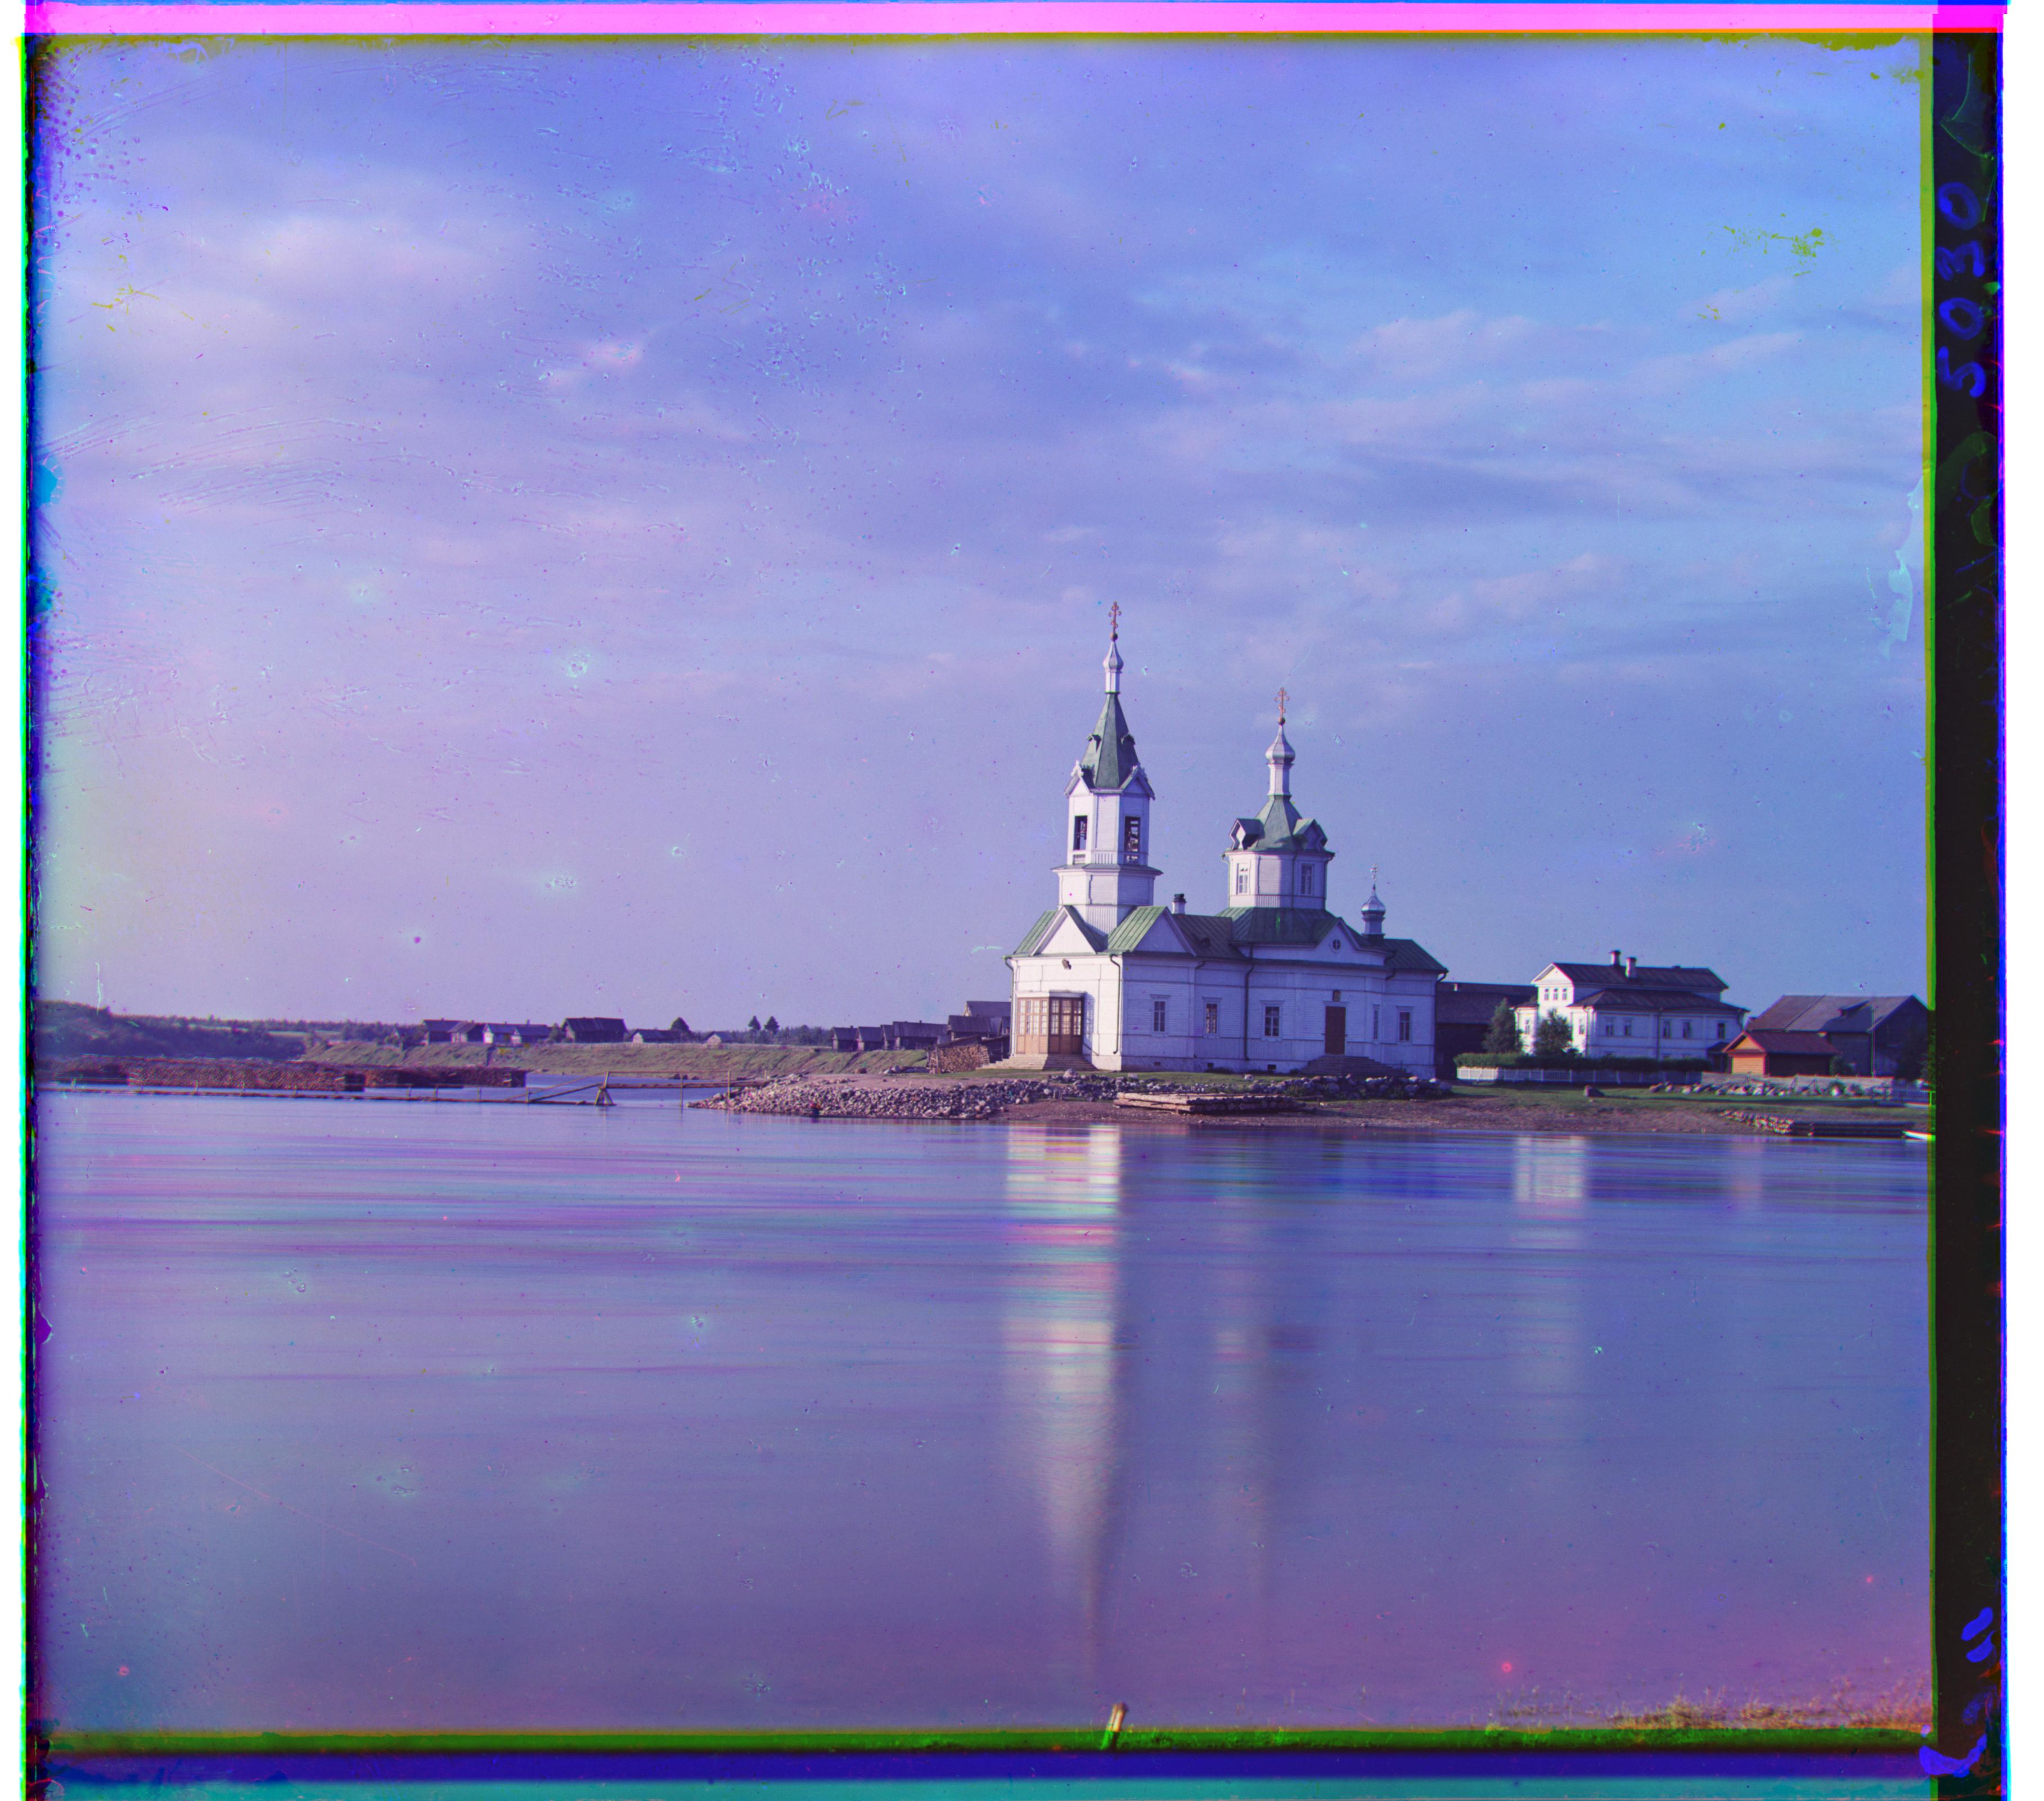
Some of the issues and artifacts that we see in the output images are due to the fact that Prokudin-Gorskii took three exposures one after another, not all at the same instant; a bit of the haloing in harvesters.tif can be ascribed to that. But the odd coloring at the edges is an easier problem to fix, as it's mainly due to our processing, not the film images themselves. I wrote a procedure called crop, which takes an image and two thresholds (by default, lower = 0.3, upper = 0.99). It goes from each edge of the image inward, cropping until the median value of the pixels it has processed on any one channel is greater than lower and less than upper. With default parameters, this means that it crops until the median value of a pixel is lighter than a 30% gray and darker than a 99% gray (almost pure white). I found that taking the overall median gave better results than considering each row of pixels individually.
Results of this method can be seen below.
It works quite well on some images...
Before:
After:
Before:
After:
...And not so well on others.
Before:
After:
(In this case, it misses a bit of the right border because of a light-colored annotation in the margin.)