Overview
In this project, I aligned and stacked three images with different filters on them to create a color image. The smaller jpg images used exaustive search to look through every possible displacement in a -15 to 15 range in both directions. The larger tif images used pyramid search, which used exaustive search in a smaller displacement range of -3 to 3 at each level of the pyramid.
Exaustive Search
For exaustive search, I separated the initial image into three equal parts vertically to get the red, green, and blue components. I then trimmed of ten percent off of each edge to get rid of the border around the outside to better compare each picture. Then I compared the red and green components to the blue component. I displaced each of the red and green component from -15 to 15 in the vertical and horizontal direction, and calculated the difference between the displaced red or green component with the original blue component using sum of squared differences, or the Frobenius norm of a matrix.
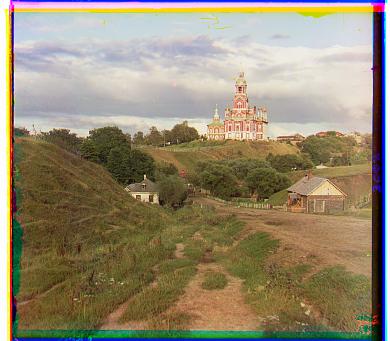
Here are the jpg images from exaustive search with their respective offsets [x, y].
|
|

|
Pyramid Search
For pyramid search, I first tried comparing the red and green components to the blue component. However, most of the pictures were very clear except for emir.tif. The picture looked slightly blurry and the pixels were off by a very small amount. So, I then tried to use a different base component. I used the green component as the base and compared the red and blue on top of the green component. I think this might be better because the emir is wearing mostly blue, so it is hard to compare the red and green components to the blue component on top of the emir's clothing, which is a large part of the picture. When I tried using the blue component as the base, the picture was very clear.
To do the actual pyramid search, I recursively resized the picture down by three-fourths of its height and width until either the height or width reached 200 pixels. For the top layer (the smallest size of picture), I aligned with exaustive search for a displacement of -3 to 3 inclusive for both vertical and horizontal directions. This recursive call returns how much it displaces the images. For each successive recursive call, we first scale up the returned displacement values by four-thirds to be able to use it with the current layer of the pyramid. We then displace either the red or green component with these scaled up values to put it where the previous layer specified. This layer then tries to find the best alignment again by doing an exhaustive search for a displacement of -3 to 3 in the vertical and horizontal directions, using the last layer's offsets as a starting point. We then return this new displacement, adding the scaled offsets we found from the previous layer to the offsets we just found for the current layer.
I chose to do a search area of -3 to 3 pixels vertically and horiztonally to minimize the number of calls to np.roll that need to be made. Especailly for the pictures with a larger amount of pixels, every call to this function will add up to a lot of time used. To balance out the small search area for alignment, I resized the picture until it was very small with either the height or the width as less than 300 pixels. This is so that the the correct displacement can be found when moving down the pyramid layers.
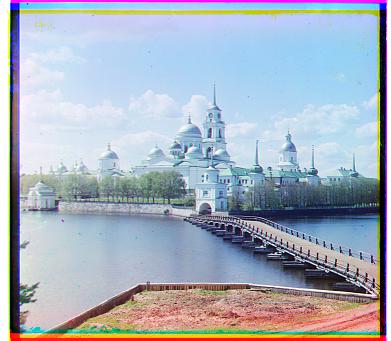
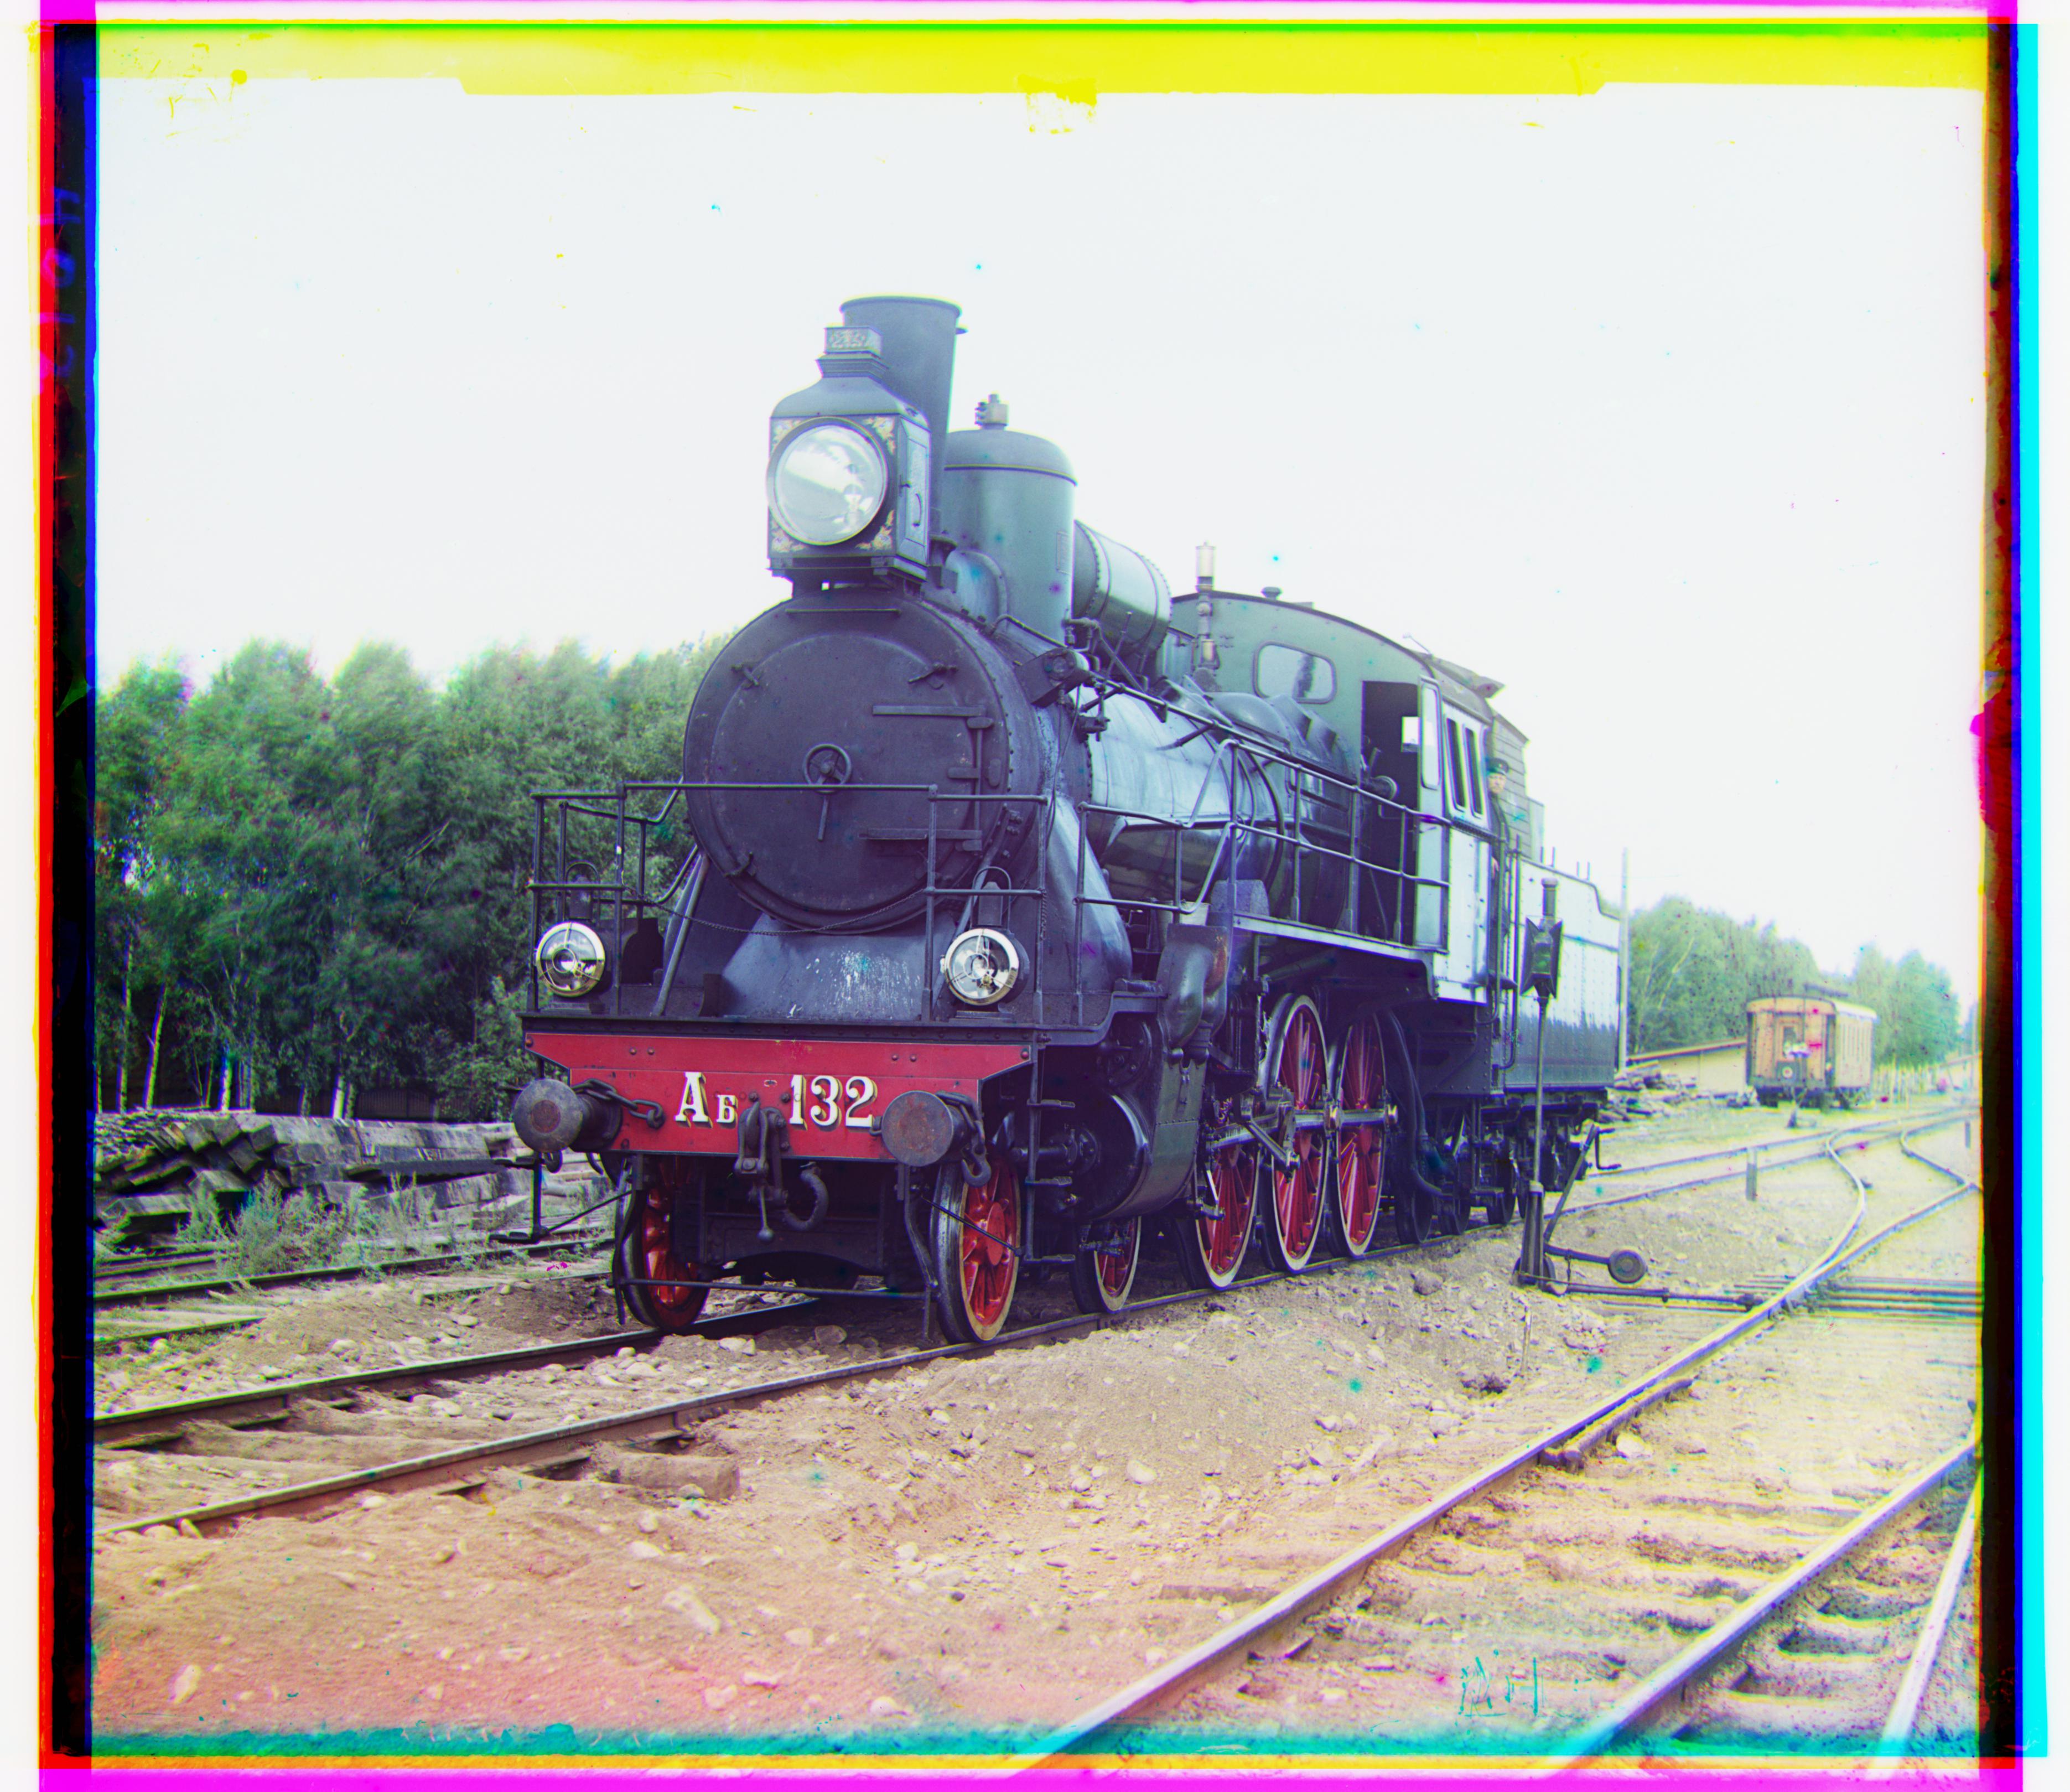
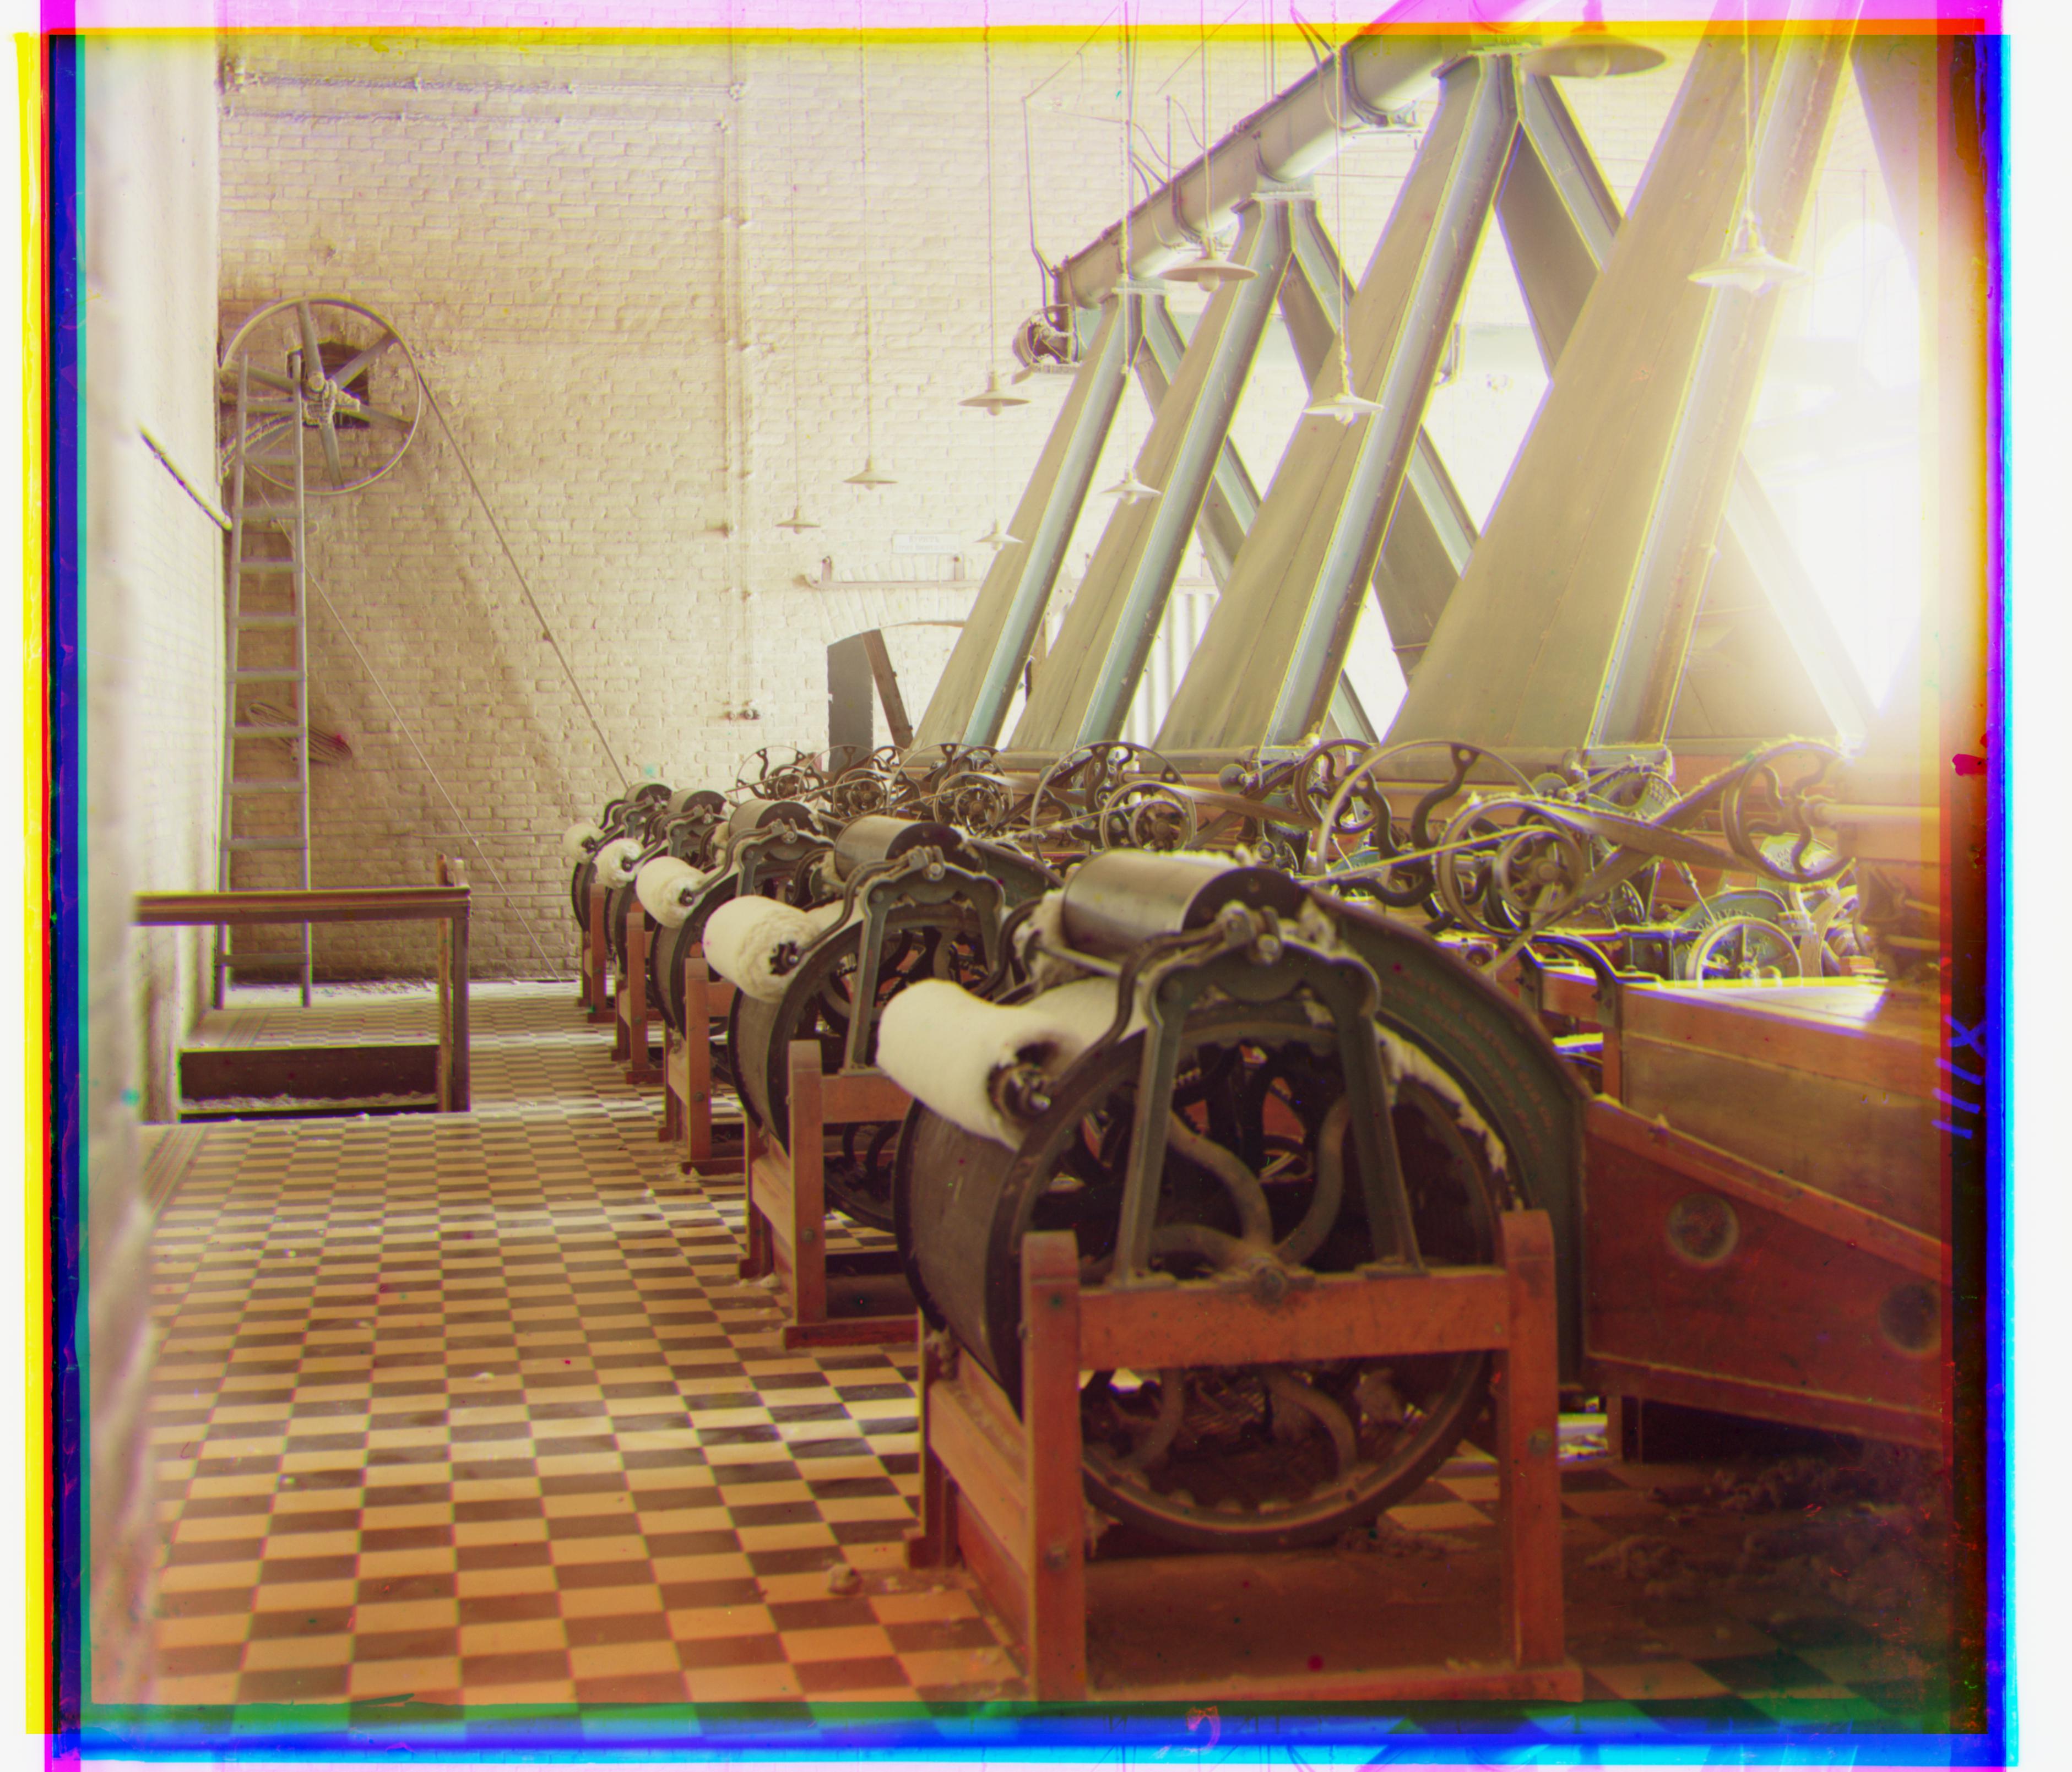
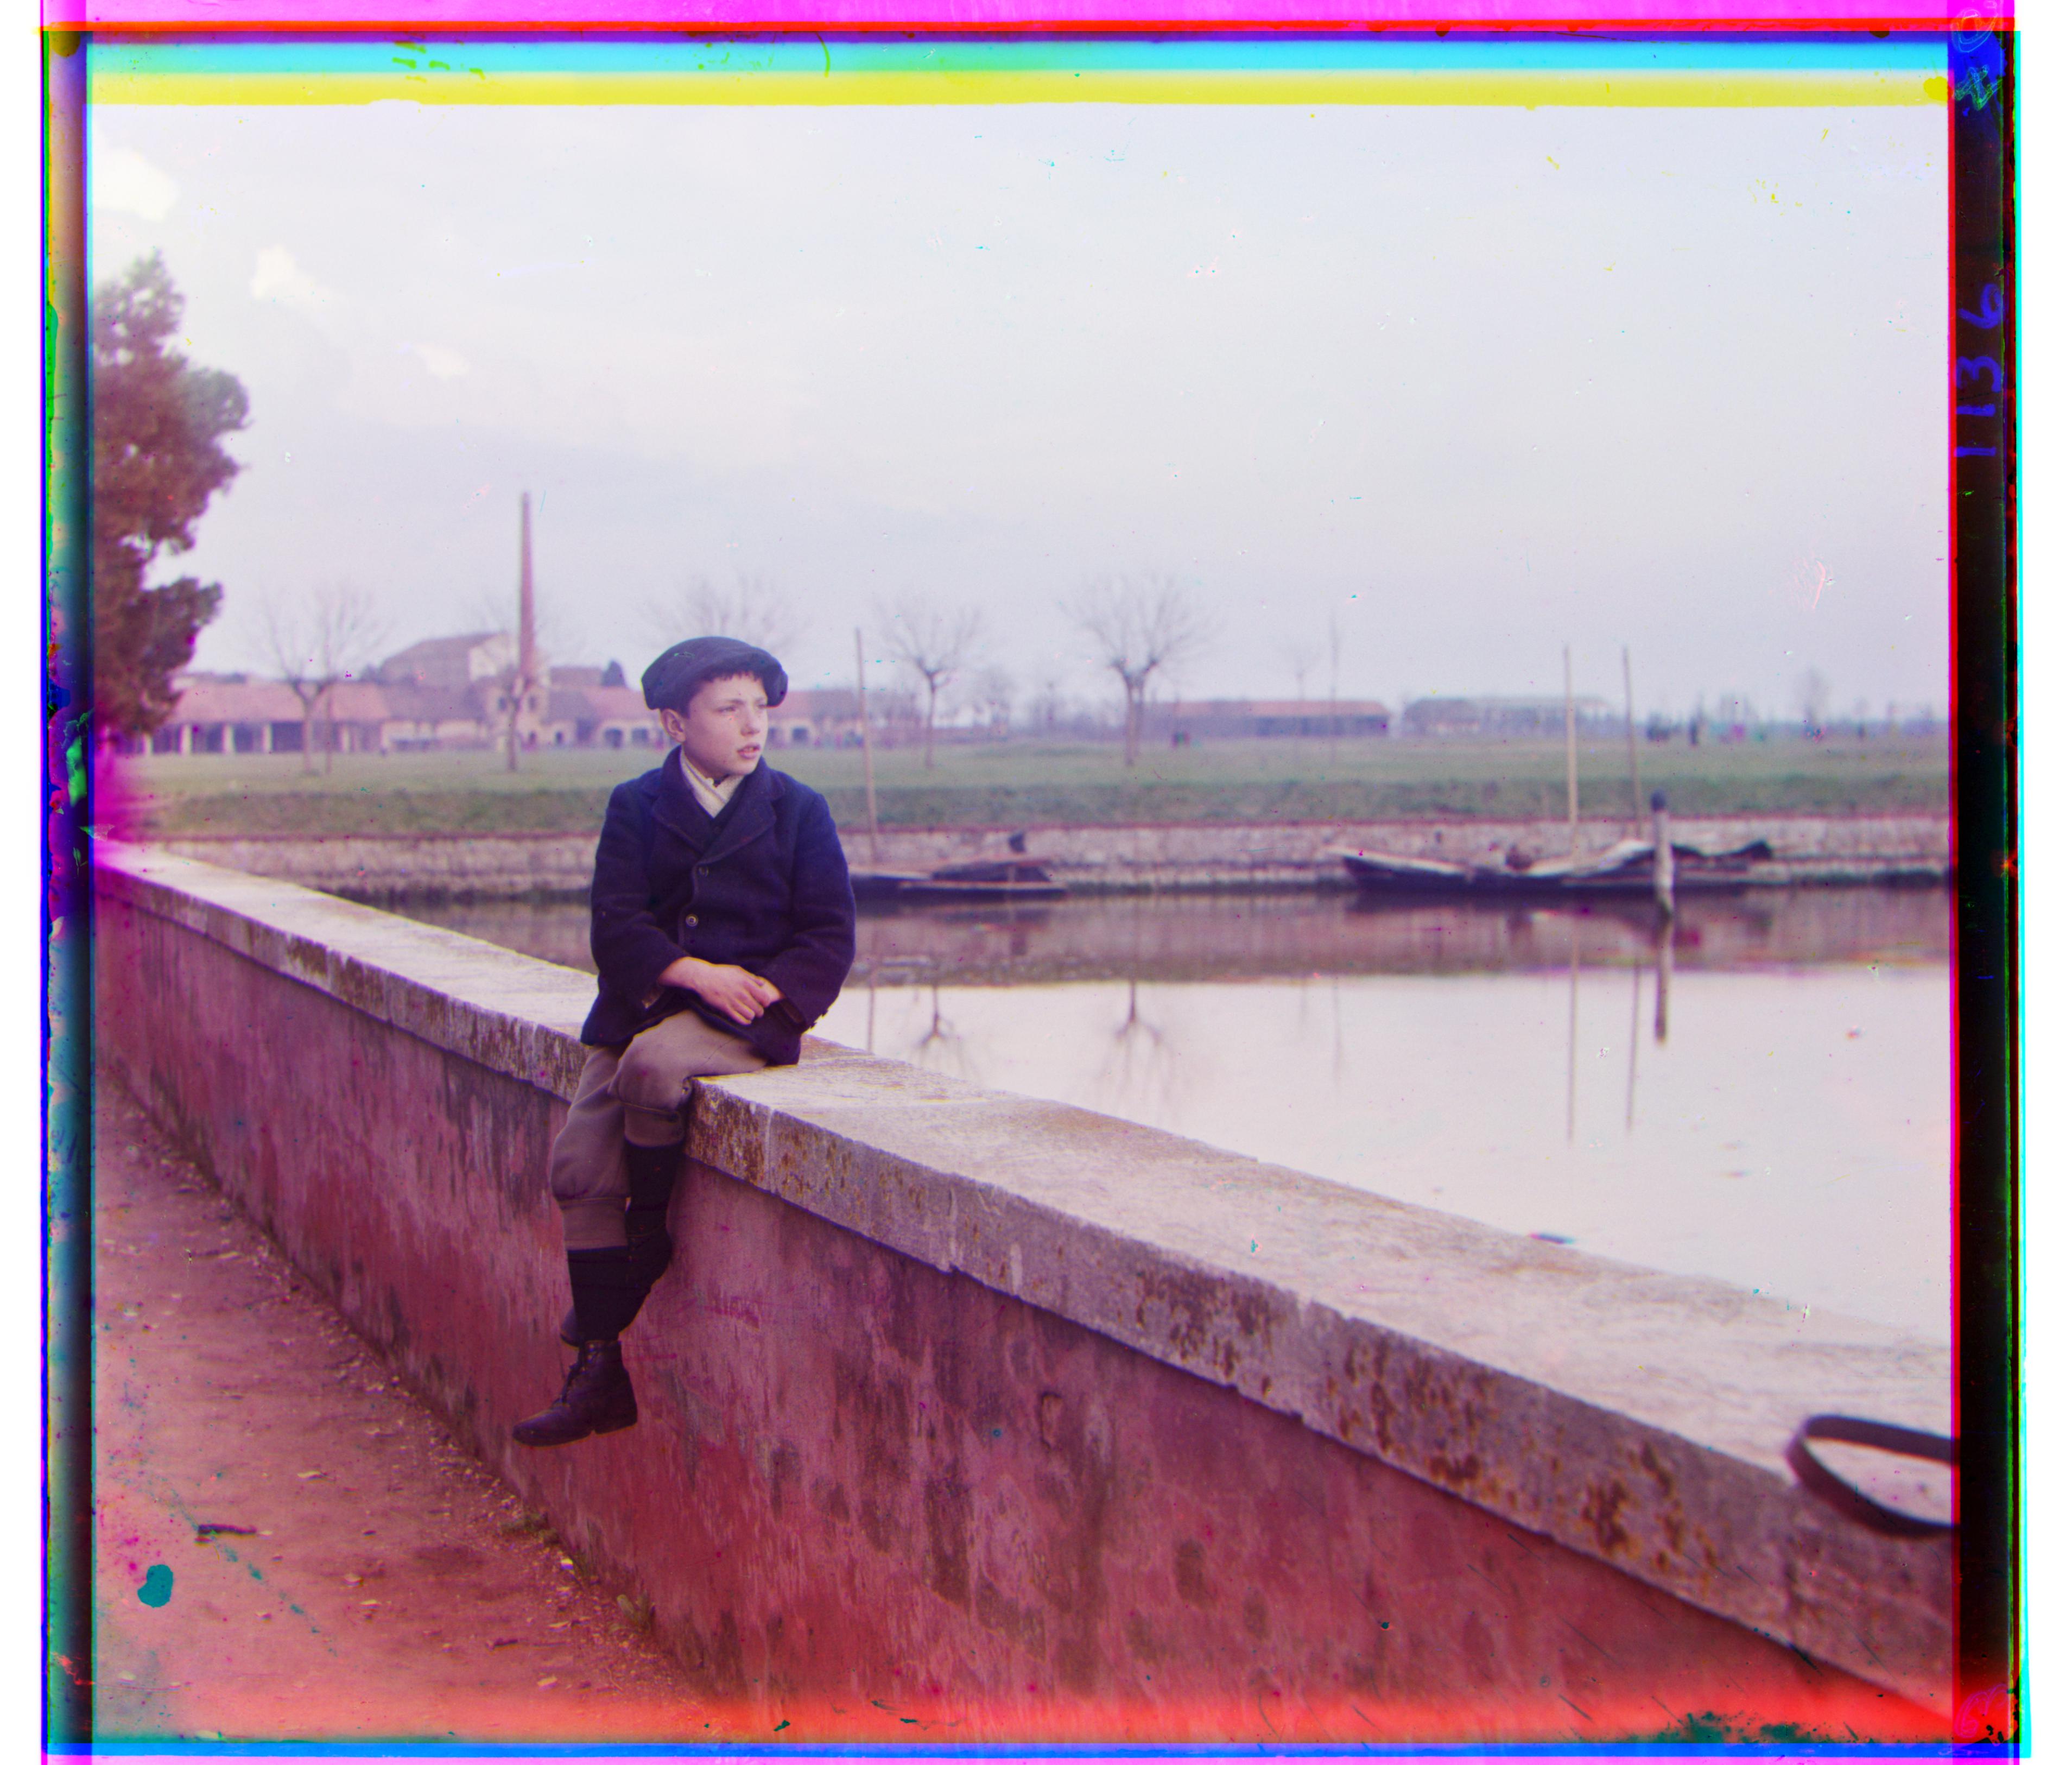
Below are the outcomes for all of the tif images with their respective offsets for the blue and red components [x, y].
|

|
|
|
|
|
|
|

|
|
|
Auto White/Gray Balancing
To implement auto white balancing, I found the largest pixel value in each of the r, g, and b components and scaled that up to 1. To implmenet auto gray balancing, I found the average pixel value in each of the r, g, and b components and scaled that to 0.5. There was a chance that pixel values would be greater than 0, so I clipped all pixel values to be between 0 and 1.
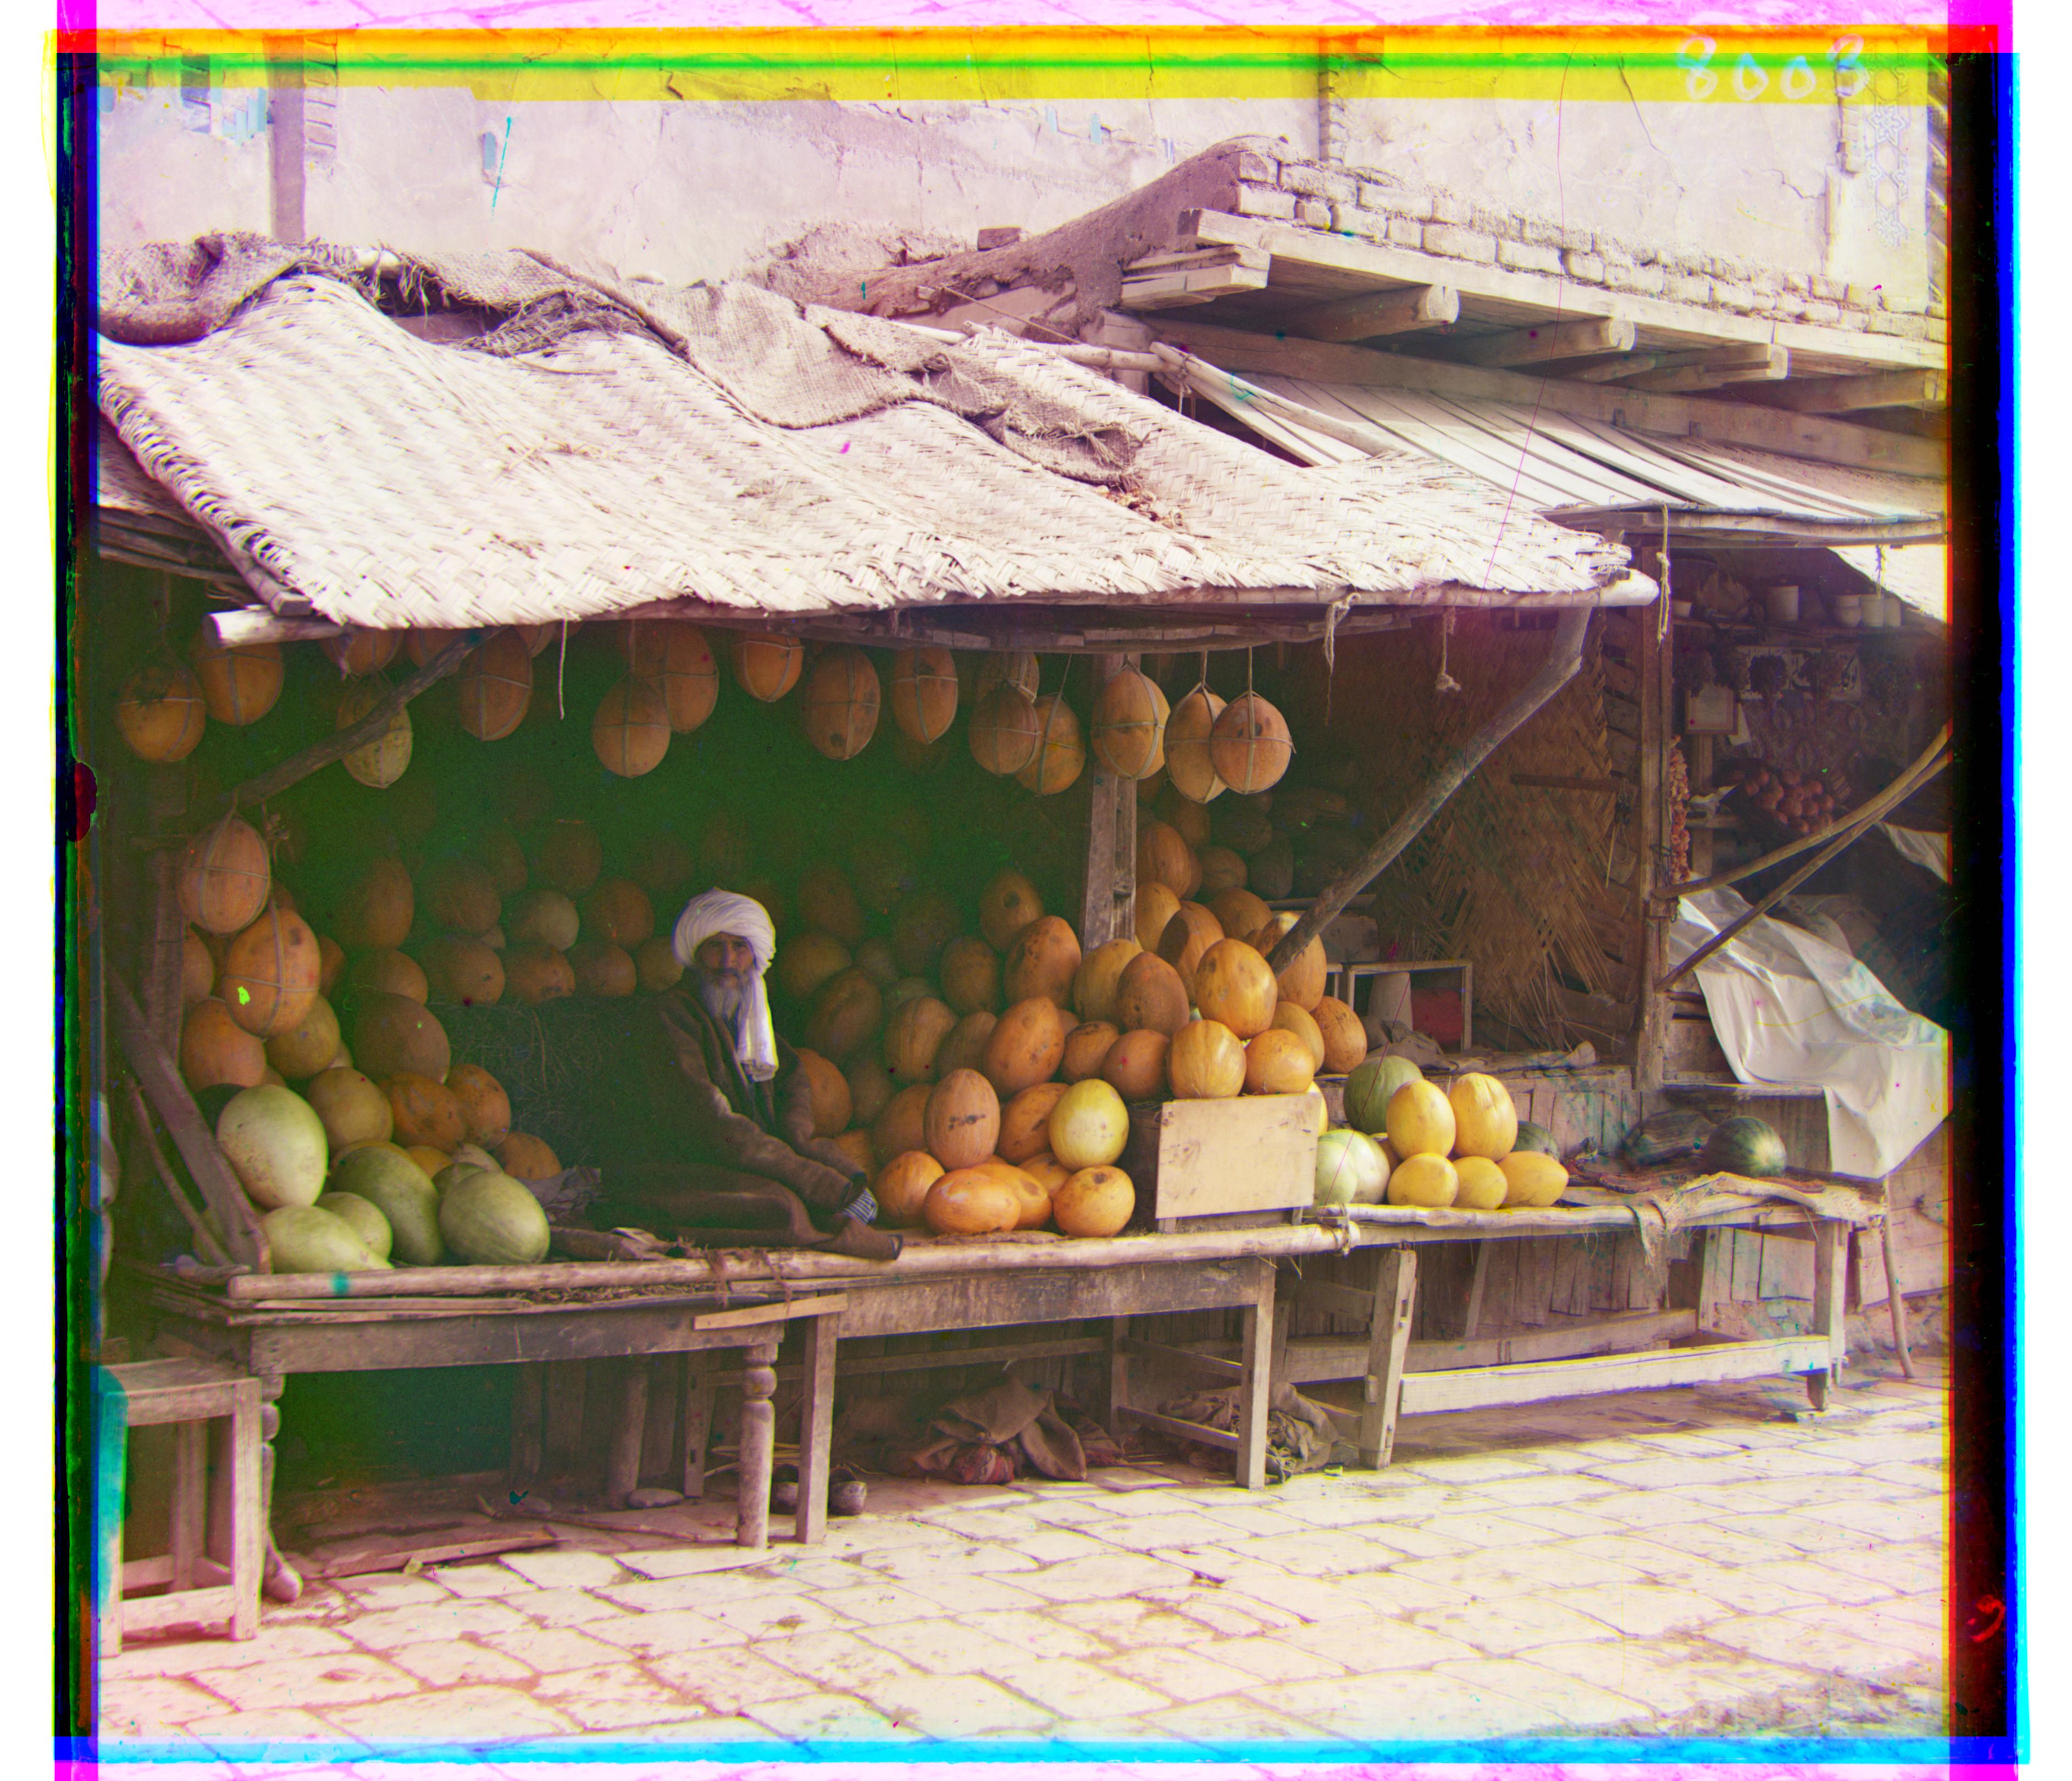
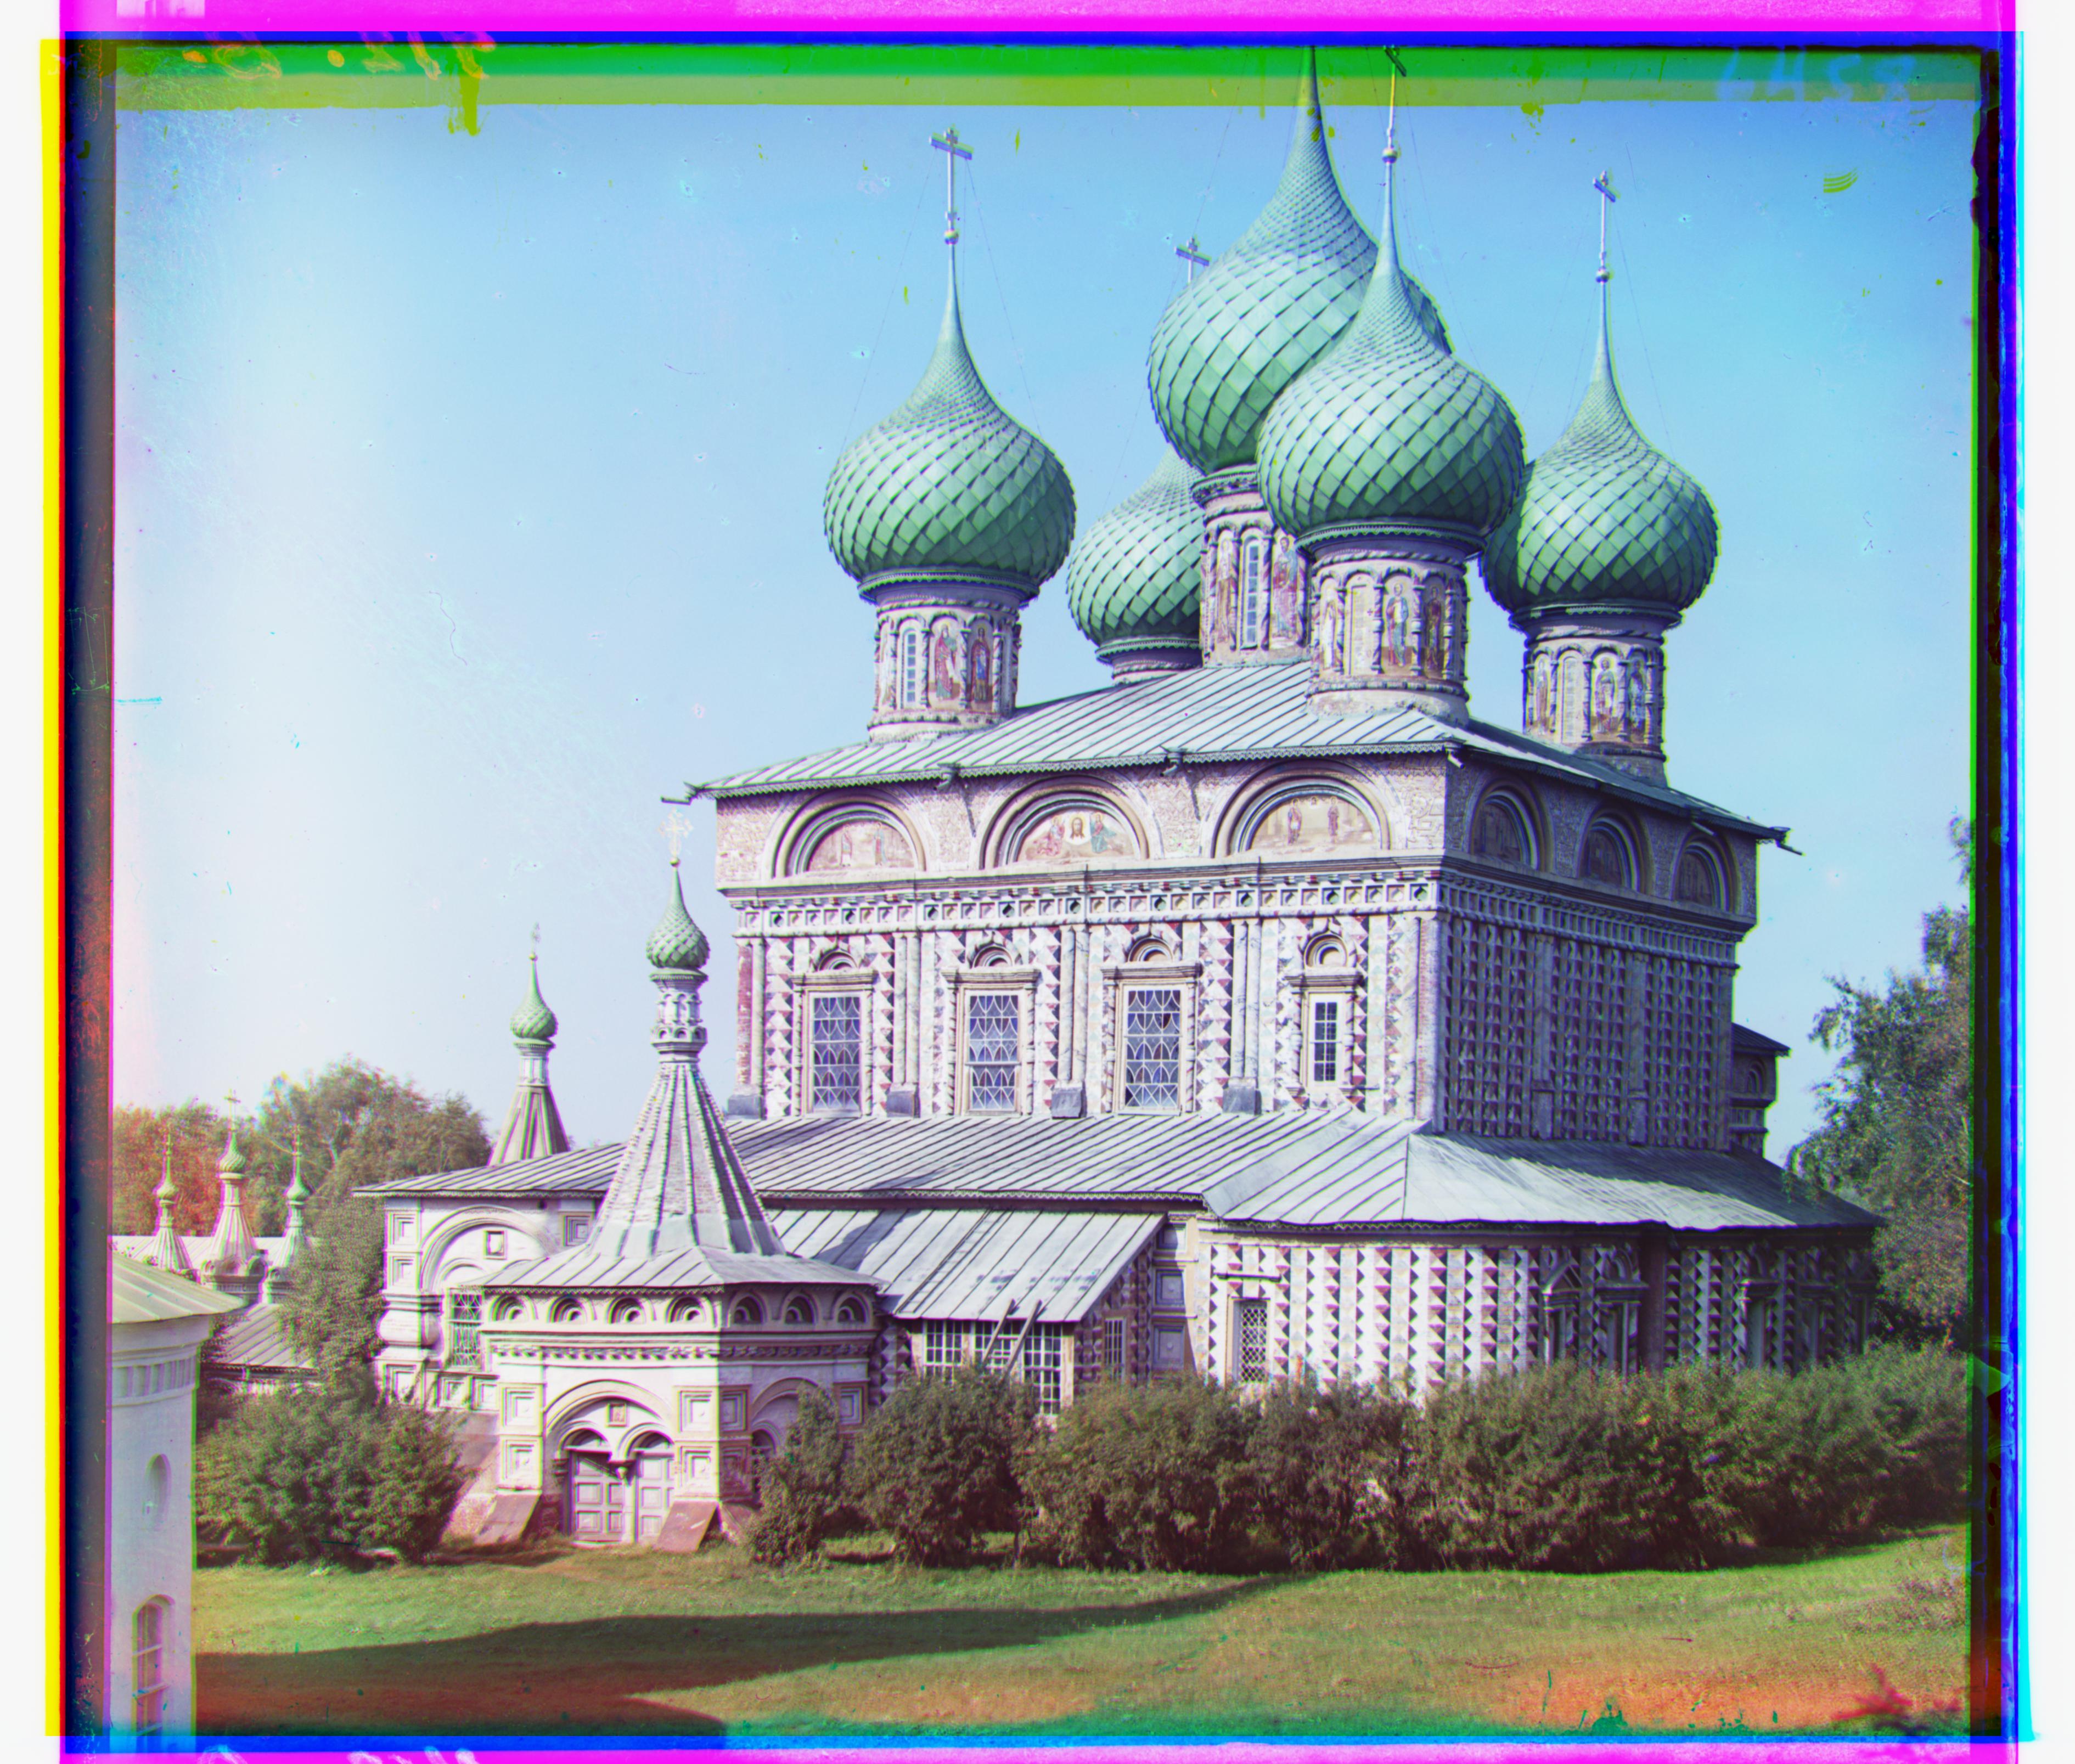
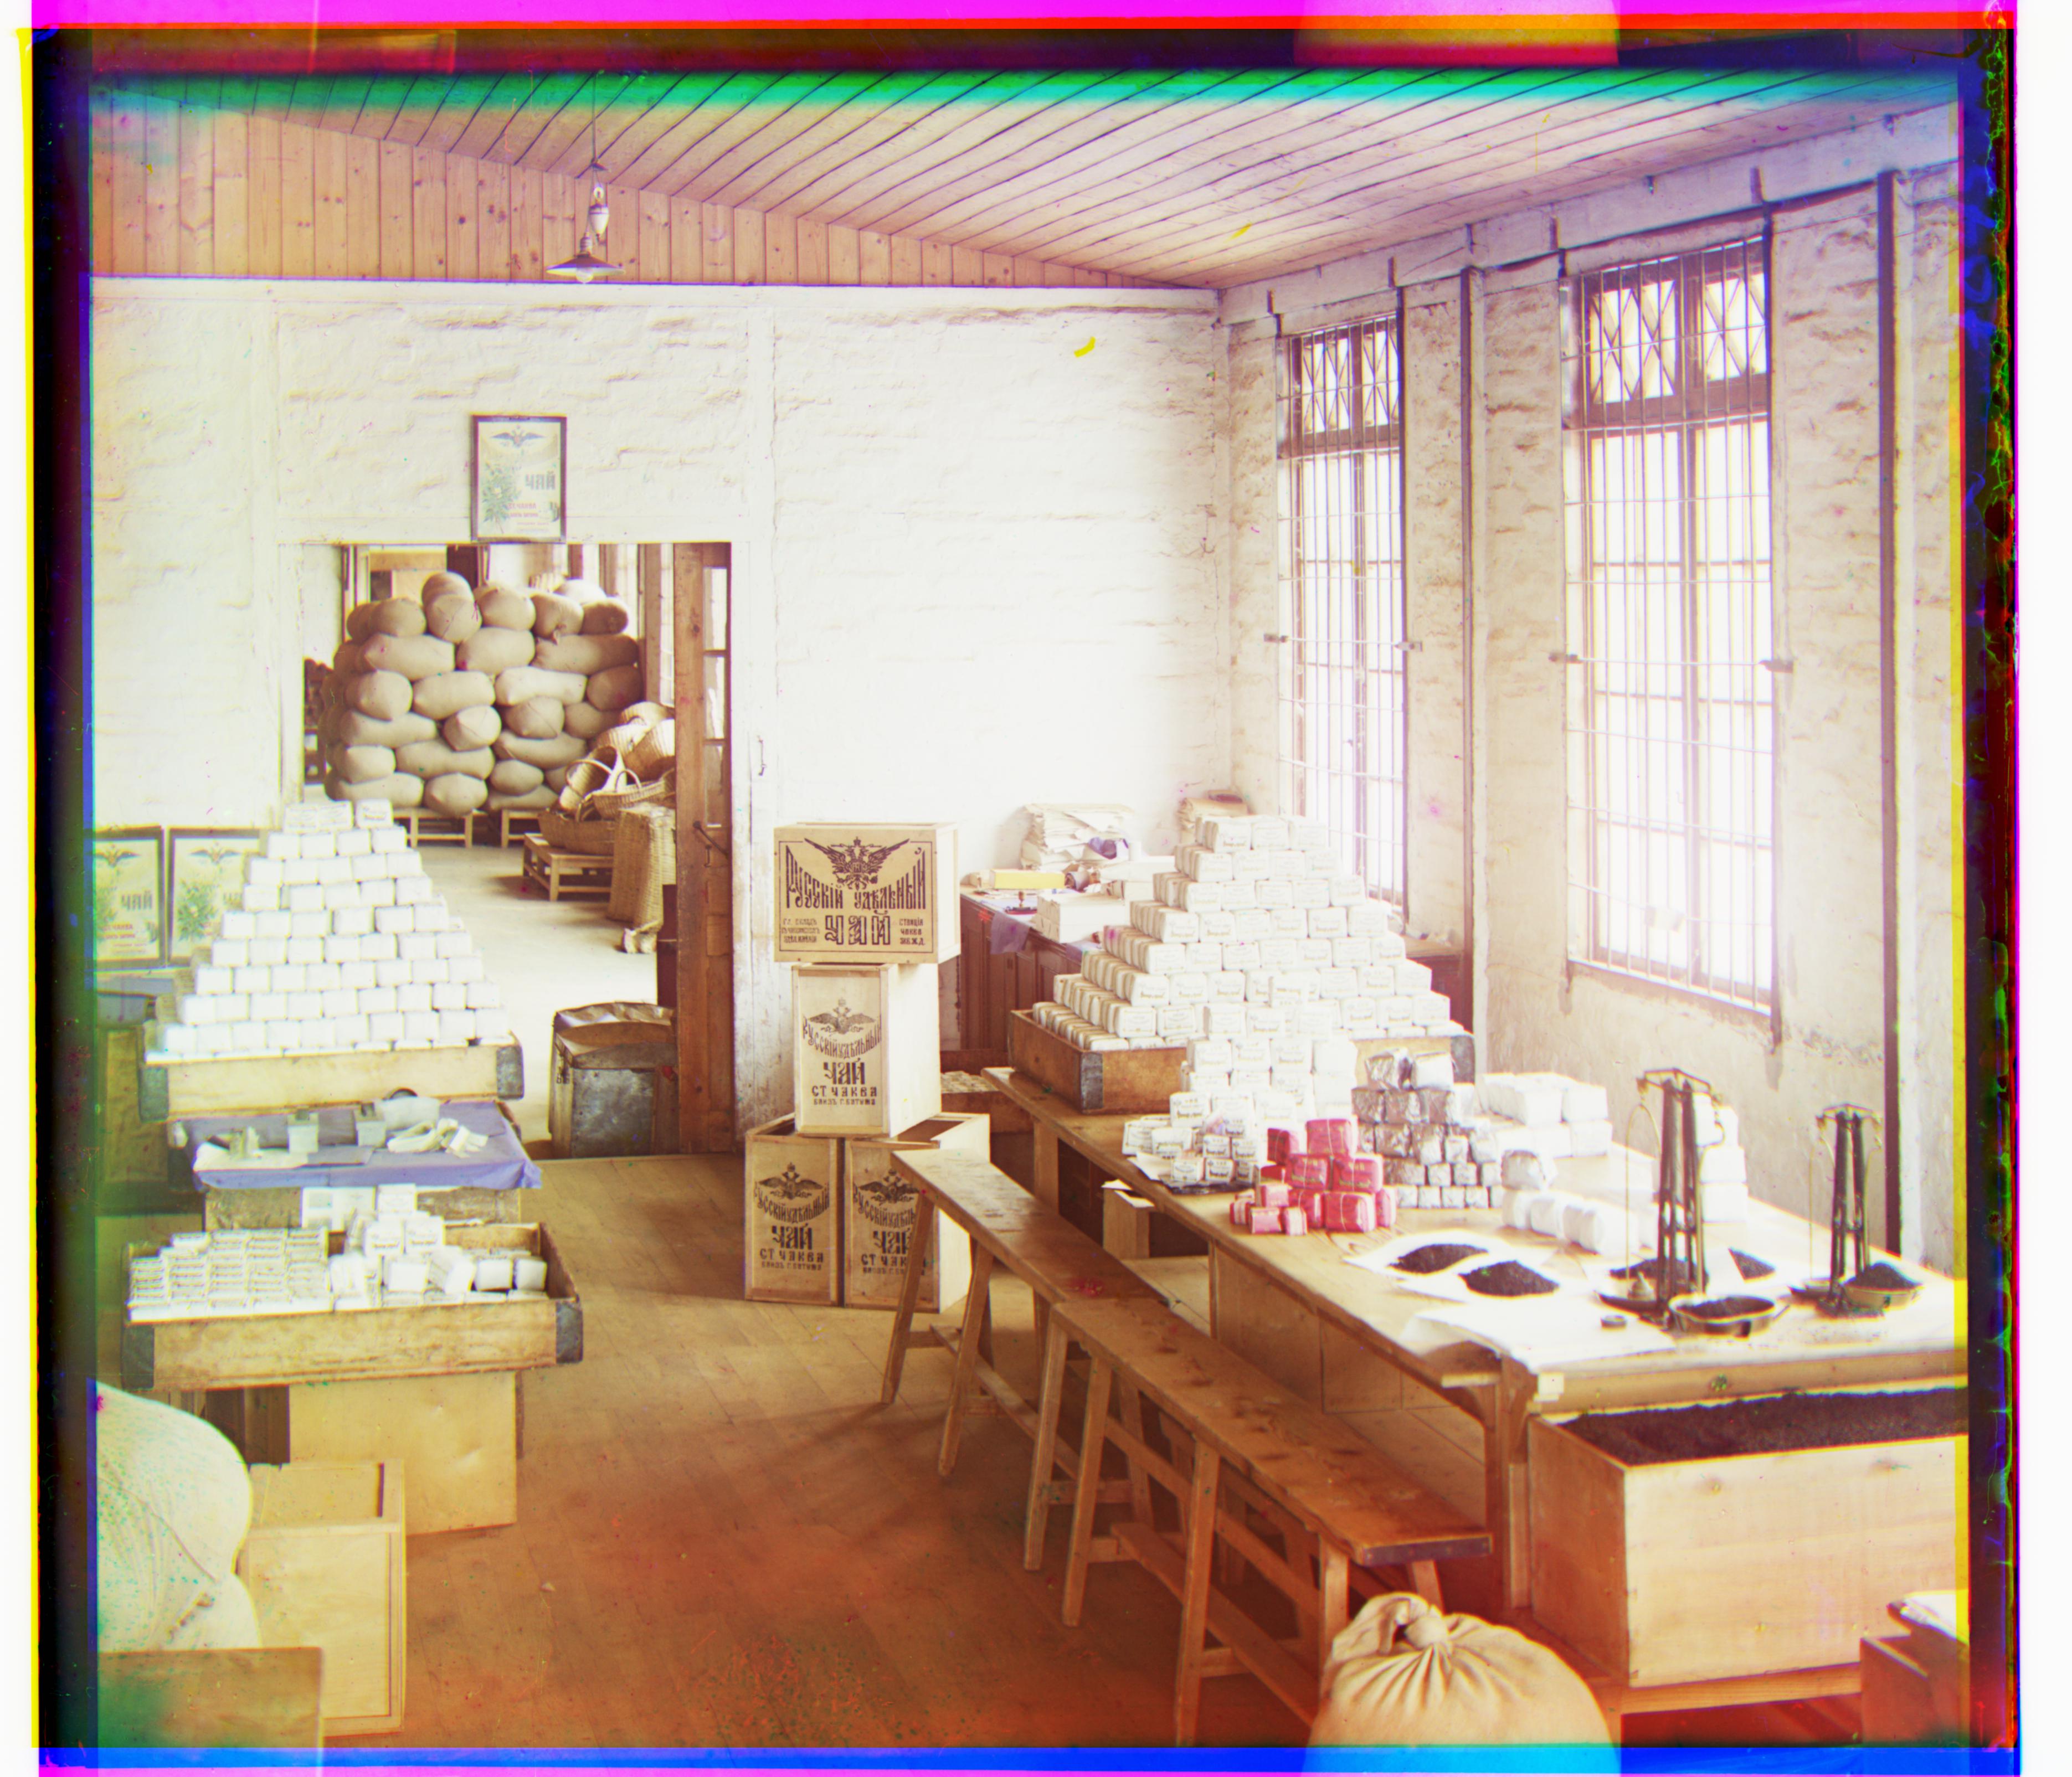
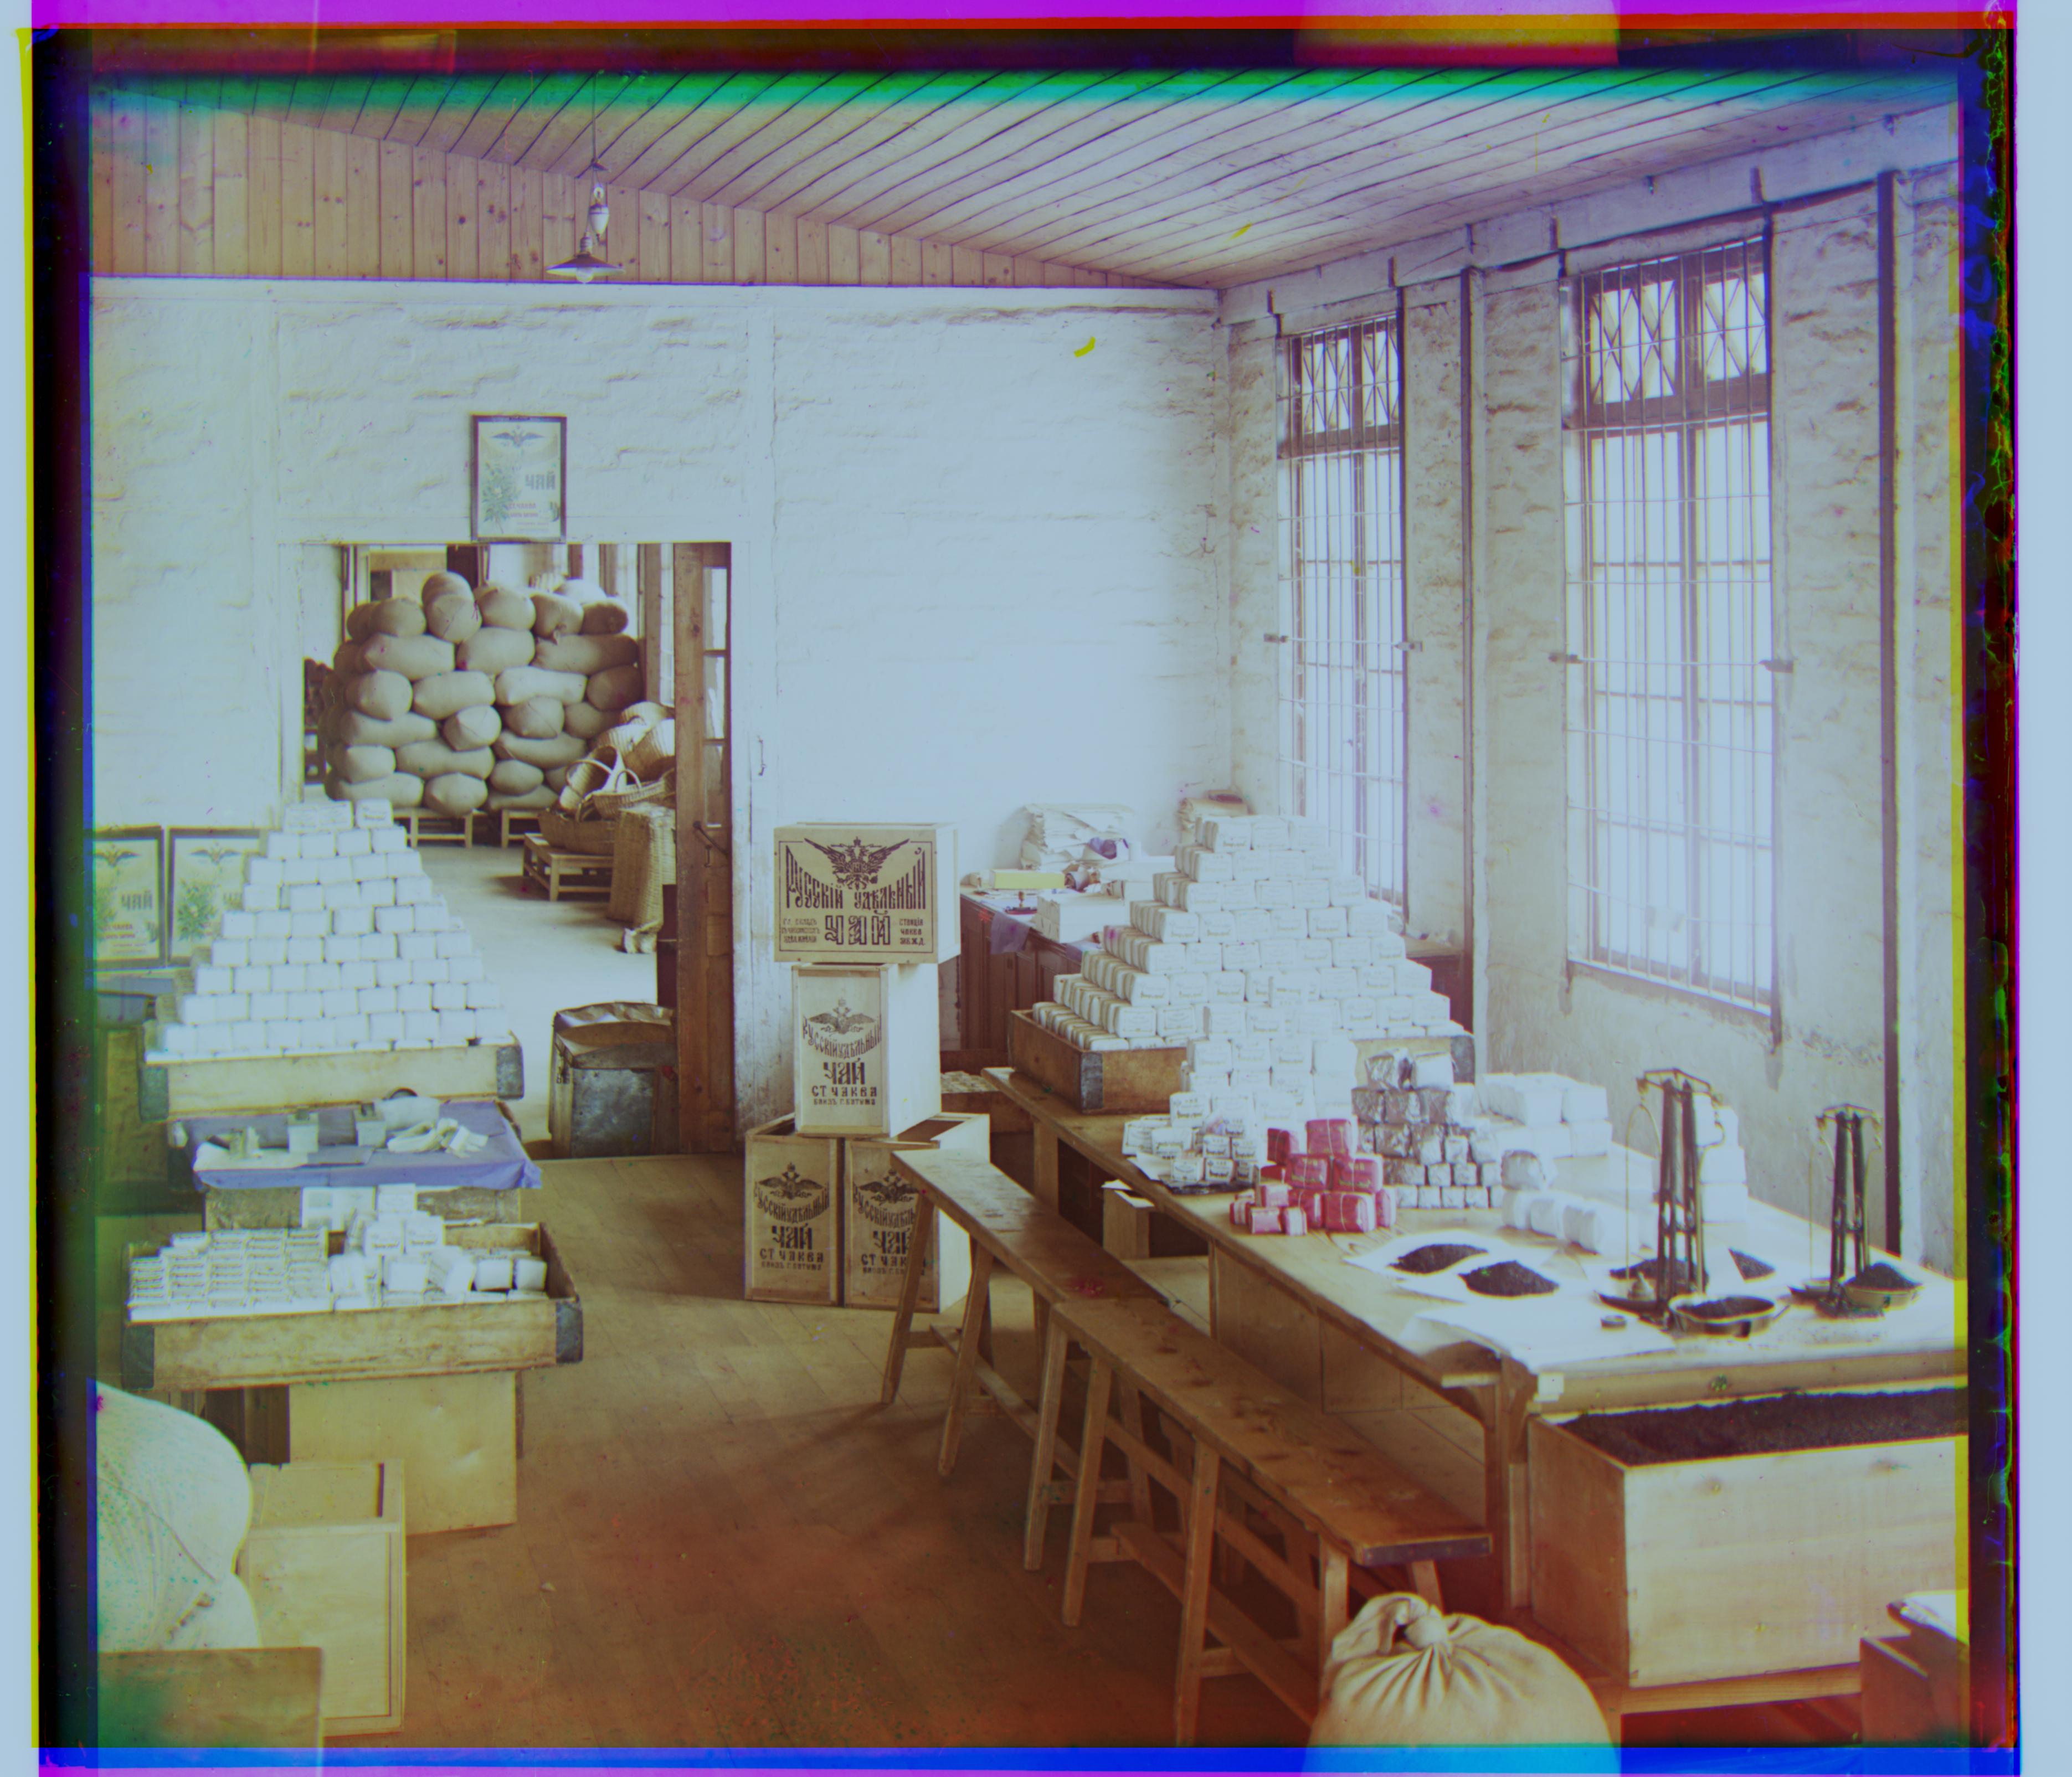
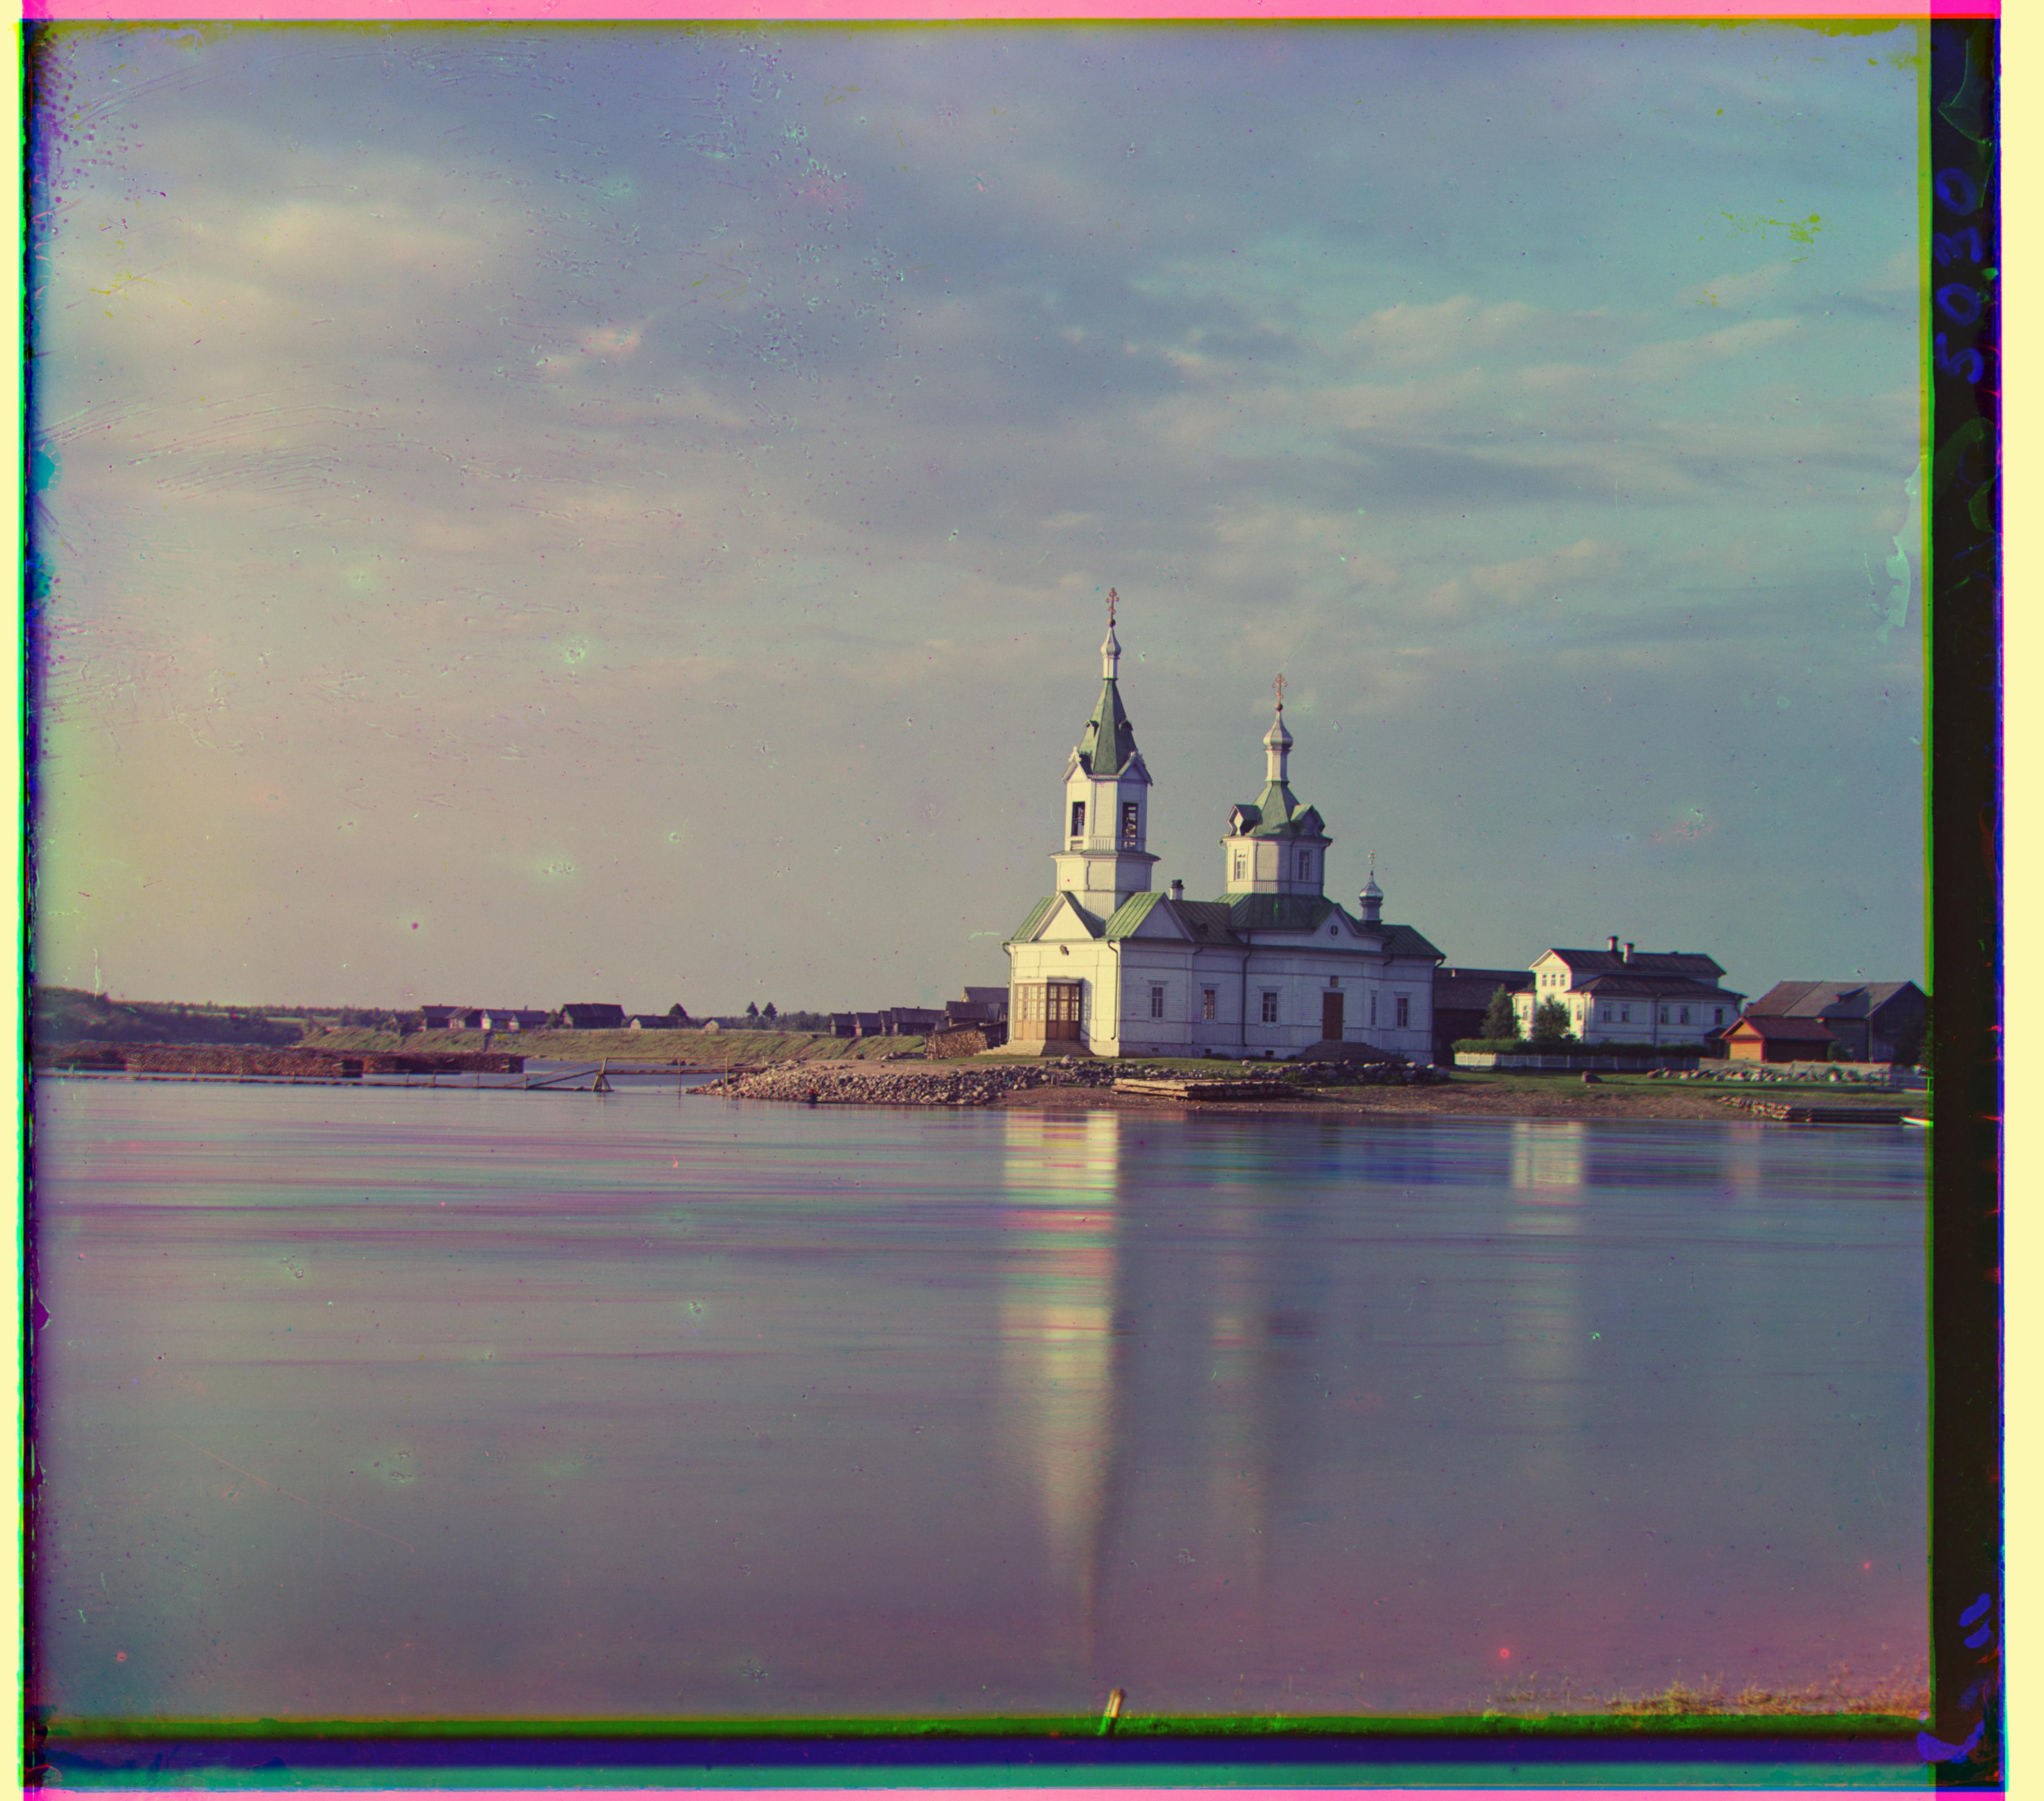
Below, we have the gray balance for the workshop. I think this works well because a lot of the workshop looks over exposed, so this can dim down the overall picture a little bit. Using the gray balance on the church also seems to get rid of the blue tint a little bit.
|
|
|
|
|
|
The white balancing did not work as well. I think because there were already pixels that were very close to 1, so scaling them up to 1 did not make the biggest difference in the overall picture. Here are some images that got white balanced.
|
|

|
|
|

|
Auto Contrasting
To do auto-contrasting, I implemented the histogram equalization described in lecture. I first flattened the image and made a histogram of the pixel values with 200 bins. I then calculated the cumulative sum of the histogram and normalized all of the values. Finally, I calculated what bin each pixel value belonged to in the histogram, and changed that pixel value to the corresponding number in the cumulative sum.
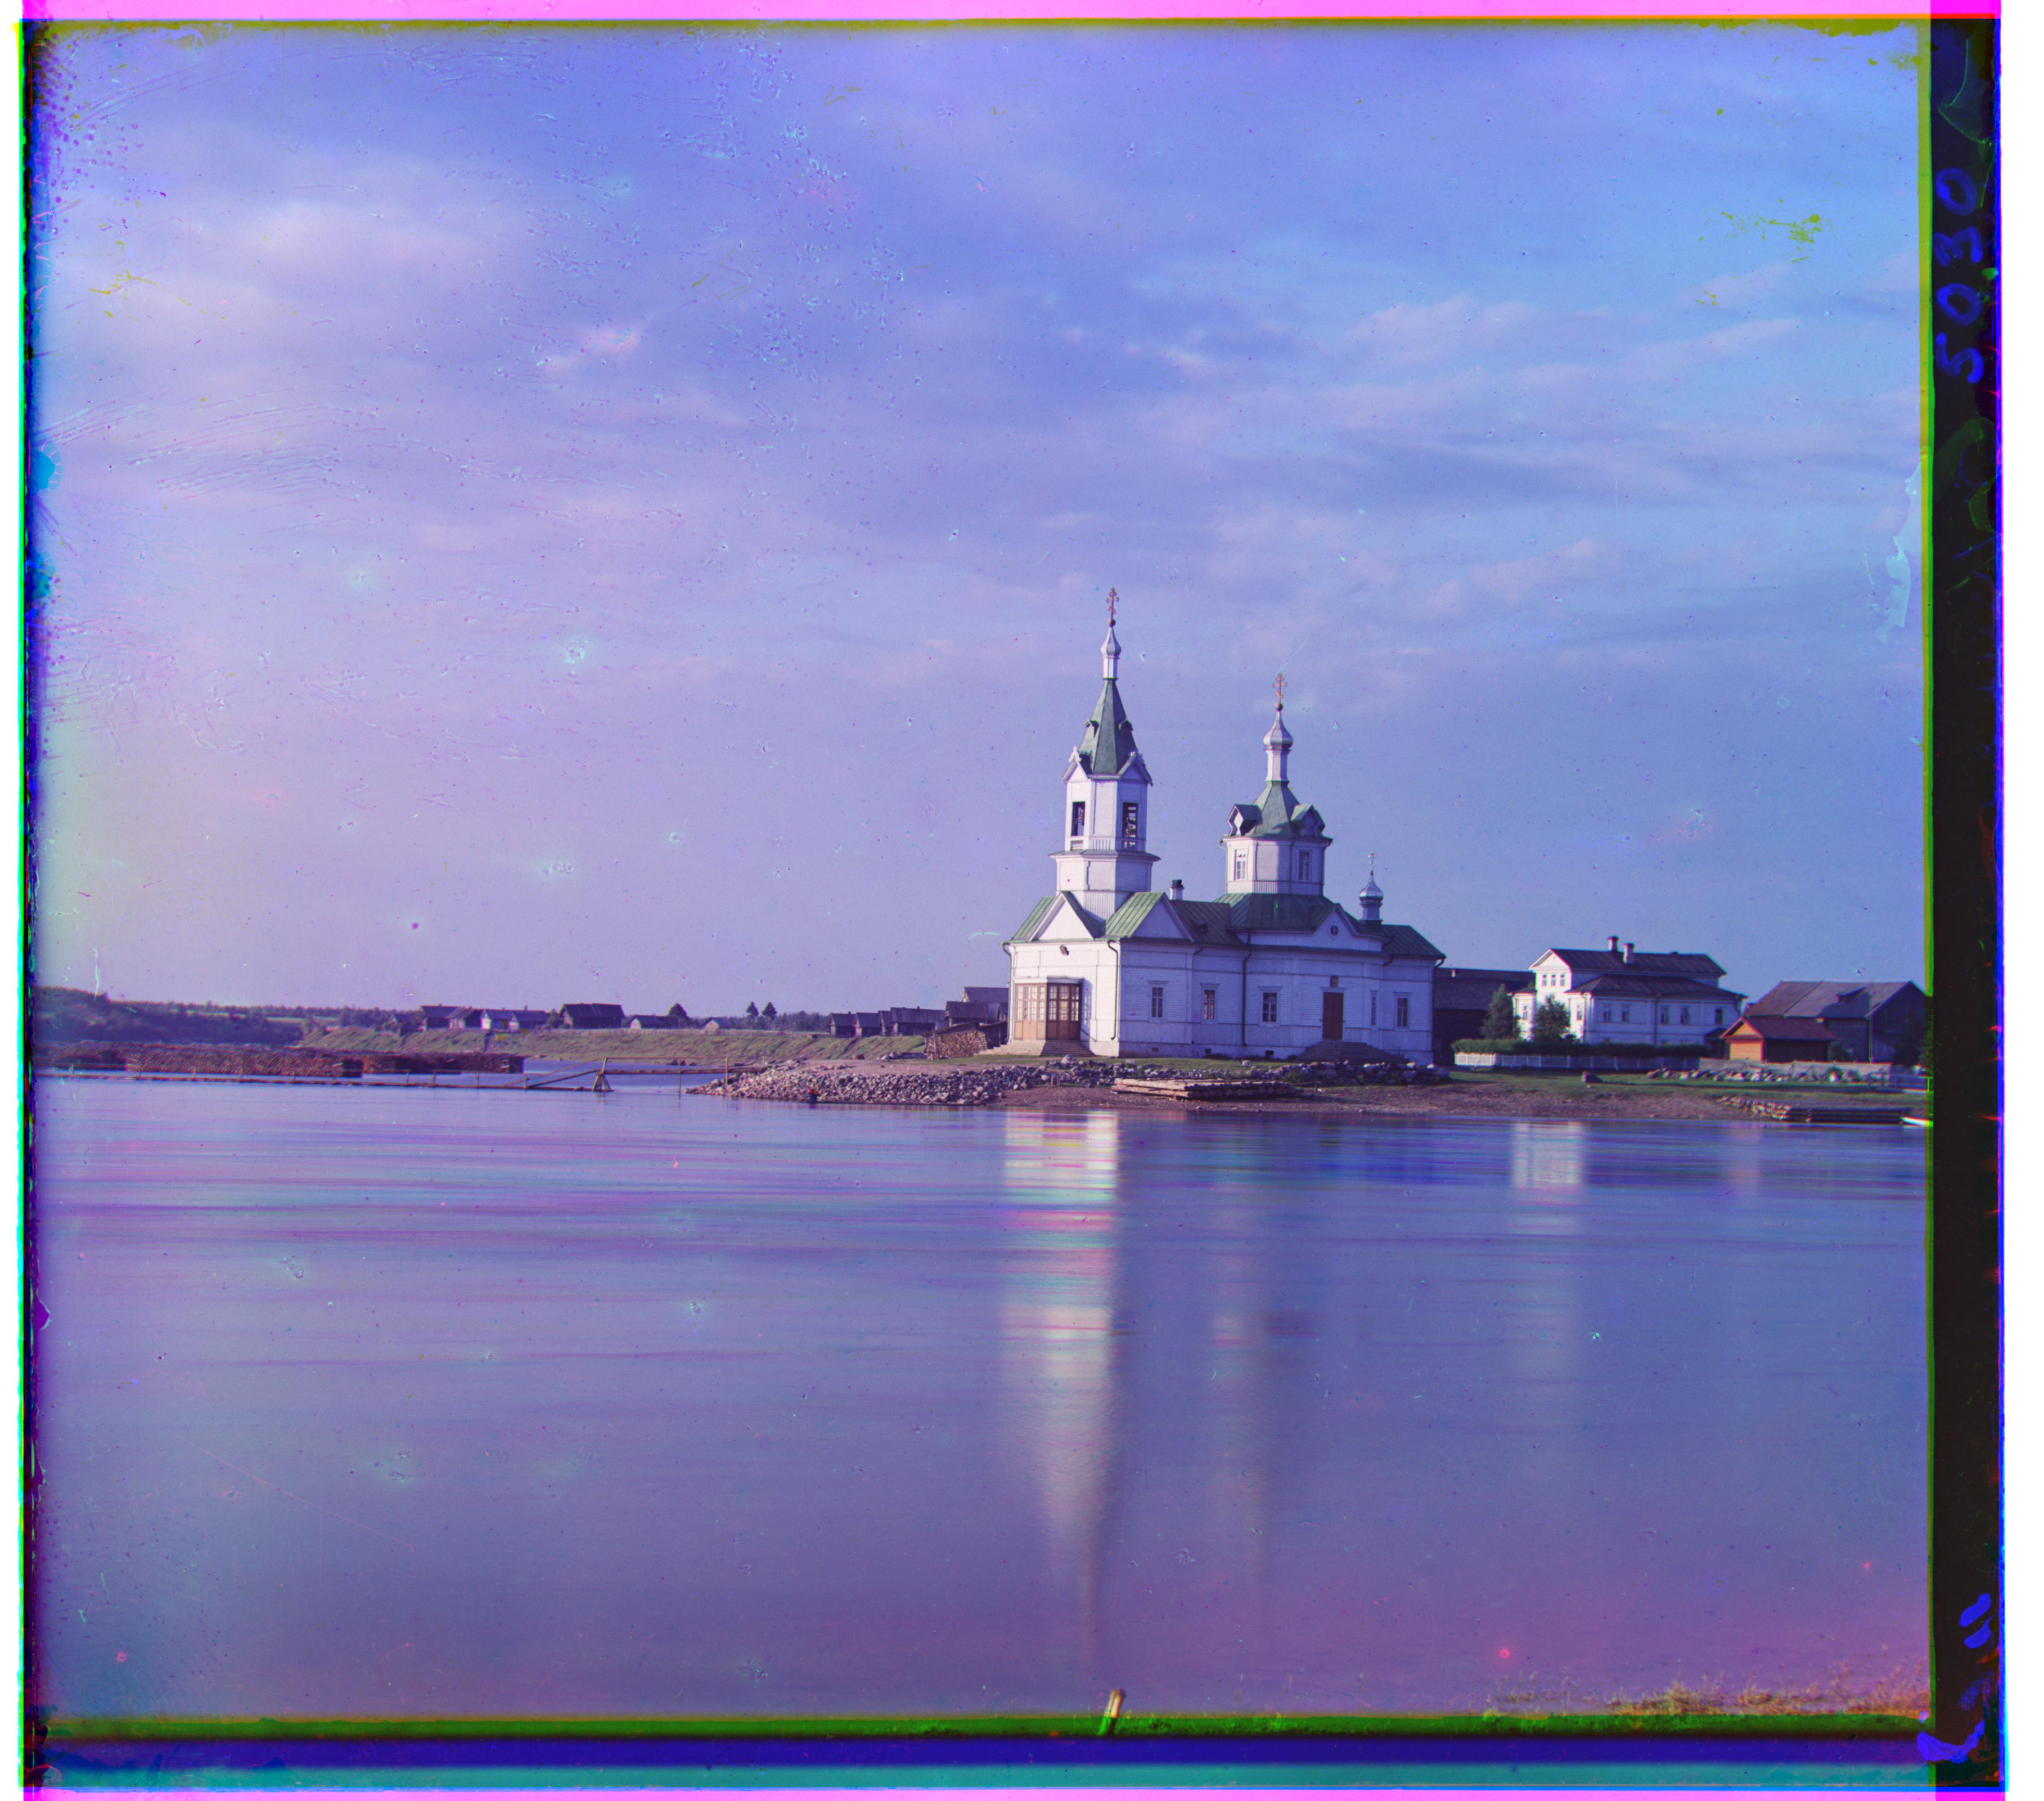
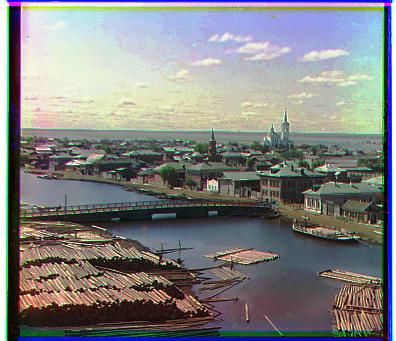
We see below with the Tobolsk picture that with the auto-contrast, more detail is able to be shown, especially in the sky. In the original photo, the sky was too bright, so everything was almost all white, but through the auto-contrast, we see that there are actually many clouds in the distance near the horizon that we could not see before. Also the overall colors look more realistic with the auto-contrast. The original photo looked like there was a blue tint to it.
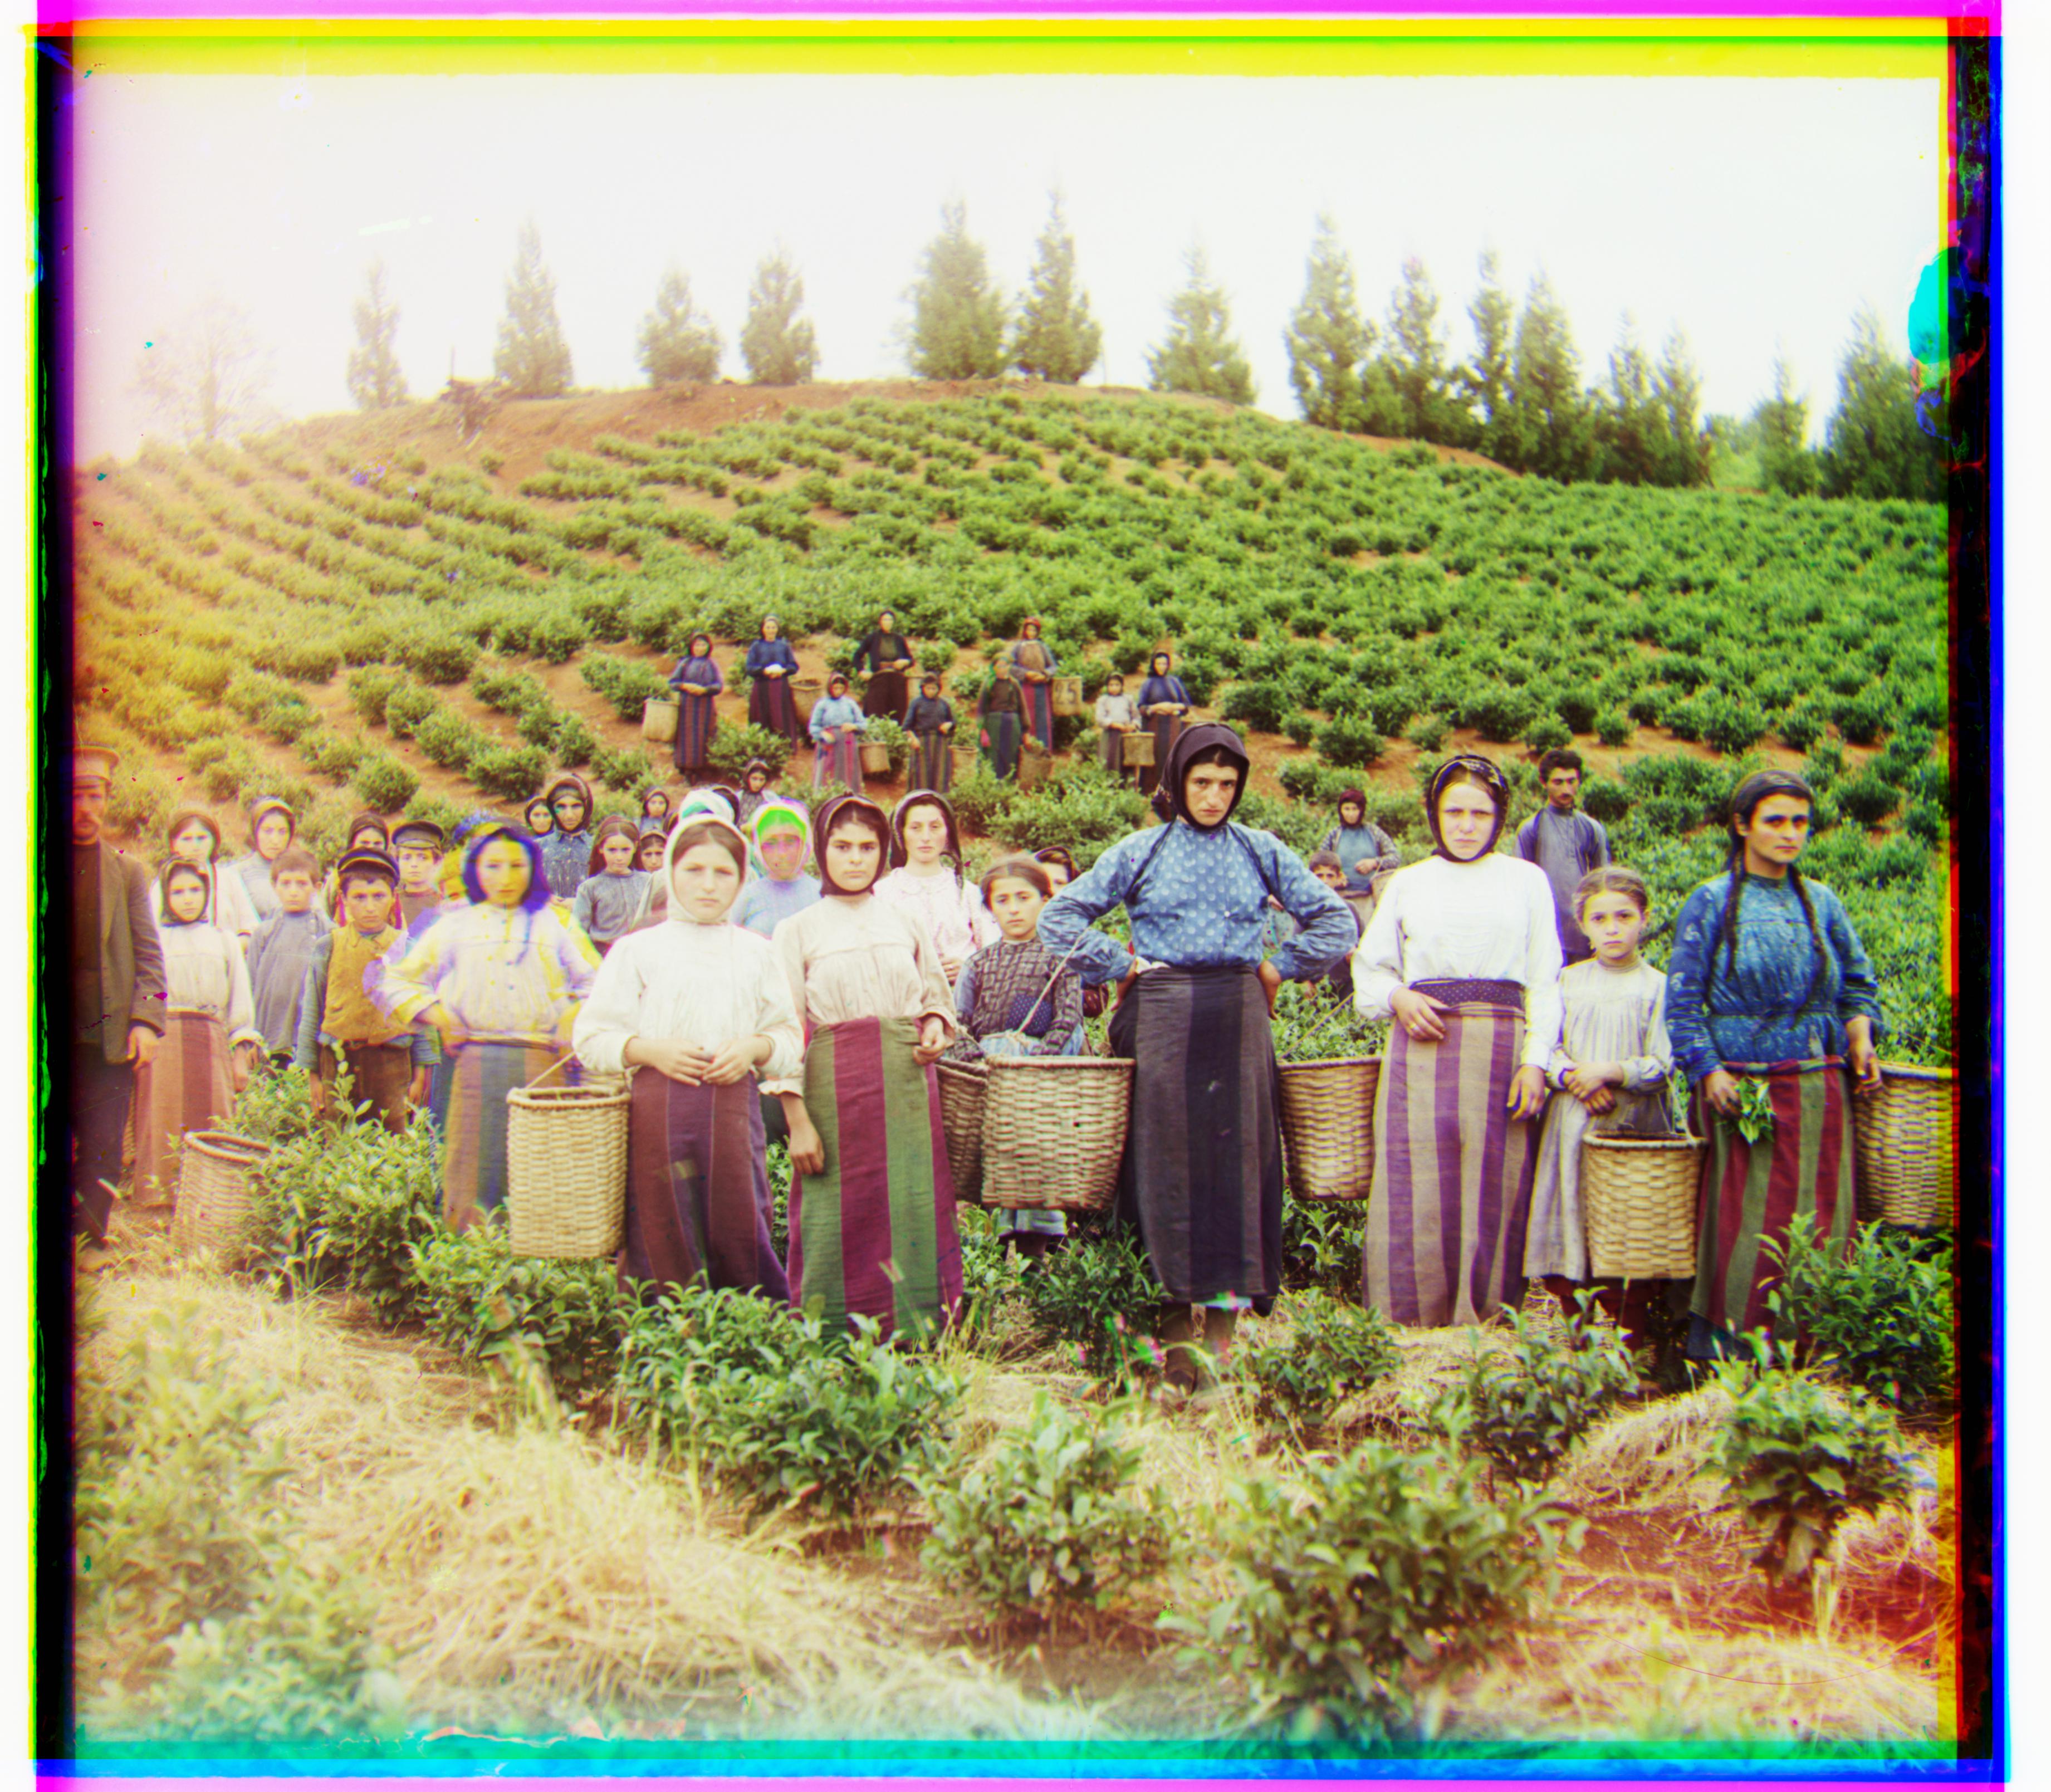
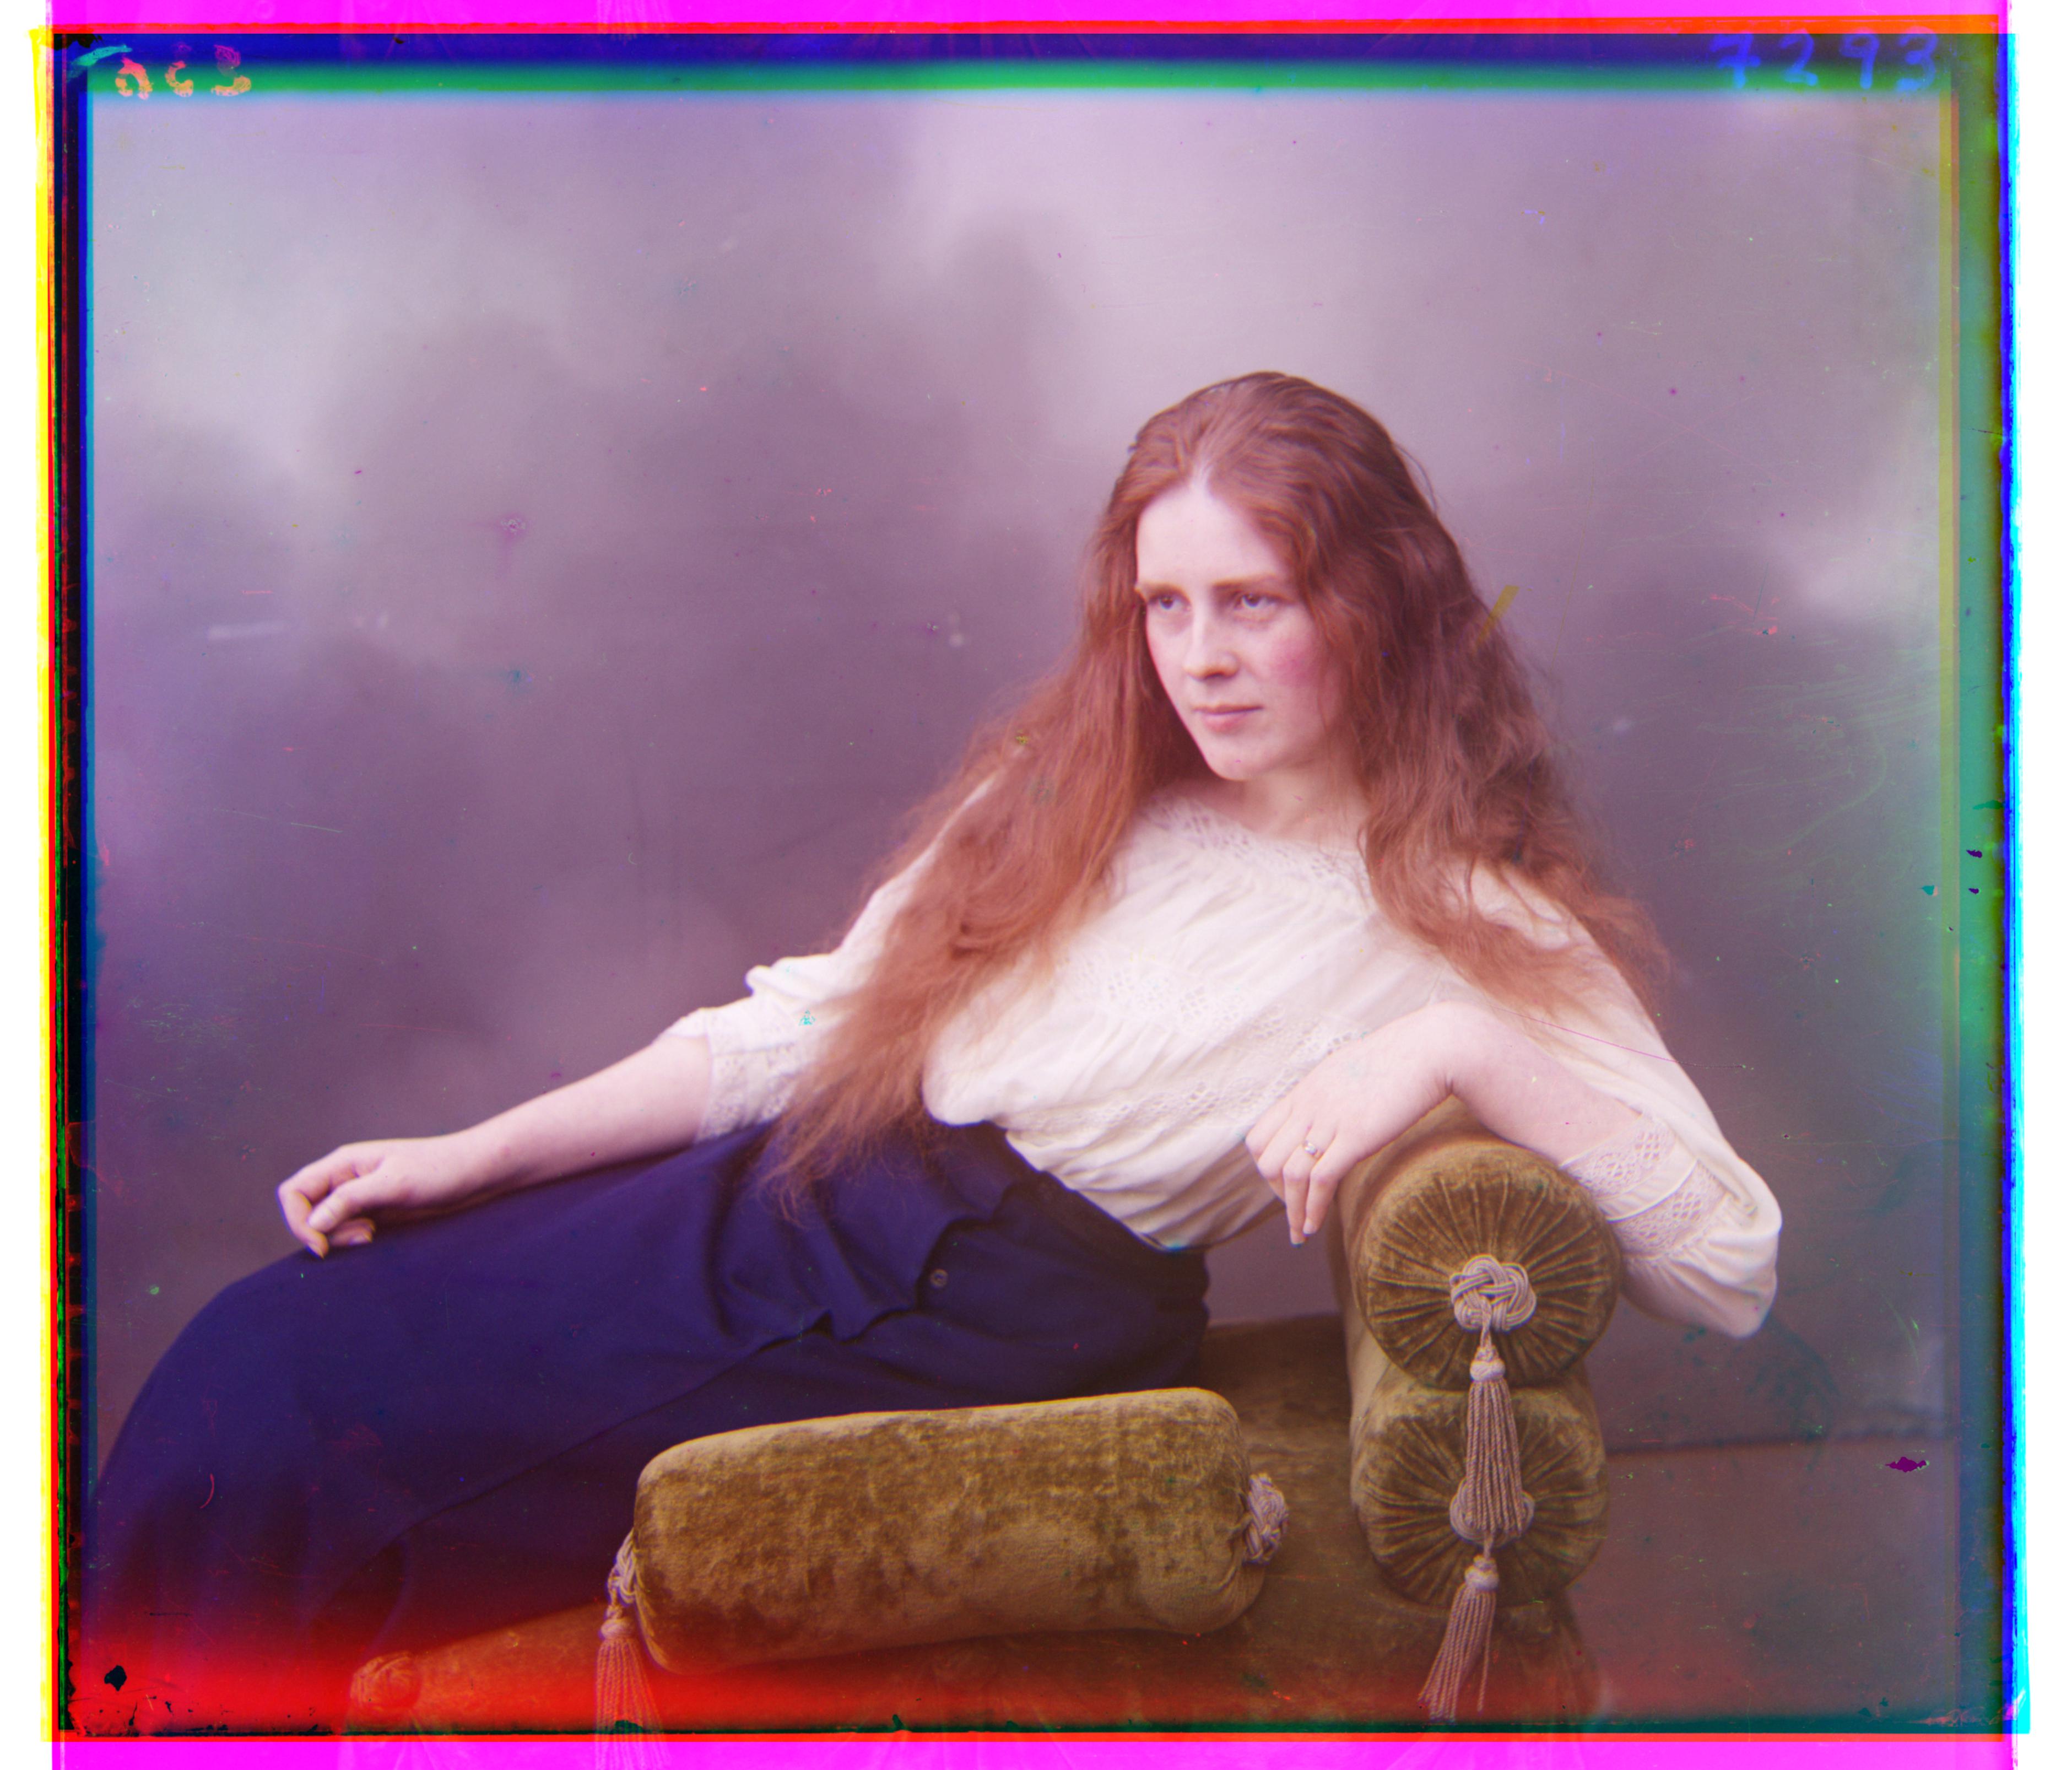
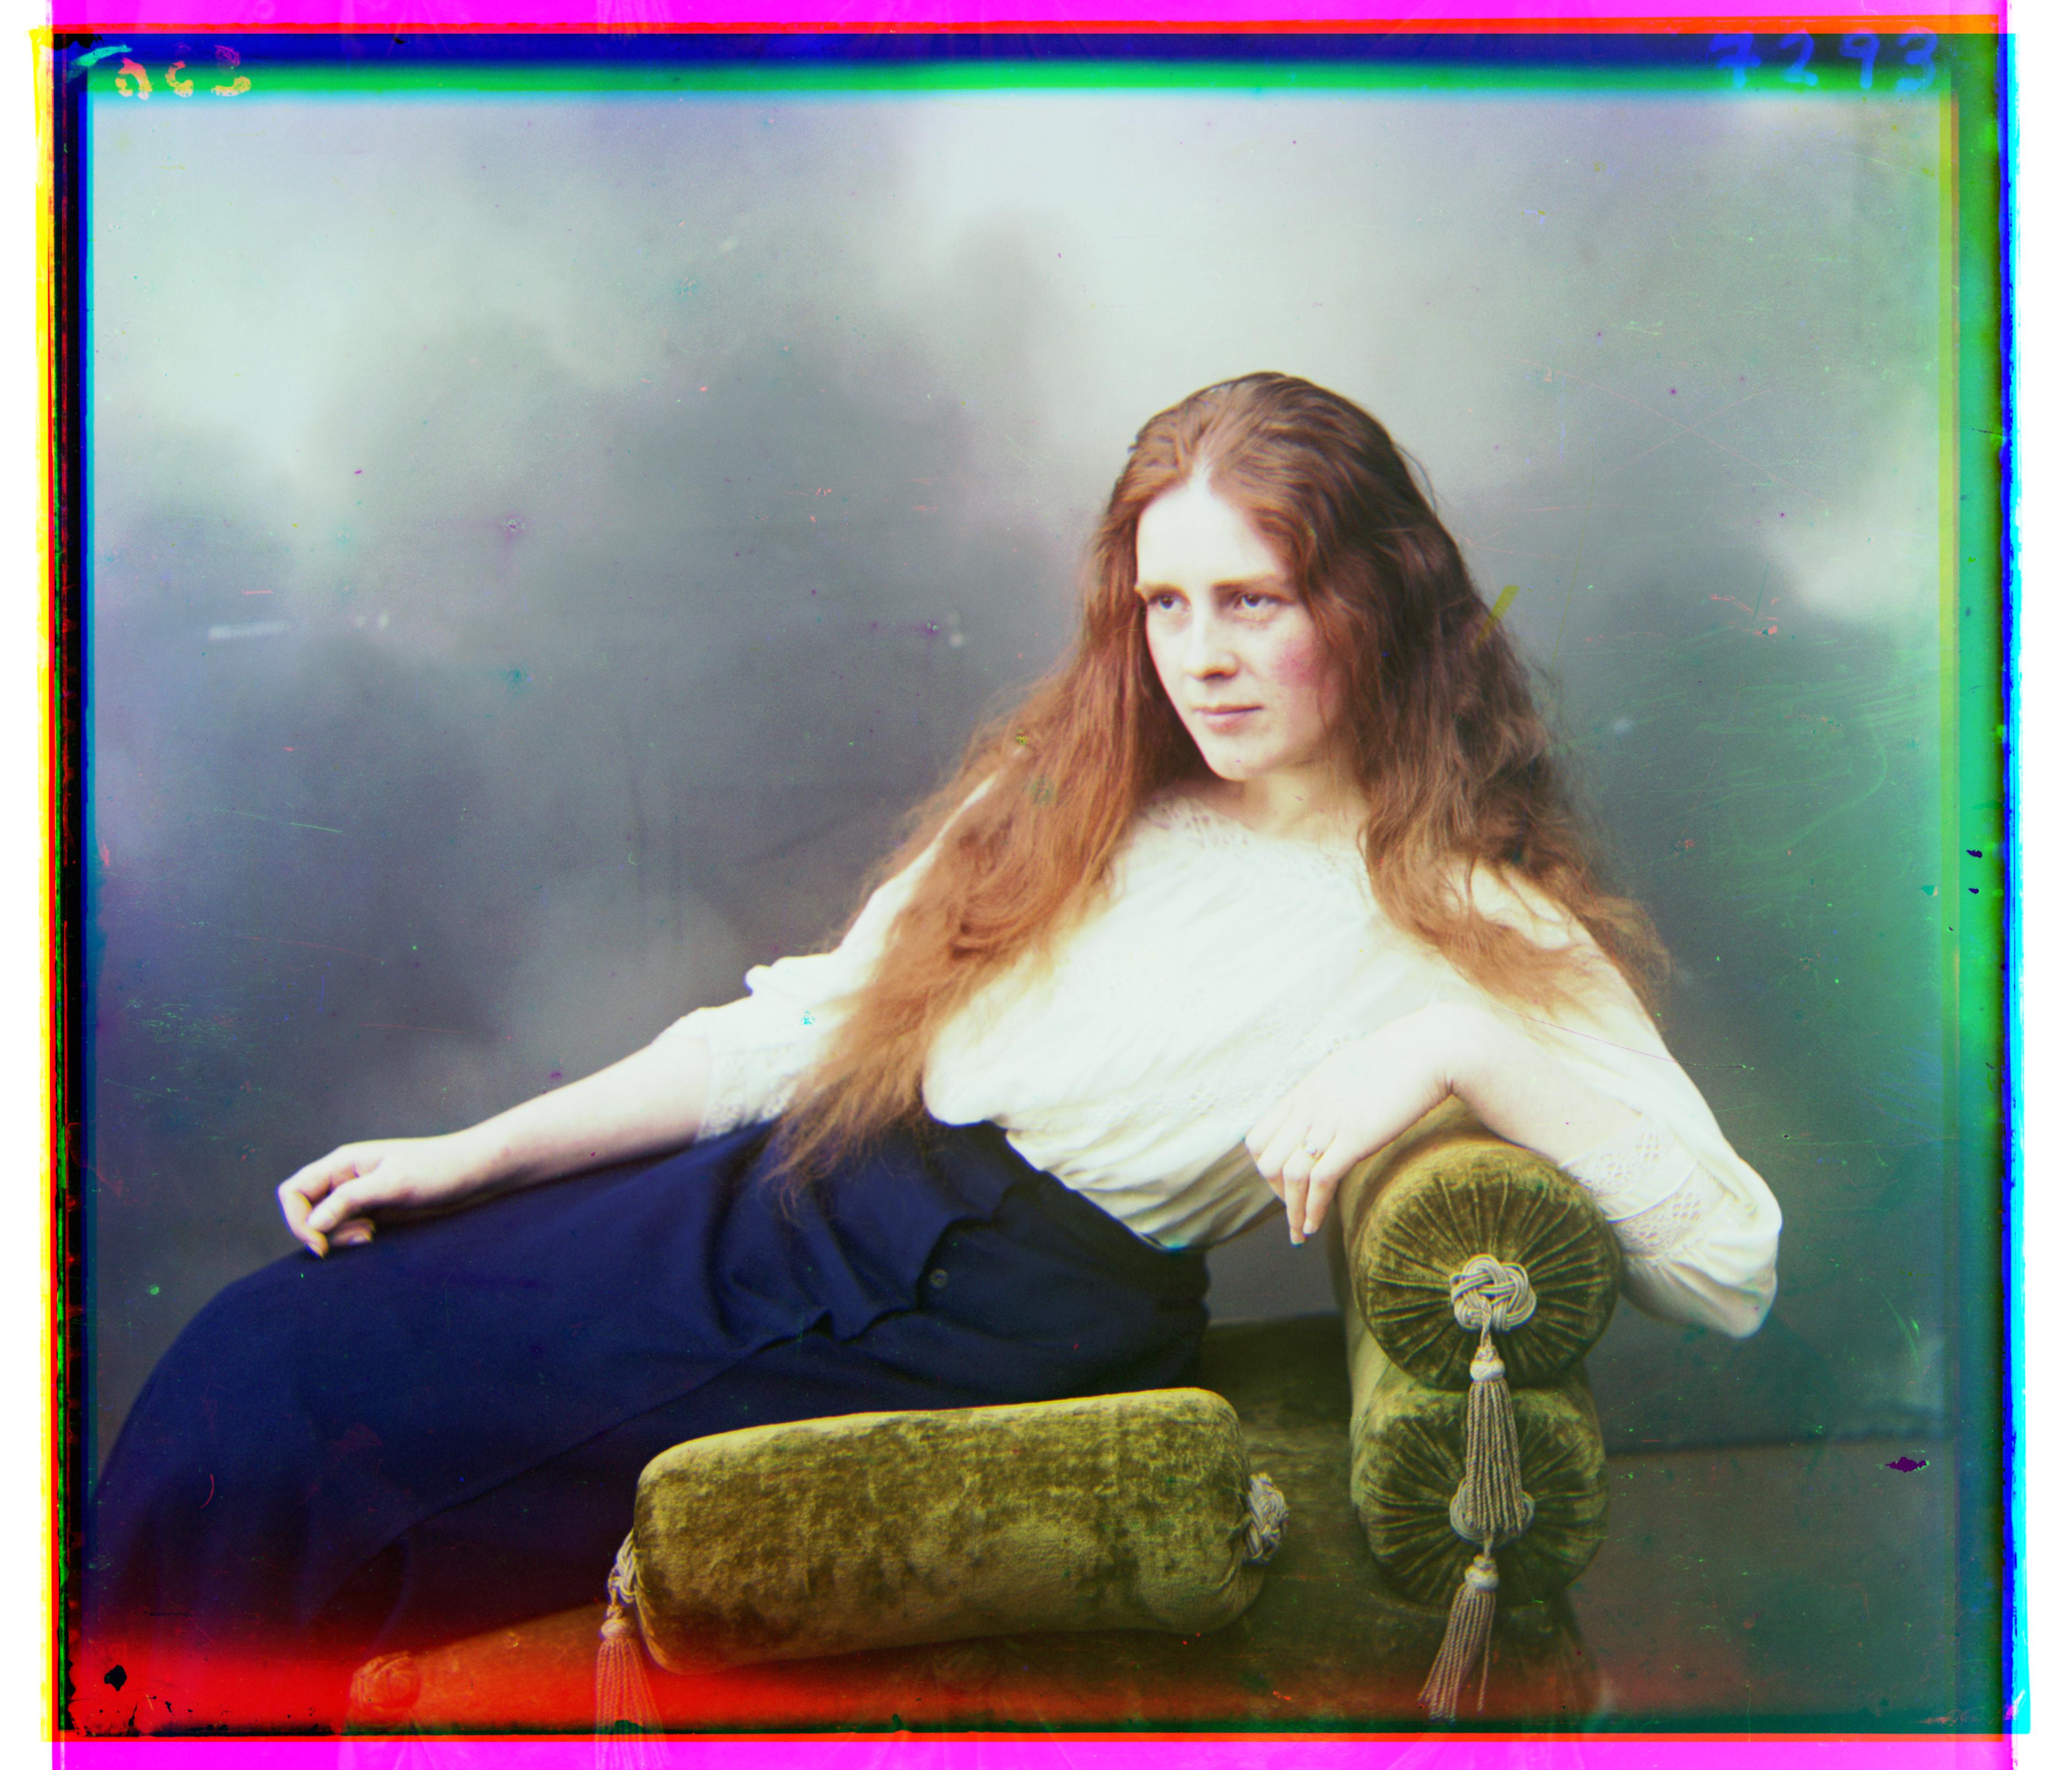
A similar thing happens to the lady picture, where the red tint on top of the picture is gone, and the colors are more vibrant.
|
|
|
|
|
|
Extra Pictures
Below are some extra tifs chosen to run the pyramid search on.
|
|
|
|