Exhaustive Search
For this project, we wanted to realign split red, green, and blue image channels from the Prokudin-Gorskii Collection and create a full RGB image. The first approach we tried to do this was exhaustive search. For this algorithm, we begin with our split image channels of red, green, and blue, and set blue to be the base color that we will align red and green to. In order to align the image, we first crop 15% of it off on all sides in order to focus on the values in the center as the edges of the image are messy. We then begin the search process by looking over a [-15, 15] window of possible displacements, where we use np.roll to shift a specific image channel by a certain number of values. For each shift, we score the success of the shift by using the norm of the difference between the shifted image and the color of comparison, which is blue in our case. We do this process for both the red and green channels, and then stack the aligned images on top of each other to get our final colored result.
Pyramid Search
The second approach we could use to recolor our images was Pyramid Search. Exhaustive search is only preferable for smaller images like jpgs because they are lower resolution and thus have less information to search. However, for larger images, like tiffs, we need a more efficient algorithm for our results to be outputted in a timely manner. Hence, rather than applying the [-15, 15] window on the entire image, we search a [-5, 5] window on downscaled versions of the original image. Using sk.transform.rescale, we downscale the image by a half 5 times and then search the [-5, 5] window on this downscaled image for the desired displacement. 15% Cropping was still performed before the search was done. We then take this displacement from the downscaled image to shift the image on the next level up with the appropriate multiplier, and then we run search on the next level to get another set of displacement values. This process is recursively called until we reach the final original level at which point we can take the sum of the scaled values calculated at every level to determine the neceesary displacement. This allows us to recolor the image more efficiently than if we were to exhaustively search. Finally, for the image emir.tif specifically, we needed to make a slight adjustment of using green as the base rather than blue like the rest of the images. This was likely because Emir's clothing is very blue and takes up the majority of the center of the image, making it a poor basis to align the other colors to.
Additional
The additional images I chose were the boat, lake, and tower images toward the bottom of the site.
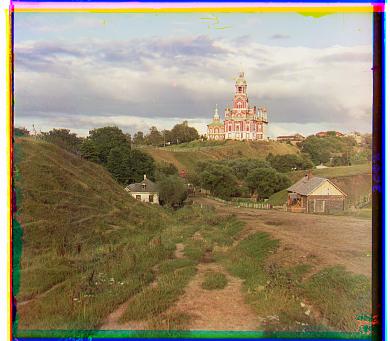
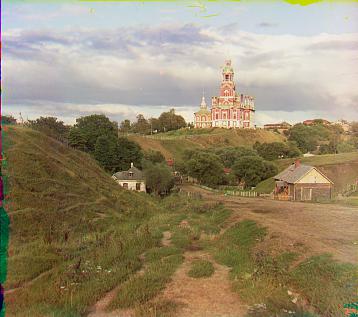
Cathedral jpg
G: [2, 5], R: [3, 12]
View more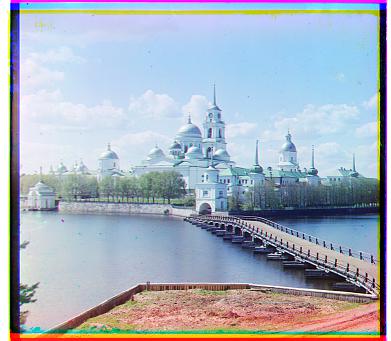
Monastery jpg
G: [2, -3], R: [2, 3]
View more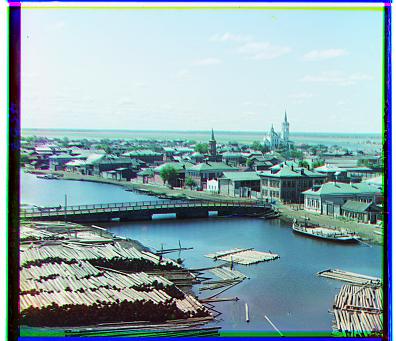
Tobolsk jpg
G: [3, 3], R: [3, 6]
View more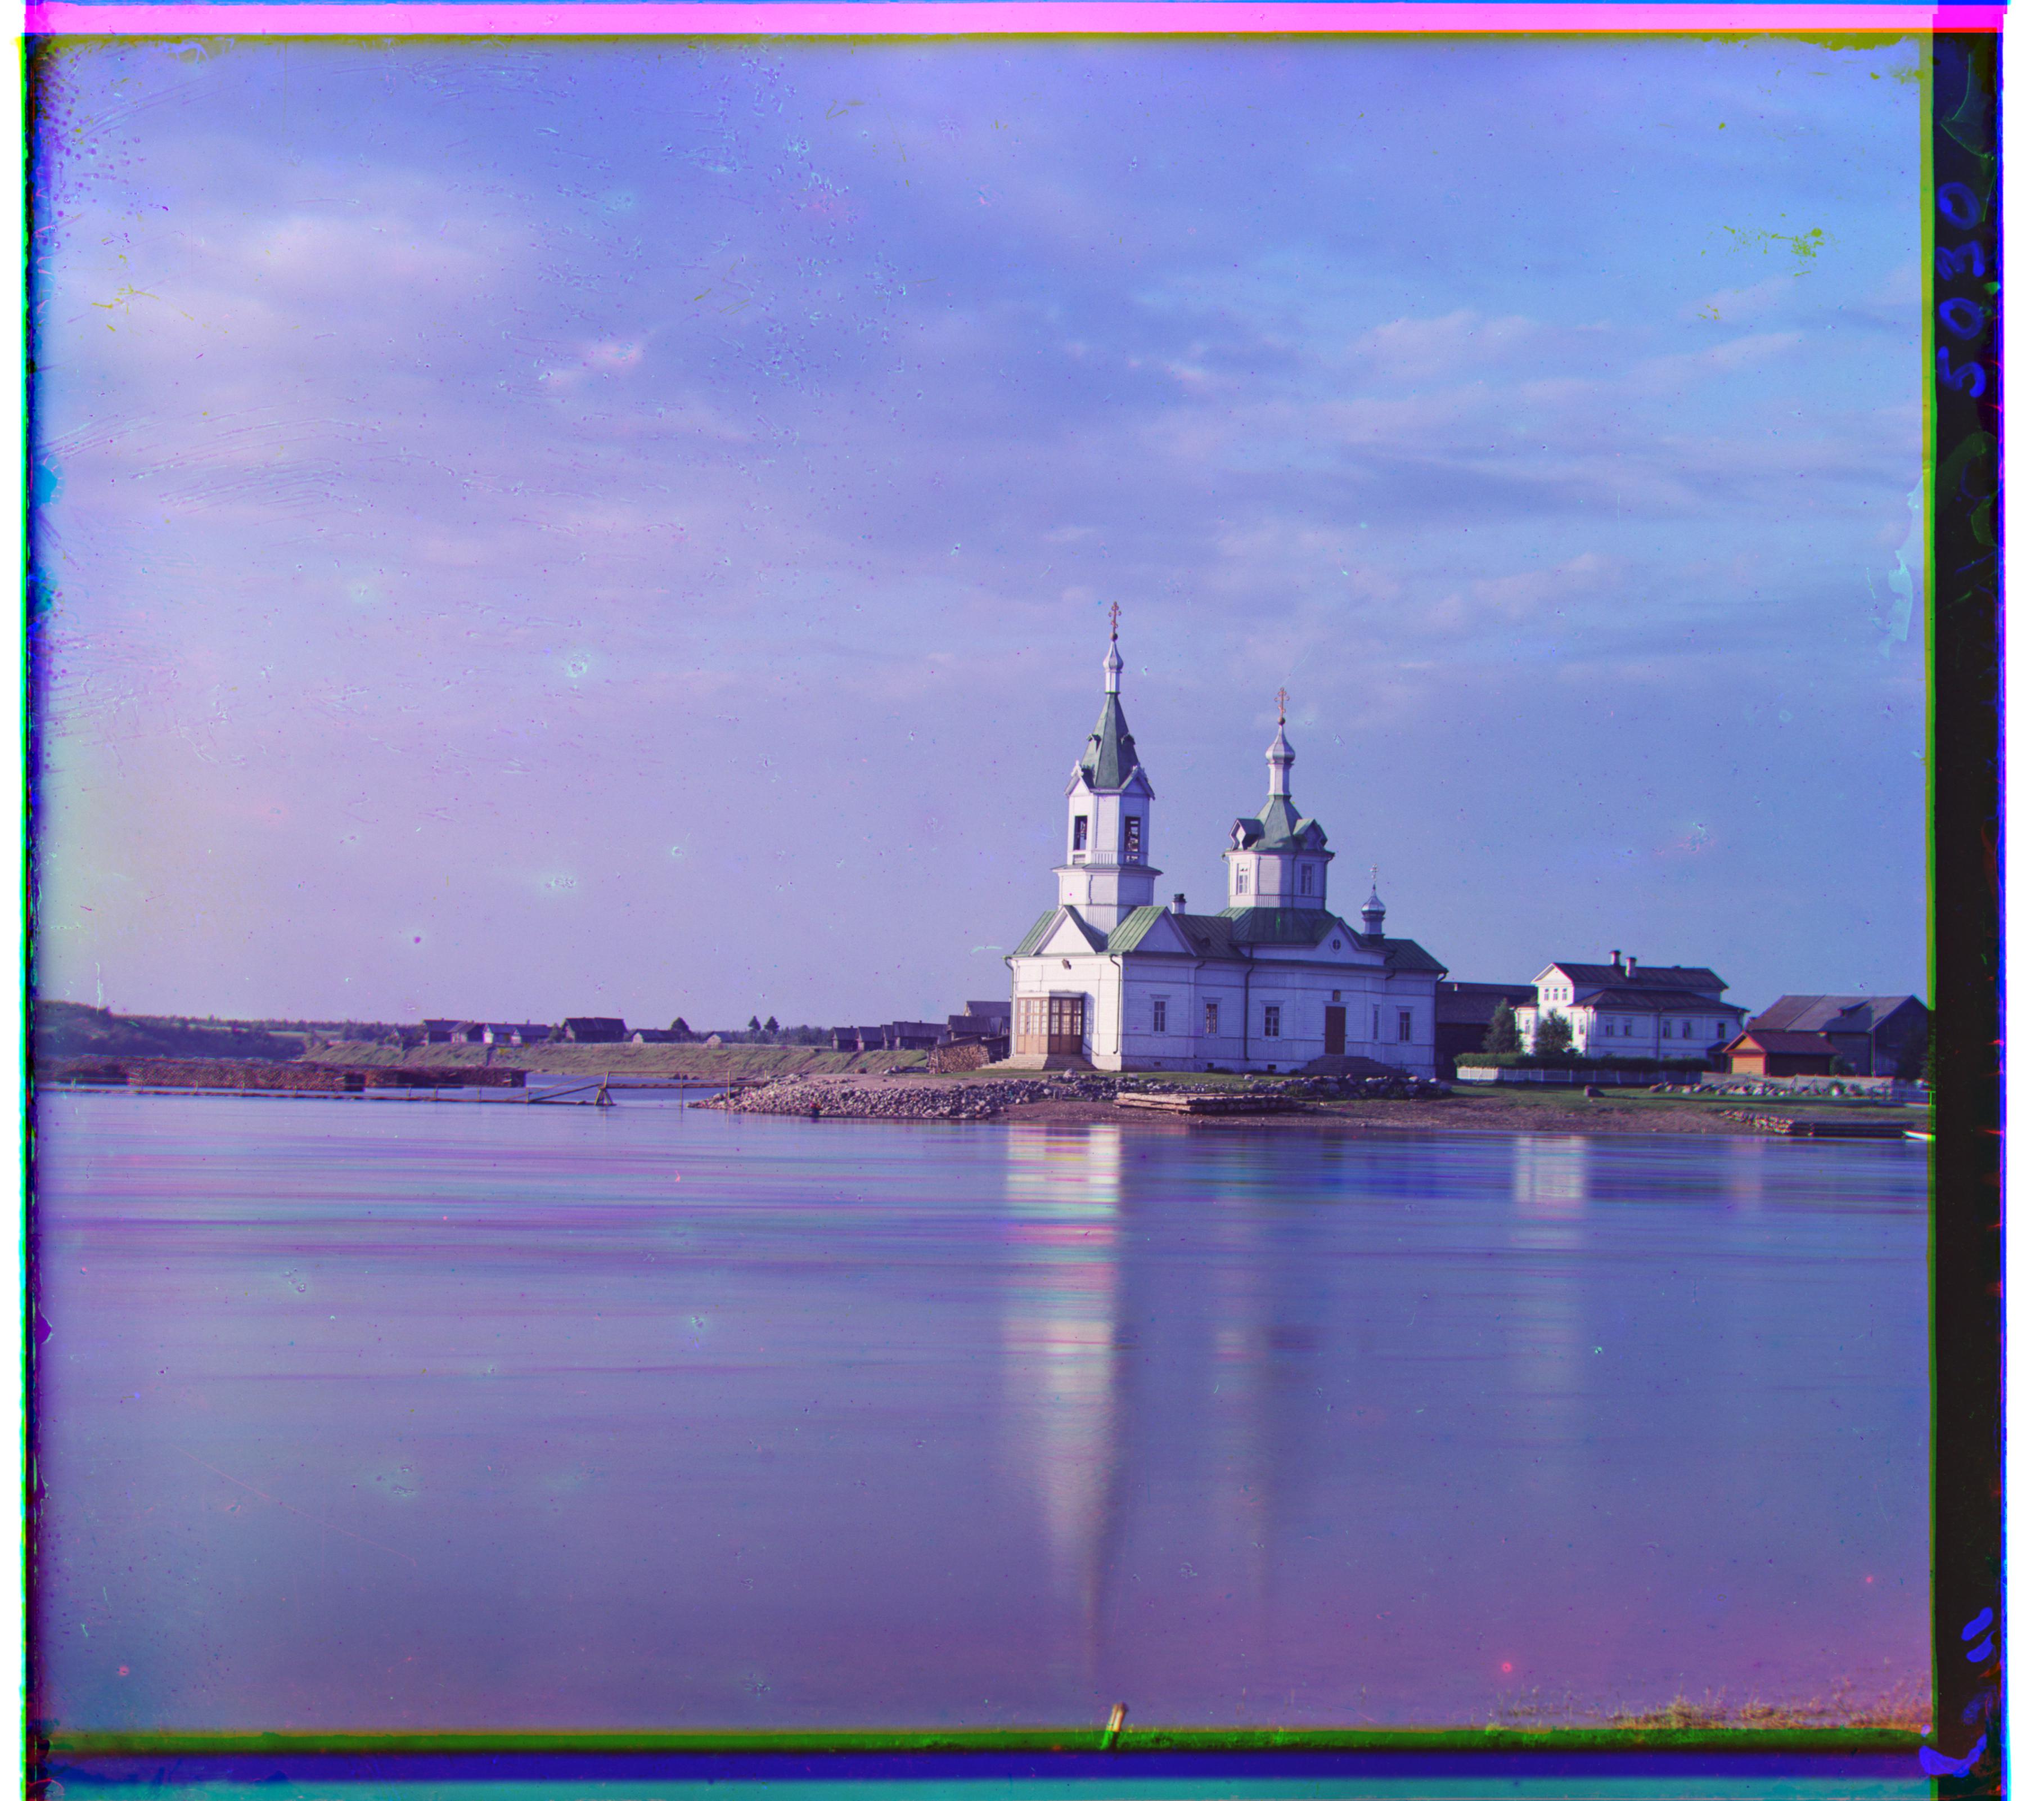
Church tif
G: [4, 23], R: [-4, 58]
View more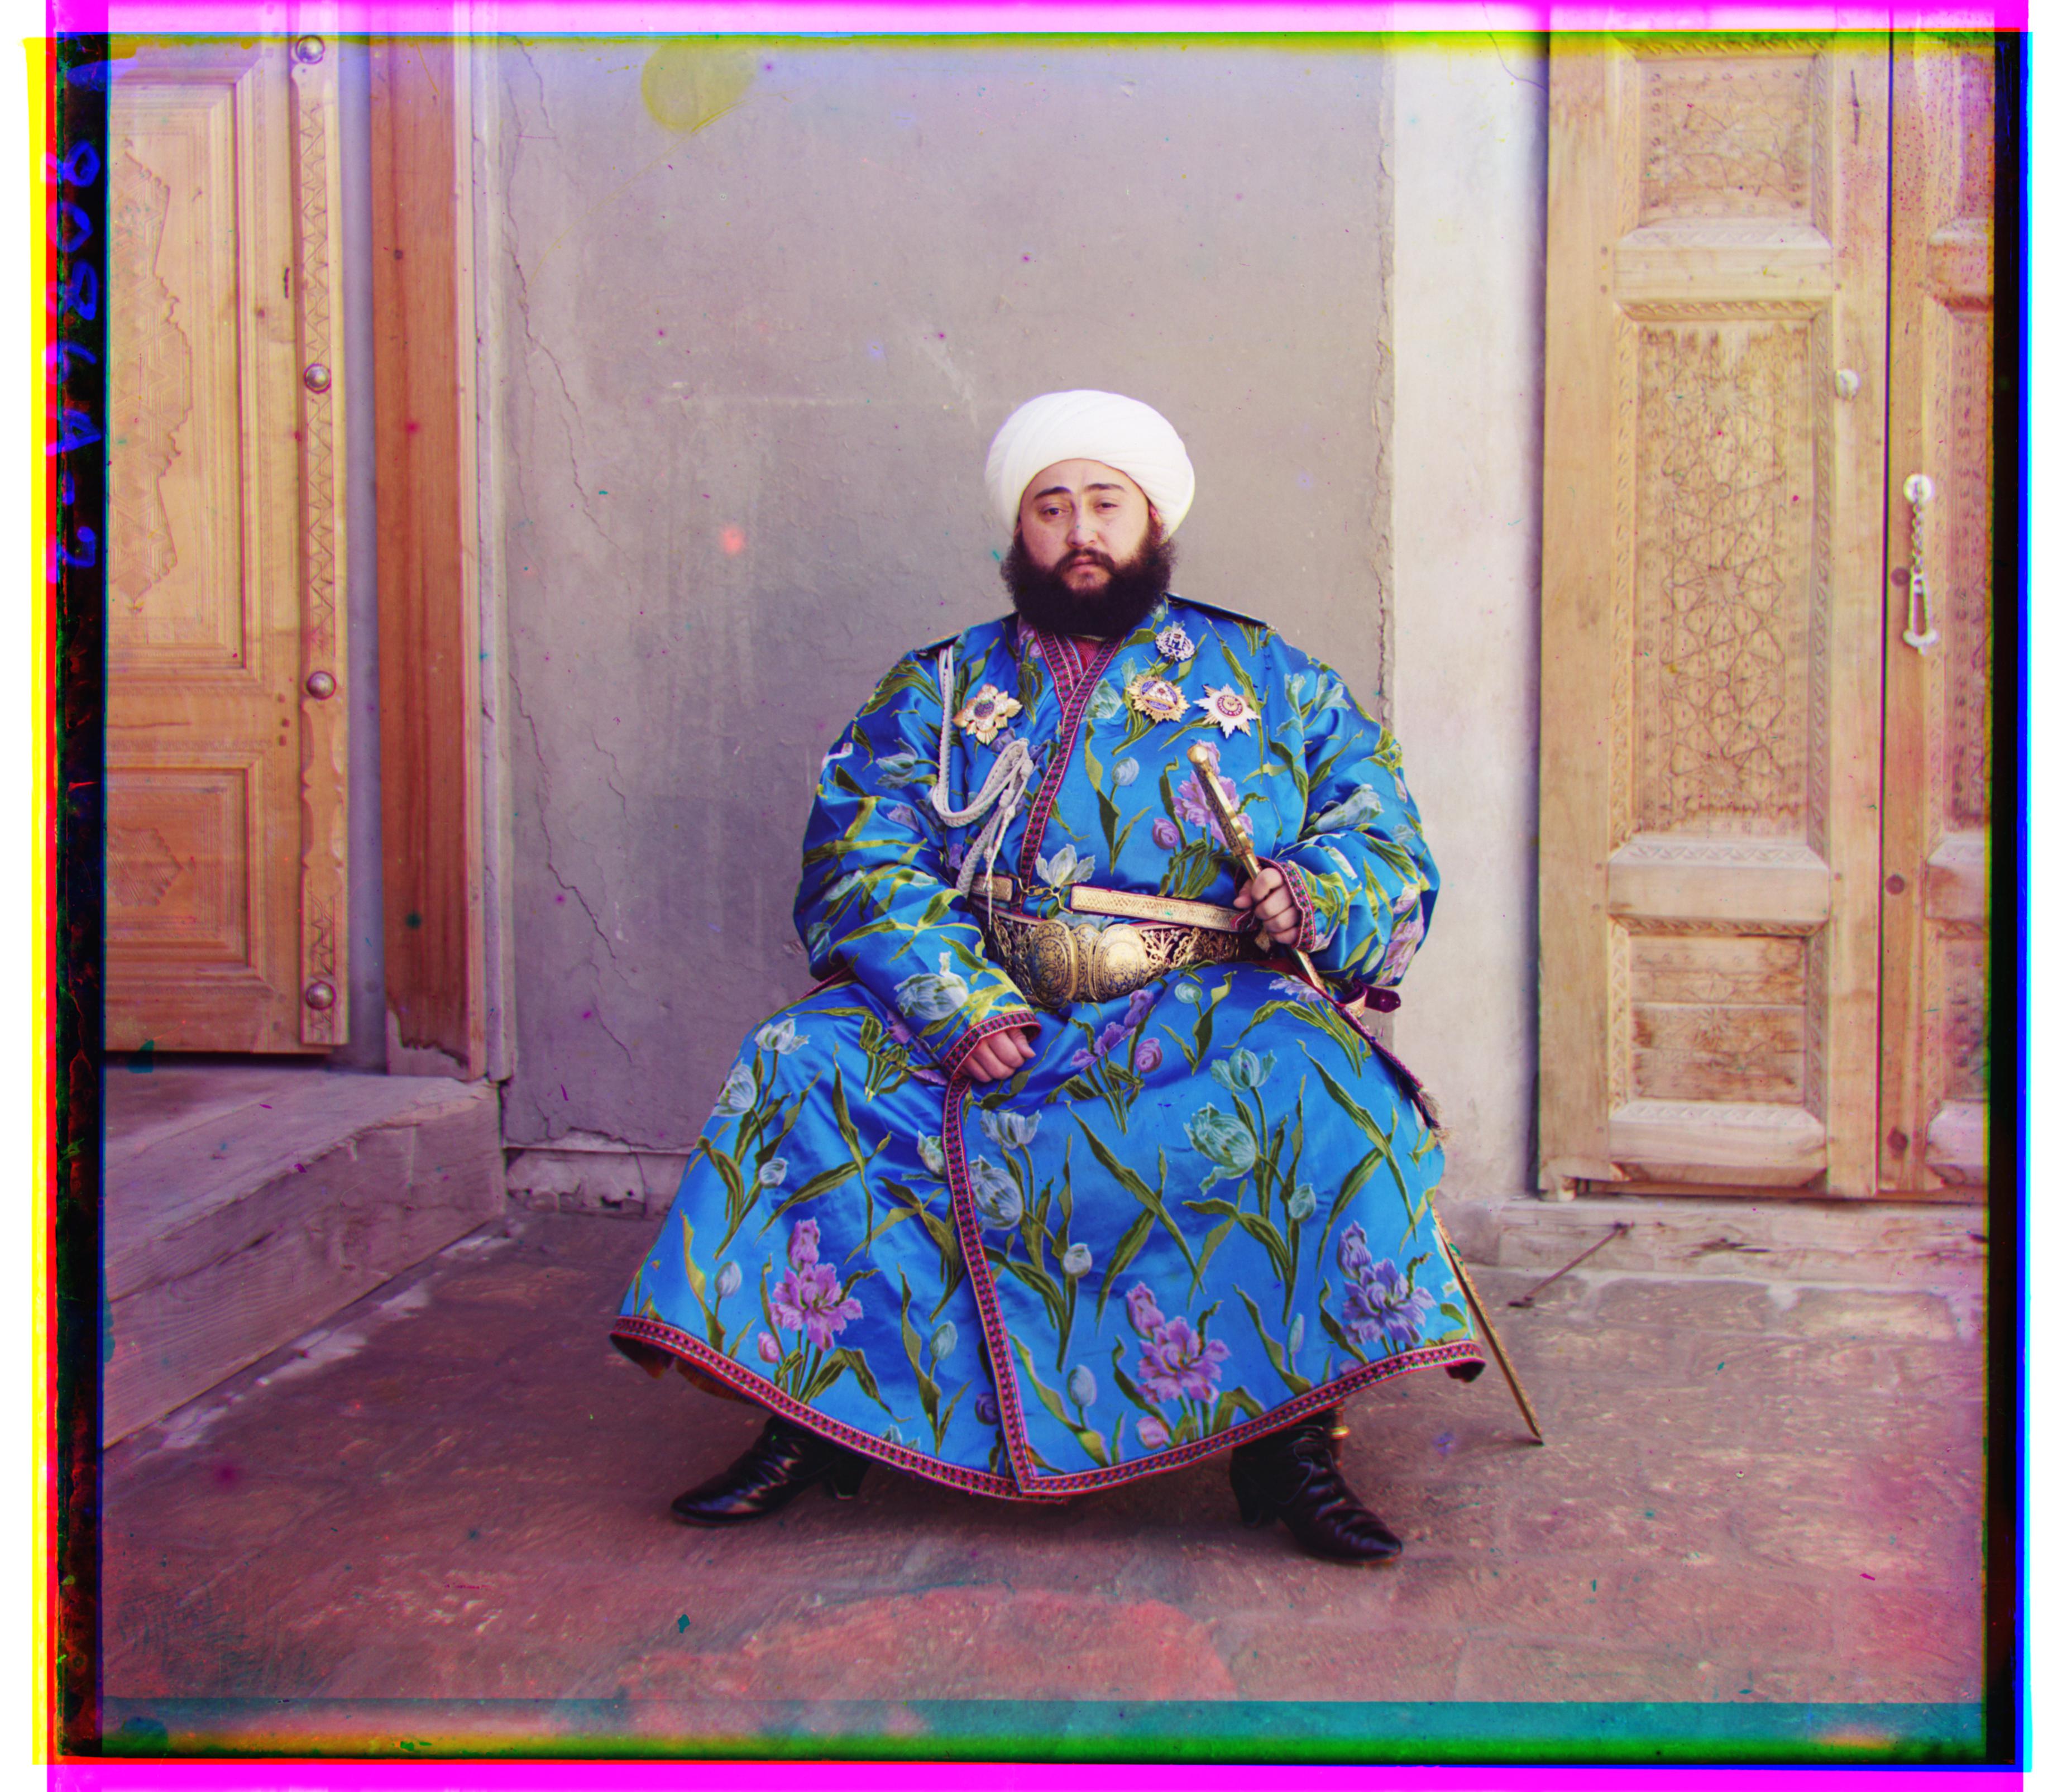
Emir tif
B: [-24, -49], R: [17, 57]
View more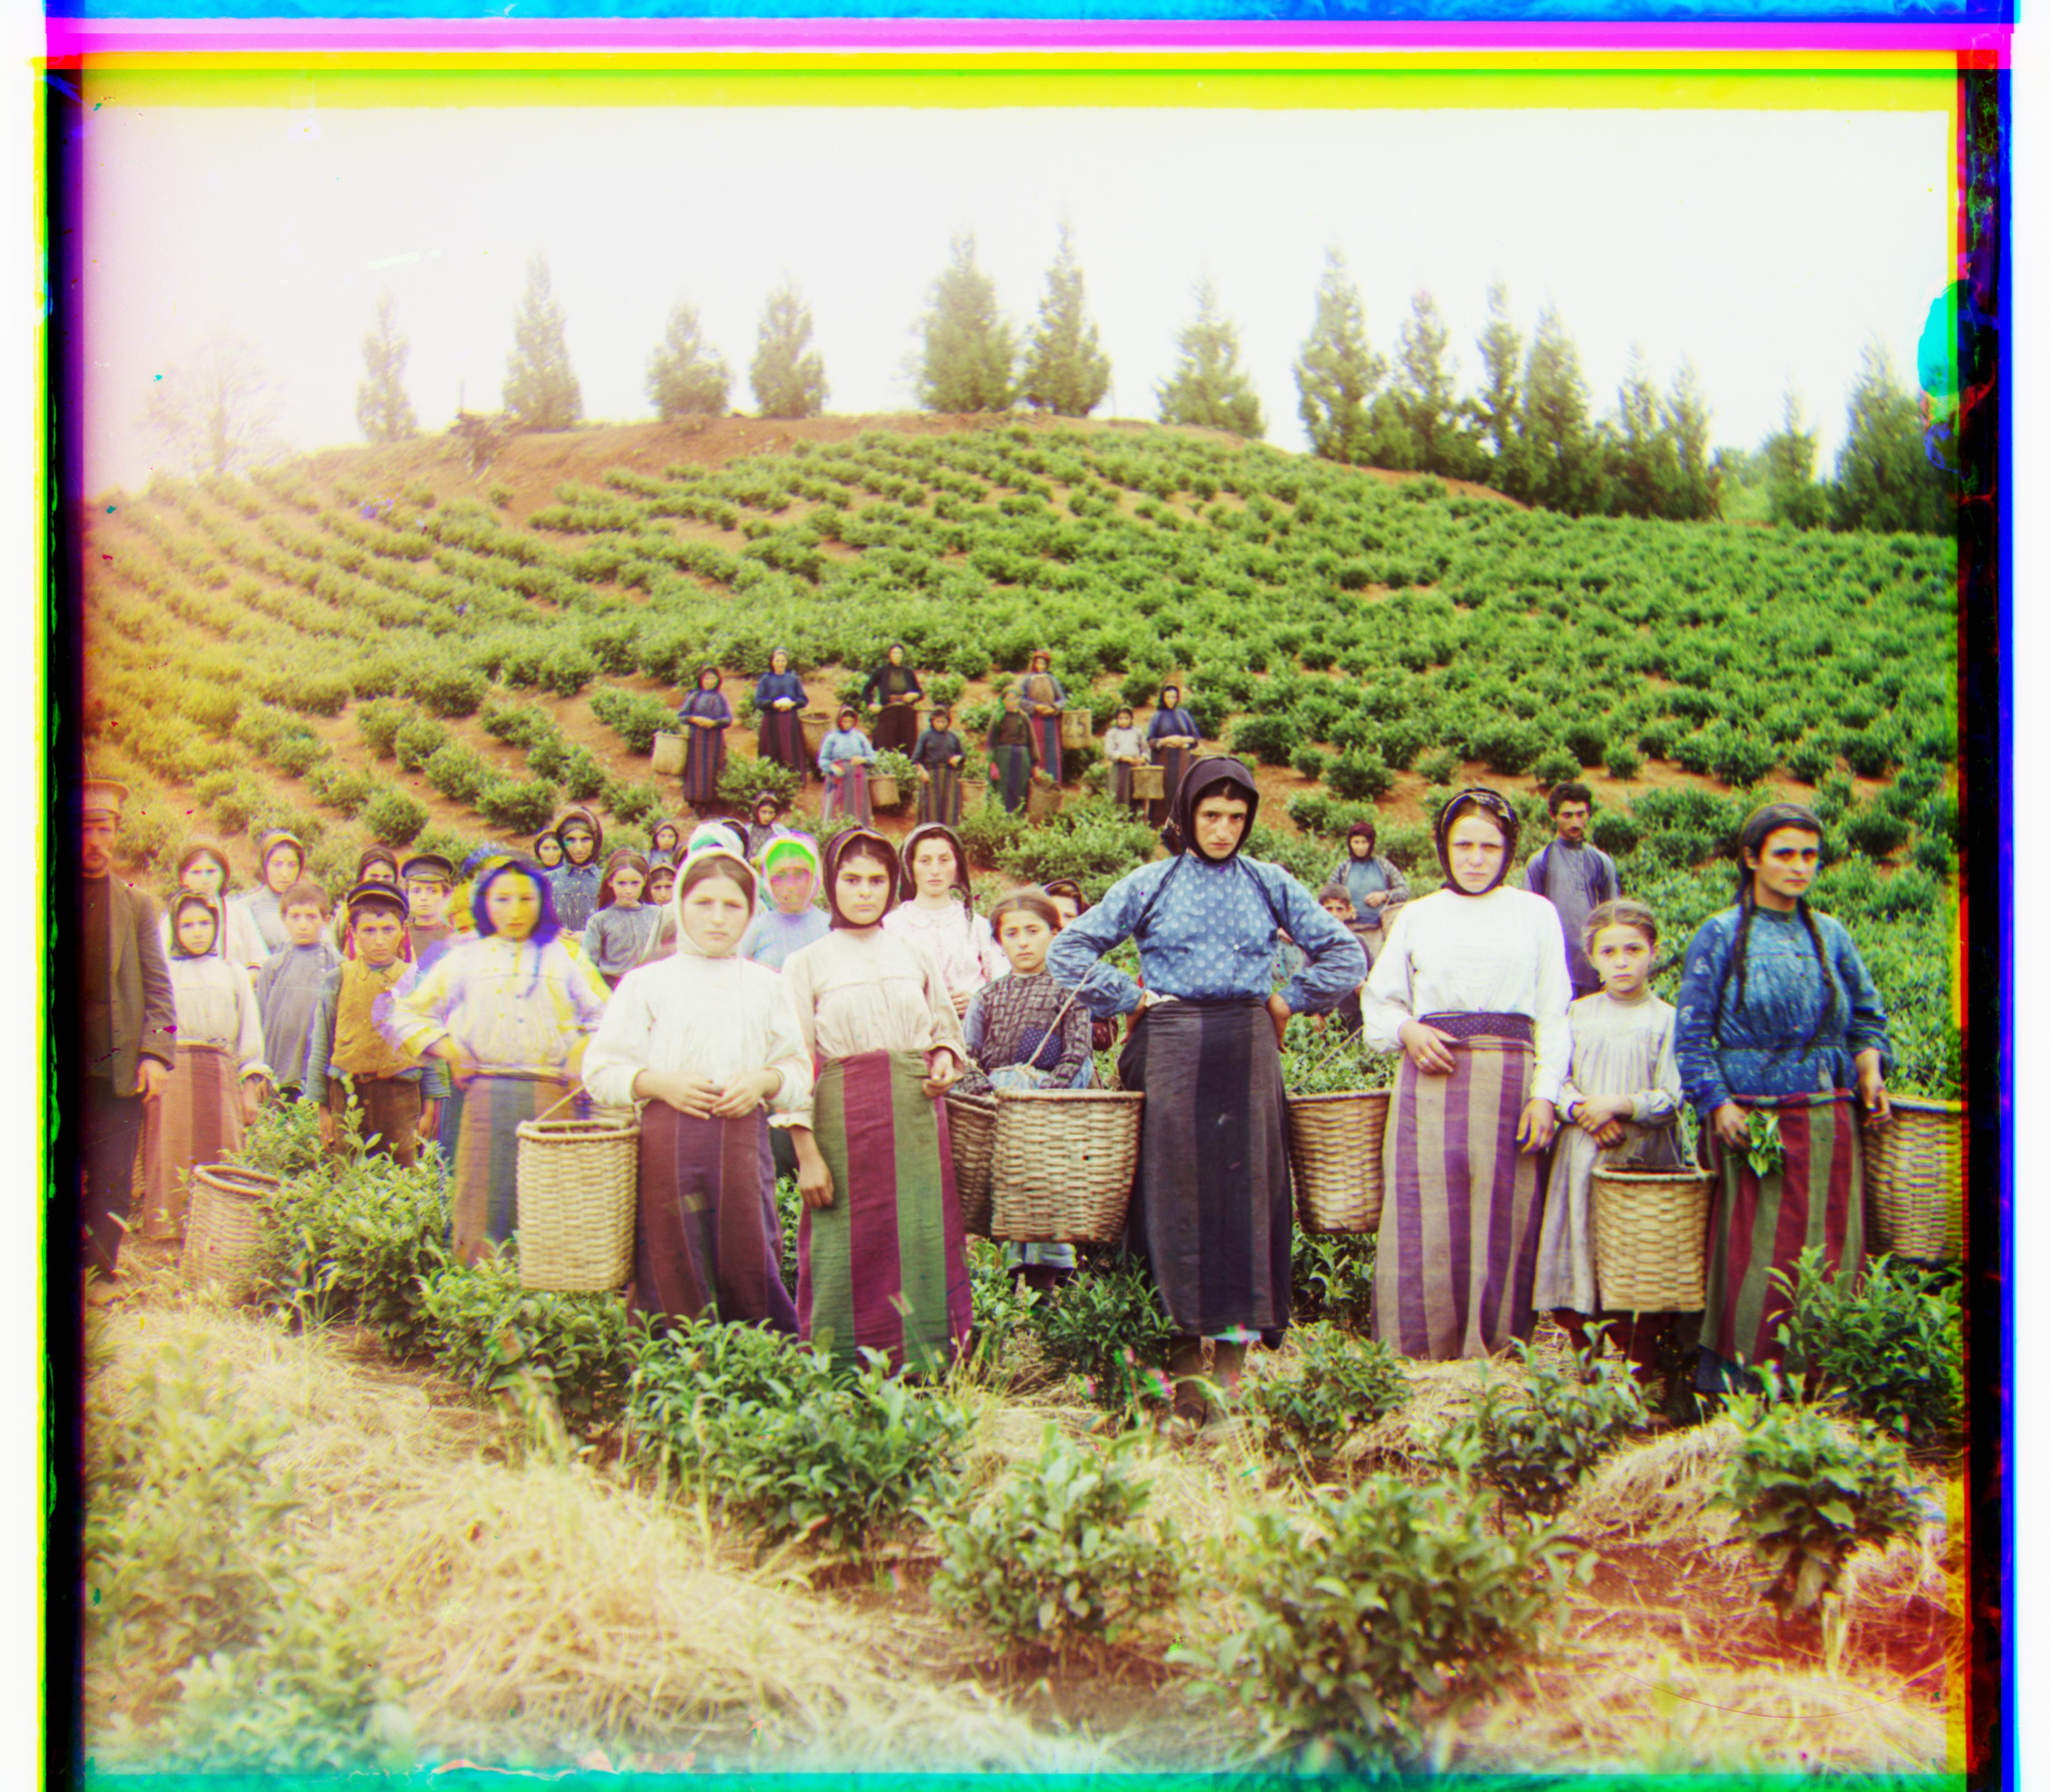
Harvesters tif
G: [17, 60], R: [14, 124]
View moreIcon tif
G: [17, 41], R: [23, 90]
View more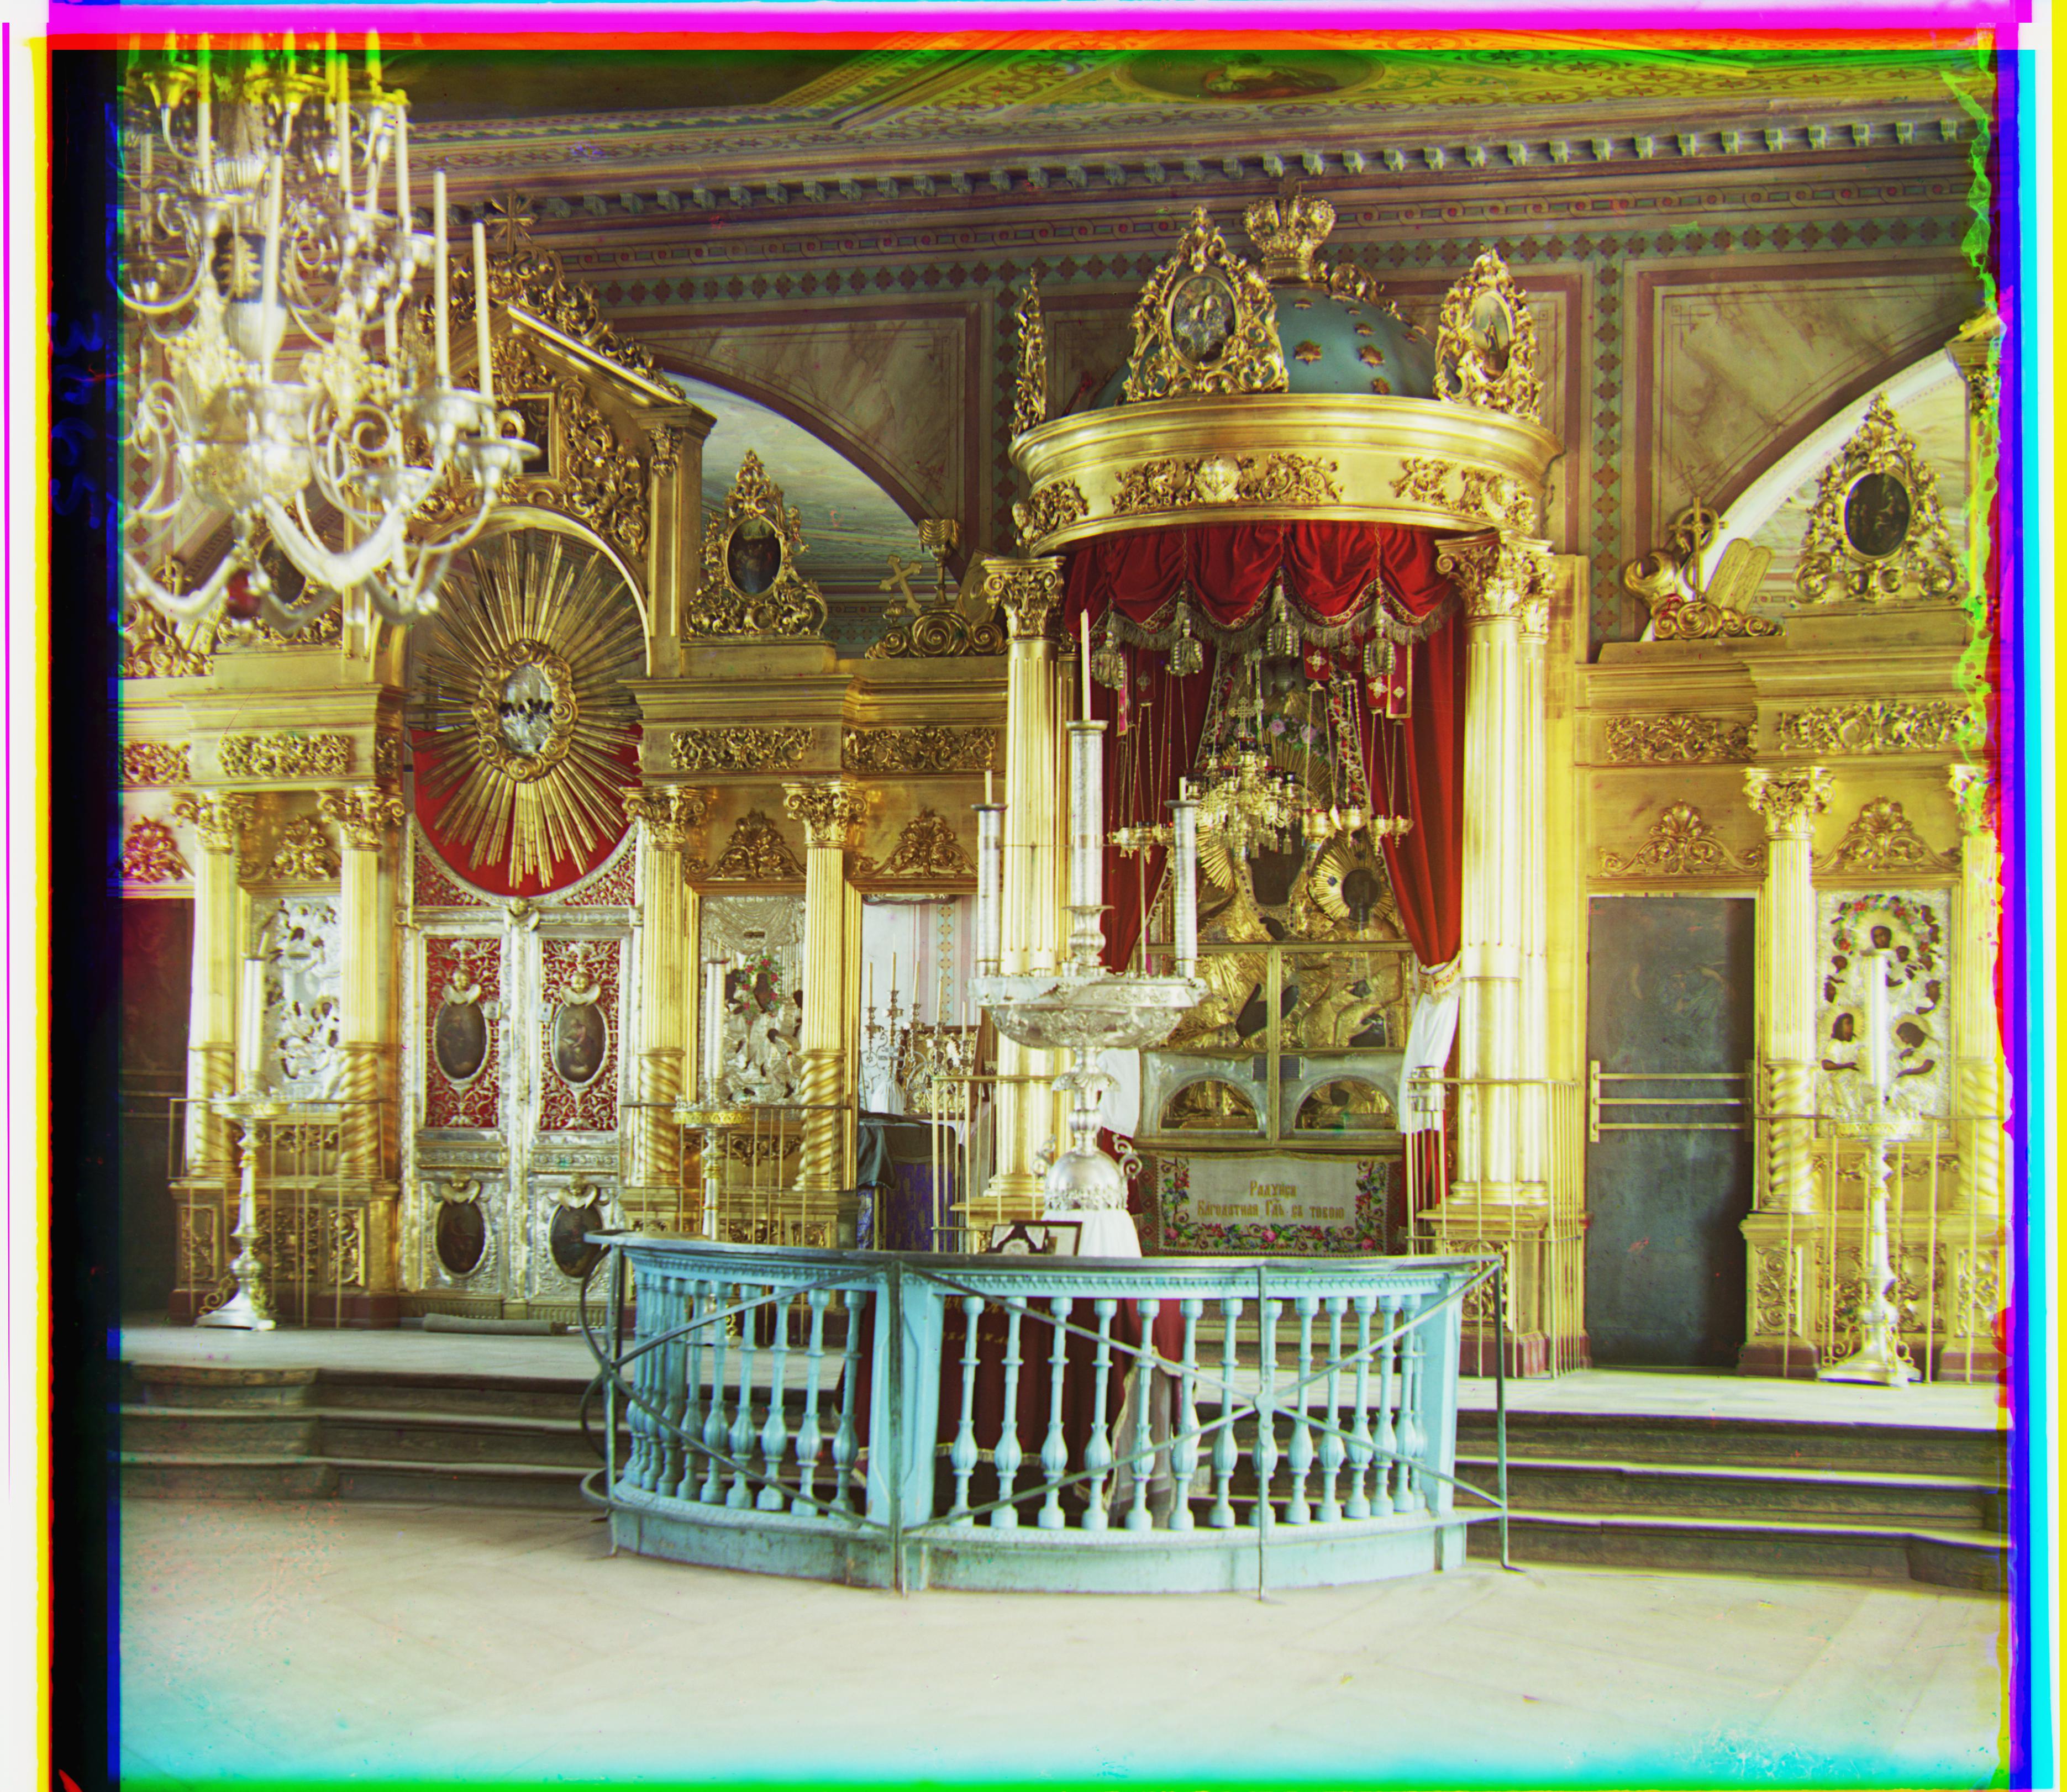
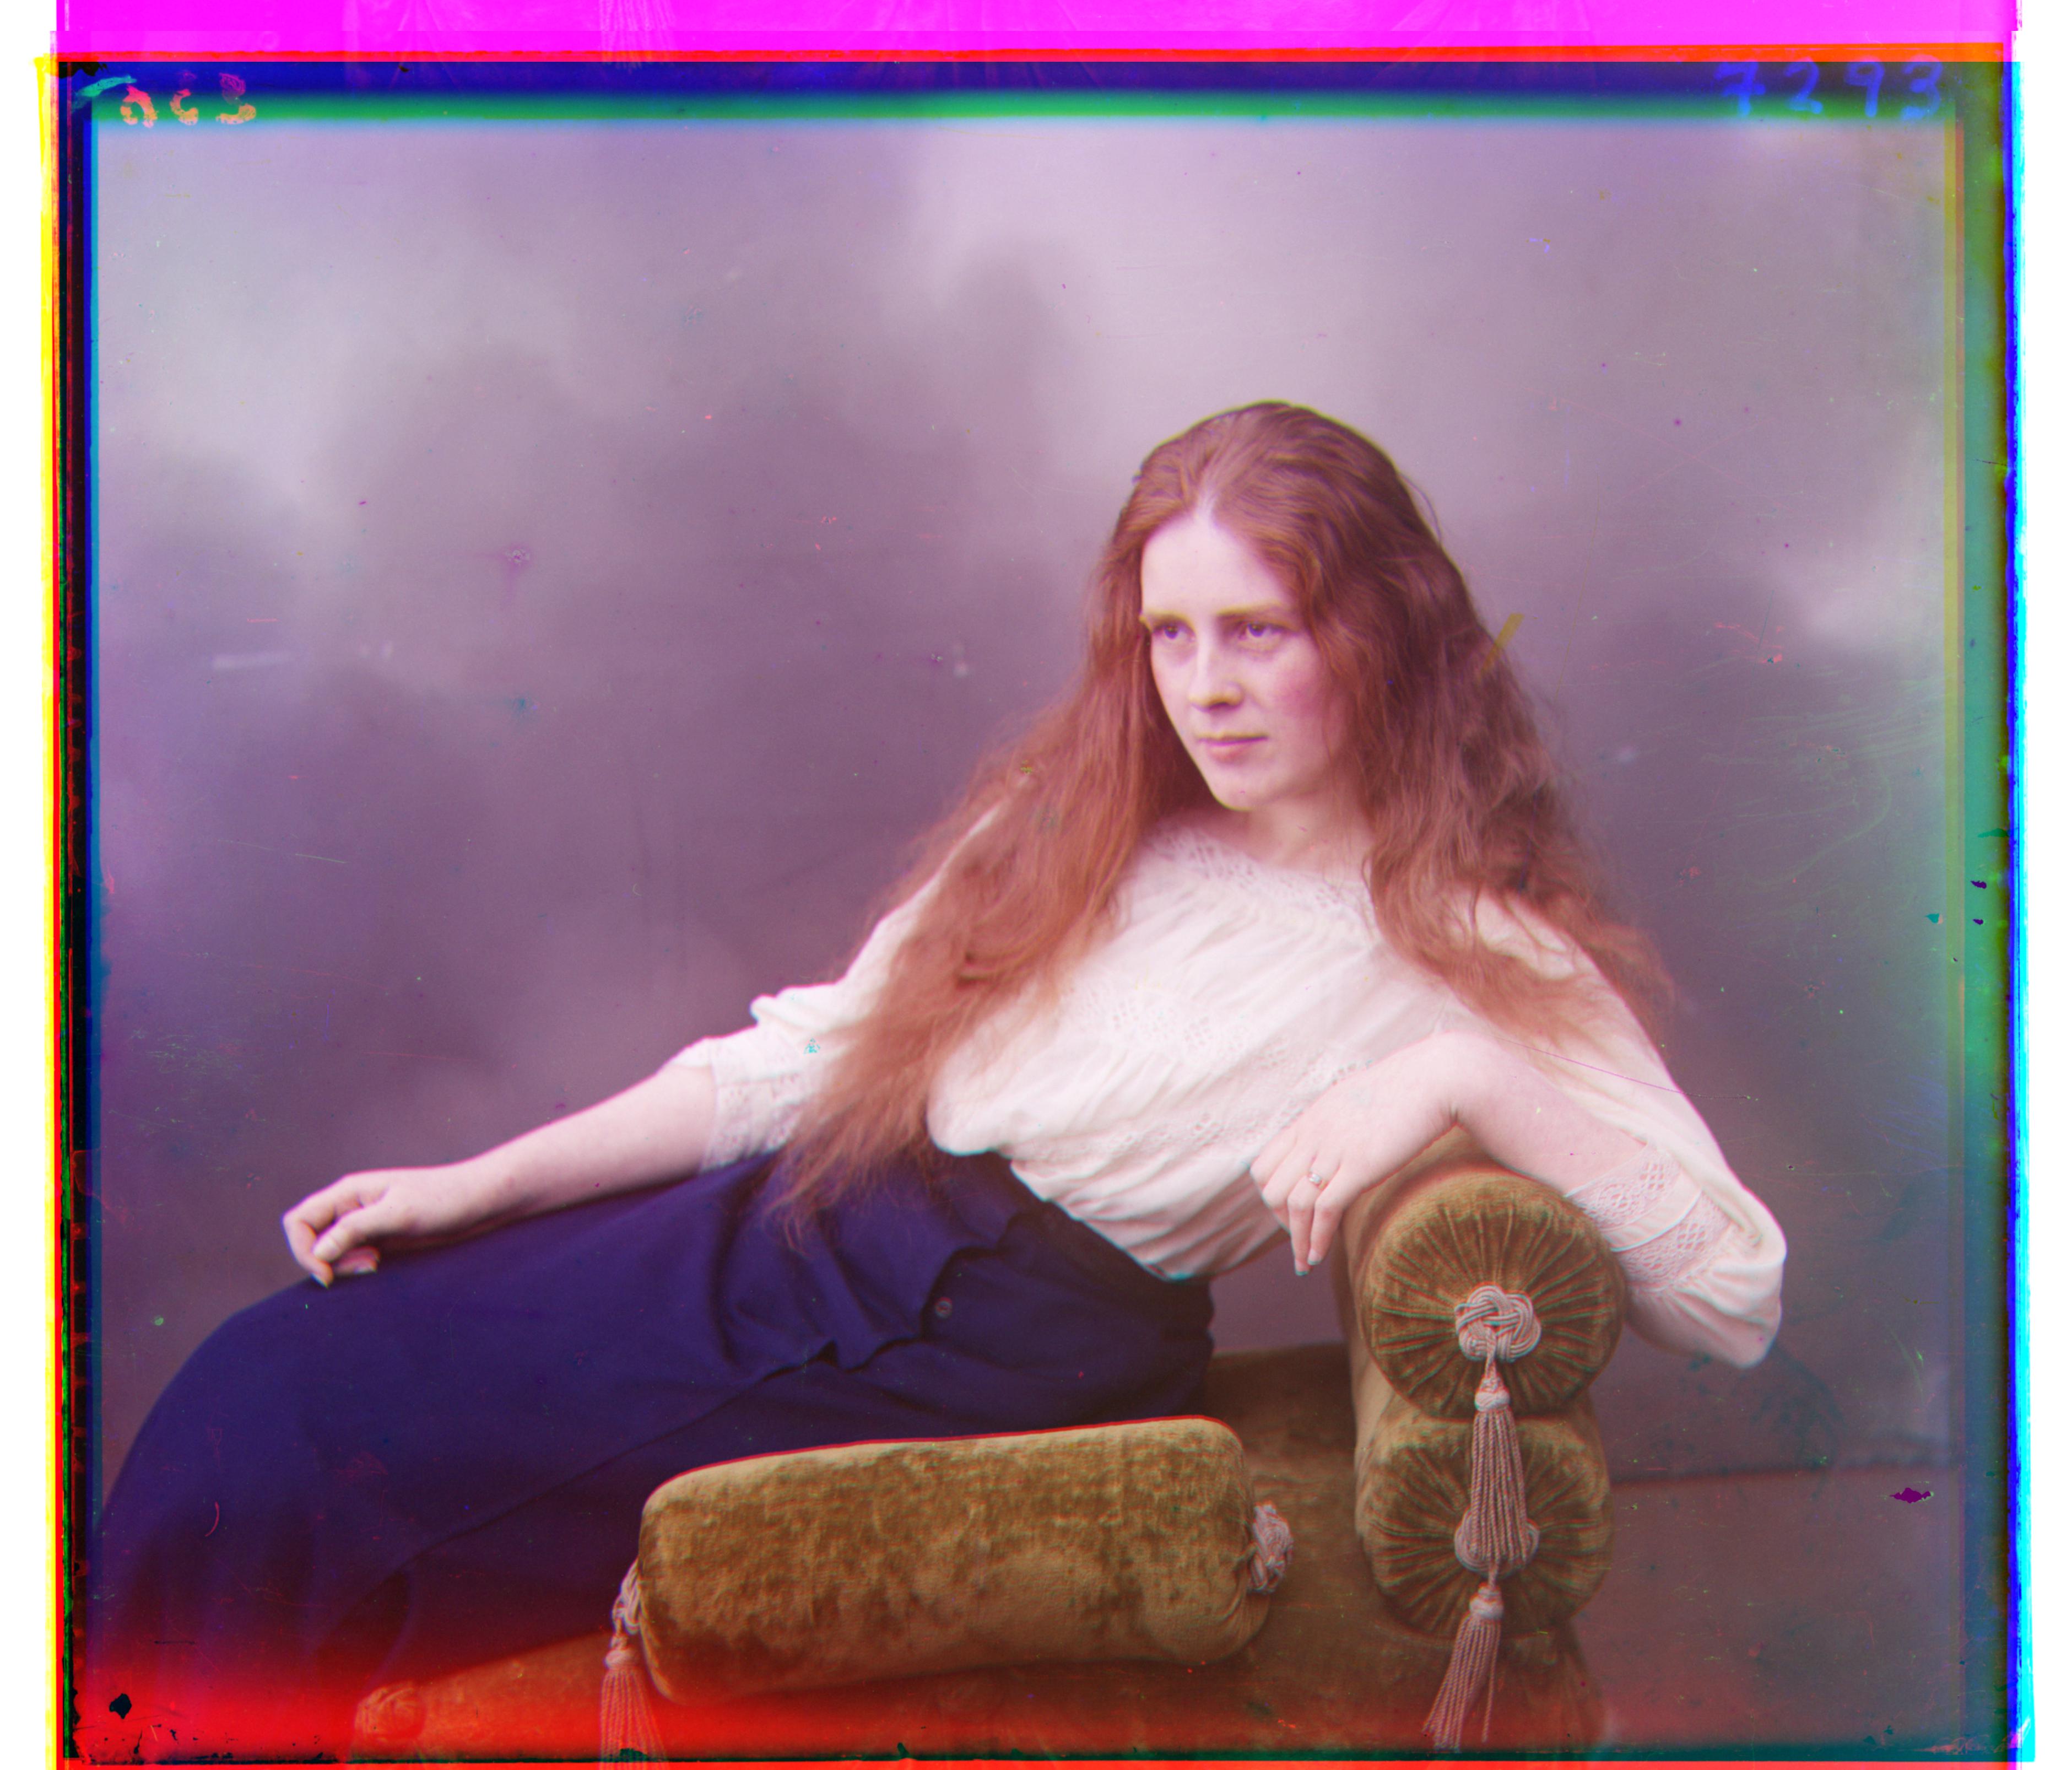
Lady tif
G: [8, 56], R: [12, 112]
View more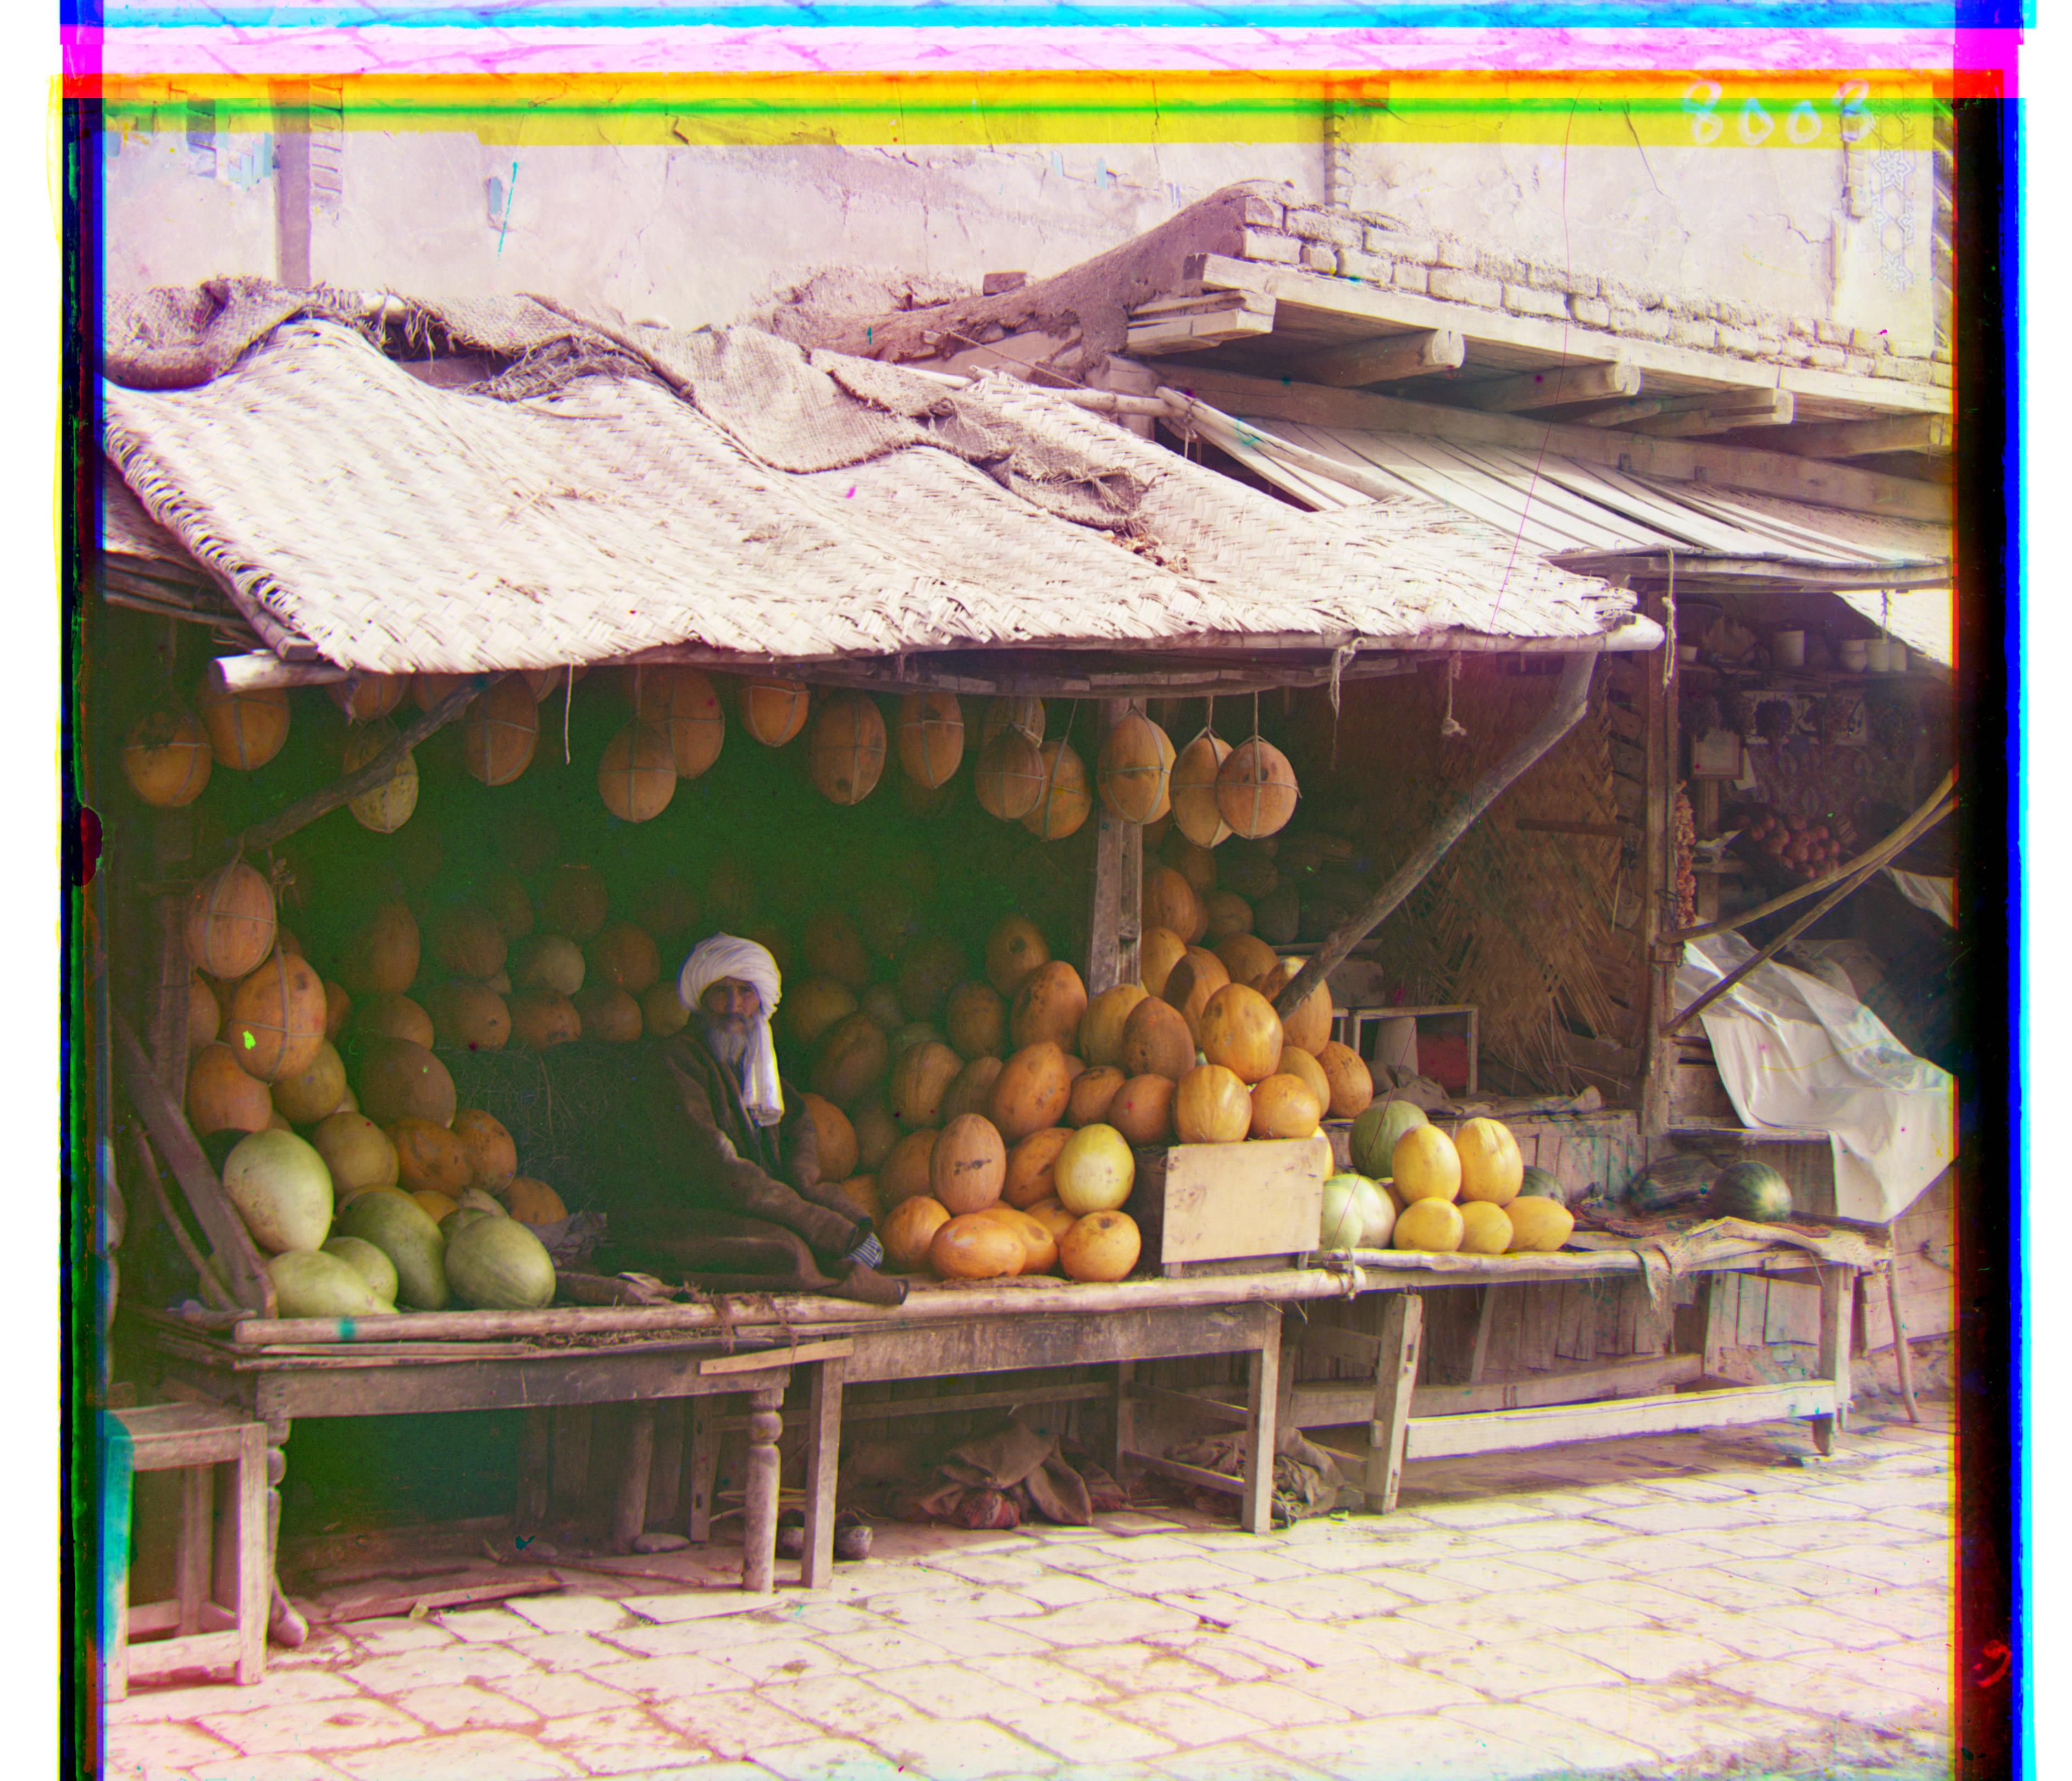
Melons tif
G: [10, 81], R: [14, 178]
View more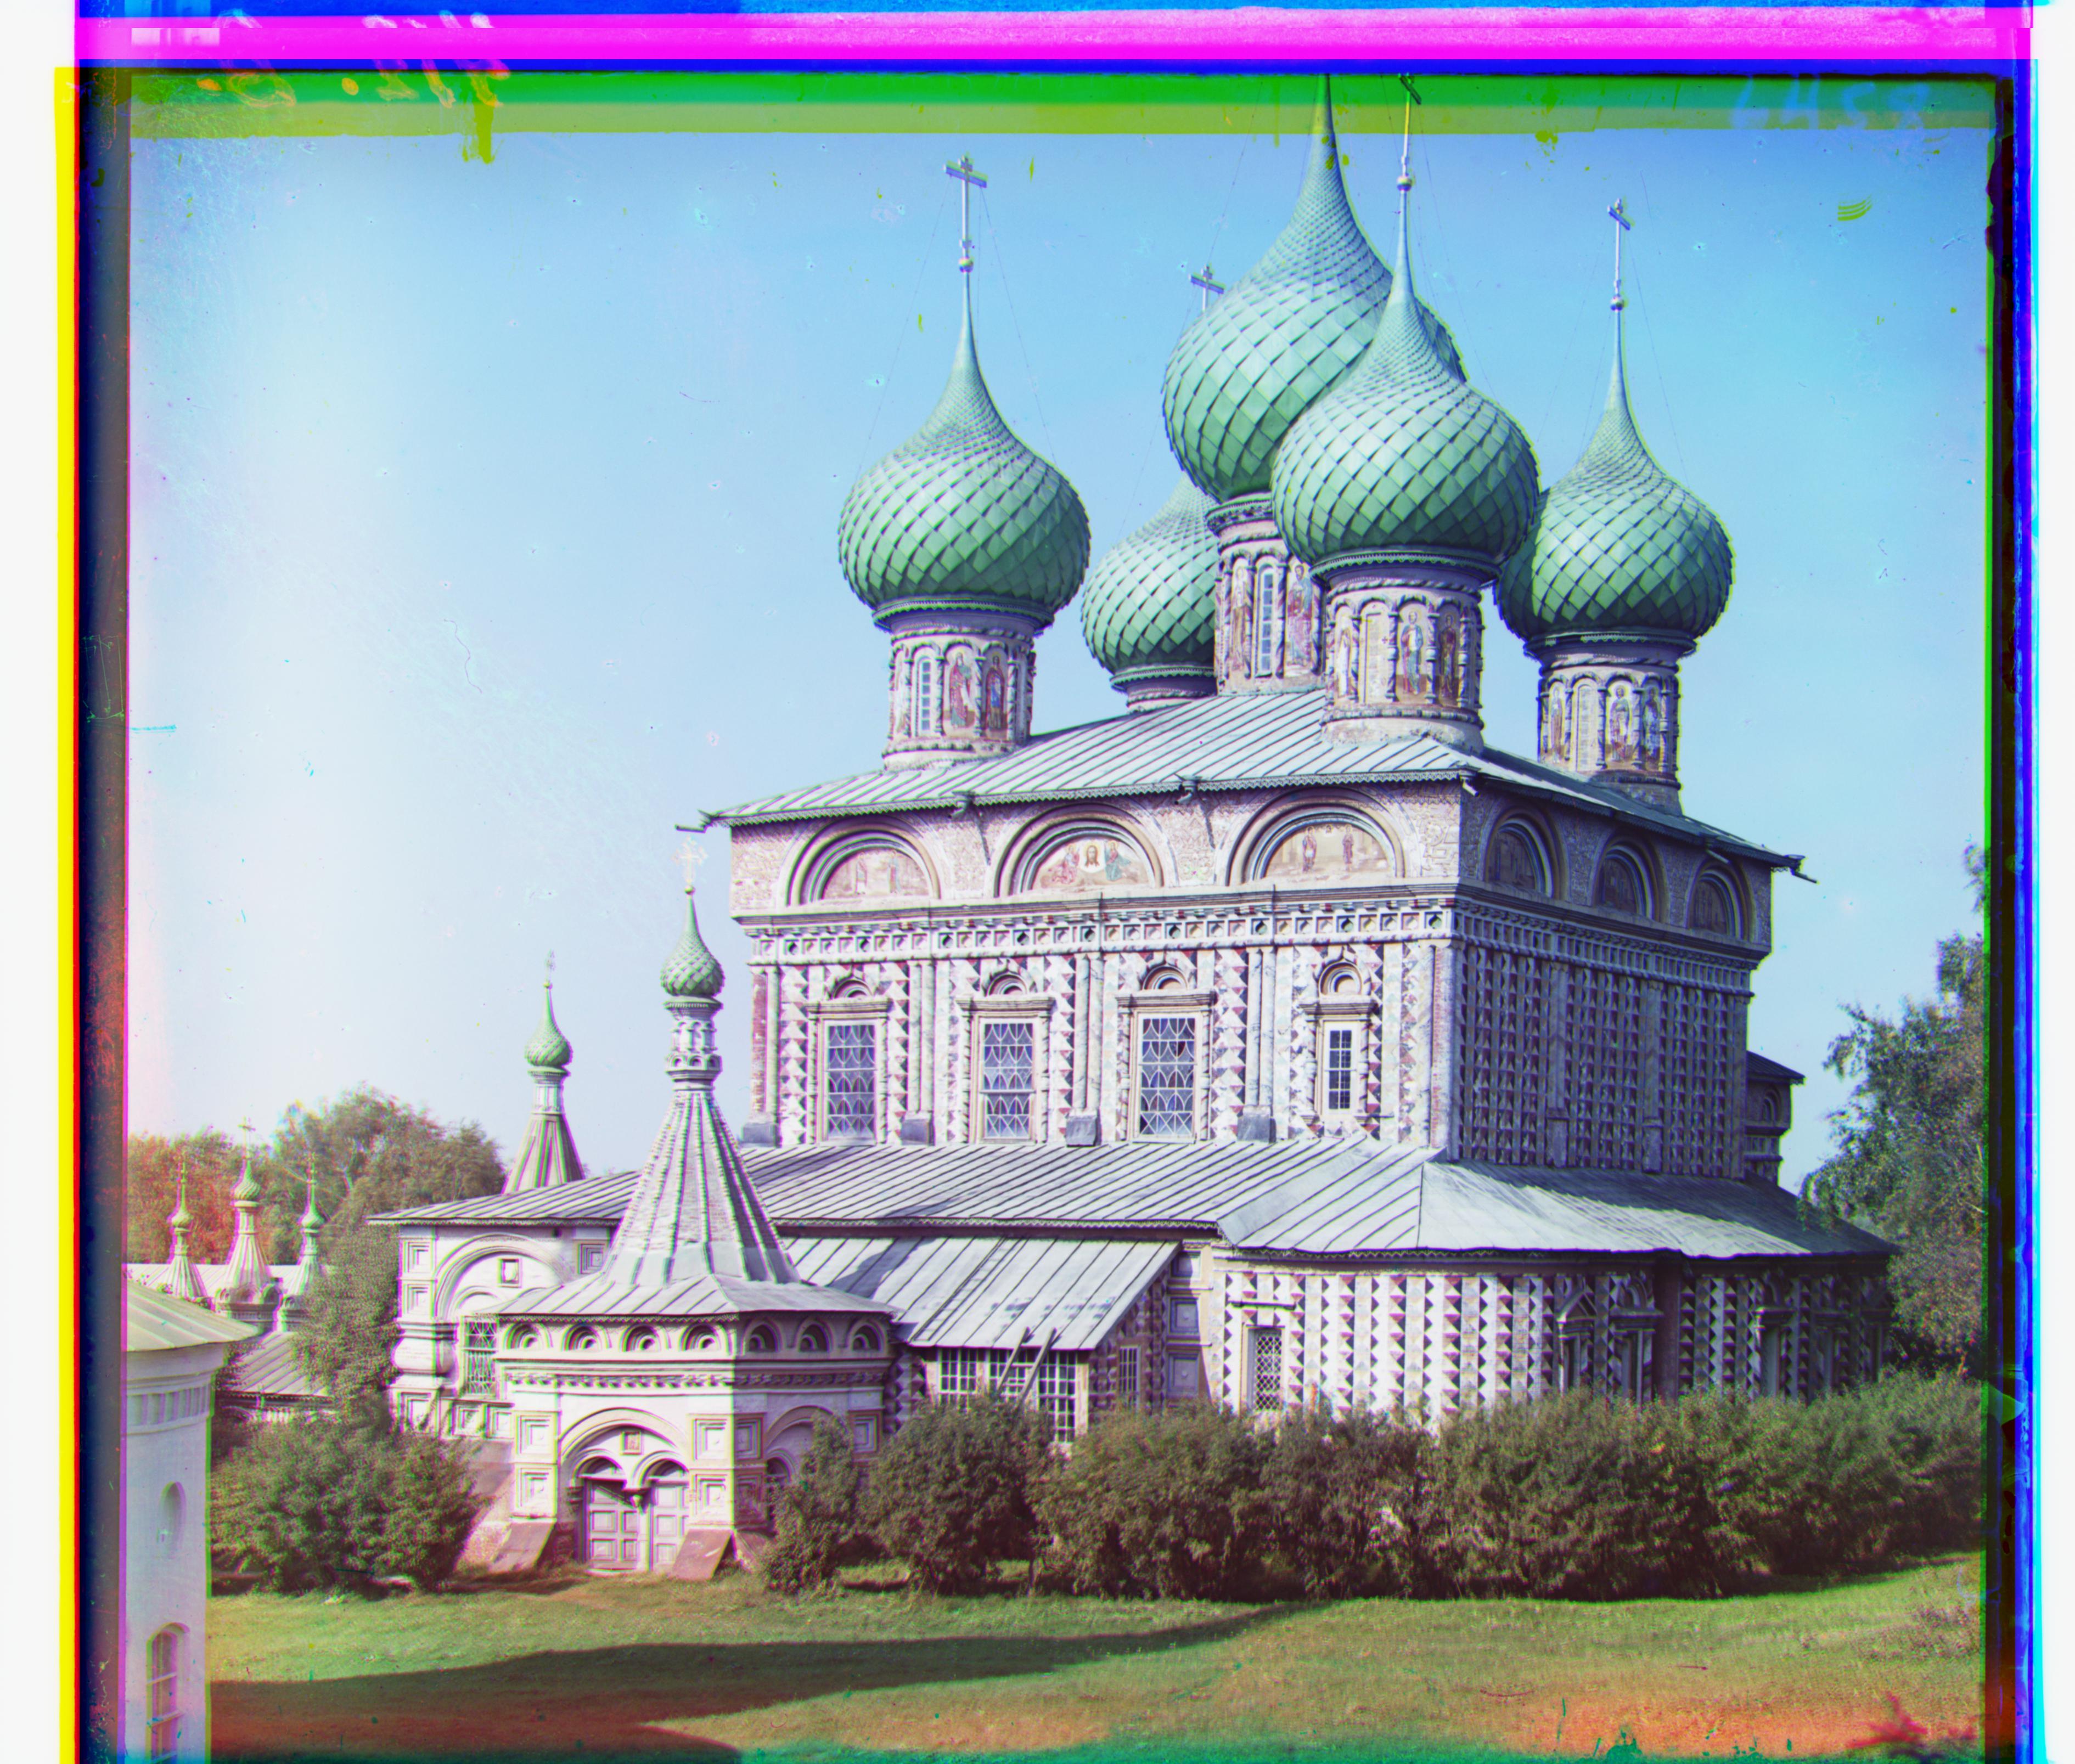
Onion Church tif
G: [27, 51], R: [36, 108]
View more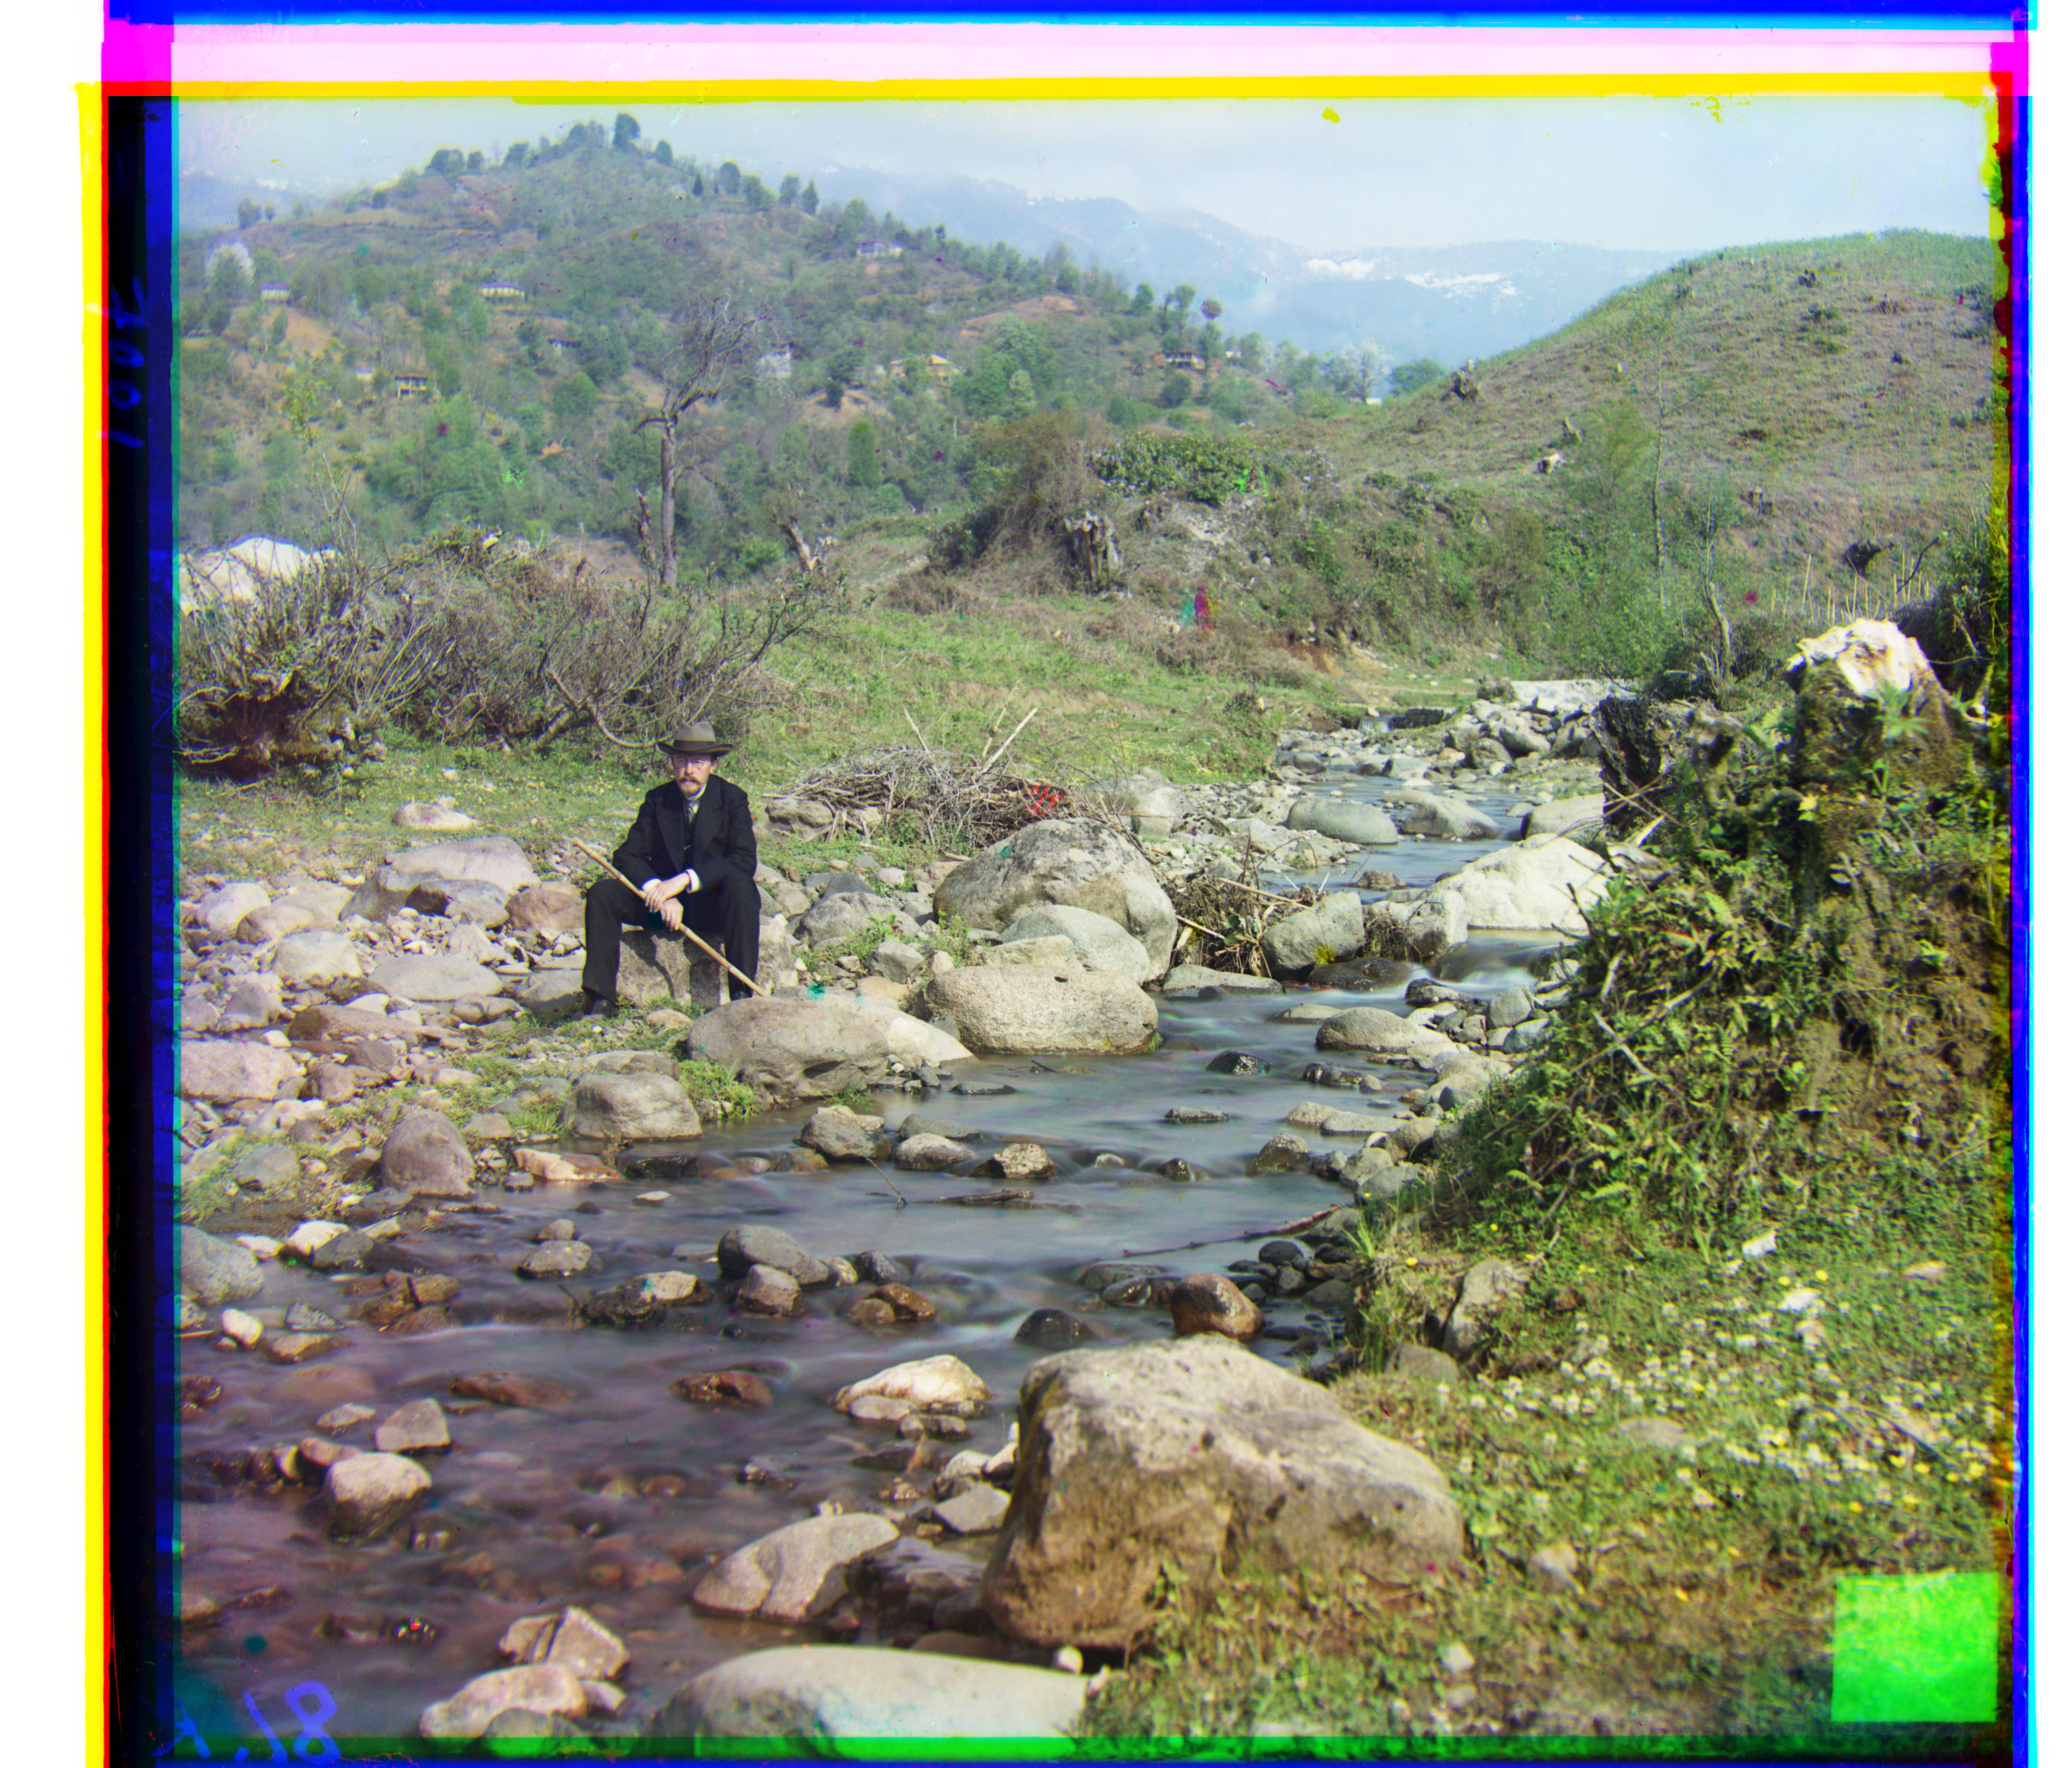
Self Portrait tif
G: [29, 78], R: [37, 176]
View more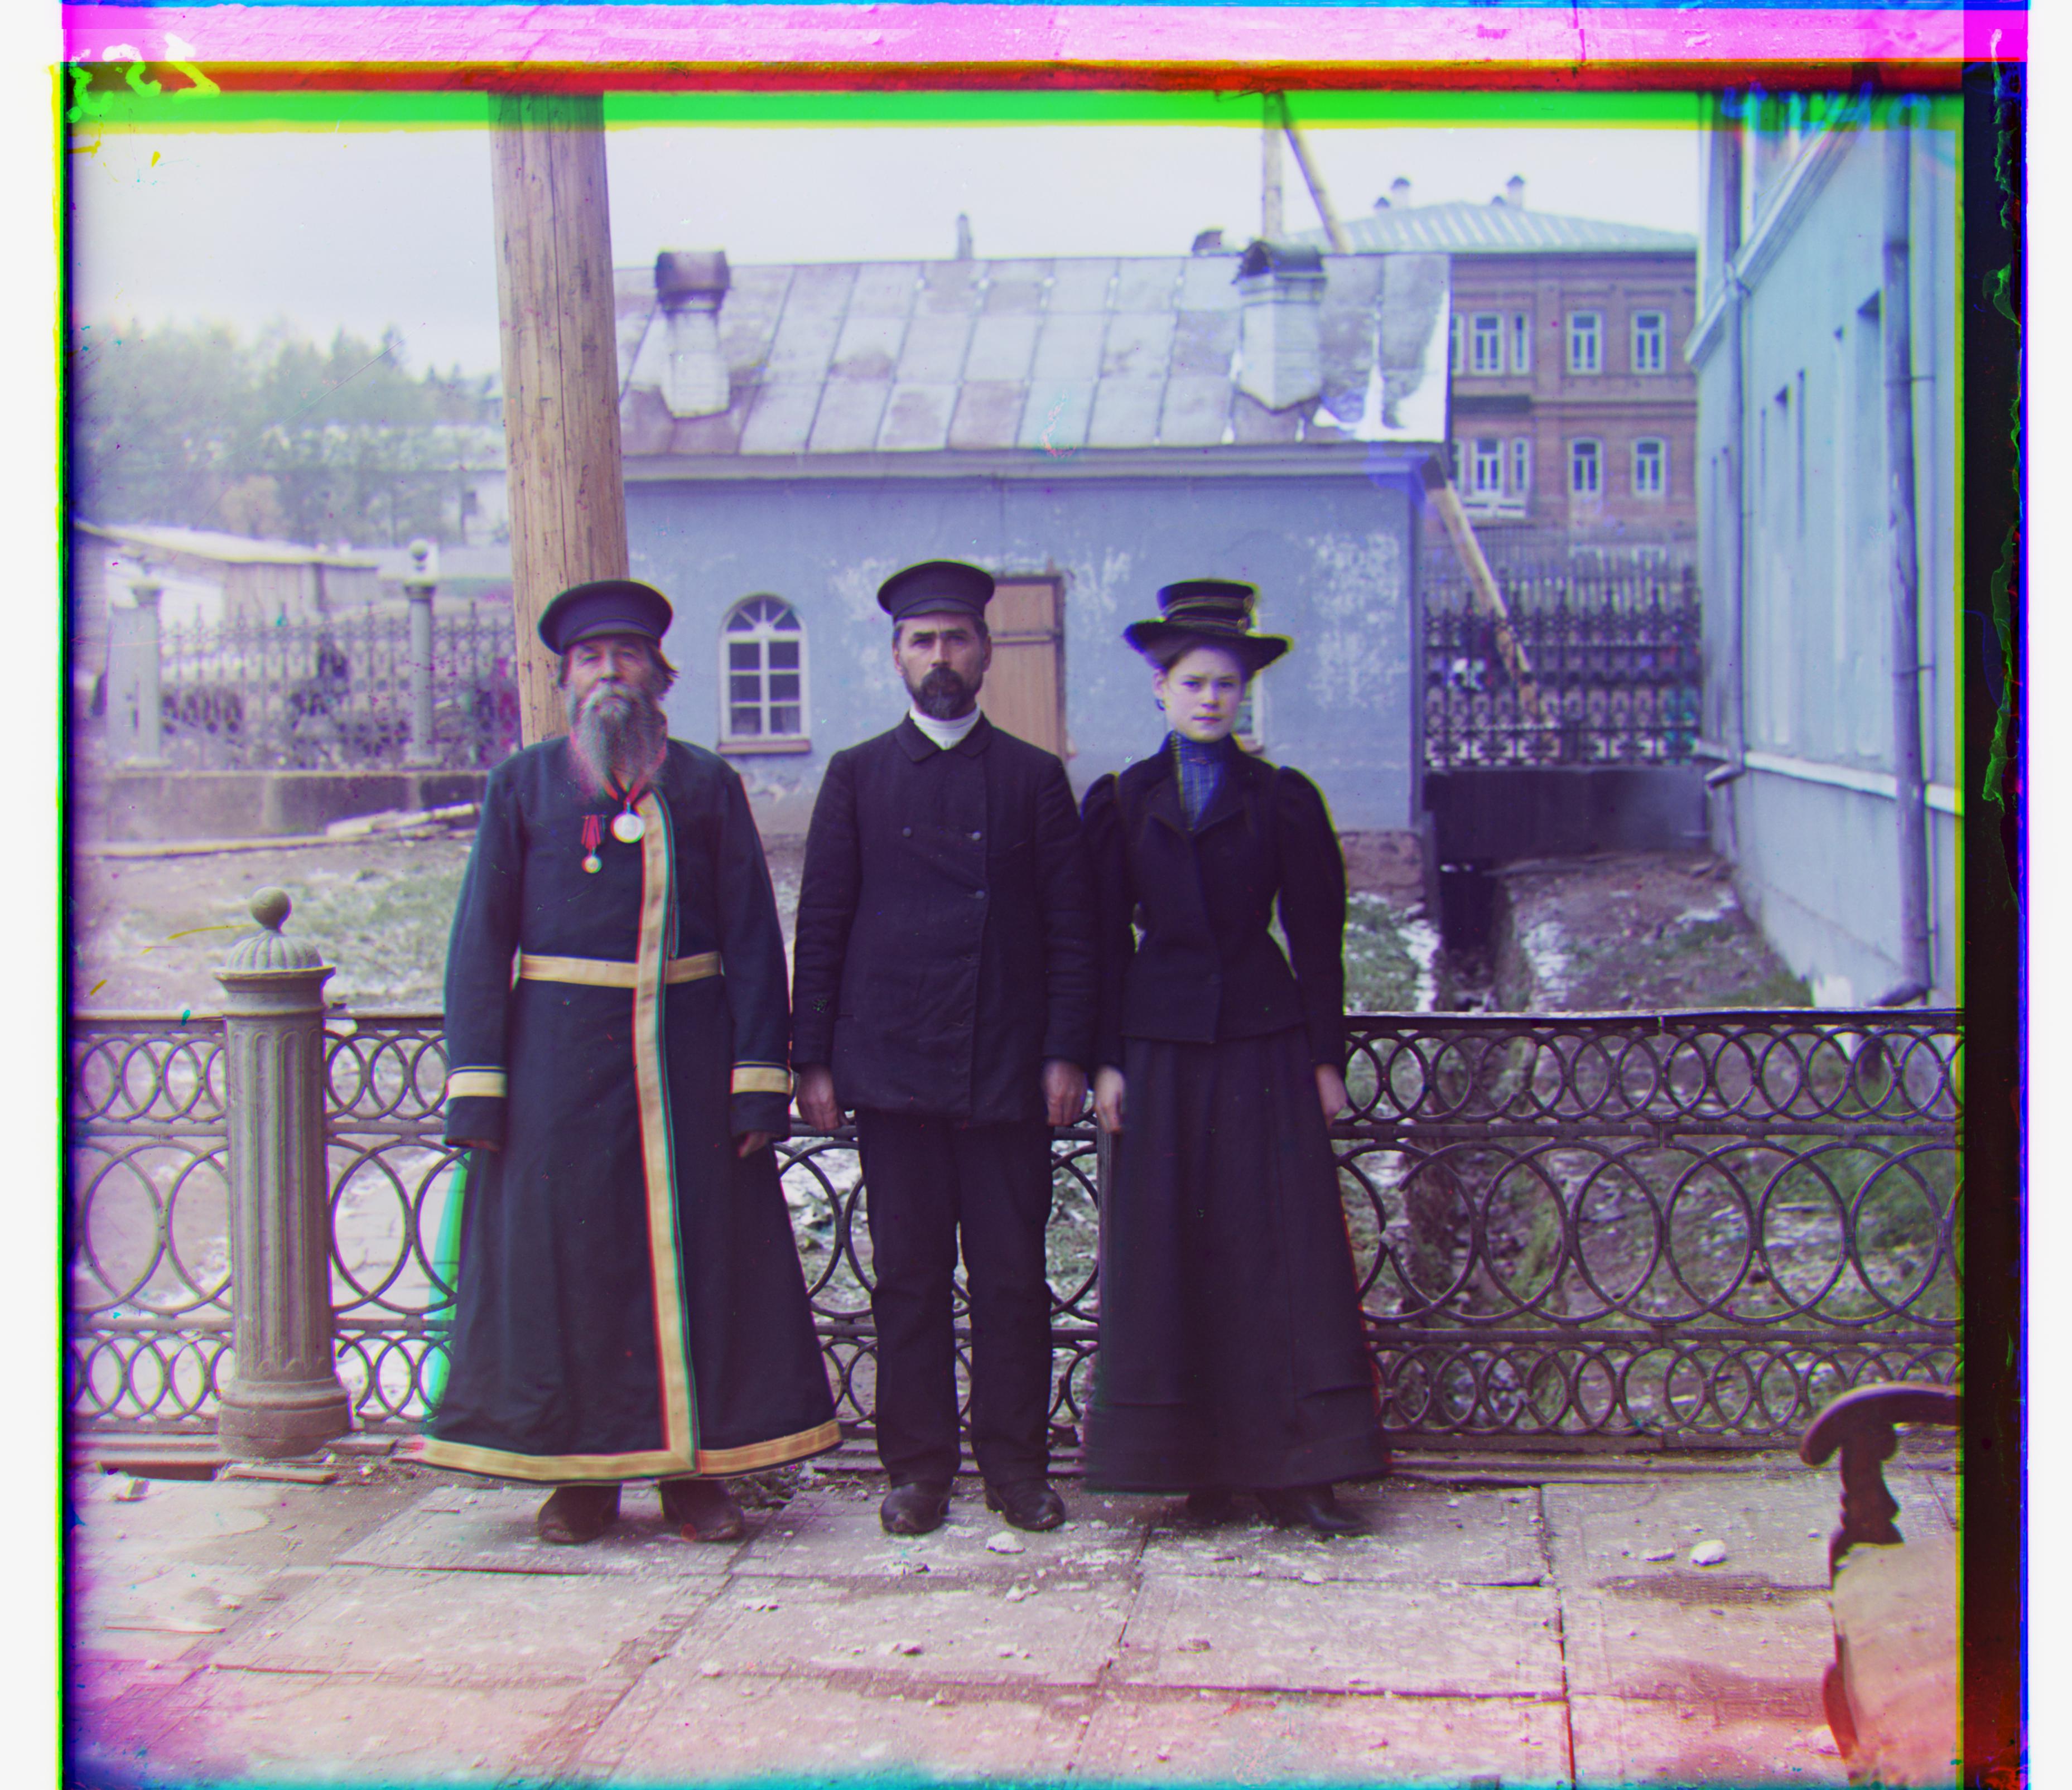
Three Generations tif
G: [14, 52], R: [11, 111]
View more
Train tif
G: [6, 42], R: [32, 87]
View more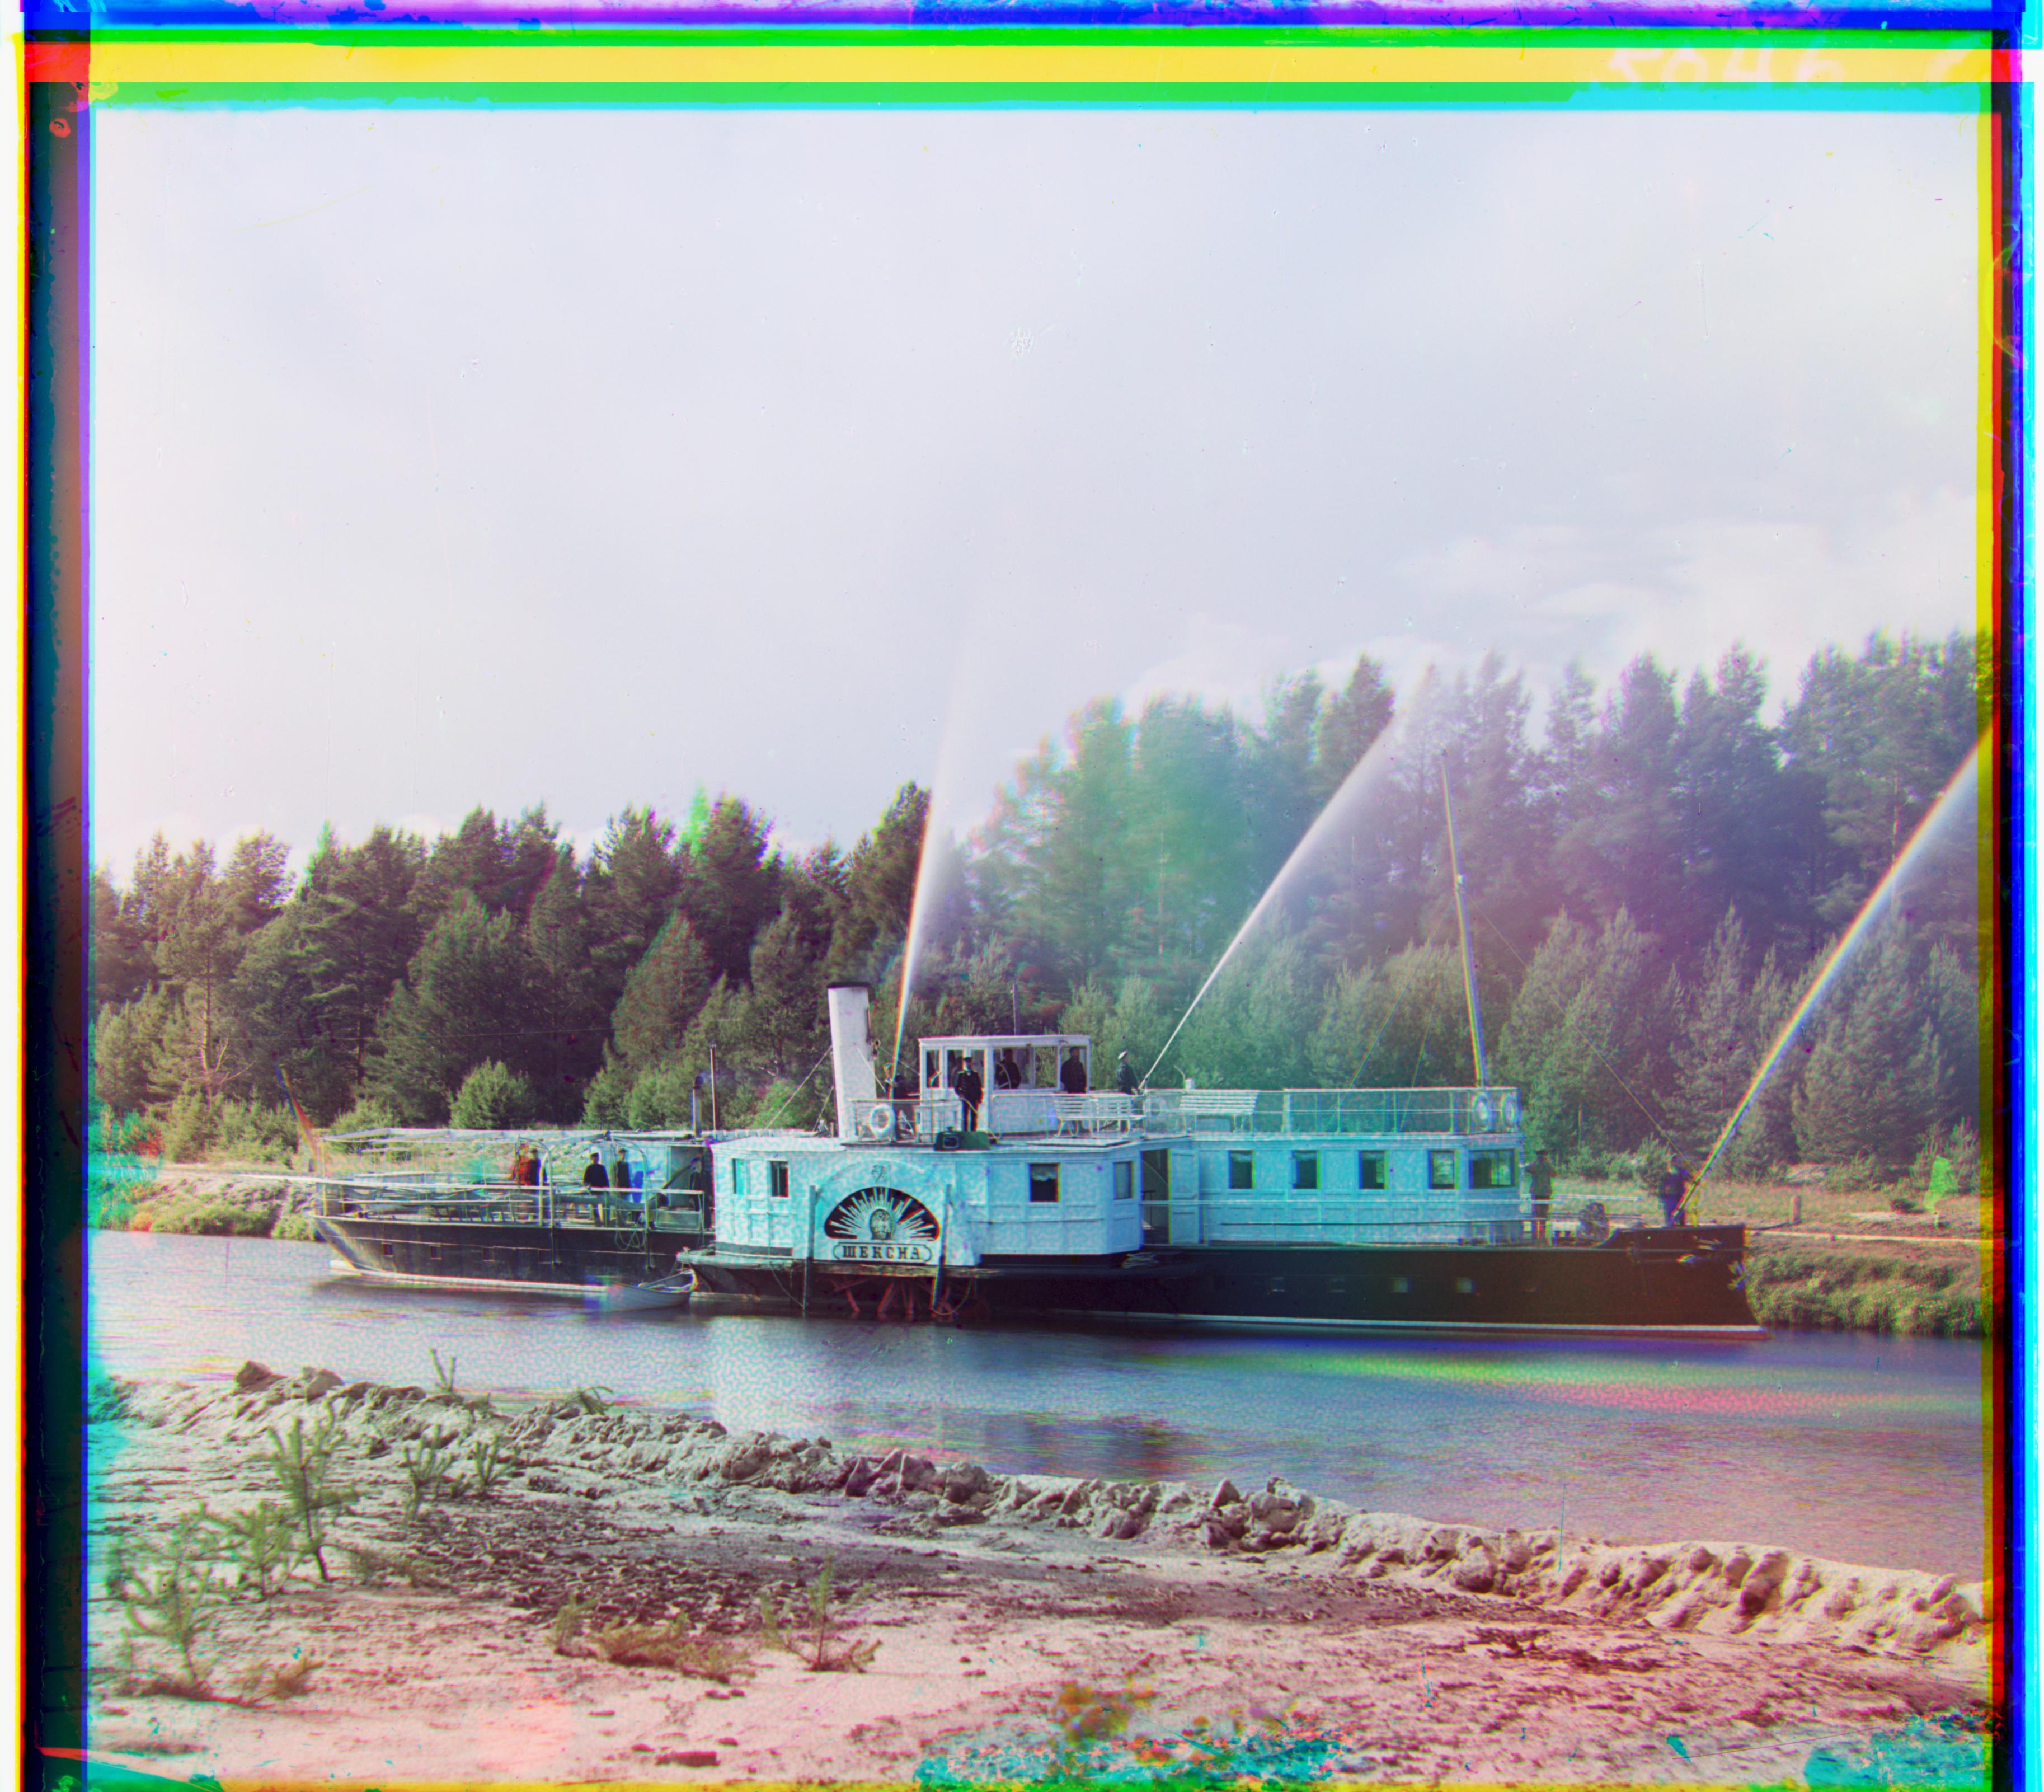
Boat tif
G: [16, 21], R: [32, 146]
View more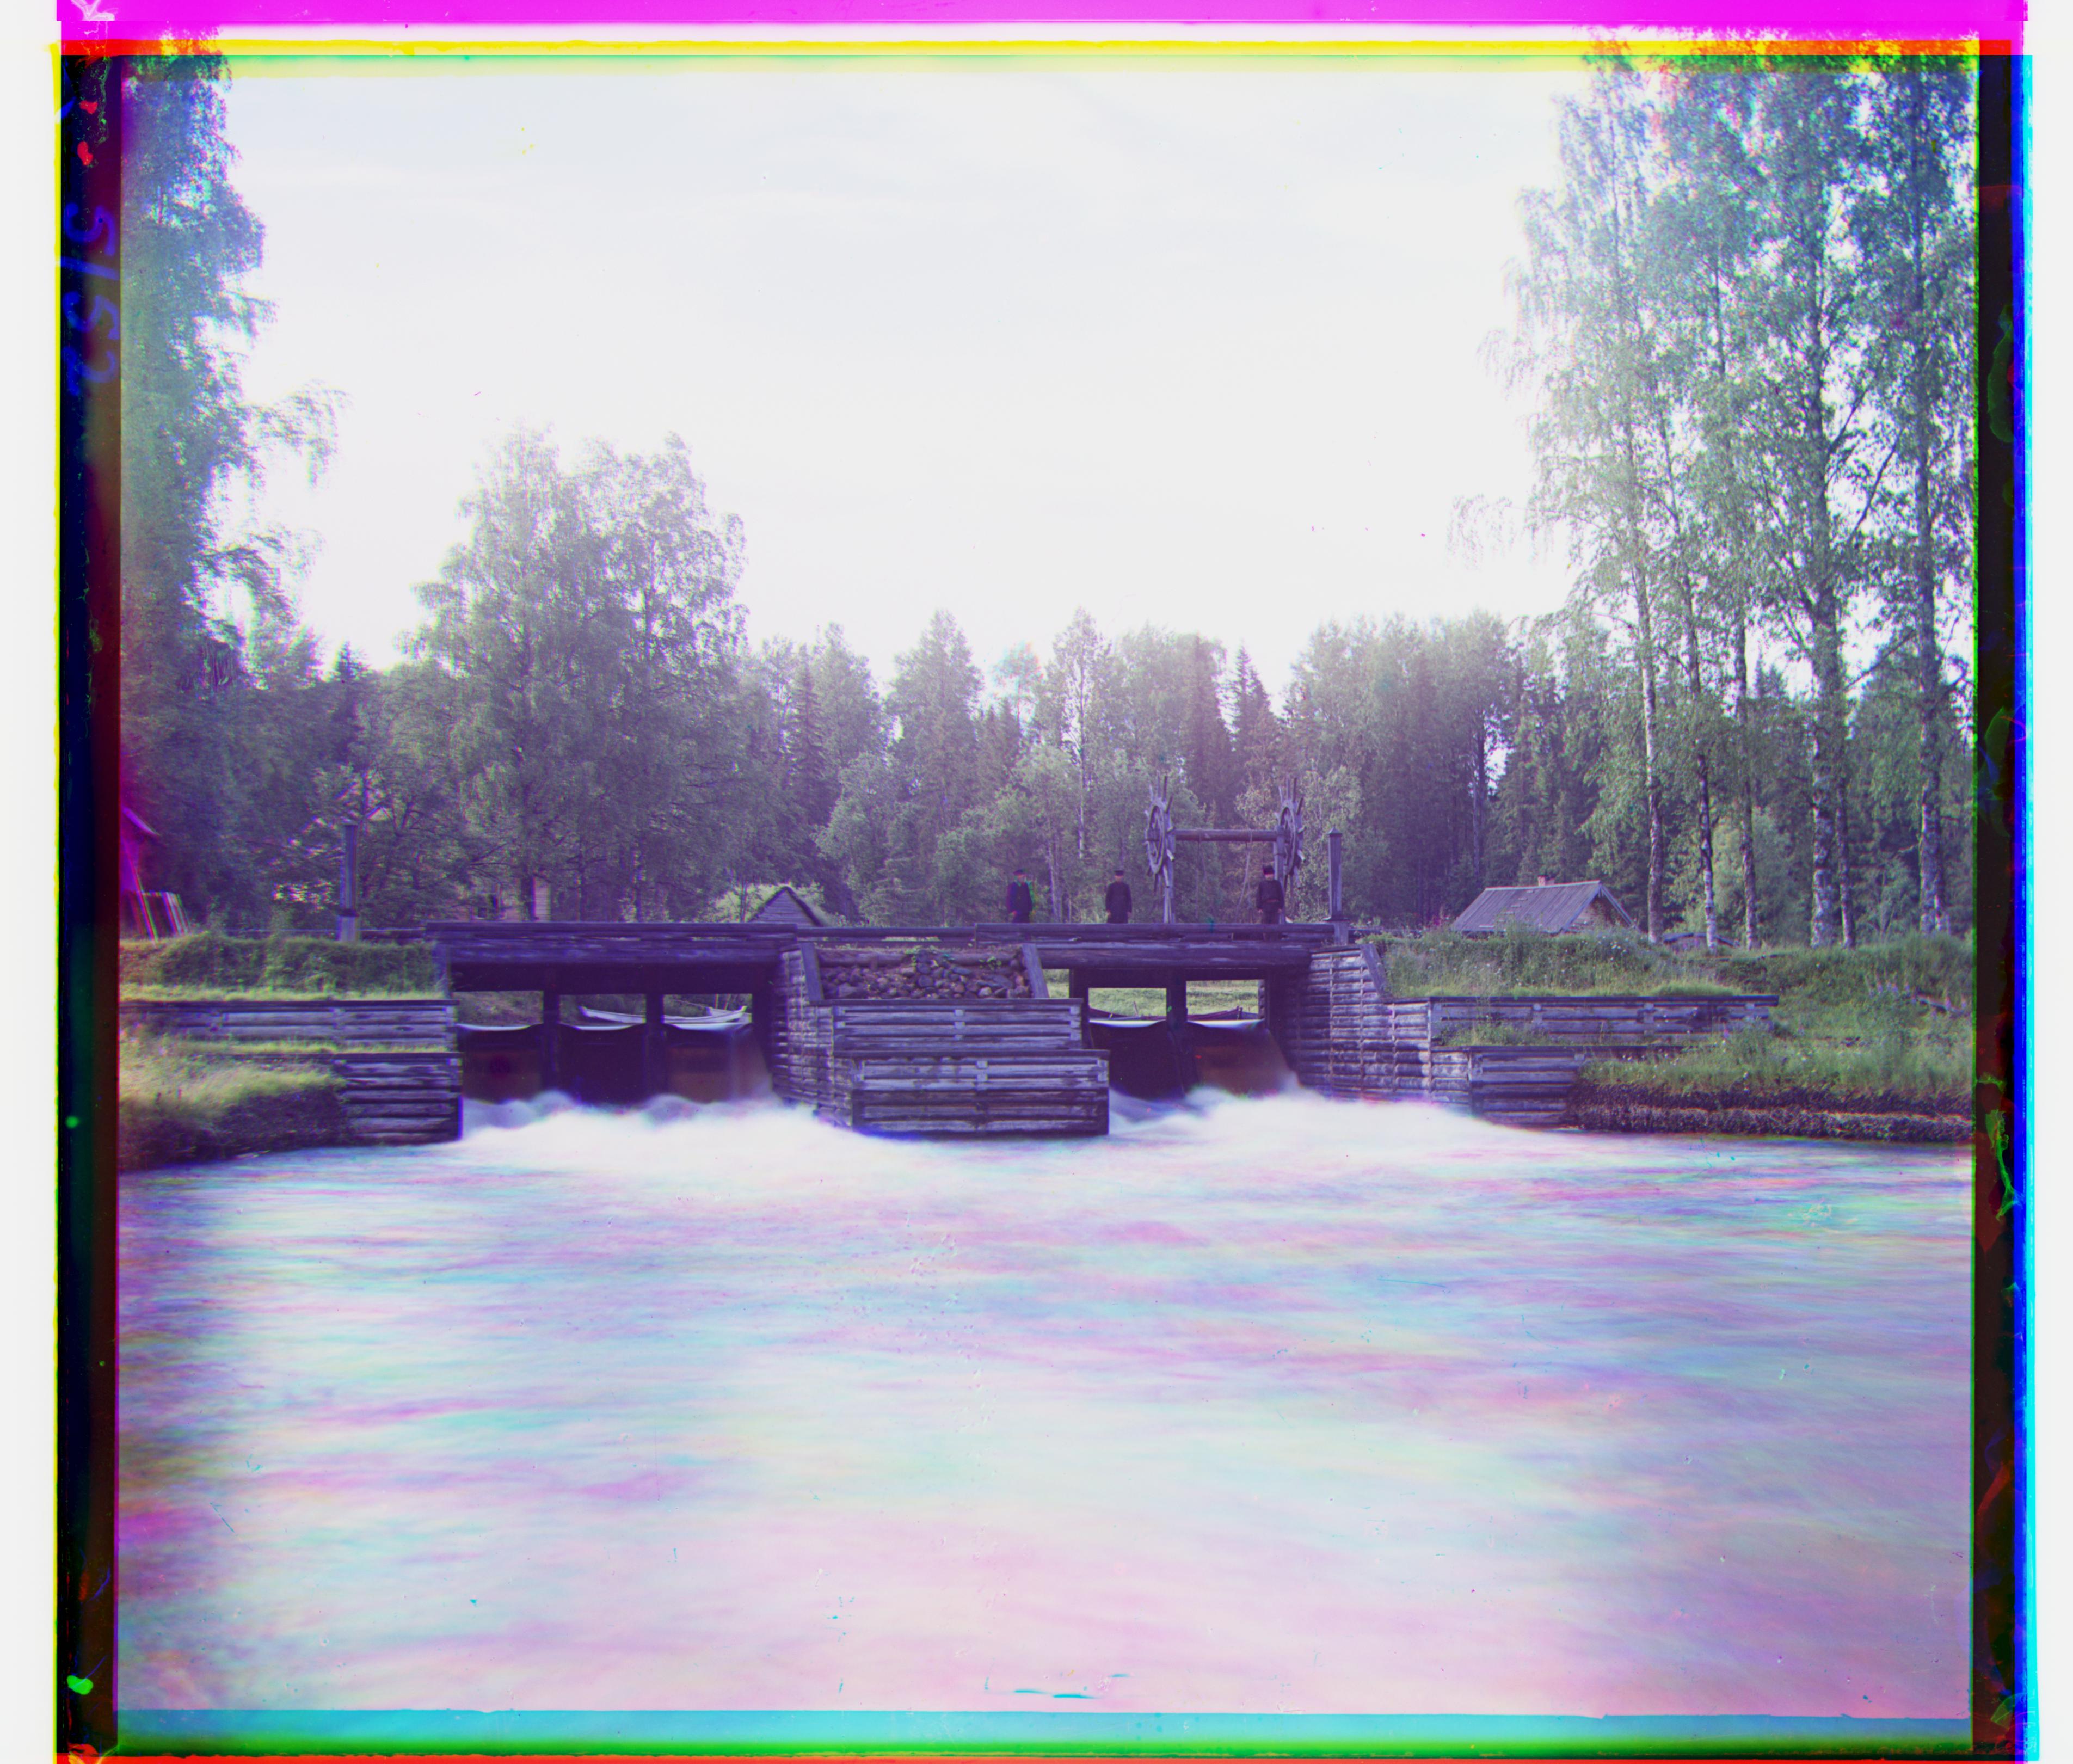
Lake tif
G: [16, 38], R: [24, 101]
View more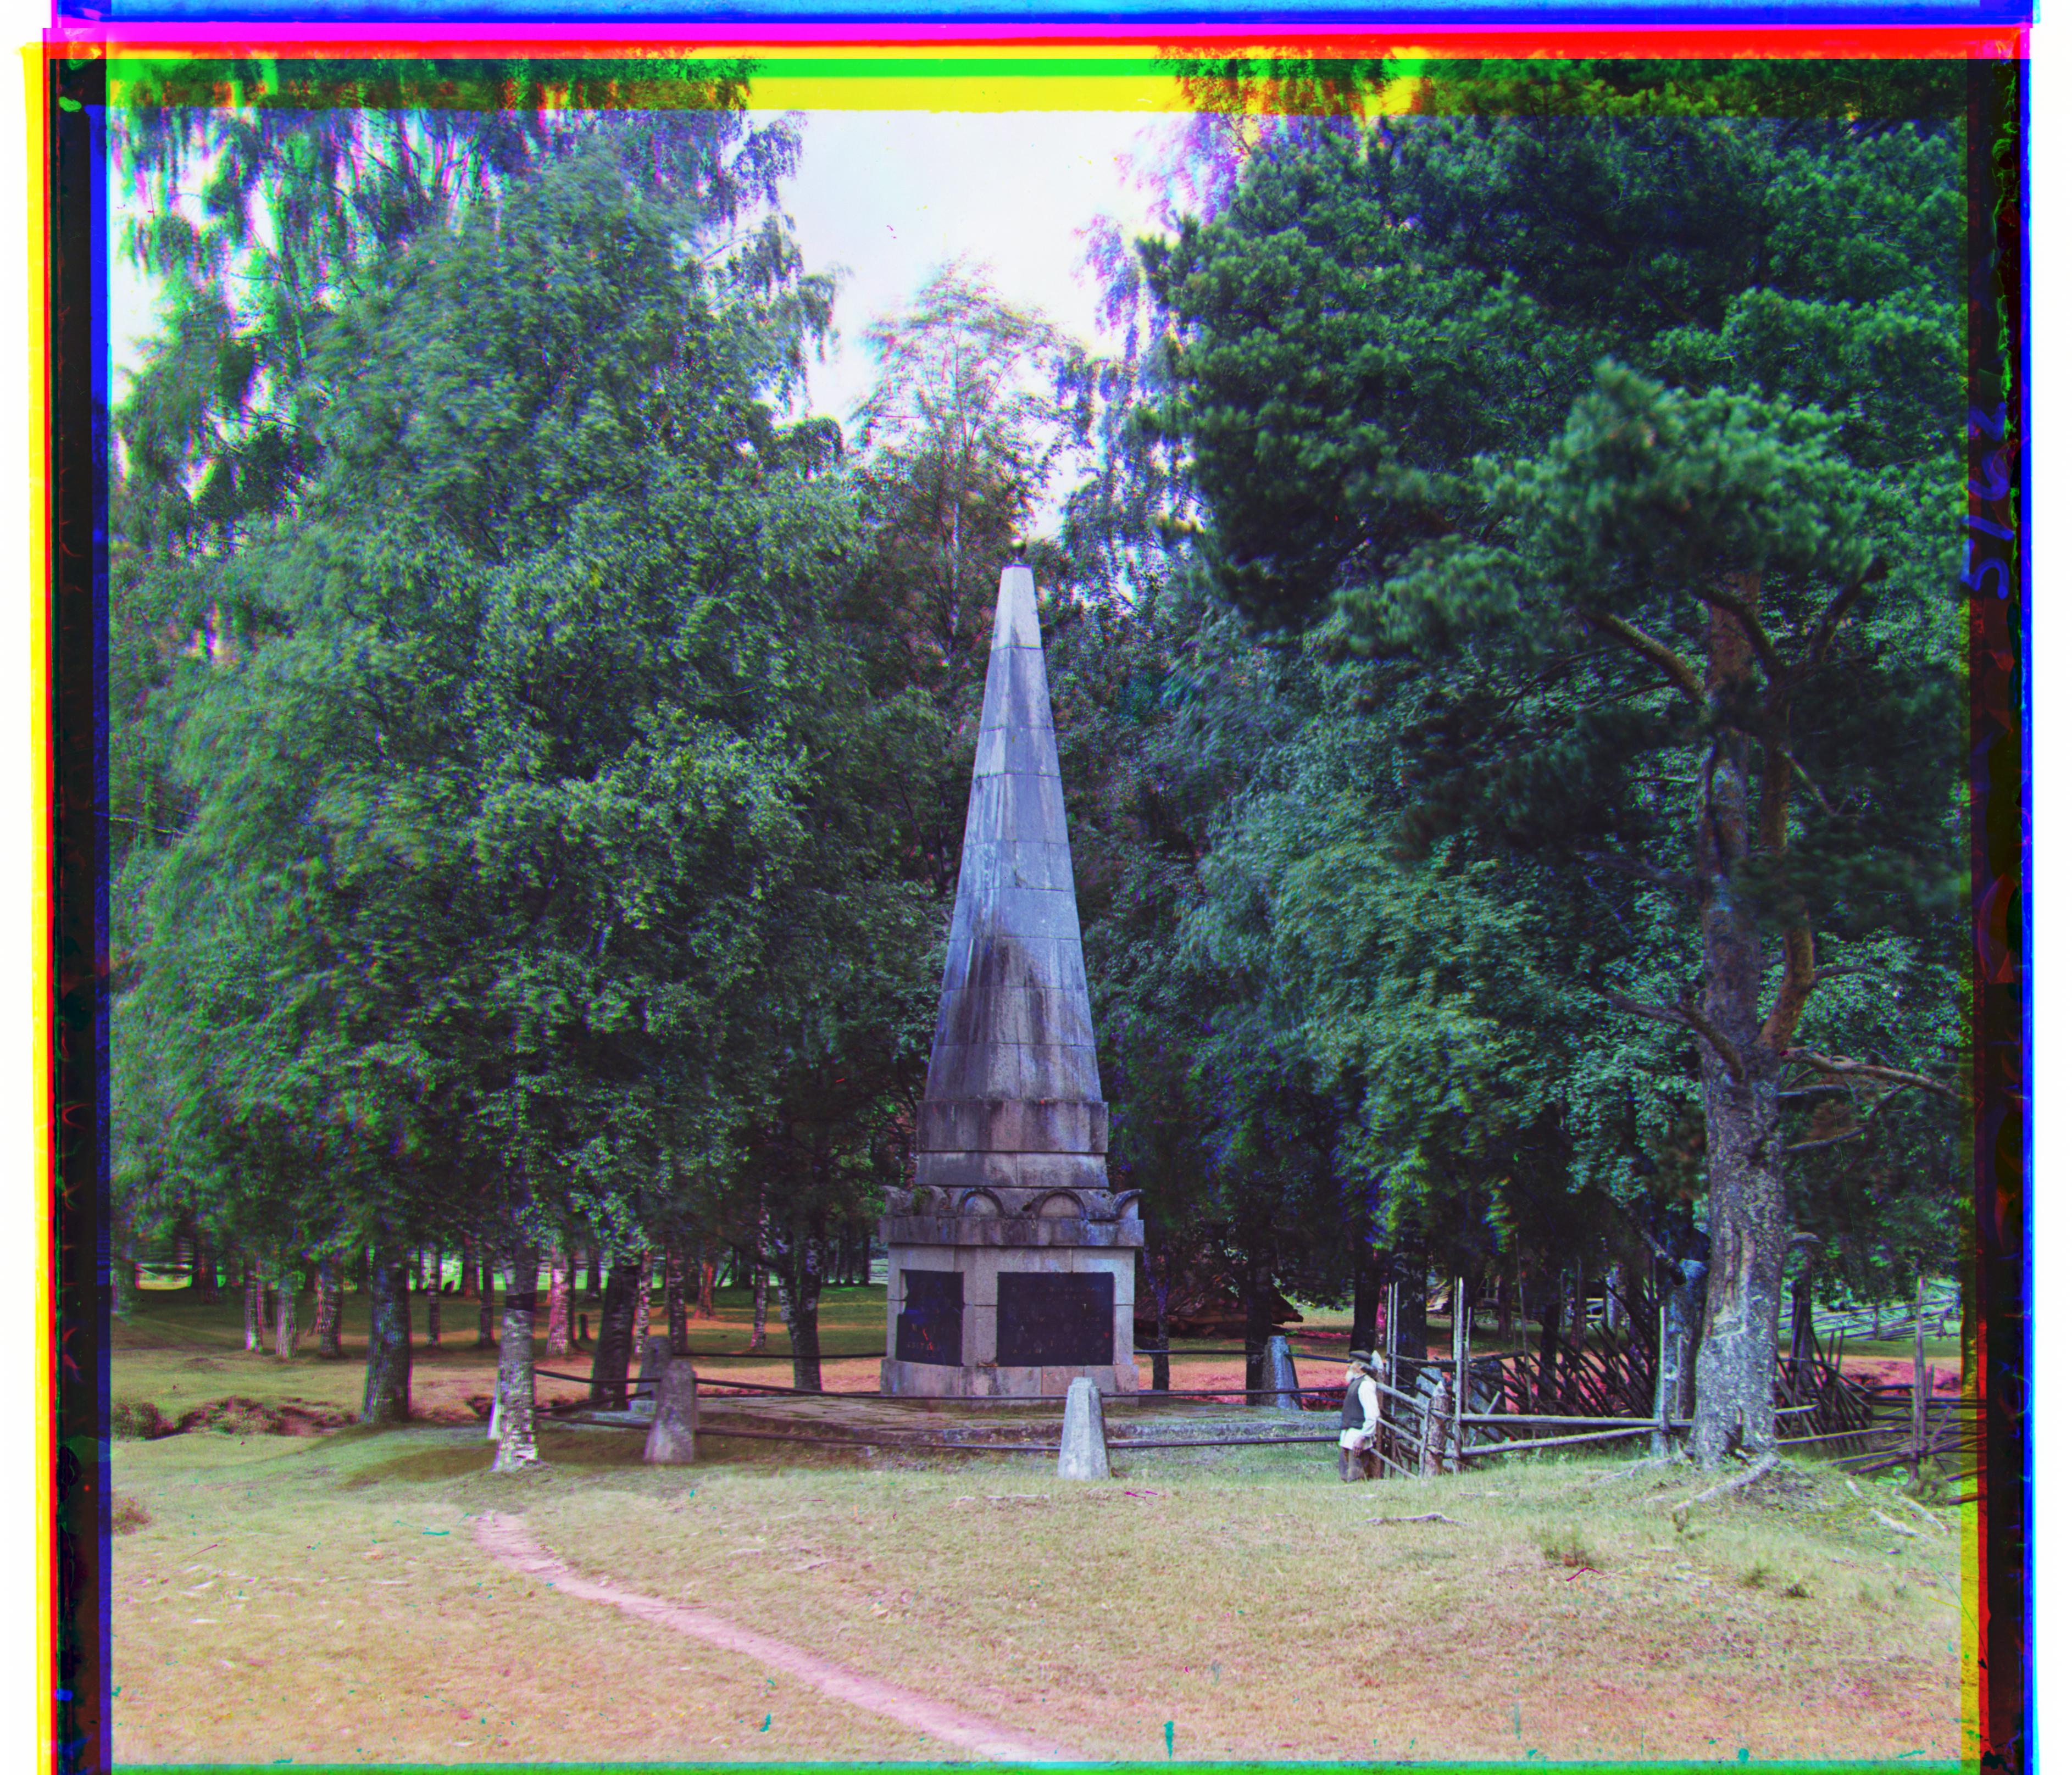
Tower tif
G: [10, 51], R: [7, 107]
View moreBells and Whistles: Smart Cropping
As seen in the above images, there is usually some kind of noisy color that borders the sides of the image. One tactic to clean this up might just be to cut off a certain percentage of the image on each side, but this is not a consistent or good way to slice the image as there might be extra noise leftover, or too much of the original image might be lost. Hence, for one of my bells and whistles, I implemented a smarter way to cut off the noisy edges. I did this by first dececting prominent edges in the image using cv.Canny(). This generates edge outlines like the one shown below for melons.tif. Using this, we can track where likely locations of the messy color borders are because they show up as white lines on the modified image. Hence, we can calculate rows or columns of the image that have significant portions of white lines across a row or column and then select the innermost one as the cropping border for that side. Then we crop the image appropriately to get the modified results.
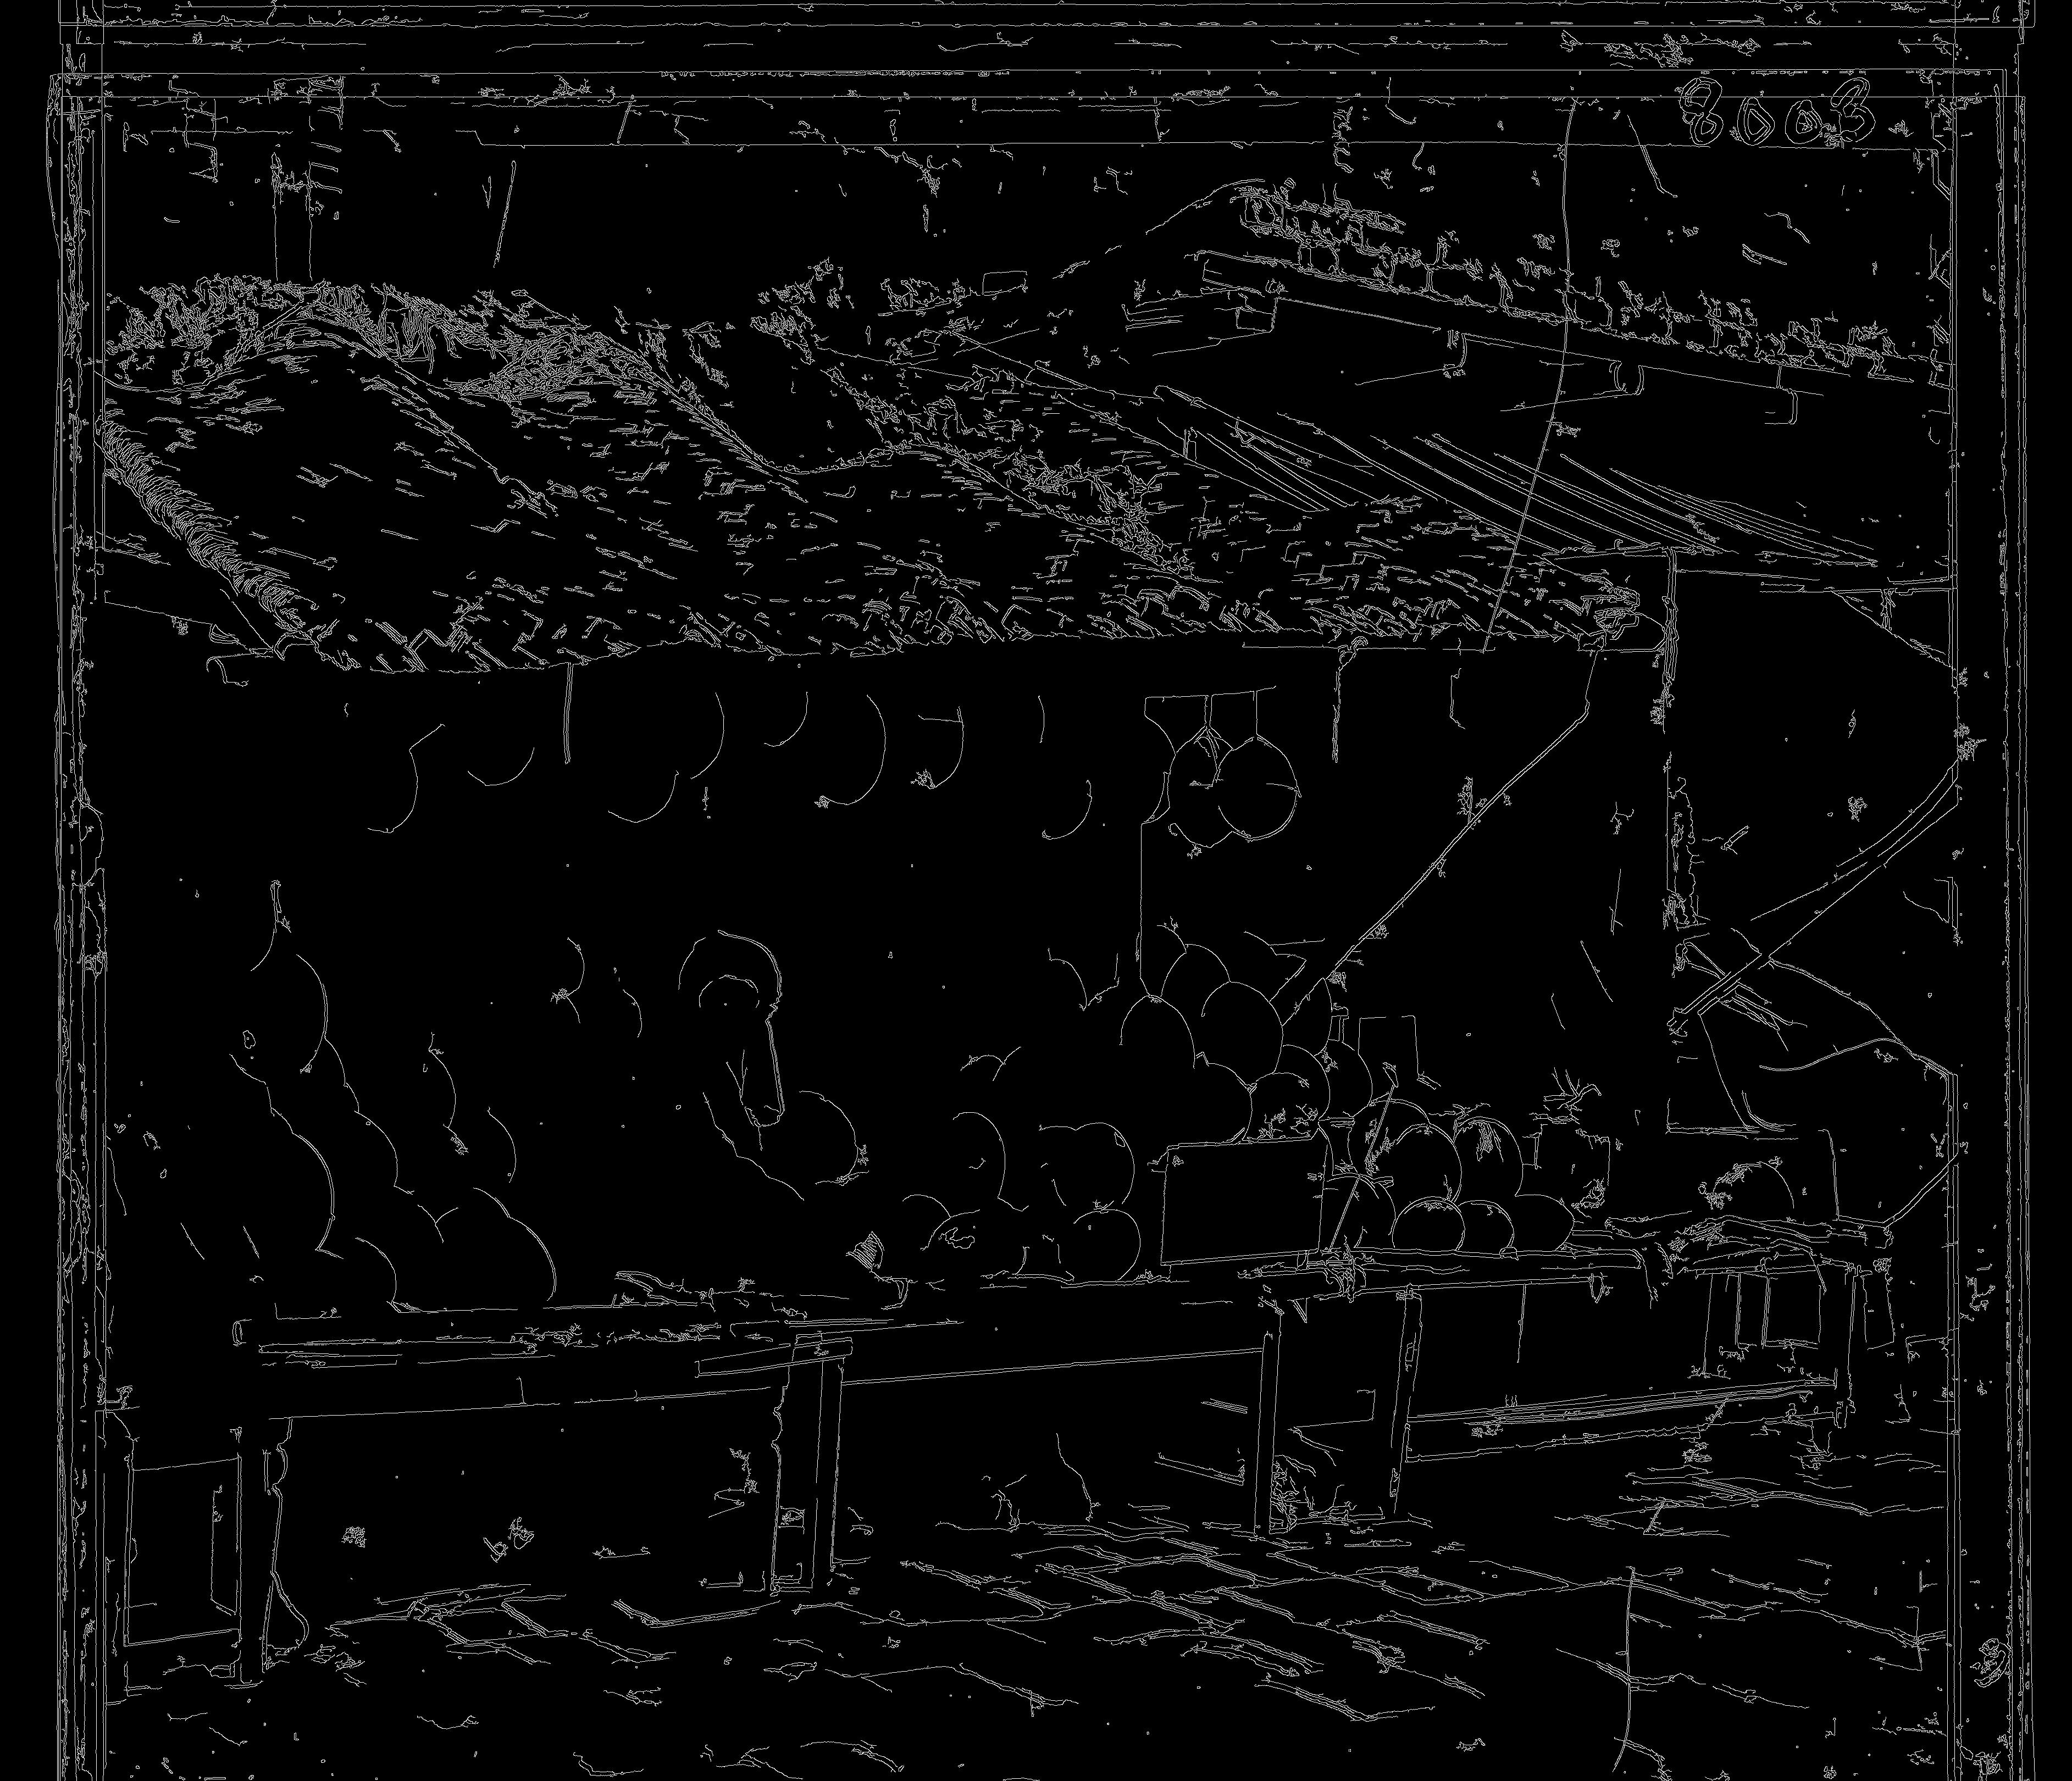
Melons Edges tif
View moreBells and Whistles: Edge Features
For another bells and whistles, I also attempted to perform a different type of alignment, where rather than just using the rgb features, I try to use the prominent edges in the image to perform the alignment instead. To do this, I used the same cv.Canny() function in order to extract the edges from the channels I was aligning. Then I performed a similar search to the previous parts where I would try different shifts of each channel using np.roll() and find the minimum score using the norm between the two images based on their edges only. This changed some of my displacement vectors and made some of my images look cleaner. All of the modified images with both cropping and edge alignment can be seen below. I could not include all of the images due to the zip file size limit, but I have tried to include as many as I can.
Cathedral jpg
G: [2, 5], R: [3, 12]
View more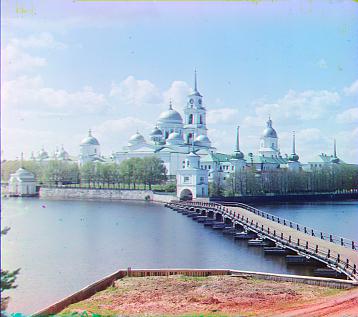
Monastery jpg
G: [2, -3], R: [2, 3]
View more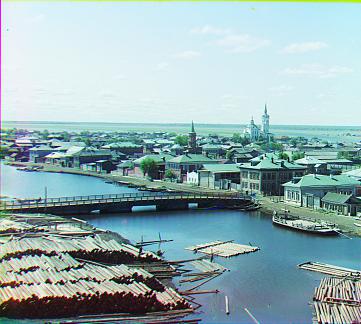
Tobolsk jpg
G: [3, 3], R: [3, 7]
View more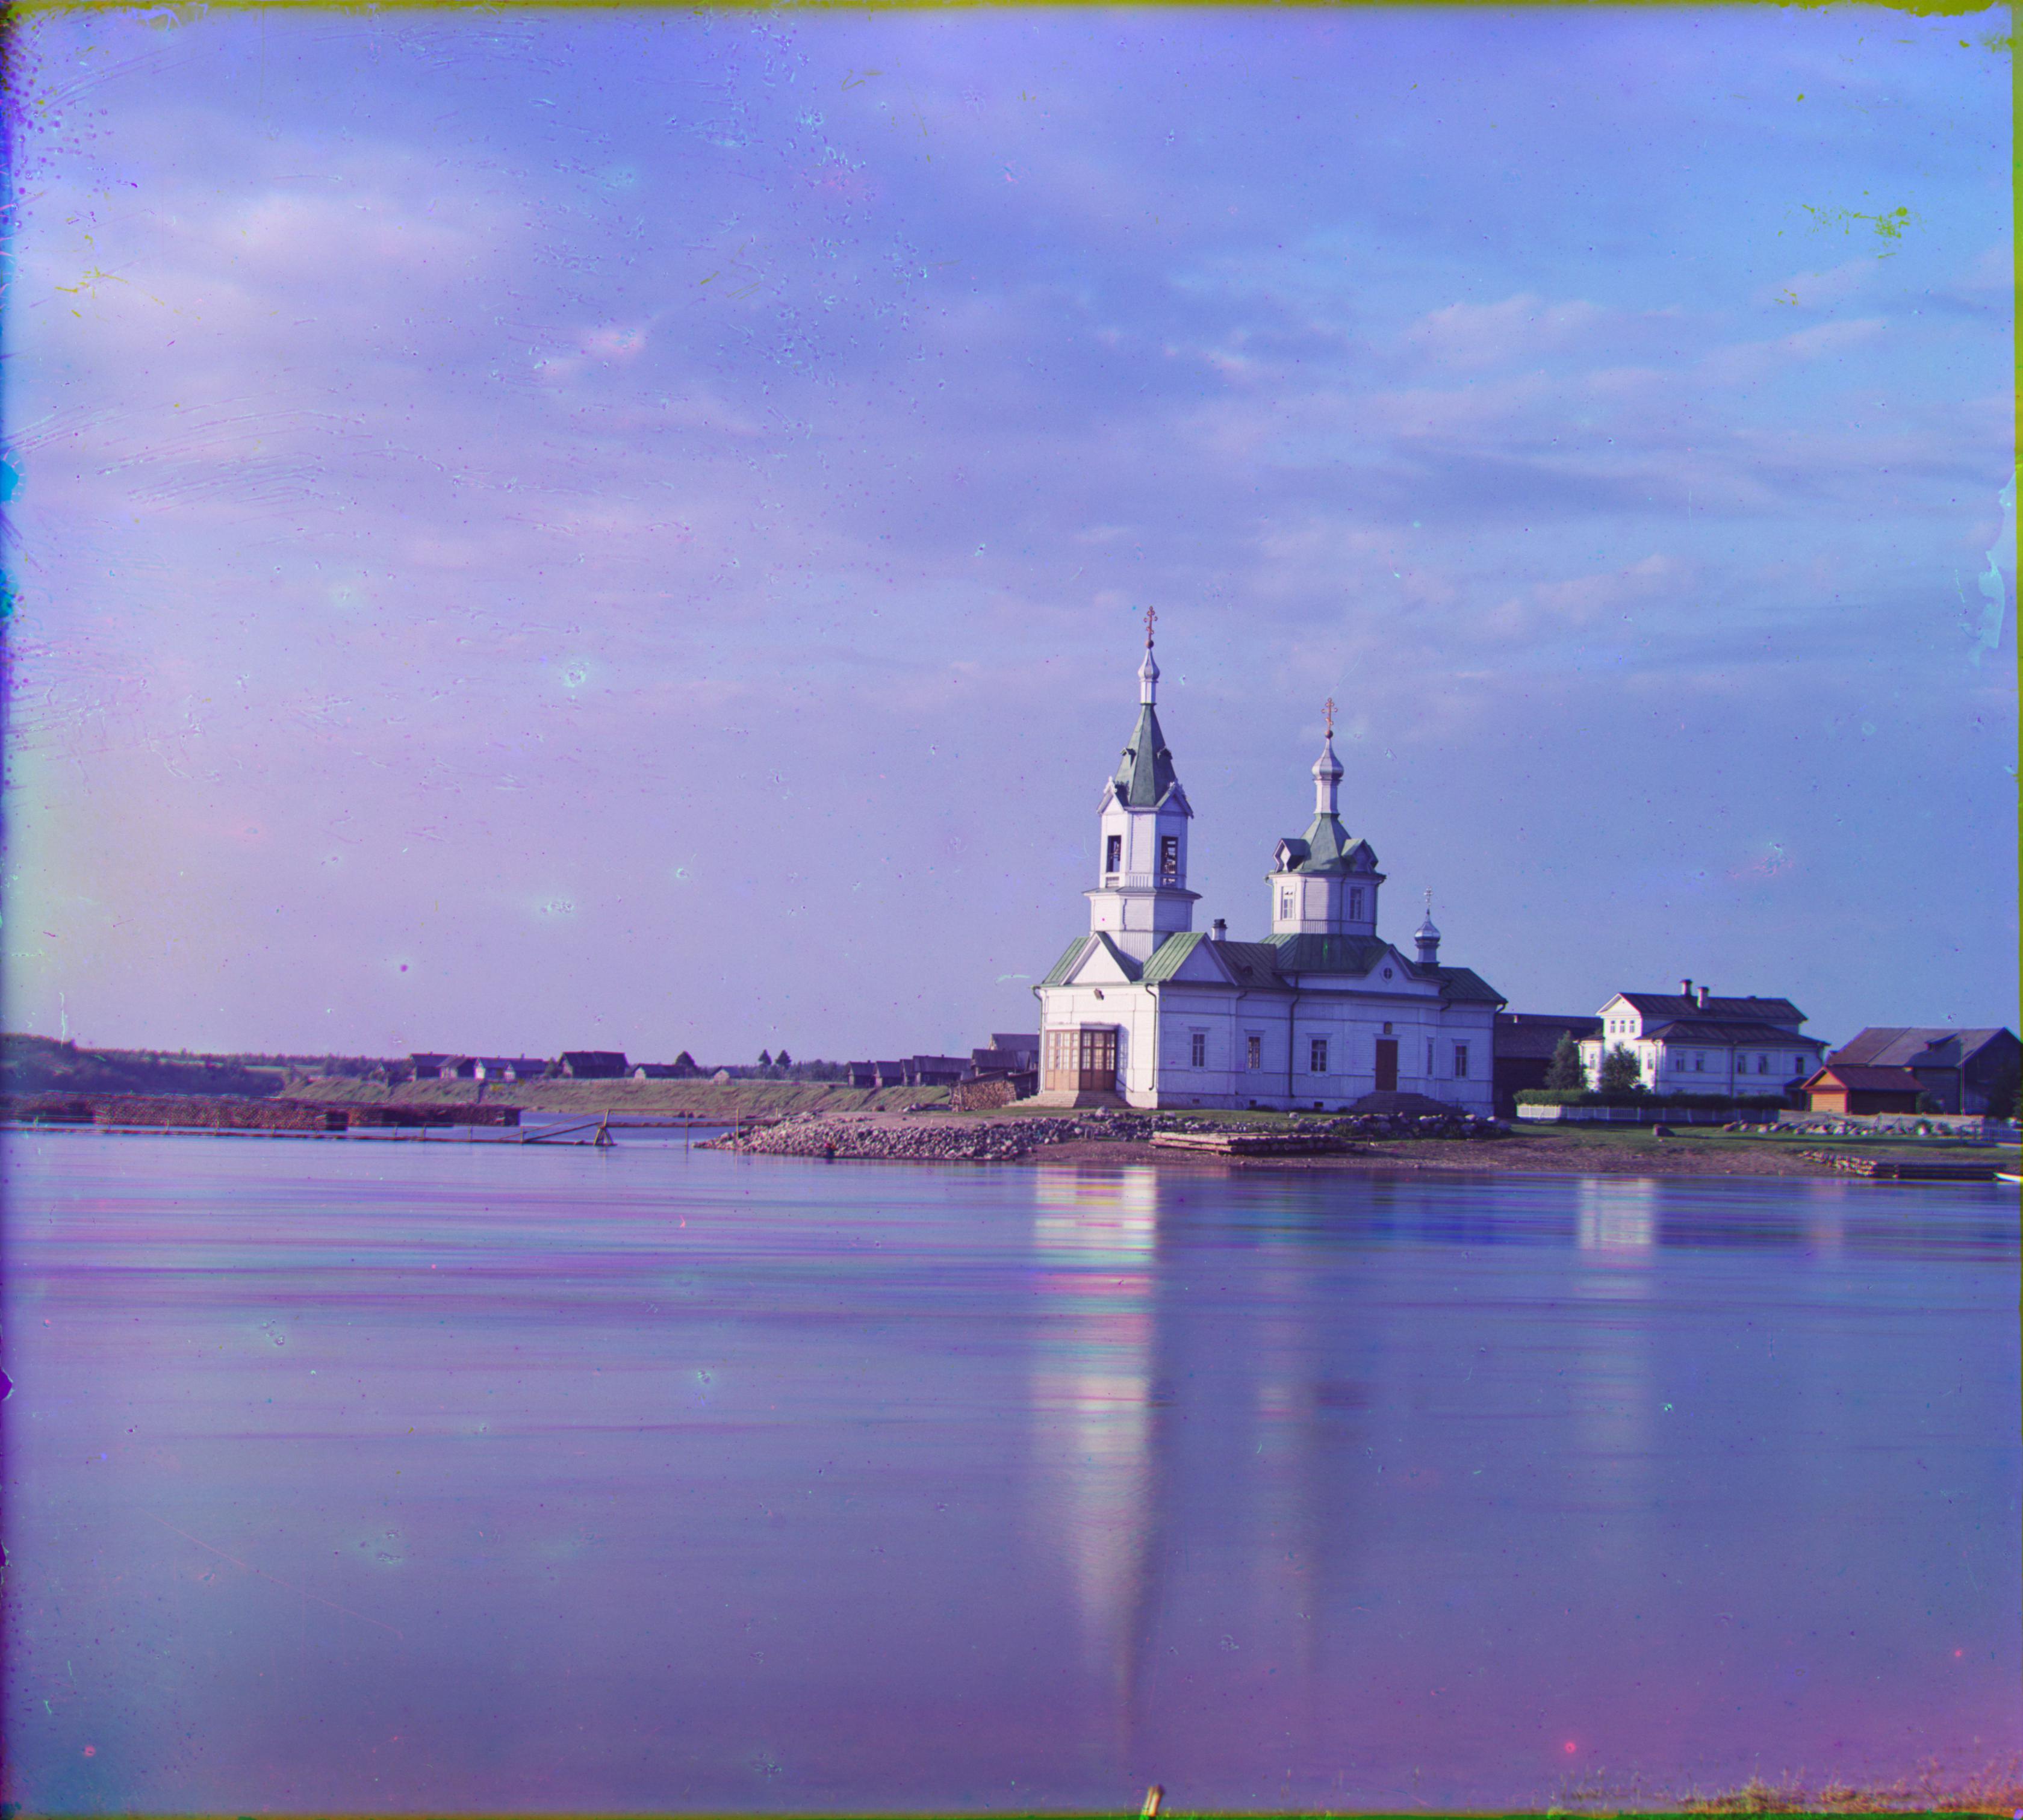
Church tif
G: [4, 24], R: [-4, 58]
View more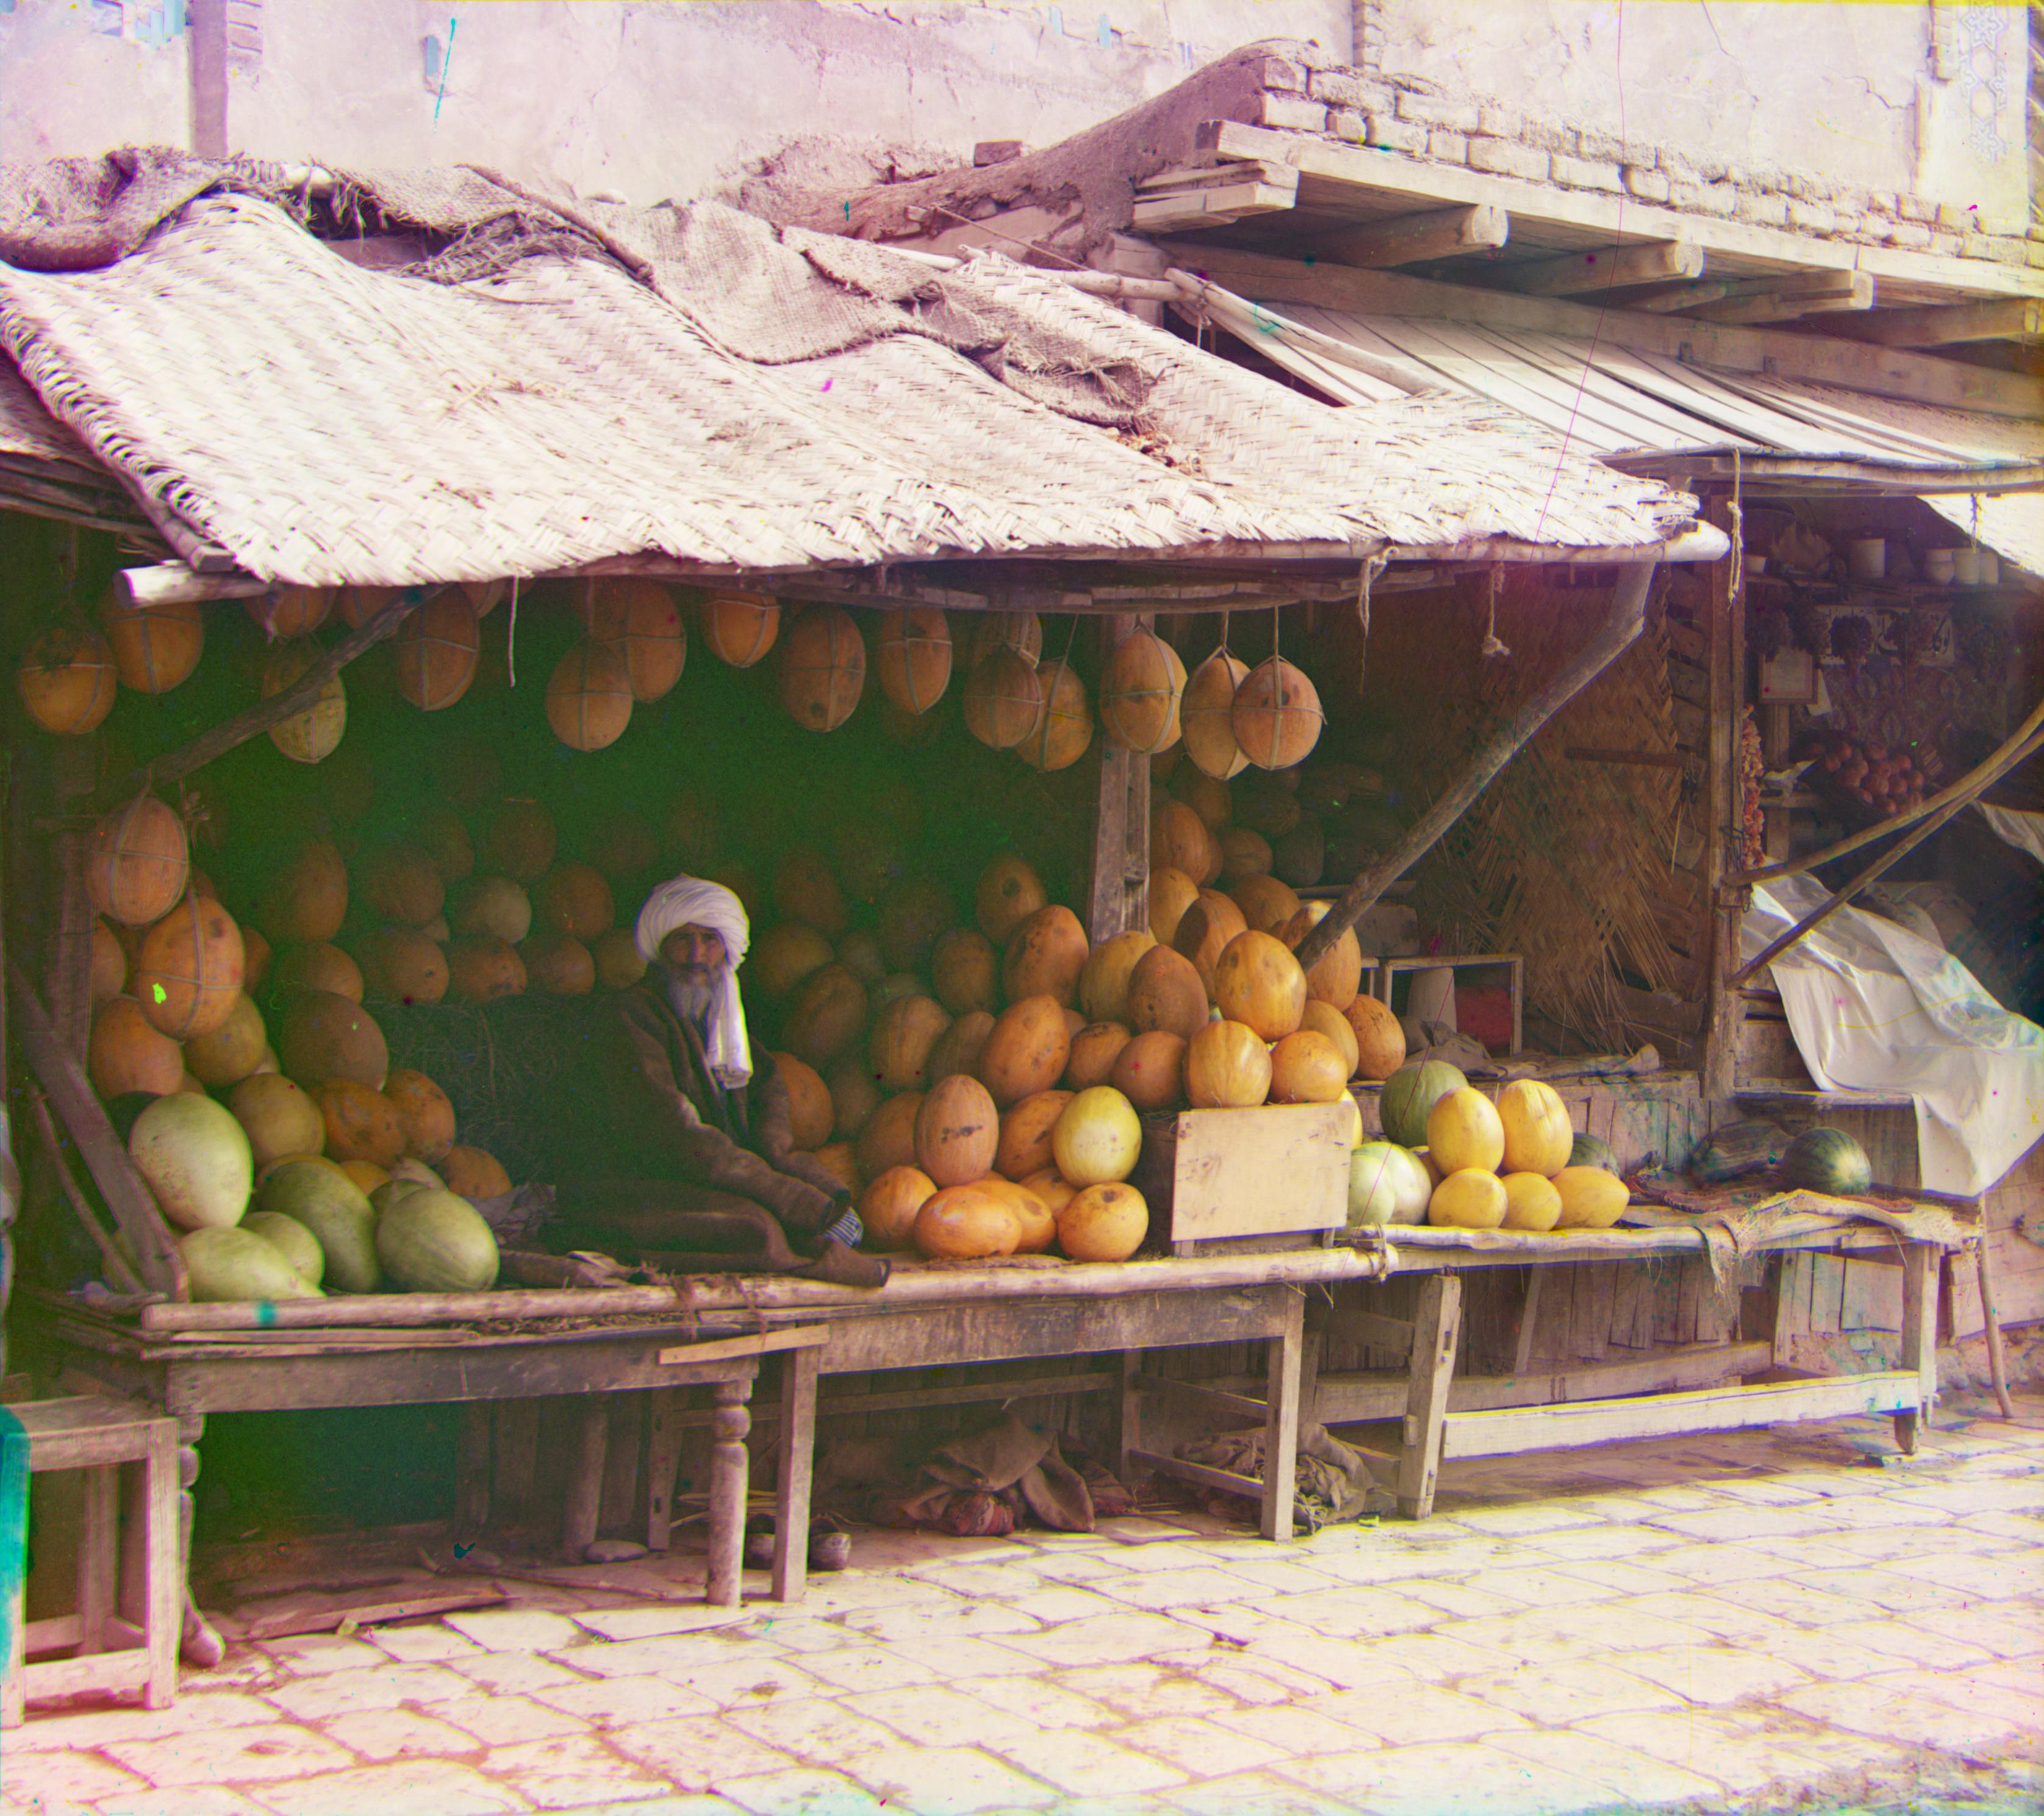
Melons tif
G: [10, 80], R: [12, 176]
View more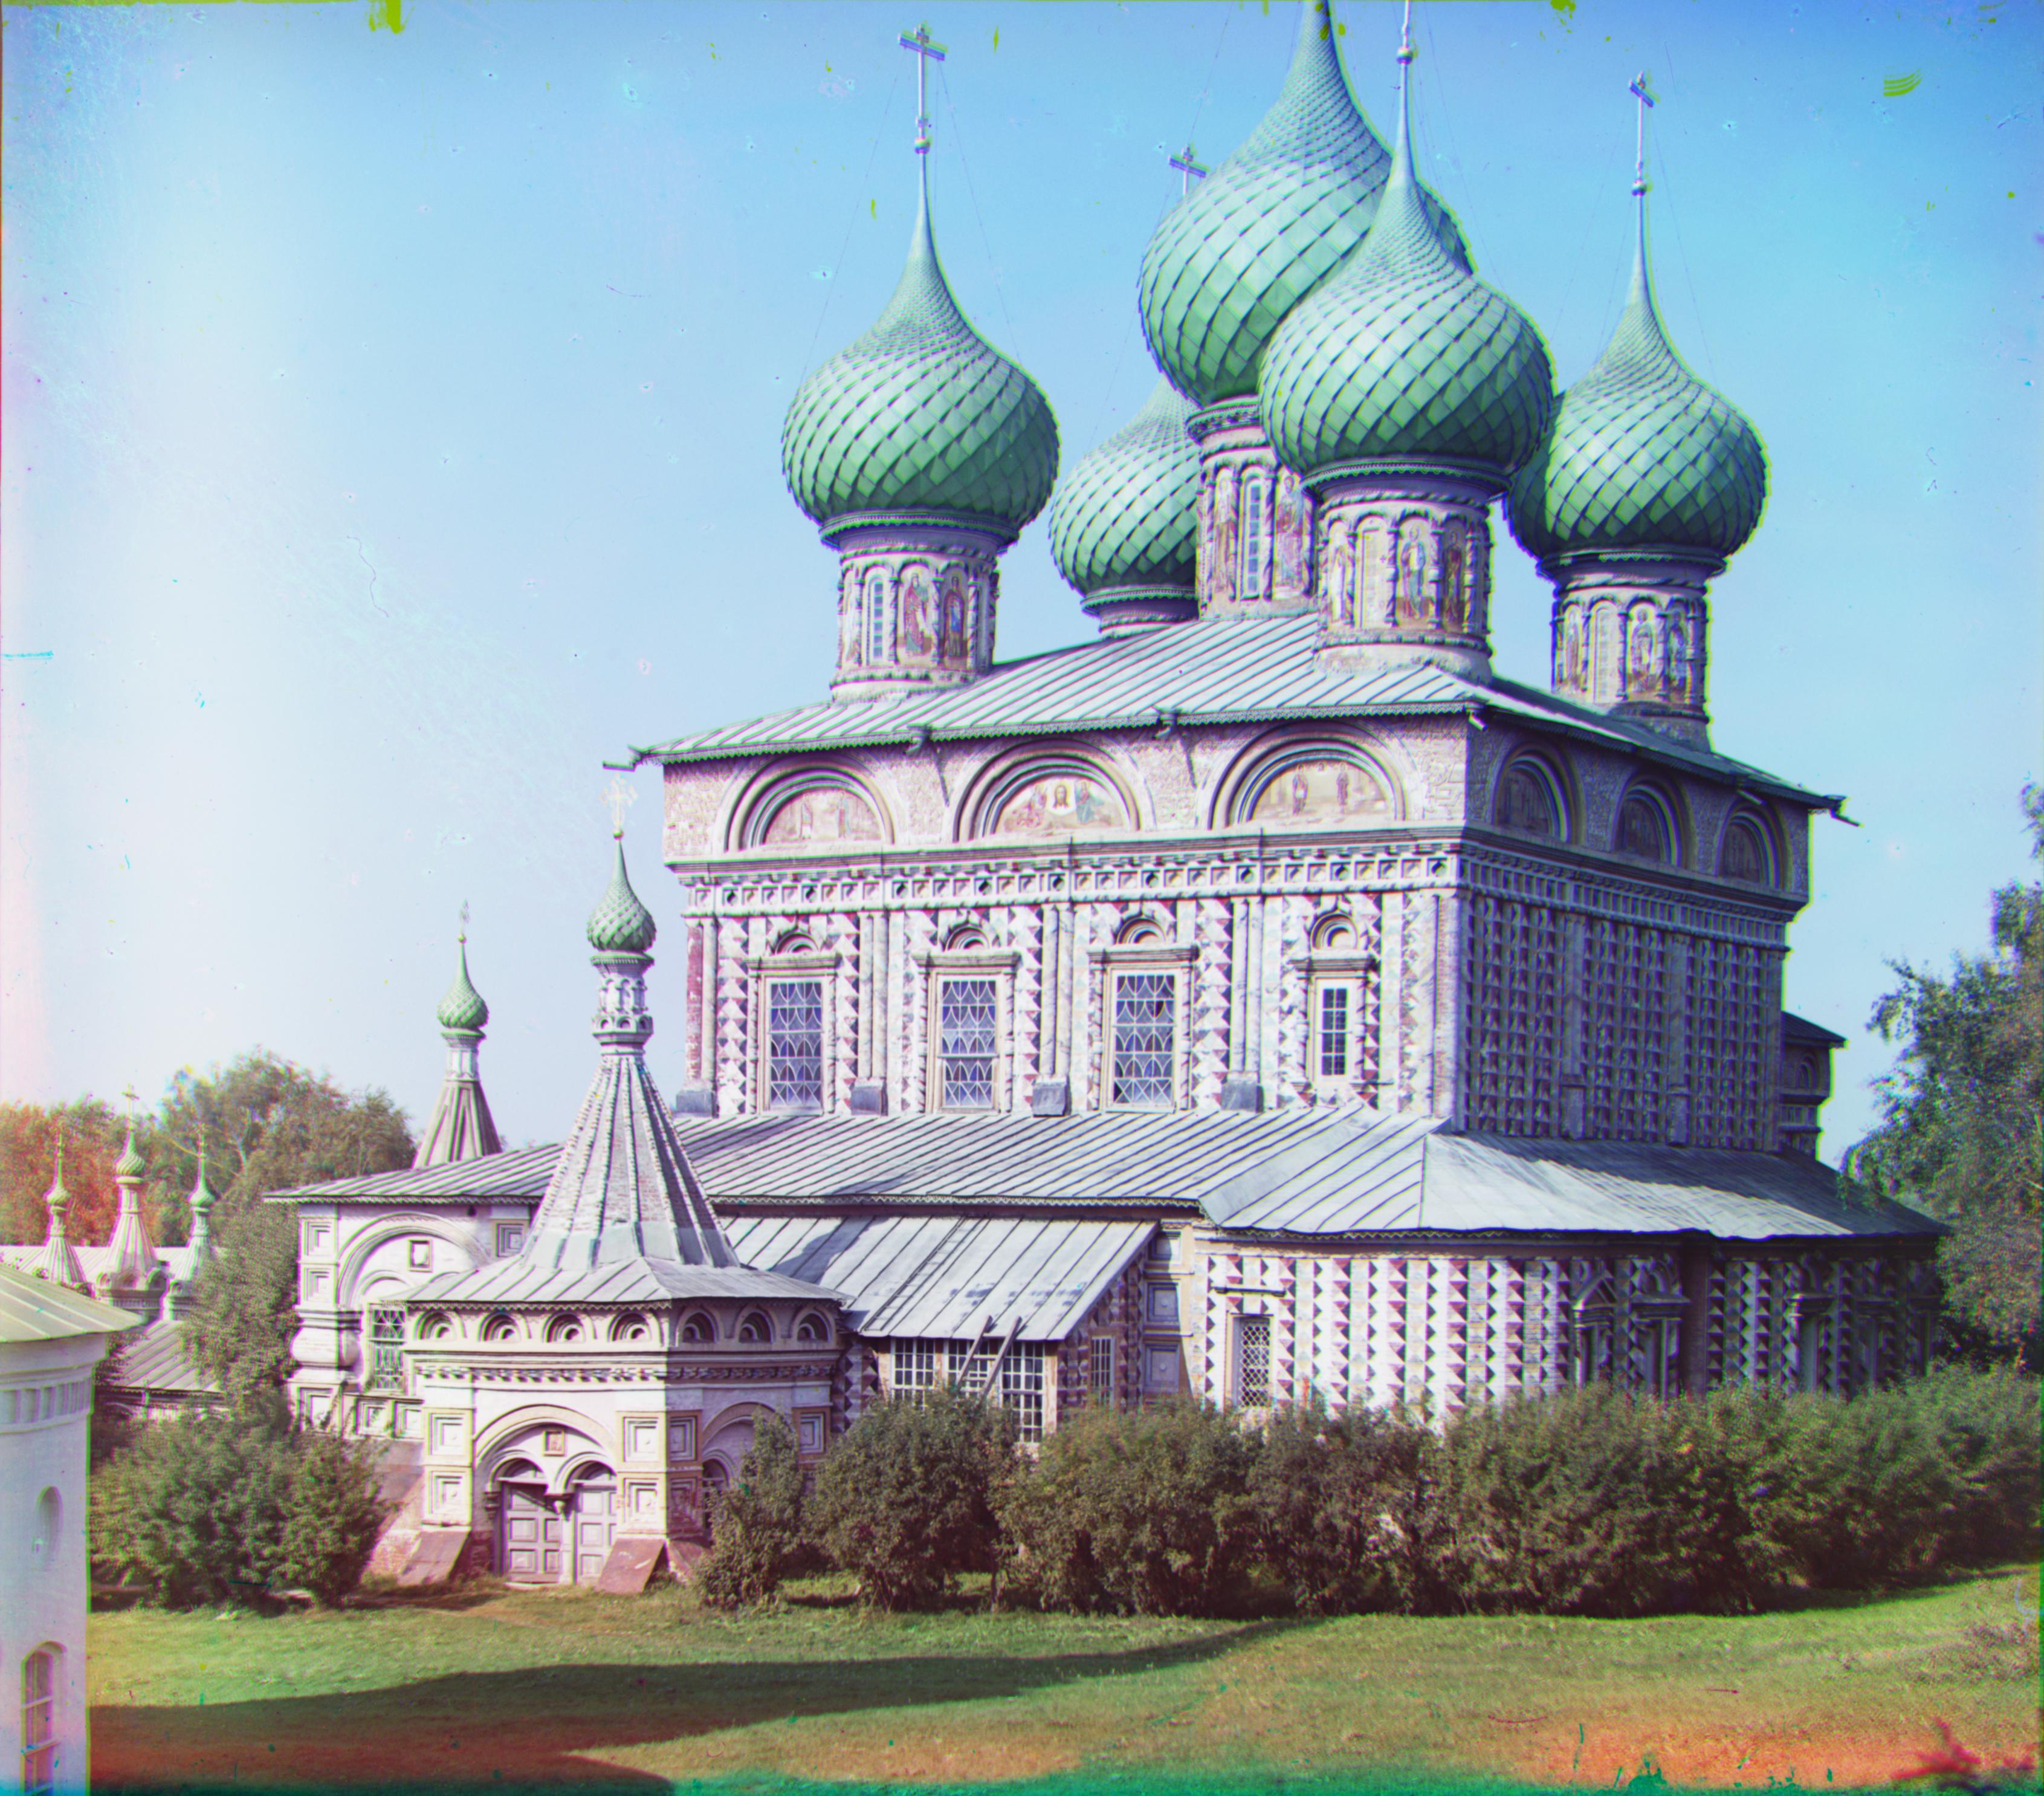
Onion Church tif
G: [24, 52], R: [35, 107]
View more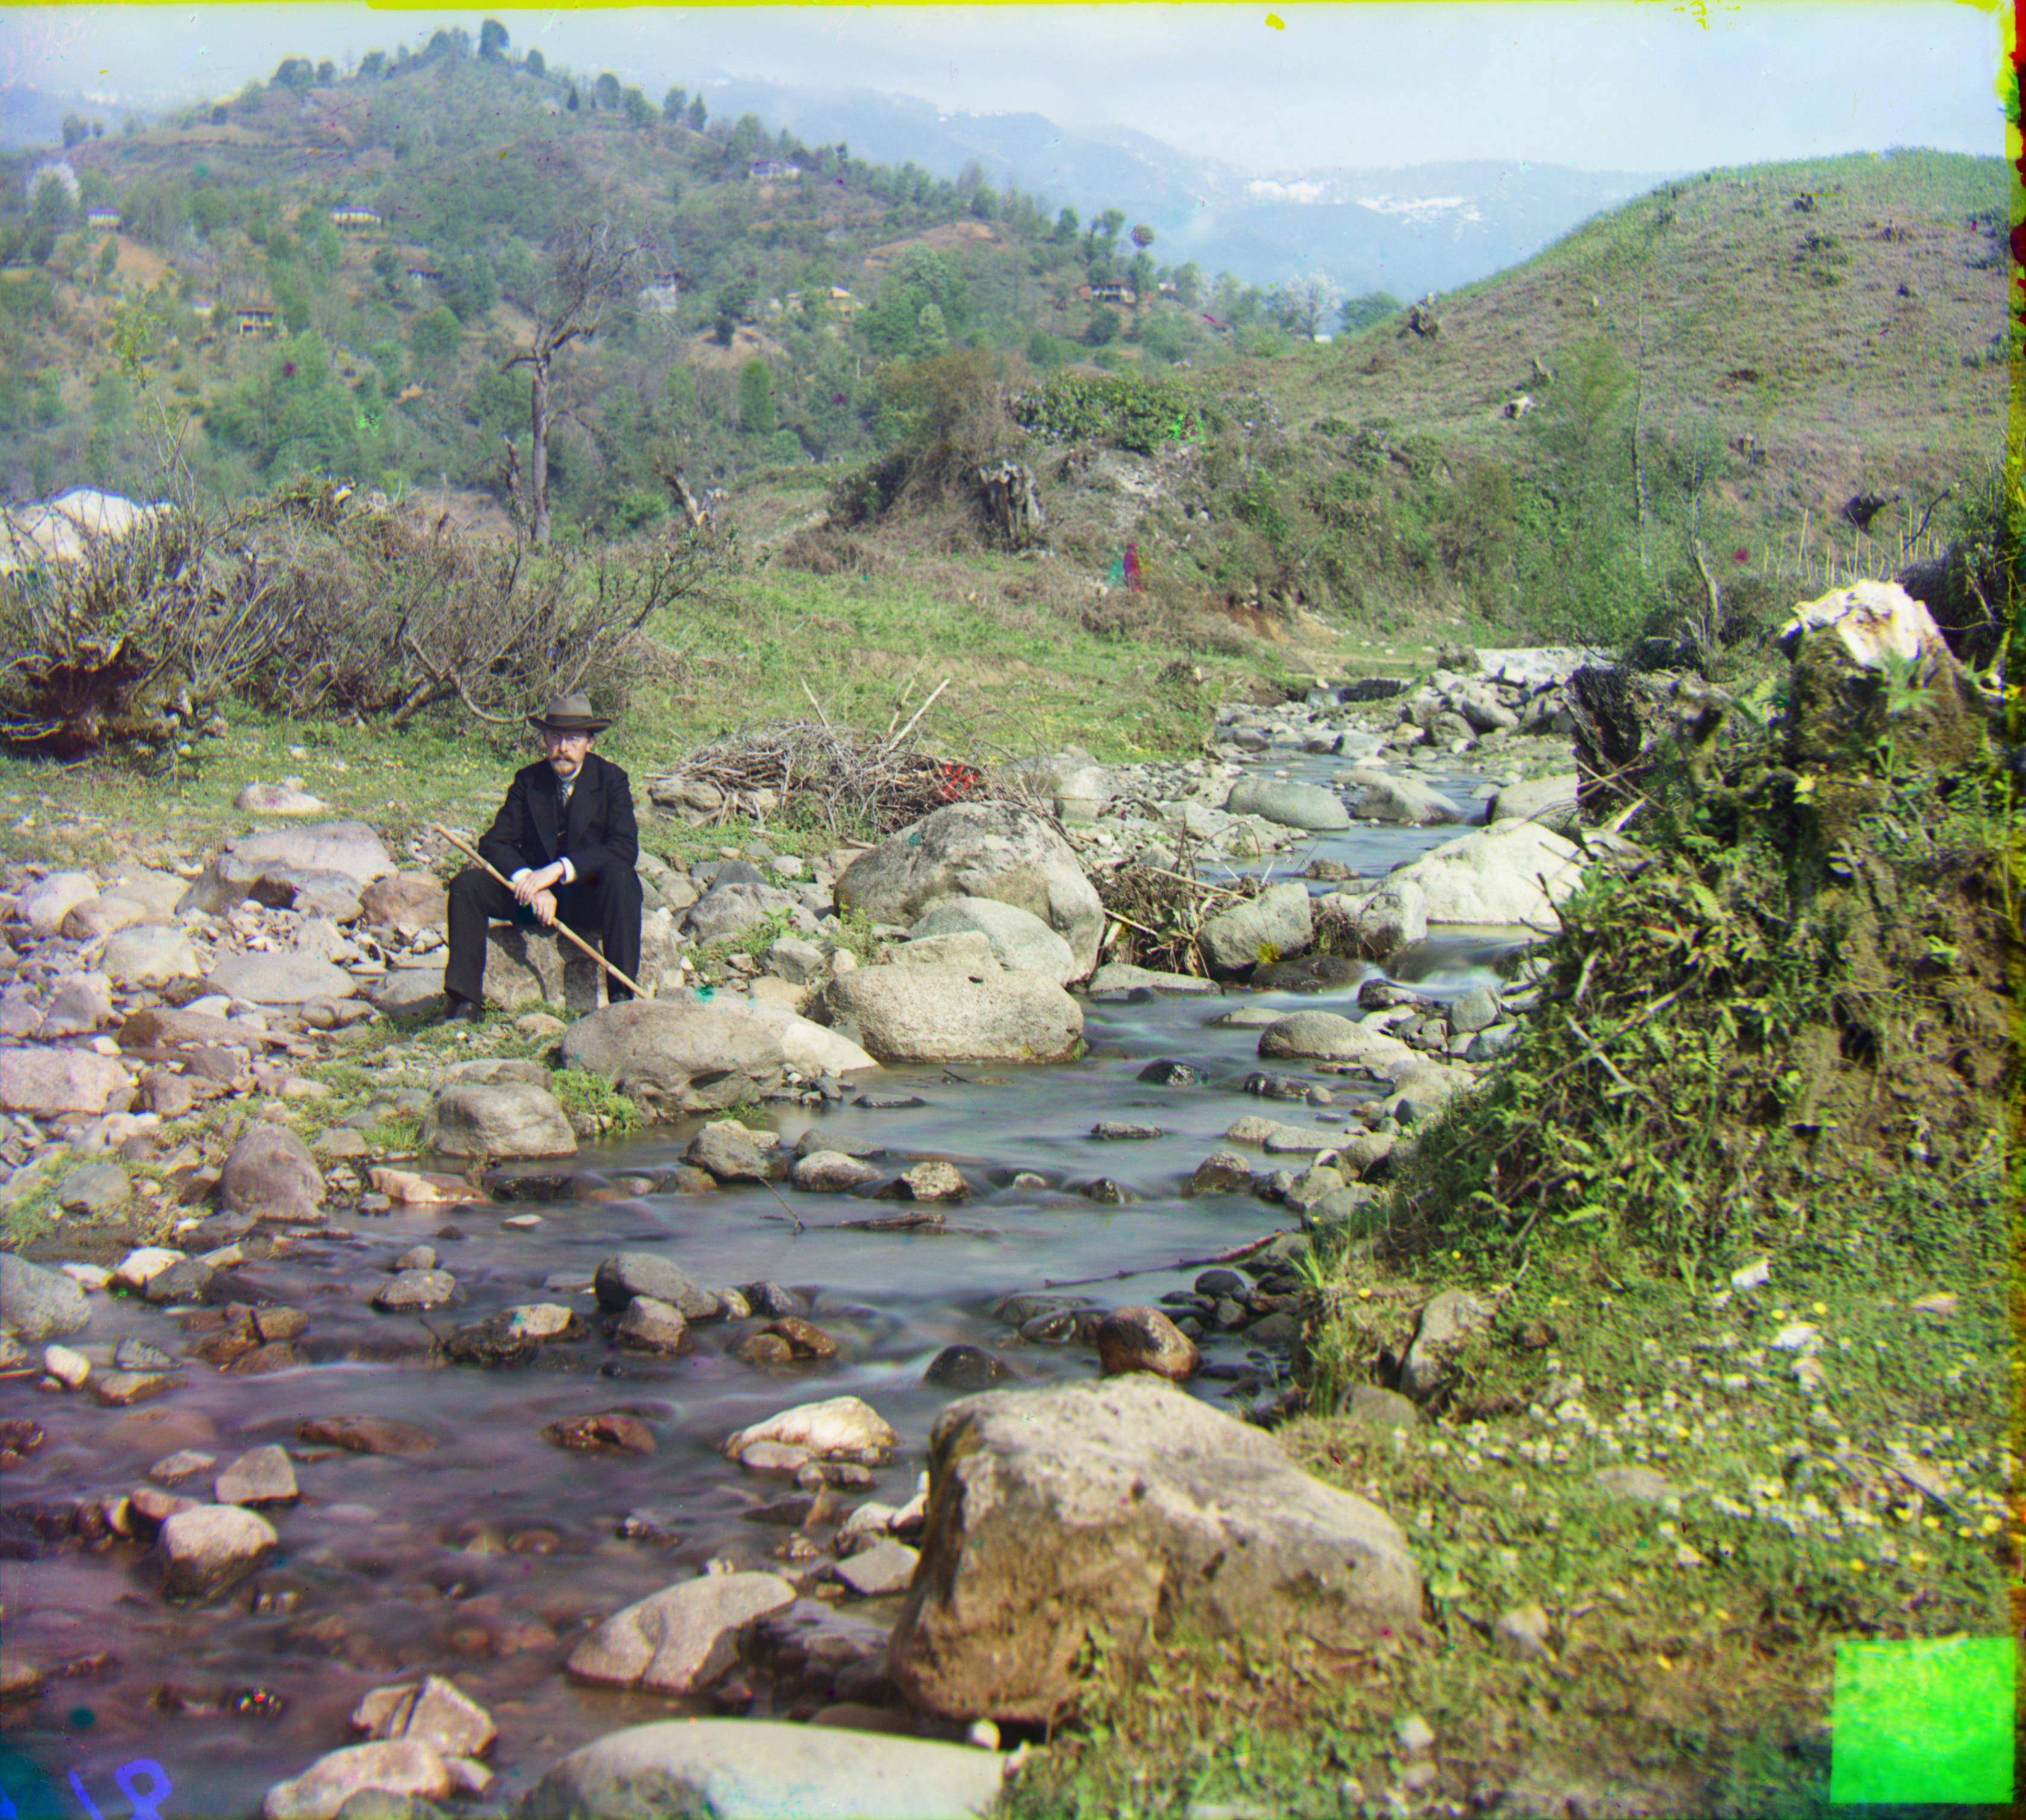
Self Portrait tif
G: [29, 77], R: [38, 176]
View more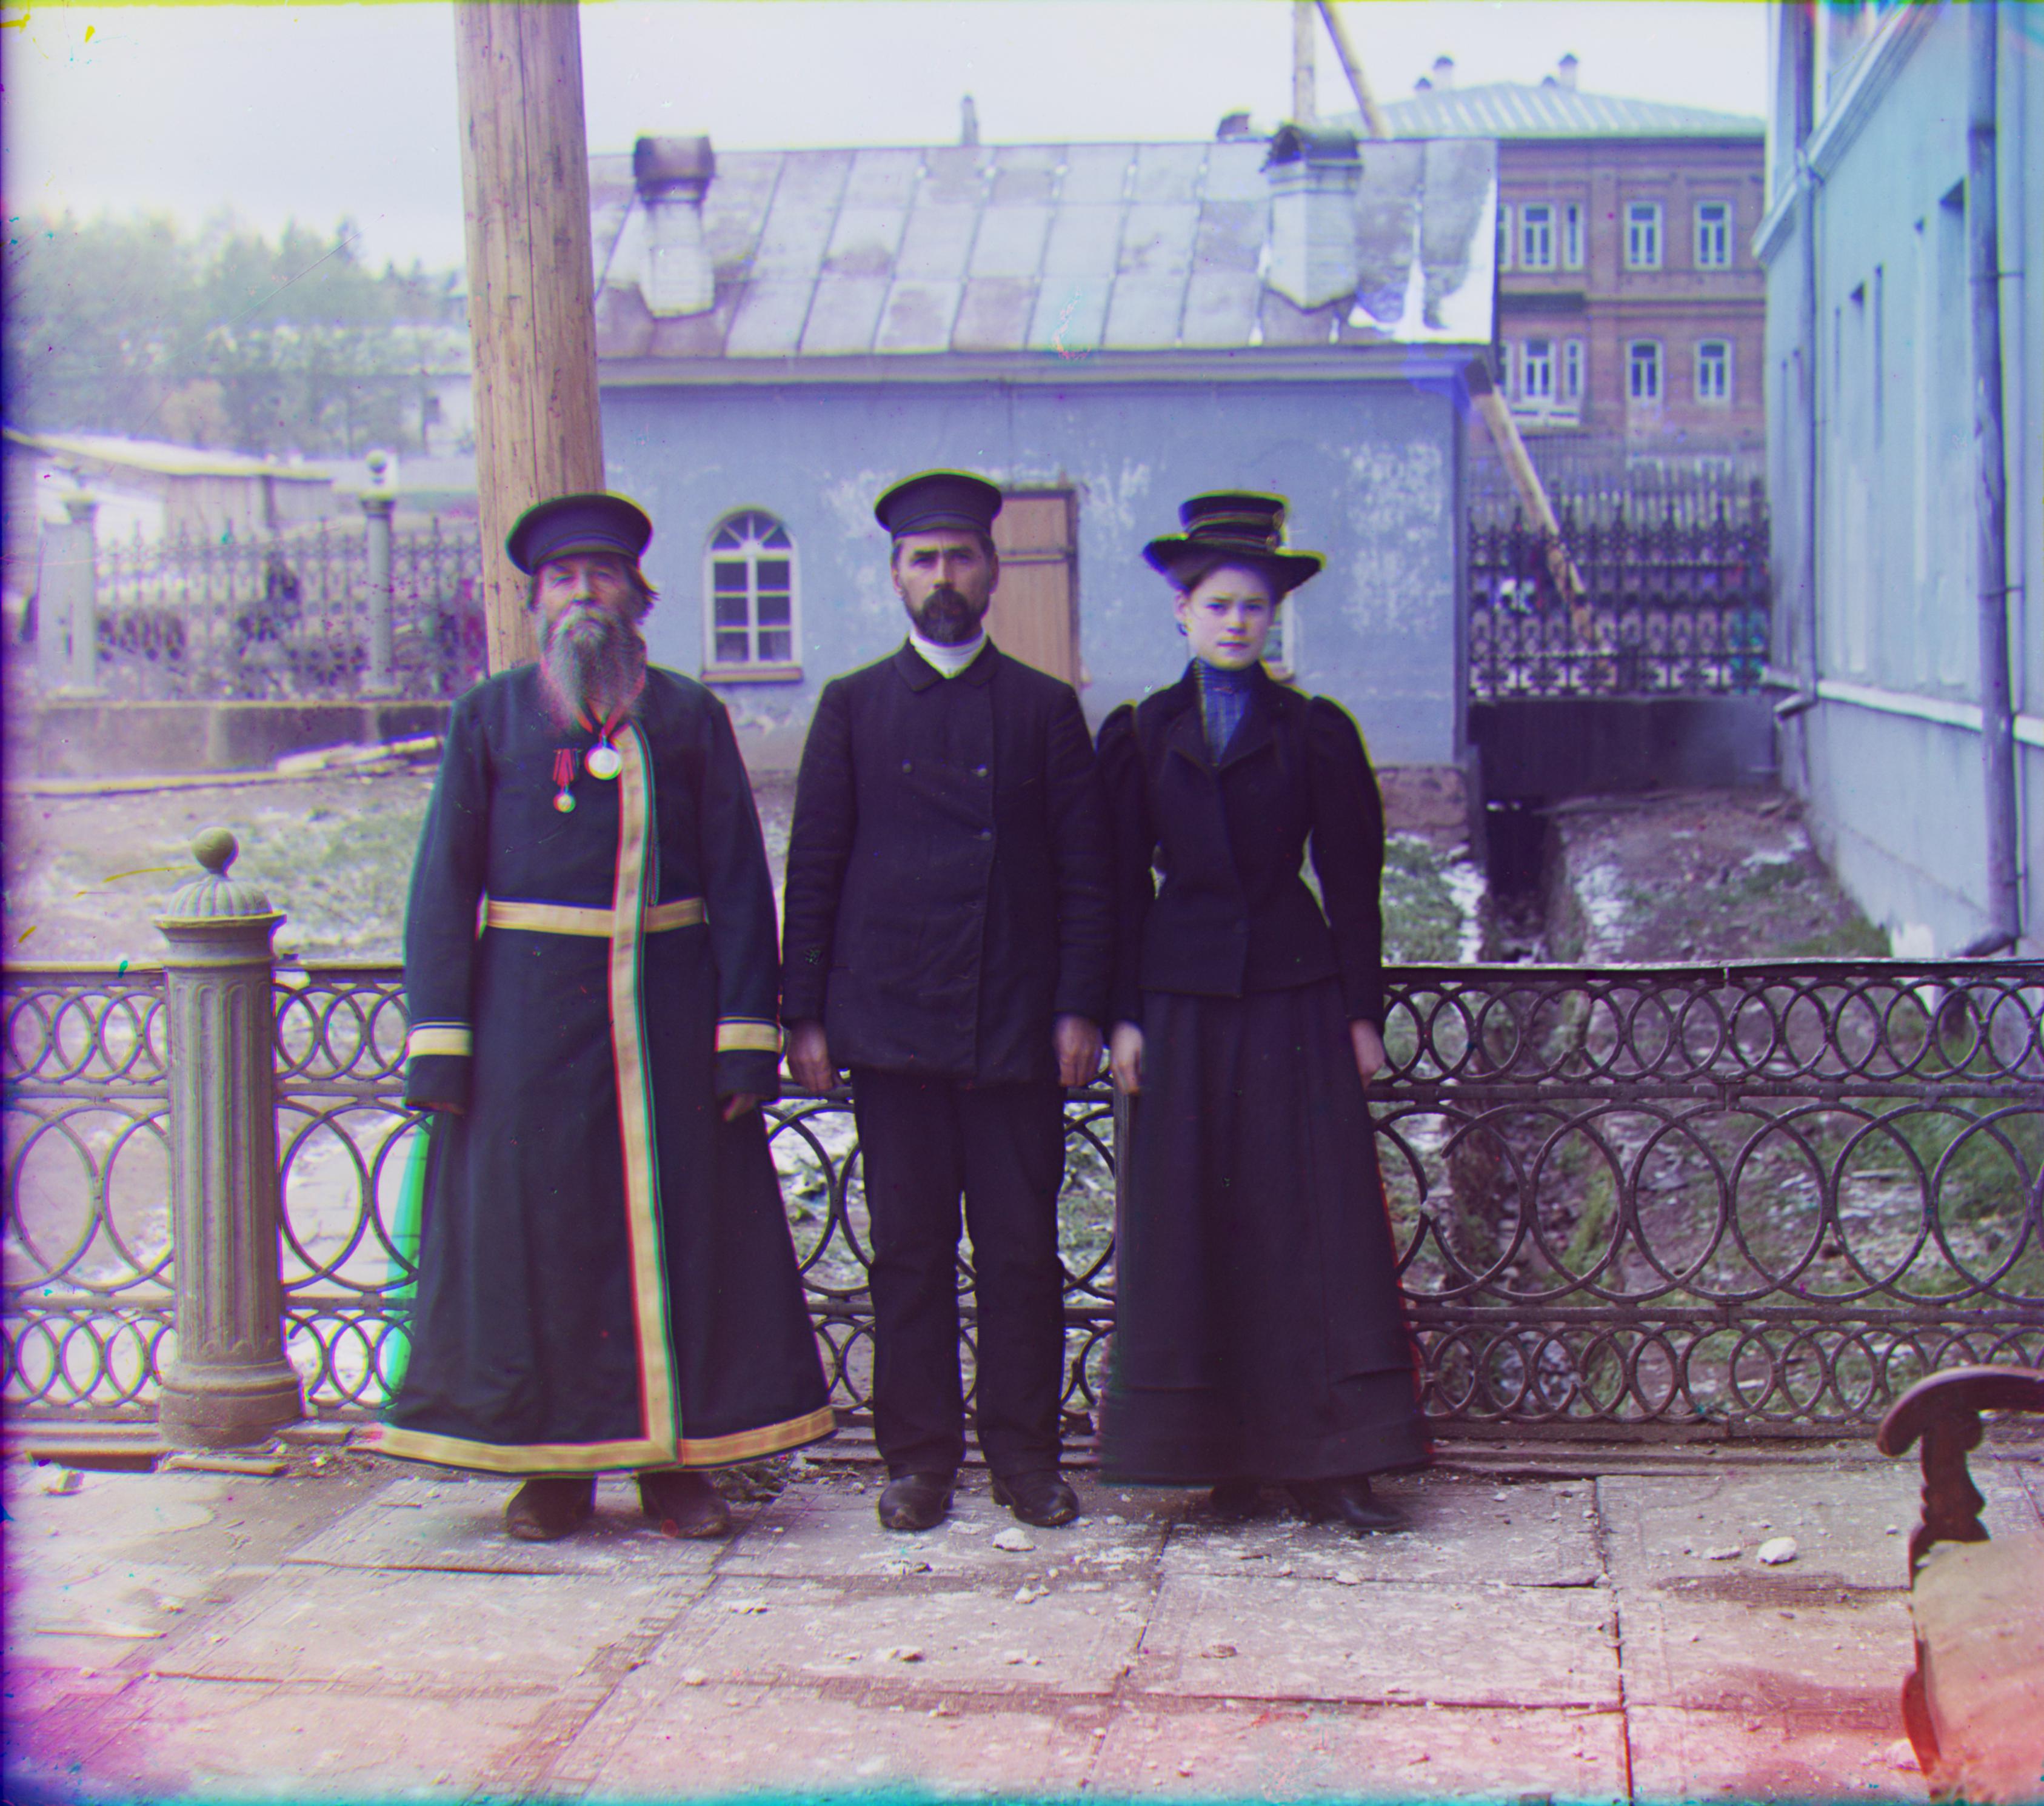
Three Generations tif
G: [16, 56], R: [12, 114]
View more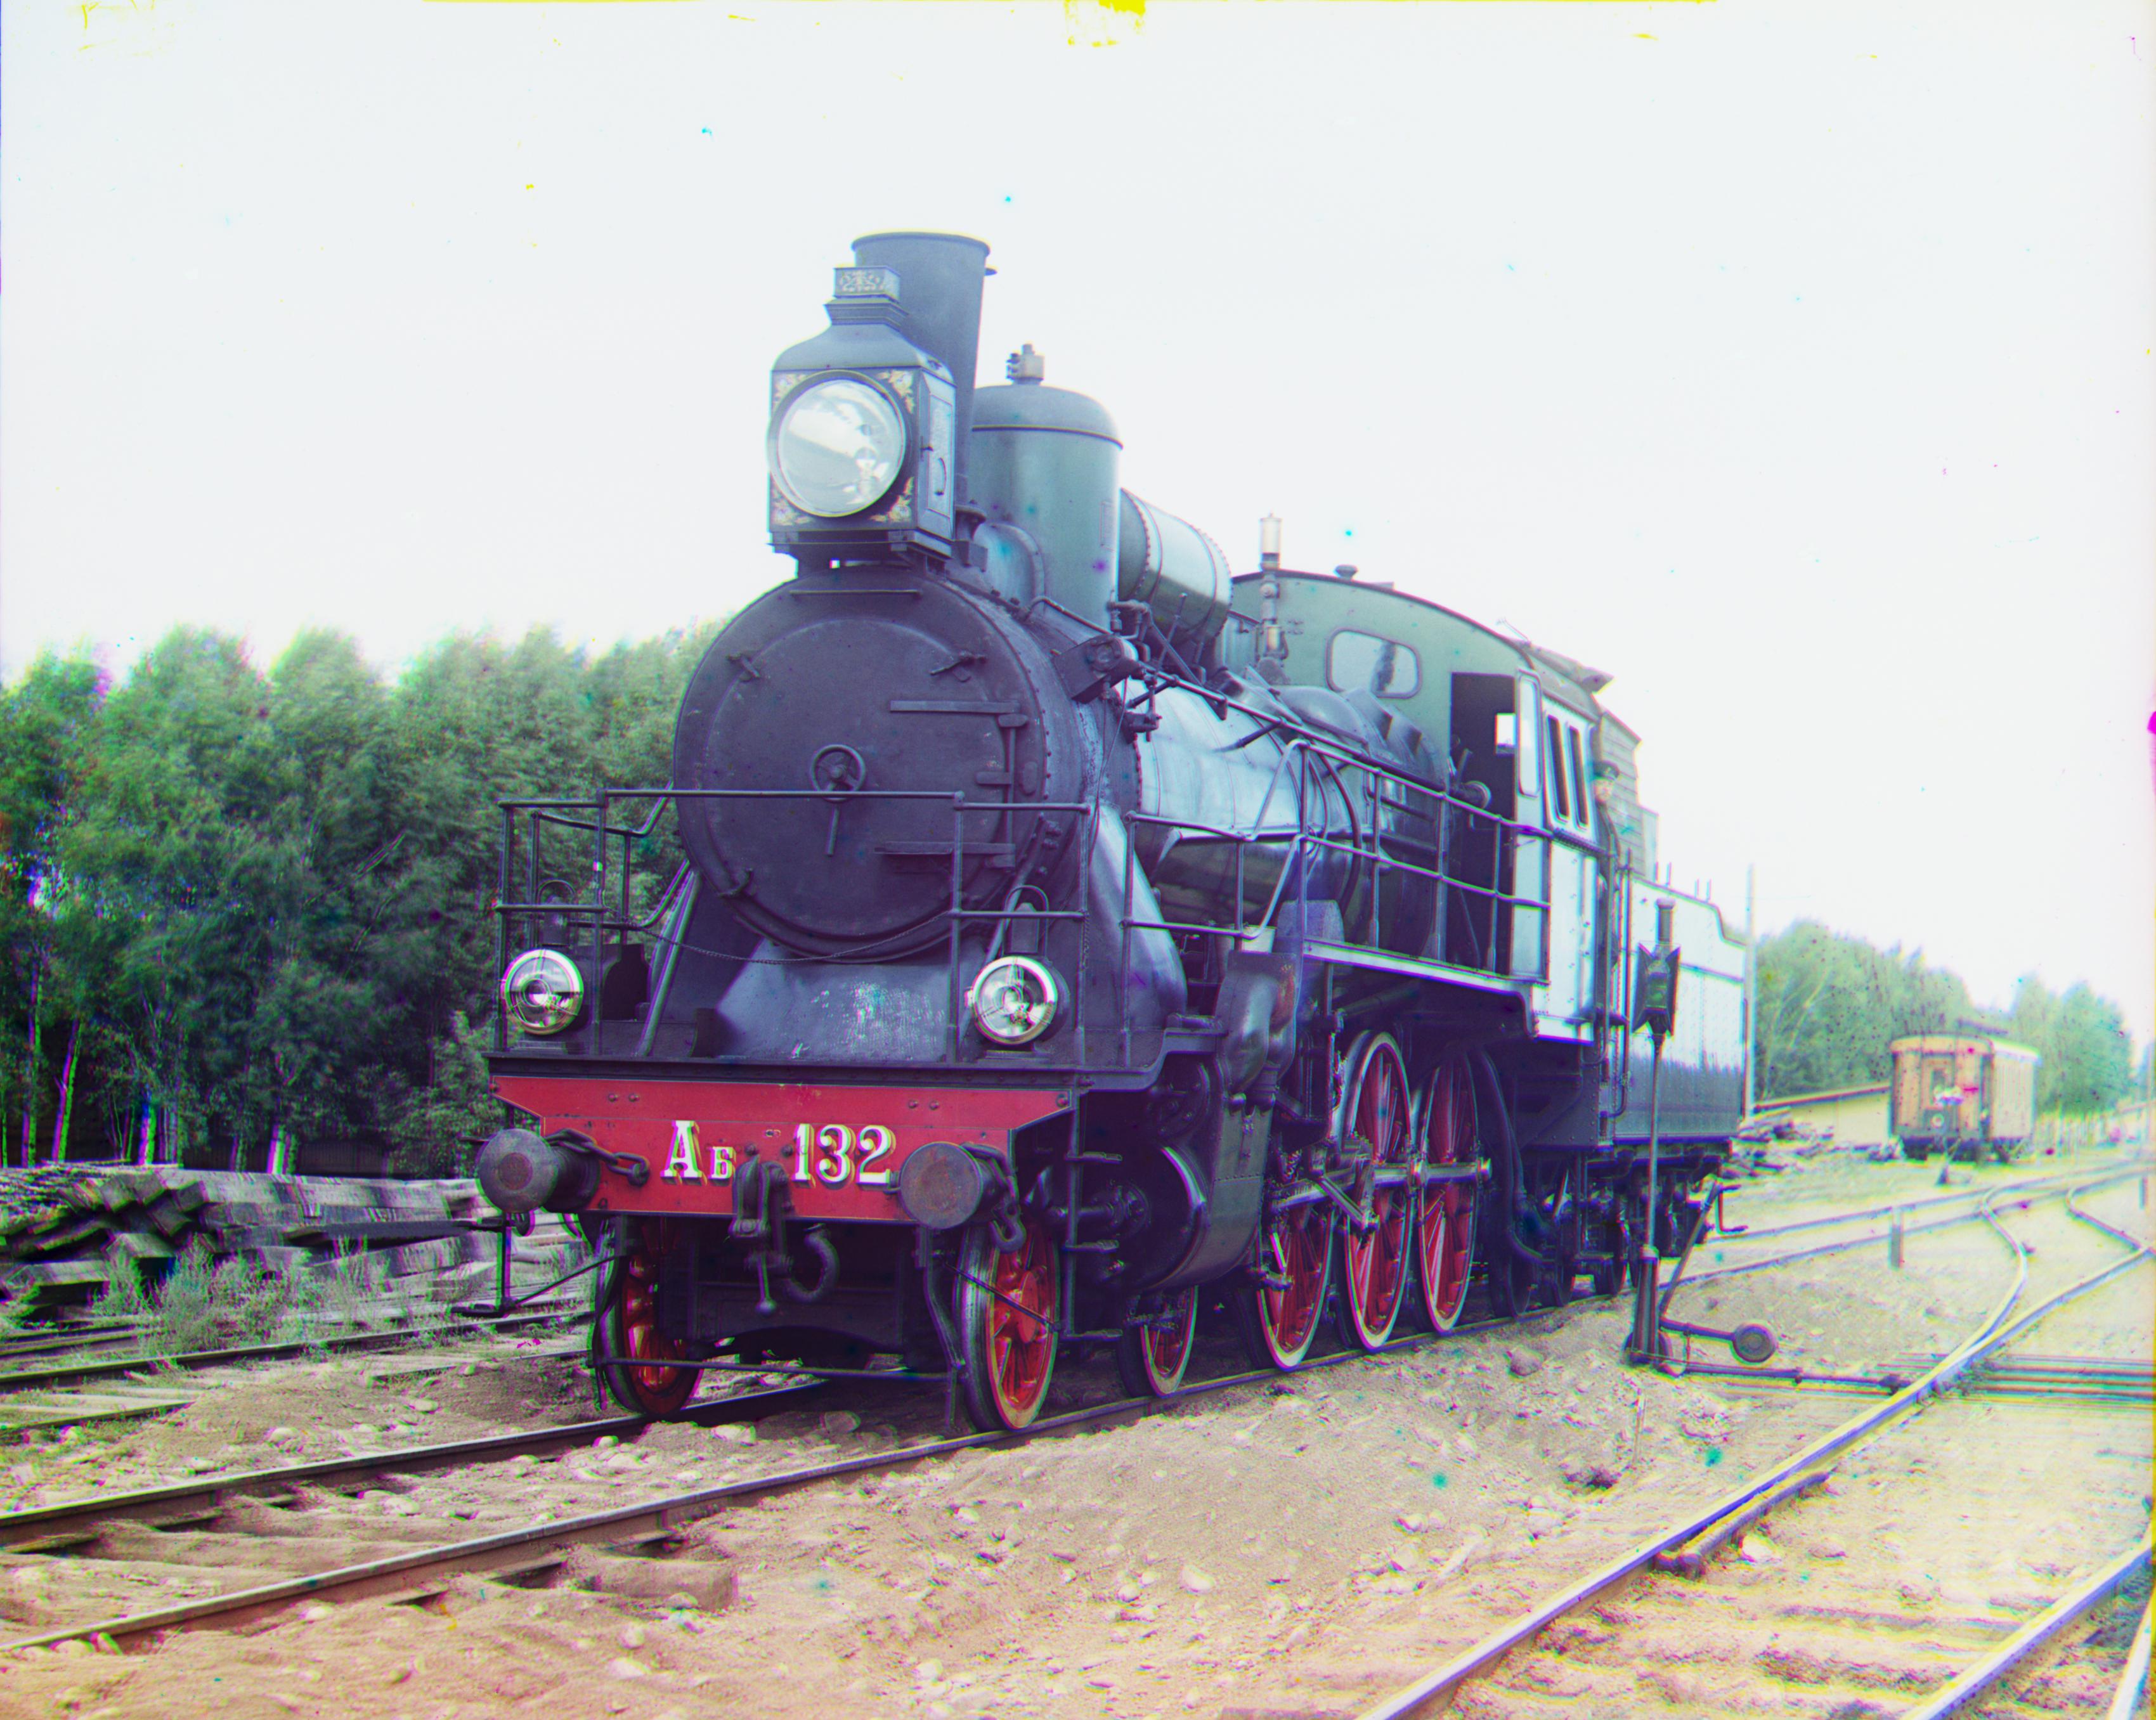
Train tif
G: [8, 40], R: [29, 85]
View more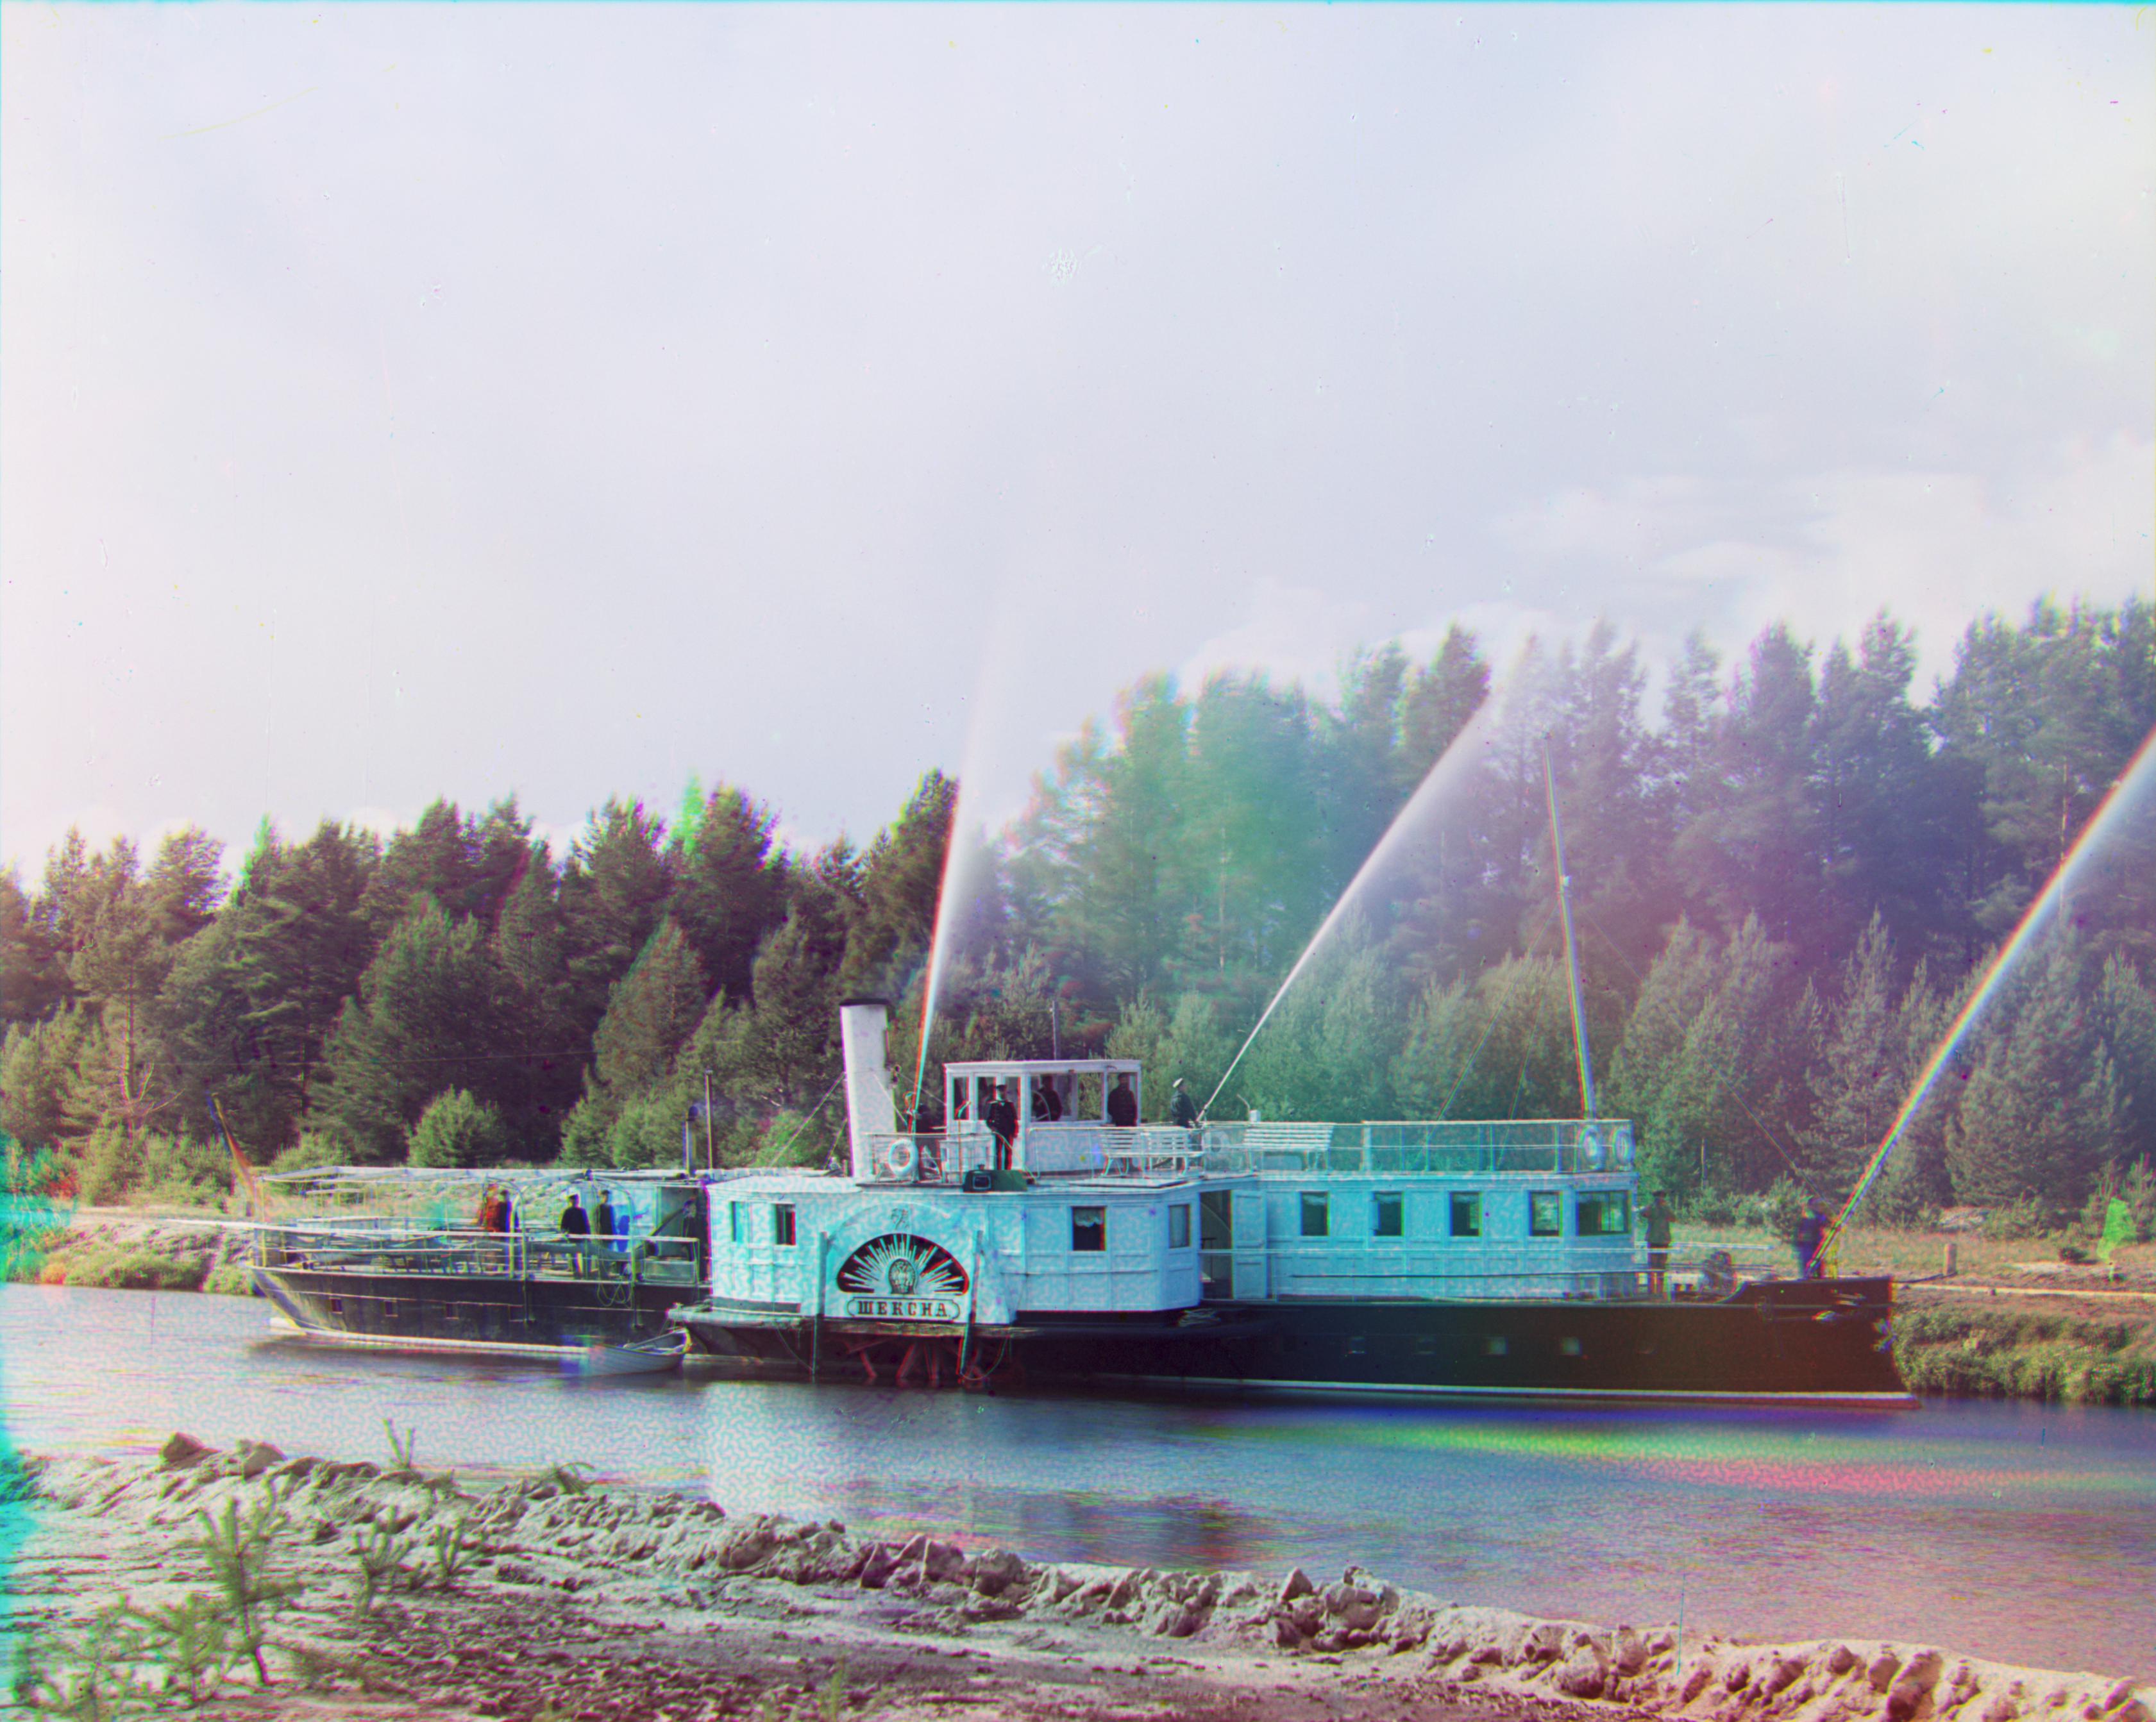
Boat tif
G: [18, 20], R: [32, 146]
View more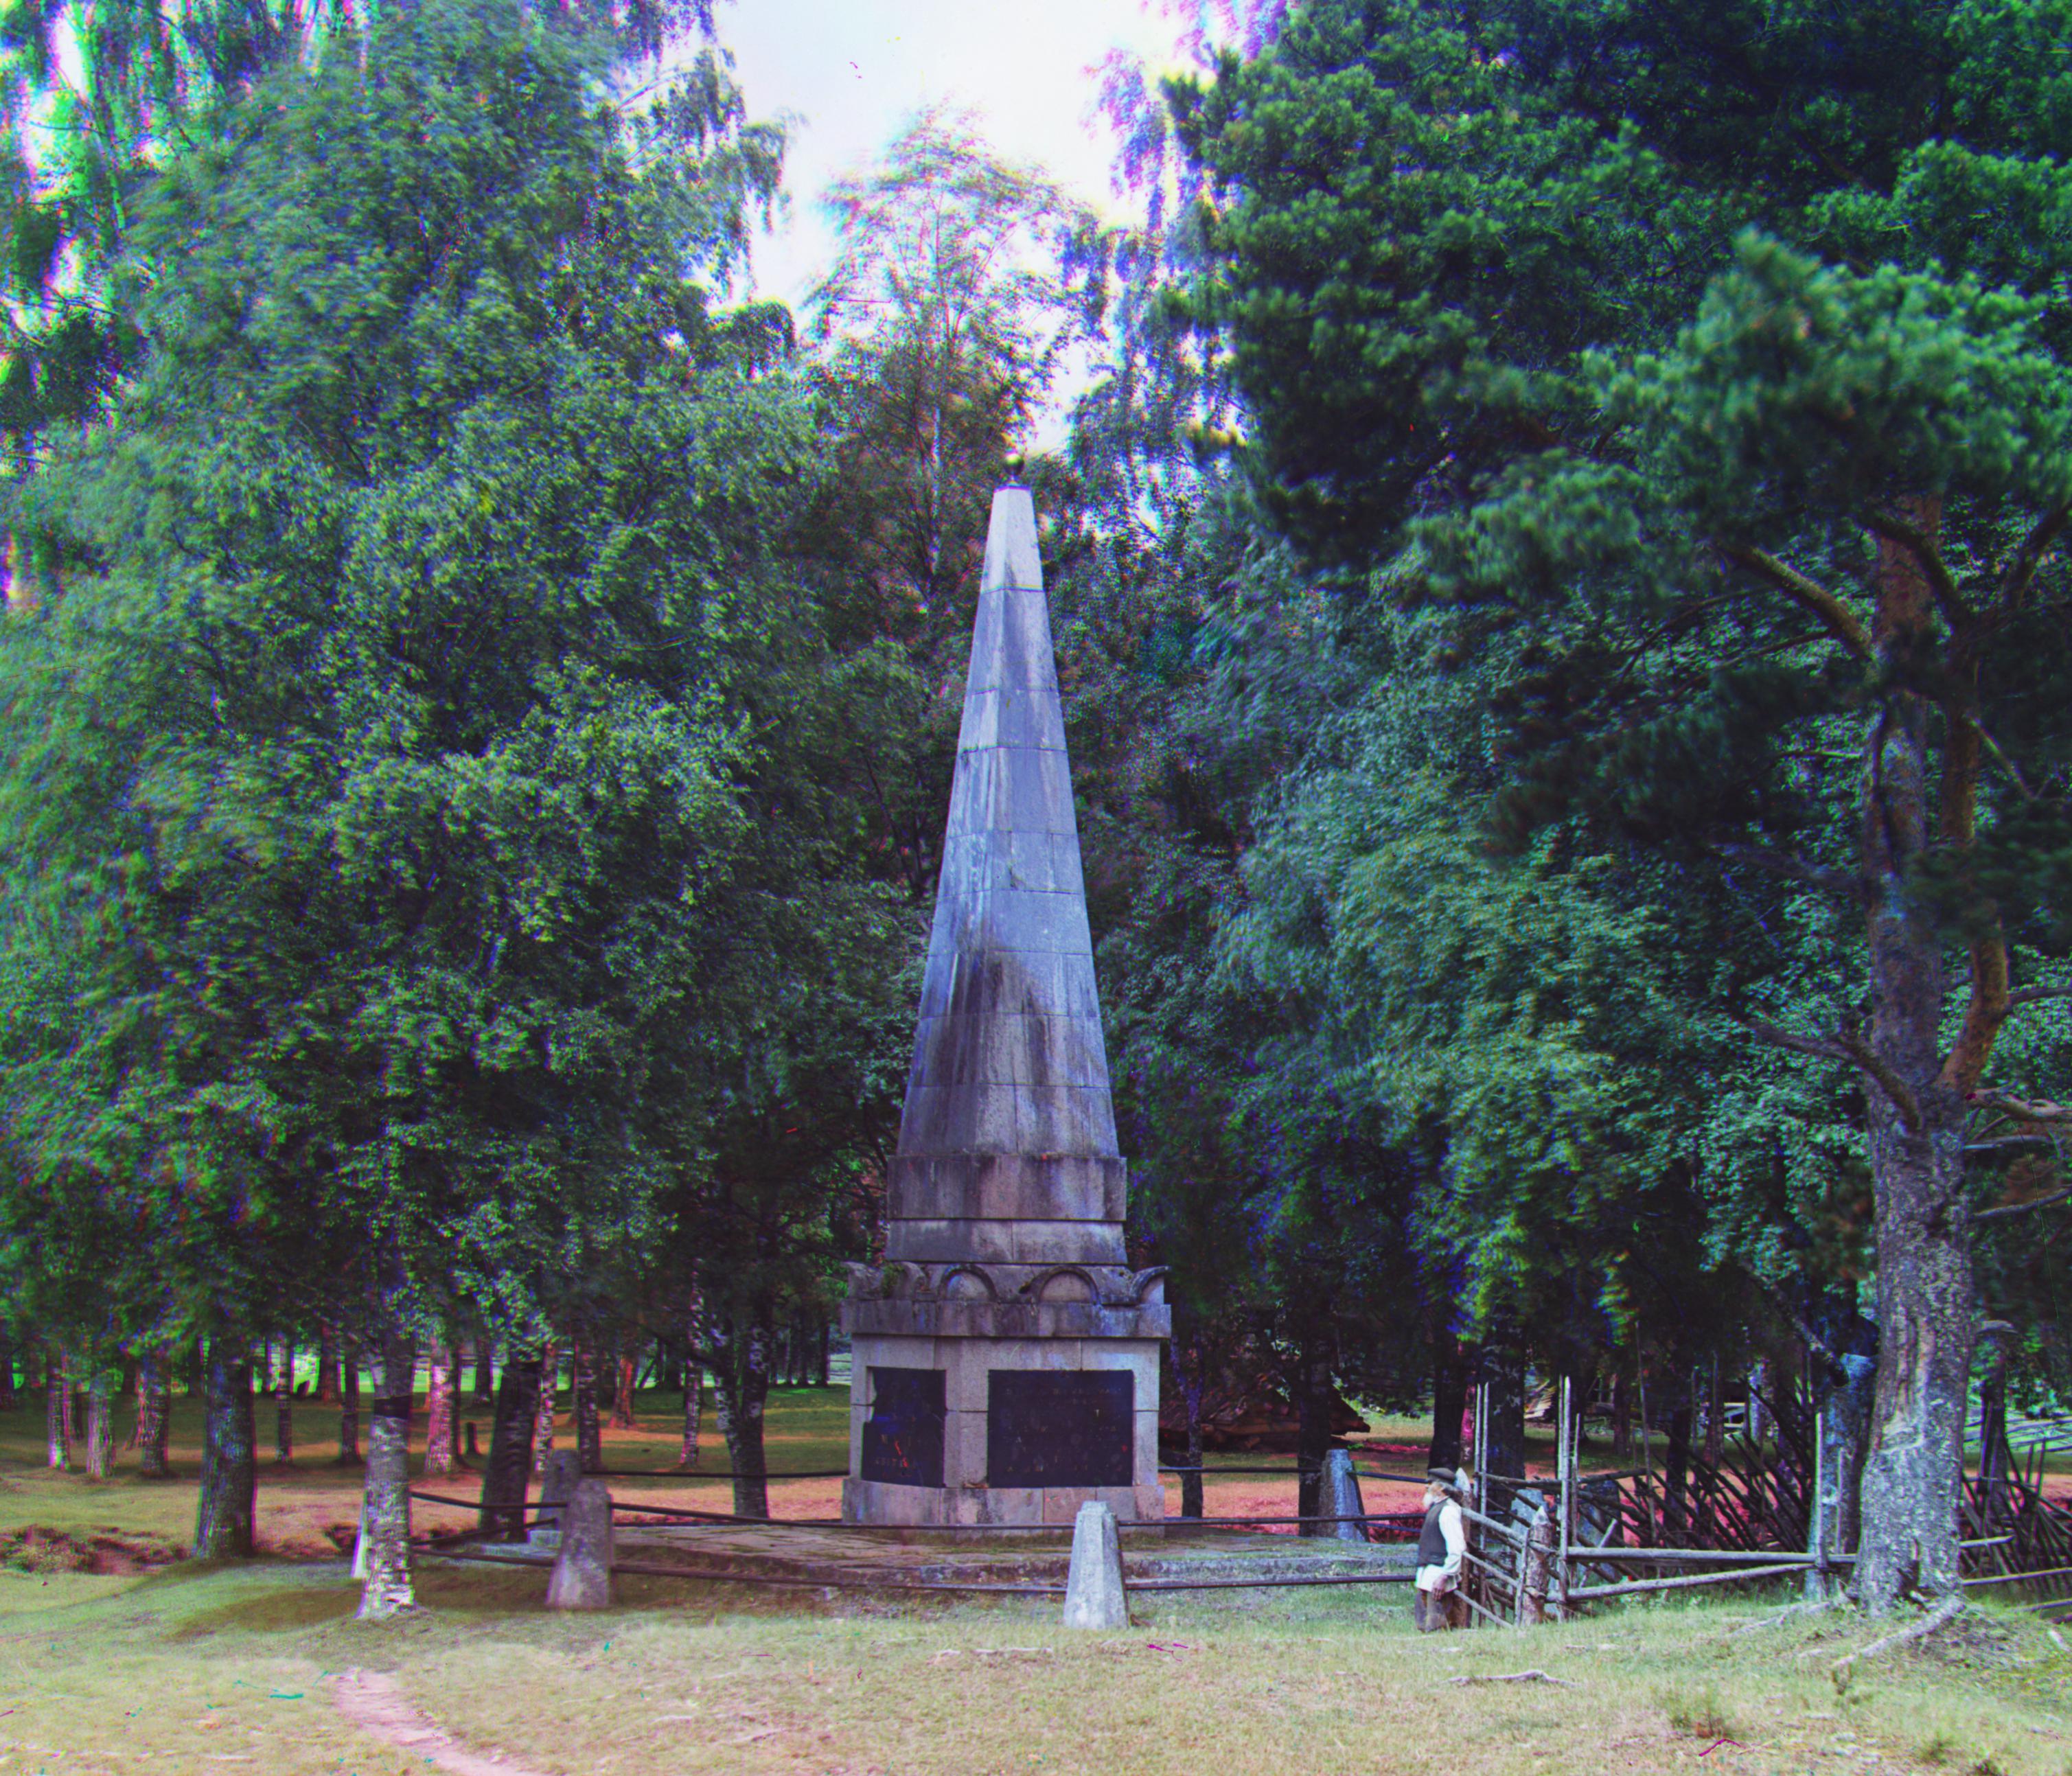
Tower tif
G: [10, 52], R: [7, 108]
View more