Project 1: Colorizing the Prokudin-Gorskii Photo Collection
COMPSCI 294-26: Computational Photography & Computer Vision (Fall 2021)
Katherine Wu
Background
Convinced that color photography was the future, Sergei Mikhailovich Prokudin-Gorskii took color photographs of everything he saw and recorded red, green, and blue exposures of scenes on glass plates. The Library of Congress recently made these negatives available online. In this assignment, we take the the digitized Prokudin-Gorskii glass plate images and produce a color image by placing the 3 color channel images on top of each other and aligning them to form a single color image.
Implementation
Exhaustive Search
First we preprocess the image, reading in the image and separating the color channels into the red, green, and blue image matrices. Then we perform an exhaustive search— aligning the green channel to the blue channel and the red channel to the blue channel. We do this by searching through displacements of (-15,15) in both the x and y directions, and finding the displacement that results in the minimum sum of squared distances. I also crop the image by 10% on all sides to reduce the noise from the edges of the image. Finally, I stack the aligned red, green, and blue images together to produce to the final colored image.
Image Pyramid
The exhaustive search was useful for jpg images, but for larger images (ie .tif), we prefer to use the image pyramid to align the images because it is more efficient. To create the image pyramid, we first preprocess the image like before to obtain the r,g,b channels. Then I aligned the red and blue channels to the green channel. For each alignment, I start by rescaling the image to 1/16 its original size and using exhaustive search to find the best dx,dy alignment (searching through displacements of -5 to 5 with cropping of 10% of all sides). Then I move on to the image rescaled to 1/8 its original size, and update the best x,y alignment to 2*dx+x, 2*dy+y. This is because the new image is double the size of the previous, so any displacement should be doubled. I continue this process until I reach the image at its original size, at which point I have the final best displacements for the image. Then I align the red, green, and blue together to create the final colored image.
Gallery
Exhaustive Search
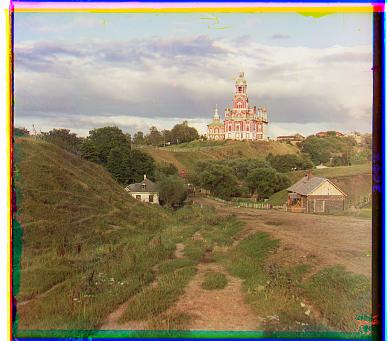 cathedral.jpg: G = (2,5), R = (3,12), B = (0,0)
|
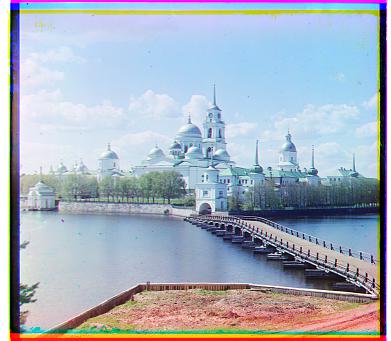 monastery.jpg: G = (2,-3), R = (2,3), B = (0,0)
|
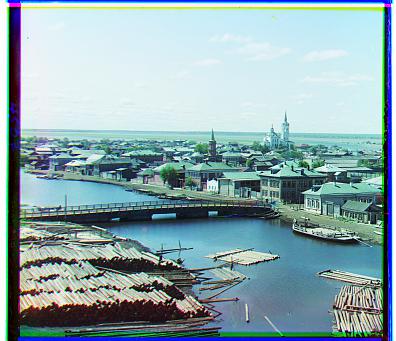 tobolsk.jpg: G = (3,3), R = (3,7), B = (0,0)
|
Image Pyramid
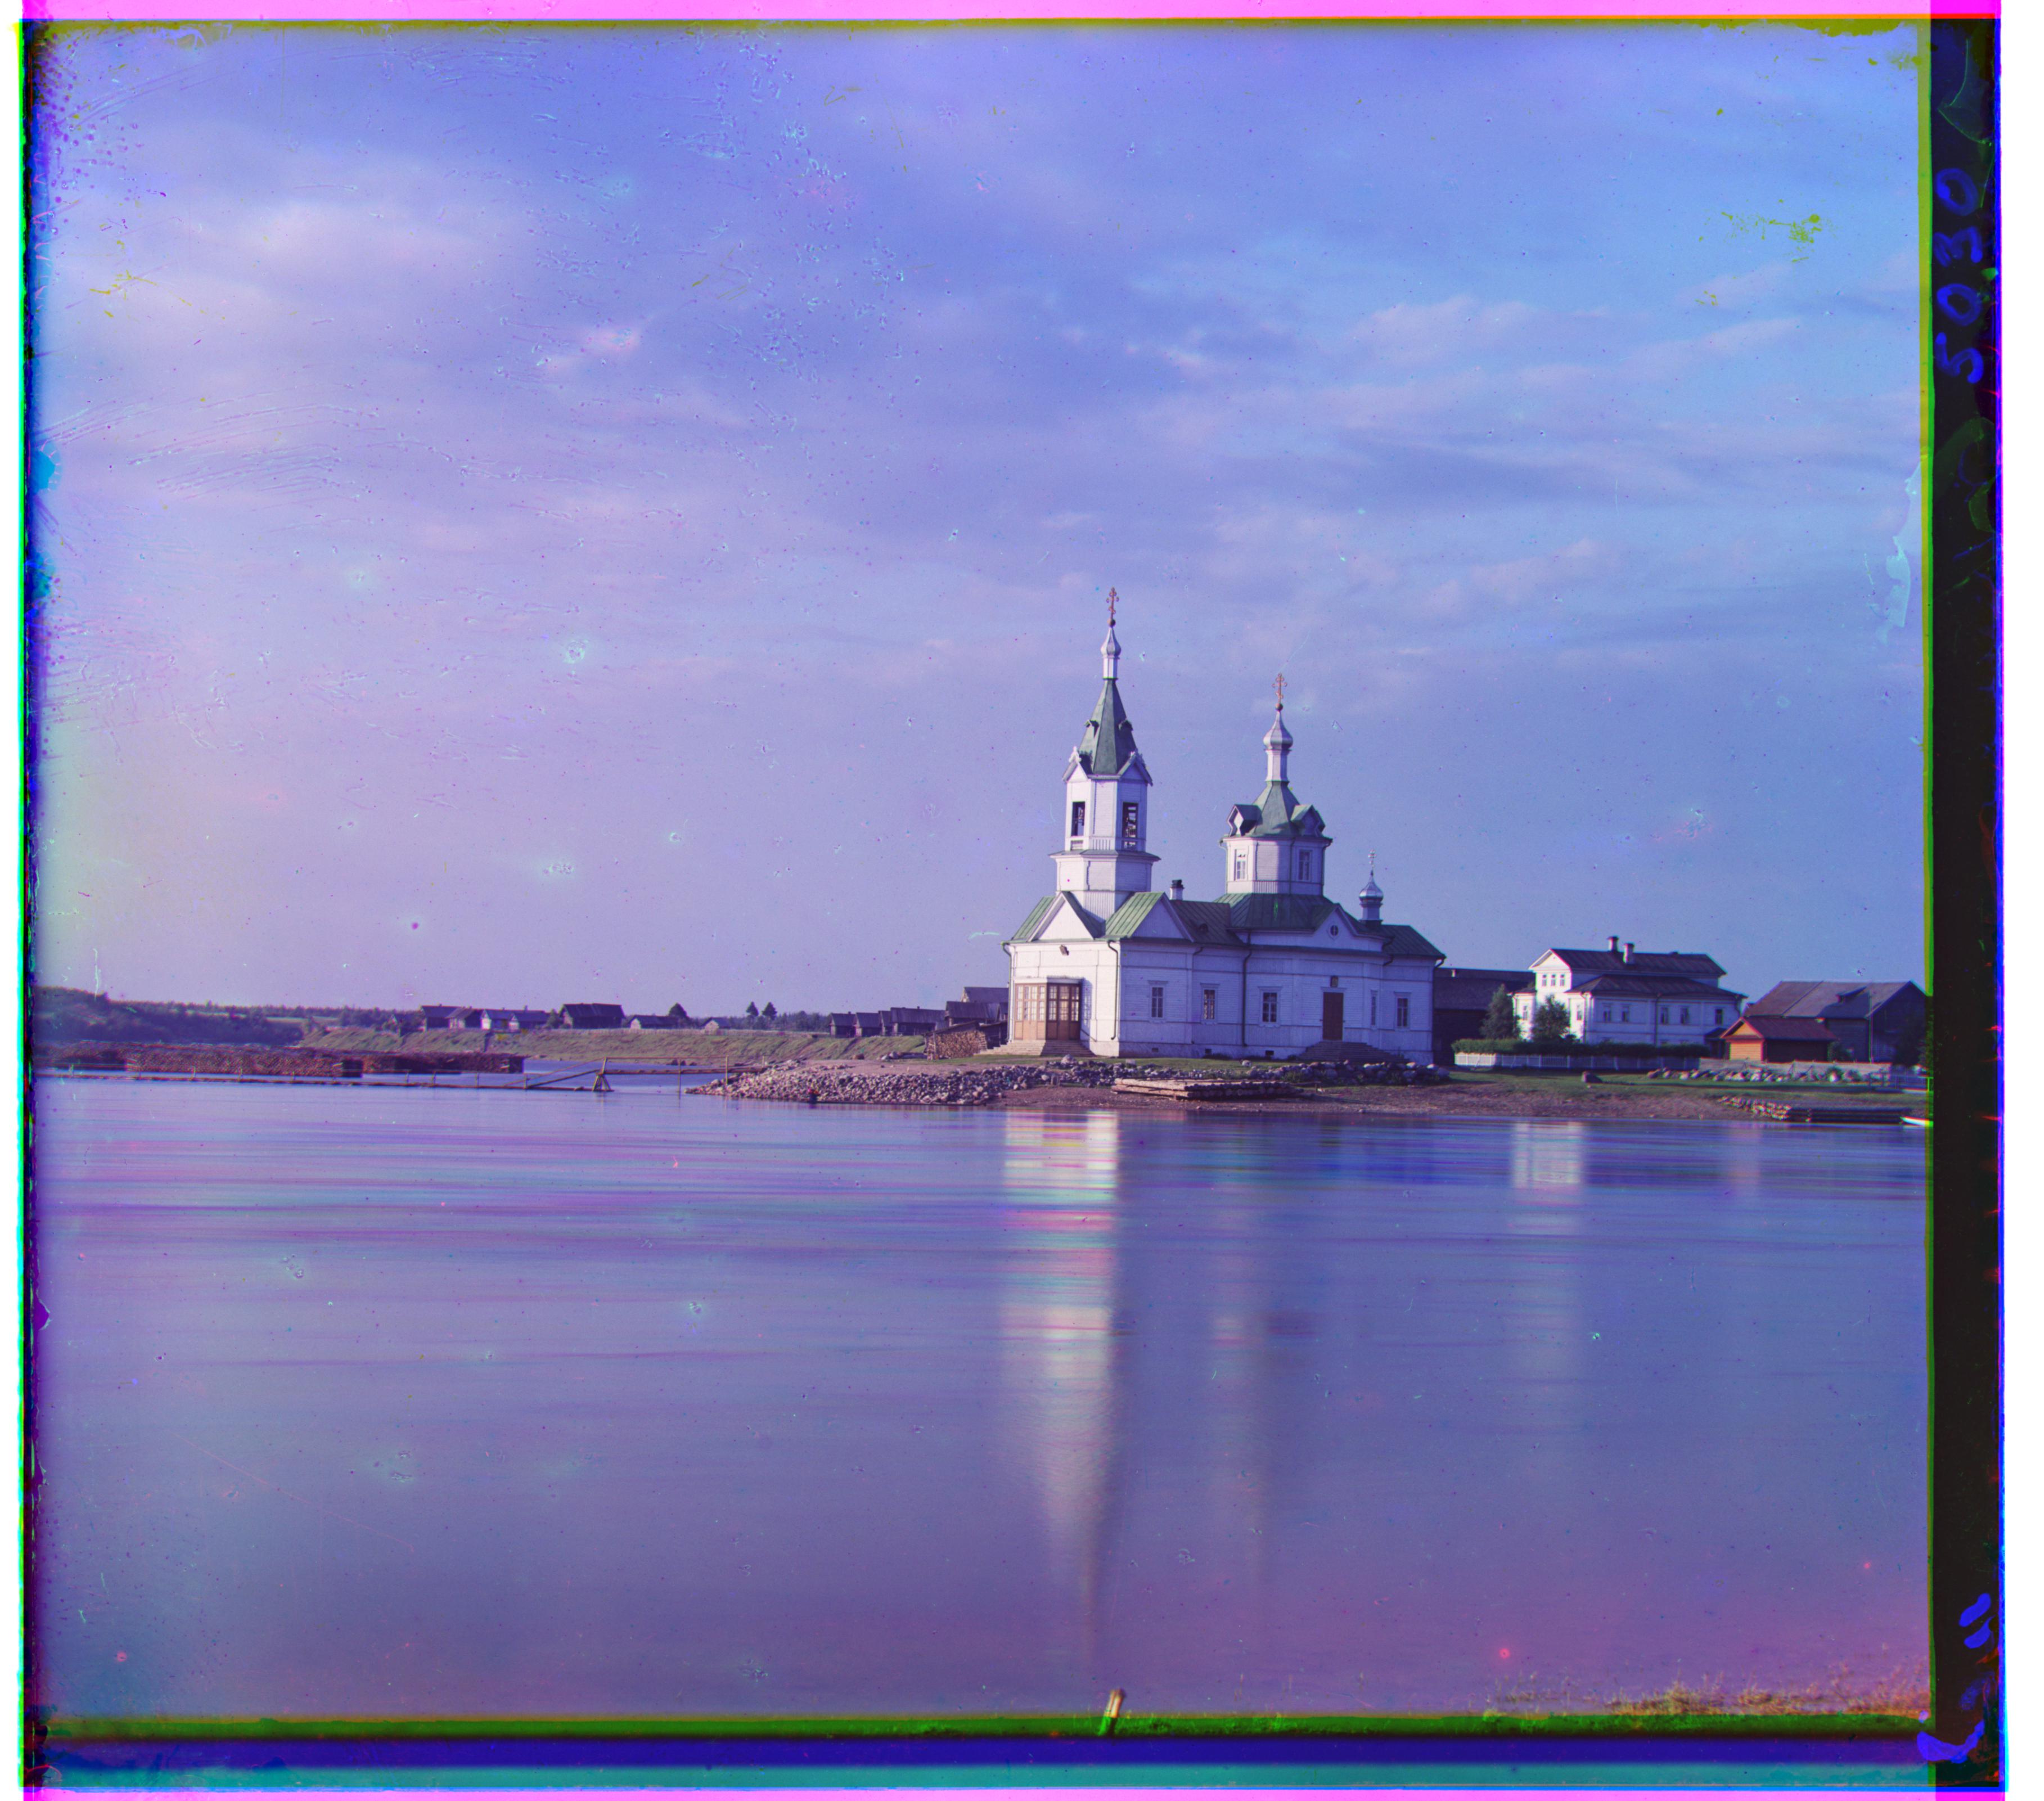 church.tif: R = (-8,33), B = (-4,-25), G = (0,0)
|
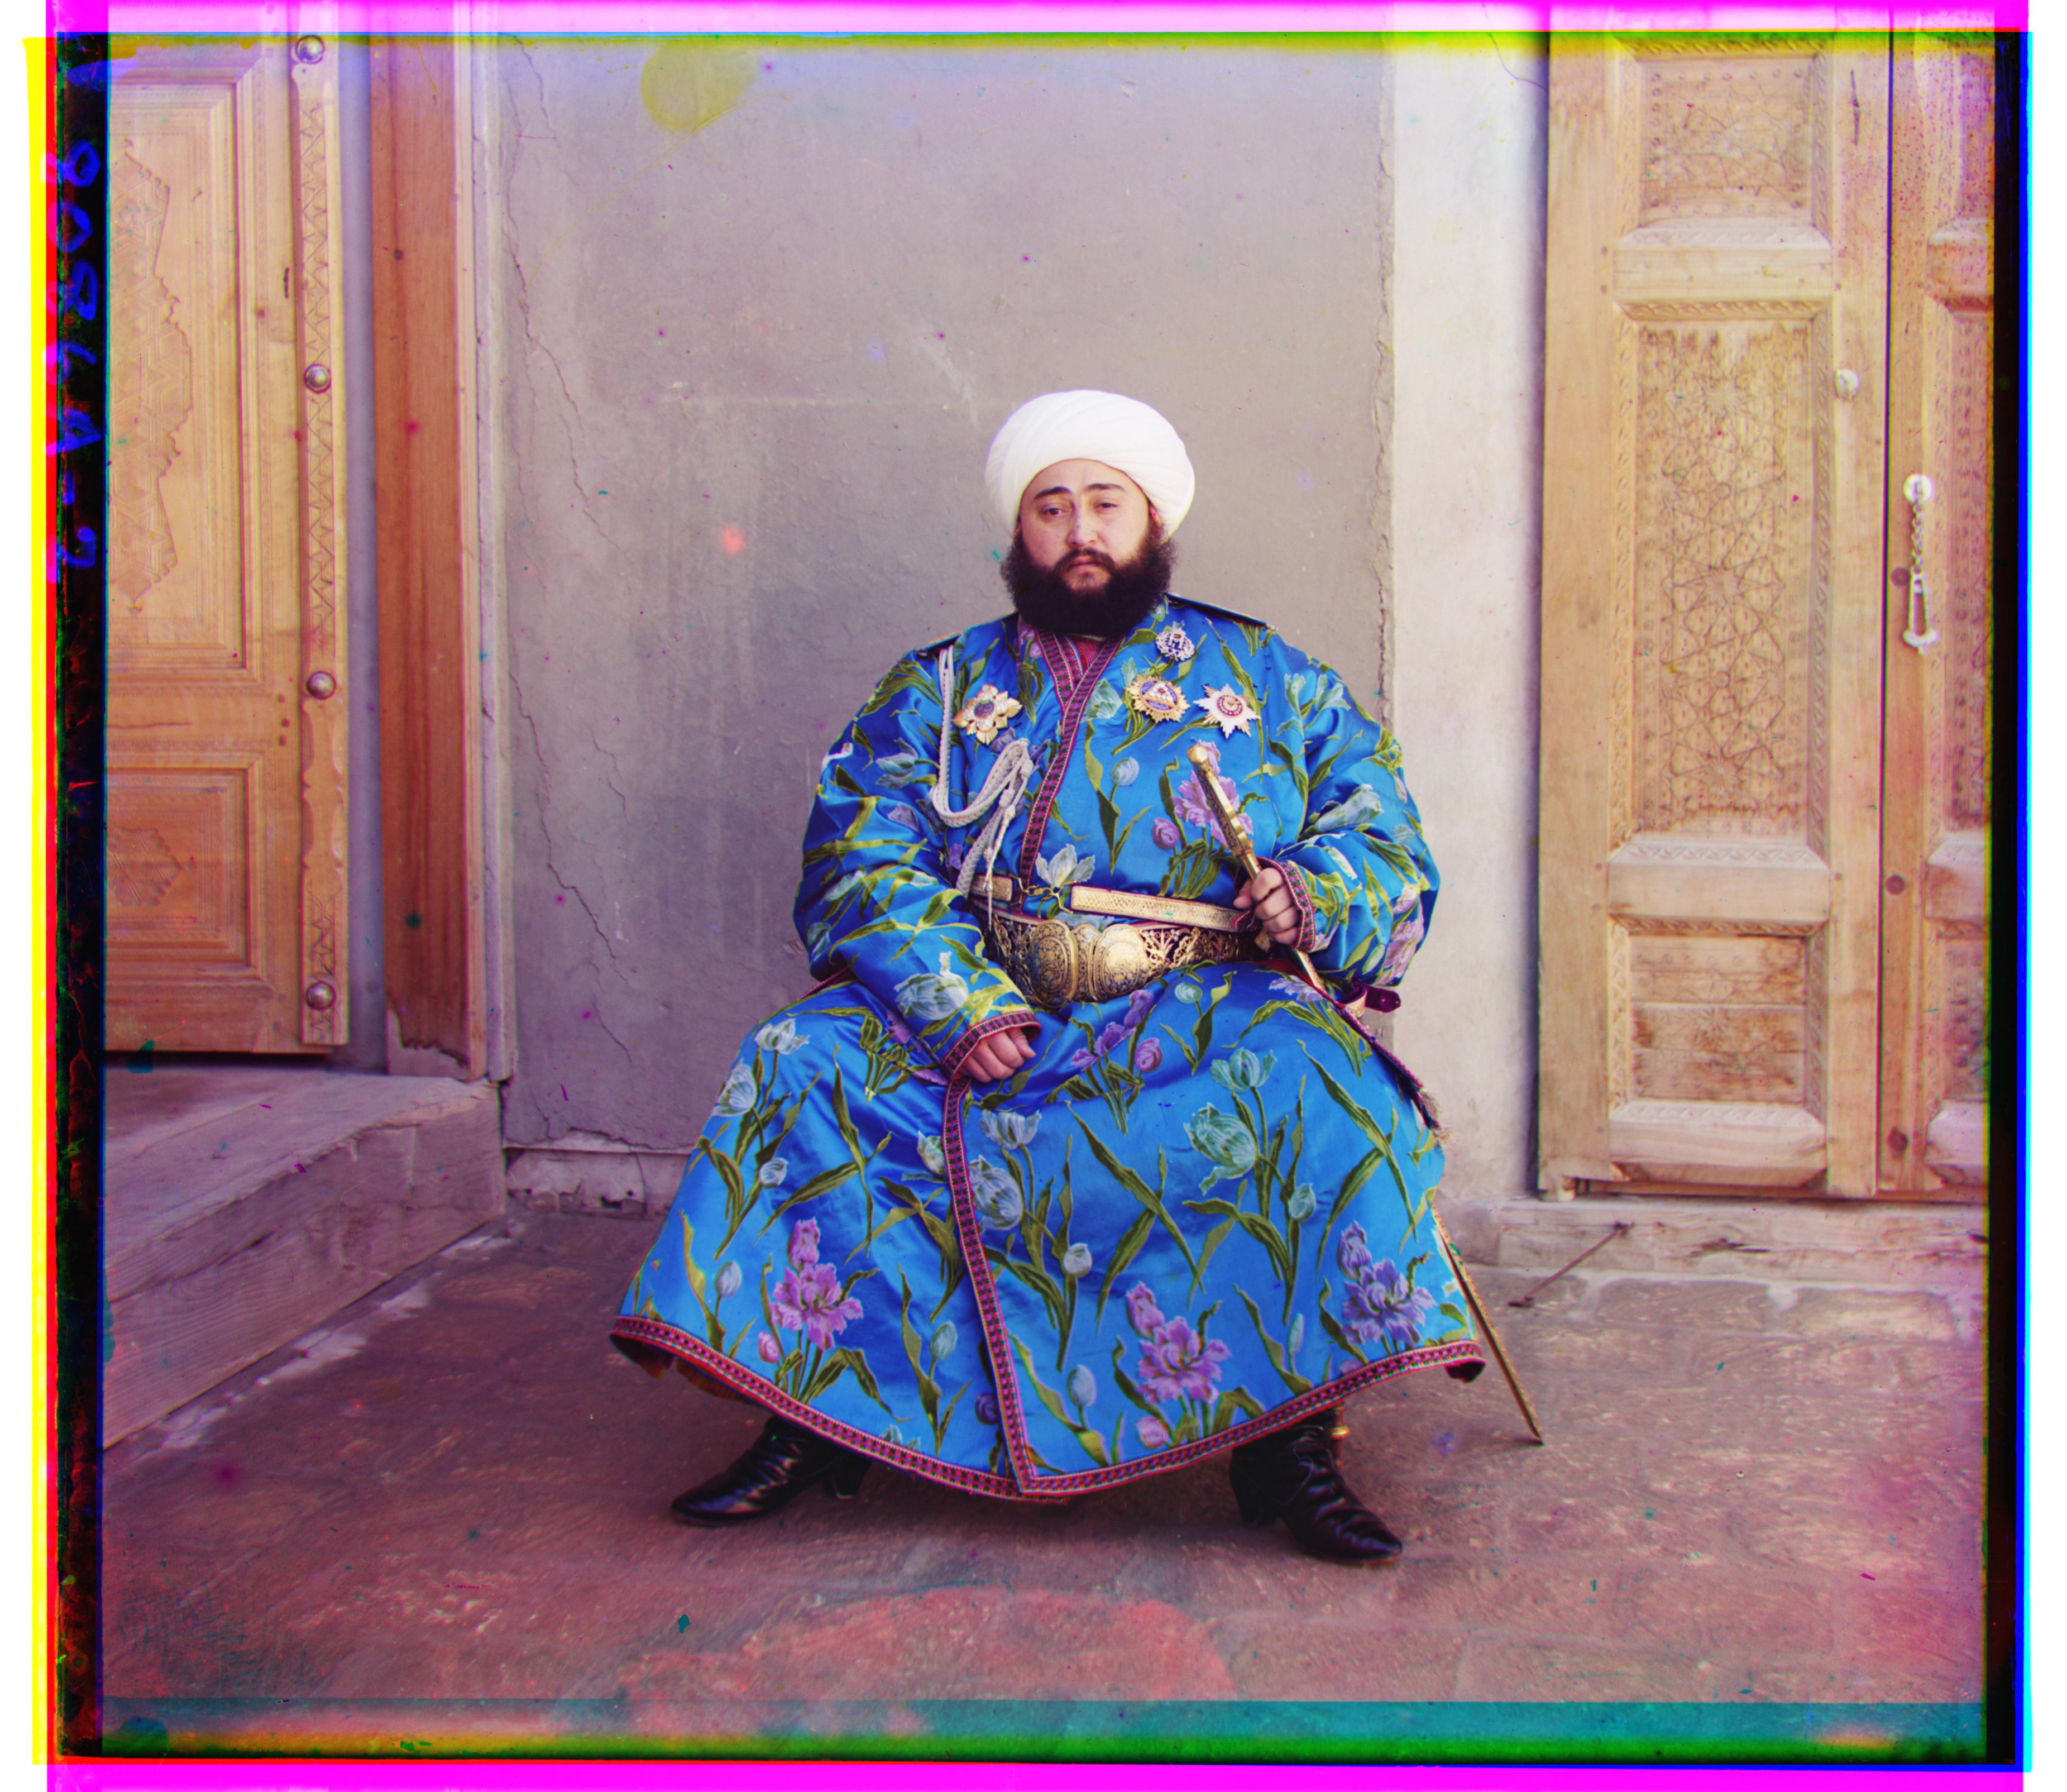 emir.tif: R = (17,57), B = (-24,-49), G = (0,0)
|
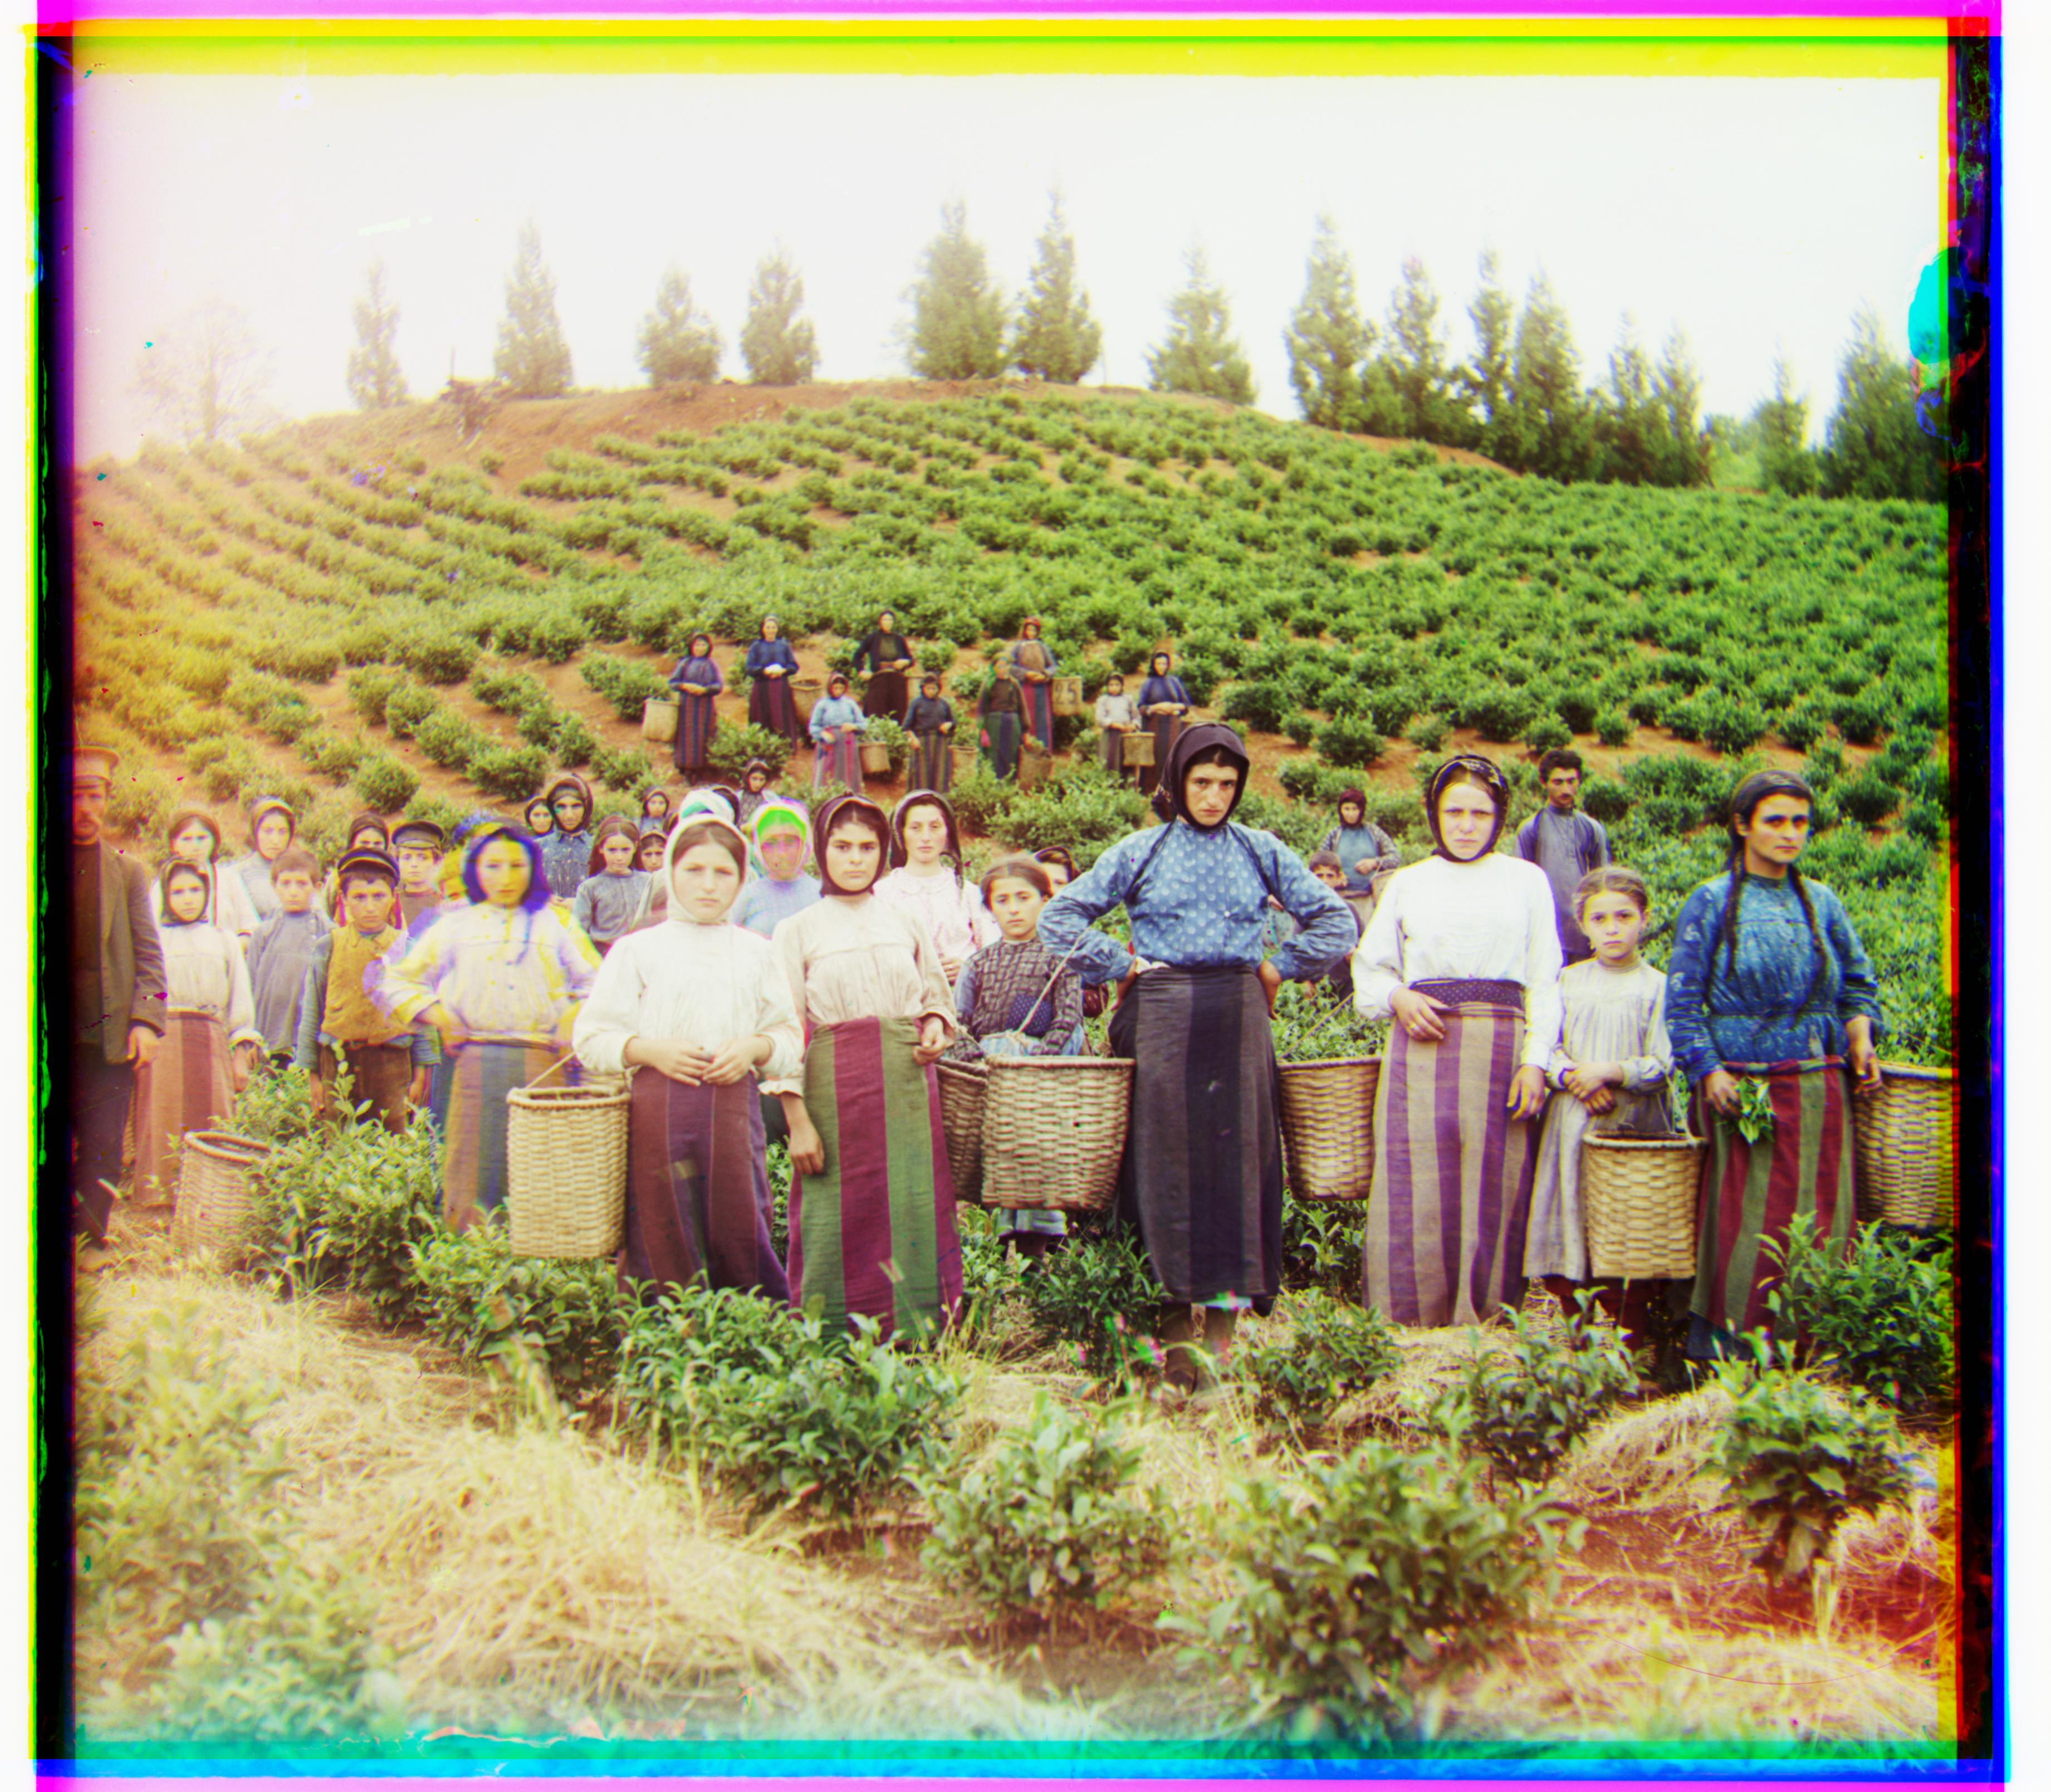 harvesters.tif: R = (-3,65), B = (-16,-59), G = (0,0)
|
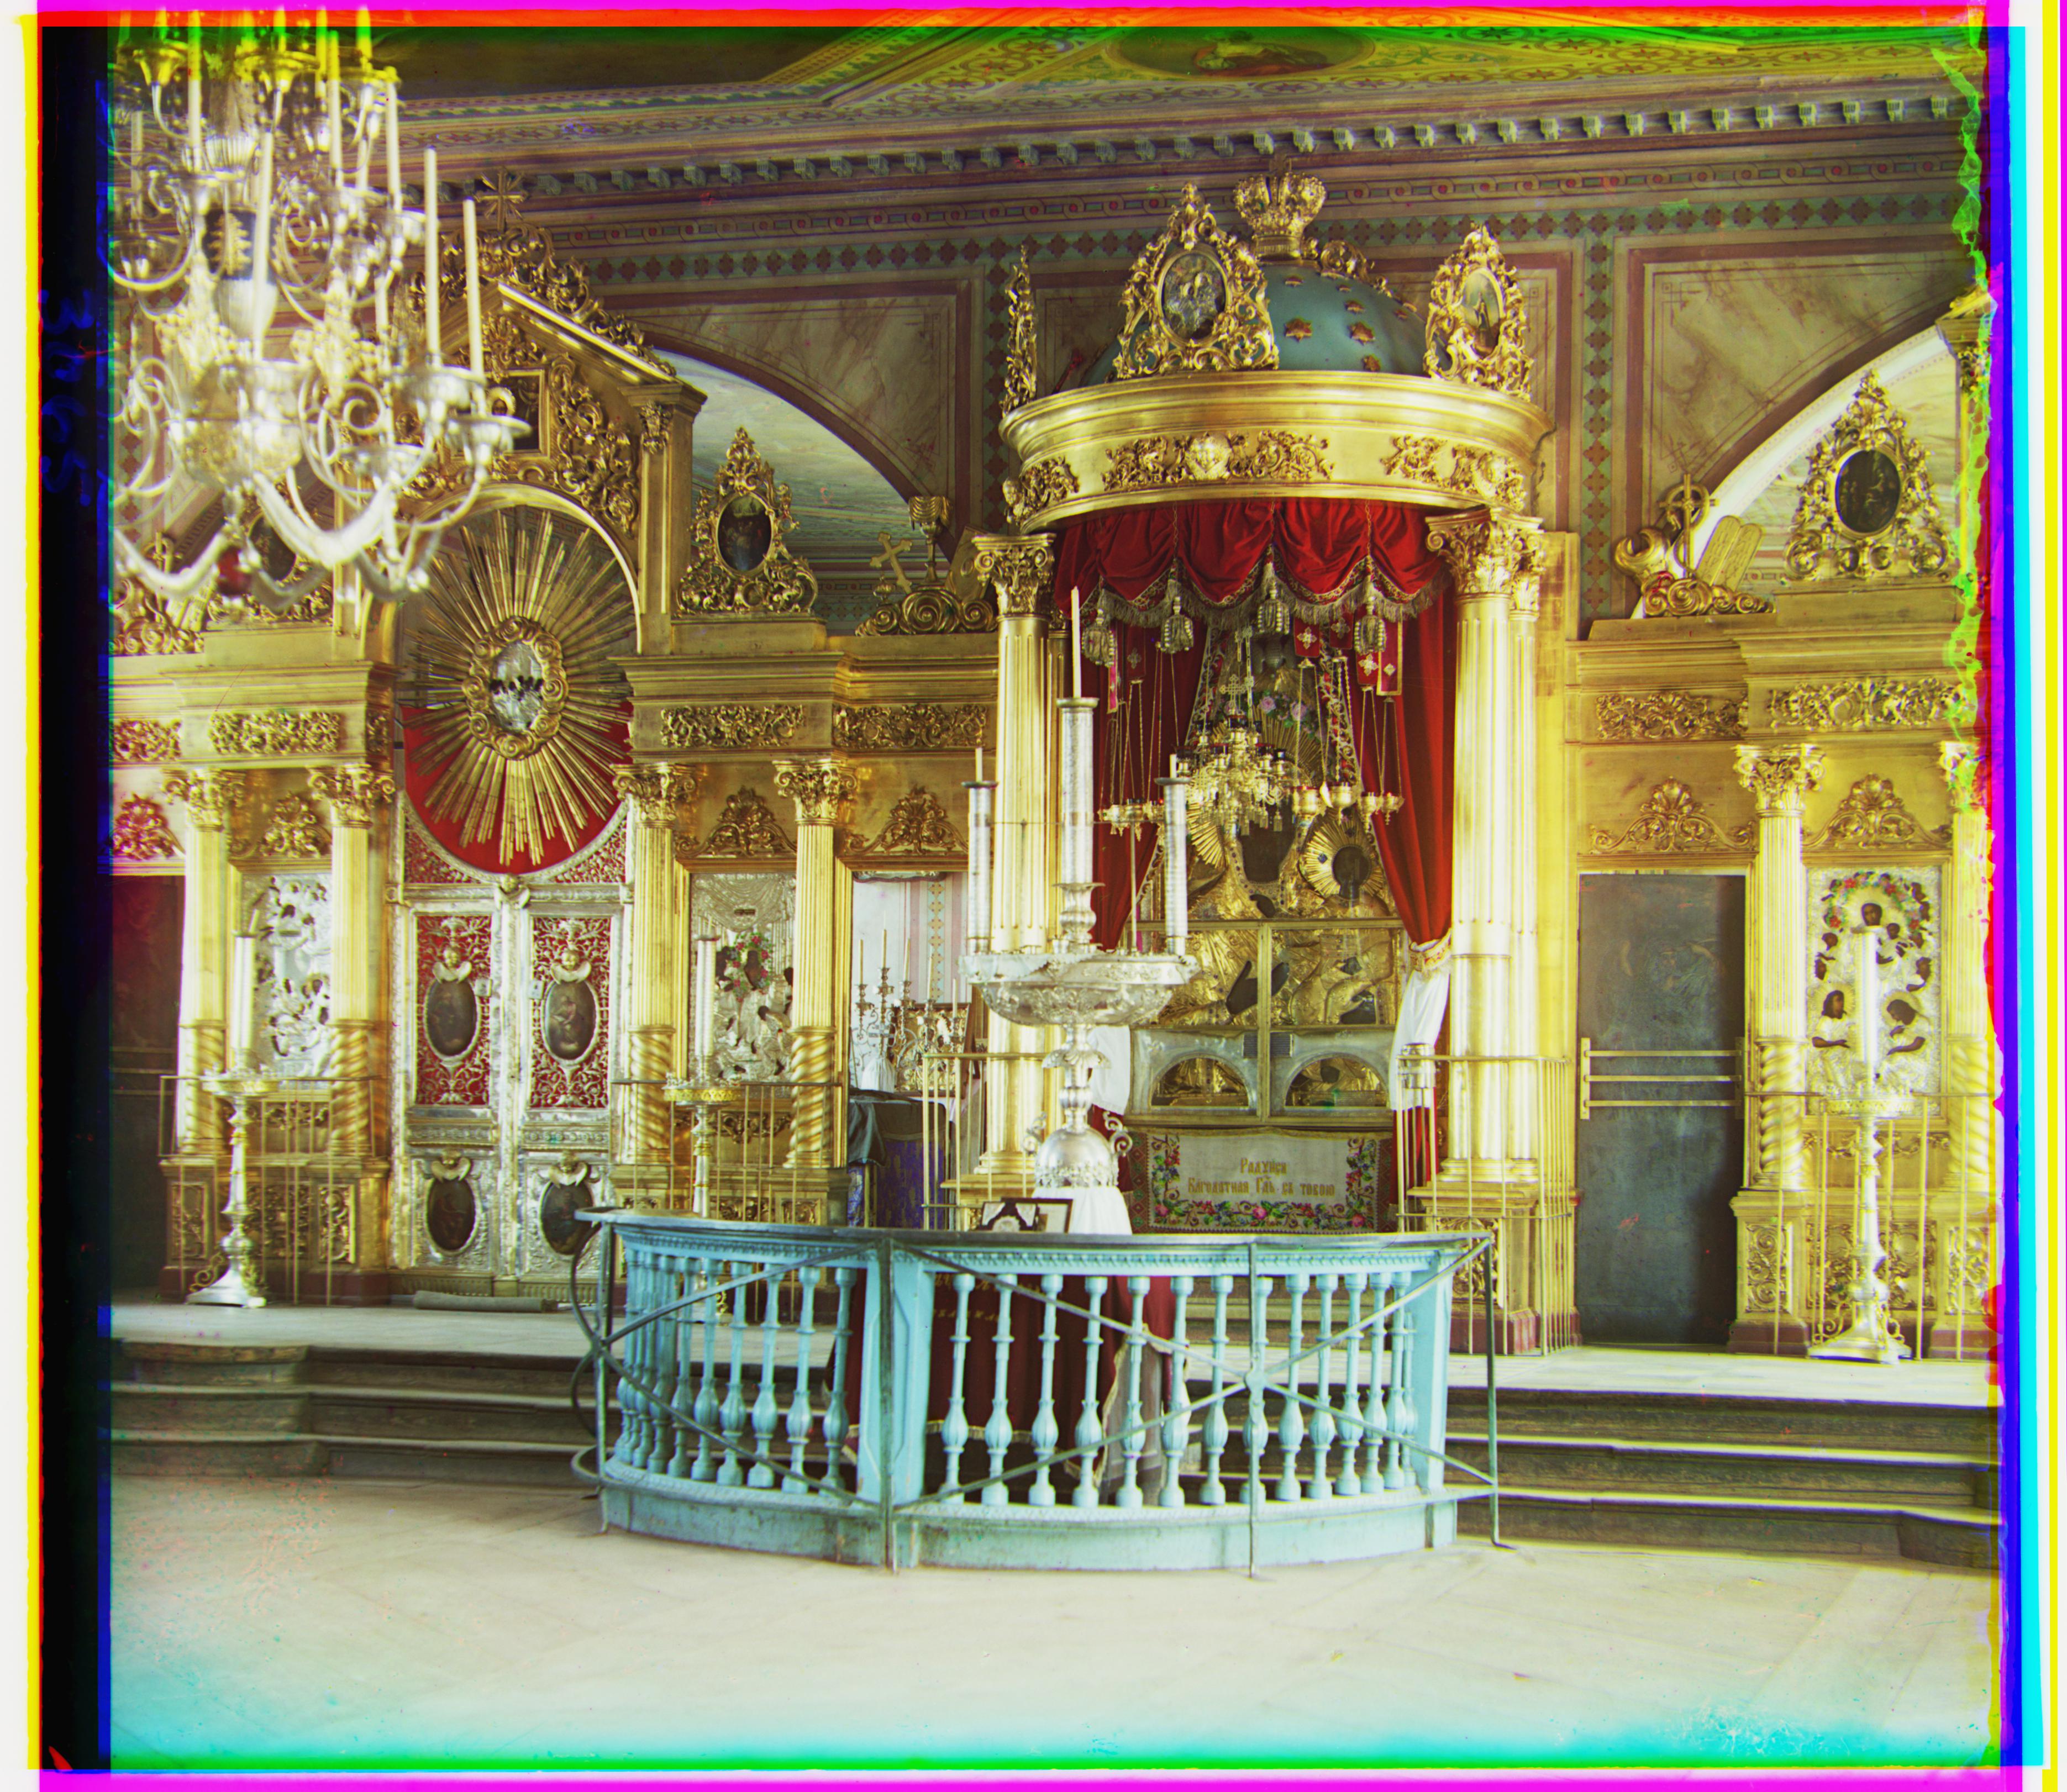 icon.tif: R = (5,48), B = (-17,-41), G = (0,0)
|
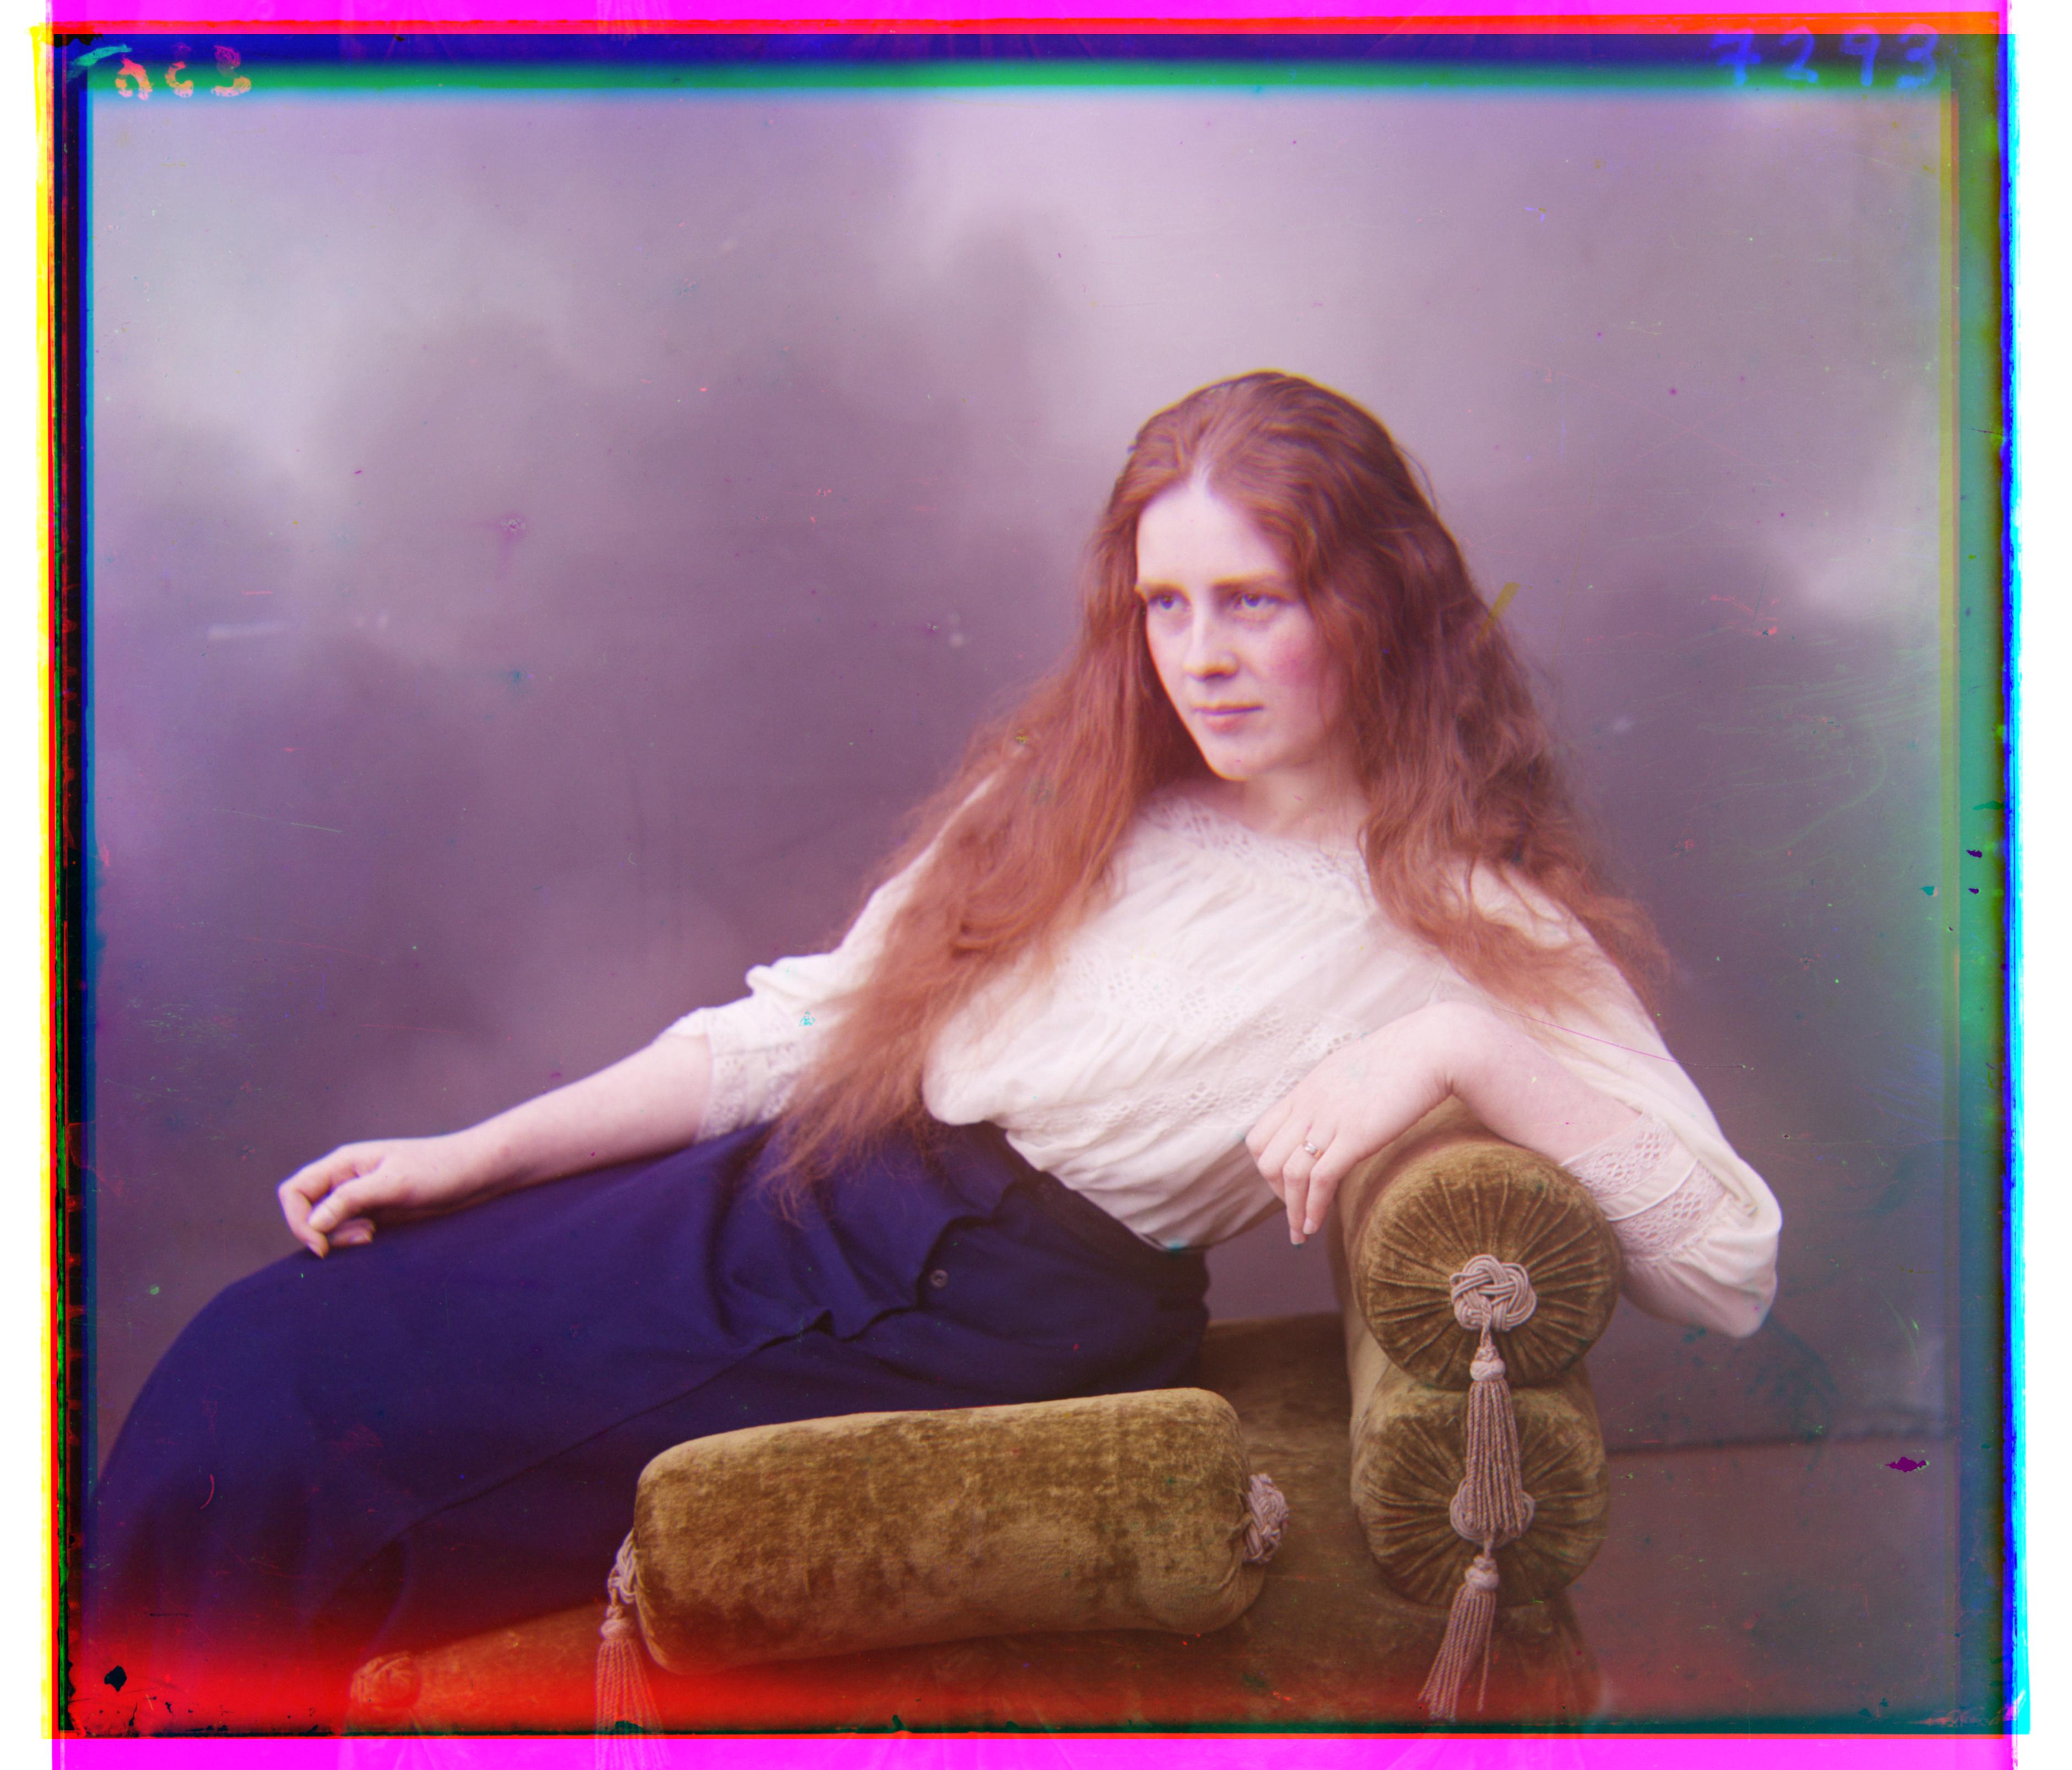 lady.tif: R = (3,62), B = (-8,-56), G = (0,0)
|
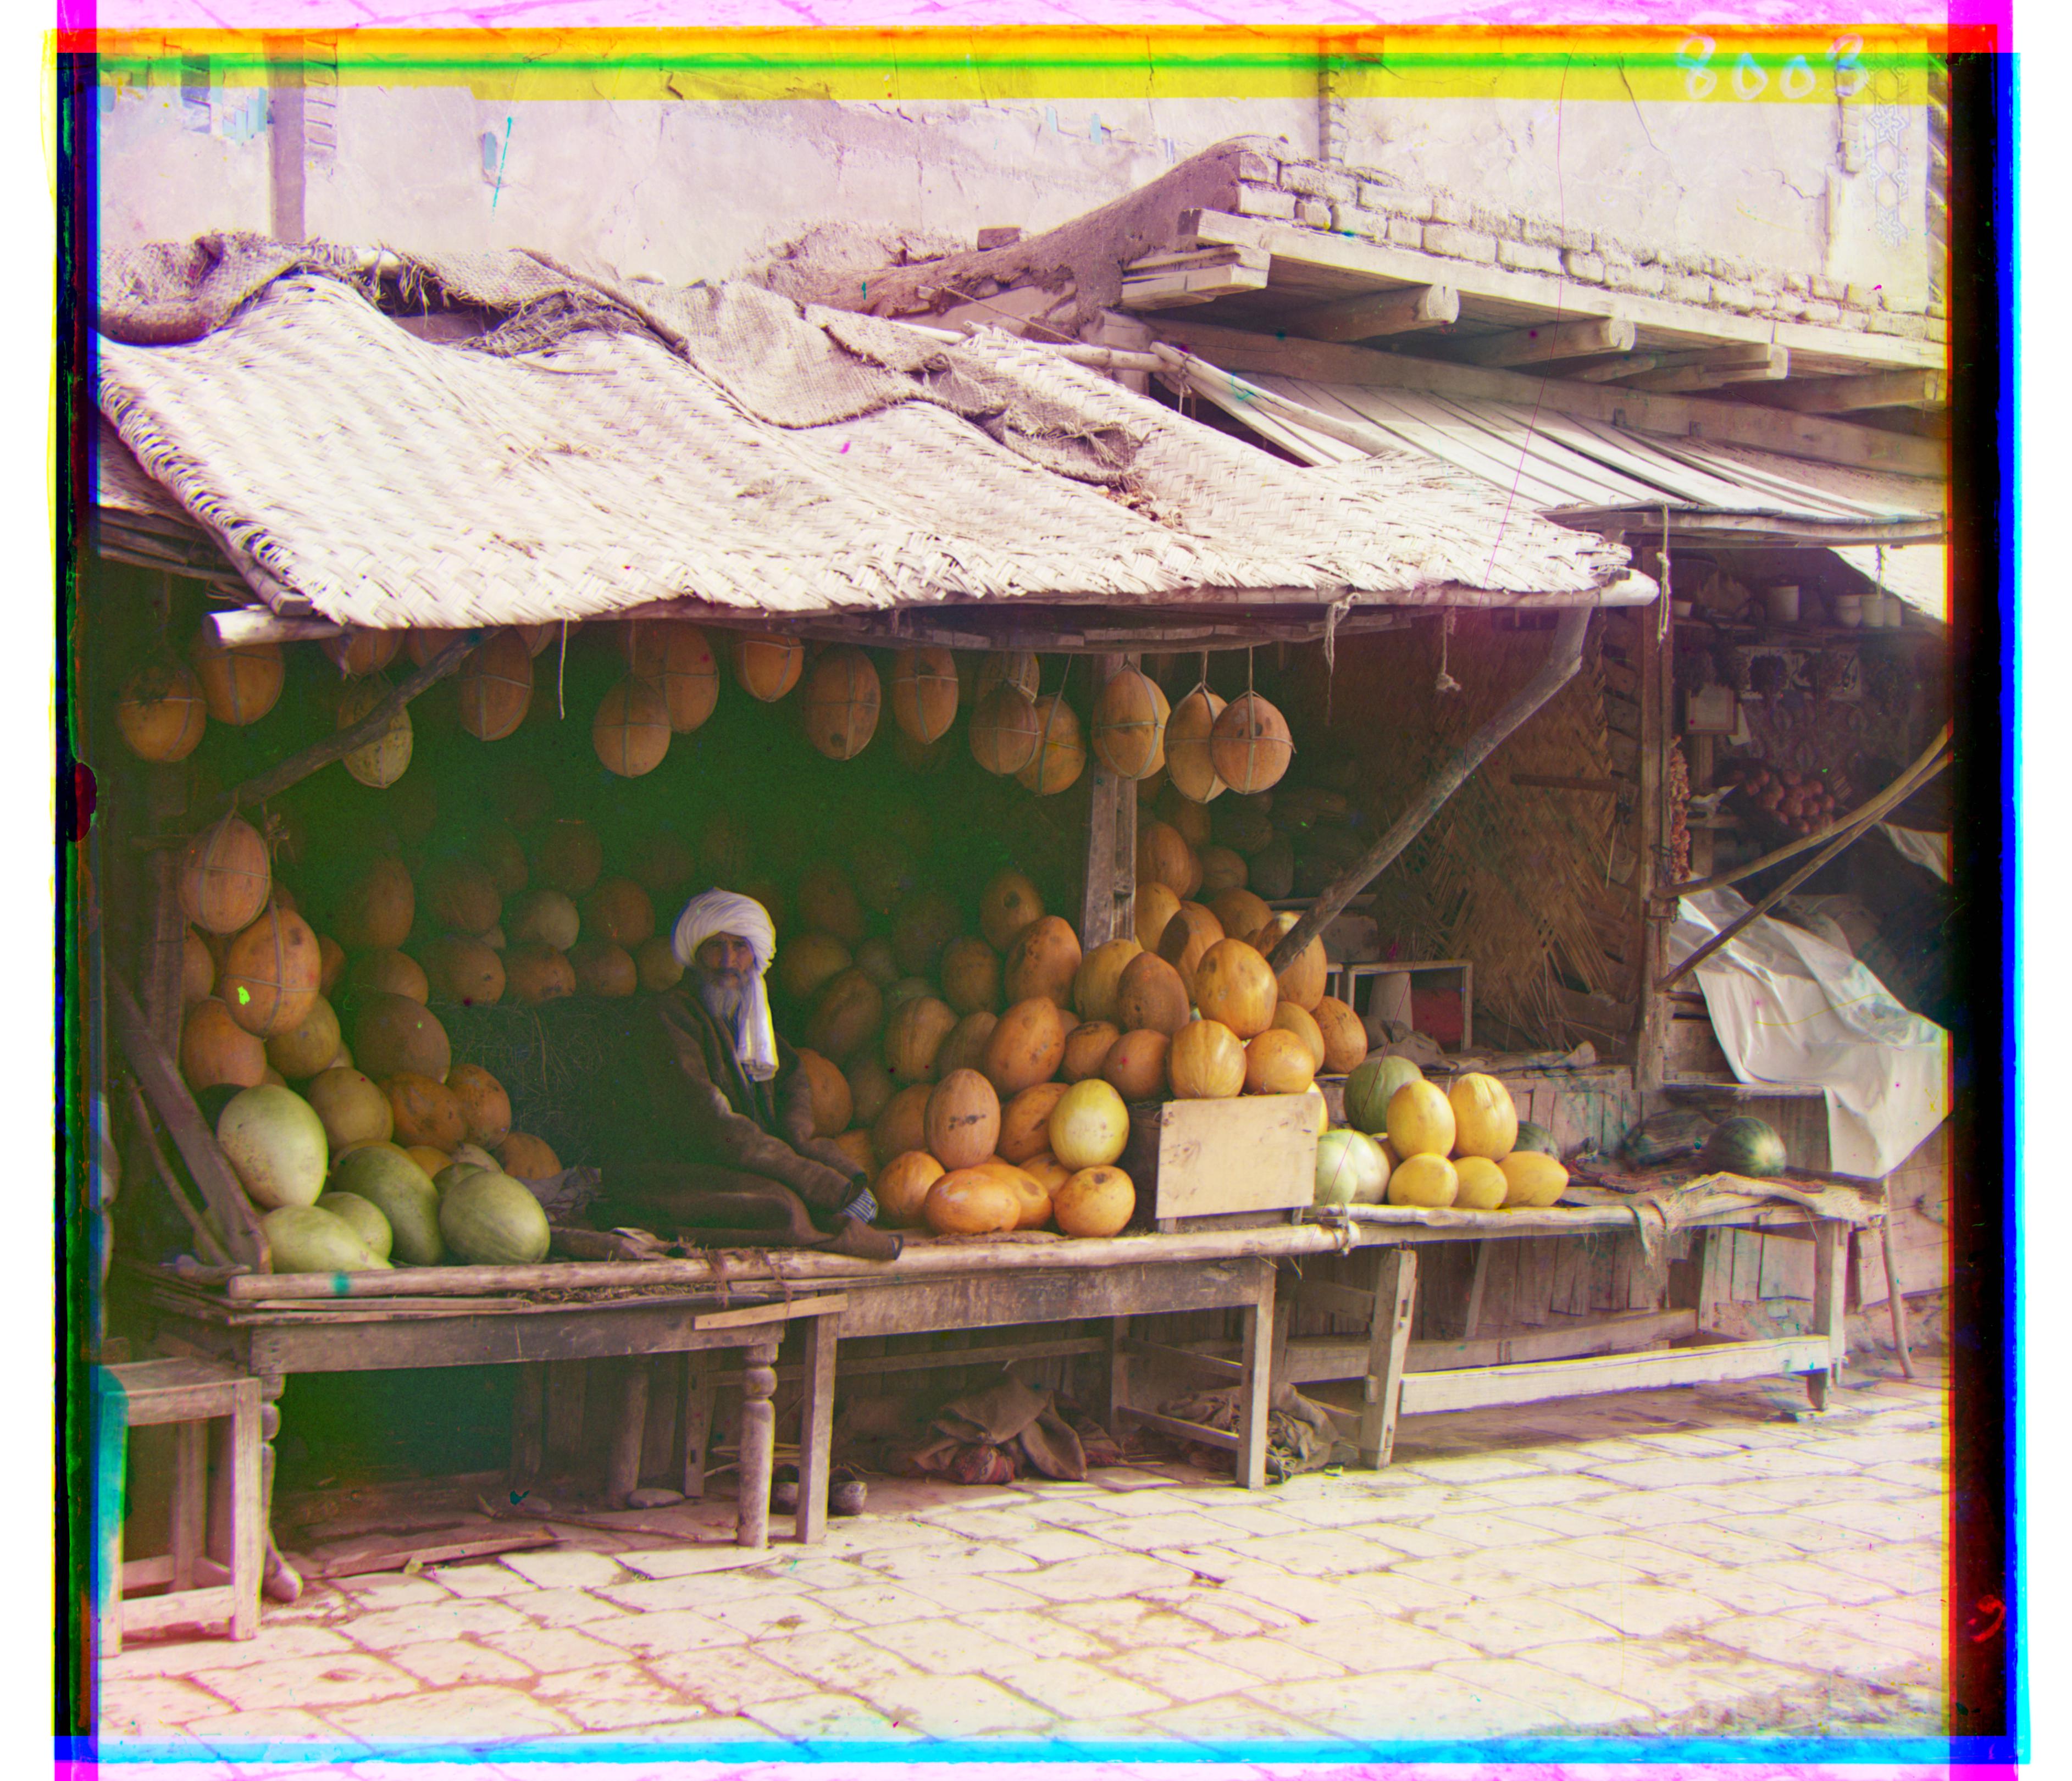 melons.tif: R = (4,96), B = (-82,-11), G = (0,0)
|
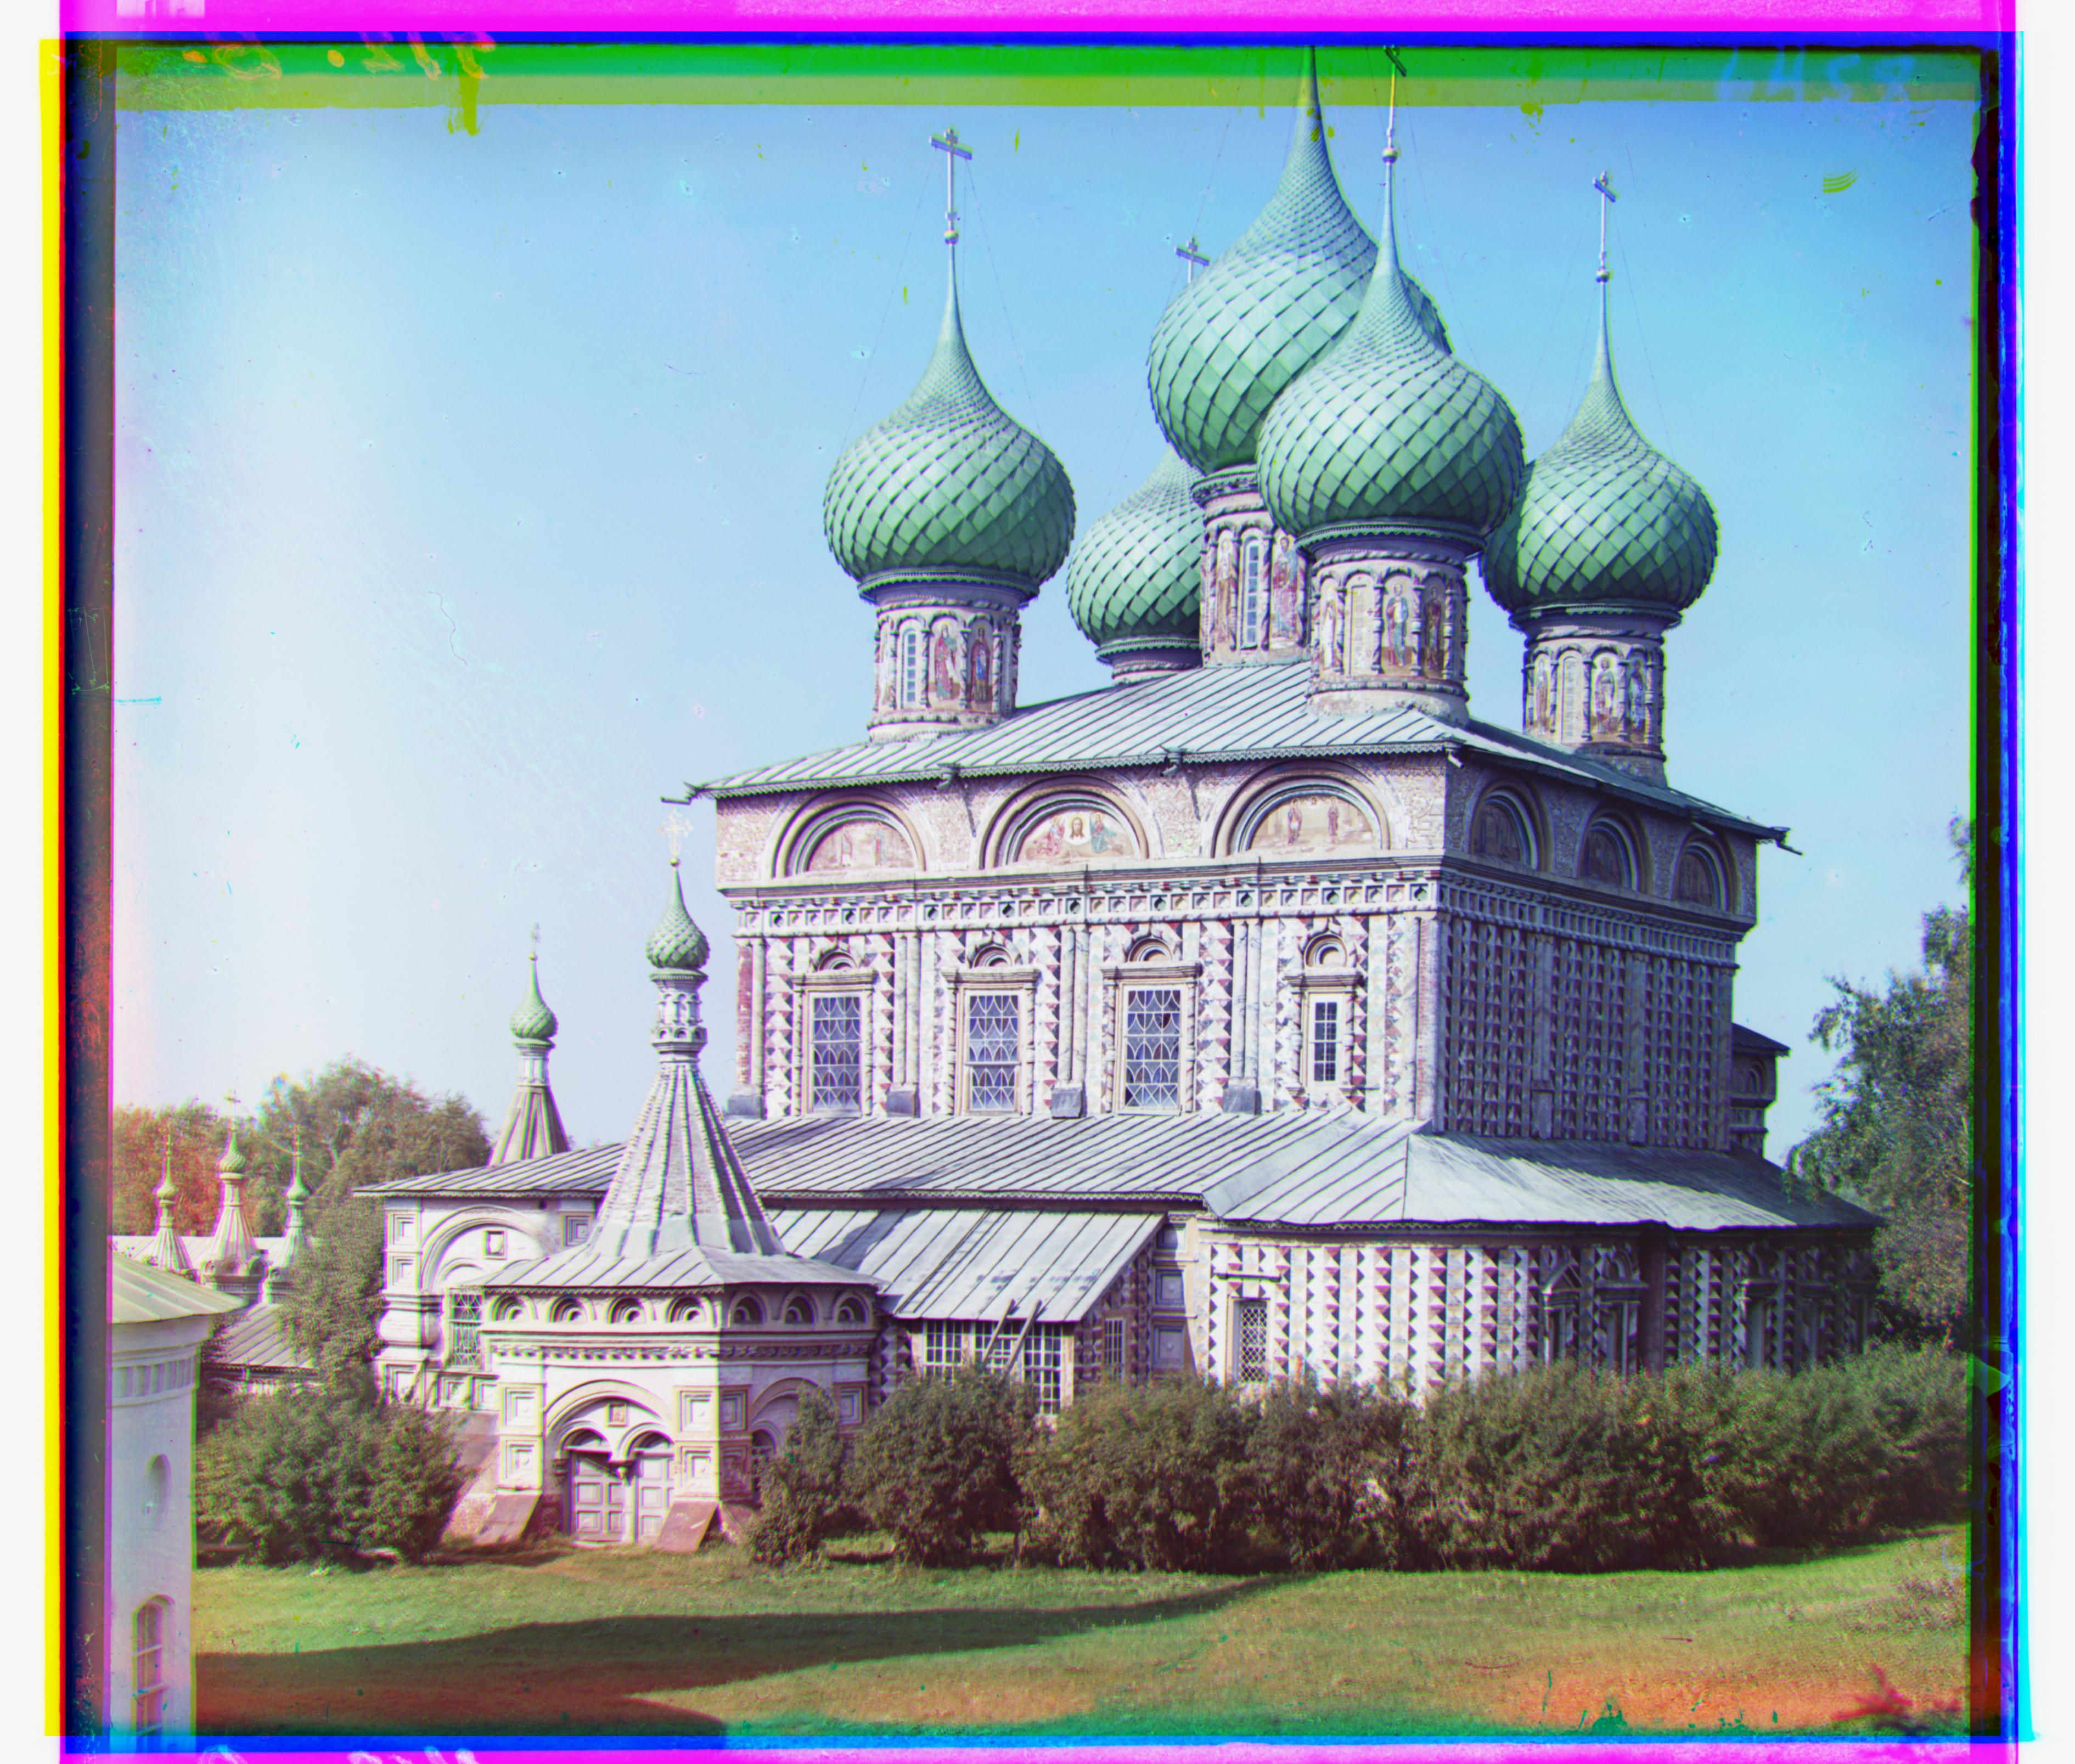 onion_church.tif: R = (10,57), B = (-27,-51), G = (0,0)
|
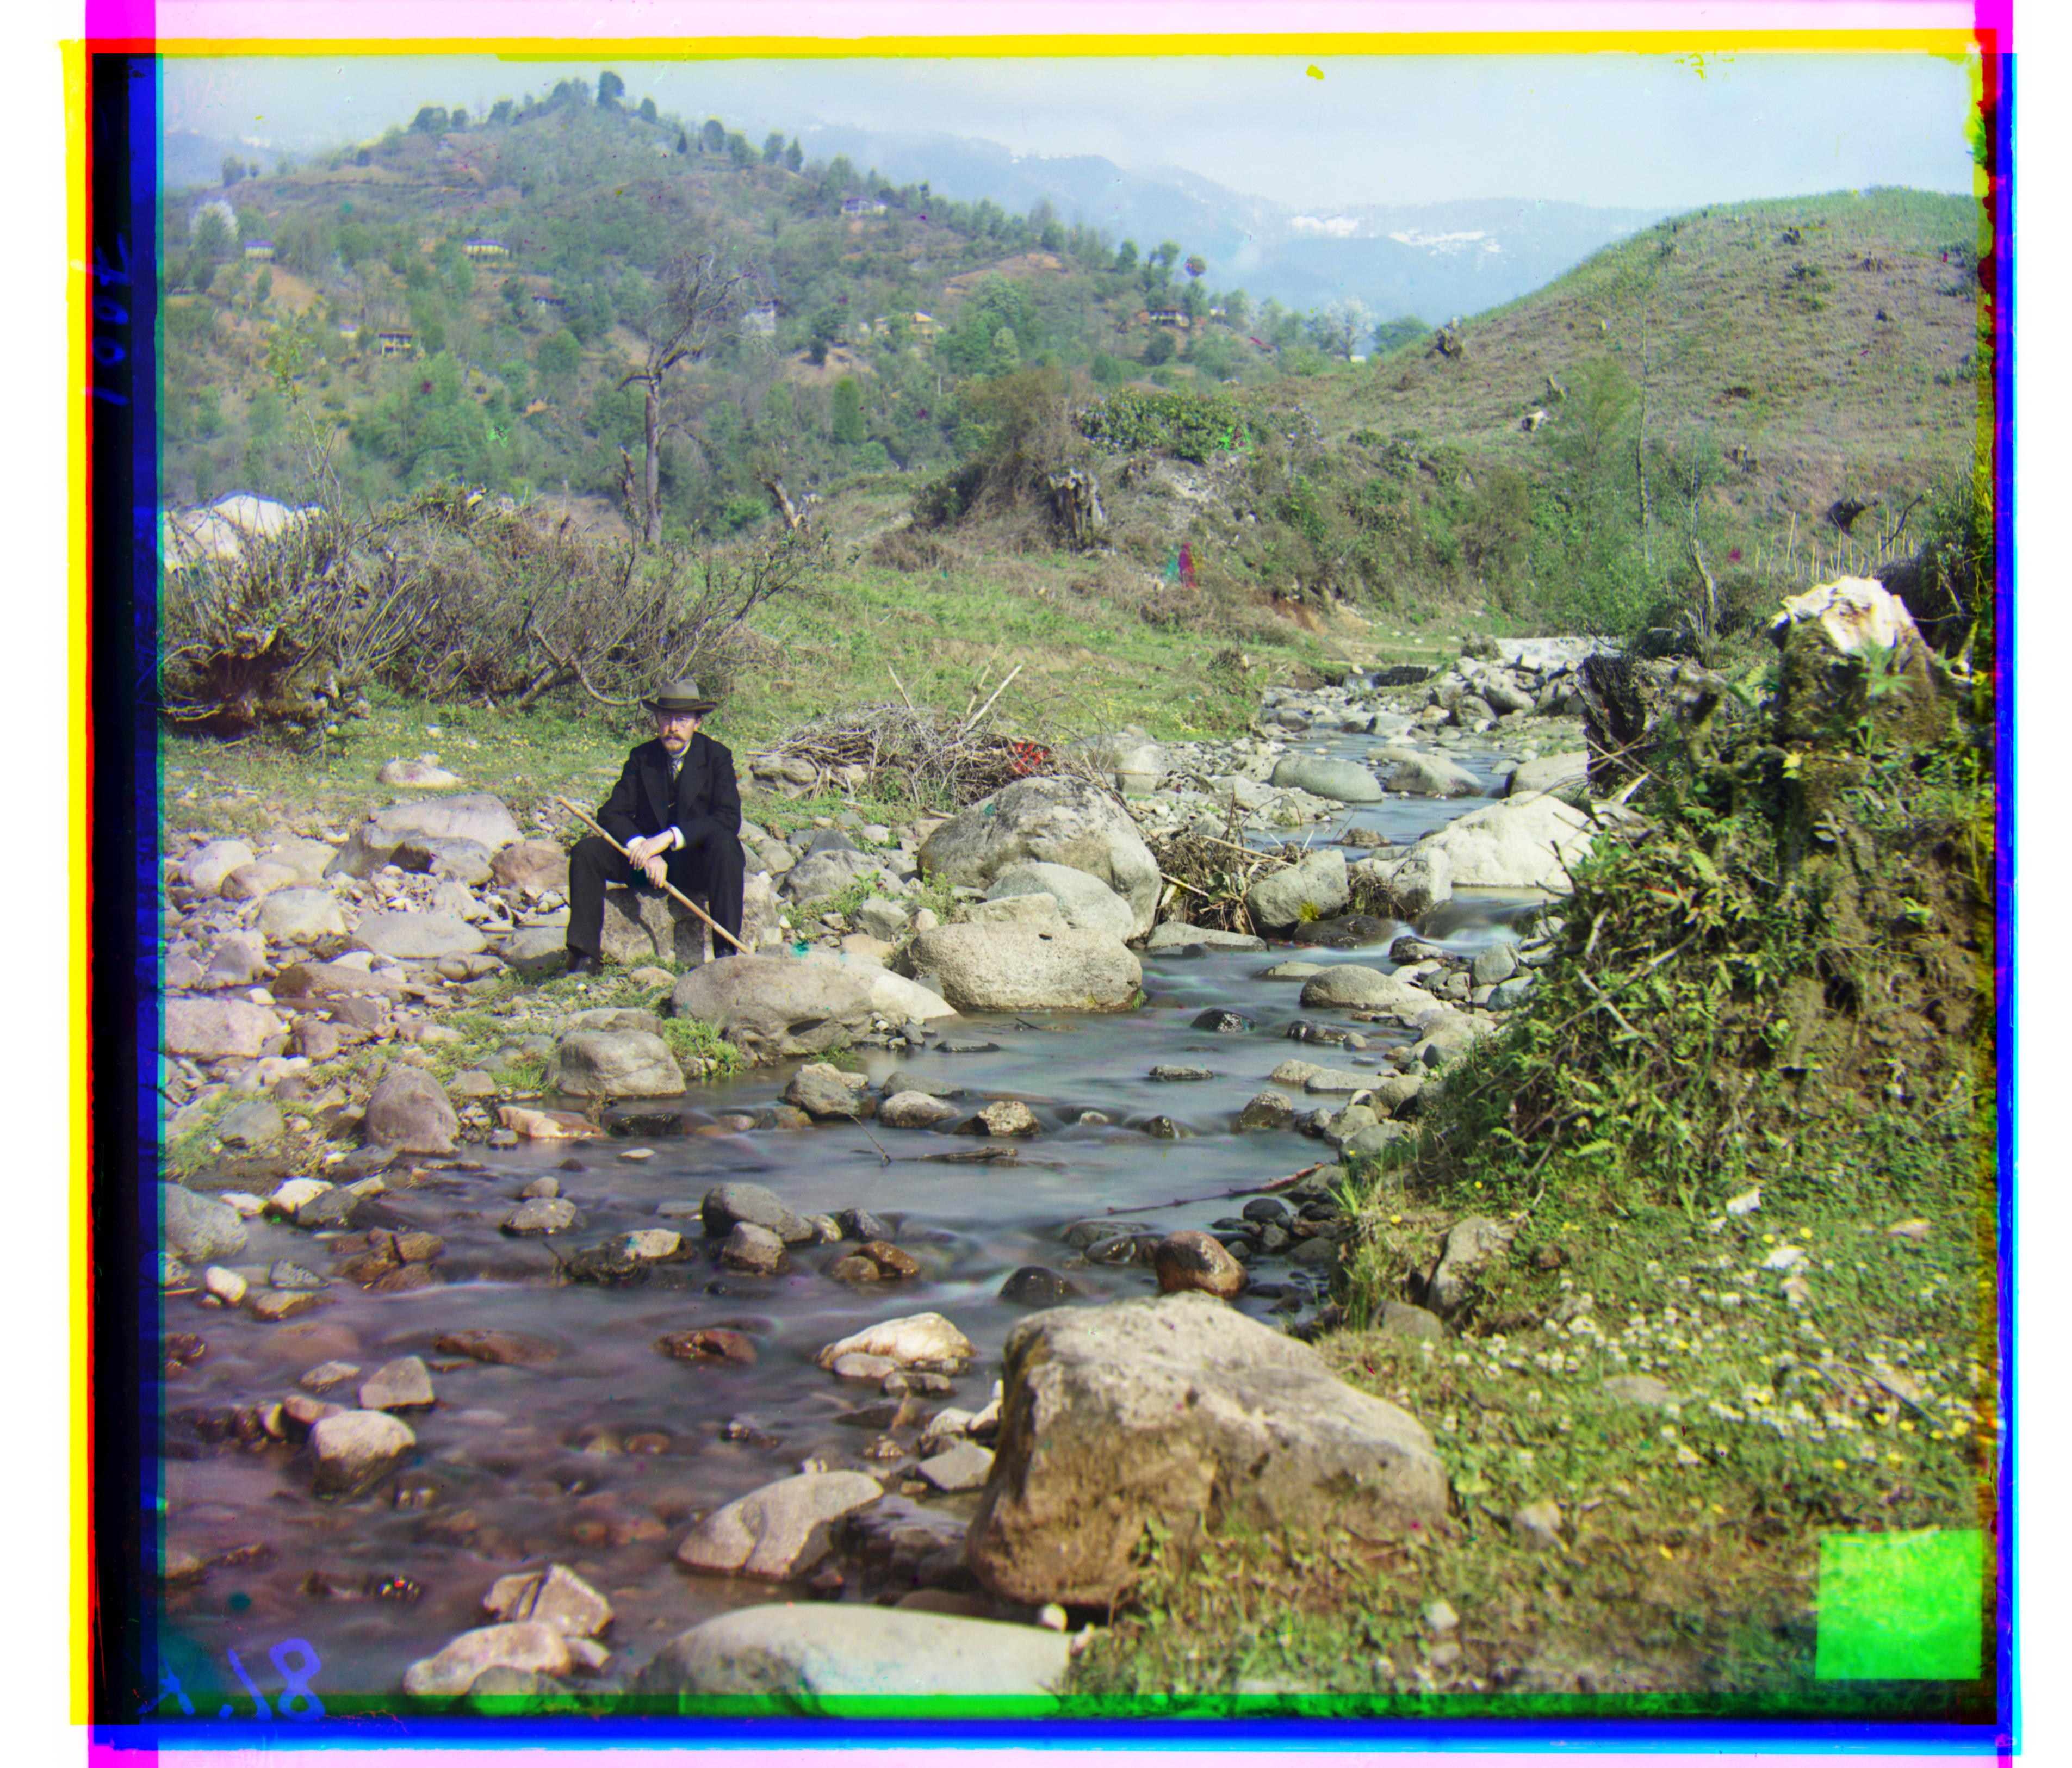 self_portrait.tif: R = (8,98), B = (-29,-79), G = (0,0)
|
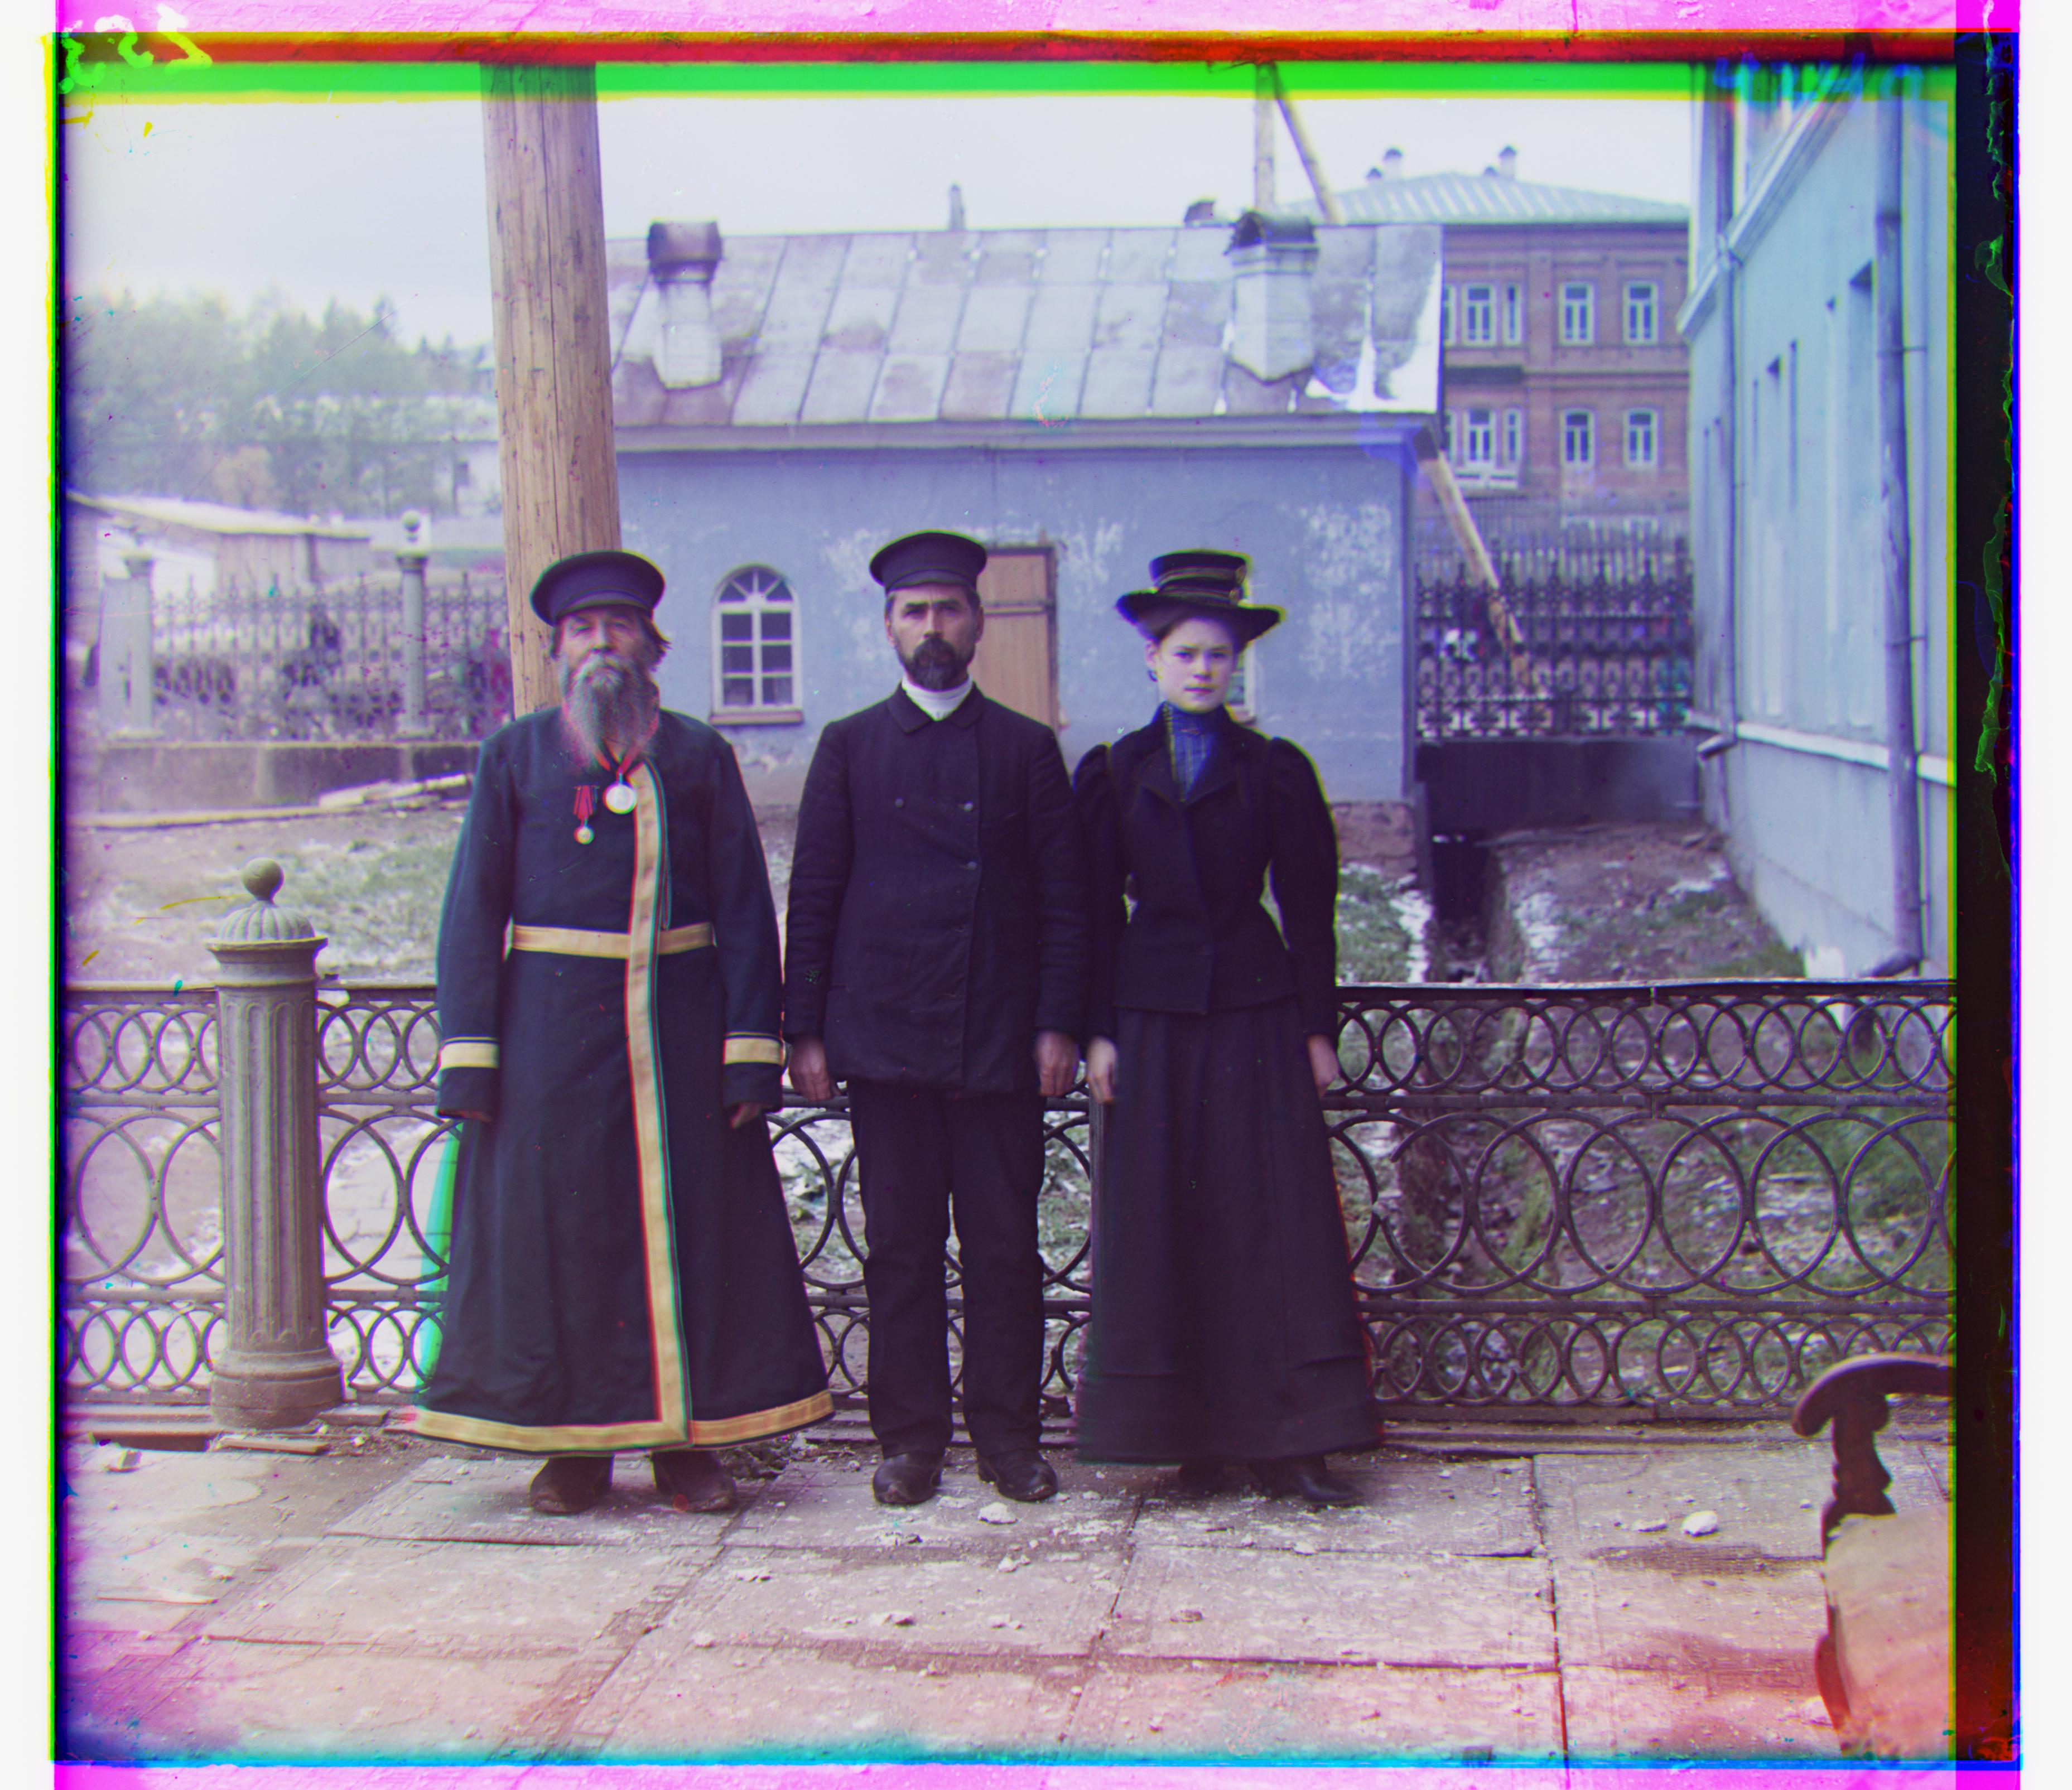 three_generations.tif: R = (-3,58), B = (-14,-53), G = (0,0)
|
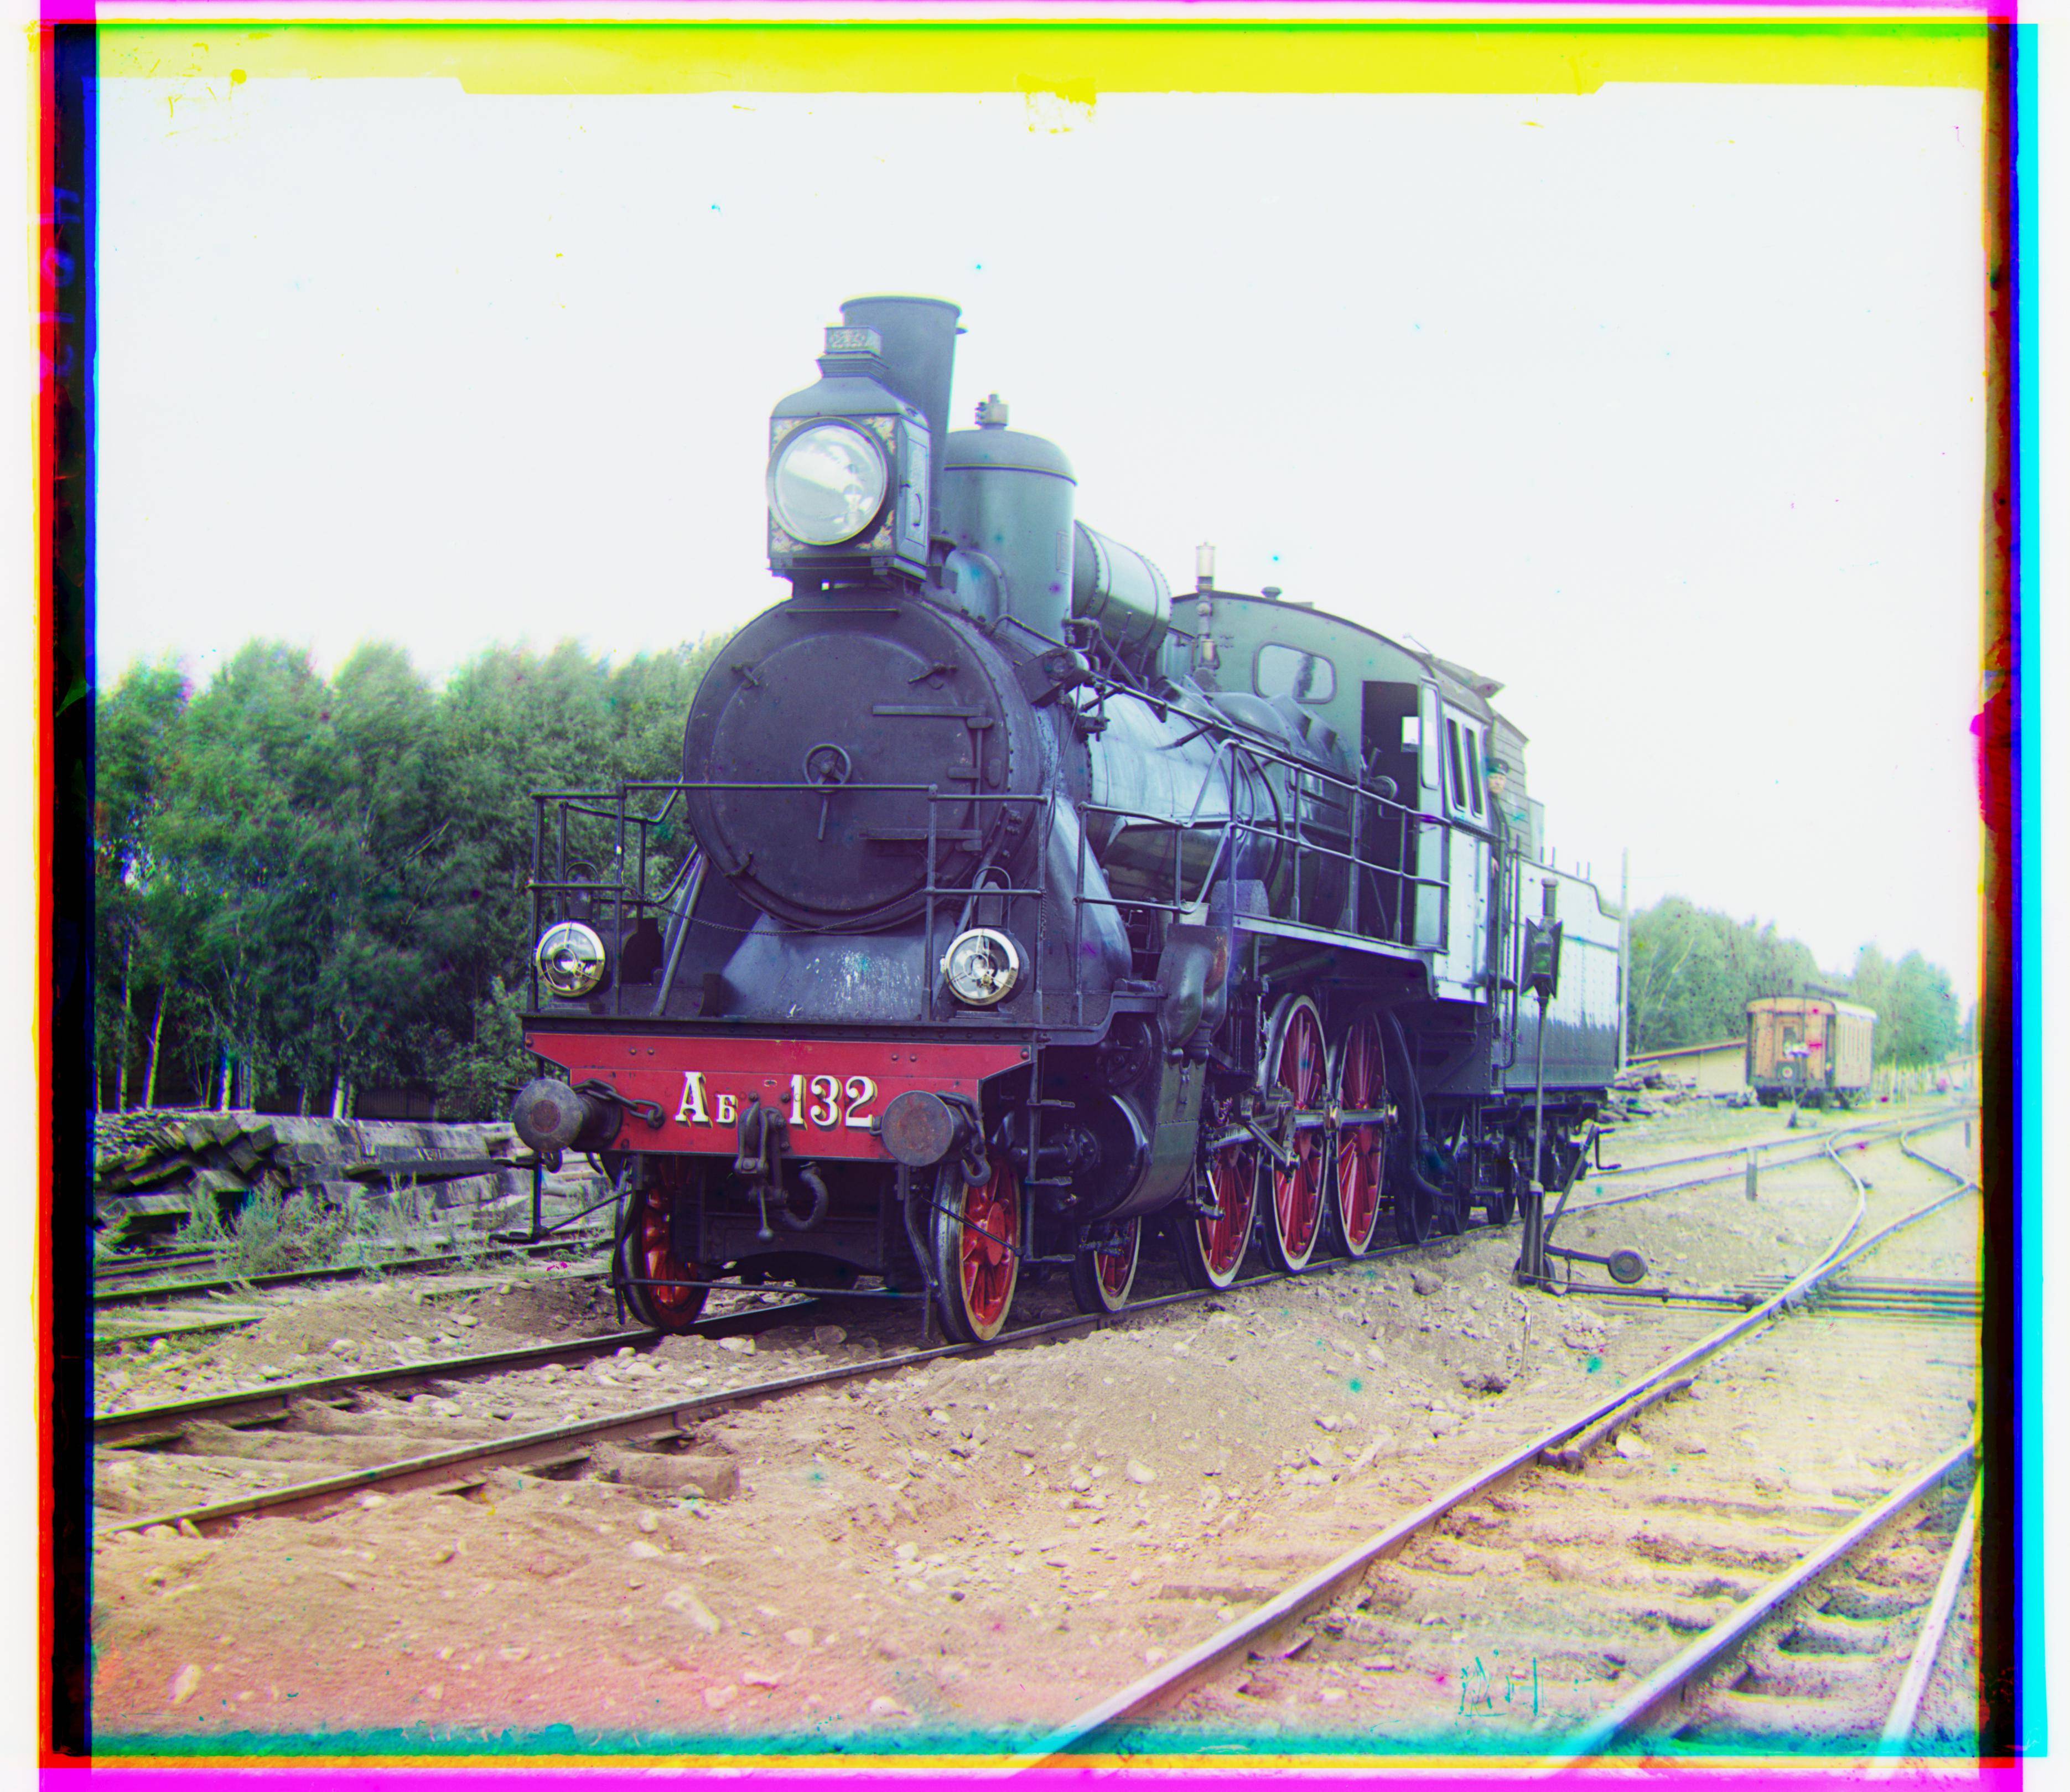 train.tif: R = (27,43), B = (-6,-43), G = (0,0)
|
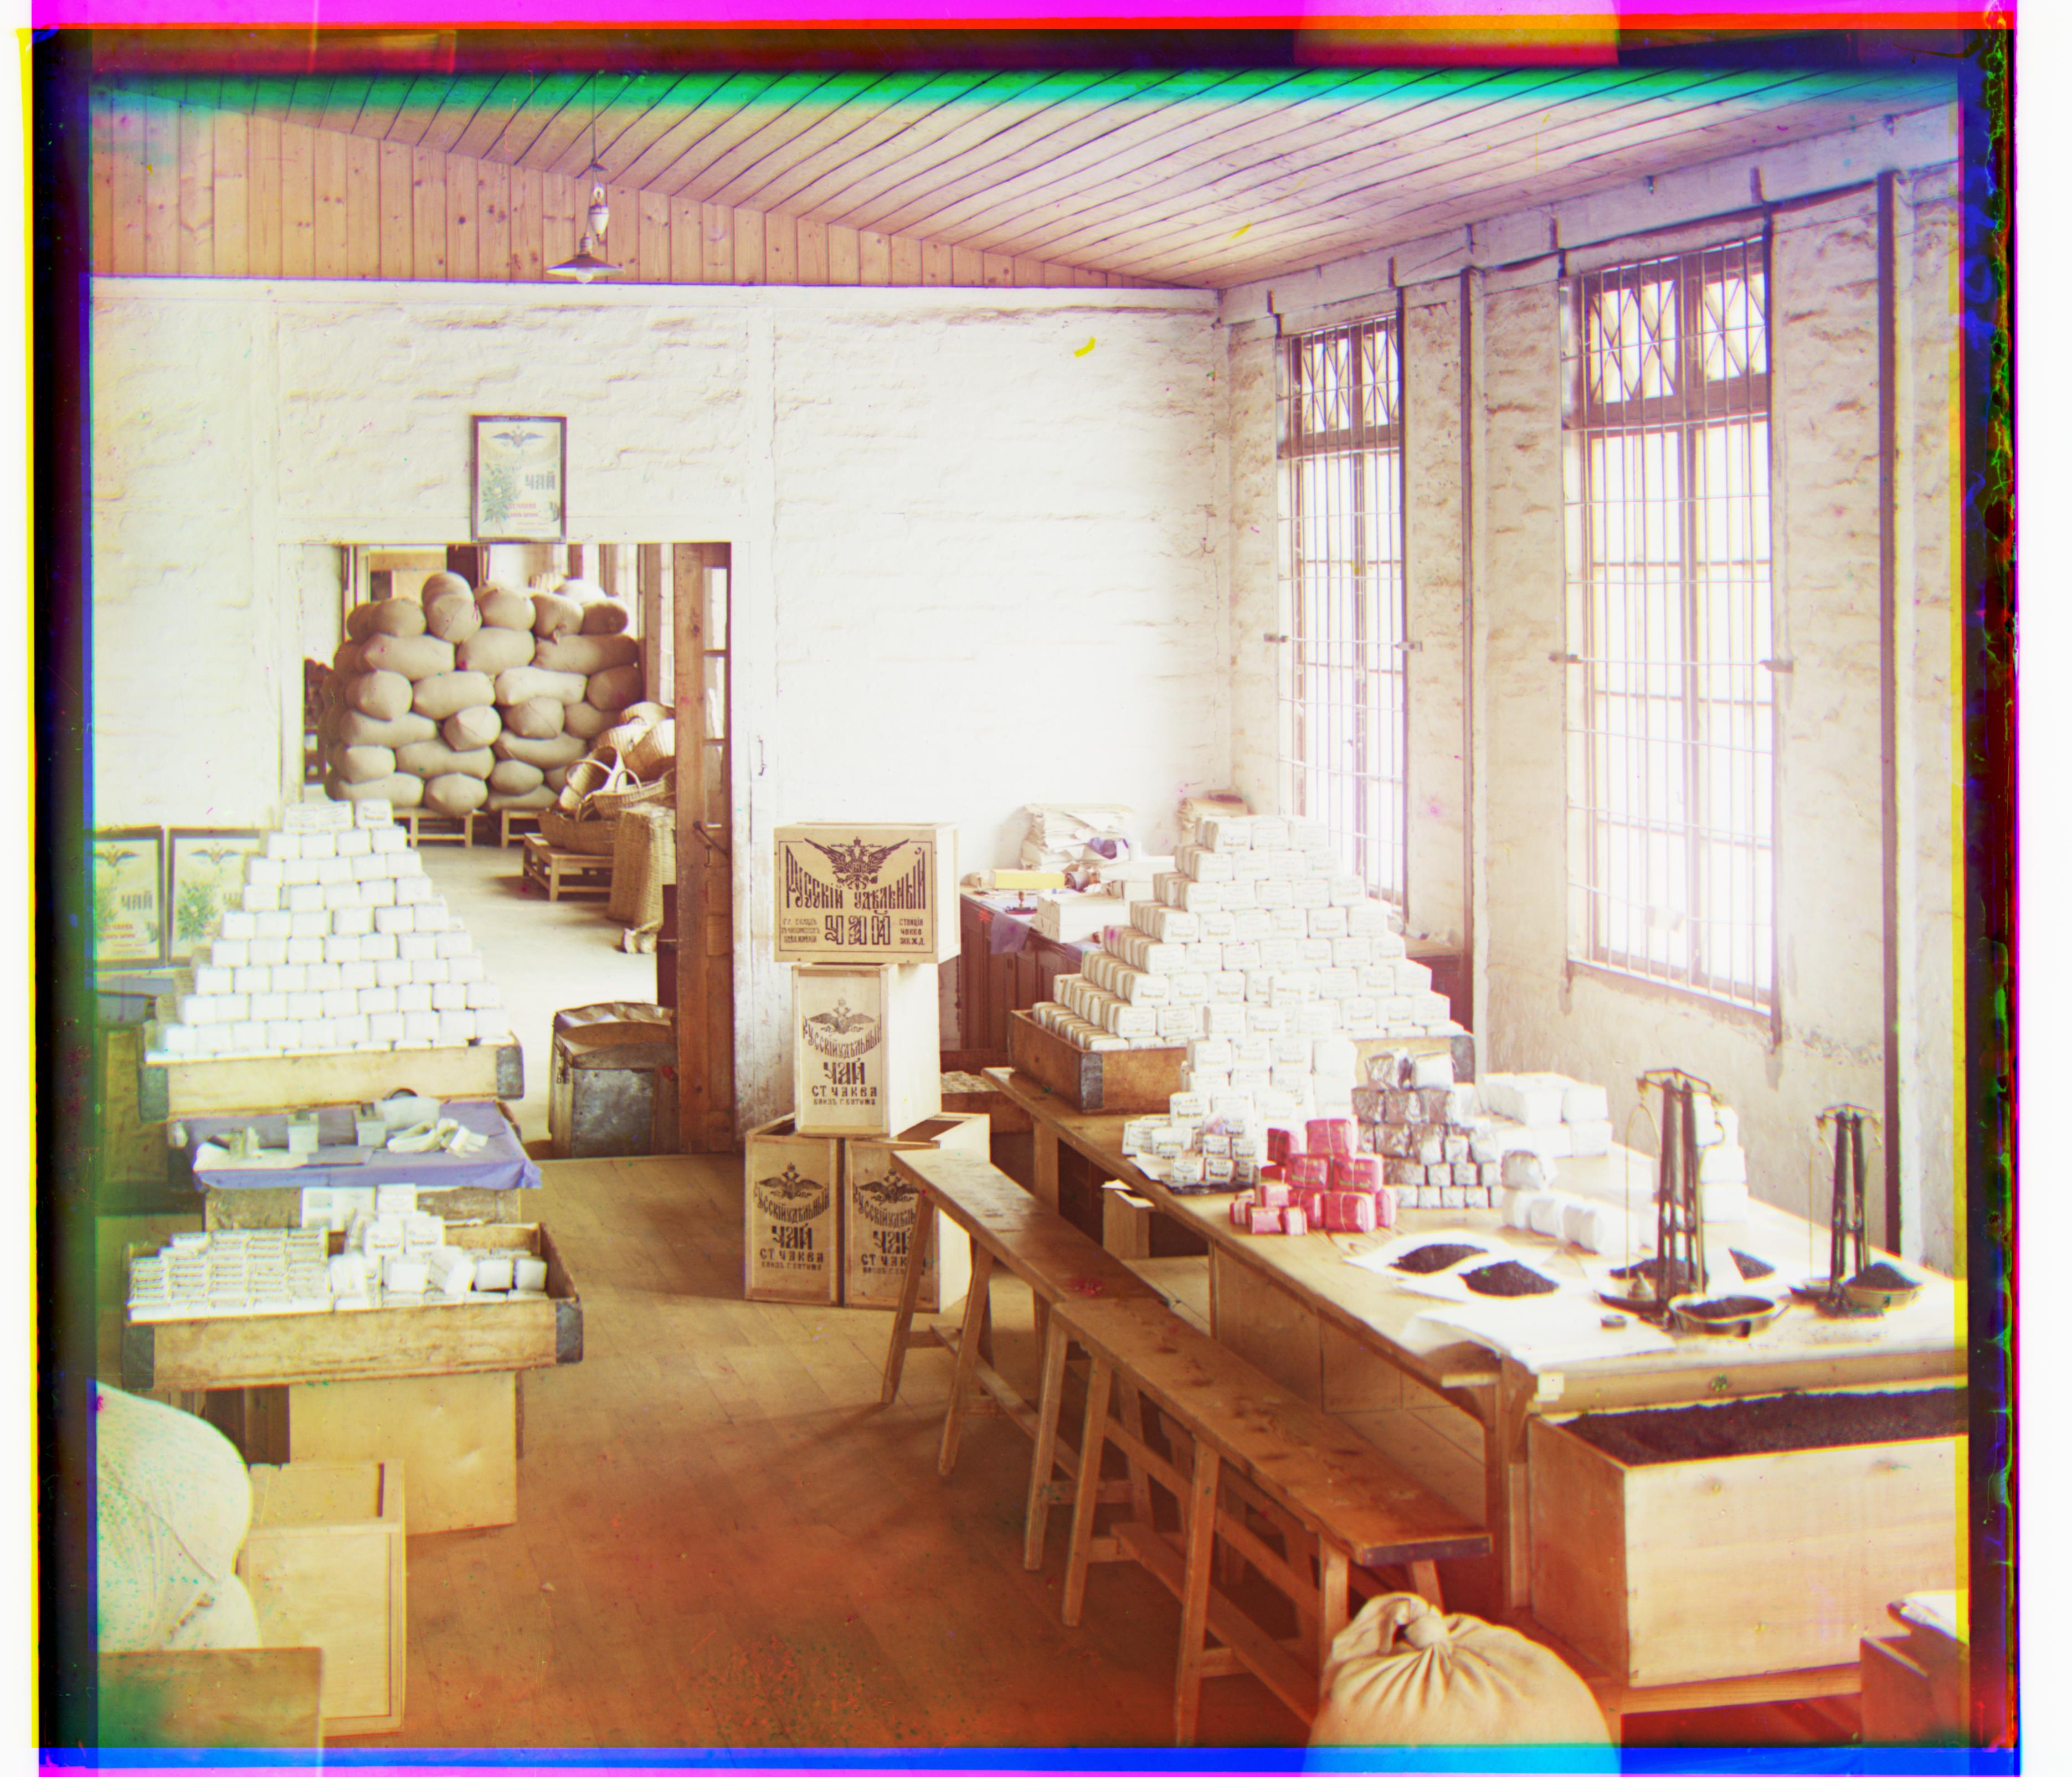 workshop.tif: R = (-11,52), B = (0,-53), G = (0,0)
|
Other Examples
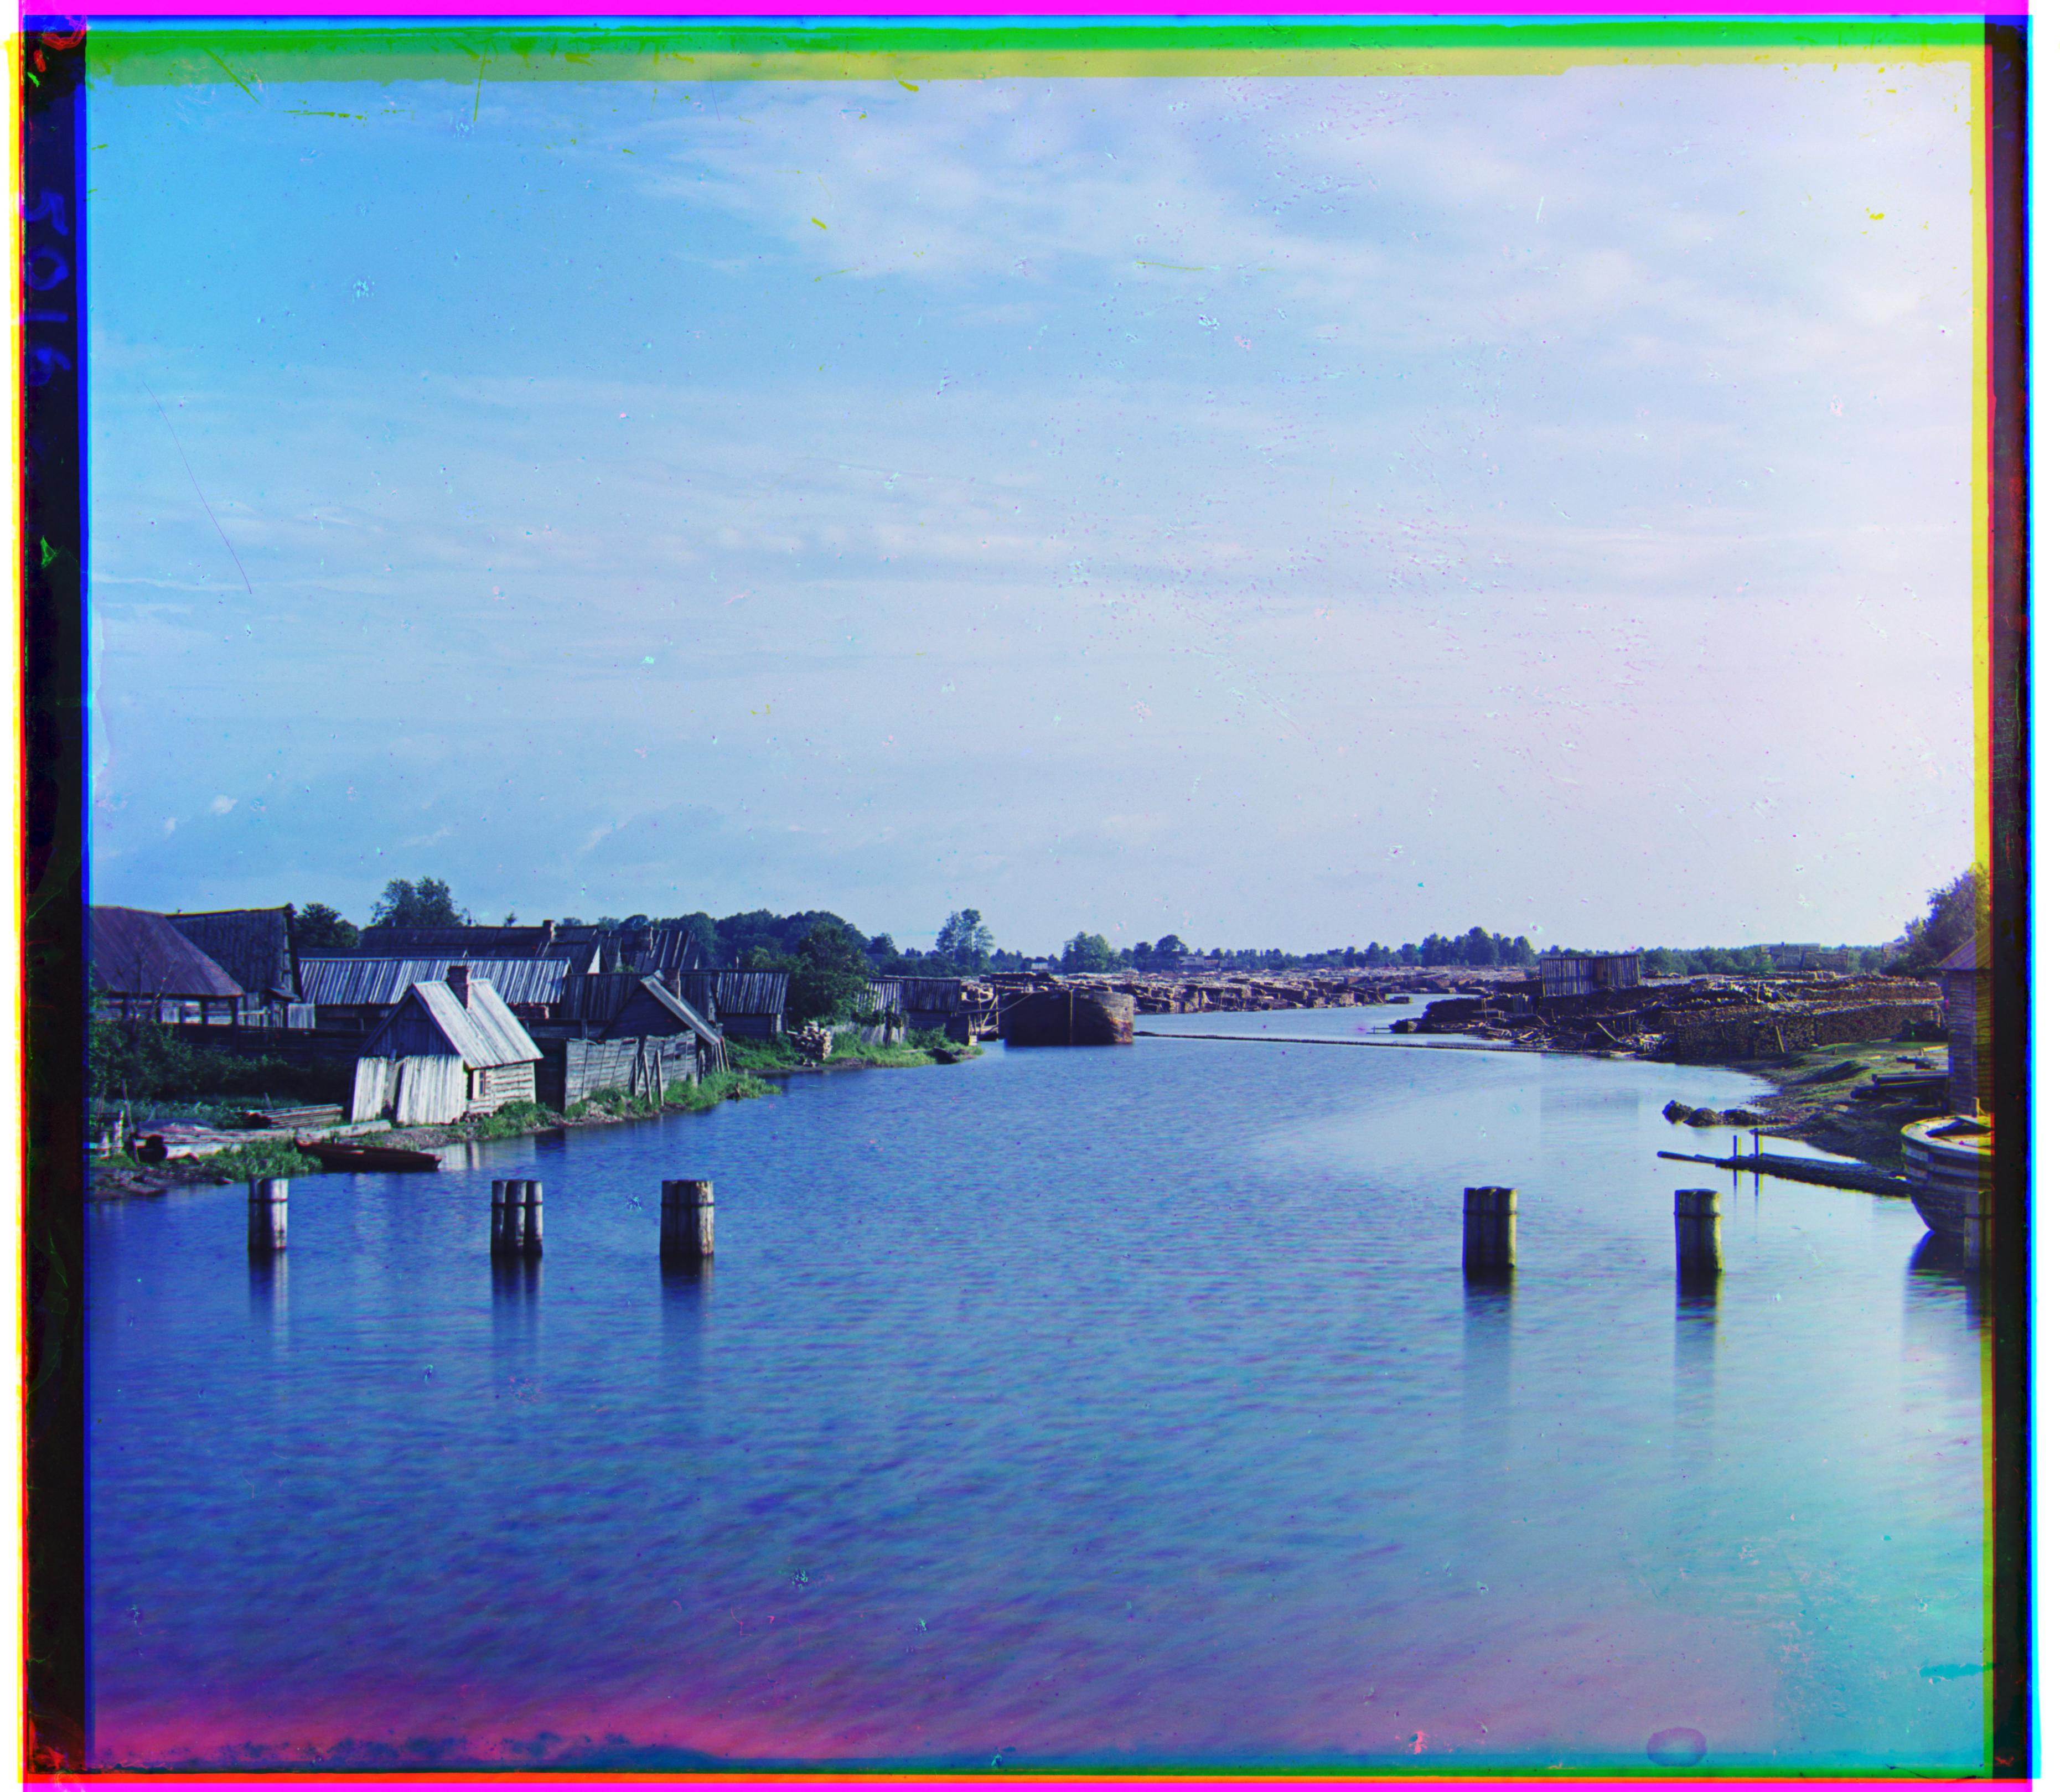 great_canal.tif: R = (1,27), B = (-2,-16), G = (0,0)
|
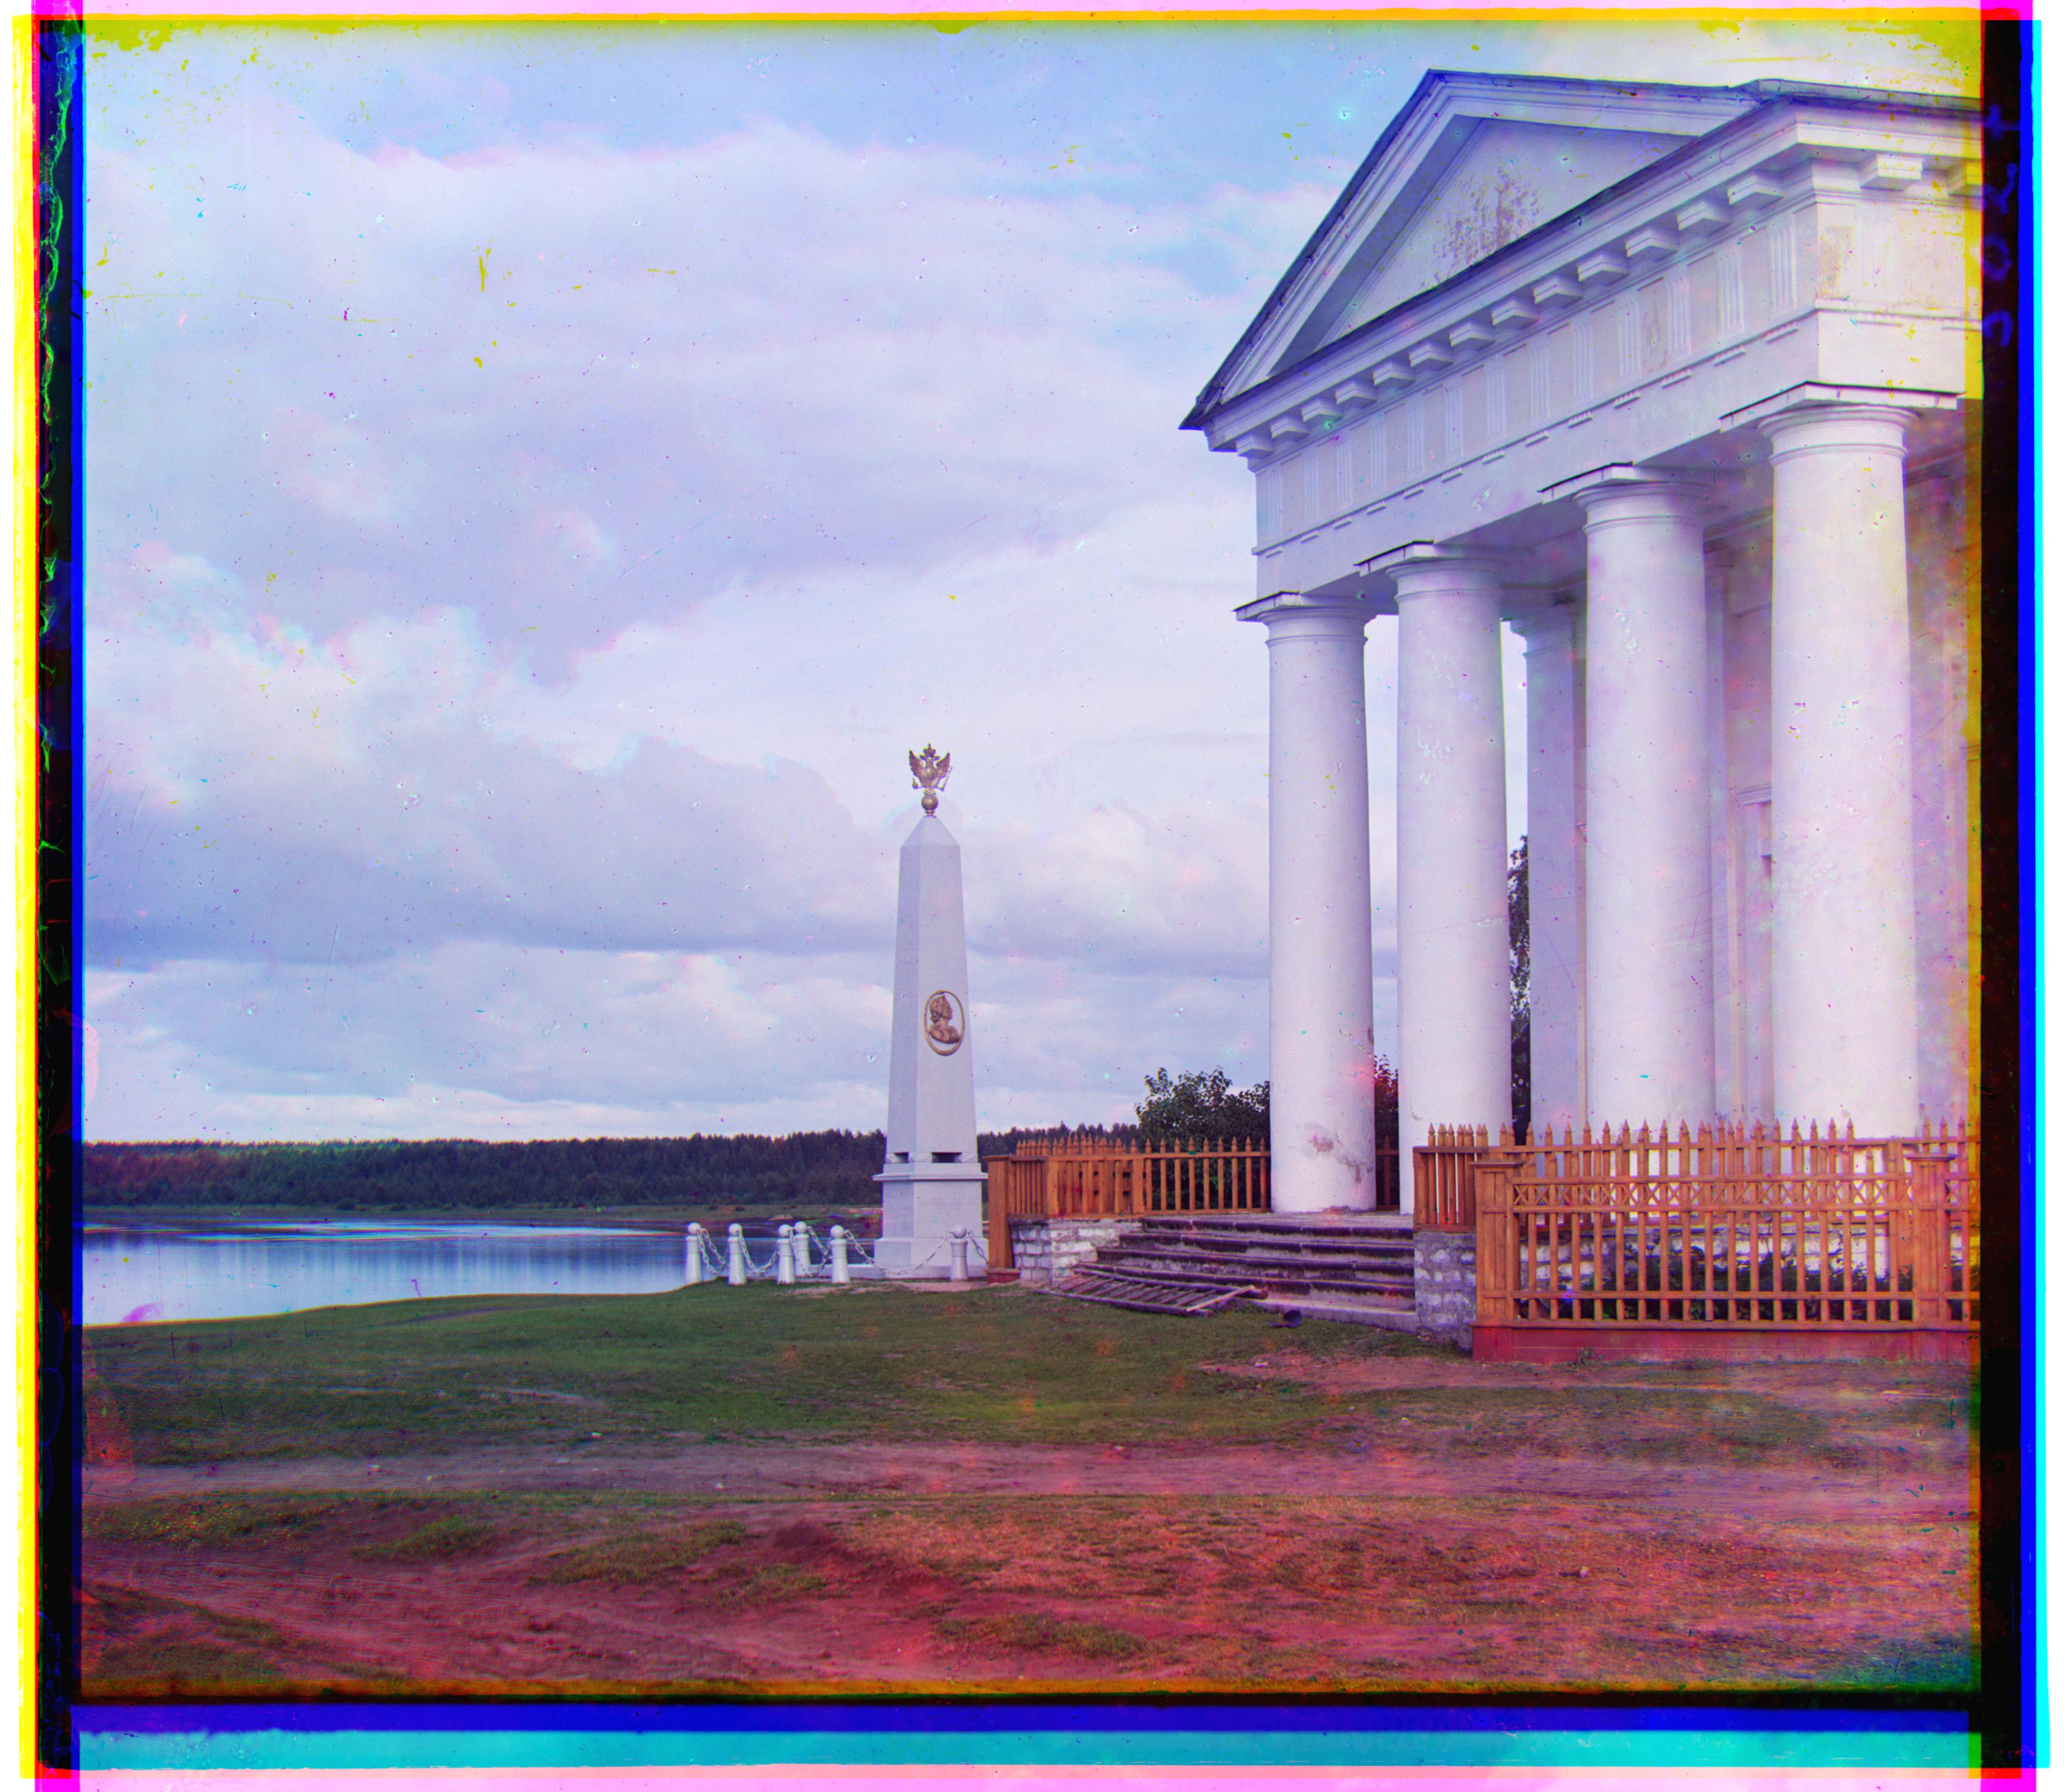 columns.tif: R = (9,36), B = (-21,-24), G = (0,0)
|
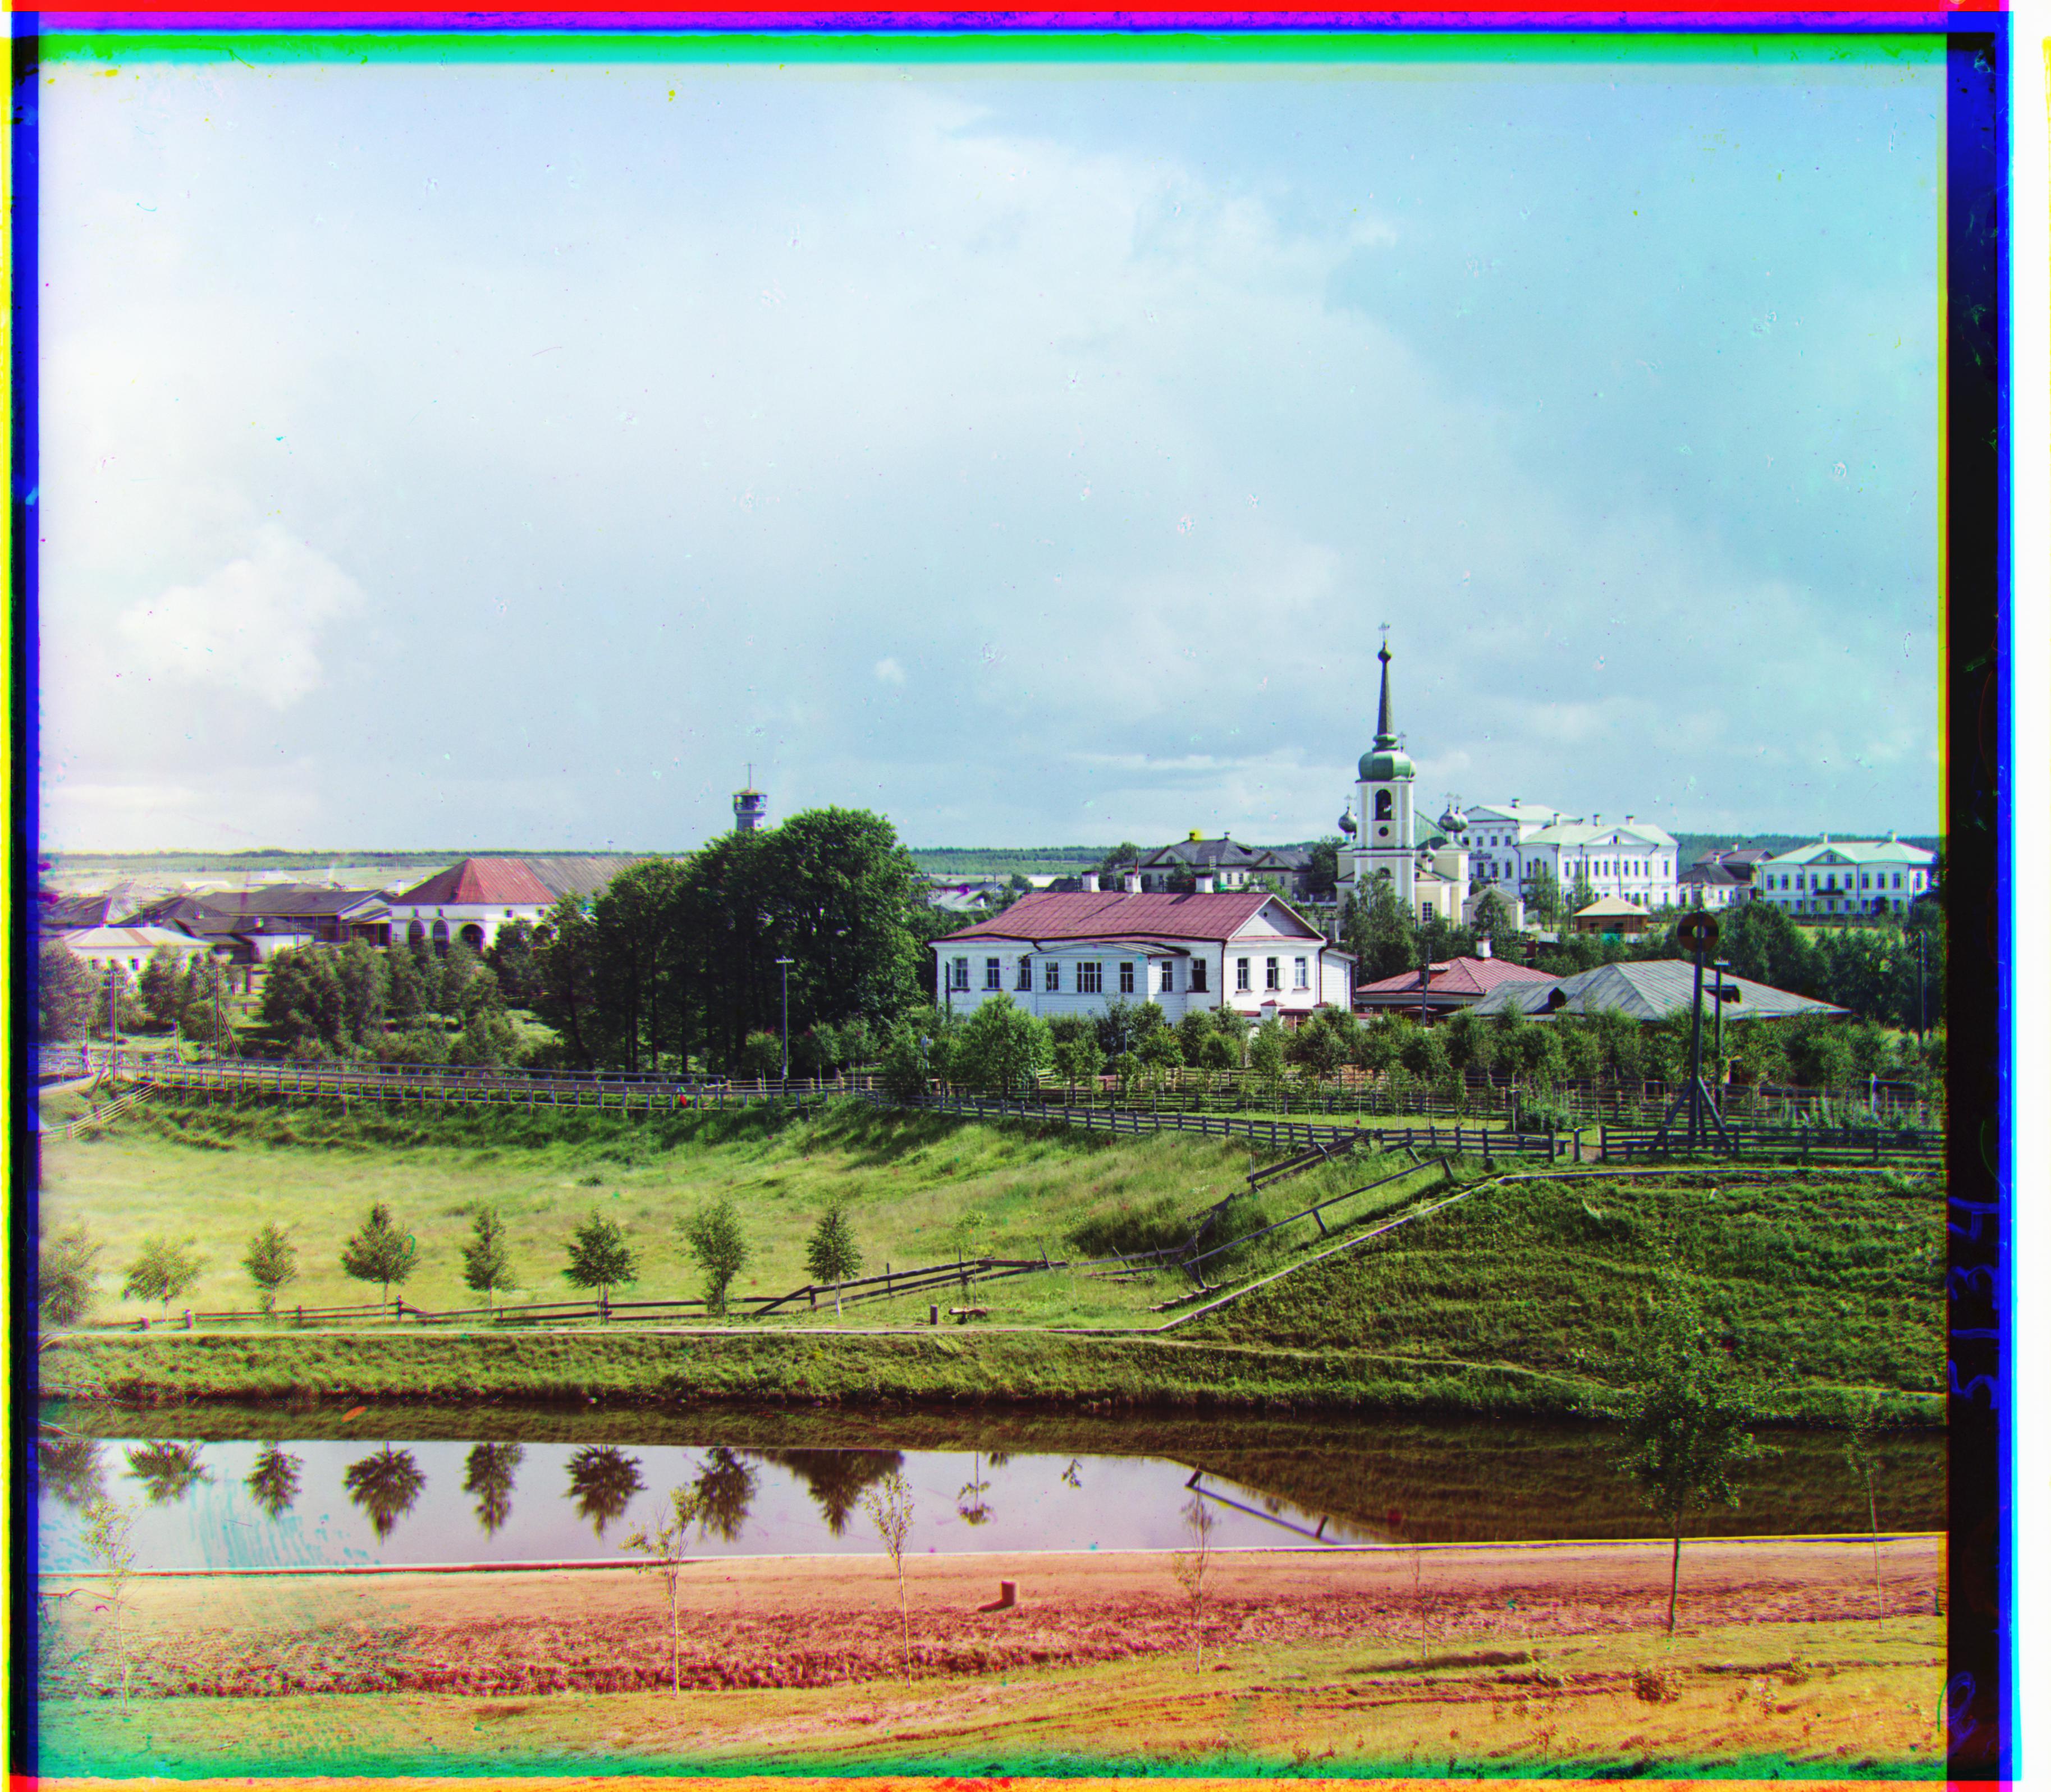 city.tif: R = (2,20), B = (-17,21), G = (0,0)
|