CS 194-26 Project 1
name: Andrew Shieh
Background
Sergei Mikhailovich Prokudin-Gorskii was a Russian photographer who took
pictures of many things in Russia over 100 years ago. He did so with a
fancy camera setup that involved taking 3 pictures of the same subject
with each picture having a different filter: red, green, or blue.
Unfortunately for Sergei, he was never able to see his photographs in
color but luckily for us, the images taken with his RGB filters can be
formed into color photographs using some special image processing
techniques. In this project, I'll try colorizing some of his images of
Russia.
Image Alignment
The input files we're dealing with are Sergei's RGB image negatives. As
an example, here's cathedral.jpg:
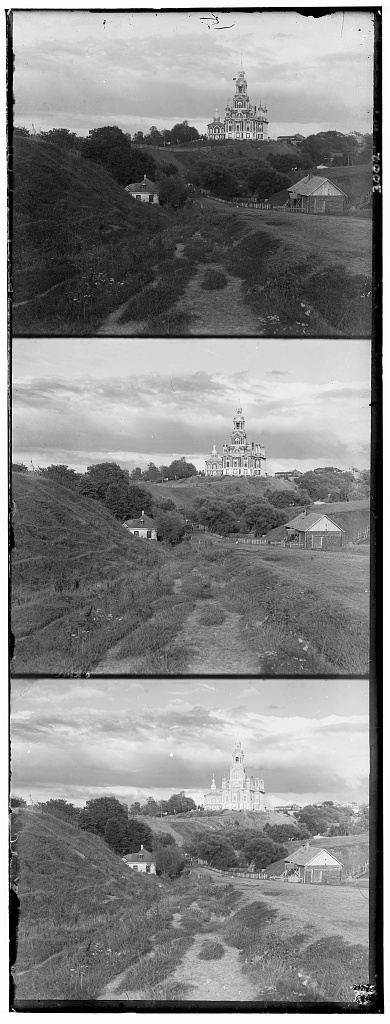
As you can see, each file is laid out as three stacked negatives (in
order from top to bottom, it's blue, green, and red). Thus, the first
step is to separate each negative, which I did simply by cutting the
image into thirds:
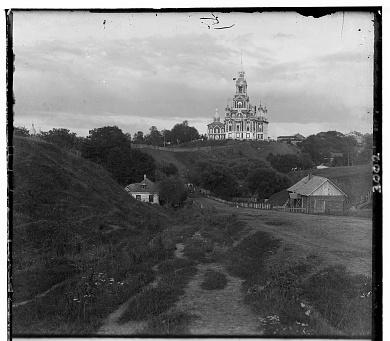

Next, we'll have to stack the filters on top of each other to get a
color photo. Here's my first attempt at this, where I simply stacked
them on top of each other without any alignment:

We can sort of make out the cathedral, but there's one glaring issue I
needed to solve: image alignment. Due to Sergei's camera setup, the
image negatives weren't properly aligned with each other, so I had to do
some work to align them. Following the project spec, I used an
exhaustive search over a [-15, 15] bound in both the x and y directions,
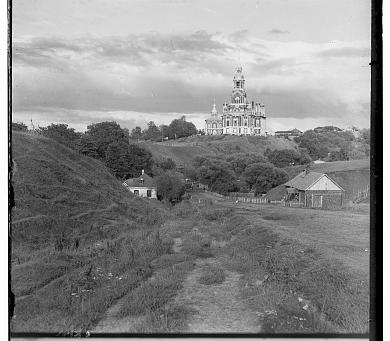
with L2 loss as my metric. Here's the same image of the cathedral
post-alignment:
Much better, but you can still see some artifacts from the negatives. If
you take a close look at the trees in the horizon, you can see some
weird blue artifacts, meaning that the alignment still could be
improved. To solve this, I added a preprocessing step where I crop the
image to only contain the middle 80% of the photo (cut 10% off from the
top, bottom, left, and right), in order to crop out the borders and only
have the subject in frame. Then, applying the same aligning algorithm as
described above, I was able to get much better results:
Image Pyramid Search
This method worked well for the smaller images (e.g. cathedral.jpg,
tobolsk.jpg), but was far too slow for the larger images (i.e. the .tif
files). Some of those images needed a larger than [-15, 15] bound, but
just increasing the bounds would cause alignment to be far too slow.
Thus, I created another alignment algorithm using image pyramid search,
where I start by aligning the images rescaled to be low resolution (and
hence small), then progressive upscale the images while starting my
alignment search from the position given by the search over the smaller
image. Using this technique, I was able to align the larger images much
faster, with solid results:
Adjusting the Base Color
The image pyramid search technique worked surprisingly well on almost
all the remaining large images. However, the one exception was emir.tif.
Take a look at the sad result below:

Why does it look like that? Let's take a look at the image negative for
the emir:
In the photo, the emir is wearing a blue robe, so the filters show very
different shades of gray on his outfit. Previously, I was aligning both
the red and green filters to the blue filter, but because of the
circumstances of this photo, the blue filter (the negative on top) shows
a washed out robe, which caused issues when aligning with the red filter
(the negative at the bottom), because the "white" and "black" colored
robes caused issues with our loss function. Thus, I chose to align just
this particular image using the green filter as the base, since the robe
shows as grey, a healthy medium between the white and black robes shown
by the other two filters. Here is the final result:
Extra Credit: Auto-Cropping and Auto-Contrast
For extra credit, I added both auto-cropping and auto-contrast features.
To perform auto-cropping, I wanted to get rid of the weird colors on the
edge of each color photo. To do so, I devised an algorithm to loop
through each layer row-by-row and column-by-column, marking each row or
column if more than 50% of the pixels were greater than 0.95 or less
than 0.05, corresponding to areas of mostly white or mostly black.
Here's what cathedral.jpg looks like after being auto-cropped:
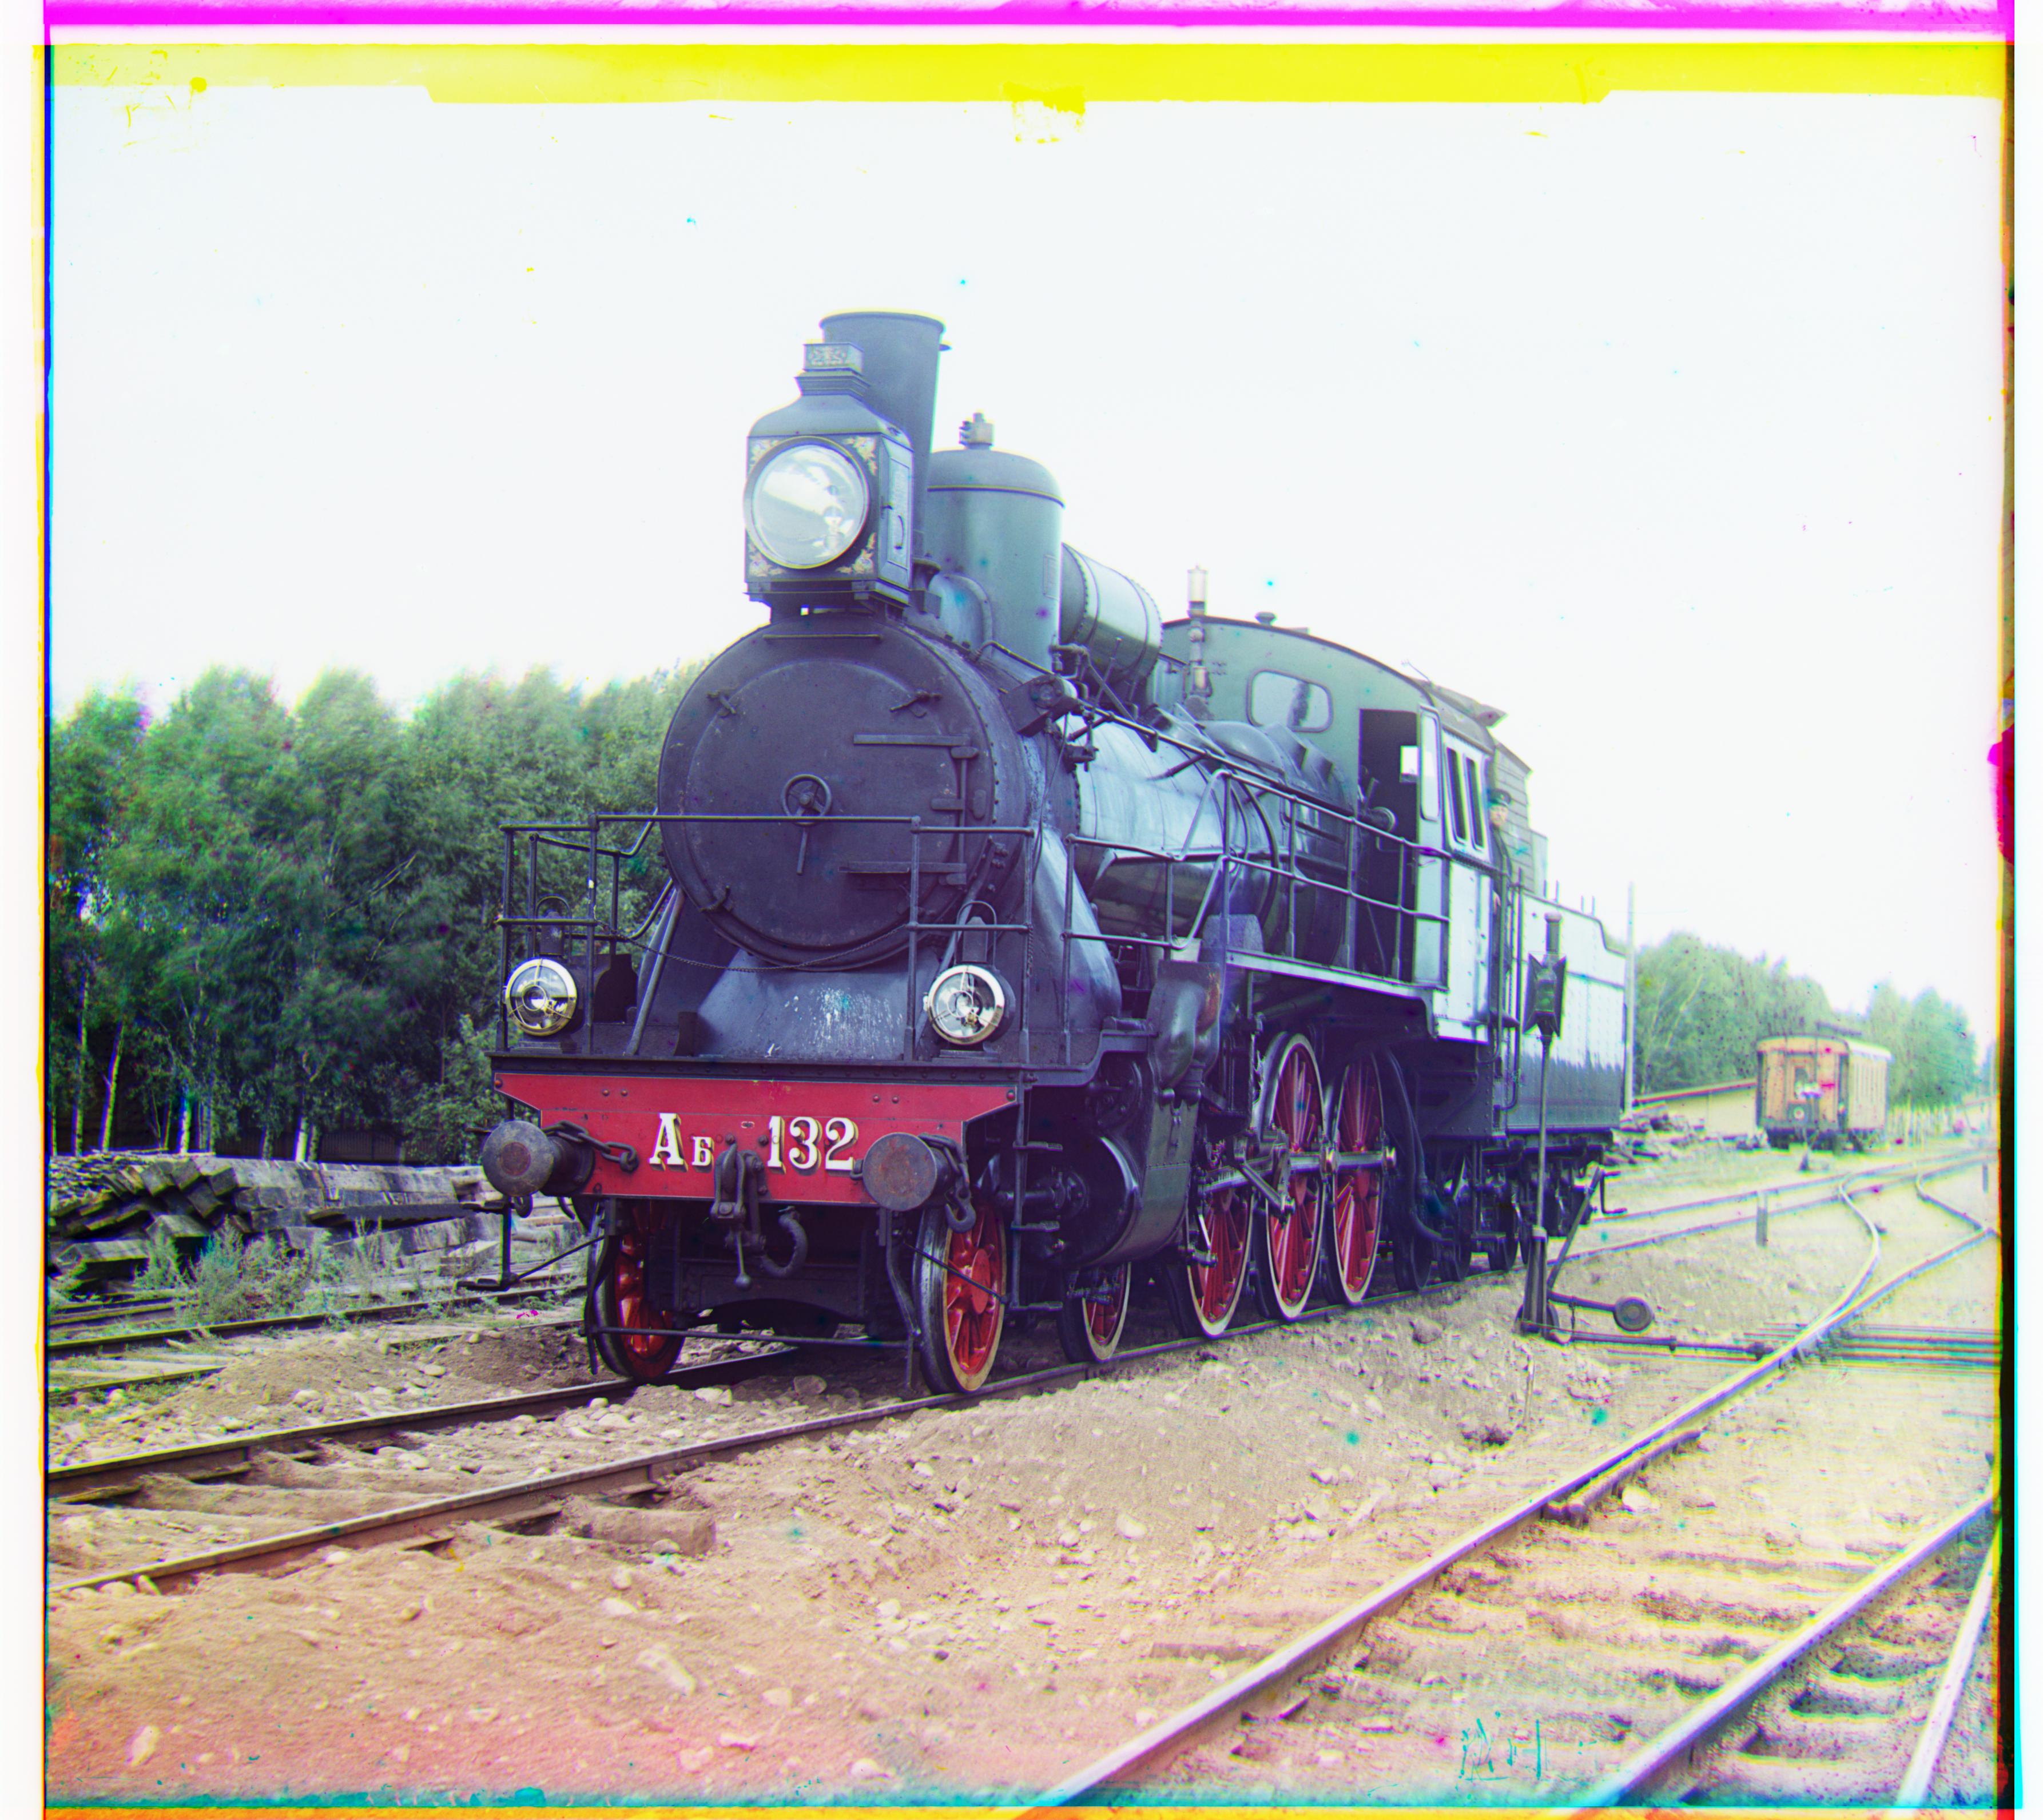
One issue I ran into with this technique was some crazy cropping for
images with mostly white backgrounds, such as train.tif. To counteract
this, I only kept the mostly black condition, which cropped the image
just fine (previously it would crop all the way to the top of the
train):
For auto-contrasting, I rescaled the intensities of each image to be
between [0, 1]. However, it's hard to make out the exact differences by
eye, since most of the images were already using this entire range.
Appendix: Photo Gallery
Take a look at all the colorized photos below, after being auto-cropped
and auto-contrasted. I've also listed the final alignments used to
construct each photo (read as (y alignment, x alignment)). This was a
super fun project to explore the world of computational photography!
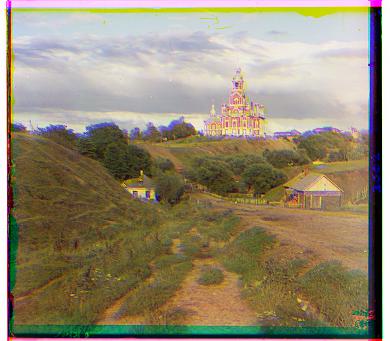
Cathedral
red: (12, 3), green: (5, 2), blue: (0, 0)
Church
red: (58, -4), green: (25, 4), blue: (0, 0)
Emir
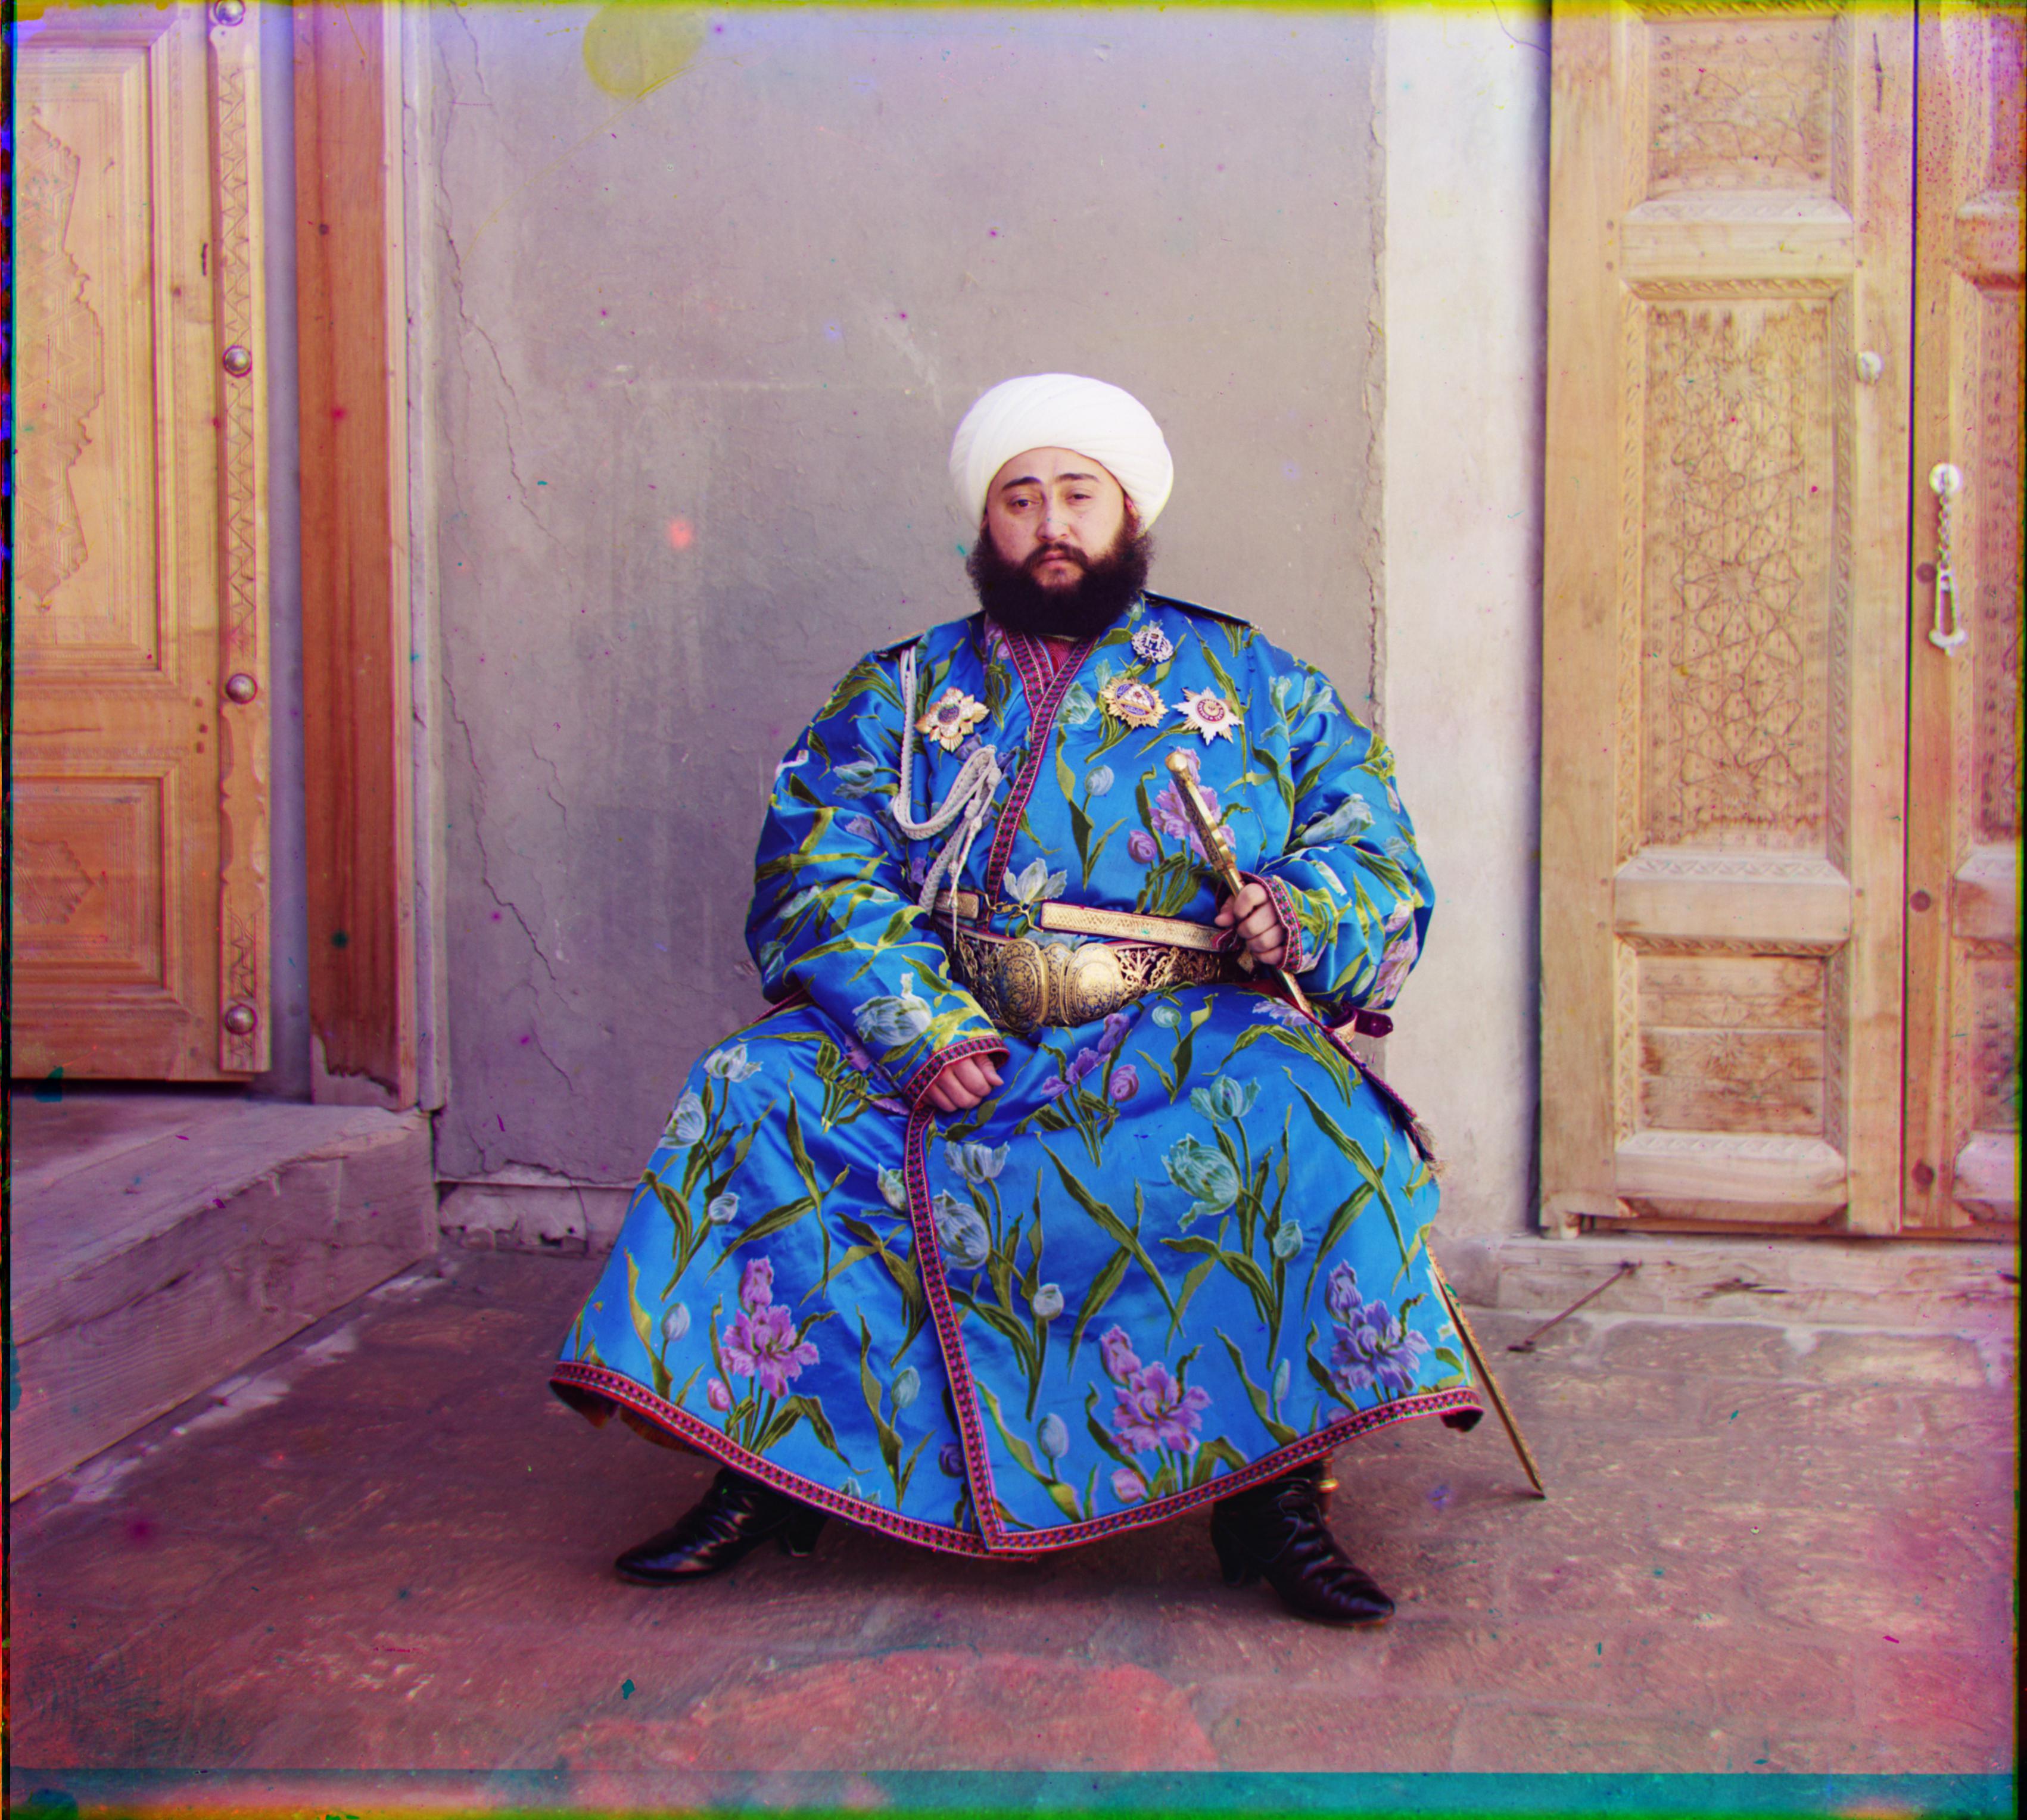
red: (57, 17), green: (0, 0), blue: (-49, -24)
Harvesters
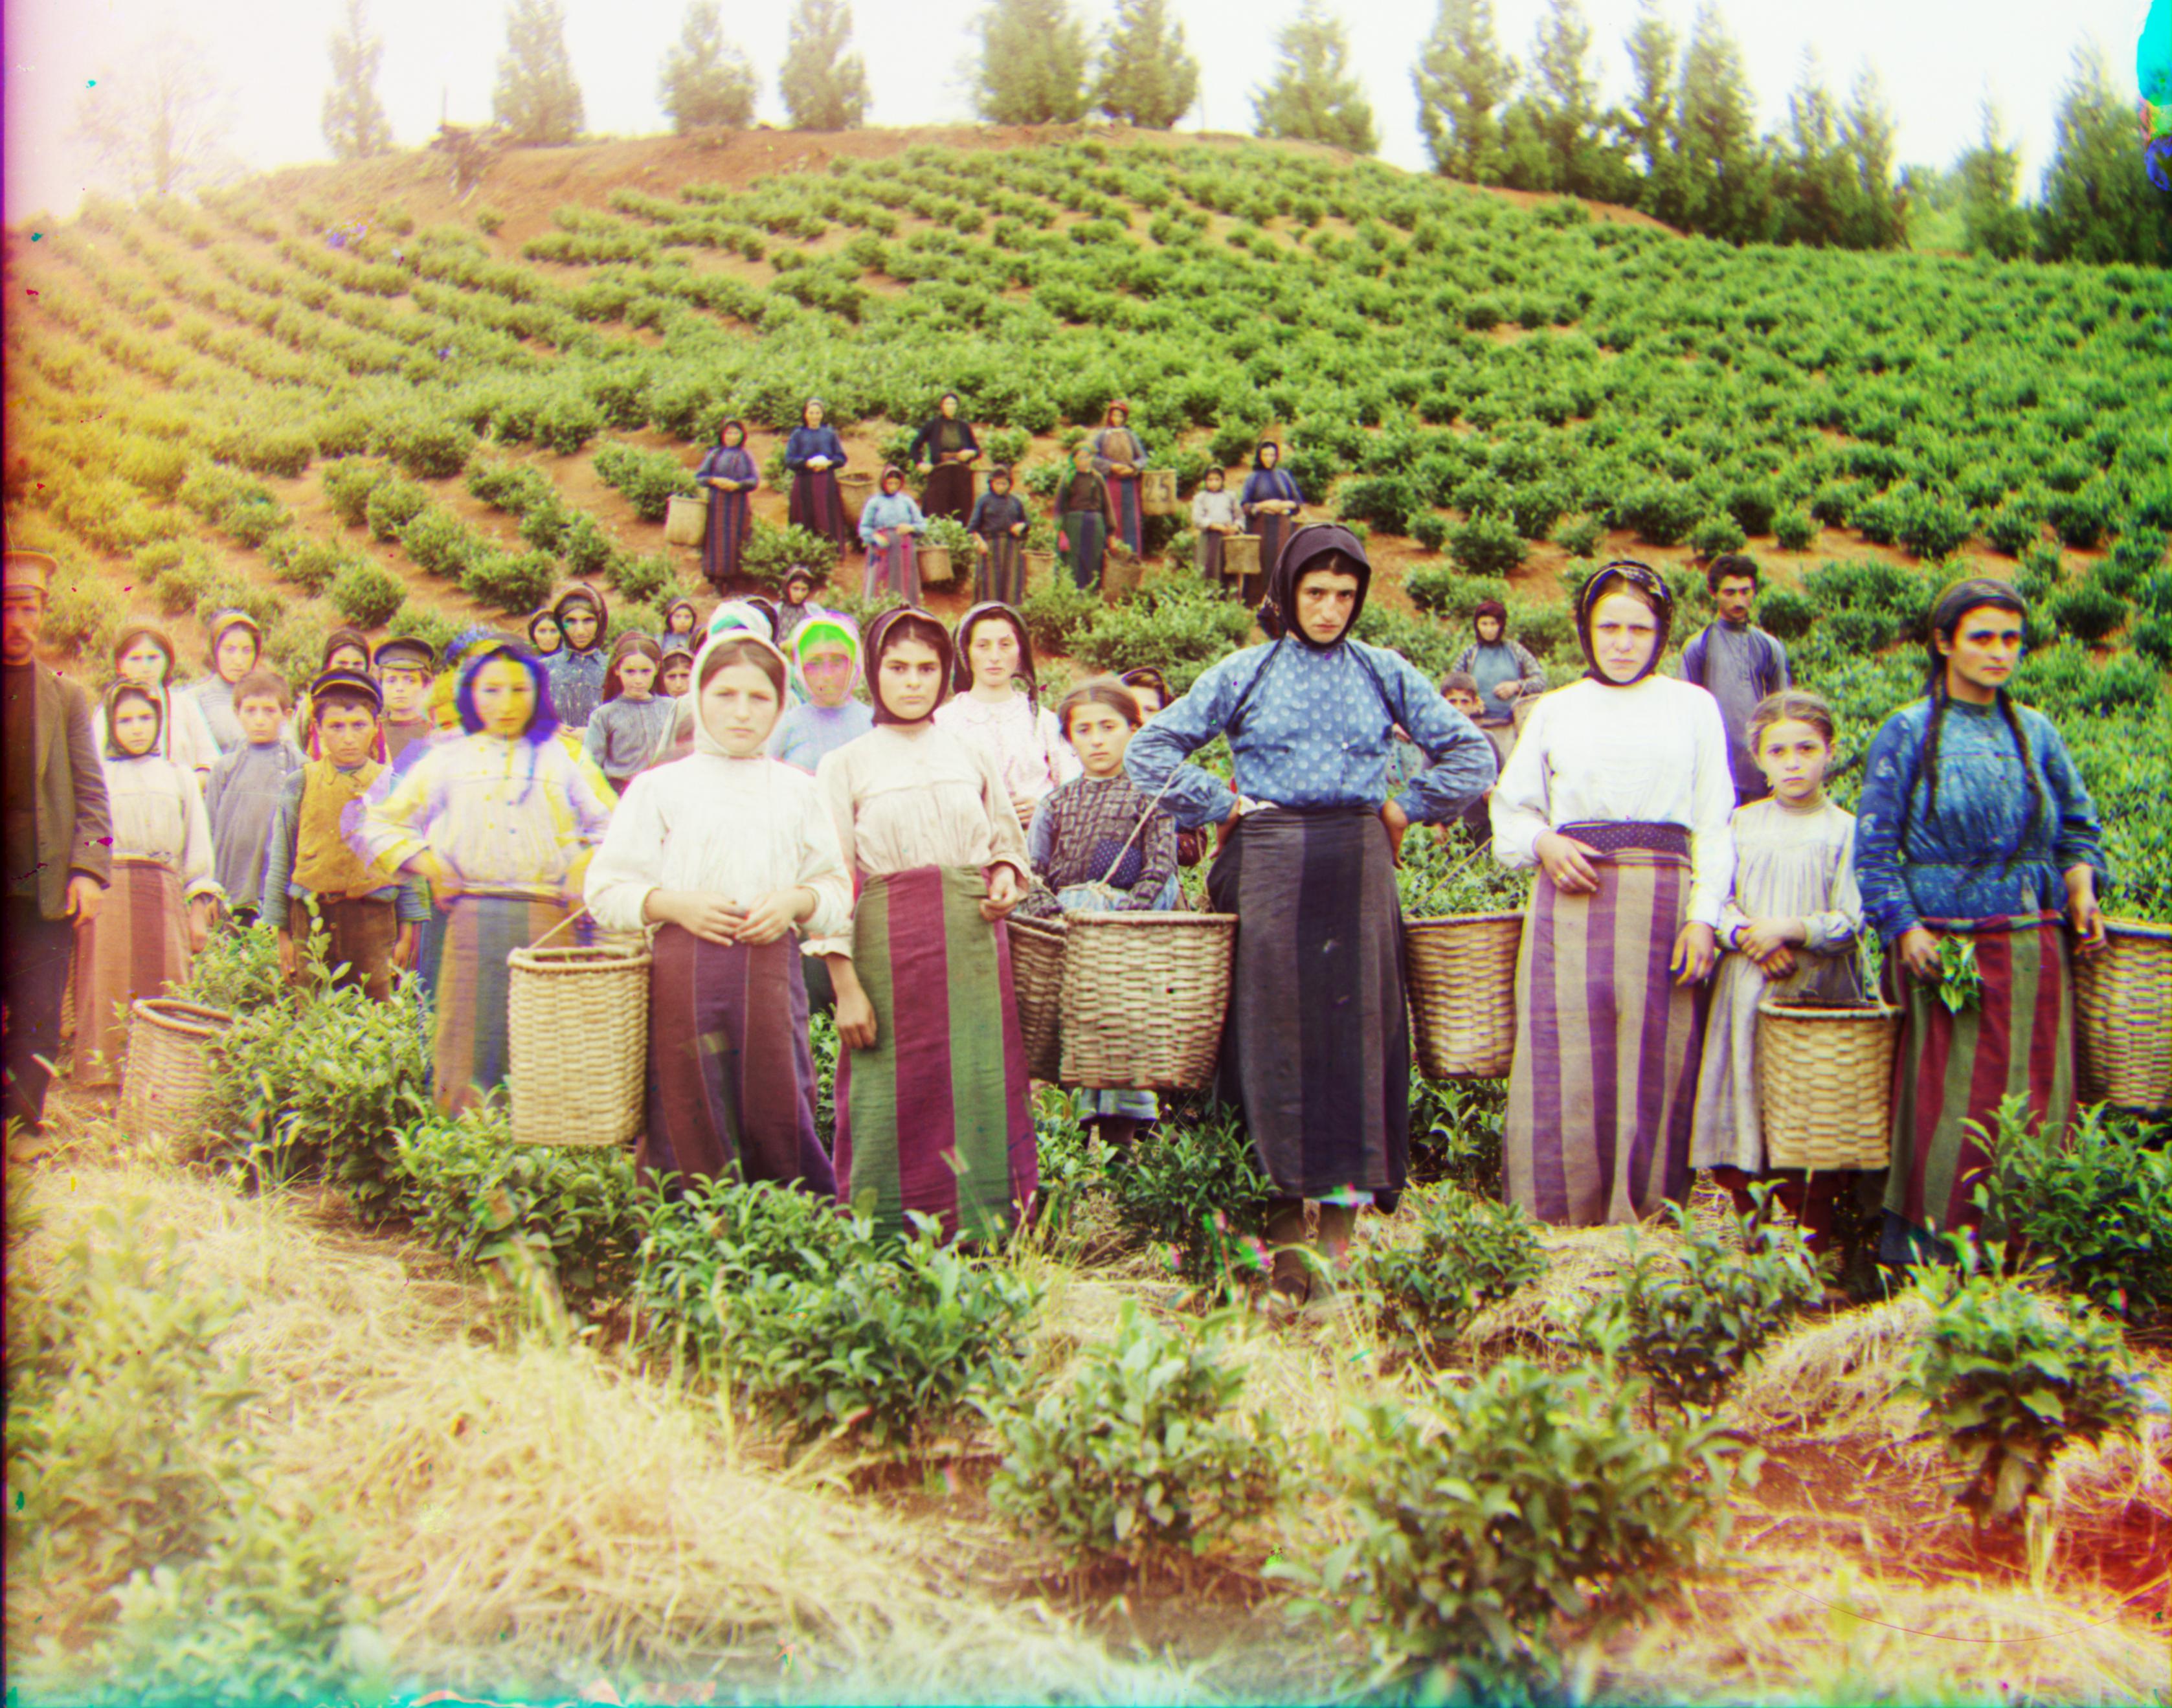
red: (123, 13), green: (59, 16), blue: (0, 0)
Icon
red: (89, 23), green: (41, 17), blue: (0, 0)
Lady
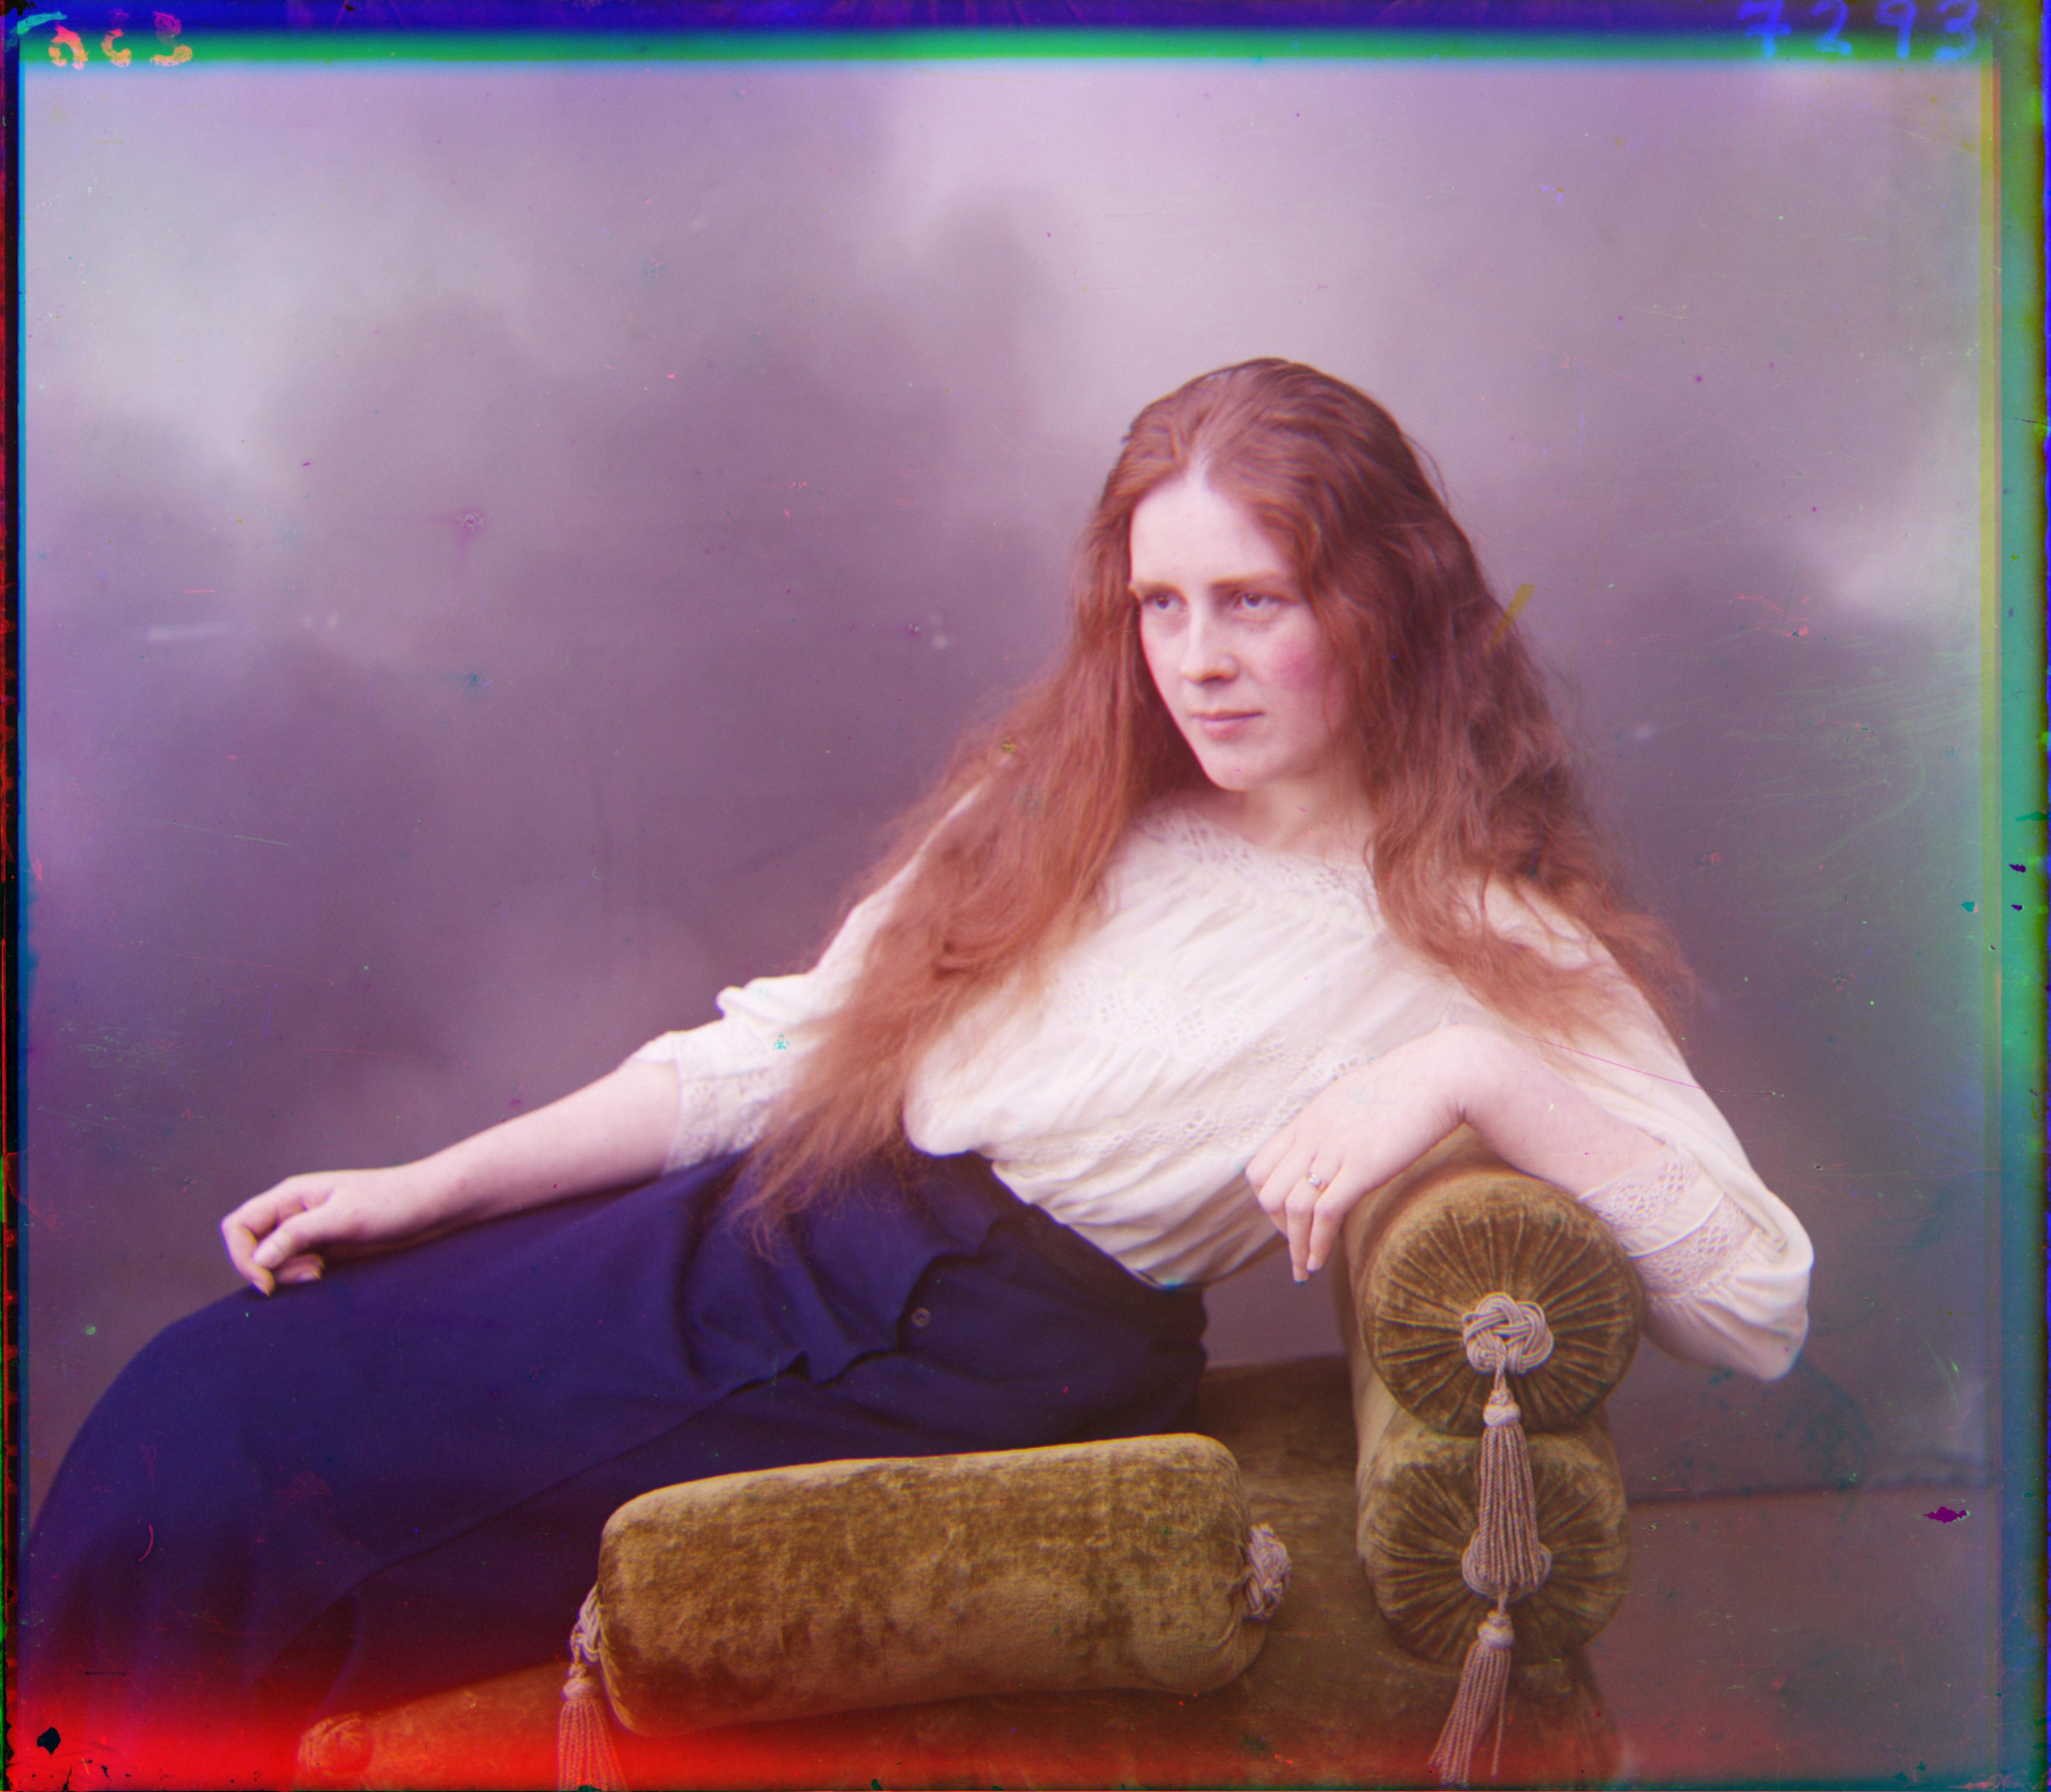
red: (112, 11), green: (51, 9), blue: (0, 0)
Melons
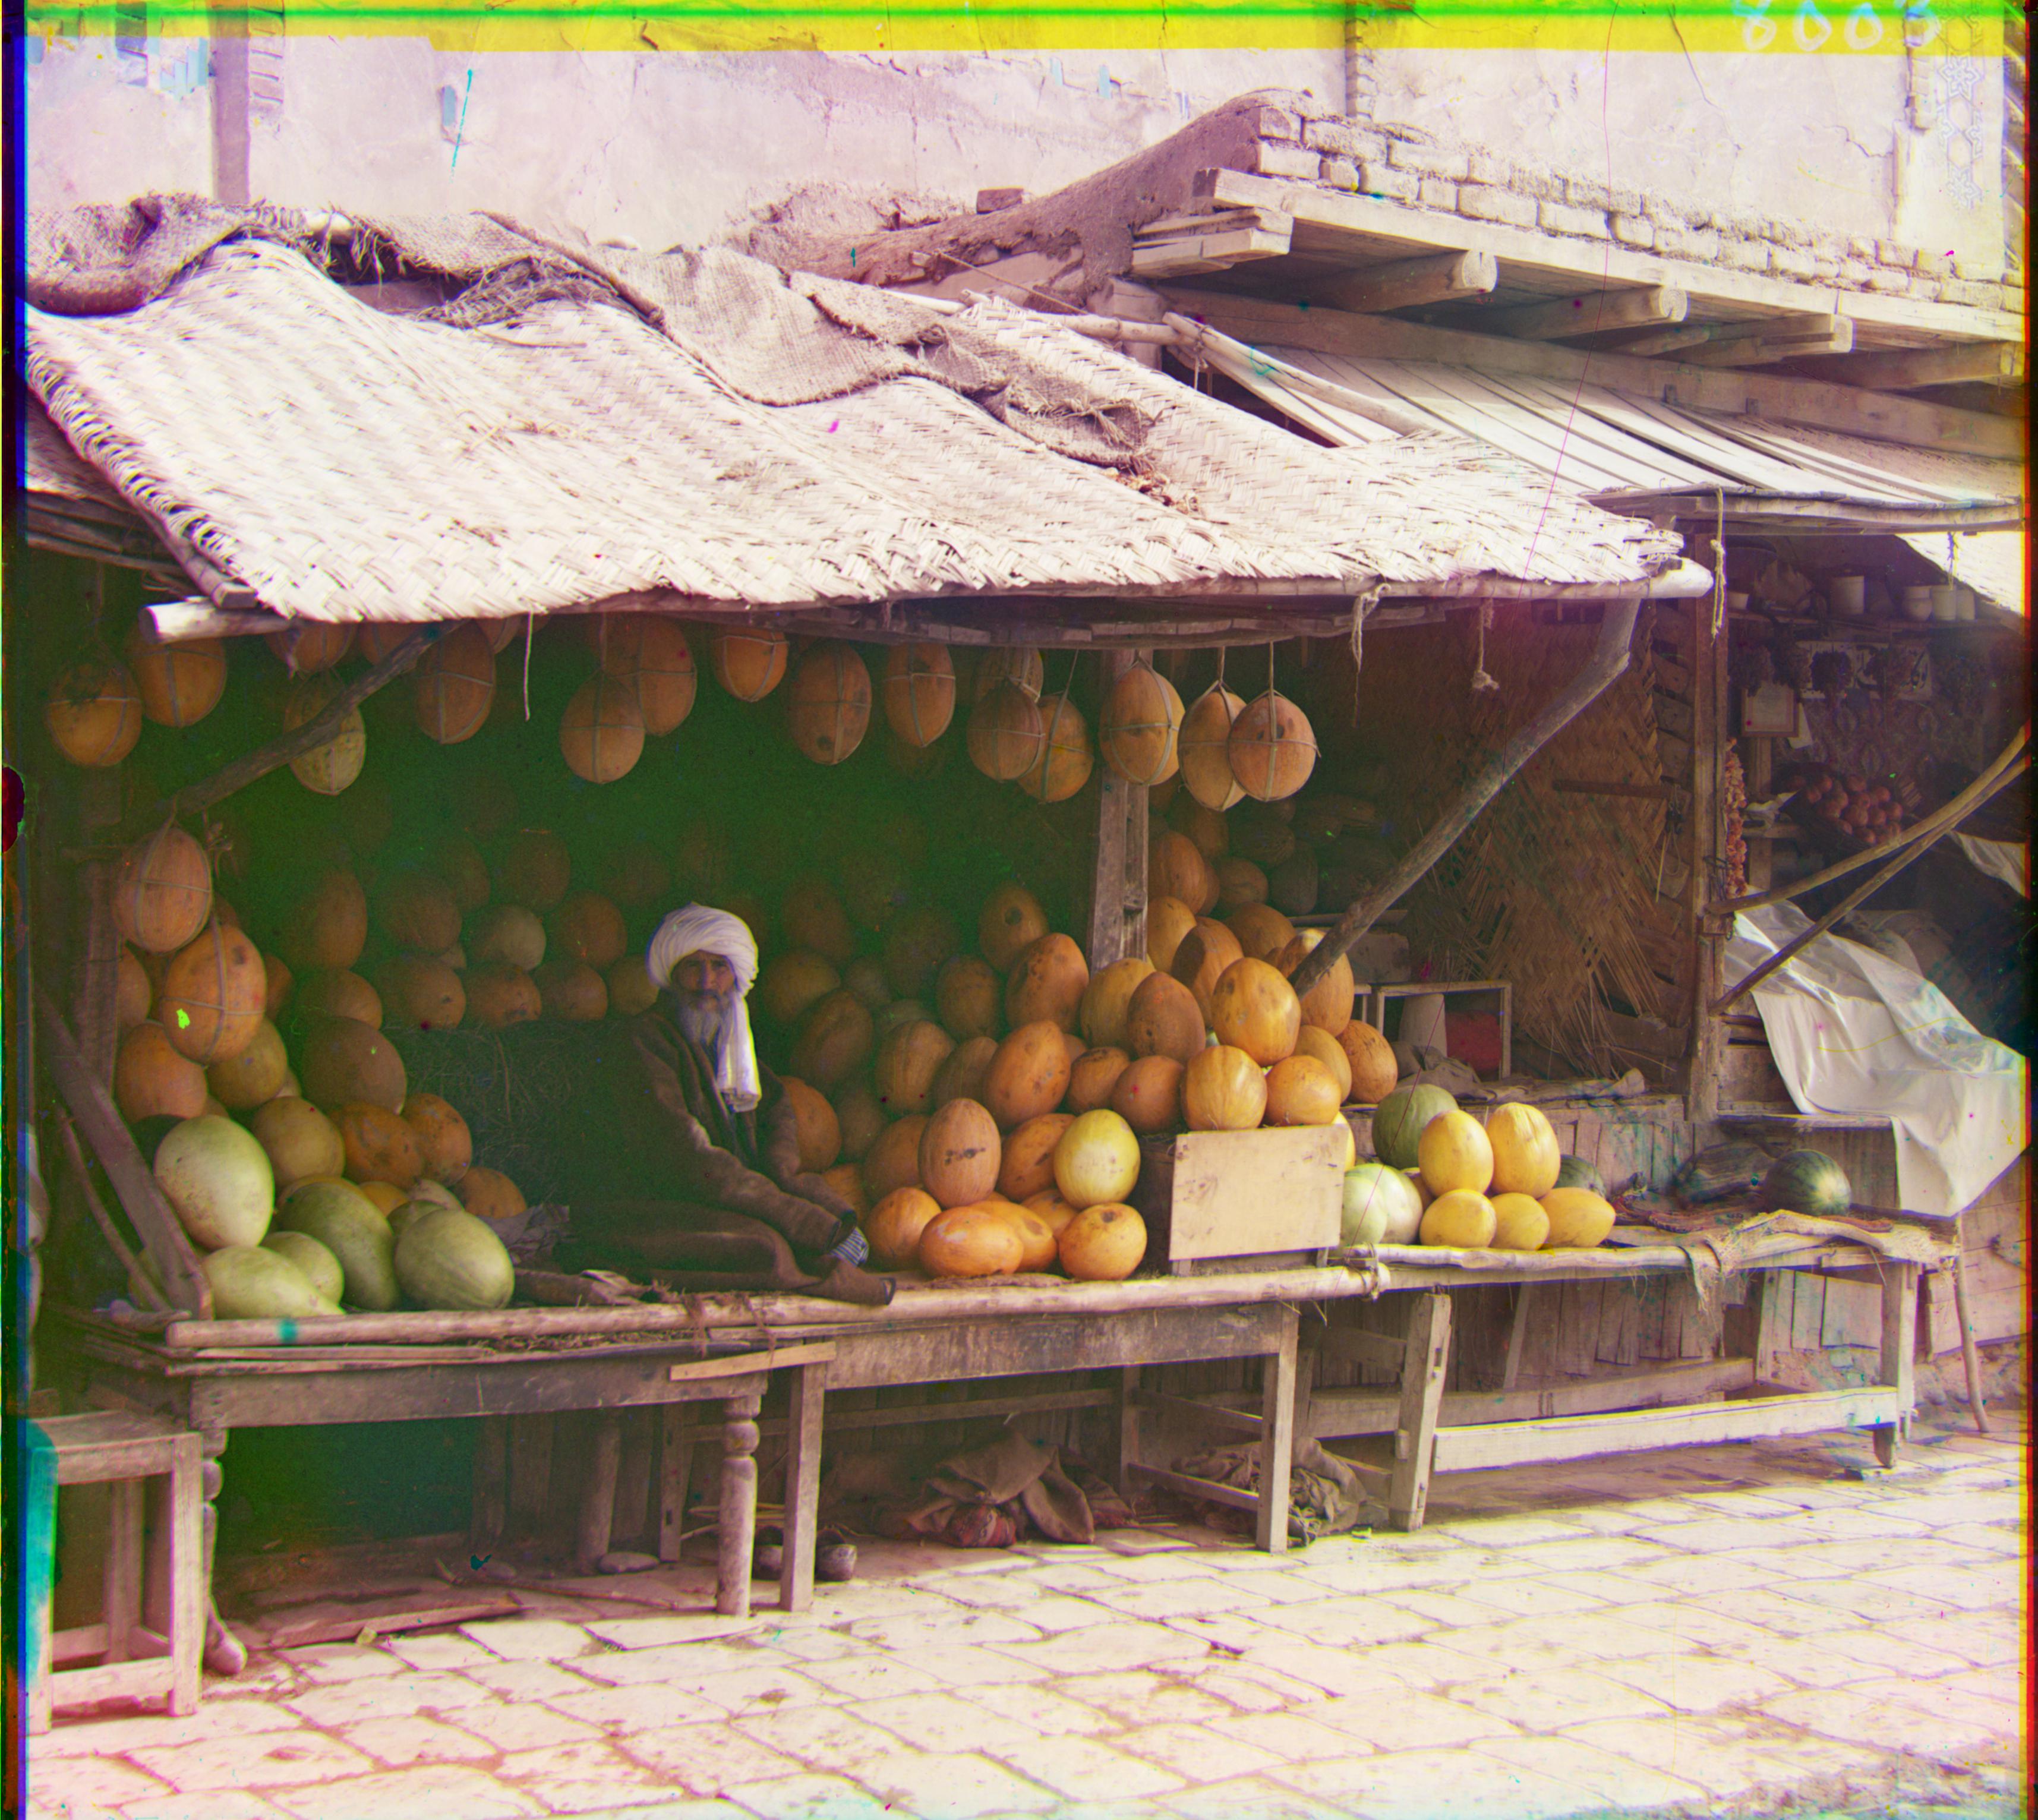
red: (178, 13), green: (81, 10), blue: (0, 0)
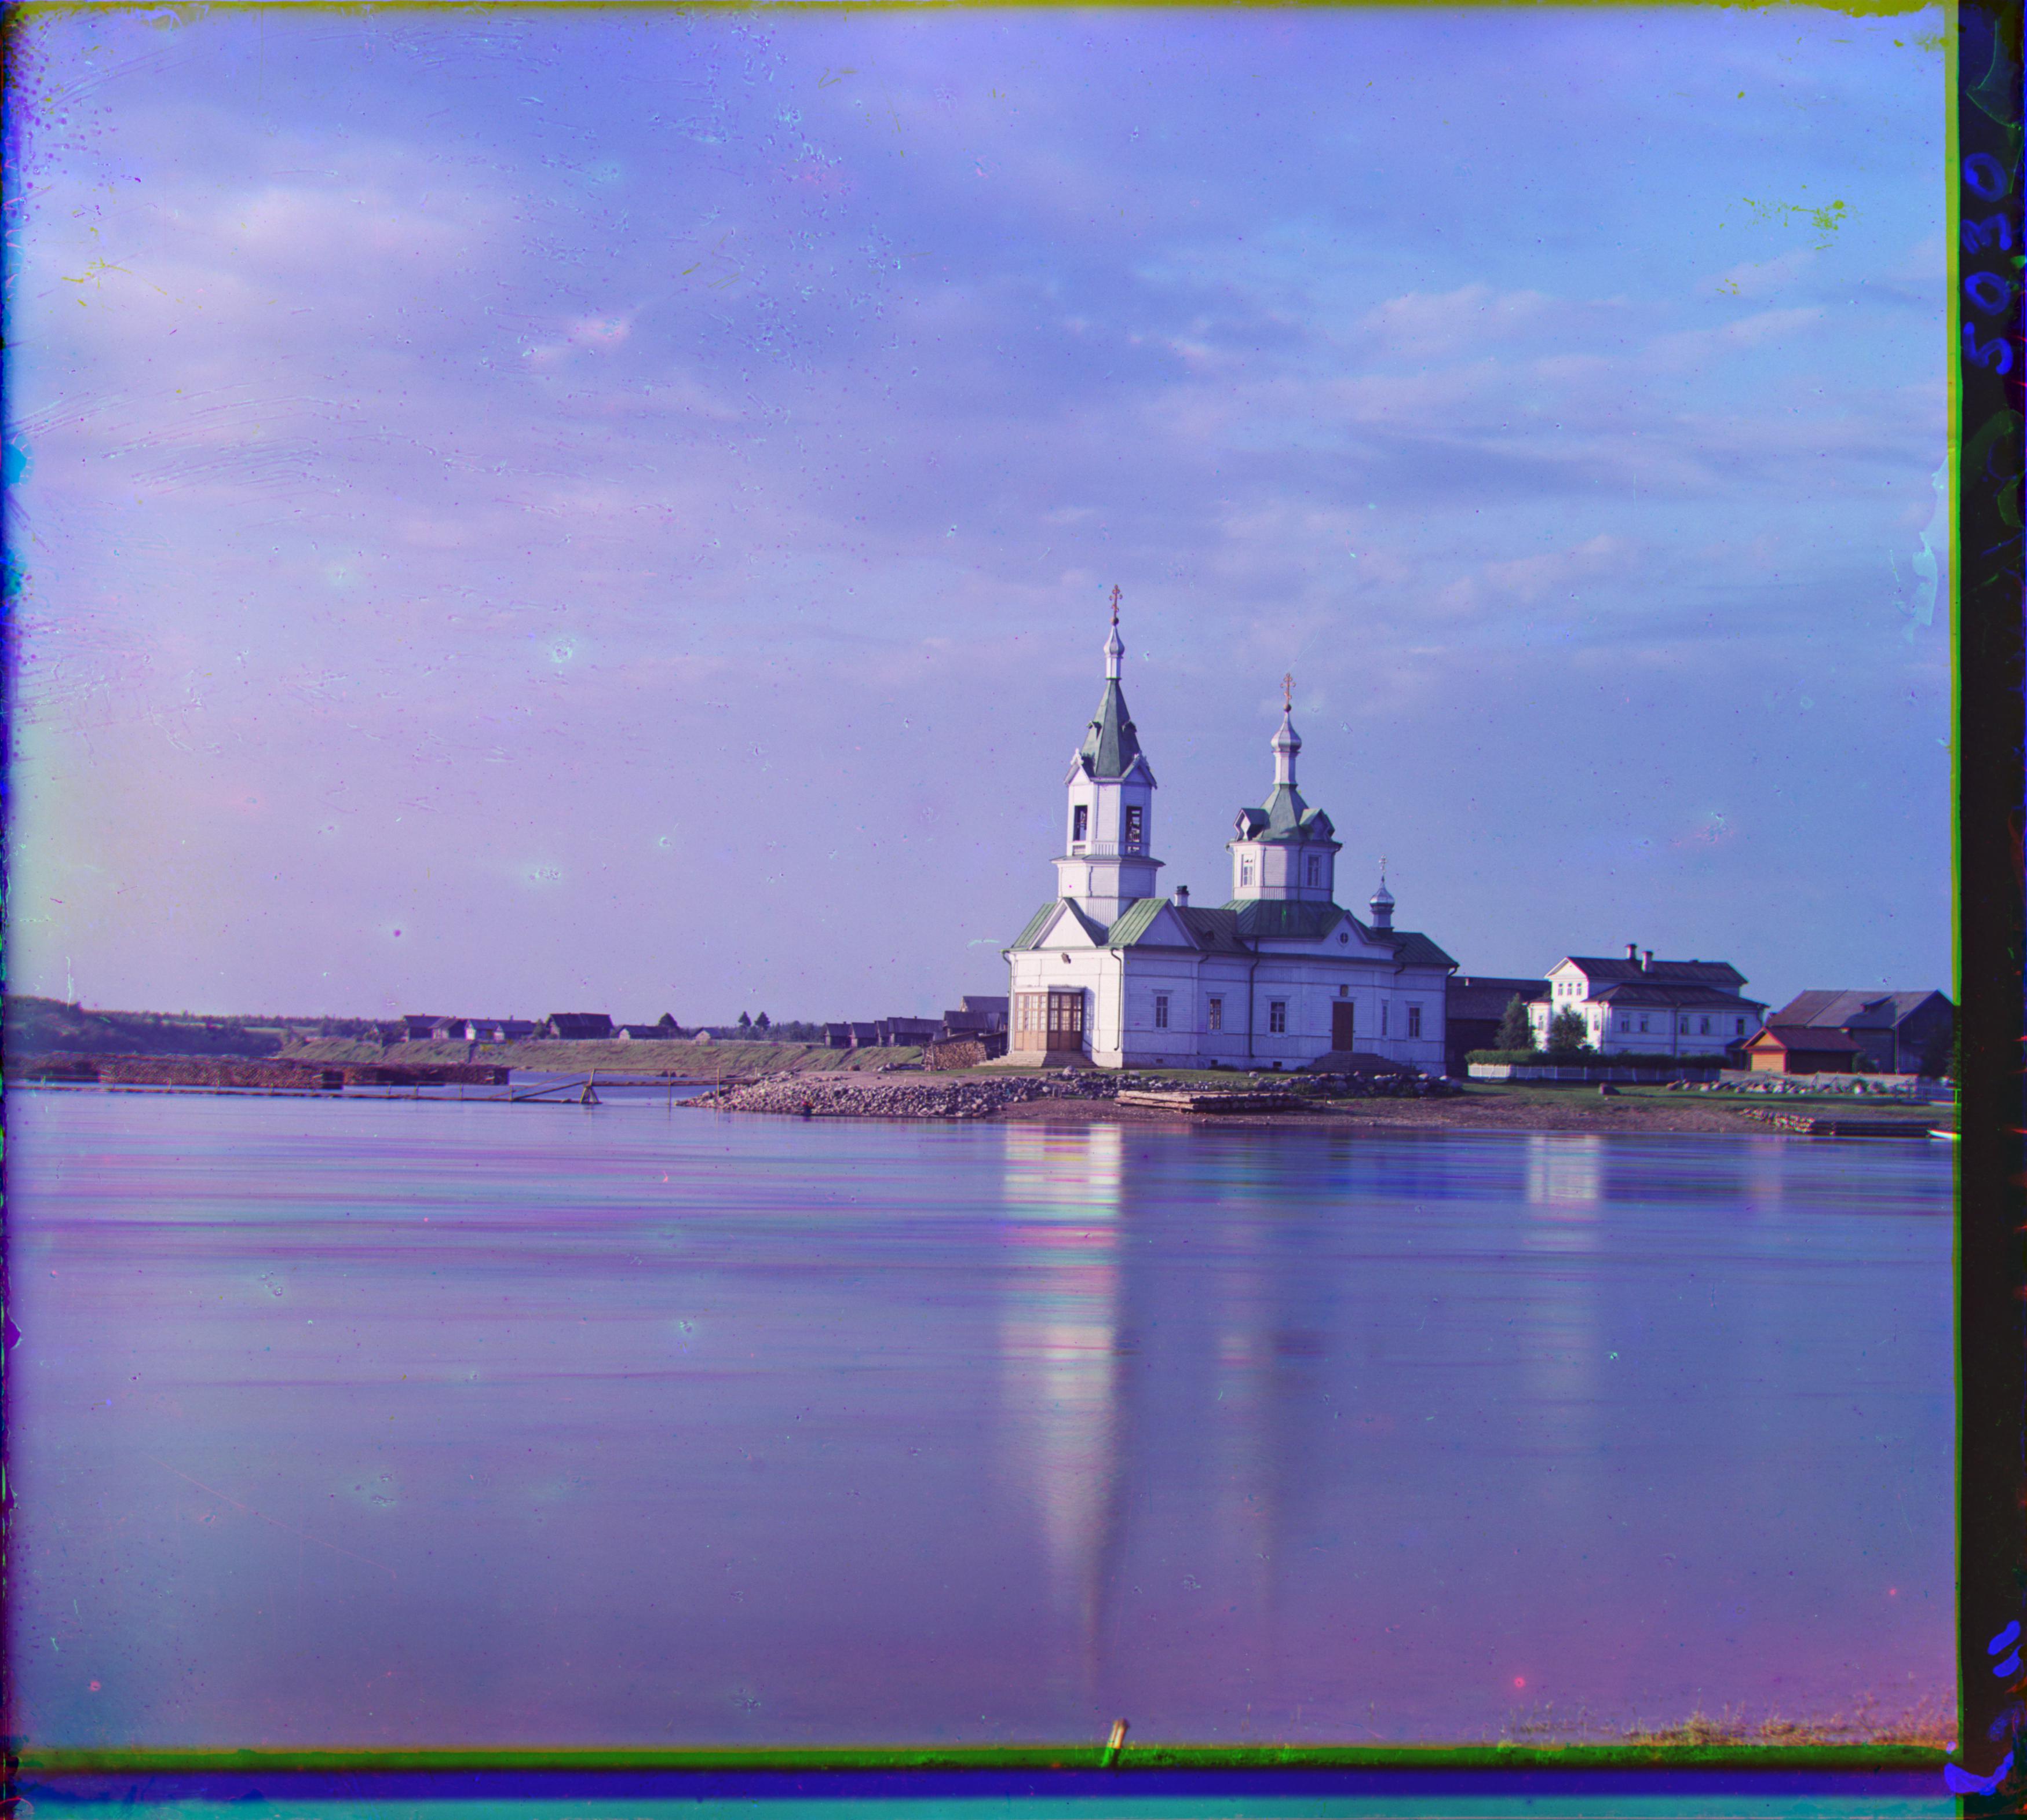
Monastery
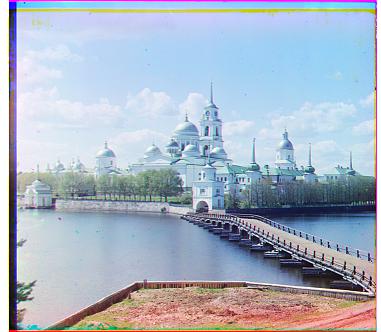
red: (3, 2), green: (-3, 2), blue: (0, 0)
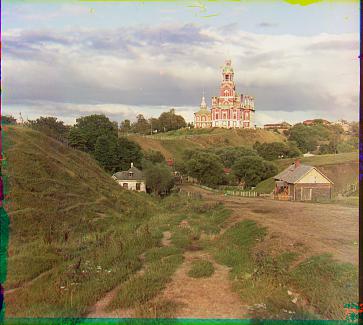
Onion Church
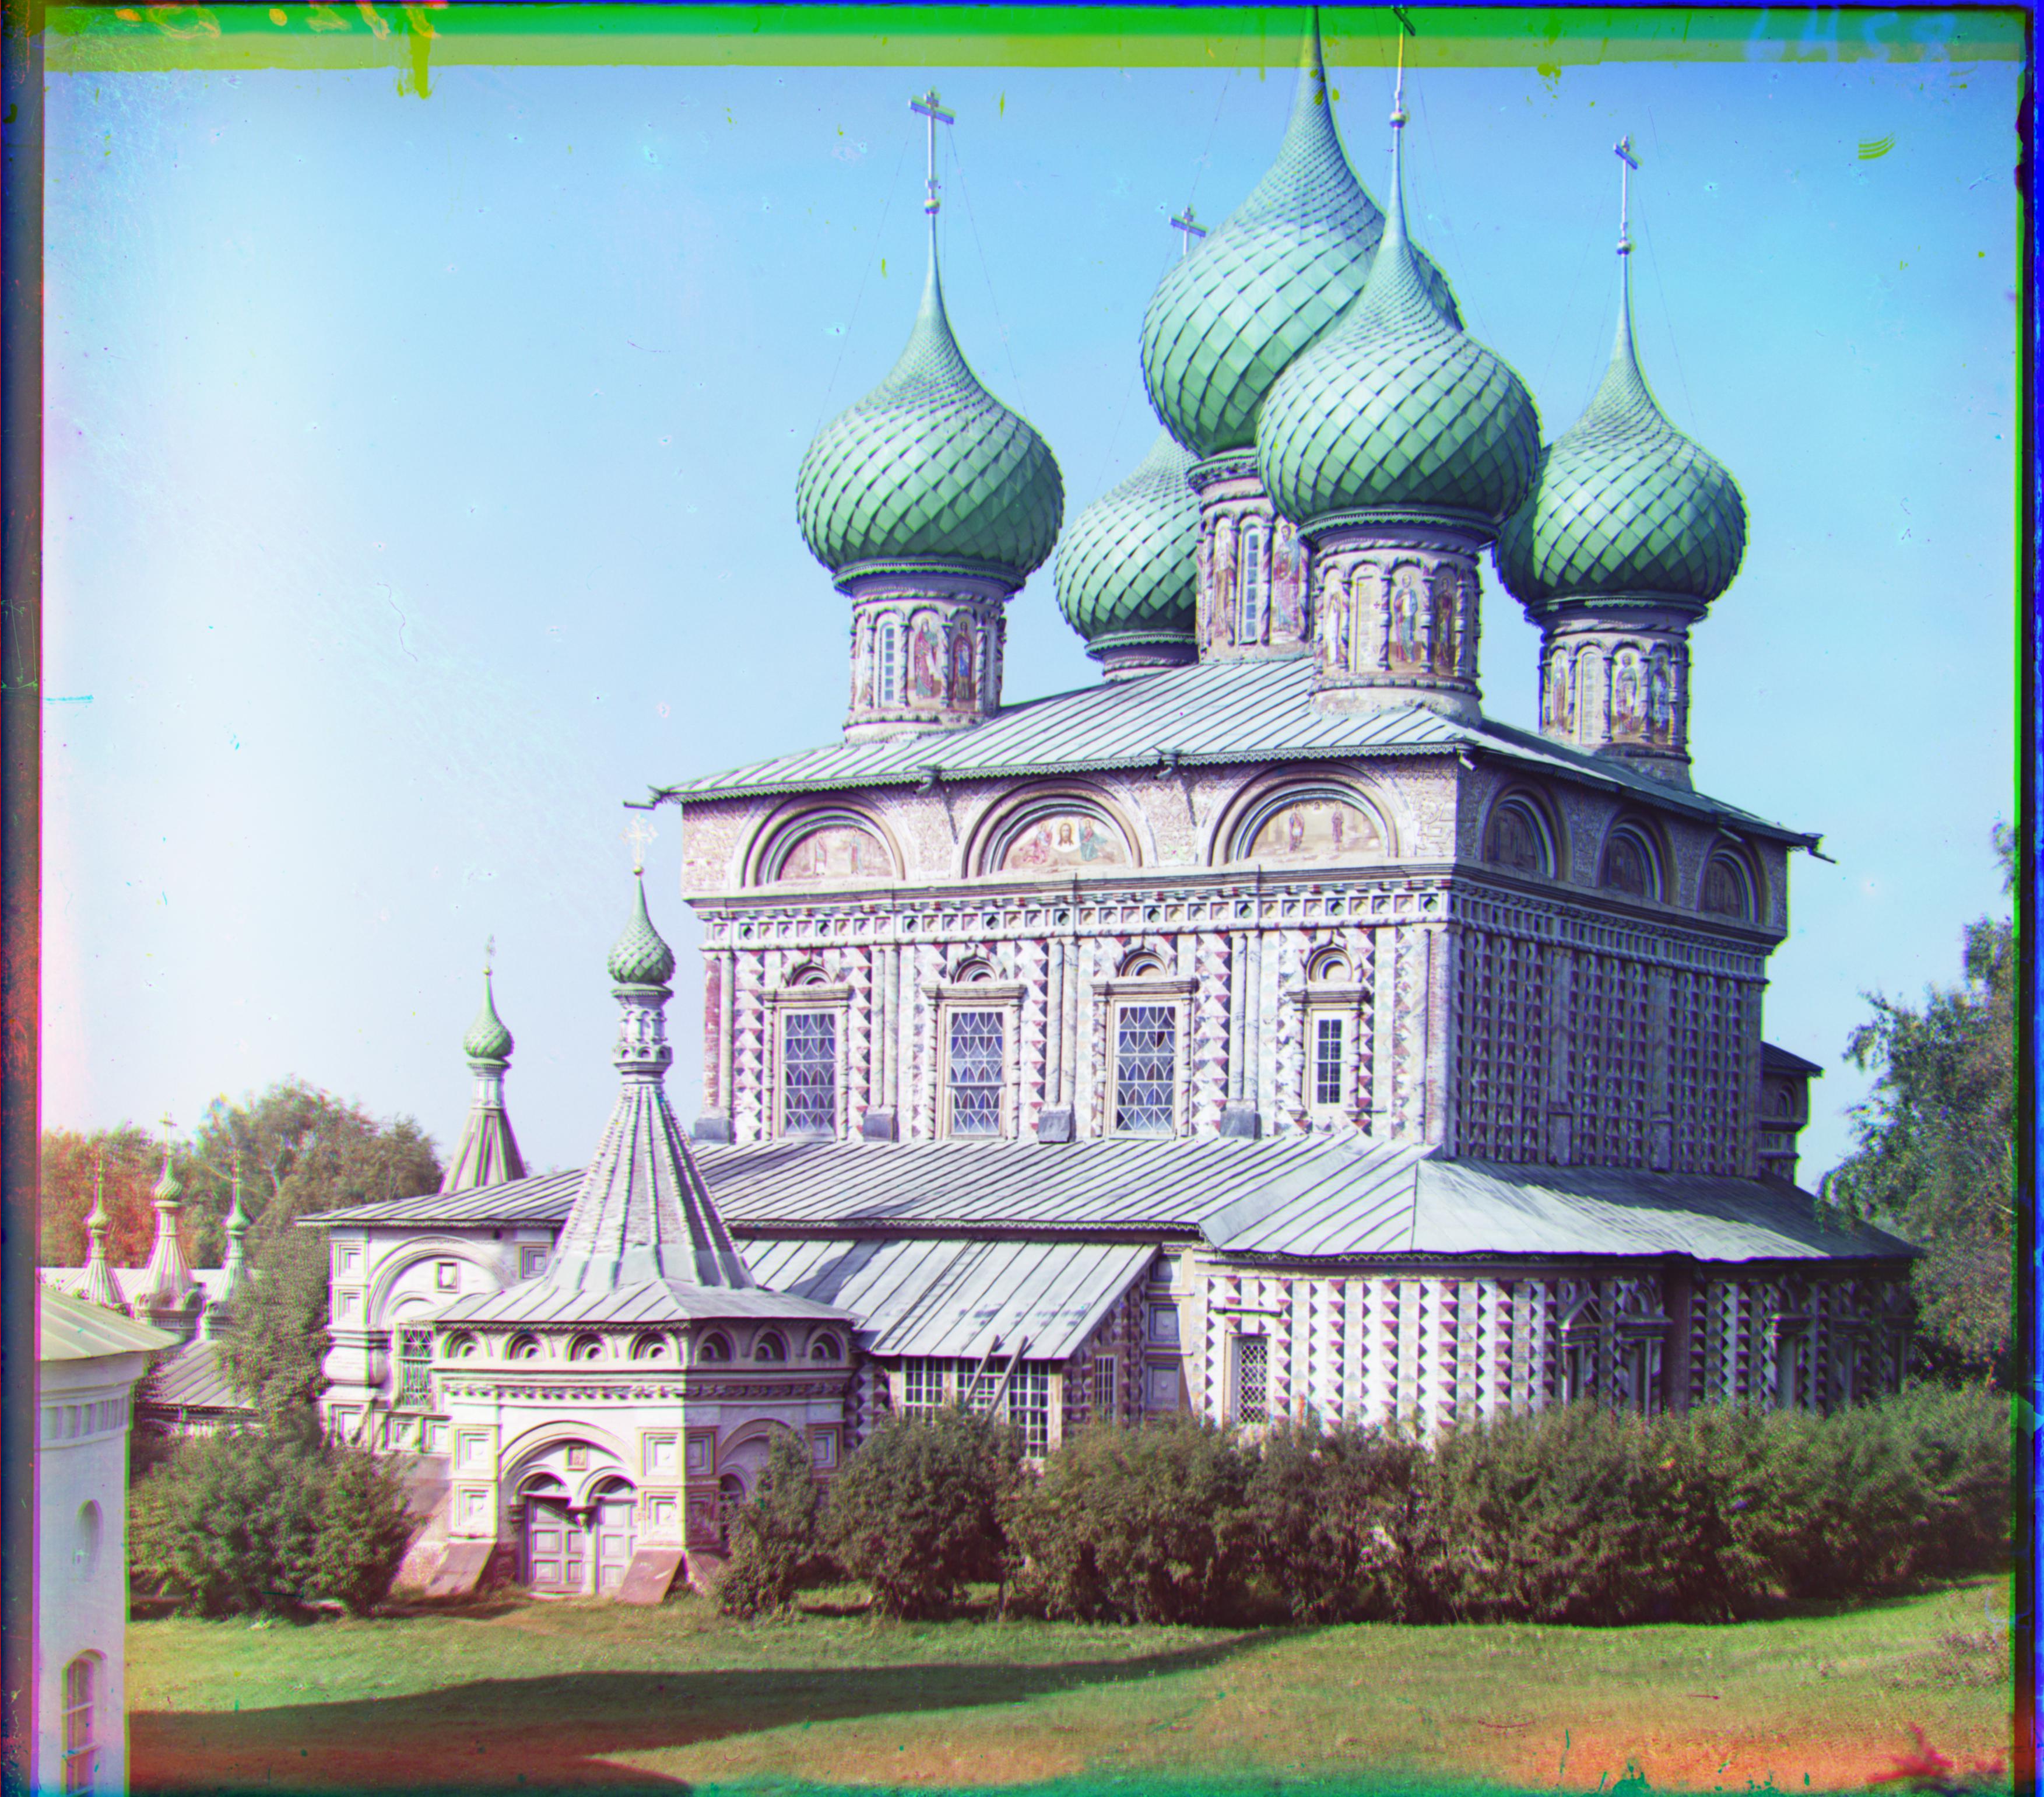
red: (108, 36), green: (51, 26), blue: (0, 0)
Self Portrait

red: (176, 37), green: (78, 29), blue: (0, 0)
Three Generations
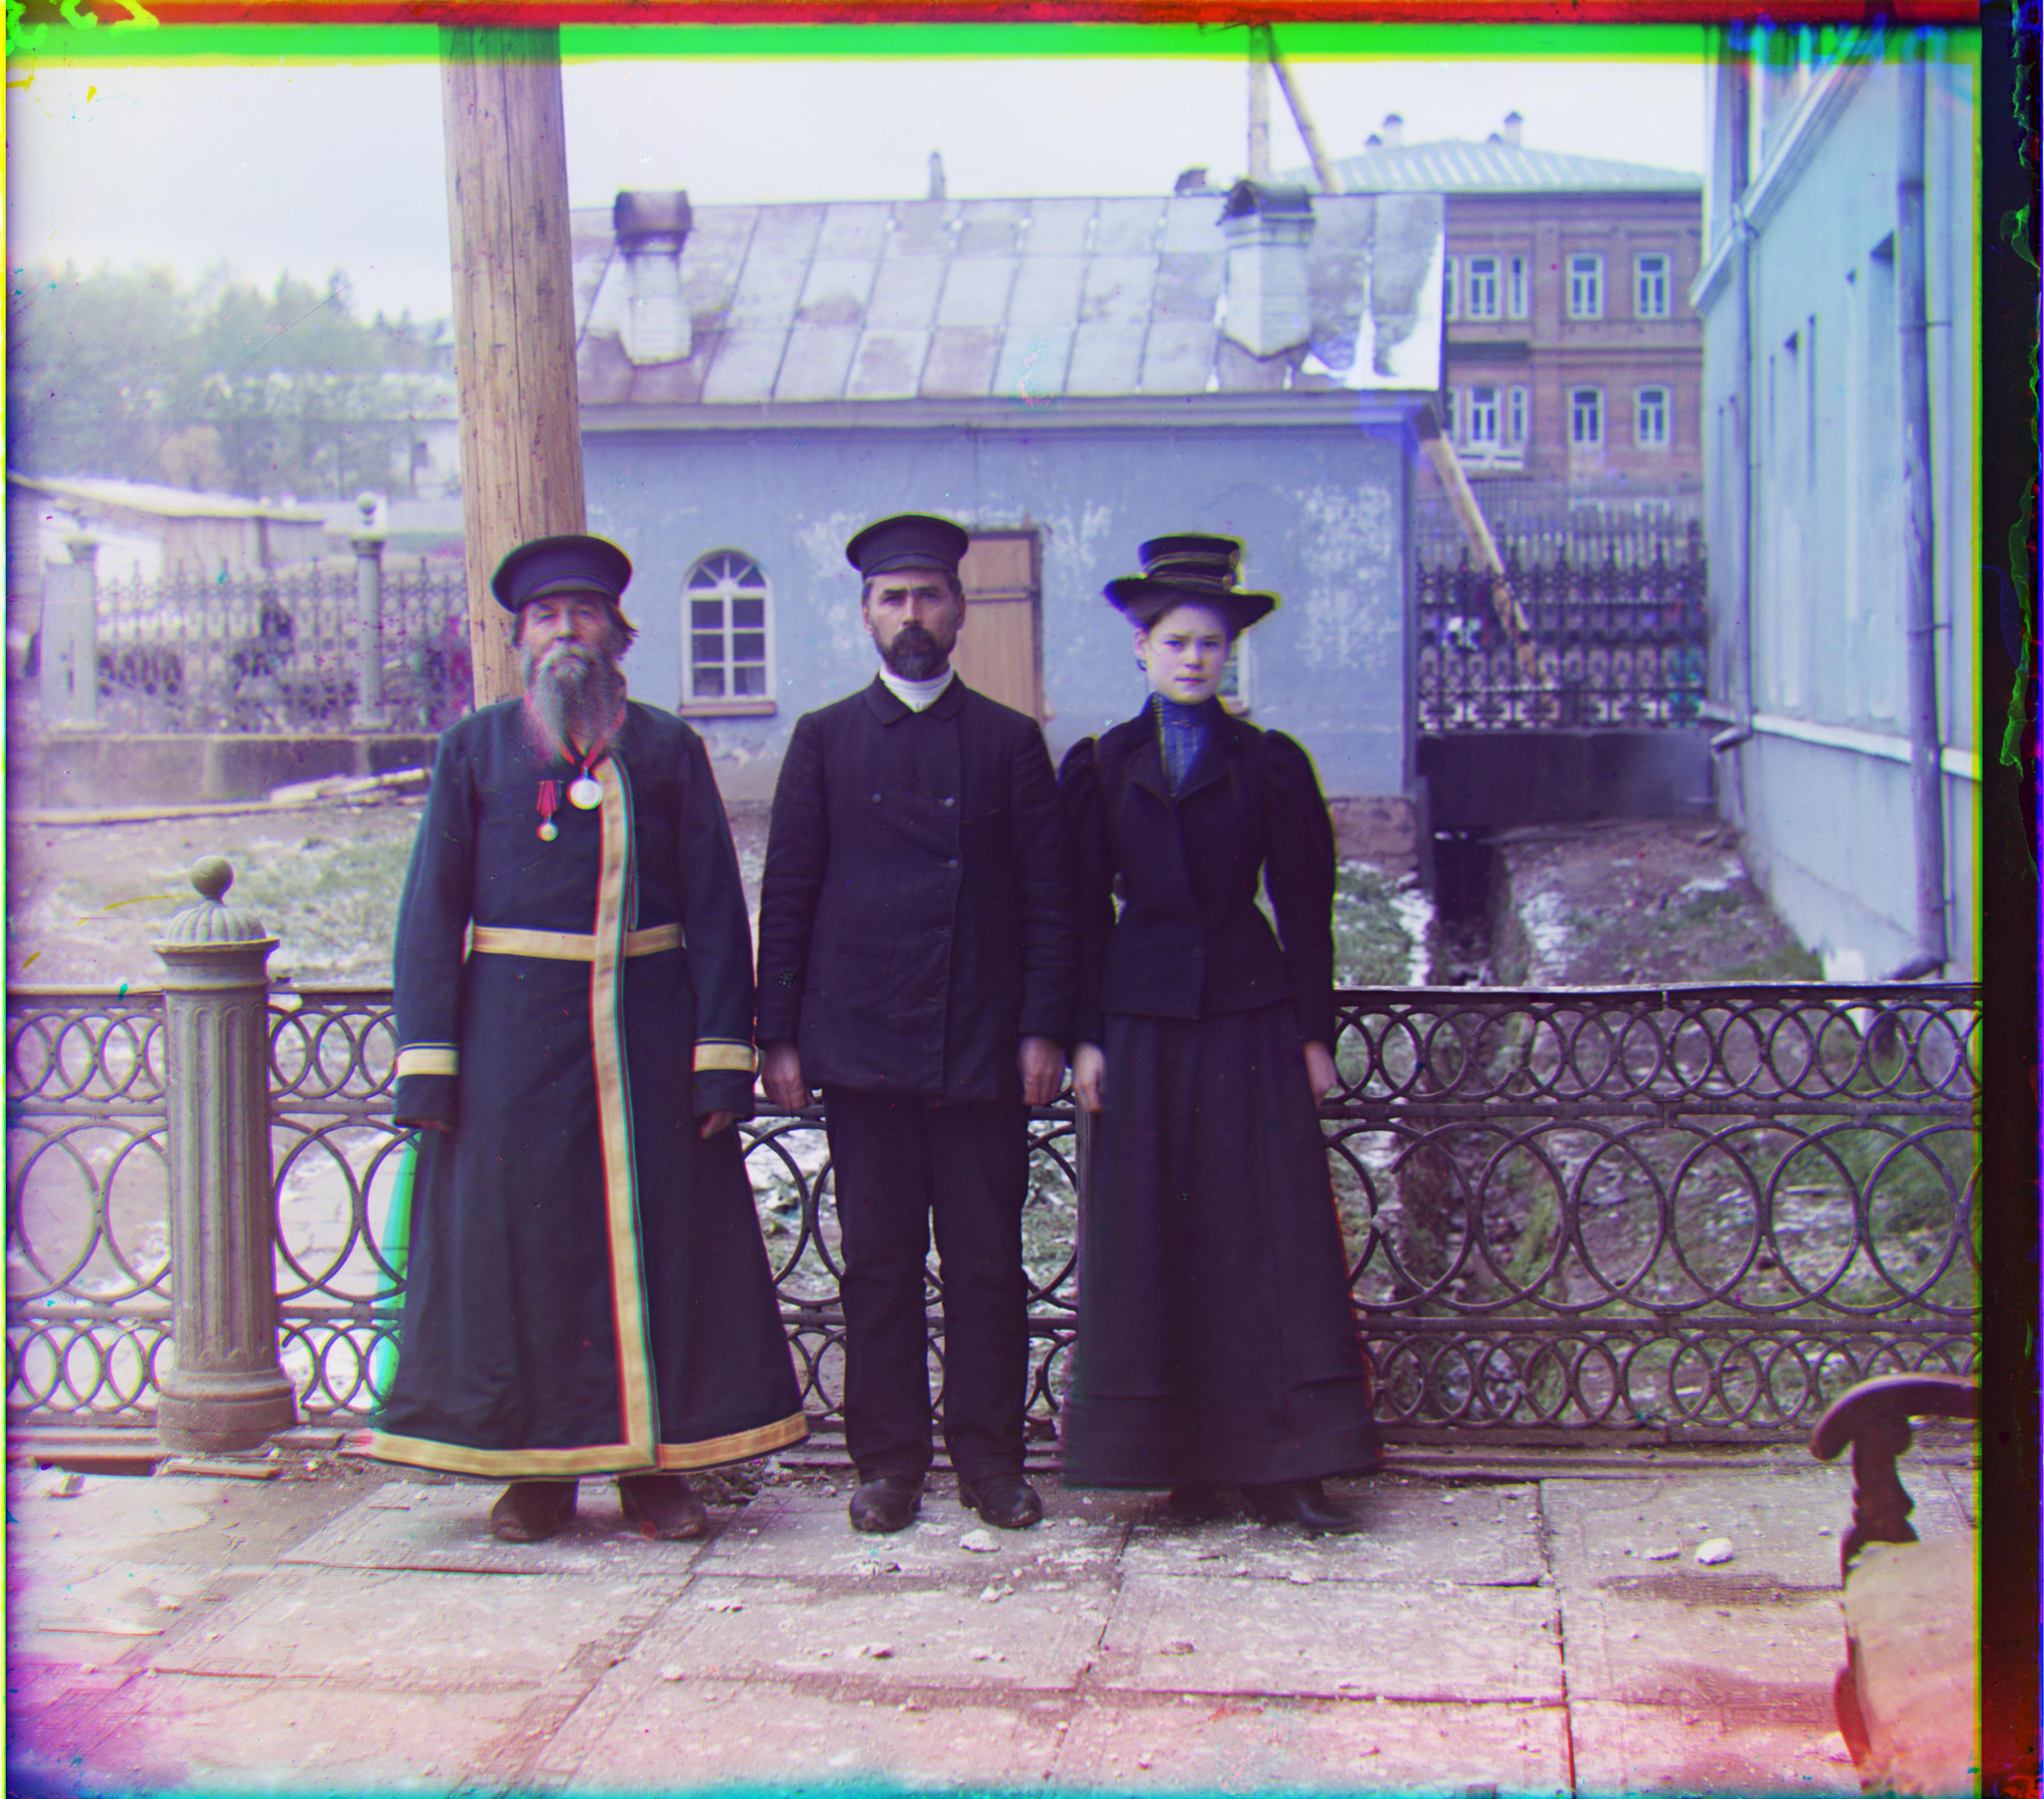
red: (112, 11), green: (53, 14), blue: (0, 0)
Tobolsk
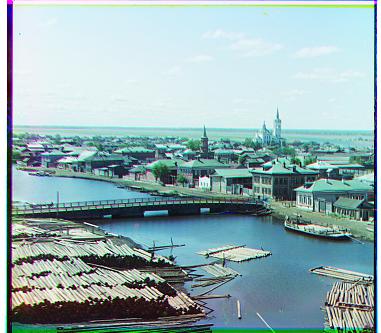
red: (6, 3), green: (3, 3), blue: (0, 0)
Train
red: (87, 32), green: (42, 5), blue: (0, 0)
Workshop
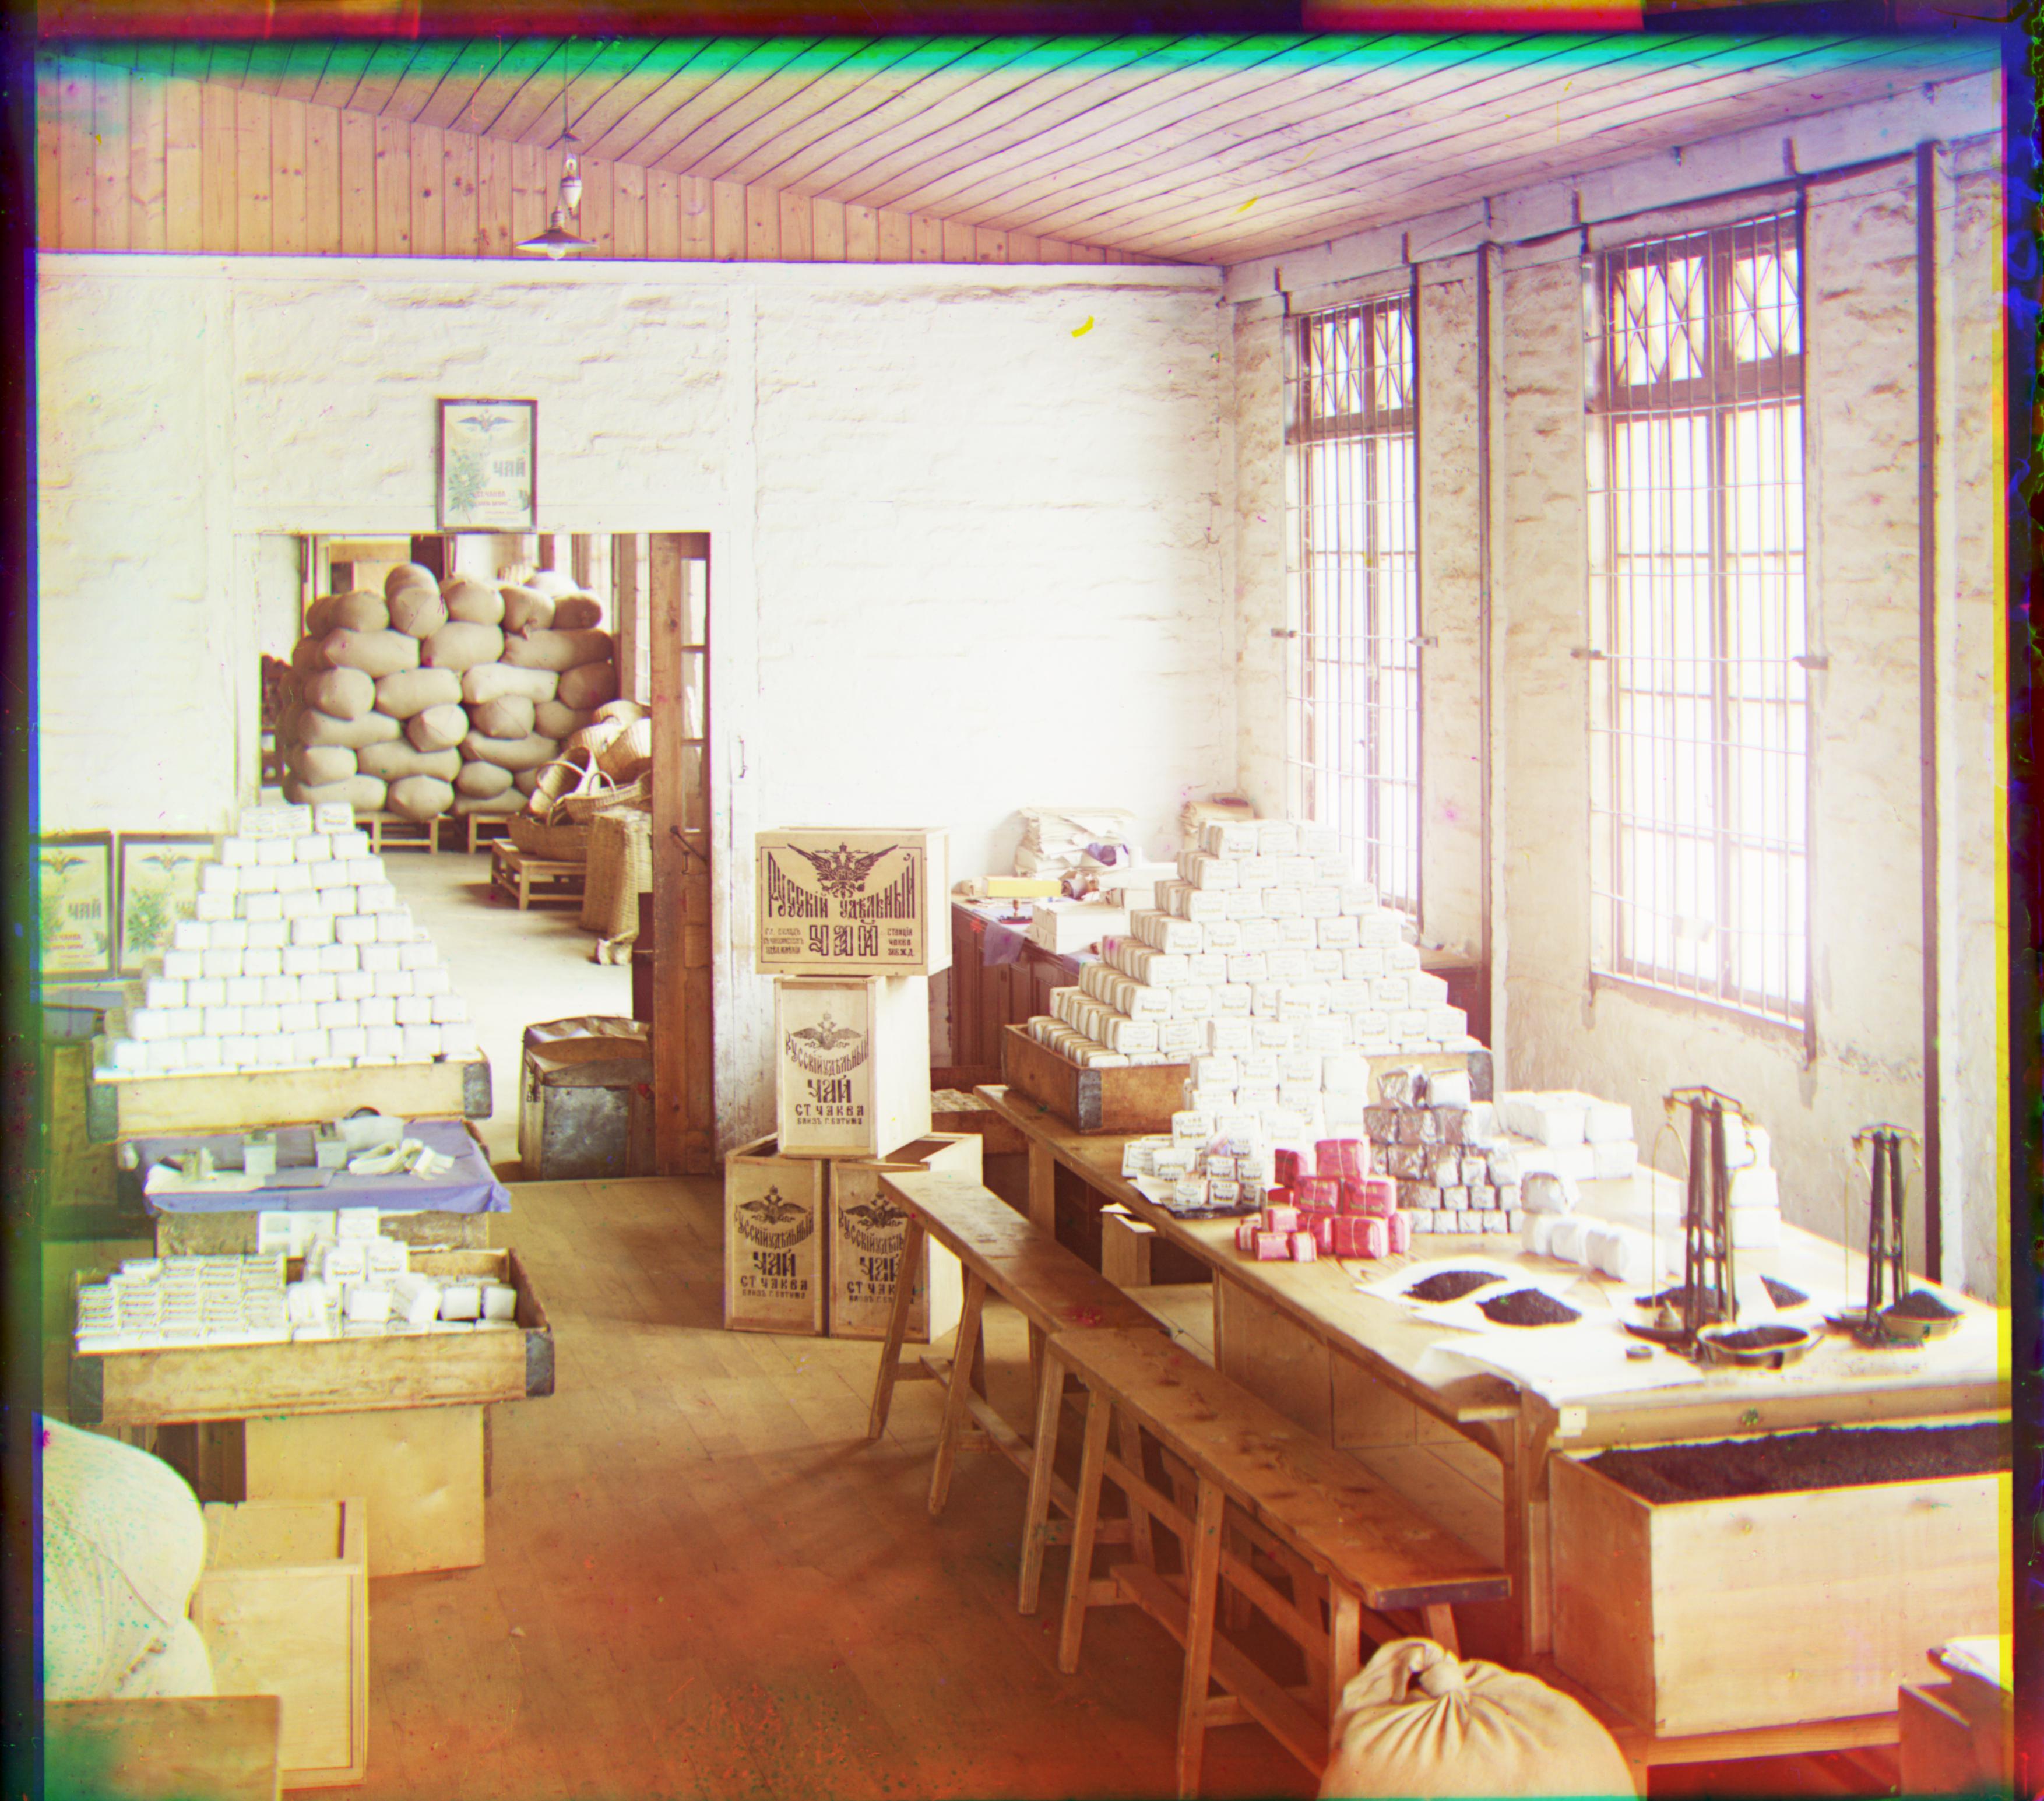
red: (105, -12), green: (53, 0), blue: (0, 0)