The goal of this assignment is to take the digitized Prokudin-Gorskii glass plate images and, using image processing techniques, automatically produce a color image with as few visual artifacts as possible. In order to do this, we need to extract the three color channel images, place them on top of each other, and align them so that they form a single RGB color image. Examples of plate images can be found here.
For a given plate image input, the top third corresponds to the blue channel, the middle corresponds to the green channel, and the bottom corresponds to the red channel. At a high level, our goal is to first split the plate into the three channels, then to find the optimal alignment of these channels, and finally to stack the channels into a final color image. Splitting the image is not particularly complicated, as we can just split the input into thirds. Stacking is also simple, as we just have to take three matrices and stack then along a 3rd axis. Thus, the main complexity of this task arises in the alignment. Moreover, as part of the bells and whistles, I have added some extra post-processing that I apply to the images, but this will be discussed in its own section.
The task of alignment is simplified by a few assumptions. First of all, because each of our channels should correspond to the same image (captured in rapid succession), we can assume that any error in alignment will be minimal. Thus, we begin by assuming that we will only have to shift images by about 15 pixels in the x and y directions. For small images (say 300x300 pixels or less) we can find the optimal alignment over a given distance metric by brute force by simply considering every possible displacement, computing the metric at that displacement, and then selecting the displacement that resulted in the smallest distance. This is reasonable so long as our images are small, and our metric is relatively efficient to compute.
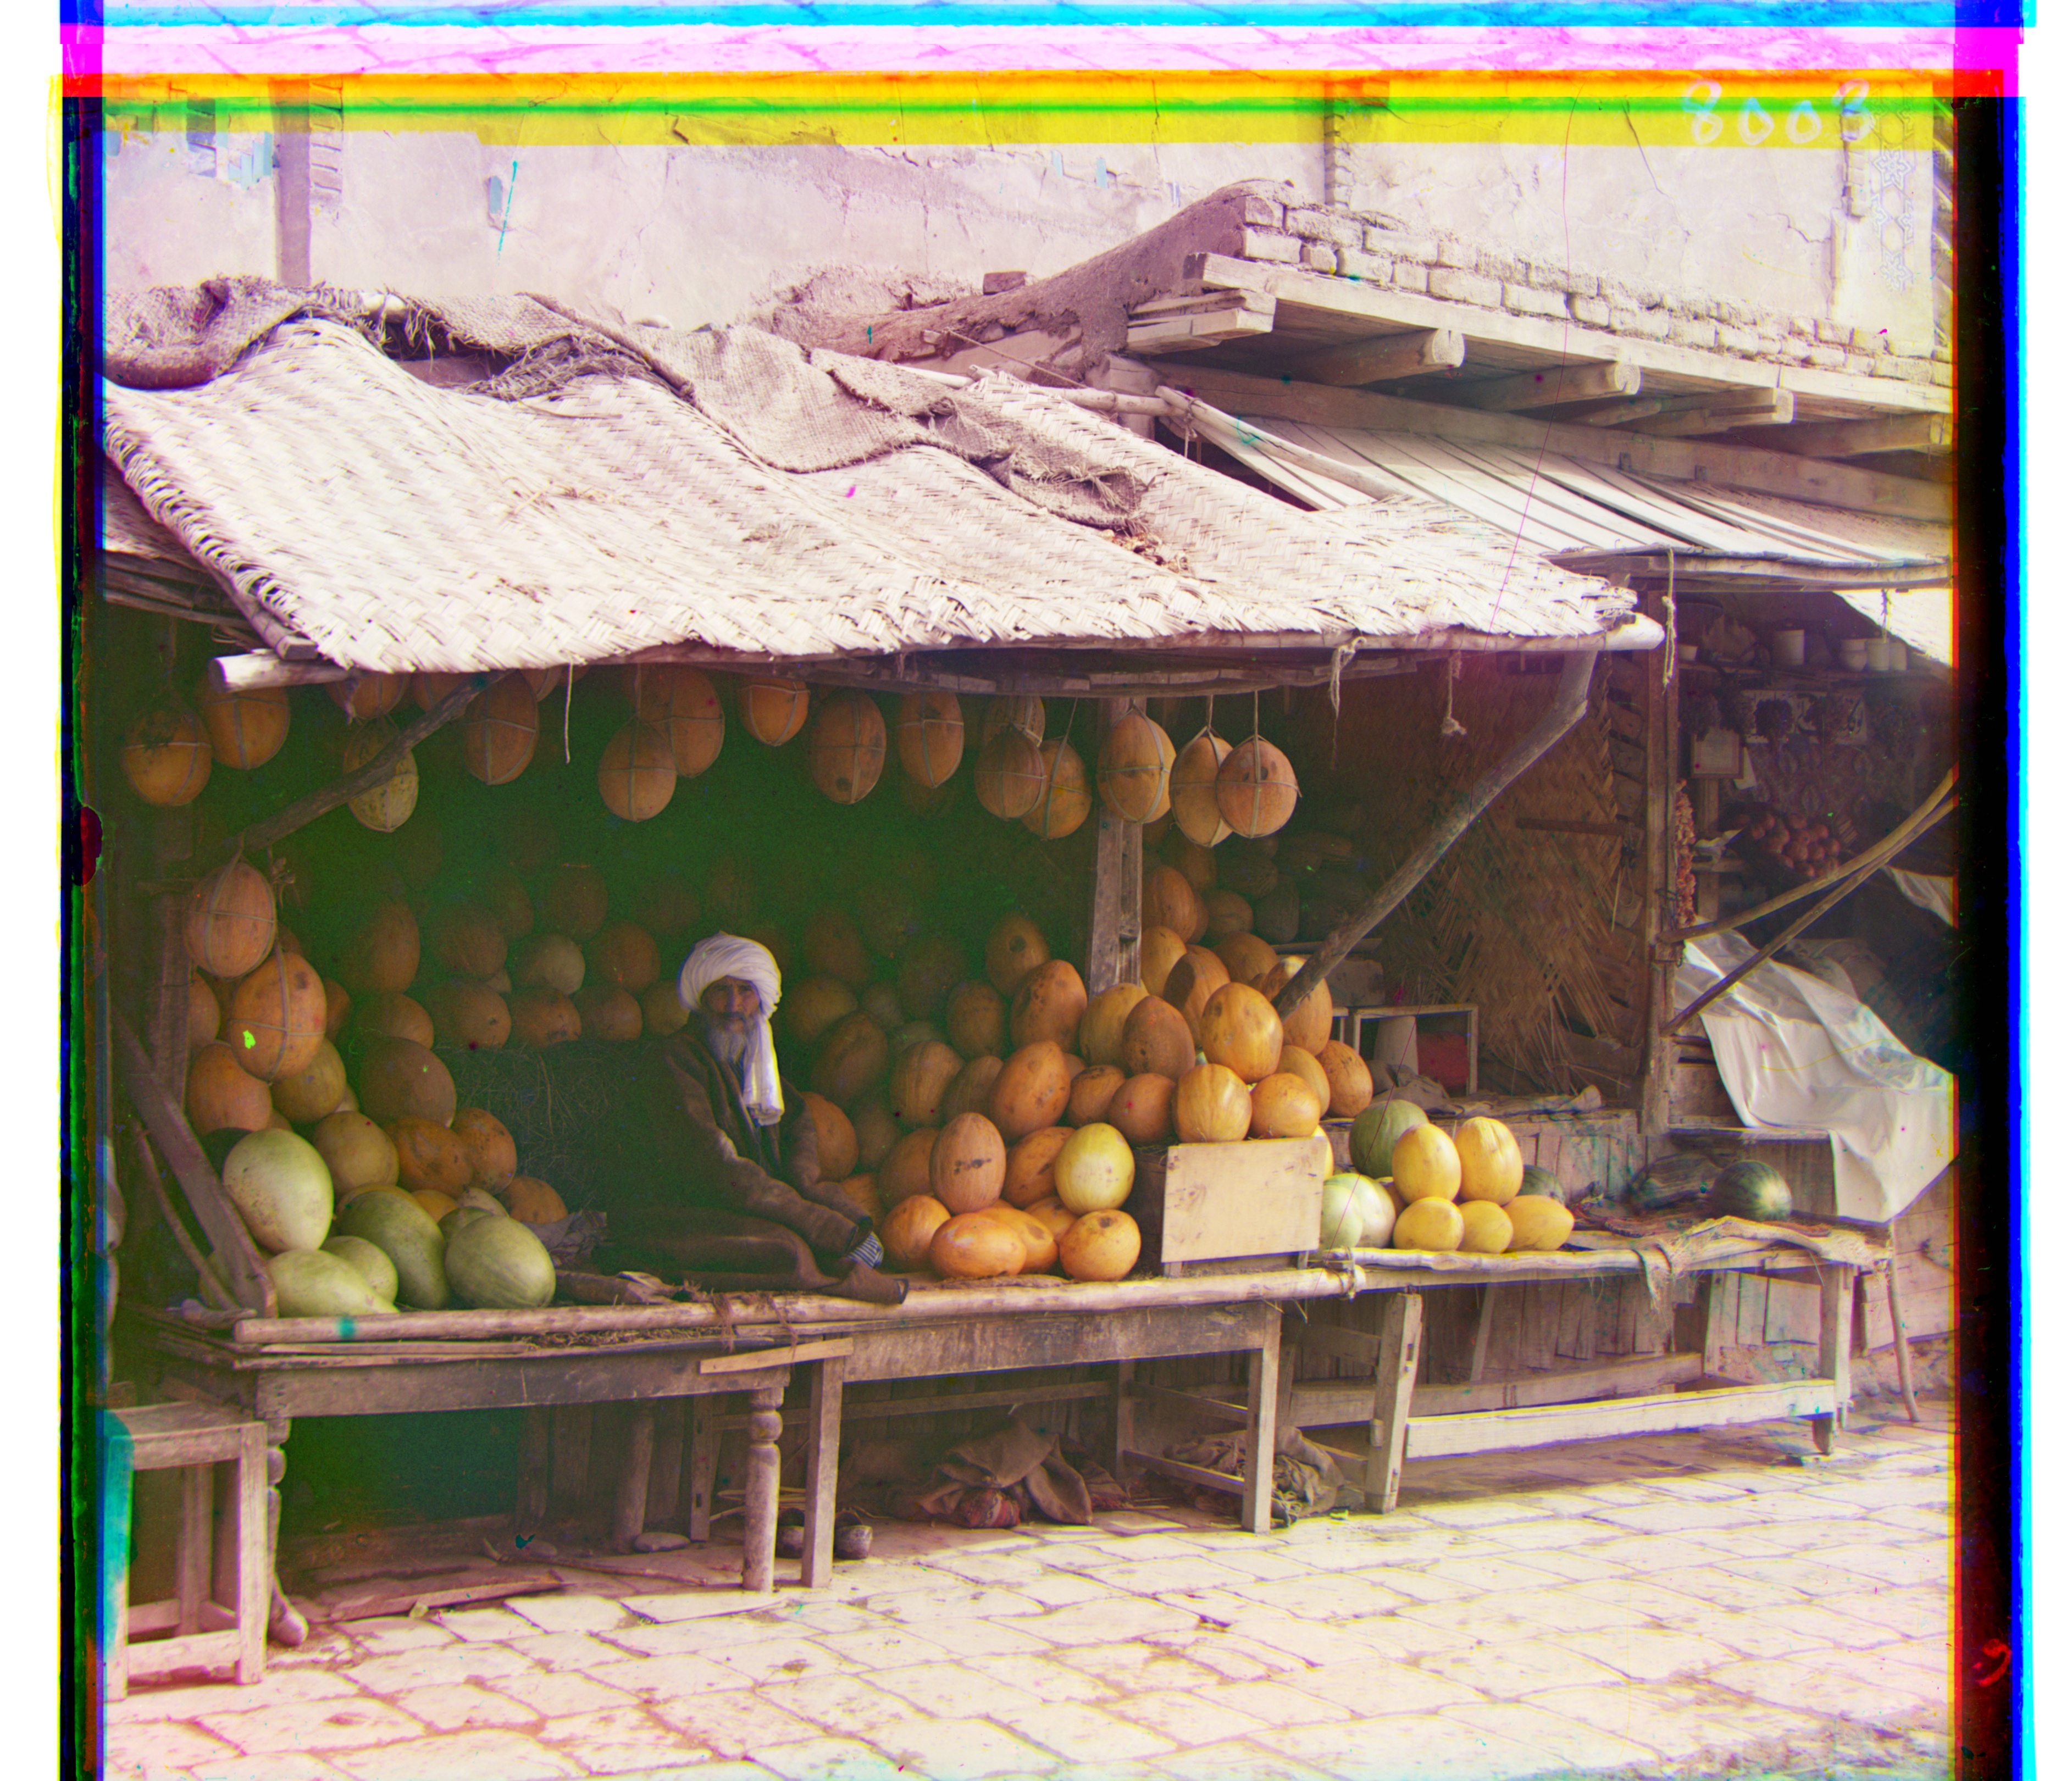
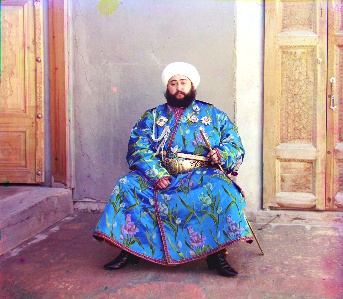
The metric I used in my project was the L2 norm where we treat a 2d matrix as a vector by unraveling the matrix. The assumption we are making by using the L2 norm is that the brightness is roughly equal between the different color channels. As we will discuss later, this was not actually the case for every image (such as the image of Emir), and so some pre-processing was required before computing the L2 norm between two channels.
Computing the norm is linear in the area of the image, and since some larger image files have a lot of area, this process becomes very slow when attempting to brute force the optimal displacement. Moreover, it is possible that larger images require more displacement than merely 15 pixels. The approach used to fix this problem is to attempt to iteratively converge to an optimal solution. At a high level, in order to find the optimal displacement for a large image, we seek a fast way to get an initial guess of what the optimal displacement should be, and then fine tune that guess by searching a neighborhood of 2 pixels around that guess. One such way to accomplish this is by taking our large image, downscaling it to be half the size, computing the optimal displacement on the downscaled image, and then using twice that displacement as our initial guess for the optimal displacement on the large image. The reason we multiply by two is to account for the stretching that occurs when going between these two image resolutions. However, if our image is really large, we can still run into the same issue regarding speed to compute when we halve the size of the image. Thus, we can use a recursive approach which will continue to halve the size of the image until we hit a base case of images being less than 250 x 250 pixels, at which case we can brute force the optimal alignment in a 15 pixel range. Applying this technique brought about a considerable speedup to the time it takes to process the large plate image files compared to brute force, which often took several minutes to process a single image.
A couple optimizations were able to be made for getting better results during alignment.
First, I will provide a list of extra features I implemented, and then I will discuss them below.
I discussed this a bit in the minor optimizations section, so I won't reiterate too much here. However, I will mention that using canny edge detection significantly improved the quality of my outputs as it reduced noise in the L2 norm calculations.
This was a feature that I needed to implement because the borders of some of the output images looked absolutely disgusting.
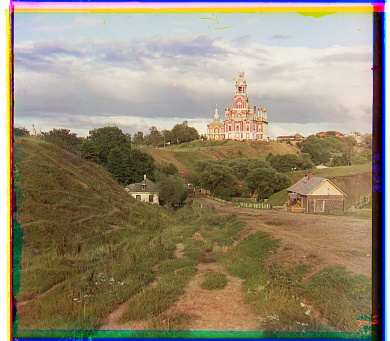
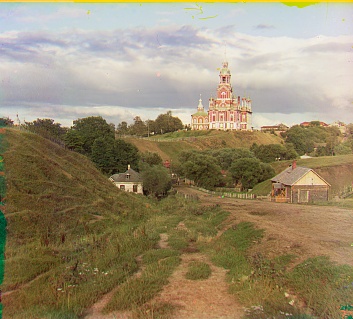
My approach for auto cropping was to handle each border individually. I would first produce my output image using the above techniques, and then create a grayscale version of the image. This was because the borders were often a blend of colors in the color version of the images, however by converting to grey scale each border looked roughly the same (black). My goal was to determine how long the border was, which can be found by finding the point at which the image changes from all black to white/gray. For a given border, I essentially created 20 "crawlers" that I spaced equally along that border. Each crawler would then move across the image a couple pixels at a time, keeping track of how far they have gone, and continuing to traverse the image until they hit a pixel that is no longer considered to be black. I used a tunable threshold to determine how dark a pixel should be for it to be considered black to the crawler. Once all crawlers had finished traversing, they append the distance they travelled to a list. At the end, the median of the list is used to decide where the image should be cropped. This process was repeated on each border, and then the same crop was applied to the color image, thus completing the process. While this technique is not 100% perfect, I am quite happy with the results. Here are some side by sides to compare non-cropped photos with those that were automatically cropped:
Finally, some of the images just looked slightly off in terms of their colors. While this is likely more of an issue with the color format, I figured that attempting some white balancing could help make the images look a little cleaner. However, automatically white balancing images is tricky, and although some algorithms exist, they each have their own downfall and require the programmer to make some assumptions about the images they are white balancing. For example, one approach to white balancing is to find what the brightest pixel in the image is, and then make scale all pixels up such that the brightest pixel now has a value of 255. However, this often results in overly bright images. Another approach is to take the average brightness of the pixels, and to shift this value to gray. I didn't try this approach, but it is known as the gray-world algorithm. The approach I ended up going with is to get the histogram of pixel brightness values, and to make the scale the pixels such that the pixel at the 97.5th percentile for brightness is the new white, and clipping any pixels that are brighter than this to have a brightness of 255. This had a much better result than the original max brightness algorithm, although the images are still not perfect. Moreover, the results of doing this type of shift are extremely subtle. Here are some side by sides (image on top is not white balanced, and the image below it is):

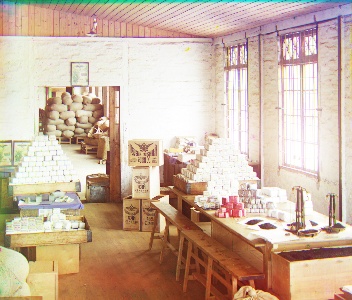
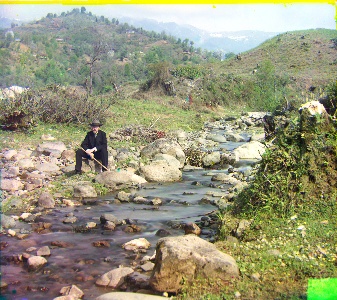
Workshop: Red Displacement: (-12, 105), Green Displacement: (-1, 53)
Emir: Red Displacement: (40, 107), Green Displacement: (24, 49)
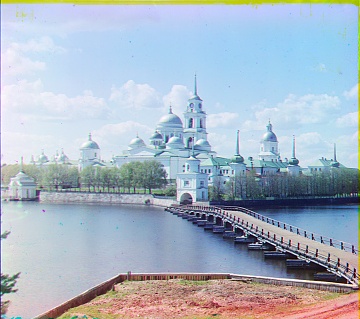
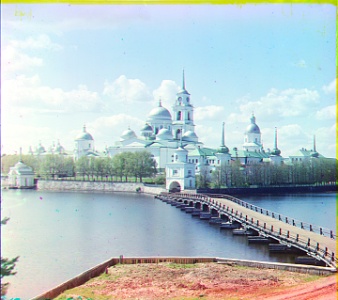
Monastery: Red Displacement: (2, 3), Green Displacement: (2, -3)
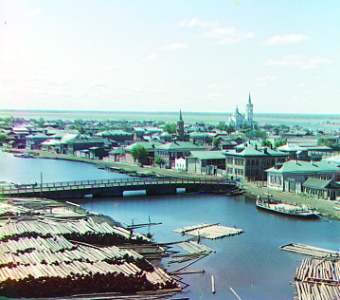
Church: Red Displacement: (-4, 58), Green Displacement: (3, 25)

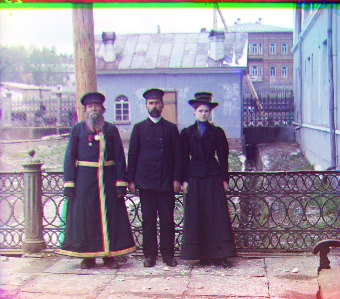
Three Generations: Red Displacement: (8, 111), Green Displacement: (17, 57)
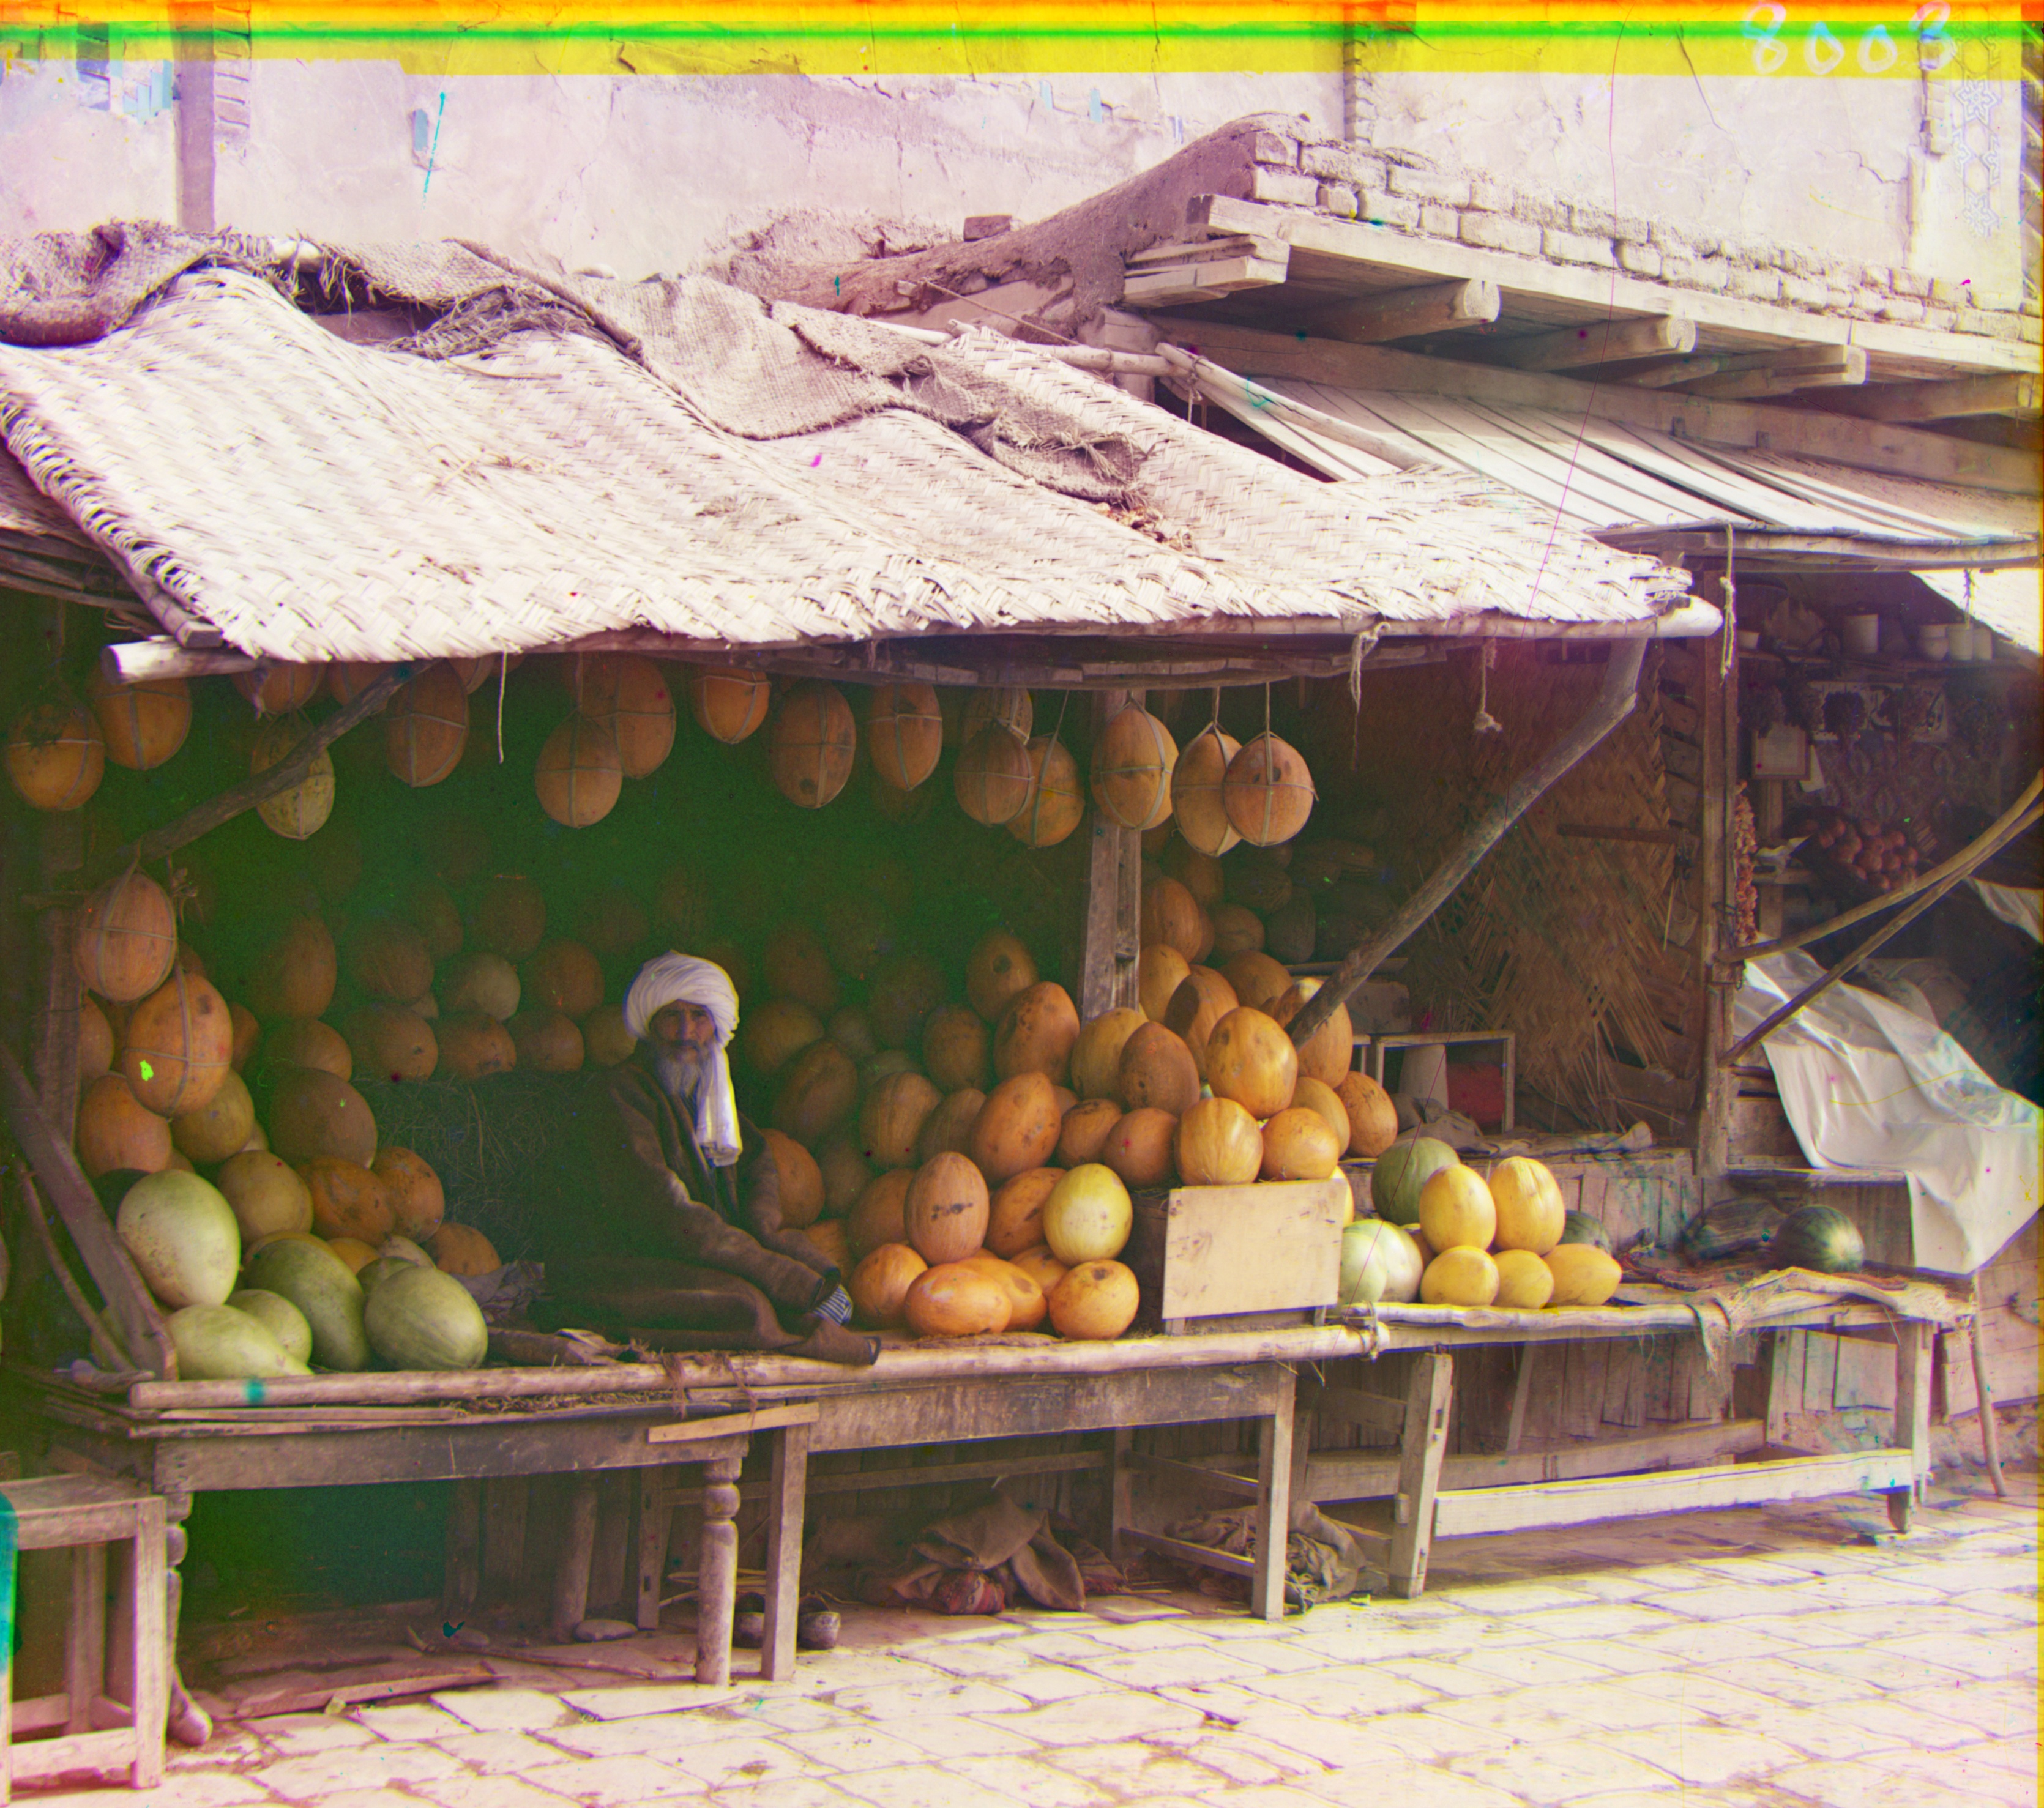
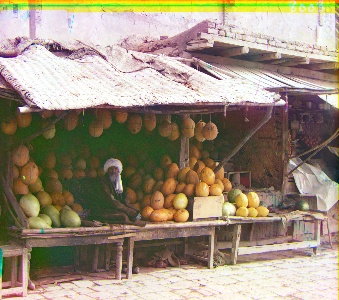
Melons: Red Displacement: (14, 176), Green Displacement: (10, 80)
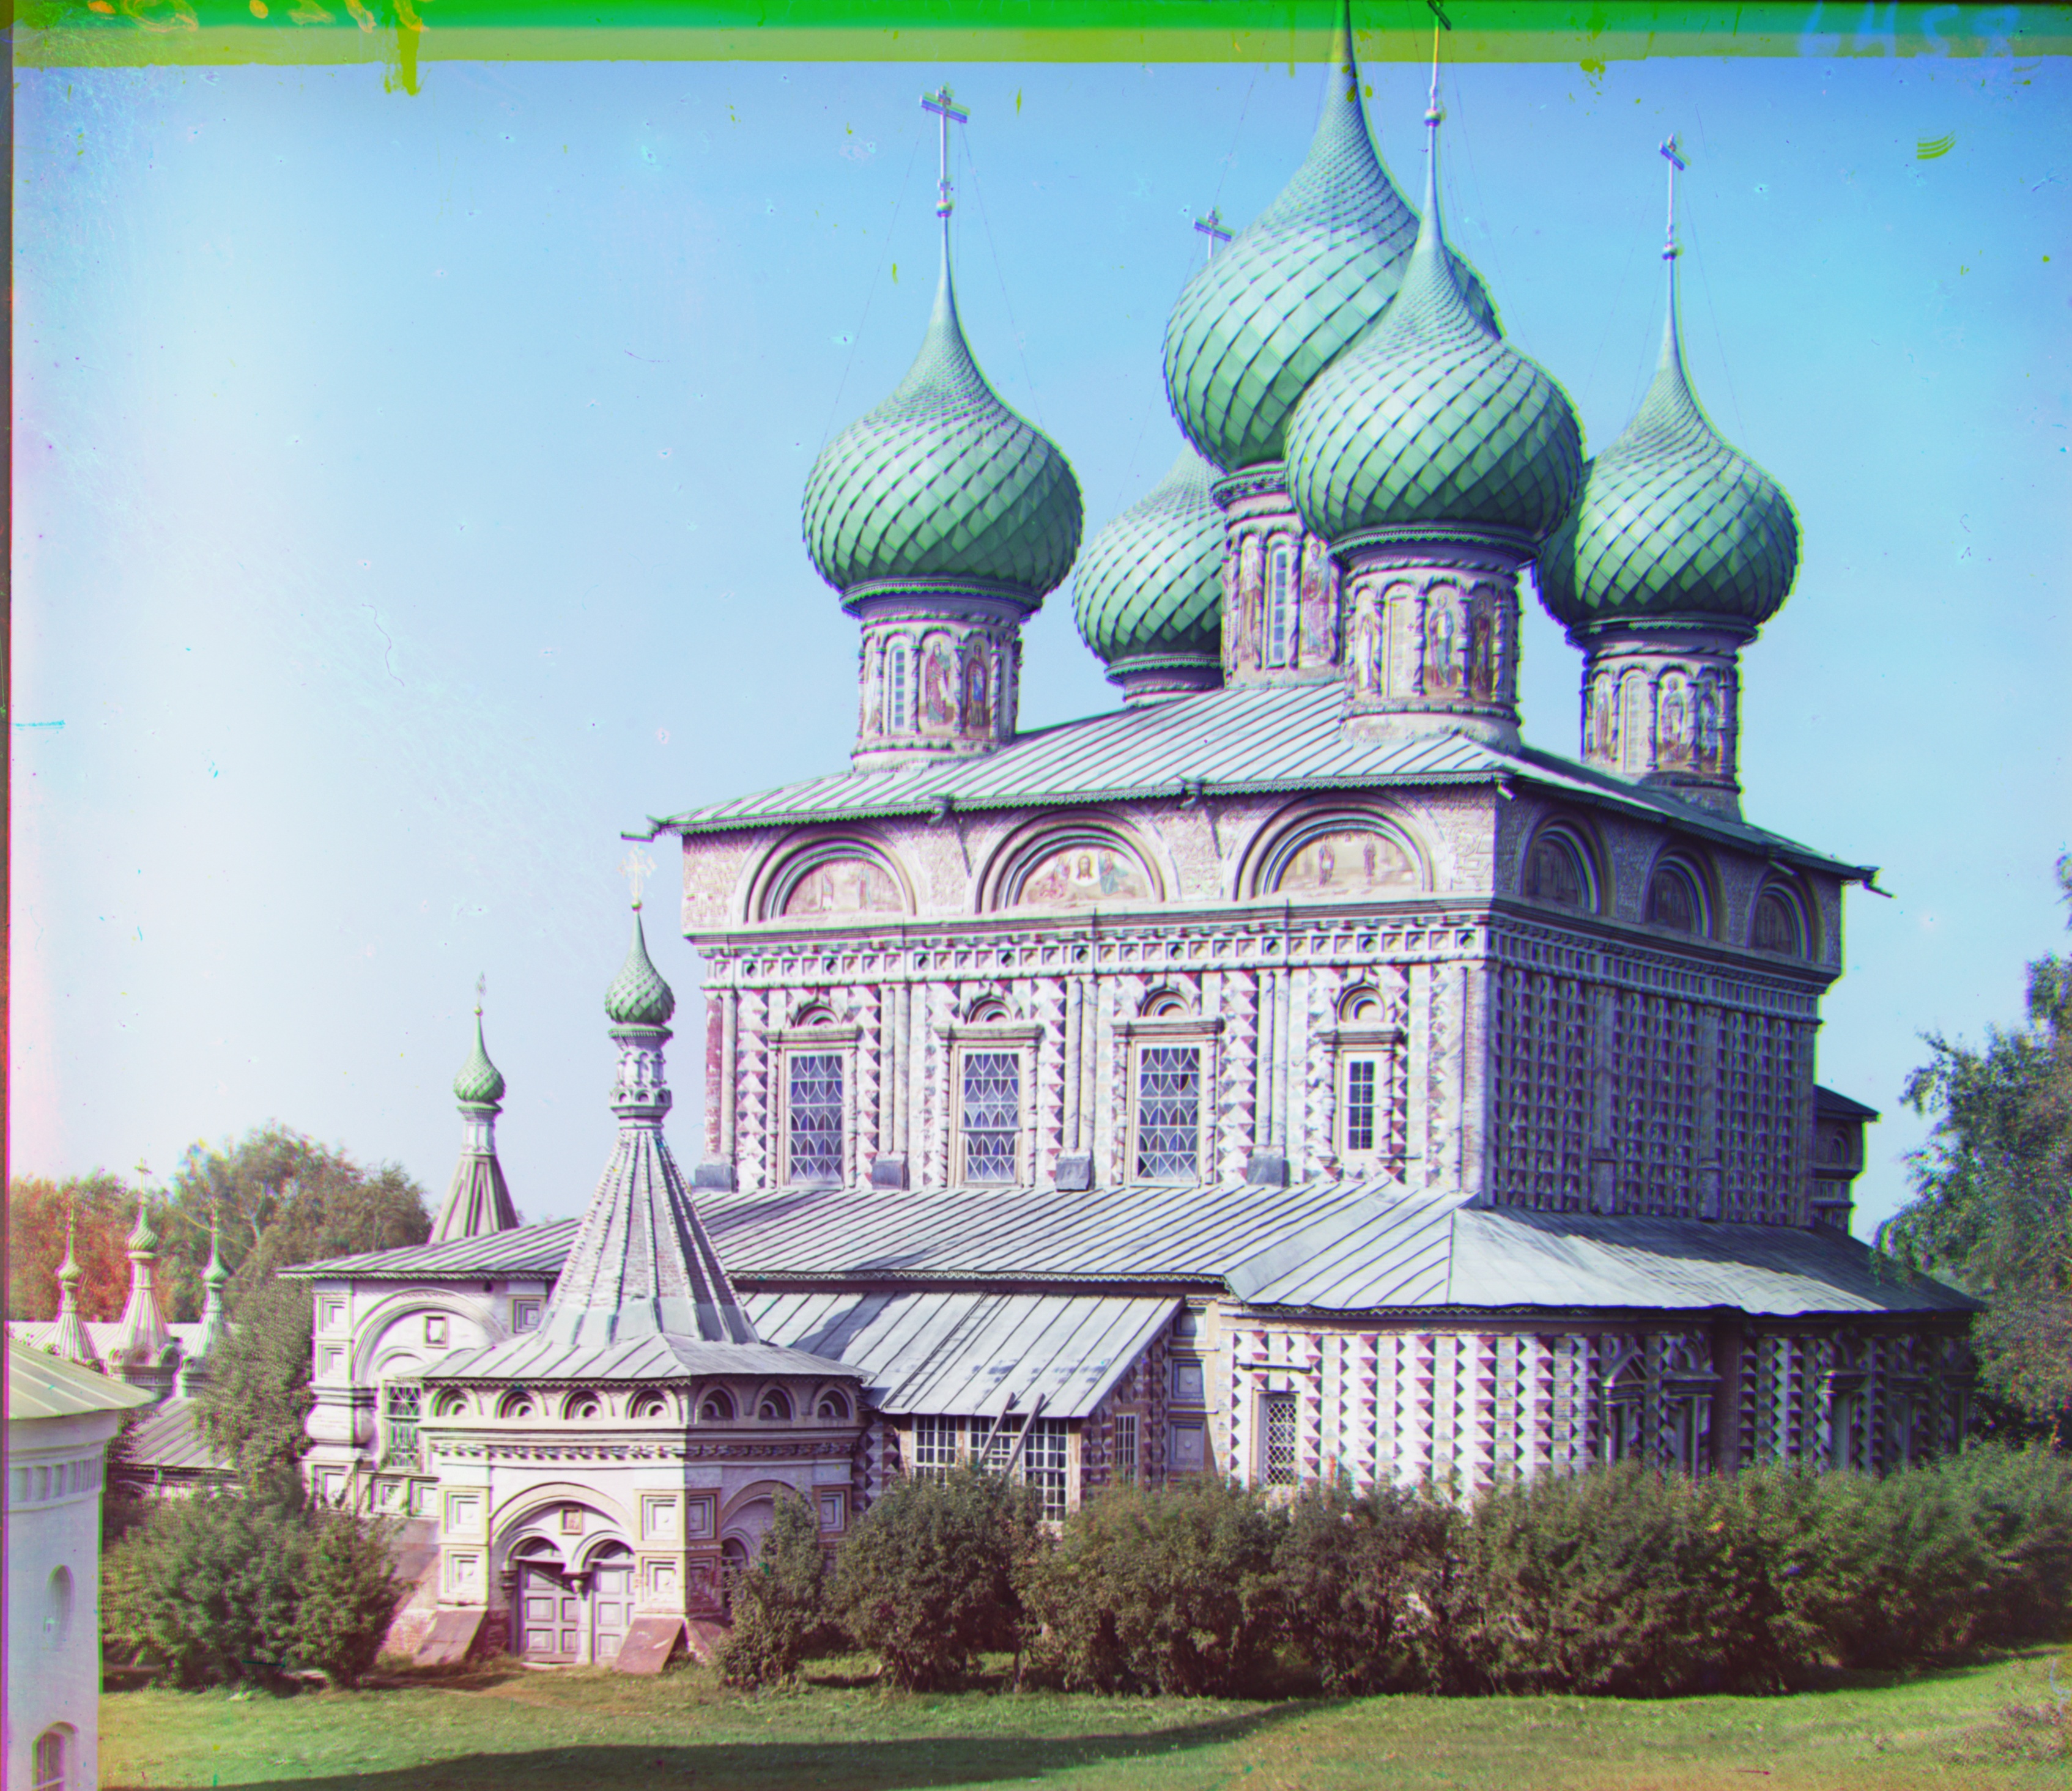
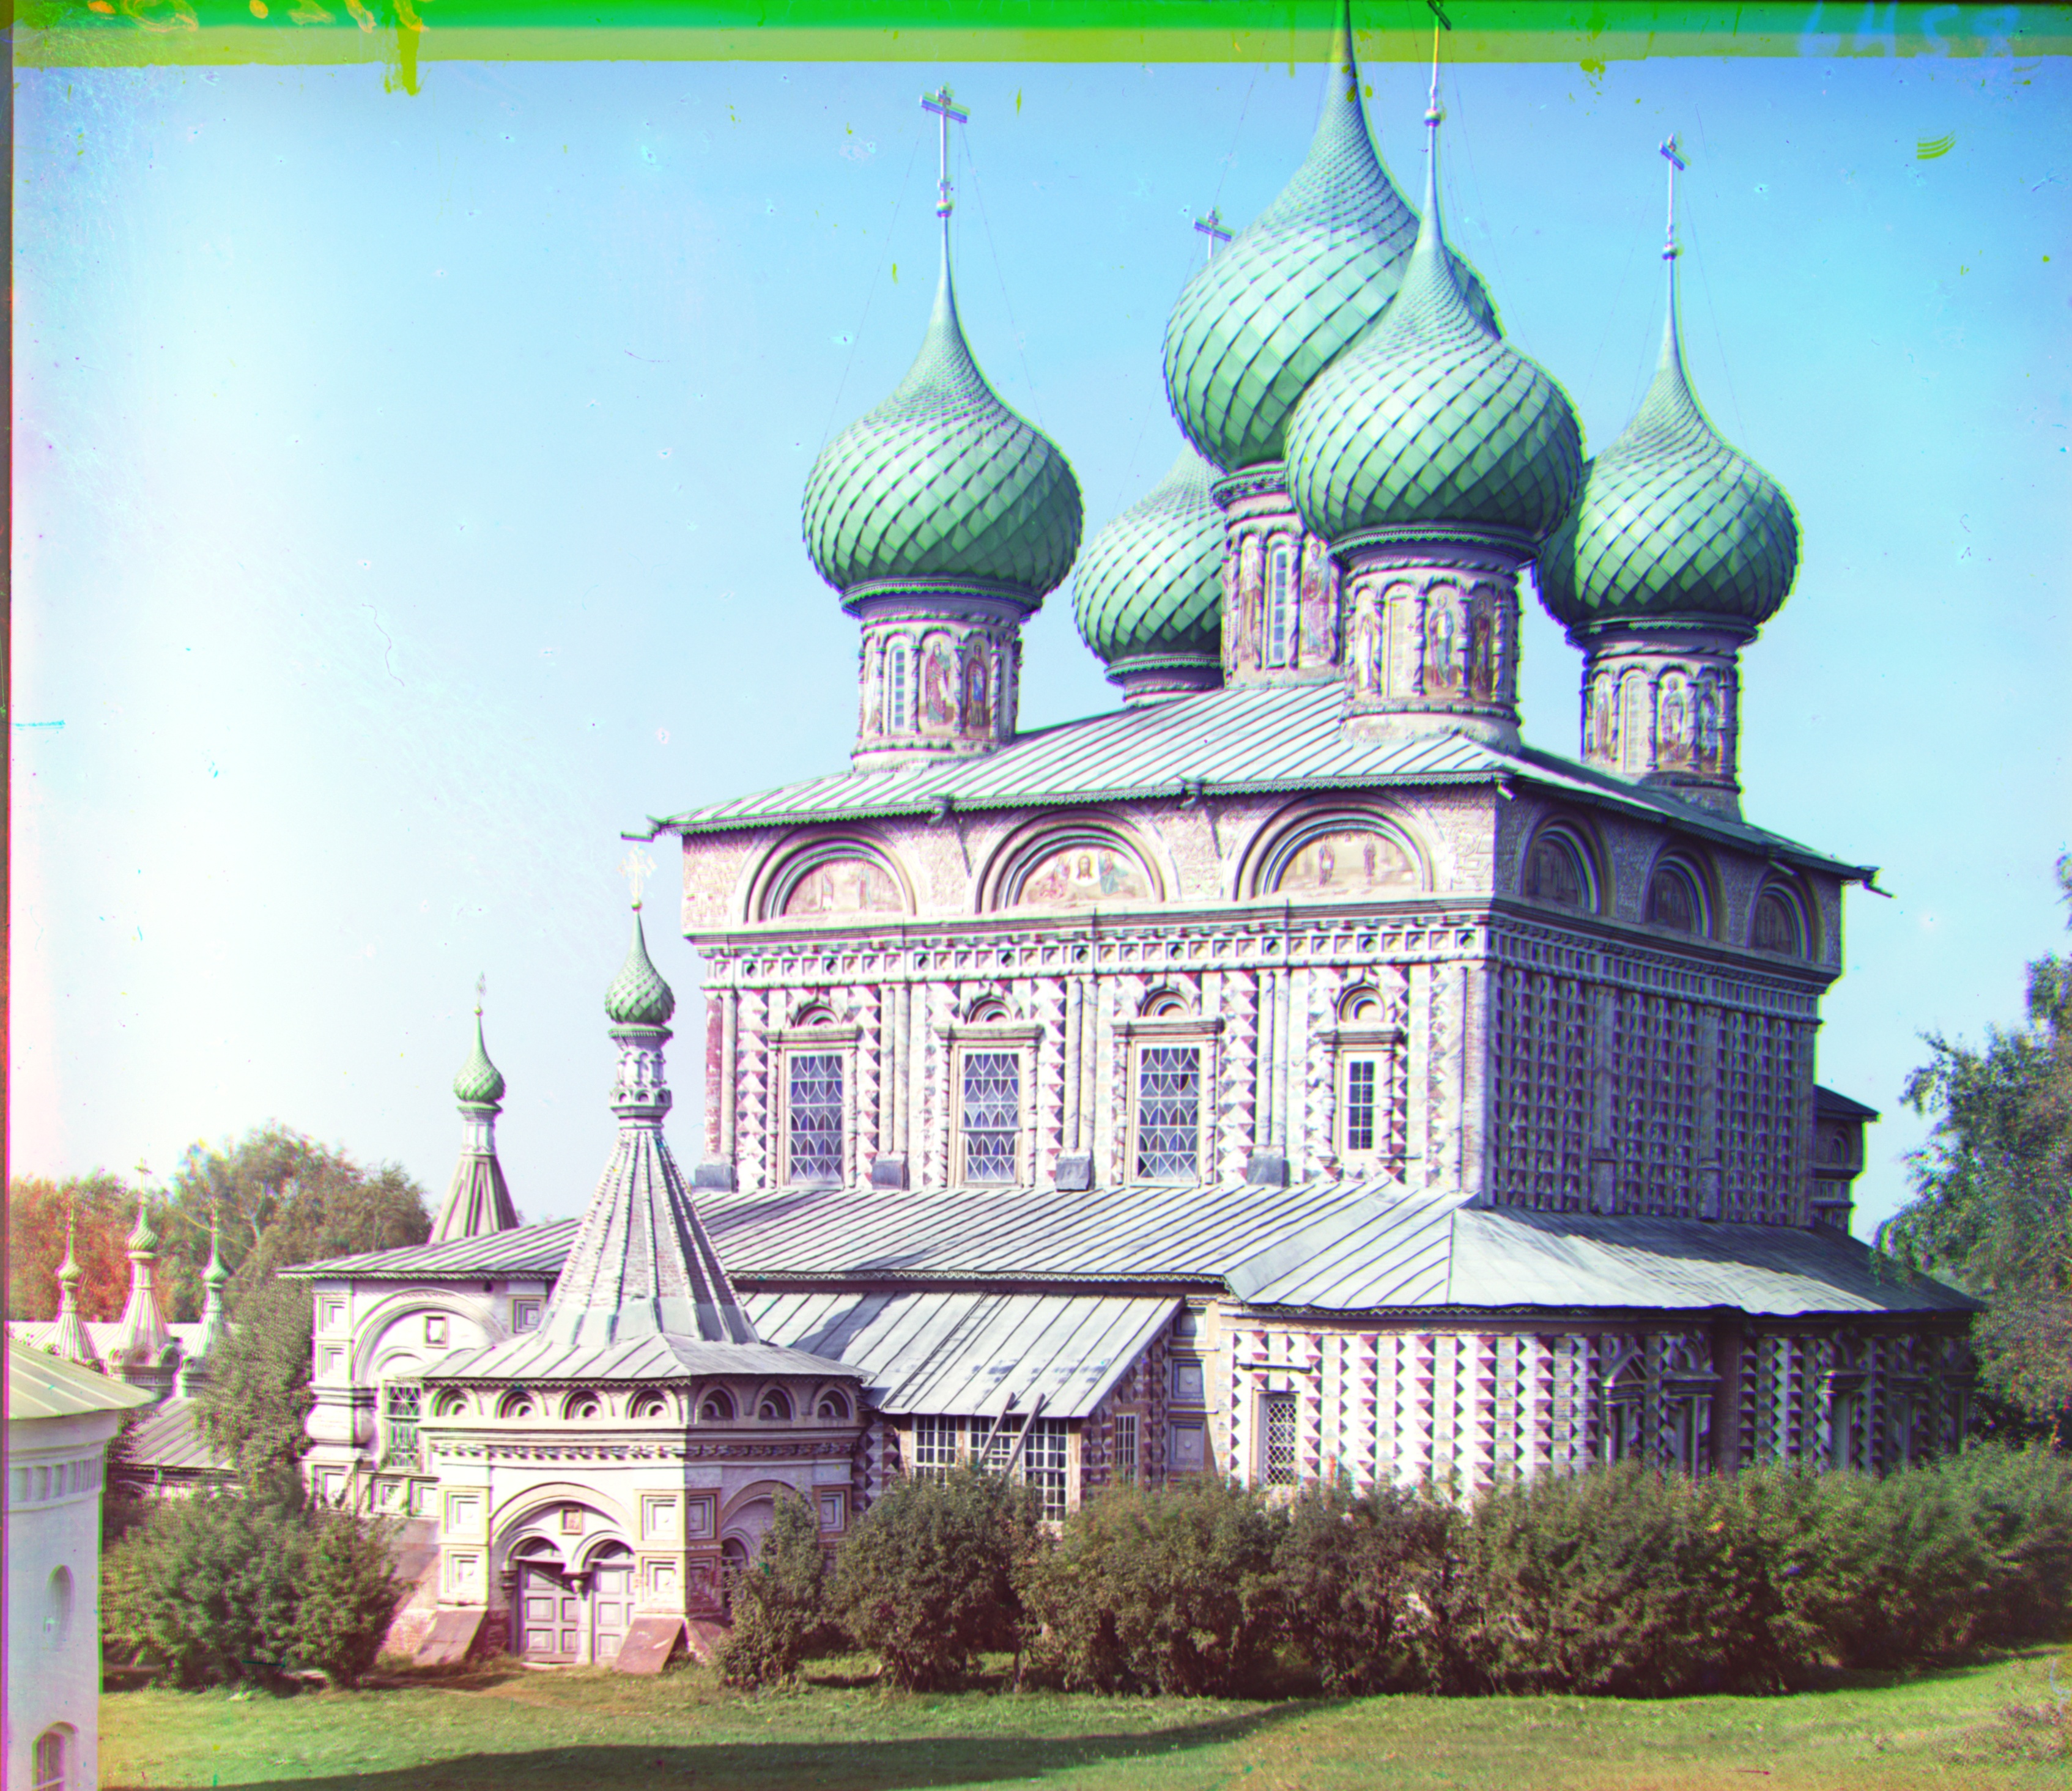
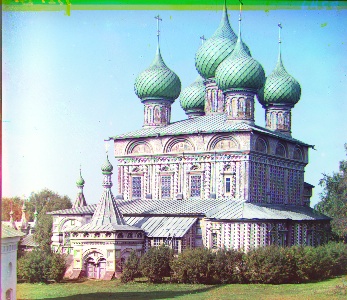
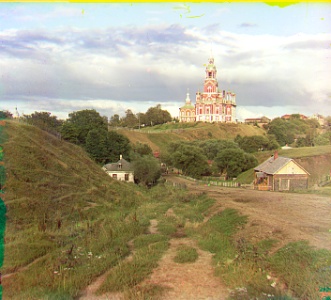
Onion Church: Red Displacement: (35, 107), Green Displacement: (24, 52)
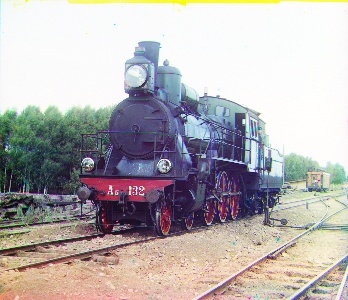
Train: Red Displacement: (28, 85), Green Displacement: (0, 44)
Tobolsk: Red Displacement: (3, 6), Green Displacement: (3, 3)
Icon: Red Displacement: (23, 89), Green Displacement: (16, 40)
Cathedral: Red Displacement: (3, 12), Green Displacement: (2, 5)
Self Portrait: Red Displacement: (37, 175), Green Displacement: (29, 77)
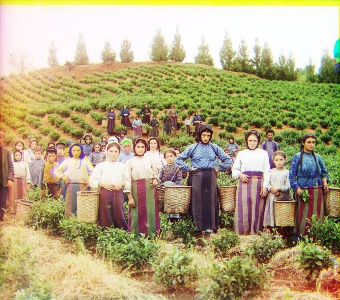
Harvesters: Red Displacement: (13, 123), Green Displacement: (17, 60)
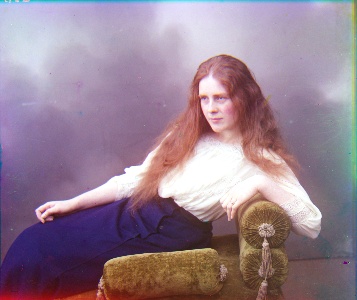
Lady: Red Displacement: (13, 120), Green Displacement: (10, 56)
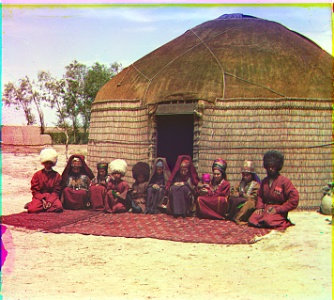
Hut: Red Displacement: (5, 13), Green Displacement: (3, 6)
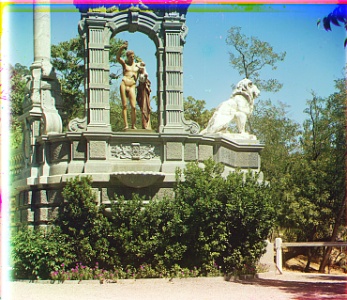
Statue: Red Displacement: (-3, 14), Green Displacement: (-1, 3)
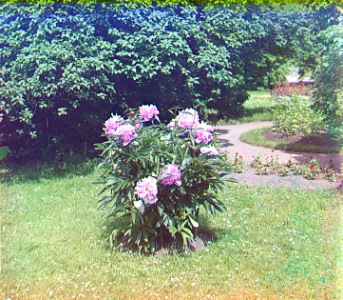
Piony: Red Displacement: (-1, 11), Green Displacement: (0, 5)