Example of a Produkin-Gorskii photo, where the image is seperated into
three channels (R, G, B) in order.
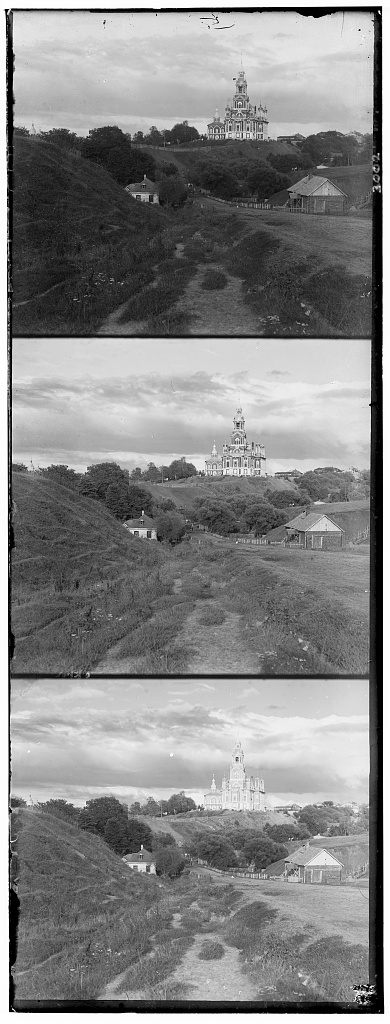
In this project, we worked with the images from the Produkin-Gorskii collection, which are laid top to bottom in three small images, where the brightness of each image corresponds to the value of the R, G, or B's intensity at that pixel location. Unfortunately, these pictures are misaligned. In this project, we are tasked with writing an algorithm to properly align the images within each channel to ultimately layer them on each other to create a full color image.
In order to align the images, we first began with setting one channel image (in our case the Green Channel)
as an unmoving 'anchor' channel, and taking the other two channels (Red and Blue) and
exhaustively searching through a range of [-15,15] x, y displacements to see which
produce the best overlaying on our green channel. We did this first with the red
channel over the green channel, and the blue channel over the green channel.
At each of these displacements, we compared the two channels using a similarity metrics
called SDD, or Sum of Squared Differences, which is the sum of the squared differences between the pixel values
in both channels.
For the smaller images, this was sufficient to align them completely,
and did not take much time at all. (only a few seconds)
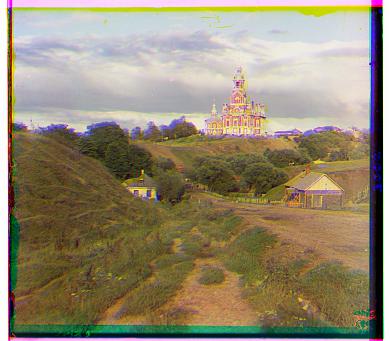
Here are the results for the smaller images we were given.
The values R(X, Y) and B(X, Y) correspond to the displacement needed
in the X and Y axes to properly align our images to our anchor channel.
Under each image is a R(X, Y) and B(X, Y) value that was found using my alignment algorithm.
The R(X, Y) represents how many pixels we move our Red Channel Image in order
to align with the Green Channel. The B(X, Y) represents how many pixels we
move our Blue Channel Image in order to align with the Green Channel.
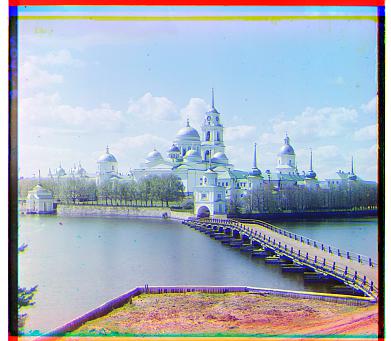
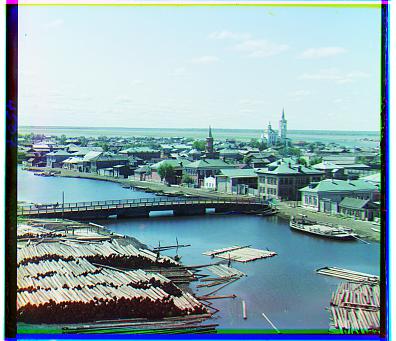
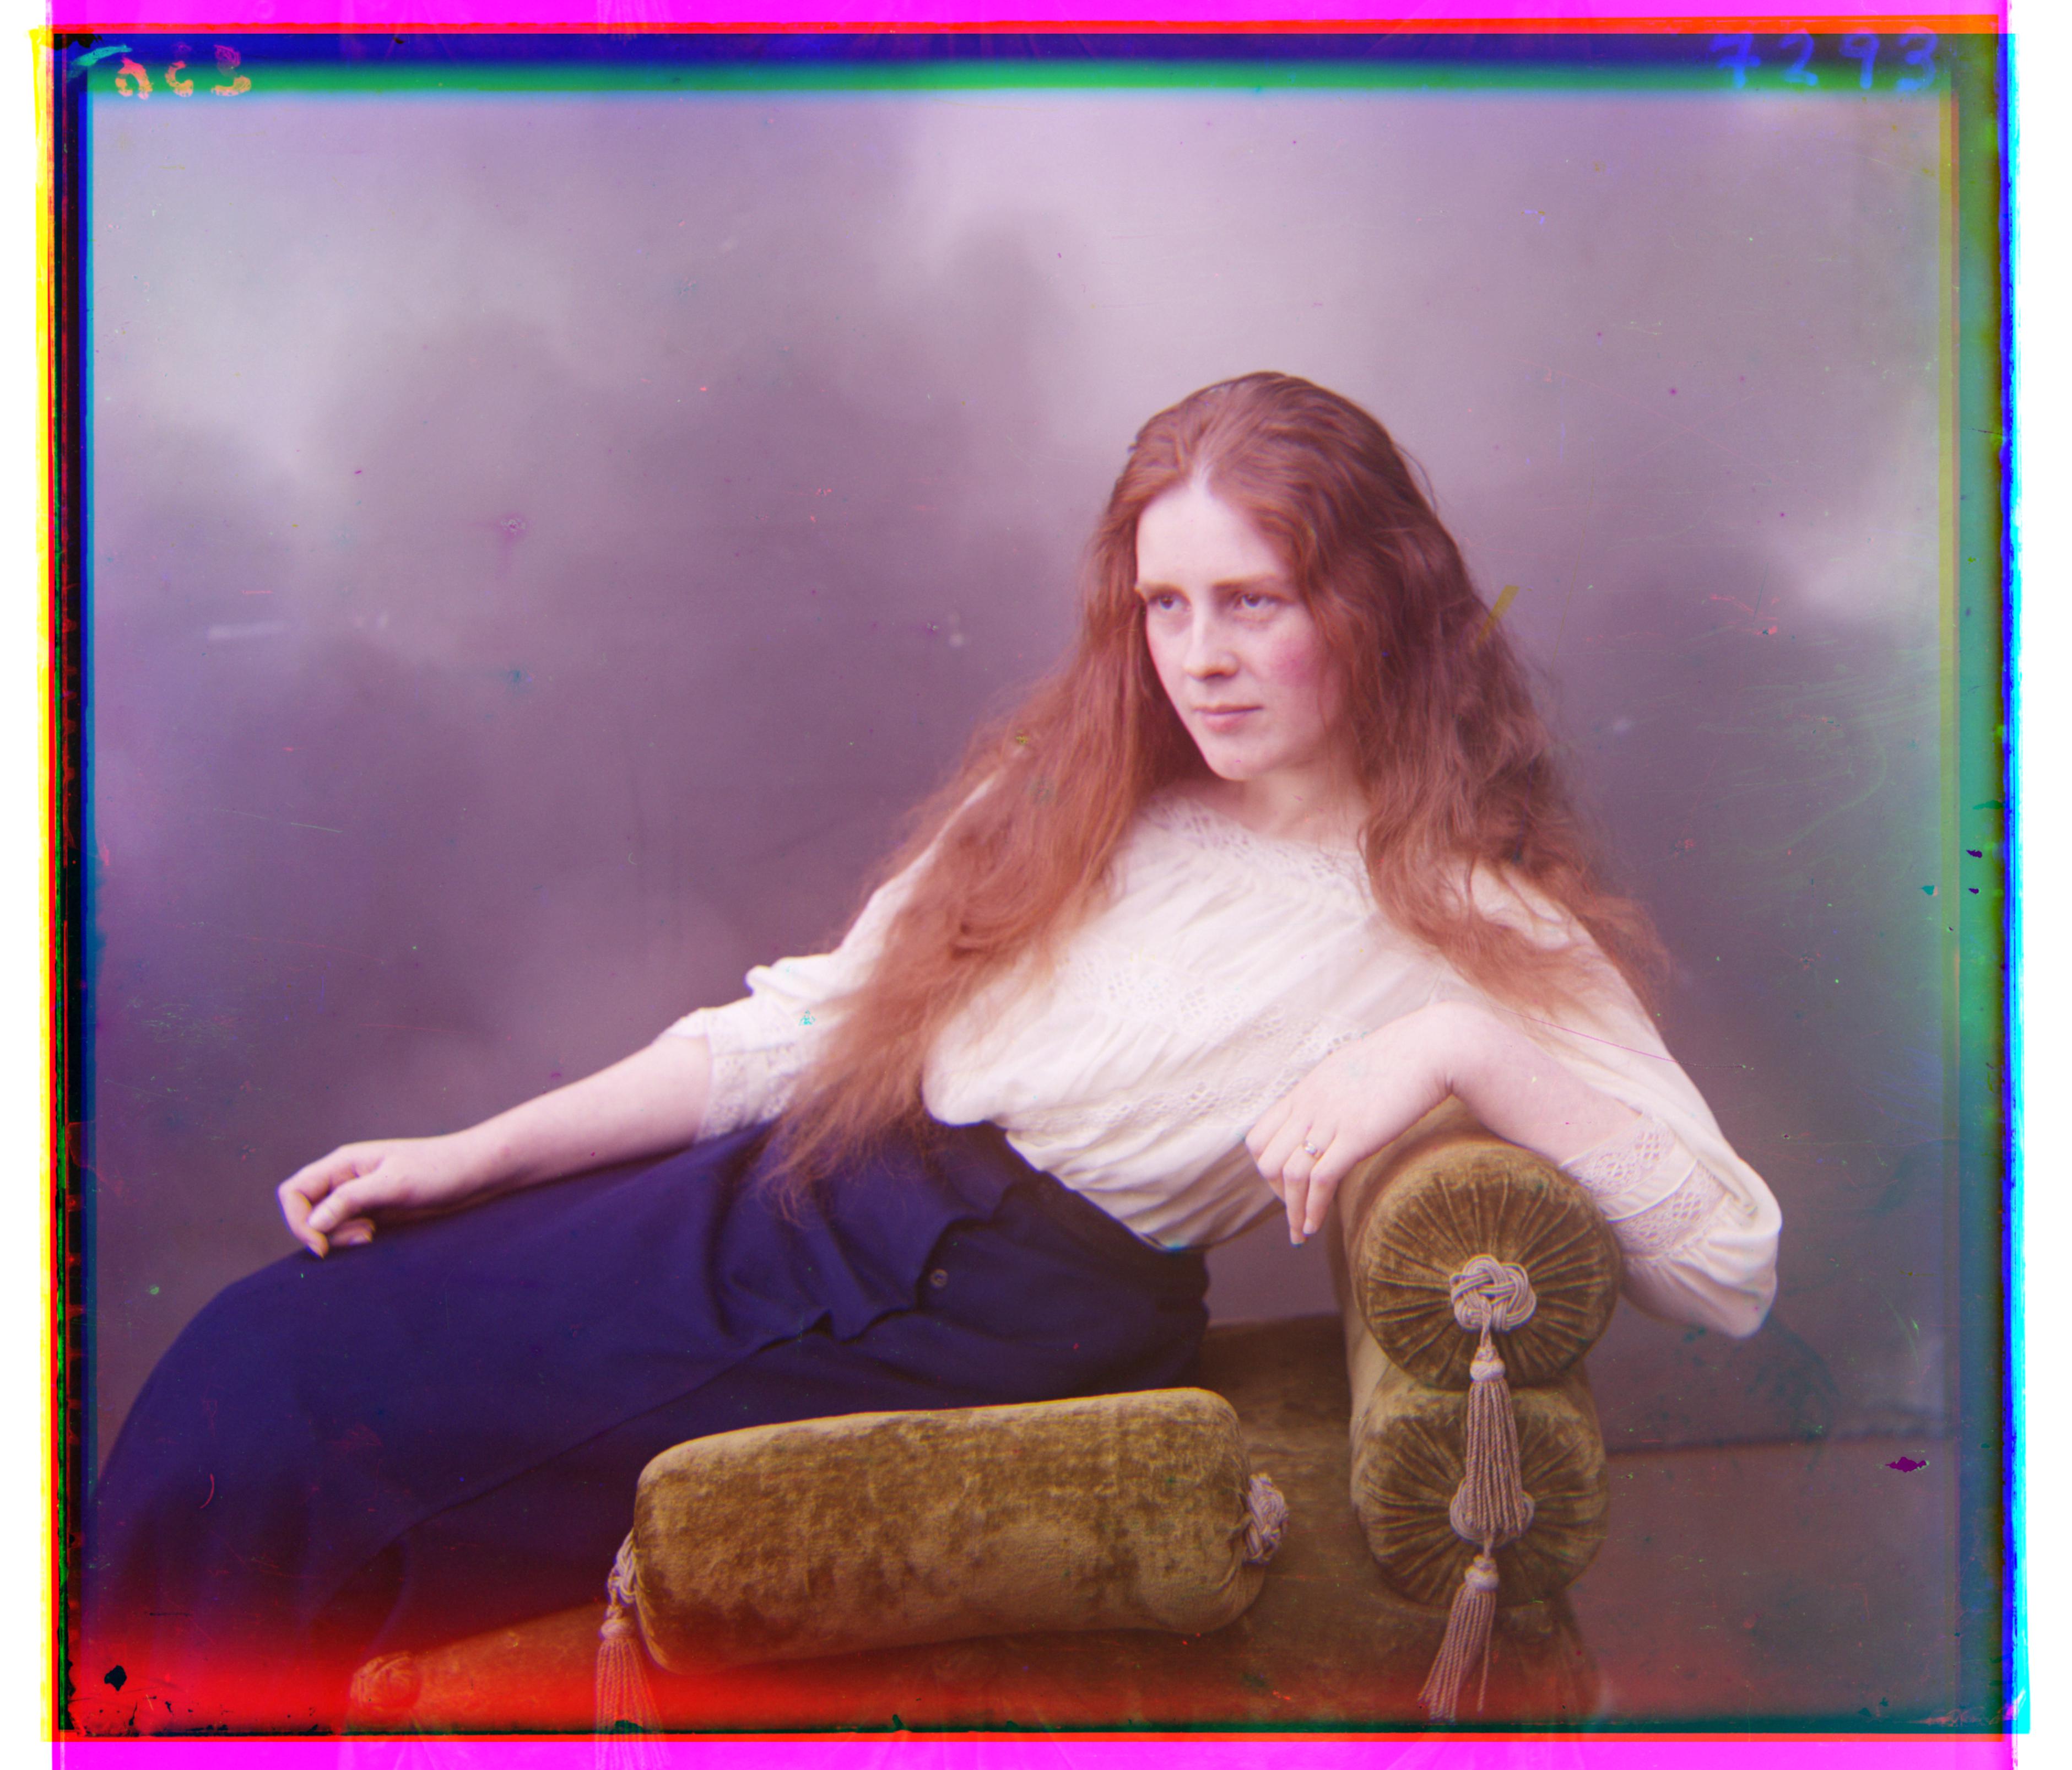
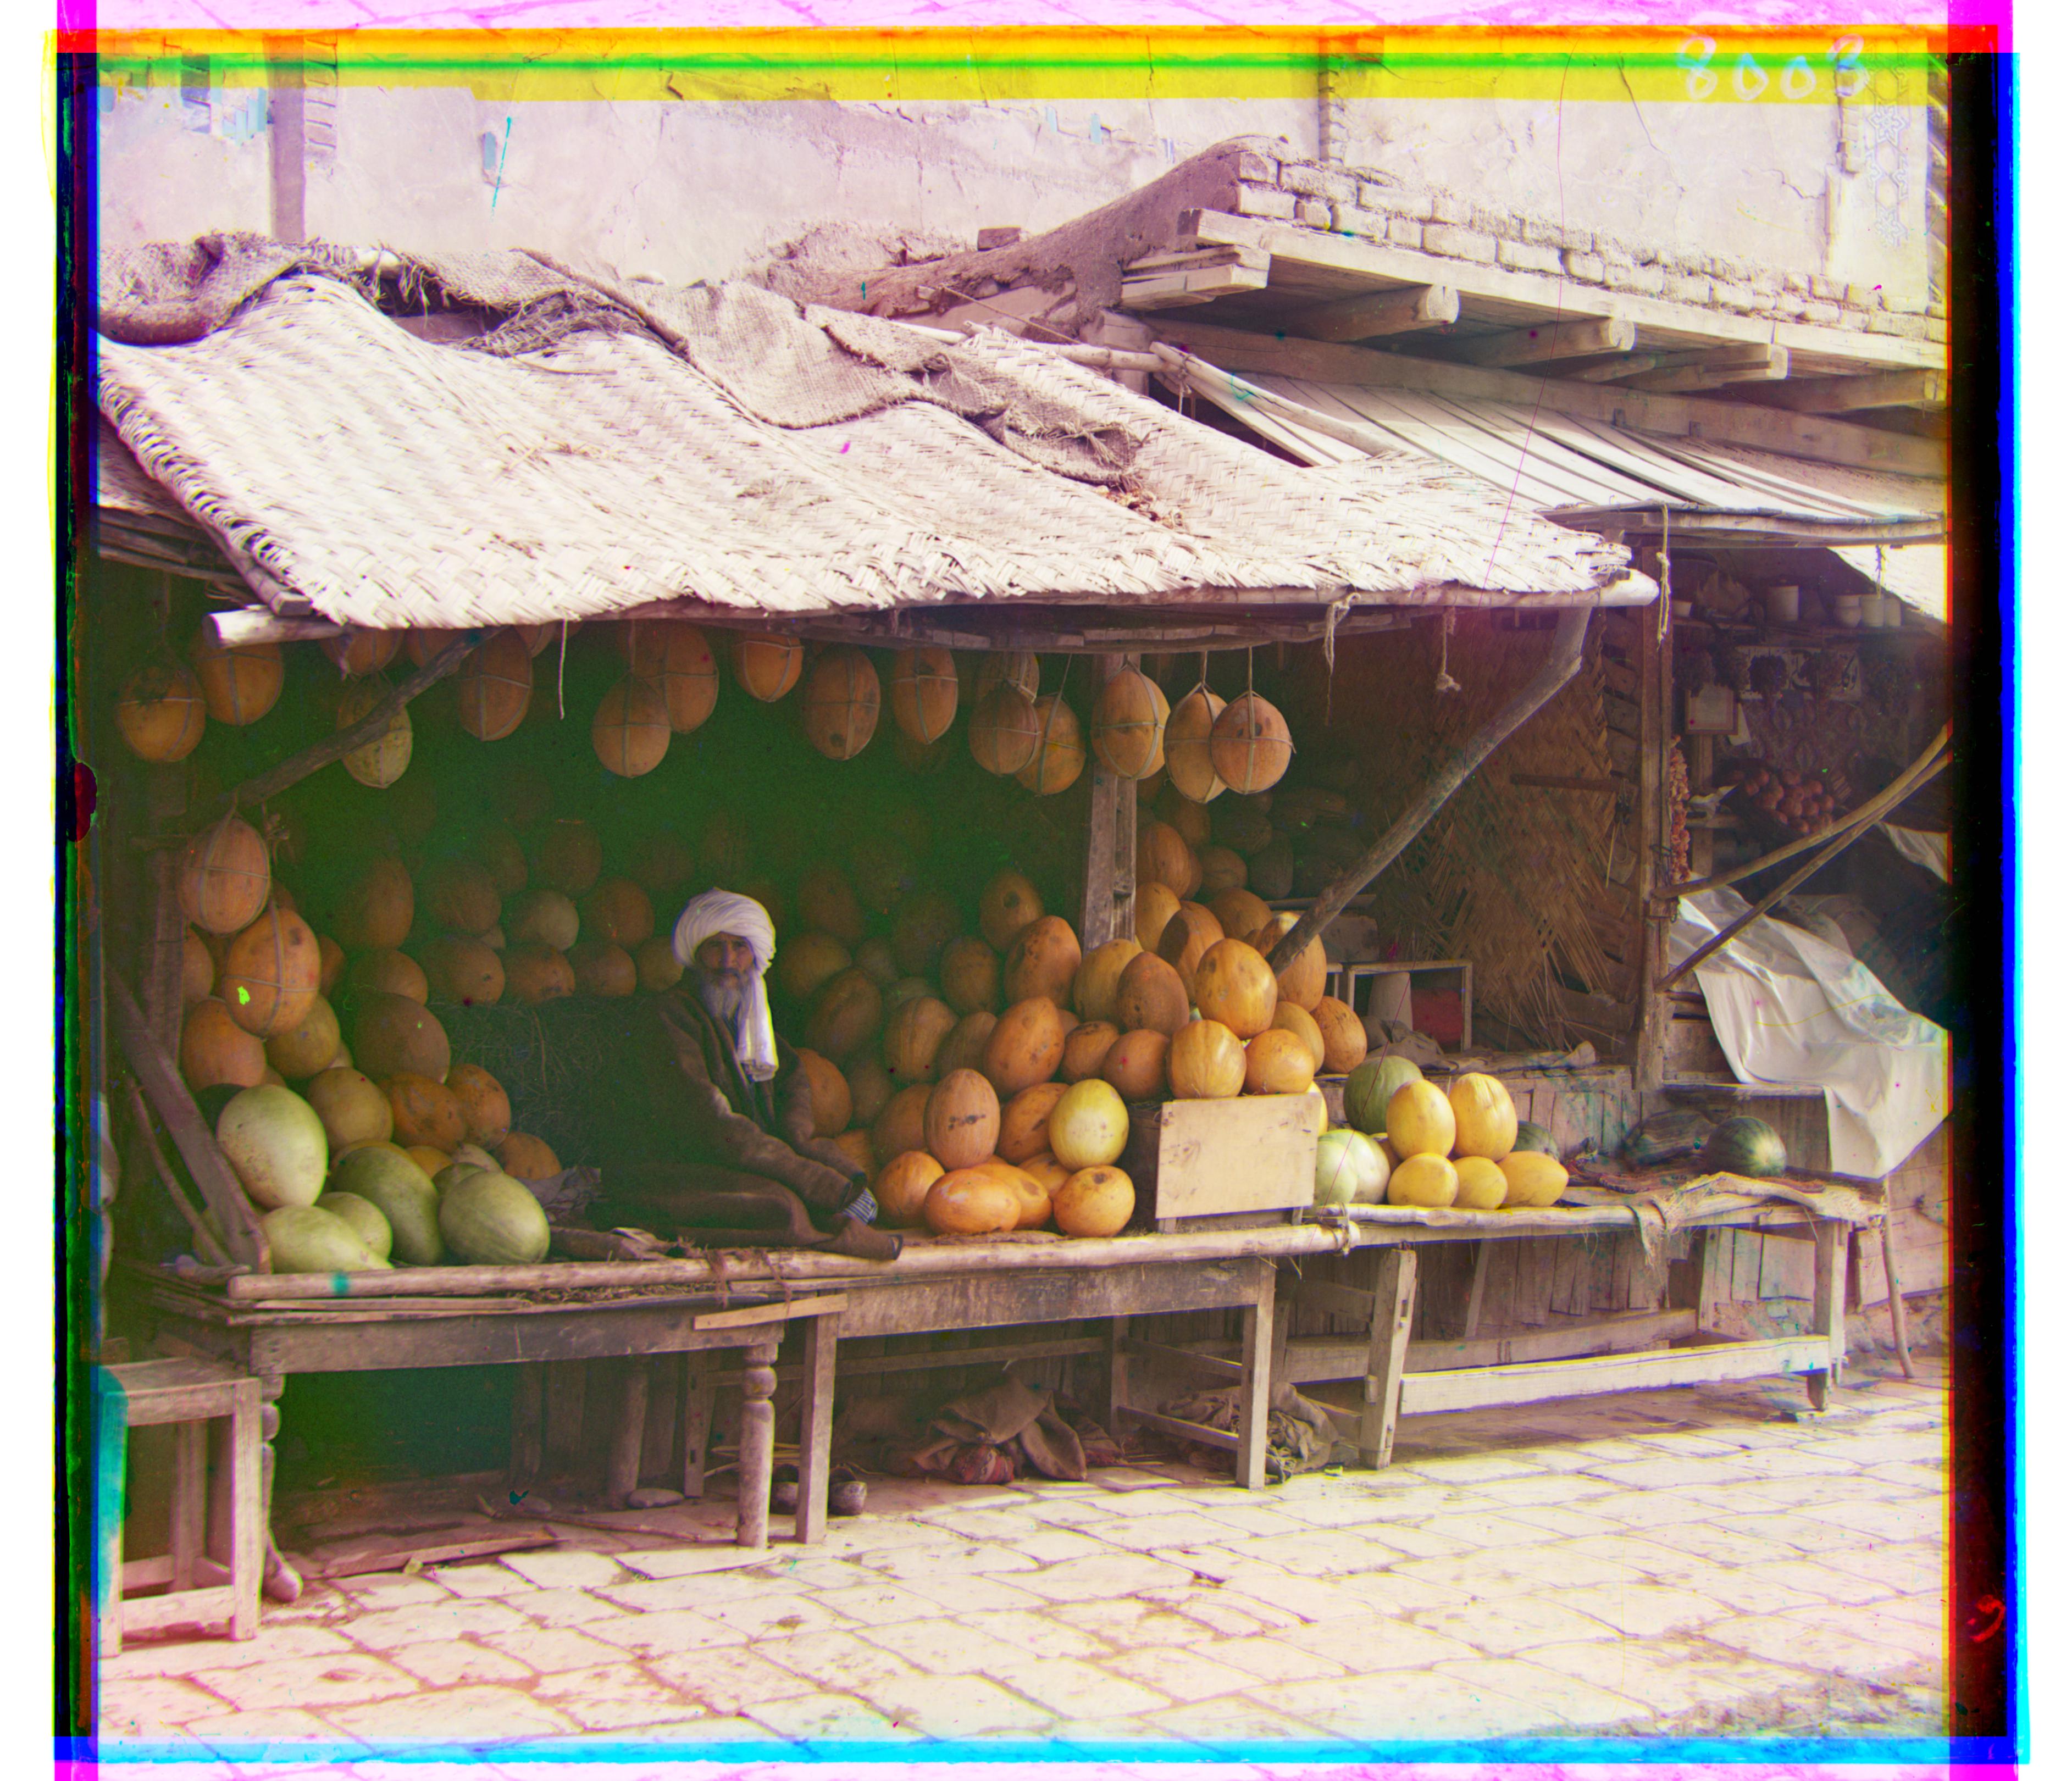
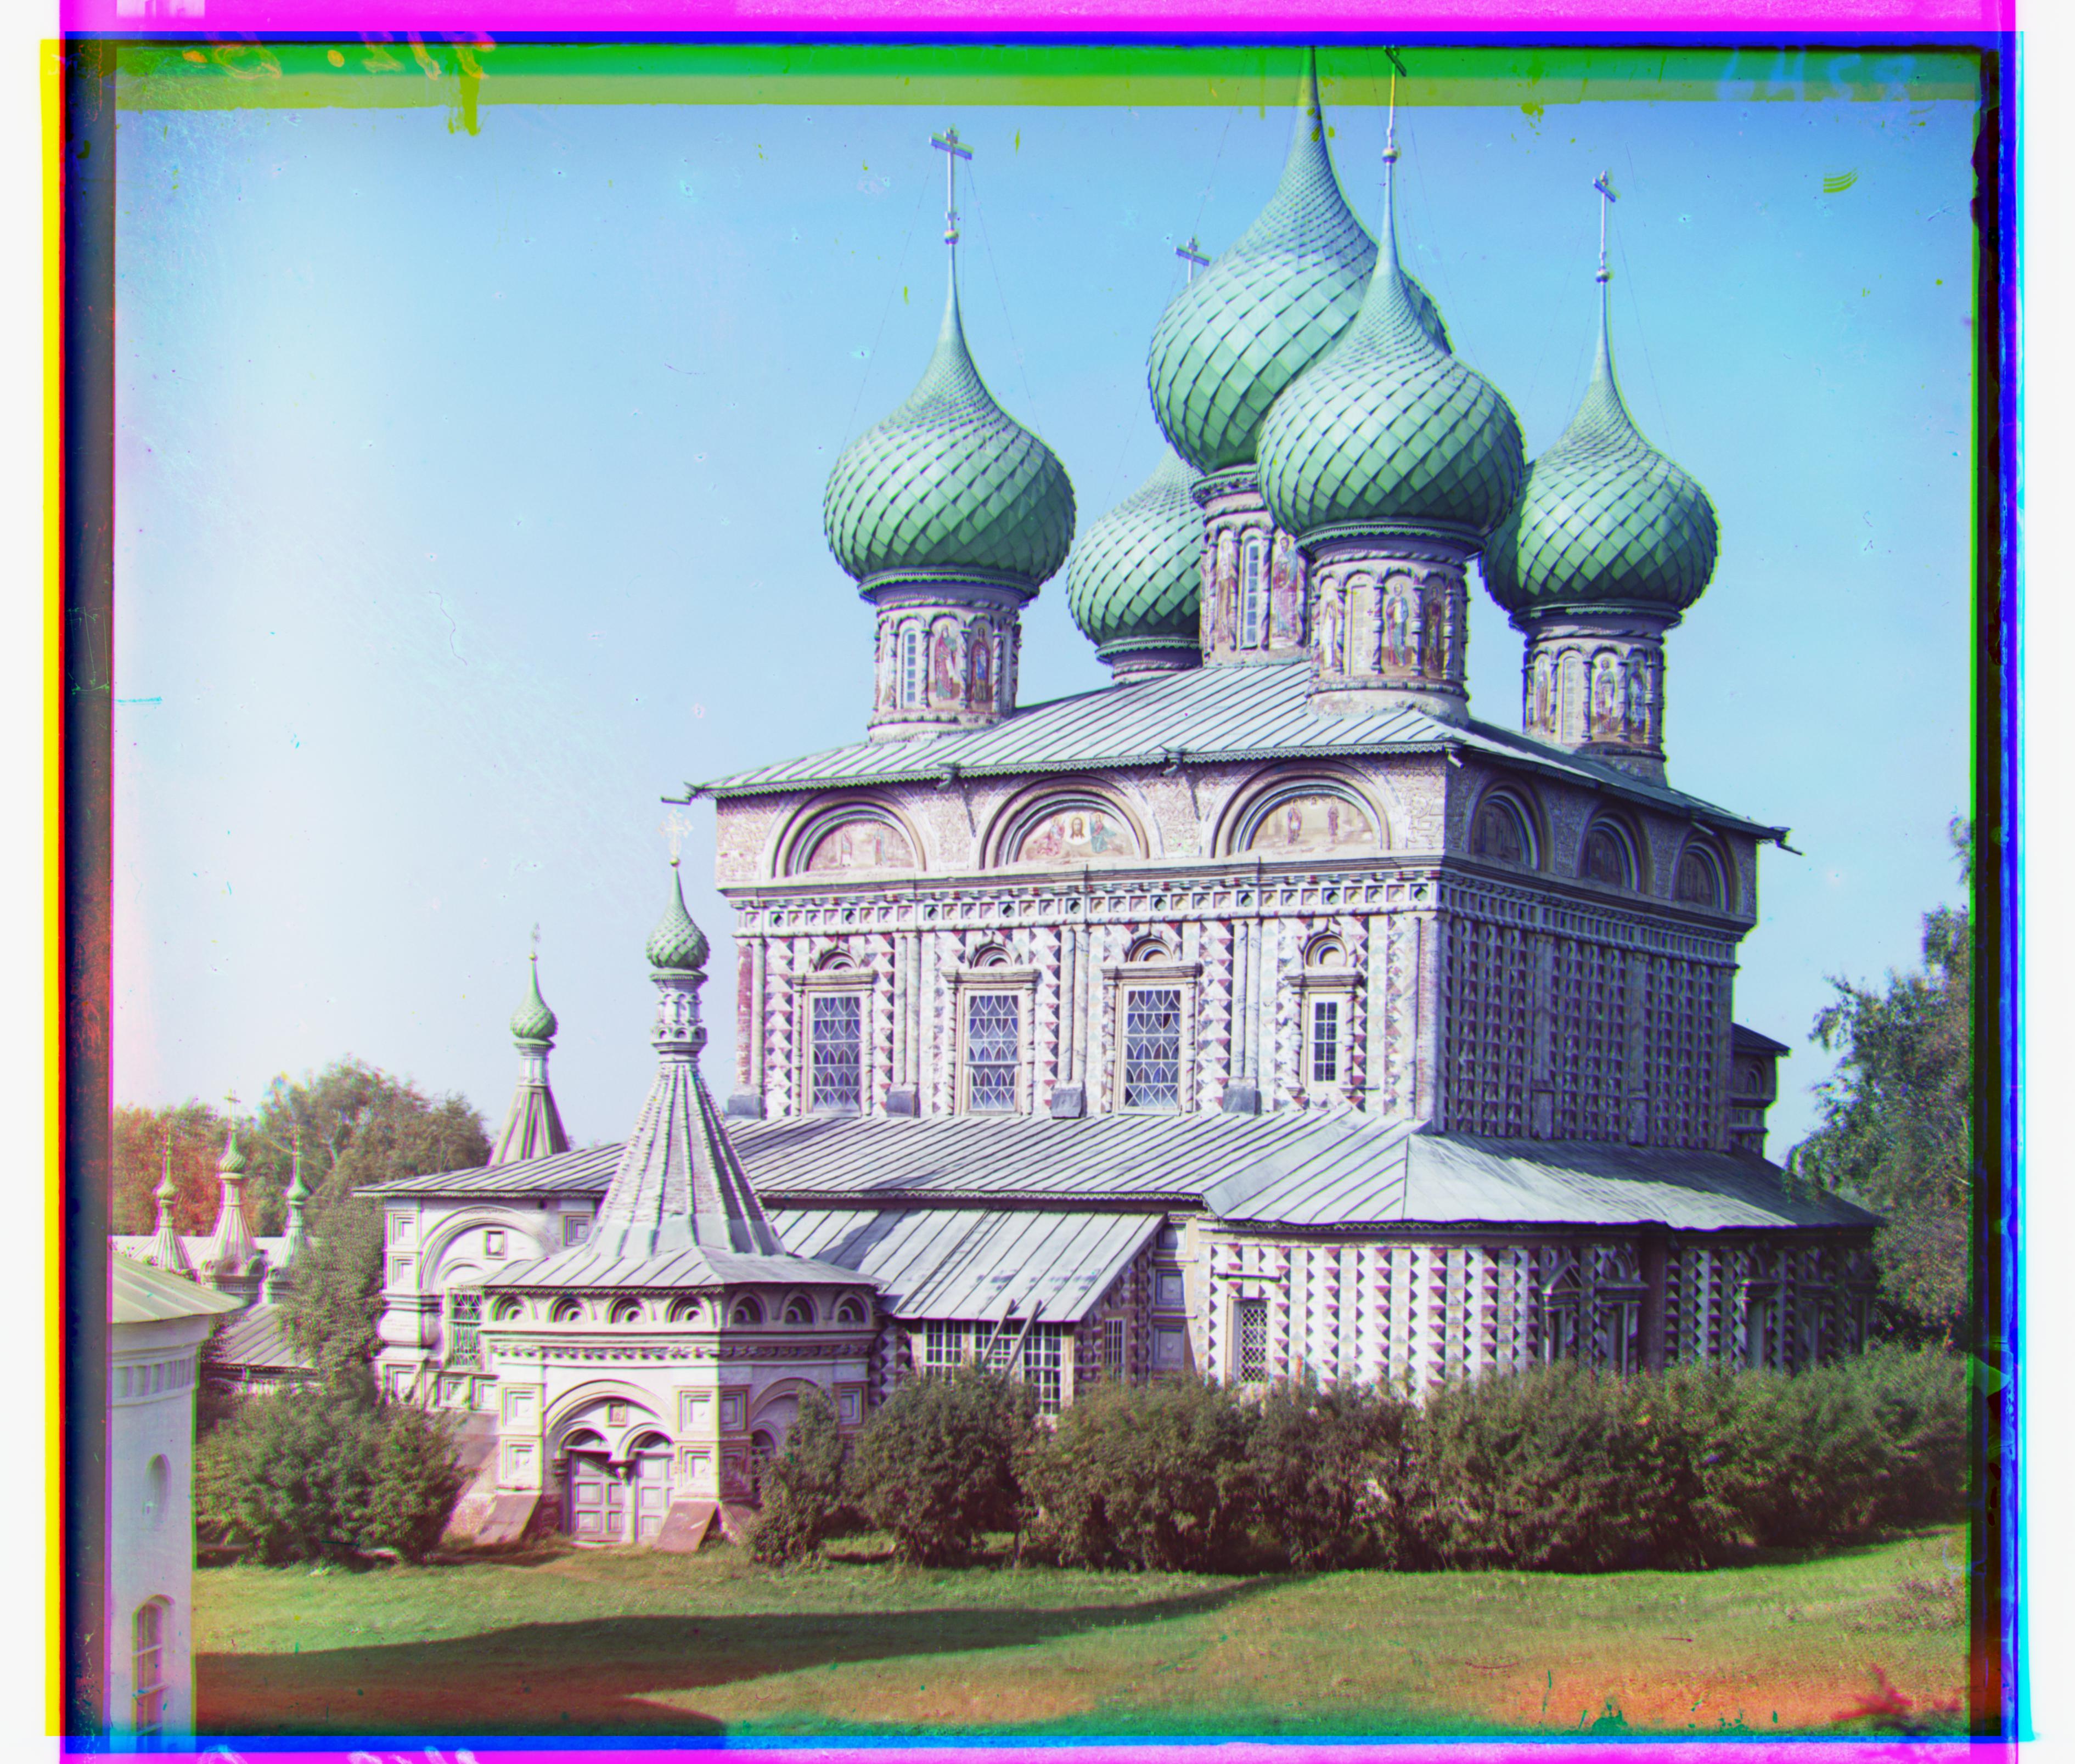
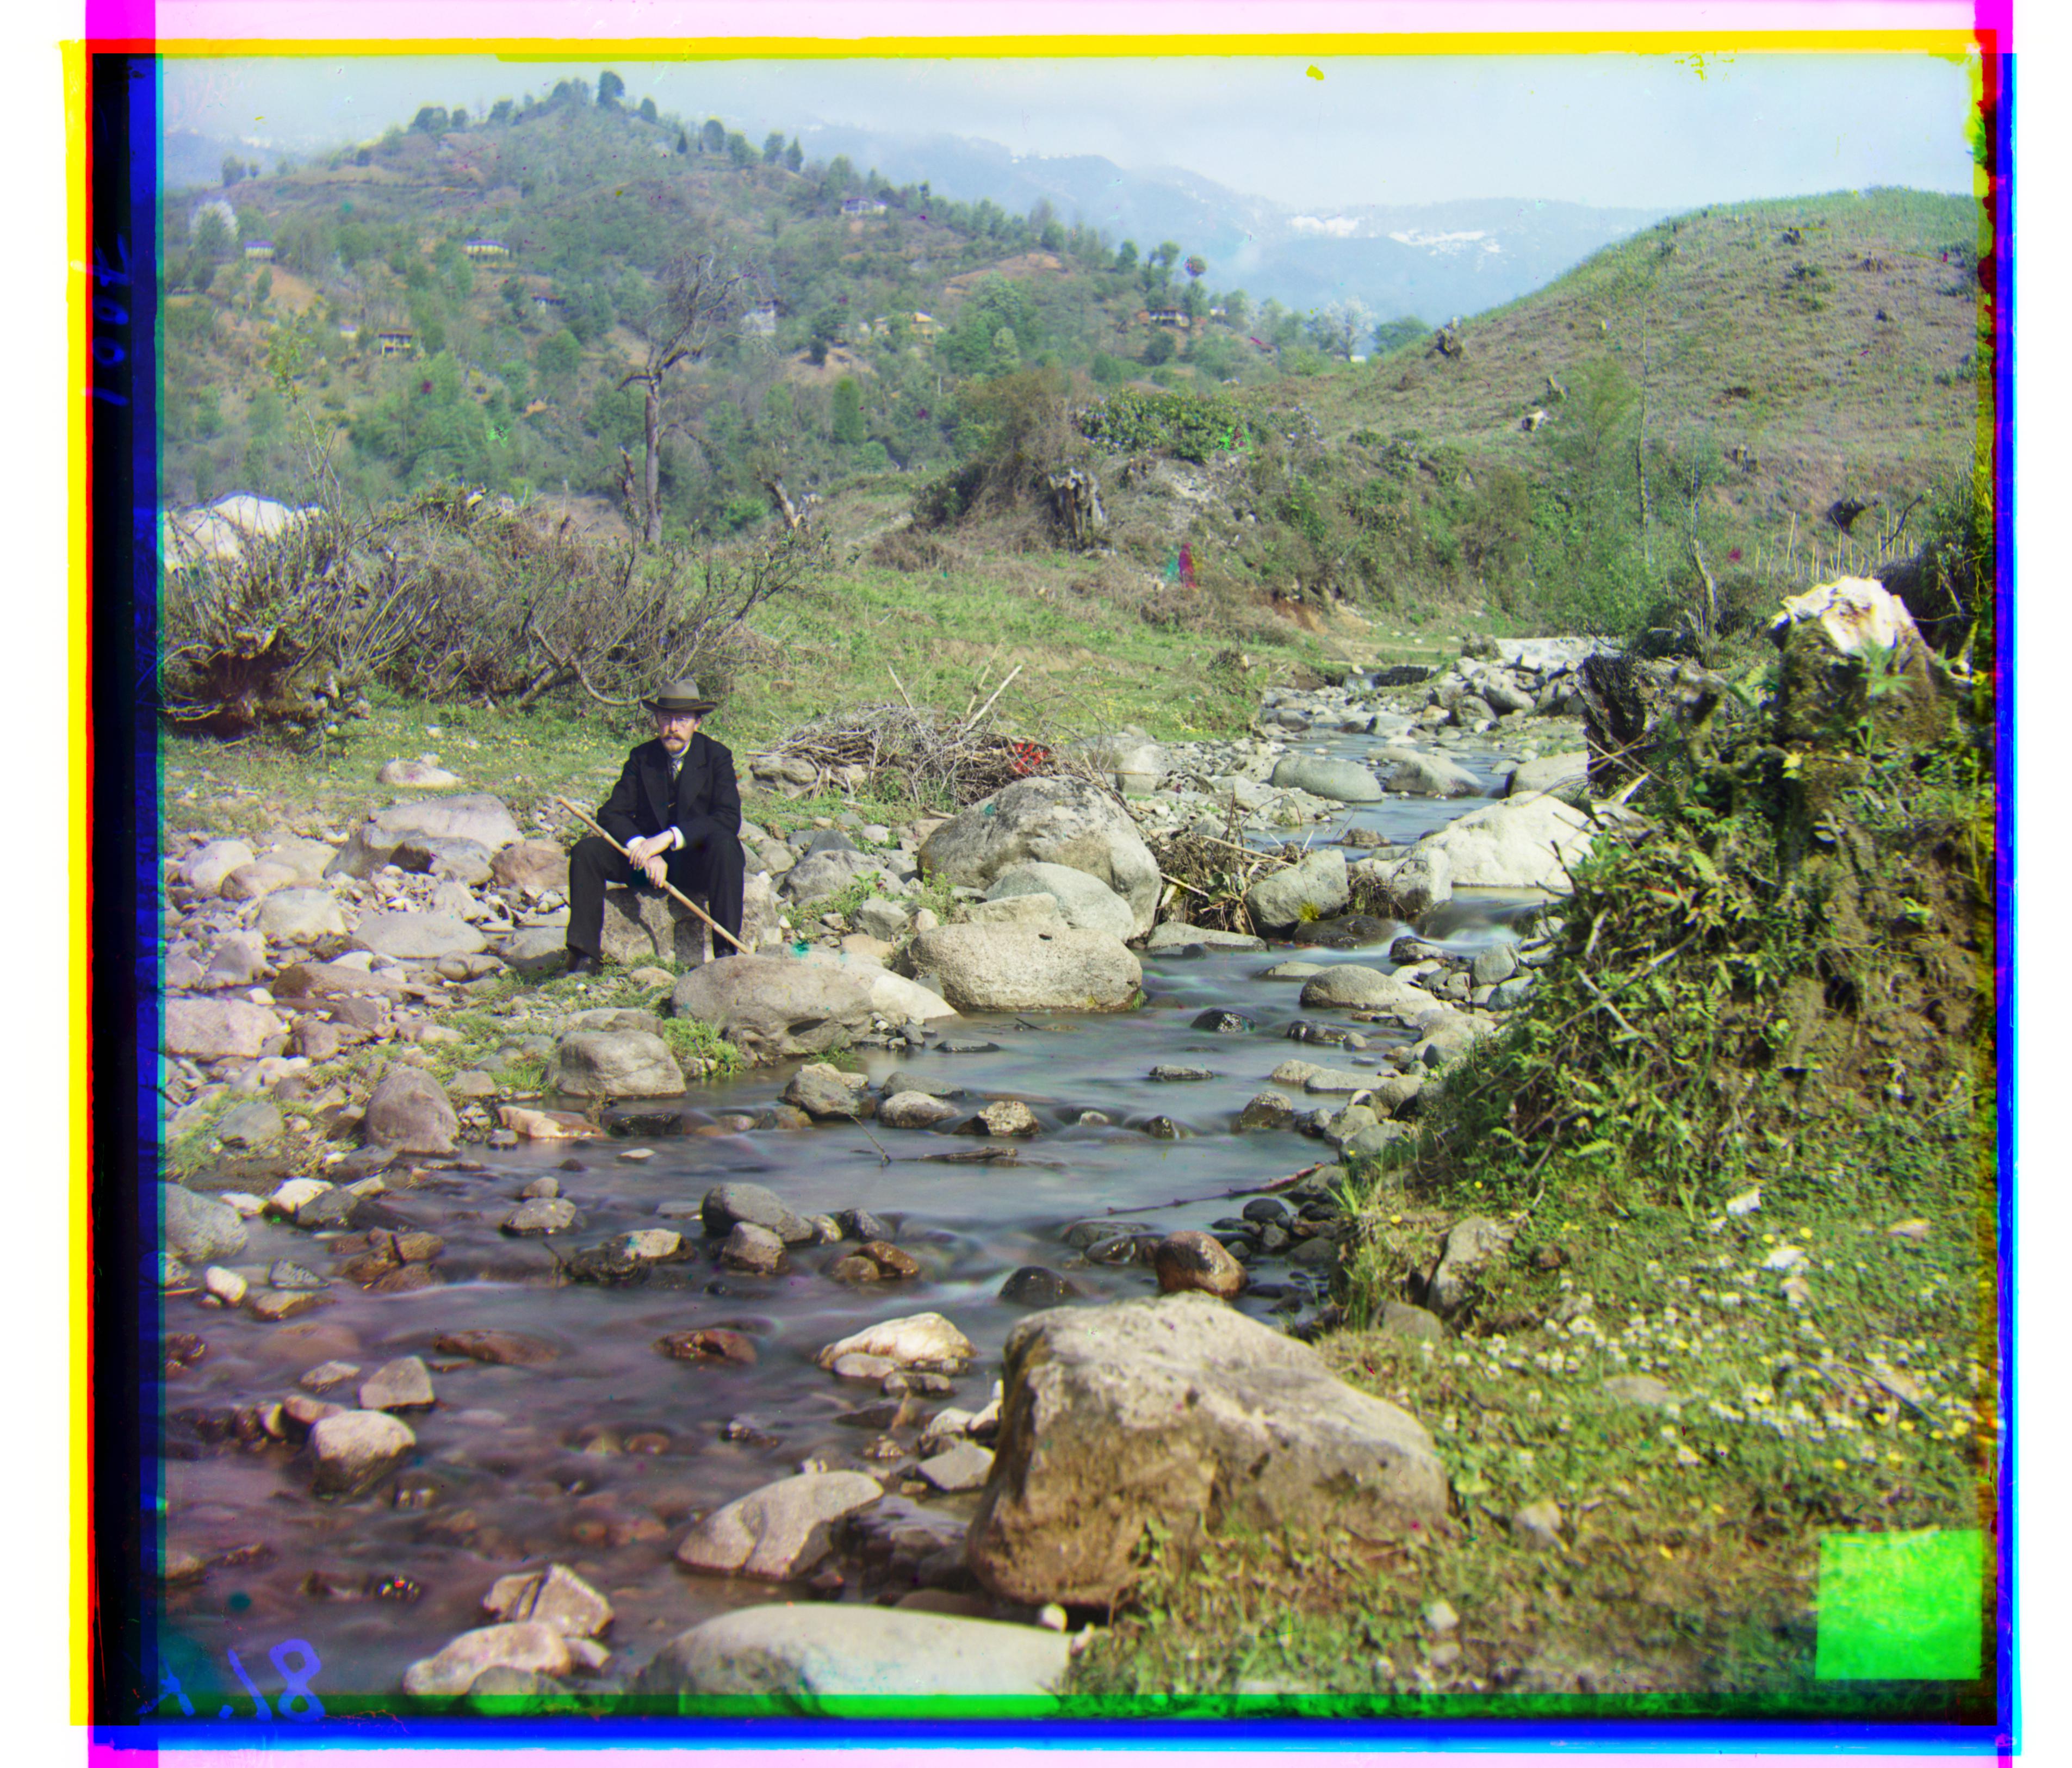
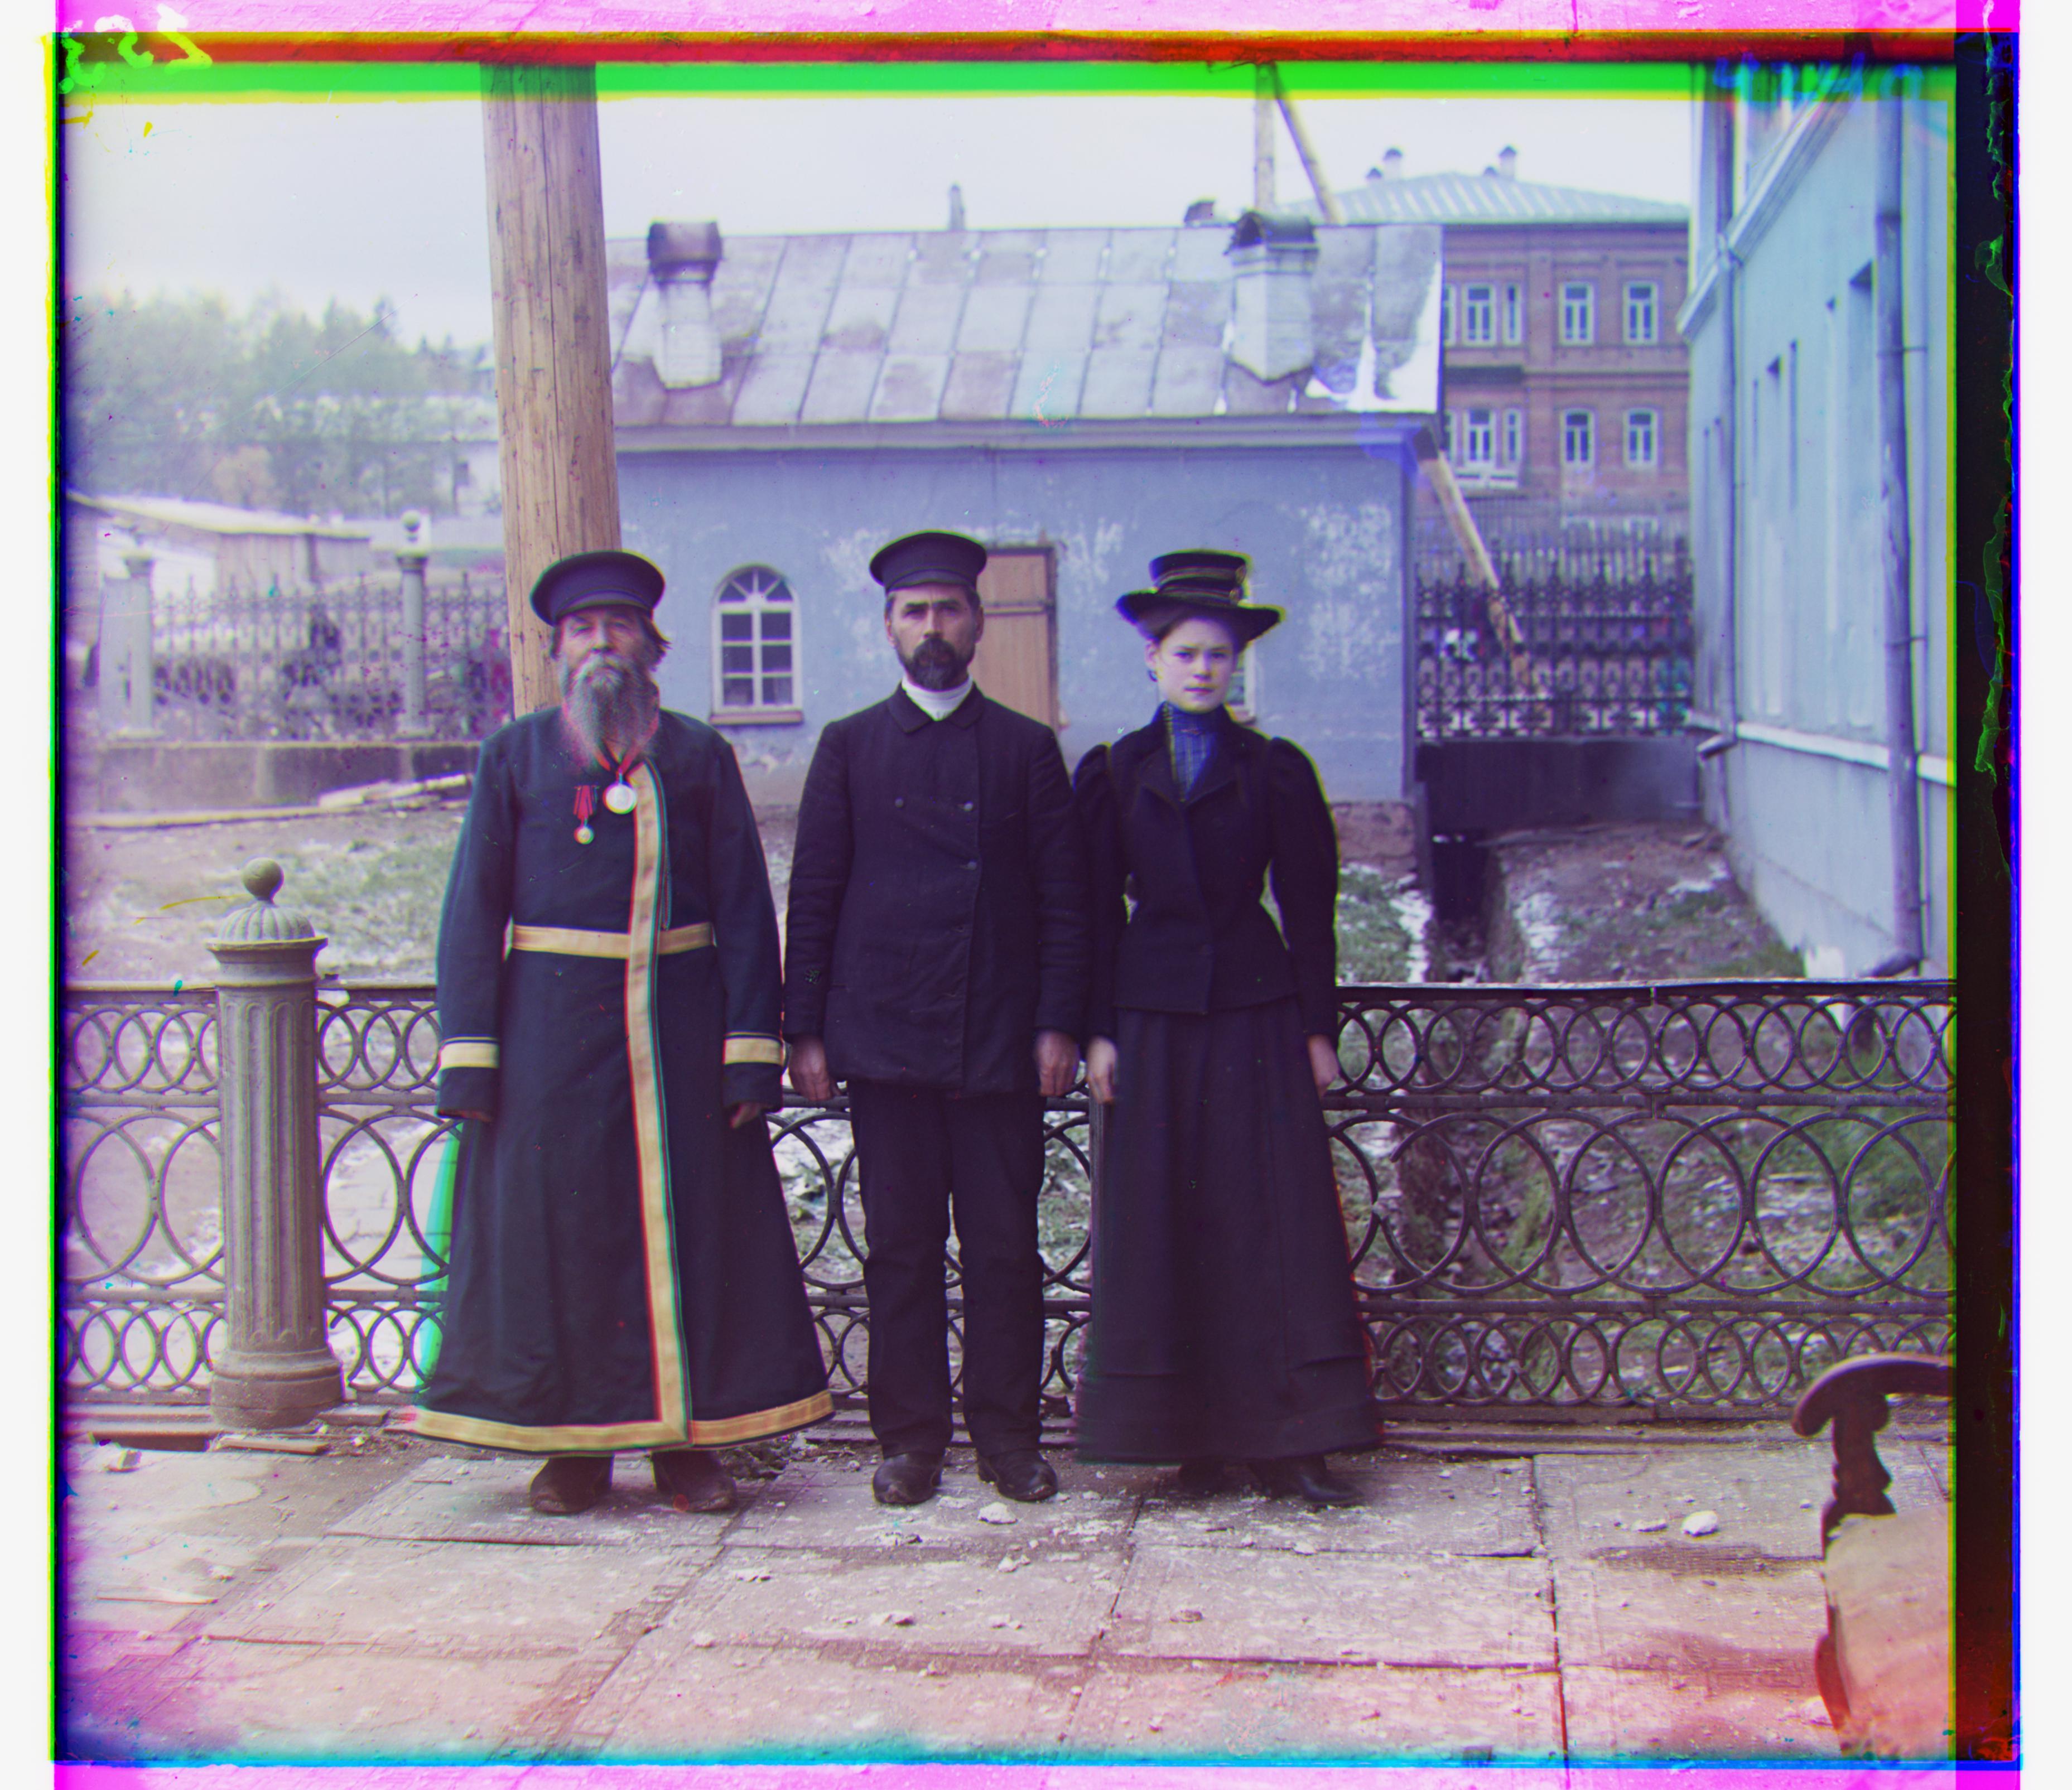
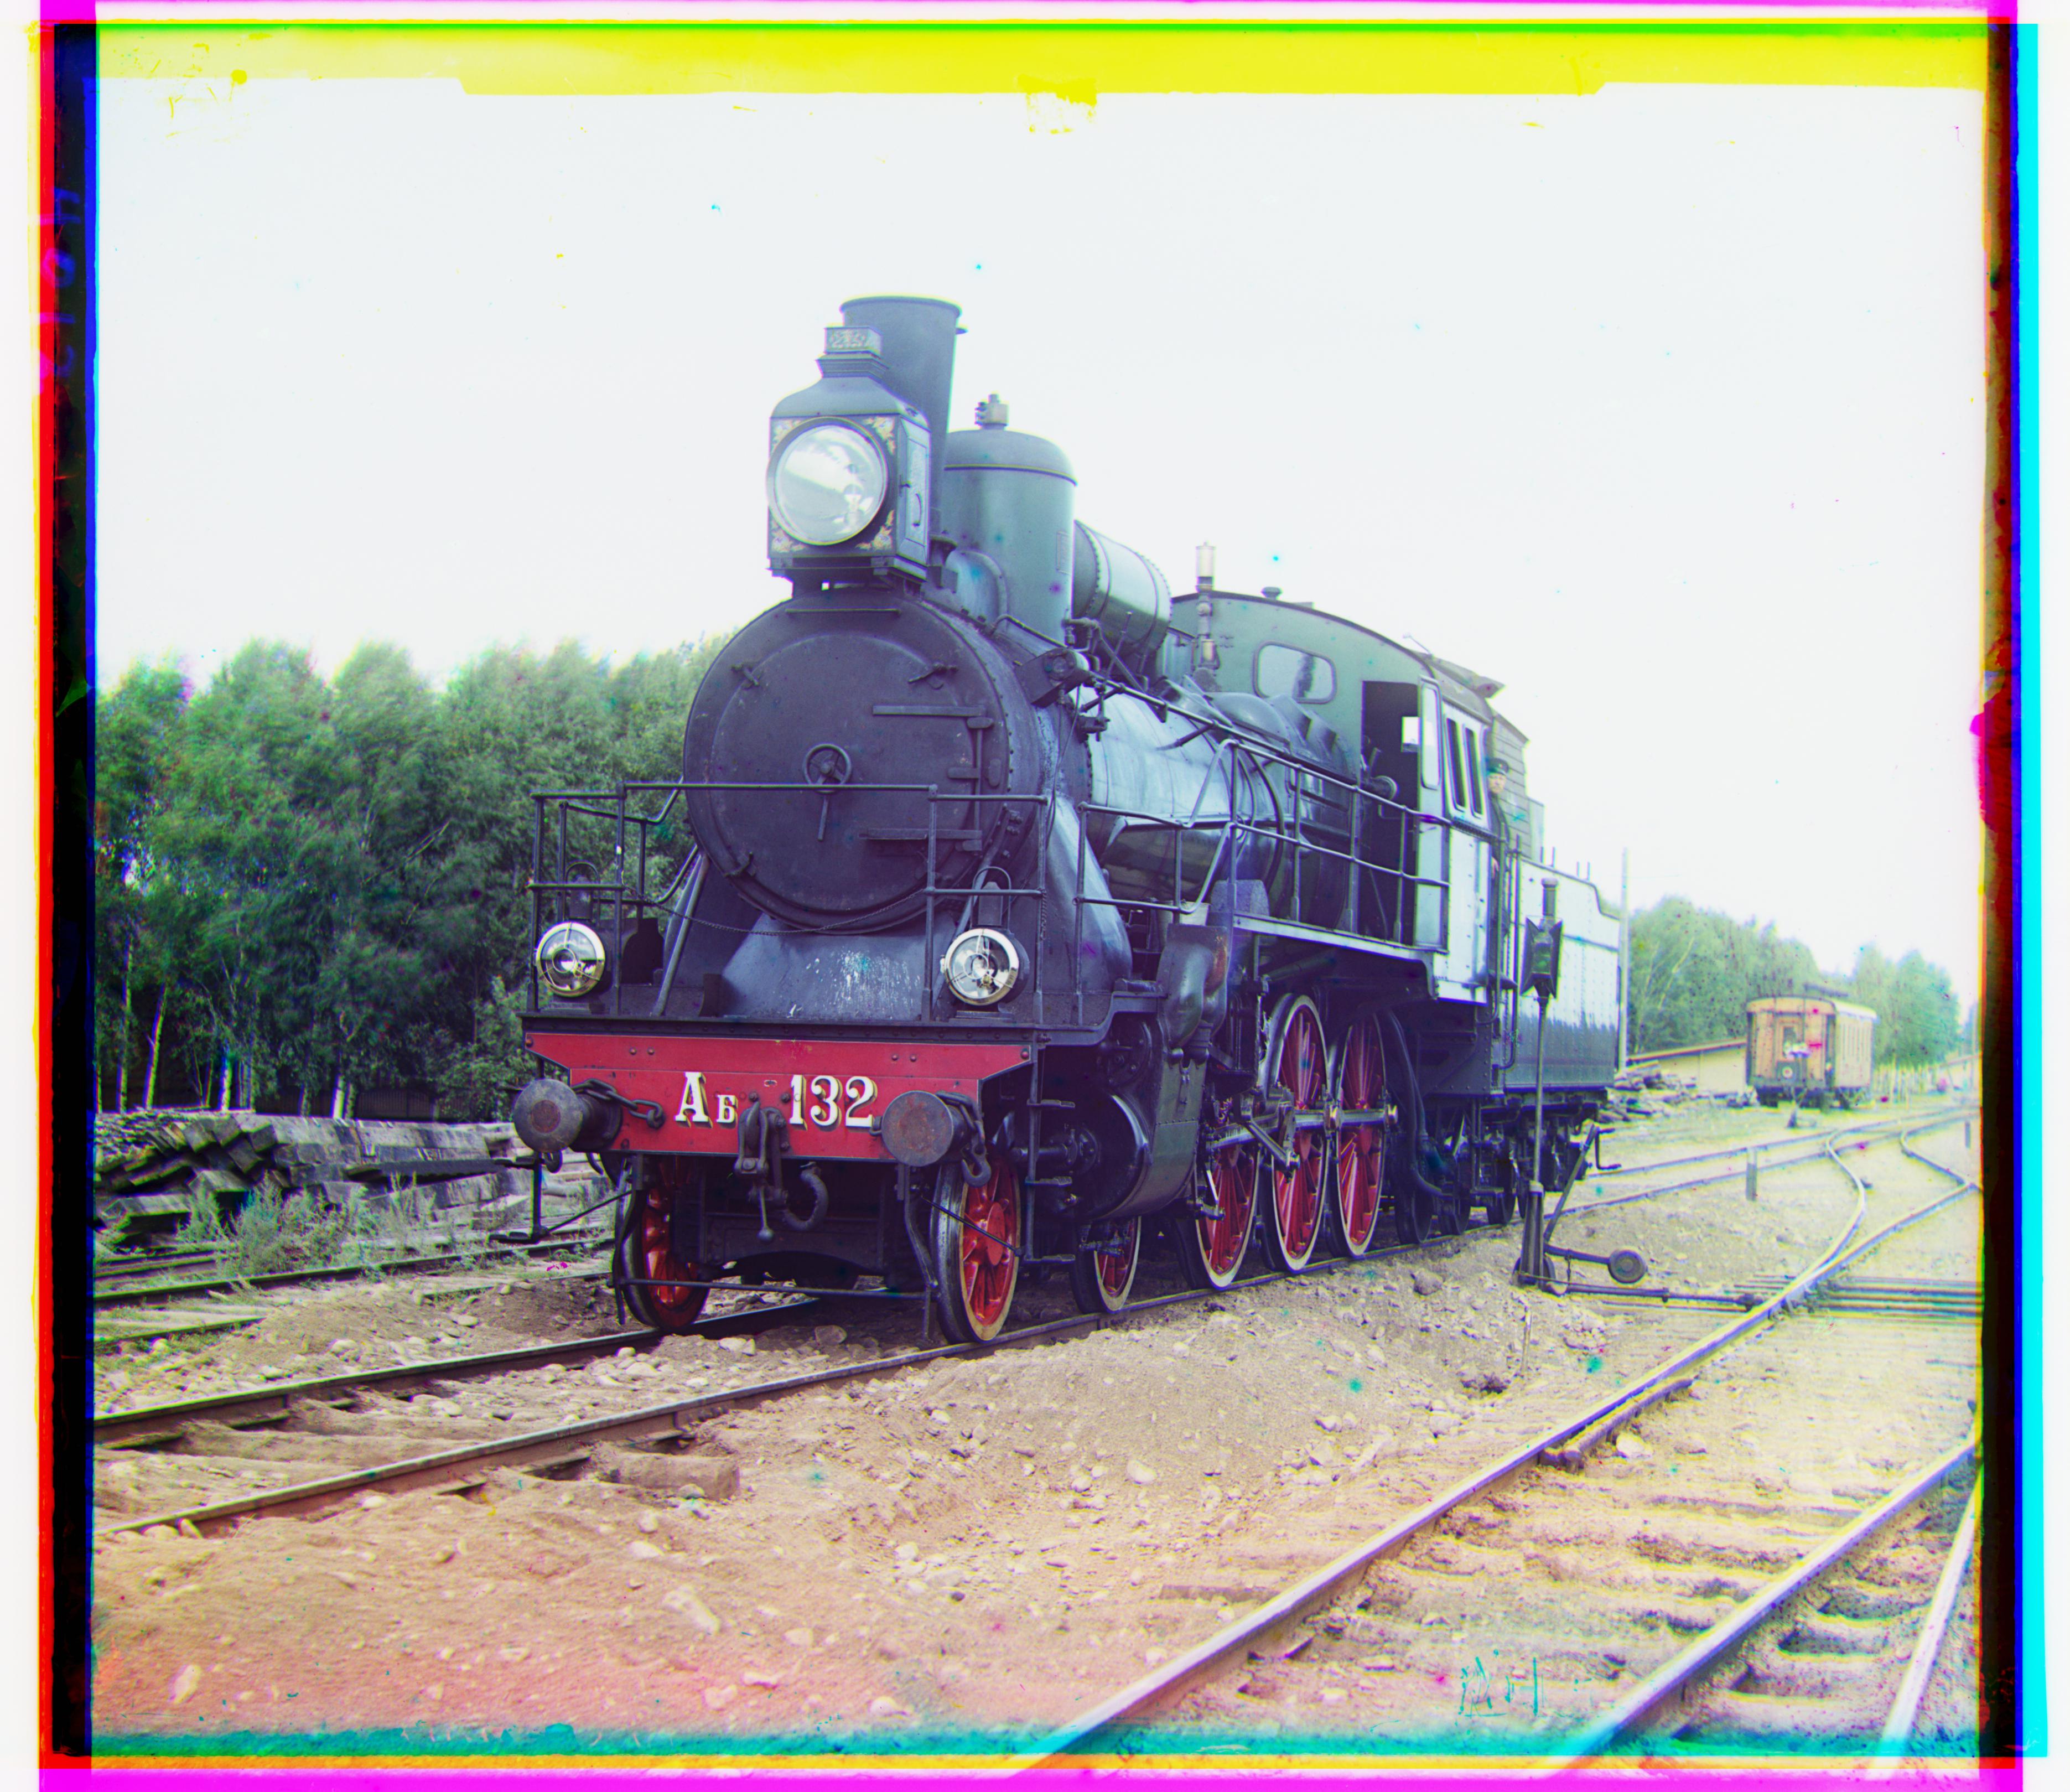
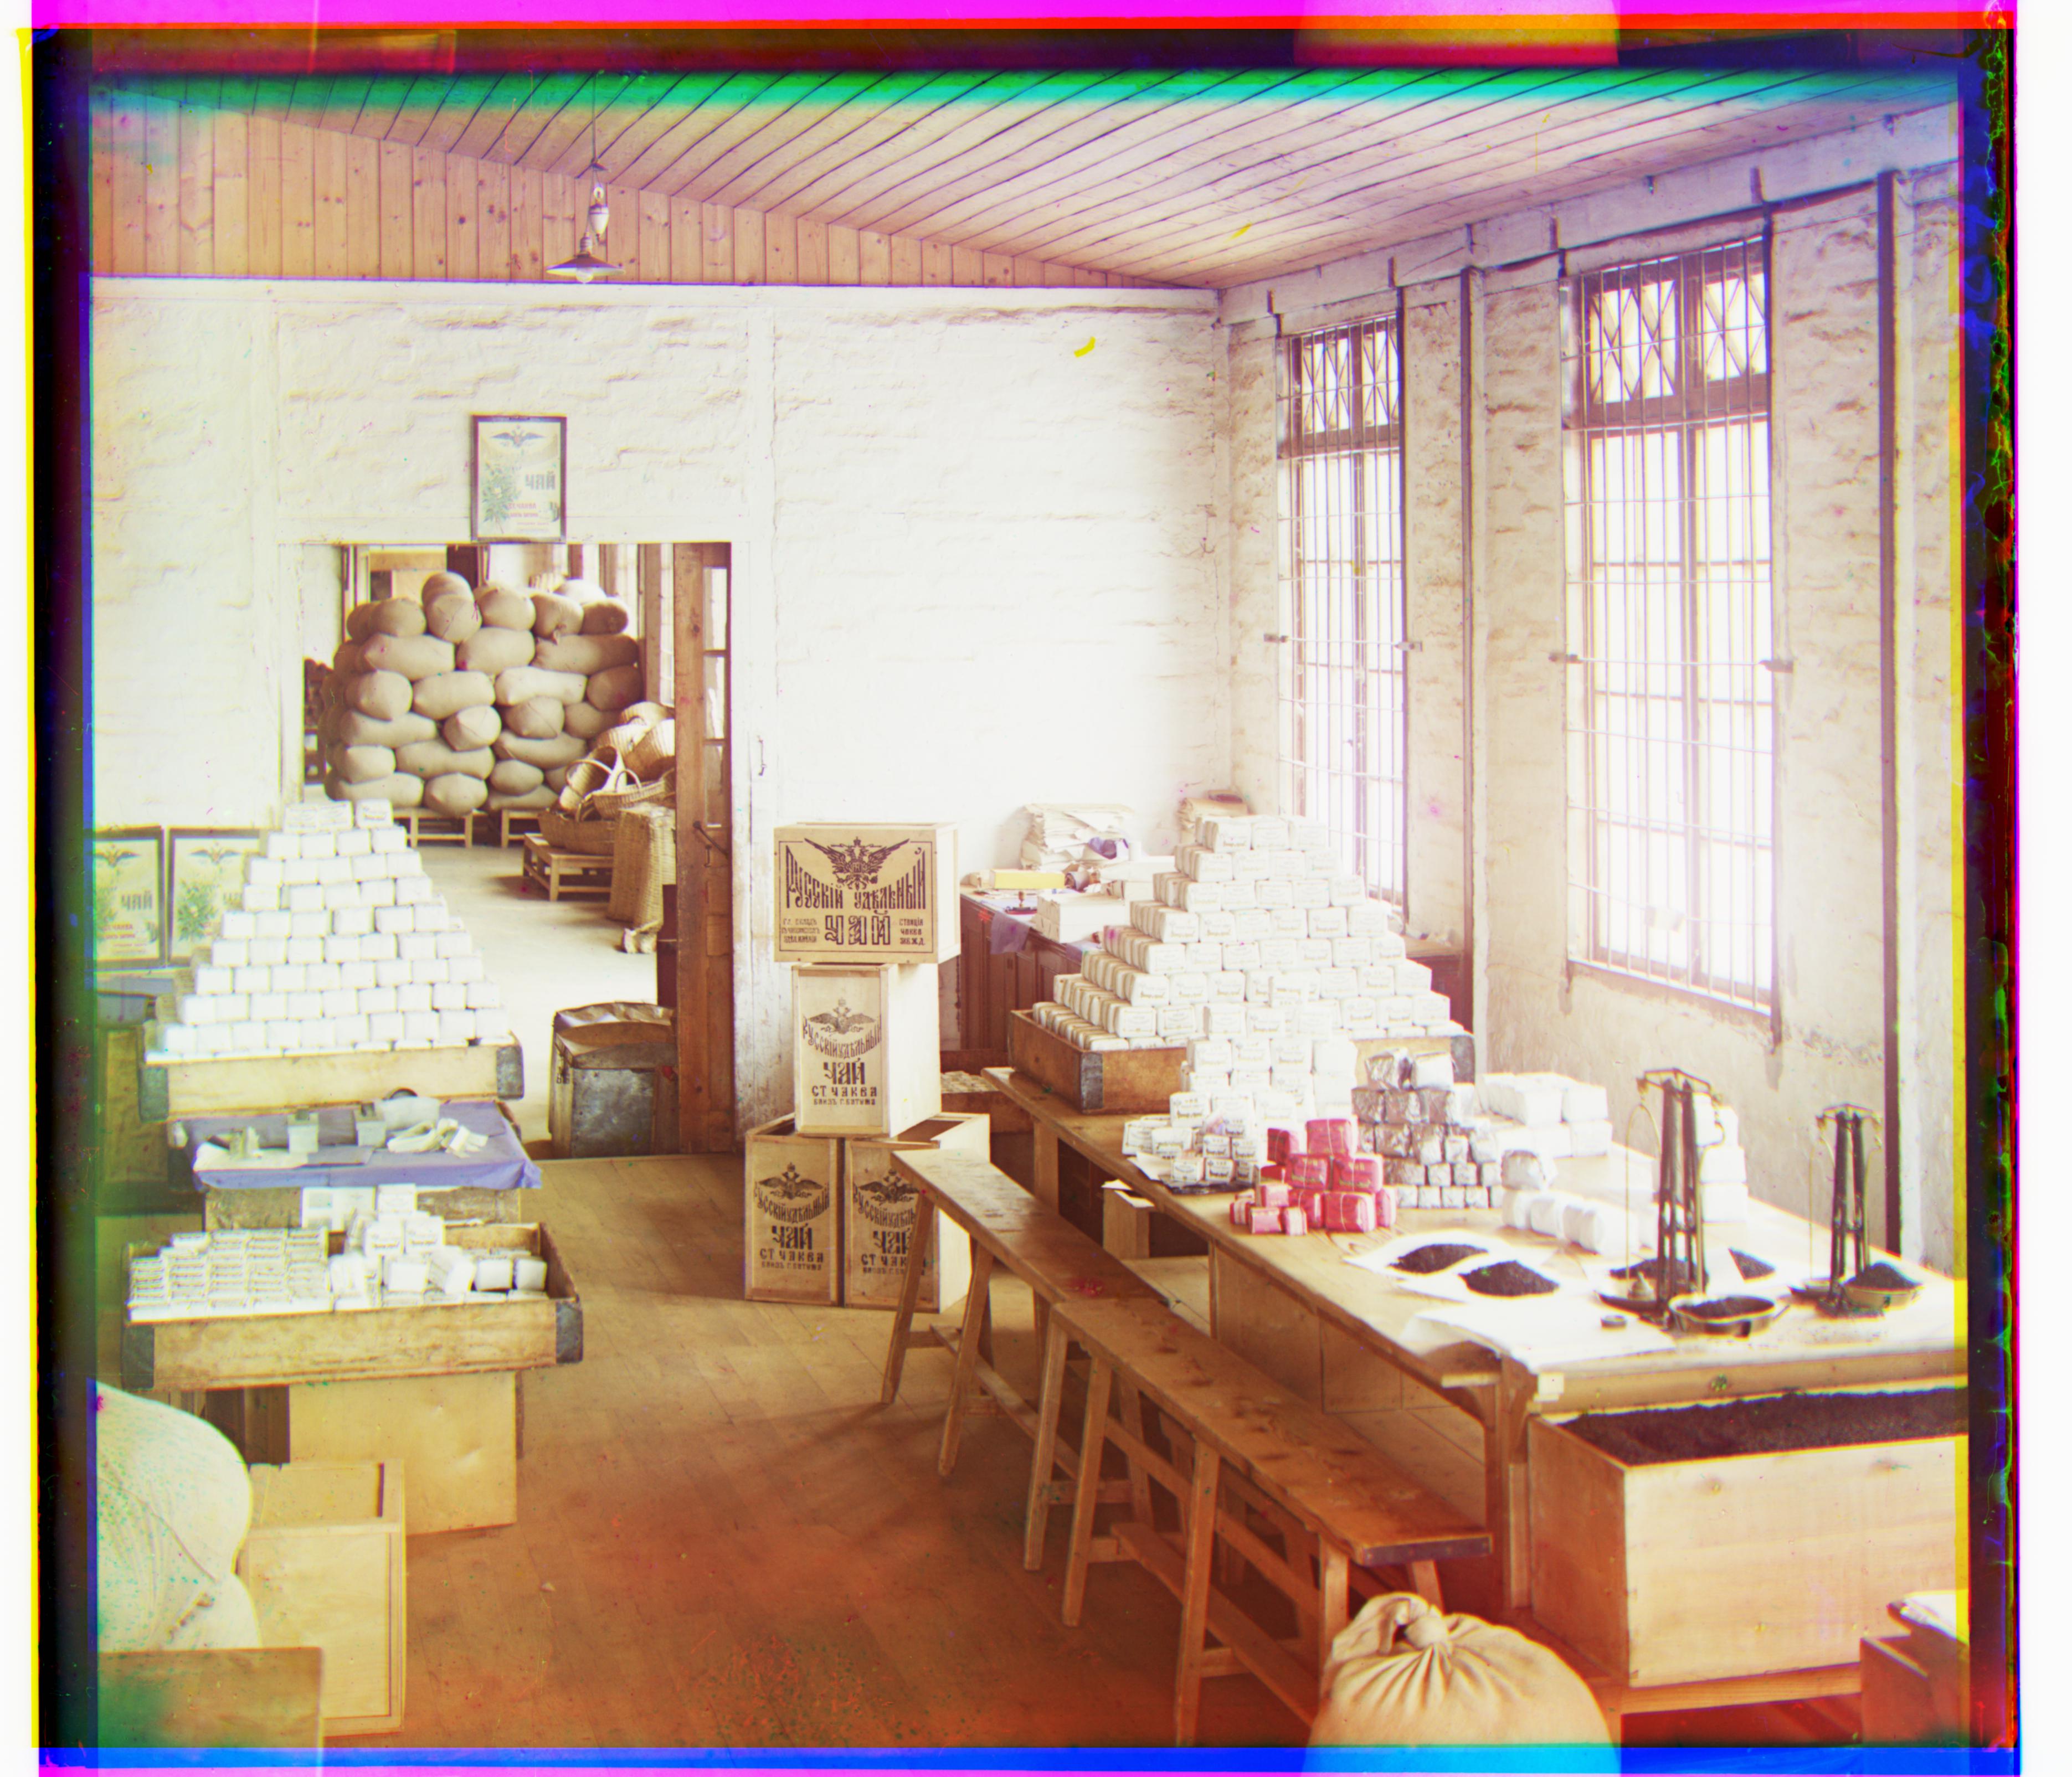
In order to align the images, we were using exhaustive search to essentially convolute one channel's pixel values over anothers. Unfortunately this means we were searching about 15 * 15 SSD's, which already scales exponentially based on the size of the image passed in. While our exhaustive method works for small images (.jpg's), it fails to produce a viable solution for larger images stored in less compressive formats (.tif). Exhaustive search on our .tif's took about an hour to even a day. For larger images, we employed a means of gradually building our best displacement through smaller improvements and estimations. The structure we used was an image-pyramid, which is a set of an image at different sample-rates. The original image might contain all the pixel values, but a downsampled version of the image will only contain the pixels at every other position. This downsampled version contains much less information, but the more we downsample, the less the overall size of our original image becomes (by a factor of 4 per downsample.), which means we can efficiently exhaustively search these images, unlike the original image. What this allows us to do is estimate a close-to-good displacement value from a very downsampled version of the image, at least to start. Then, we iteratively traverse through the image-pyramid, decrease the size of our displacement window from 15 to 1 overtime, as our images grow more upsampled, and we can use our previous exhaustive displacement algorithm, but this time on a much smaller window (think 5, 5) instead of (15, 15). For each level of our image pyramid, as we get closer to our original image we add to to a global displacement value, scale it by 2 (because as we are growing from downsampled to upsampled images, we need to start displacing further and further to achieve the same affect as in smaller images), and when we get to our final image and have a proper displacement almost as good as exhaustive search, we can finally roll our image and do all this in under a minute. Here are the results for the larger images we were given (.tif). The values R(X, Y) and B(X, Y) correspond to the displacement needed in the X and Y axes to properly align our images to our anchor channel.
I automatically cropped the images' borders by 20% prior to alignment. This was to avoid having the borders of the image from producing too much noise while calculating our SSD values. The borders being so 'black' against the 'white' background meant the values would highly skew the displacement if we were to keep them. We didn't completely eliminate the values, just did not consider them when calculating our SSD.