CS194-26 Project 1
Images of the Russian Empire: Colorizing the Prokudin-Gorskii photo collection
Sean Kwan, Fall 2021
Introduction
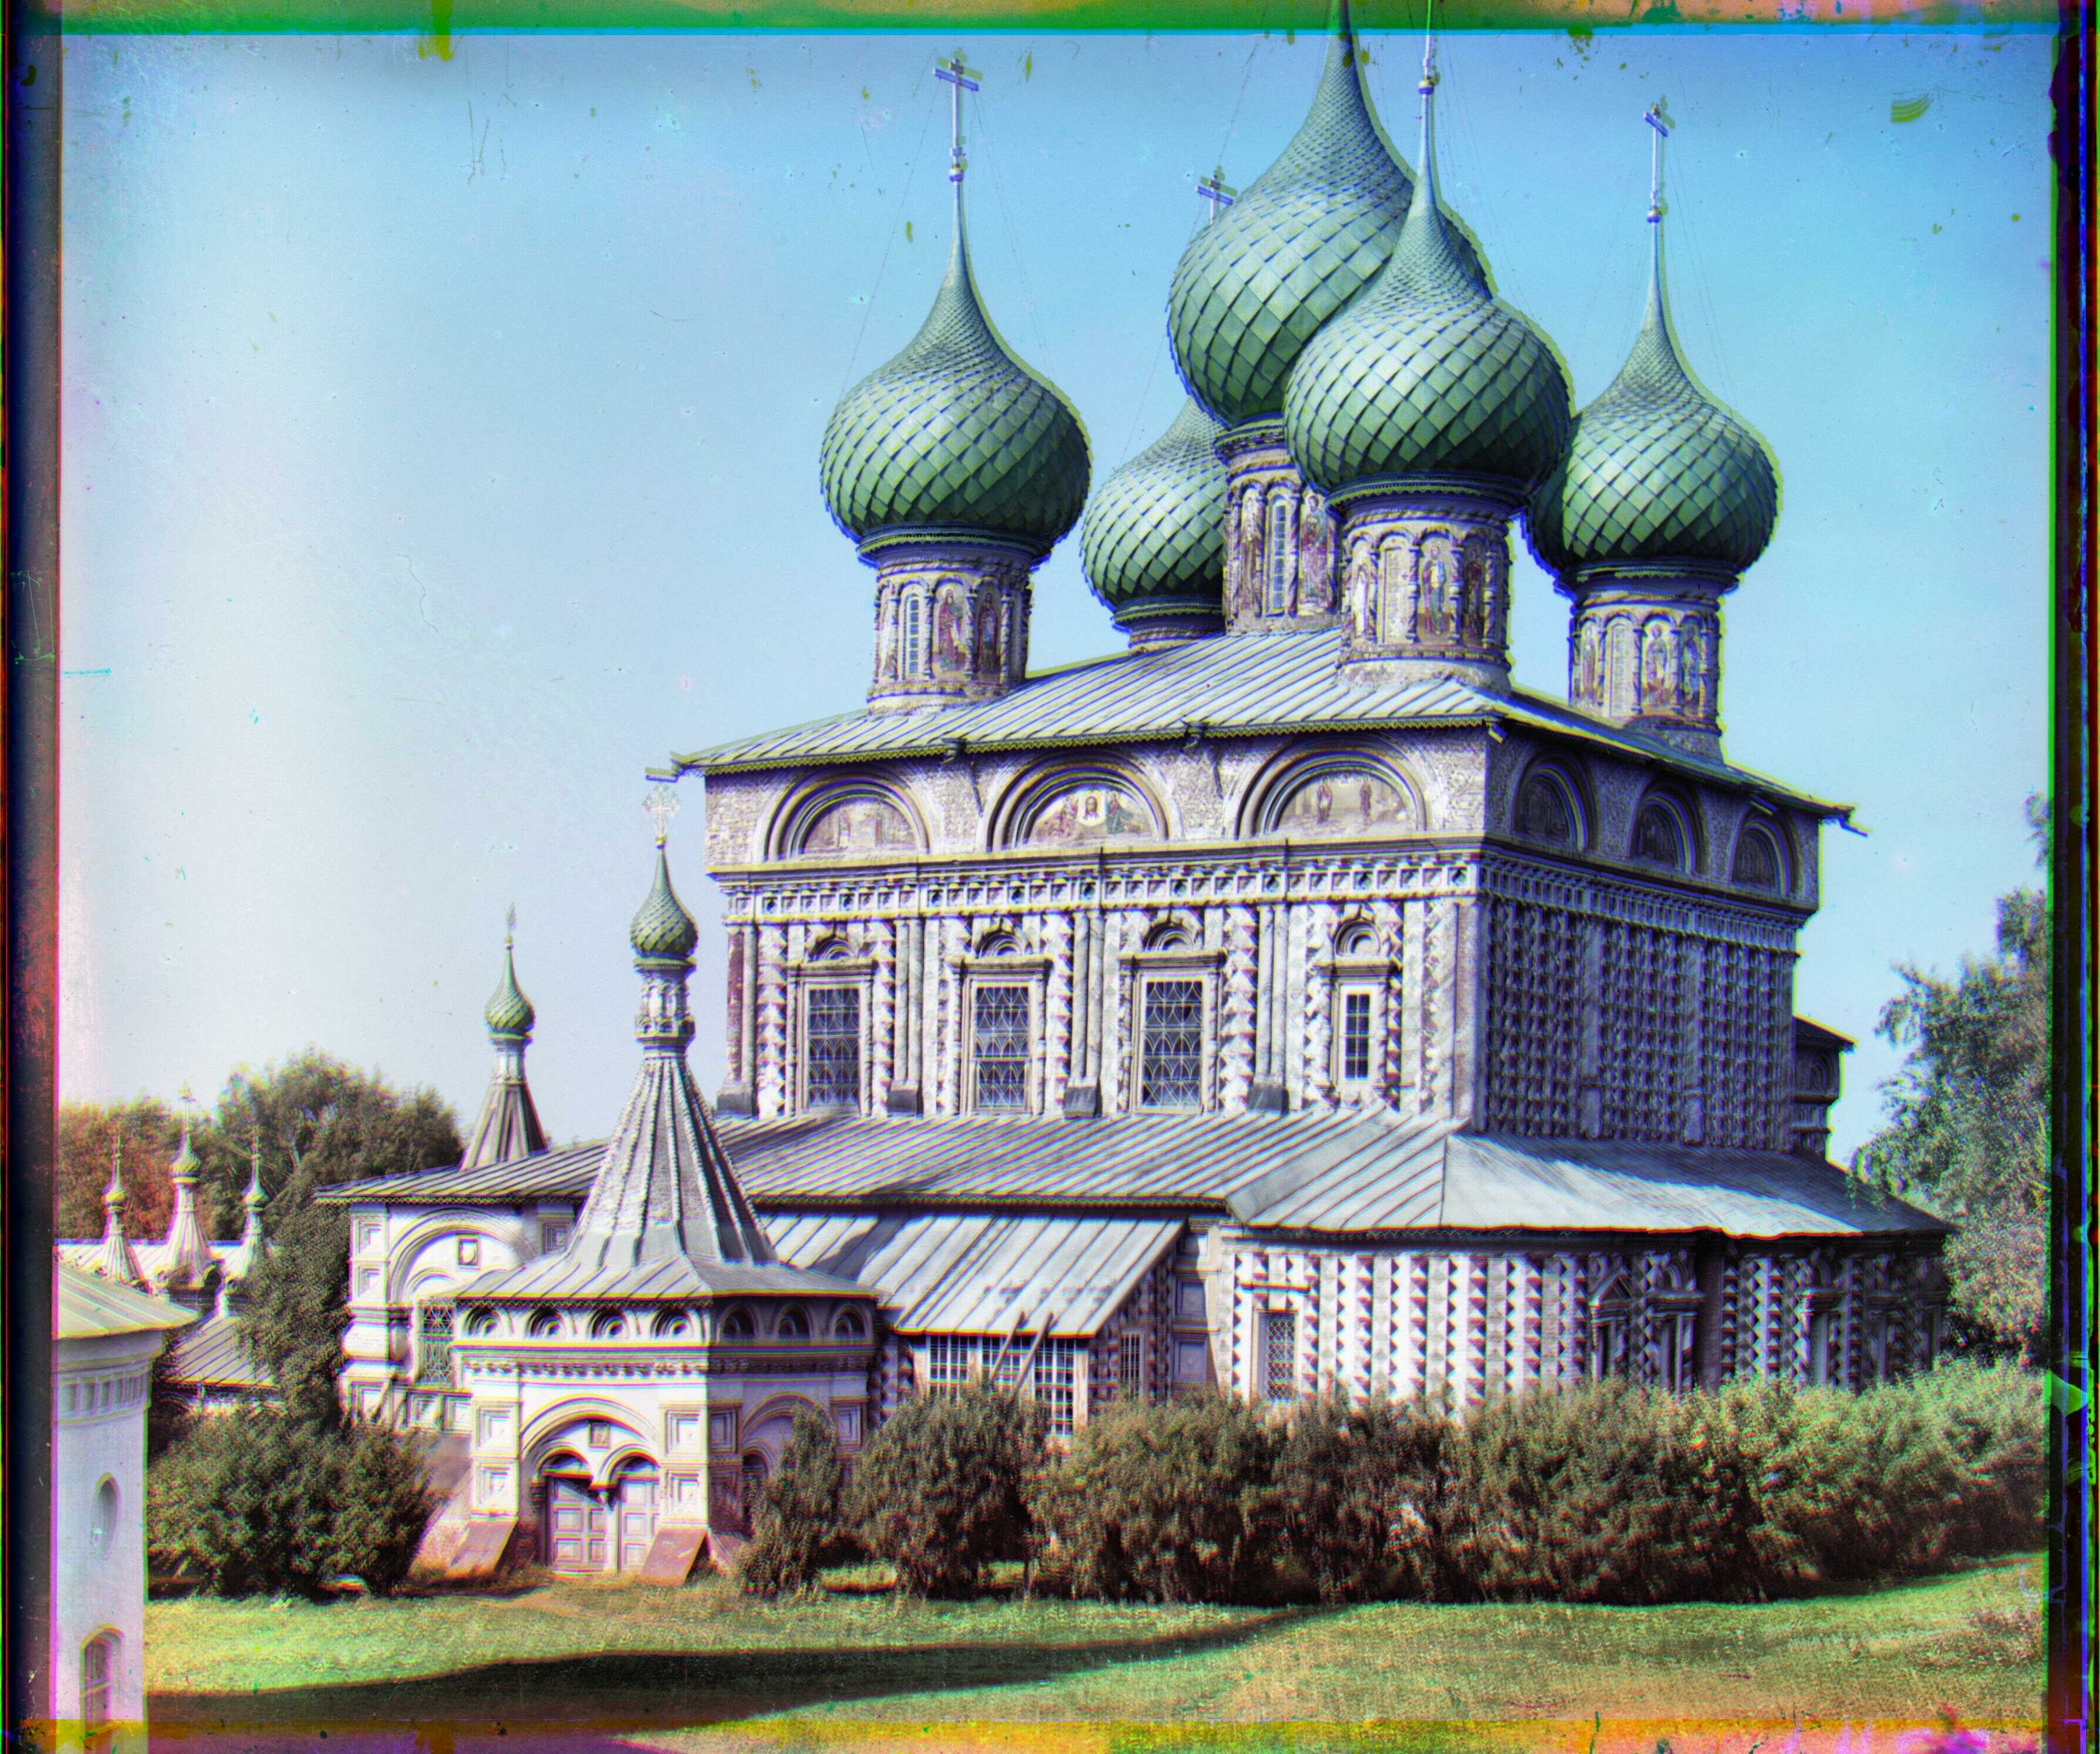
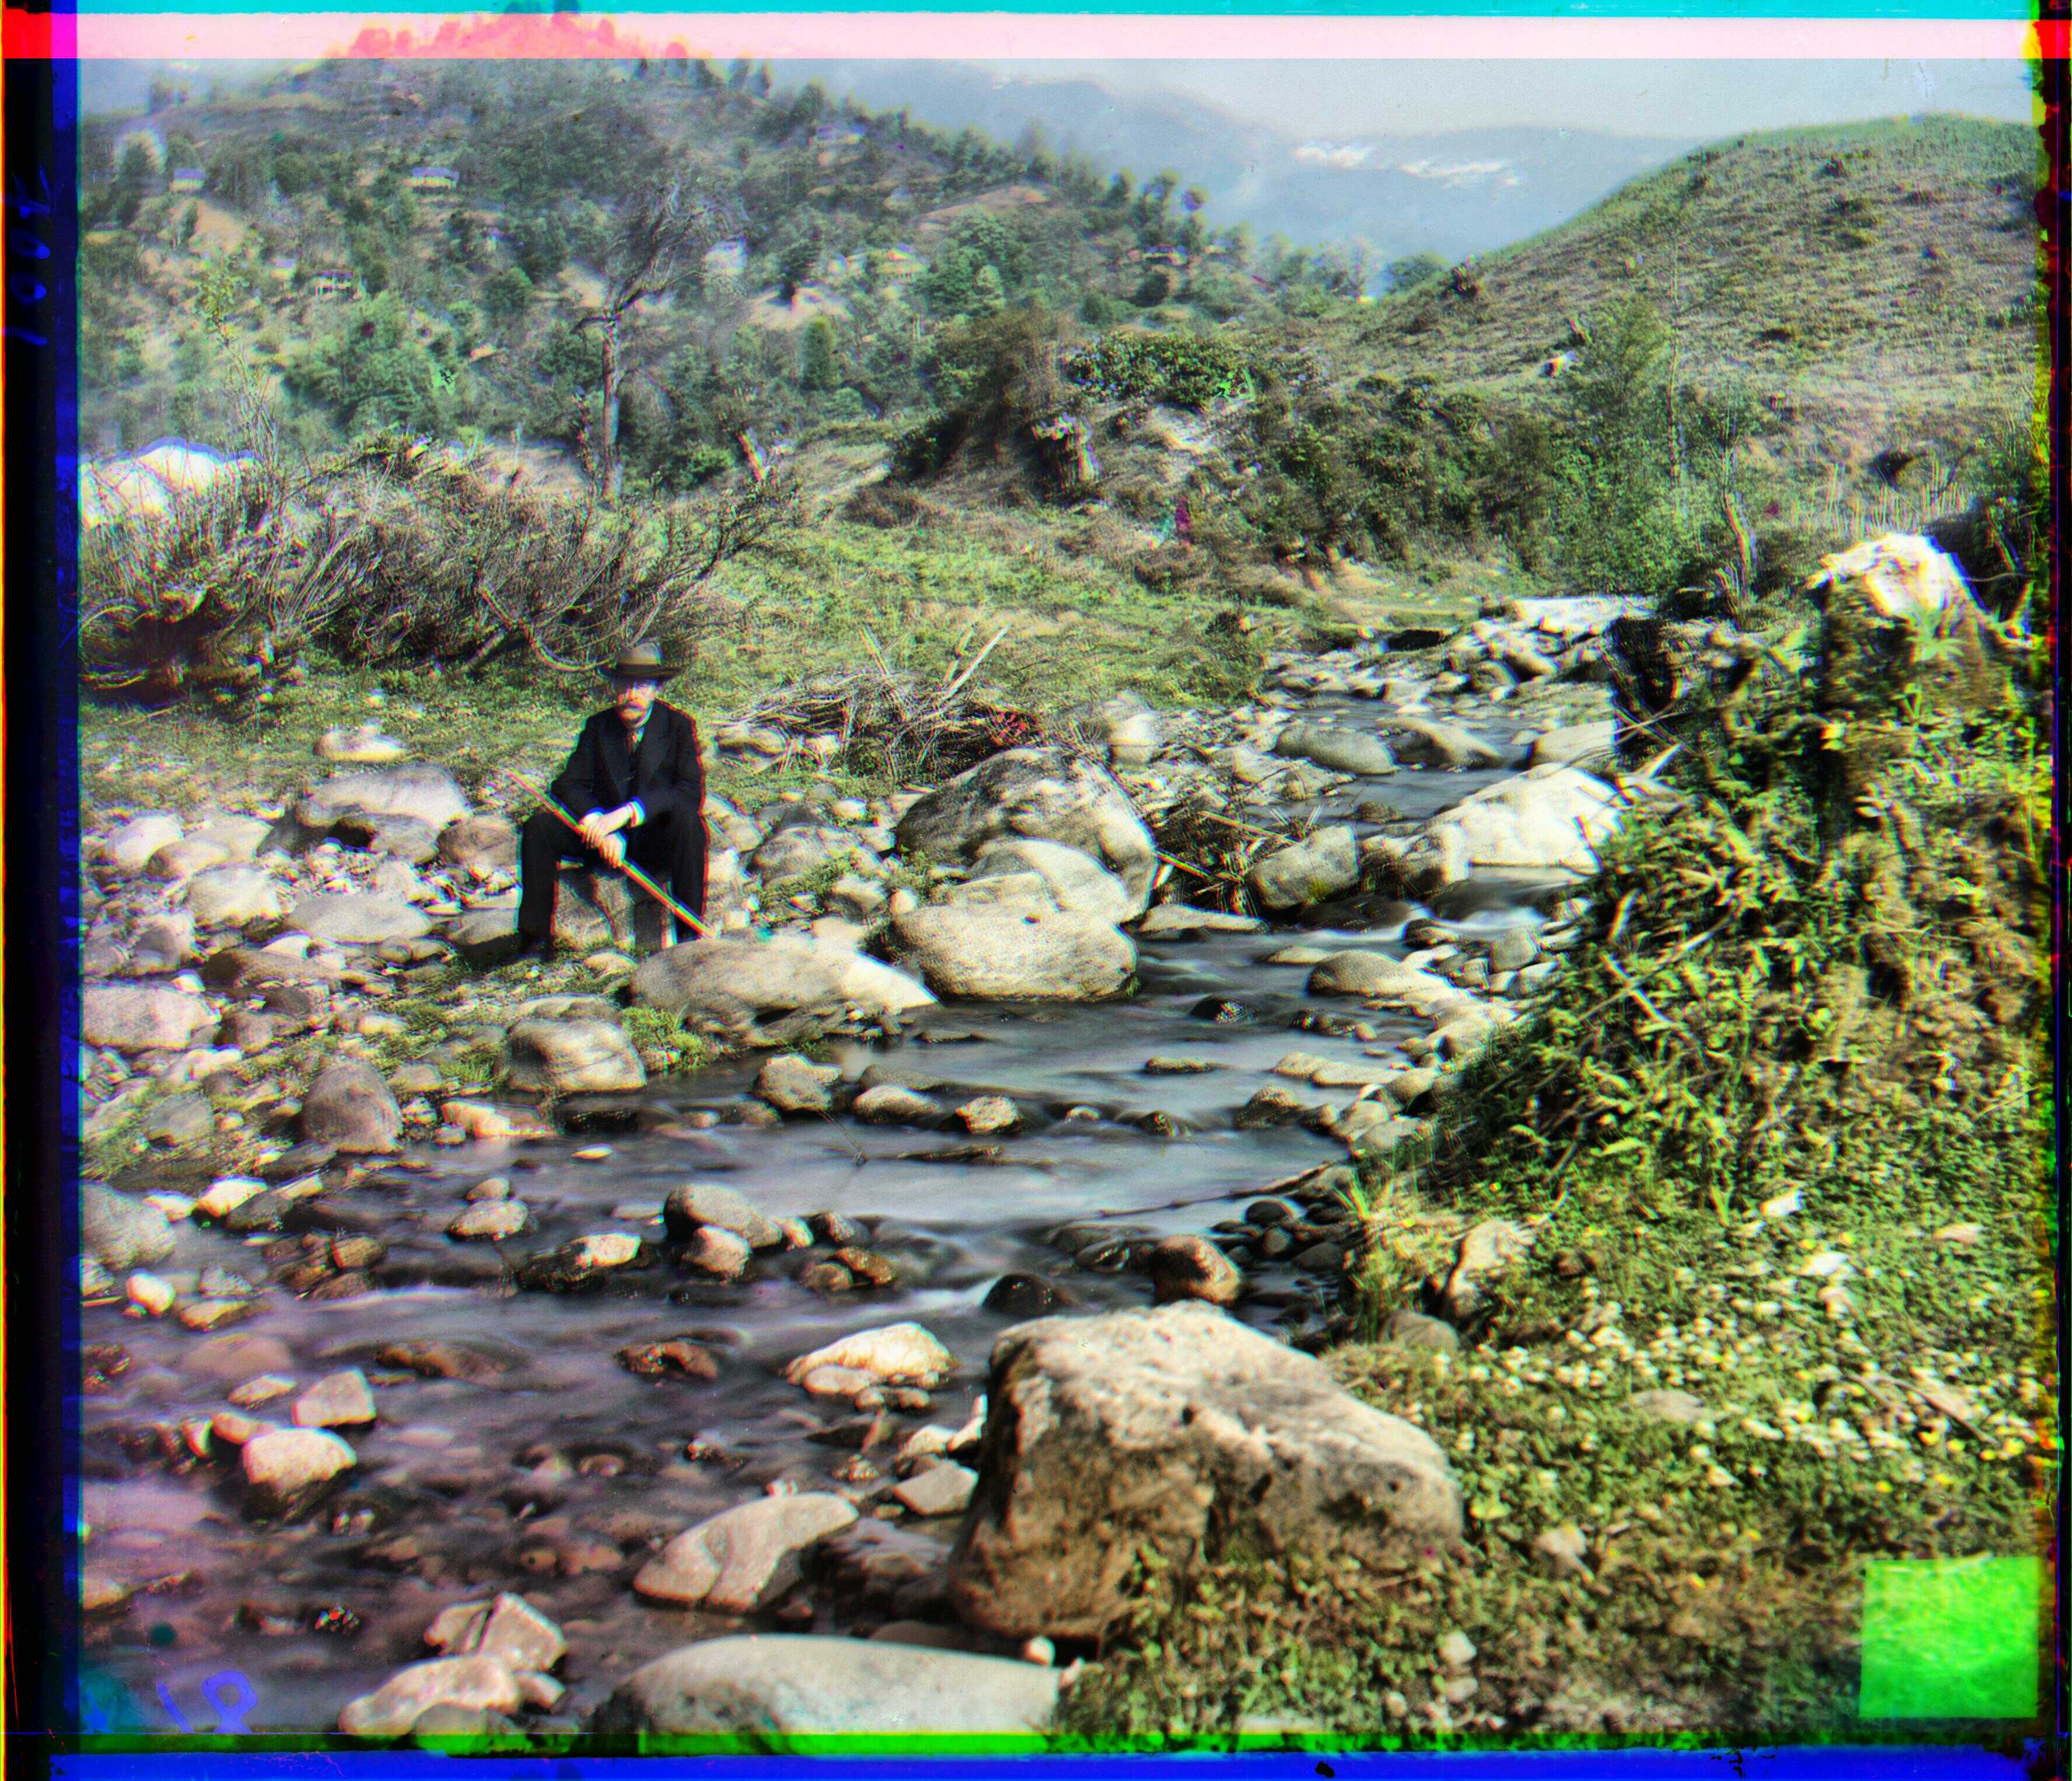
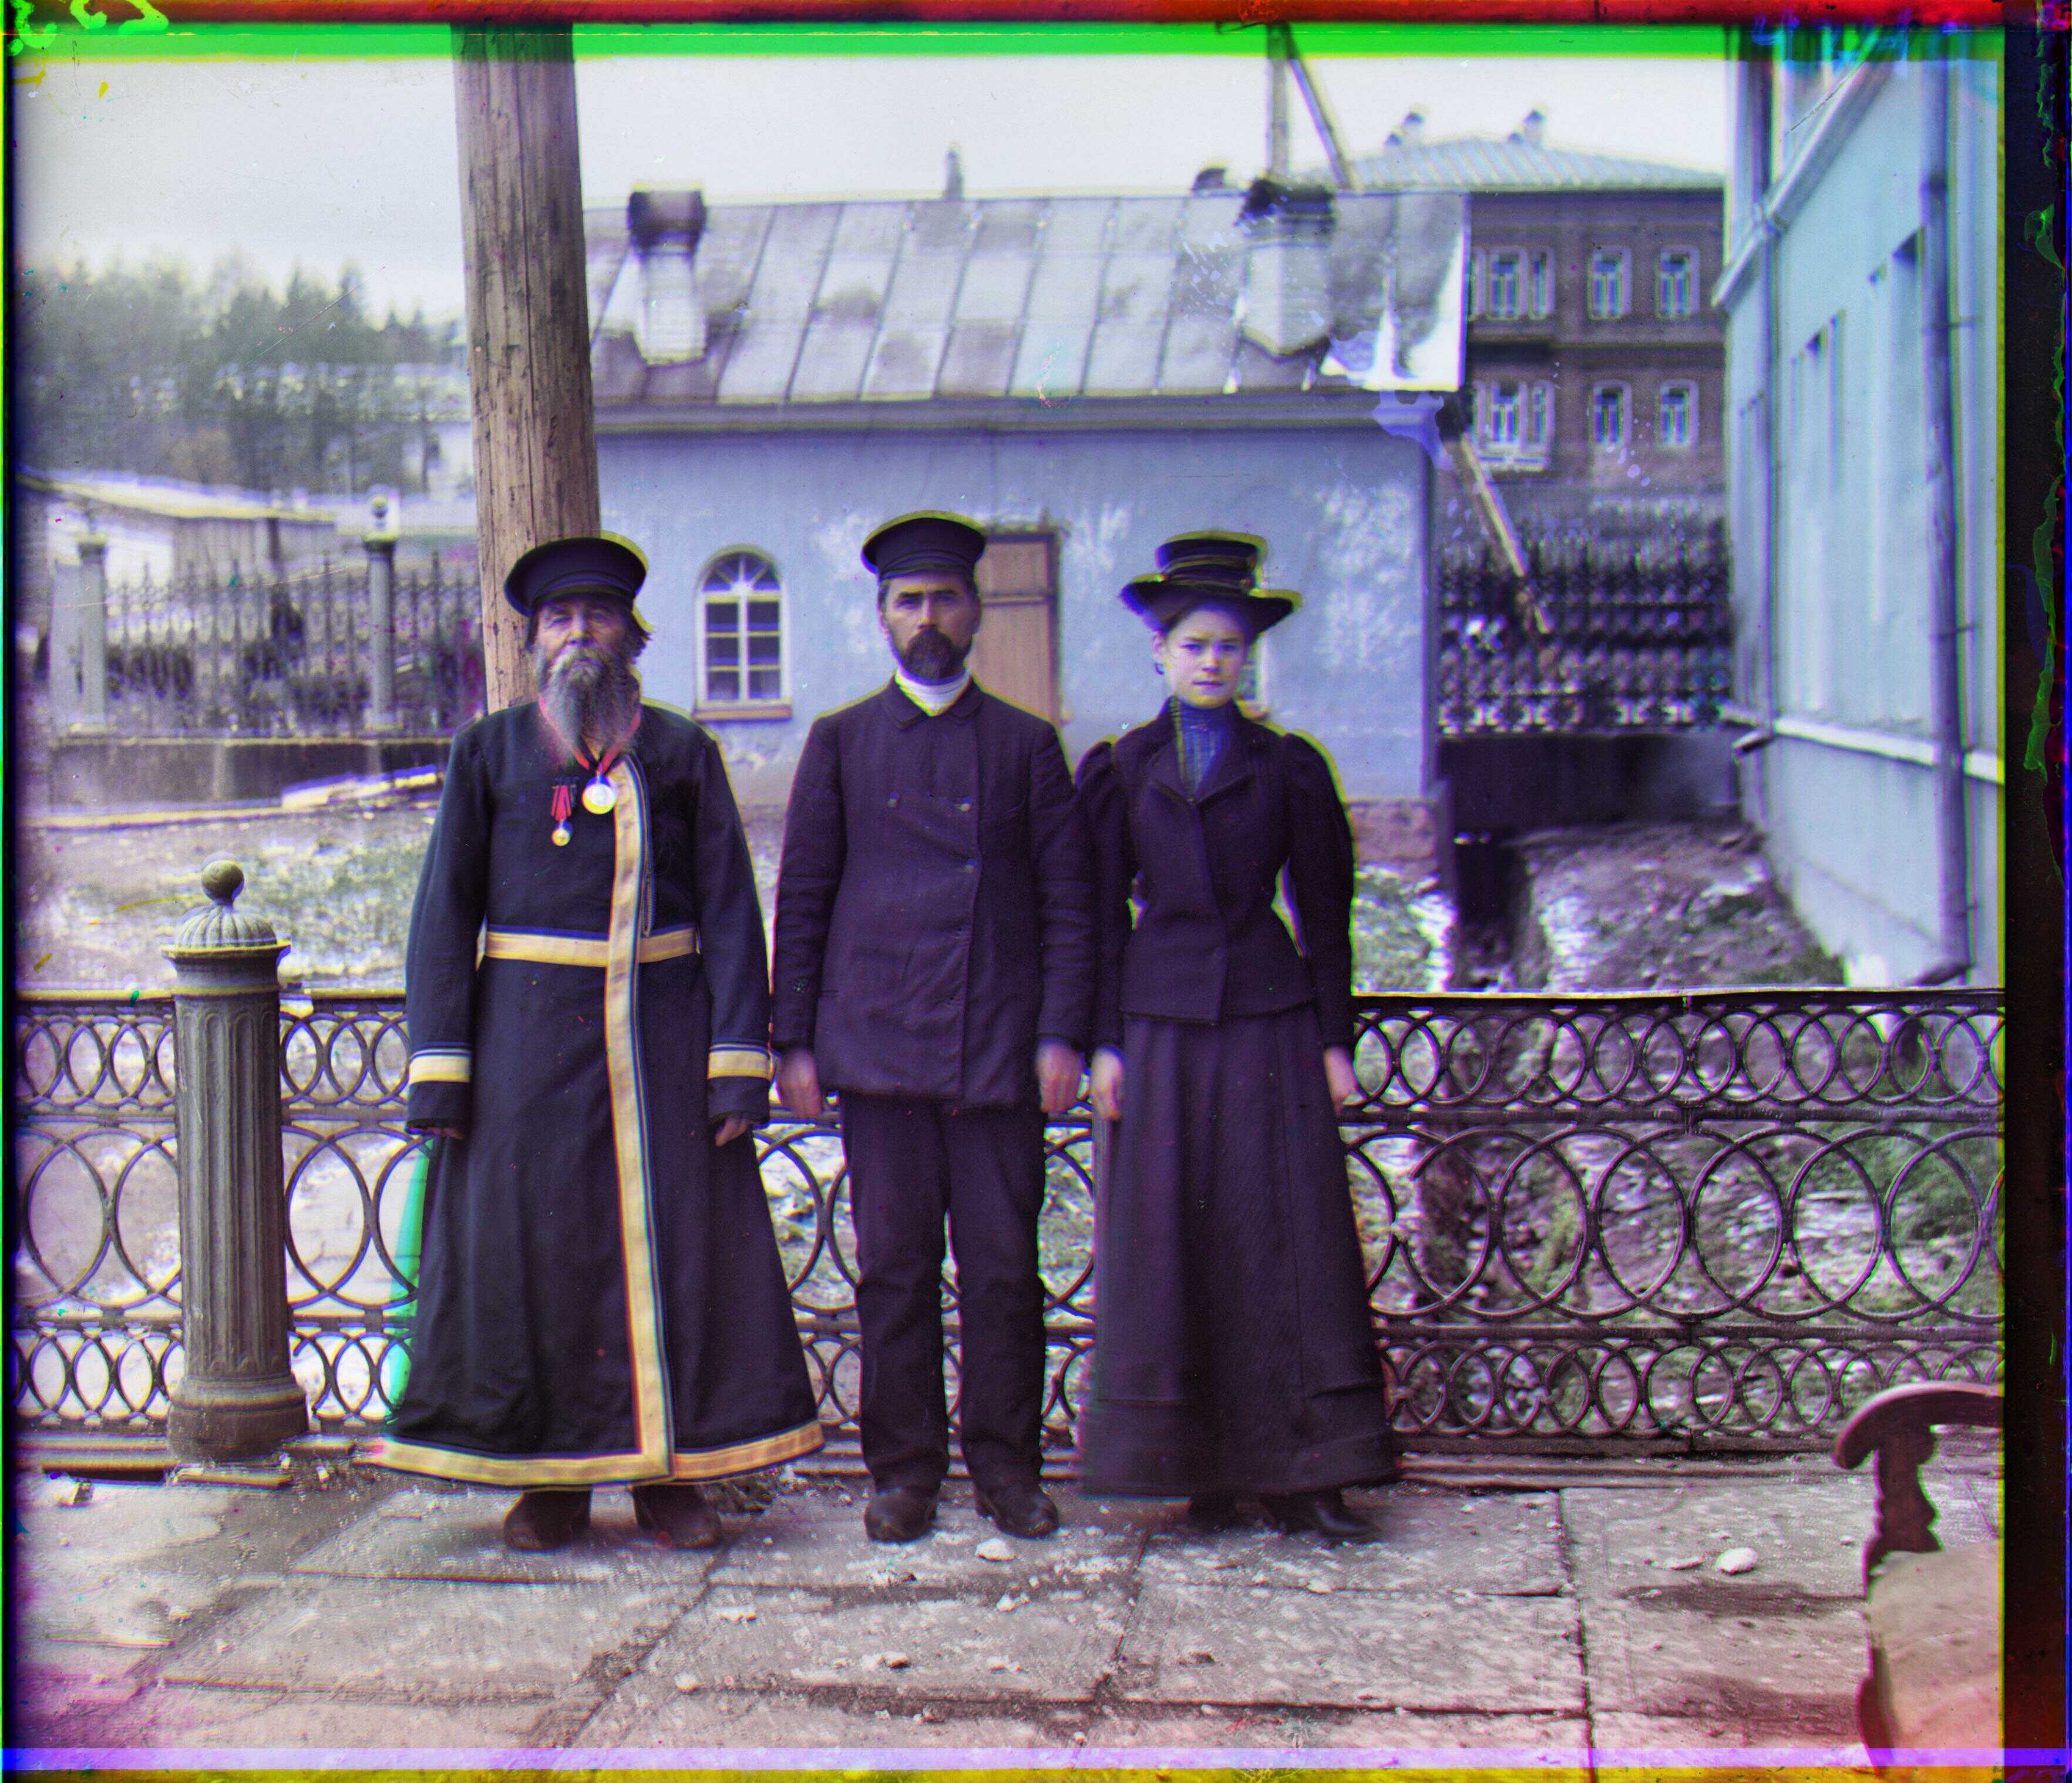
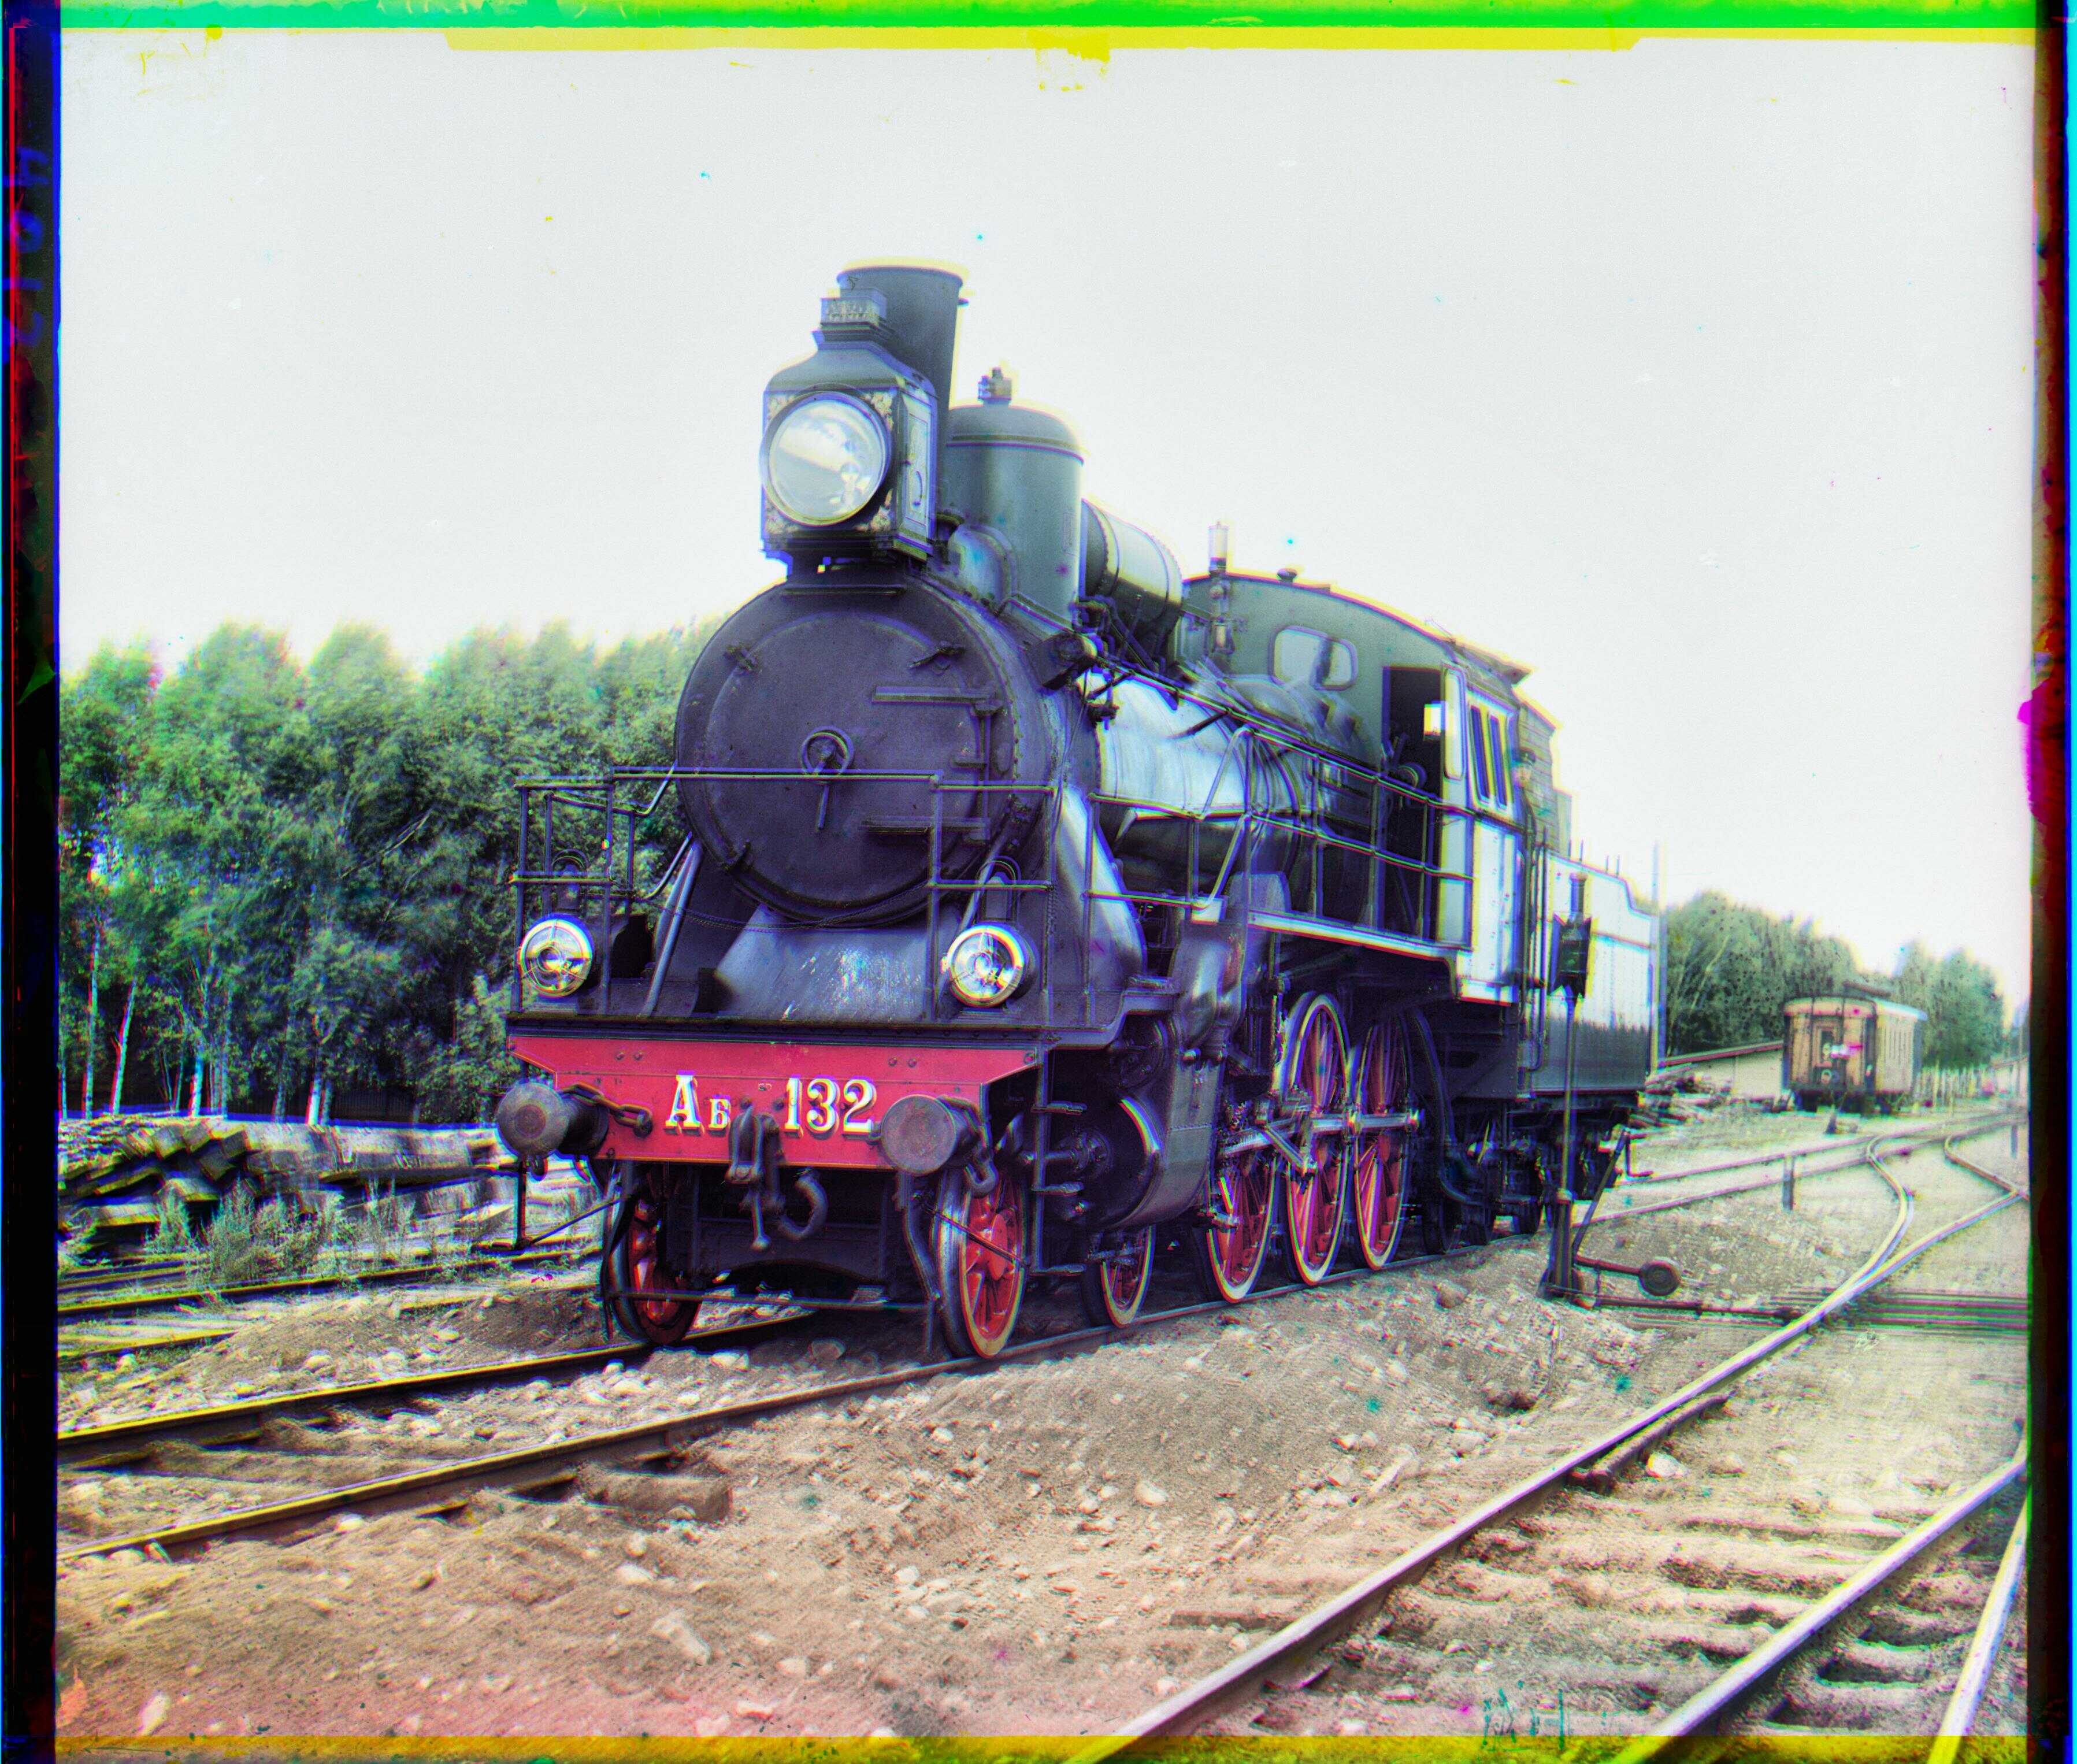
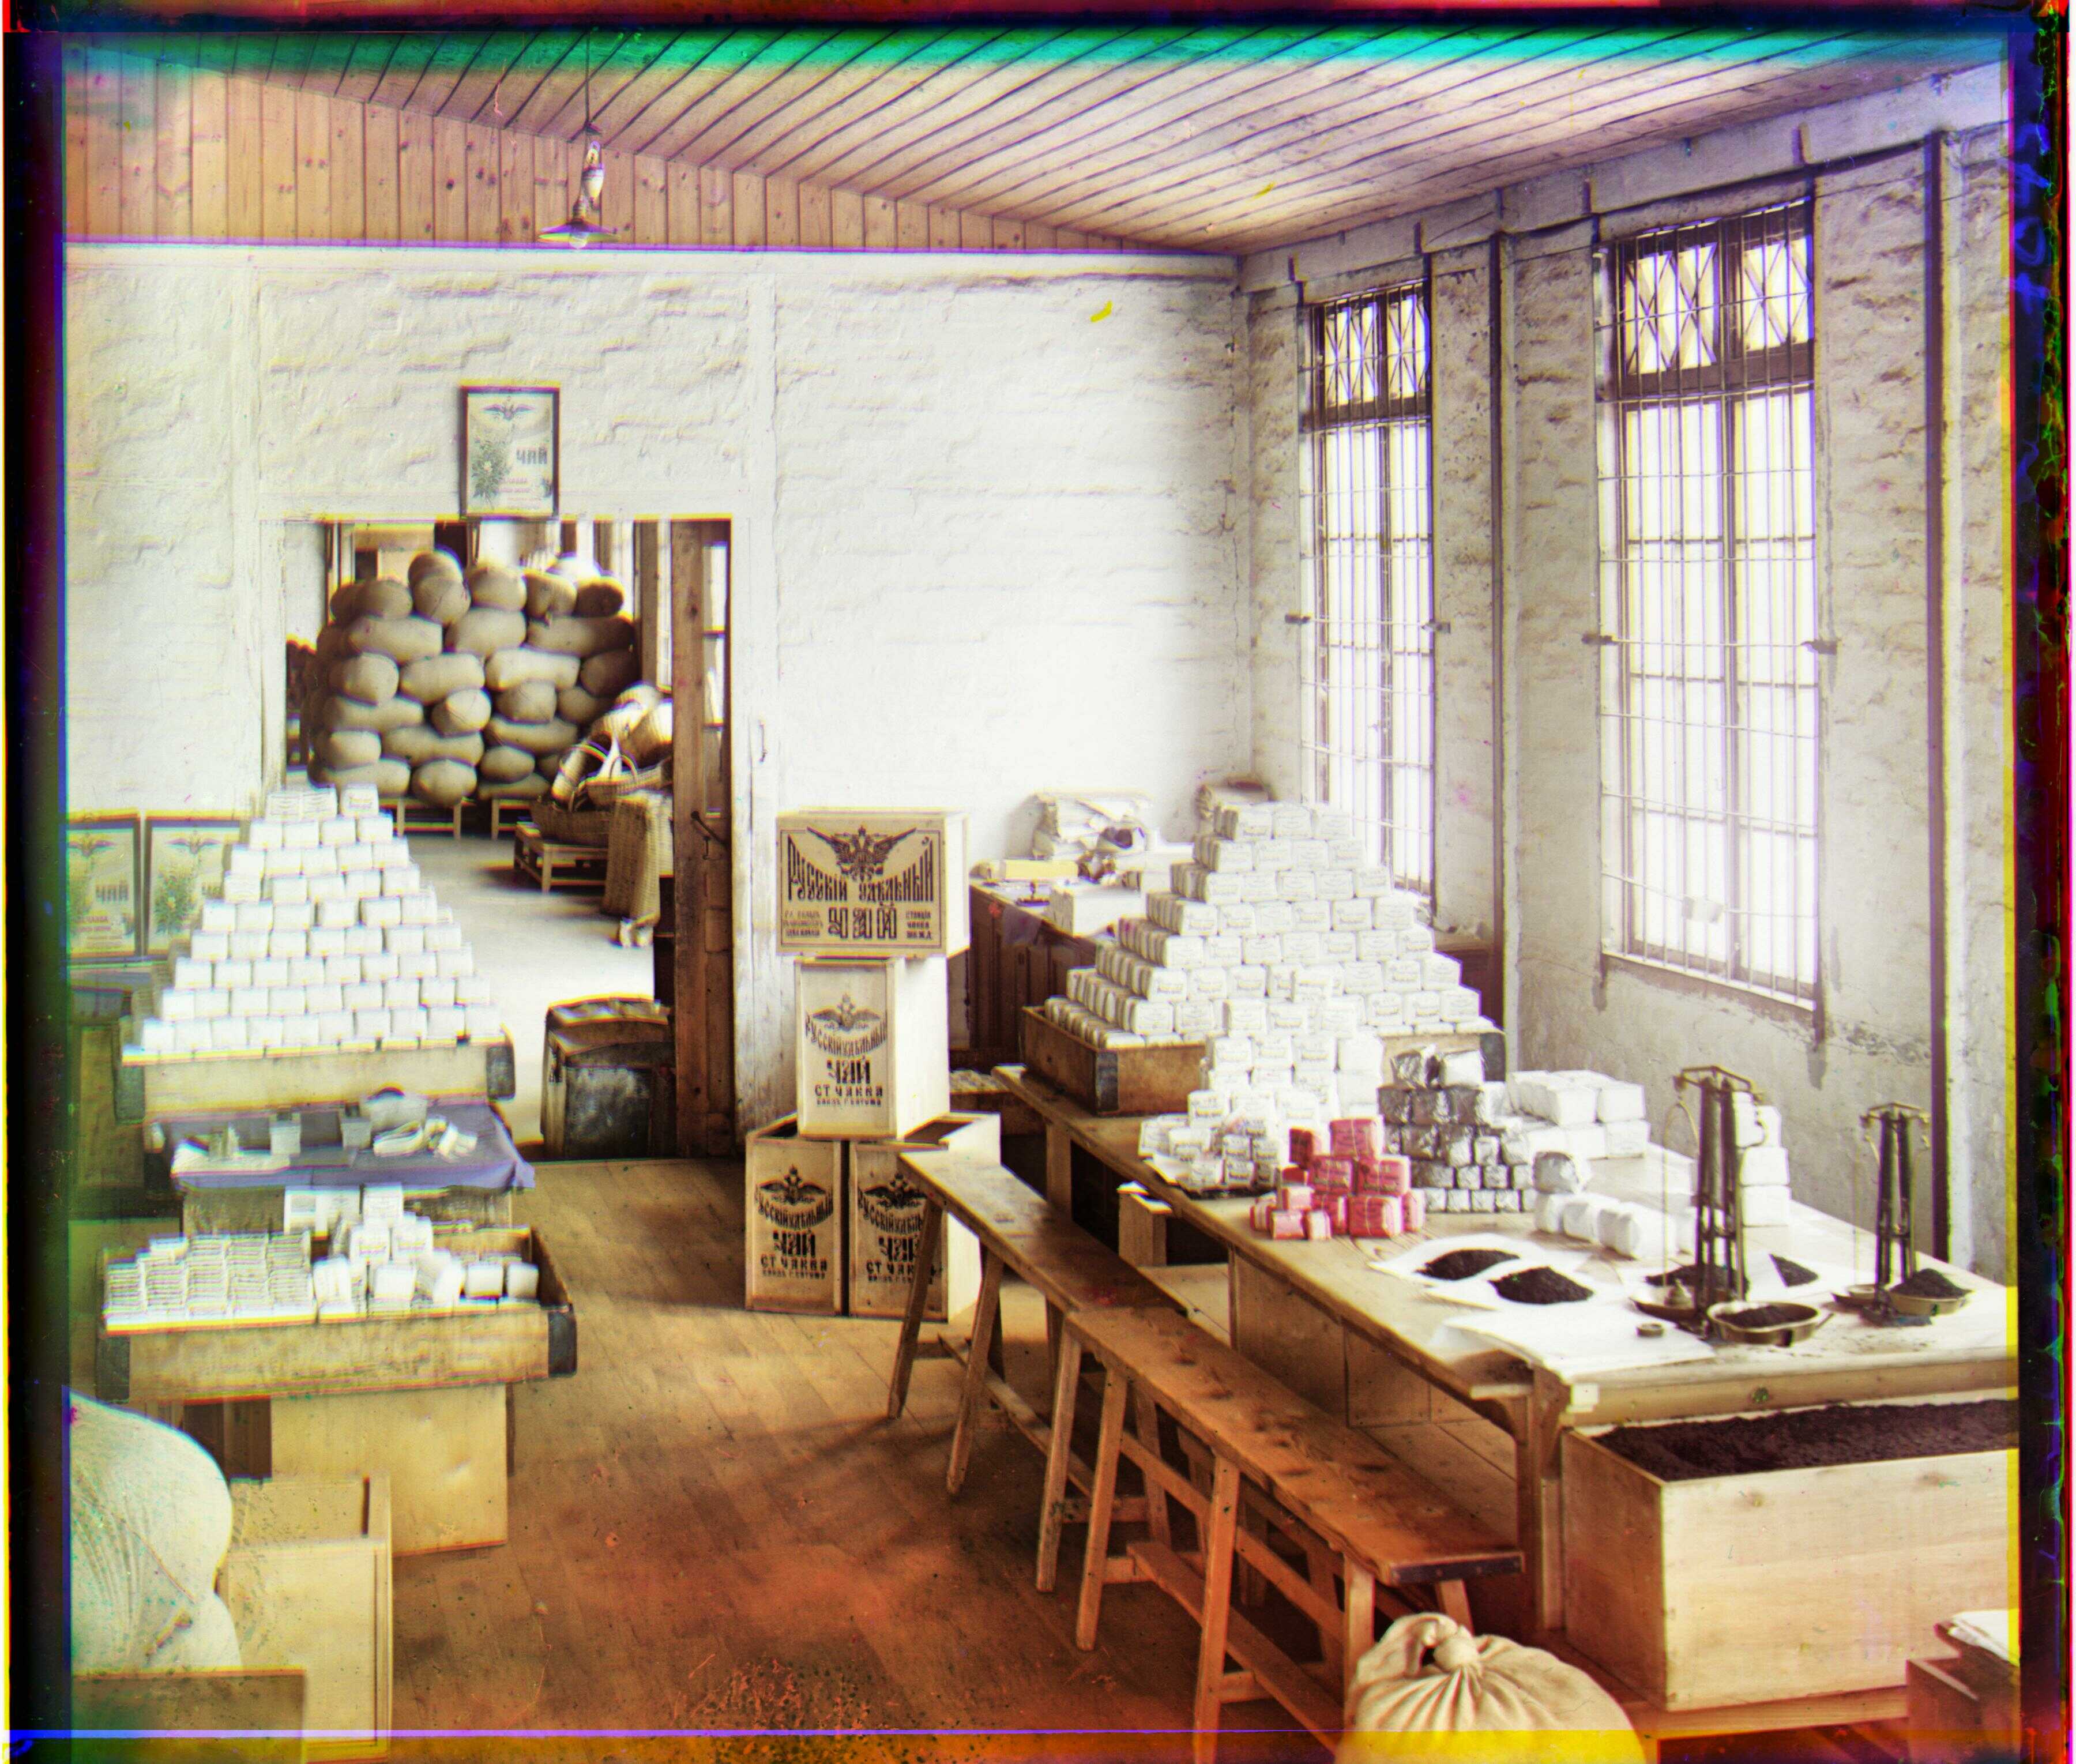
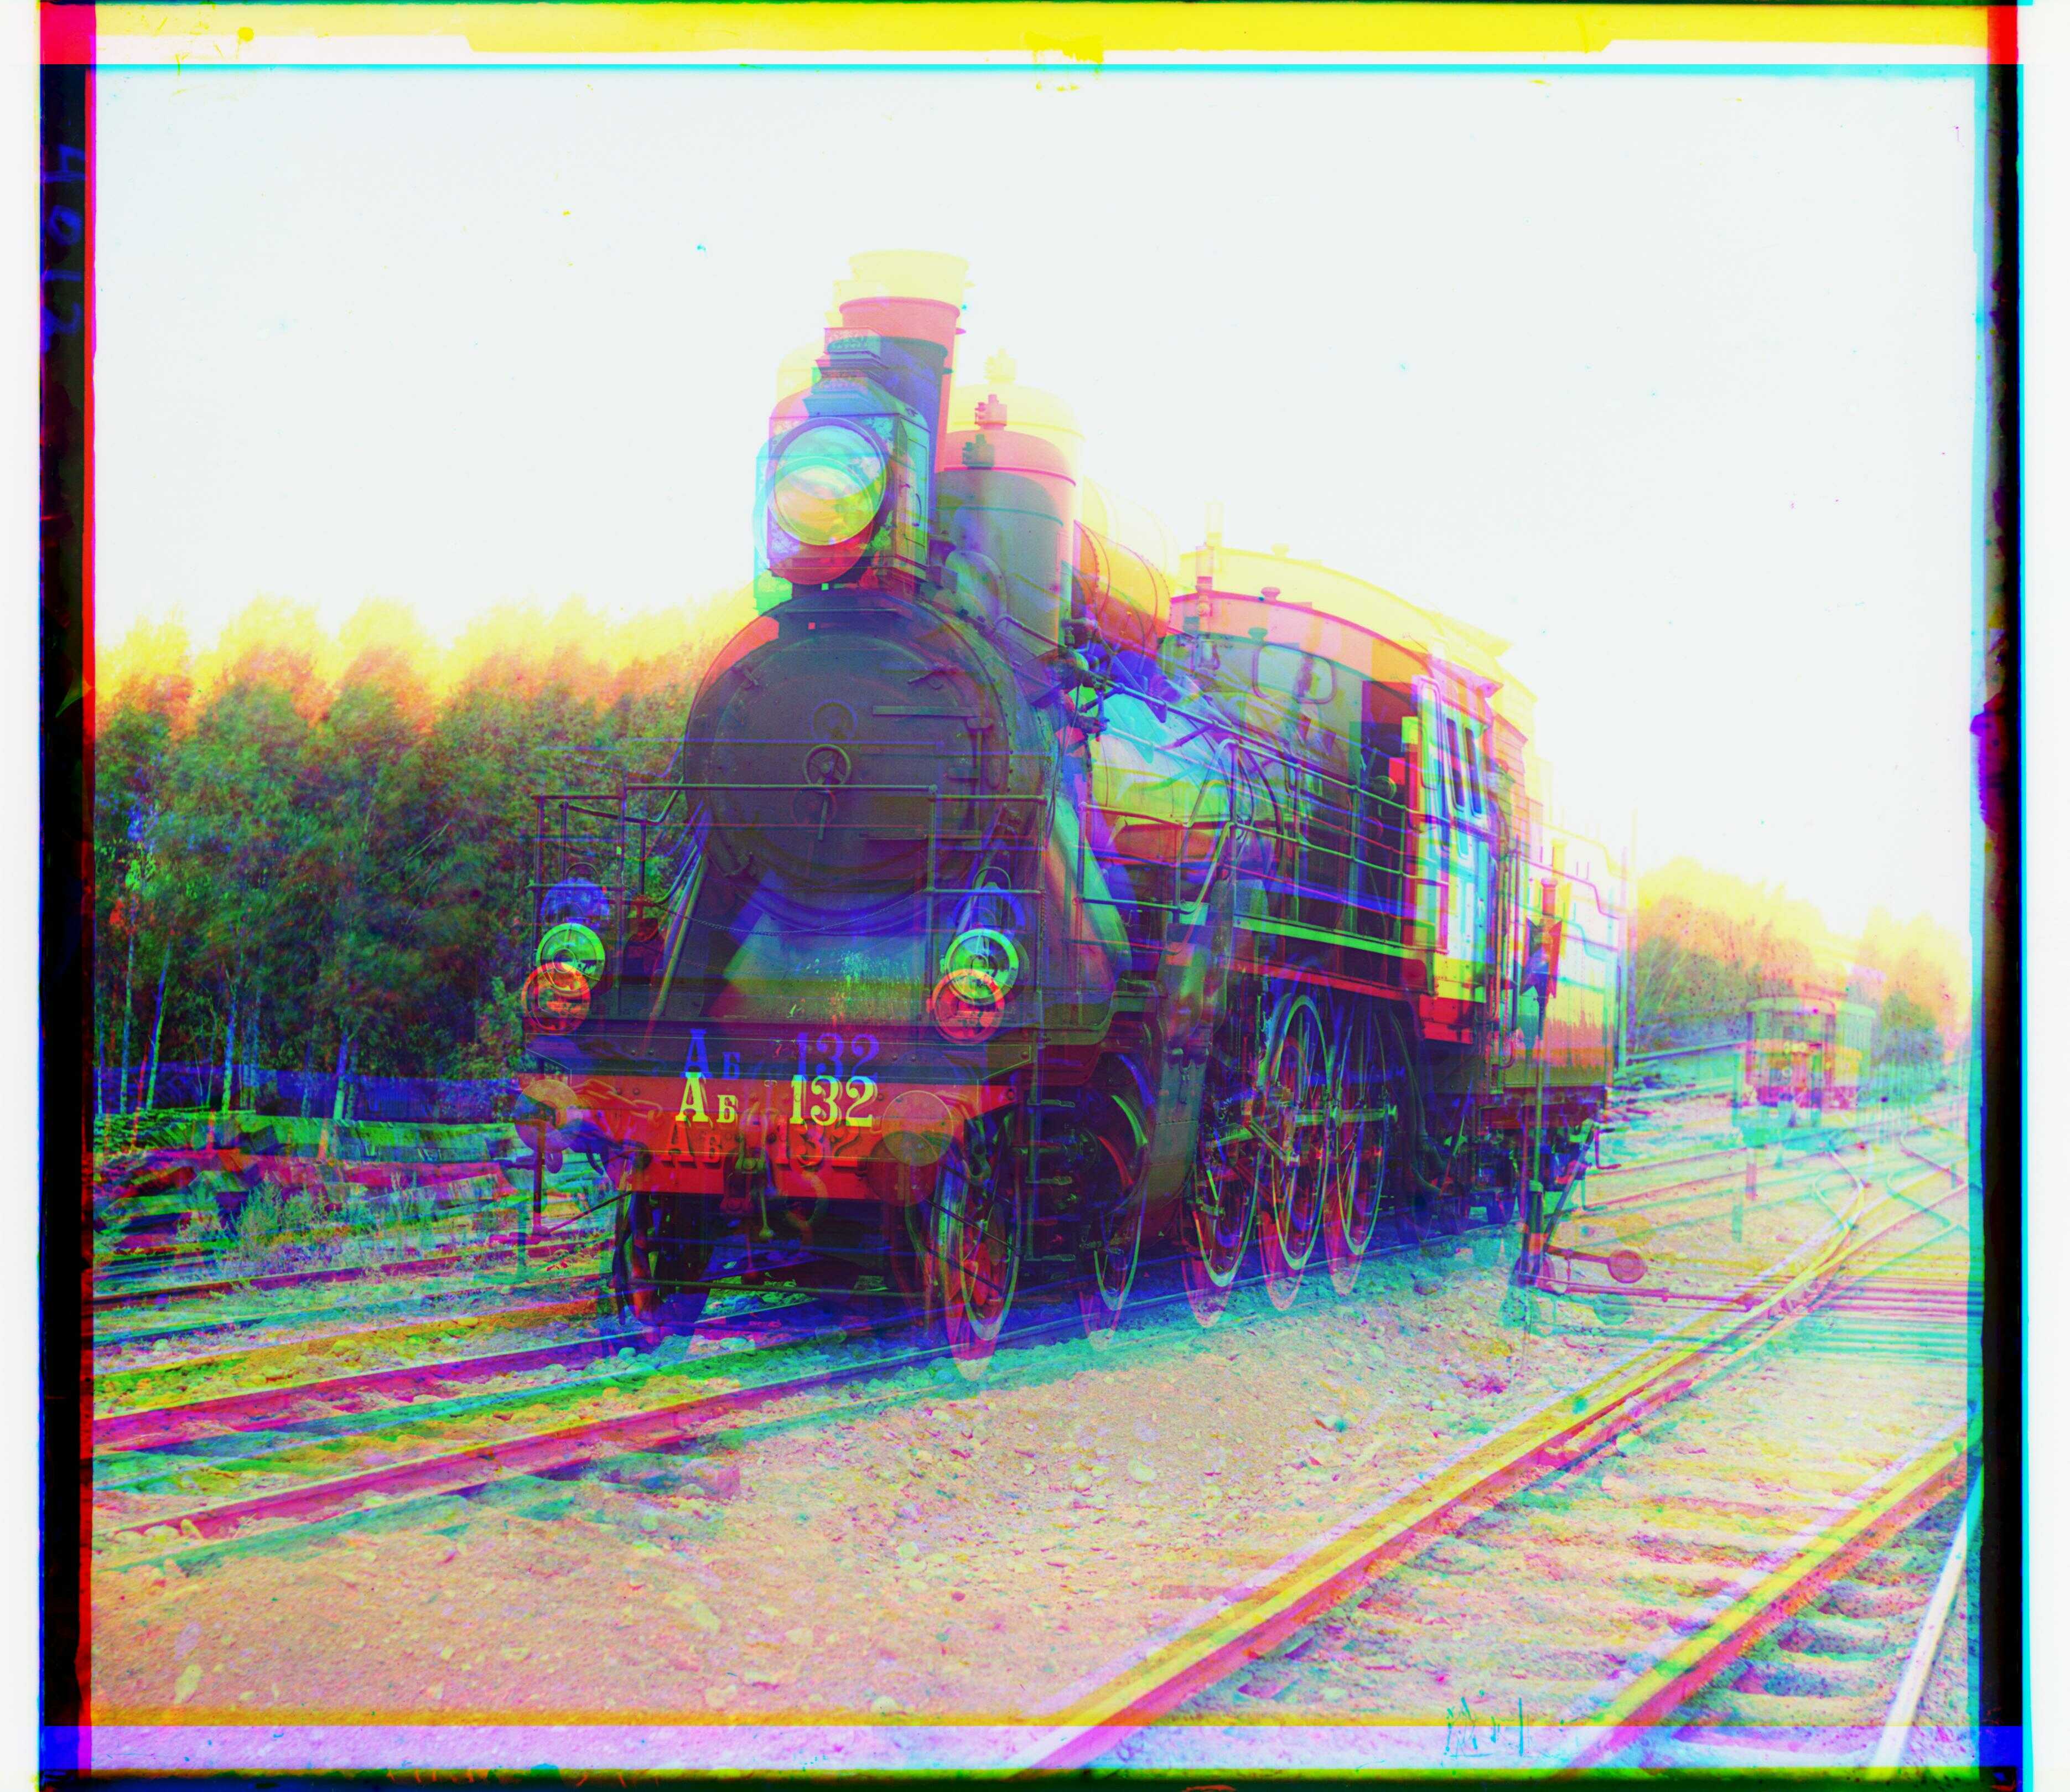
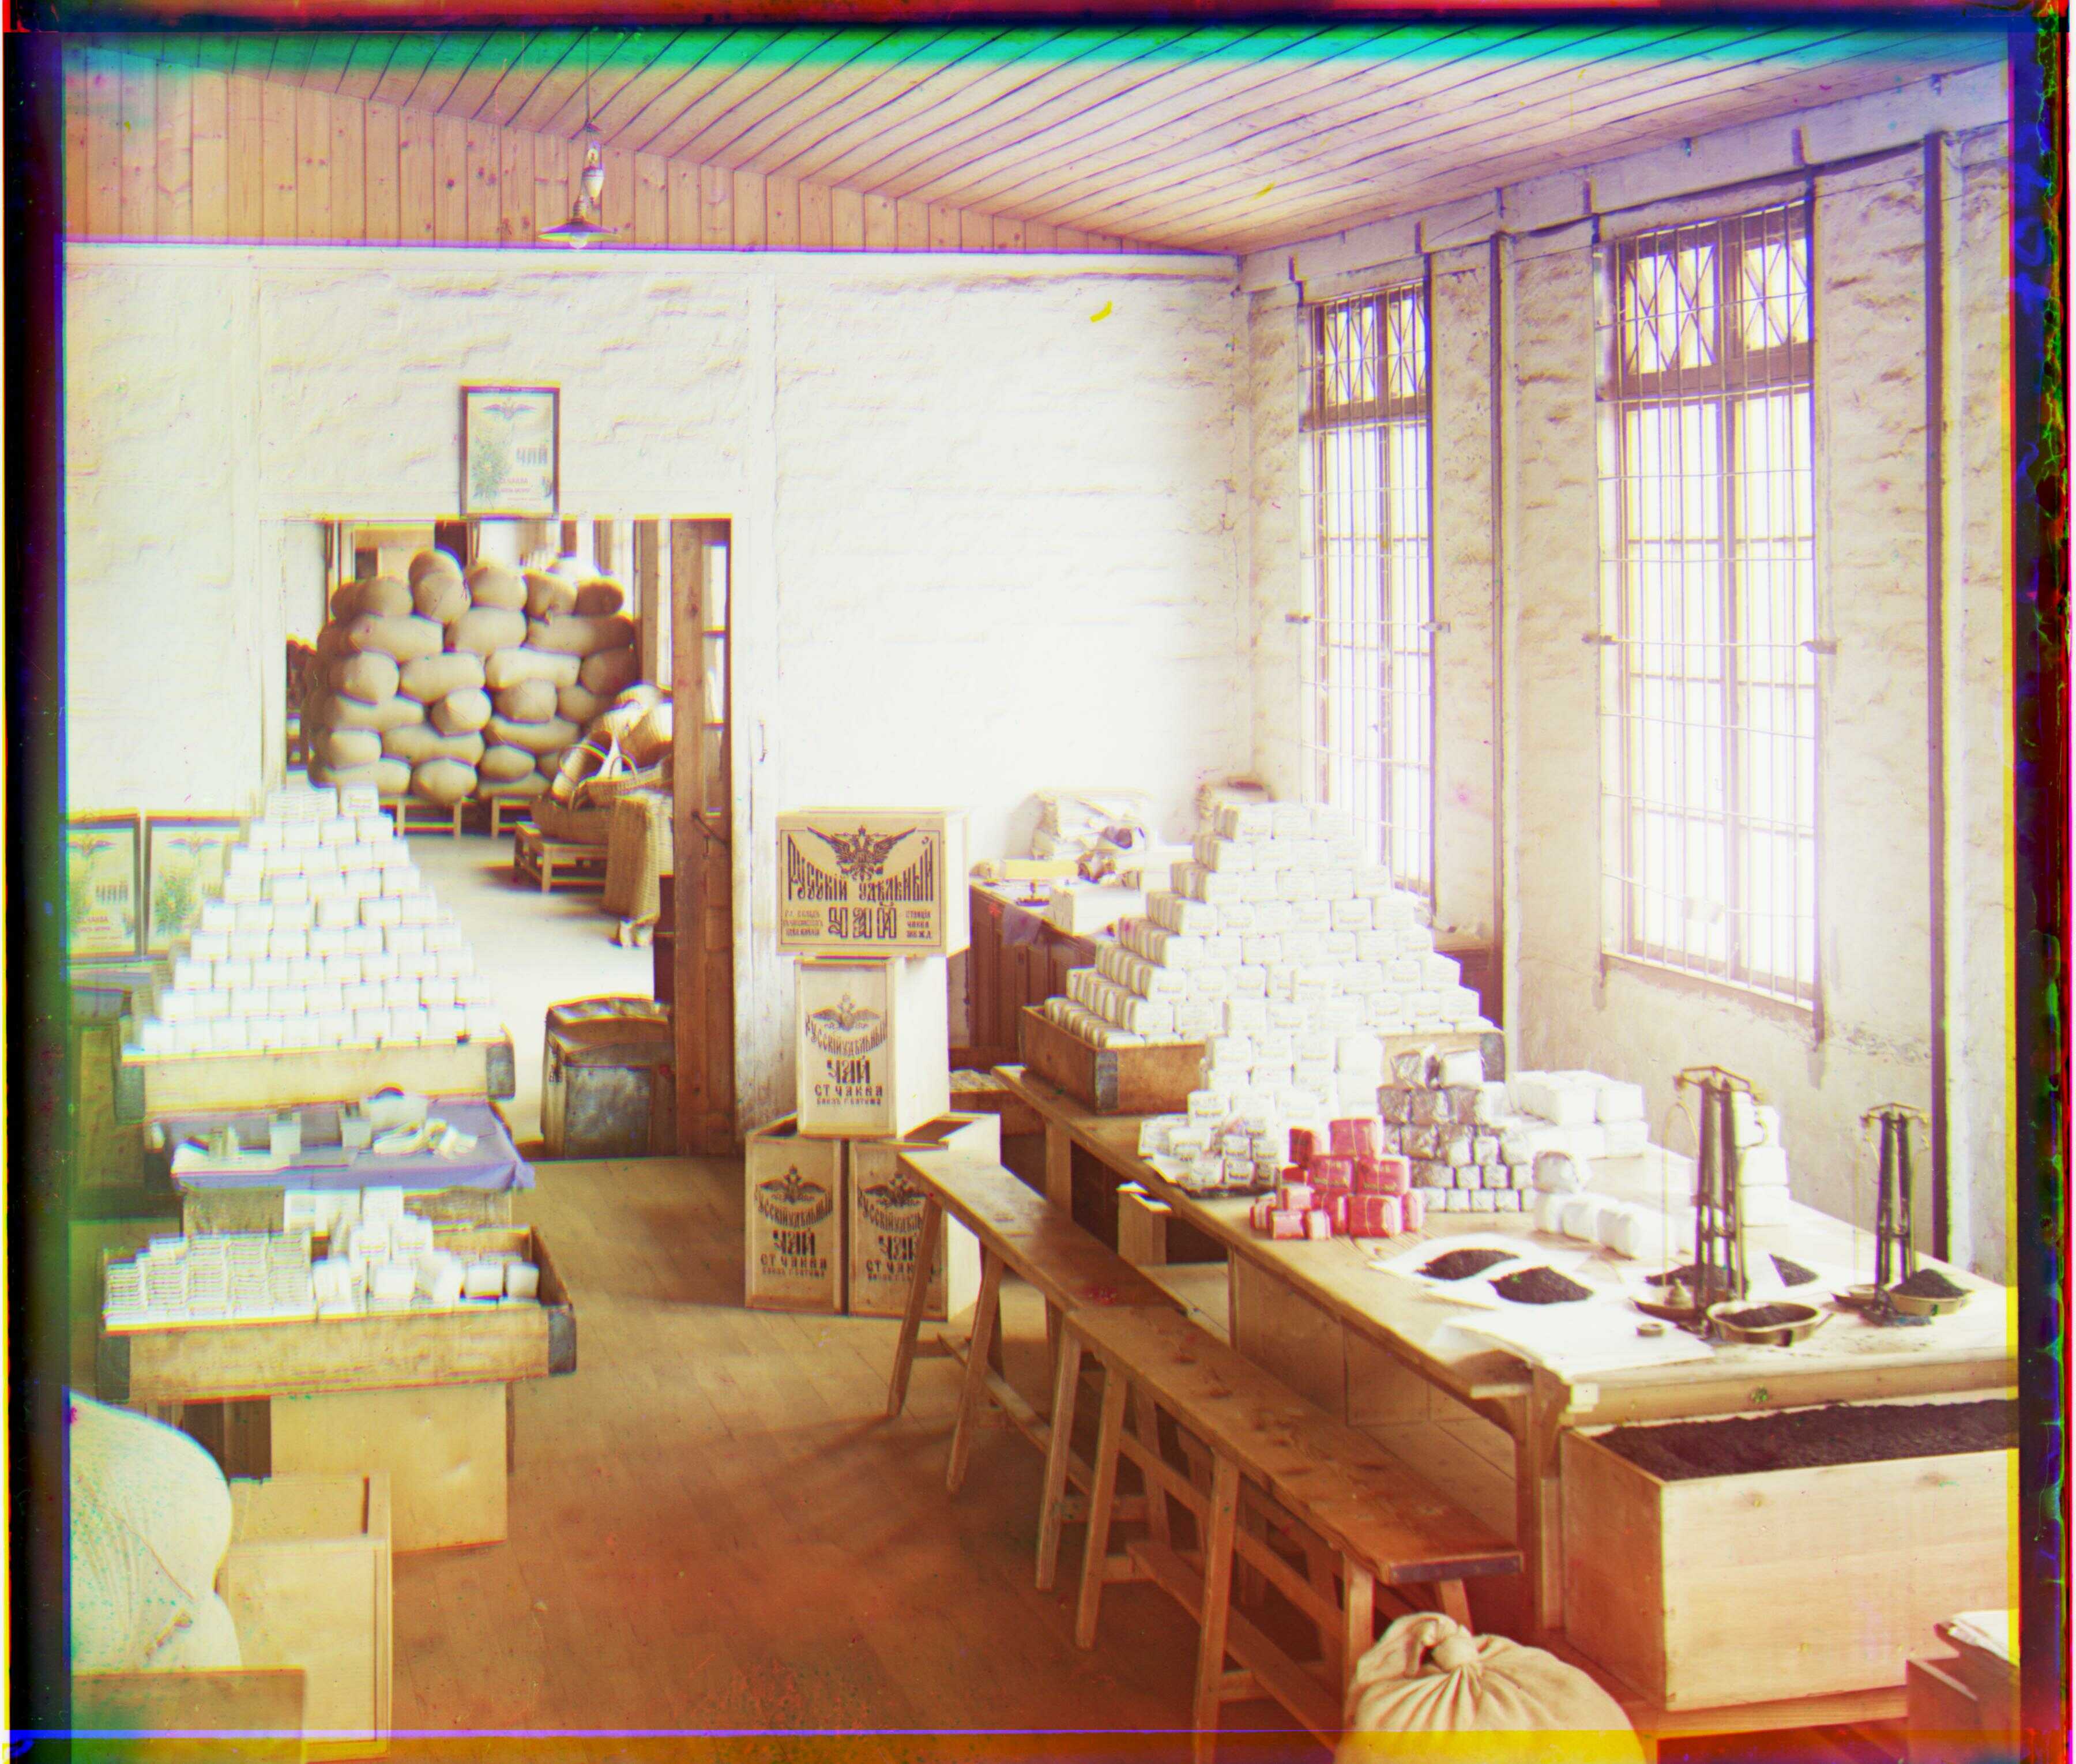
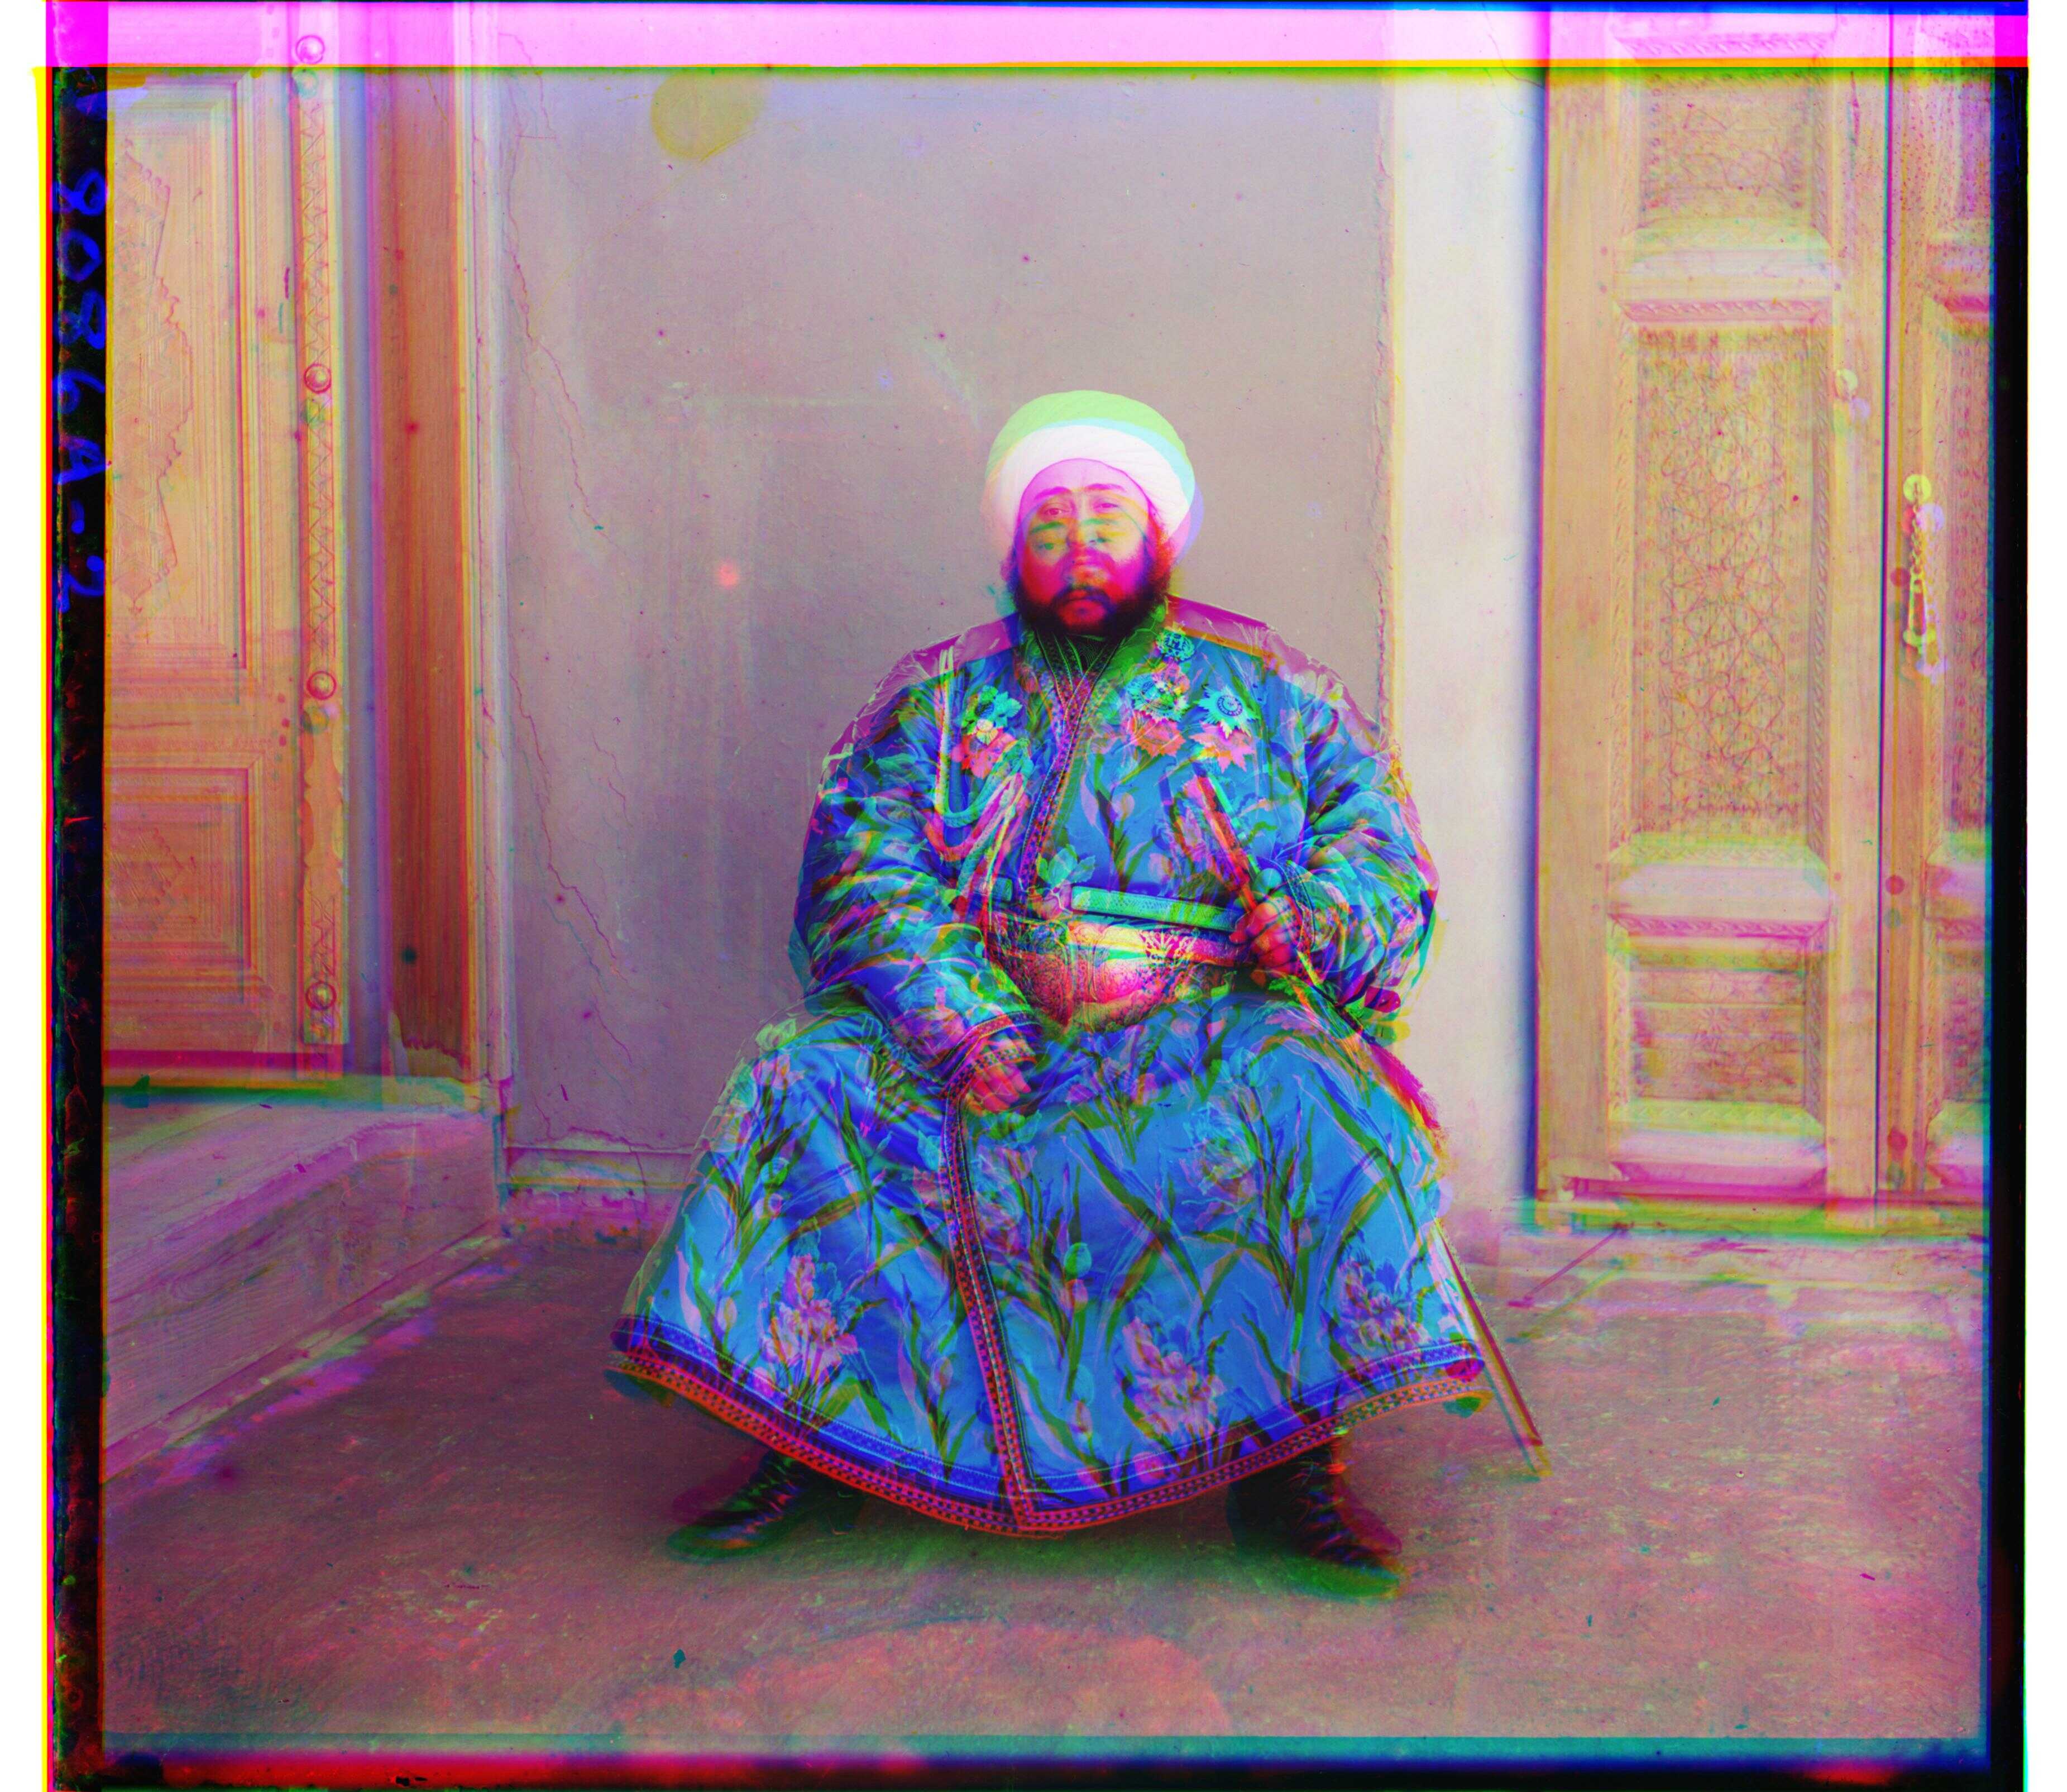
In the early 1900s, Sergei Mikhailovich Prokudin-Gorskii had the idea to take thousands of colored images of Russia. He partially achieved that goal by recording three exposures of scenes across Russia with a red, green and blue plate. Unfortunately, he was unable to complete his work as he had to flee Russia right after the revolution in 1918. The following project is my attempt to complete his work by creating a software that translates and composes the three filter channels into a single color image. Below, I outline my progress towards my completed project and the images resulting from it.
Image Matching Metric
In order to determine which x, y displacement is the best there has to be an image matching metric. I tested out two image matching metrics:
1. Sum of Squared Differences (SSD)
2. Normalized Cross Correlation (NCC)
I found SSD to be a much better image matching metric when testing on the smaller .jpg images so I decided to stick with it for the rest of the project. Additionally, when testing with which filter the use as the base, I found that using the green filter as the base worked a lot better. I tested this change in base color layer due to Professor Efros' lecture stating that within the EM spectrum we can see green light the best. Thus, the rest of the images are made with the green channel as the underlying layer.
Process to Multi-scale Alignment
For the lower resolution .jpg images, I started off with a single-scale alignment implementation exhaustive search. The exhaustive search compared the x, y displacements in the range of [-16, 16) of the red and blue filtered images against the green filtered image. While this worked well for the smaller .jpg images, this was too slow for the higher resolution .tif images.
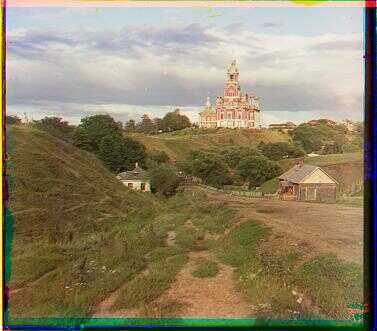
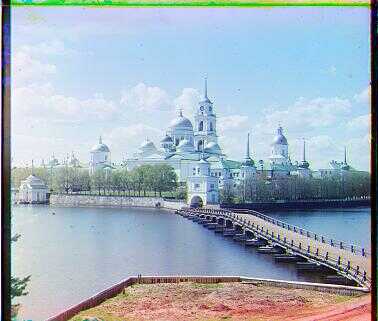
cathedral.jpg B: (-1, 1) R: (7, 0)
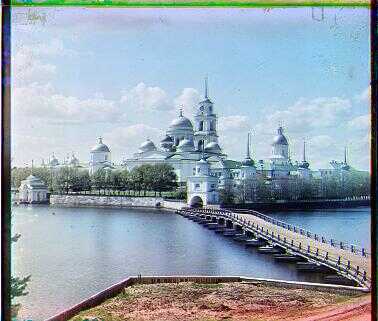
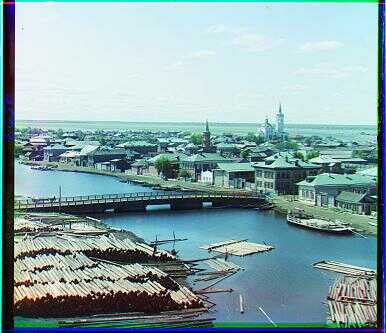
monastery.jpg B: (6, 0) R: (6, 1)
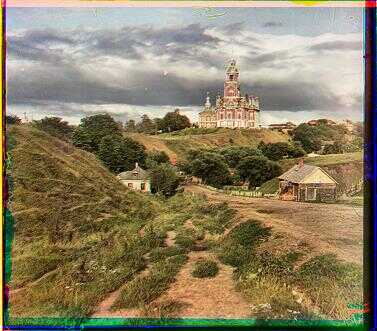
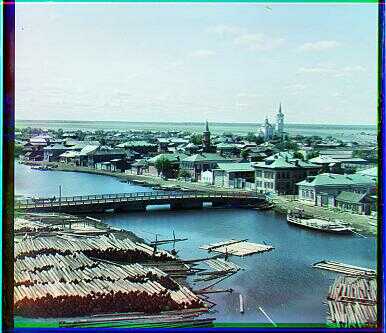
tobolsk.jpg B: (-3, -2) R: (4, 1)
Single-scale Implementation
In order to approach the higher resolution .tif images, I used an image pyramid to do multi-scale alignment. I used a recursive approach for the image pyramid, where at every level I resized the image to half of its original dimensions. For lower resolution images I used a bigger window size, and for higher resolution images I used a smaller window size to fine tune the alignment of the three channel images.
L4: (Height, Width), Window Size=[-2,2)
L3: (Height//2, Width//2), Window Size=[-4,4)
L2: (Height//4, Width//4), Window Size=[-8,8)
L1: (Height//8, Width//8), Window Size=[-16,16)
B&W: Auto Cropping
Within the images, I realized there were black and white borders around the main photos. The issue with these borders is that SSD may try to align the image with the the black and white borders (pixels on the edge of the photo) instead of aligining it to the actual red, green and blue filtered images (pixels around the center of the image). I found that using a Sobel filter on the image along the x and the y axis allows us to find the edges of the image. In order to find where the borders are, I found the corresponding row or column with the min/max value to find the start/end values for where to crop the image.
B&W: Auto Contrasting
I realized that some photos within Prokudin-Gorskii's photos were overexposed which caused the images to look quite flat. I decided to try to resolve this issue with the use of automatic contrasting. To tackle autocontrasting, I tried to equalize the histogram for the image's Value. Specifically, I changed the representation of the image from RGB to HSV (Hue, Saturation, Value). Then I applied Contrast Limited Adaptive Histogram Equalization (CLAHE) on the Value. I chose to use CLAHE as I realized when I simply tried to equalize the histogram it sometimes tended to over amplify the brightness of the image whereas CLAHE allowed for a more realistic looking image.