Overview
In this project, we colorized pictures from the Prokudin-Gorskii photo collection. The photos are black and white, taken three at a time, and are the value for the blue, green and red channels of the same picture.
The goal of this project is to align the three photos for the three color channels, and assign them each as blue, green, and red channel to a new image to create the colored version of the original set of photos.
Part 1: Exhaustive Search
Algorithm Explanation:
The naive approach is to search through a range of possible displacements for each channel, and find the displacement with the smallest error overall.
I chose to have a parameter maxOffset as the range of displacements to try between the image and the reference that we try to match it to. I then implemented the ssd(Sum of Squared Differences) algorithm to represent the error. The displacement that achieve the smallest amount of error would be the result displacement. For each set of blue, green and red channel of a picture, I try to get the best displacement of green with blue as reference, and displacement of red with blue as reference, and then shift the green and red channels before adding them three all together.
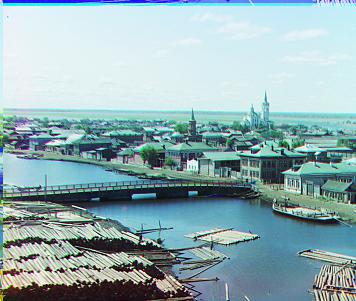
After experimenting with the variables and looking through the spec for suggestions, I determined that -15 to +15 is a reasonable number for maxOffset, and the ssd error works great on the provided jpg images. This method, however, is quite inefficient and only works for jpg images. It takes around 1-3 seconds to run a jpg file using this algorithm. The result and the displacements are shown below.
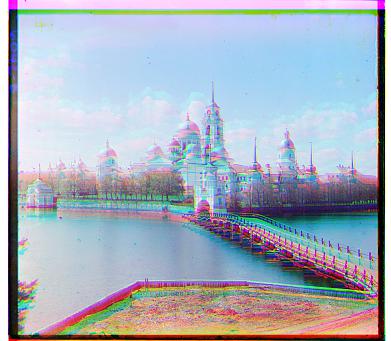
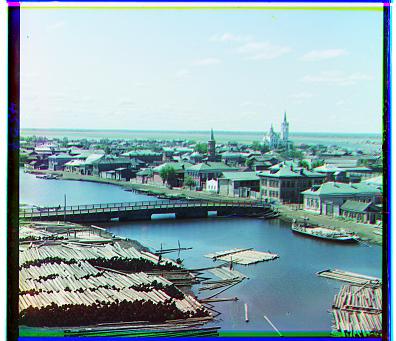
Result Display:
g->b means the best displacement found when aligning green channel to blue channel. Same with r->b. The tuple value pair (x, y) is the offset on the x axis and the offset on the y axis. These representations are true for all following sections in this project.
Part 2: Adding Manual Cropping
Algorithm Explanation:
The results of part 1 looks okay, but there are noticable areas with disalignments between the channels. I found that it is because of the sides of the image, which usually have dark lines of different width, that introduce such errors. I have then decided to manually crop out the sides of images.
I introduced a parameter named bound and cropped out each side of each image with bound amount of pixels. Then I run the same algorithm as part 1 on the cropped images.
After experimenting with the parameters, I decided to use 20 as the value for bound. The result is much better than the result of part 1. The result and the displacements are shown below, side by side with result of part 1.
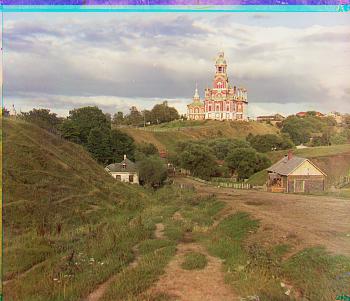
Result Display:
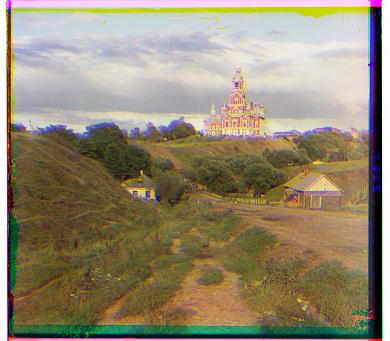
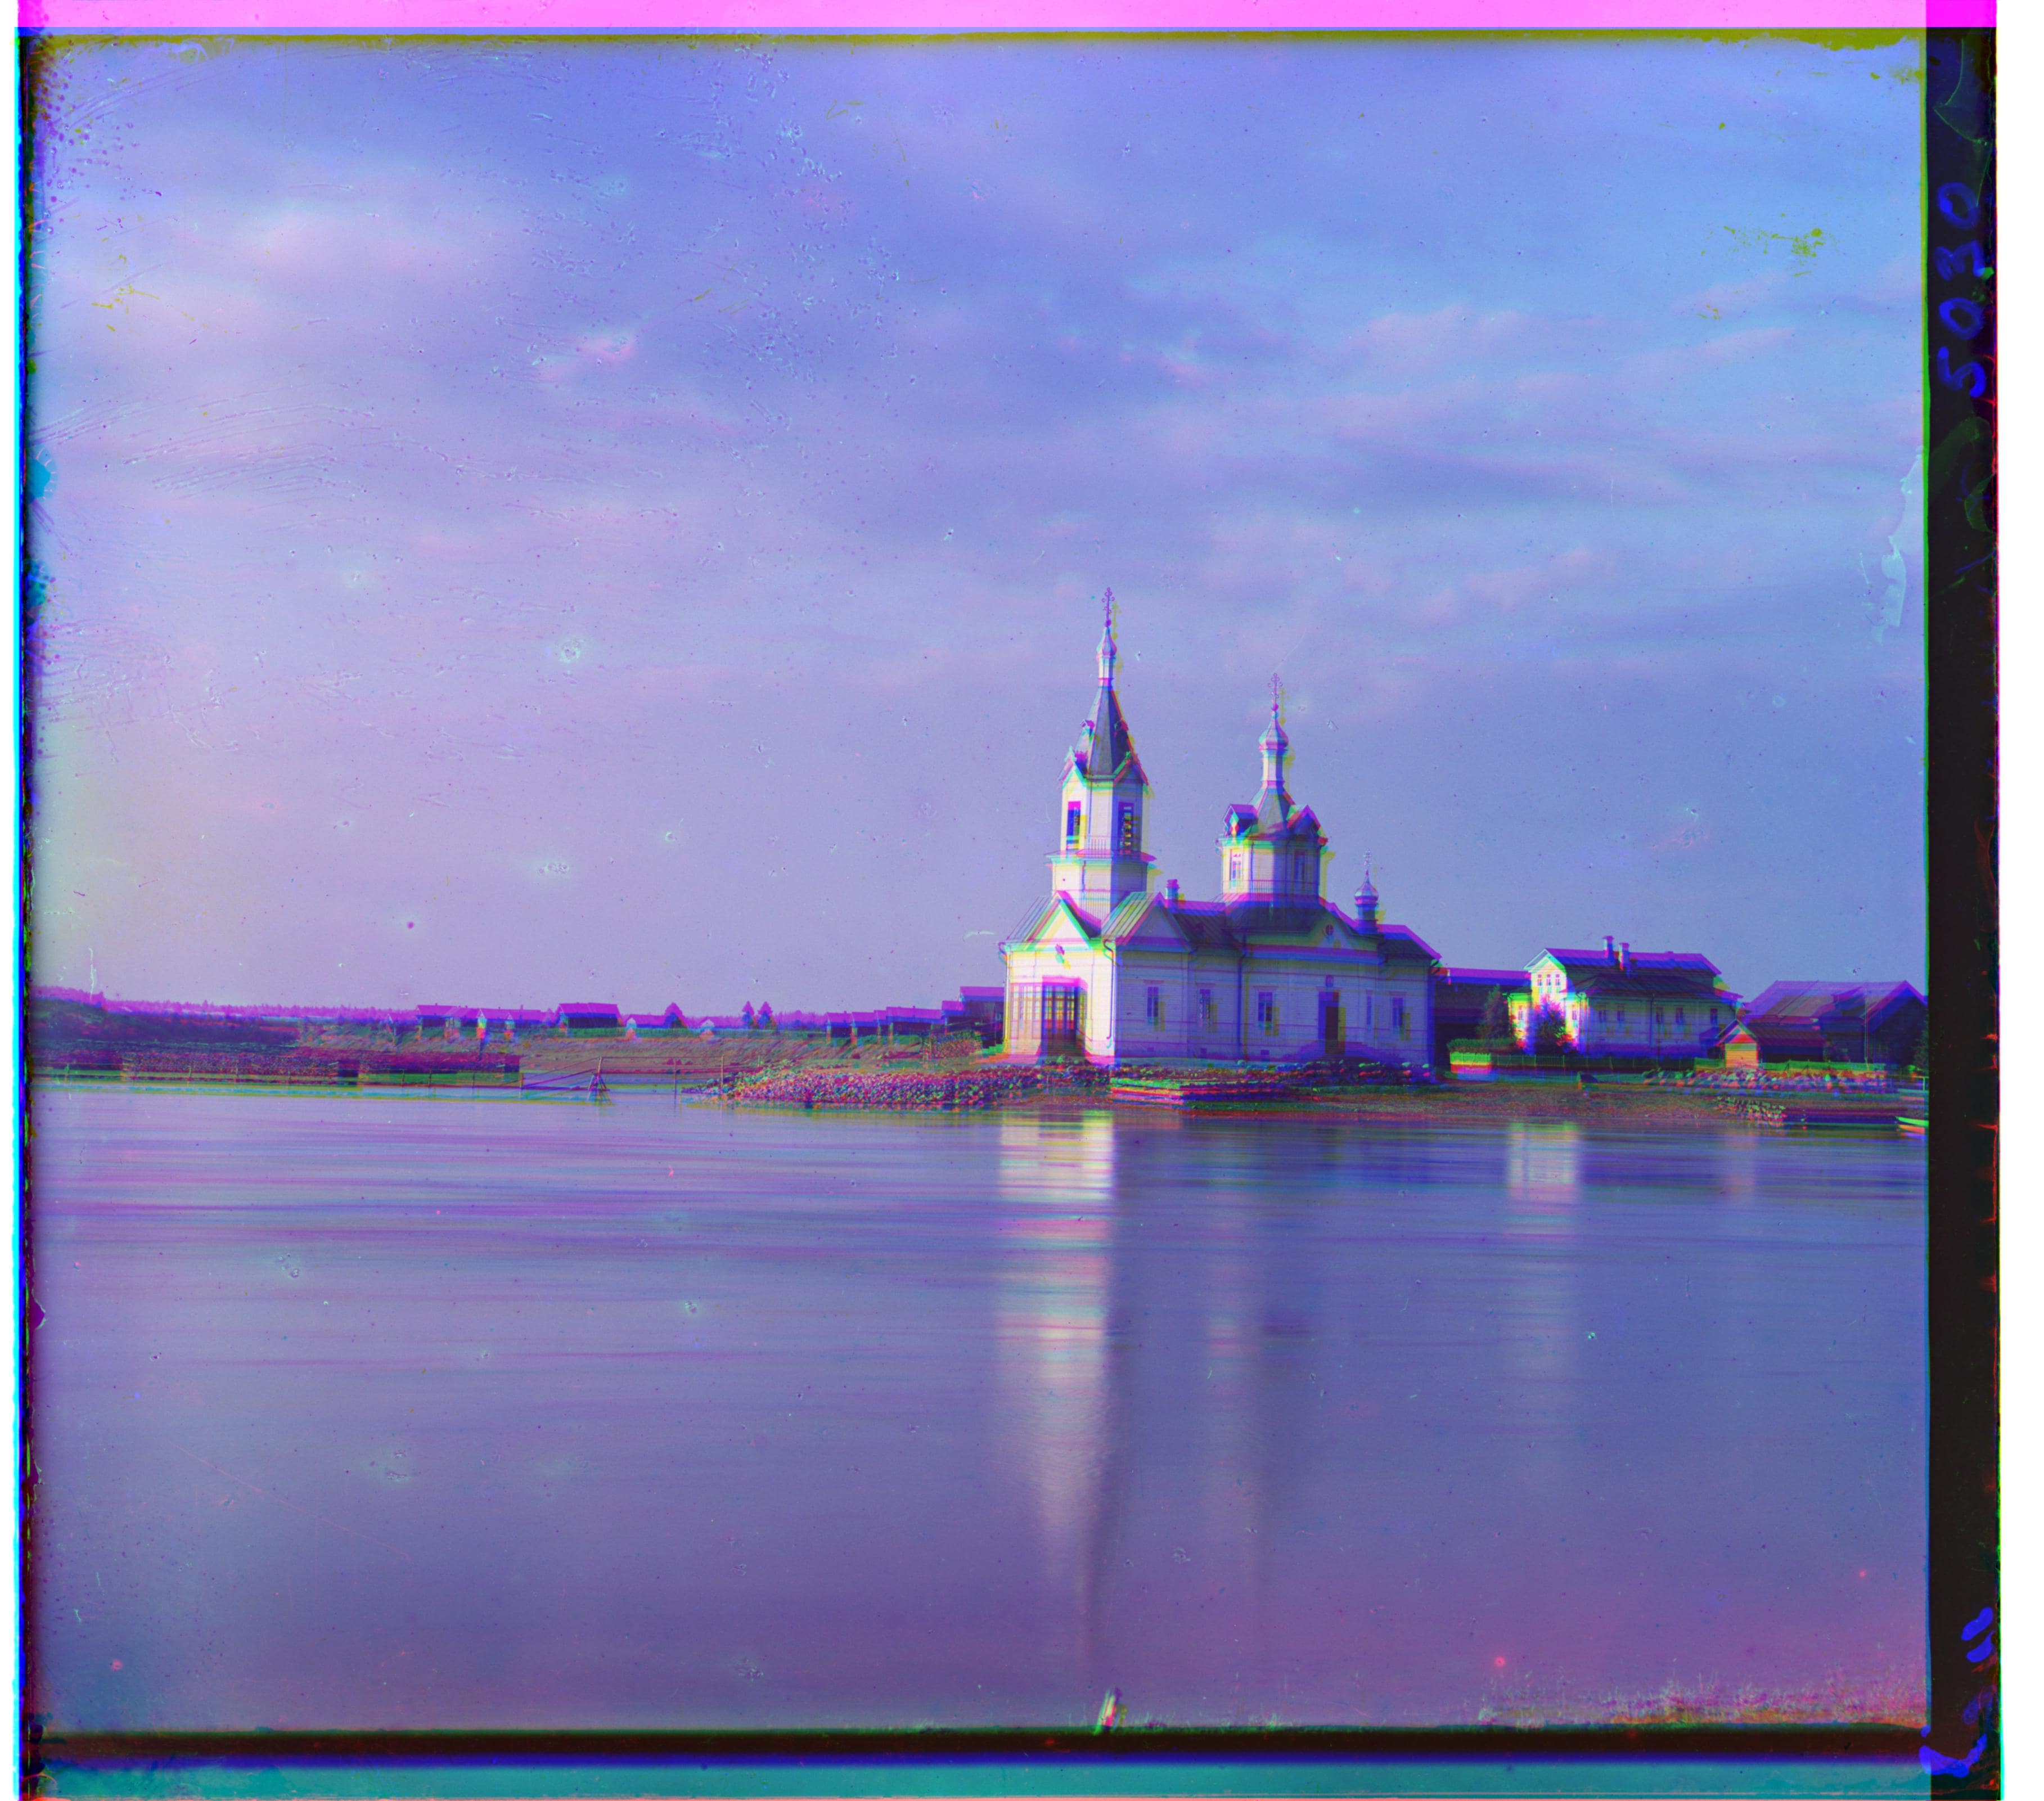
For each row, left is the result of part 1, and right is result after cropping. As you can see, the result of the first two, especially Monastery, is improved, while the third one is mostly the same, probably because its three pictures have pretty similar side lines that don't introduce too much error.
Part 3: Pyramid Algorithm
Algorithm Explanation:
As mentioned in the description of part 1, the naive exhaustive search is too inefficient for larger files like the tif files in the examples. As suggested by the specs, we can use the pyramid algorithm to speed up the search of the best offset.
The pyramid algorithm includes scaling down the image and the reference to a lower resolution, finding the best offset for the lower resolution images. Then we scale up the image resolution, and increase the offset in the previous step by the same scale, and calculate the best displacement around that offset as the base offset.
The parameters to tweak in this algorithm include the maxOffset (similar to part 1) and the numLayer as the number of layers in the pyramid algorithm. After the search of the first round, since the scale would be 2 for each layer, we only need to search around -1 to +1 in subsequent layers because if the best offset is larger or smaller than that, we would have chose some other value in the previous layer of pyramid. After experiemnting, I found that maxOffset for the first leyer being 15 and numLayer being 5 would produce reasonable result. The elapsed time for the program is under 1 minute. As shown below
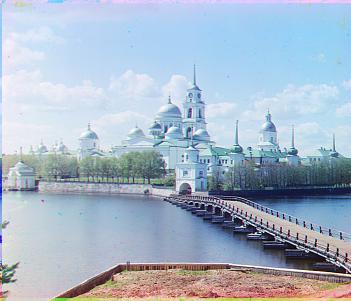
Result Display:
Part 4: Pyramid Algorithm with Manual Cropping
Algorithm Explanation:
Similar to part 2, I manually cropped the photo to exclude the sides. This time the bound is changed to 200 pixels since the size of the picture is around 10 times larger. The following is the comparison of before and after the manual crop.
Result Display:

Part 5: Bells & Whistles - Edge Detection for Error Matrix
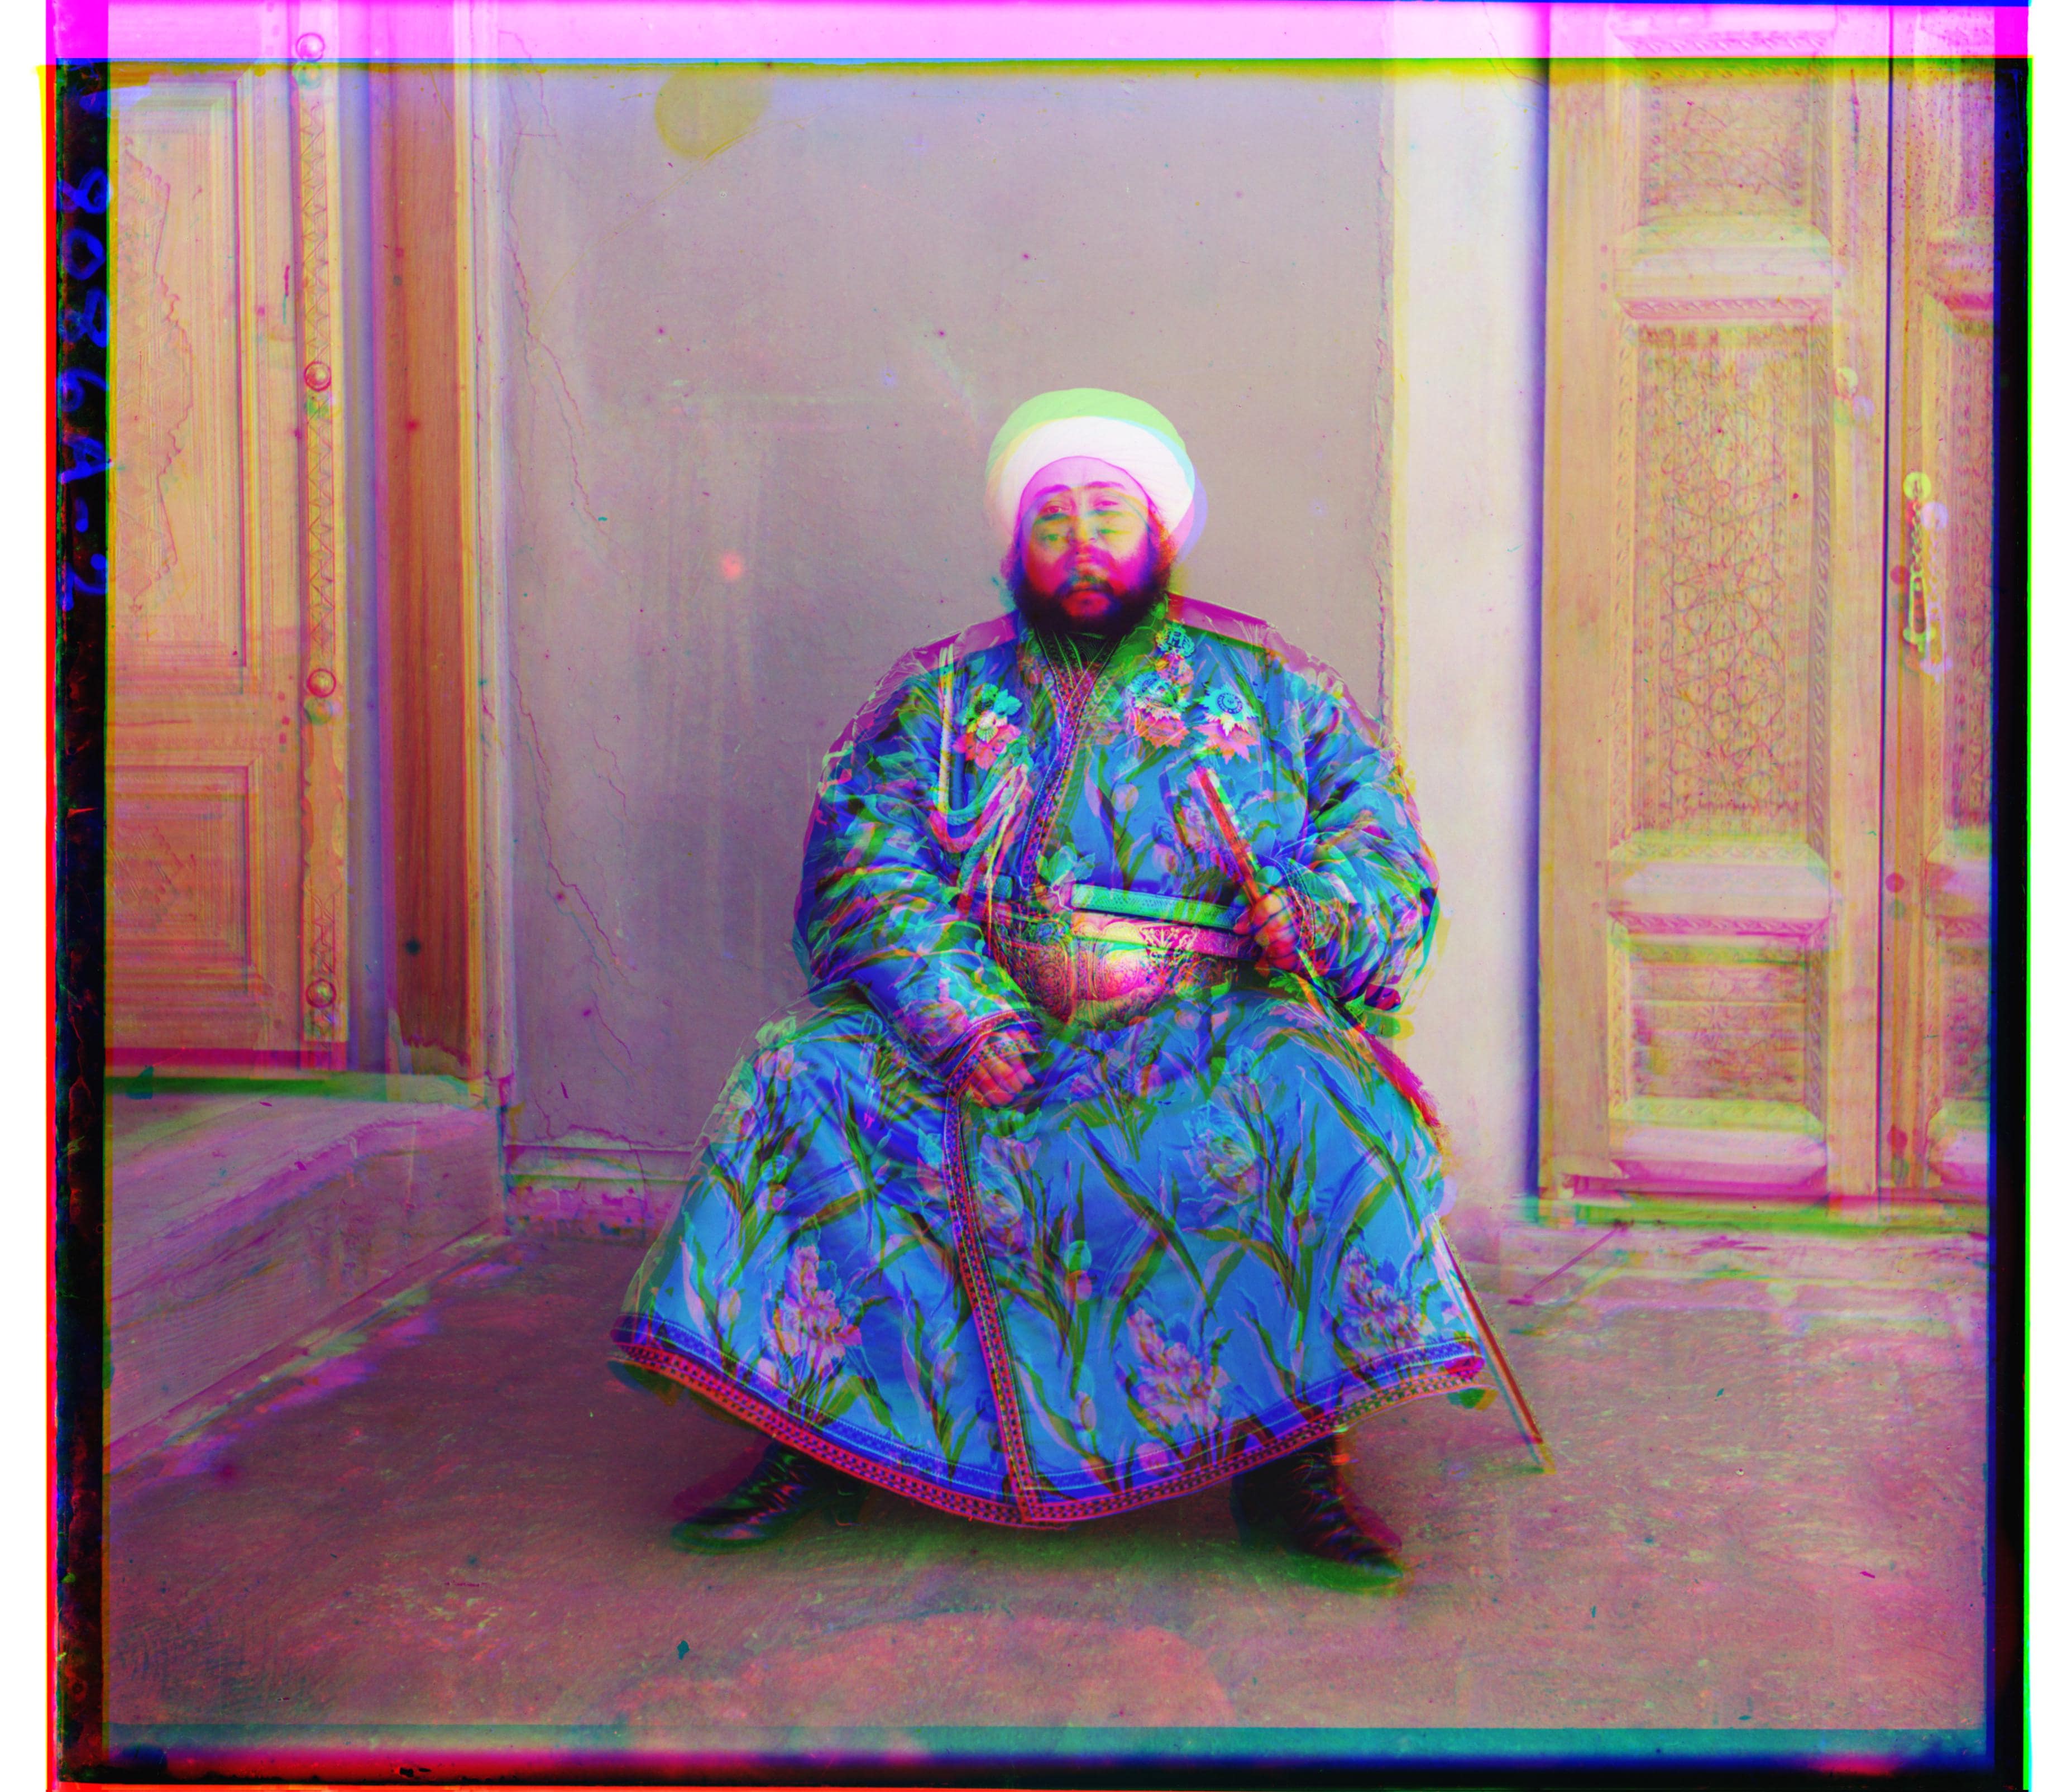
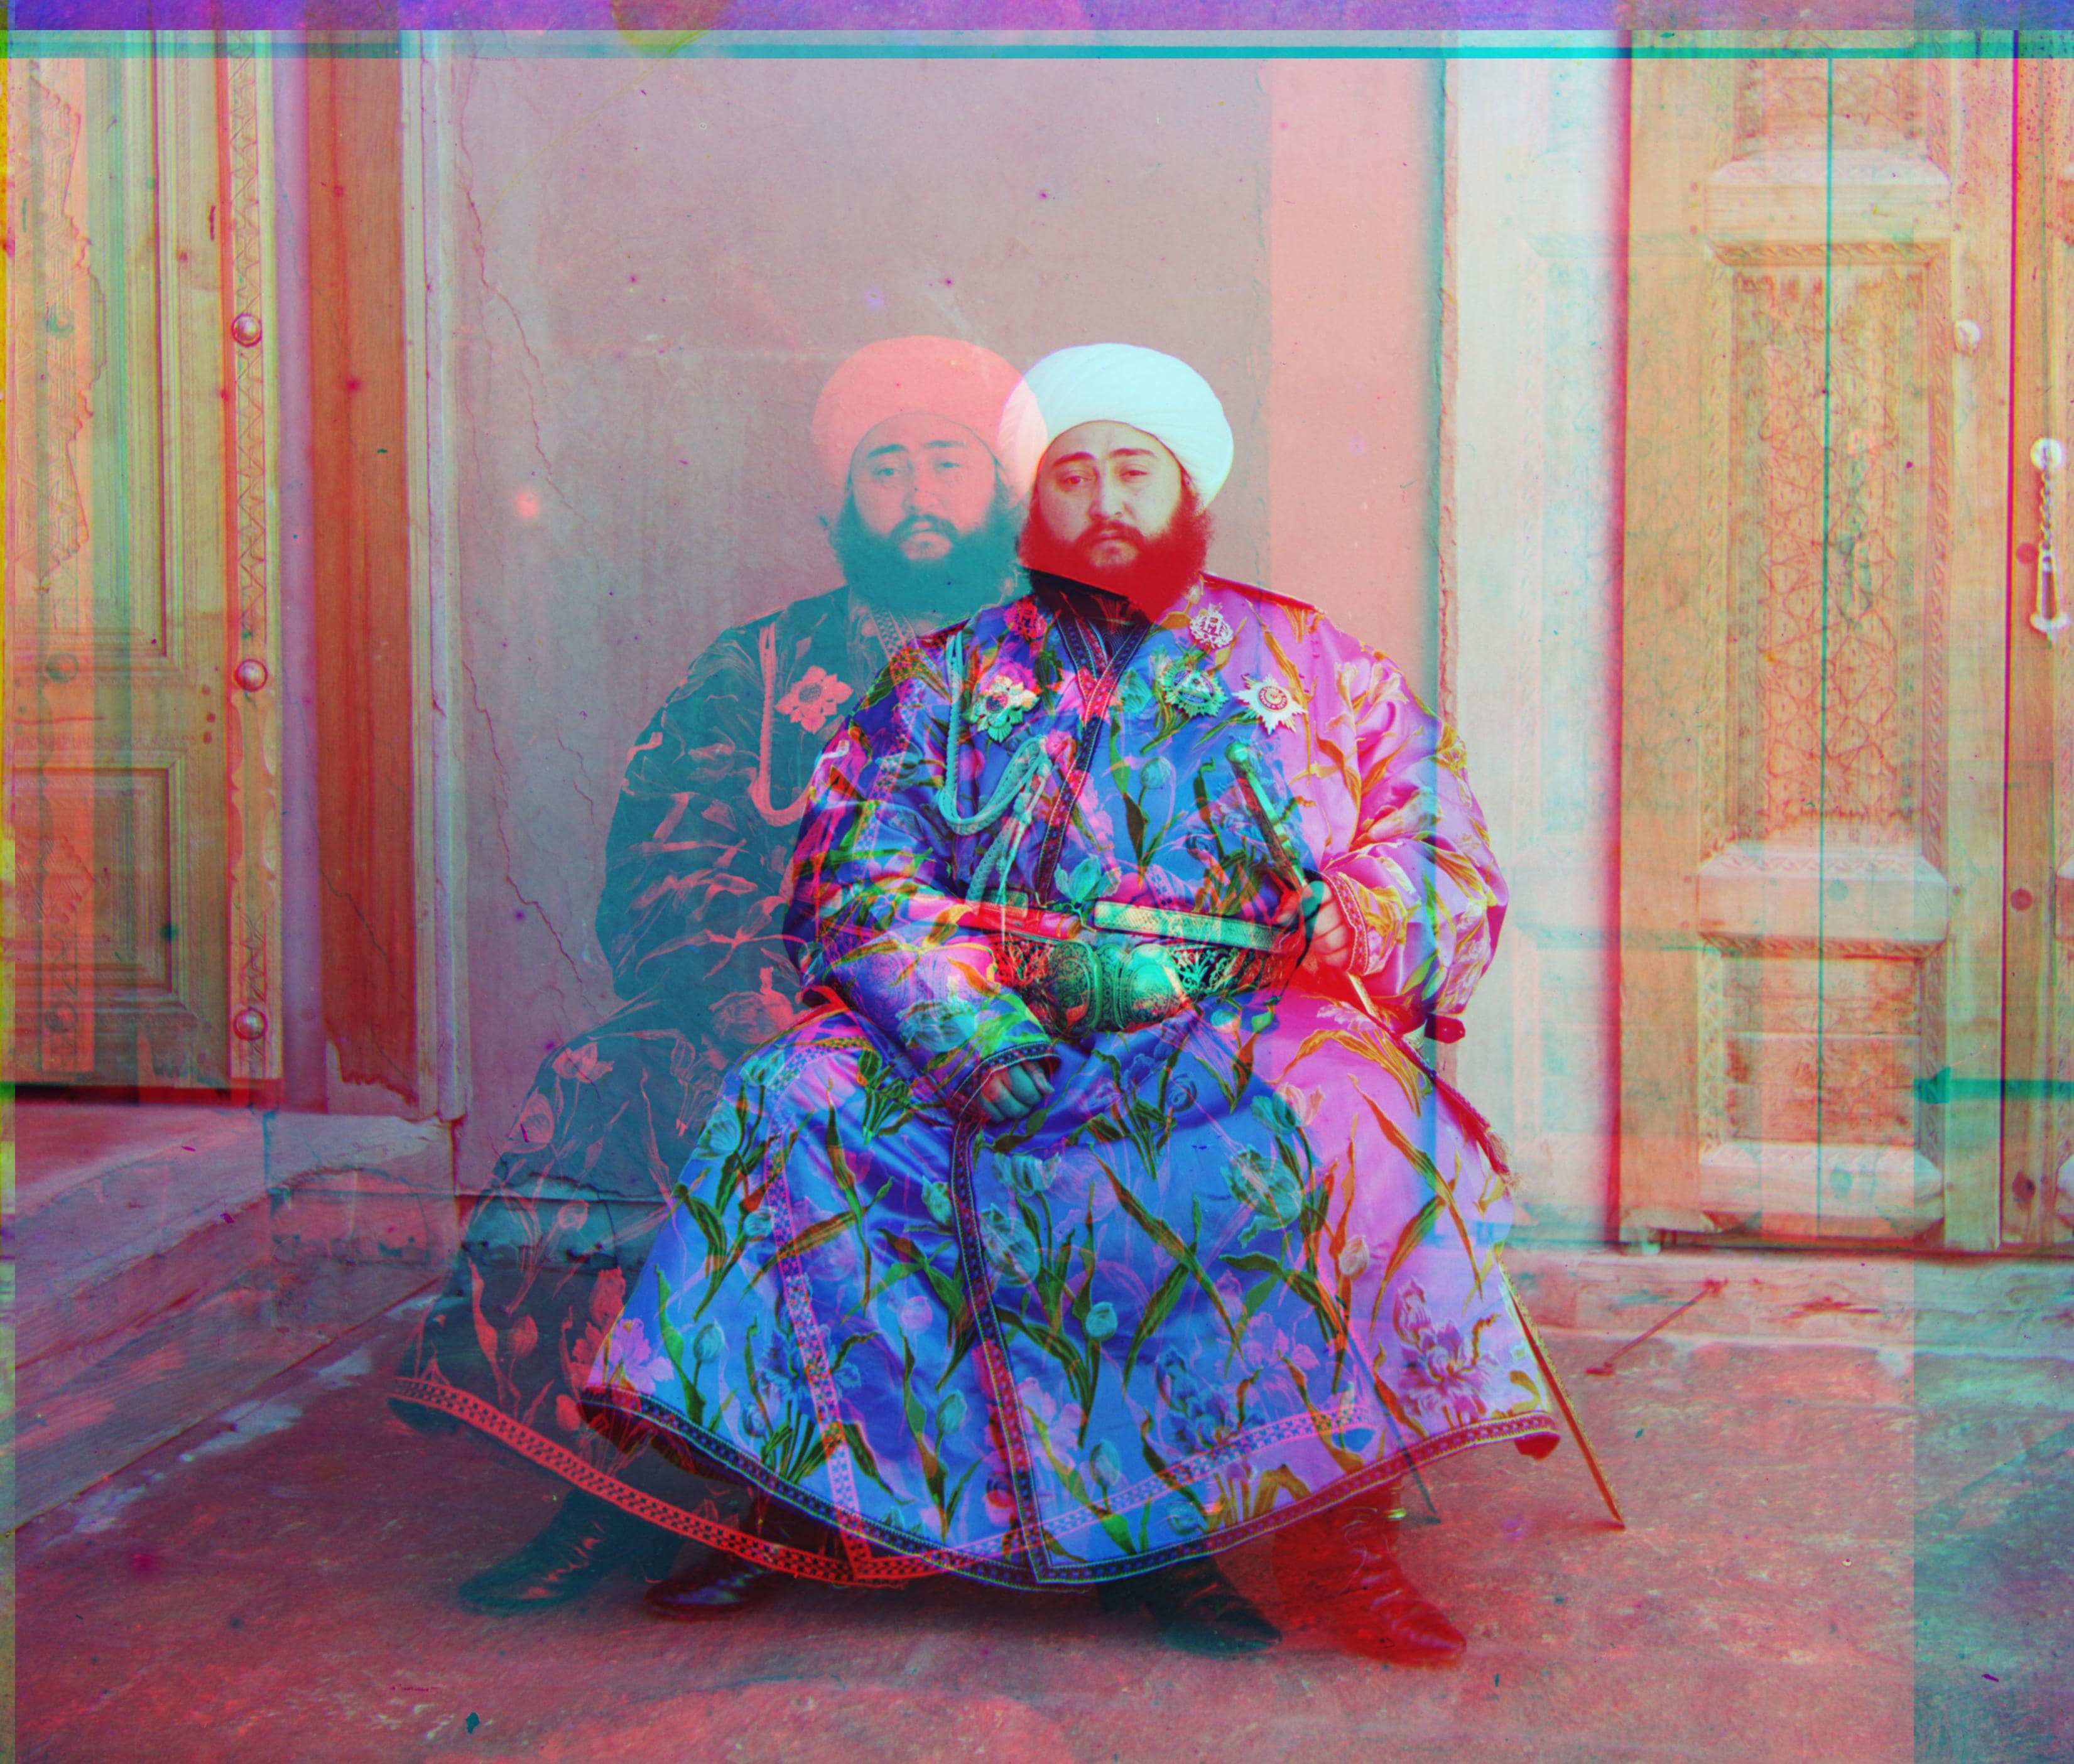
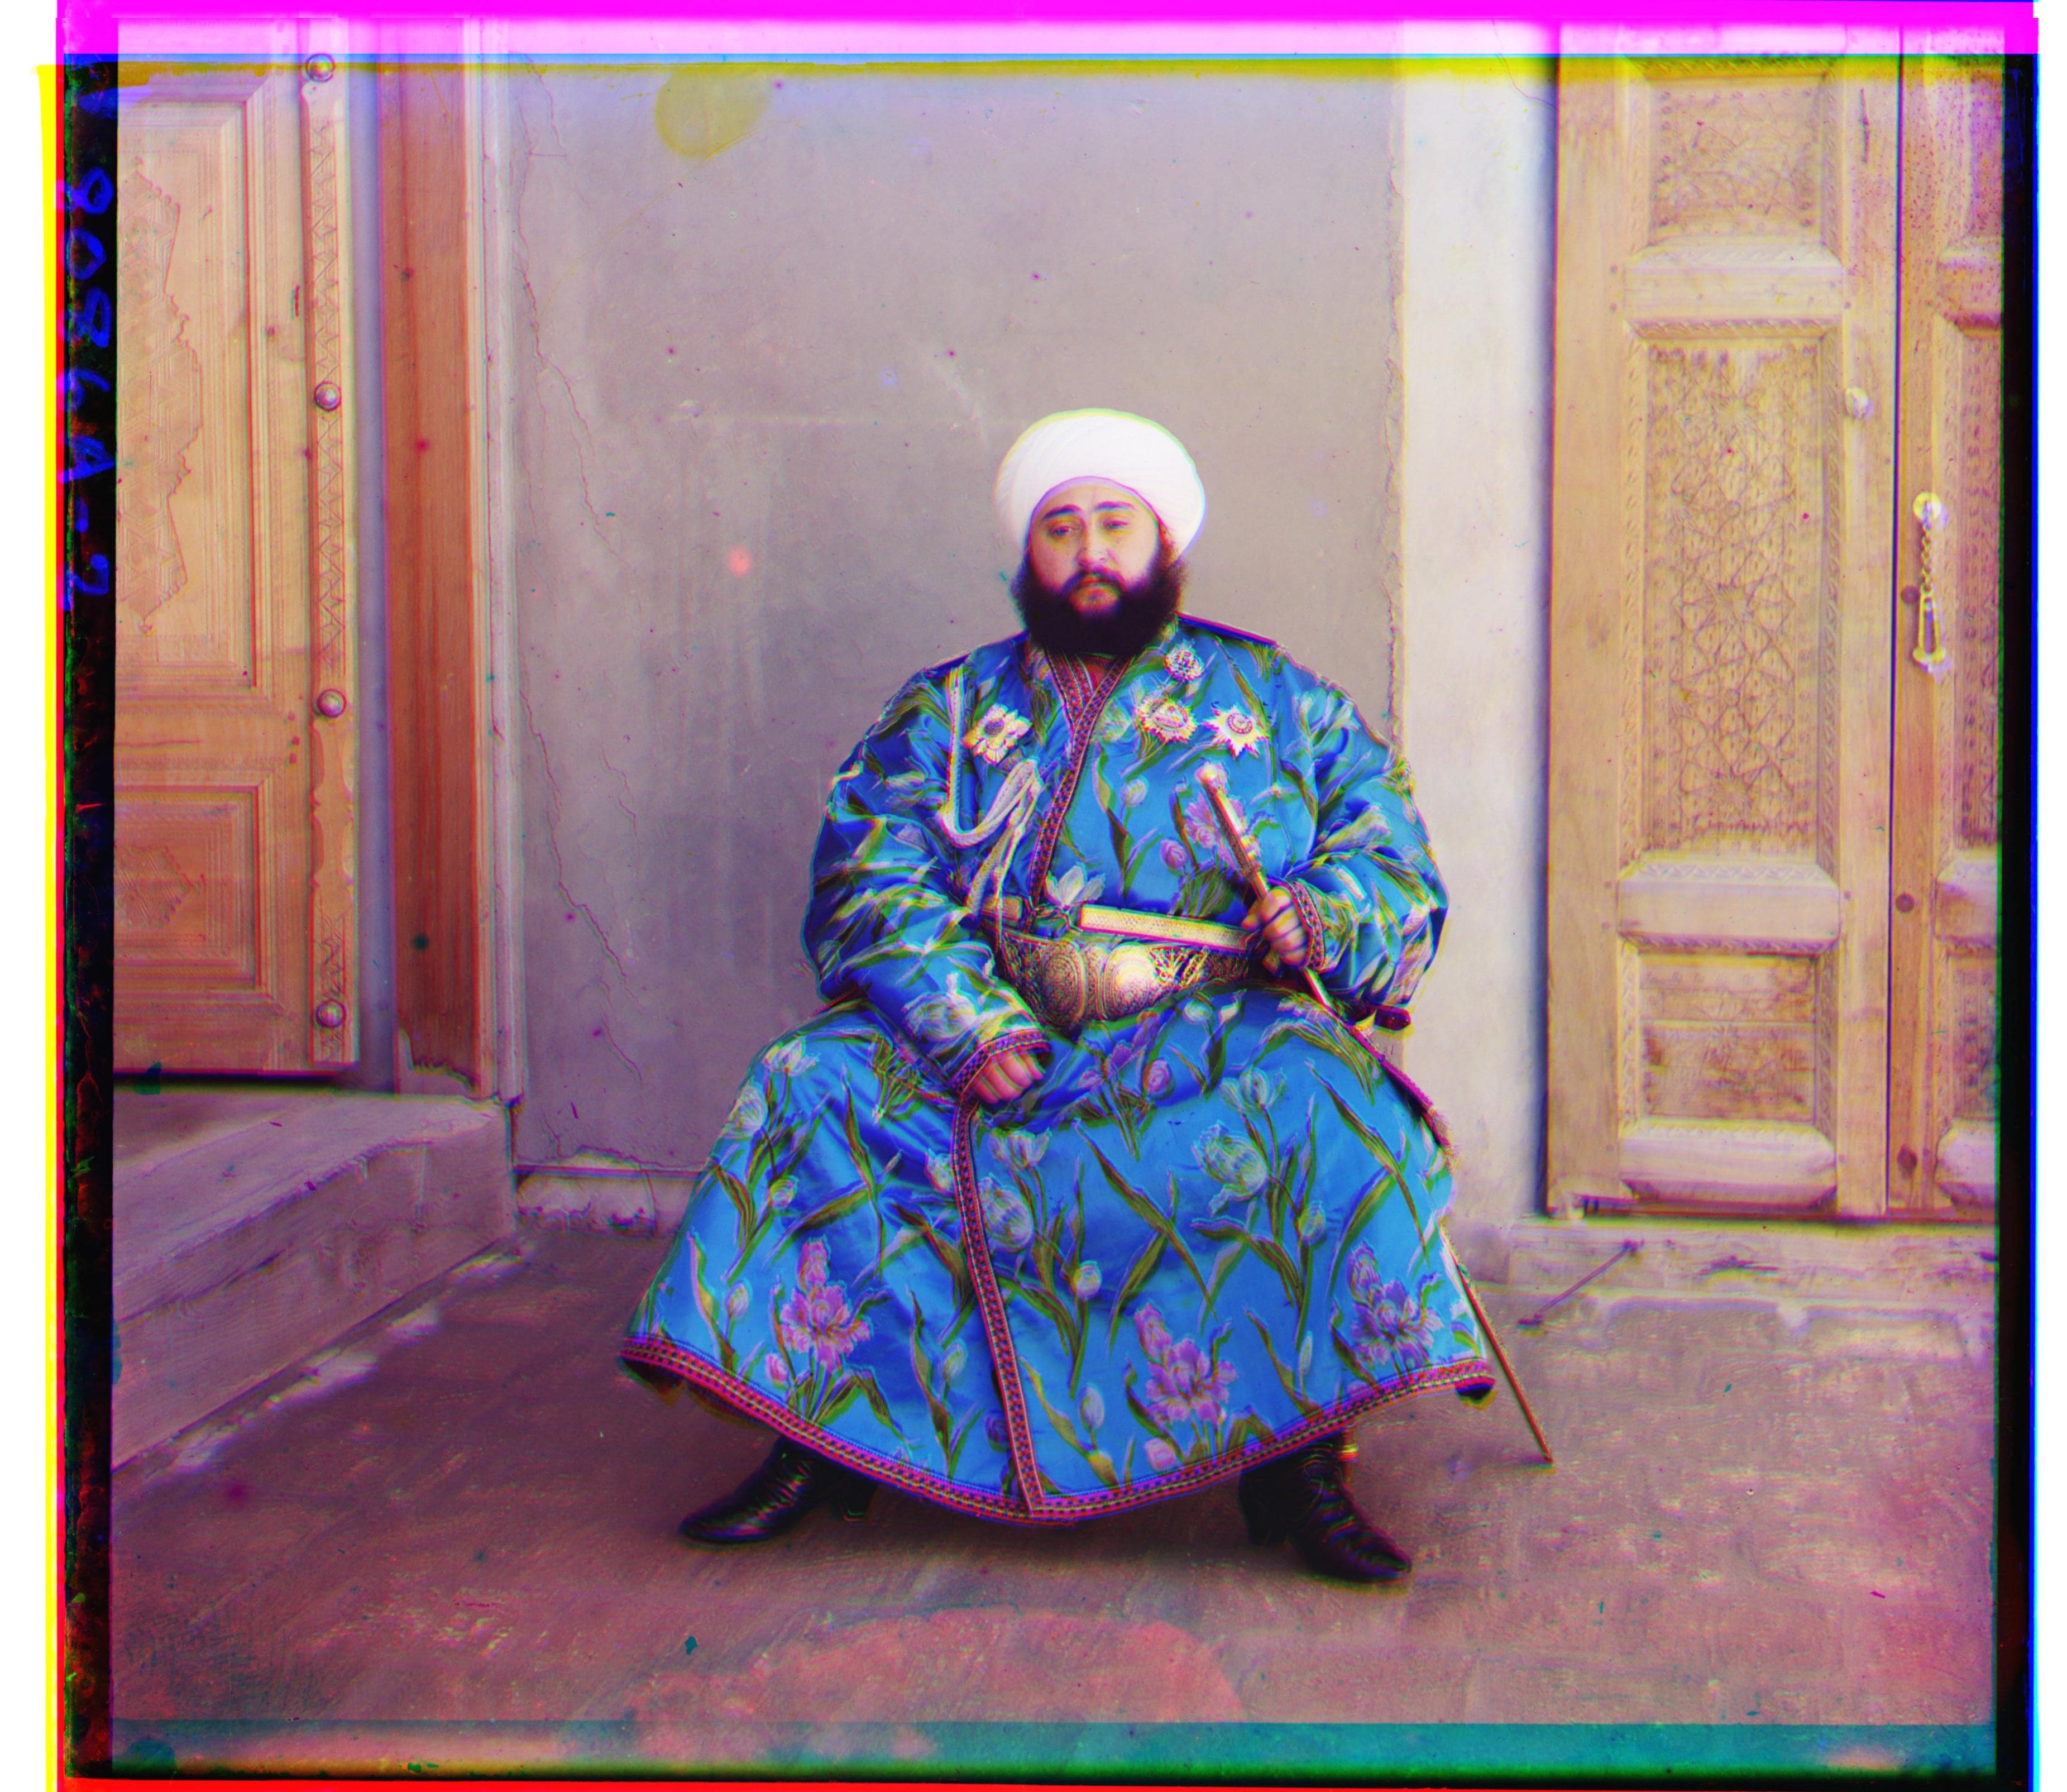
For extra credit, I tried to implement Edge Detection to create a more accurate error matrix. Specifically, the reason Emir and lady photos didn't work might be because there are areas where different channels have drastically opposite values (nearly 1 and nearly 0).
To detect the edge, I applied Gaussian blur two times to both the image and the reference, and then I subtract the result of the two gaussian blurs of the same image to get the estimated edge. I then input the edge graph of the image and the reference to the ssd function to get an error of the edge filter, and use that error as our error matrix for the image - reference pair.
As shown below, the function works, though not perfectly, on picture emir.
Part 6: Problems and Future steps
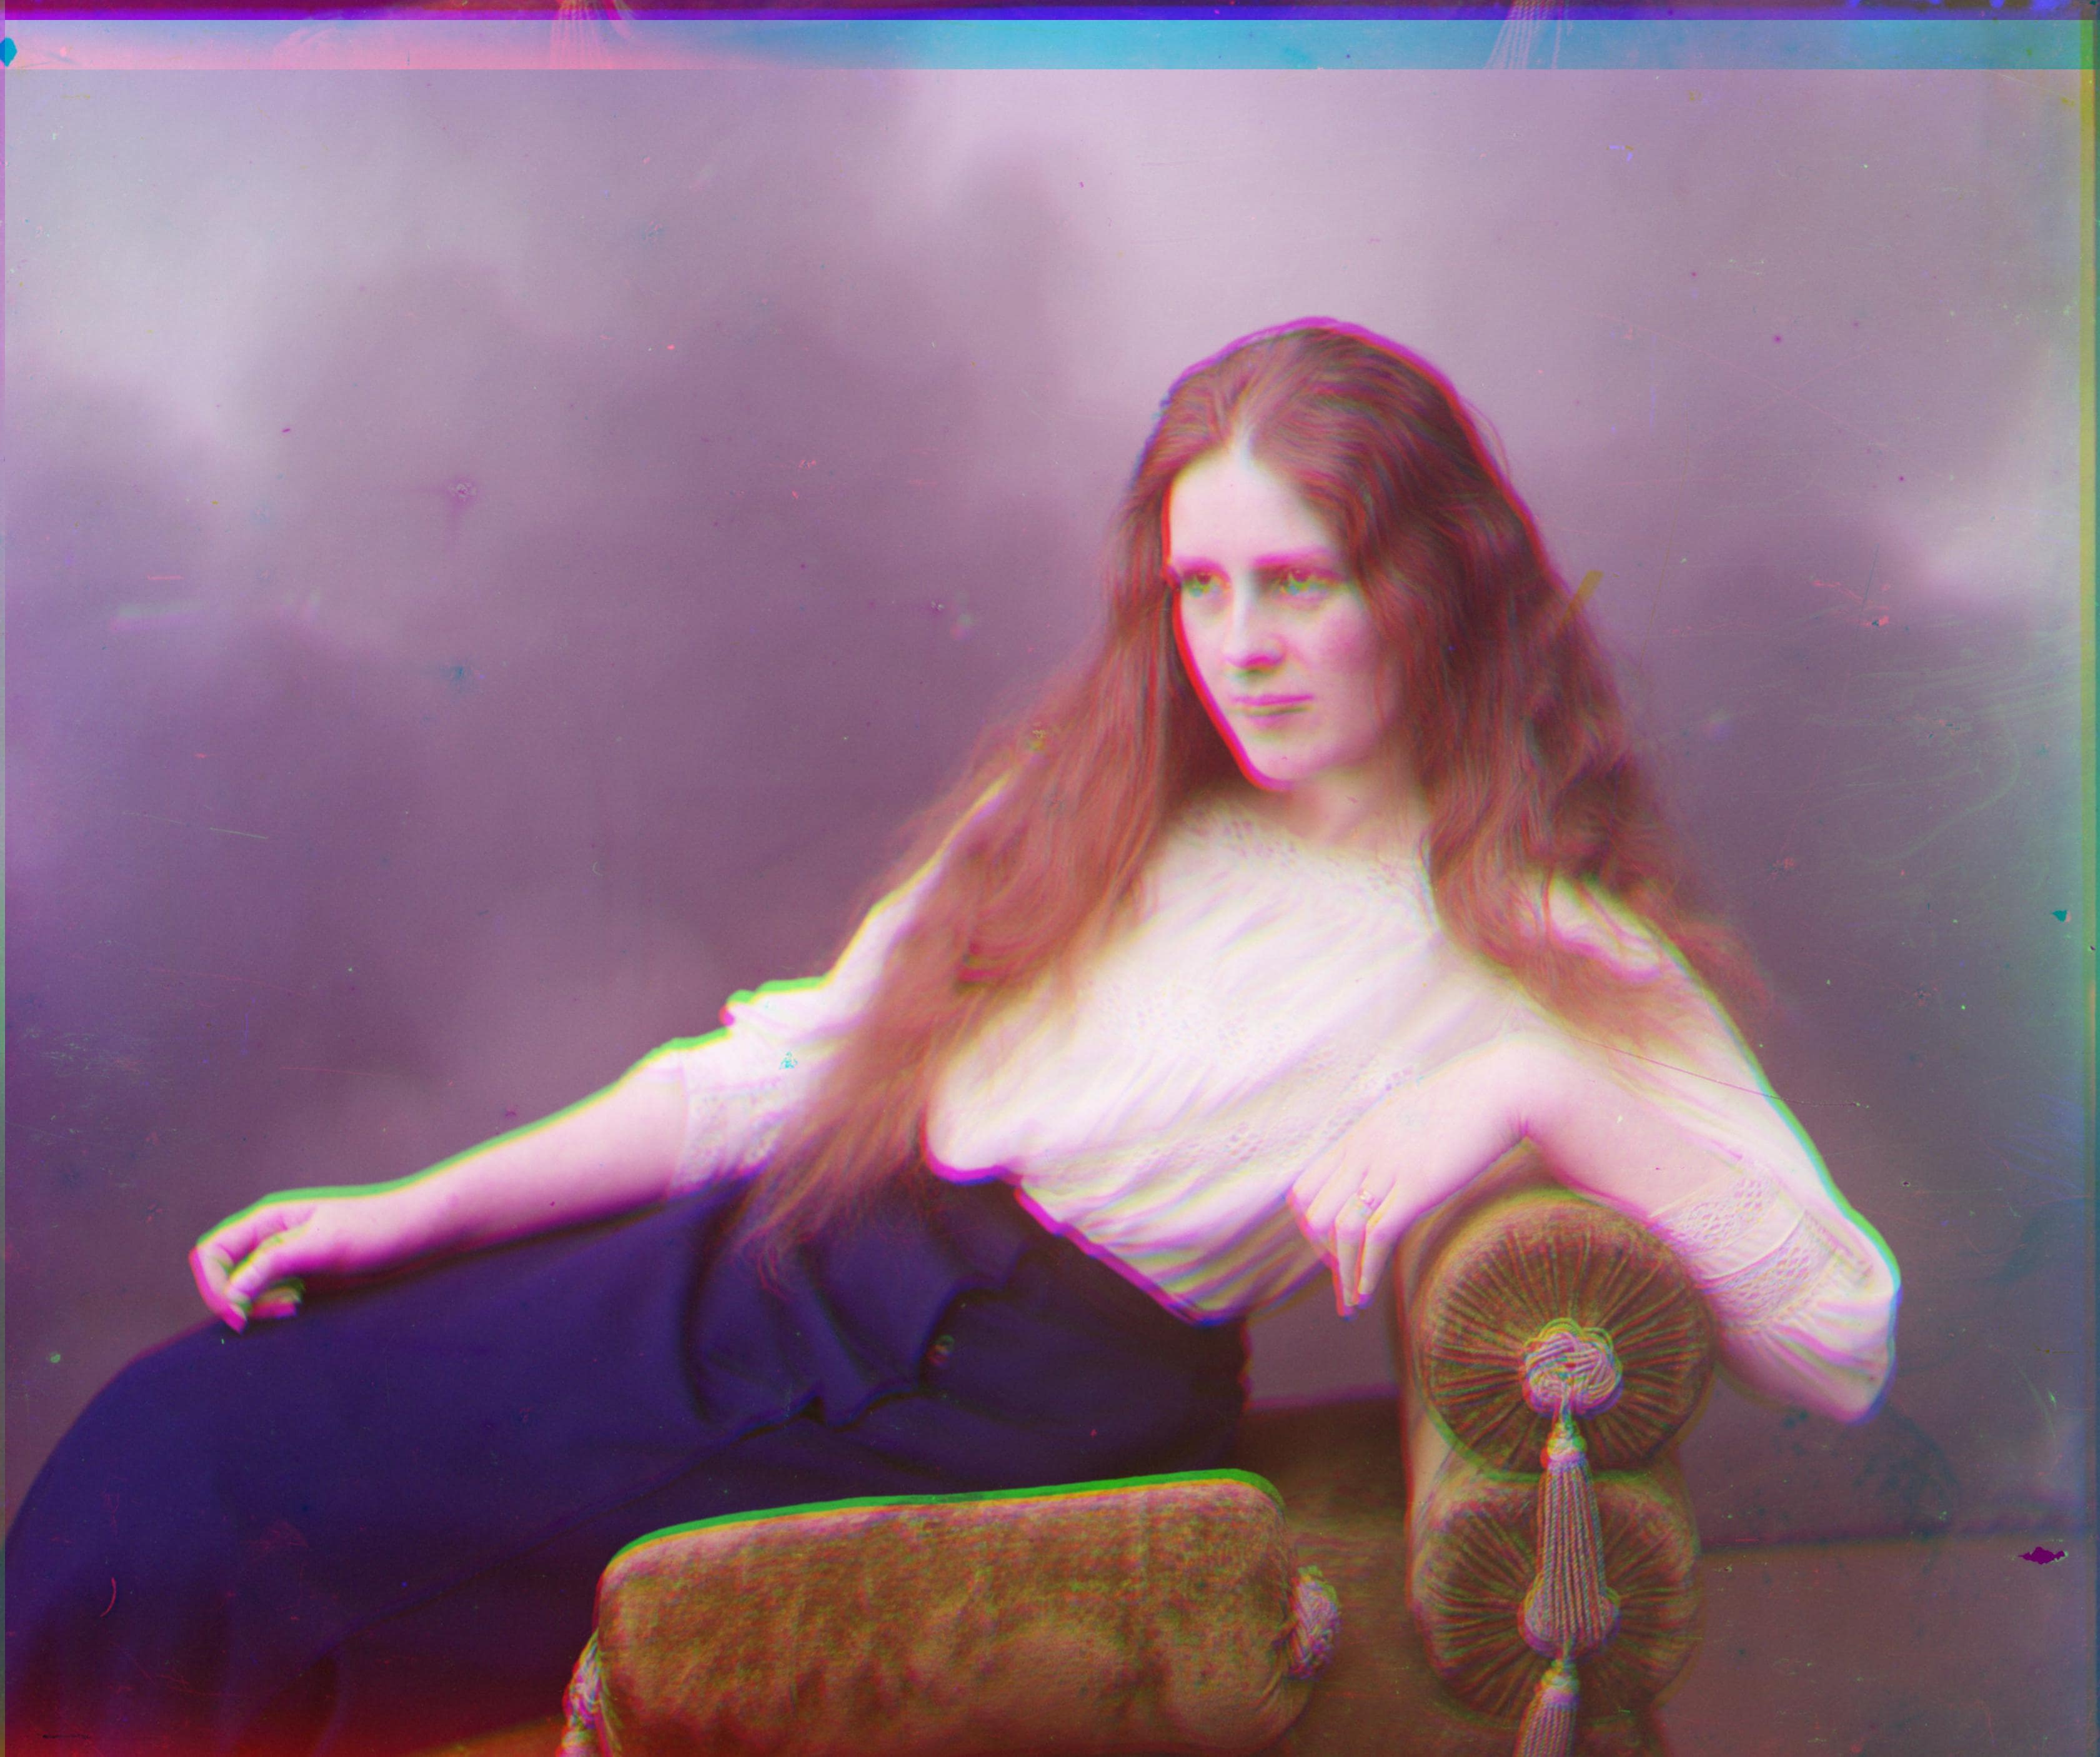
As shown in the cropped photos in part 4, the result of most of the pictures are satisfying. However, Emir, Lady and Self Portrait are still not being fully satisfying yet.
For Emir and Lady, the reason might be with indoor lighting and/or color of the scene, the ssd error detecting algorithm couldn't accurately determine if the pictures are best aligned. We will need to further explore the better error algorithm for those two photos. I tried using edge error as the matrix on emir, and though not perfectly, it kinda works. The edge error method, however, does not work on lady. Probably because the parameters should be different.
In Self Portrait, there is a large green block at the bottom right corner, which is introducing a lot of noise. New methods like crop detection and block noise detection can also potentially be introduced to counter this.
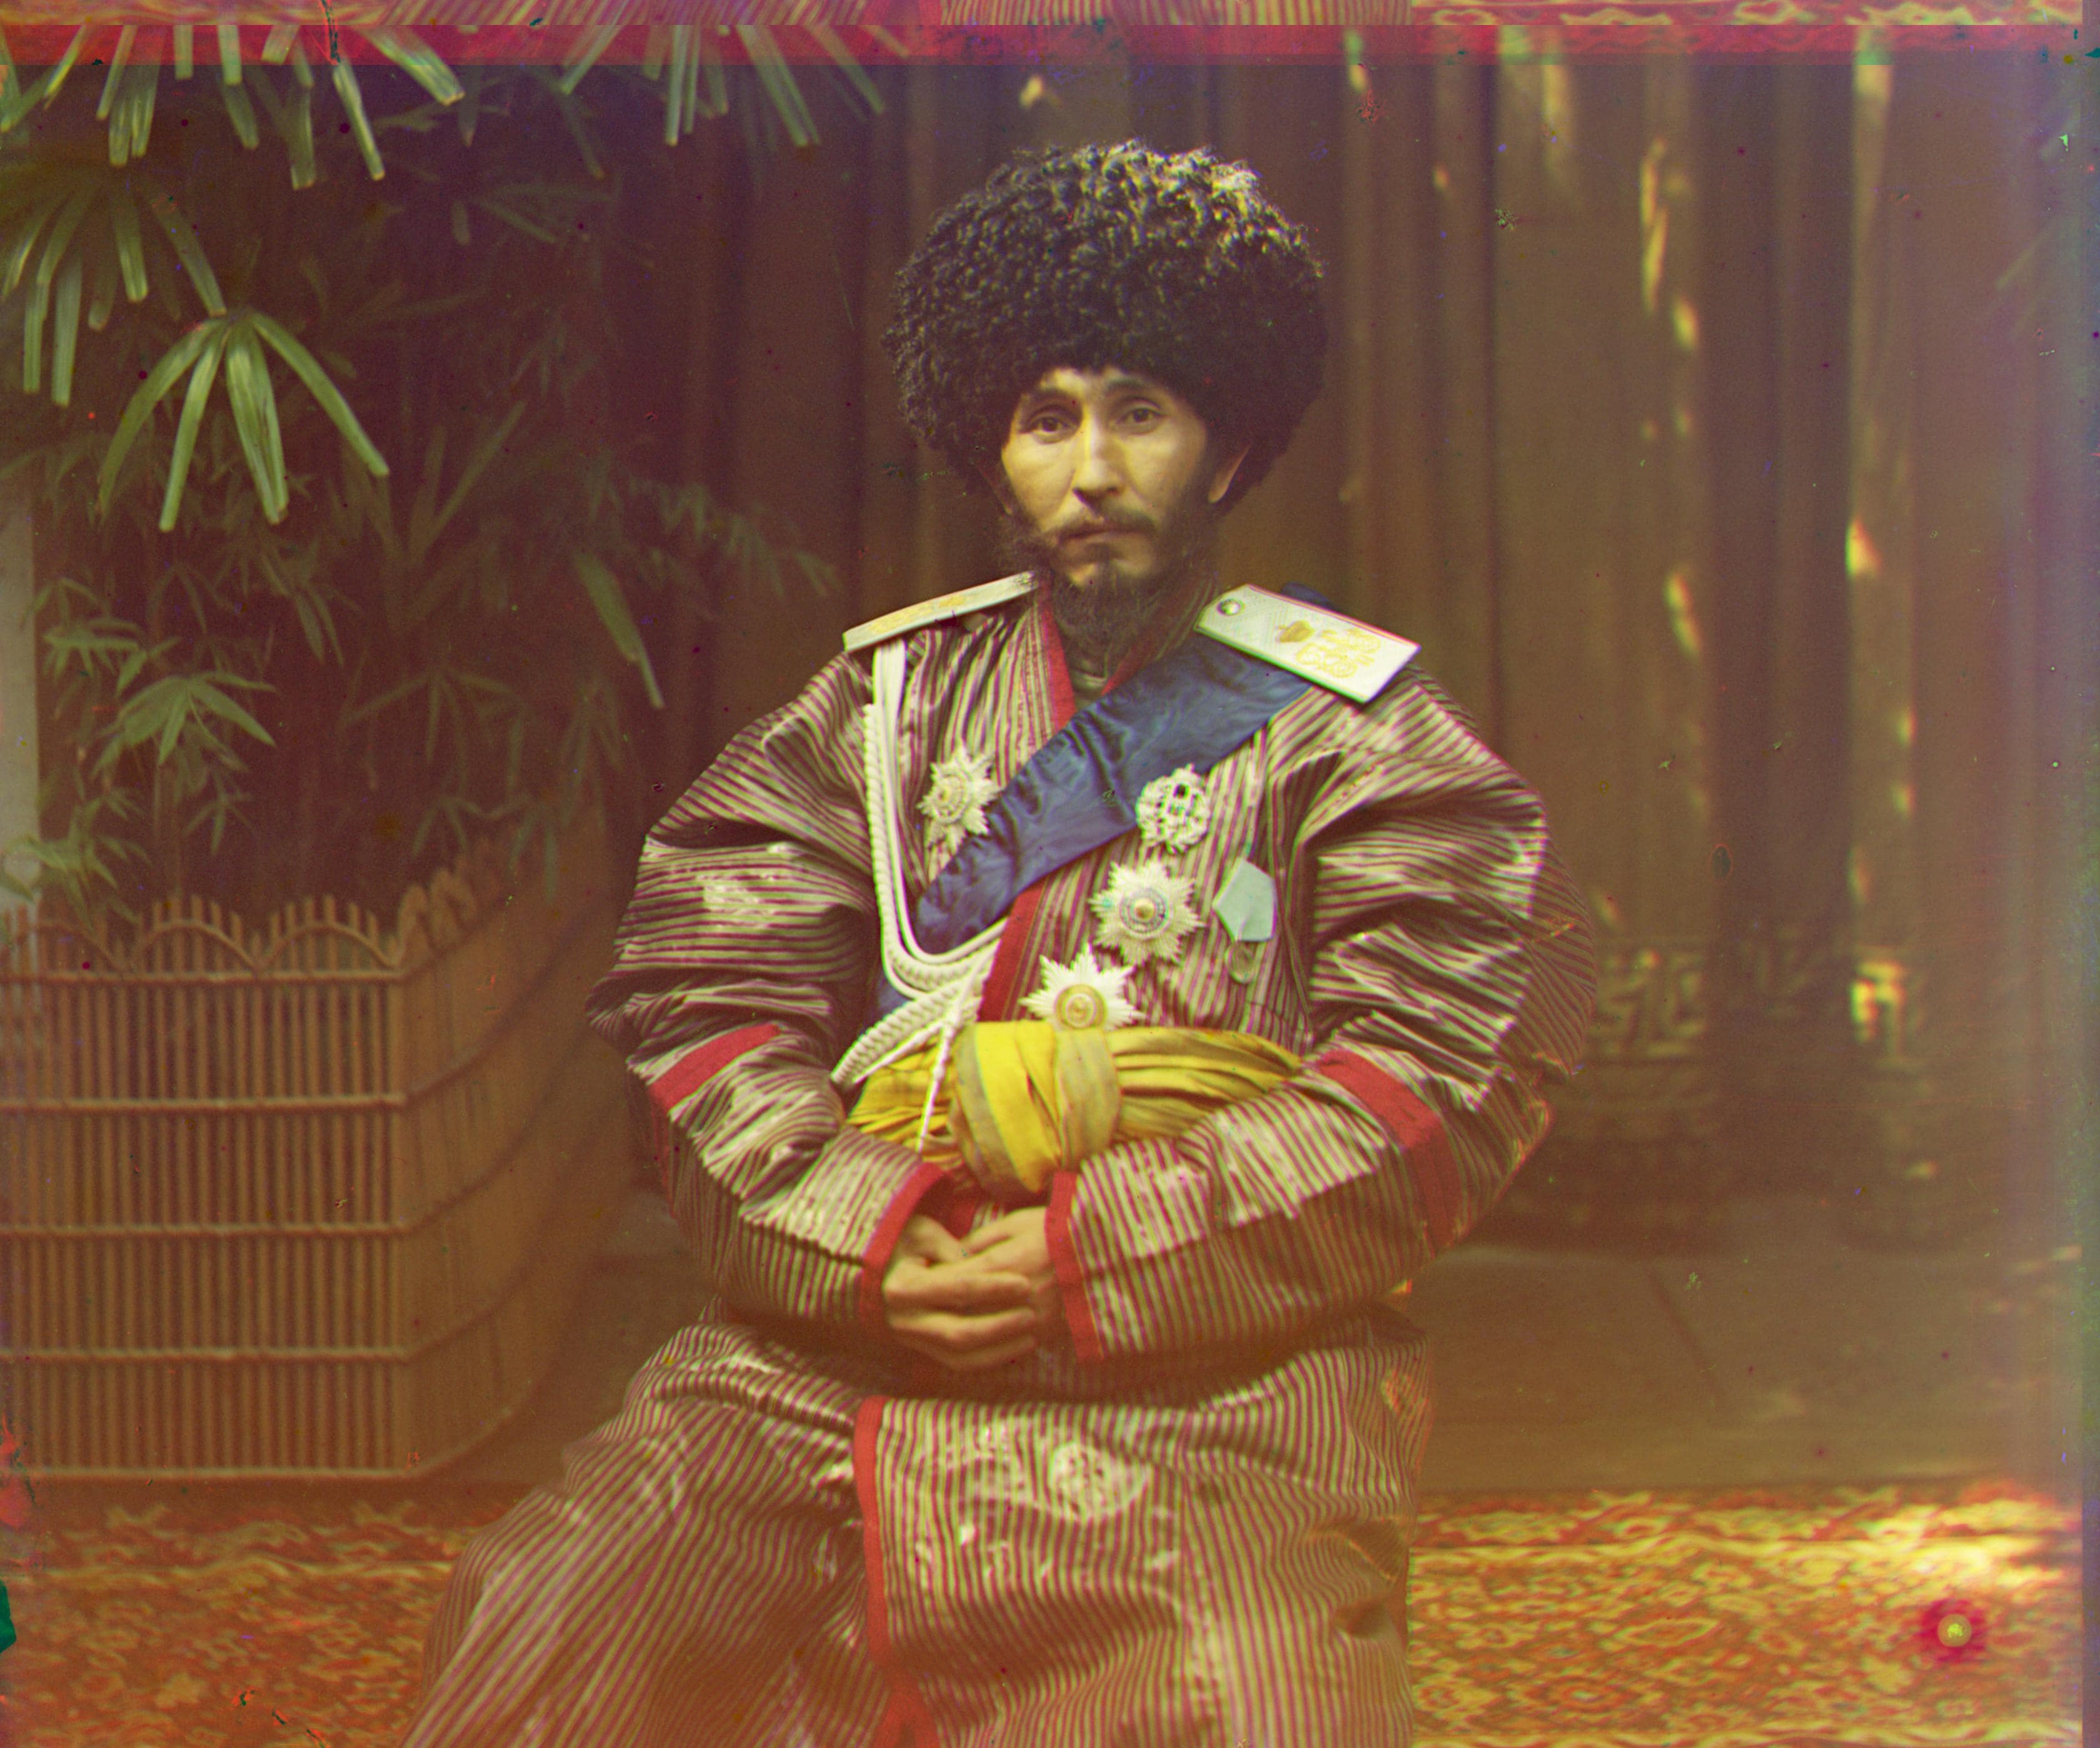
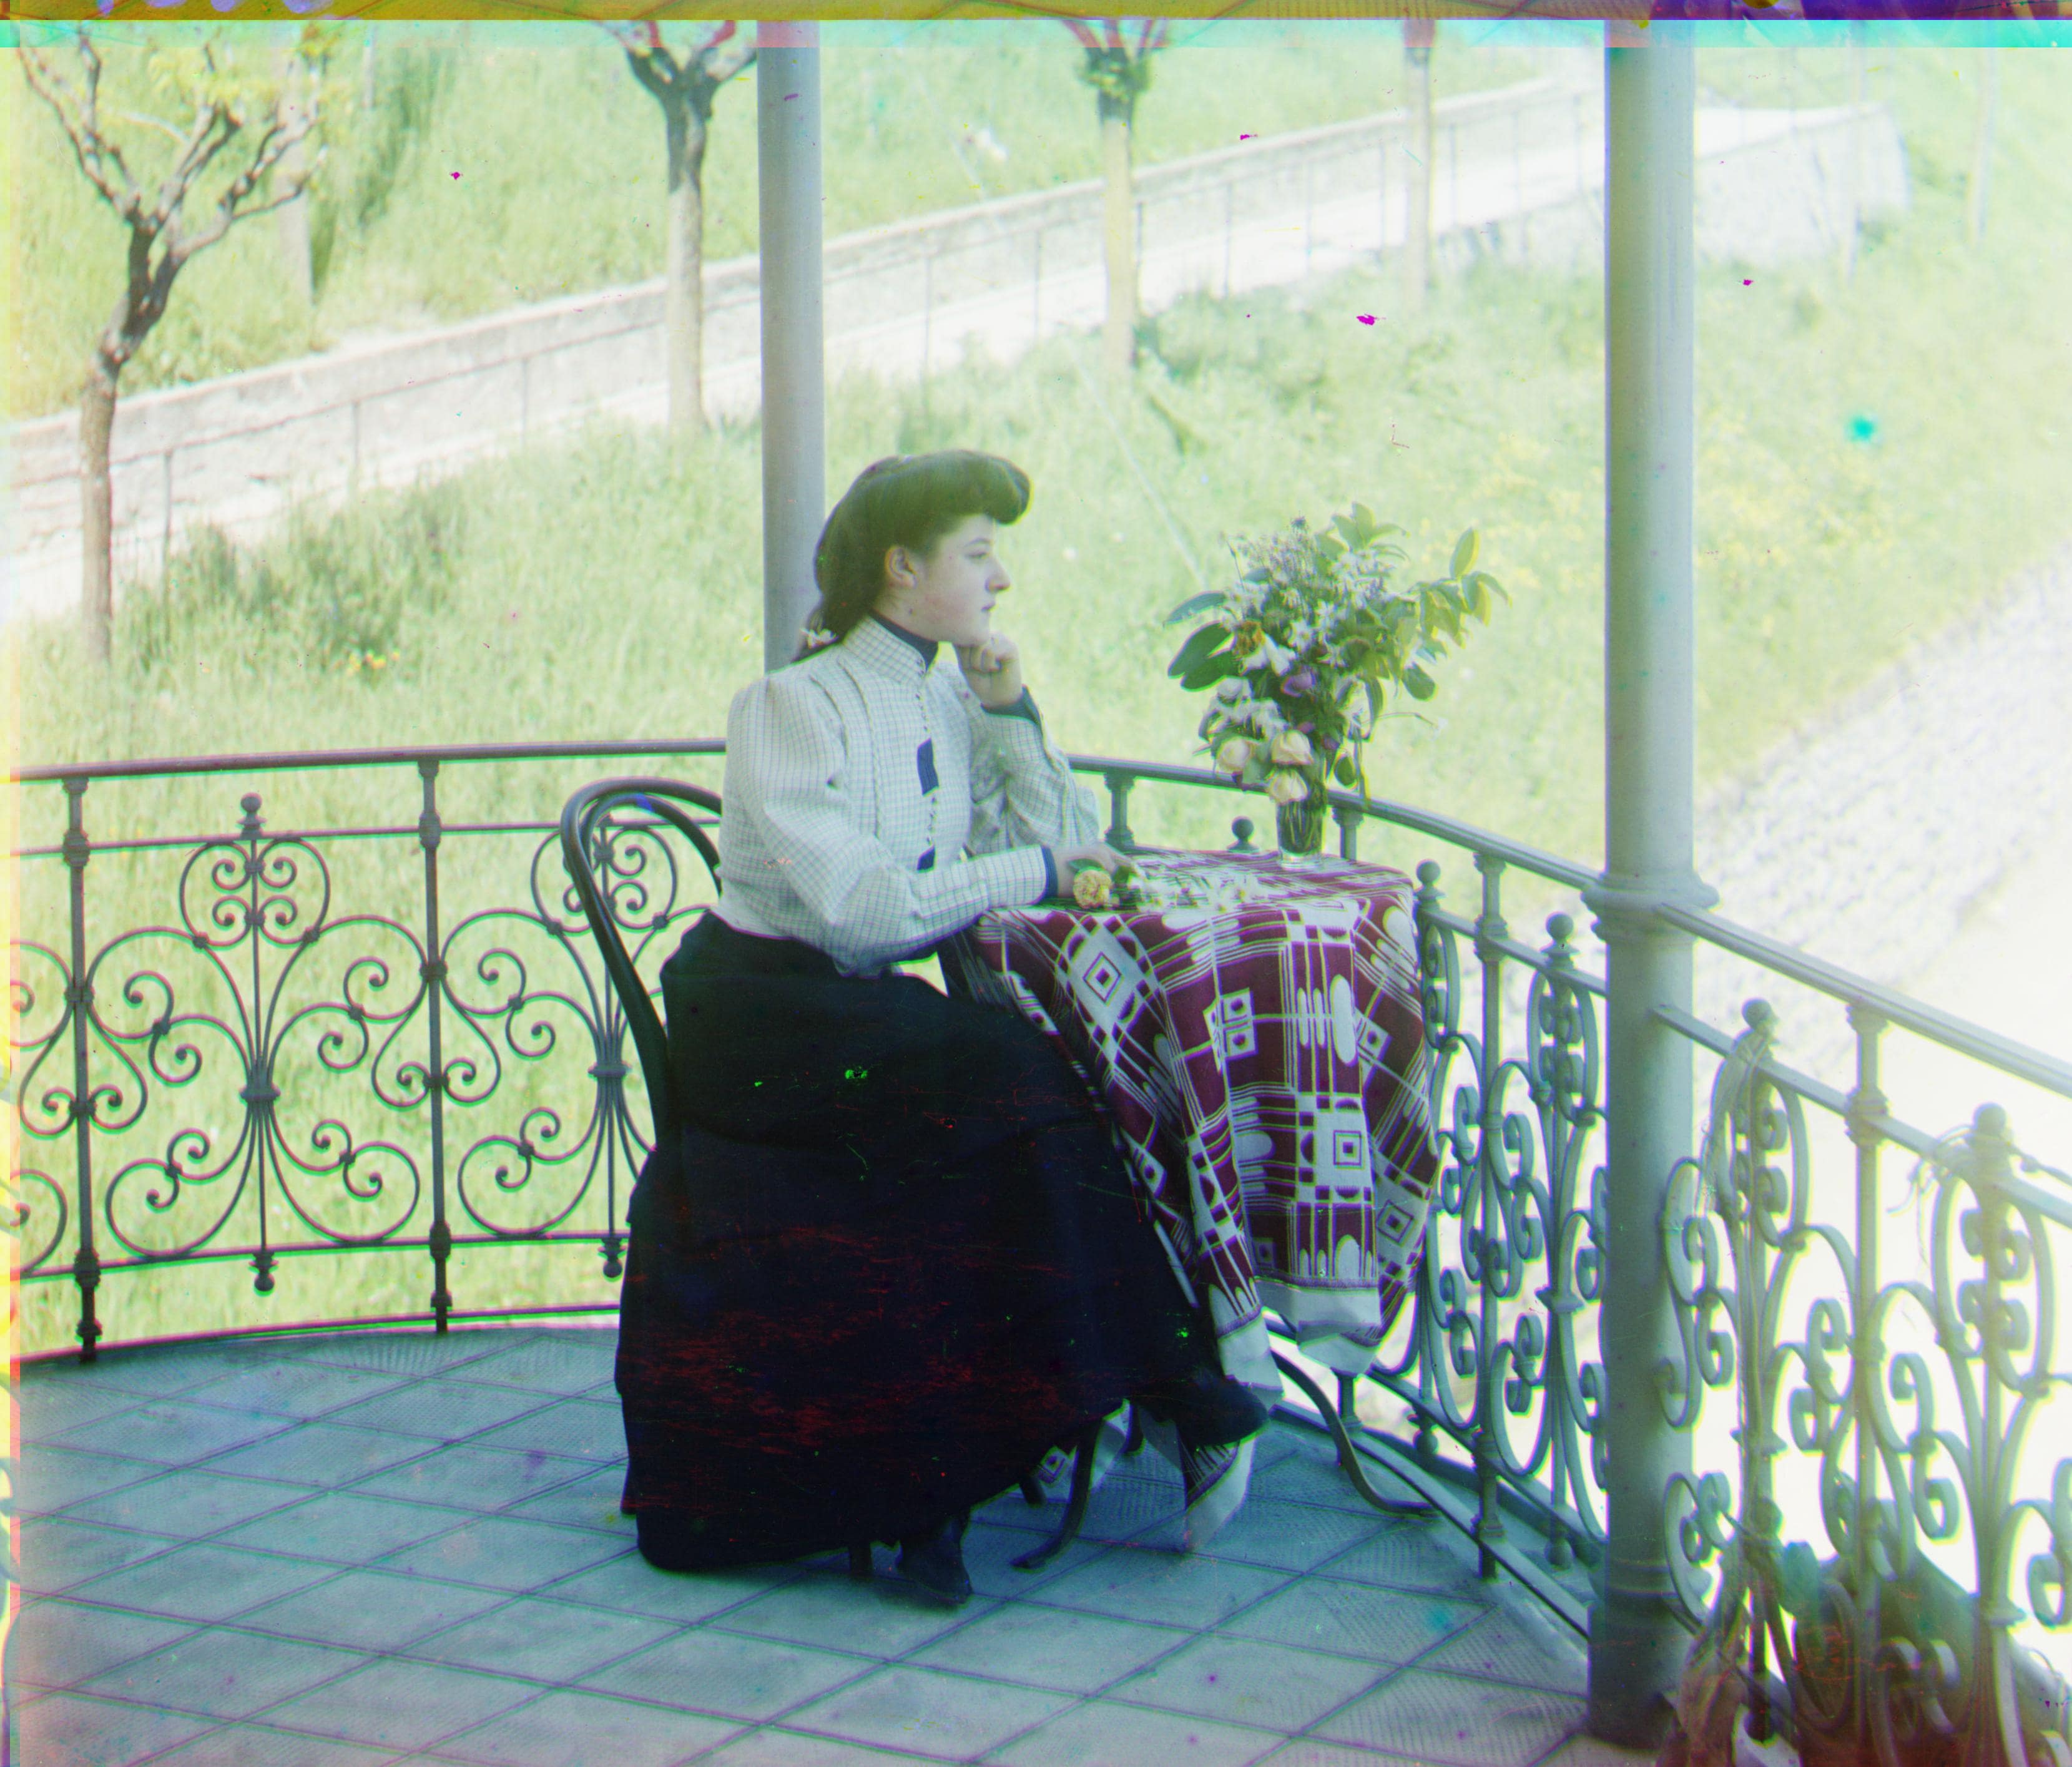
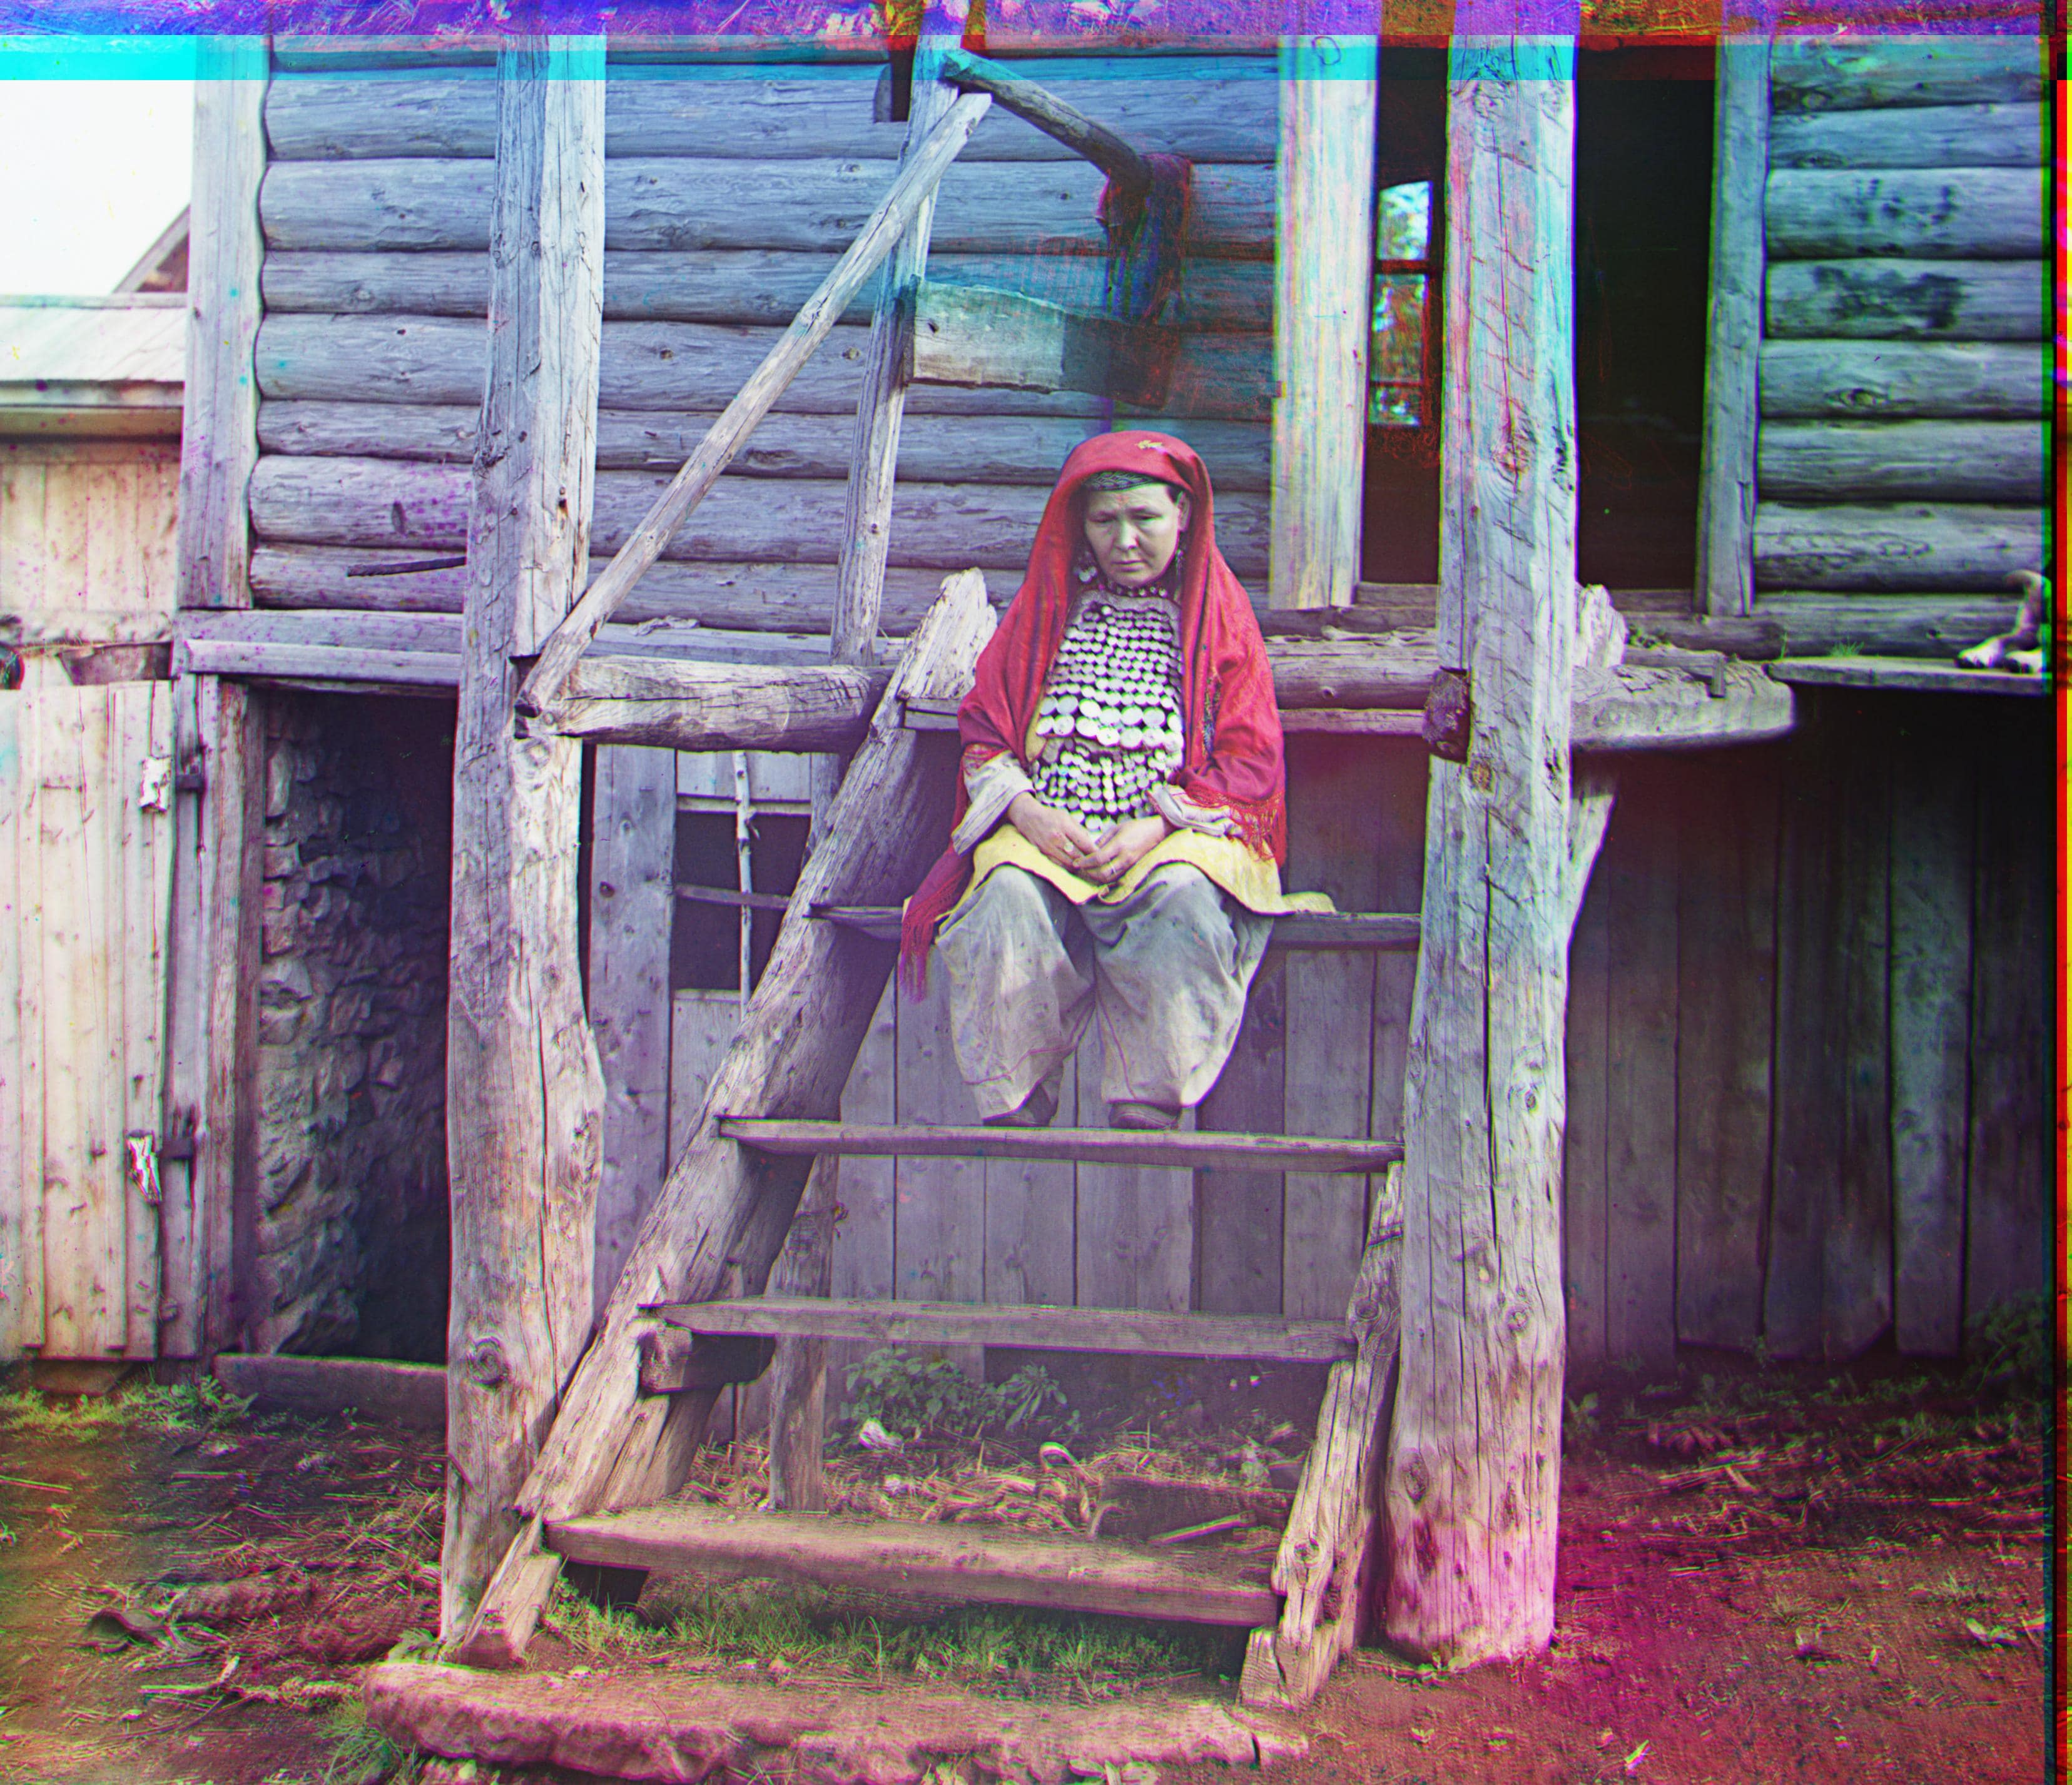
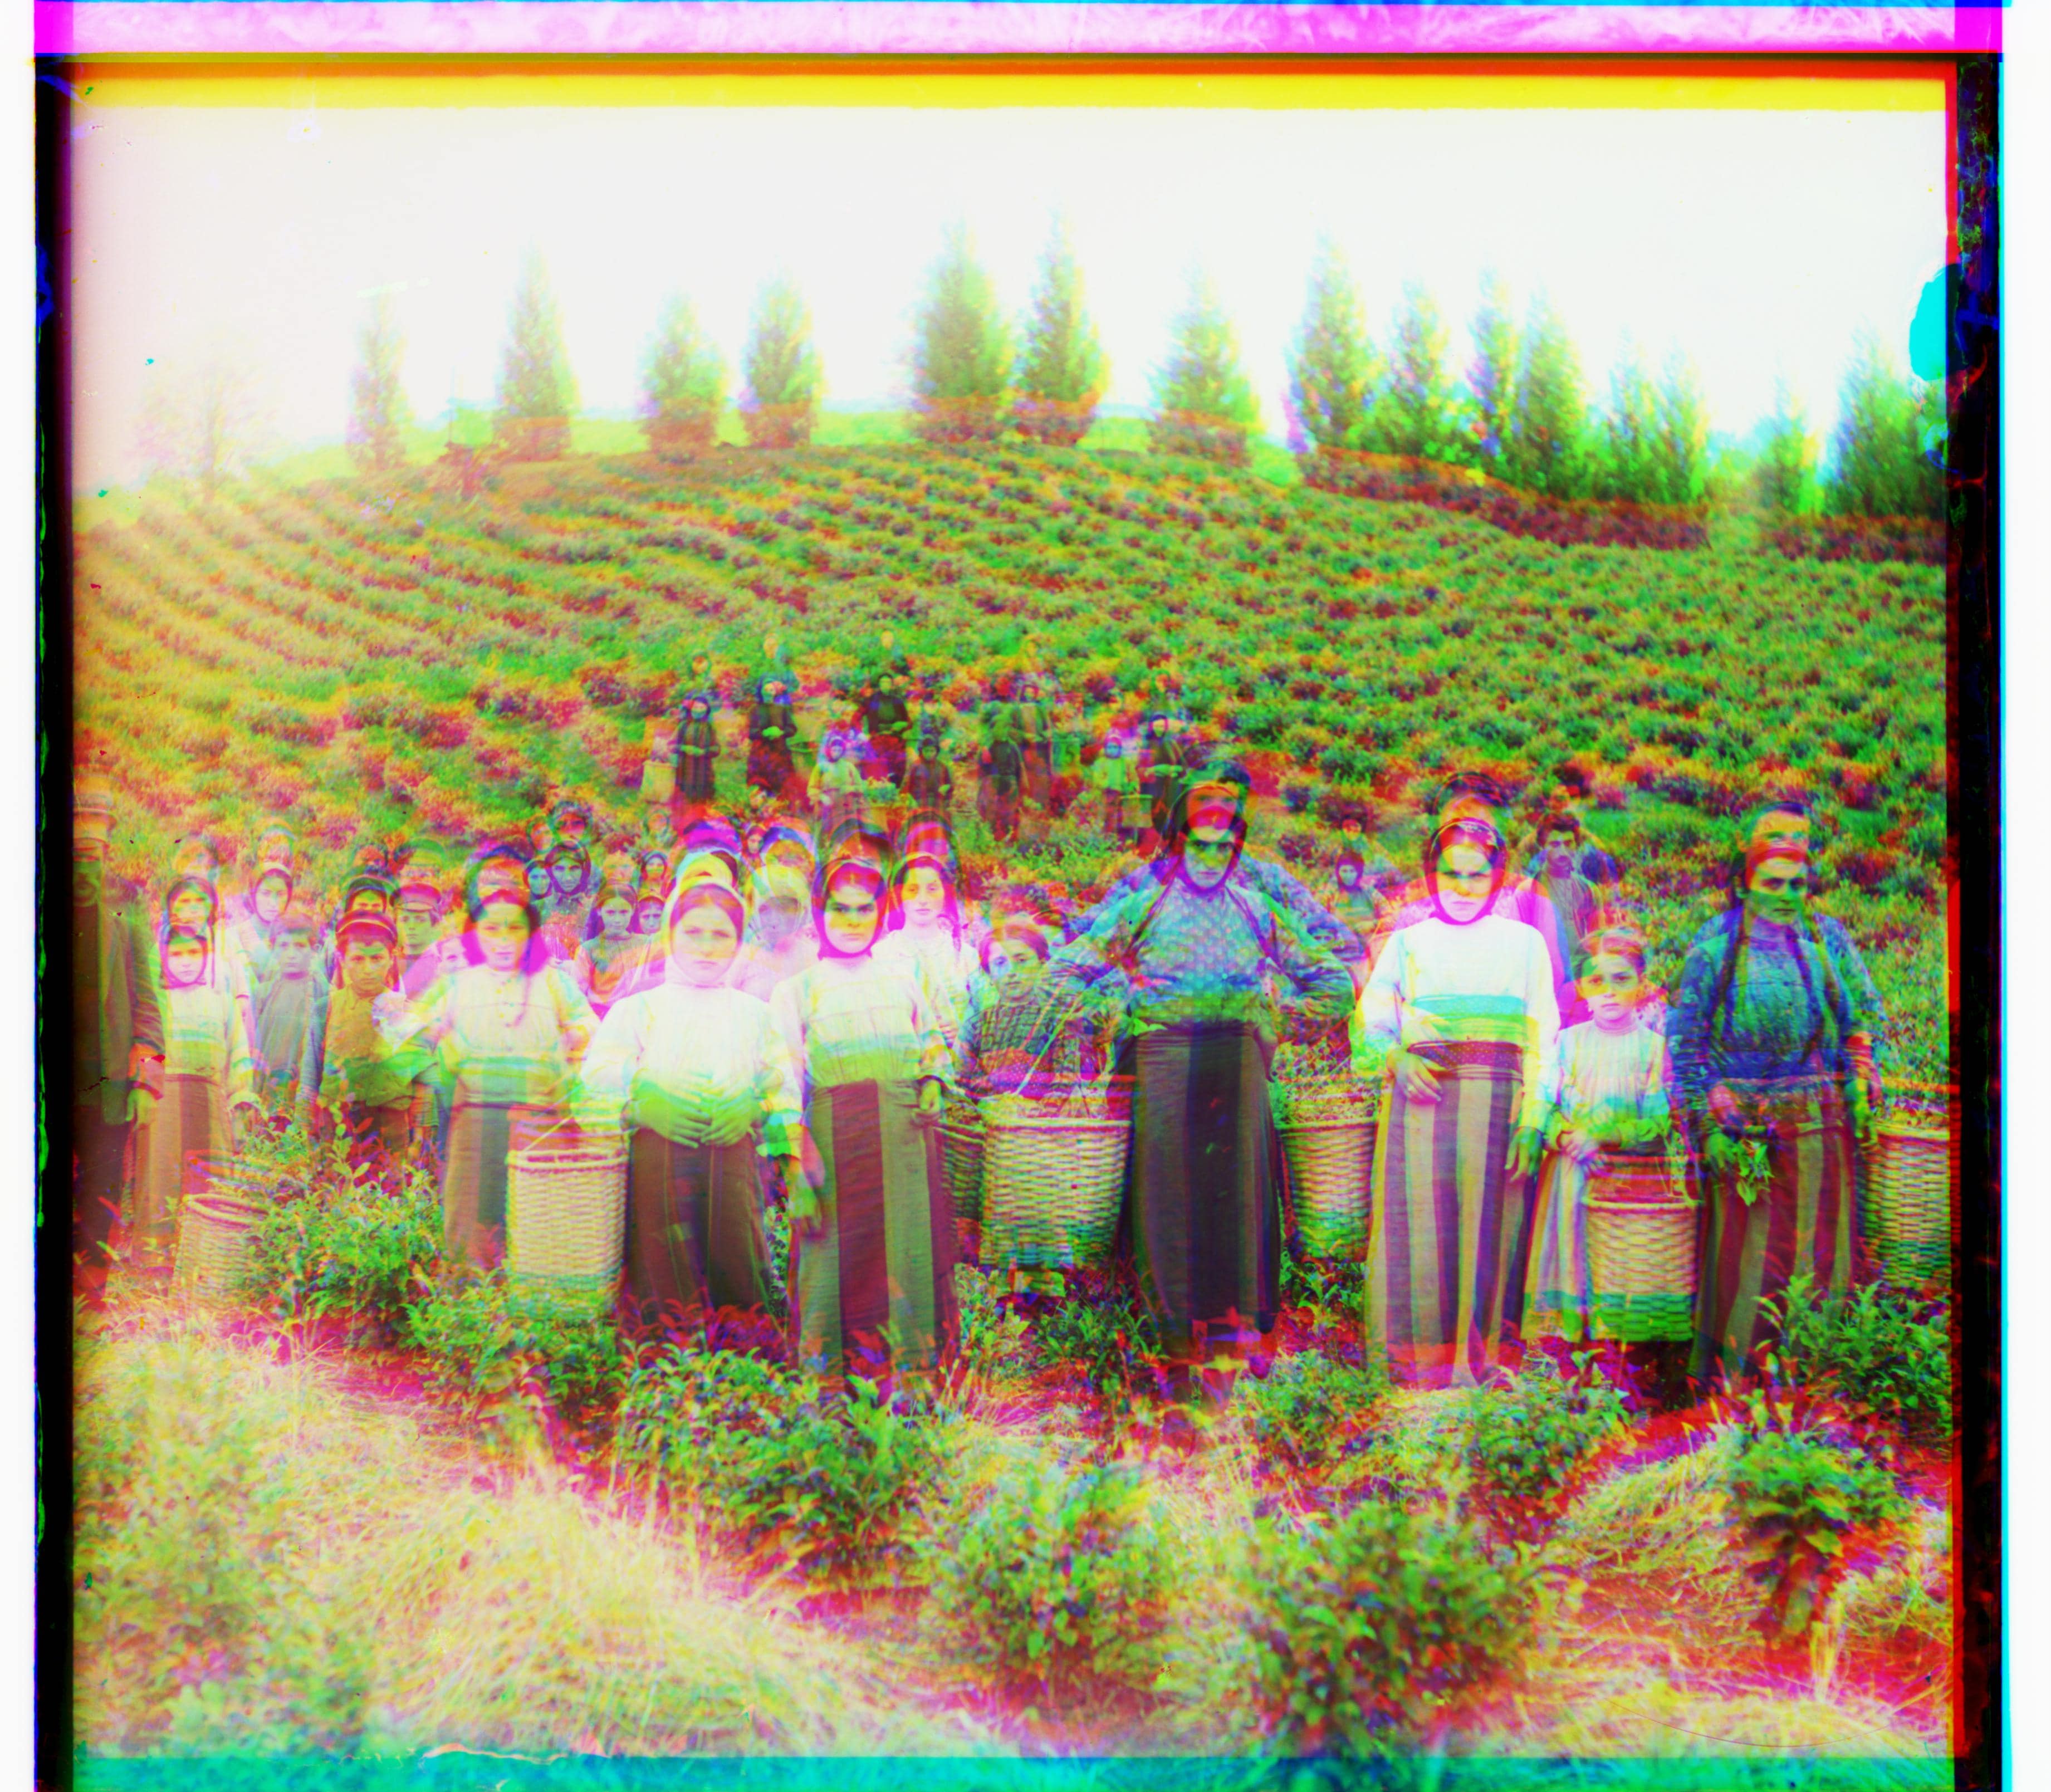
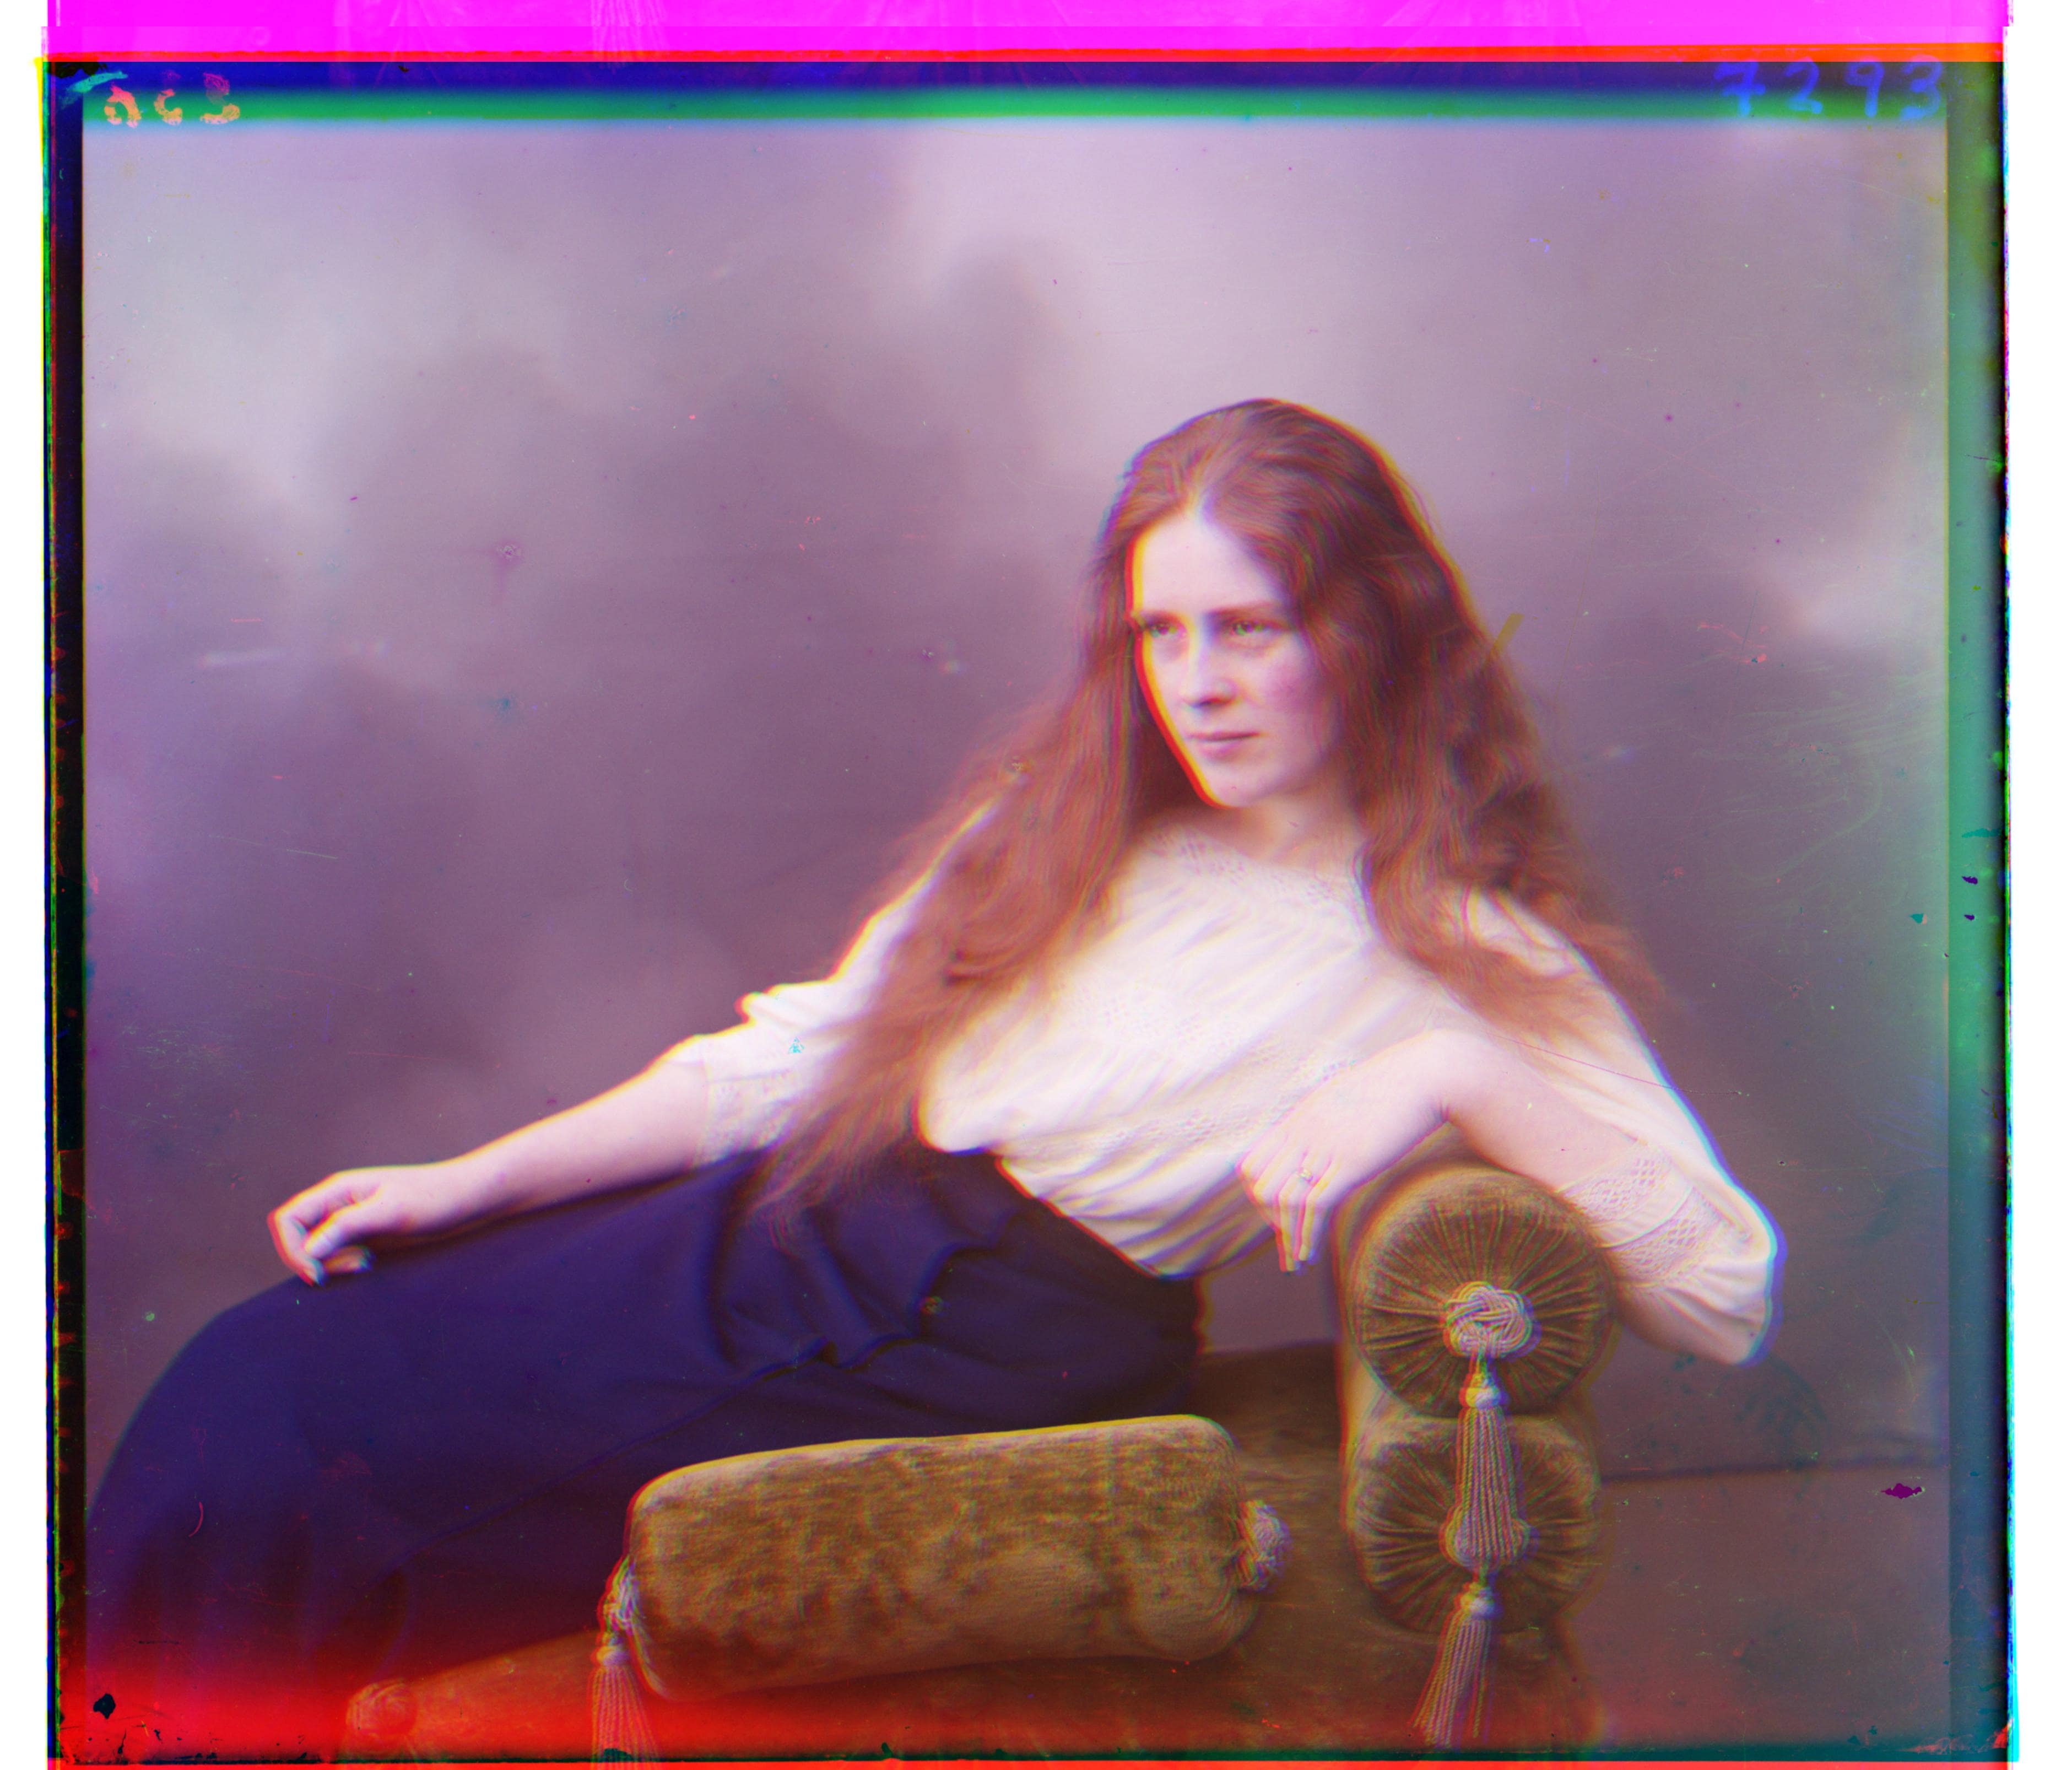
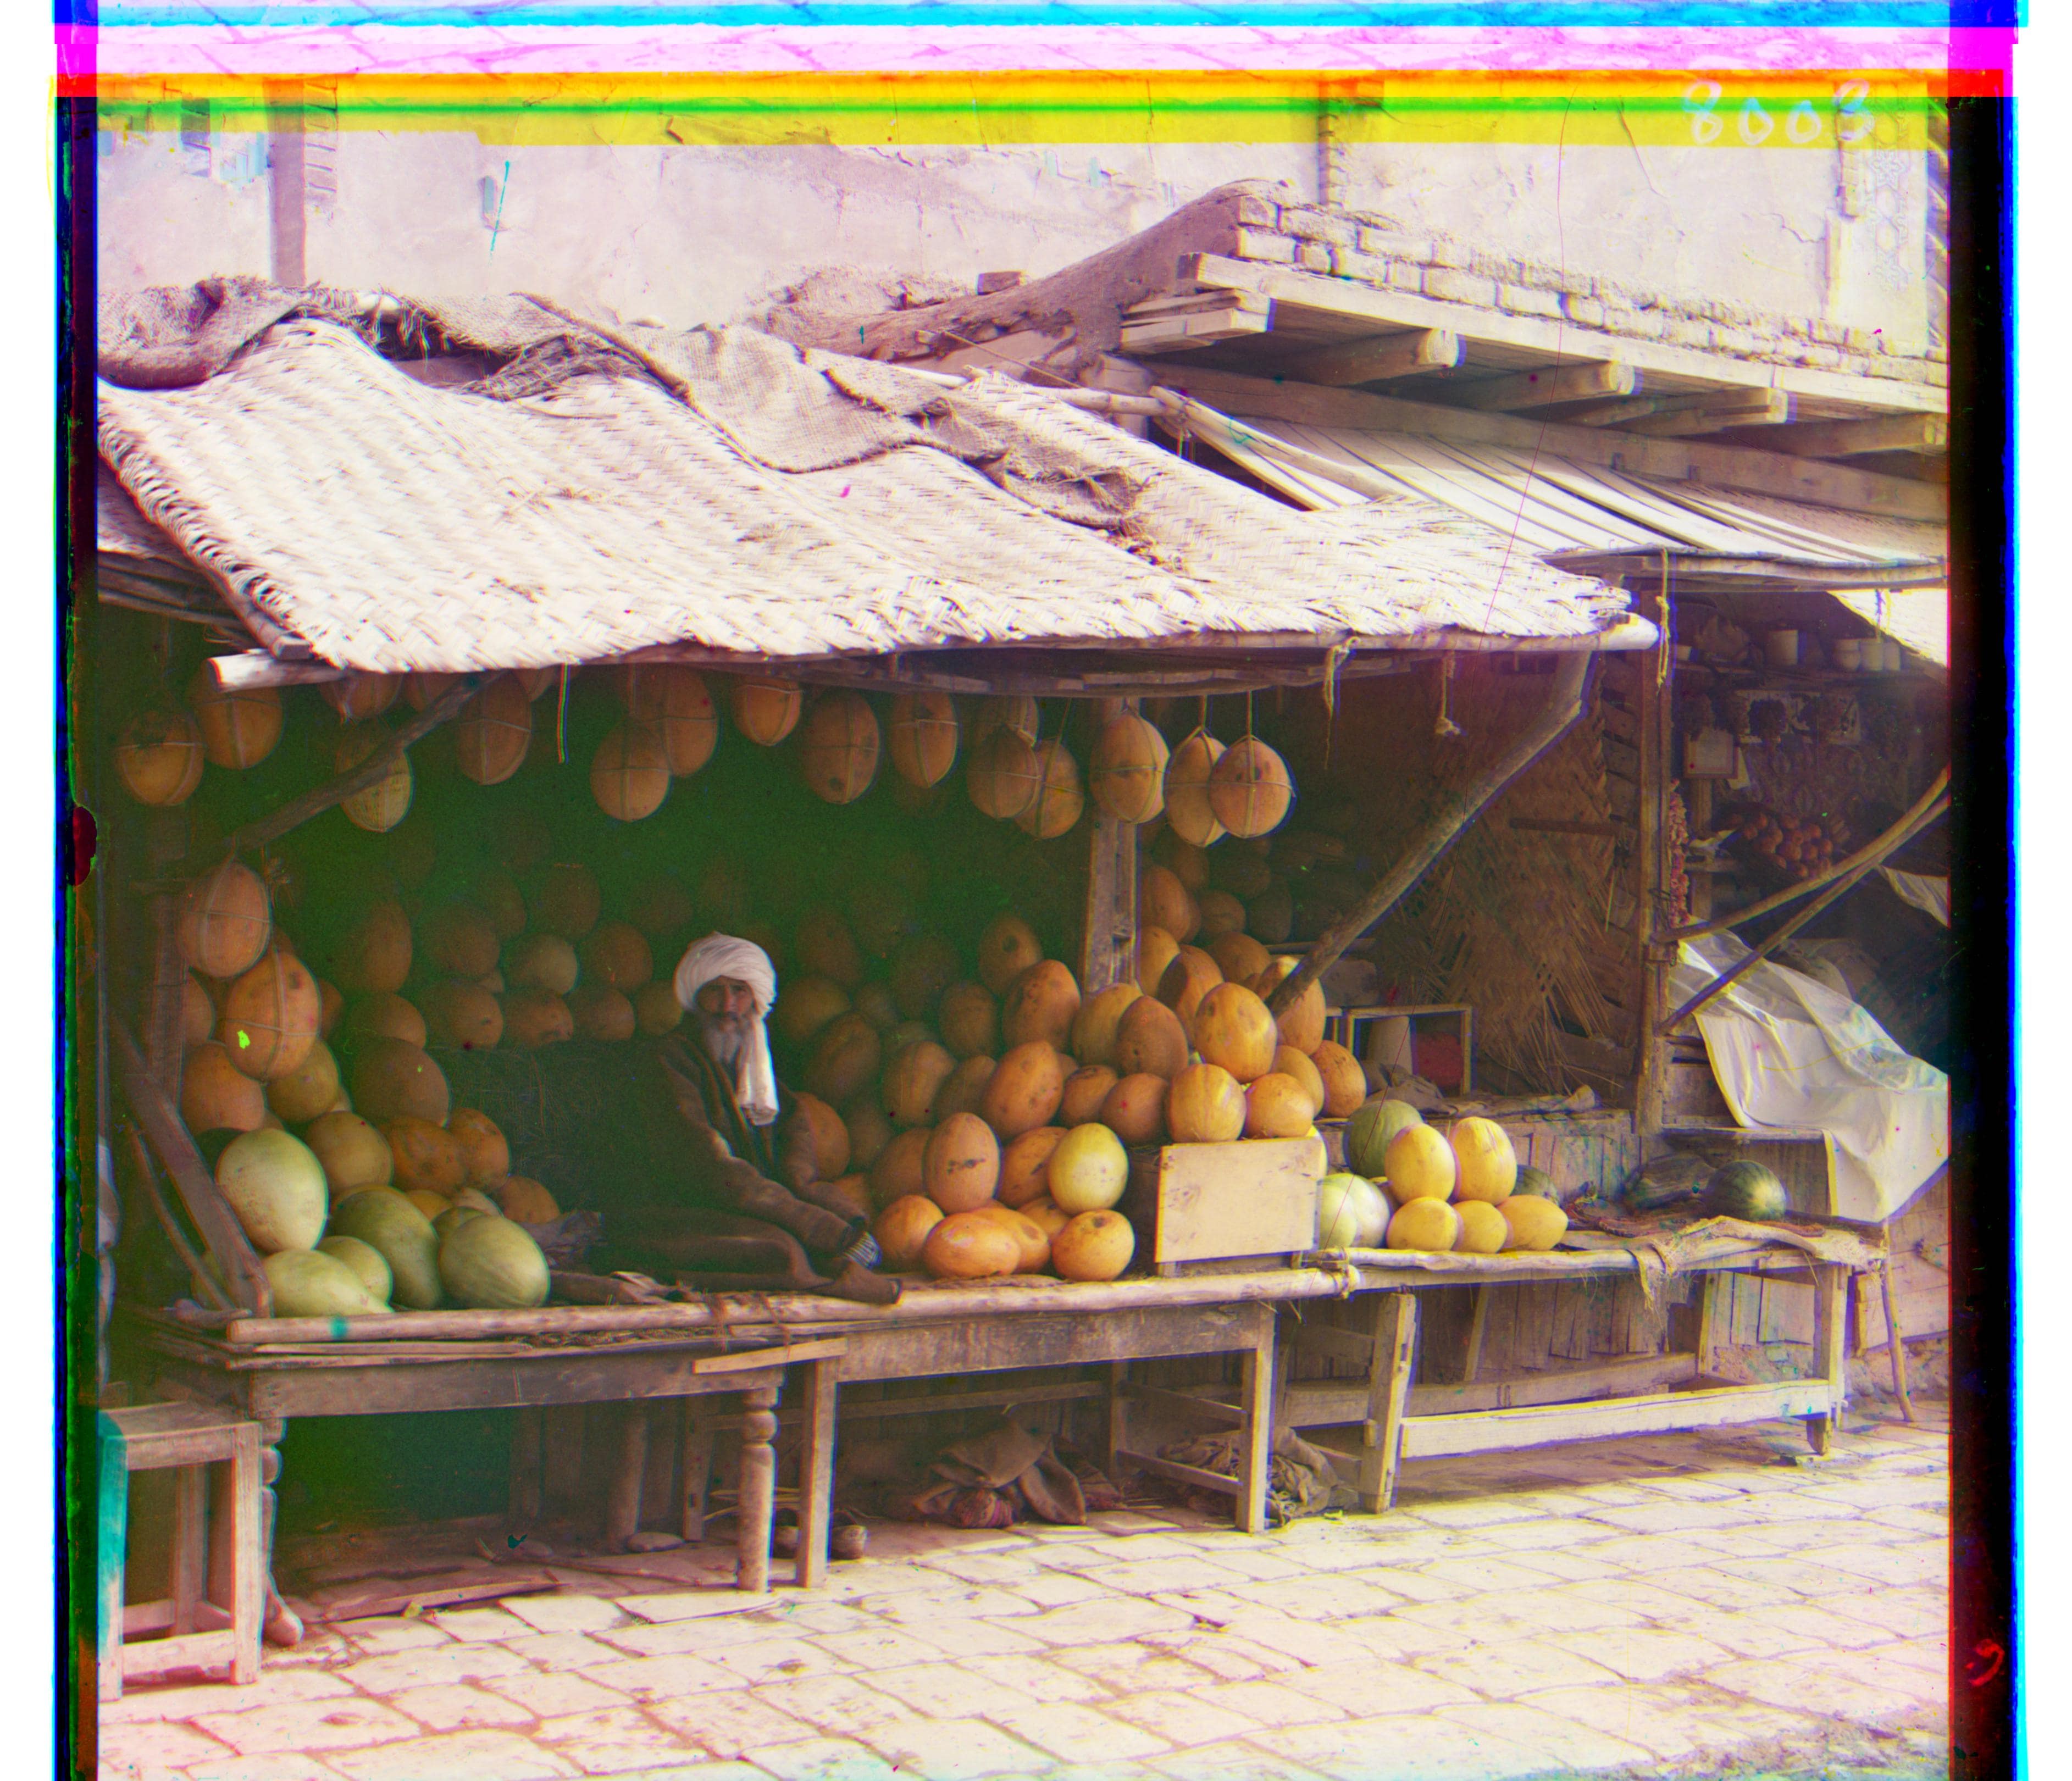
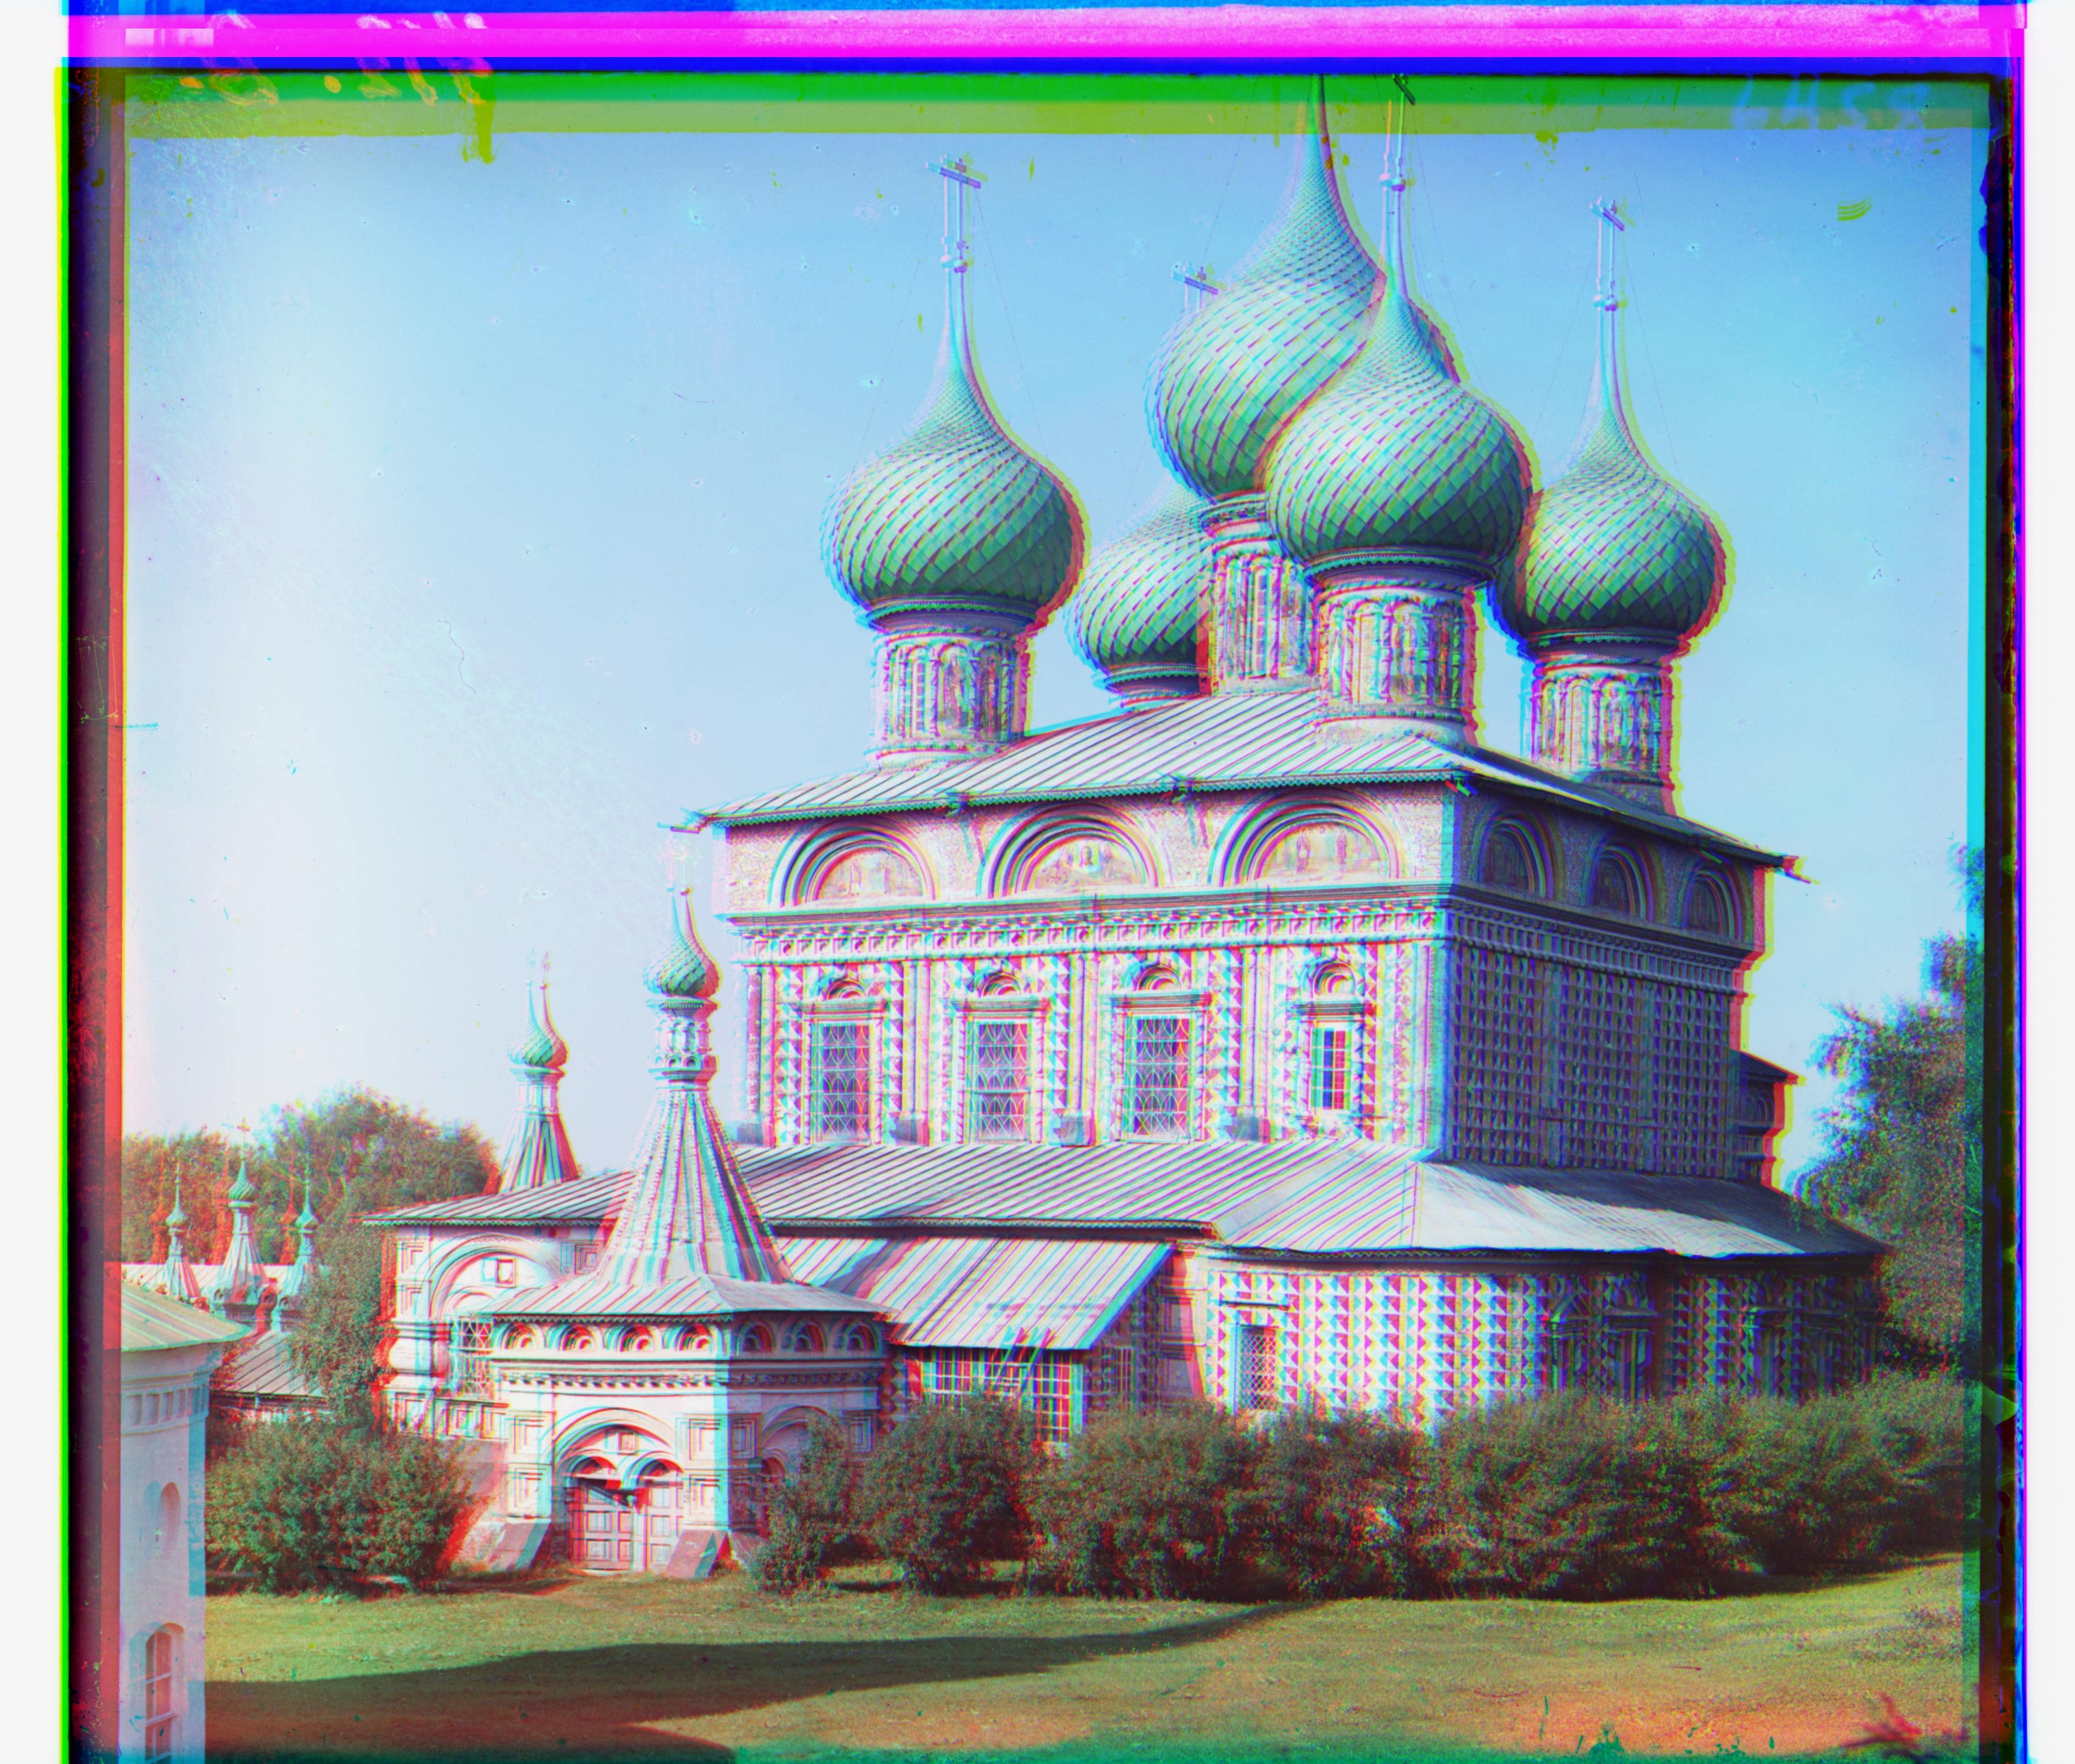
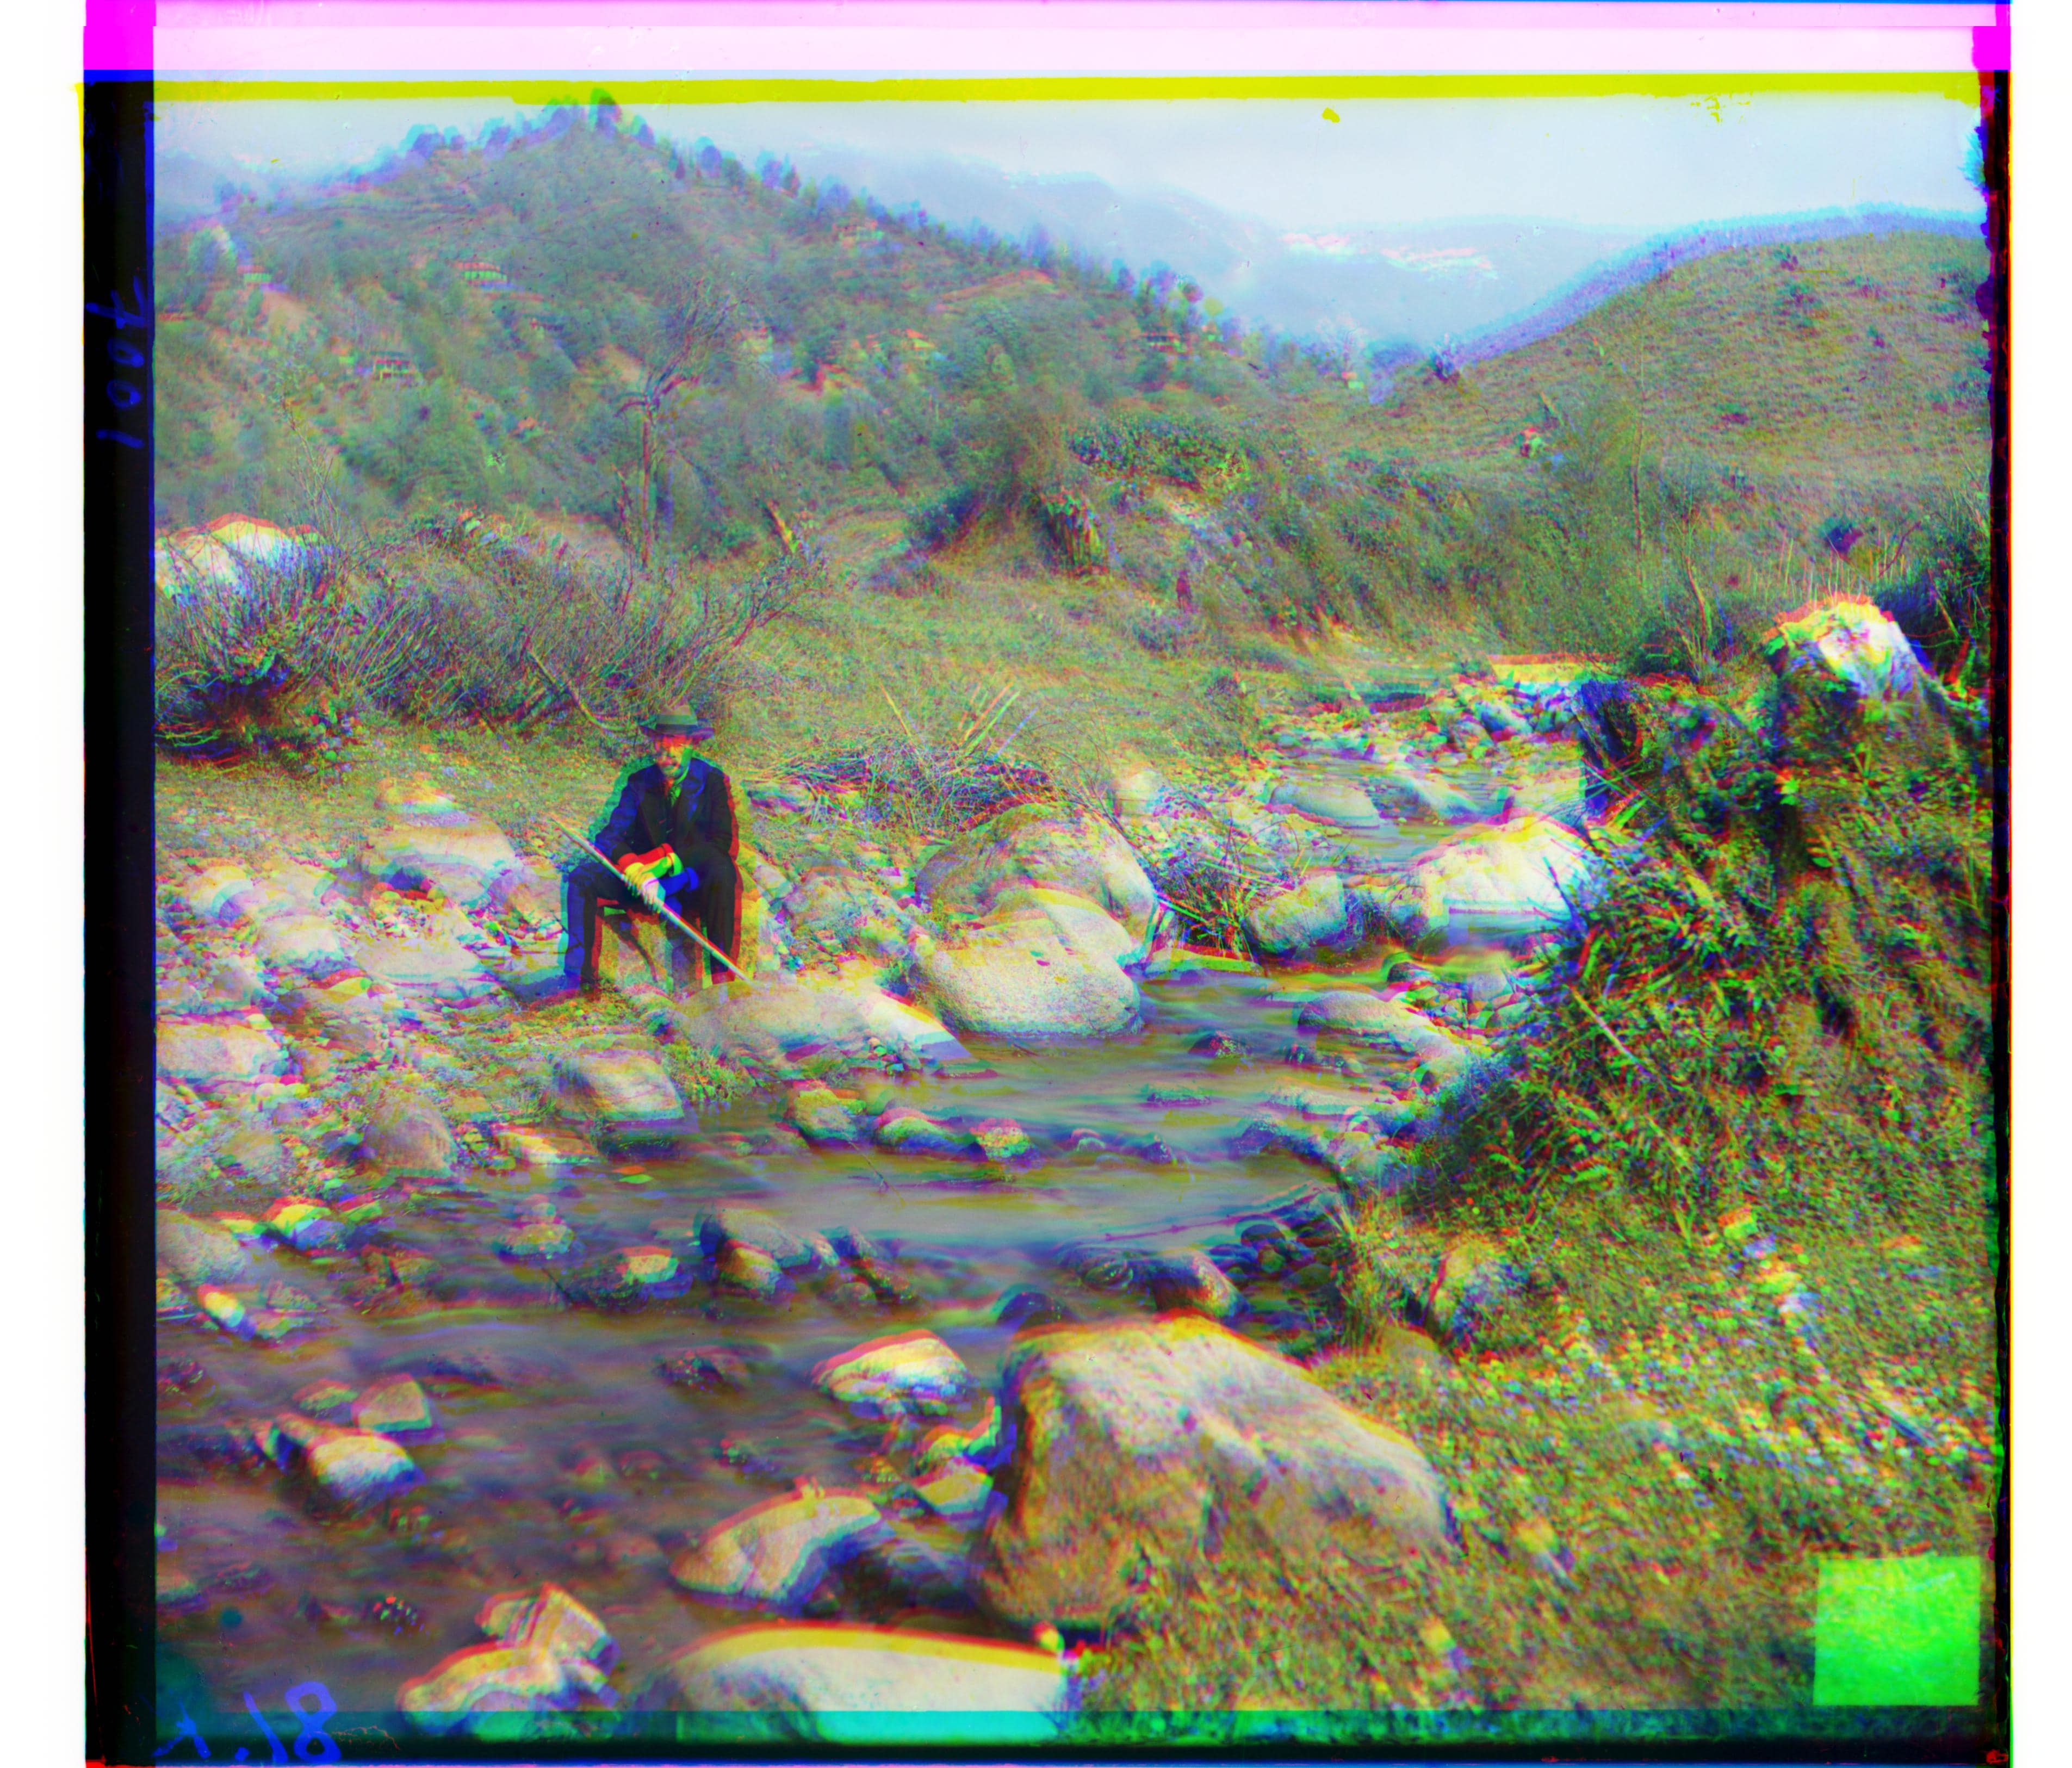
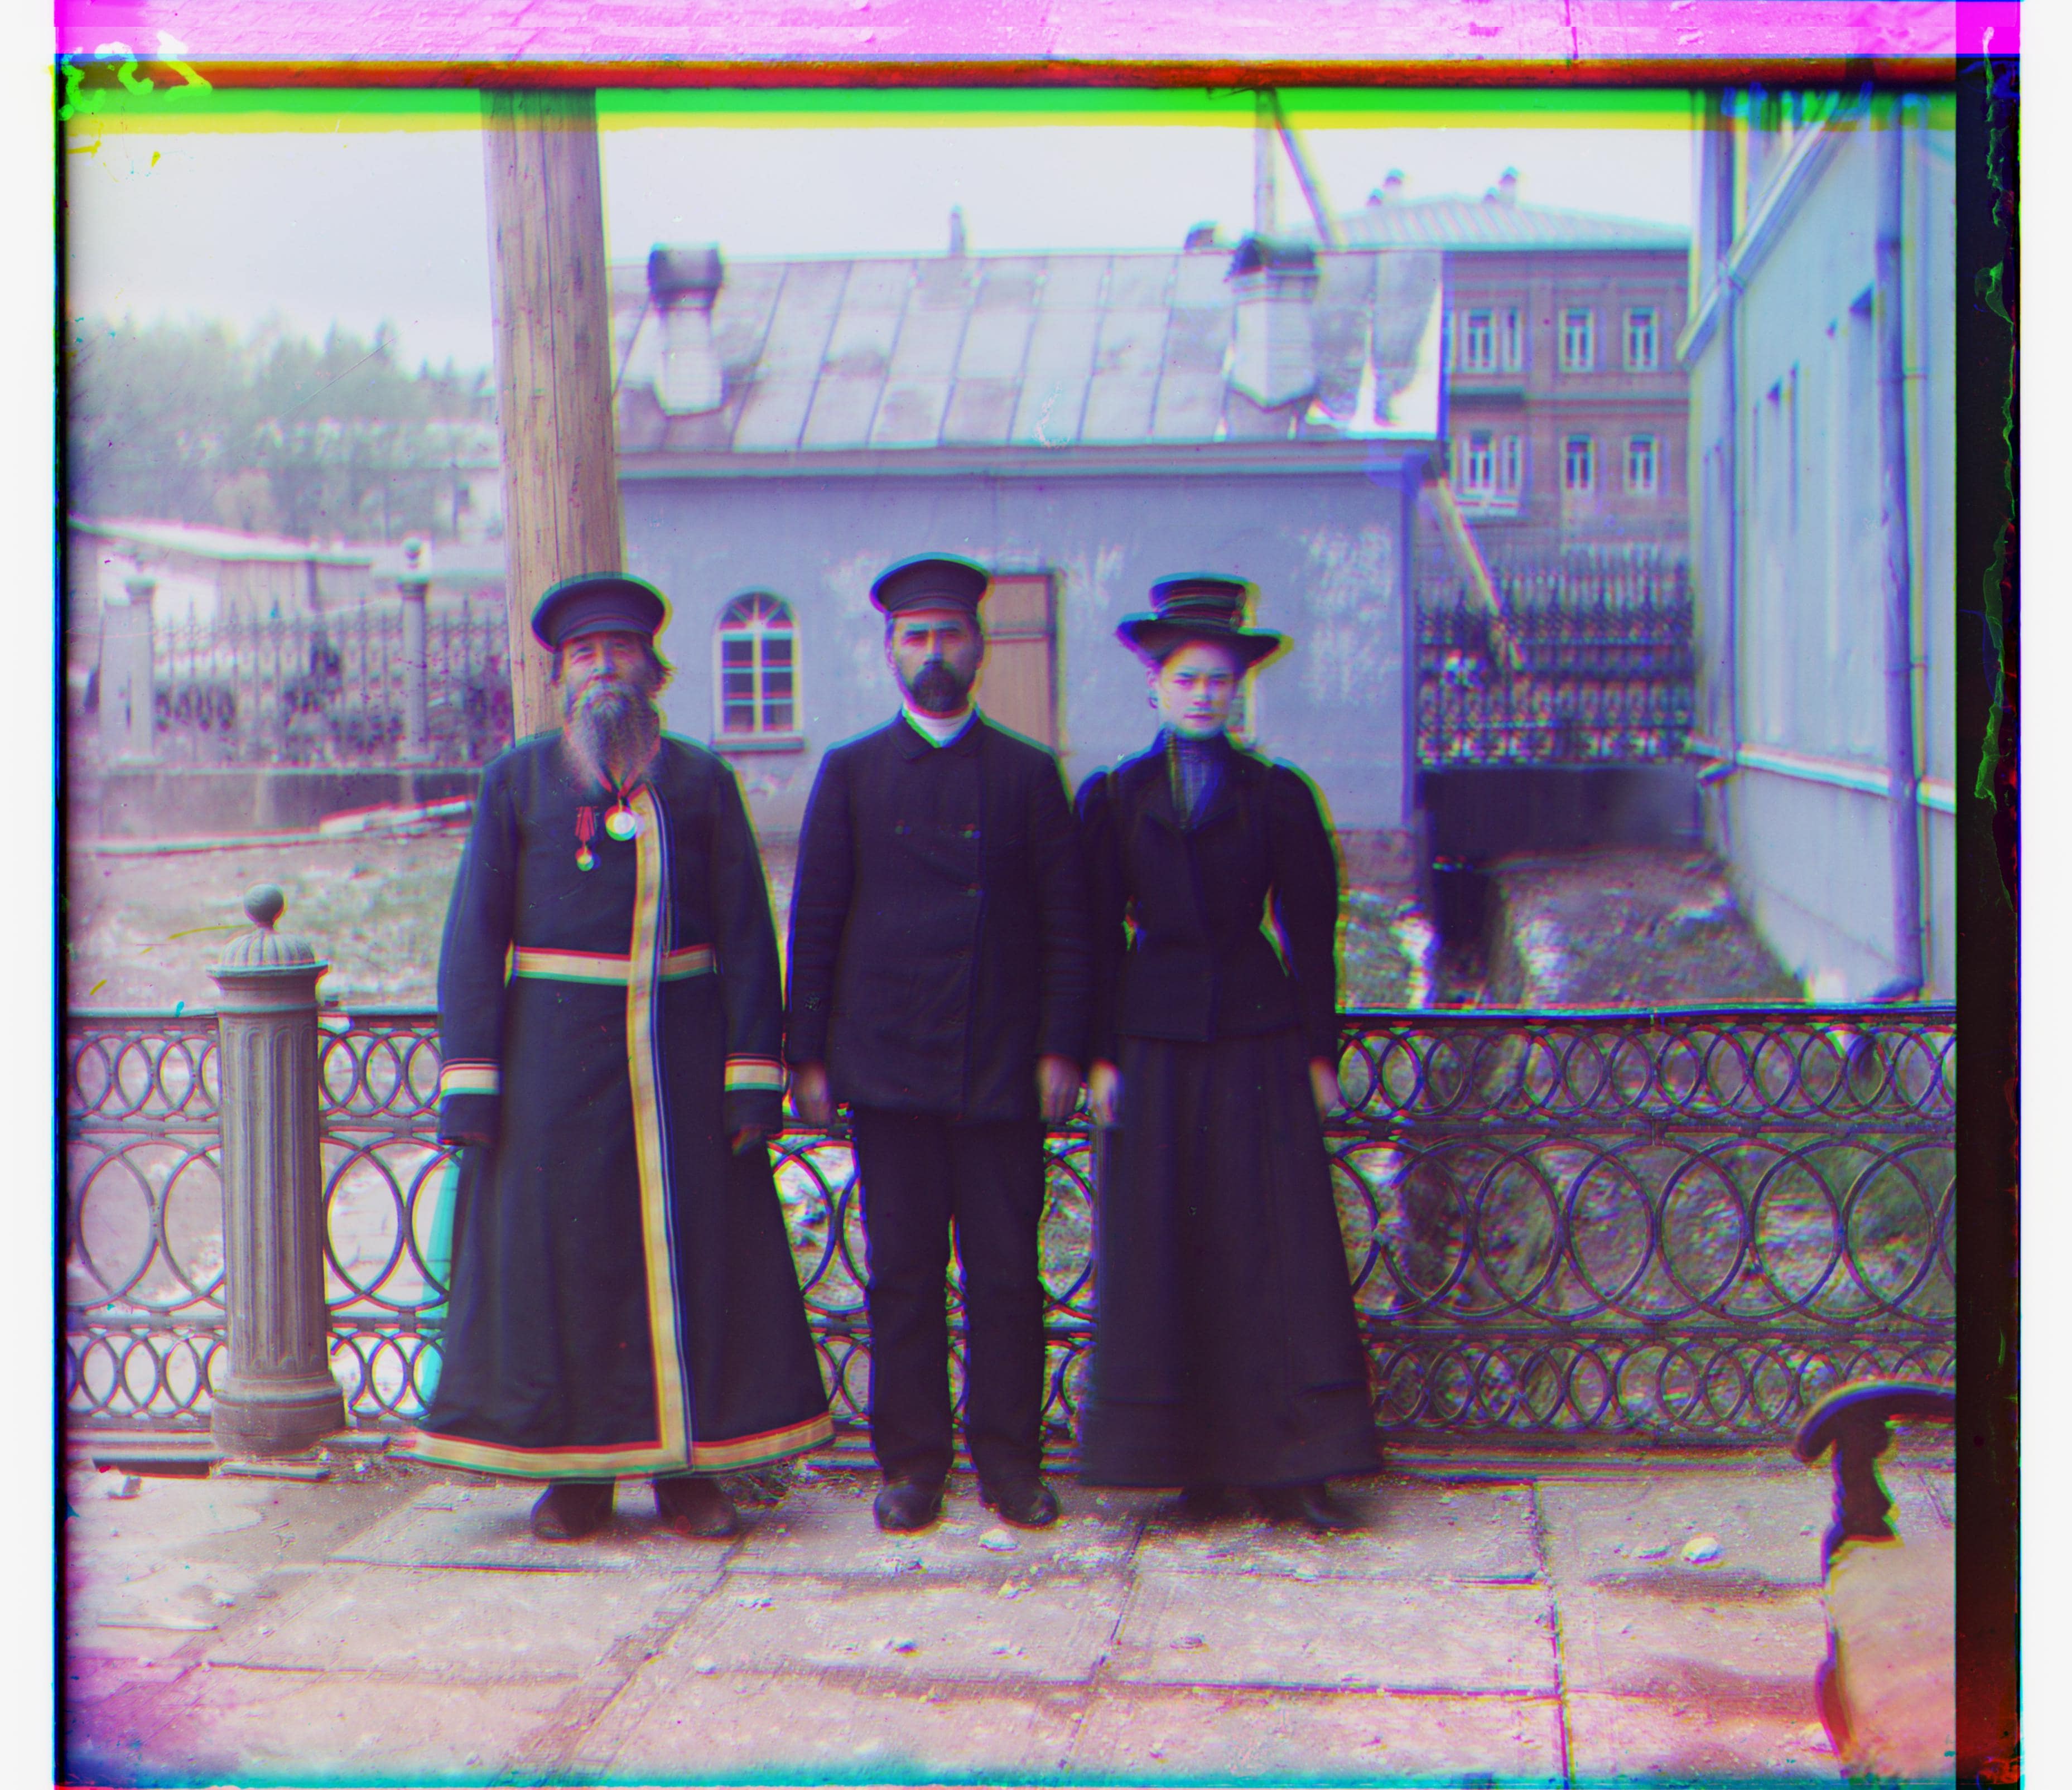
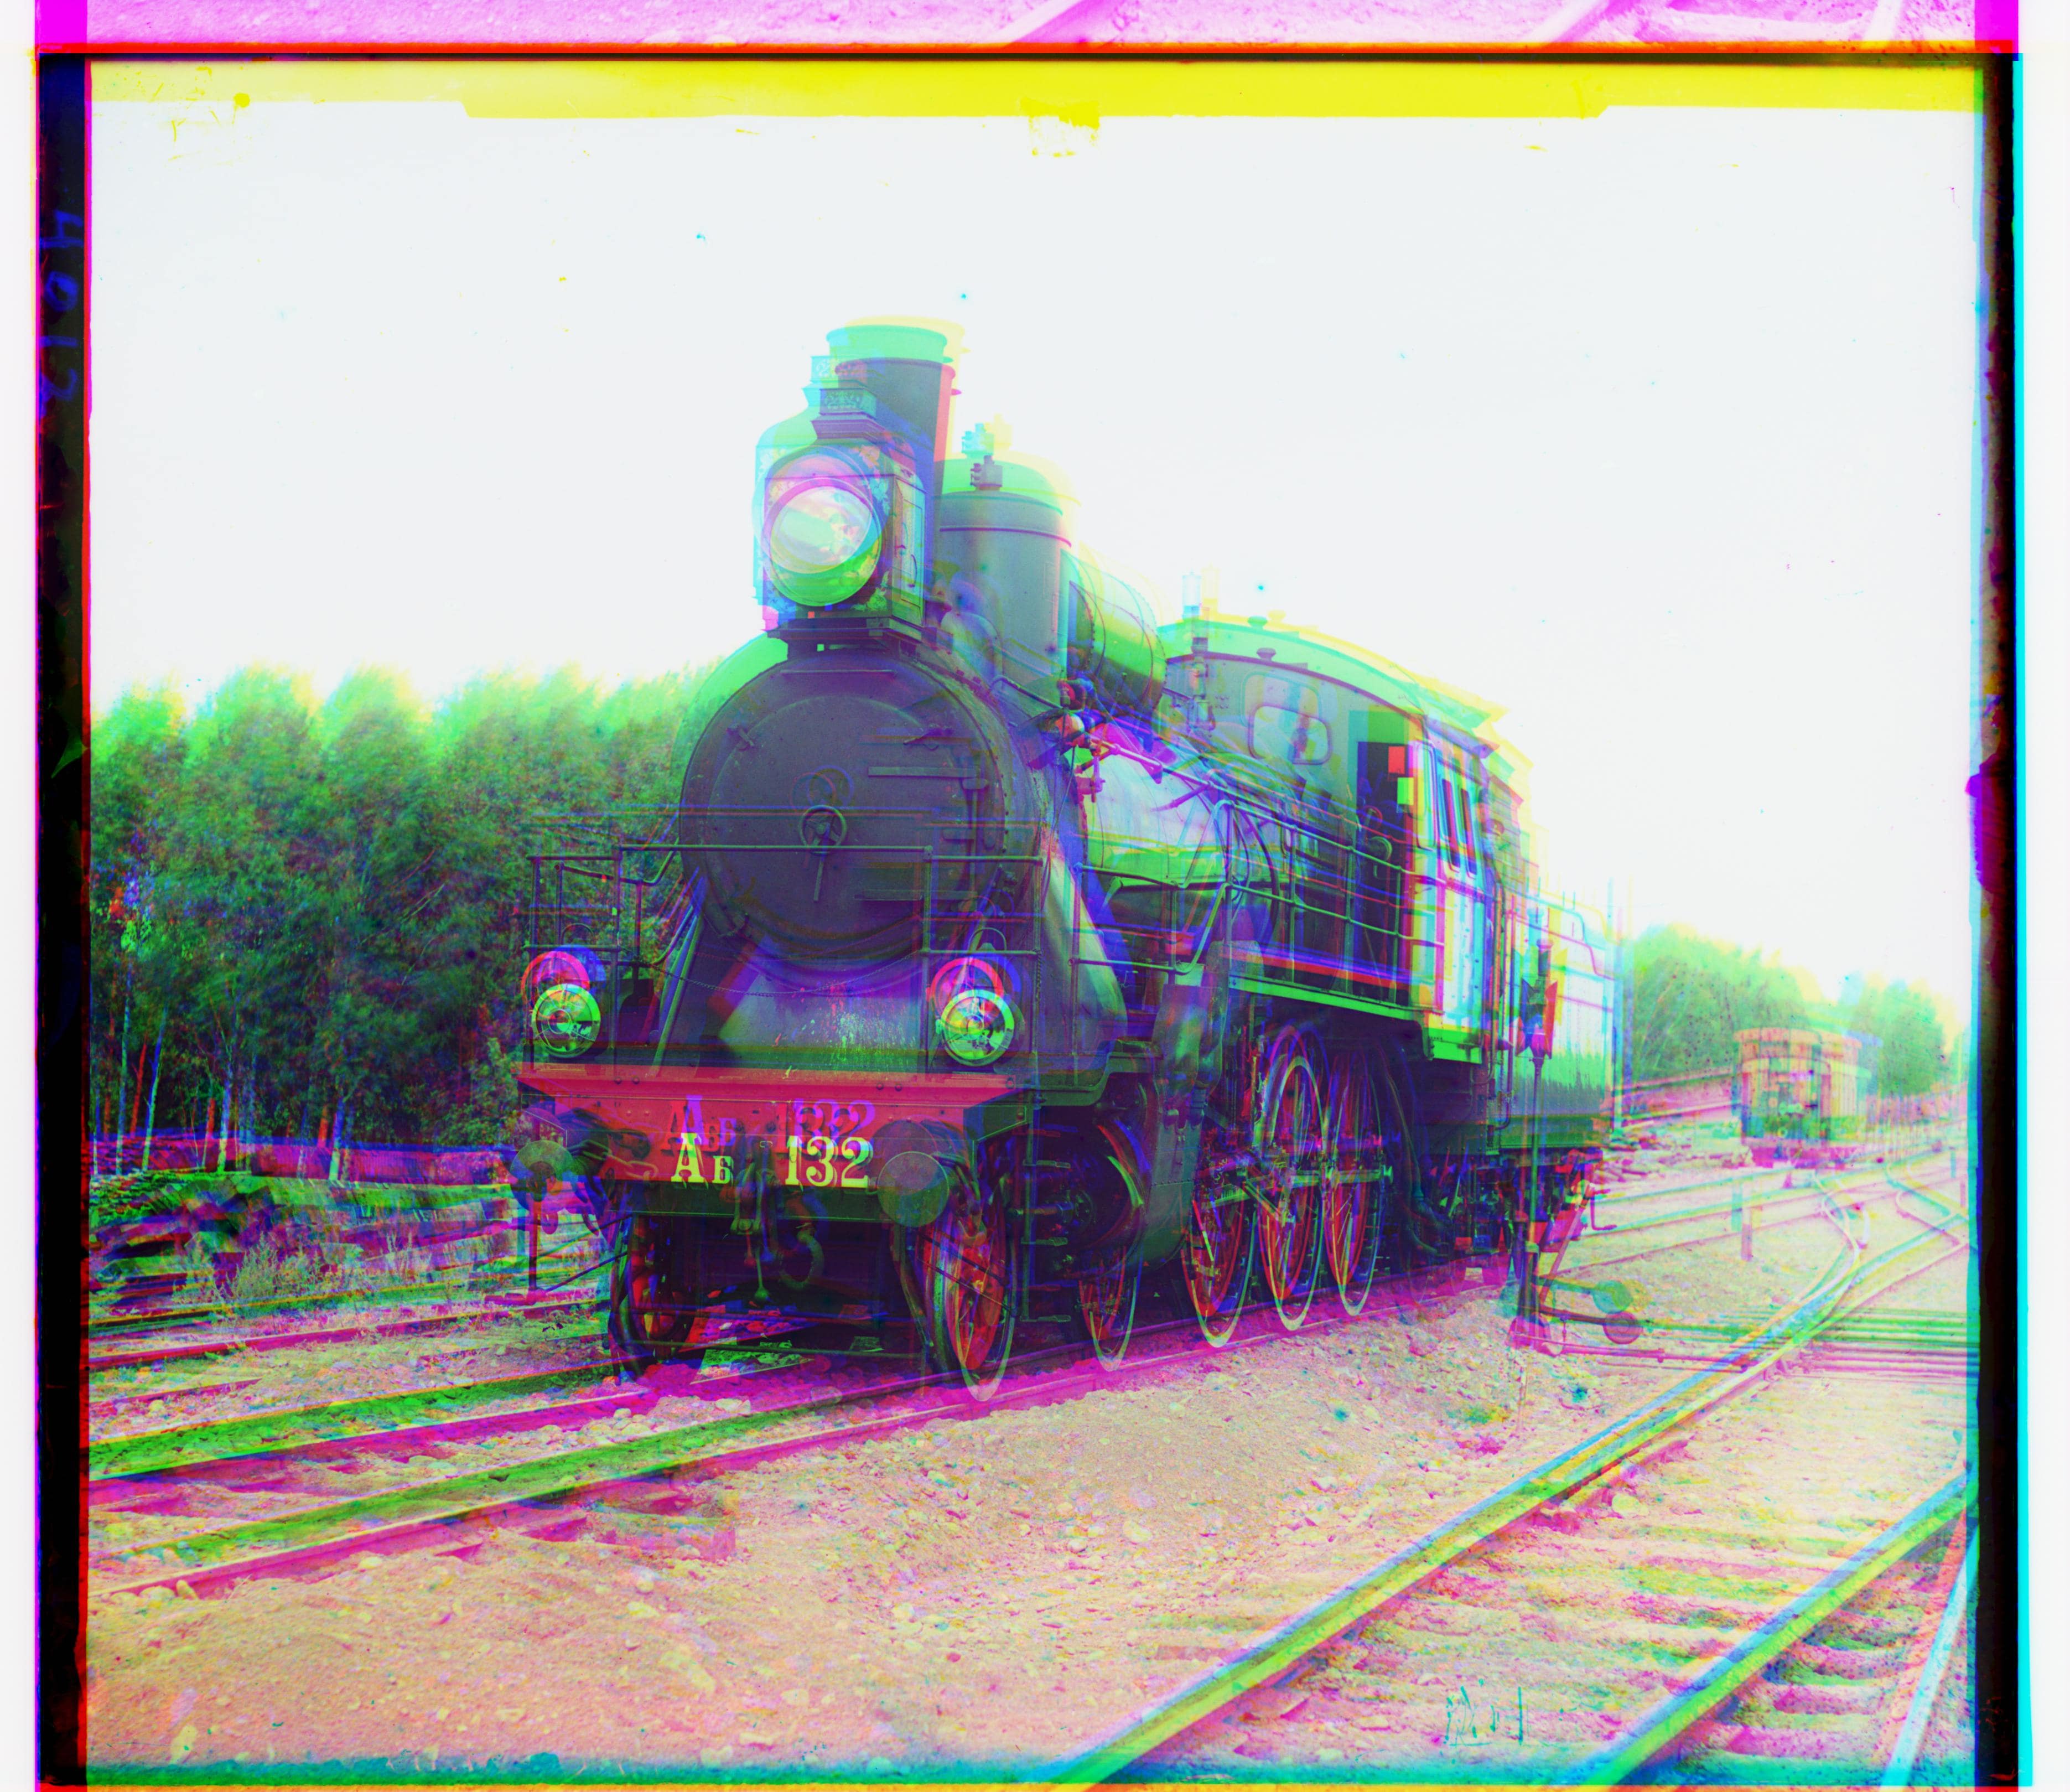
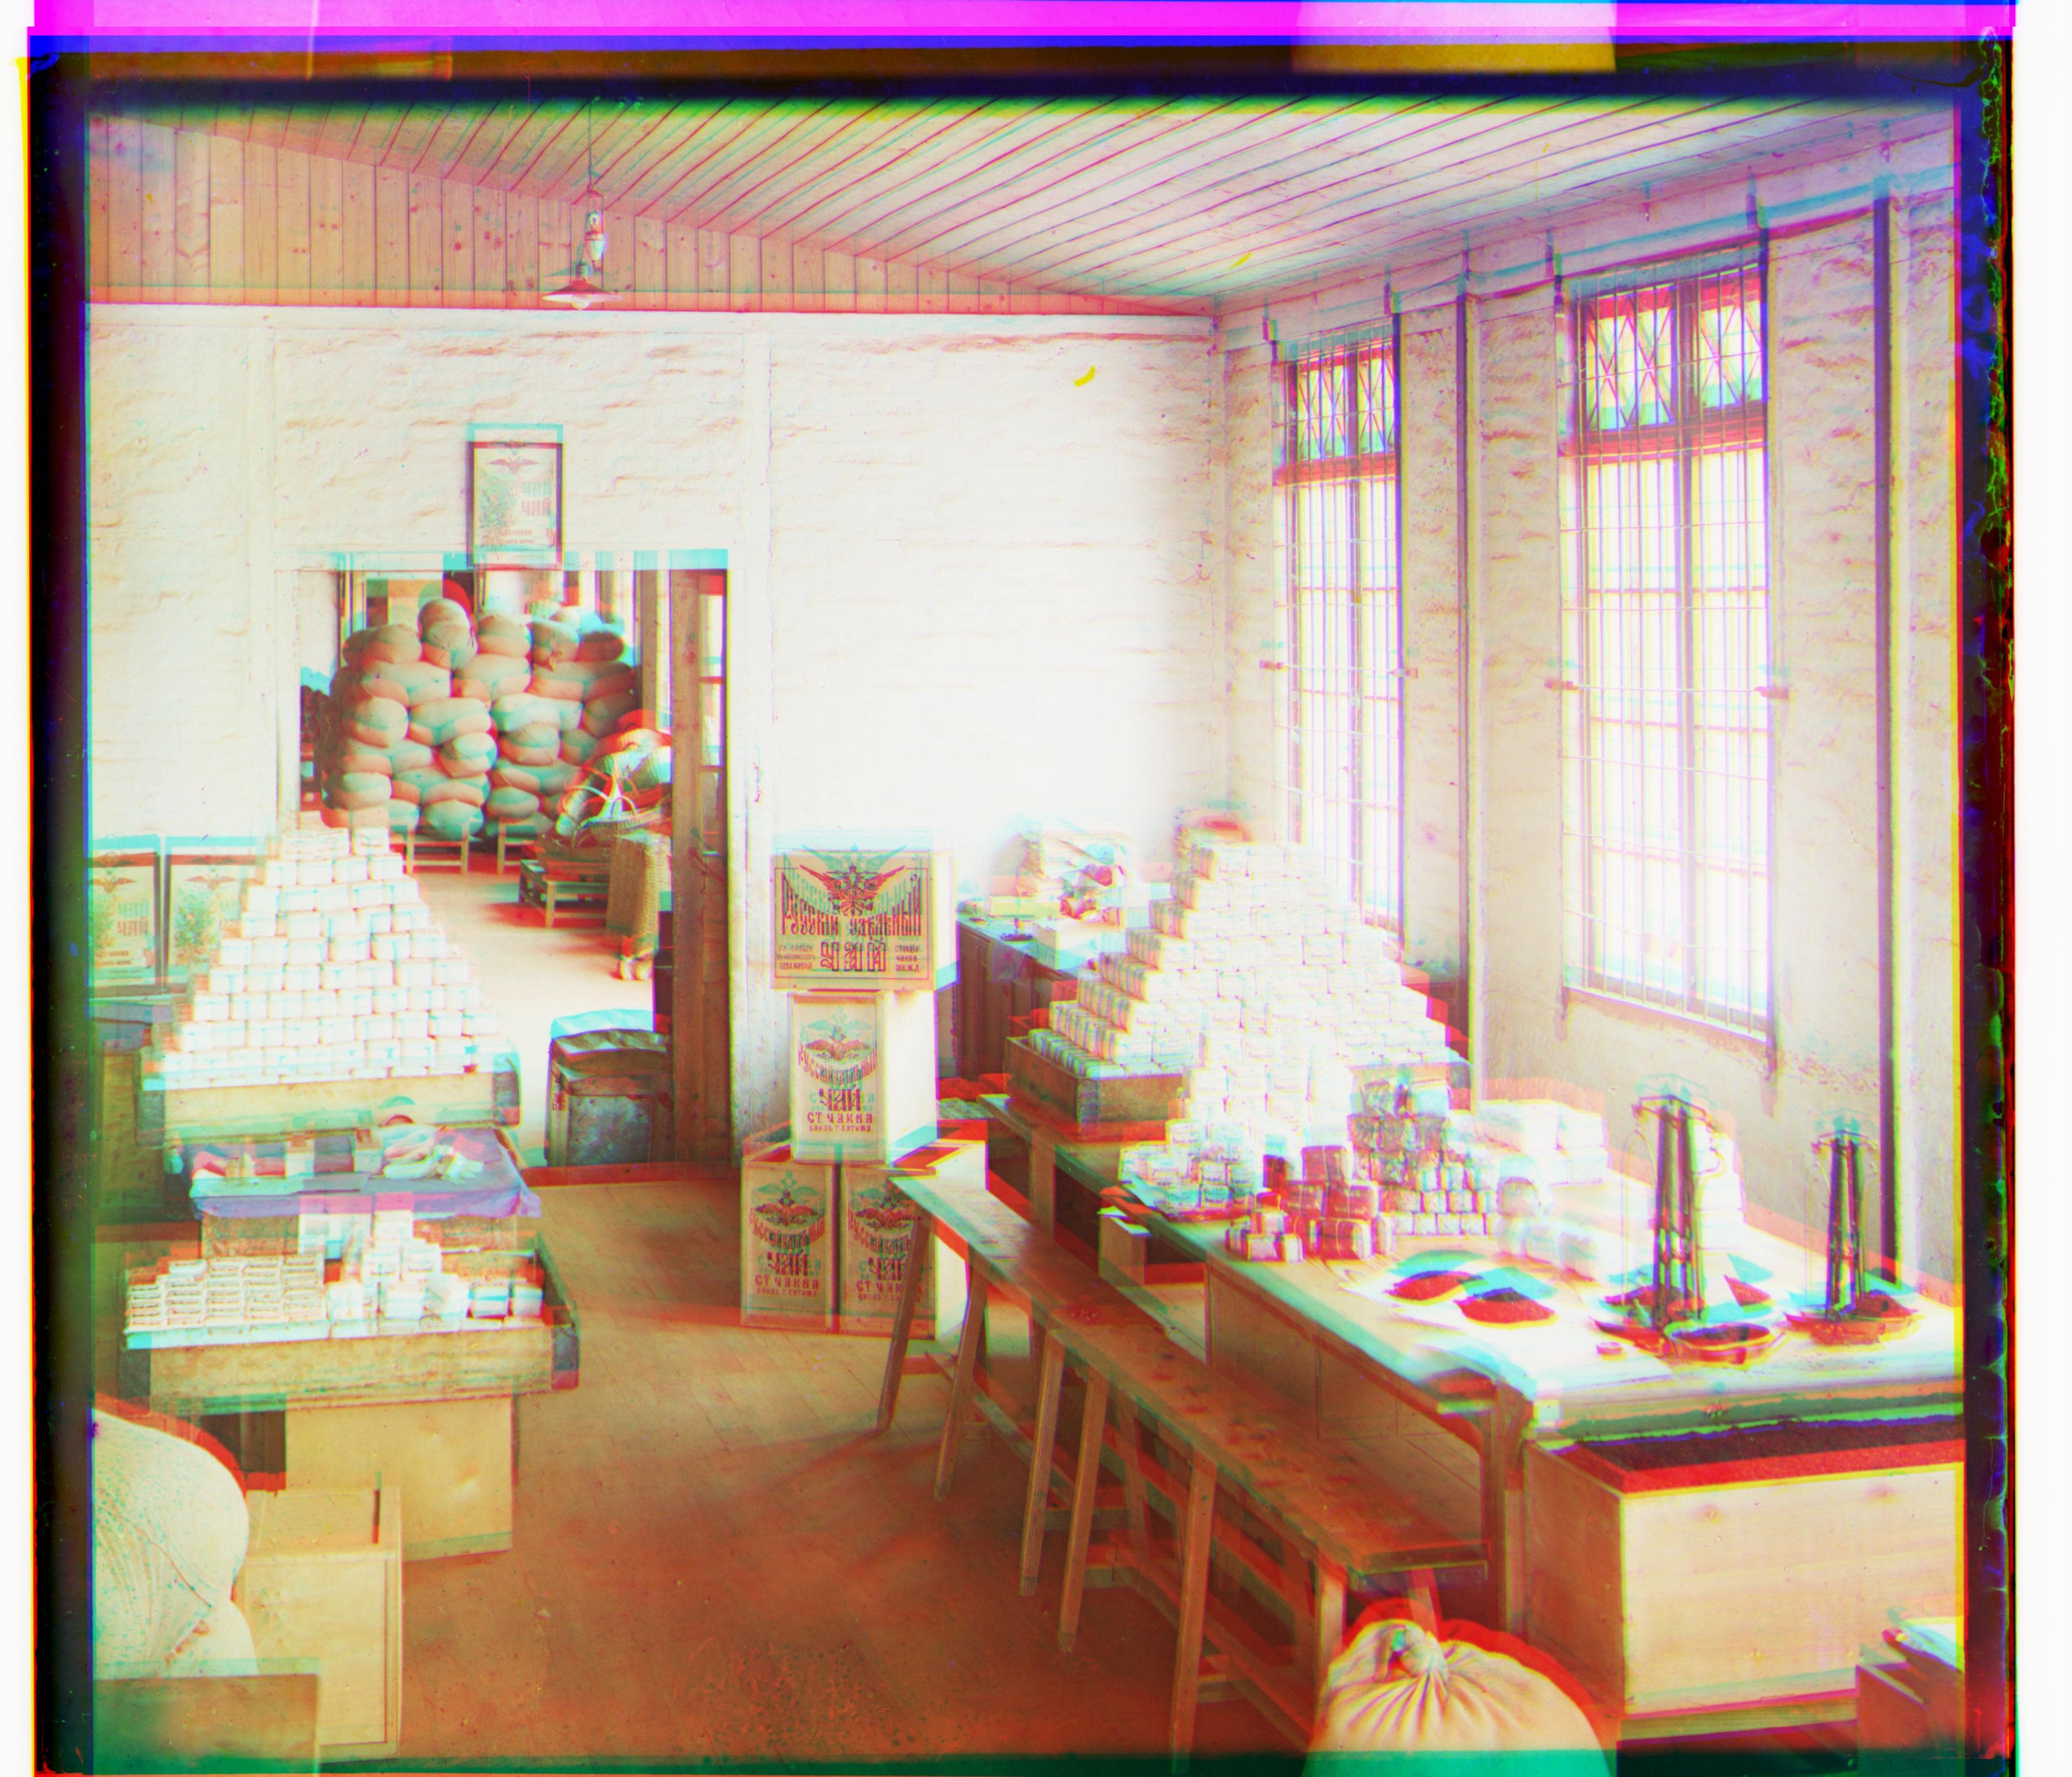
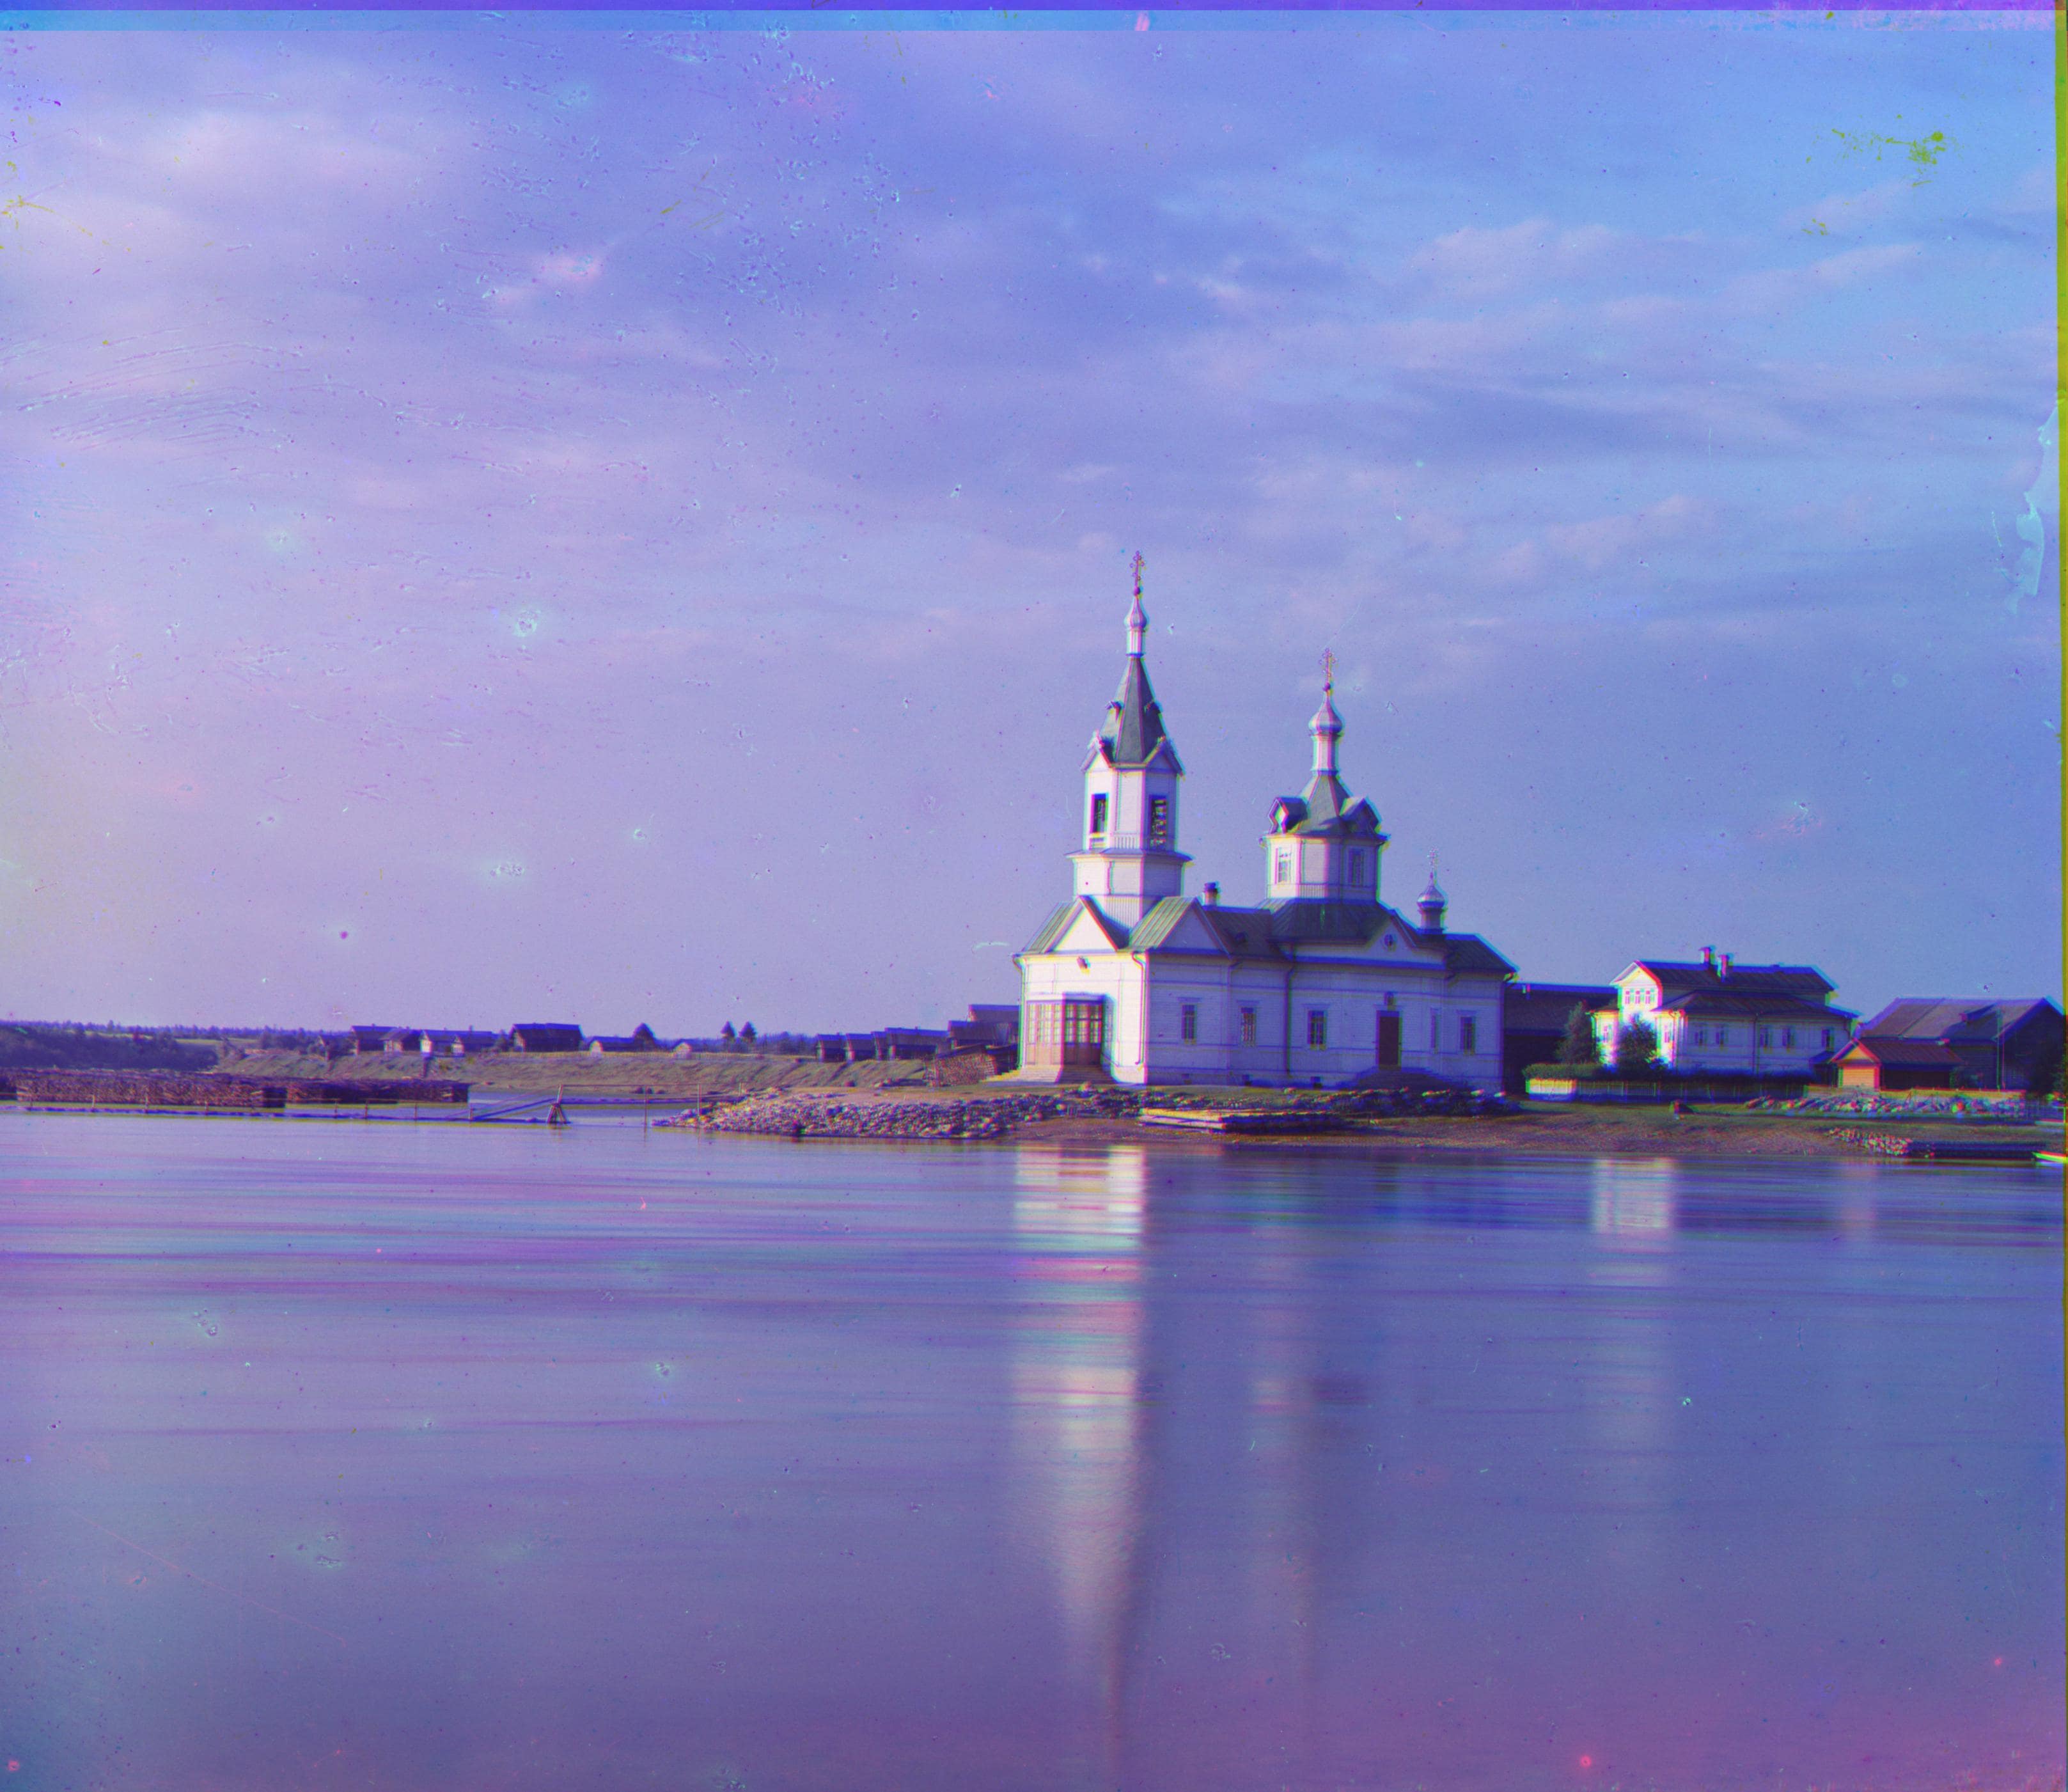
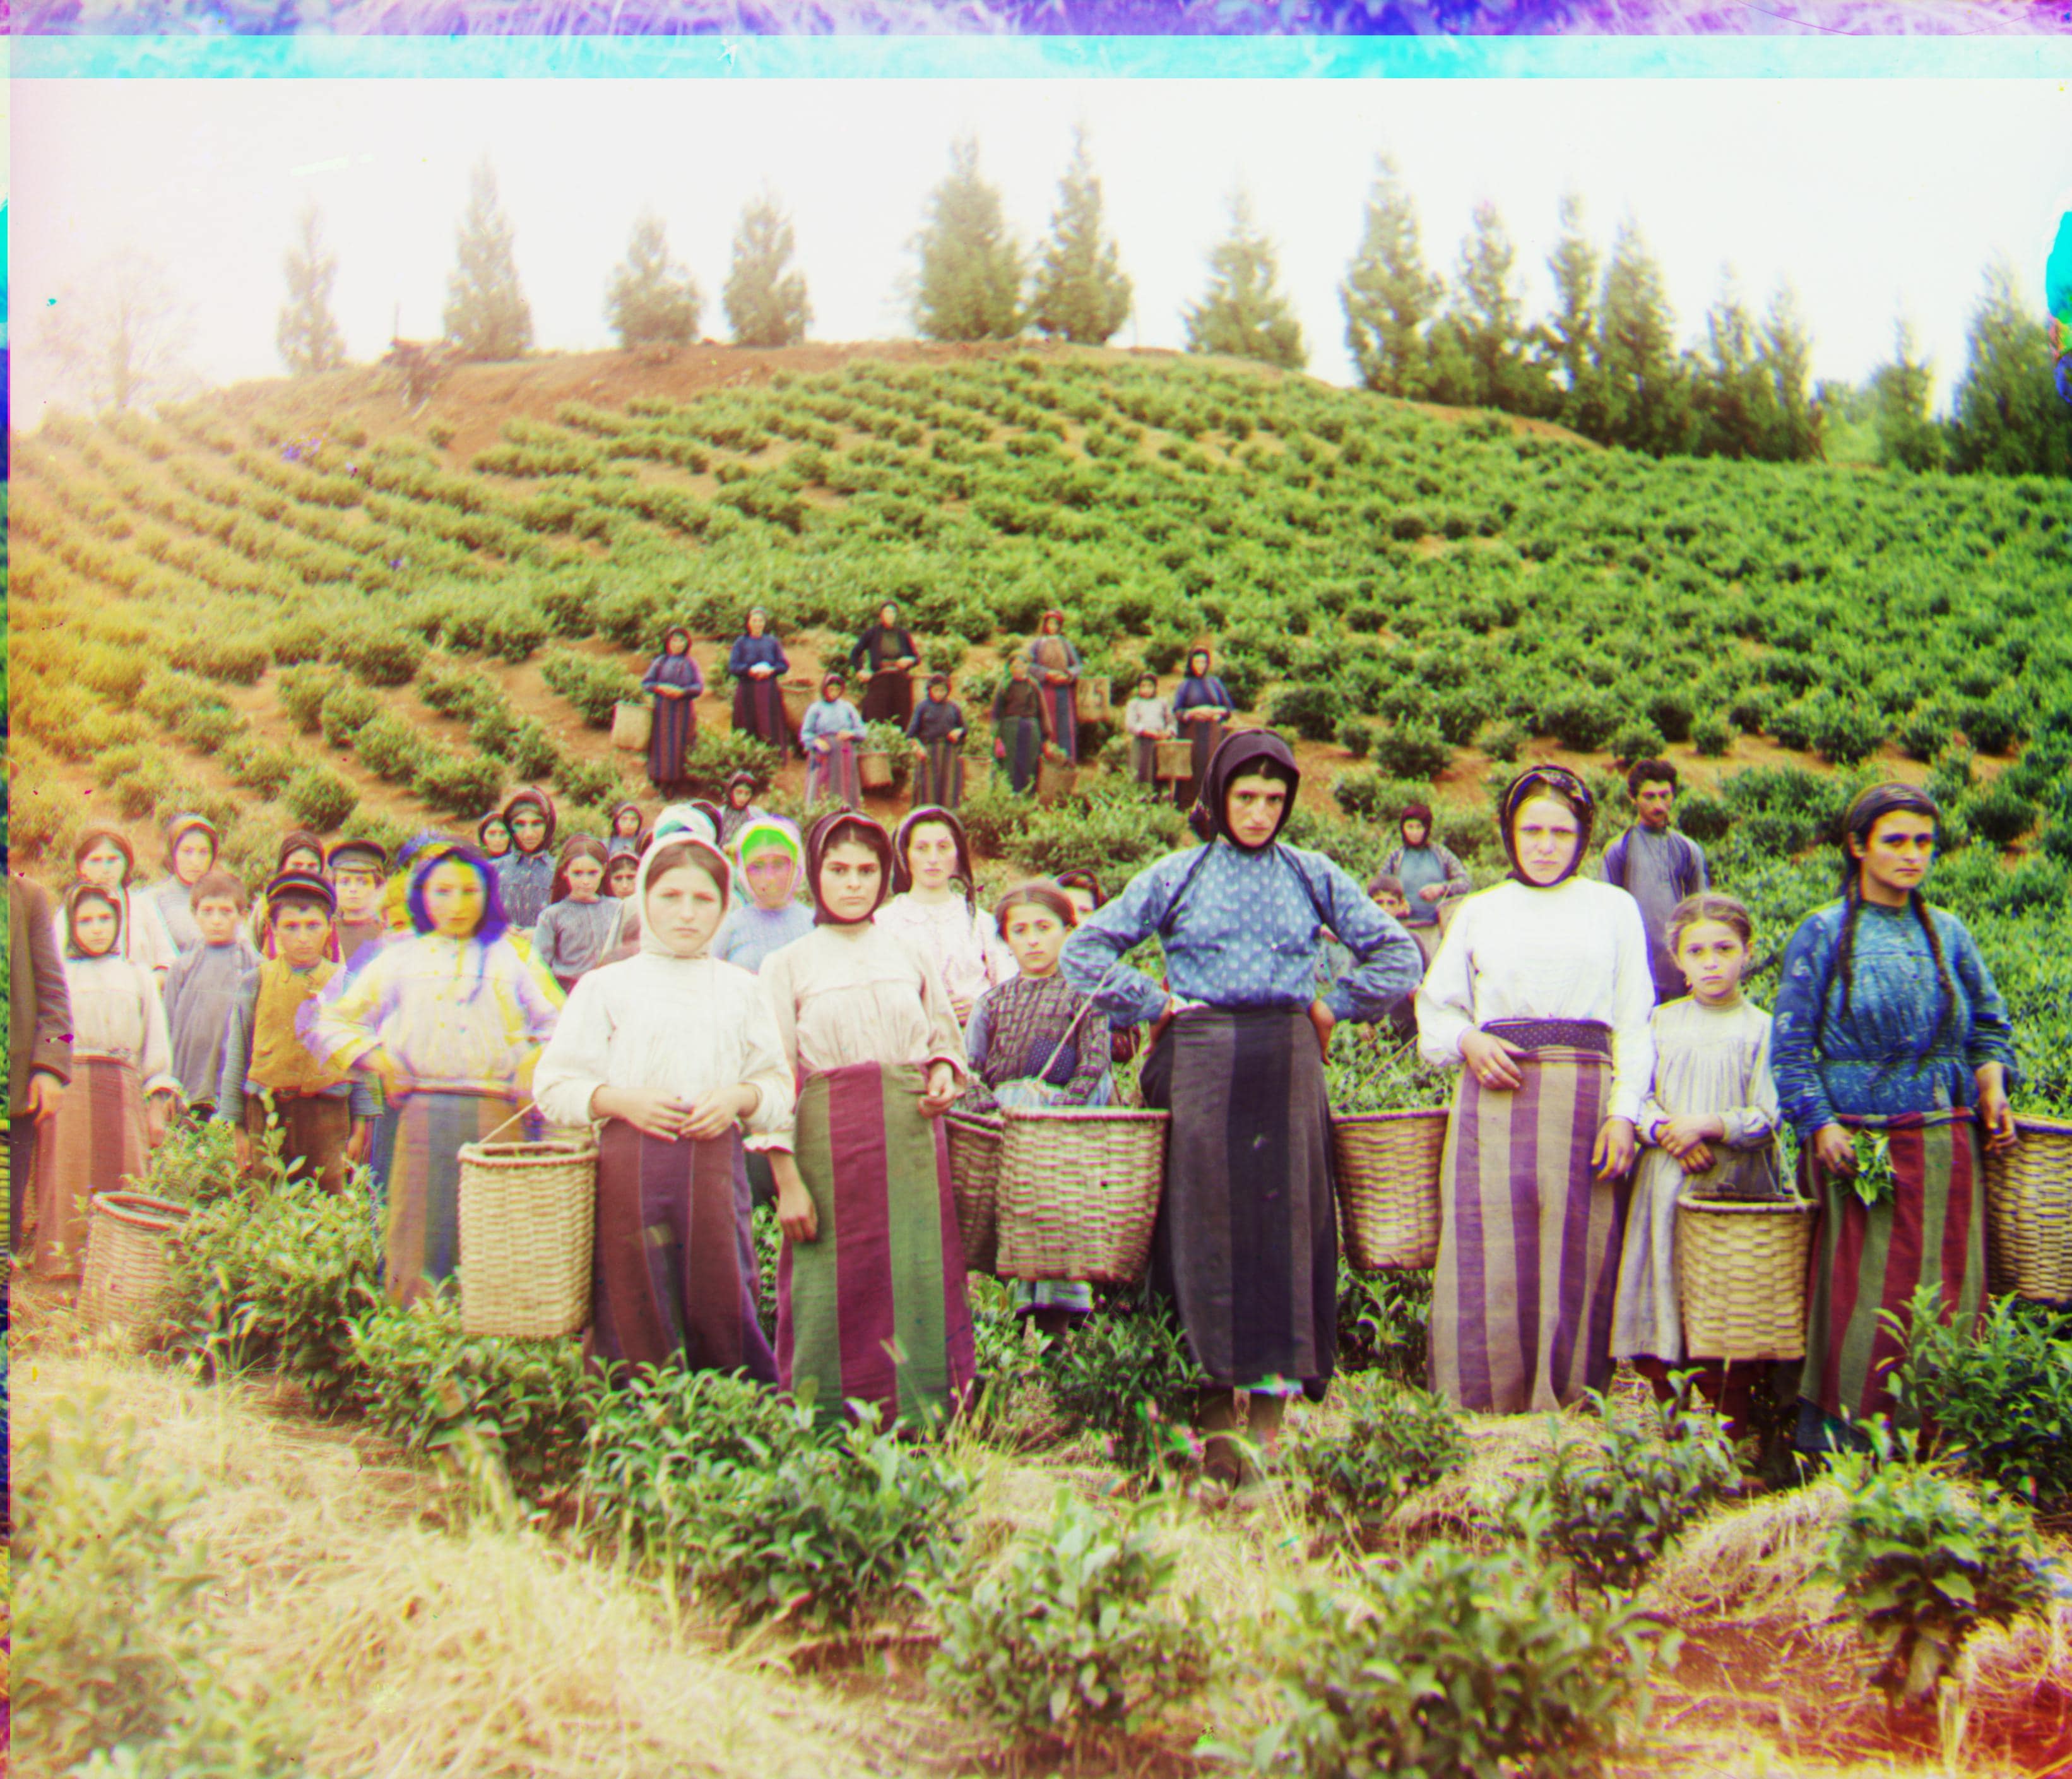
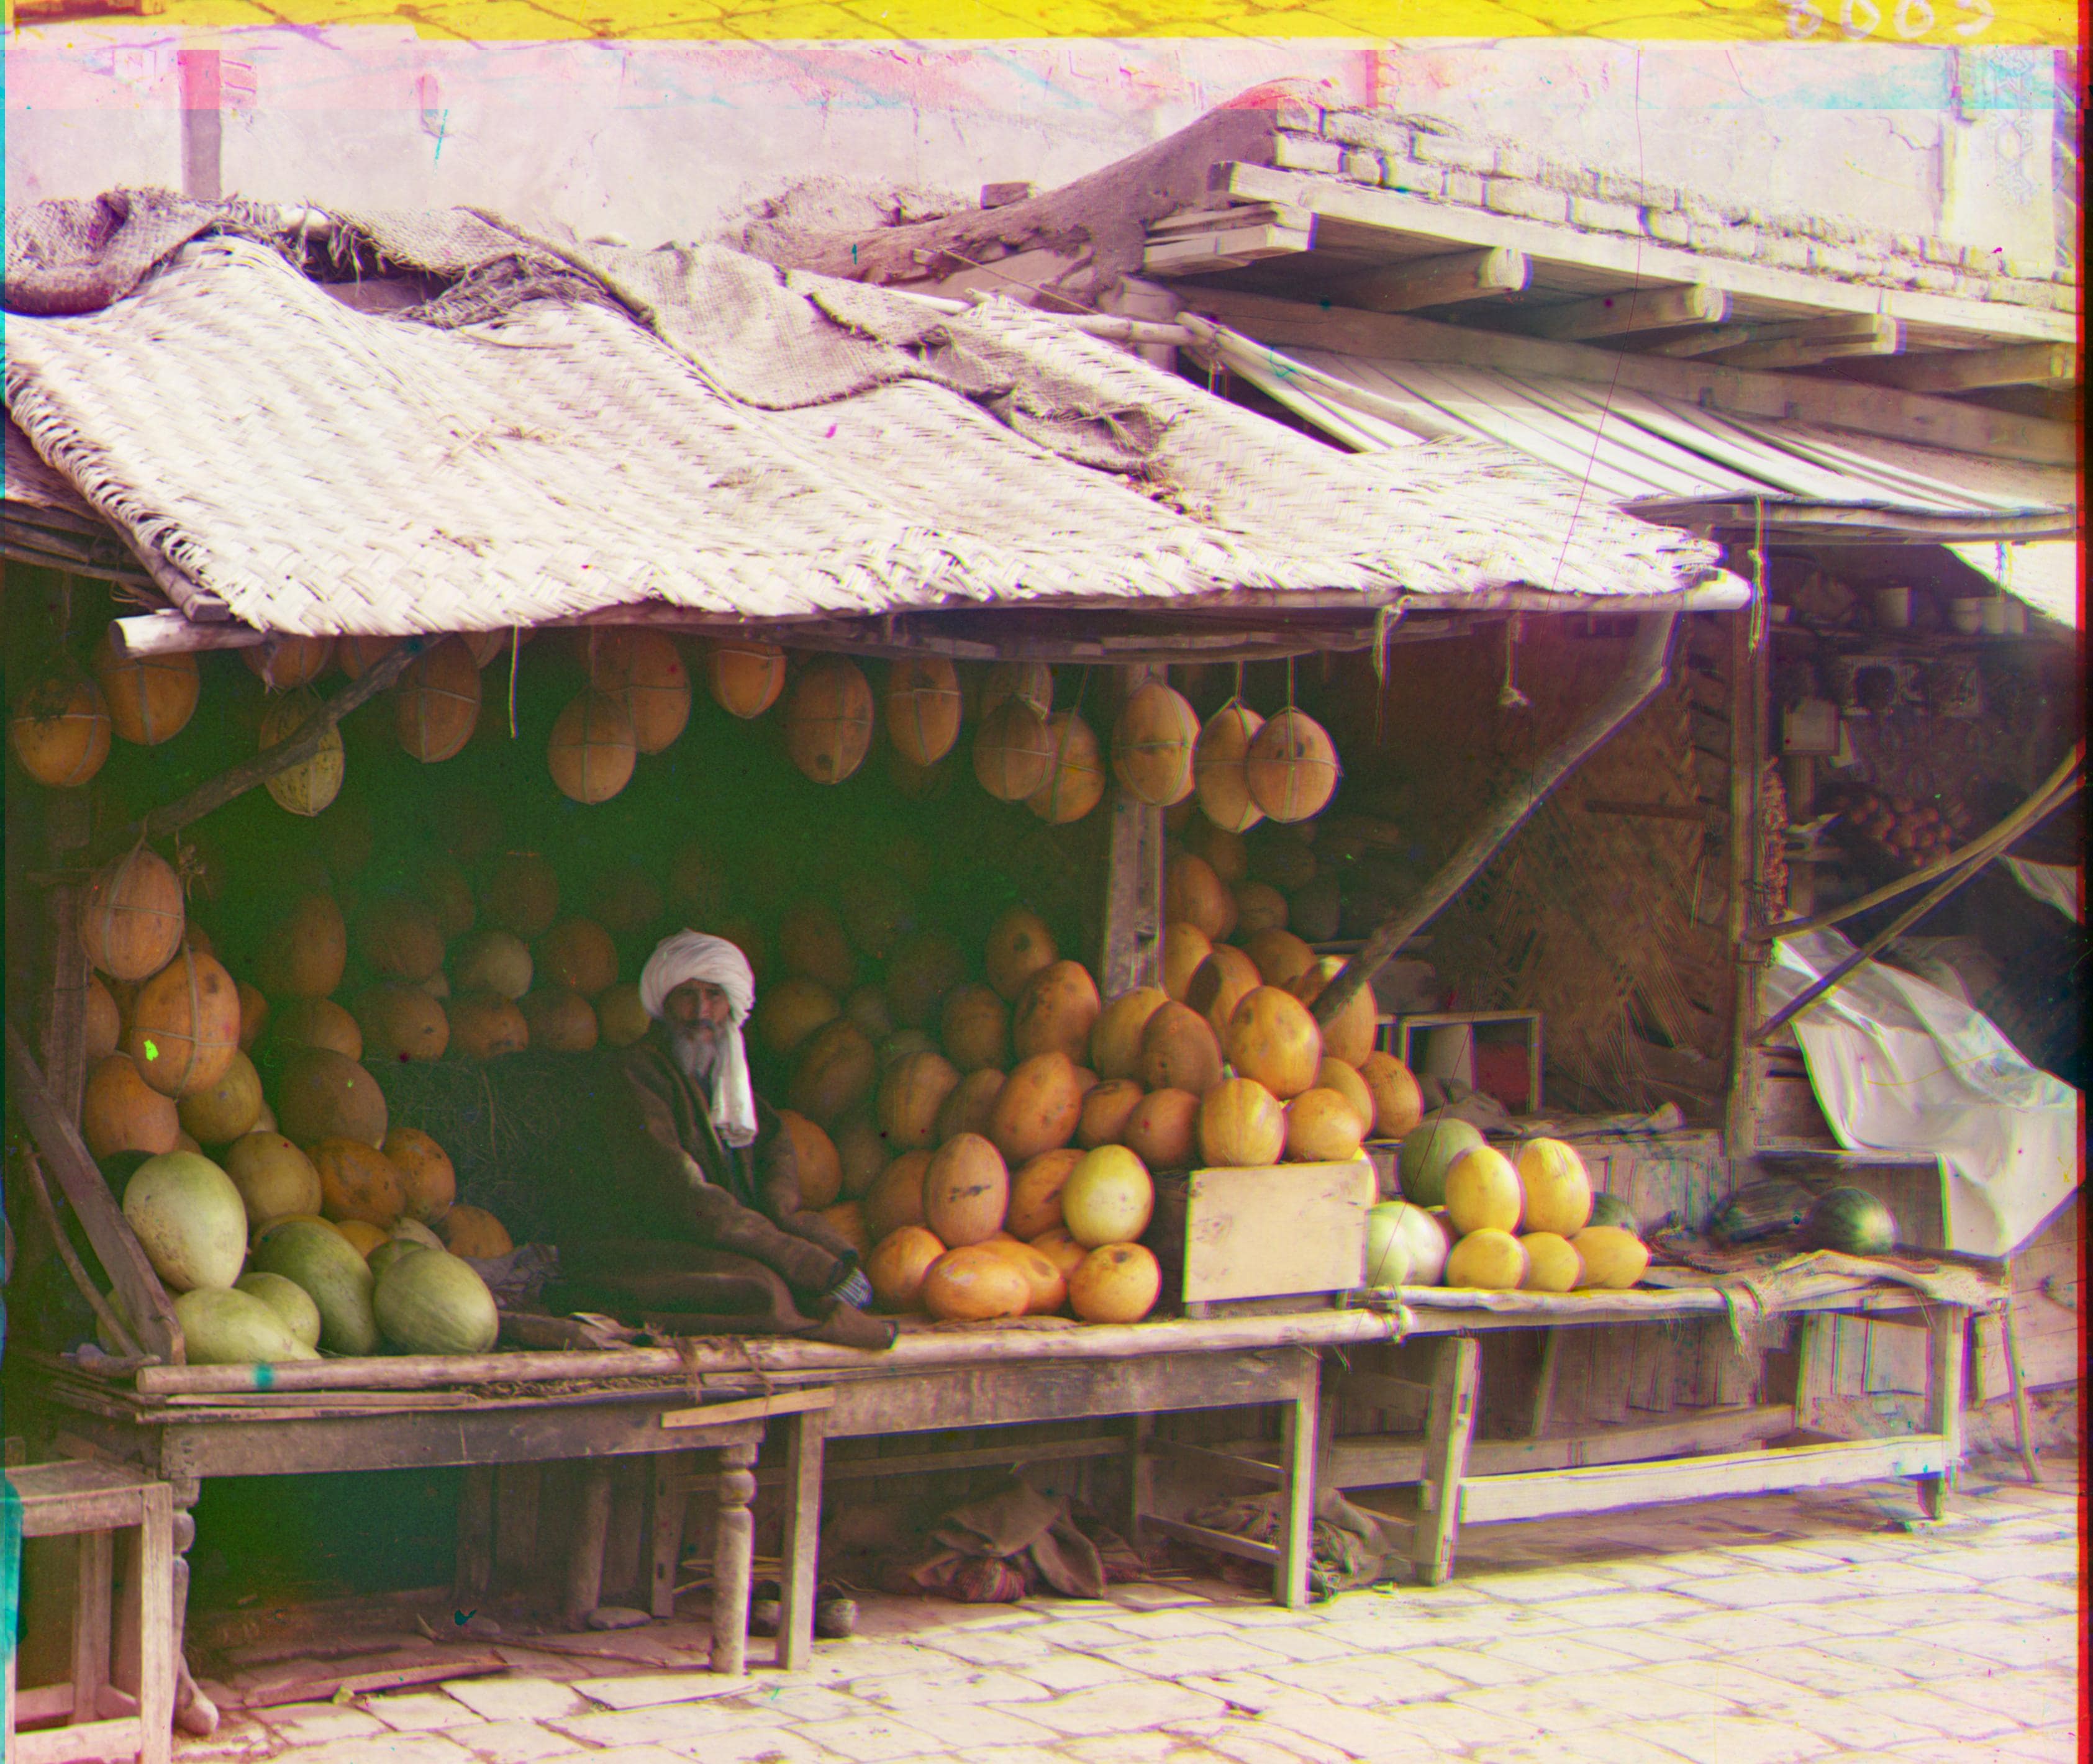
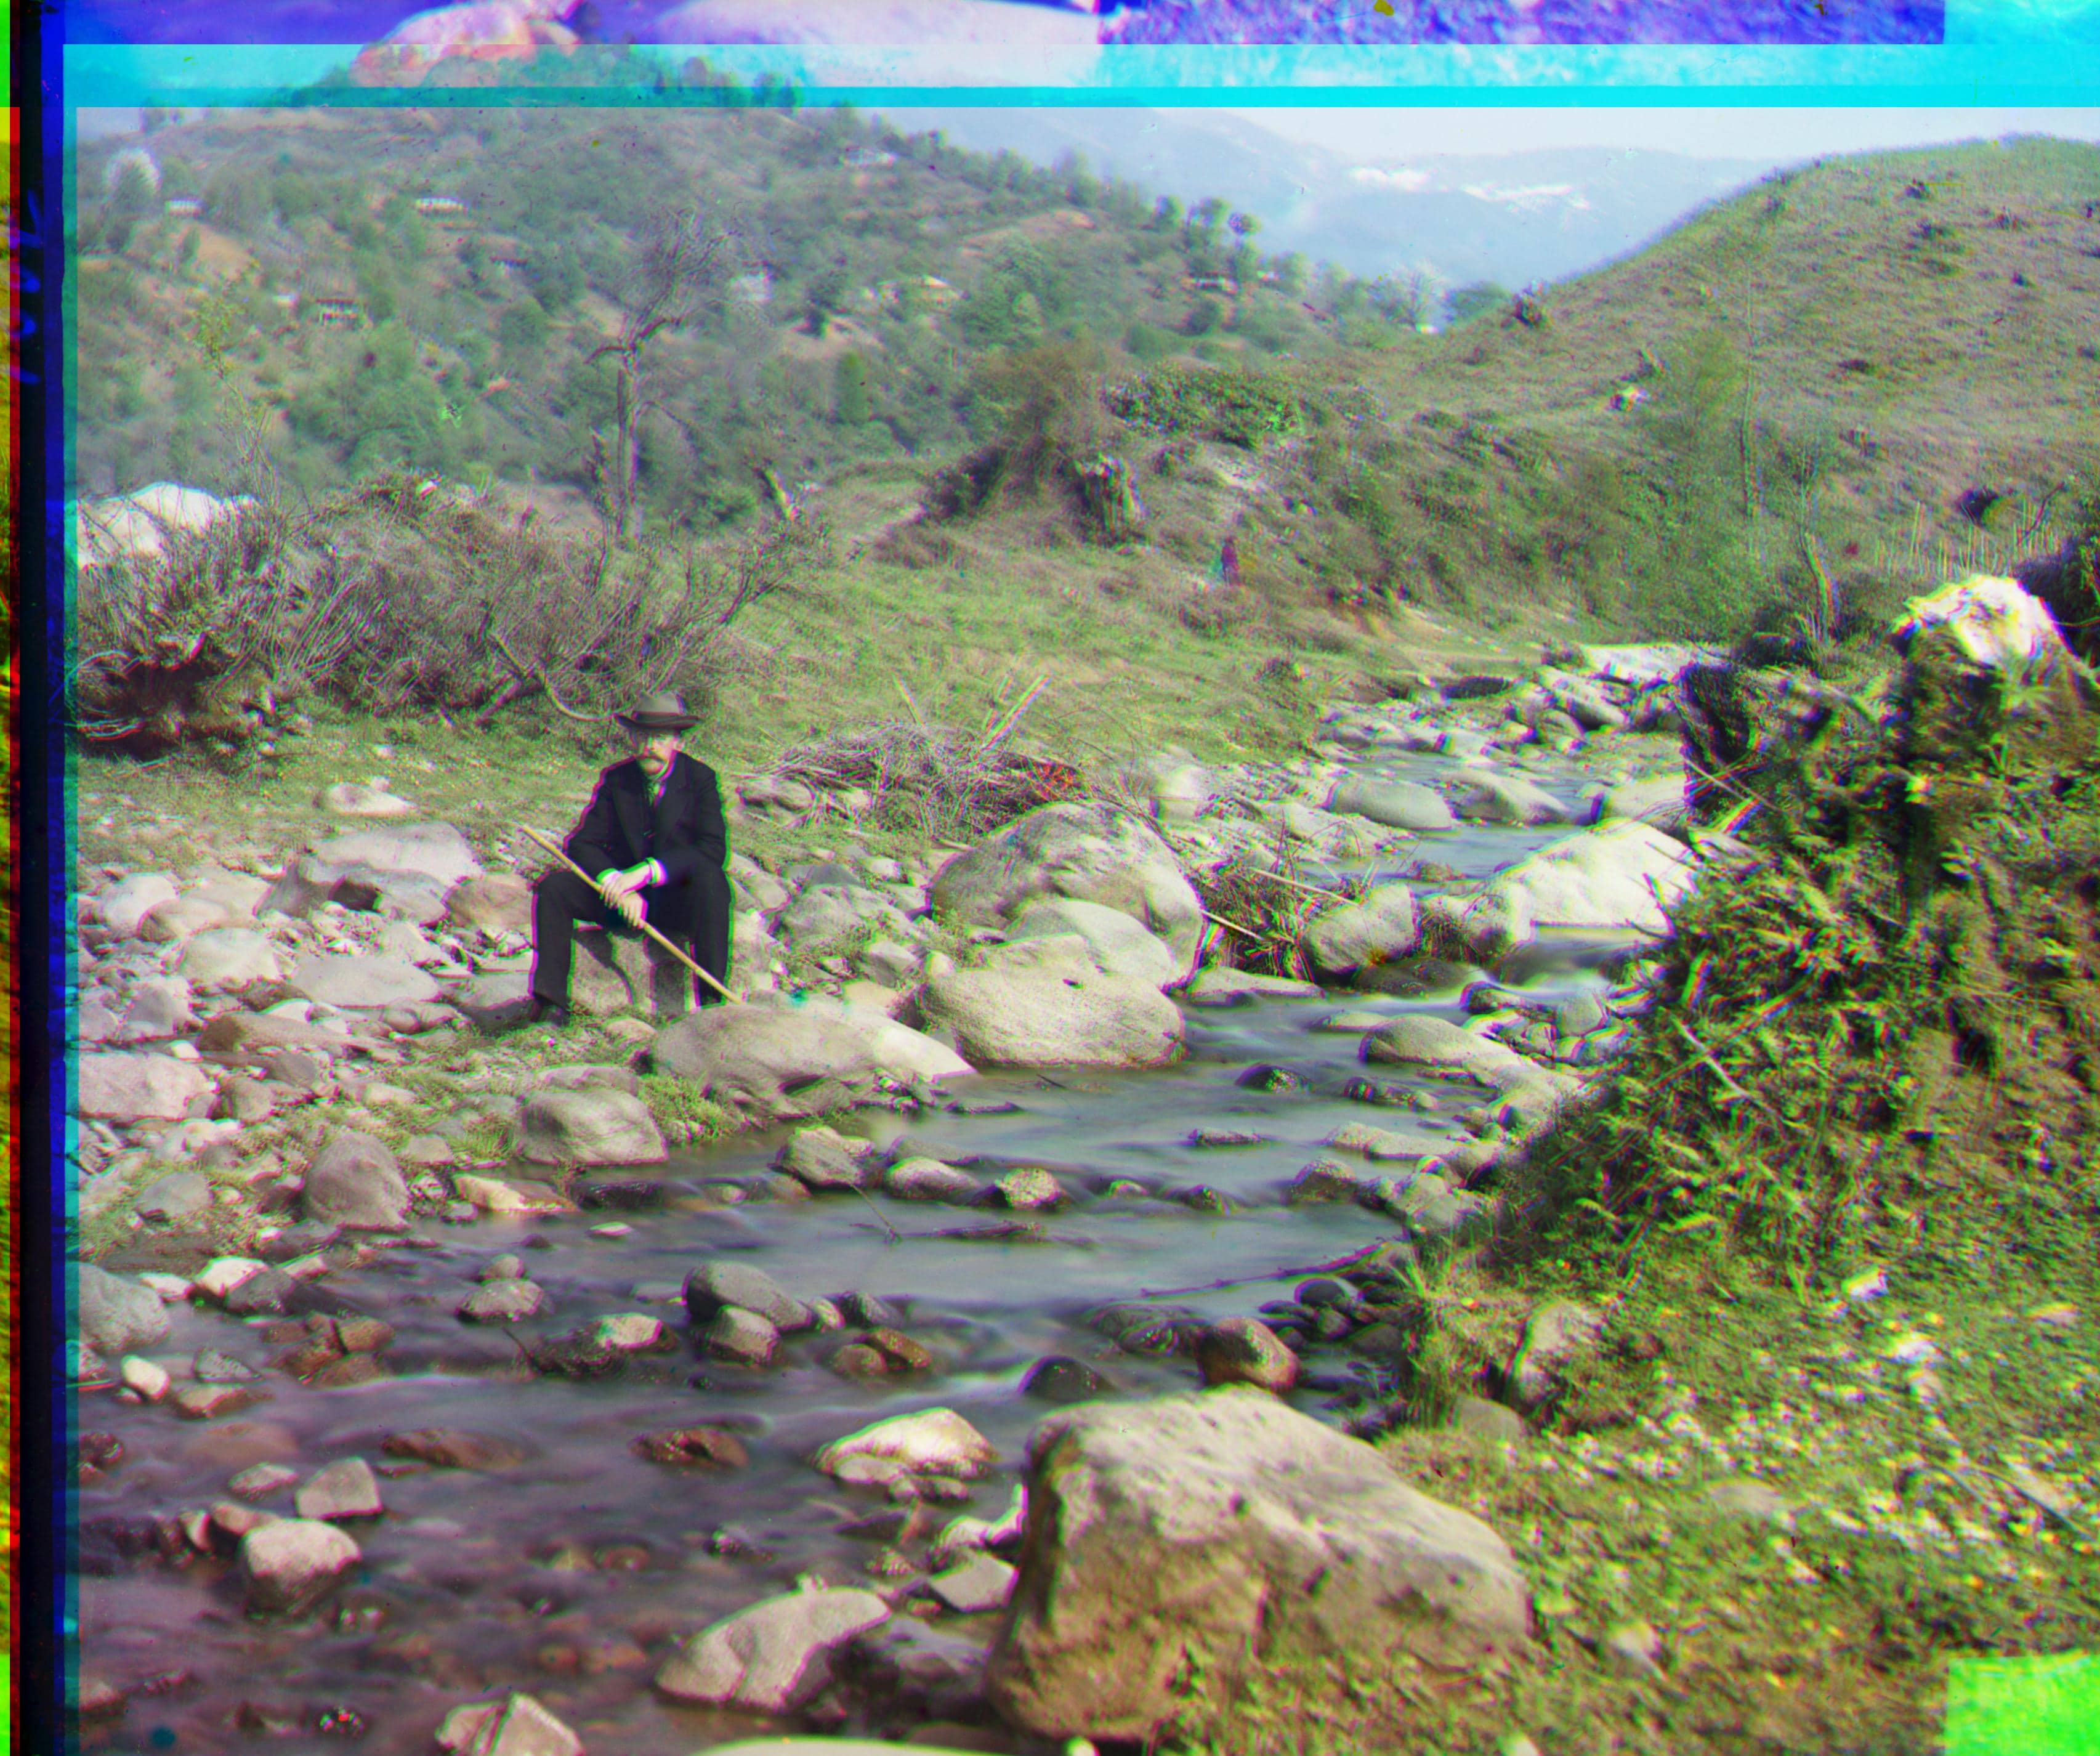
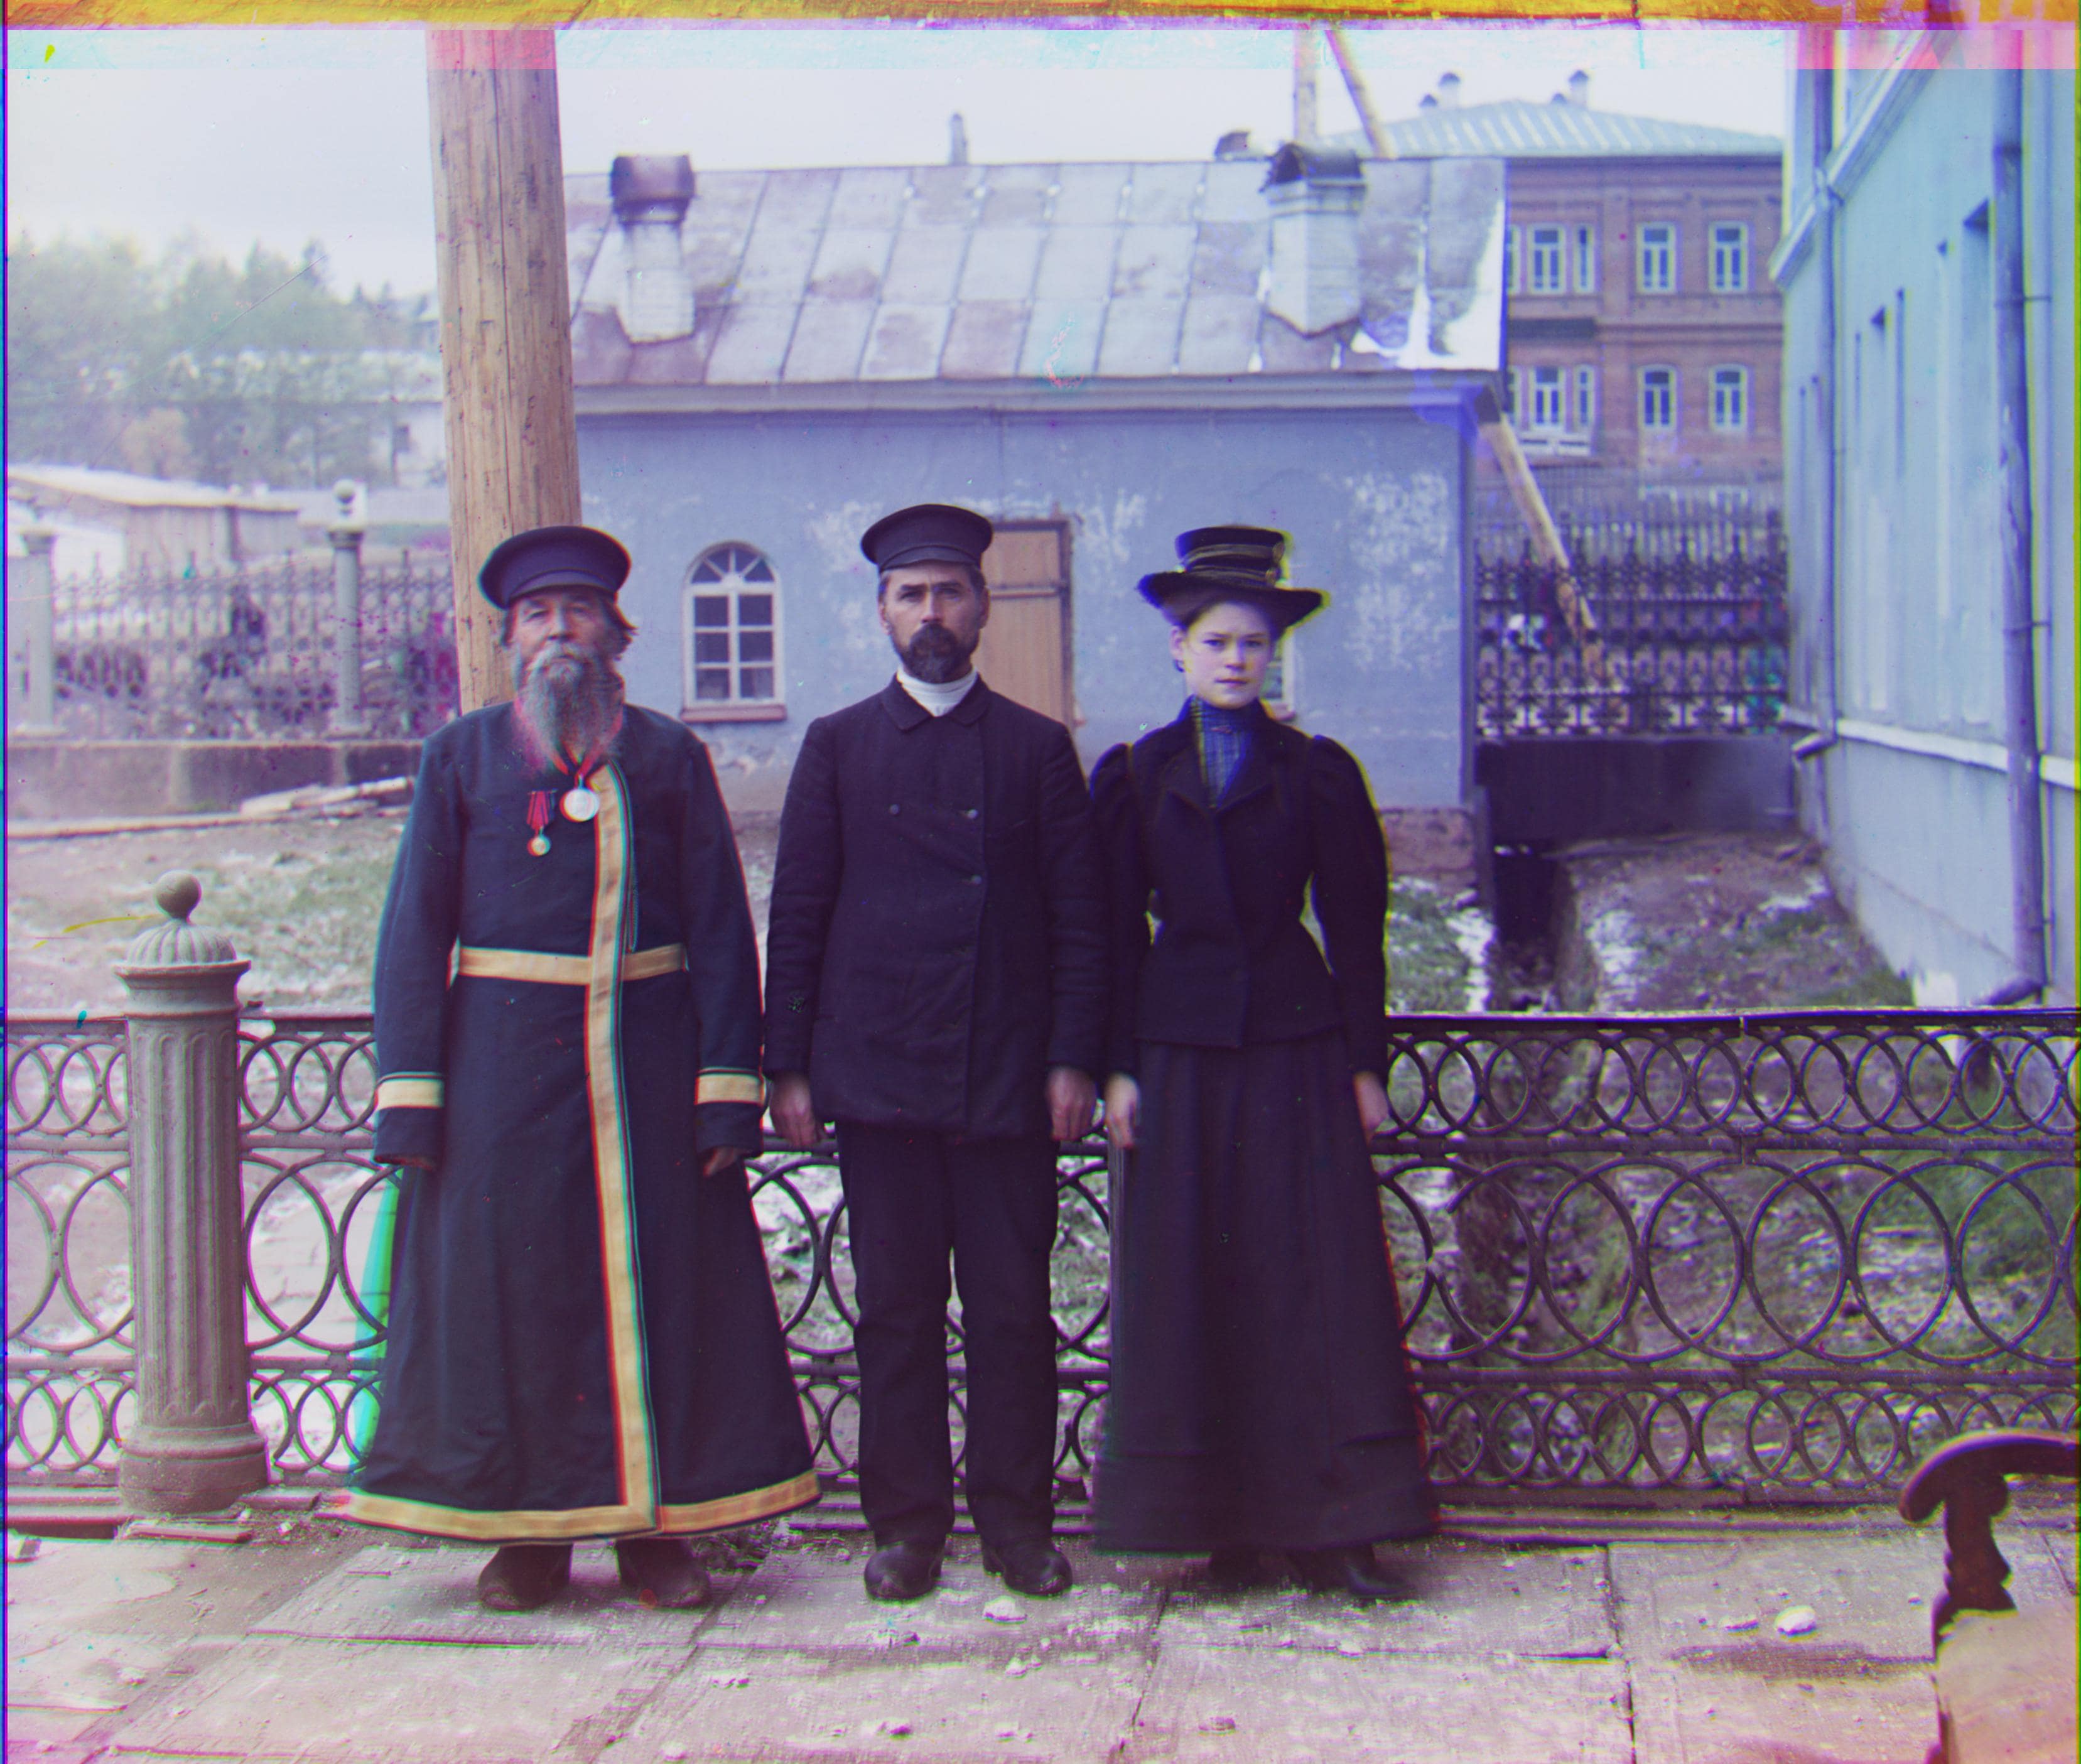
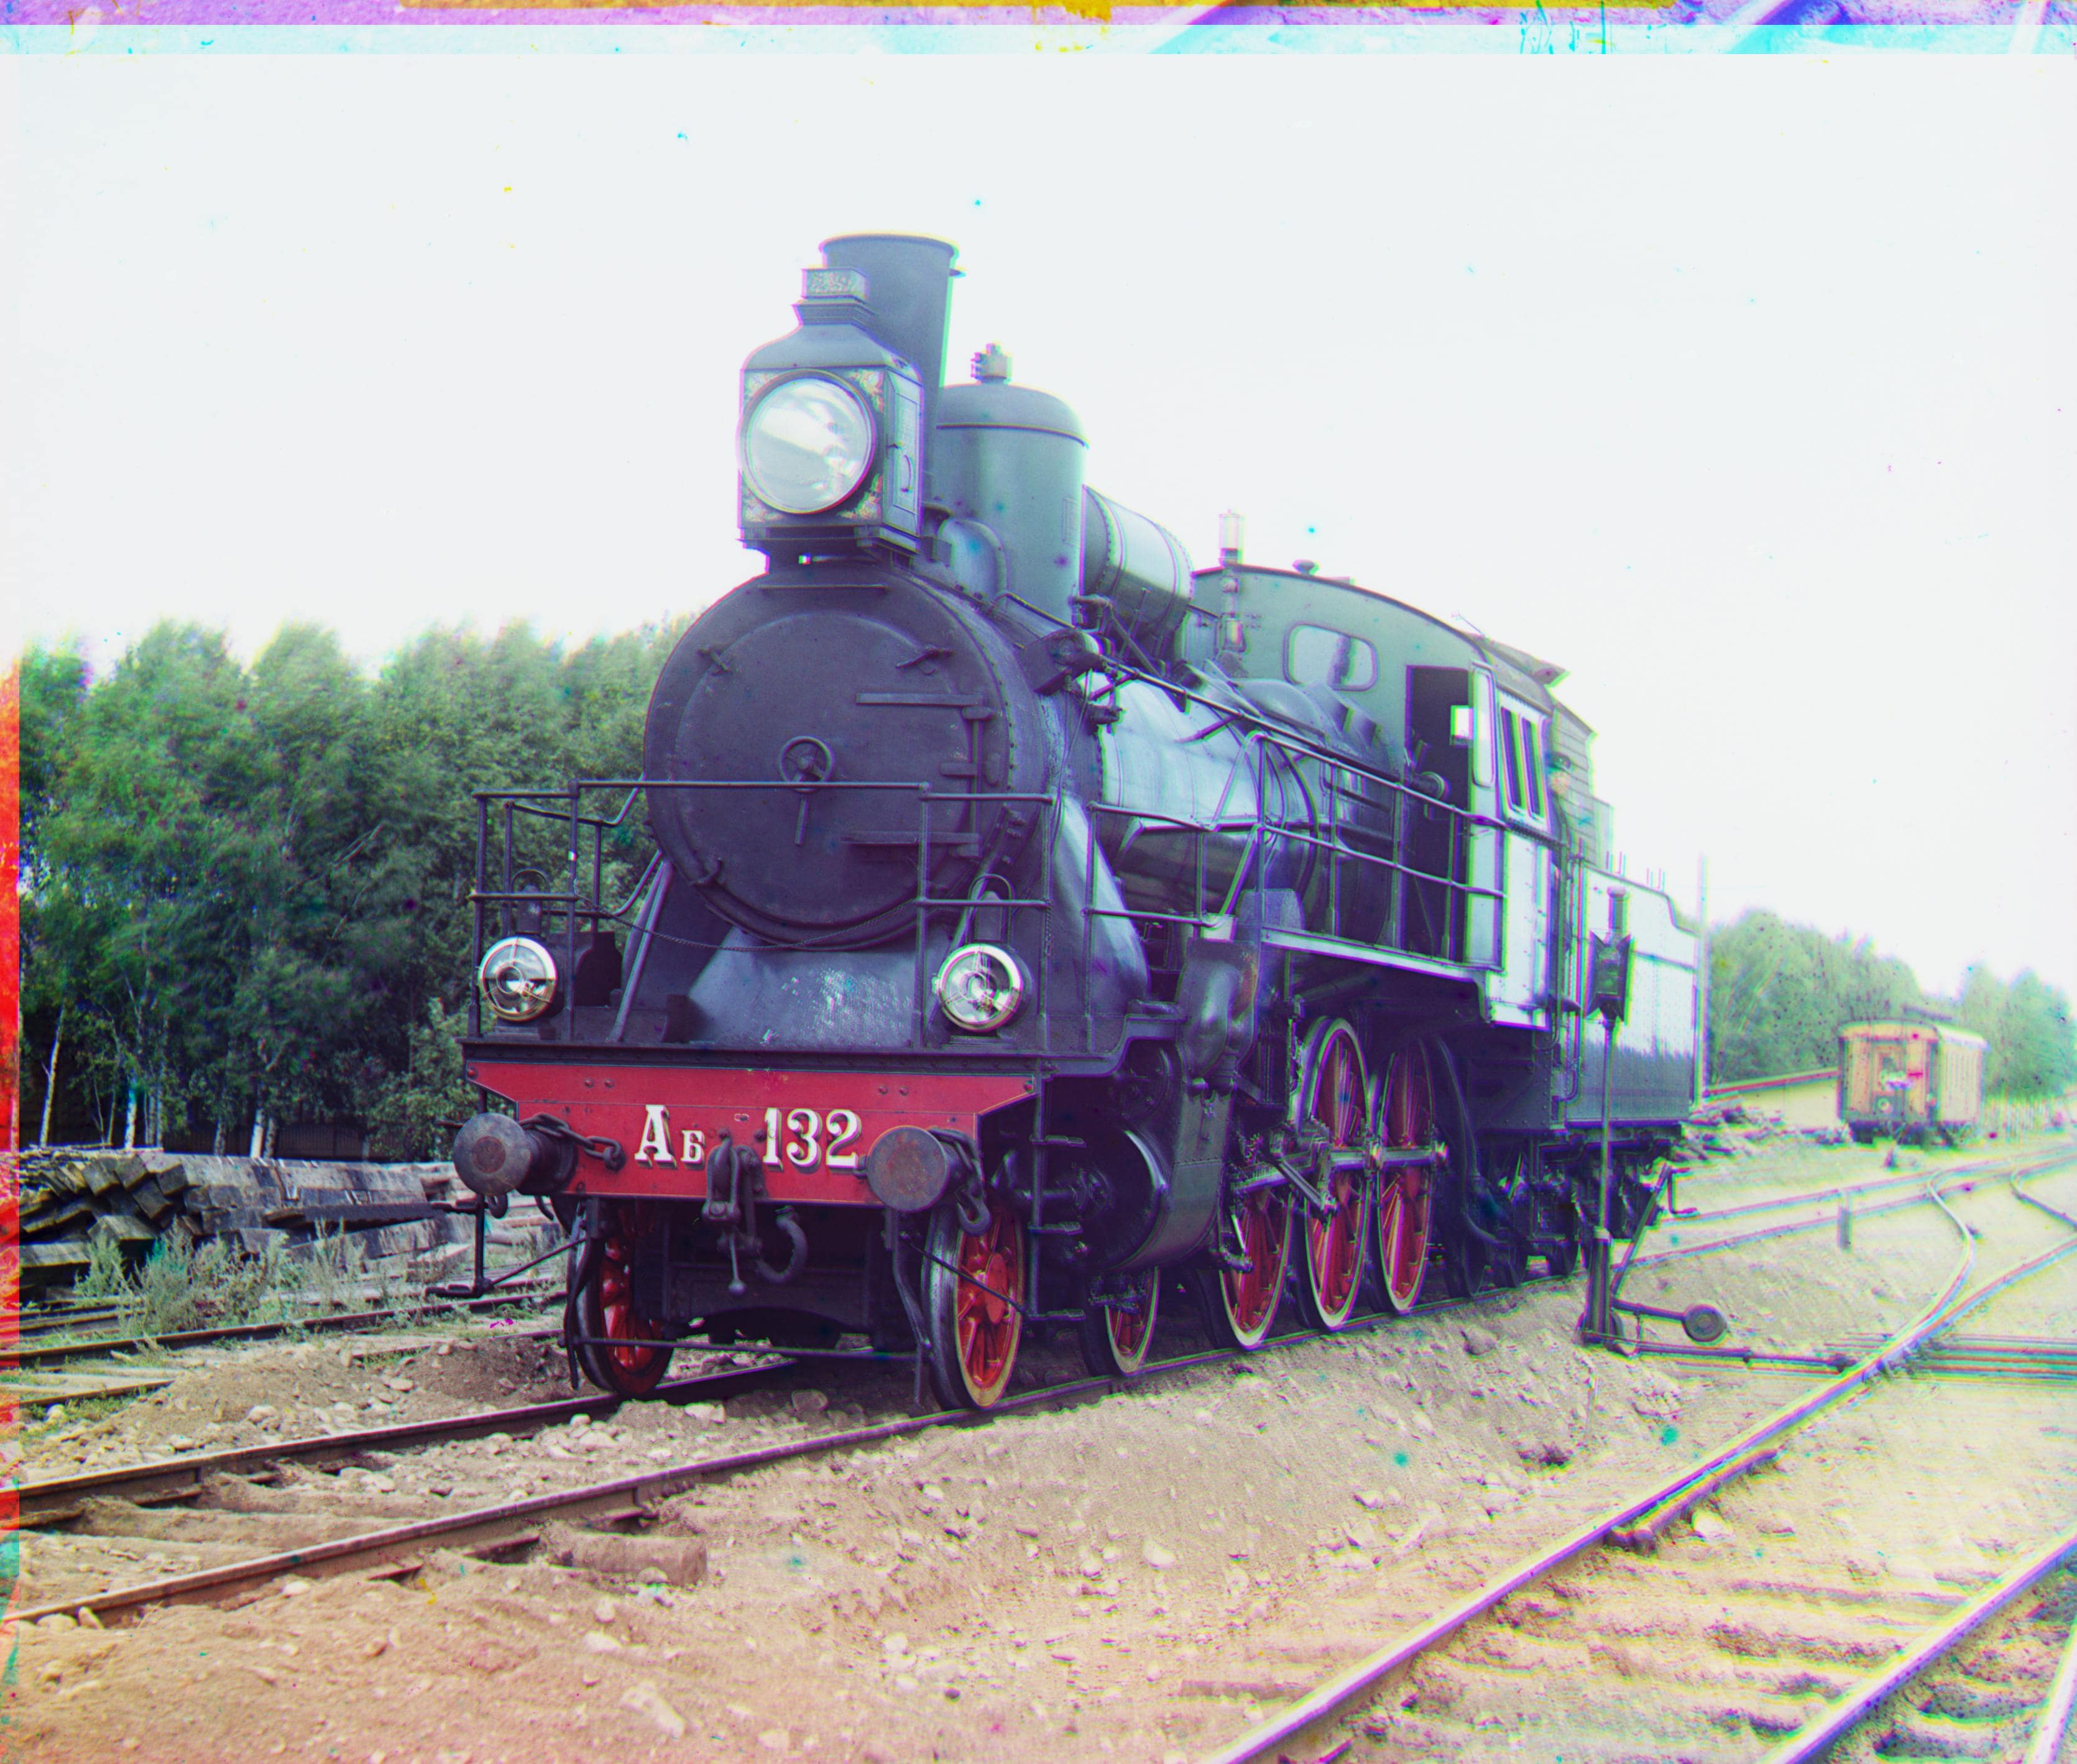
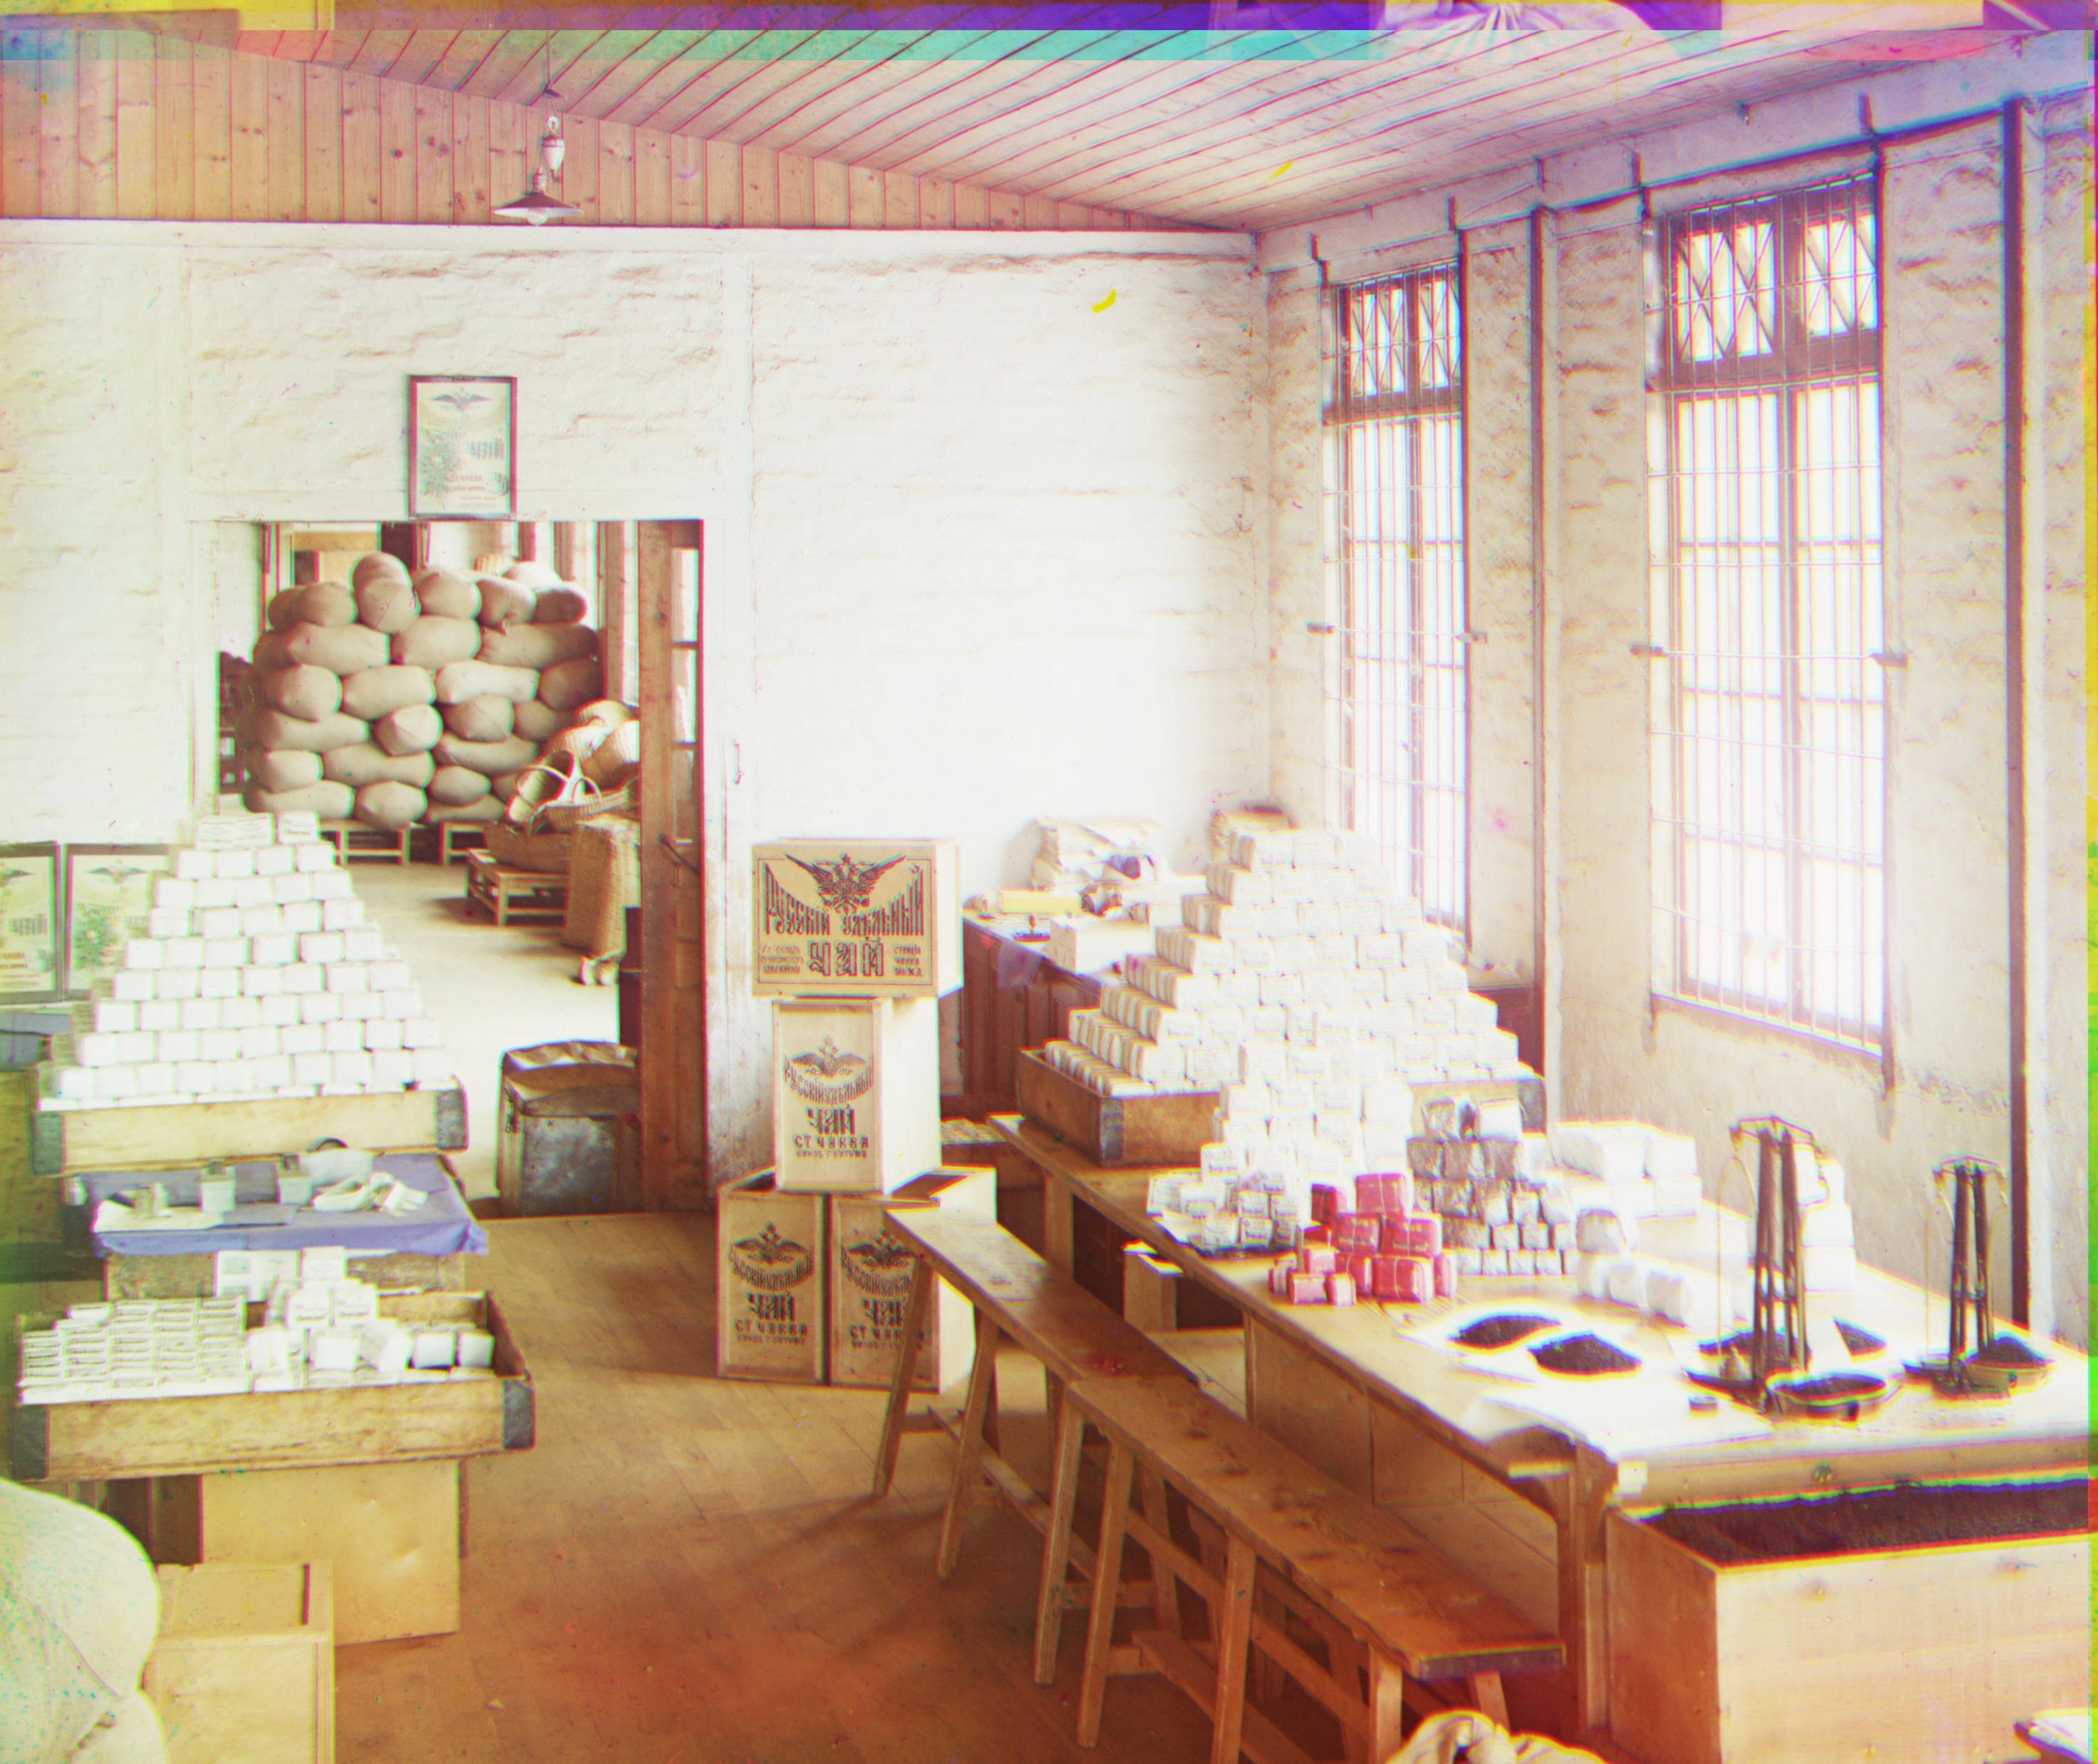
Part 7: Gallery
I went and downloaded some photos from the Library of Congress website, and I produced some colored photos using the pyramid manual-crop algorithm. I personally really love portraits, and these are some of my favorites: