Colorizing the Prokudin-Gorskii Photo Collection
Tejasvi Kothapalli
Overview
Sergei Mikhailovich Prokudin-Gorskii went around the Russian empire and captured color photographs of the likes of people, buildings, bridges and much more. For every photograph, he recorded the scene onto a glass plate using a red, green, and blue filter. The goal of this project is to align the three color channels in order to make color images.
Single-Scale Implementation For Low Resolution Images
Basic Approach
The basic approach takes a base channel (ie. blue) and aligns the other two channels (ie. green and red) with the base channel. Note that I used green as the base channel because that looked that best to my eyes (instead of using blue as the base channel). For low resolution images we can exhaustively explore a window of displacements when aligning the two channels with the base channel. For example when trying to align one of the channels (ie. red) over the base channel (ie. blue) we can displace the channel with by a certain number of pixels (ie. [-15, 15]) in the x and y directions. I displace the channel by [-20, 20] pixels in both the x and y directions. In order to find the best align we take the Sum of Squared Differences between the displaced channel and the base channel.
Using Only Central Portion of Image for Alignment
As we can see the results above are not all that flattering. We can notice that the edges of the image have a lot of weird data that might not be worth dealing with when aligning. Our focus is making the center of the image look as aligned as possible. Thus when aligning the channel with the base channel we will only use the central portion for alignment. Specifically, the border are cut our when computing the SSD. We can see that the alignment is a lot more crisp when this is done.

All Low Resolution Images
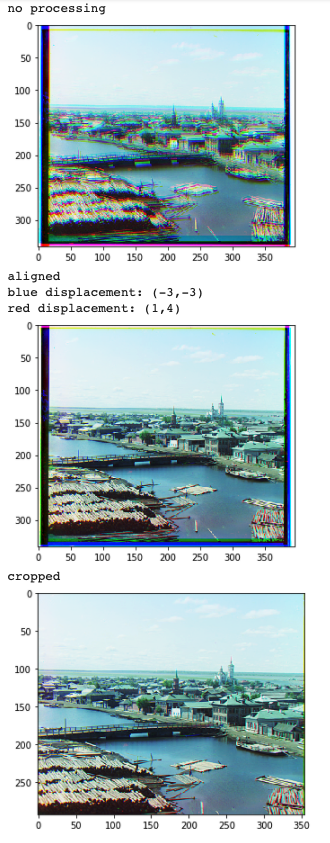
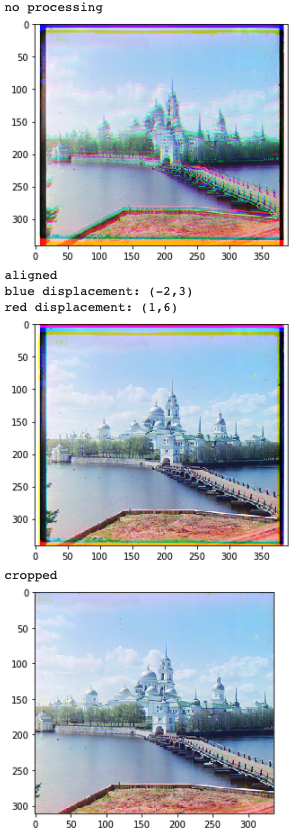
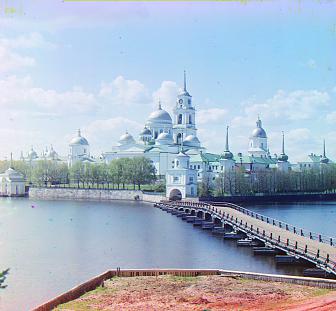
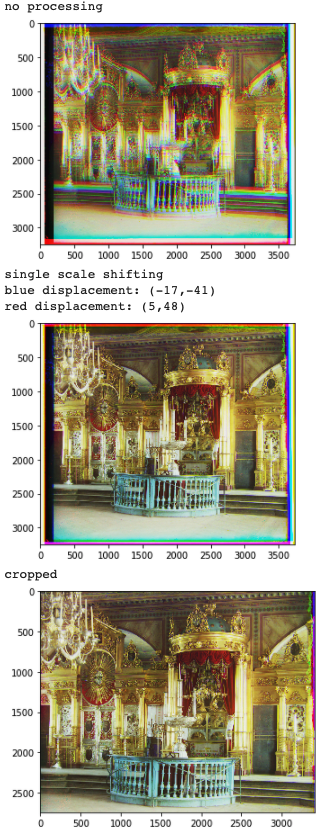
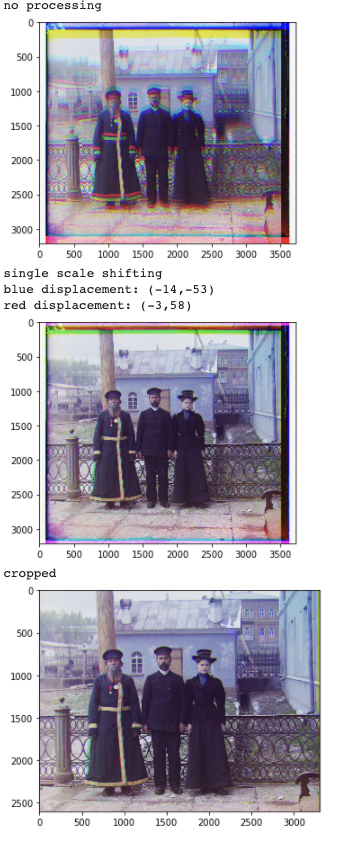
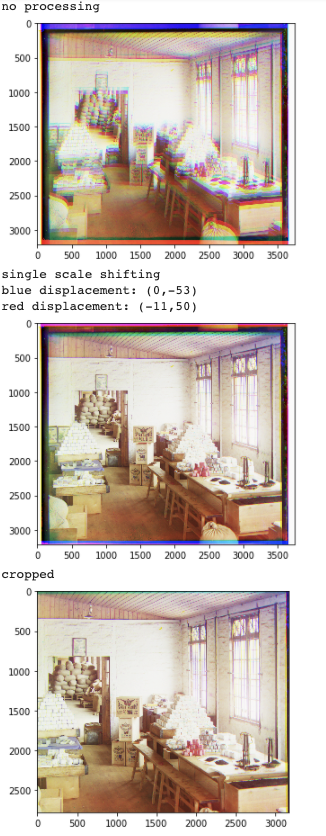
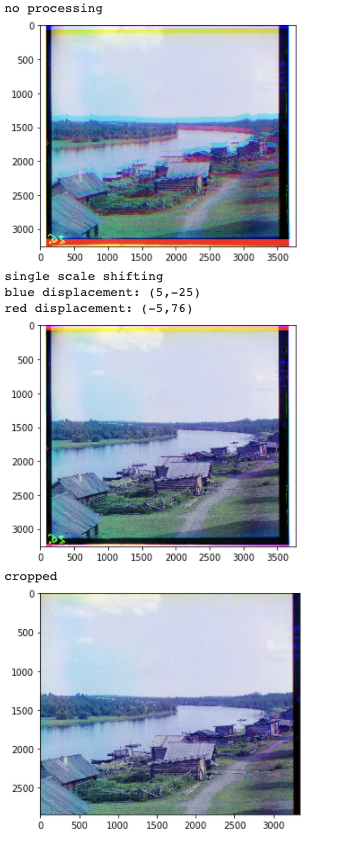
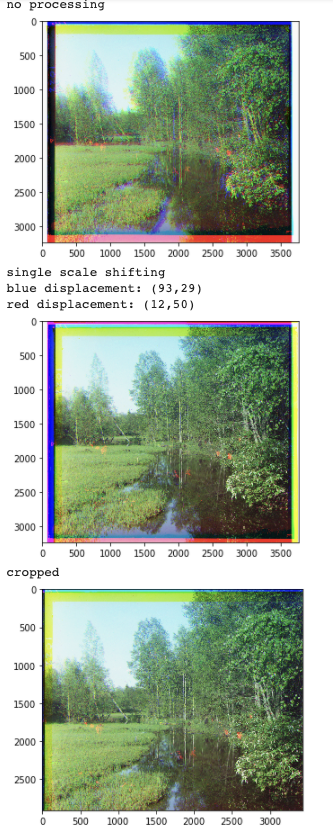
Note that the method for cropping the images' black, white, and weird colored borders will be explained at the end. The first three images are the output from the notebook. The fourth image is just a more clear version of the third image. The displacements are also included
Cathedral

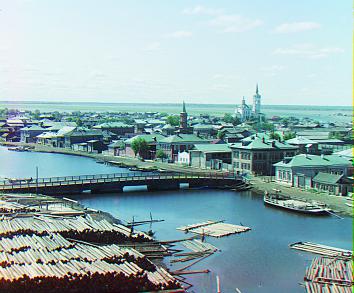
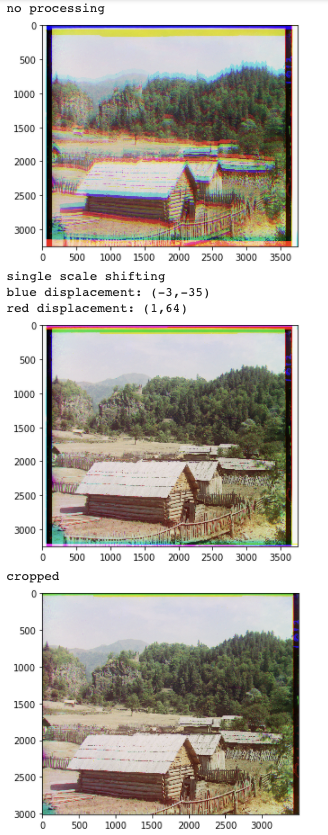
Tobolsk
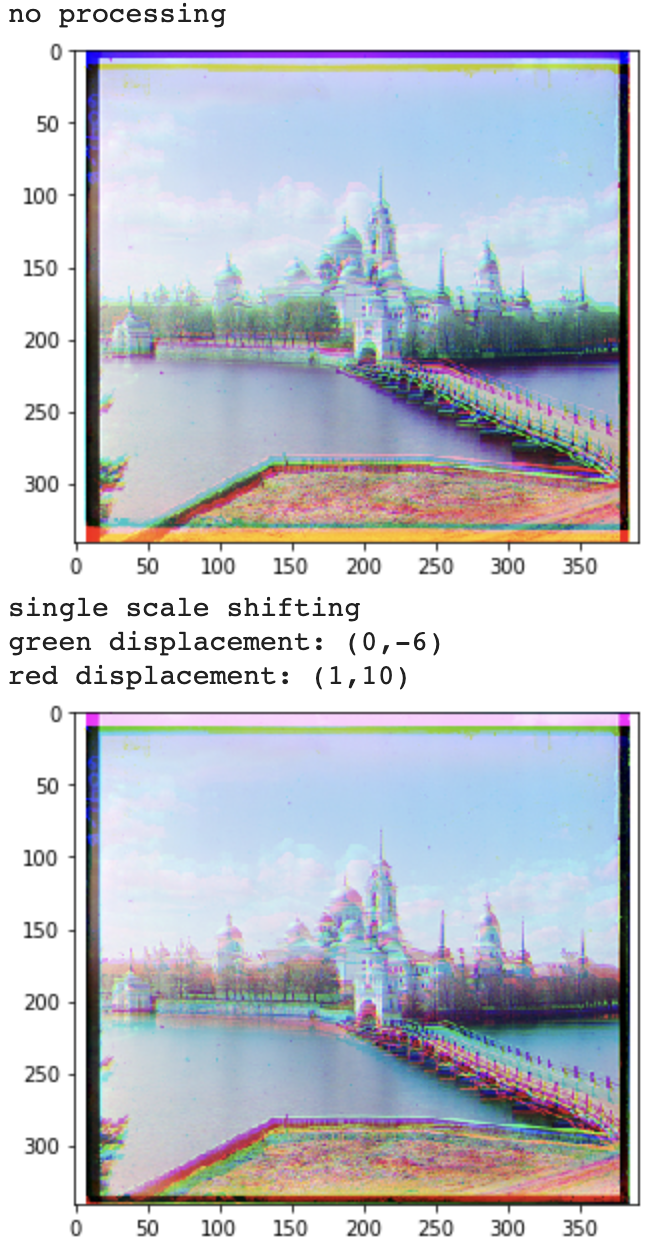
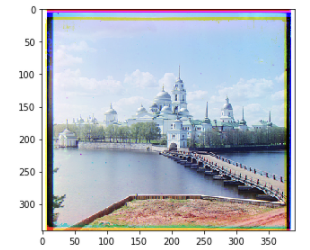
Monastery
Multiscale Pyramid Version For Large Images
Approach
For larger images, we cannot use the single scale exhaustive approach. These images have quite a few pixels and thus computing the SSD over for a large number of displacements is quite expensive and slow. Thus I use the image pyramid approach. The image is essentially recursively aligned over multiple scales of the image. The image will be scaled down for a number of times. The most scaled down version will first be aligned through an exhaustive search window. Note that this will not be too expensive because the image has been scaled down quite a bit. Then when the image is scaled back up the alignment will also be scaled up and used as the starting point for another exhaustive search window. The exhaustive search window search will scale inversely with the size of the image (~1/height of image). I used 9 levels of recursion and scaled down the image by 0.75 each level.
All Large Images
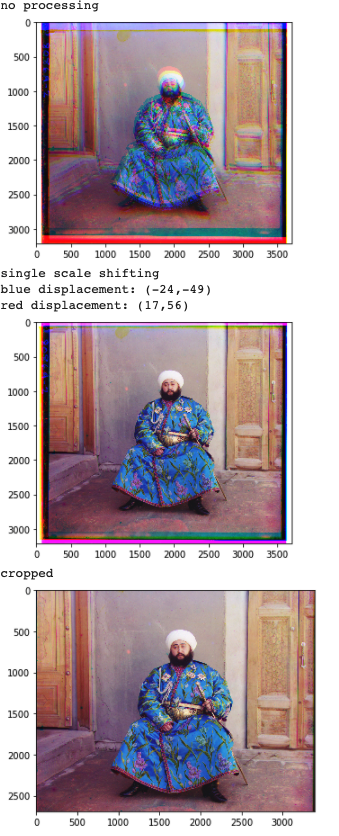
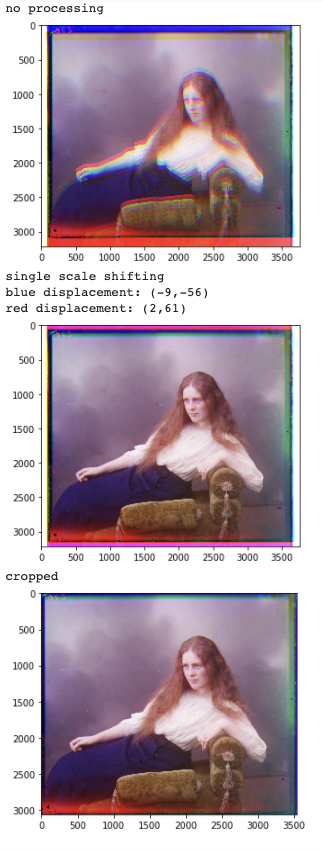
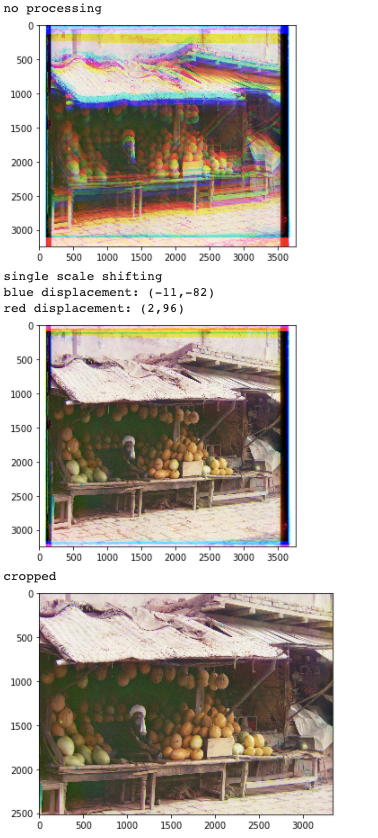
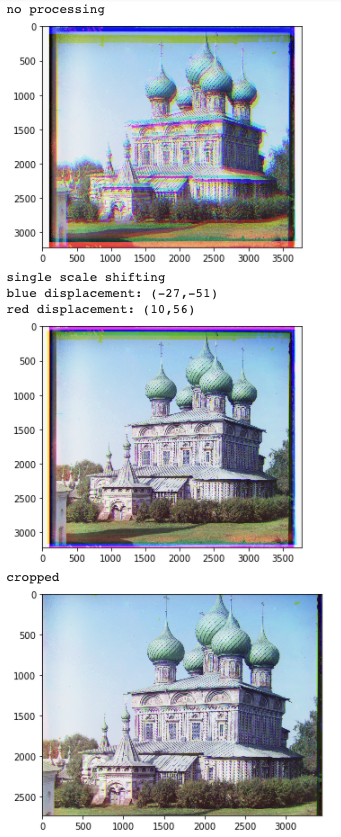
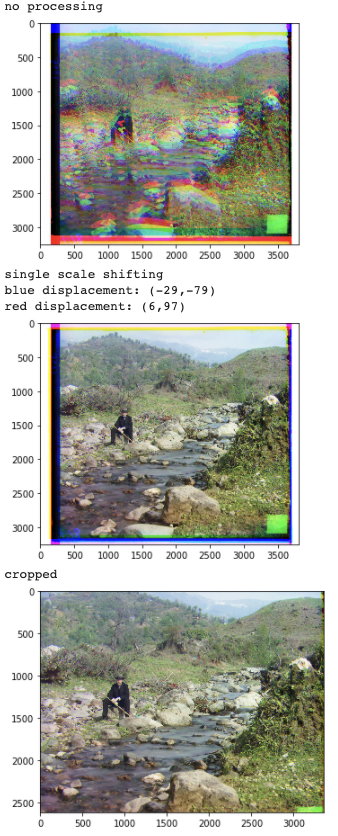
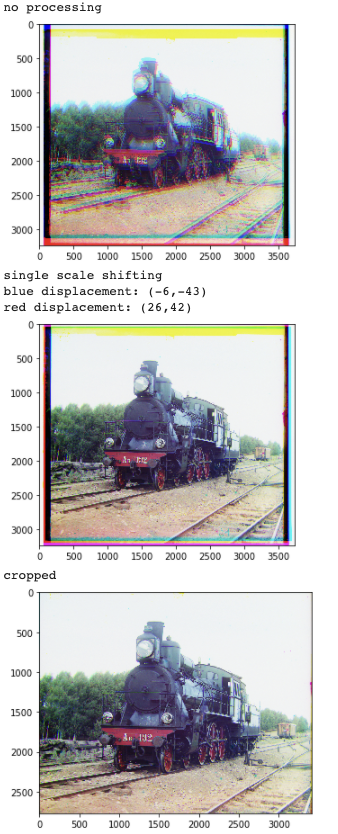
Note that for the second image it says "single scale shifting" but in fact it is using pyramid (it was a typo).
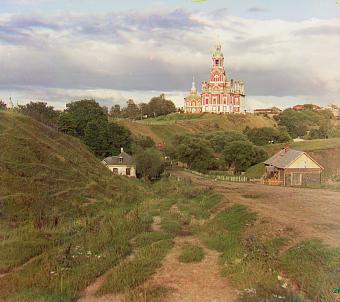
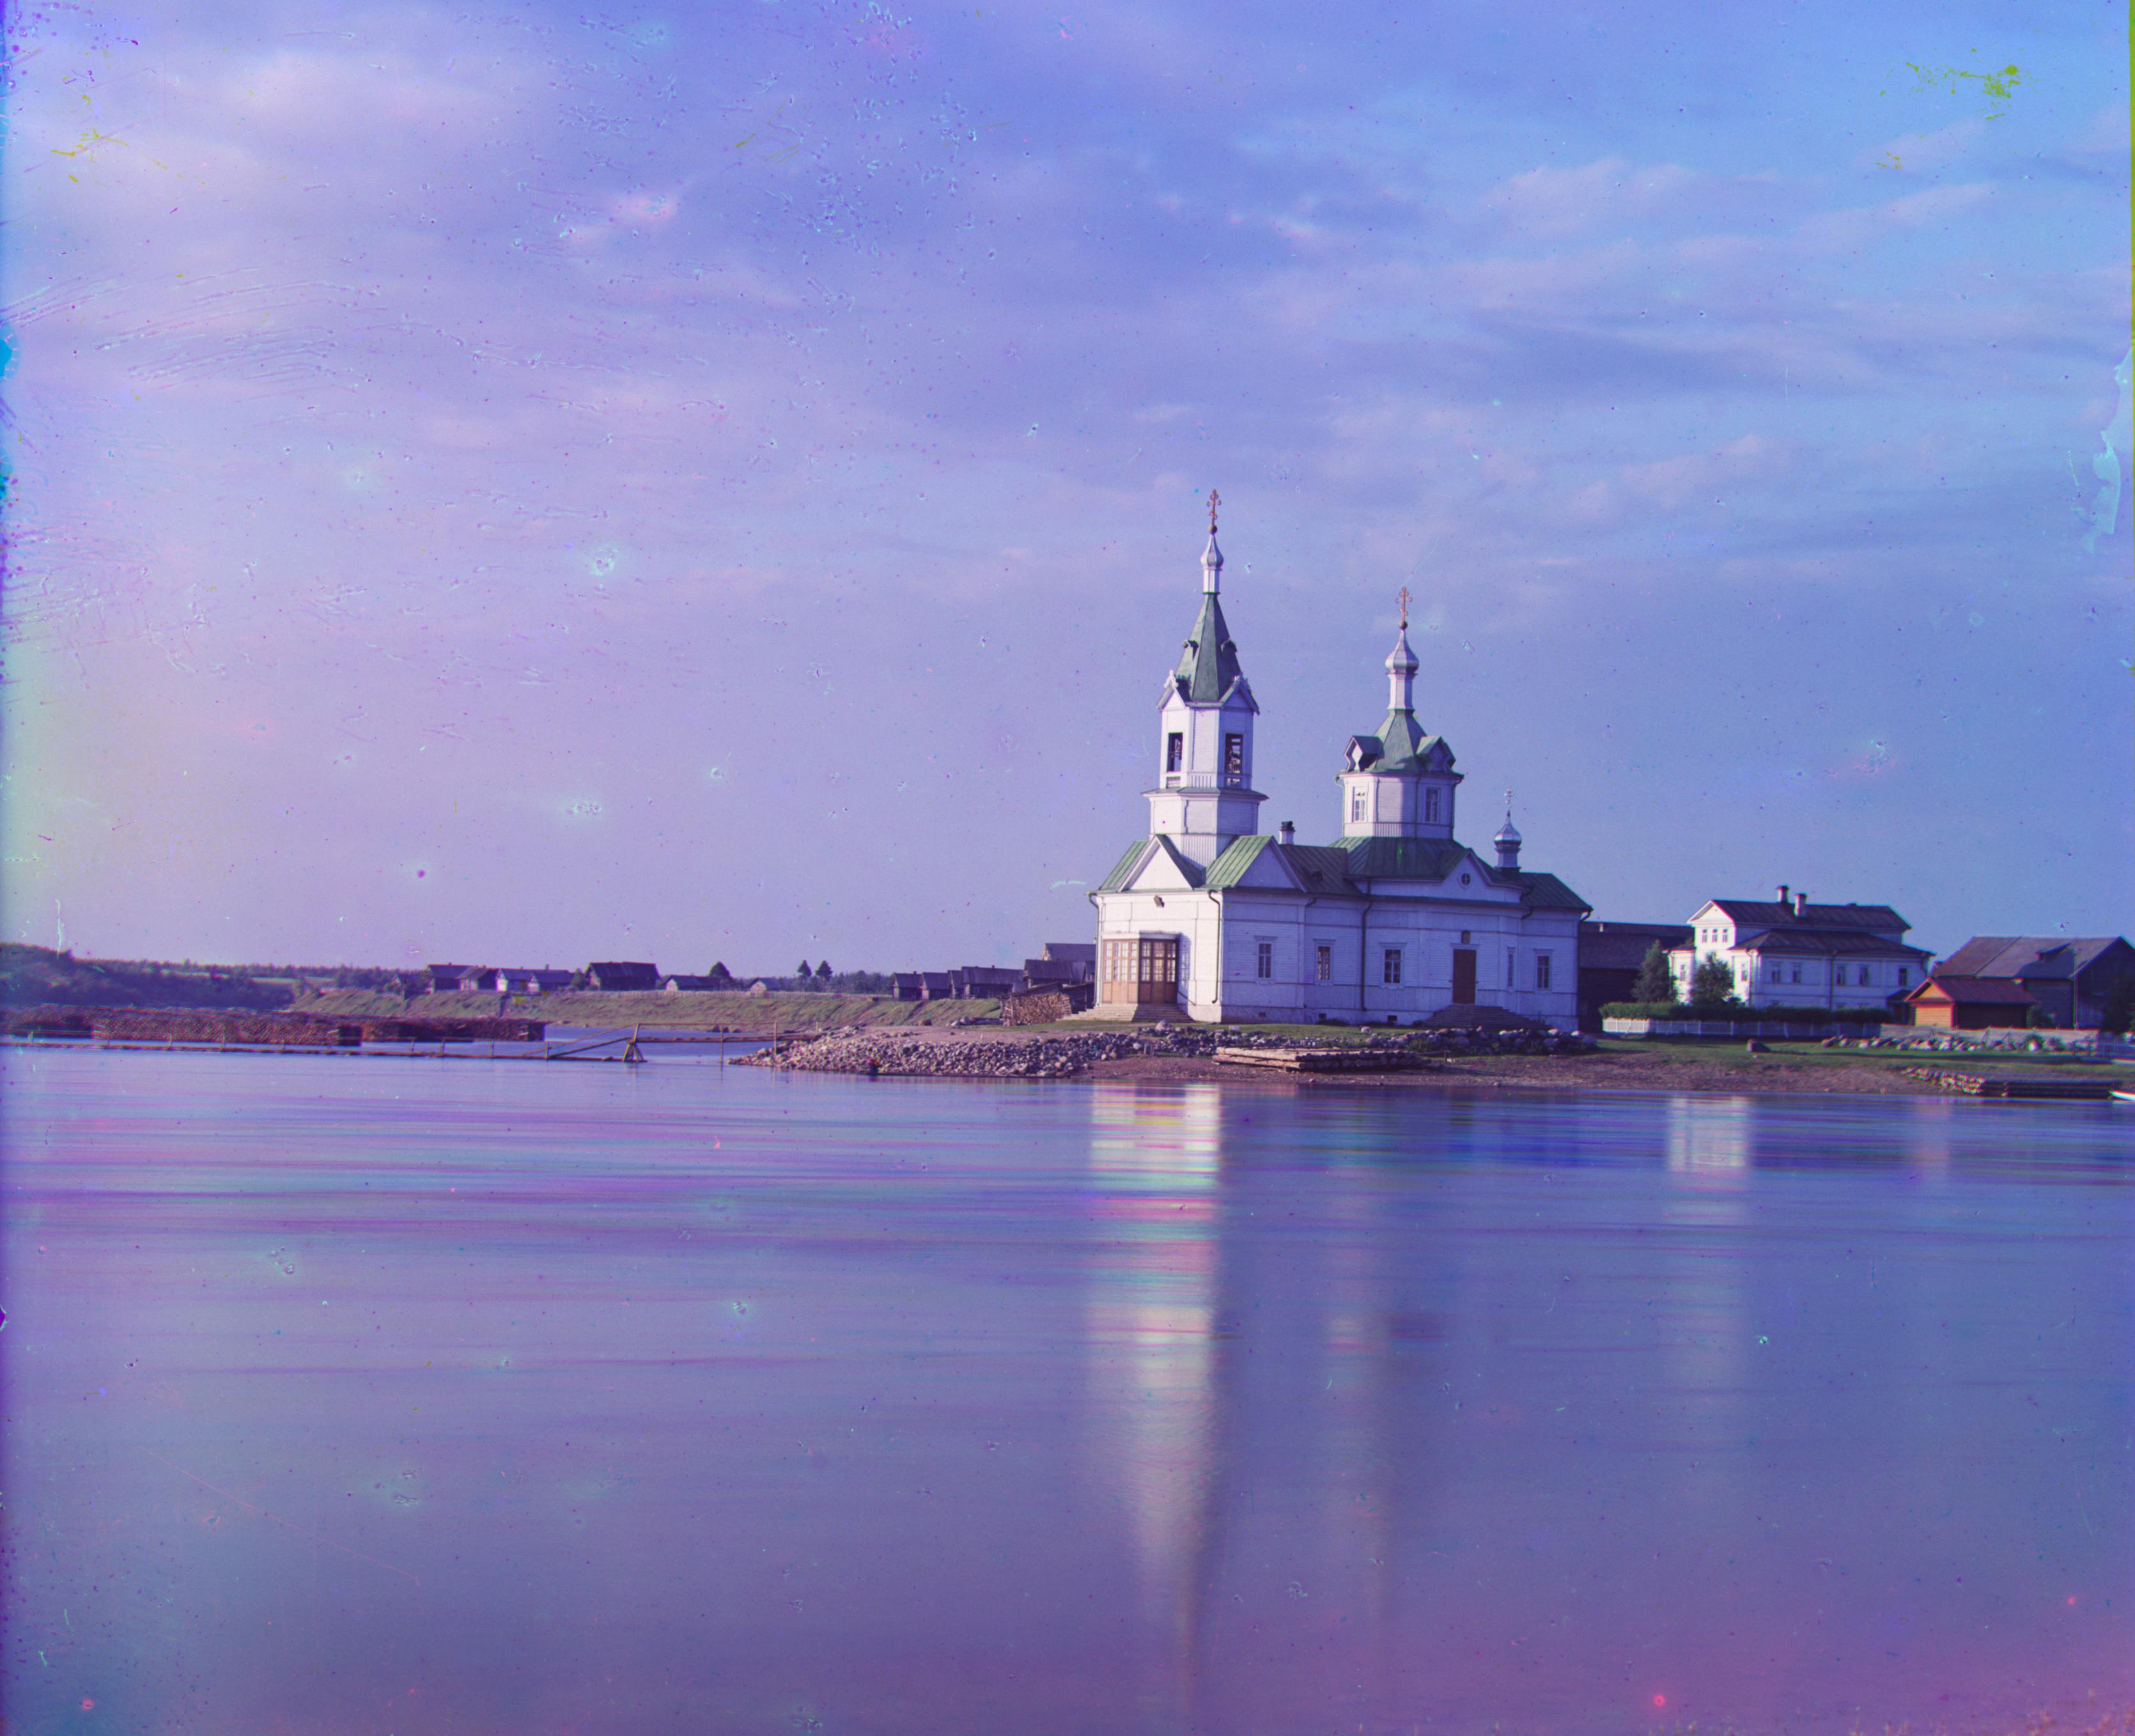
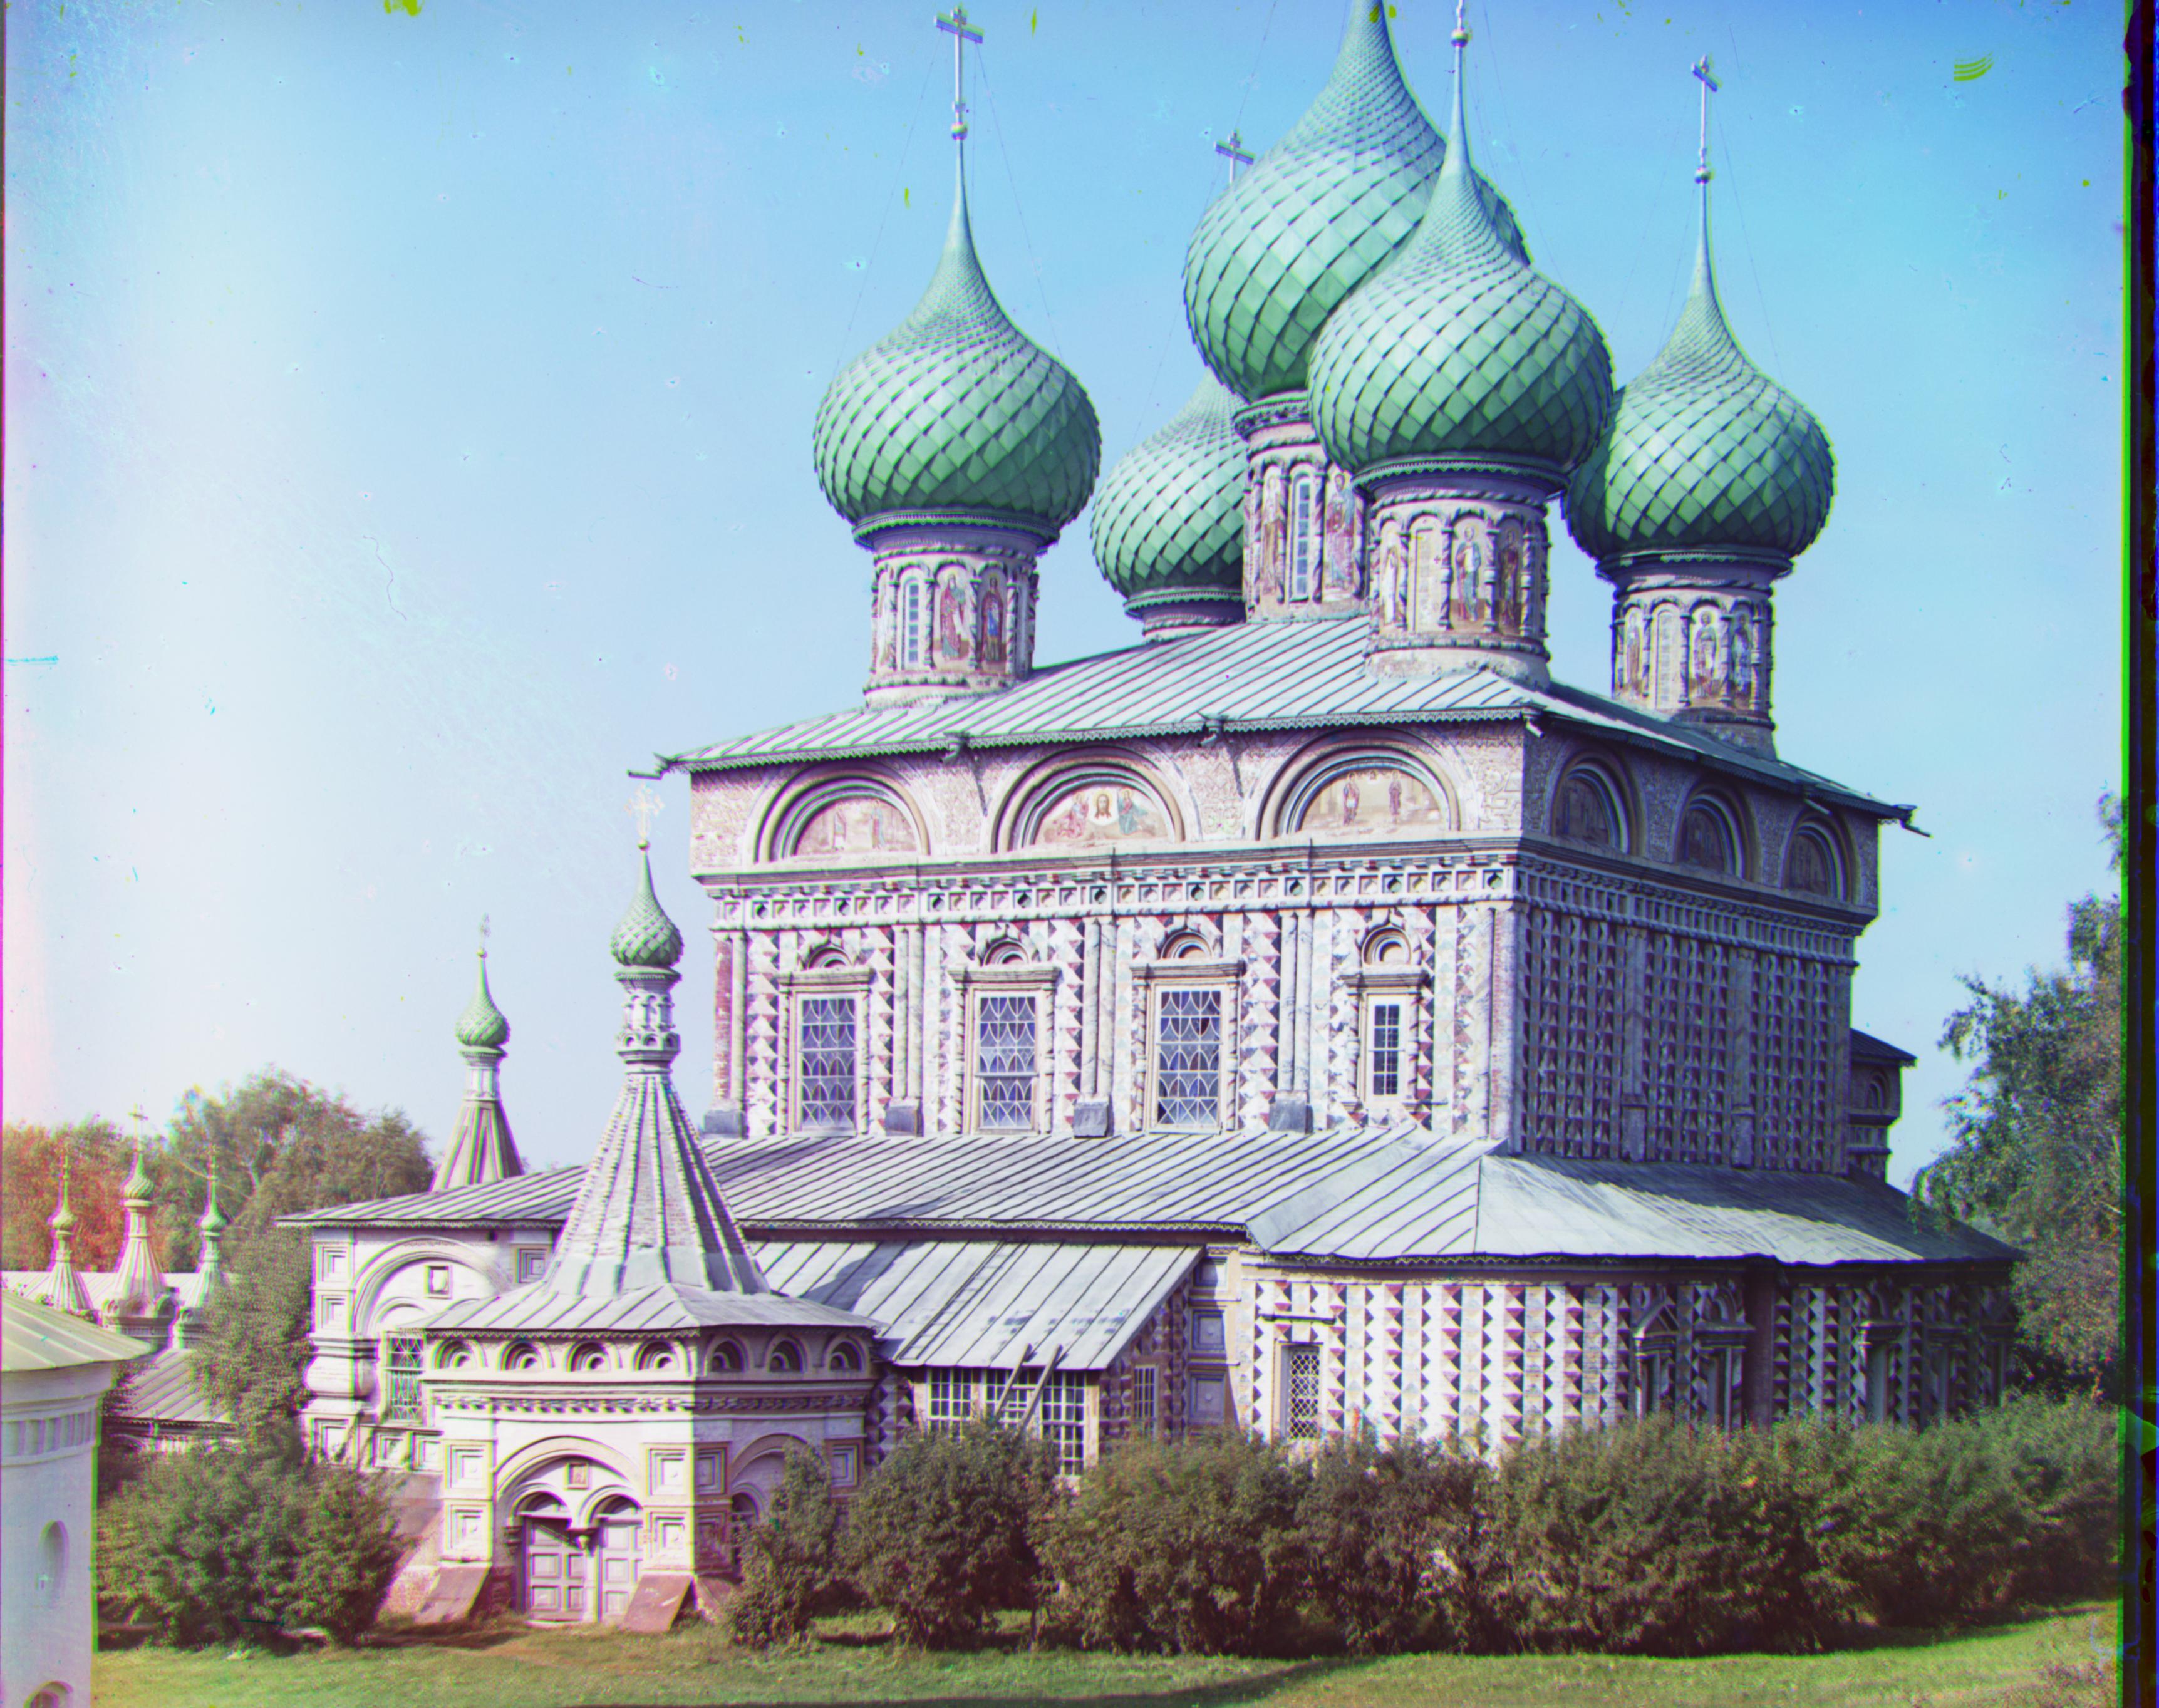
Church

Emir
.jpg)
Harvesters
Icon
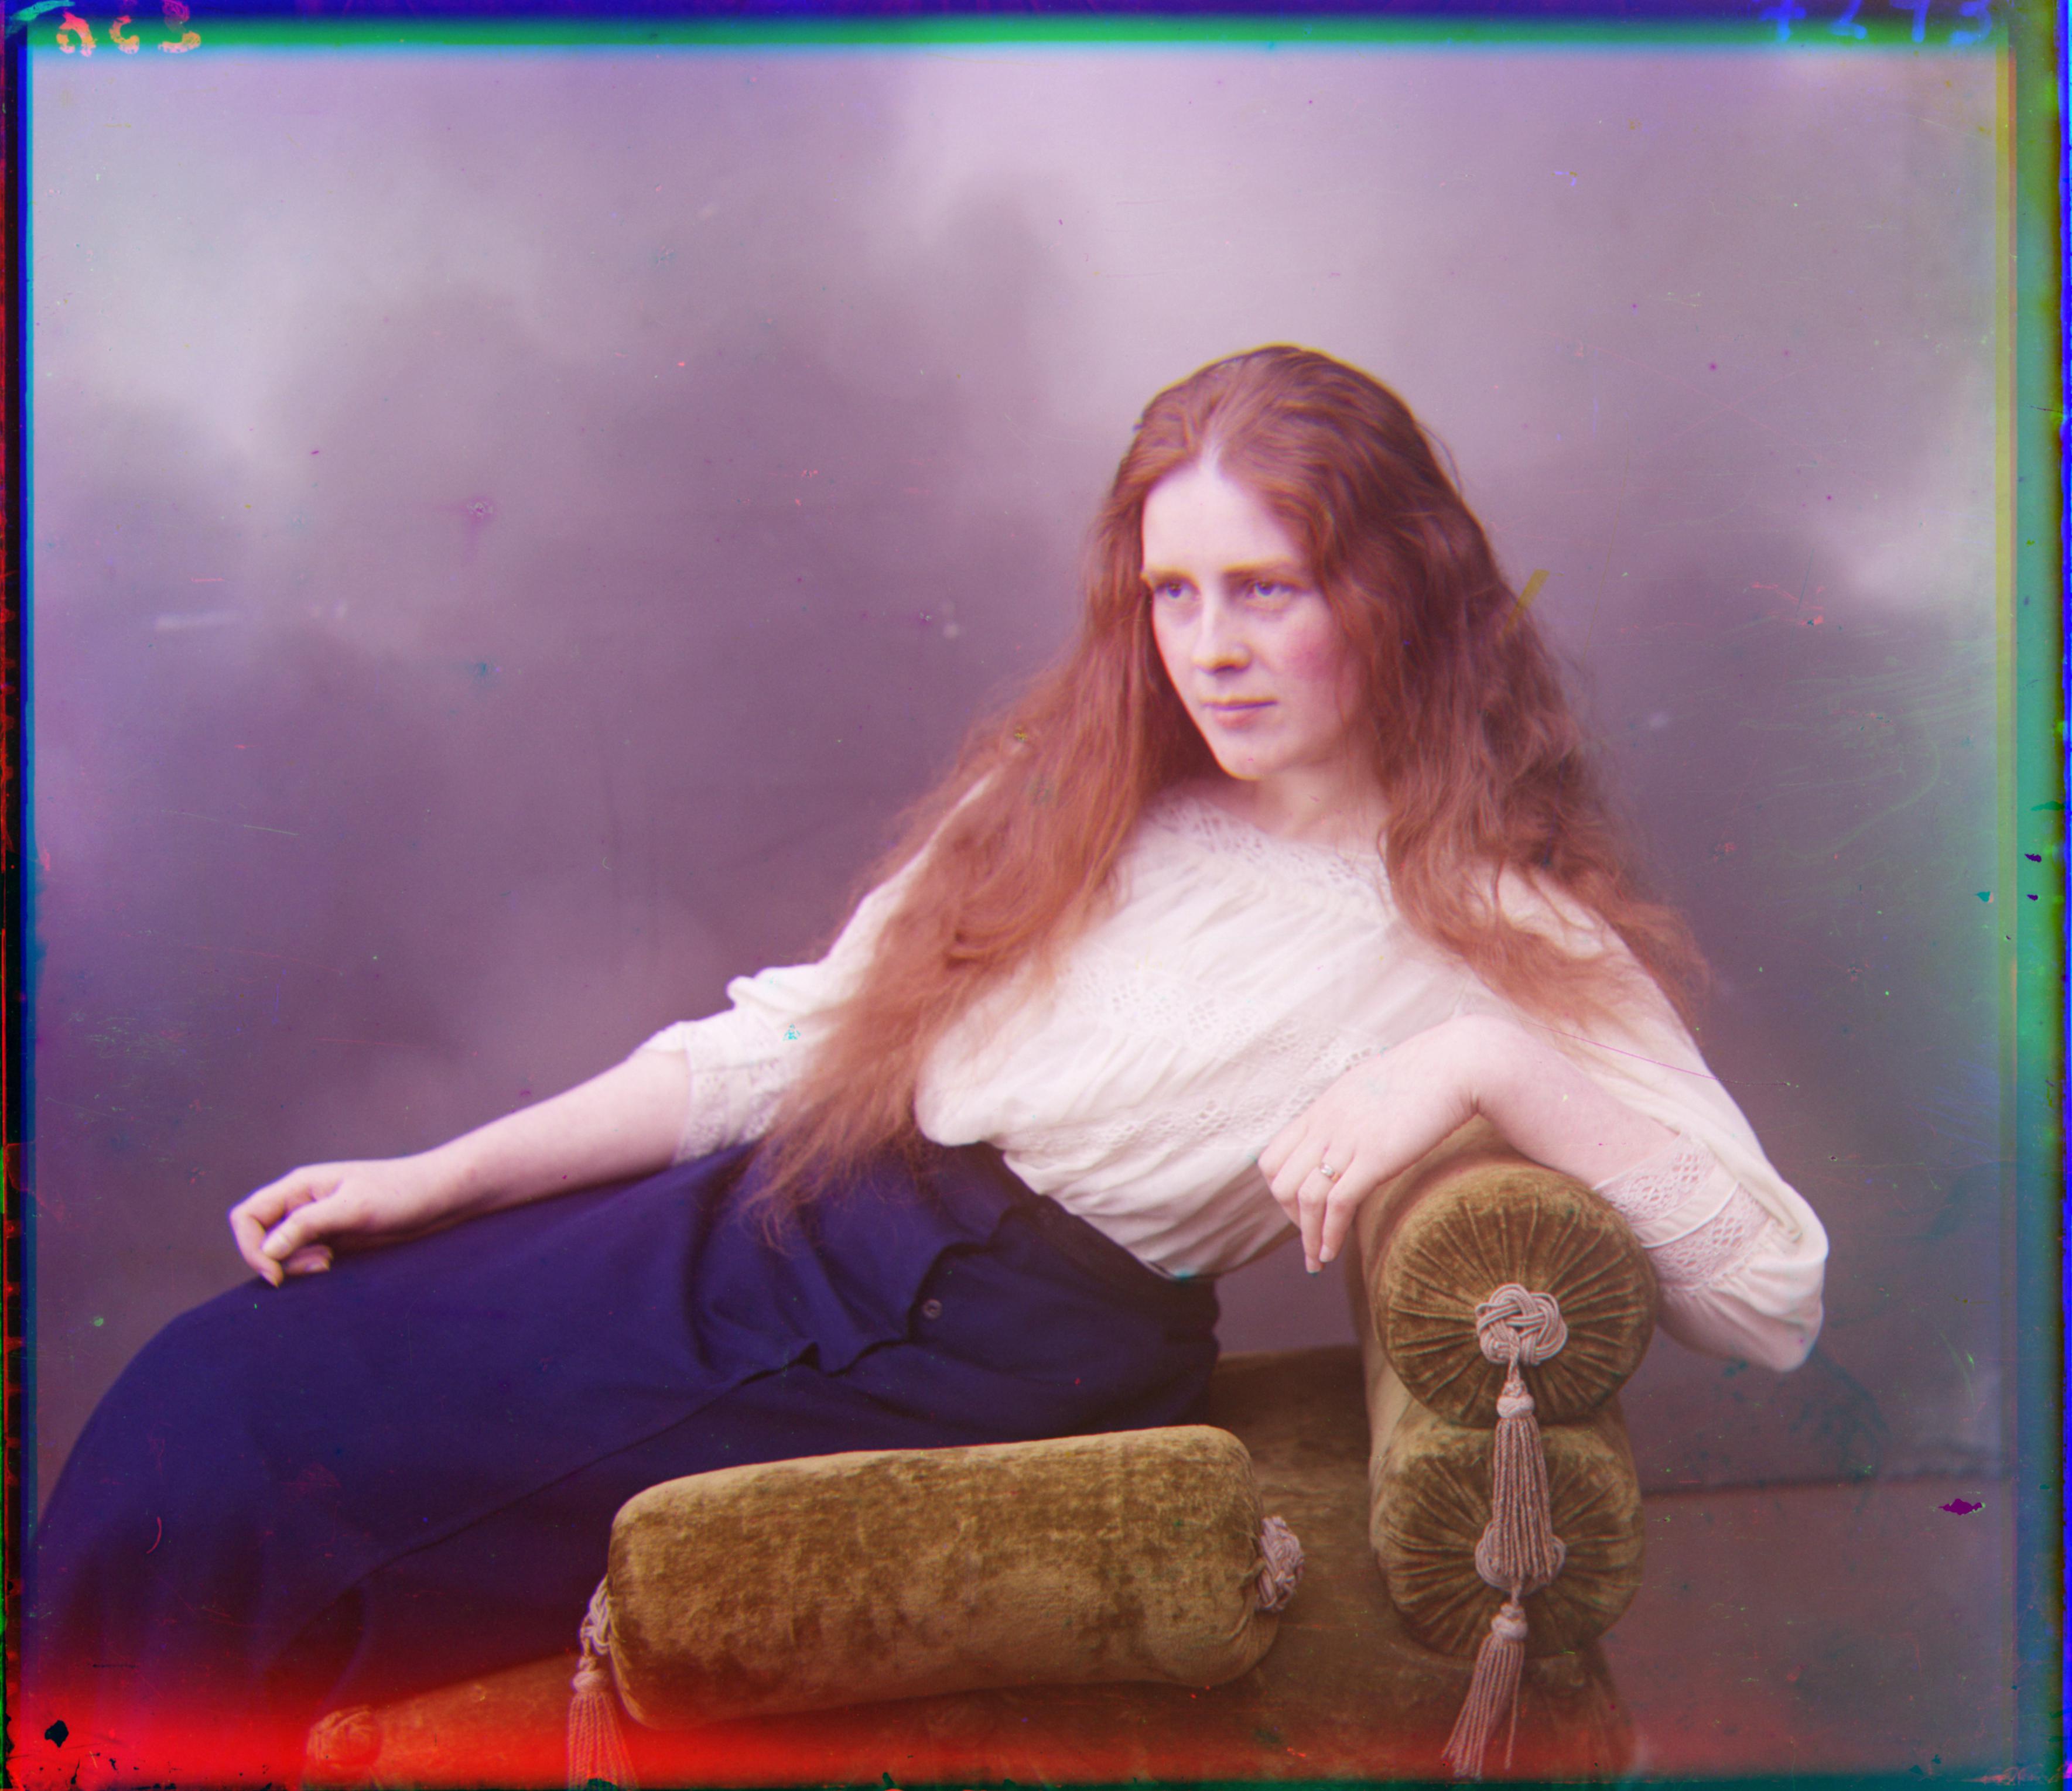
Lady
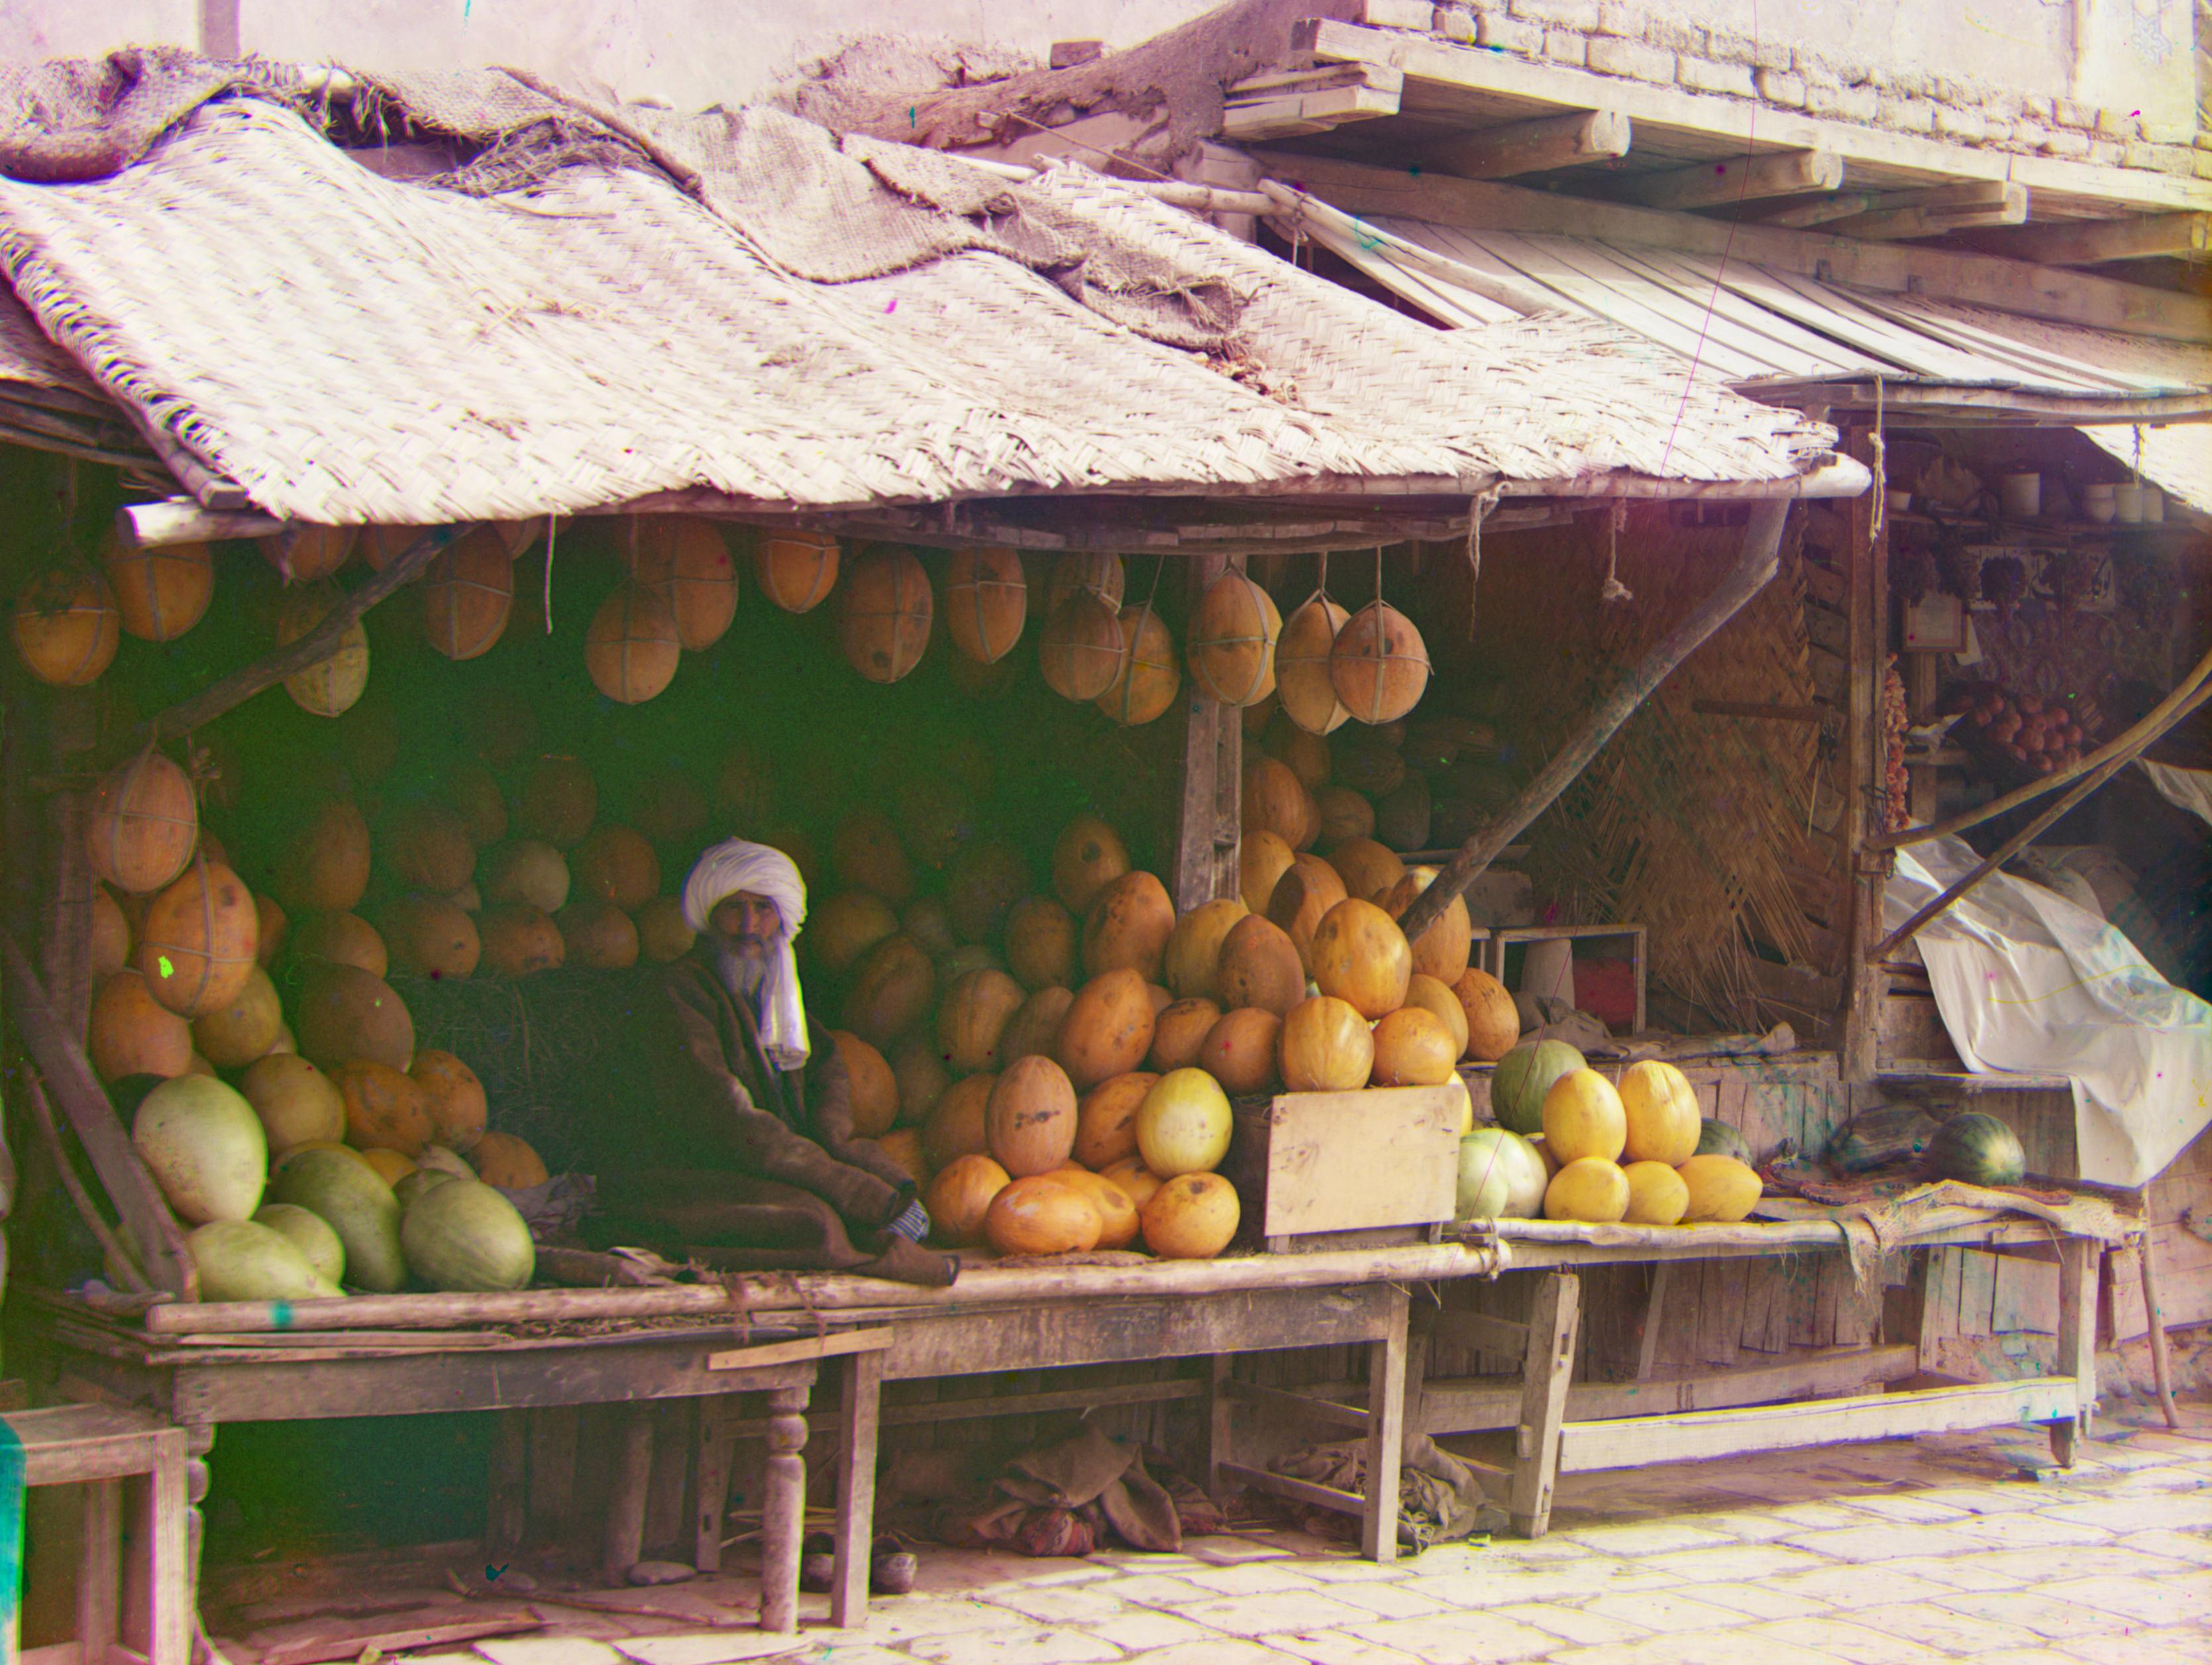
Melons
Onion Church
Self Portrait
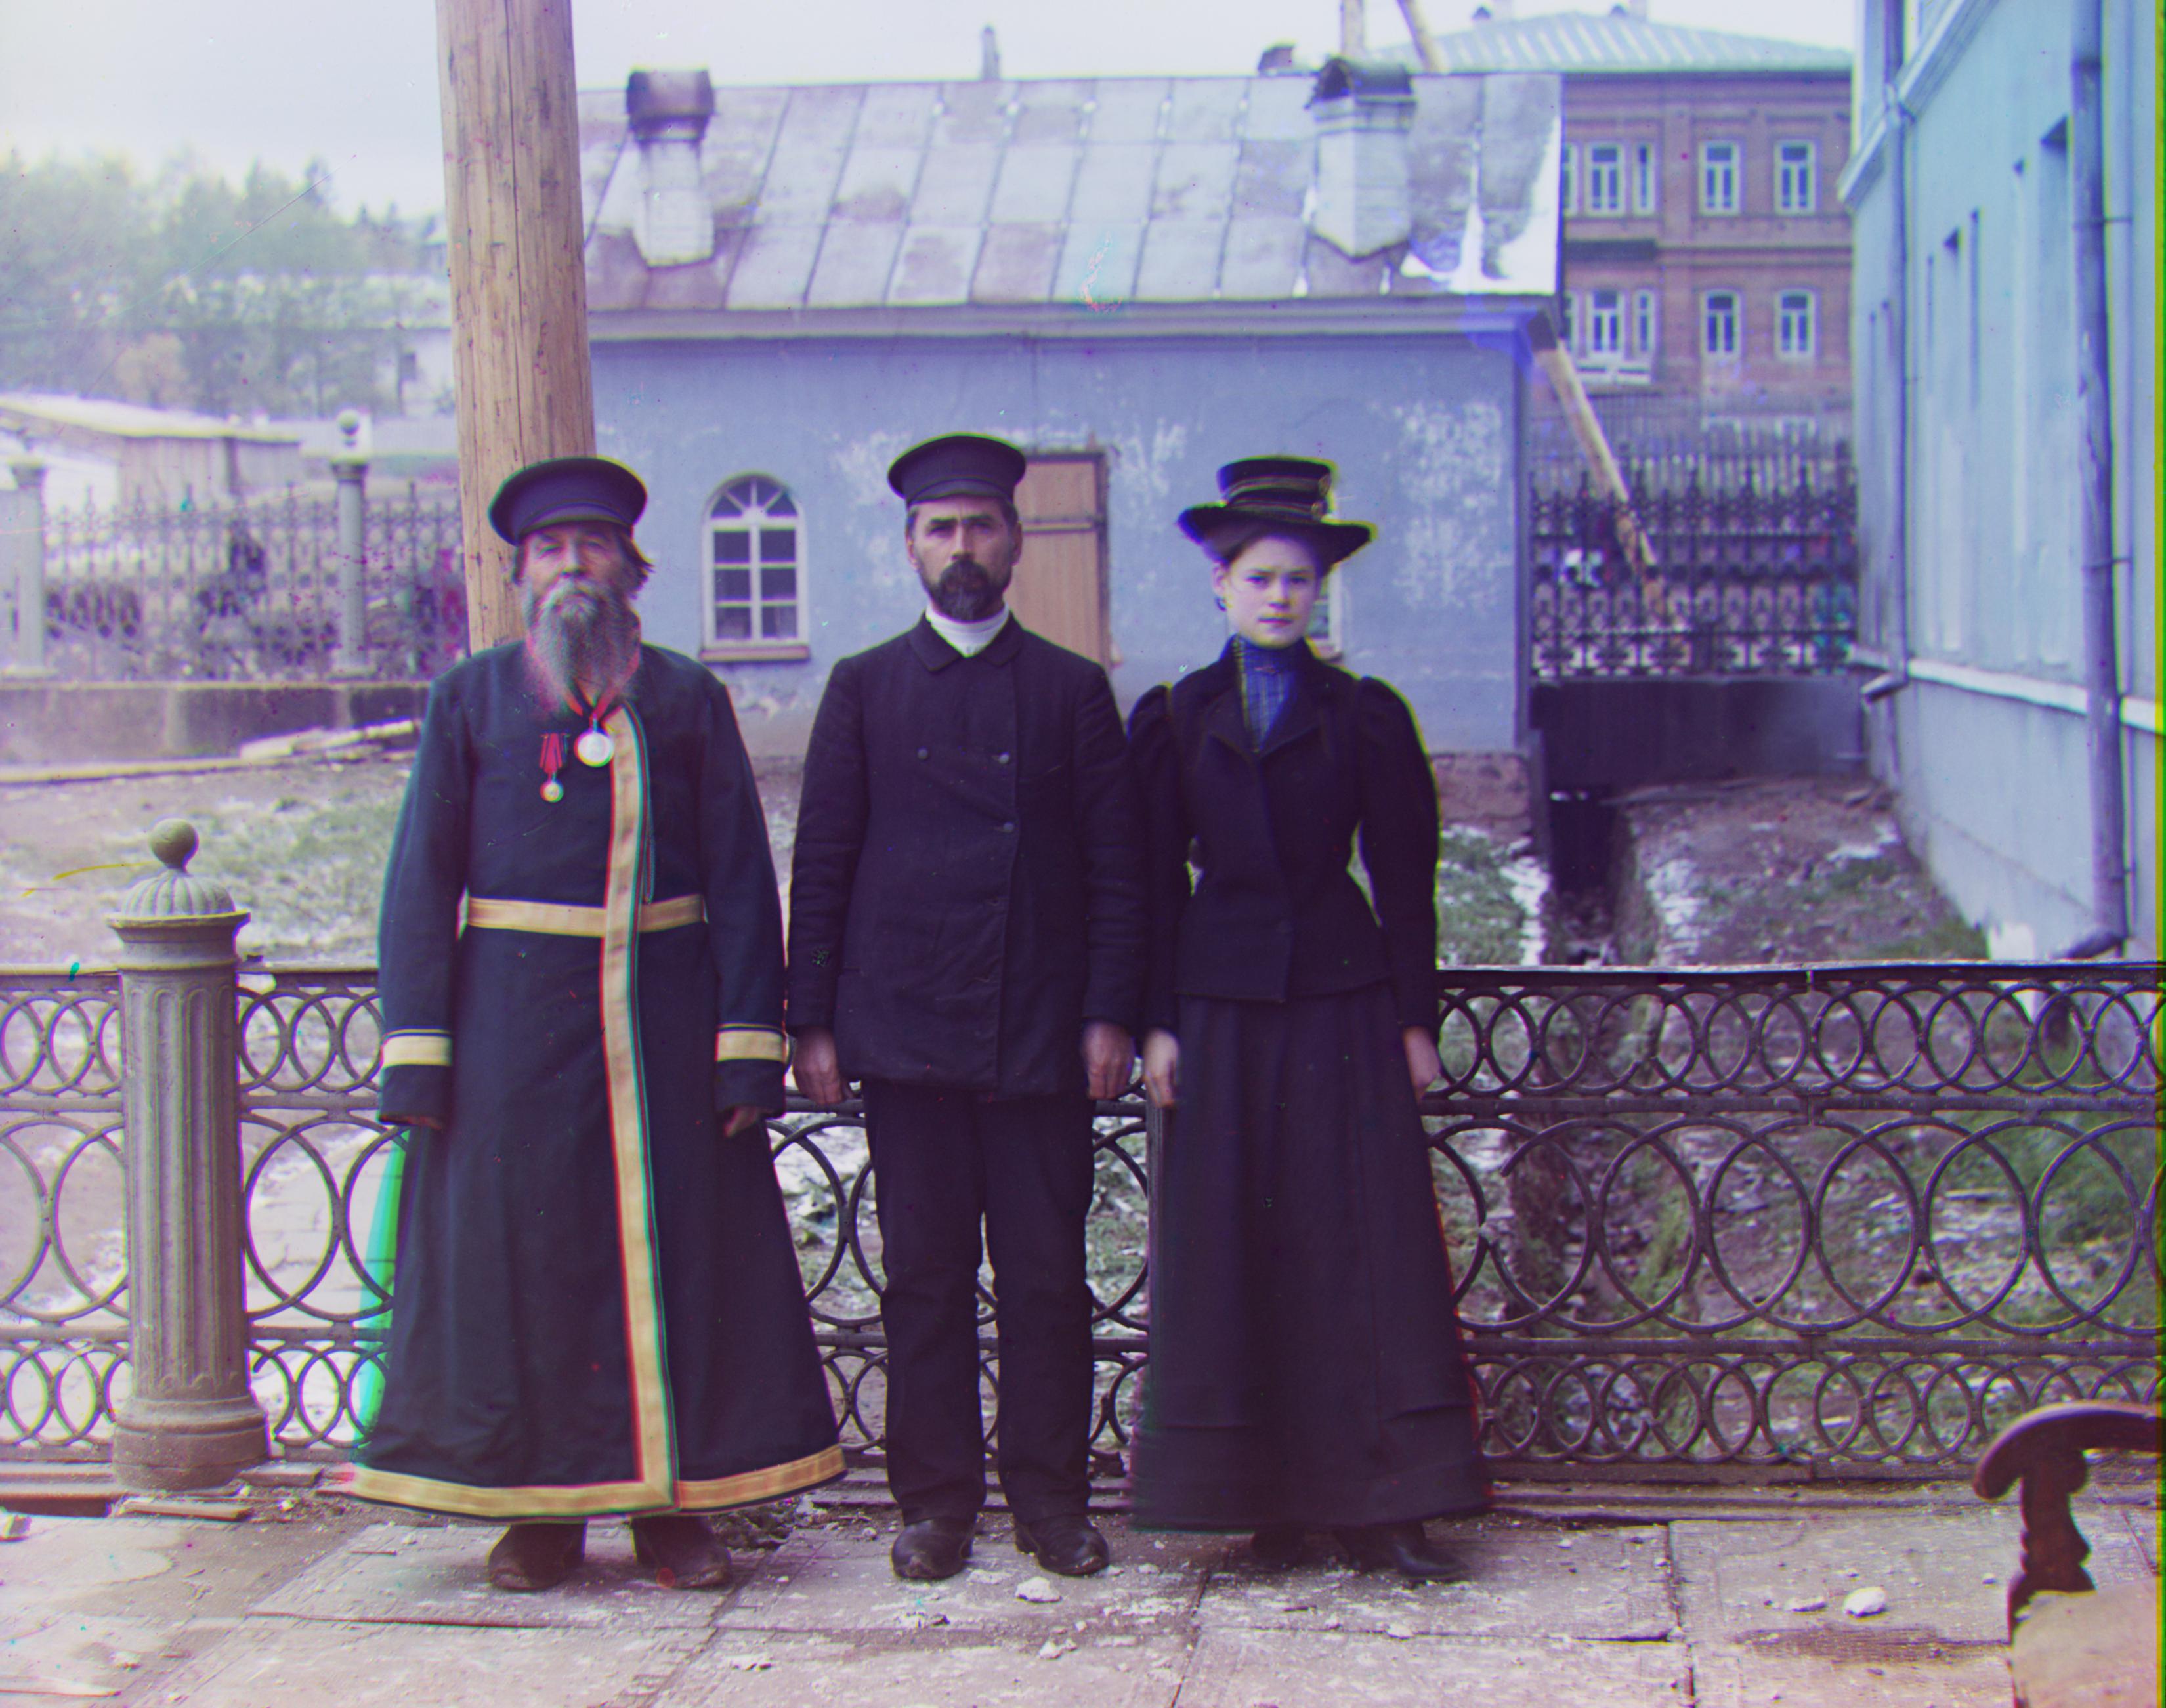
Three Generations
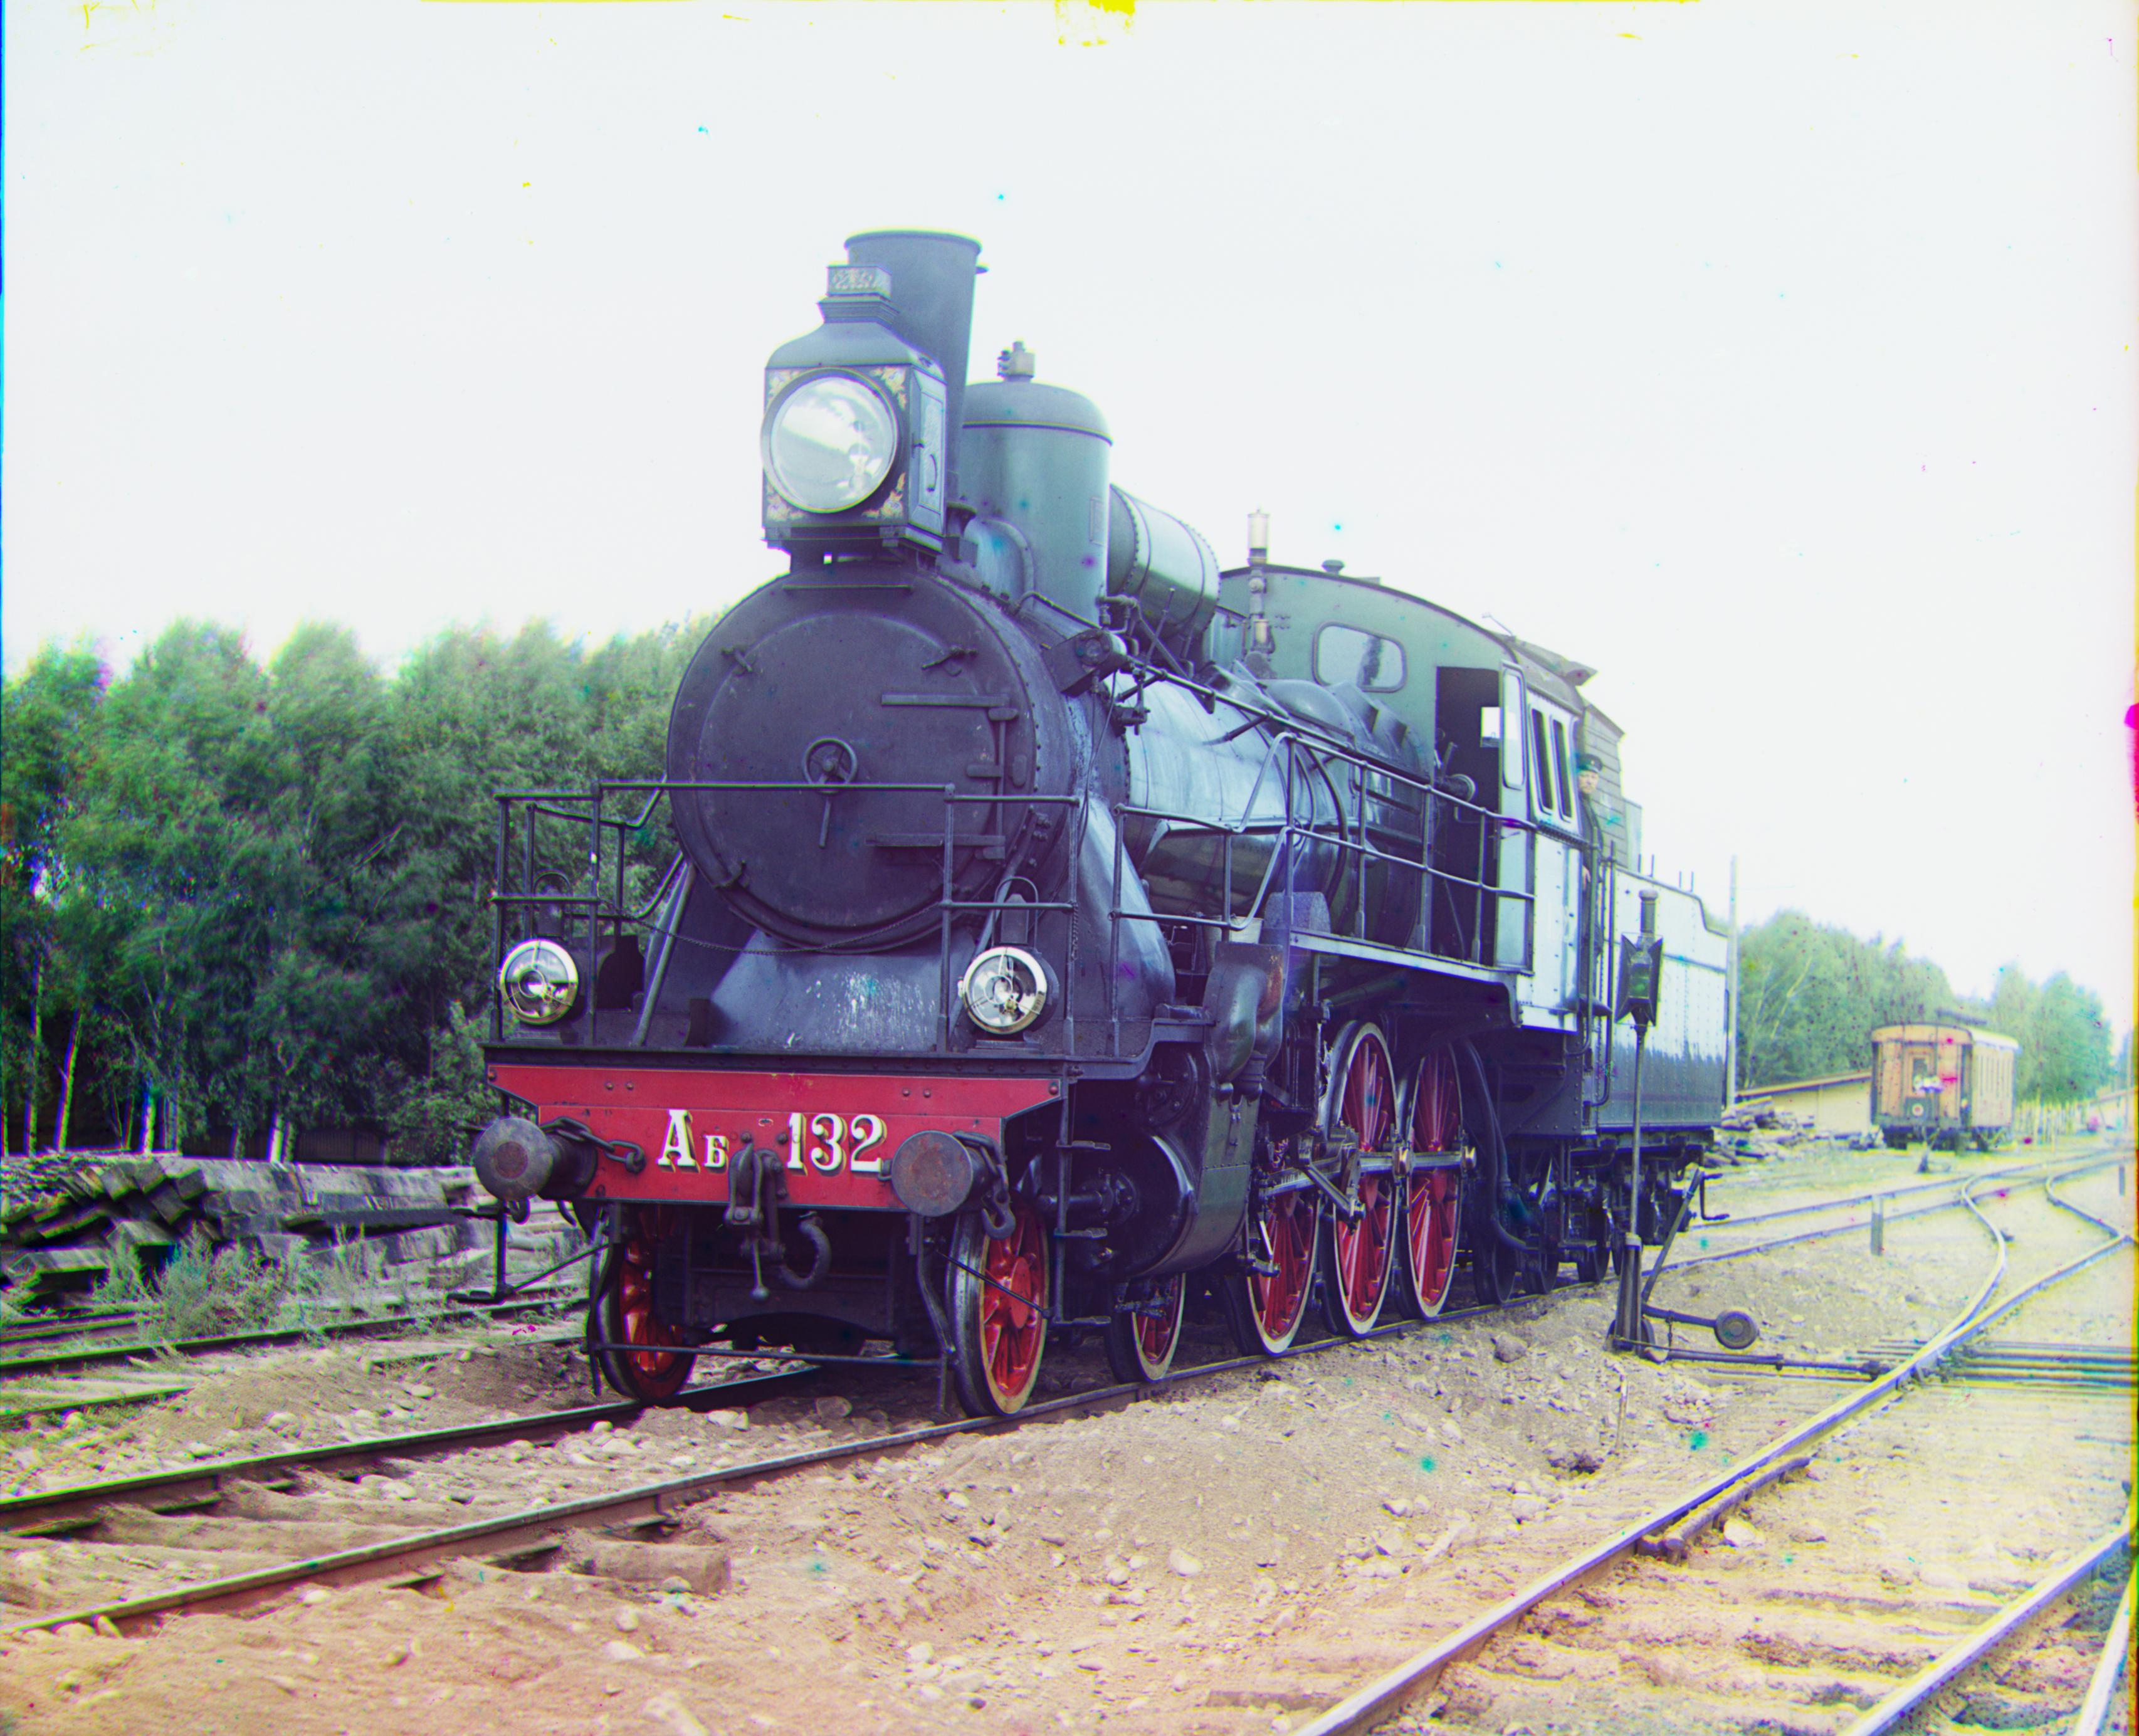
Train
Workshop

Some More Images From the Collection (My Choice)
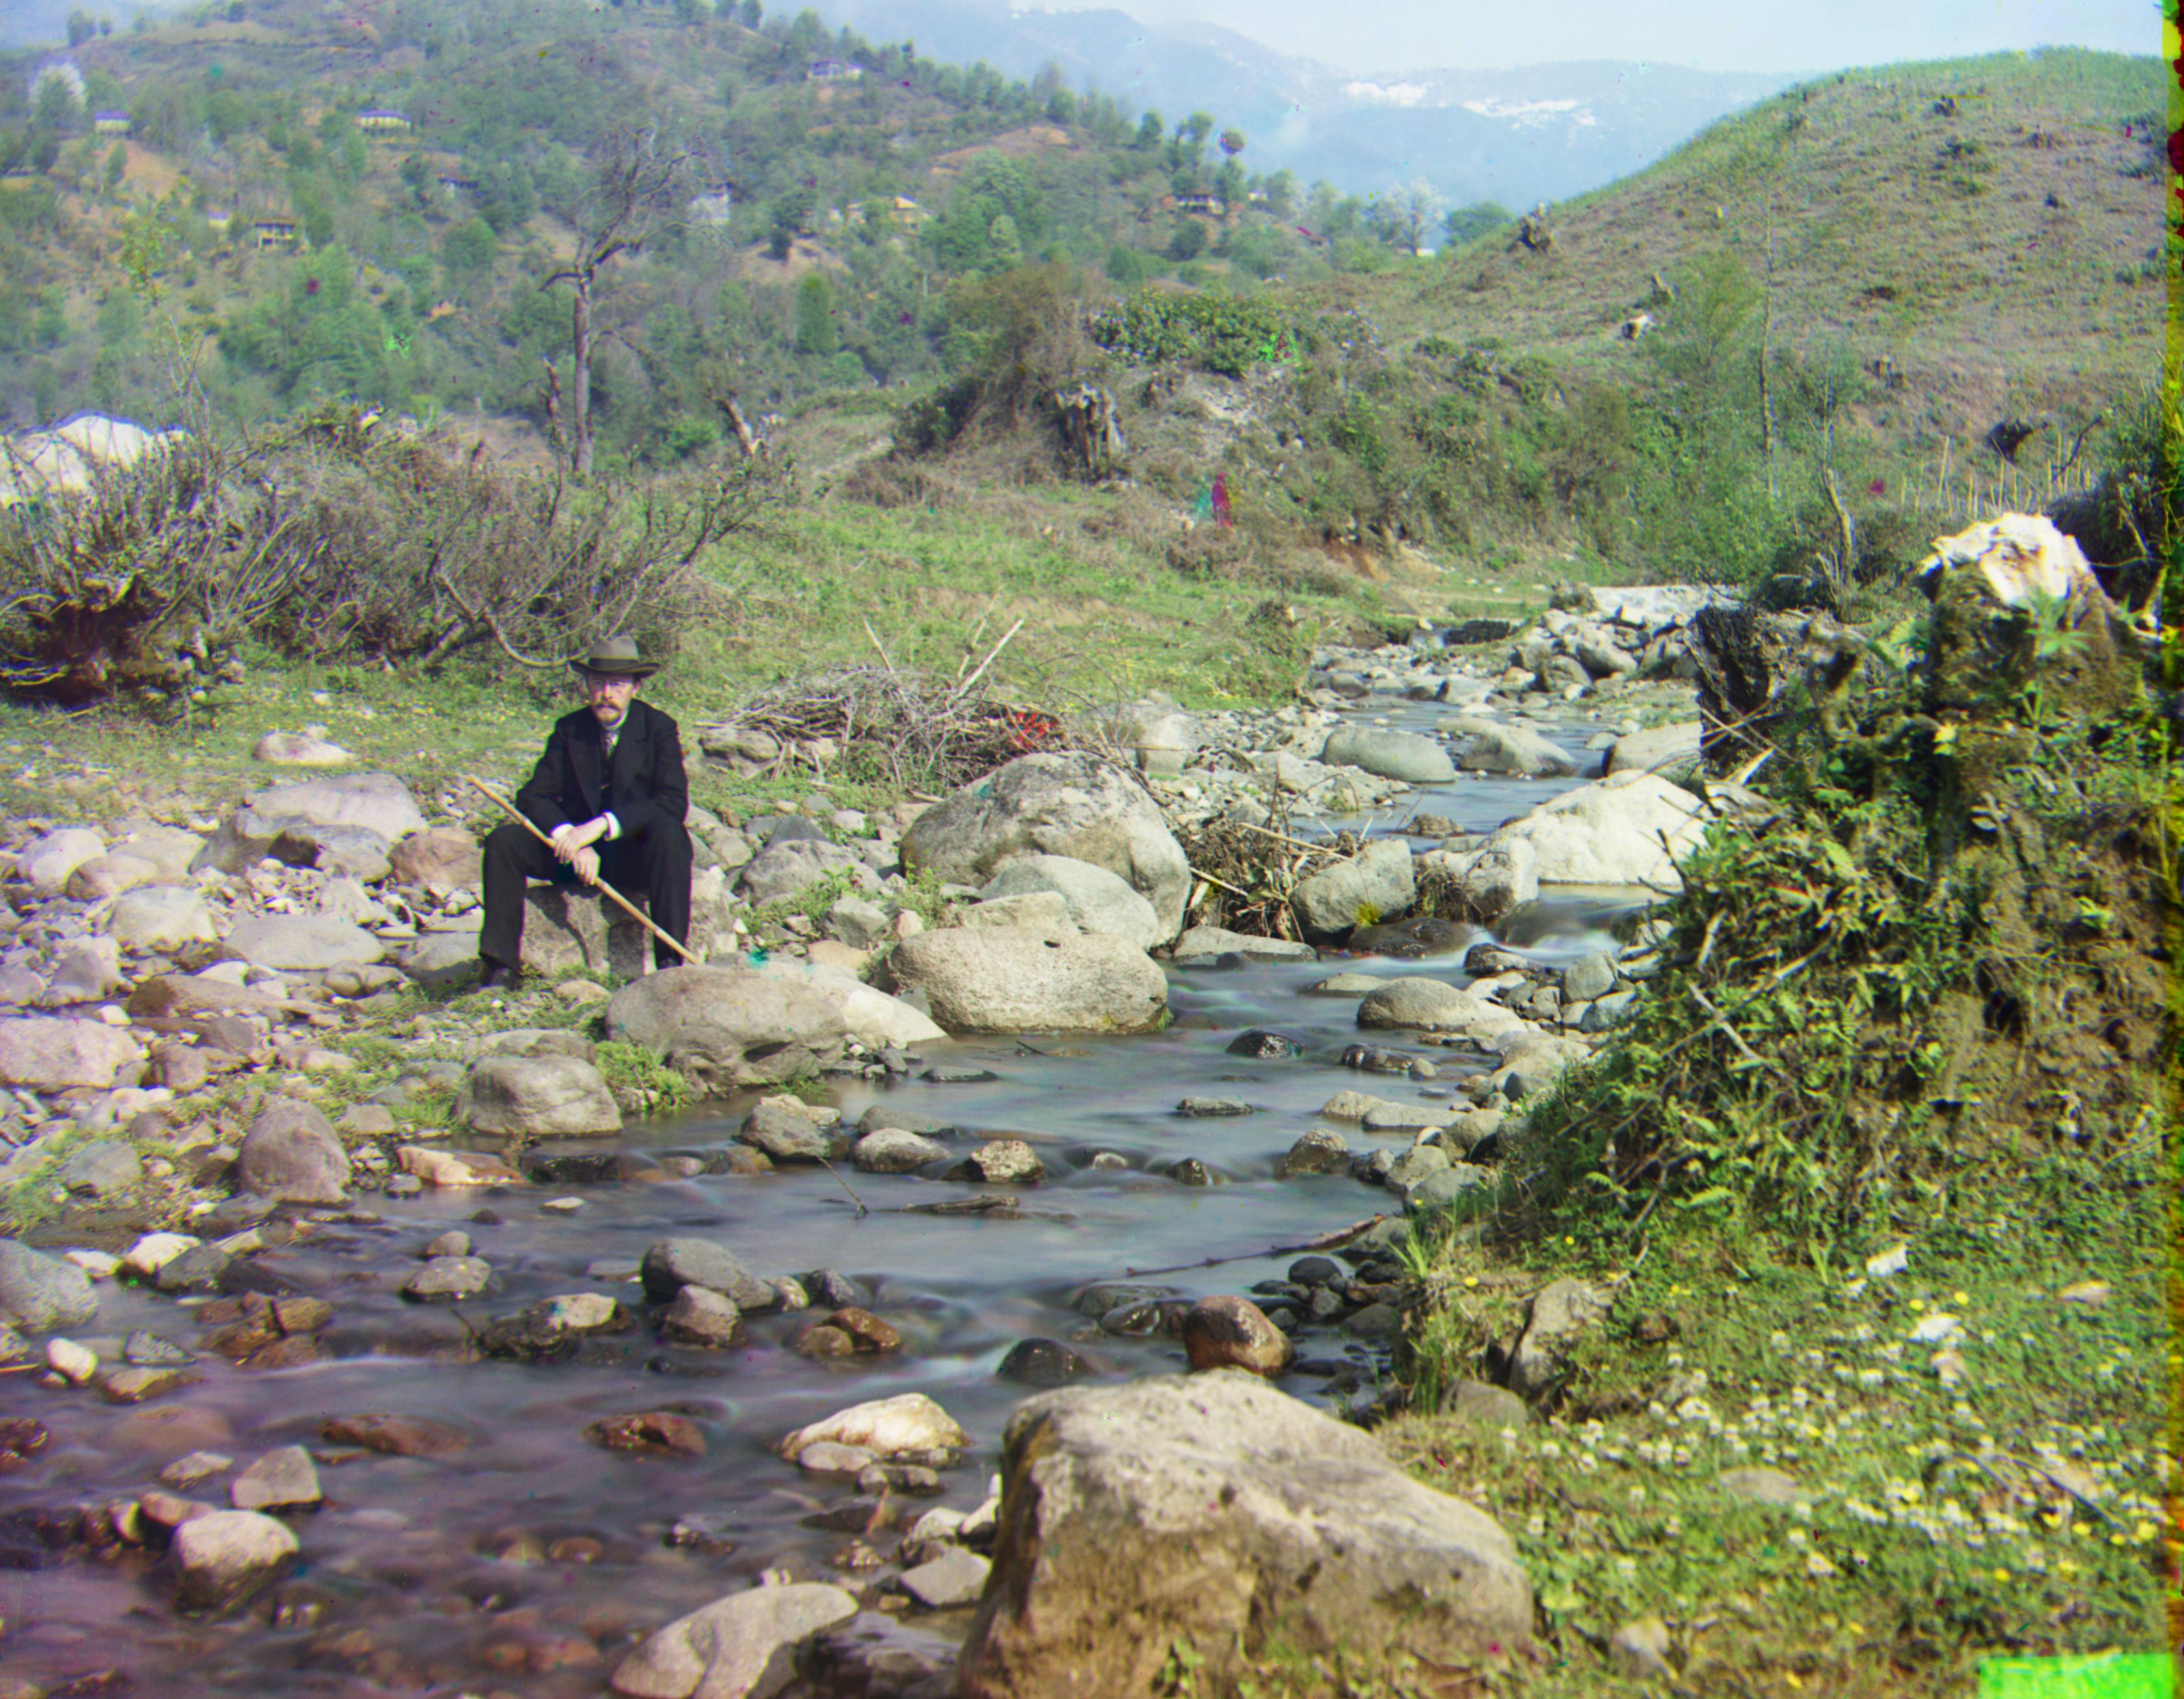
Stone Gate
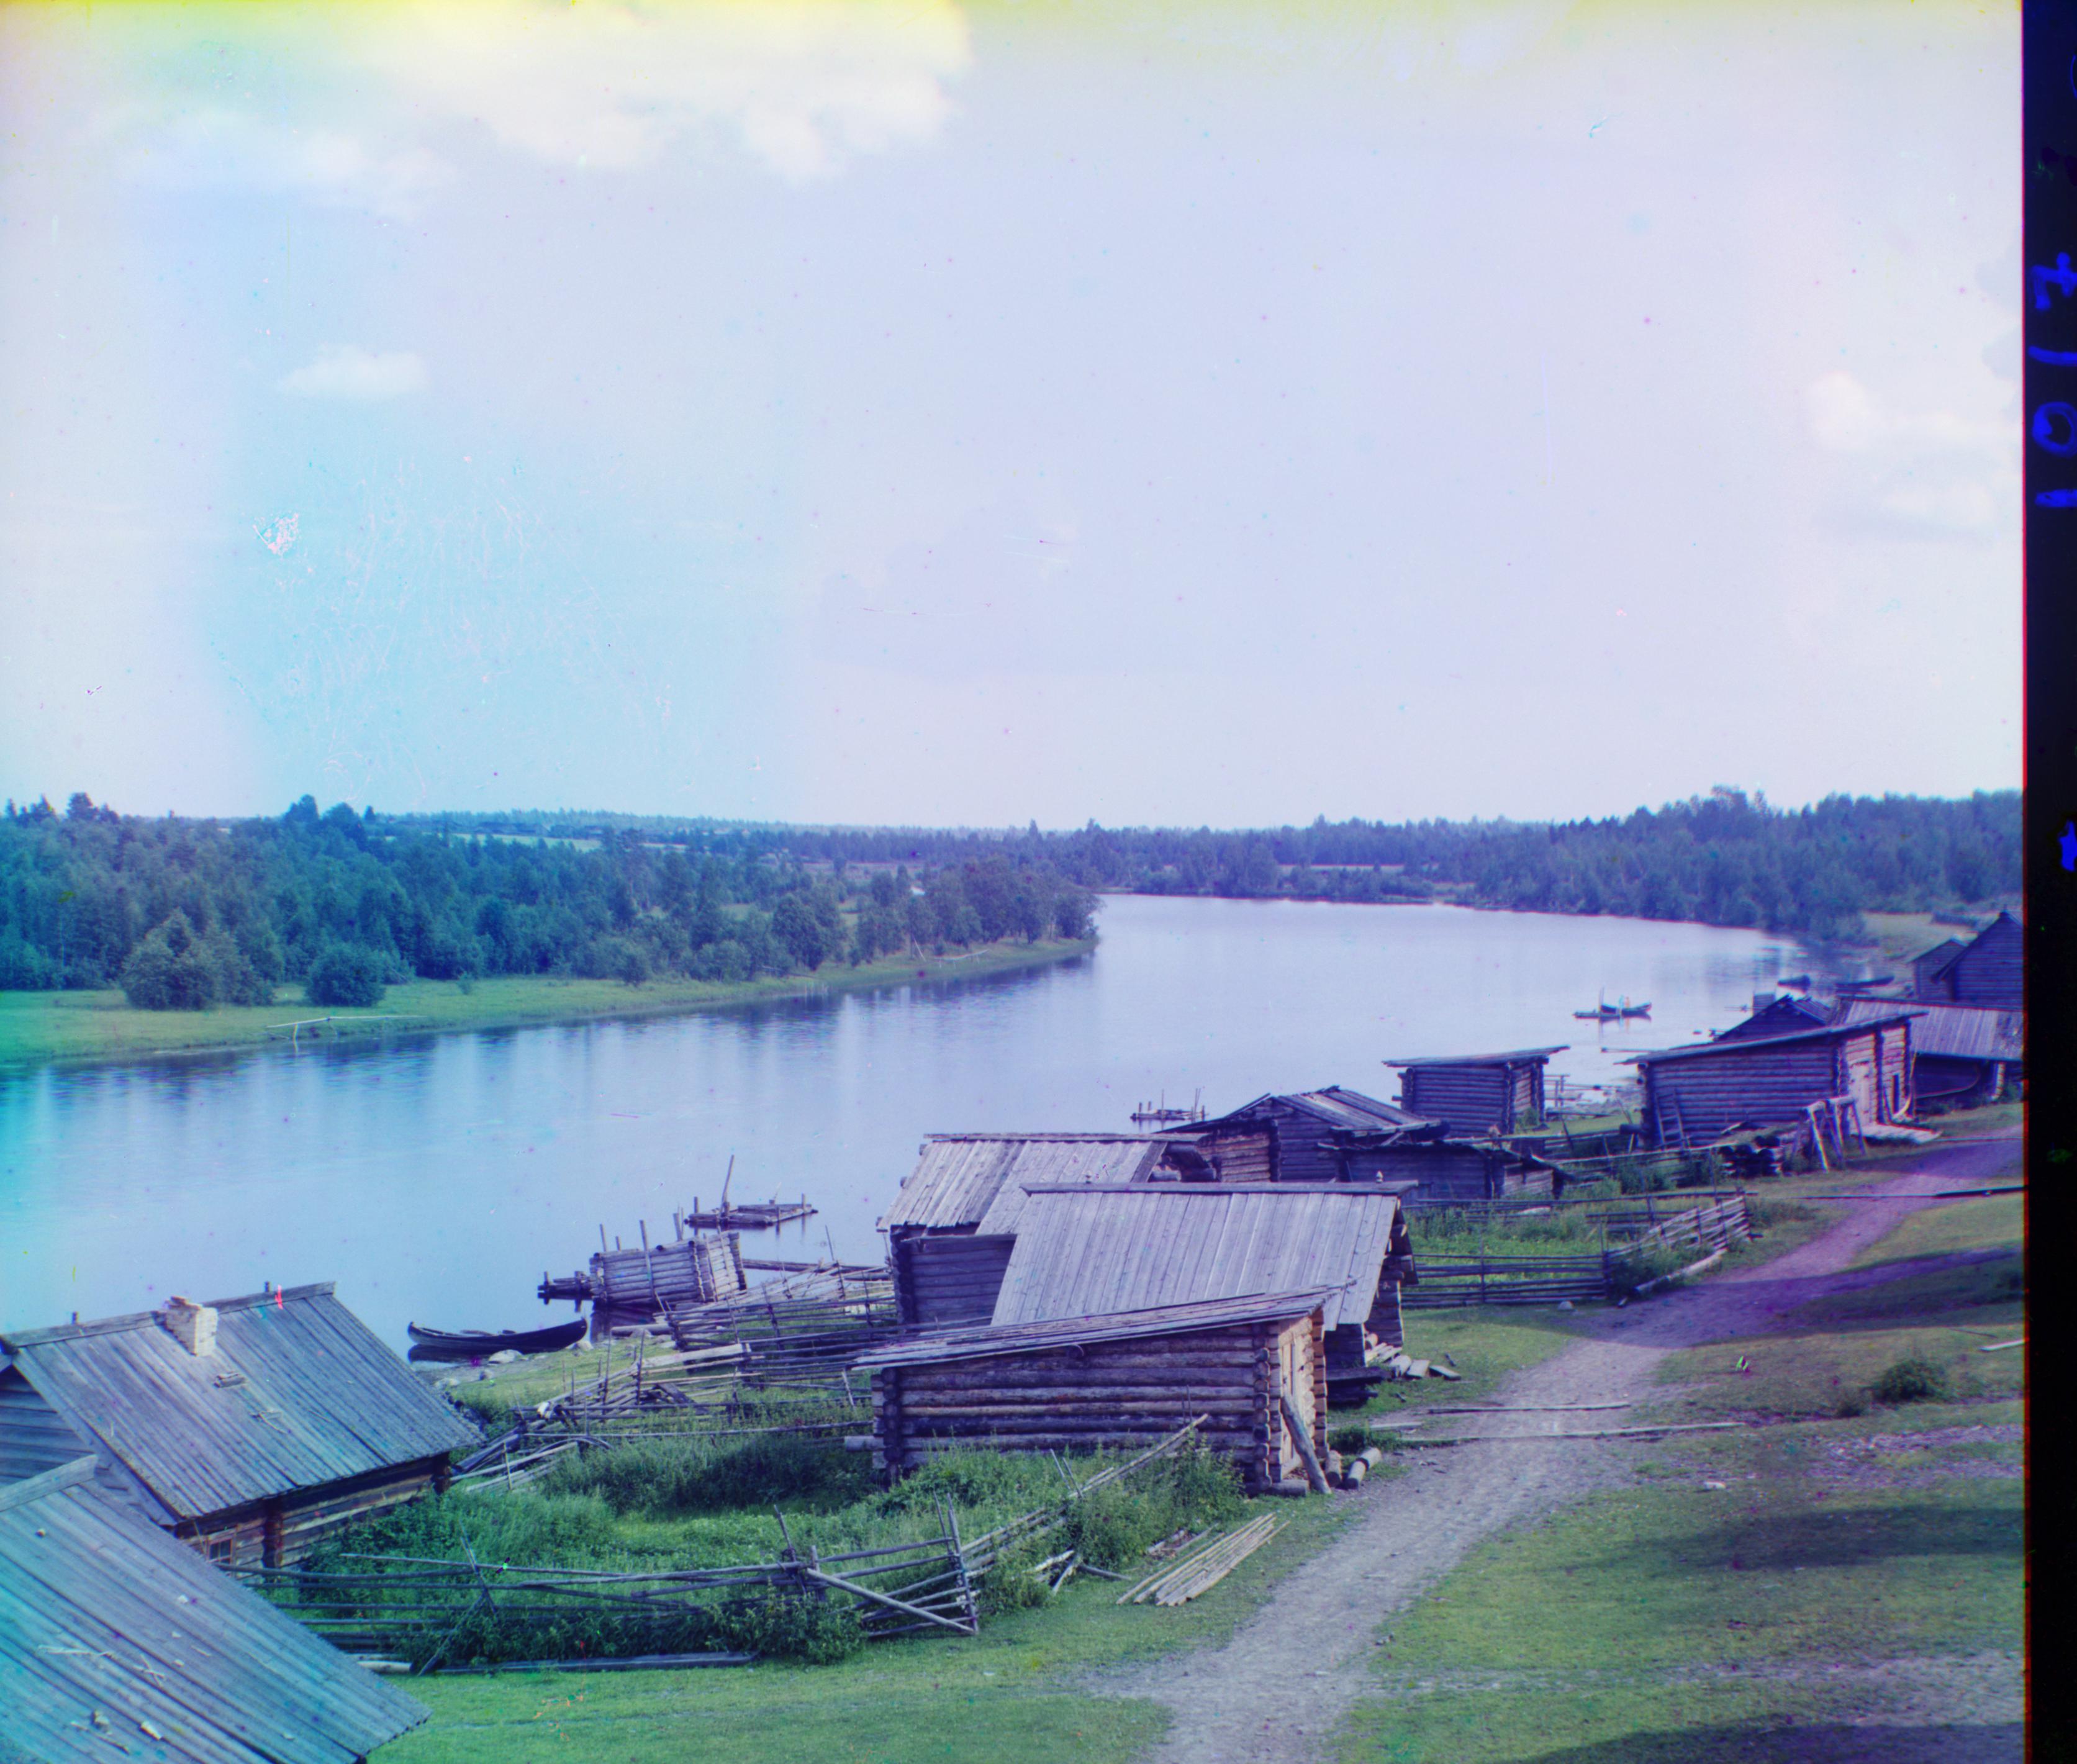
Suna River
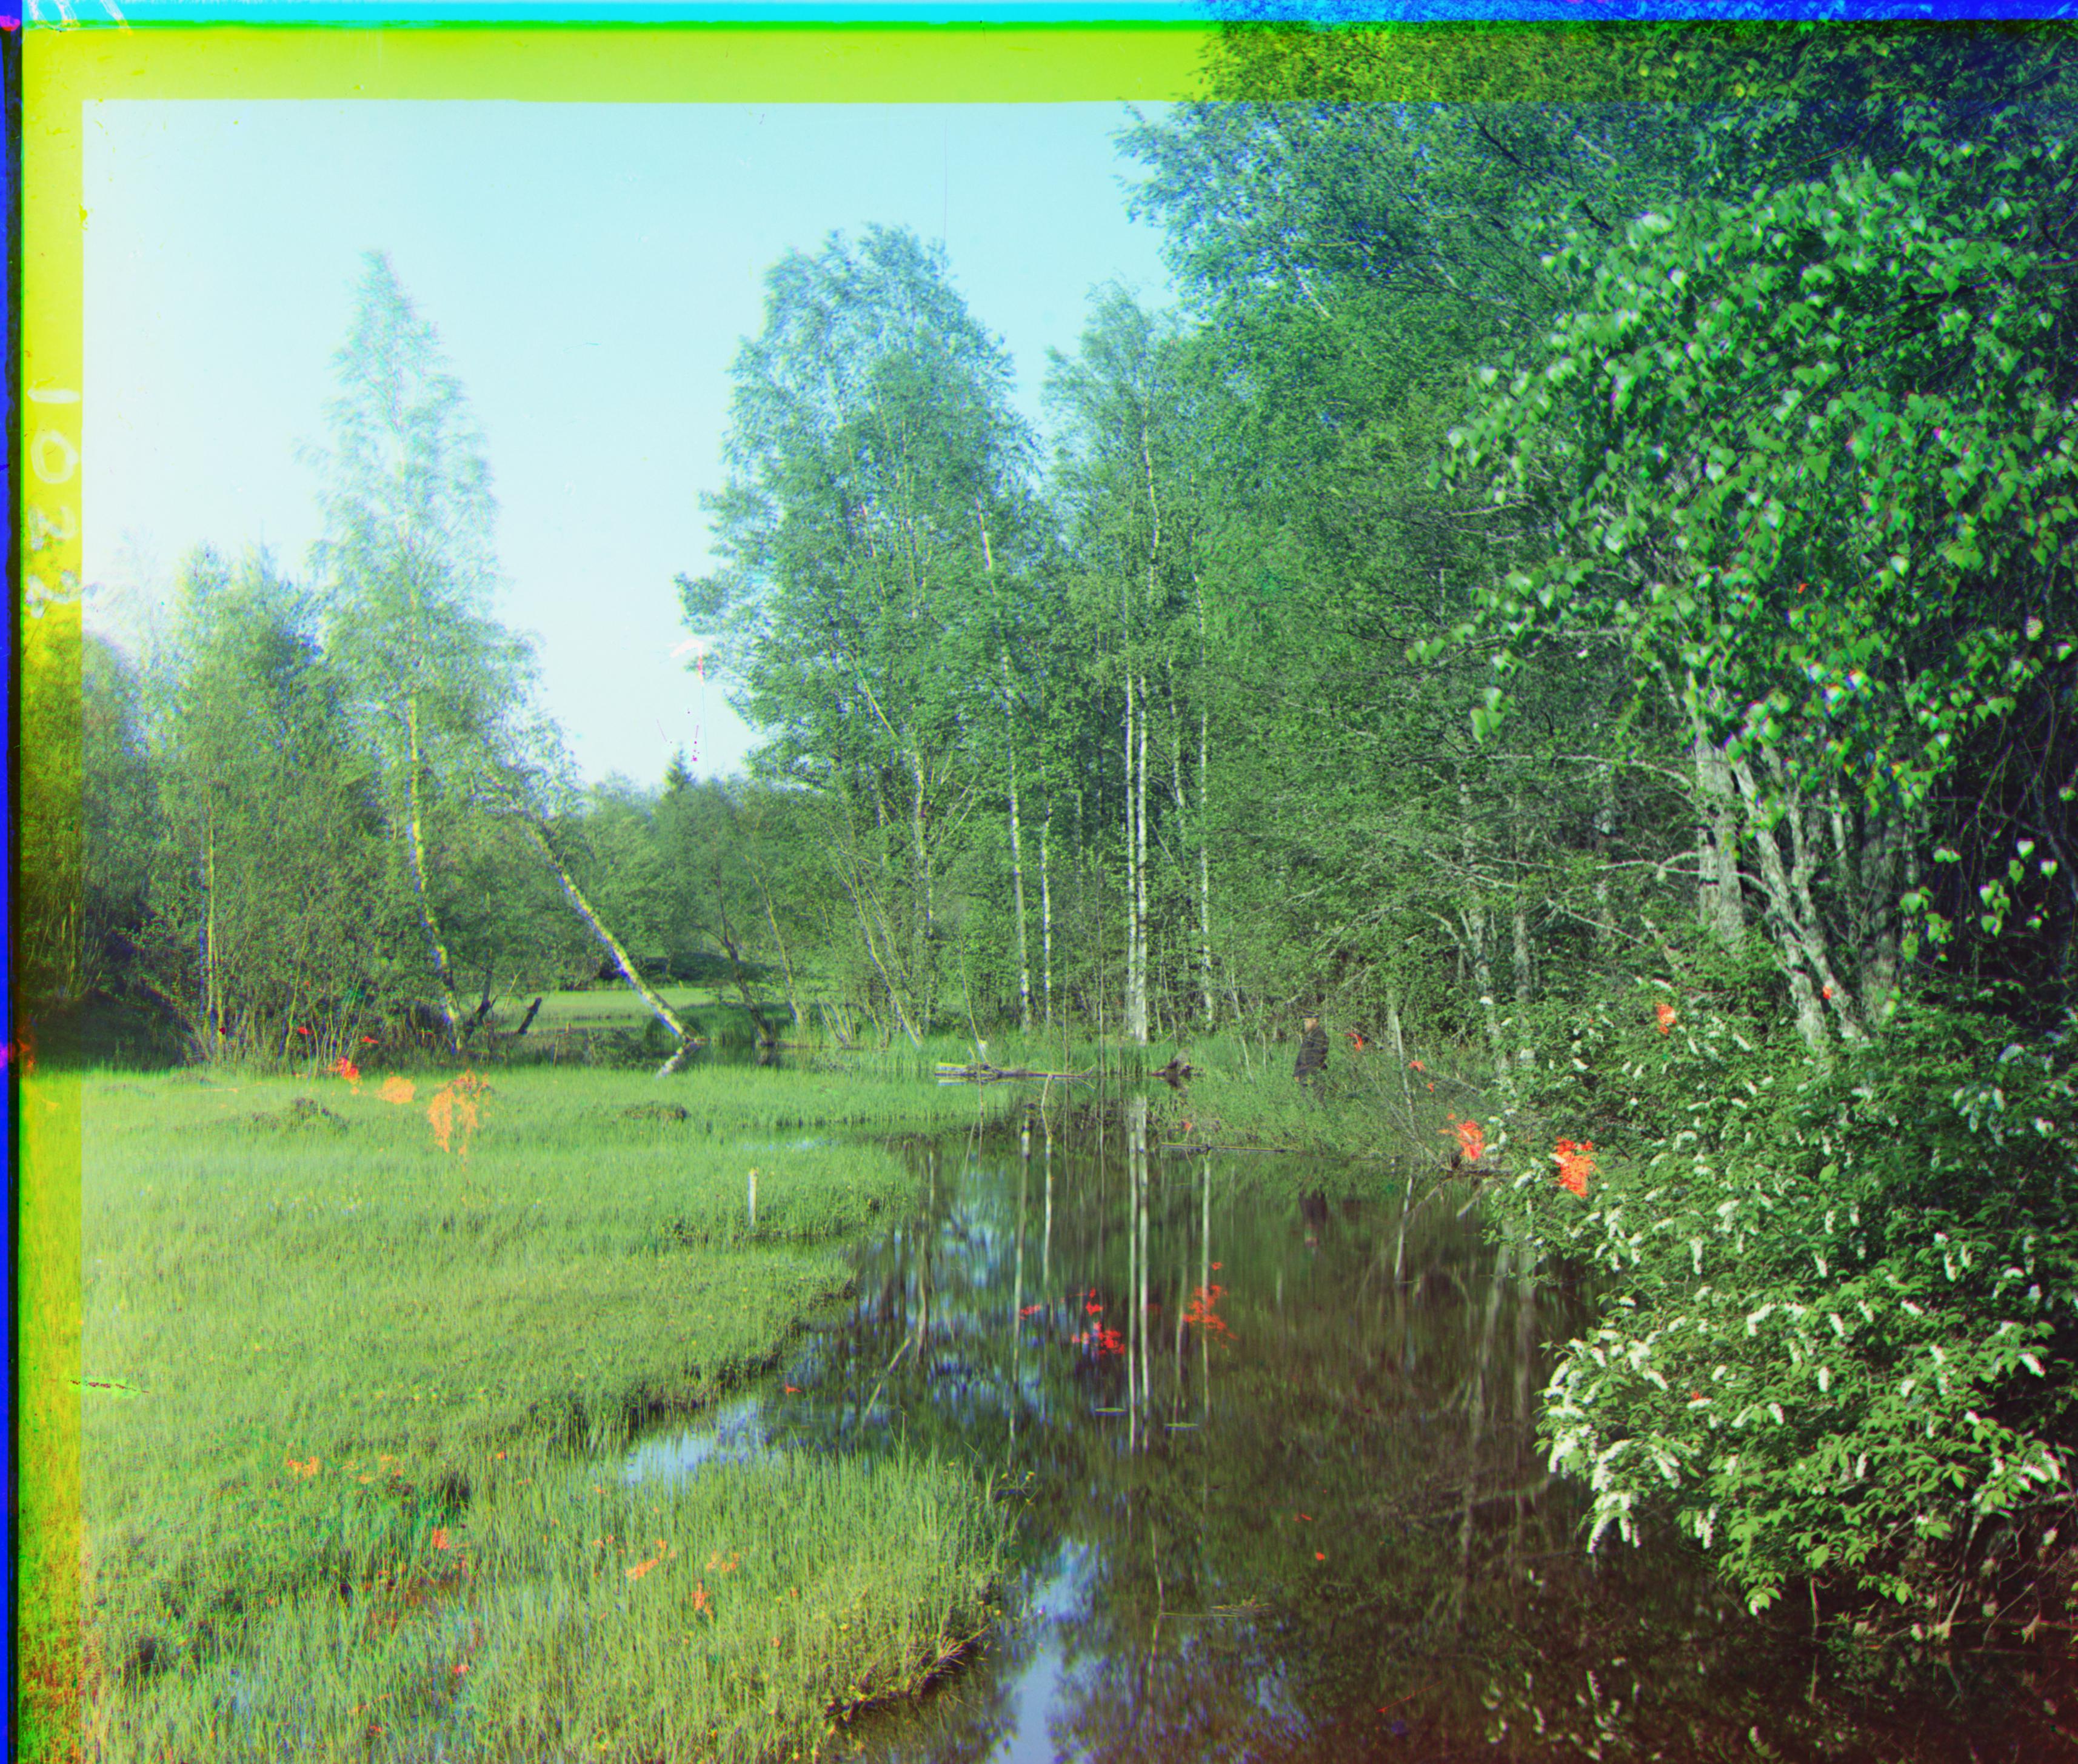
Cheremukha
Cropping Borders (Extra Credit)
Without cropping the borders, the images have all sorts of weird stuff on the edges. It can be a combination of color highlights, black sections, and white sections. I wanted to automatically crop these "weird" borders. Lets look at the Monastery to demonstrate how cropping works. Below is what the aligned Monastery looks like without cropping:
We can perform Canny edge detection to get all the edges within the image. Below is the computed edges for the Monastery:
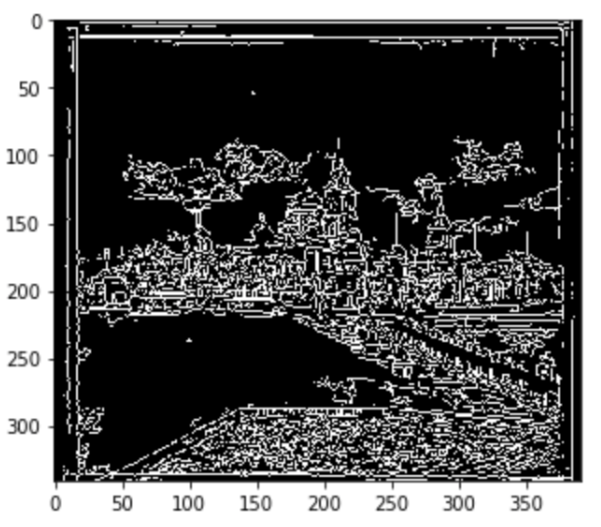
As we can see there are edges in the places where these weird borders meet the central content of the image. Thus we can find the location of these edges and crop them off. However we can see from the edges above that they are not perfect. Thus we must recursively cut off edges because sometimes a white and black border exist on the same side. Thus we will pick around 200 location on the side that needs to be cropped and then we will traverse the perpendicular axis on these locations until we hit an edge. We will average the edge location for all these 200 locations and crop the average edge location. This will be done for all the sides. The final result of cropping the Monastery is shown below:
.jpg)
Cropping the edges works well for almost all the images. However there are a few cases where the border cropping does not do a great job. The Lady image still has weird borders after the cropping:
.jpg)