cathedral
Green Shift: [5, 2], Red Shift: [12, 3]
Sergei Mikhailovich Prokudin-Gorskii, who lived between 1863 and 1944, was a pioneer in color photography. In 1907, he started travelling across the Russian Empire, taking color photographs of everything he saw. He recorded 3 exposures of each image onto a glass plate, using 3 filters (red, green and blue). He did this assuming that with time would come specialized projectors that would be able to process these negatives and show full color images of his travels across Russia. Unfortunately, this was only done after his death, but nevertheless, his plate glass negatives survived and have been digitized by the Library of Congress. We'll try to do it too in this project, but automatically!
For the first section of the project, I implemented an align method that exhaustively searches over a displacement window which can be altered in the method parameters (default is -15 to 15). I implemented both the Sum of Squared Differences (SSD) algorithm and Normalized Cross-Correlation (NCC) algorithm and ran a few tests as to which one produced a better output image when minimized. SSD did much better and was faster, so I stuck to using that for the remainder of the project. Note: as noted by Prof. Efros, I chose to only do a similarity search on the middle portion of the image. Thus, I cut off 20% of the image on all sides before running the search algorithm.
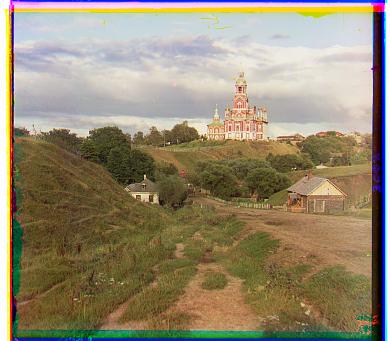
Below are the smaller JPEG images in the input data, run on the exhaustive alignment search using SSD with a window of (-15, 15).
Green Shift: [5, 2], Red Shift: [12, 3]
Green Shift: [-3, 2], Red Shift: [3, 2]
Green Shift: [3, 3], Red Shift: [7, 3]
For the second part of the project, I implemented an image pyramid to be wrapped around the initial exhaustive alignment approach. By default, the image pyramid scales down the image by a factor of 1/2, 5 times (i.e., the smallest size is 1/32 the size of the original). The image pyramid algorithm searches the smallest / lowest level image first, finds the optimal shift, and uses that shift as the baseline for the next level, all the way to the top.
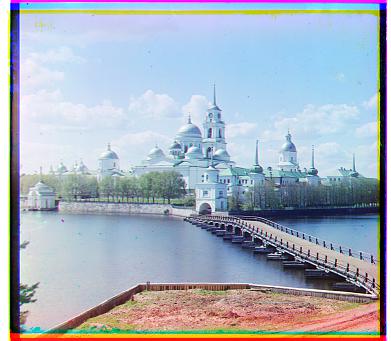
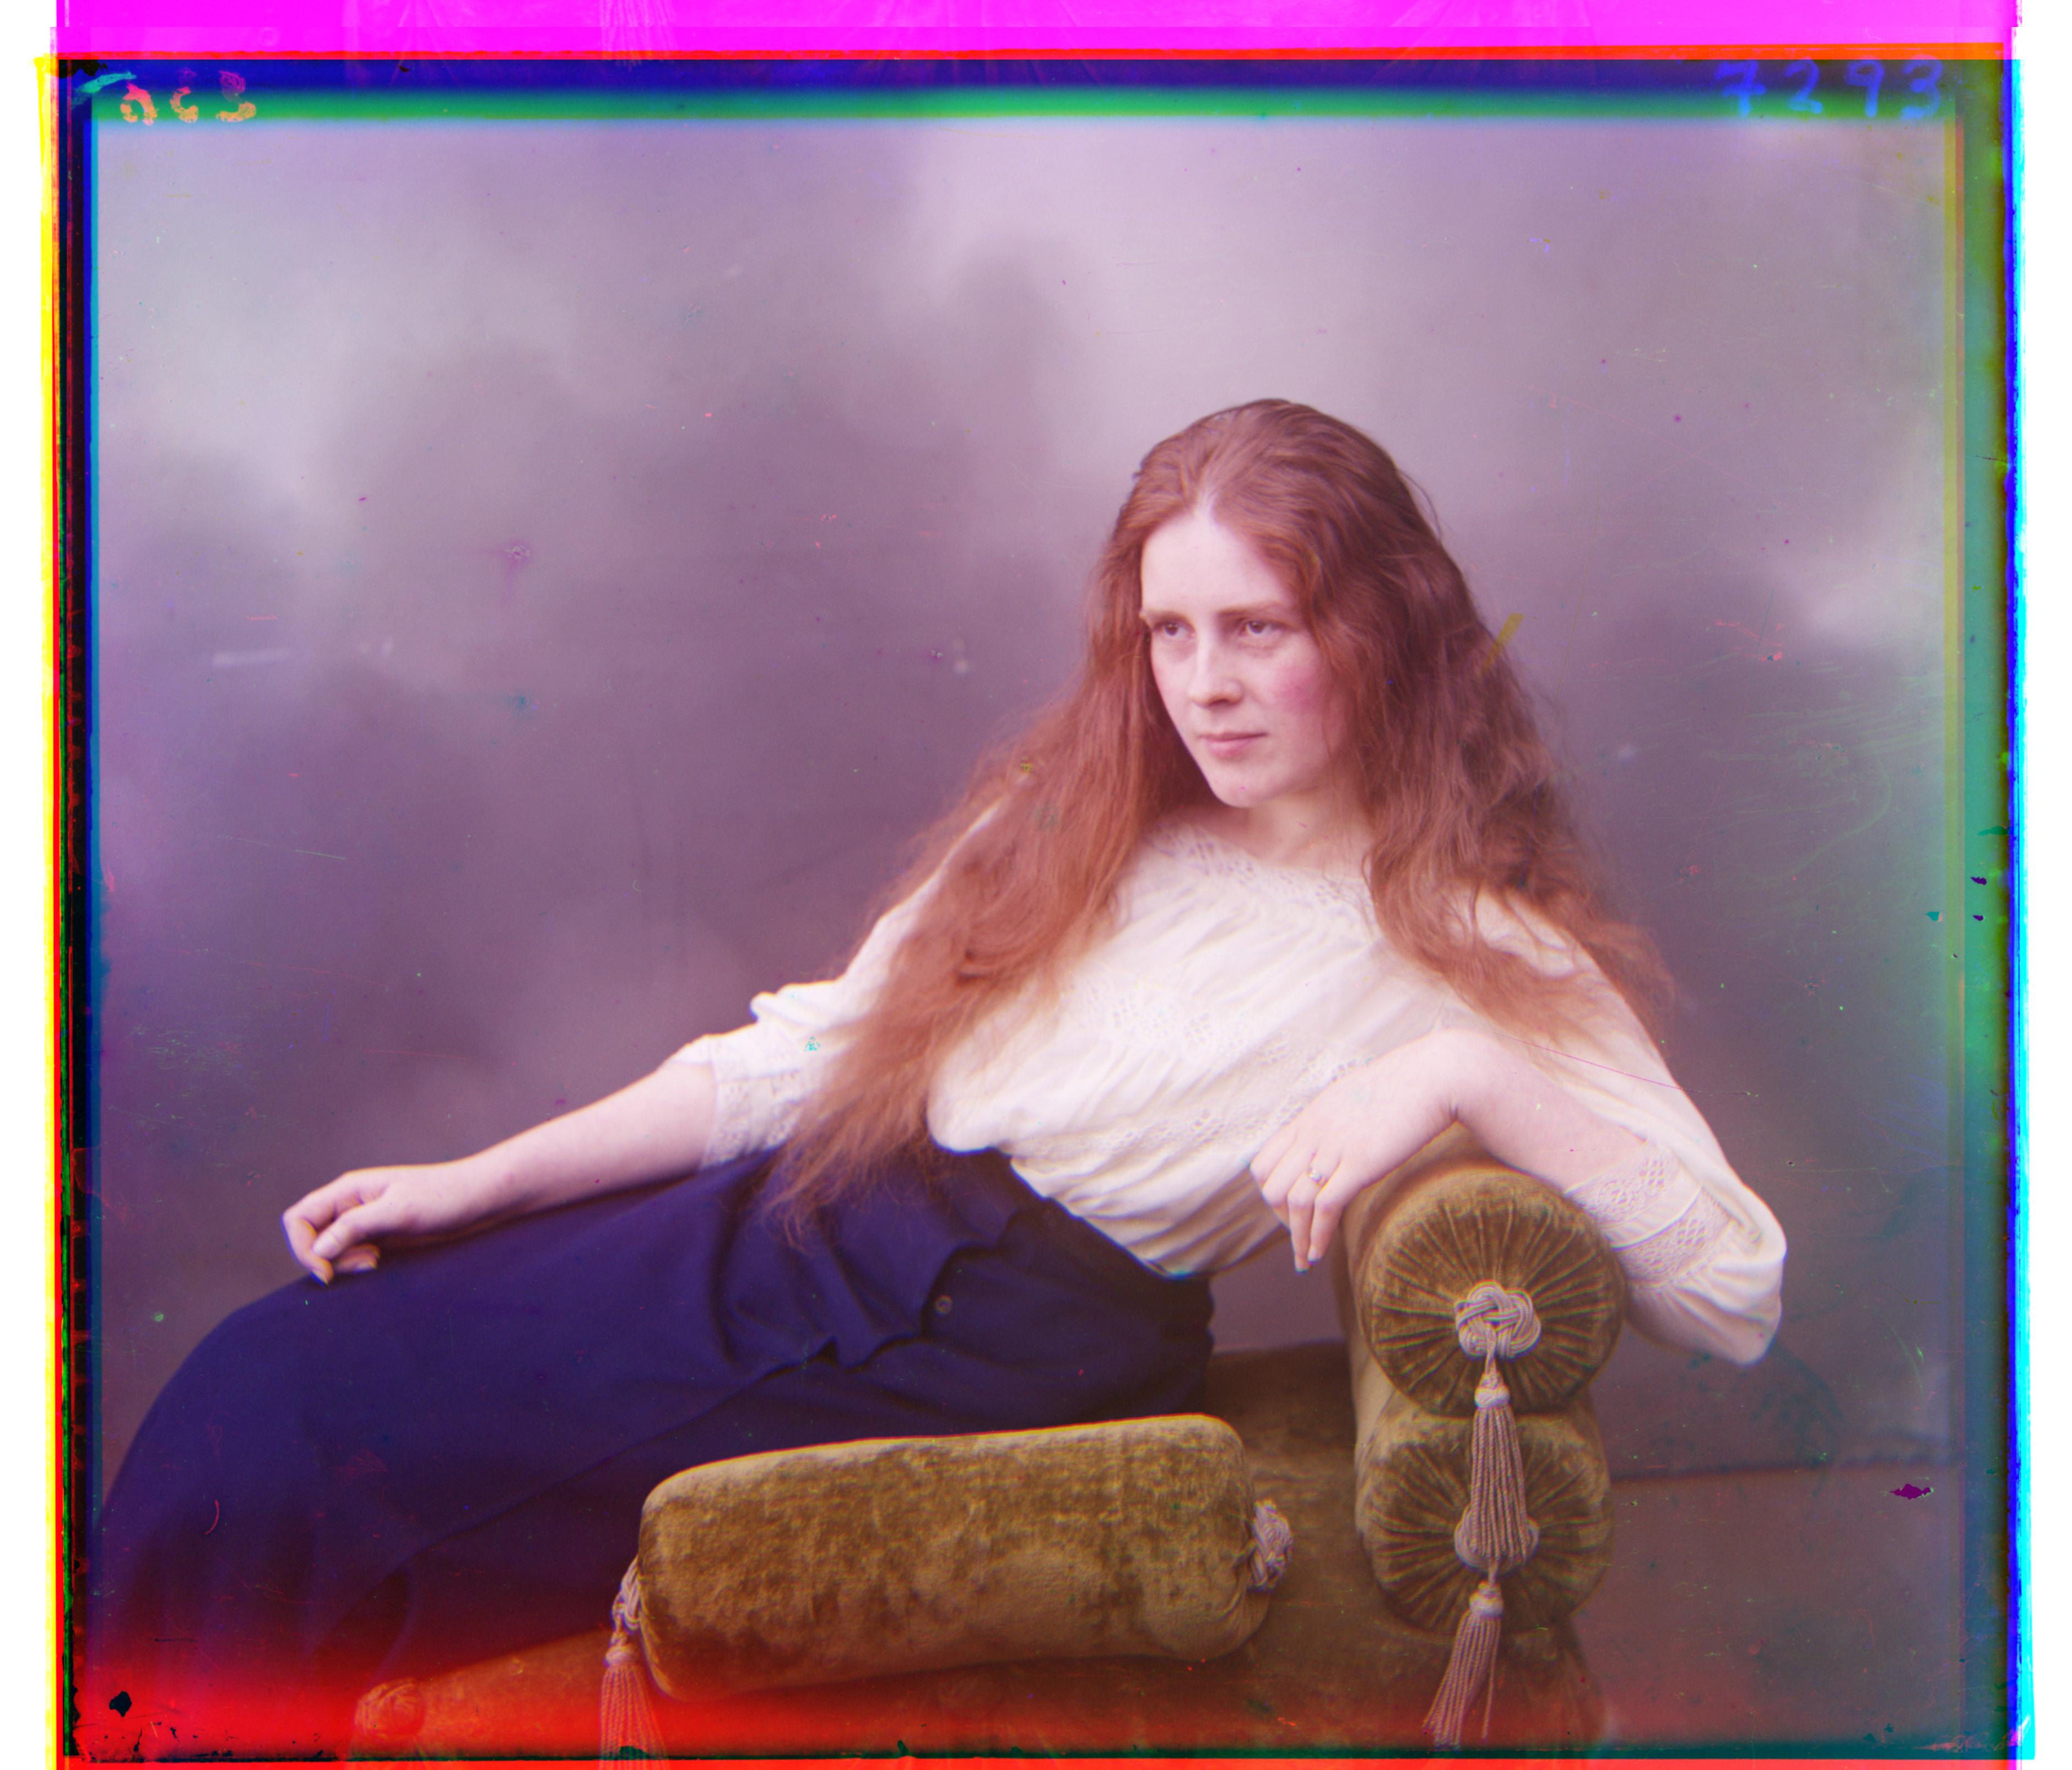
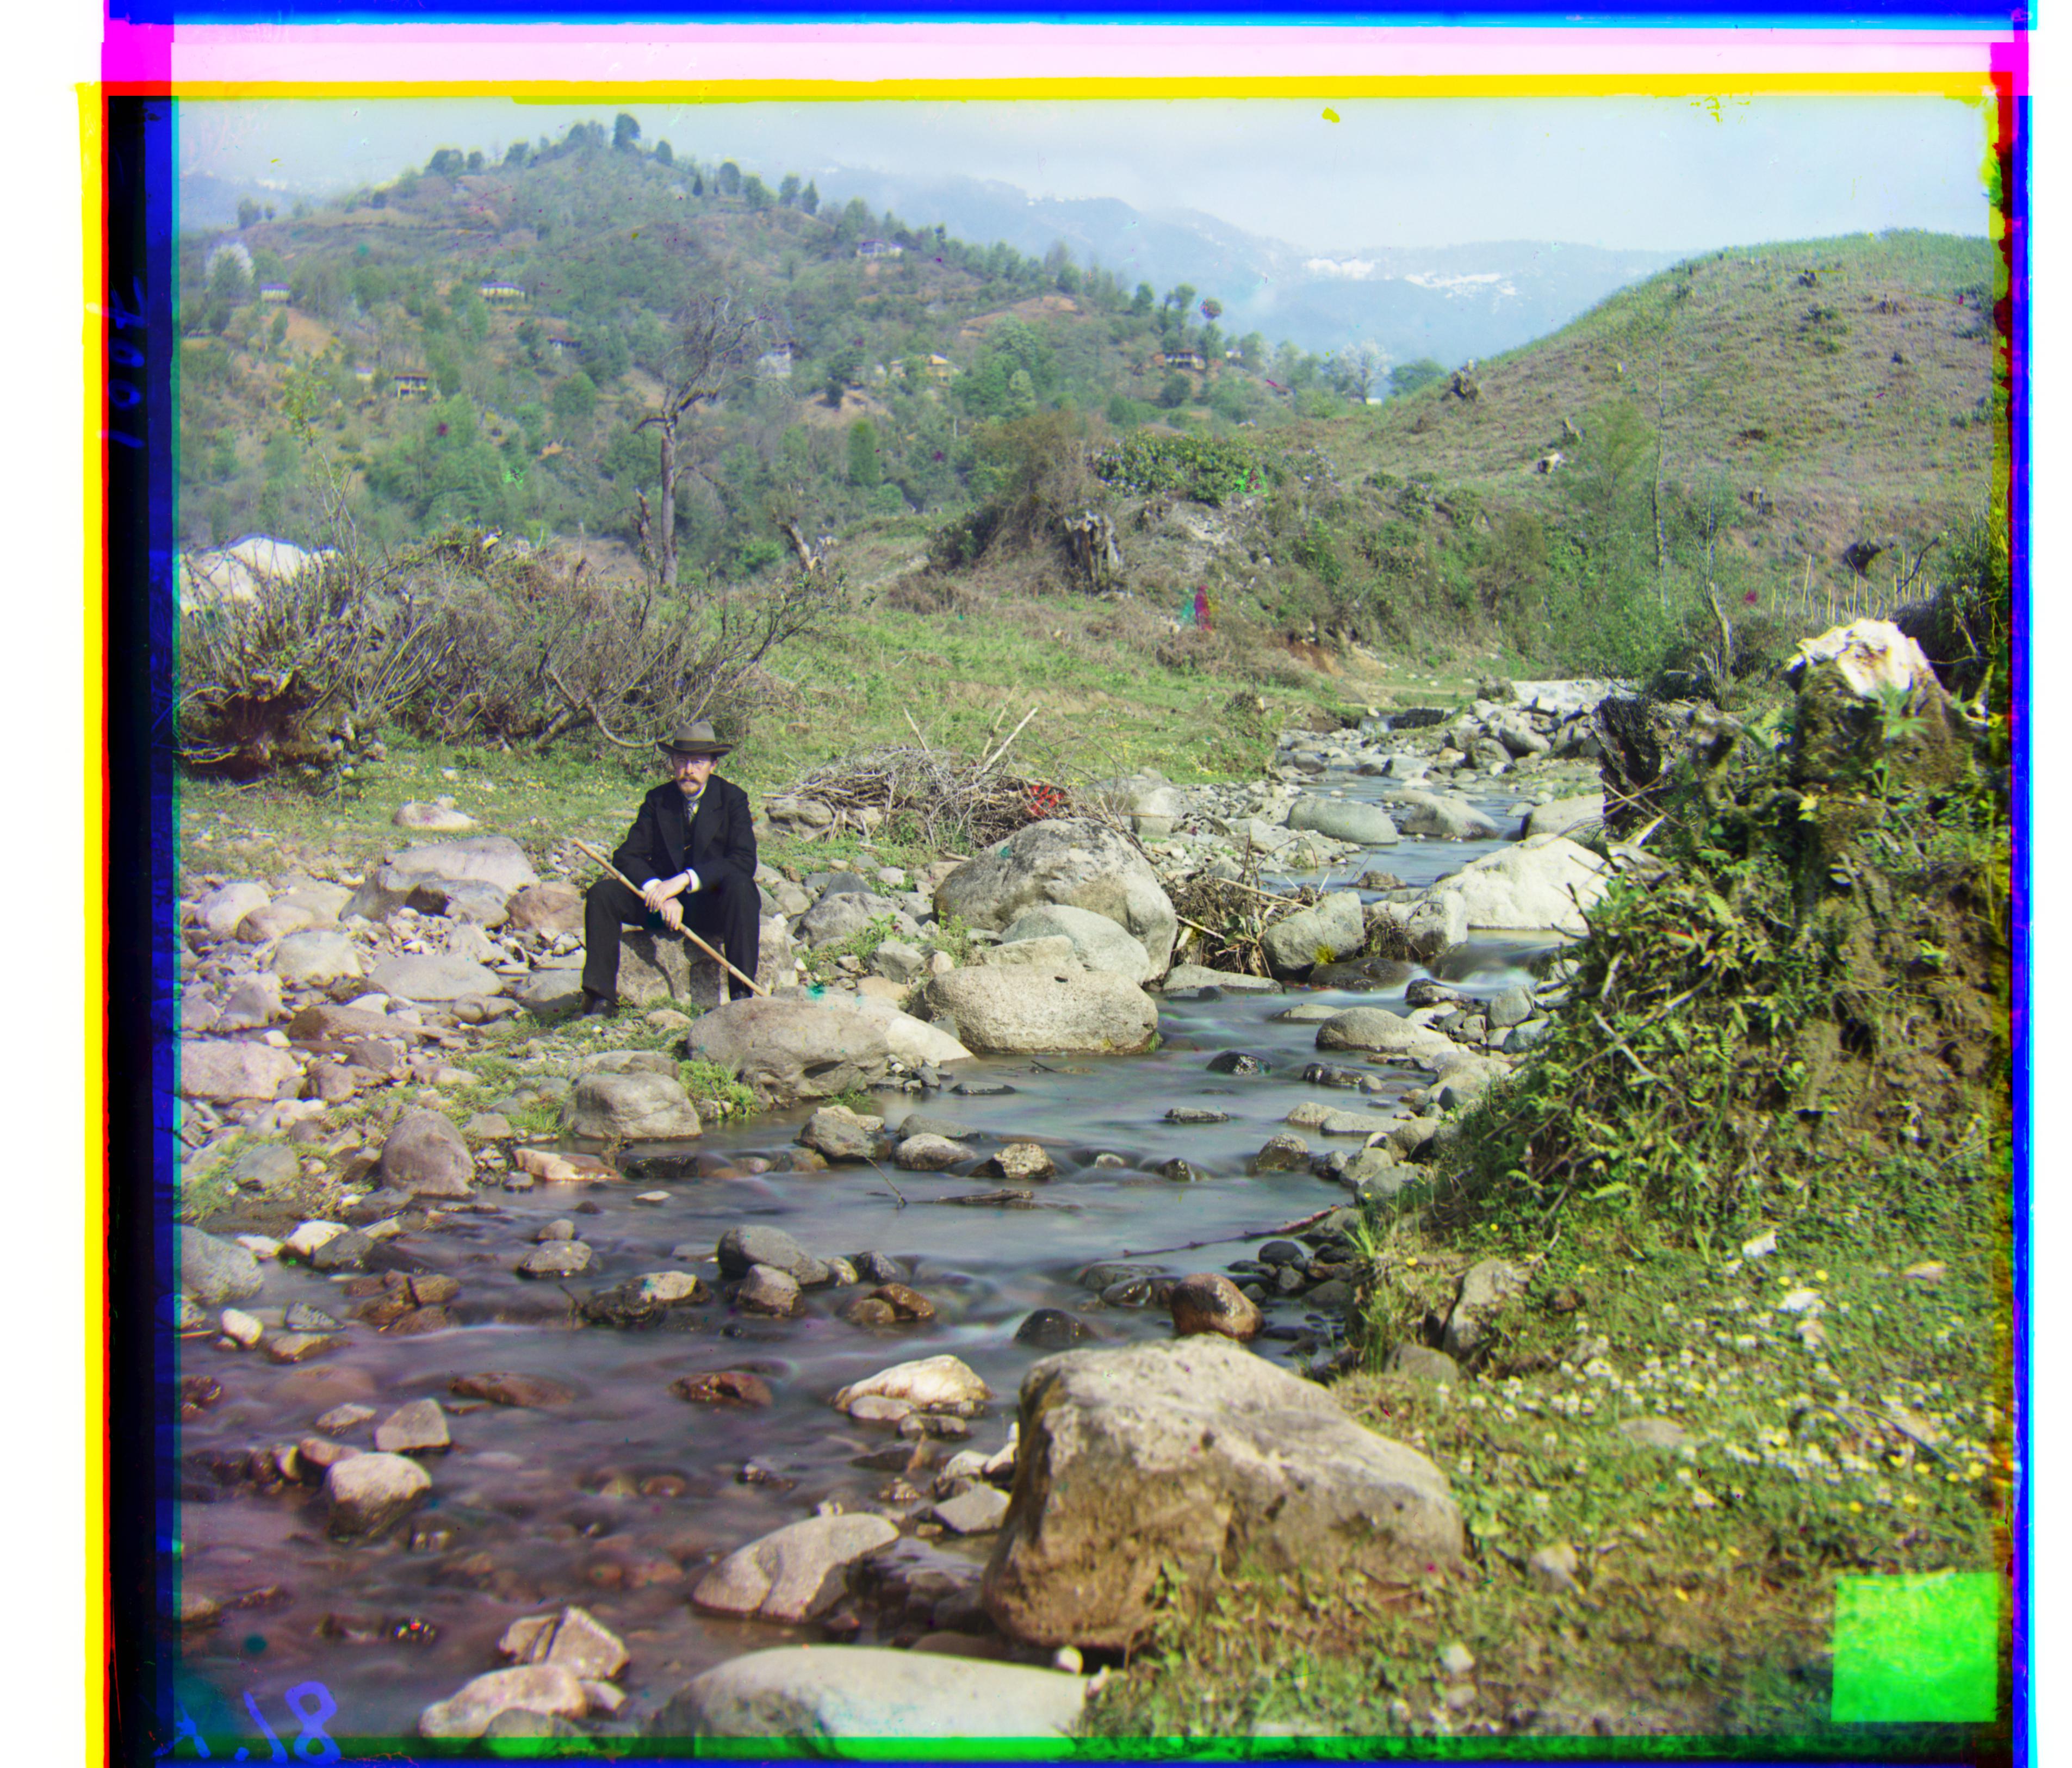
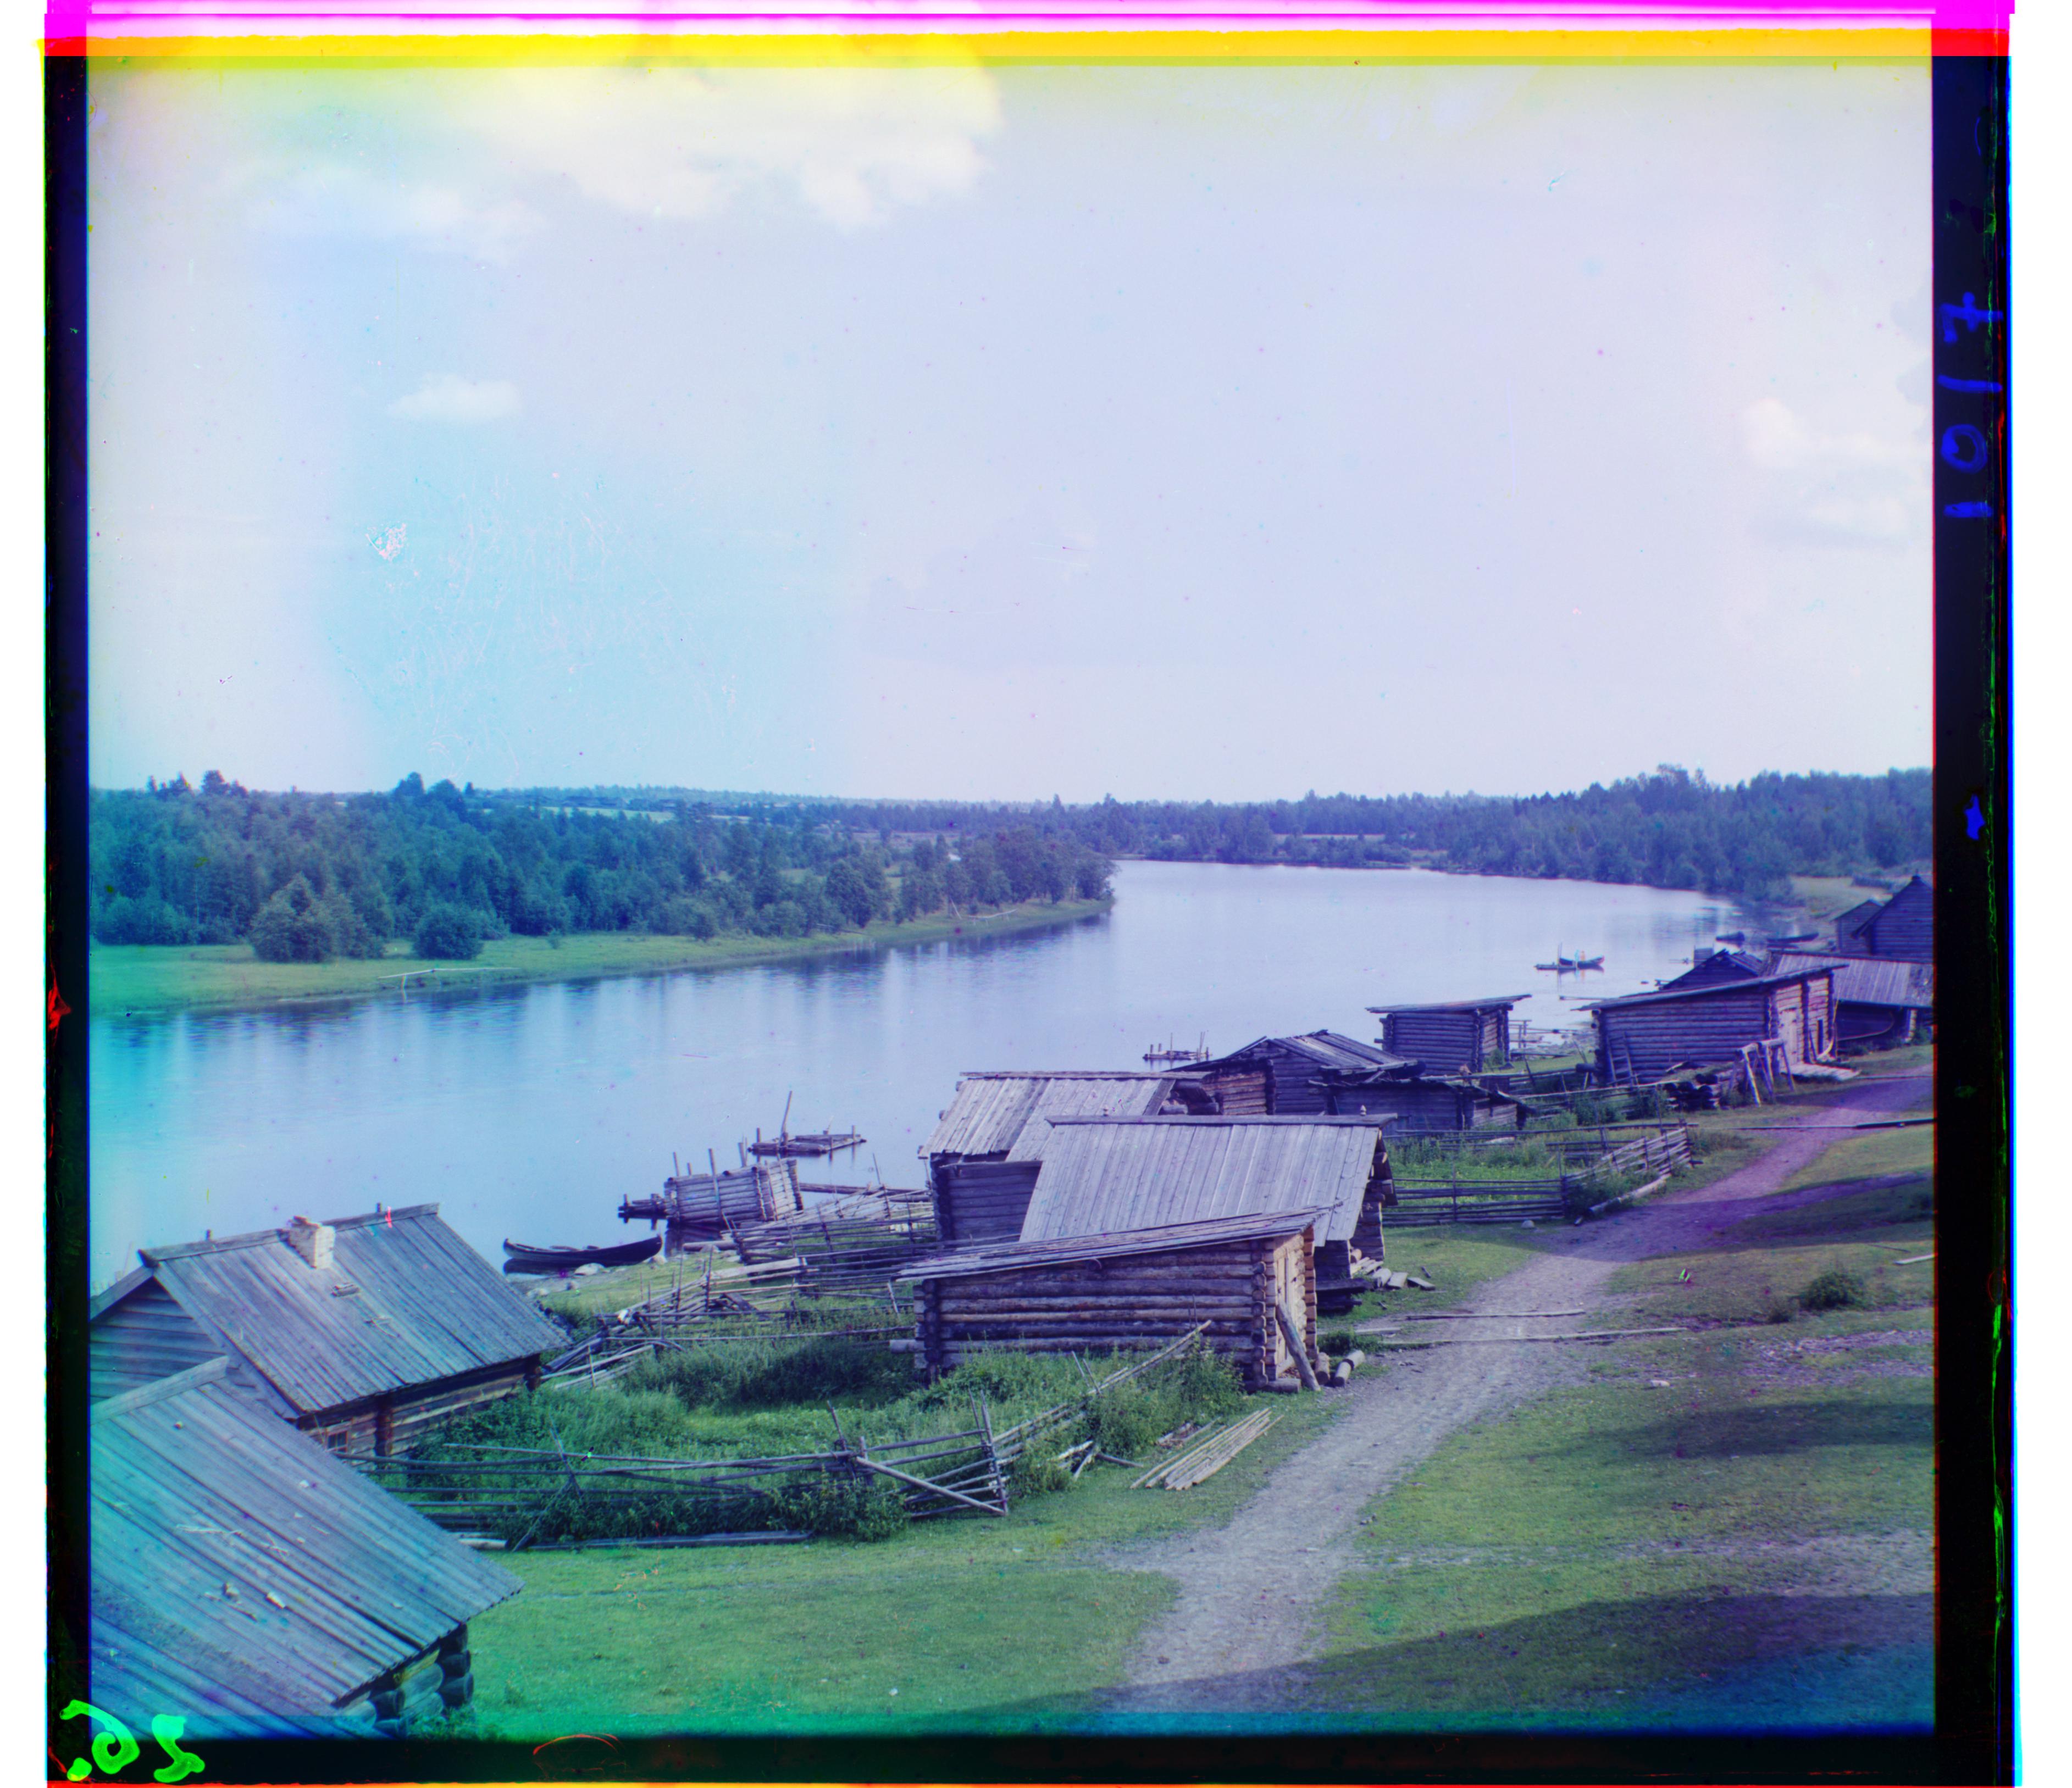
Below are the larger TIFF images in the input data, run on the image pyramid method using SSD with a window of (-15, 15), pyramid height of 5, and scale factor of 1/2.
Green Shift: [81, 10], Red Shift: [178, 14]
Green Shift: [50, 14], Red Shift: [112, 12]
Green Shift: [34, 3], Red Shift: [98, 4]
Green Shift: [49, 8], Red Shift: [108, 12]

Green Shift: [53, 0], Red Shift: [105, -12]
Green Shift: [78, 29], Red Shift: [176, 37]
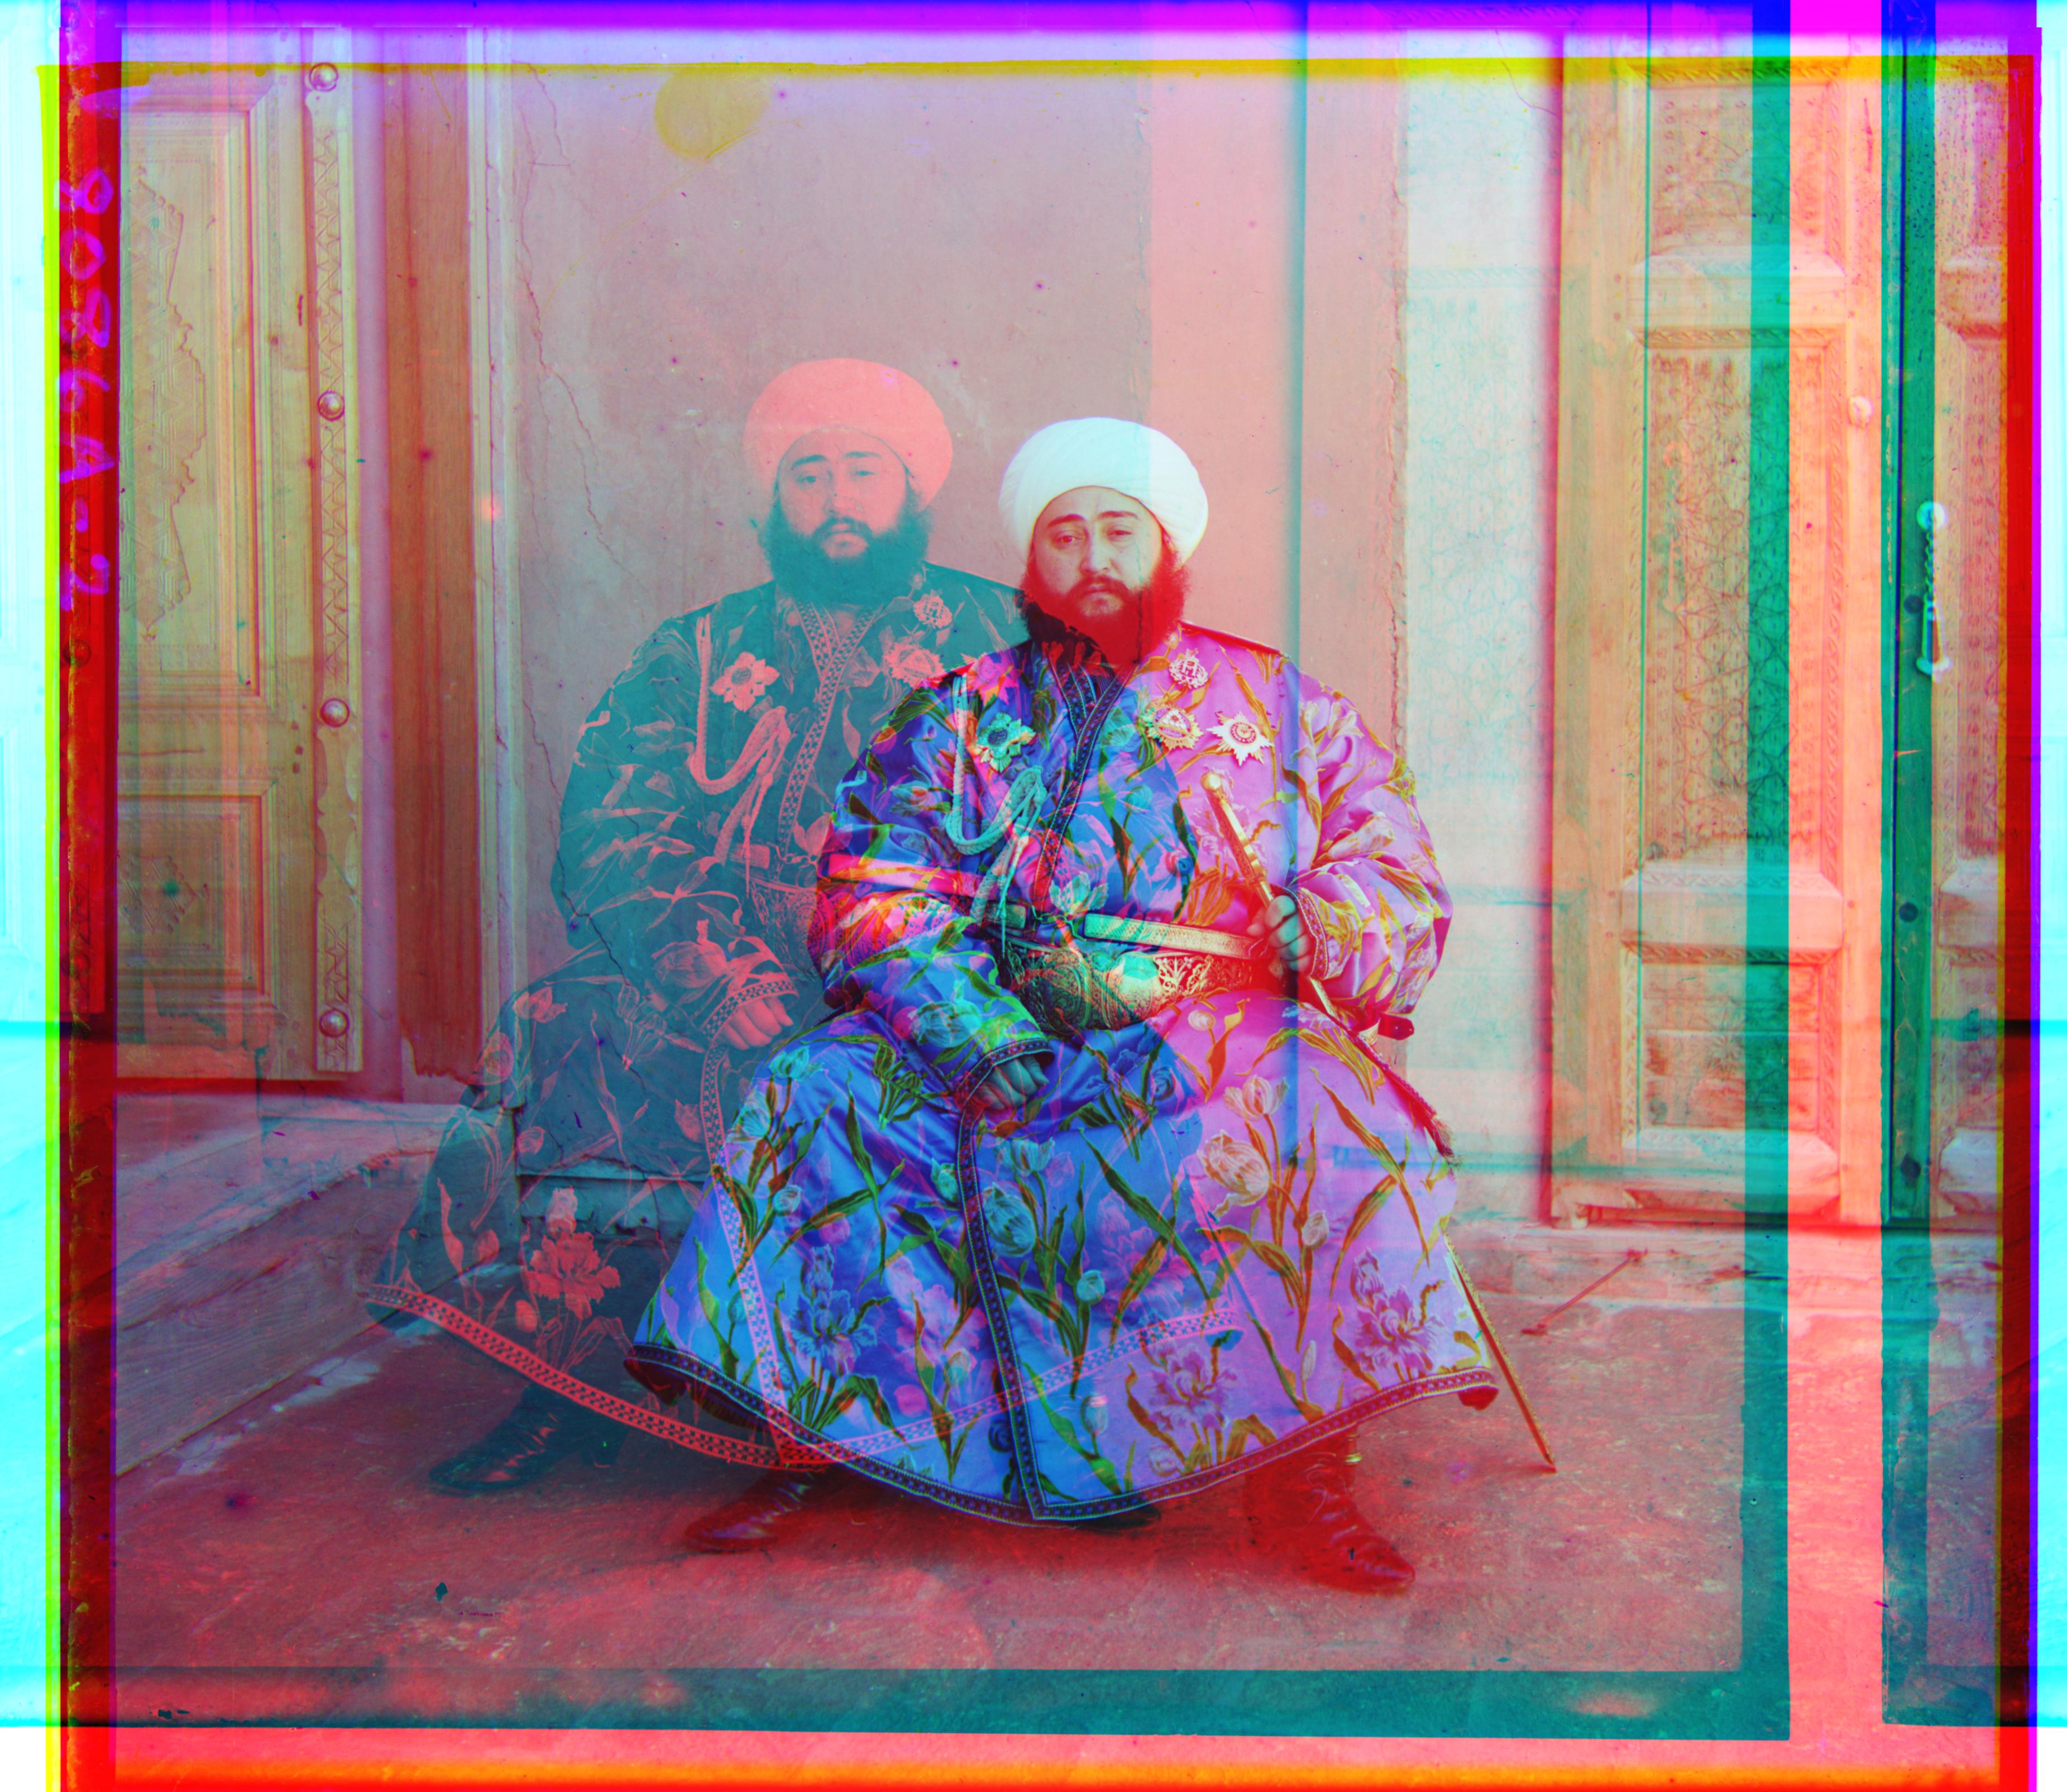
Green Shift: [49, 24], Red Shift: [0, -417]
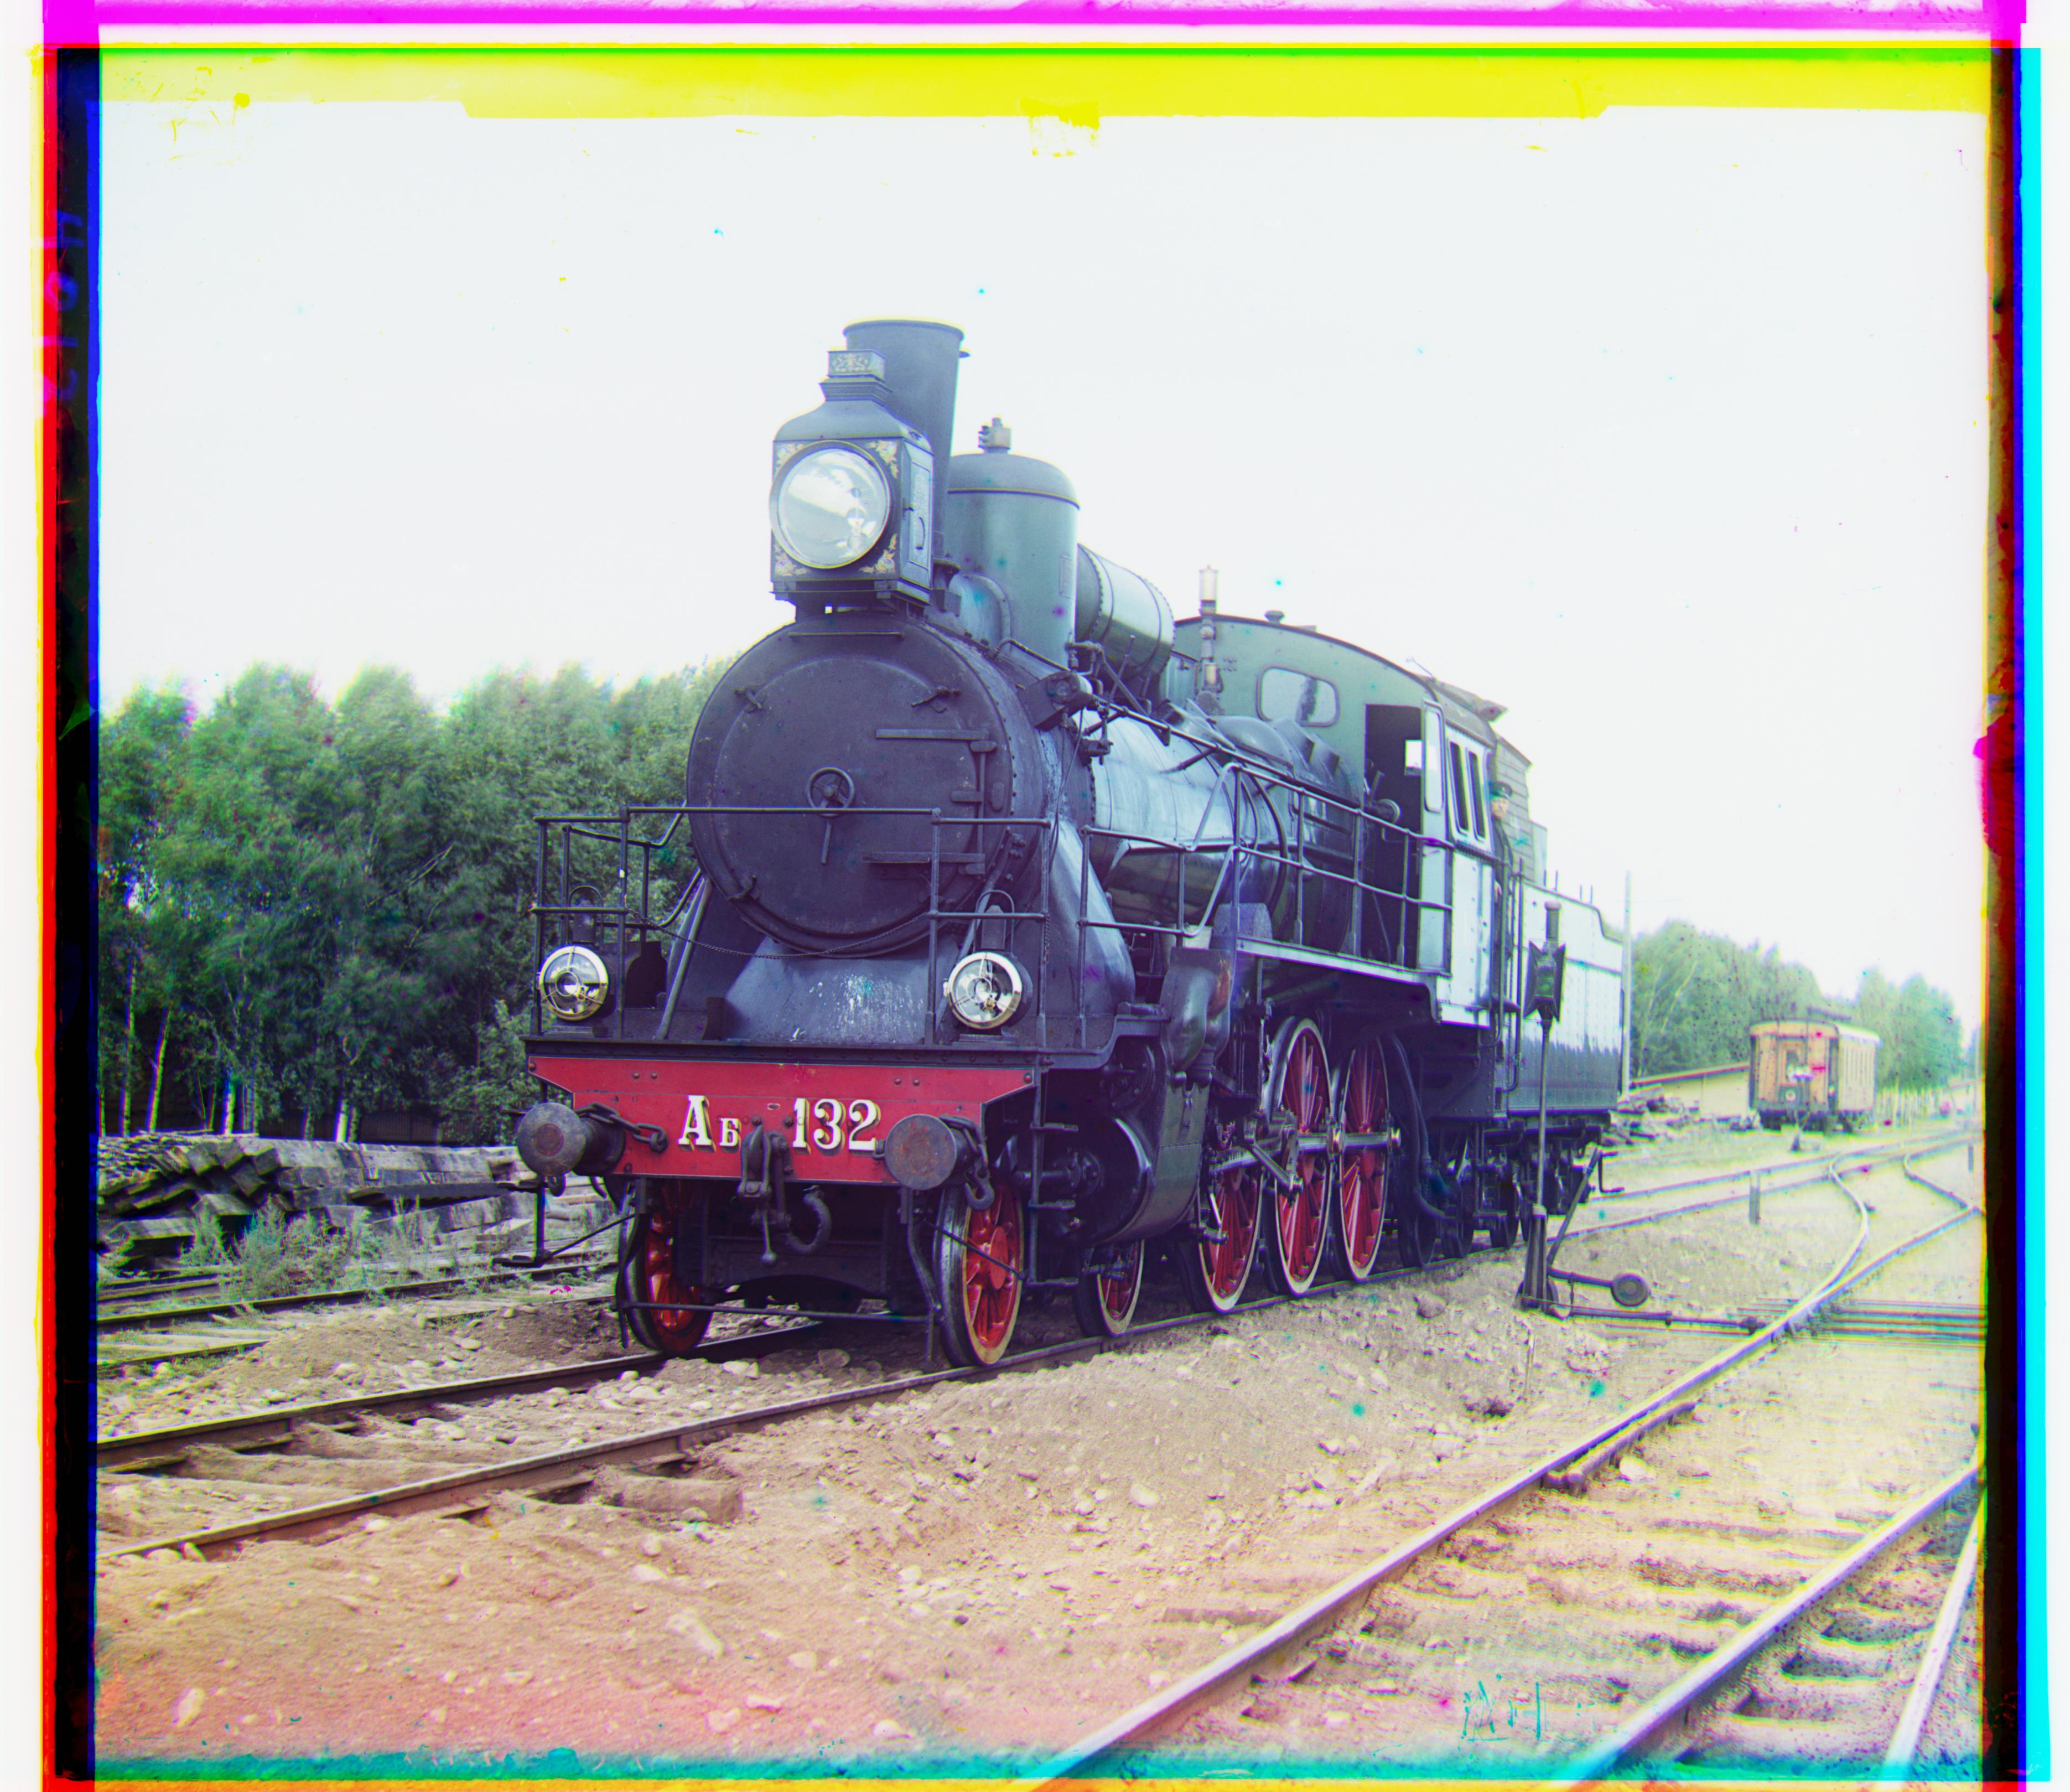
Green Shift: [42, 6], Red Shift: [87, 32]
Green Shift: [40, 17], Red Shift: [89, 23]
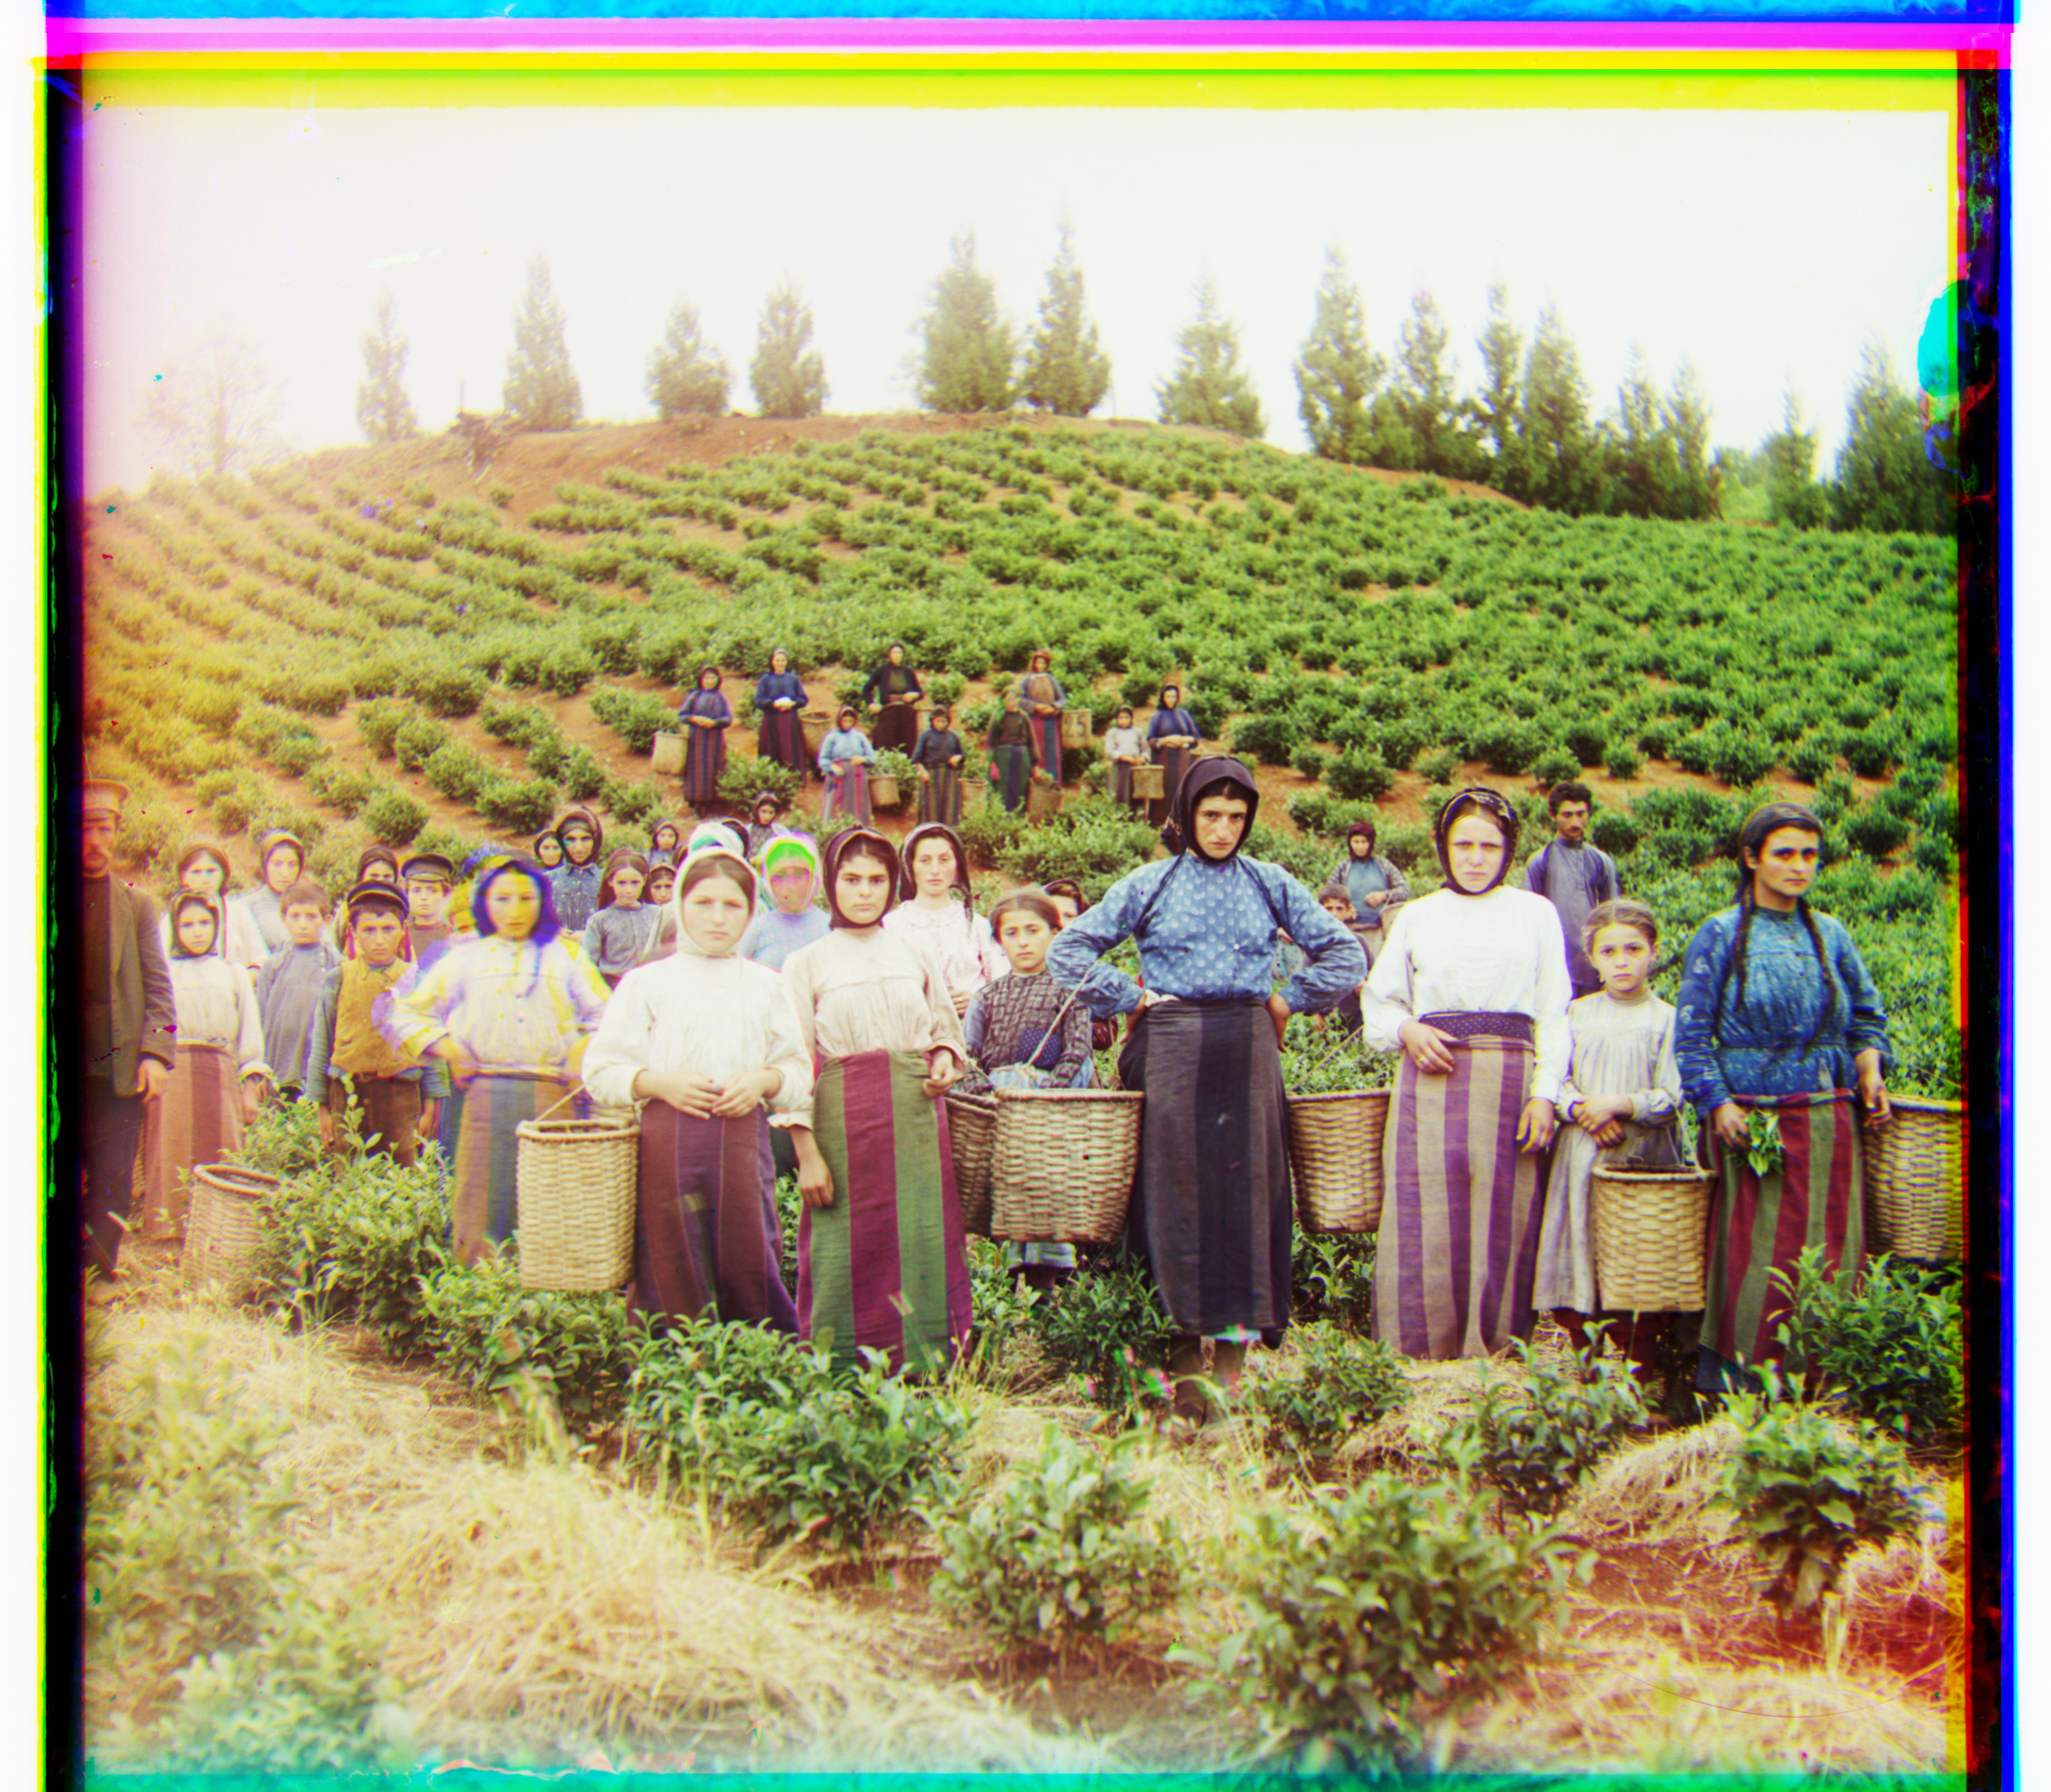
Green Shift: [59, 17], Red Shift: [124, 14]

Green Shift: [25, 4], Red Shift: [58, -4]
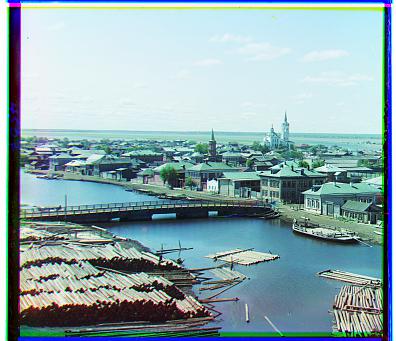
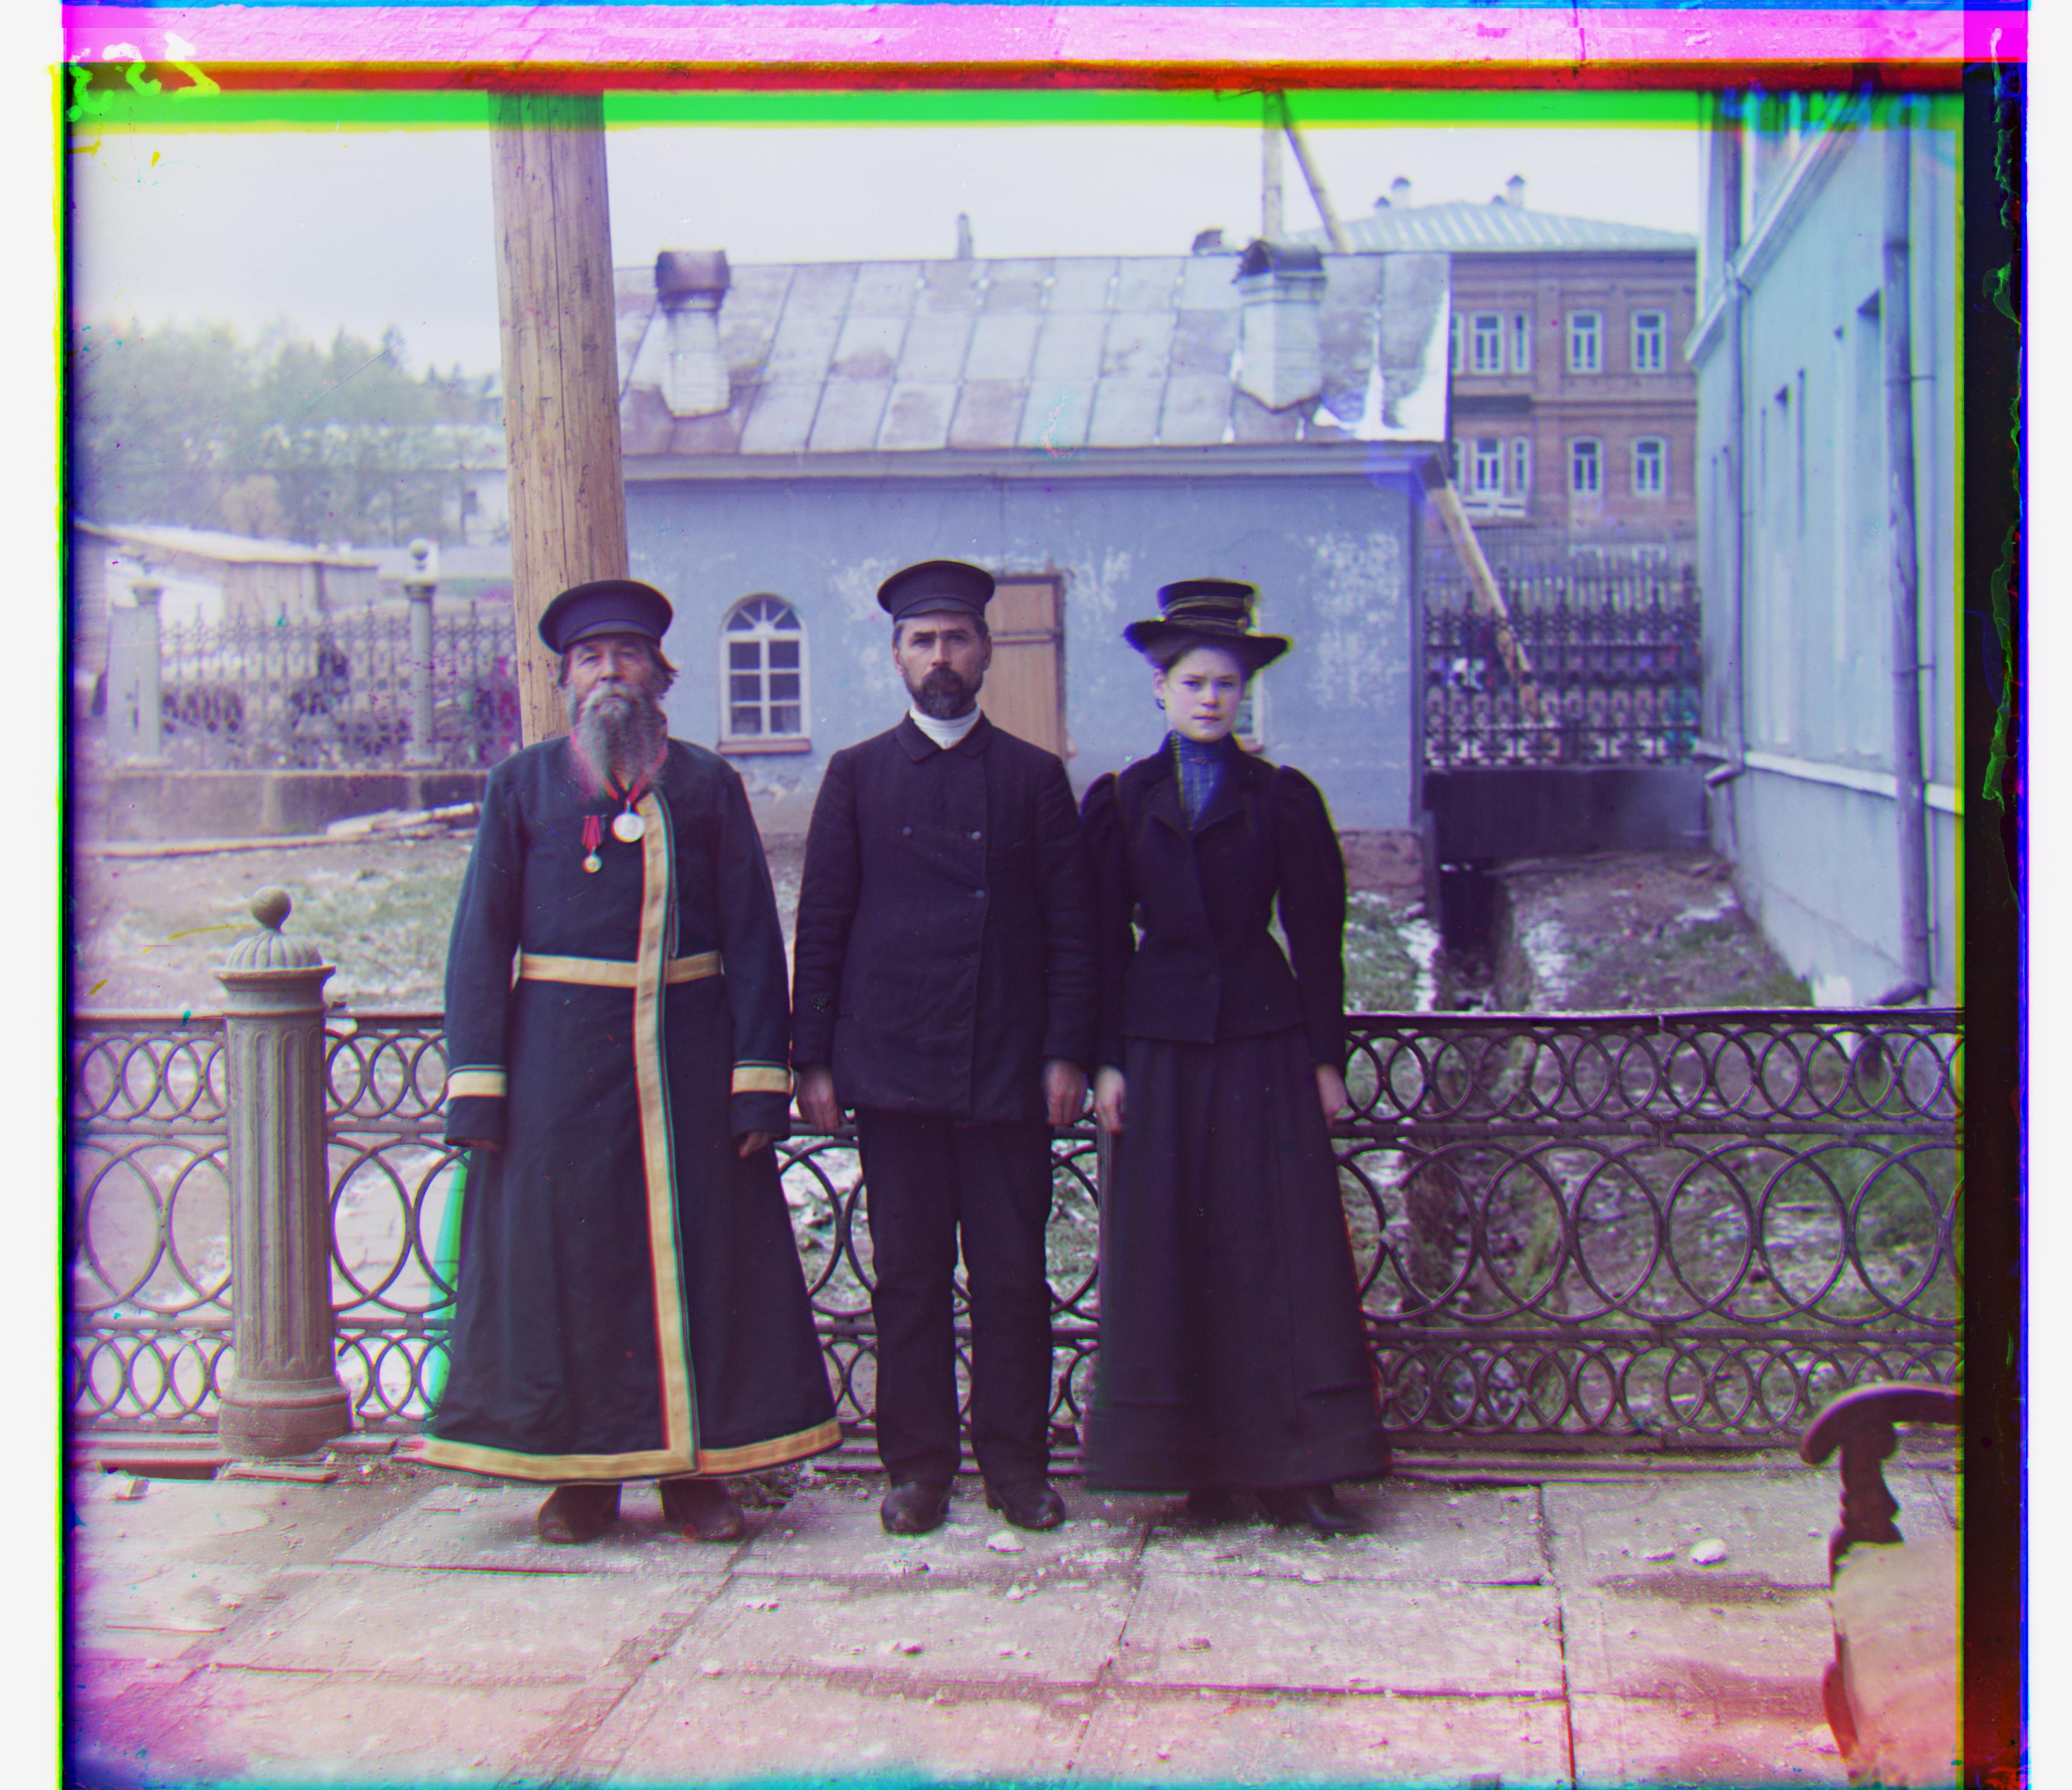
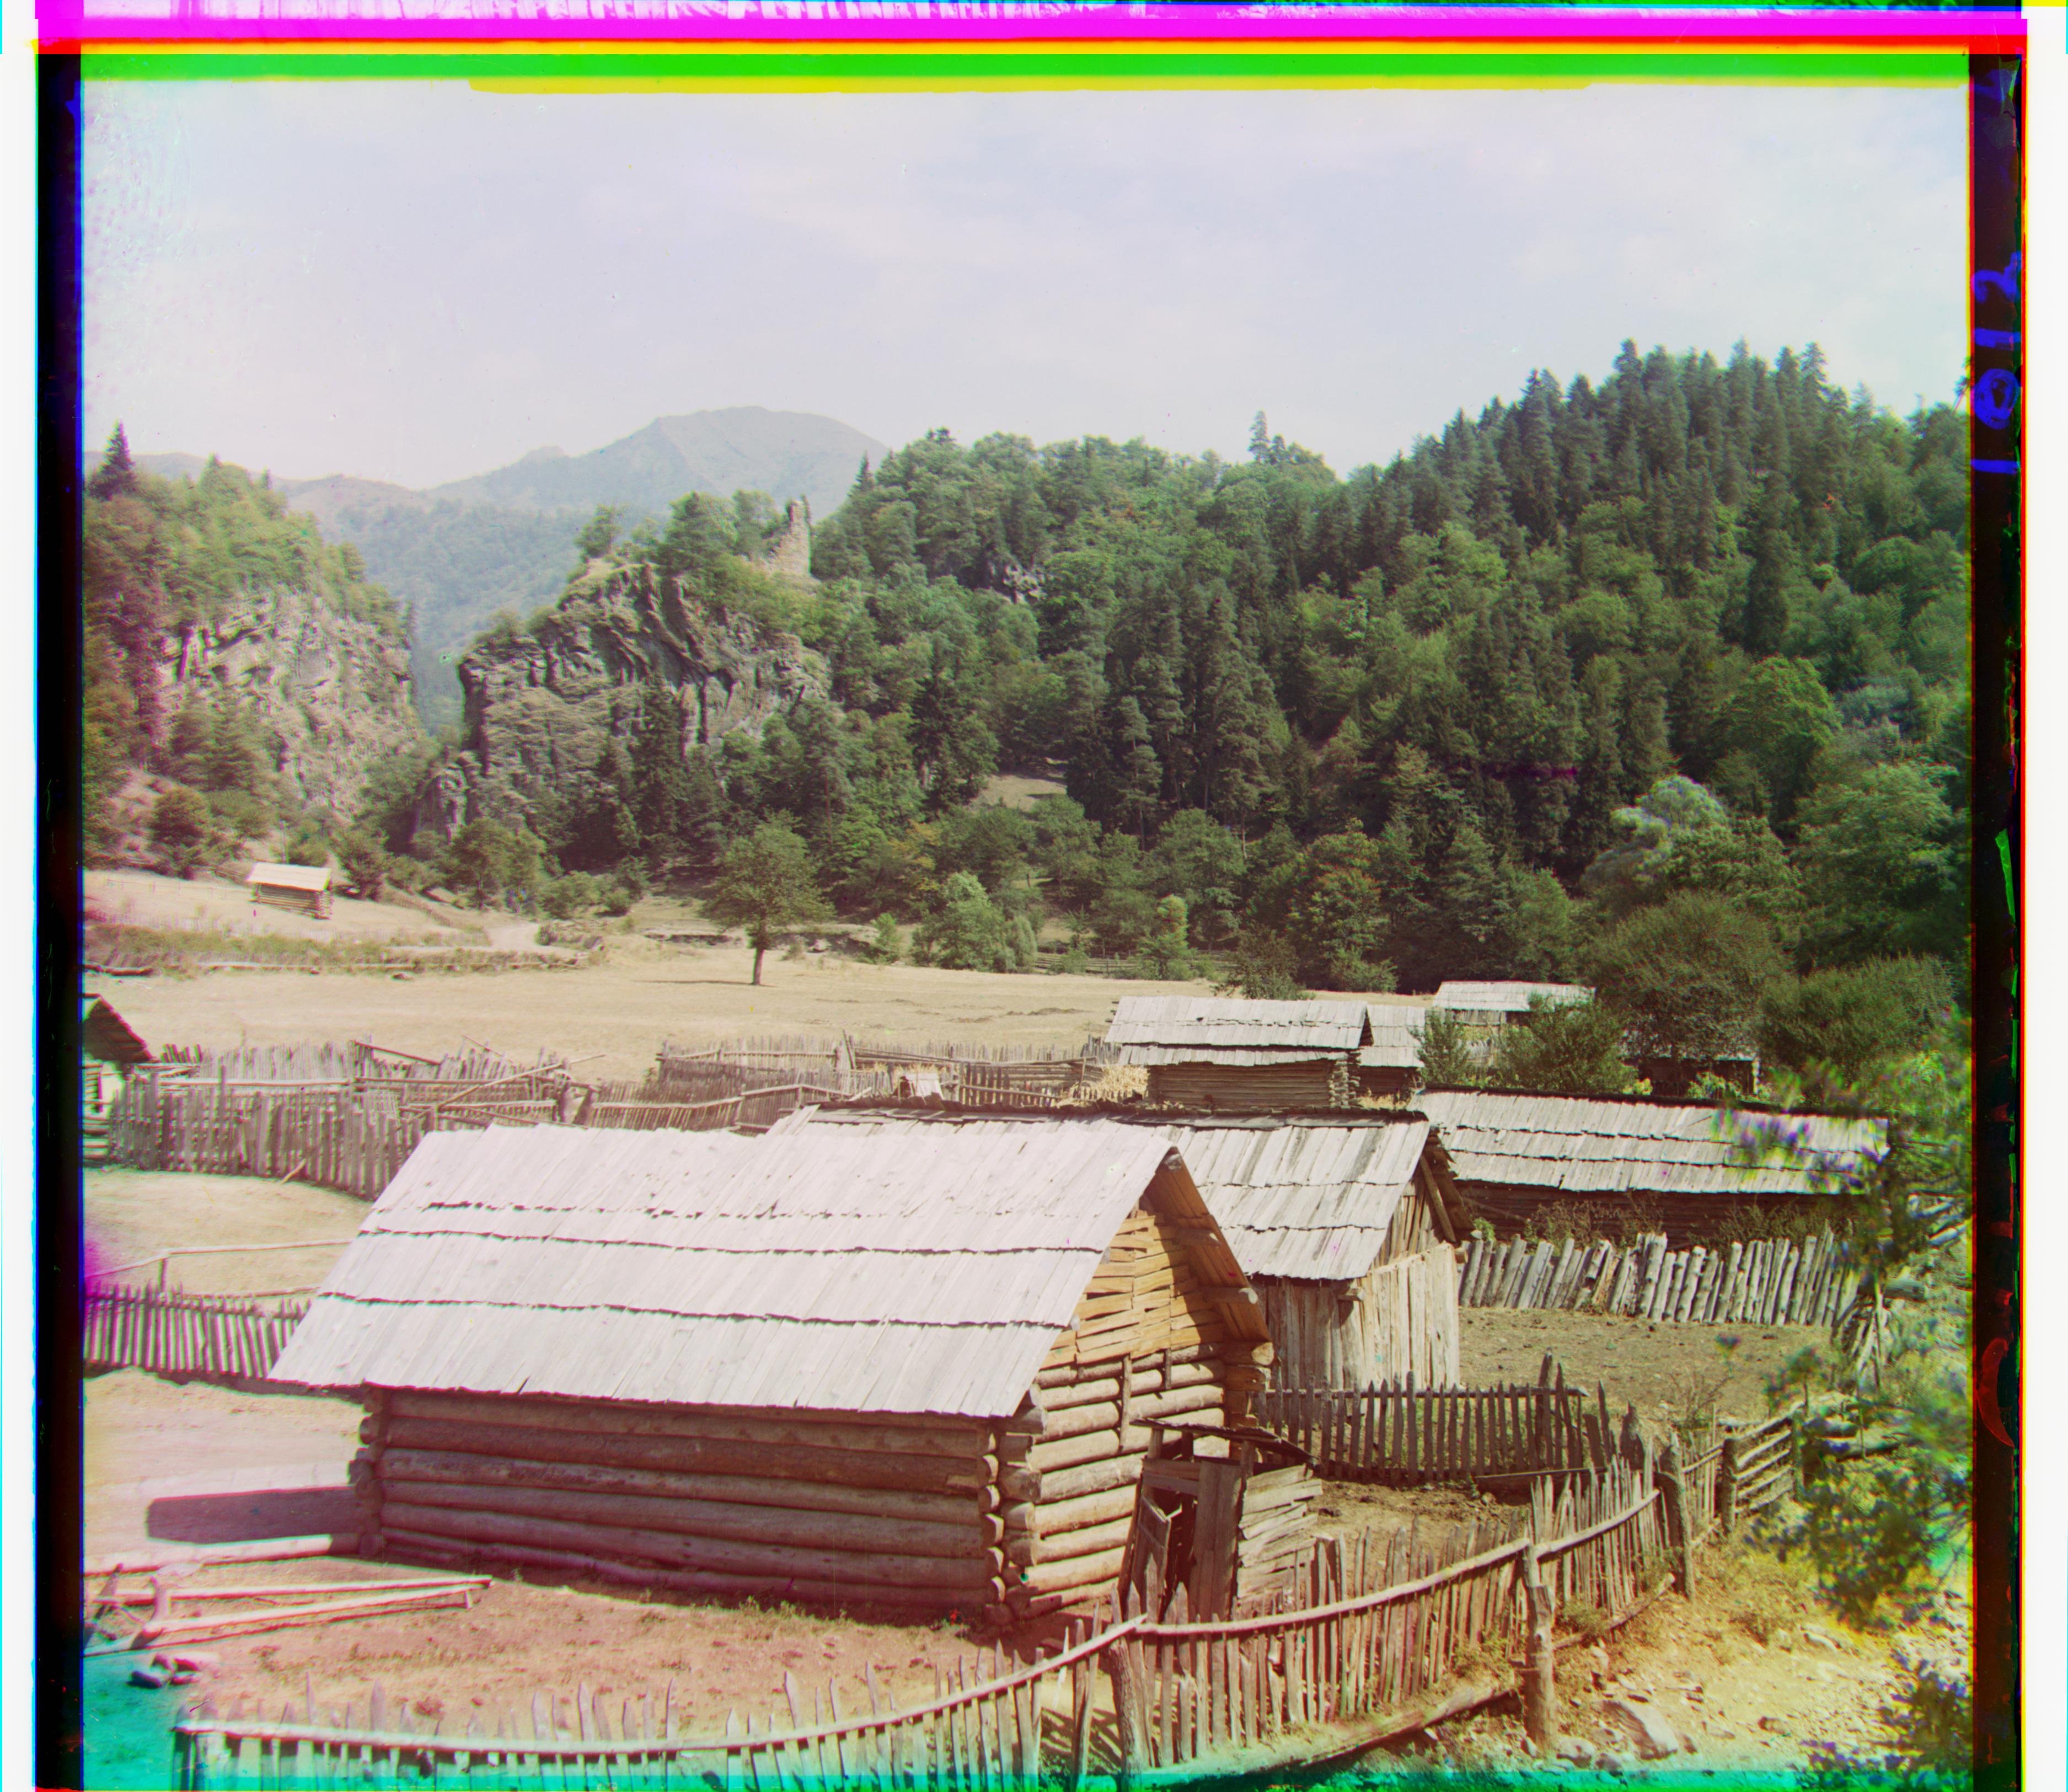
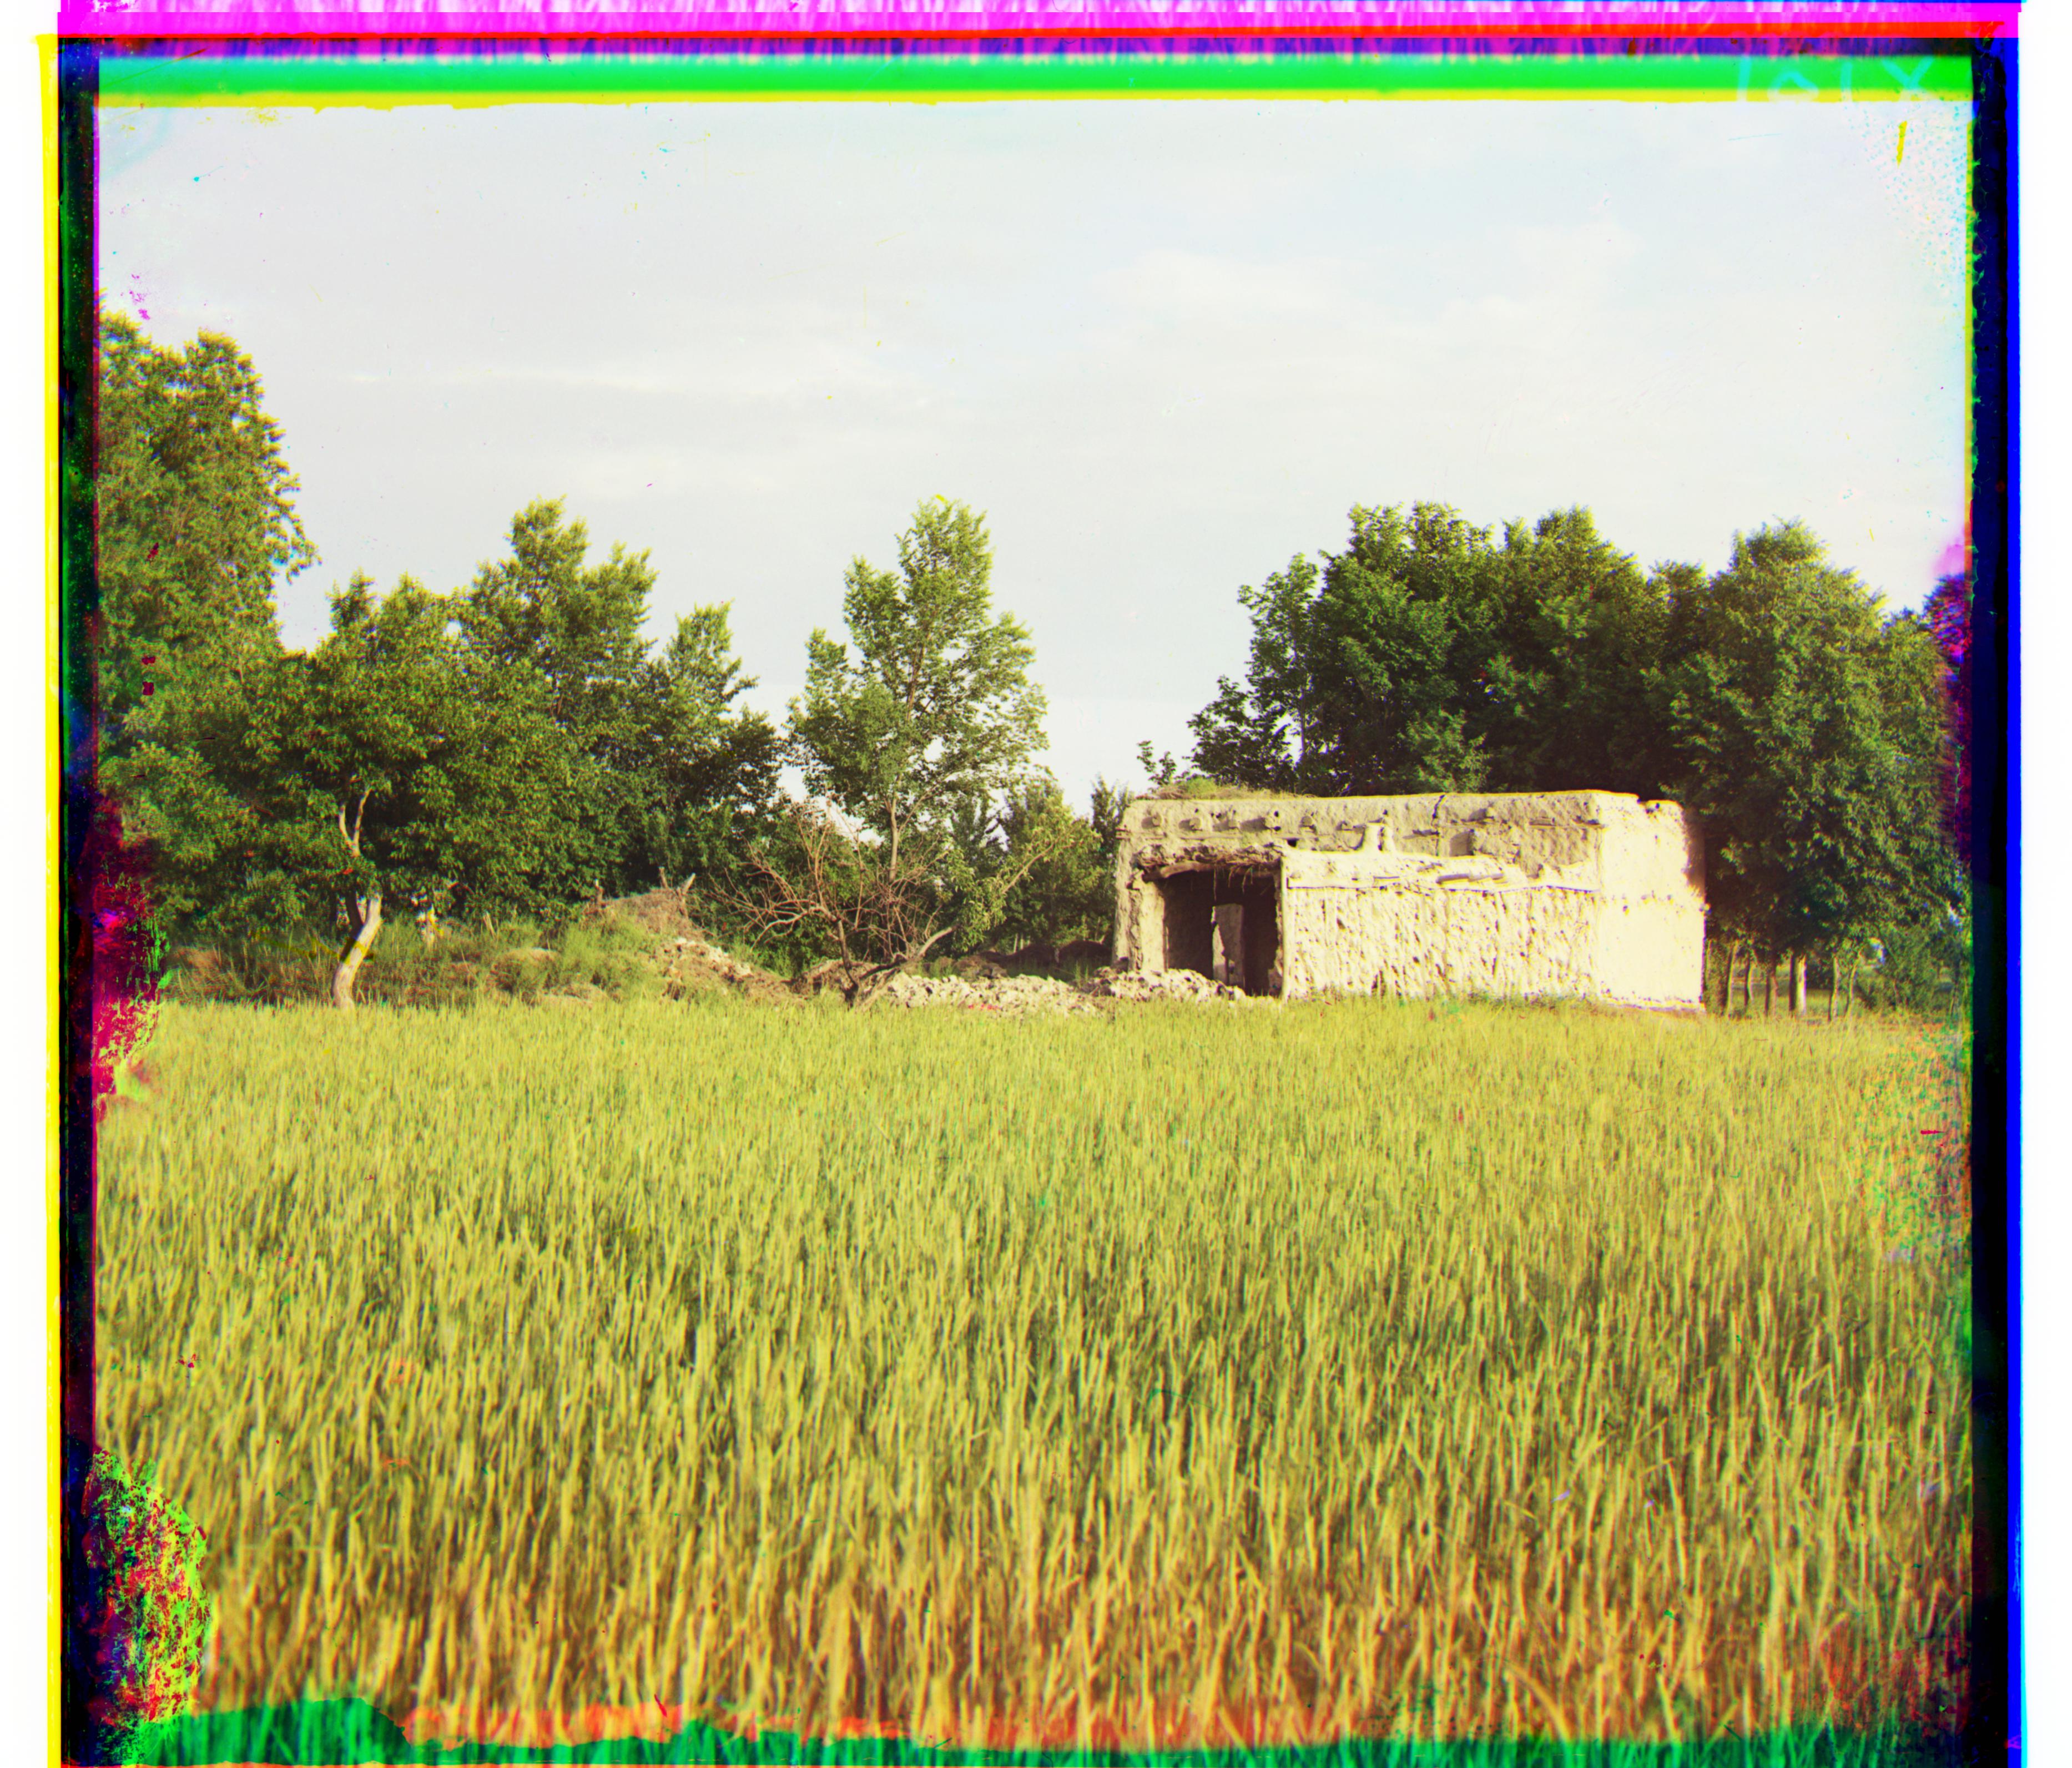
I also ran the same algorithm on some of my own images that I chose from the Prokudin-Gorskii collection on the LoC website. The ones below are Suna River at the village of Maloe Voronovo and Adobe building in a grassy field, trees in background.
Green Shift: [25, -5], Red Shift: [102, -11]
Green Shift: [22, 18], Red Shift: [68, 14]
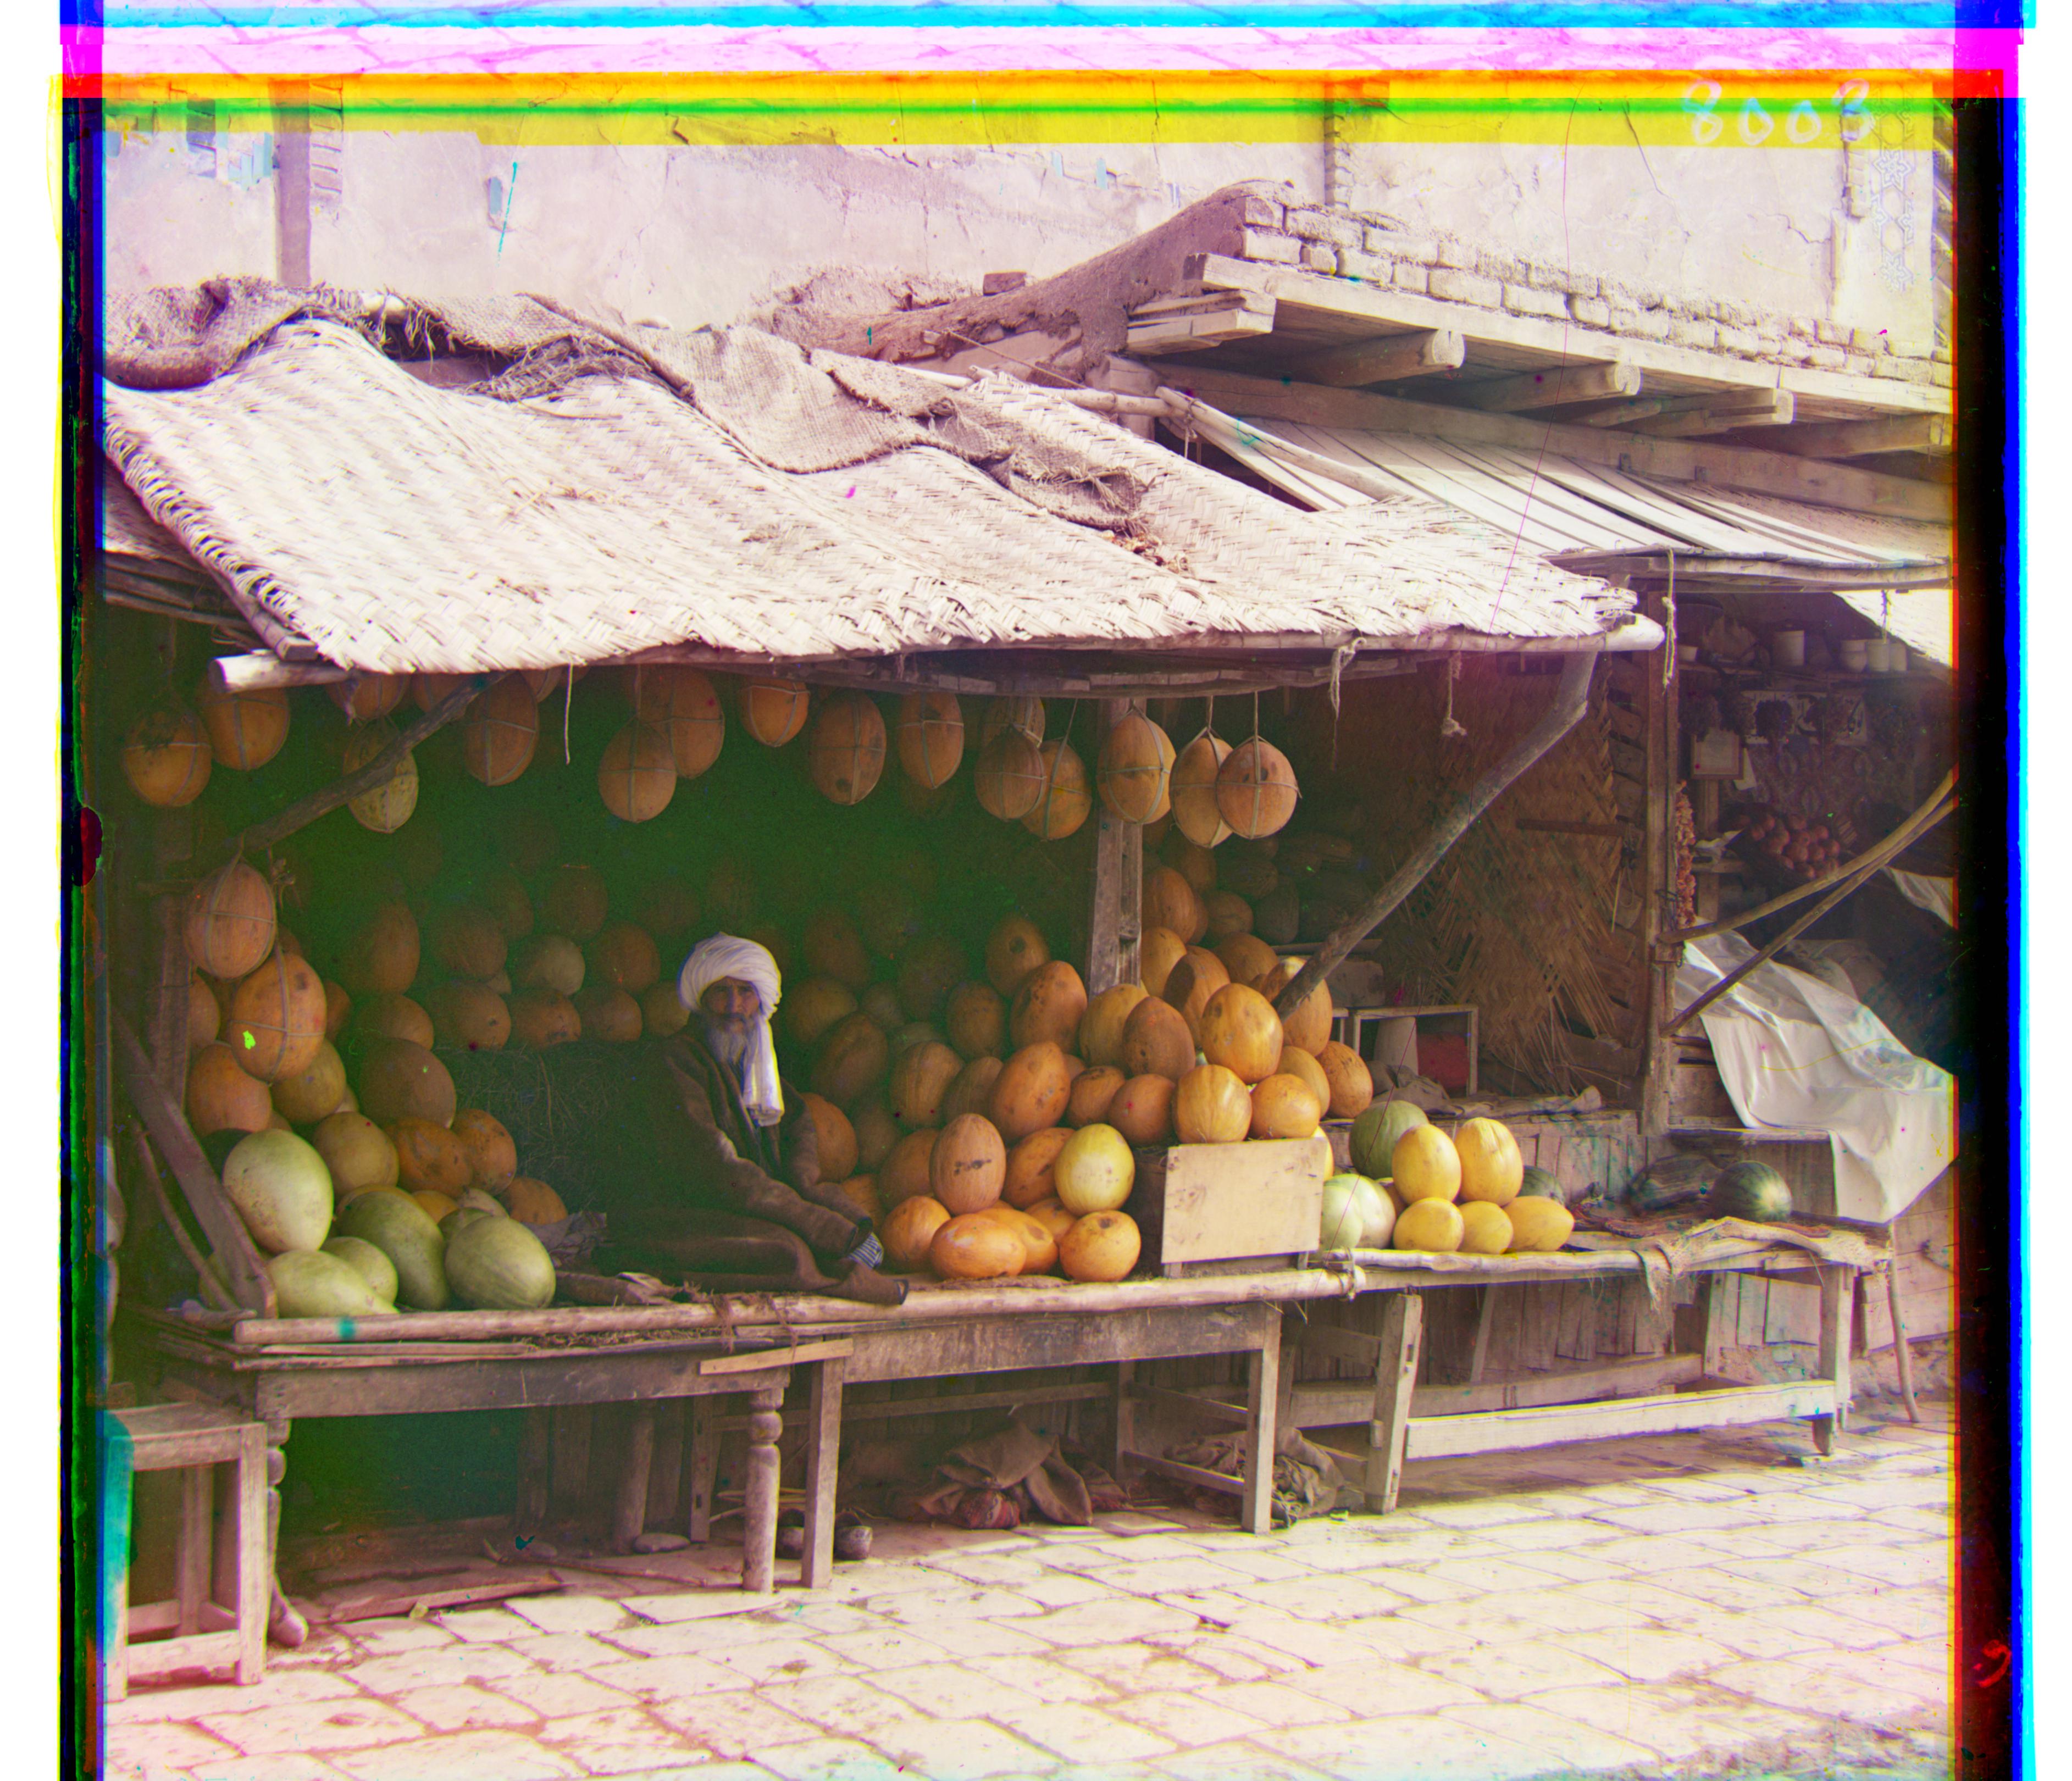
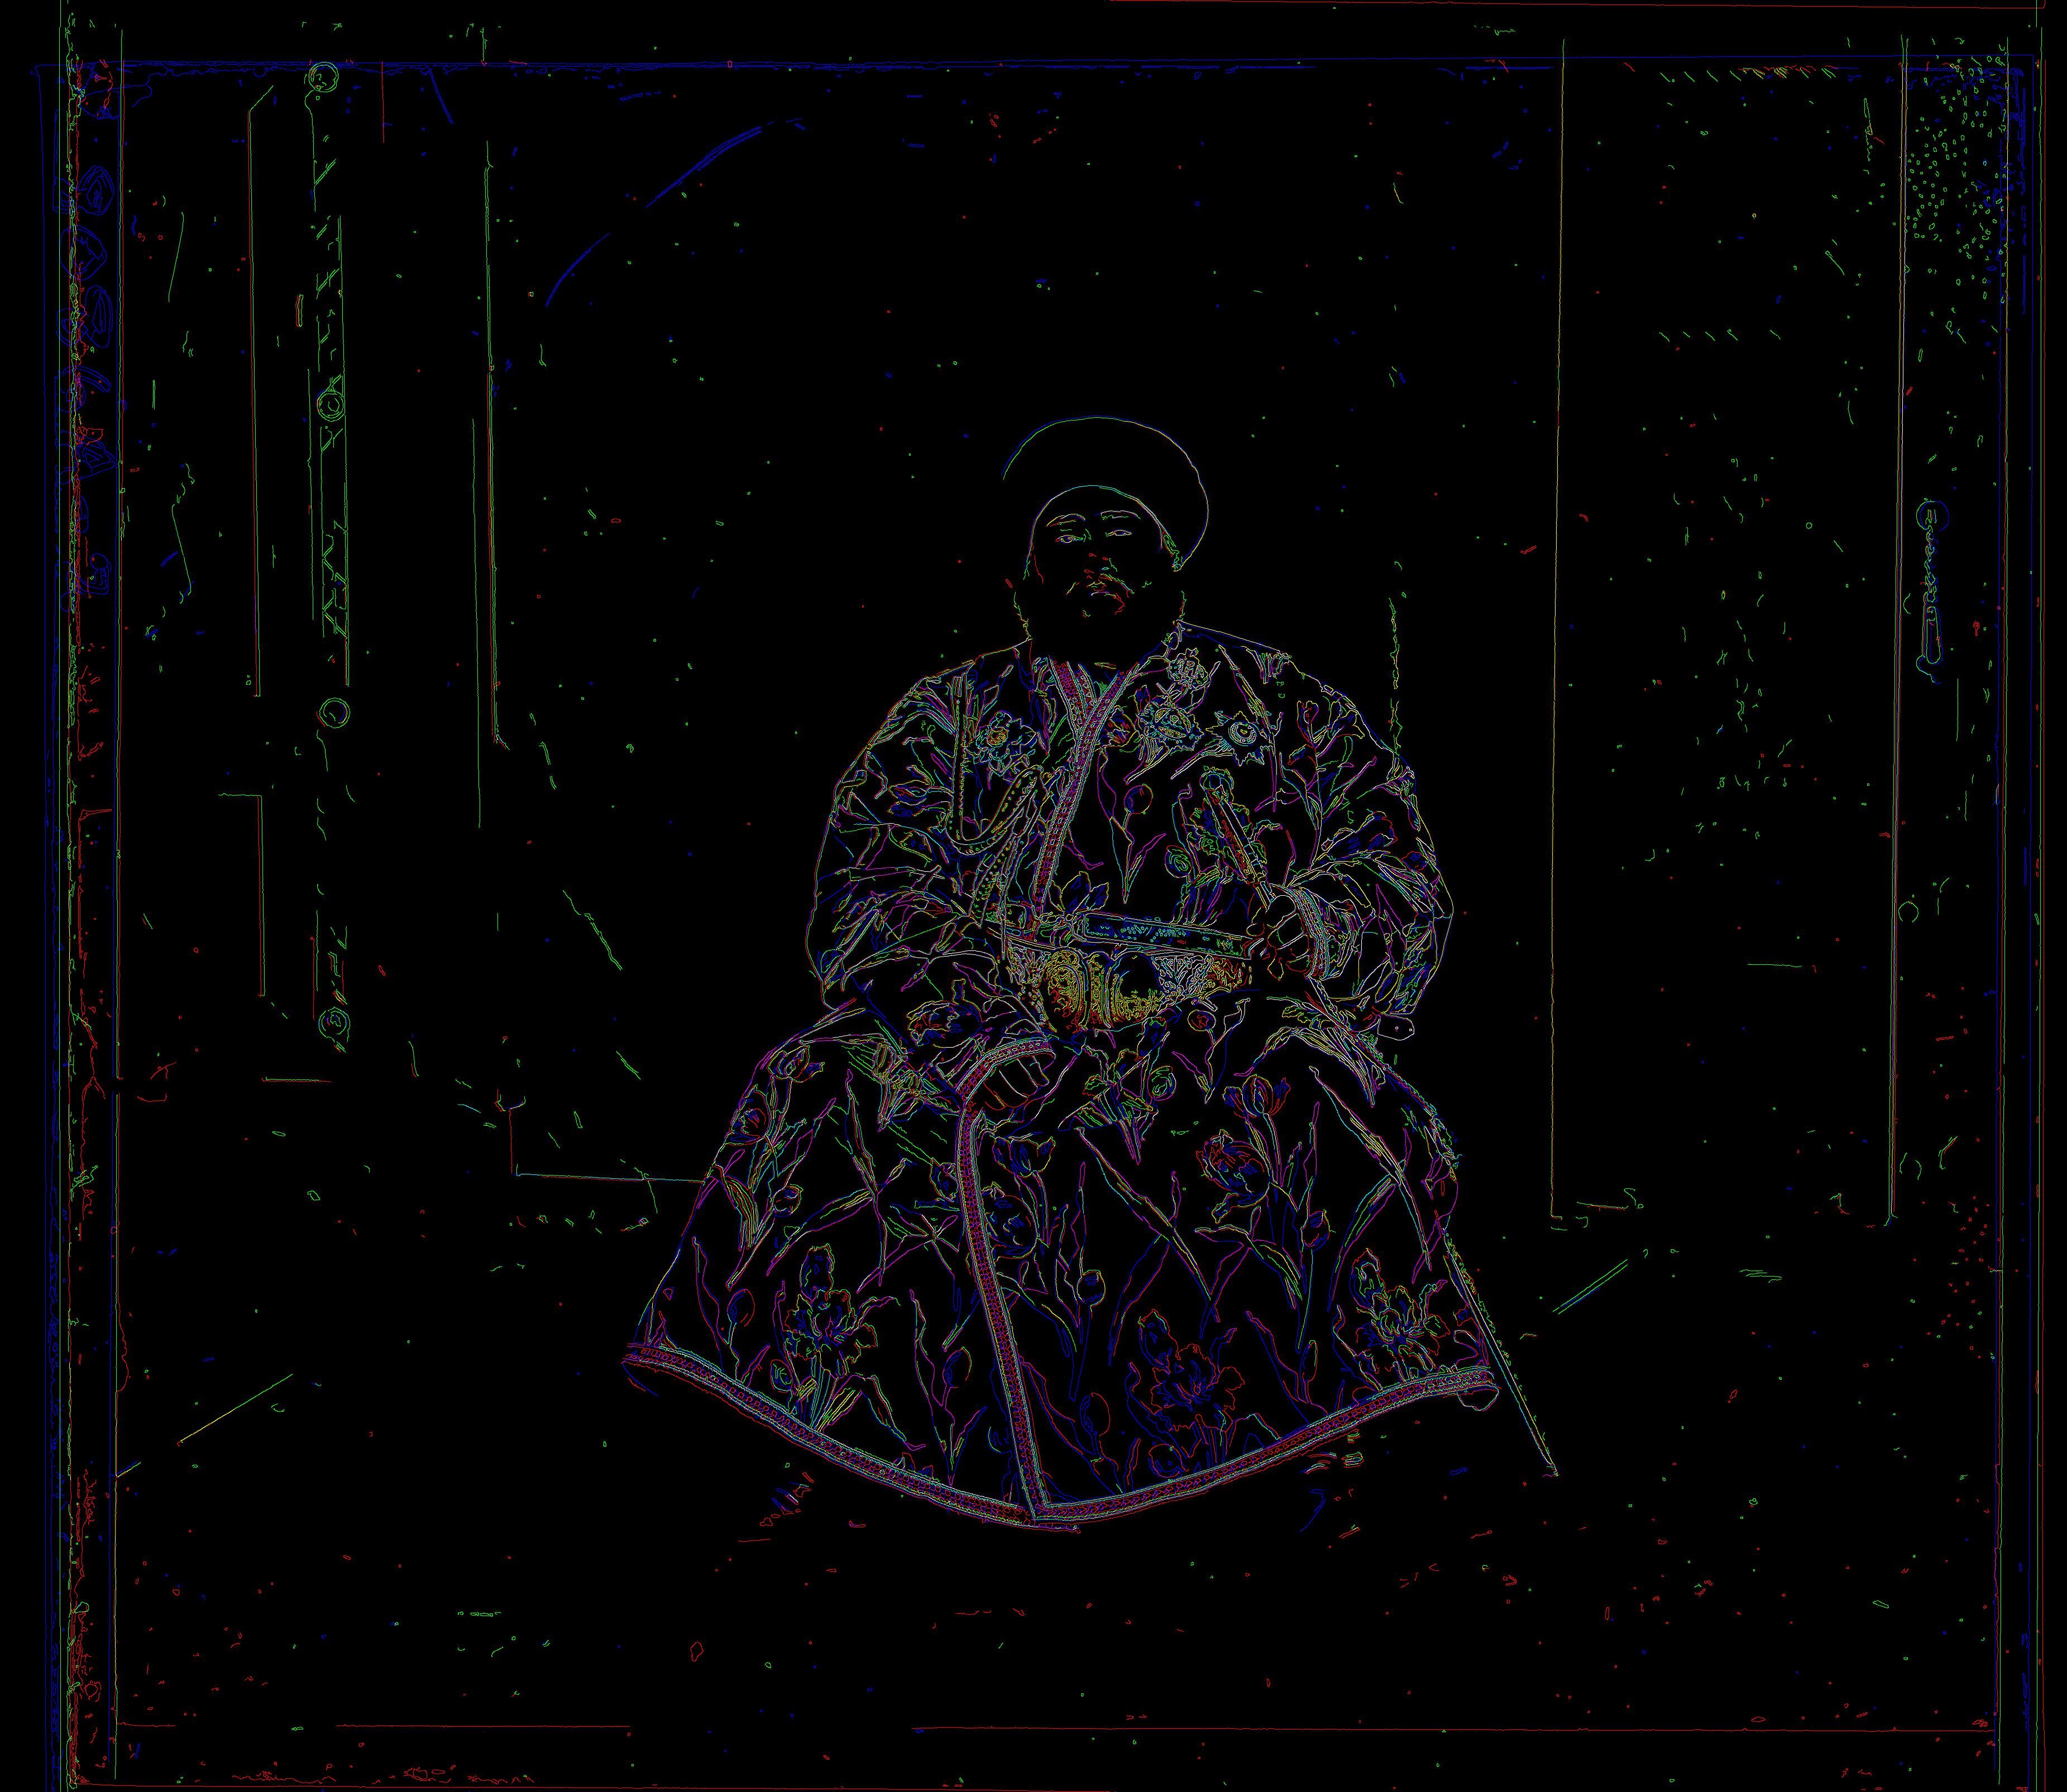
As we can see, all of the above images do great with their respective method, except that pesky emir.tiff This is likely due to the varying brightness of the image, which didn't play well with SSD similarity. I chose to use another approach that used the Canny Edge Detection algorithm from the OpenCV package.
Below, you can see the output of the Canny edge detection algorithm before the shift, and after the pyramid search using 5 levels, scale factor of 1/2, window of (-15, 15), and the SSD metric. Below those two, we can see the effect of the shift on the original image (which now looks great!!)

Green Shift: [49, 24], Red Shift: [107, 40]
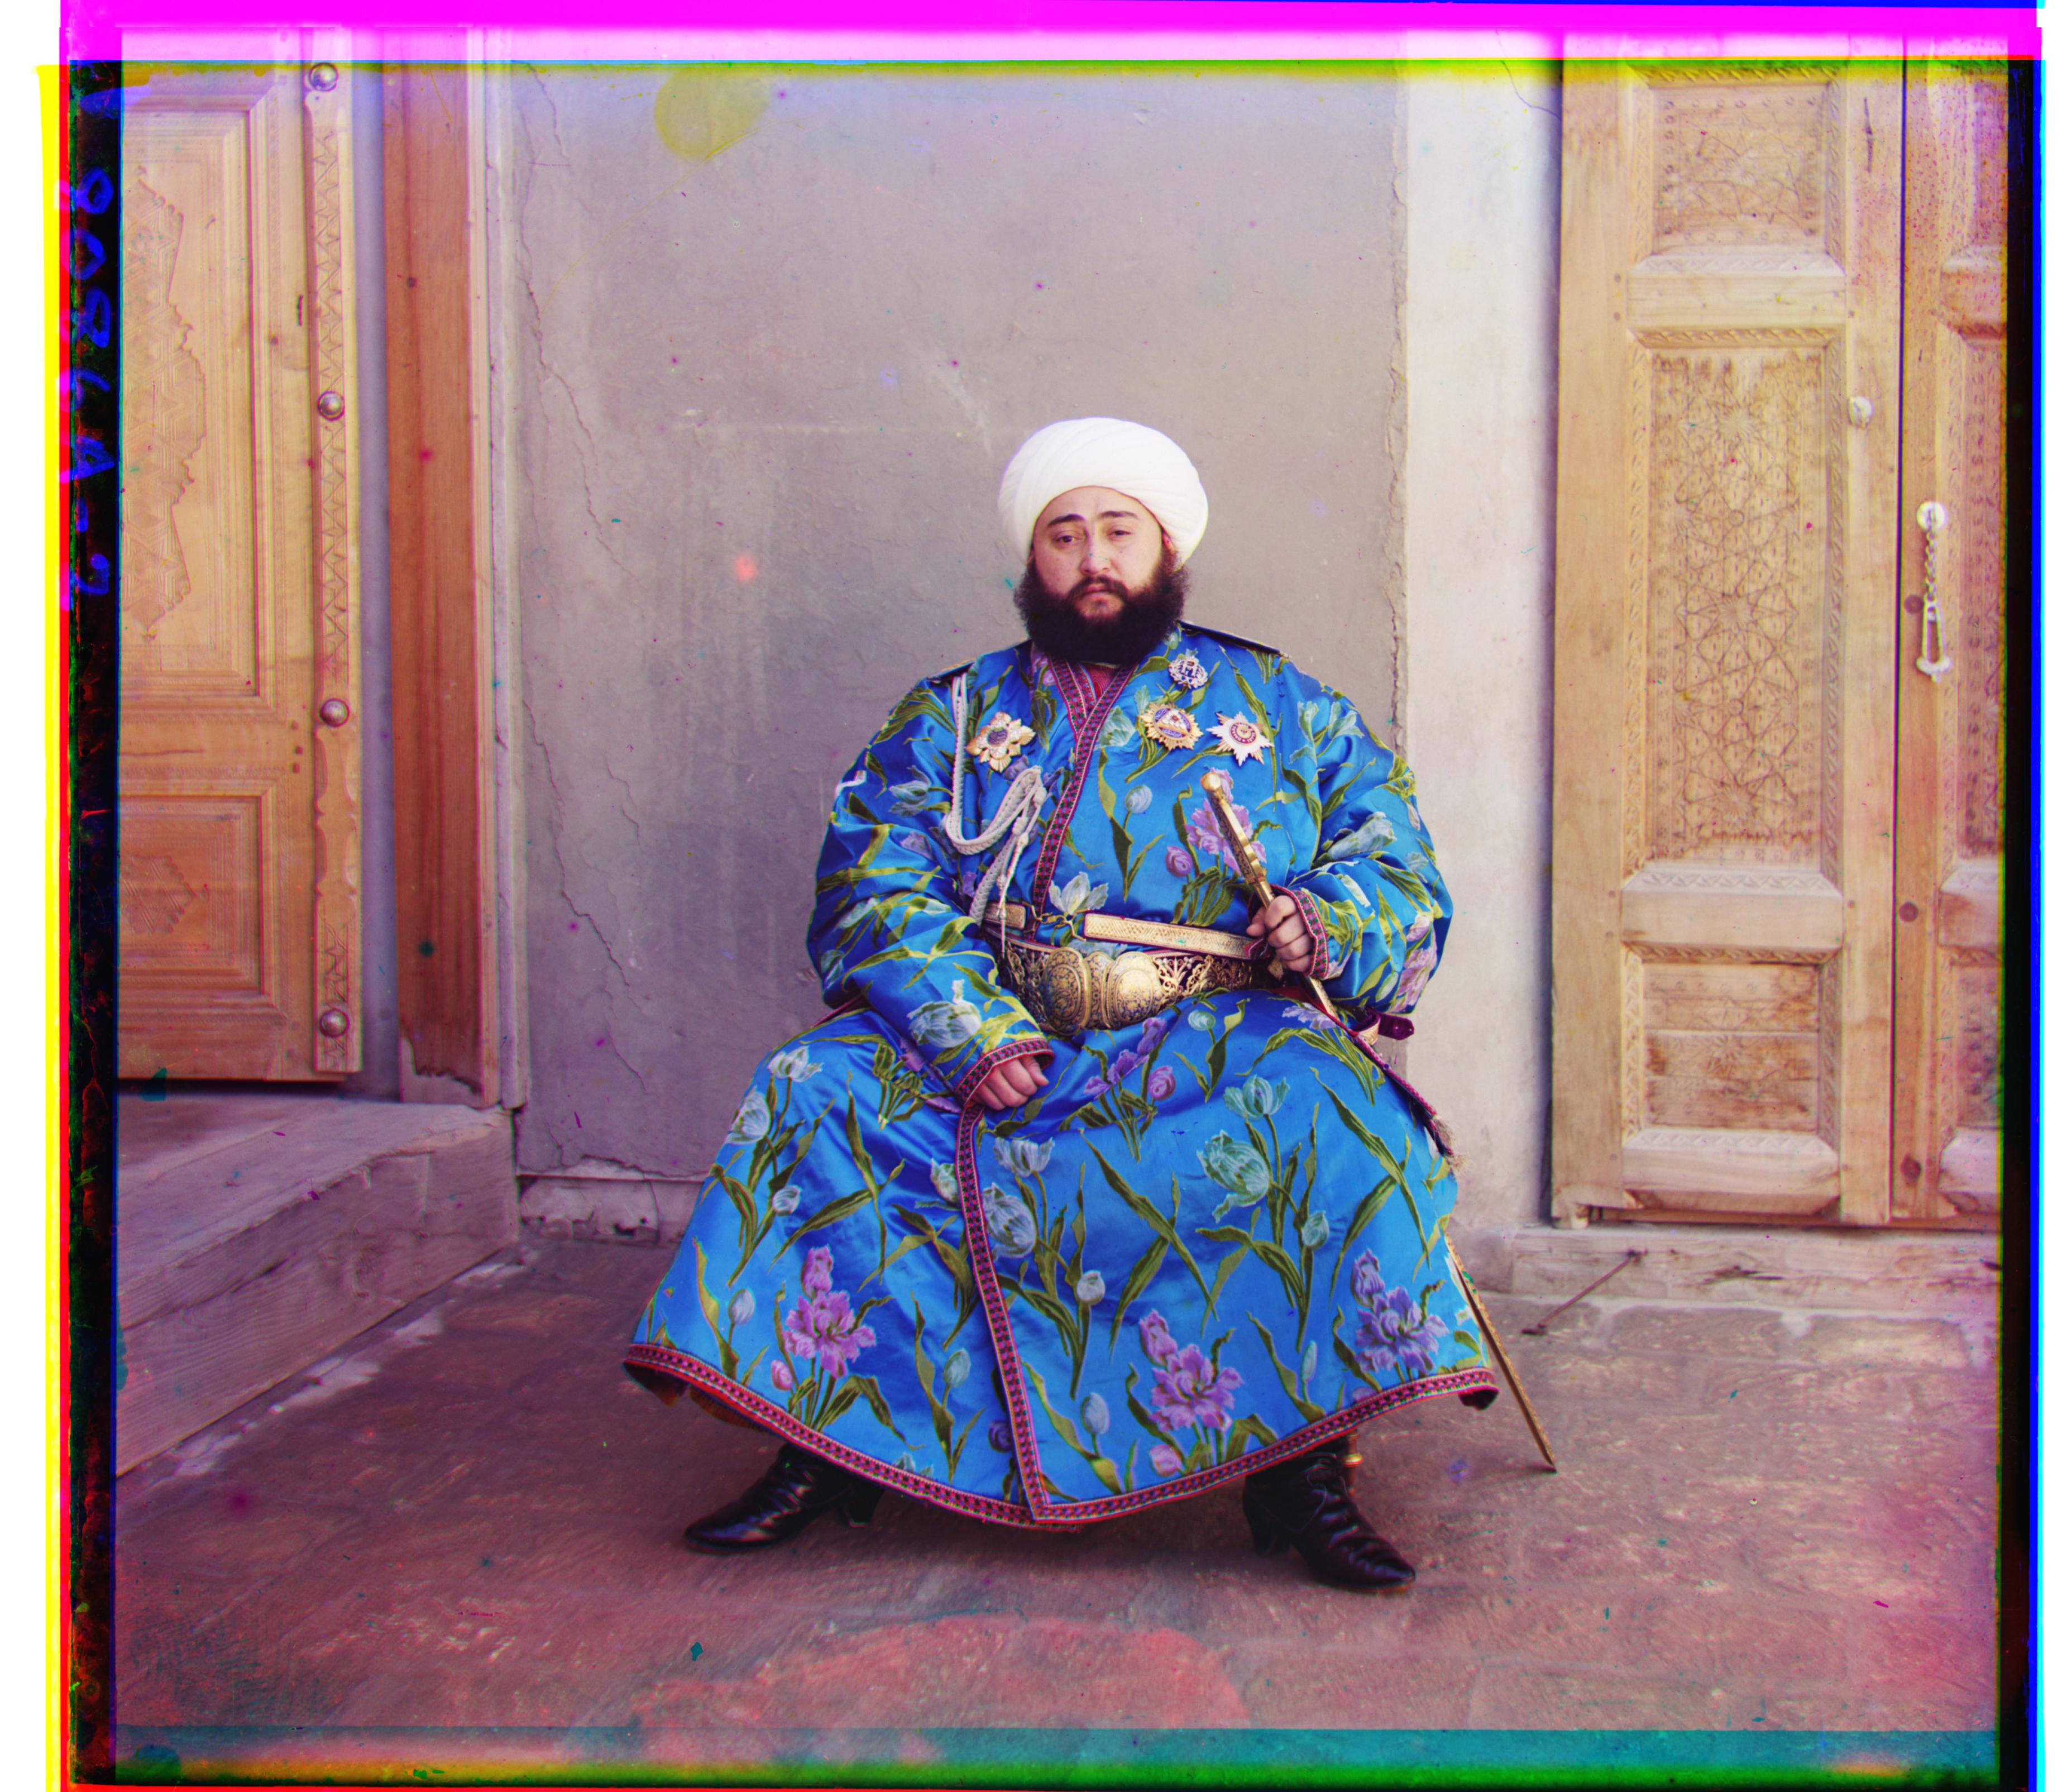
Green Shift: [49, 24], Red Shift: [107, 40]
This project was super fun, and a cool introduction to using NumPy for image processing and manipulation. Coding for this project went very well, very few issues with implementation. The one thing that was sort of annoying was keeping track of a reference to the 3 color channels and their corresponding image through all the code, as this was important for outputs.