Project 2: Fun with Filters and Frequencies!
Part 1: Fun with Filters
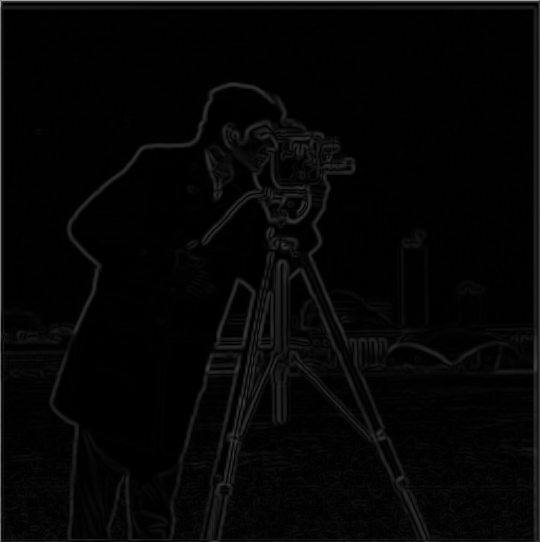
Part 1.1: Finite Difference Operator
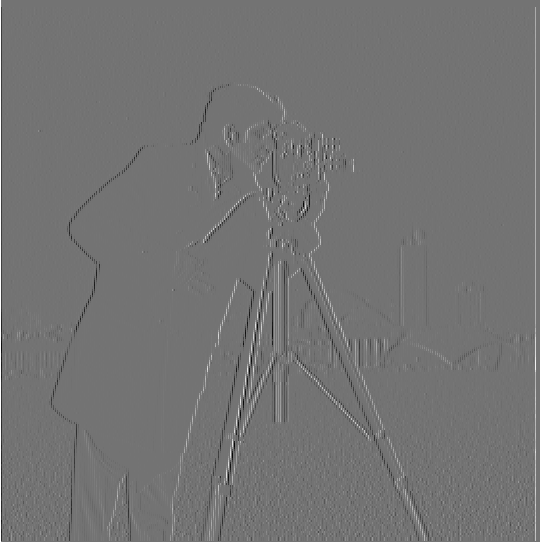
The x and y gradients of the cameraman image was created by convolving the image with Dx and Dy respectively.
This is because the Dx and Dy filters take the difference between pixel values in each direction. Then the magnitude
of the gradient is calculated by taking the magnitude of the dx and dy values (i.e. sqrt(dx ** 2 + dy ** 2)). Then the
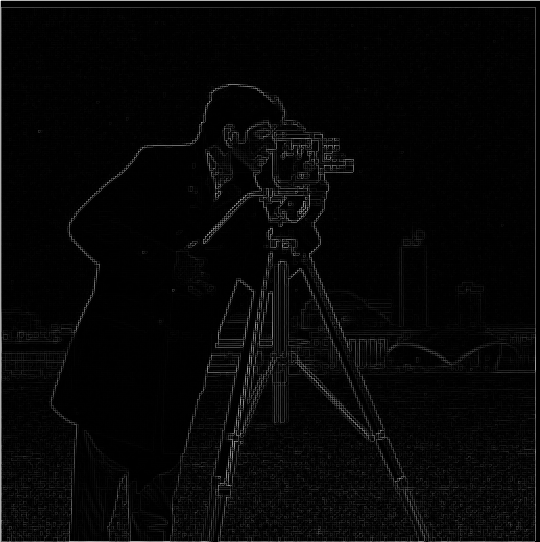
image is binarized such that pixels in the gradient magnitude image above a certain threshold were converted to black
and the other pixels were converted to white. If the gradient magnitude is large then that means the overall change in
the pixel values is large, which indicates the detection of an edge.
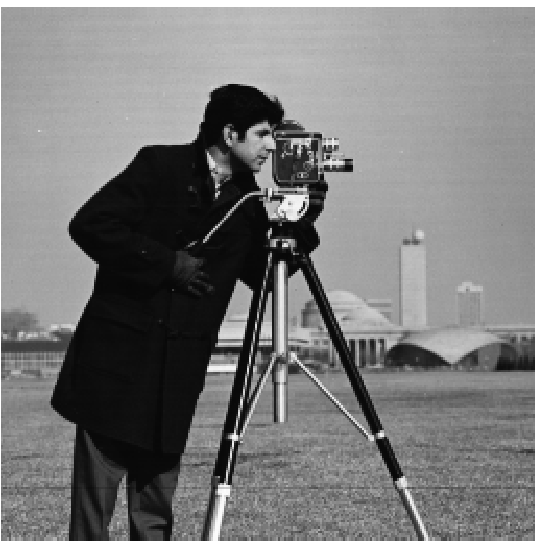
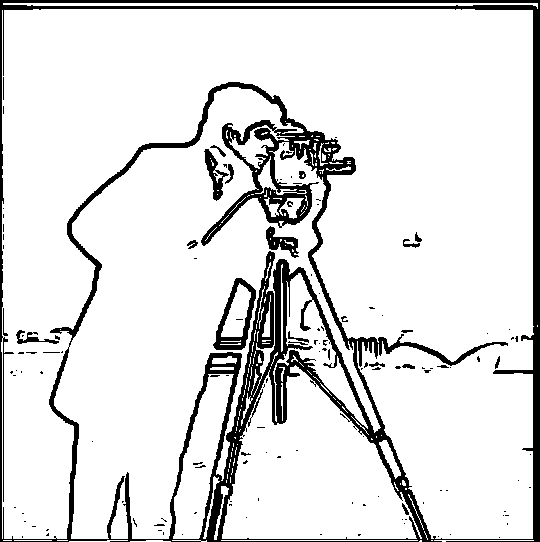
Original cameraman.png
Below are the results of applying the gradient in the x and y directions, taking the magnitude of the gradient, and
finally detecting the edges by binarizing the gradient magnitude image with a specific threshold found through trial
and error.
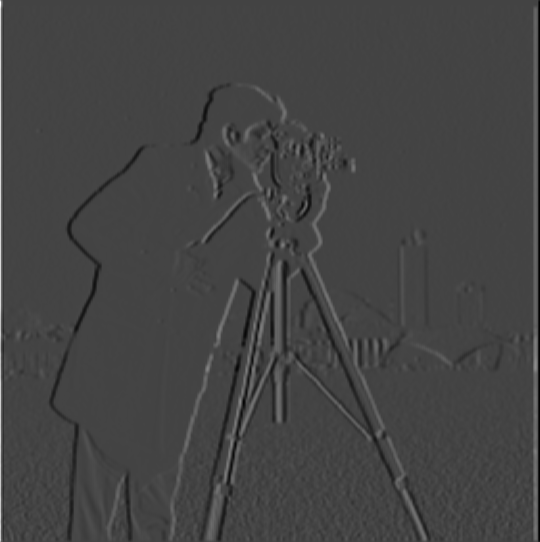
Gradient with respect to x

Gradient with respect to y
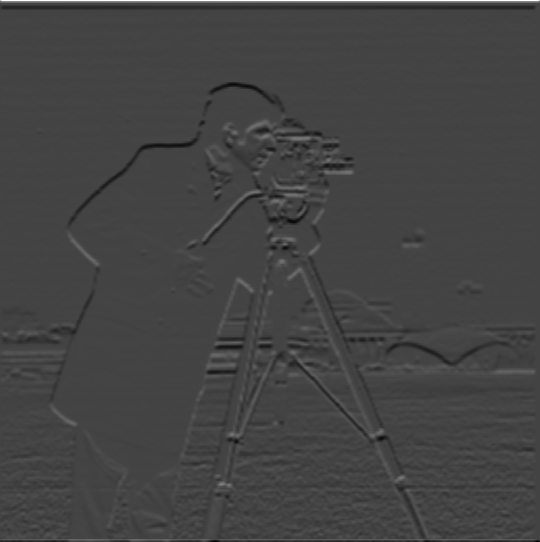
Gradient magnitude image
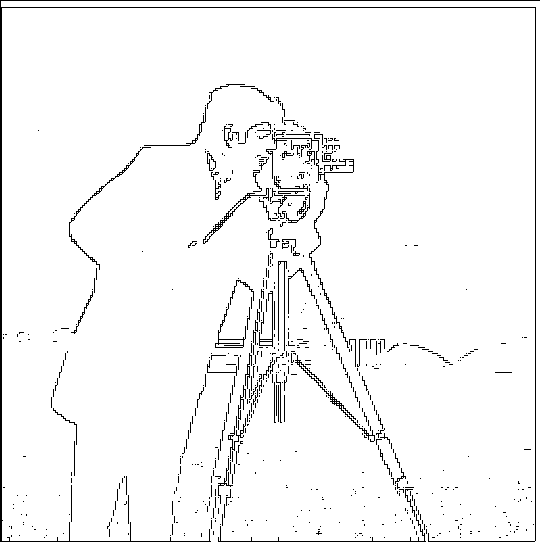
Edge image
Part 1.2: Derivative of Gaussian Filter
By blurring the image, the edges became bolder and more prominent. This is due to the fact that blurring
the image smooths out noise, which means it smooths out small and sudden changes in the pixel values that
aren't associated with an edge. The edges also become thicker because the large change in pixel value is
now spread out across multiple pixels after the image is blurred.

Blurred cameraman.png
Below is the result of blurring the image, convolving it with the Dx and Dy filters, taking the magnitude
of the gradient, and then binarizing the gradient magnitude image.
Gradient with respect to x
Gradient with respect to y
Gradient magnitude image

Edge image
Below is the result of achieving the same thing with a single convolution by using the Derivative of Gaussian
filters. The gaussian filter is first convolved with Dx and Dy, and that DoG filter is used to convolve with
the blurred image.
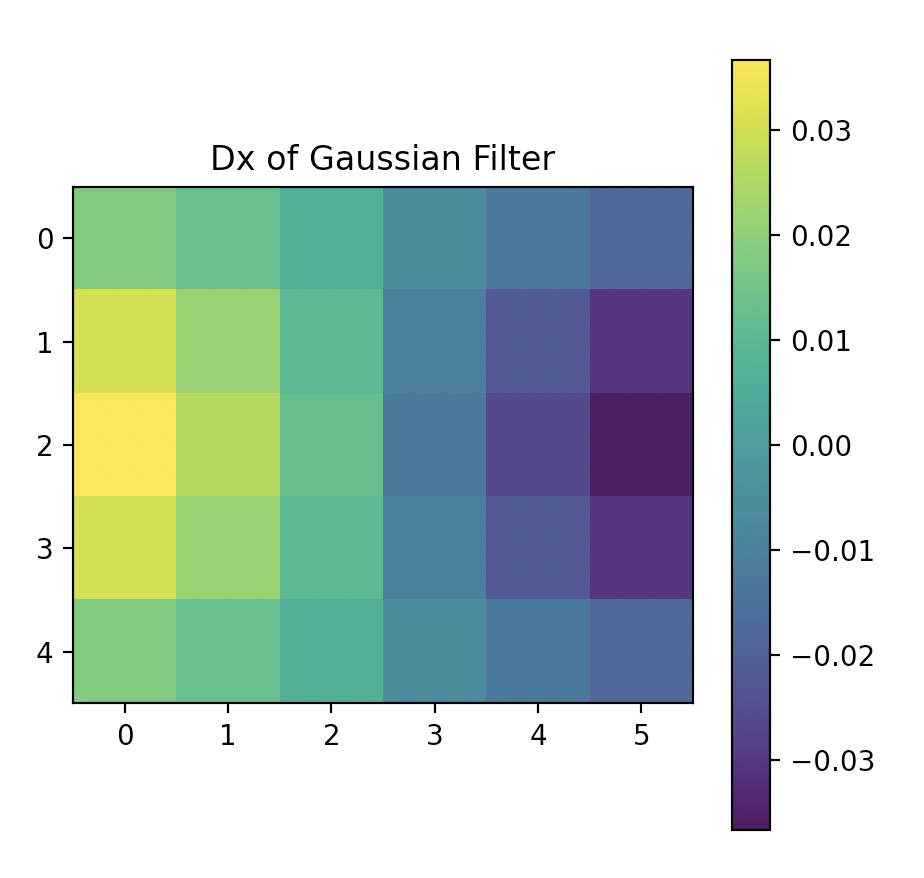
DoG filter with respect to x
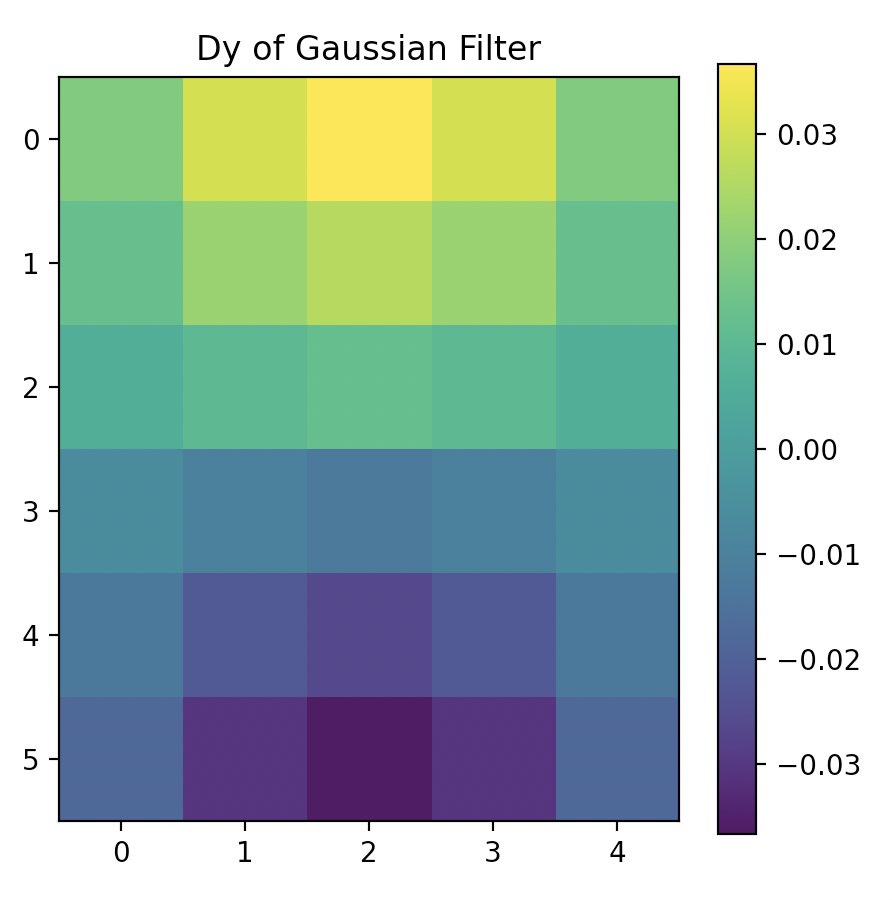
DoG filter with respect to y

Gradient magnitude image
Edge image
Part 2: Fun with Frequencies
Part 2.1: Image Sharpening
The high frequencies of an image can be obtained by subtracting a blurred version of the image from the original,
since this is equivalent to subtracting the lower frequencies from all the frequencies. Then the image can be
"sharpenned" by adding these high frequencies to the original. This same process can be done with a single convolution
with the unsharp mask filter, as described by the equation above. Below are the results with alpha set to 1.
Original Image

Blurred Image

Sharpenned Image
With an already sharp image, the edges of the sharpenned becomes even more prominent. But since alpha is only 1
and this is an art piece, there isn't too much difference and it doesn't look unnatural.
Original Image
Blurred Image
Sharpenned Image
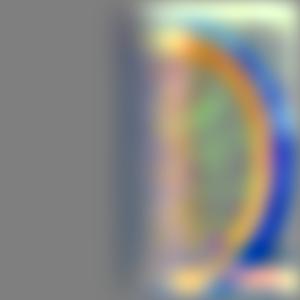
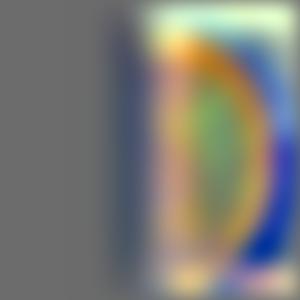
Part 2.2: Hybrid Images
Hybrid images were created by aligning two image, high pass filtering one image and low pass filtering another, and averaging
the two filtered images together. As a result, when viewing the hybrid image close by, the human eye detects higher
frequencies more, therefore seeing the high pass filtered image. When viewing from a distance, one sees the low pass
filtered image. Additionally, to create a better effect, I used a different sigma for the gaussian filteres when creating the
low and high pass images.
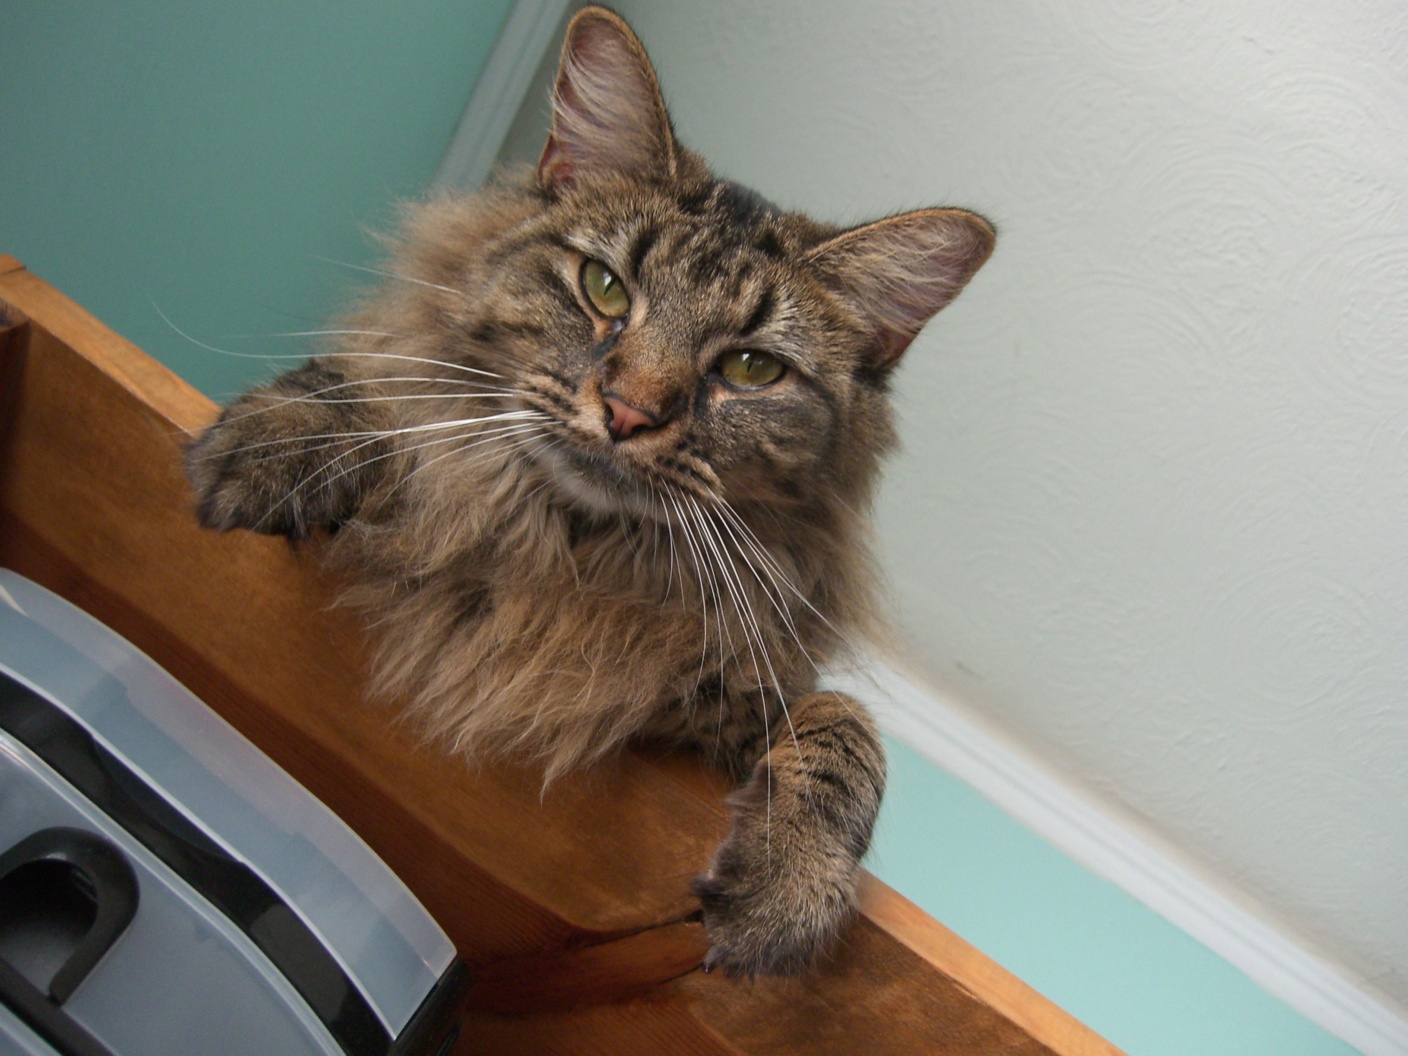
Nutmeg (To be High Pass Filtered)
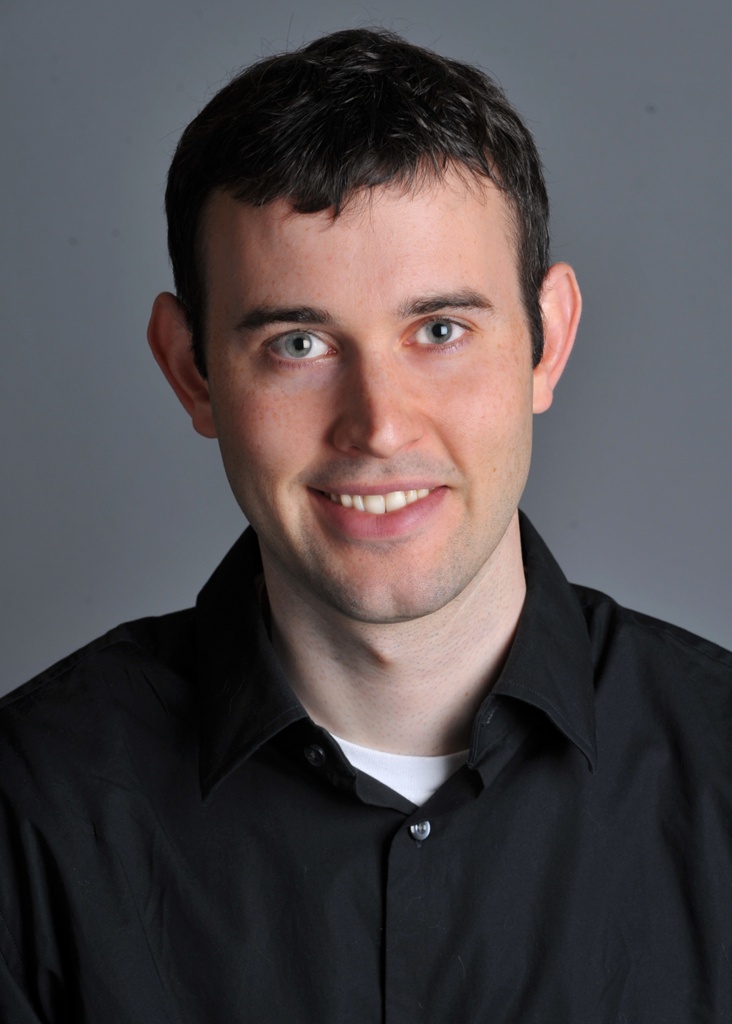
Derek (To be Low Pass Filtered)
Hybrid Nutmeg & Derek
When playing with colors, it turns out that having both images in color versus having just the low passed image in color
had very similar results, which was way better than having just the high passed image in color. It was even better if both
images were a similar shade.

Baby (To be High Pass Filtered)
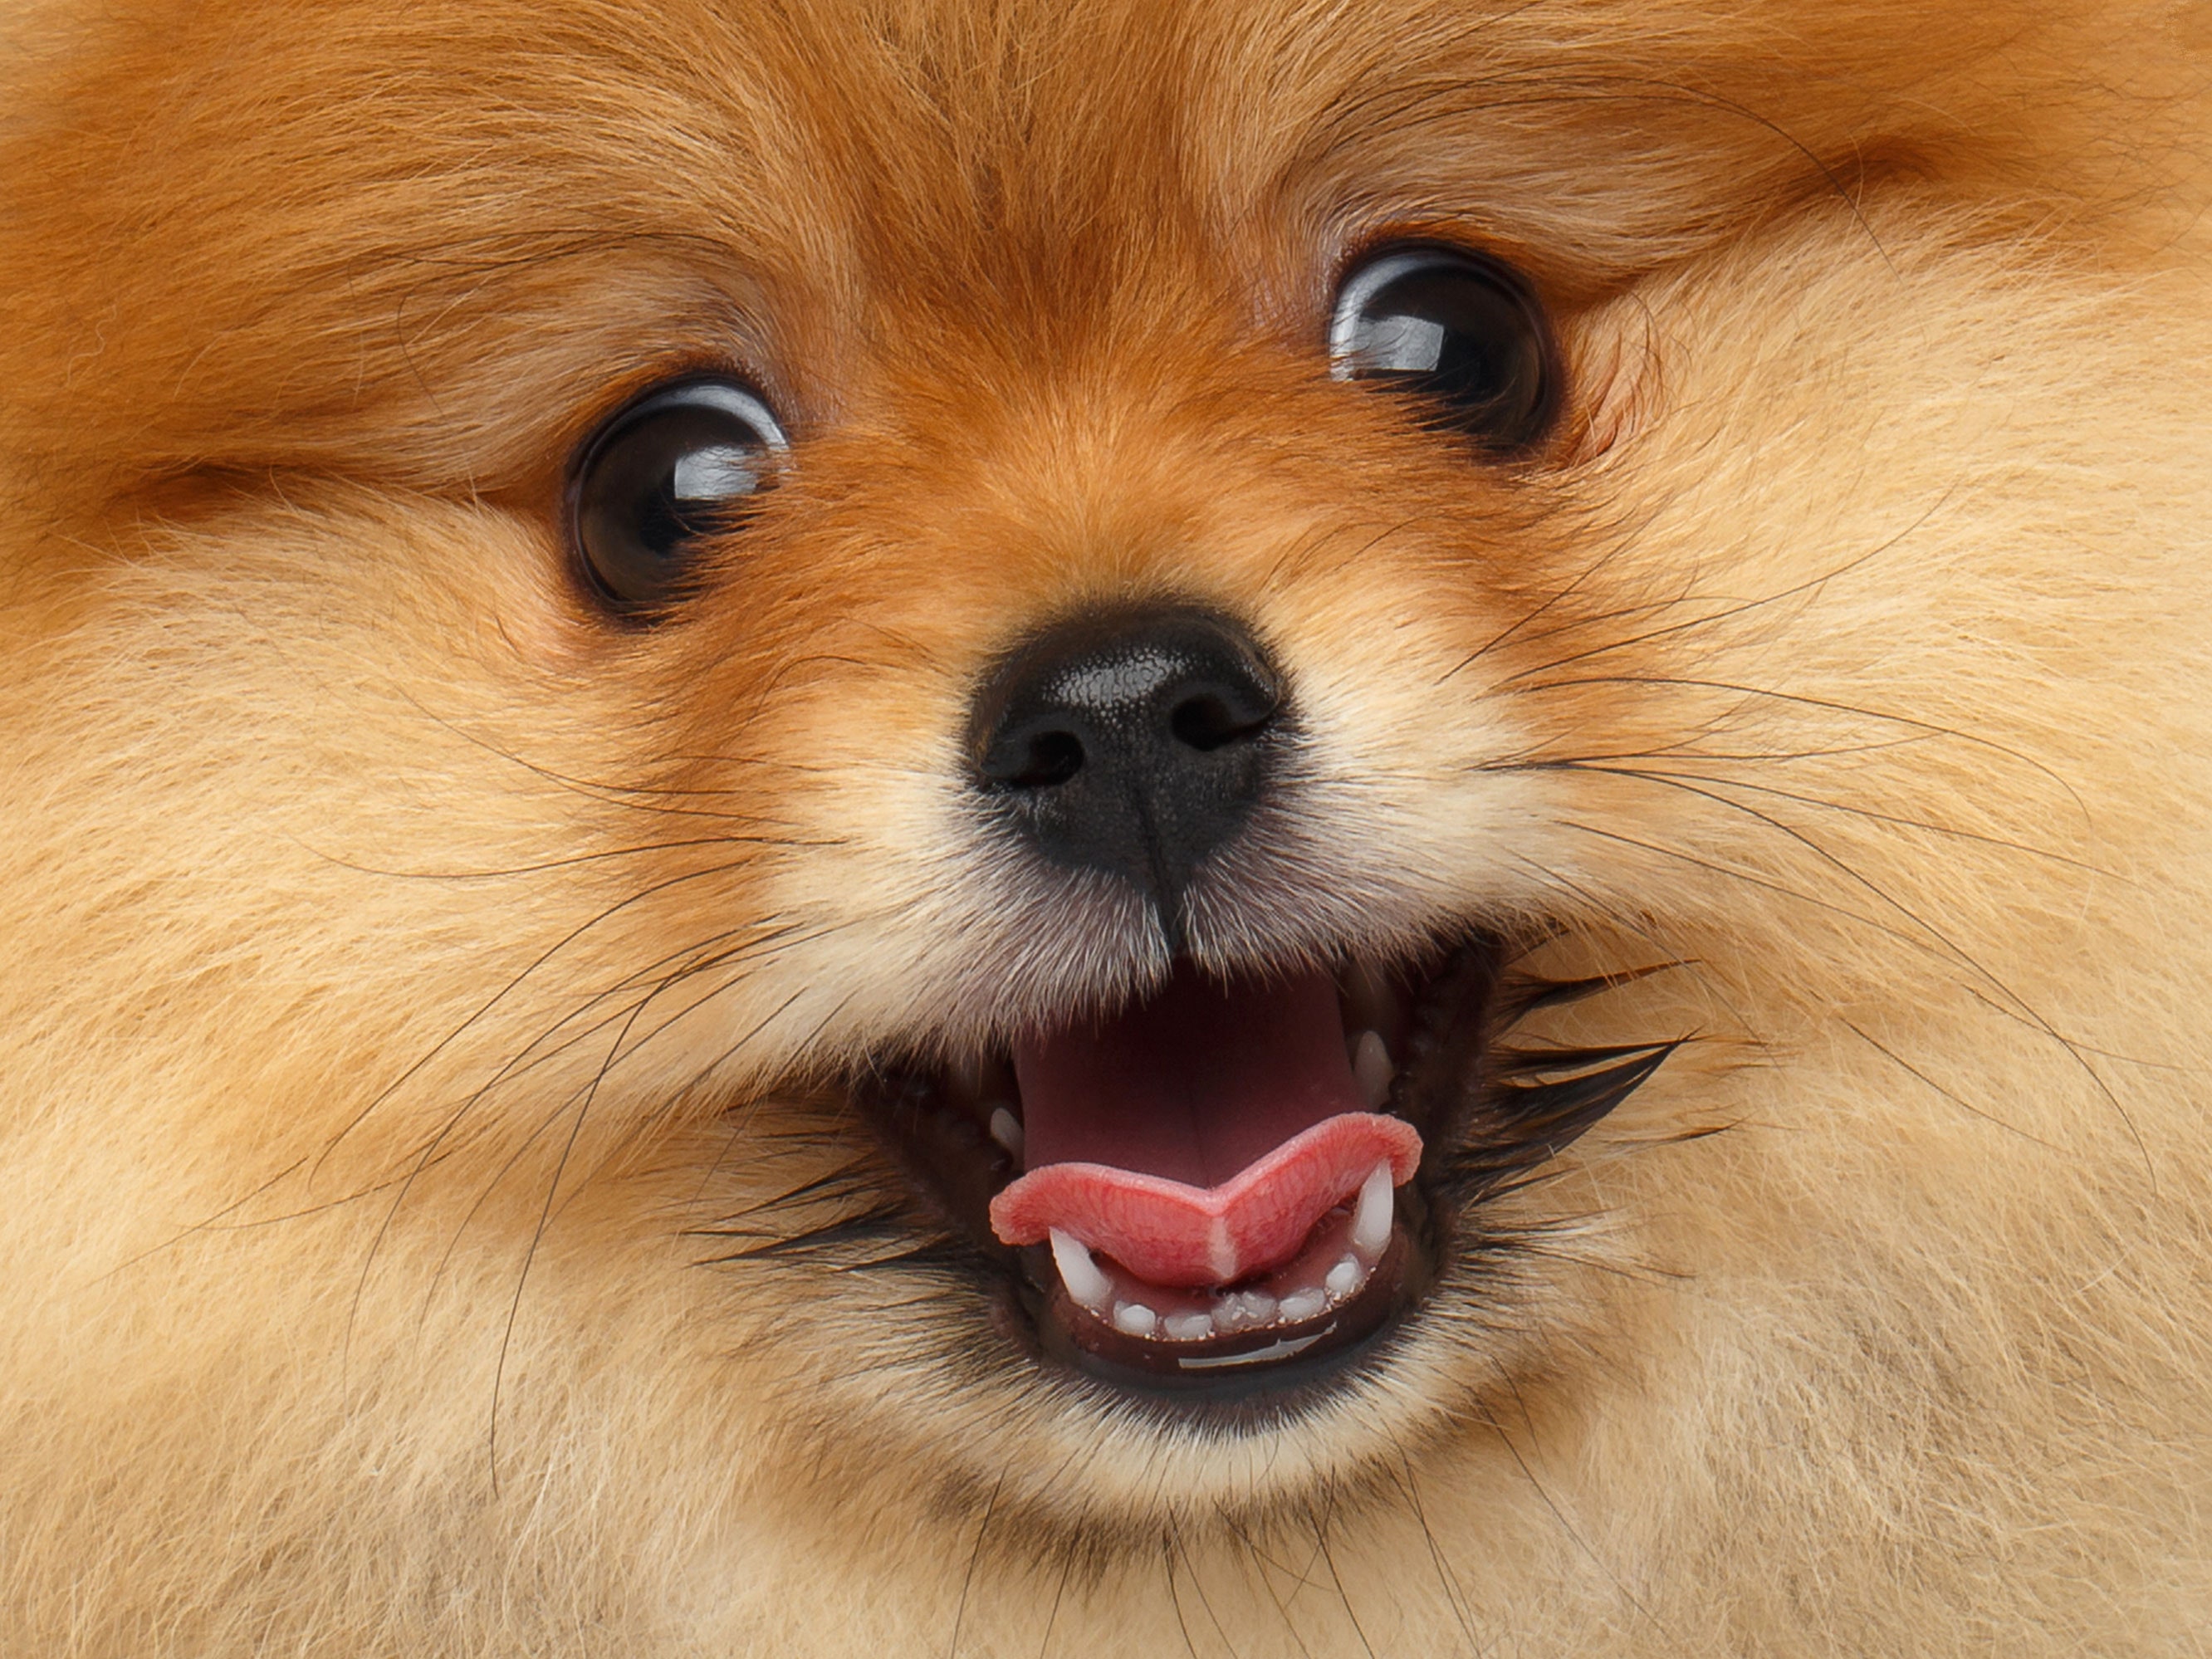
Dog (To be Low Pass Filtered)

Hybrid Baby Grayscale & Dog Colored

Hybrid Baby Colored & Dog Grayscale
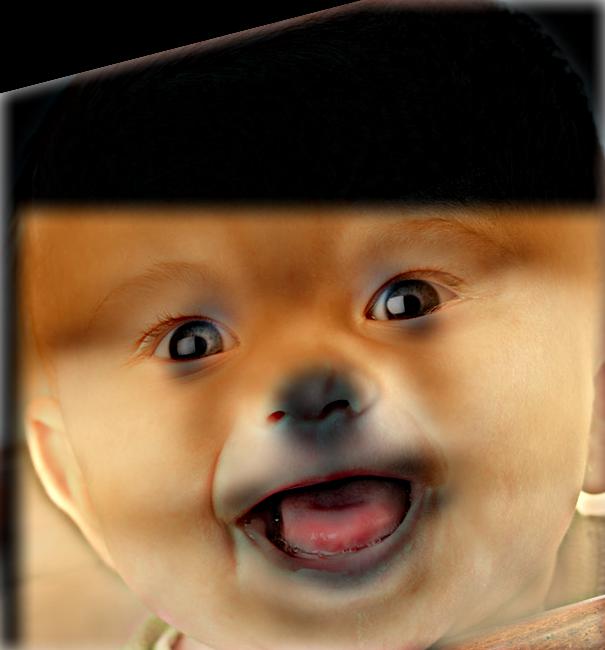
Hybrid Baby & Dog Both Colored
Below are the visualizations of the fourier transforms for this hybrid image.
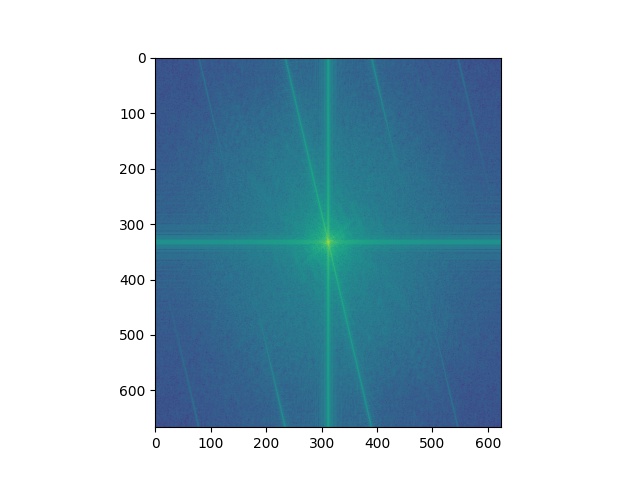
Original Baby
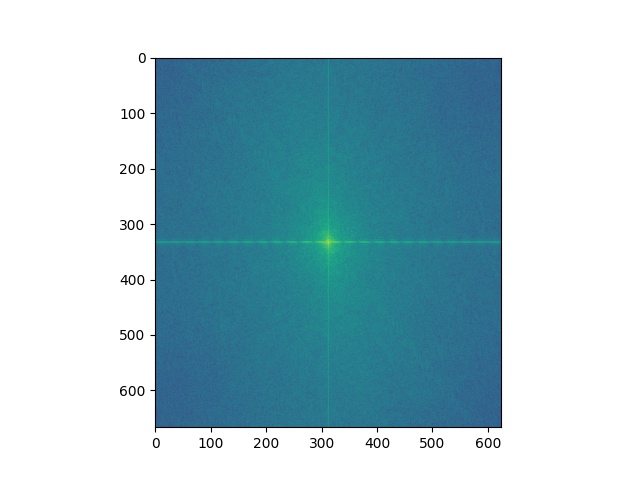
Original Dog
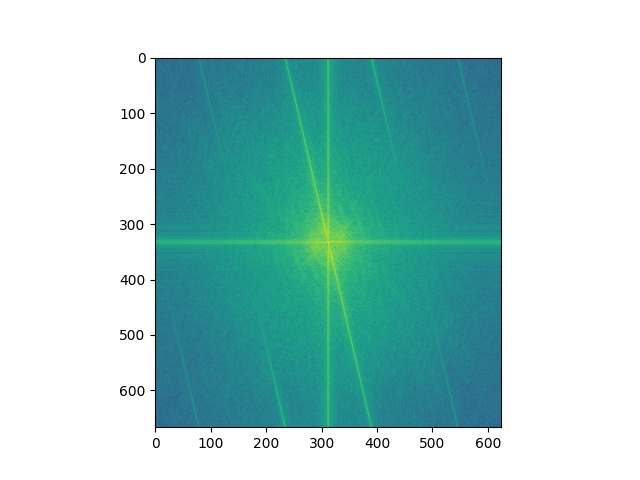
High Pass Filtered Baby
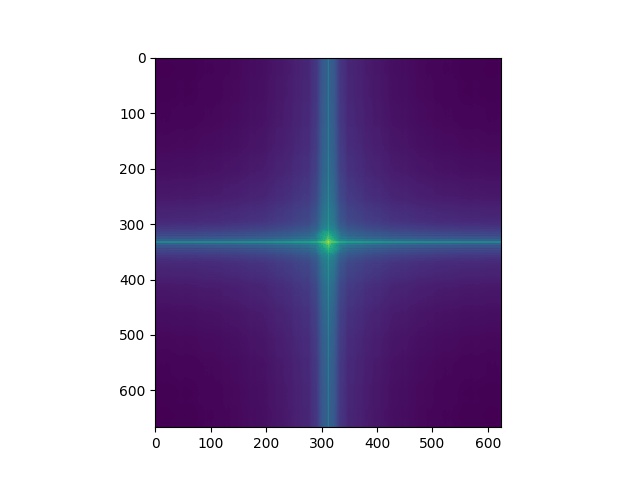
Low Pass Filtered Dog
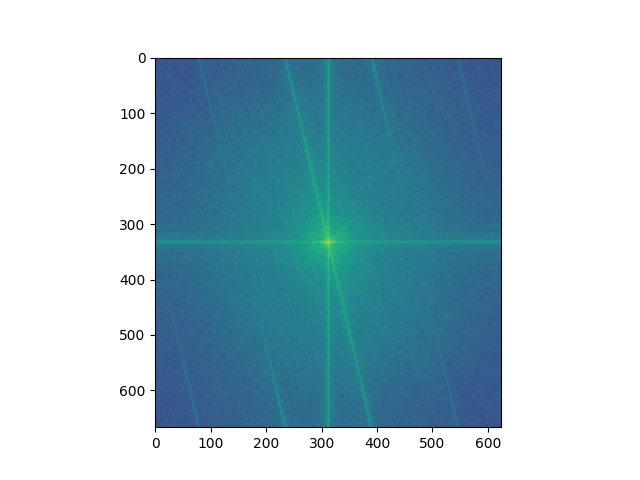
Hybrid Baby & Dog Fourer Transform
Below are some more successful examples of hybrid images.
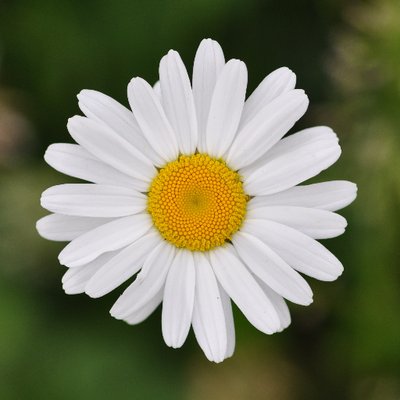
Flower (To be High Pass Filtered)
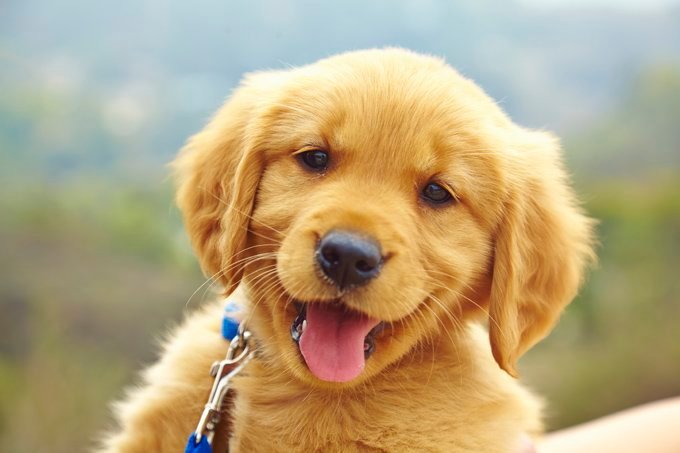
Puppy (To be Low Pass Filtered)

Hybrid Flower & Puppy
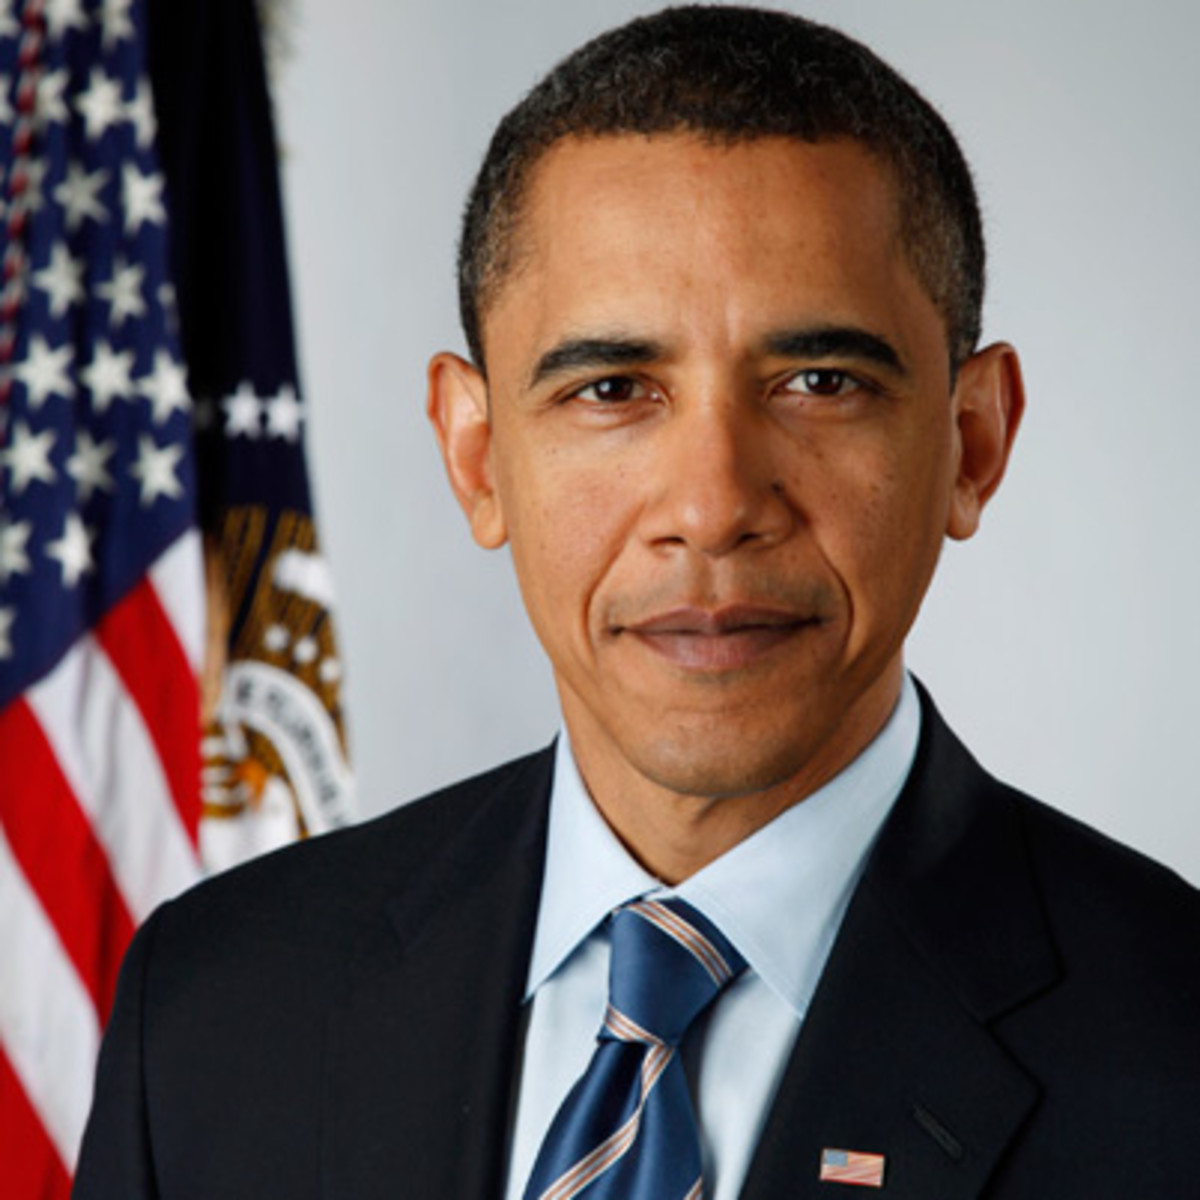
Barack Obama (To be High Pass Filtered)
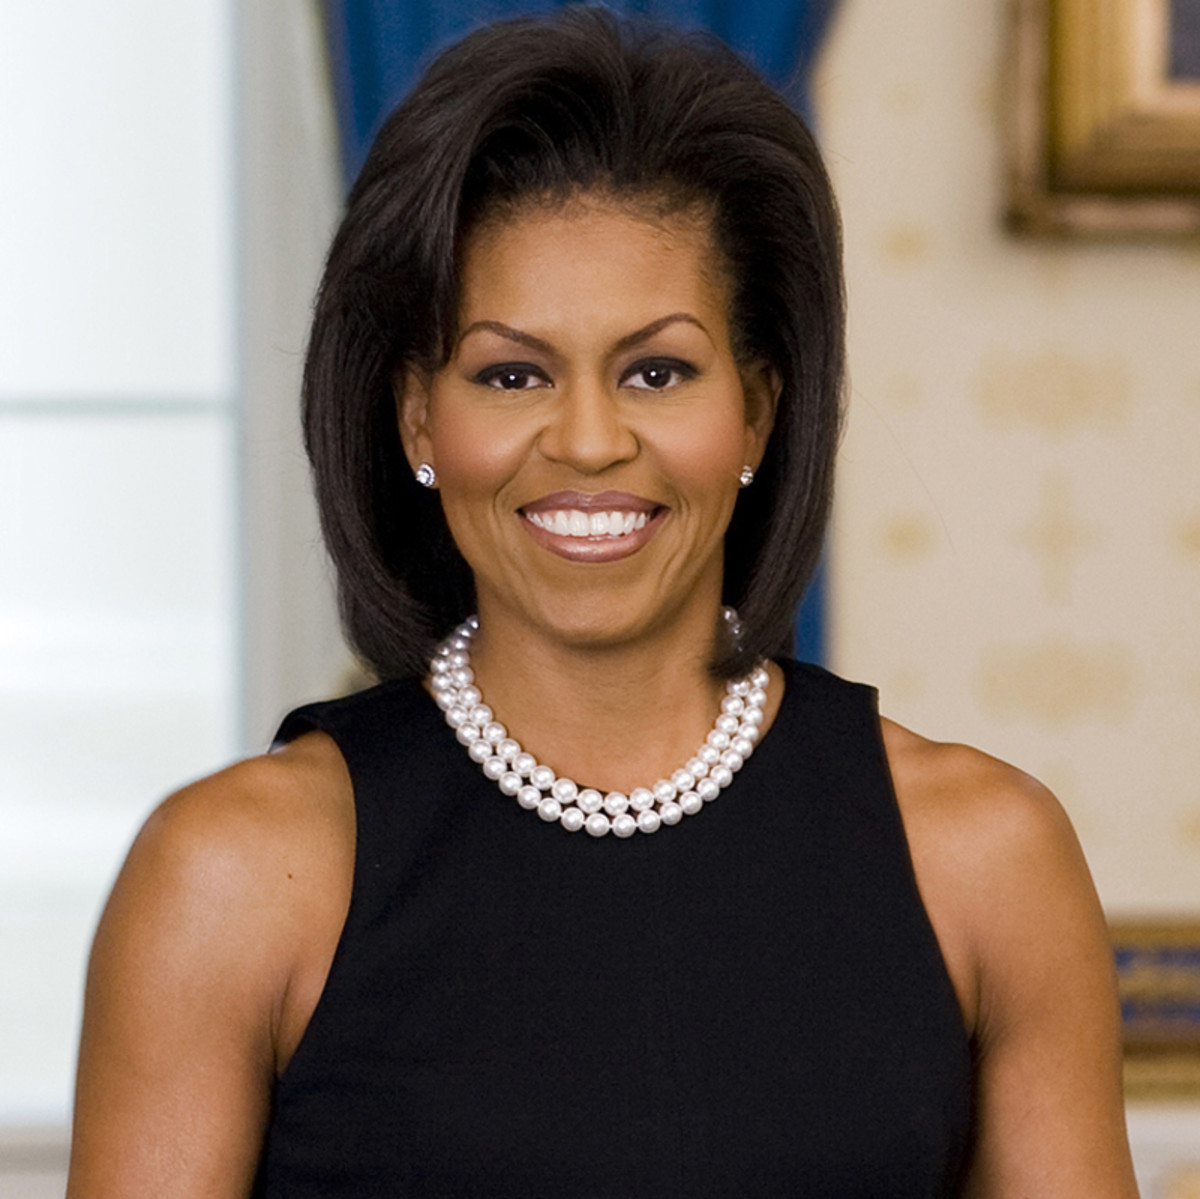
Michelle Obama (To be Low Pass Filtered)
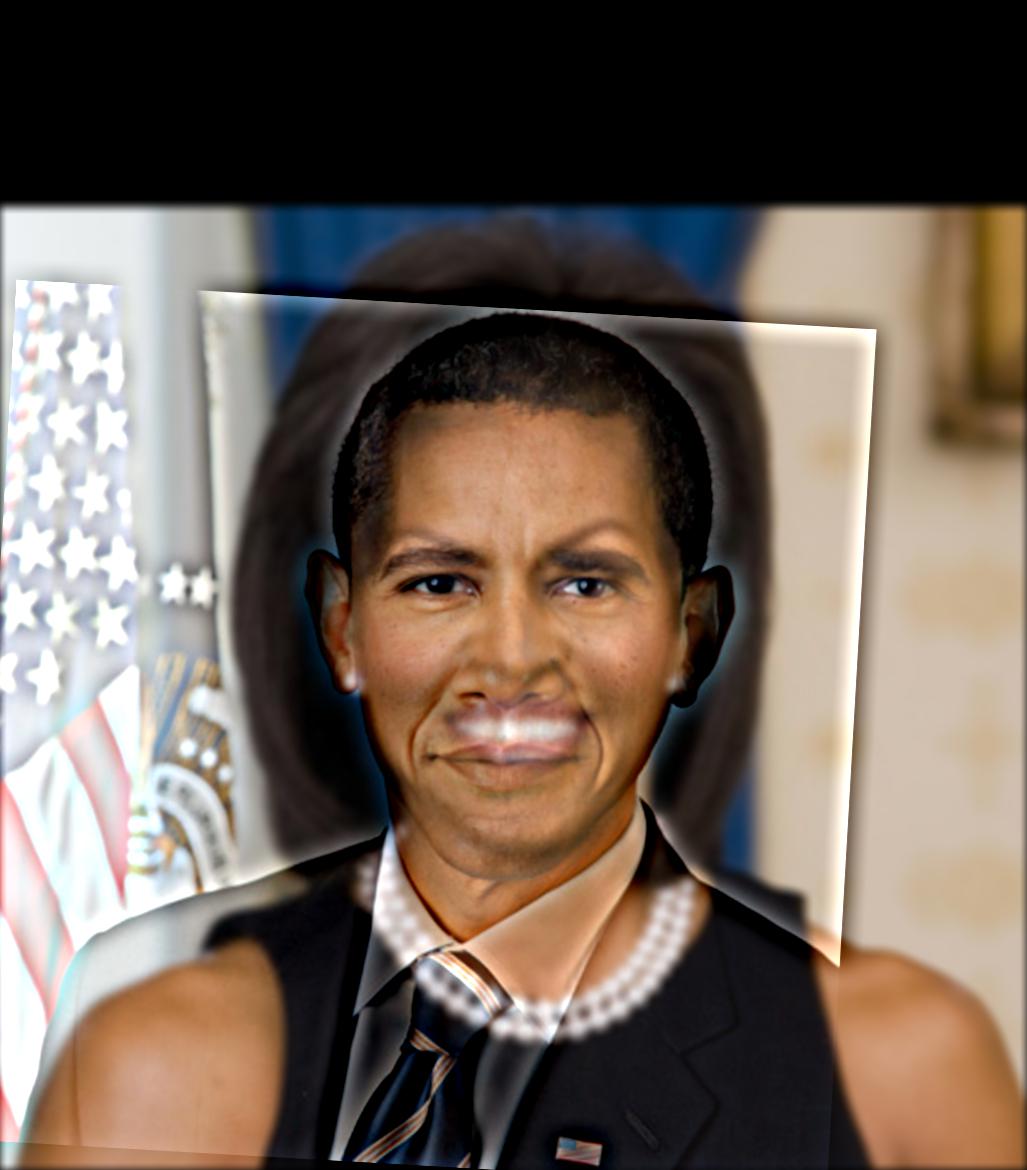
Hybrid Obamas
The following is an example that failed. Only the rabbit that is highpass filtered can be seen. The wolf that is lowpass
filtered cannot.
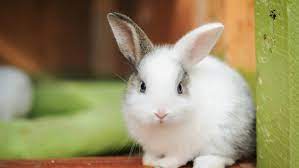
Rabbit (To be High Pass Filtered)
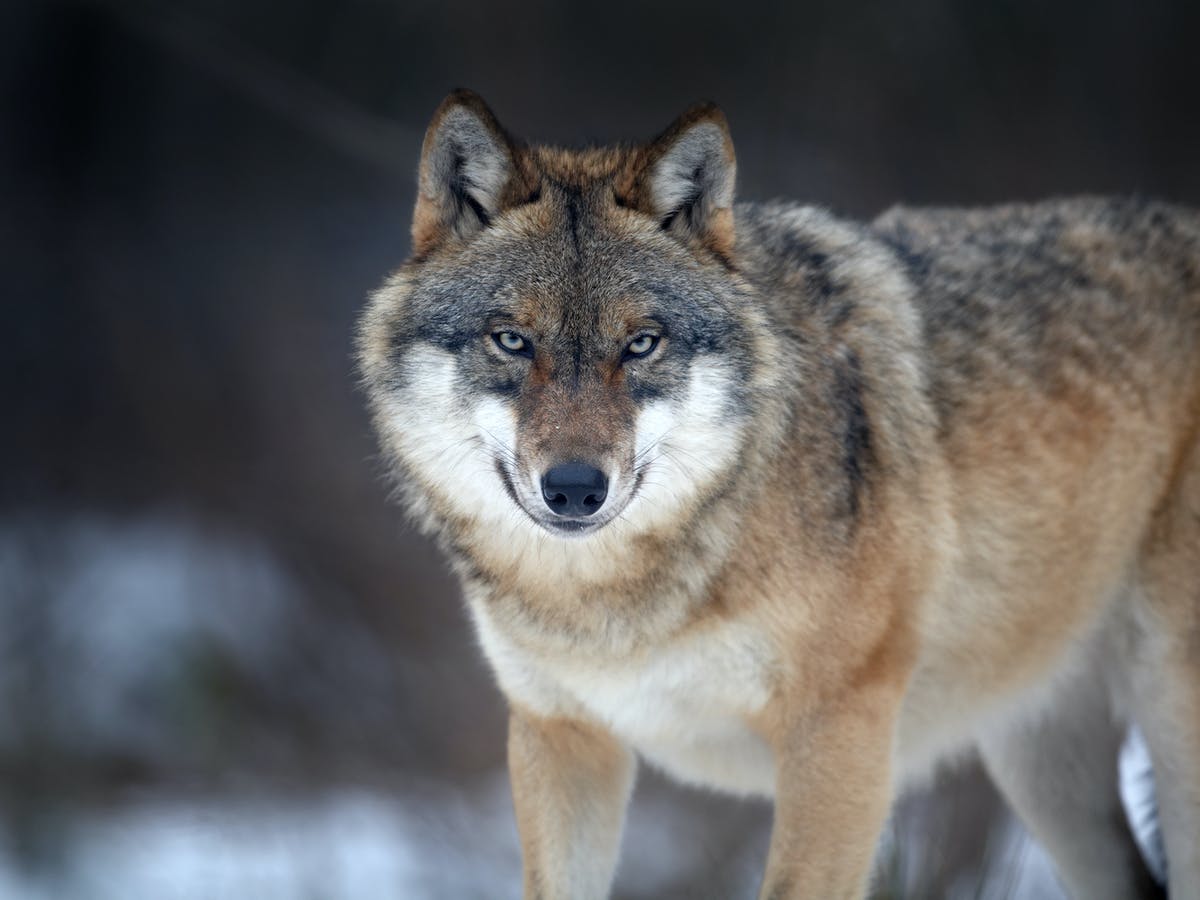
Wolf (To be Low Pass Filtered)

Hybrid Rabbit & Wolf
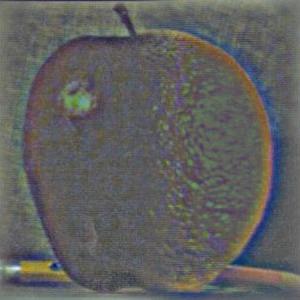
Part 2.3: Gaussian and Laplacian Stacks
A gaussian stack was created by repeatedly convolving an image with a gaussian filter so that each level the image is more
blurry. A laplacian stack was created by taking the difference between two successive gaussian filtered images, with the
last laplacian level equal to the last gaussian level. Below are the results of the left side of the apple image and the
right side of the orange image.
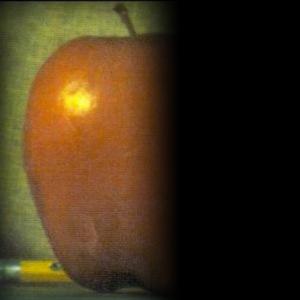
Apple Gaussian Level 0
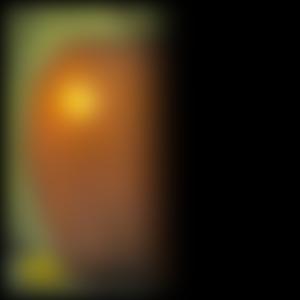
Apple Gaussian Level 2
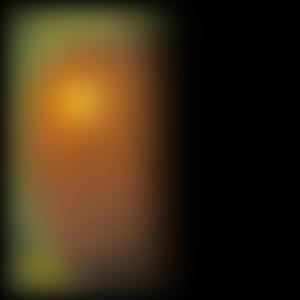
Apple Gaussian Level 4
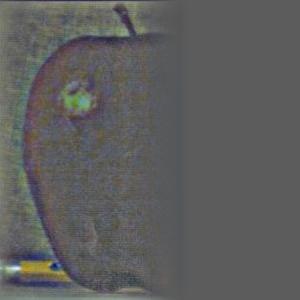
Apple Laplacian Level 0
Apple Laplacian Level 2

Apple Laplacian Level 4
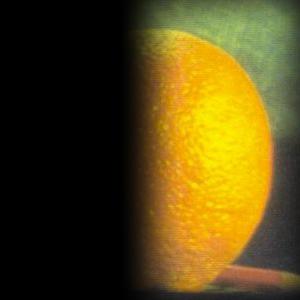
Orange Gaussian Level 0
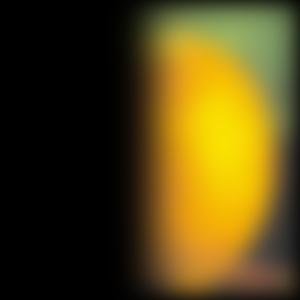
Orange Gaussian Level 2
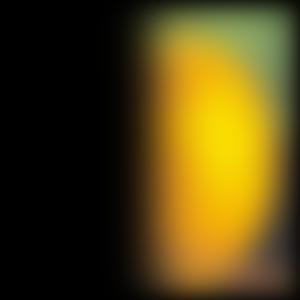
Orange Gaussian Level 4
Orange Laplacian Level 0
Orange Laplacian Level 2
Orange Laplacian Level 4
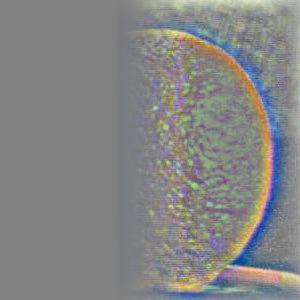
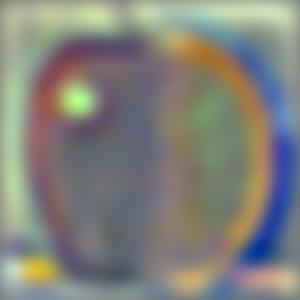
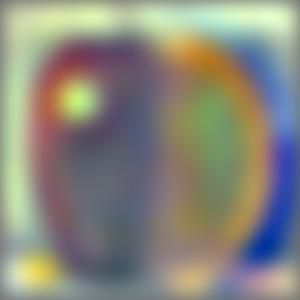
Part 2.4: Multiresolution Blending
The blended image is createed by blending together each laplacian level separately and then adding
all the blended images together to get back all the frequencies in the original image.

Apple

Orange
Blended Level 0
Blended Level 2
Blended Level 4
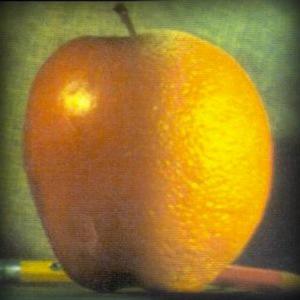
Blended Oraple
Below are some more examples of blended images.
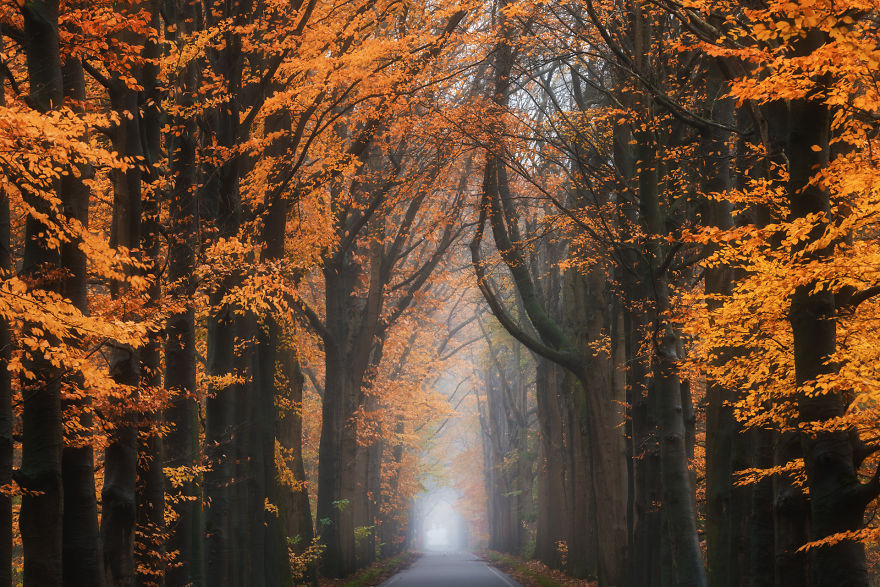
Fall
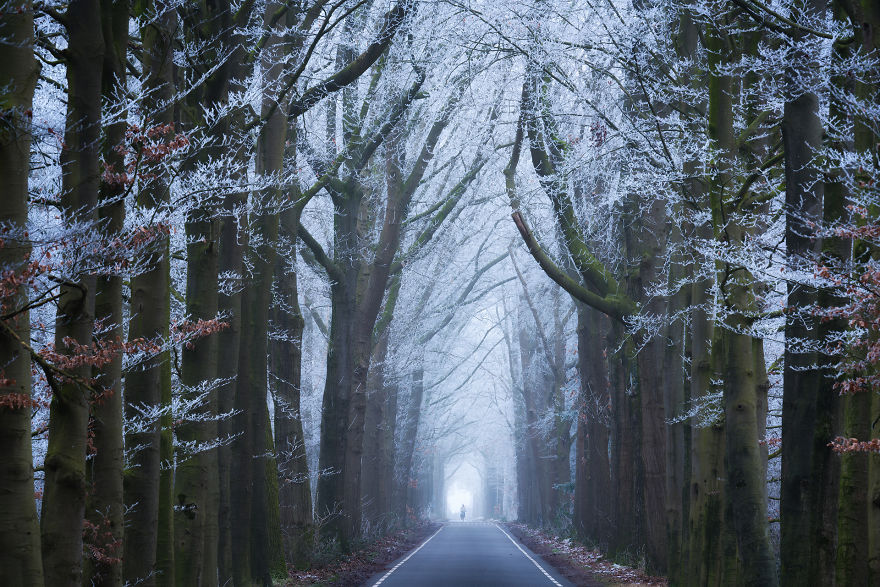
Winter
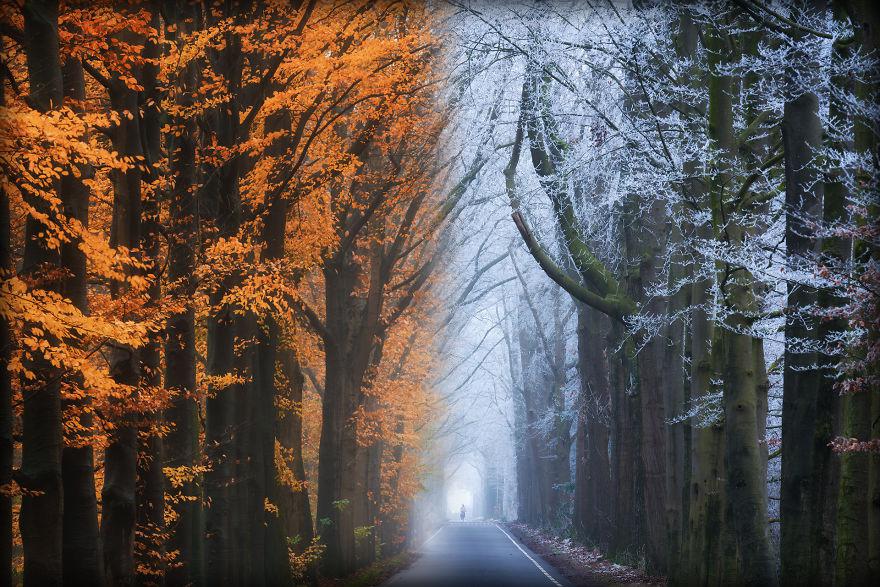
Fall & Winter Blended
The following blend uses an irregular filter.

San Francisco
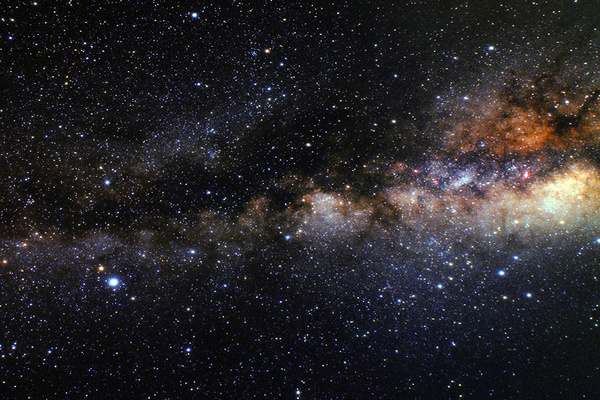
Space

Irregular Mask
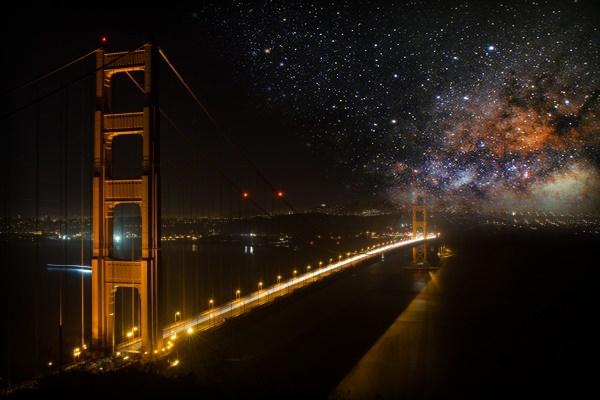
SF & Space Blended
Learnings
The most interesting thing I learned from this assignment was creating the hybrid photos. It was cool to learn how the
human eye detects high frequencies when looking at a nearby image but it detects low frequencies when looking at a far
away image. I really enjoyed thinking about creative images to make hybrid and playing with the different filters so that
the low and high frequency images can be distinguished. I thought it was really interesting that simply adding the lowpass
and highpass images together would show both images so well.
