Part 1: Fun with Filters
|
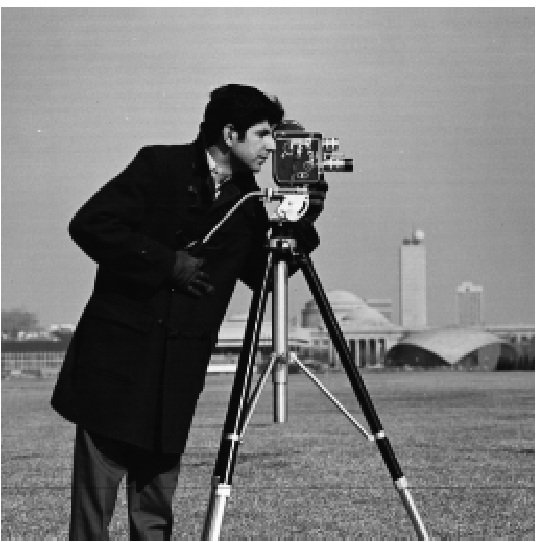
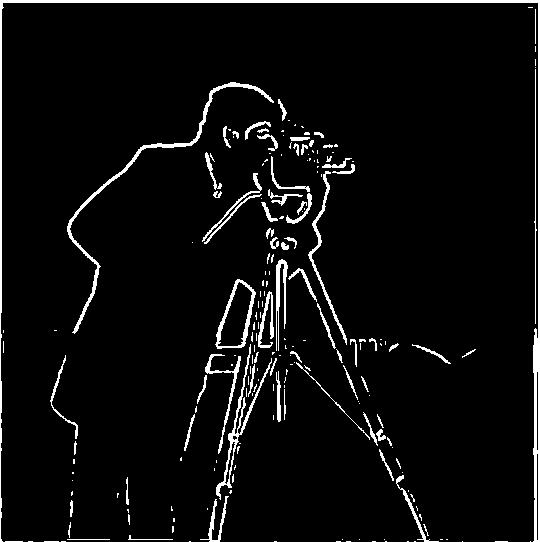
Part 1.1: Finite Difference Operator
I convolved the camera man image with two different finite difference operators (Dx and Dy) which gave me the image's gradients in horizontal and vertical directions, respectively. Then, I used the Pythagoeran Theorem on the directional gradients to calculate the gradient magnitude. Finally, I used a binarized the result with threshold = 0.1 to increase the contrast of the edge.
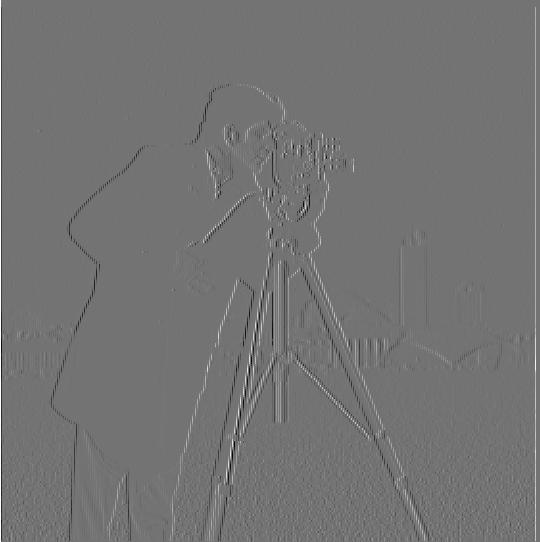
Gradient in horizontal direction |

Gradient in vertical direction |
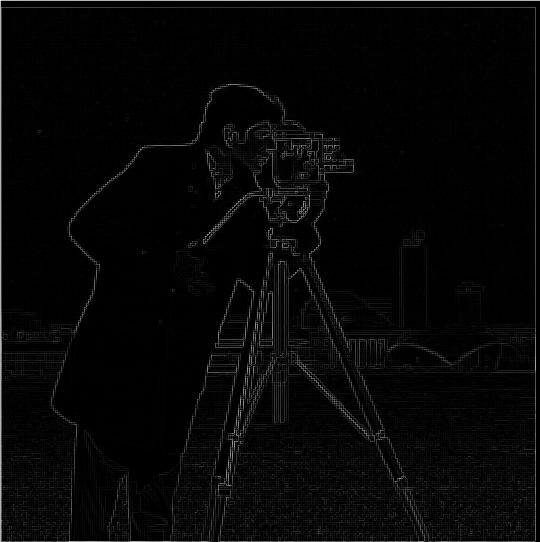
Gradient magnitude |
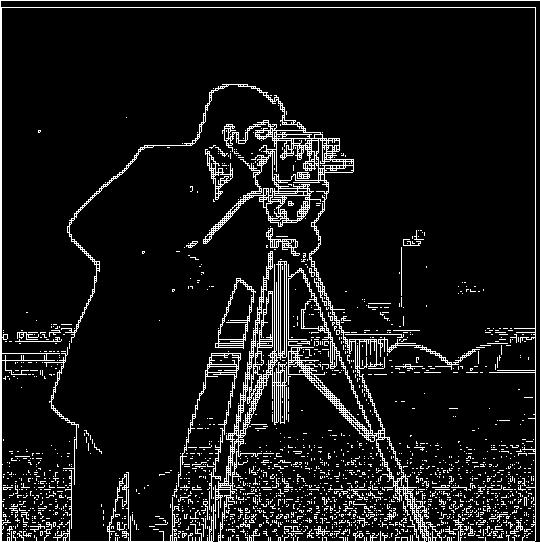
Binarized gradient magnitude |
Part 1.2: Derivative of Gaussian (DoG) Filter
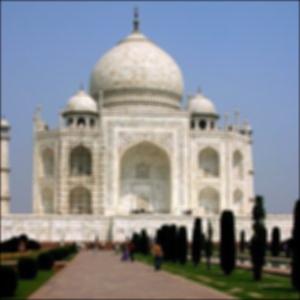
Since the binarized image above have noisy edges, we can use a blurred base image of the camera man to make the edge more solid. By convolving the image using a Gaussian filter and applying the same procress described above to this new blurred image, the resulting edges are more defined.
|
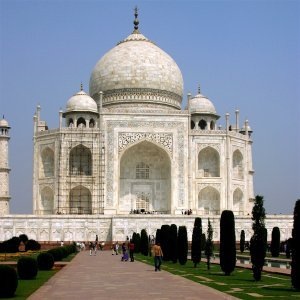
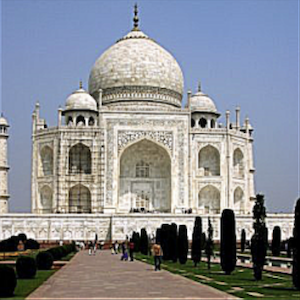
Original |
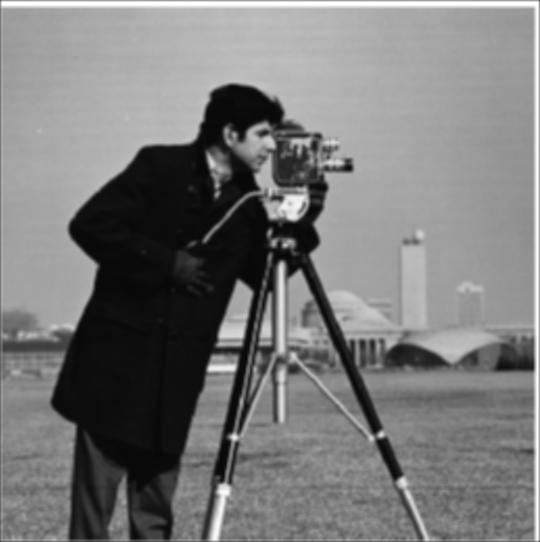
Blurred |
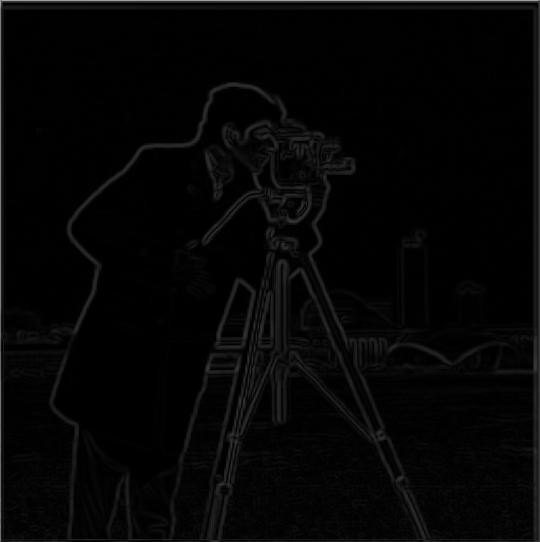
Gradient magnitude |
Binarized |
Part 2: Fun with Frequencies!
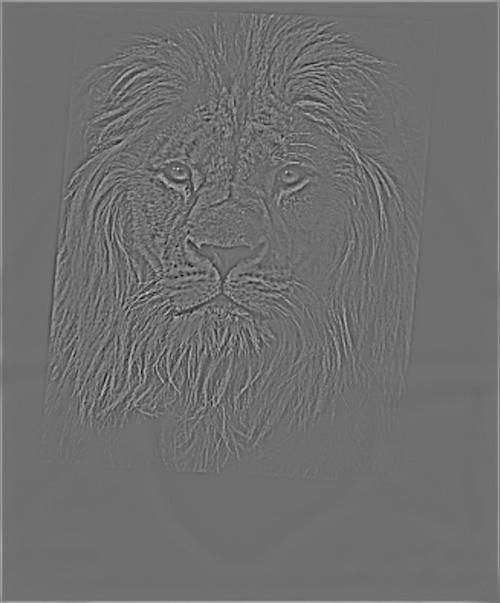
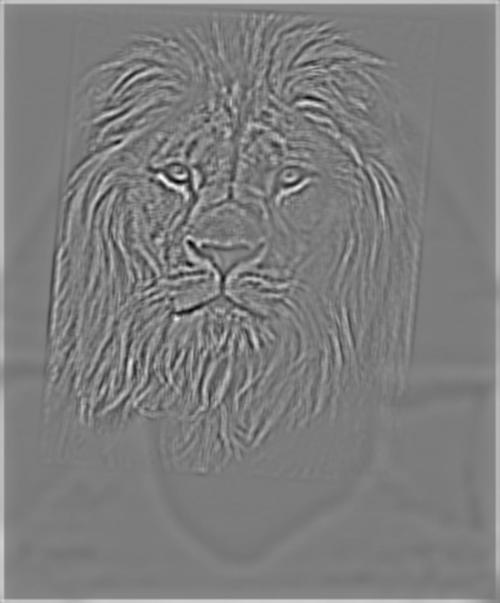
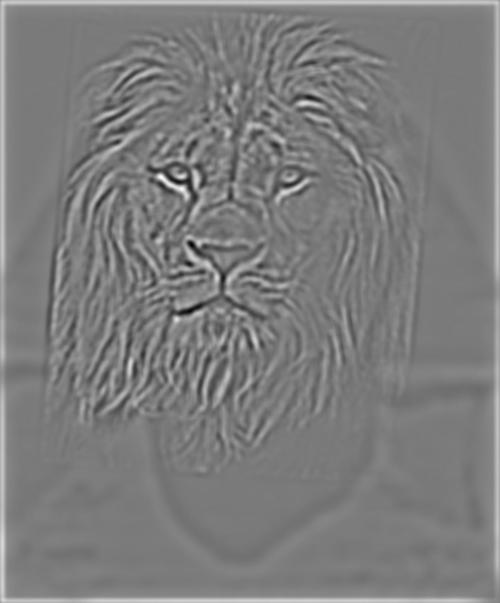
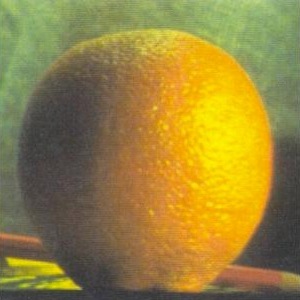
2.1: Image "Sharpening"
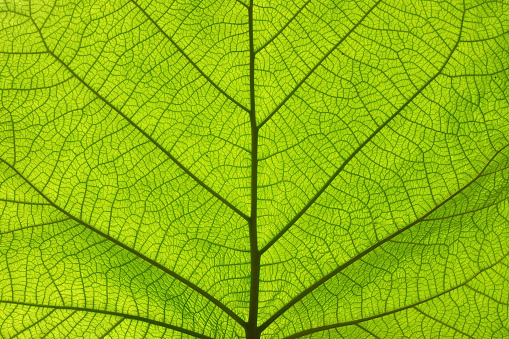
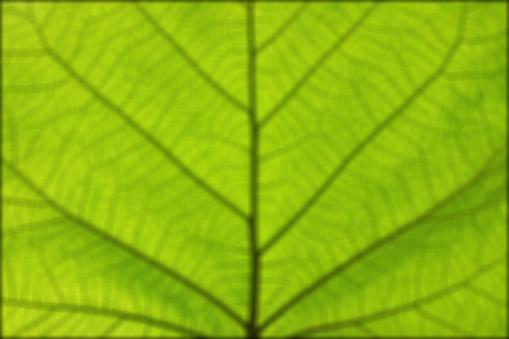
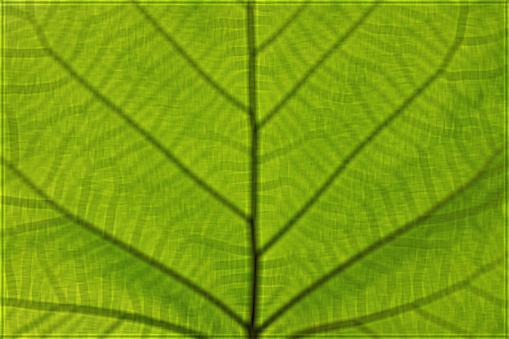
To sharpen an image, I first blurred it, and subtracted the blurred image from the original to obtain the high-frequency details. Then I stacked copies of the details image back onto the blurred image to make it look more "sharp". However, A sharp image blurred then re-sharpened in this manner will not retain the same amount of details as the original. This is probably most clearly illustrated in the image with the leaf.
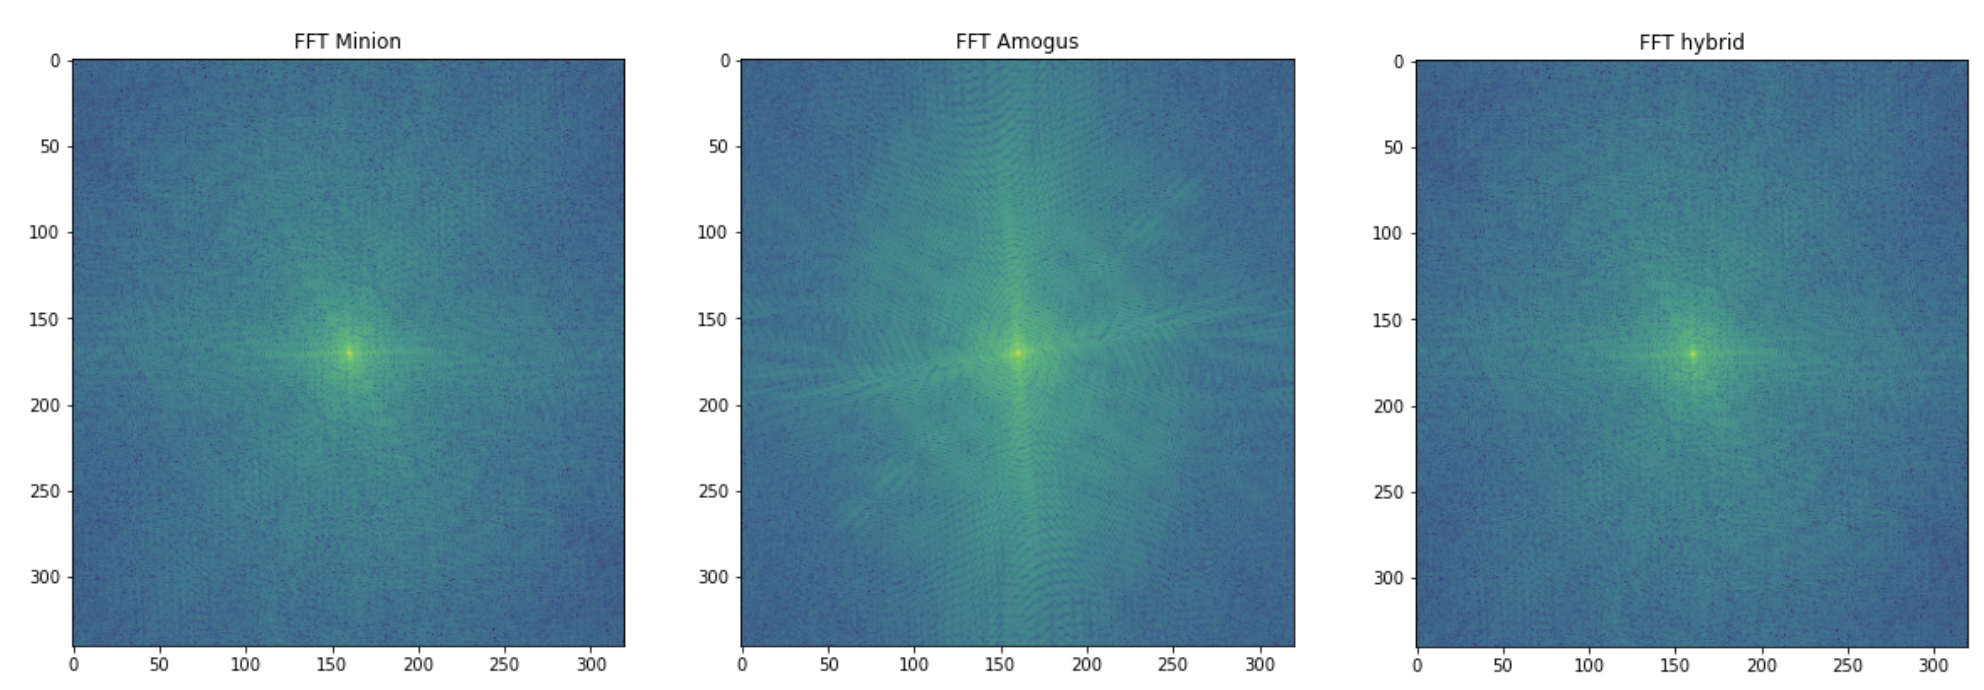
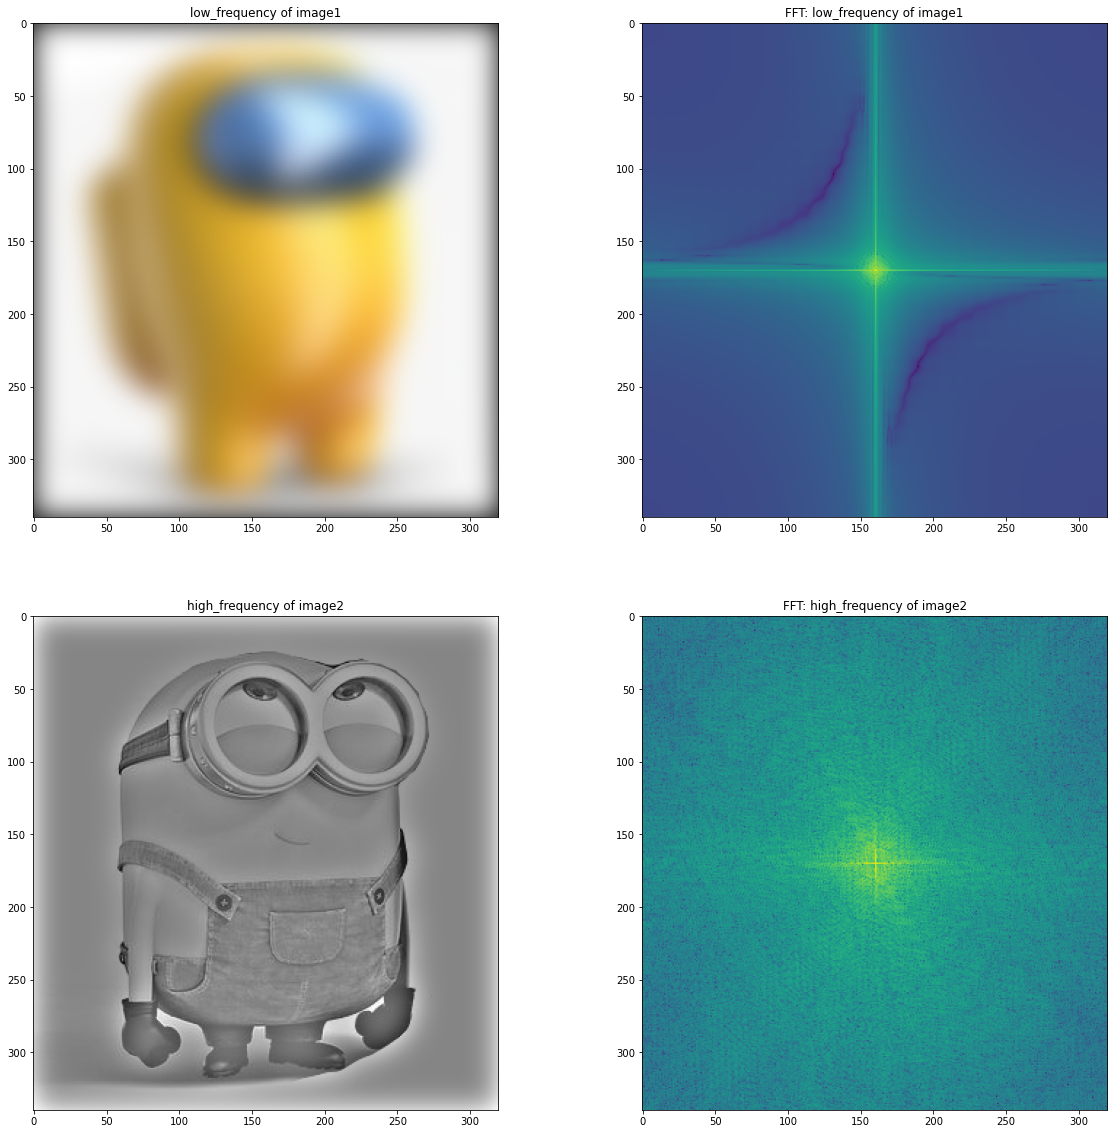
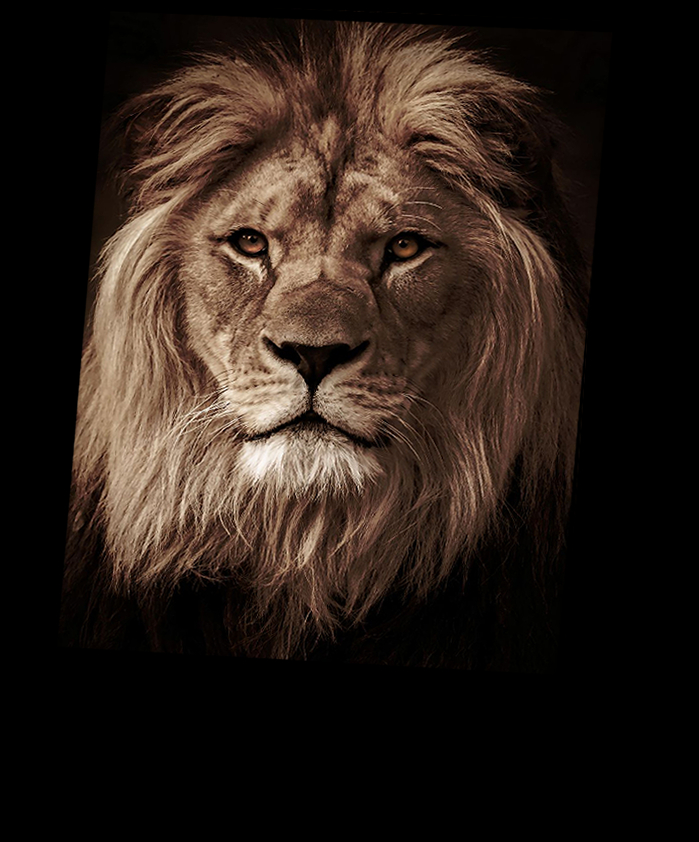
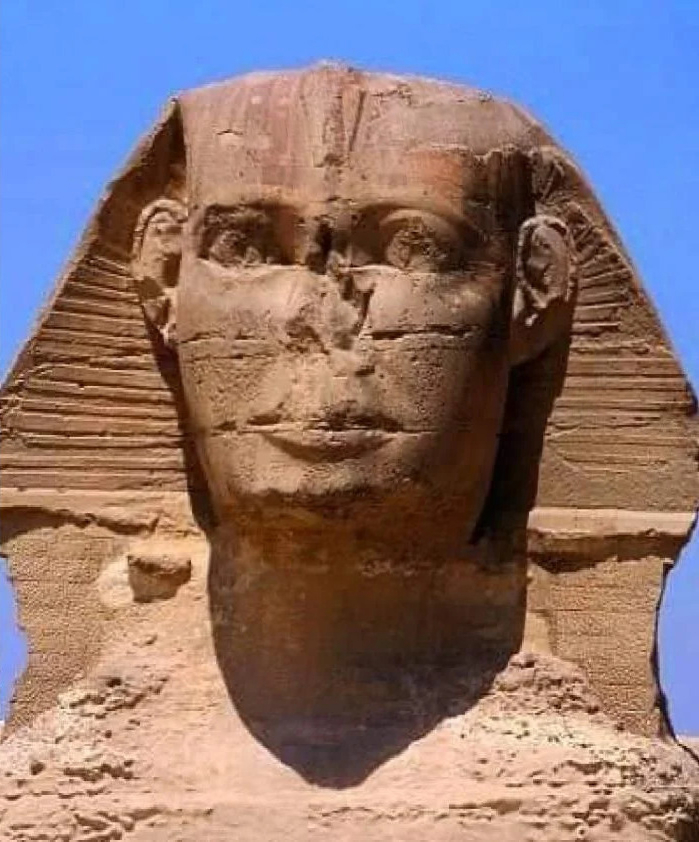
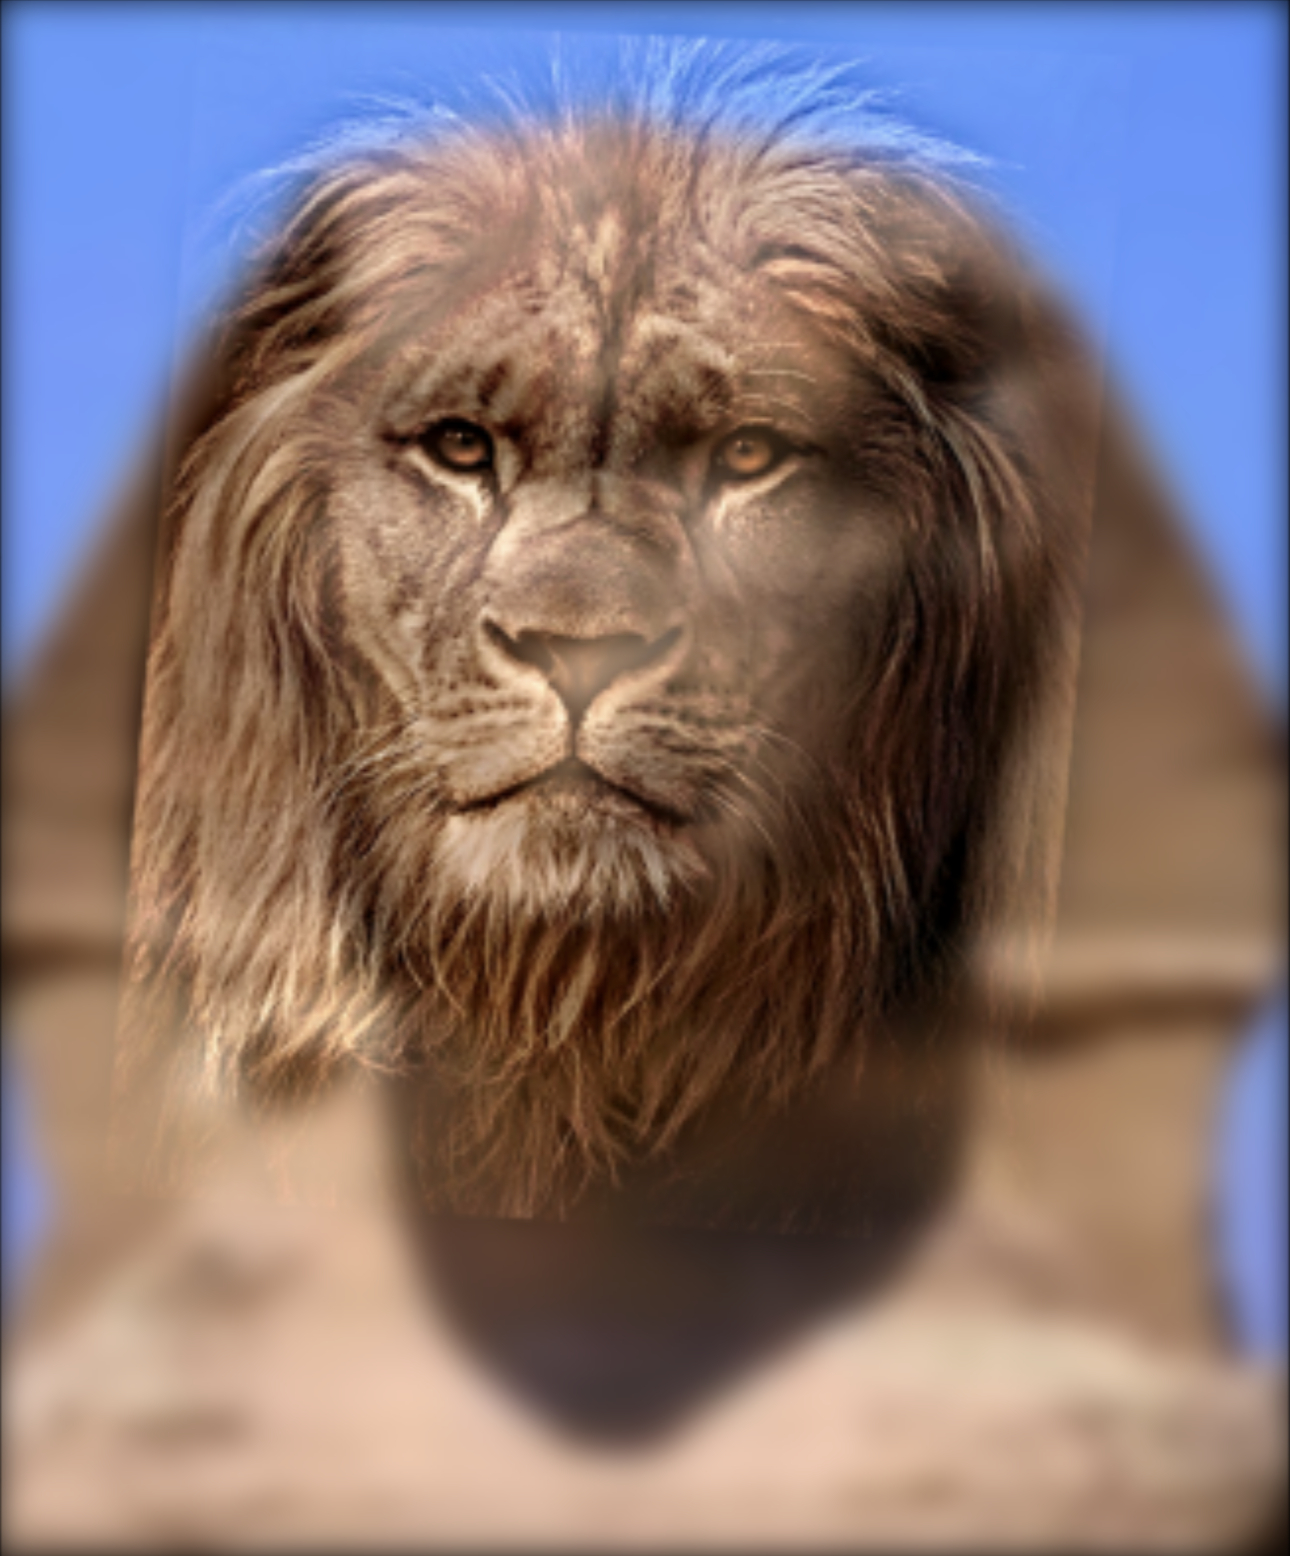
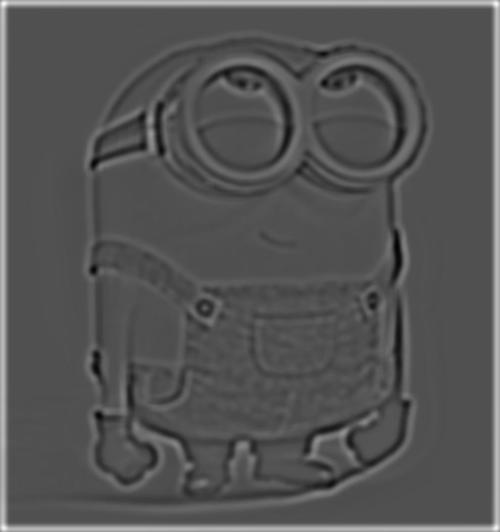
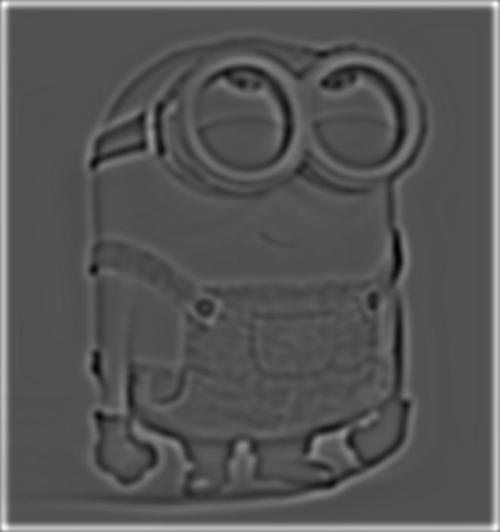
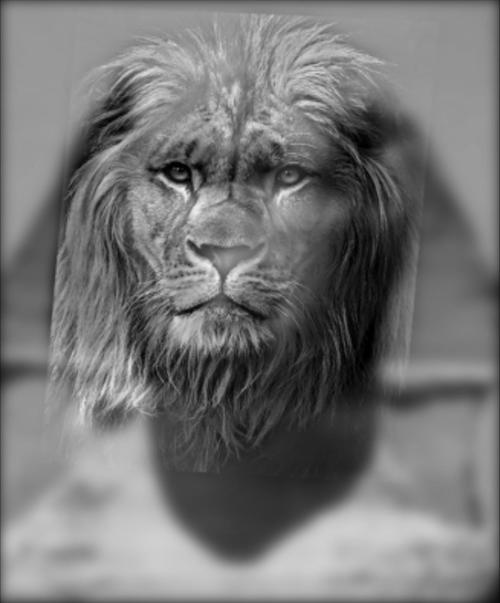
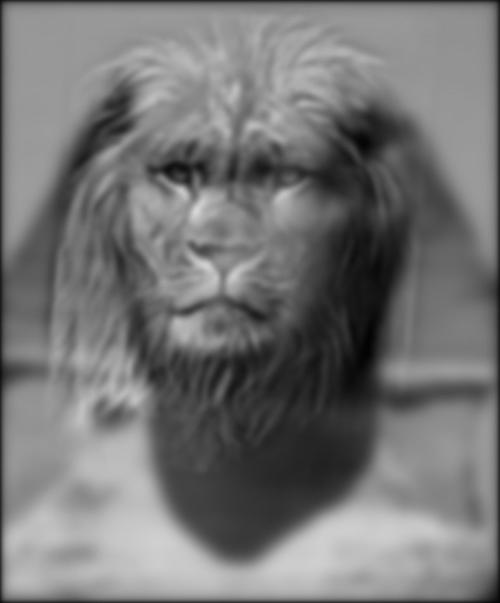
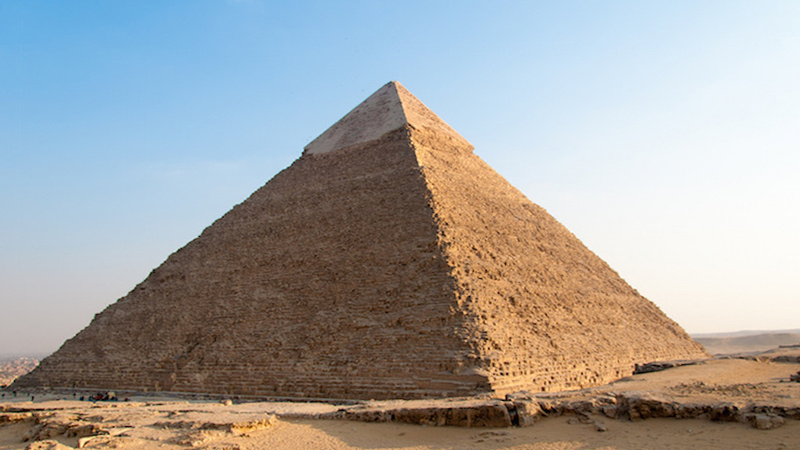
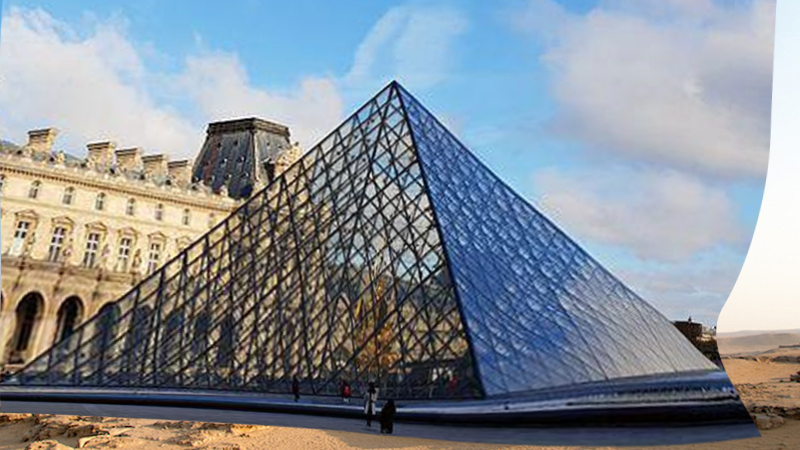
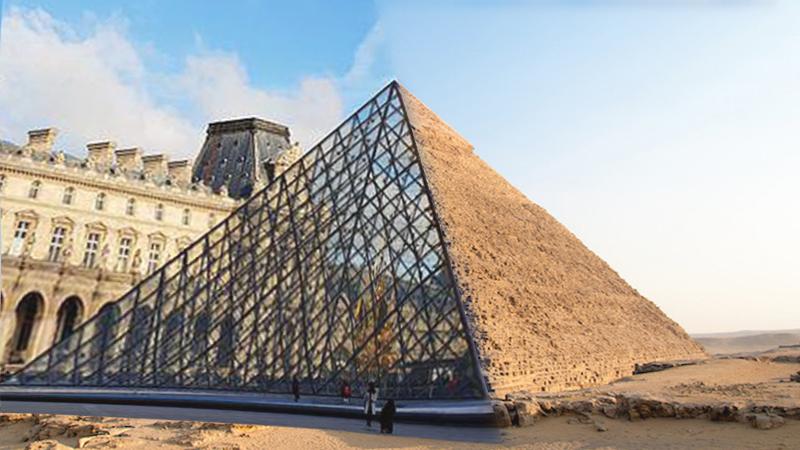
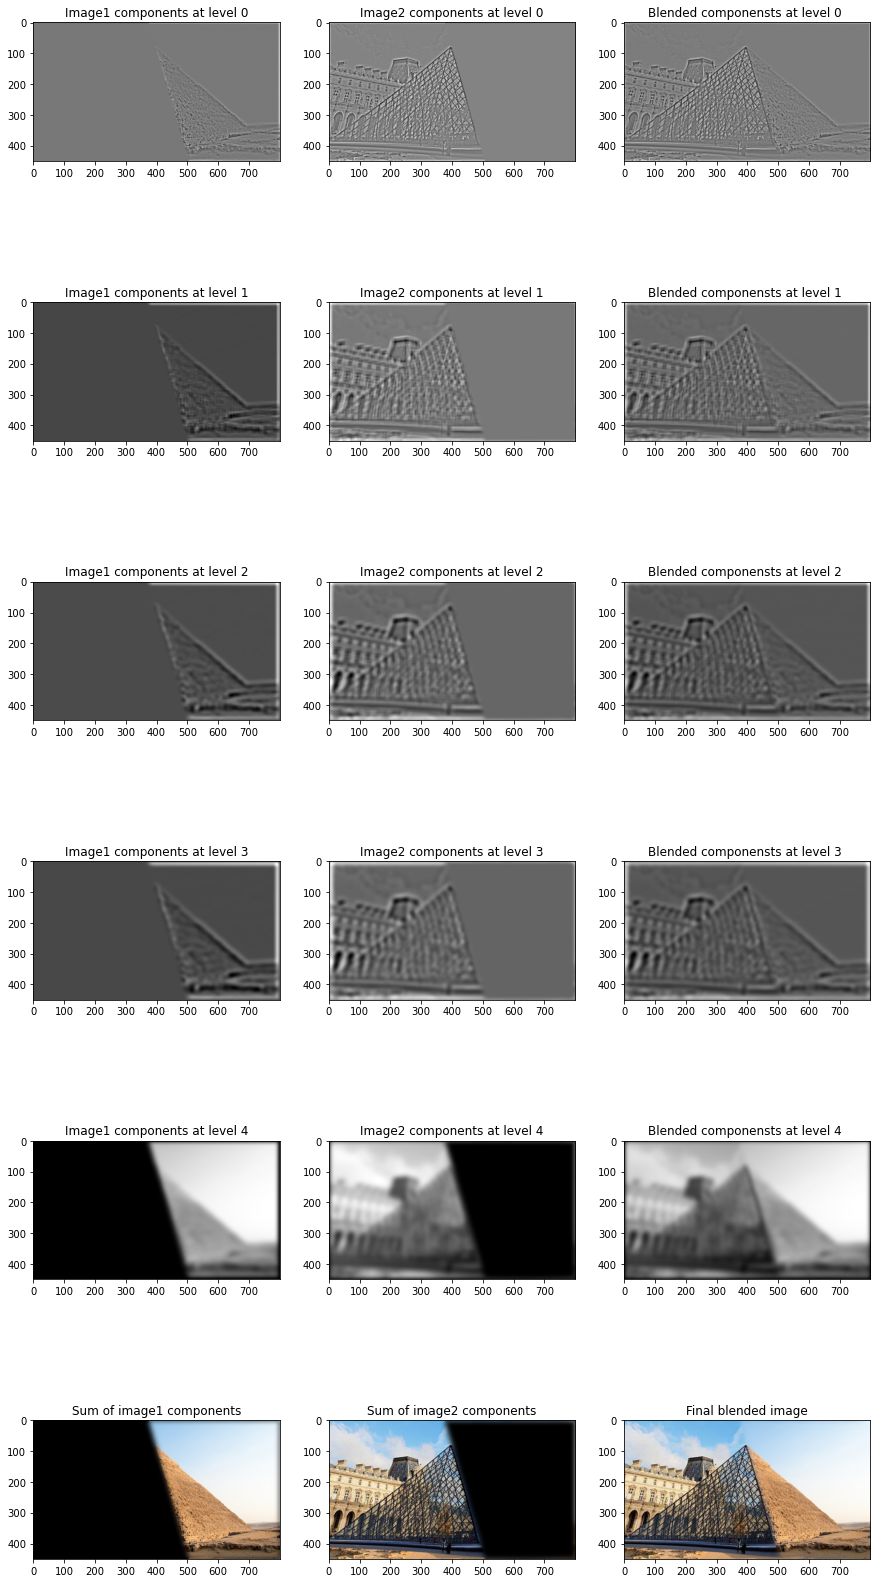
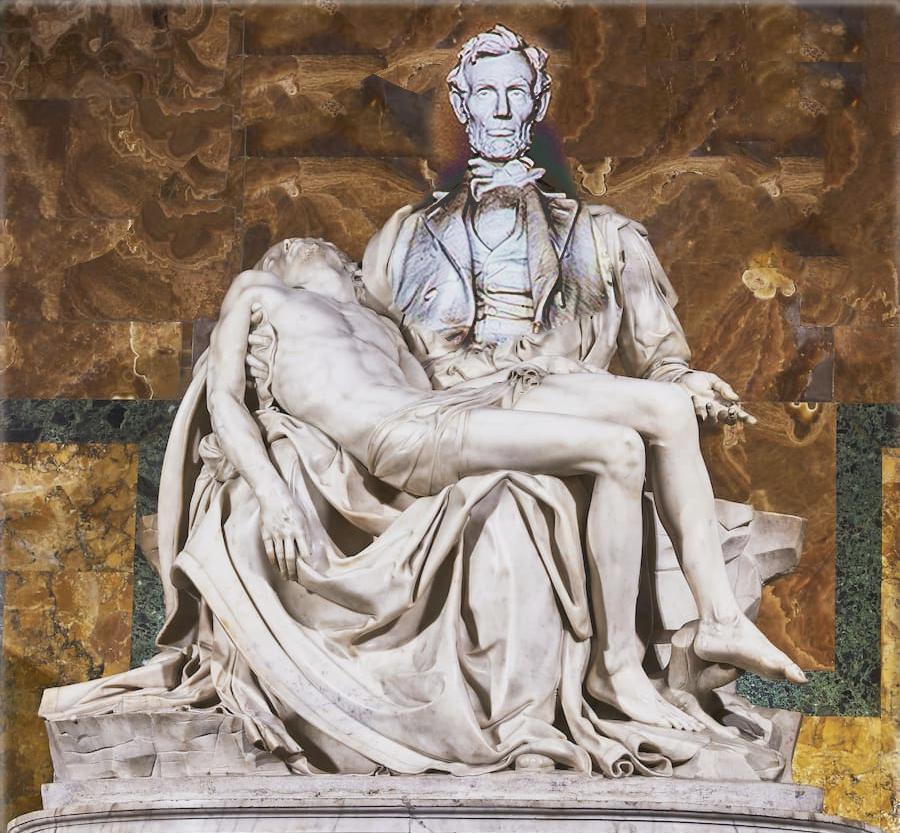
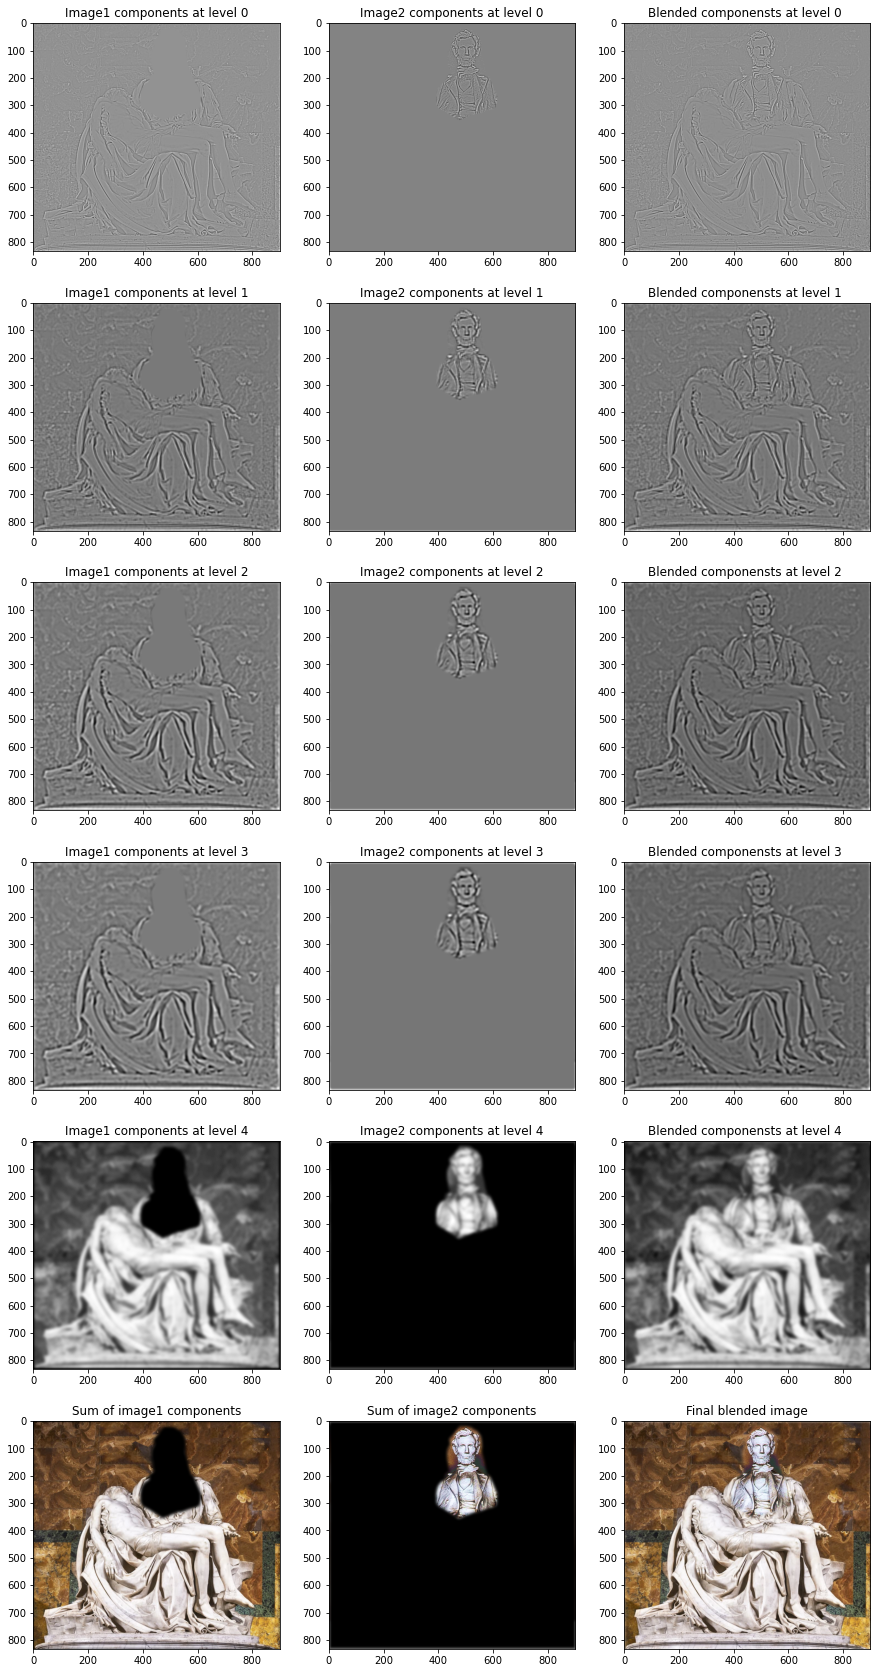
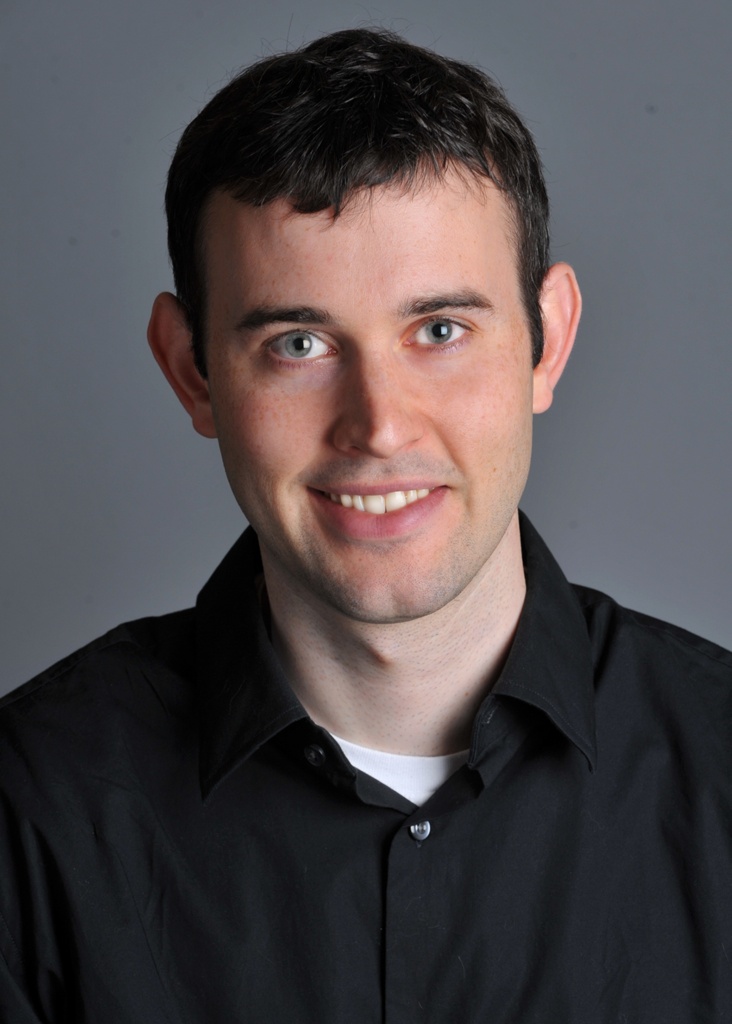
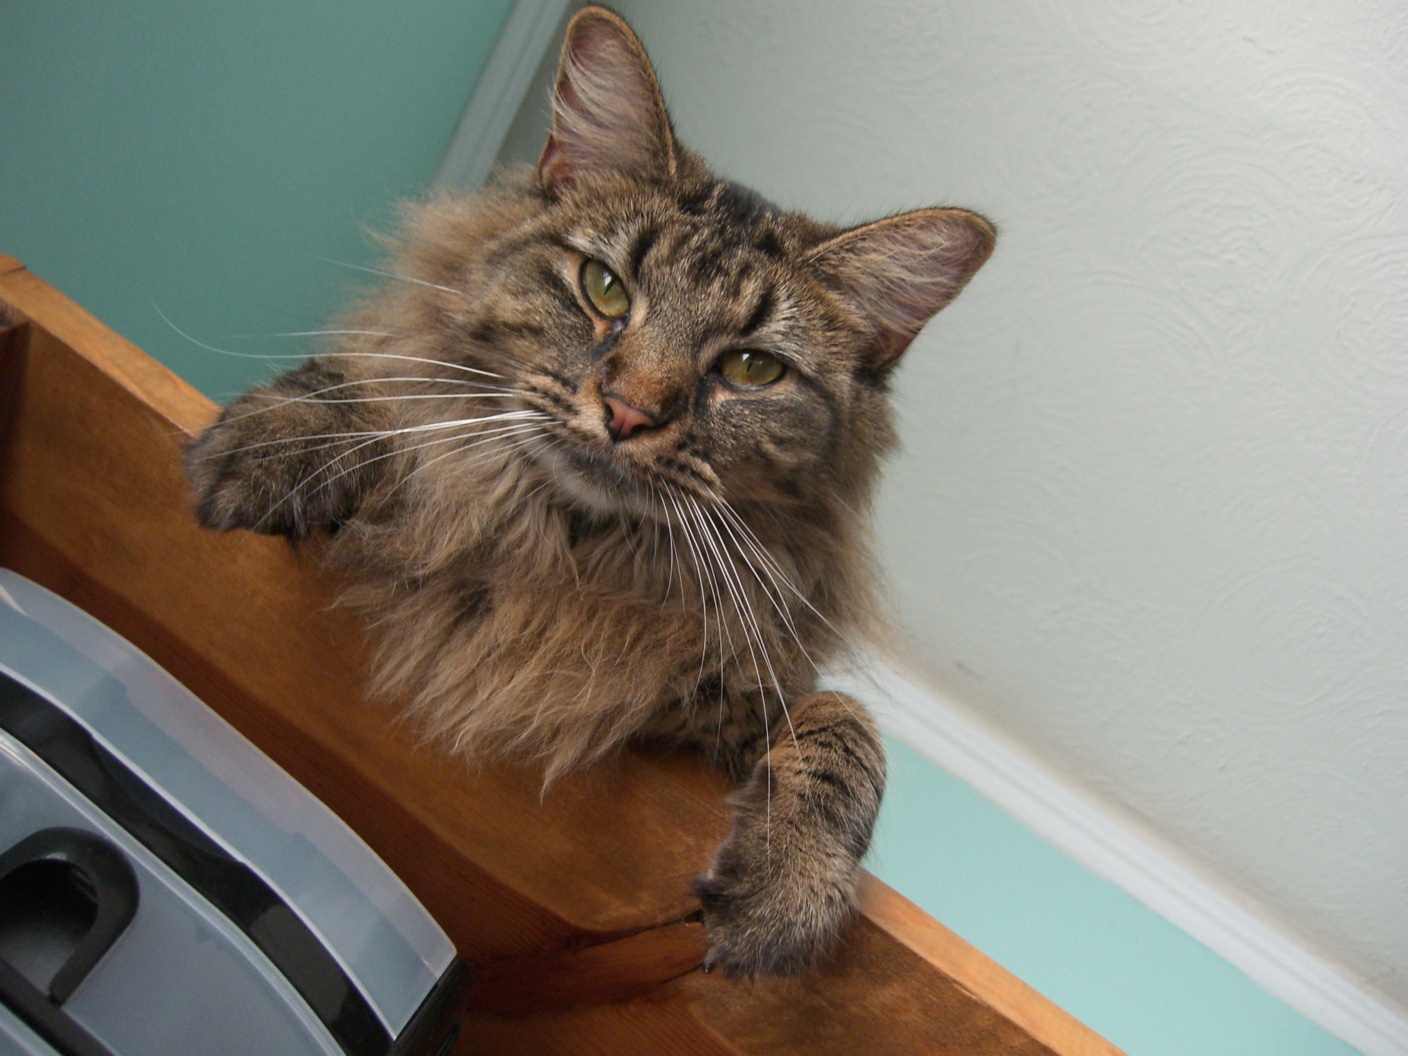
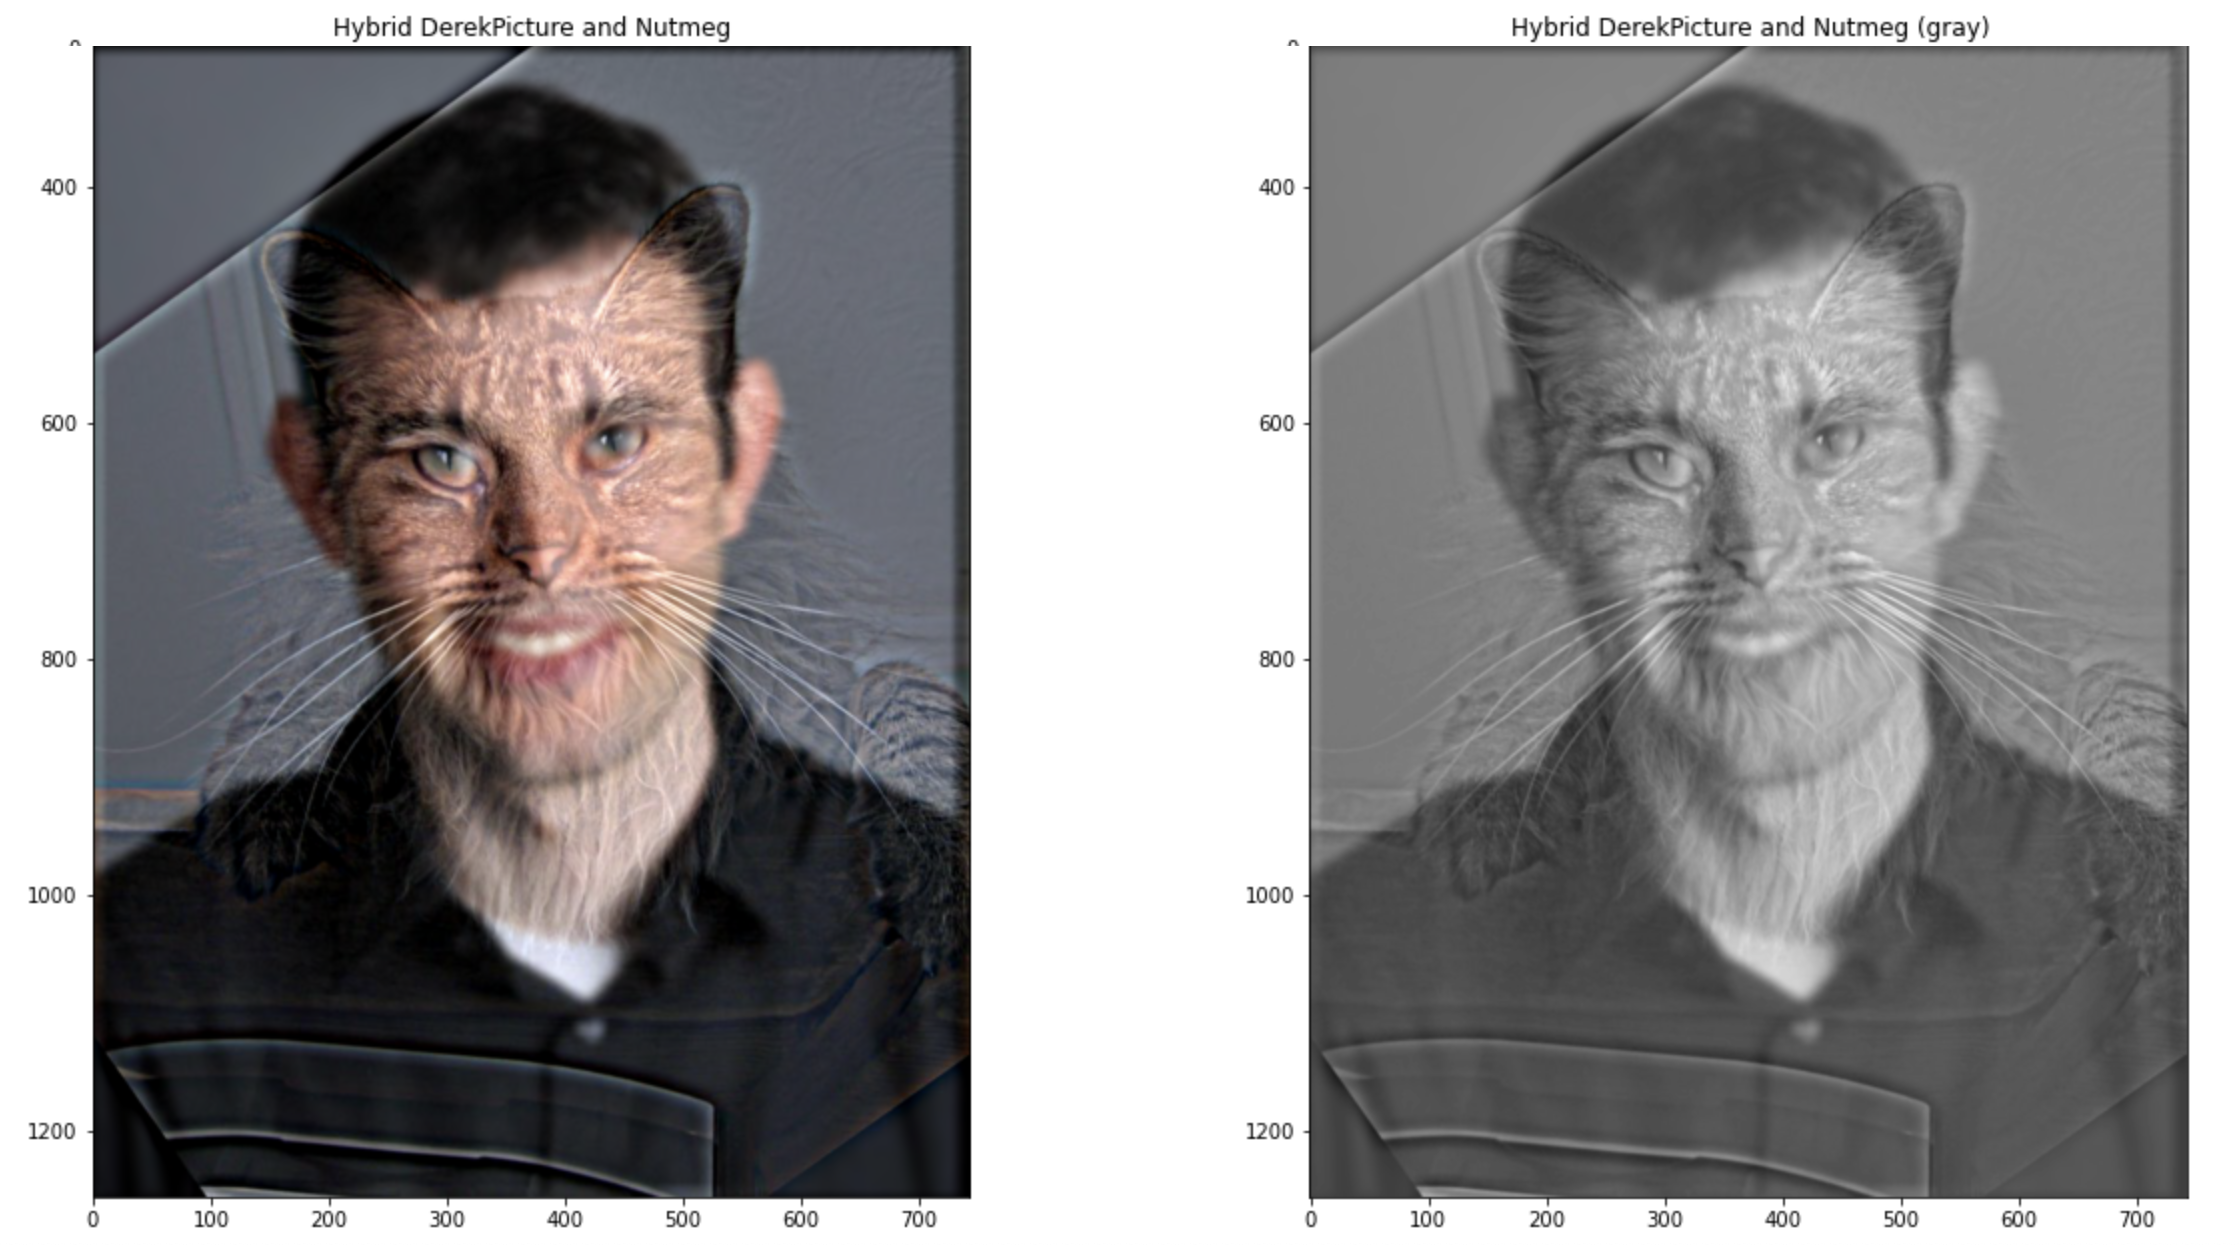
2.2: Hybrid Image
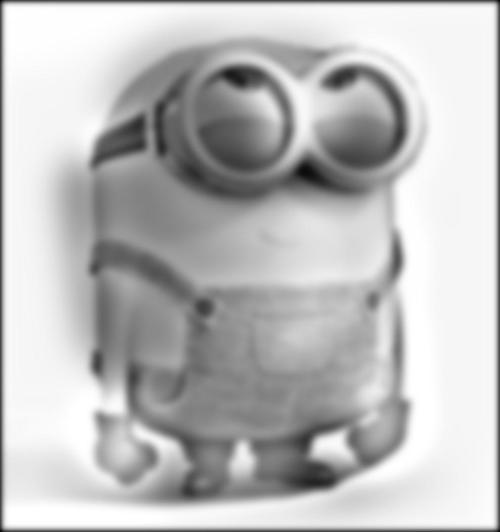
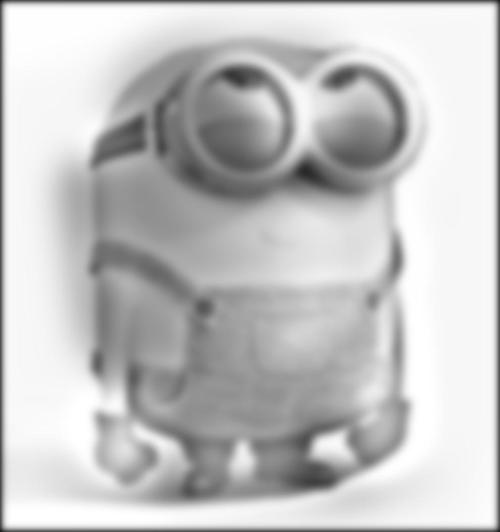
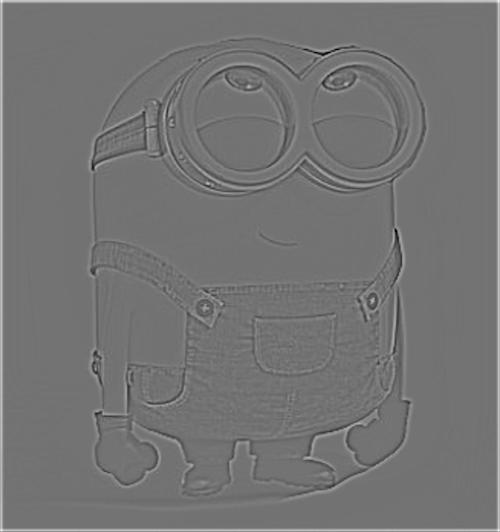
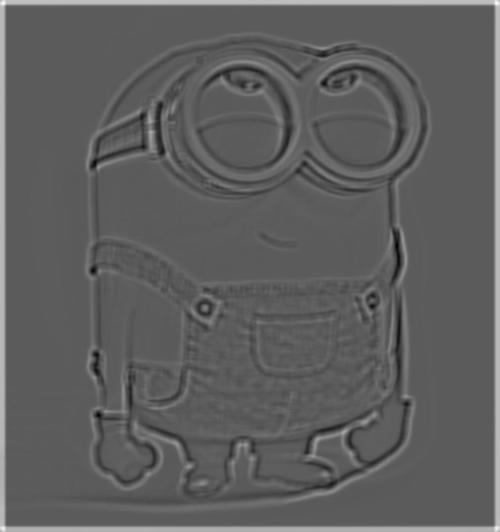
For the example image, I tried doing both a all-colored verion and a all-grey version for Derek and Nutmeg. I concluded that color enhances the low-frequency component of pictures, whereas grayscale brings out the high-frequency component. With that in mind, for self-selected images, I used color for low-frequencies and grayscale for high-frequencies.
Example
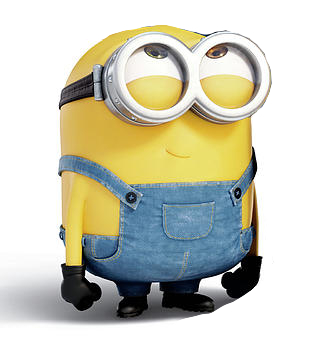
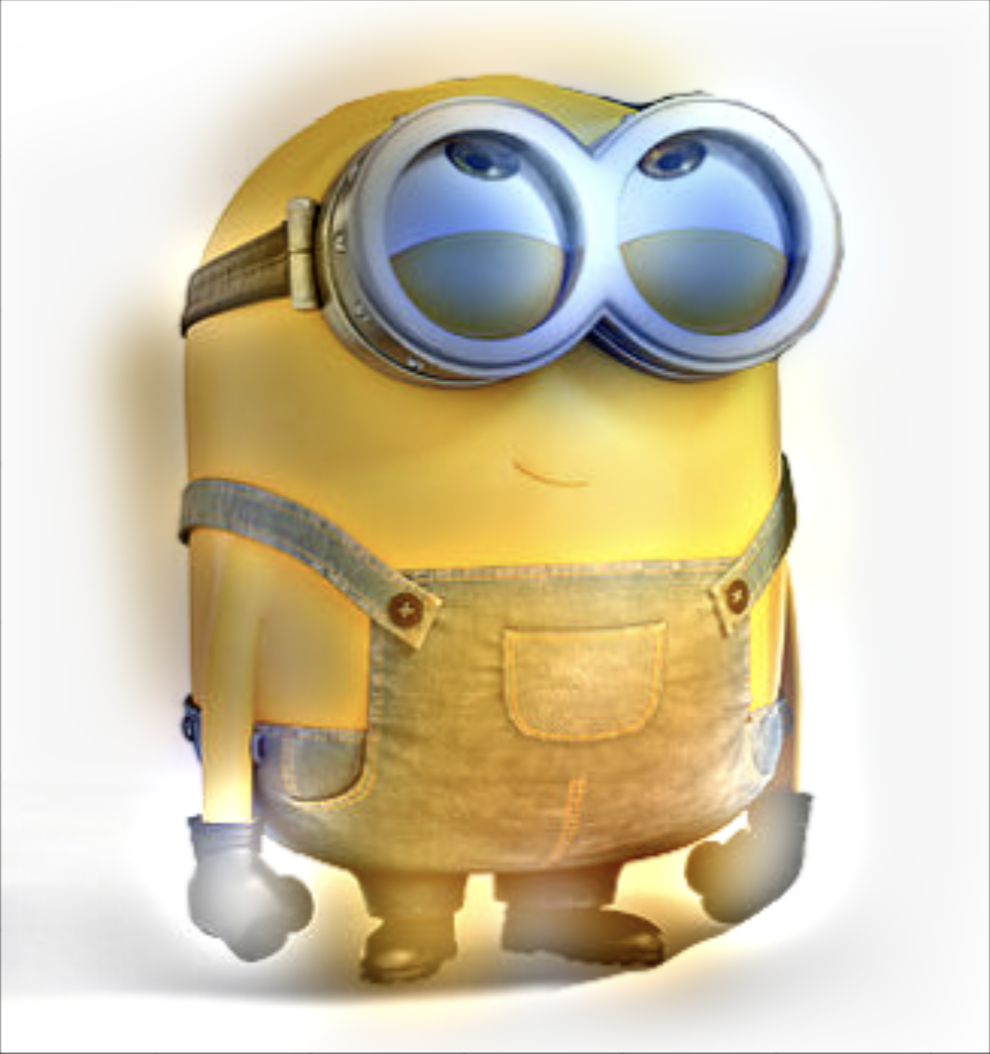
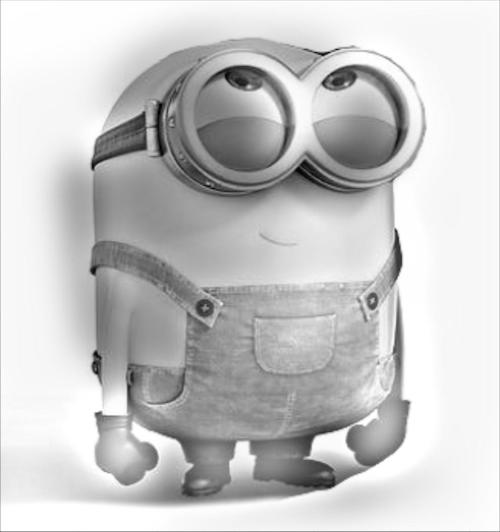
Self-Selected Images - Minion