Overview
In this project, I created edge detectors with a derivative of gaussian filter, and created hybrid and blended pictures by using different frequencies to mesh the pictures better.
Fun with Filters!
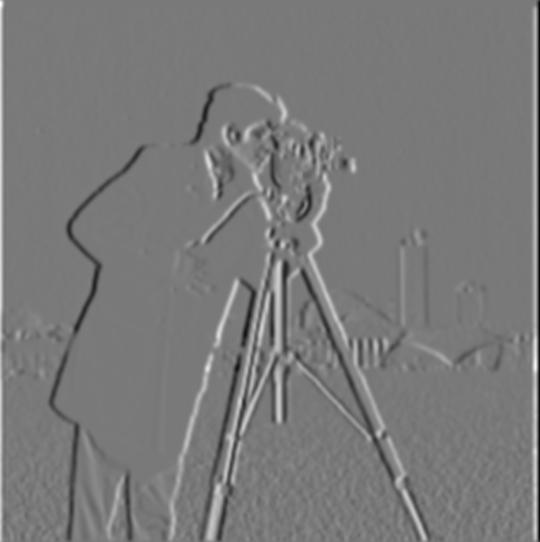
Finite Difference Operator
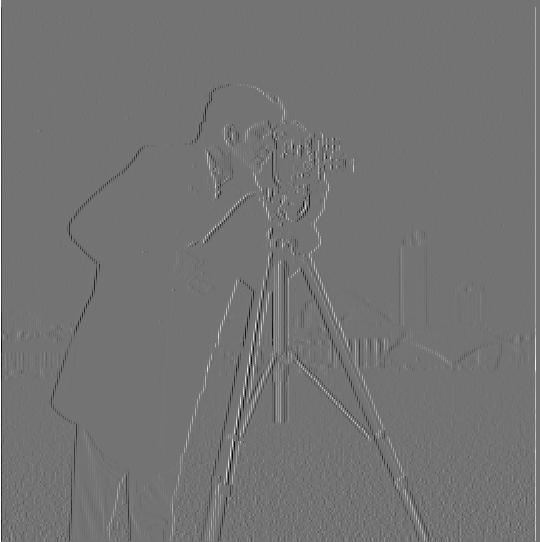
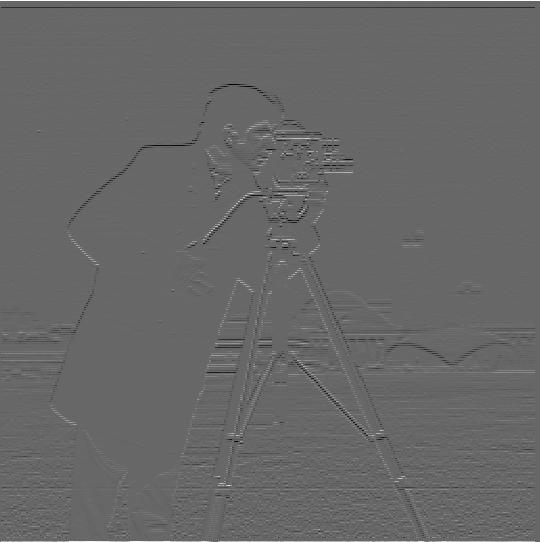
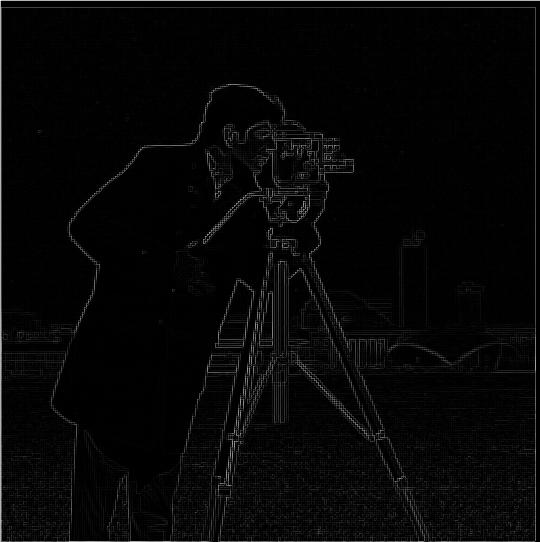
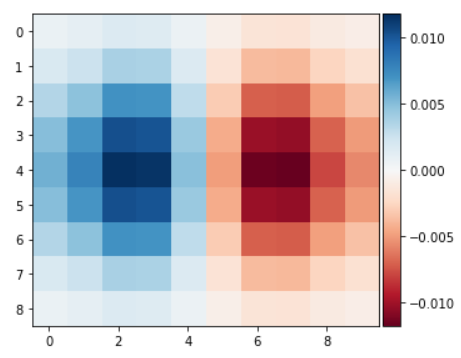
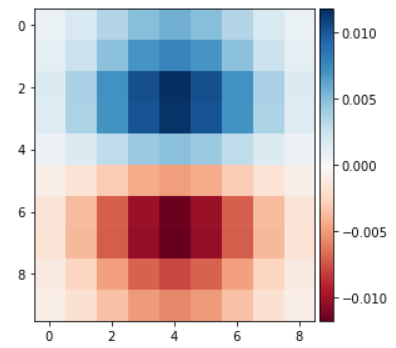
For the finite difference operator, I can get a partial derivative in the x and y direction by convolving the original image with D_x and D_y, making sure that all the matrices are 2D. I then calculated the gradient magnitude image by summing the squares of each of the partial derivative images, and then taking the square root of that sum. To get the binary magnitude image, I set a threshold of 0.17.
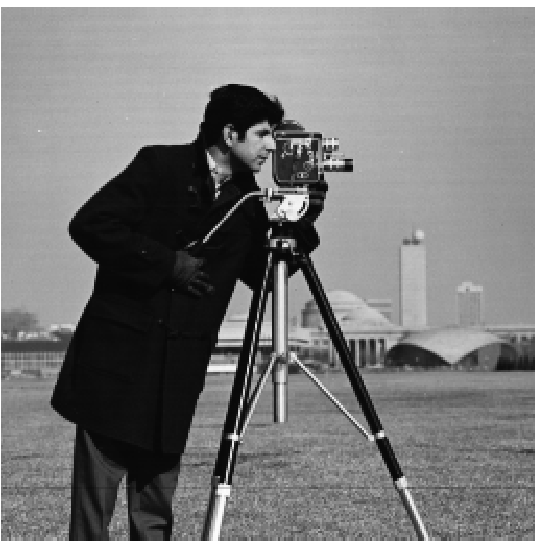
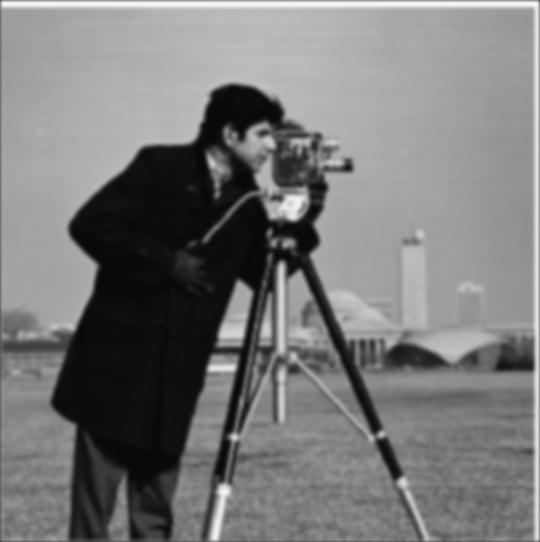
Here are the jpg images from the finite difference operator.
|
|
|
|
|
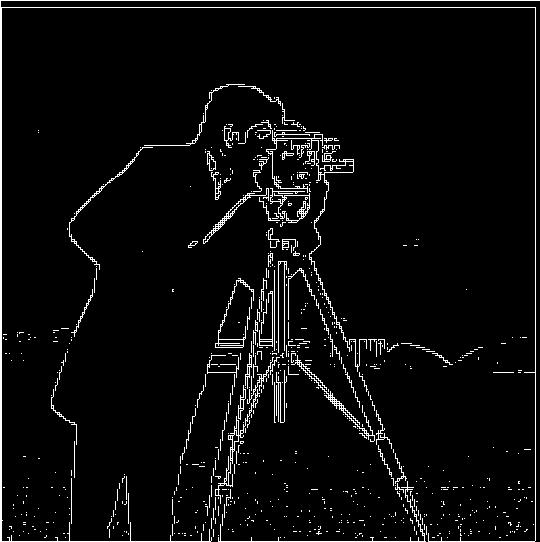
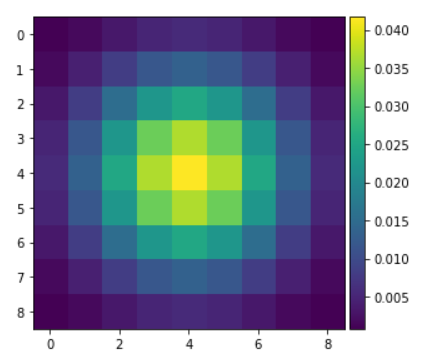
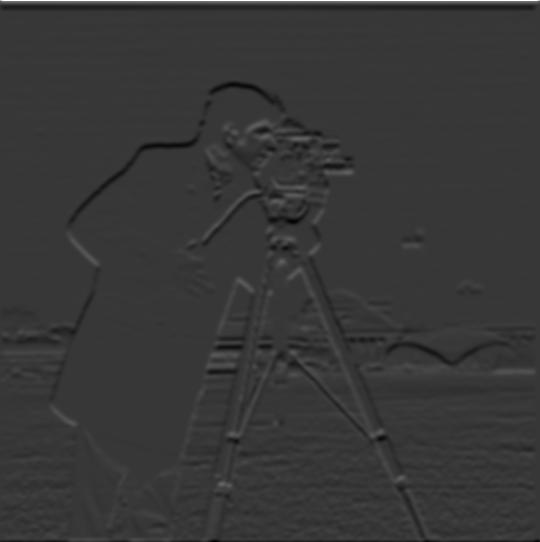
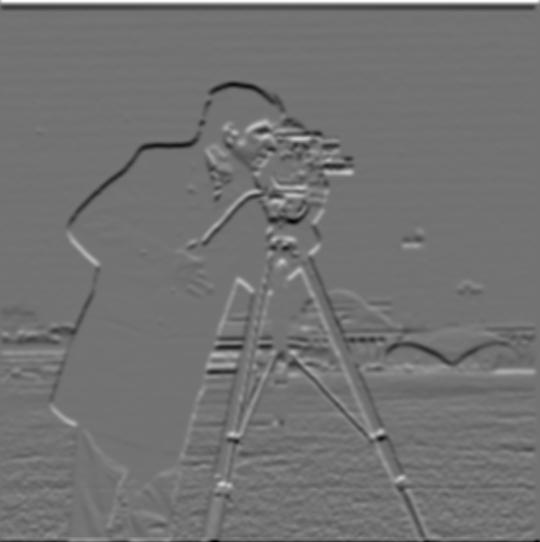
Derivative of Gaussian (DoG) Filter
For the DoG filter, I created a gaussian kernel with a kernel size of 9 and a sigma of 2. The image is shown below
|
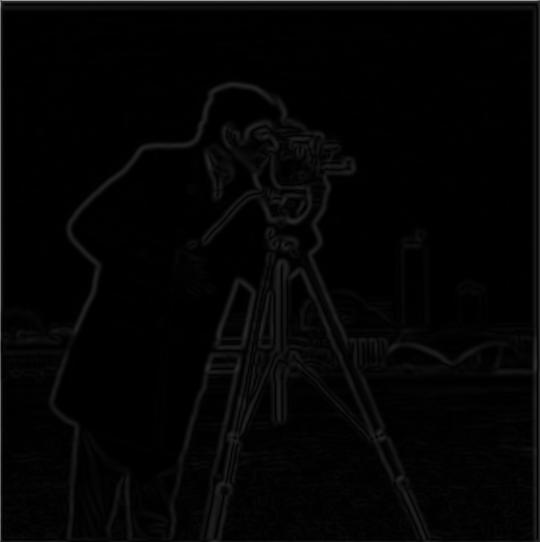
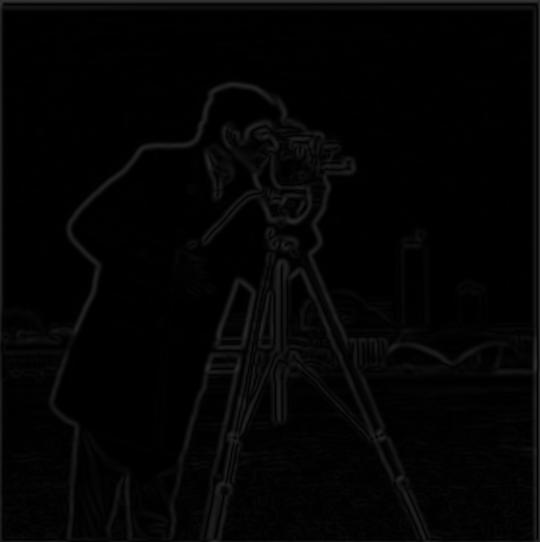
I did this two ways. In the first way, I blurred the image by convolving it with the Gaussian kernel, and then I used the same steps as part 1.1 to get the partial derivative in x and y and then take the sum of squares of each then the square root of it to find the gradient magnitude. Finally, I made a binary gradient magnitude with a threshold of 0.06. The results are shown below.
The differences that I see from the pictures below are that the edges are much cleaner and smoother, and they have less noise around the person. Without blurring, the edges still look choppy and incomplete because they are not connected at every place and there is noise around the edges that are captured. However, with blurring, we see that the edges are much less noisy and because of that, they are more prominent and much smoother. It looks like a similar amount of information is held with the edges, but the edges of the blurred picture just look less choppy.
|
|
|
|
|

|
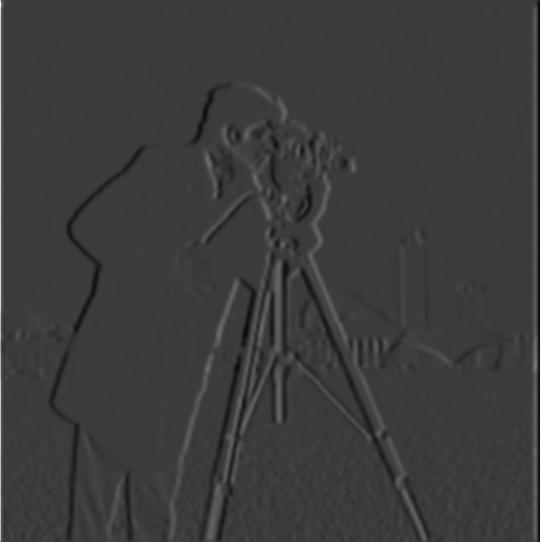
The second method is through creating a derivative of gaussian filter by convolving the D_x and D_y filters from part 1.1 with the Gaussian filter. The result is displayed below.
|
|
With these two derivative of Gaussian filters, we can just convolve these with the original picture to get the partial derivative of the blurred original image. With these partial derivatives, we can find the square root of the sum of the squared partial derivatives again to get the gradient magnitude, and binarize it with the same threshold of 0.06. The results are shown below, and they are the same as the two step blurred edge detector above.
|
|
|

|
Fun with Frequencies!
Image "Sharpening"
To sharpen our image, we add on the high frequencies back into our original picture. To get the high frequencies, we use a Gaussian filter to first get our low frequencies, and we subtract this with the original image to get the high frequencies of the image. Finally, we just add these high frequencies to the original image with some scaling factor (I usually used 1) to have a sharpened image
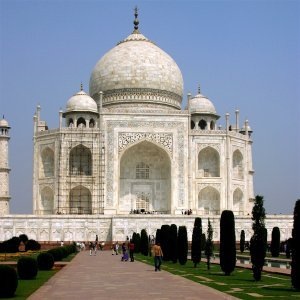
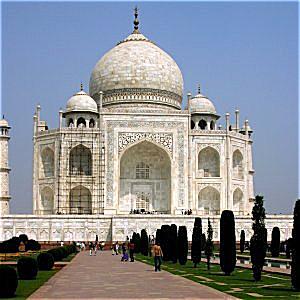
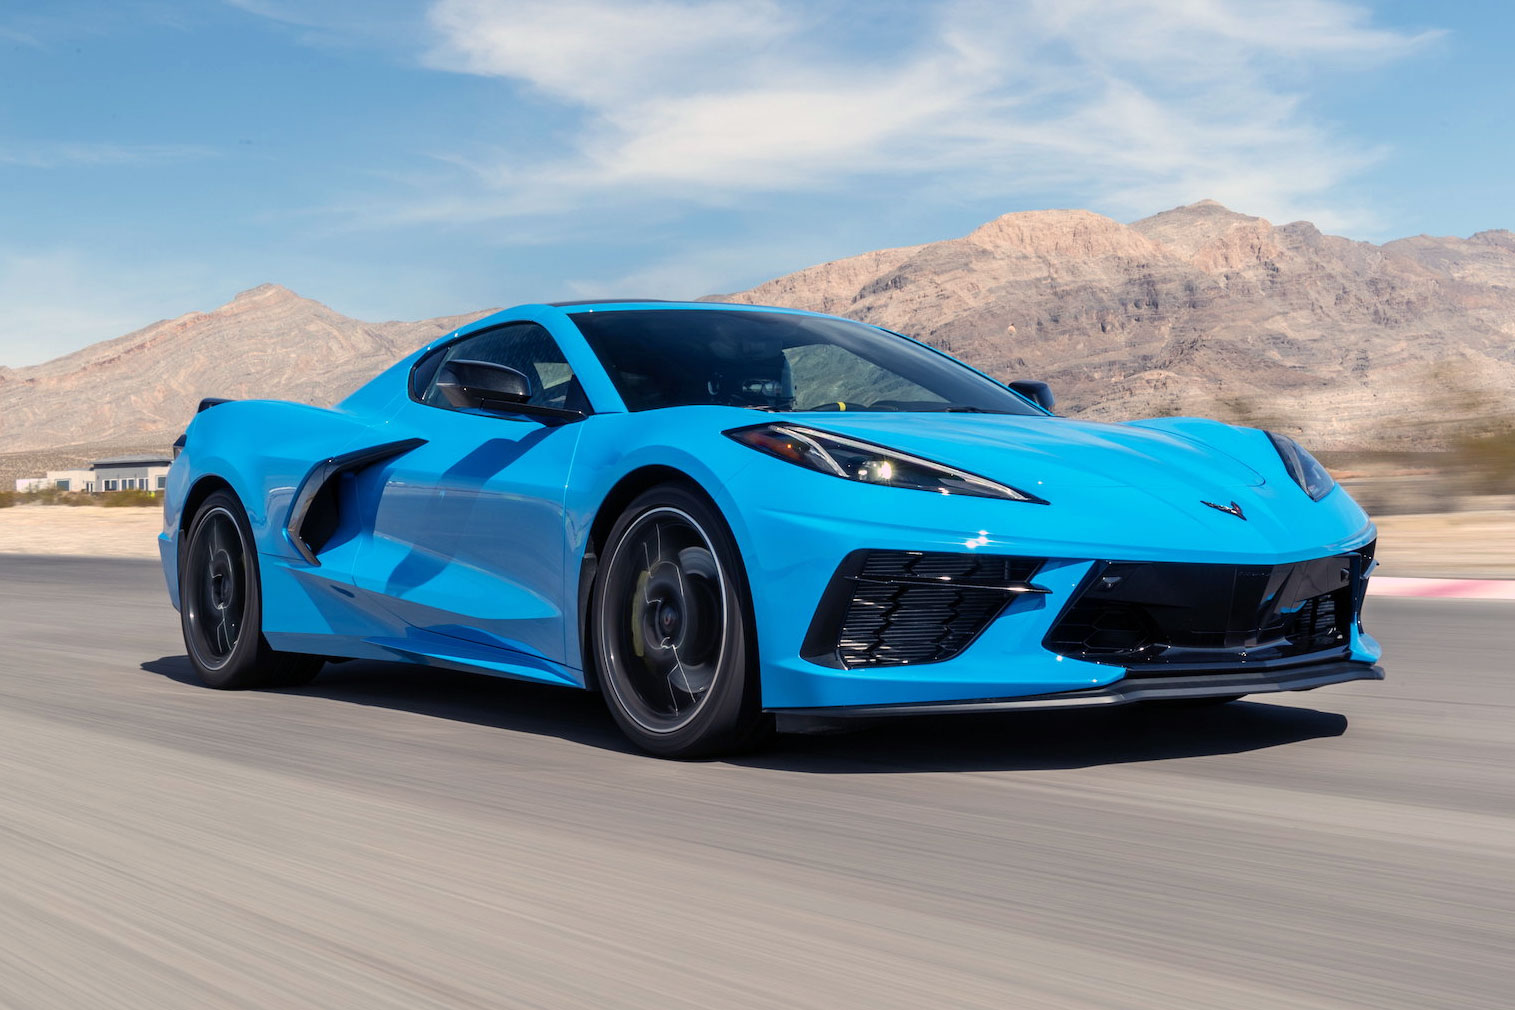
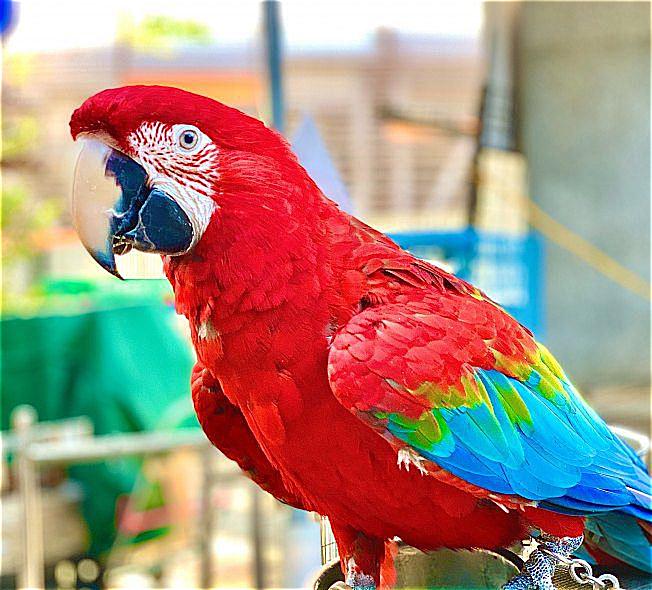
Below are some examples of the original photo and the sharpened photo after. The Taj Mahal's sharpening os very prominent with its many edges. The edges look darker and bolded after the sharpening. For the car, the sharpening is more subtle, but it can be seen around the headlights and wheen of the car and also the mountains in the background. For the parrot, most of the sharpening is seen around its eyes.
|
|
|

|

|
|
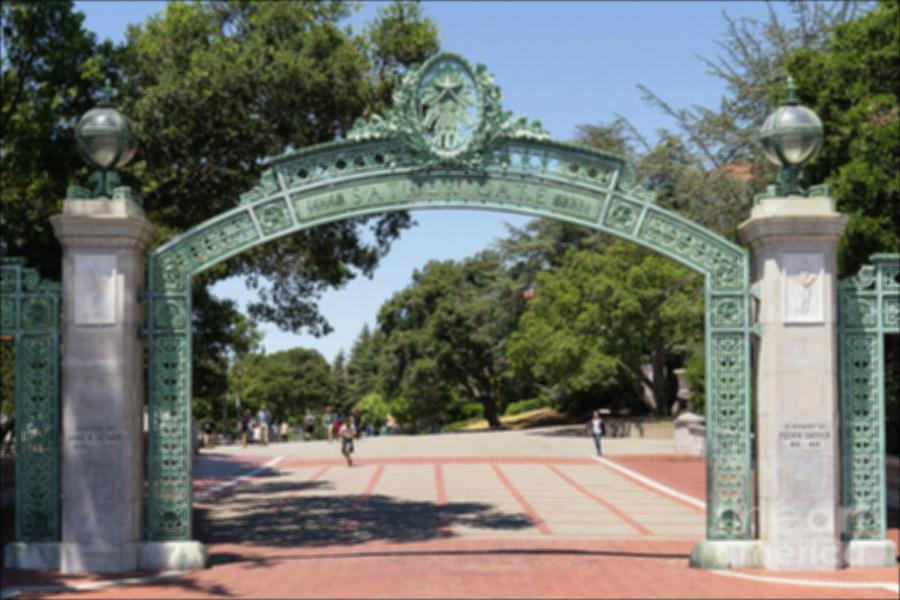
Here is an example of a picture that was blurred and then resharpened. We blurred the Sather Gate and then resharpened it. We see that the sharpened photo is still blurry compared to the original photo, but we see that the edges, like the letters, are sharper compared to the blurry photo

|
|

|
Hybrid Images
For hybrid images, I needed to align two images first. For Derek and his cat, I did this through the top of their head and the chest to match the example photo. We then would get the high frequencies of one image and the low frequencies of another image and average them together into a single photo. This photo would be the hybrid image that looks like the high frequencies up close and the lower frequencies from far away. The sigma value of the gaussian filters were chosen through trying many combinations and choosing the values that give the best hybrid image effect.
Below we have the example of Derek and his cat.
|
|
|
Bells and Whistles (kind of): I created Derek and his cat with color for both the low and the high frequency. I think having color in the low frequency is good because its easier to figure out what the background image is. Because high frequency parts are mostly where color changes like around edges, I dont think color does as much.
|
|
|
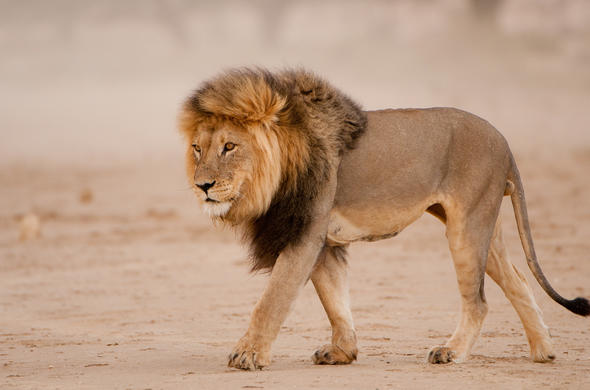
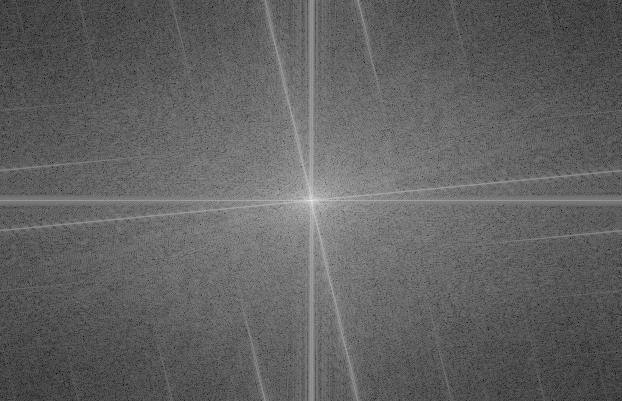
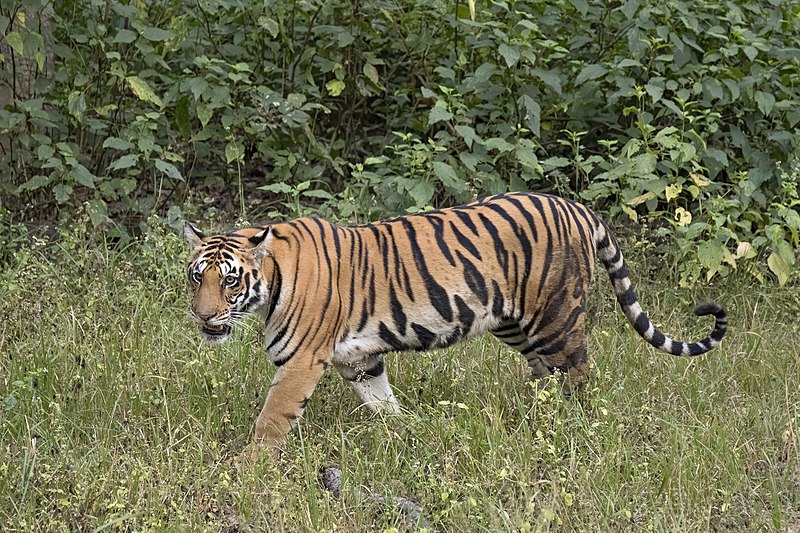
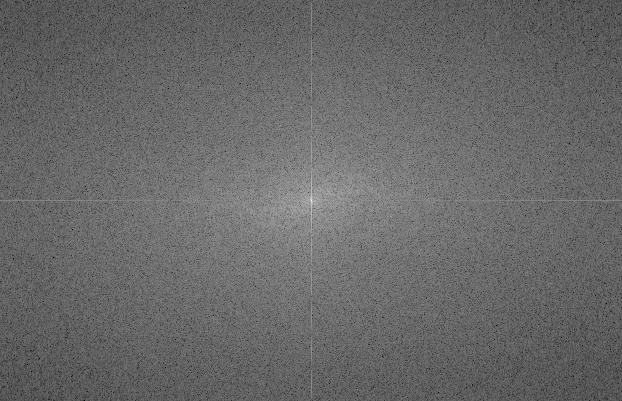
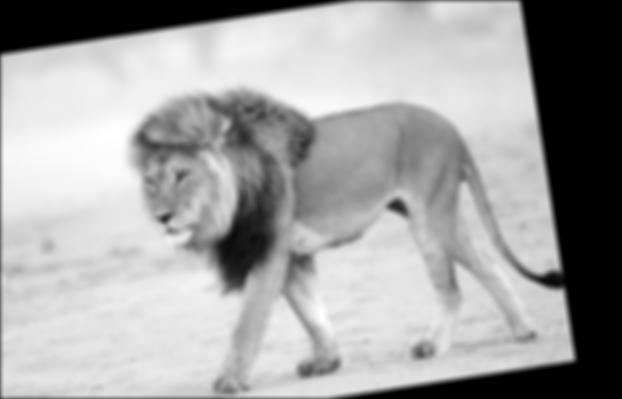
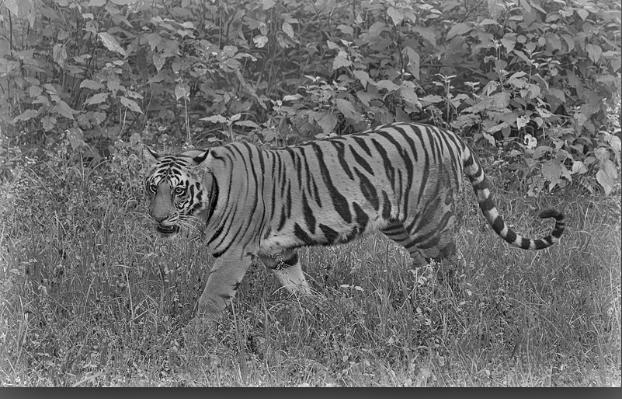
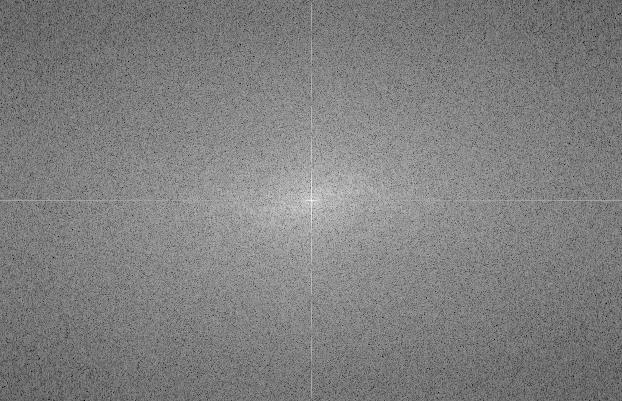
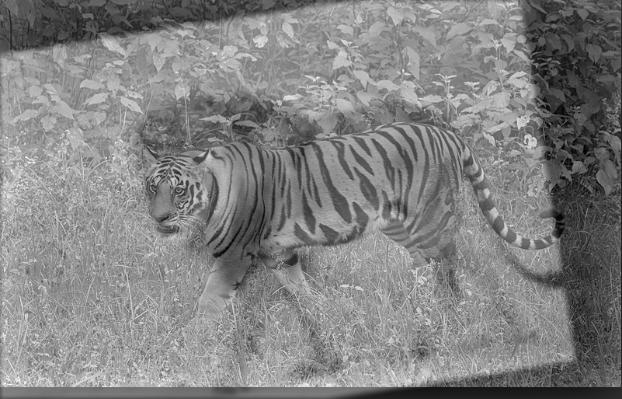
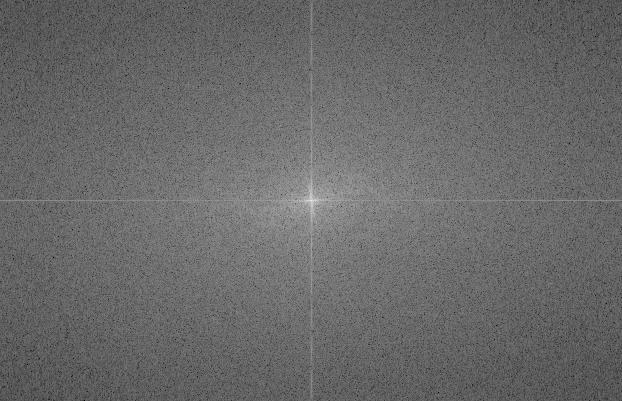
Here is a lion and a tiger with their respective frequencies. We see with the frequencies that many of the lion's high frequencies were removed, and the tiger's Fourier image brightened, which showed that we only have the high frequencies now. The hybrid fourier looks like a normal image because have the low and the high frequencies. It is not as bright as the high frequency tiger and has more high frequencies than the low frequency lion.
|
|
|
|
|

|
|
|
|
|
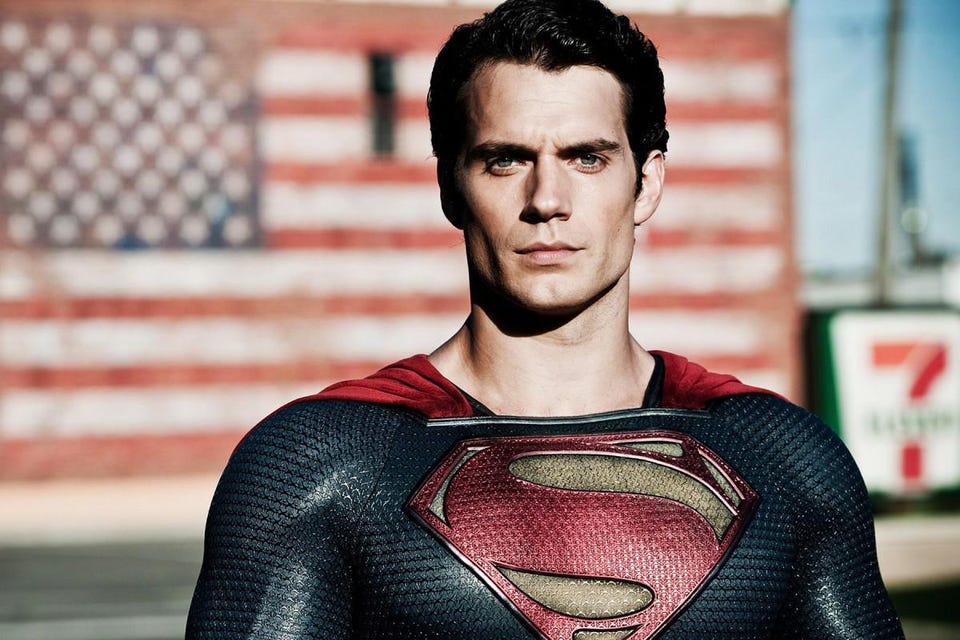
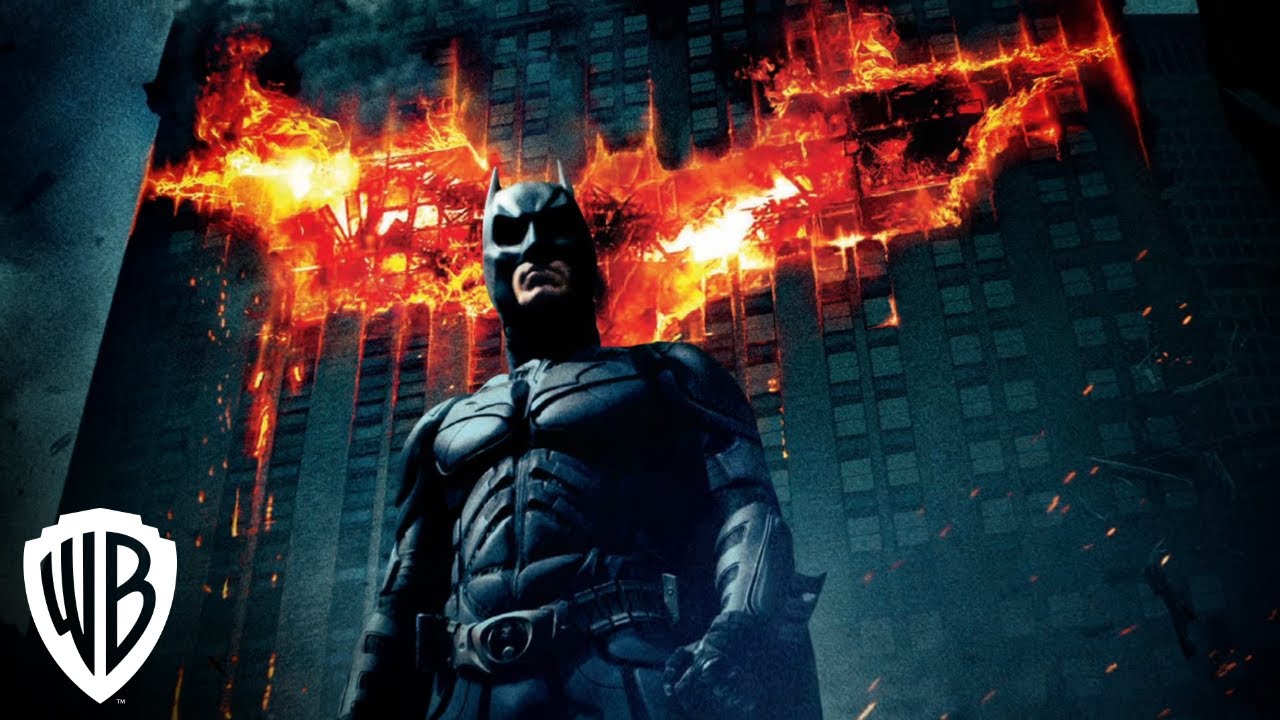
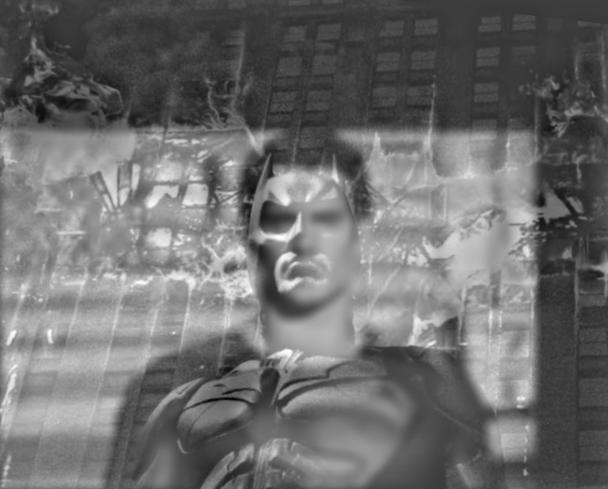
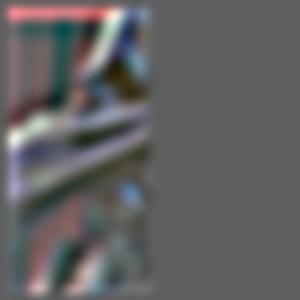
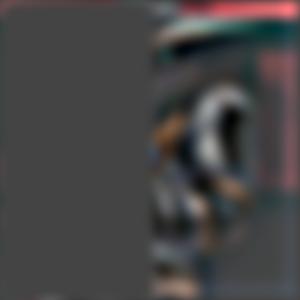
Here are some more examples of hybrid images. The superman/batman combination works well because their faces and body line up easily and they both have prominent features that can tell them apart. The left side of batman's face is very pronounced, so sometimes that can be noticed when looking at superman from far away.
|
|
|
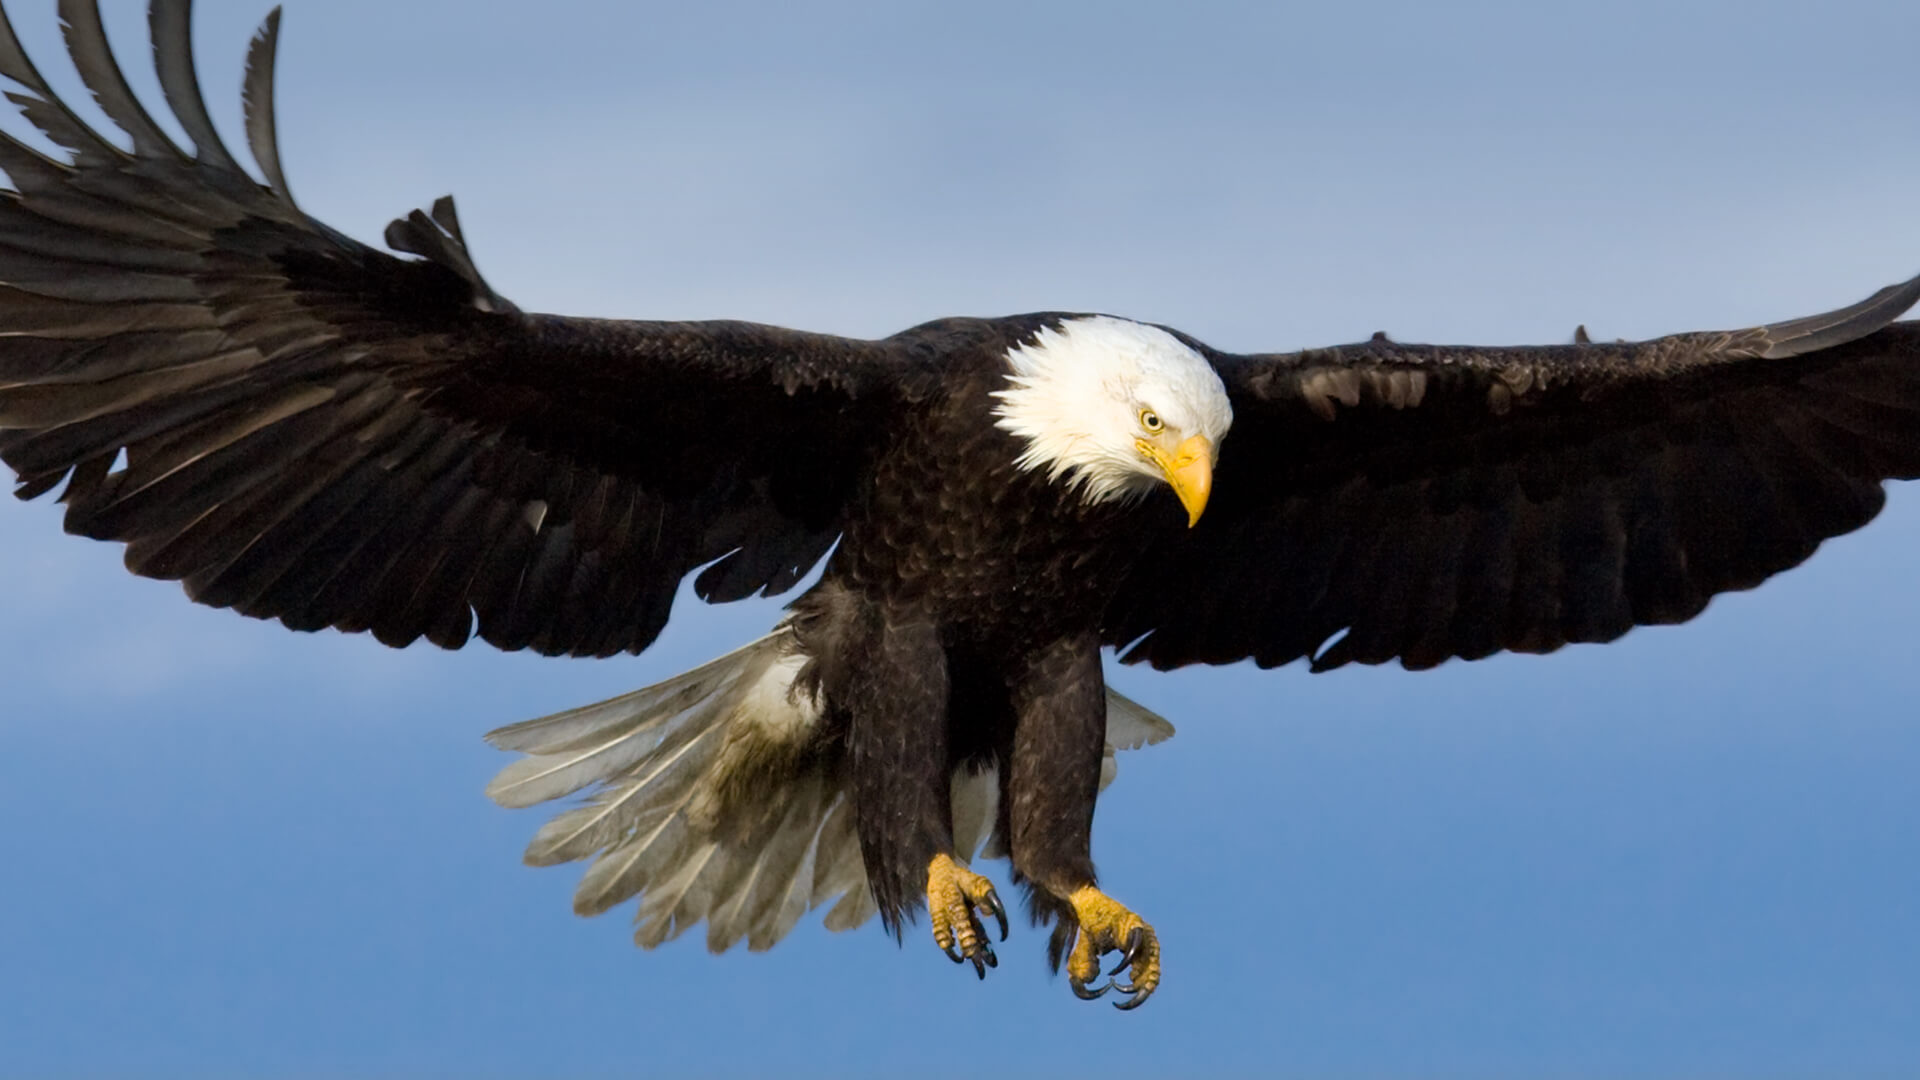
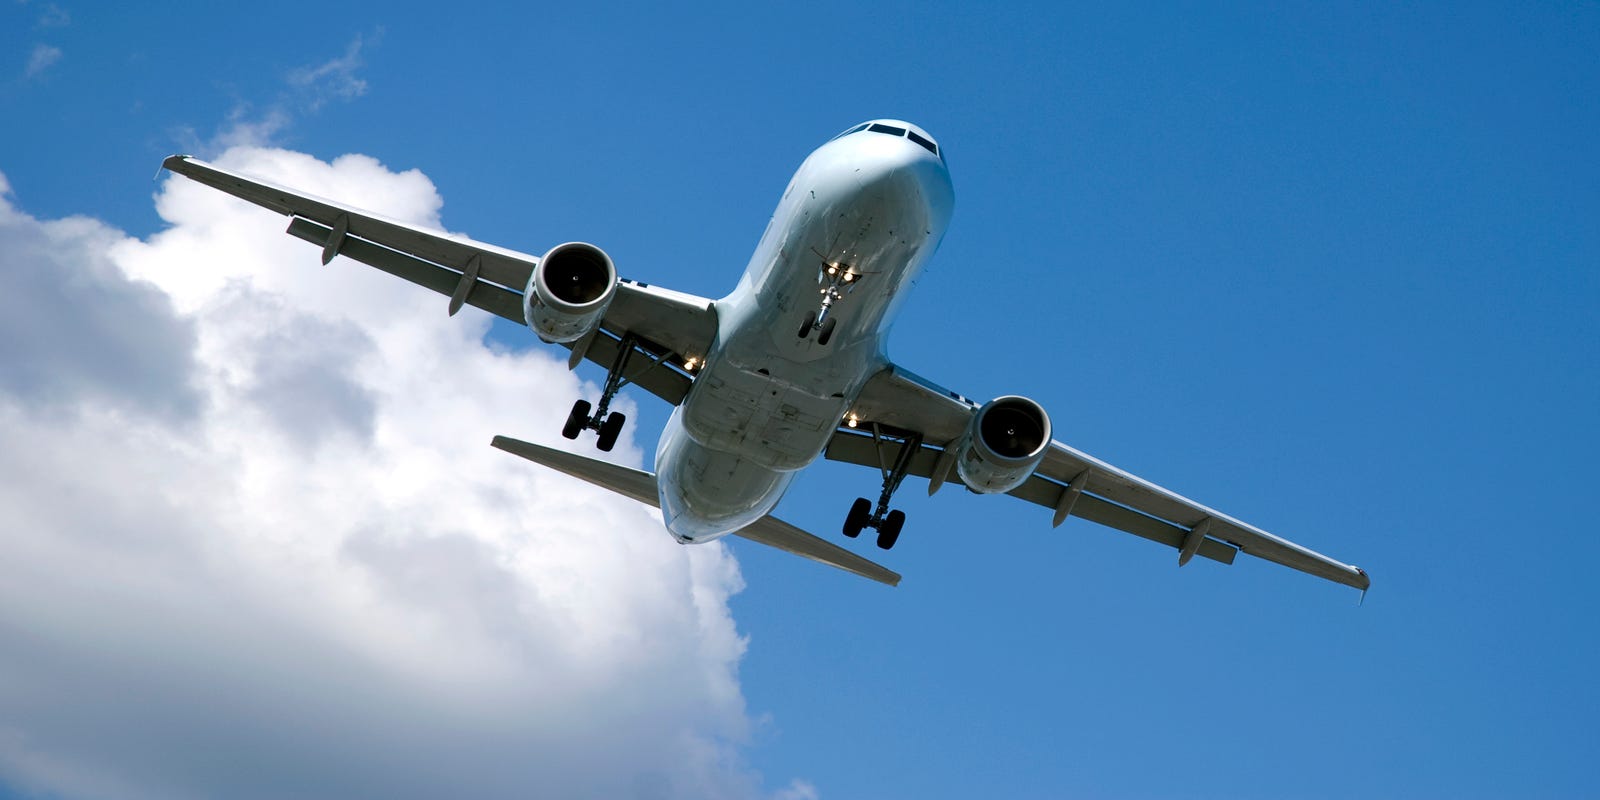
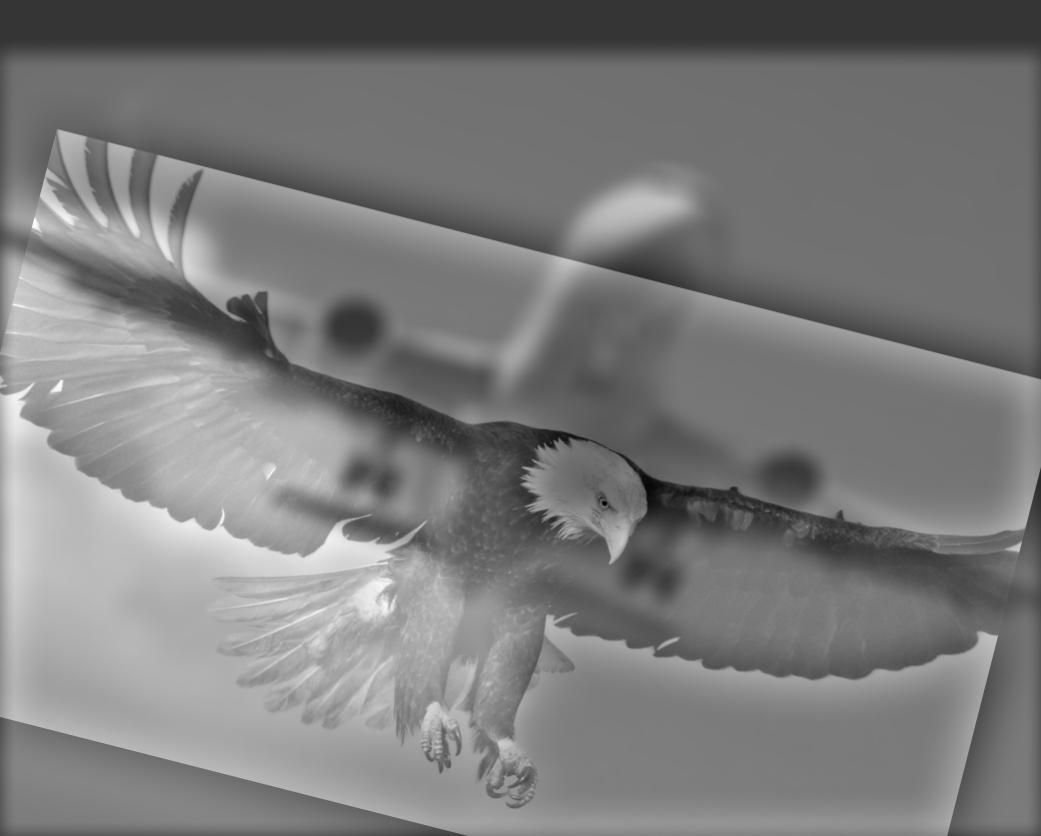
However, the hybrid eagle and plane do not work well. Even though they have similar shapes, they both have features that you can see at any distance. For examples, the feathers of the eagle are prominent no matter where you stand, and the top of the plane and the thrusters can always be seen. I think this one does not work well because the images are too dissimilar, especially with the wings and the shape of each object in general.
|
|
|
Gaussian and Laplacian Stacks
To get the Gaussian stack, I just blurred each picture with a Gaussian filter. The first picture in the stack is the original, and each picture after is a Gaussian blur of the previous picture. Additionally, as the stack increased, the sigma value increased. Each sigma value was 2^i, where i is the index of the image that is blurred.
To get the Laplacian stack, I subtracted each immediate pair of pictures. Additionally, I added the lowest frequency picture in the Gaussian stack to the end of the Laplacian stack, so it would be easy to just sum the Laplacian stack.
Here is the recreated figure 3.42 in color.
|
|

|
|
|
|

|
|
|
|
|
|
Multiresolution Blending (a.k.a. the oraple!)
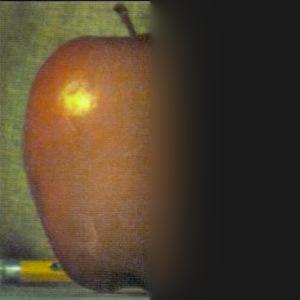
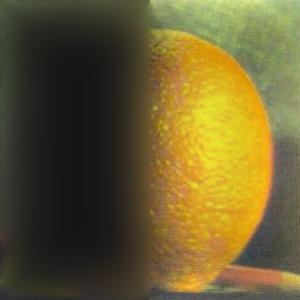
To do blending, I would create a mask. For the oraple, it is just a binary mask with 1's on the left side and 0's on the right side. I would create a Gaussian stack with this mask to make sure there is blending in the middle. I then multiply the apple Laplacian stack with the mask Gaussian stack level by level and element by element. I also multiply the orange Labplacian stack by one minus the mask Gaussian stack level by level and element by element to get the right side of the orange. I would then sum together each half together for each level. Finally, I sum together the whole stack to get back the blended picture.
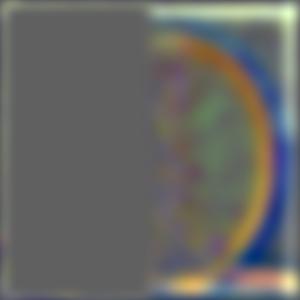
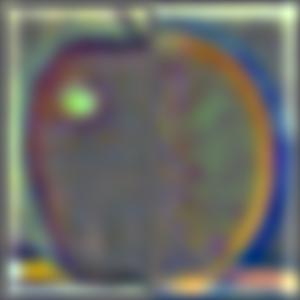
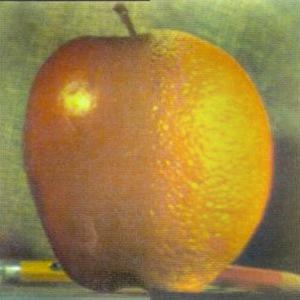
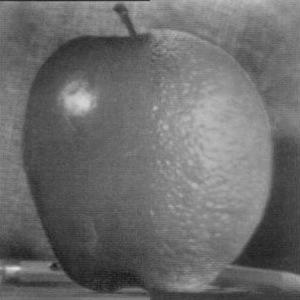
Bells and Whistles: Below we have the oraple in gray and color. Because of the grayscale, the blend looks much cleaner since there is no jump in color, but the color shows how there isnt a sharp divide between the photos. It shows that there is a bit of blend in the middle.
|
|
|
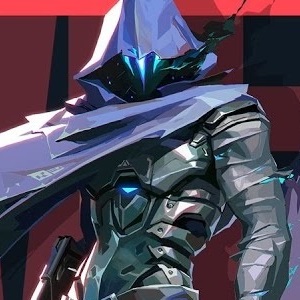
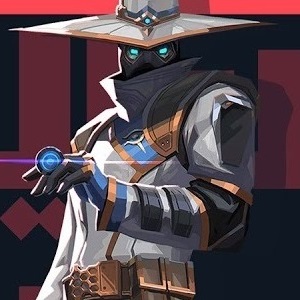
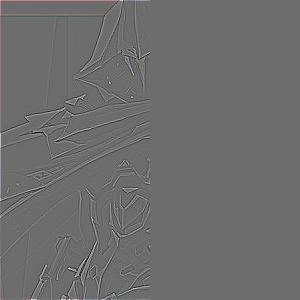
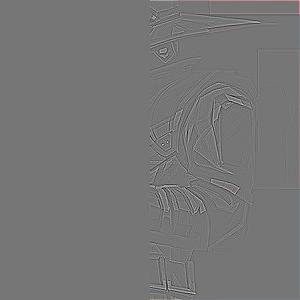
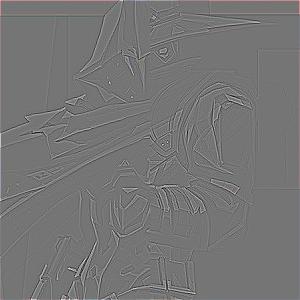
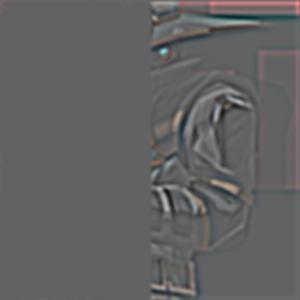
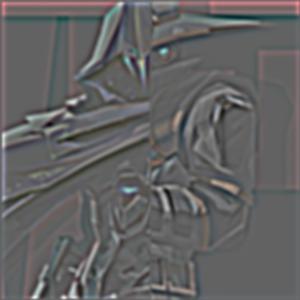
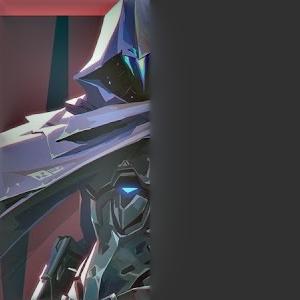
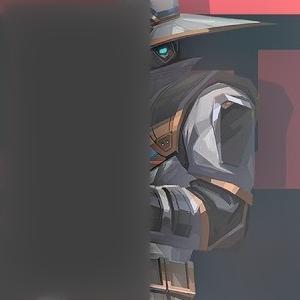
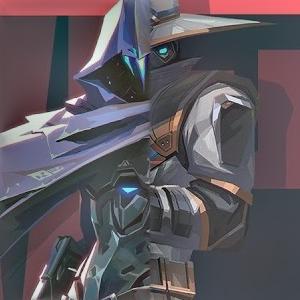
For regular mask, I tried blending two characters from a game called Valorant. These two characters look vastly different, so I was seeing if I could make the blend smooth.
|
|
|
|
|
|
|
|
|
|
|
|
|
|
|
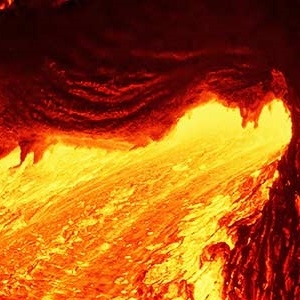
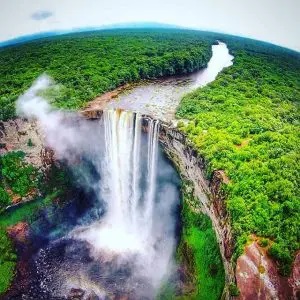
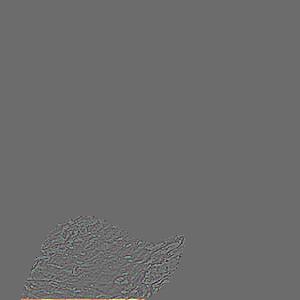
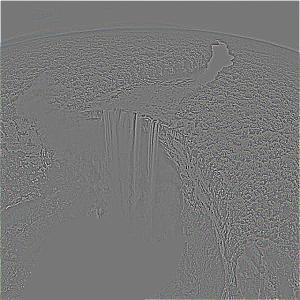
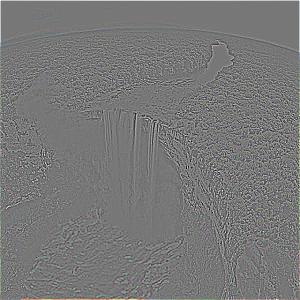
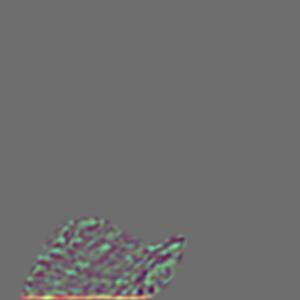
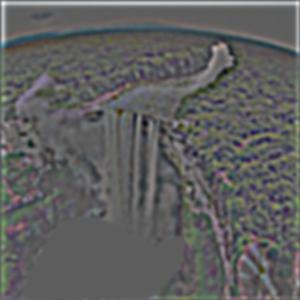
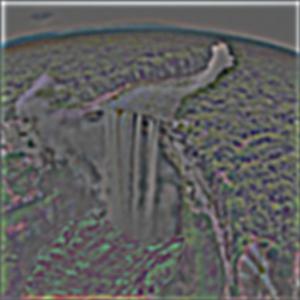
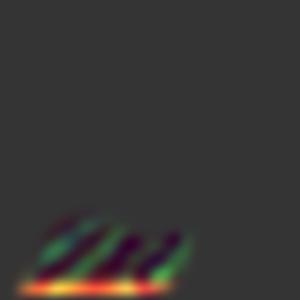
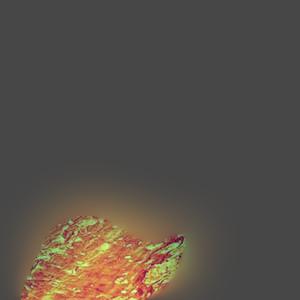
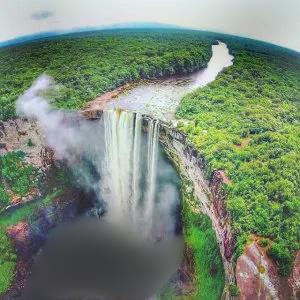
For an irregular mask, it is the same process, except I do not use a binary mask. For my irregular mask, I highlighted the shape of the lake that the waterfall falls into and the other picture is lava, so the blended picture looks like water falling into lava. To make the irregular mask, I used MS Paint to color parts black and other parts white.
|
|
|

|

|
|
|
|
|
|
|
|
|
|
|
|
|
|
Coolest Thing!
The blending with frequencies is really interesting. I really liked working on my waterfall into water!