Using various filter and frequency manipulation, we can alter photos to detect edges, sharpen and blur images, create optical illusions, and merge and combine images seamlessly.
Using various filter and frequency manipulation, we can alter photos to detect edges, sharpen and blur images, create optical illusions, and merge and combine images seamlessly.
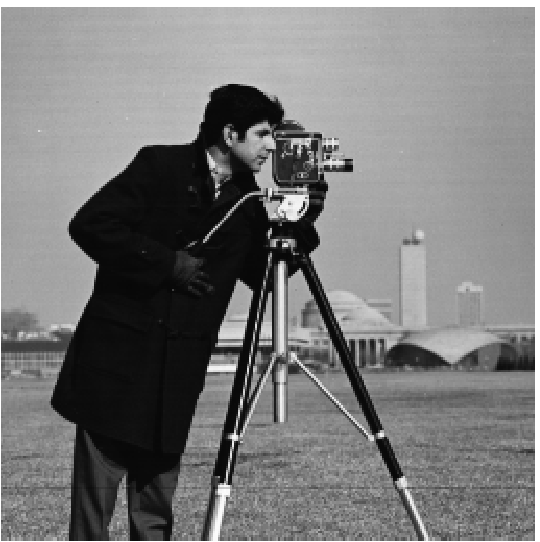
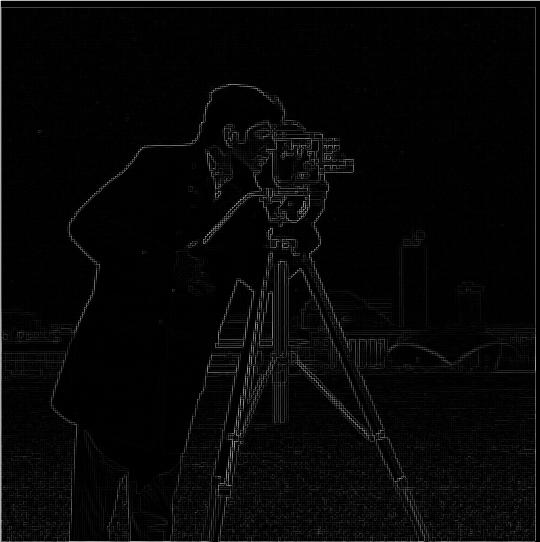
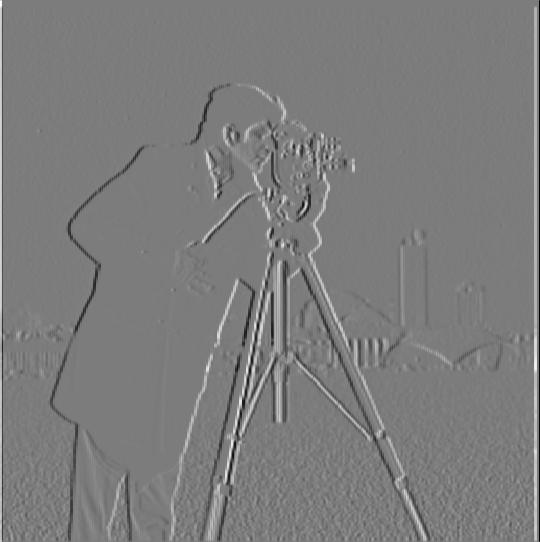
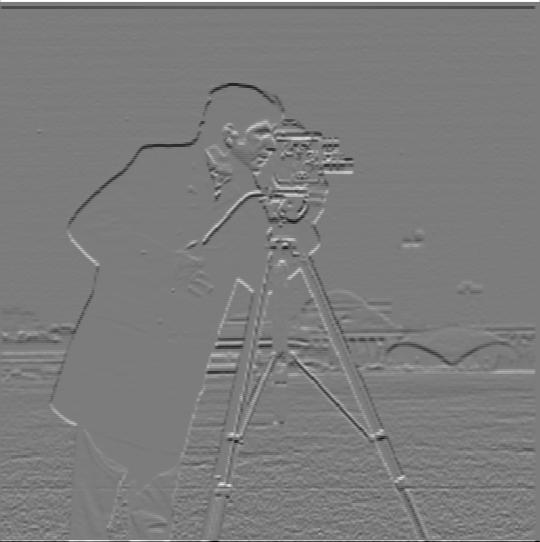
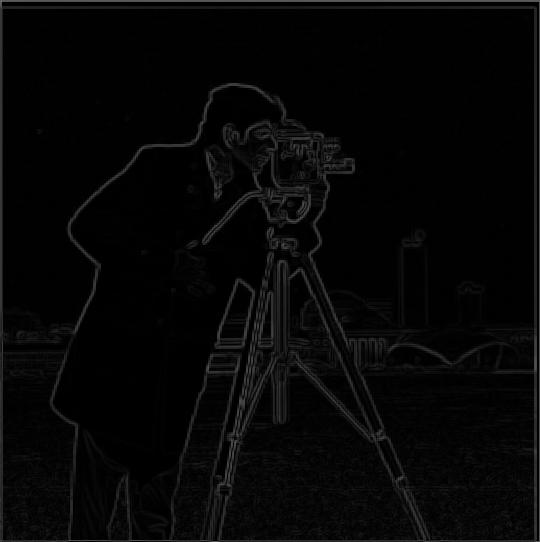
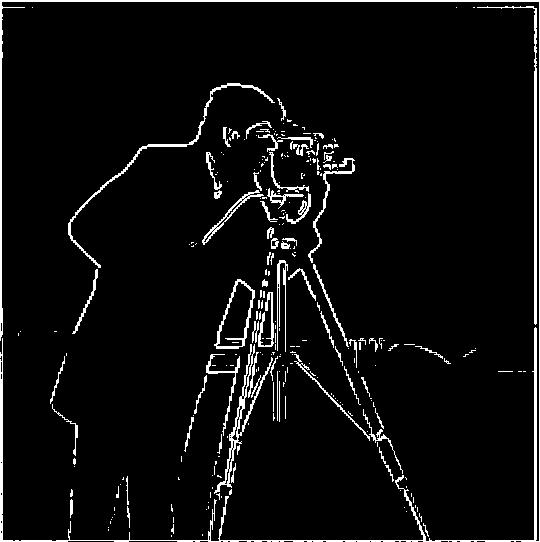
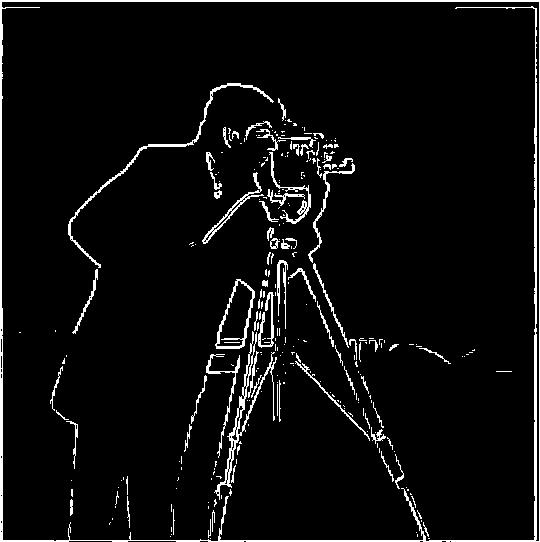
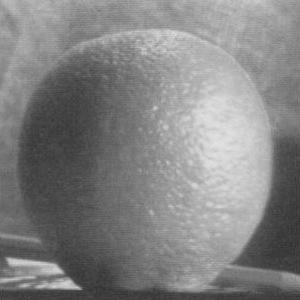
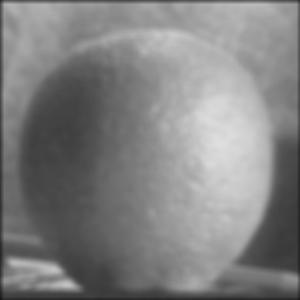
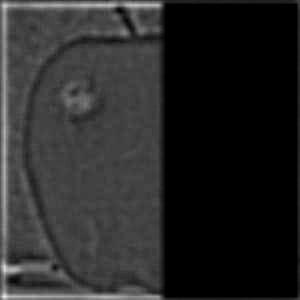
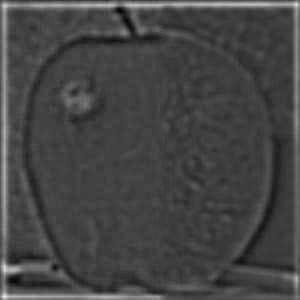
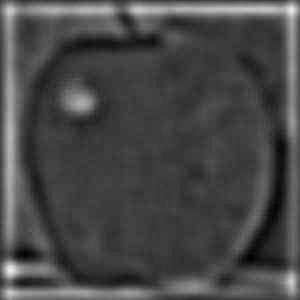
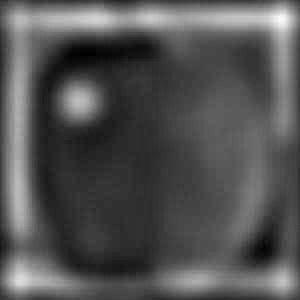
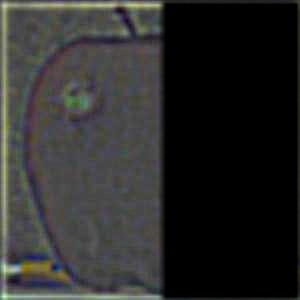
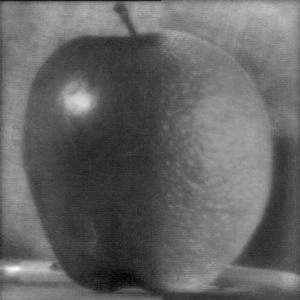
We can use filters to do many interesting things, one such thing being edge detection. Observe on the left a picture of a cameraman. Our goal is to use gradient magnitude to find the important edges of the photo. We can convolve the image with [1, 1] and its transpose to get the partial x and y derivatives of the CameraMan. Finally, we can use the formula sqrt((dx)**2 + (dy)**2) to get the gradient magnitude. To better visualize the gradient magnitude, we can also binarize it, setting pixels above a certain threshold to 1 and others to 0.
In order, we have the original image, the partial x derivative, the partial y derivative, the gradient magnitude, and its binarized version.
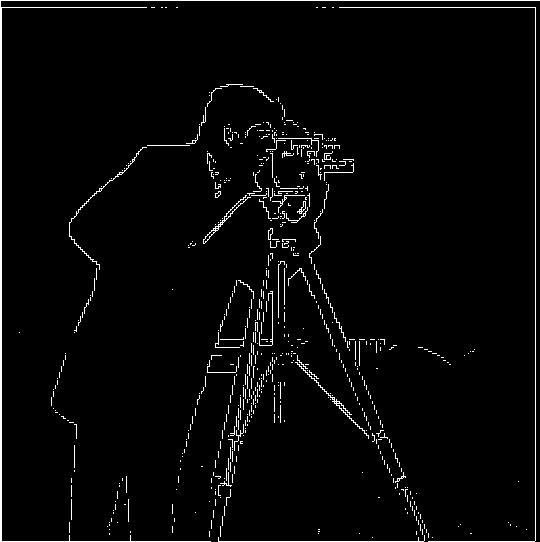
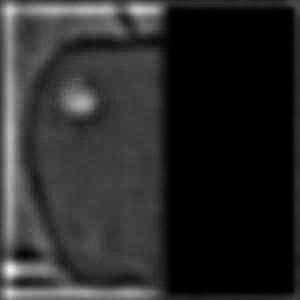
However, applying these filters on the original image results in some noise. This is where we bring in the Gaussian filter, a filter that smooths images. We can convolve the image first with the Gaussian to get a smoother photo, then apply the filters from above. Hover over each image to compare with the original version.
Clearly, we can see the differences, as the edges in the Gaussian version are more defined and smoother, which results in an less noiser gradient magnitude and binarized image. Having less noise means that our final result is much closer to the true edges of the Cameraman.
We can make the process even more efficient by noting that instead of convolving the image with the Gaussian and then again convolving this new image with the filters, we can simply convolve the Gaussian with the filters and get the same image, as shown below. The one on the left shows the 2 convolution image and the one on the right shows the 1 convolution image.
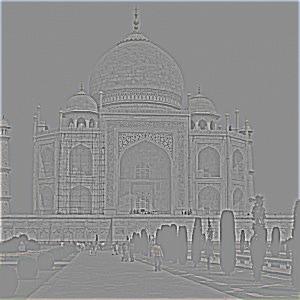
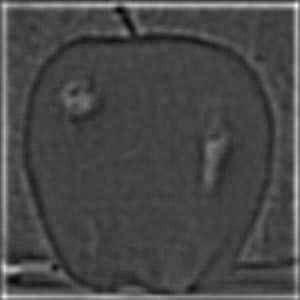
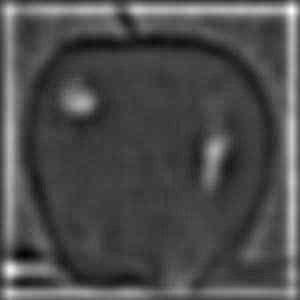
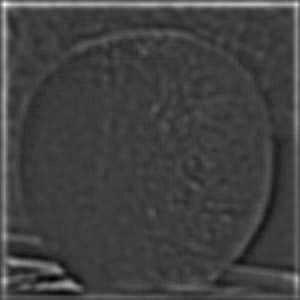
We can use the Gaussian filter for more than just smoothing. Unintuitive as it sounds, the Gaussian filter can actually be used for sharpening images as well! If we have a blurry image, we can take the Gaussian of that image, and then subtract it to effectively get the high frequency portions of the image. Then, we can add the high frequencies to the original image to get a "sharper" version of the image. This is because high frequencies make images look sharper, so by artificially adding in more high frequencies, we can make it appear as if though the image has been sharpened.
Here we have the original picture, the high frequencies of that image, and the resulting sharpened image.

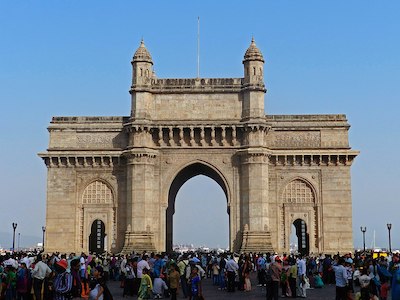
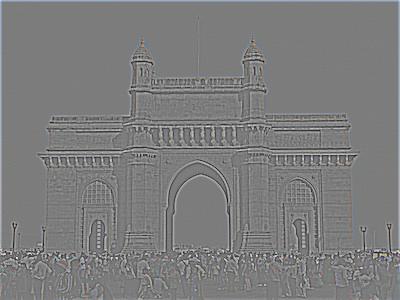
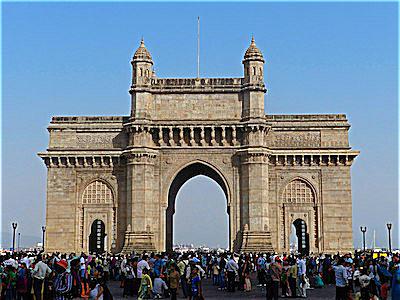
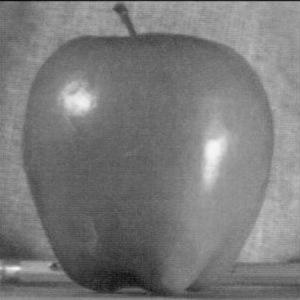
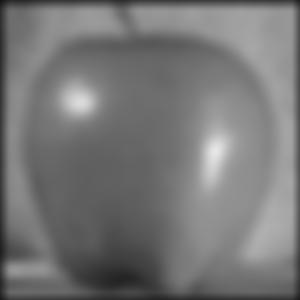
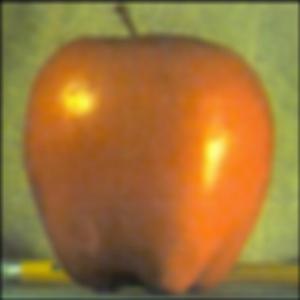
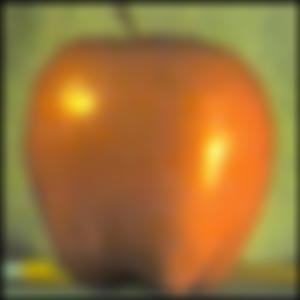
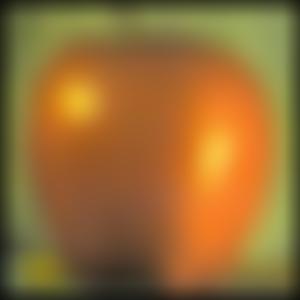
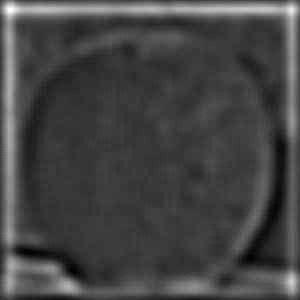
Of course, this leads to the question of if we can take an image, blur it, and then resharpen it to get the original image. The sharpening works fairly well, and unless you observe the pictures closely, the resulting sharpened images look almost identical to the original image. Some of the details in the main gate entrace are lost but overall it looks great.
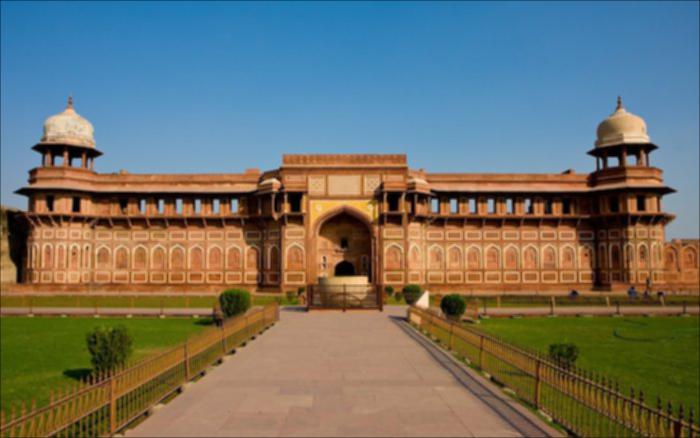
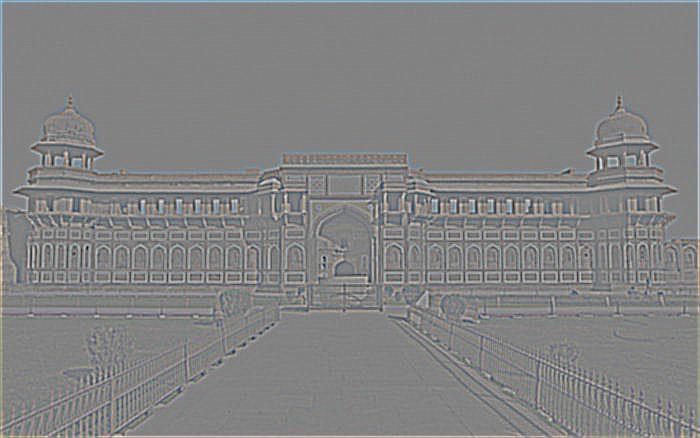
Here we have the original pic, the blurred pic, the high frequencies, and the final resharpened image.


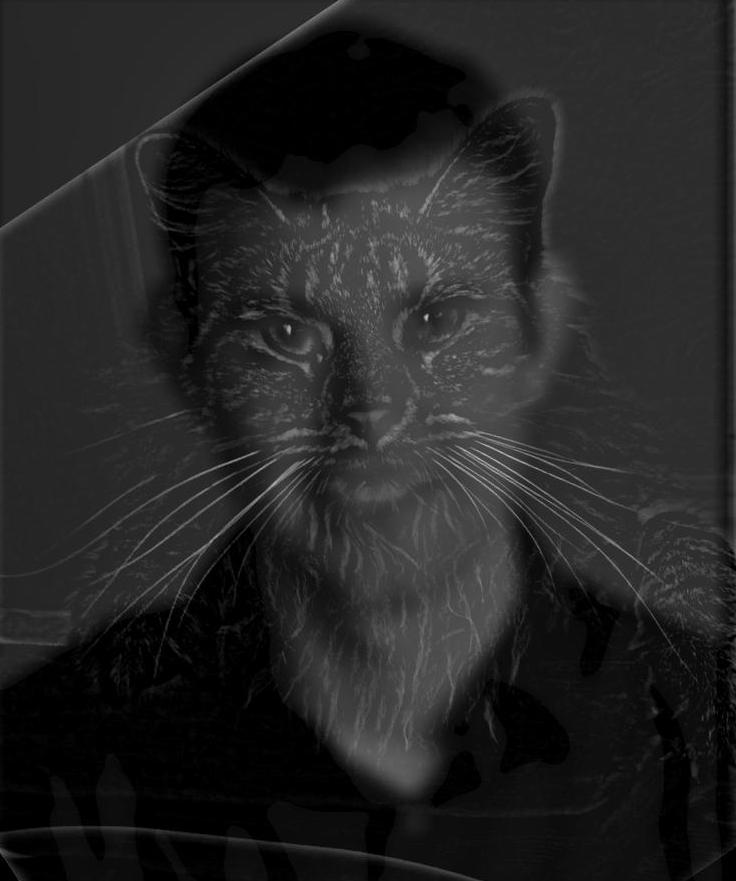
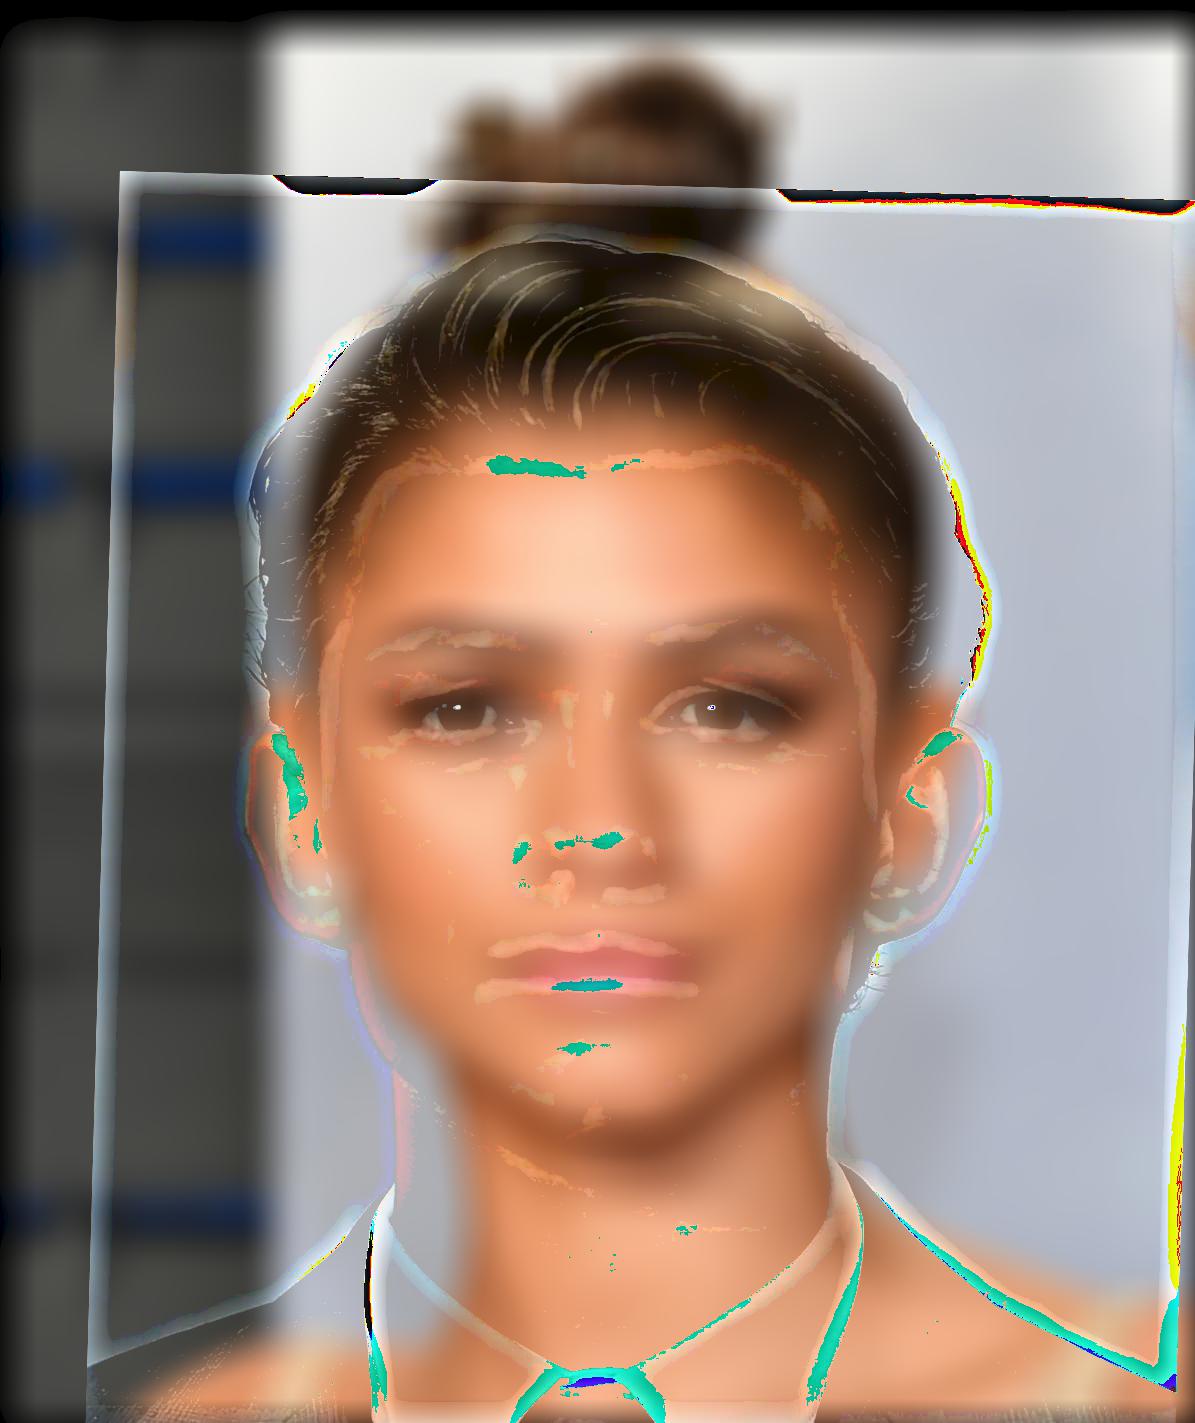
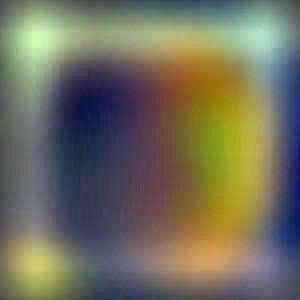
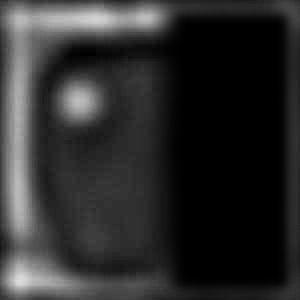
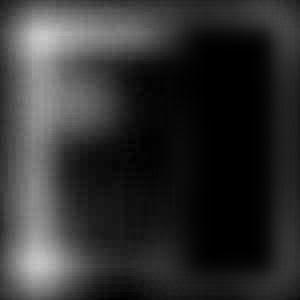
Clearly then, as we have seen, the brain interprets high and low frequencies in different ways. This leads to the idea of hybrid images. Since higher frequencies are more visible up close and lower frequencies are more visible from far away, we can create hybrid images by taking the low frequencies of one image and the high frequencies of another image and placing them on top of each other to create an image that looks one way from one up close and different from far away. Of course, not every image is a winner (note the Tom Holland and Zendaya one), but overall the effect is pretty nice.
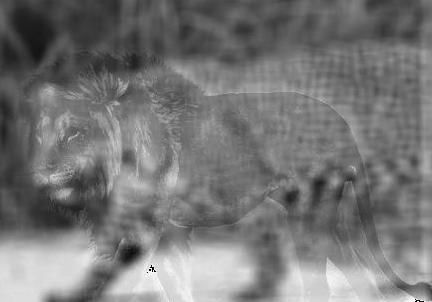
Here we have Professor and Cat, Lion and Jaguar, and Tom Holland and Zendaya (The failure image).Hover over an image to see visual effect, or simply move a distance away from your screen.
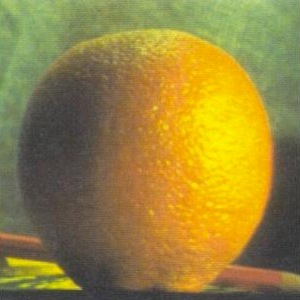
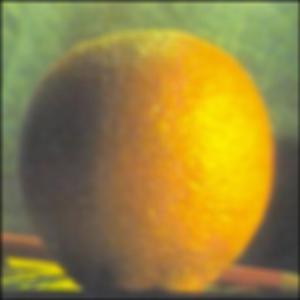
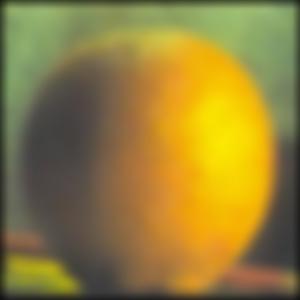
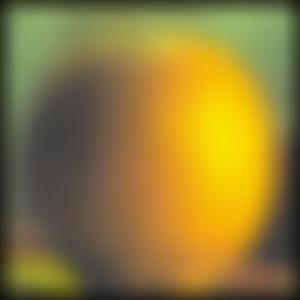
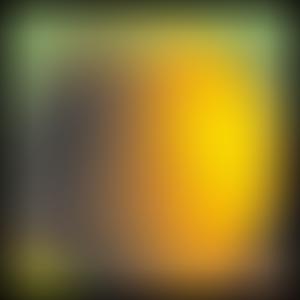
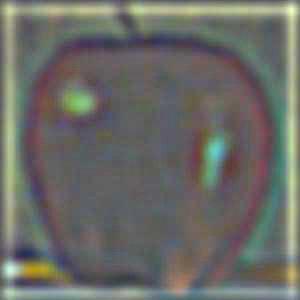
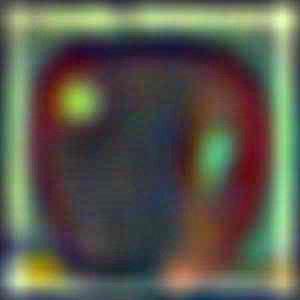
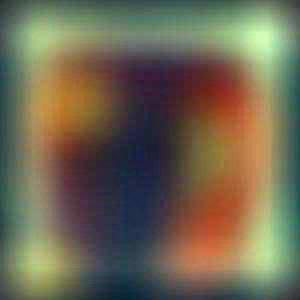
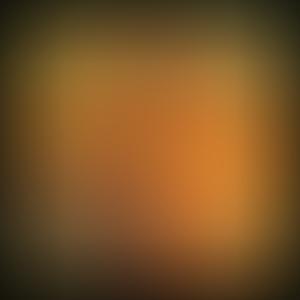
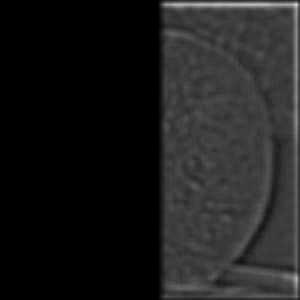
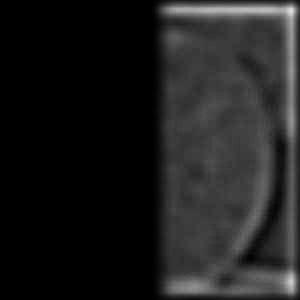
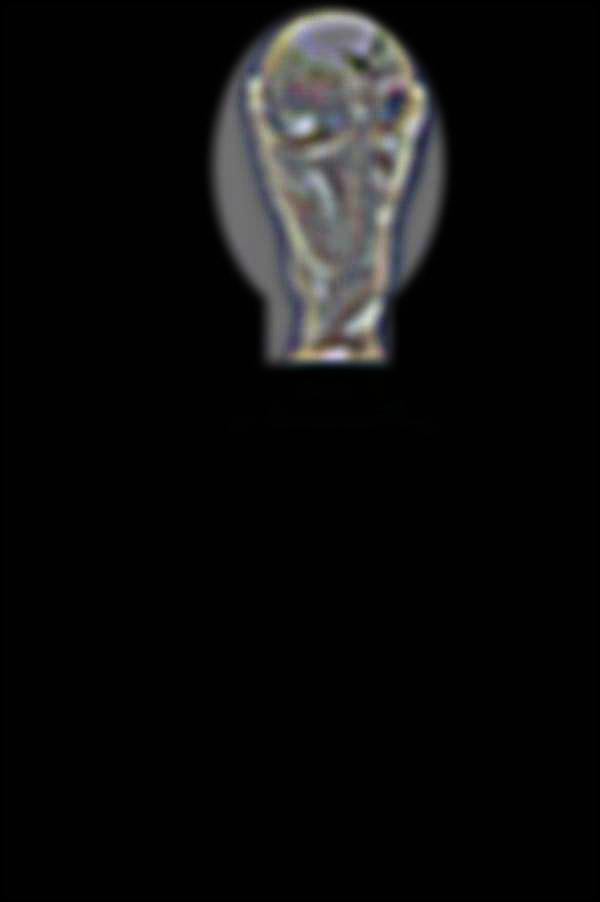
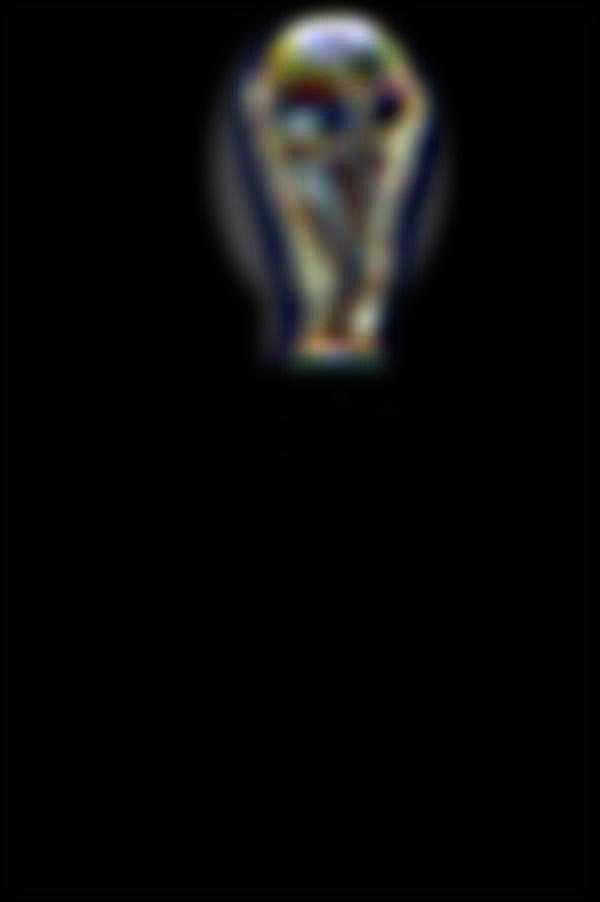
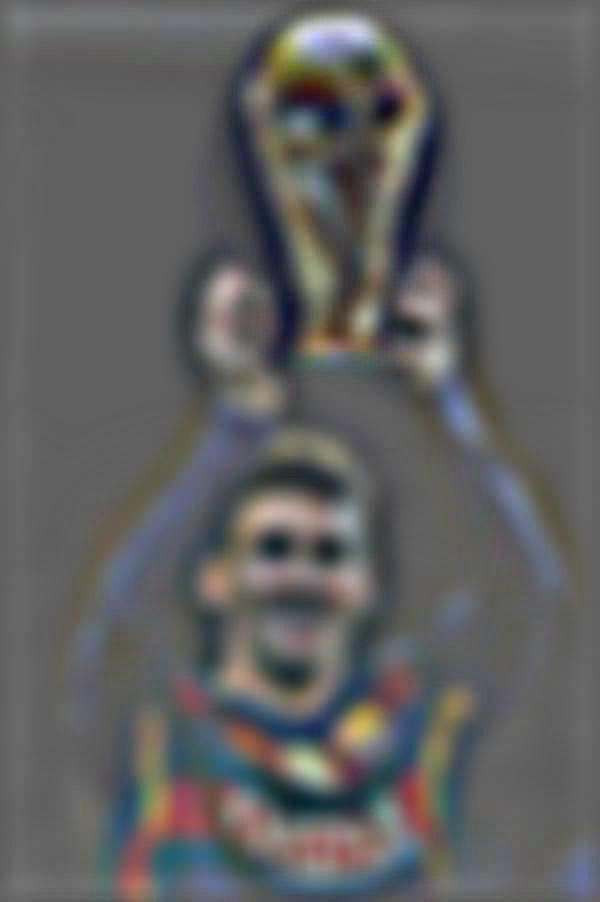
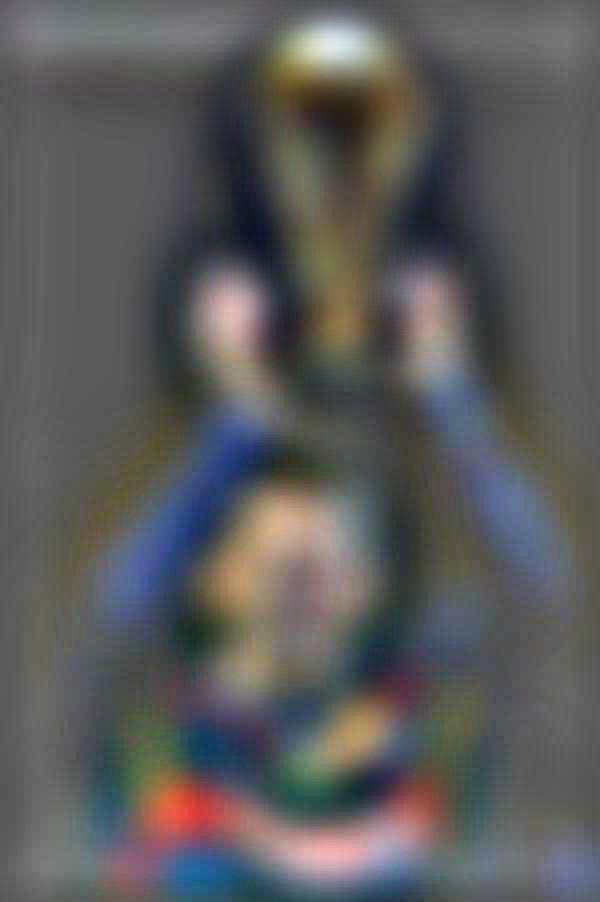
Lets take a look at the decomposition of the method with another example, this time the Soccer-Basketball example in color. We first take the original images, then choose one to be the low frequency image and one to be the high frequency image. We Gaussian blur both, and then for the high frequency image, we subtract the blurred image from the original to get the high frequencies, similar to what we did for sharpening. We then overlay the two frequency images on top of each other, to obtain our final hybrid image.
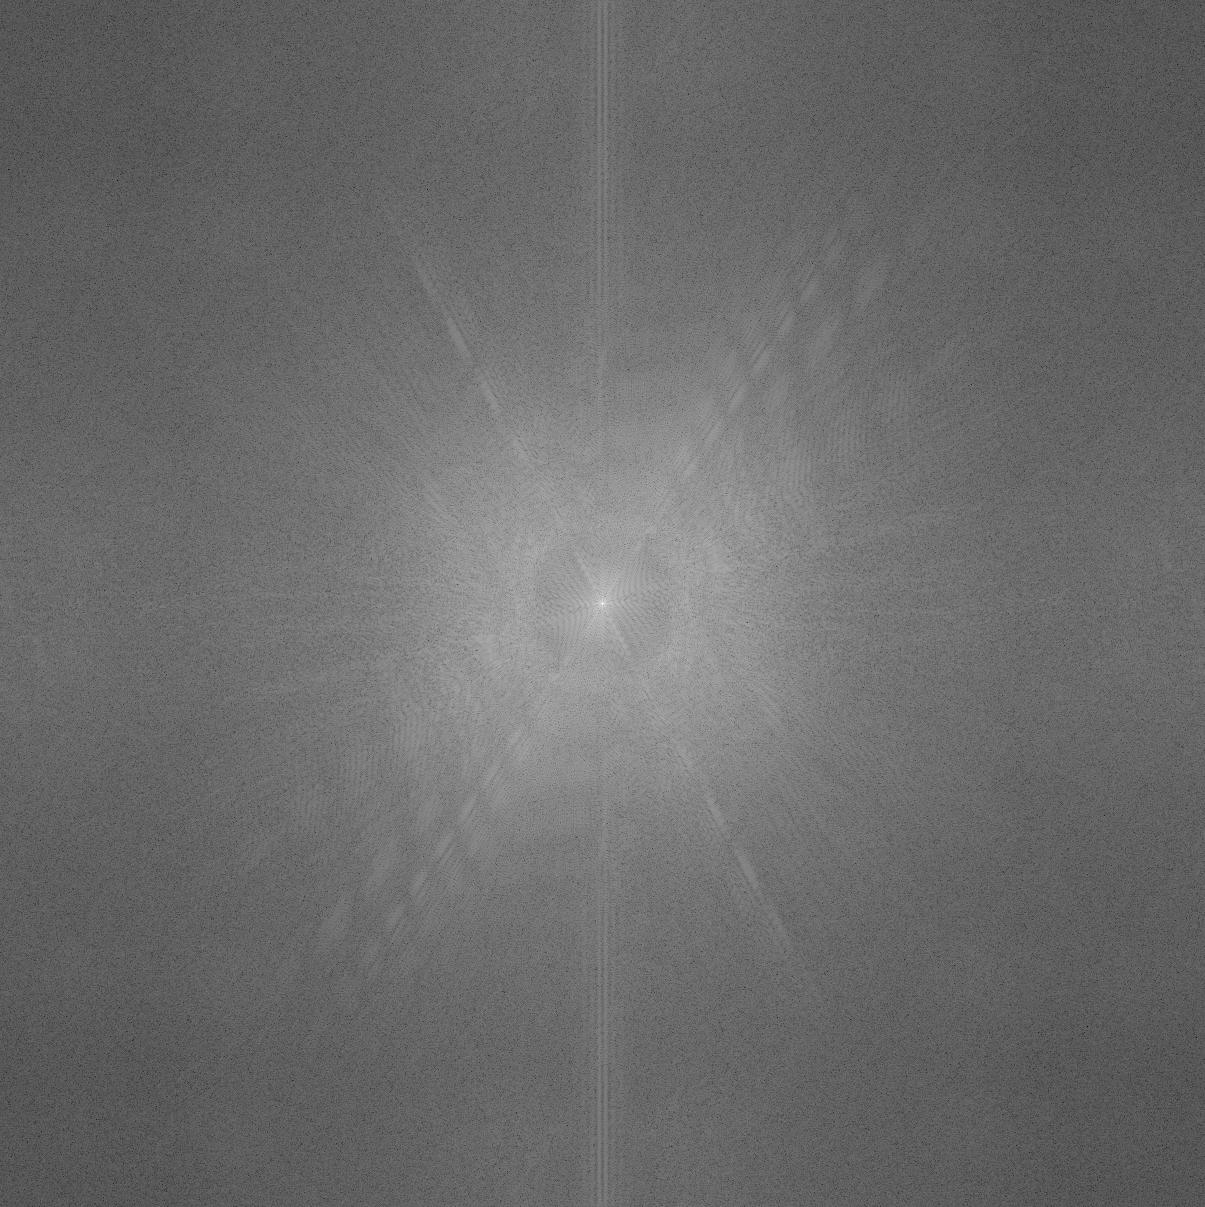
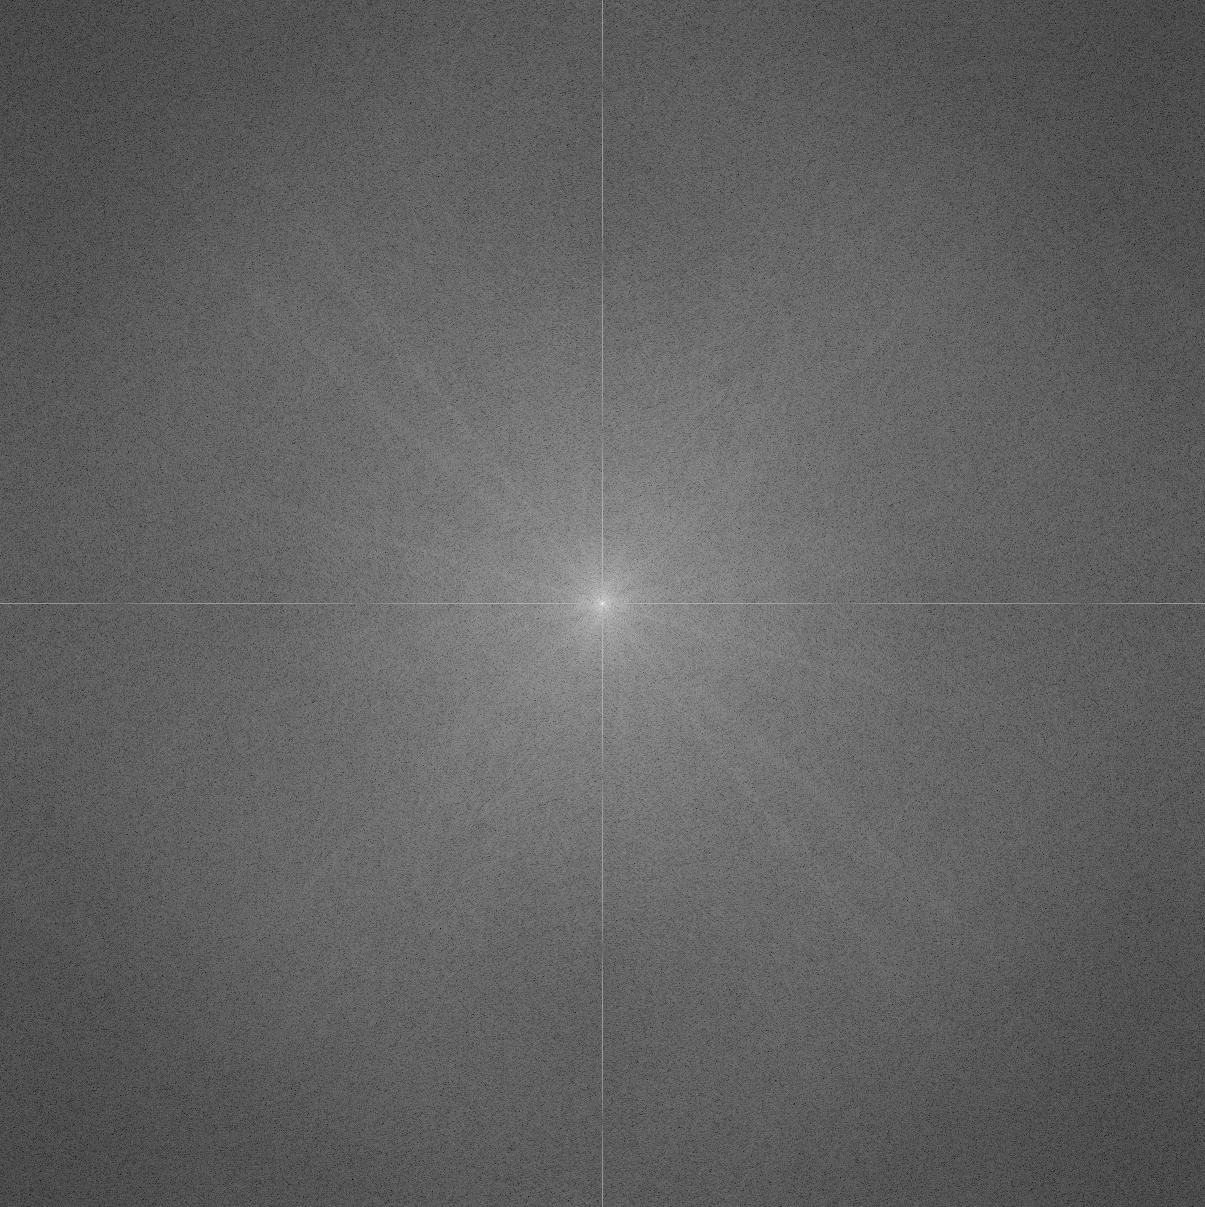
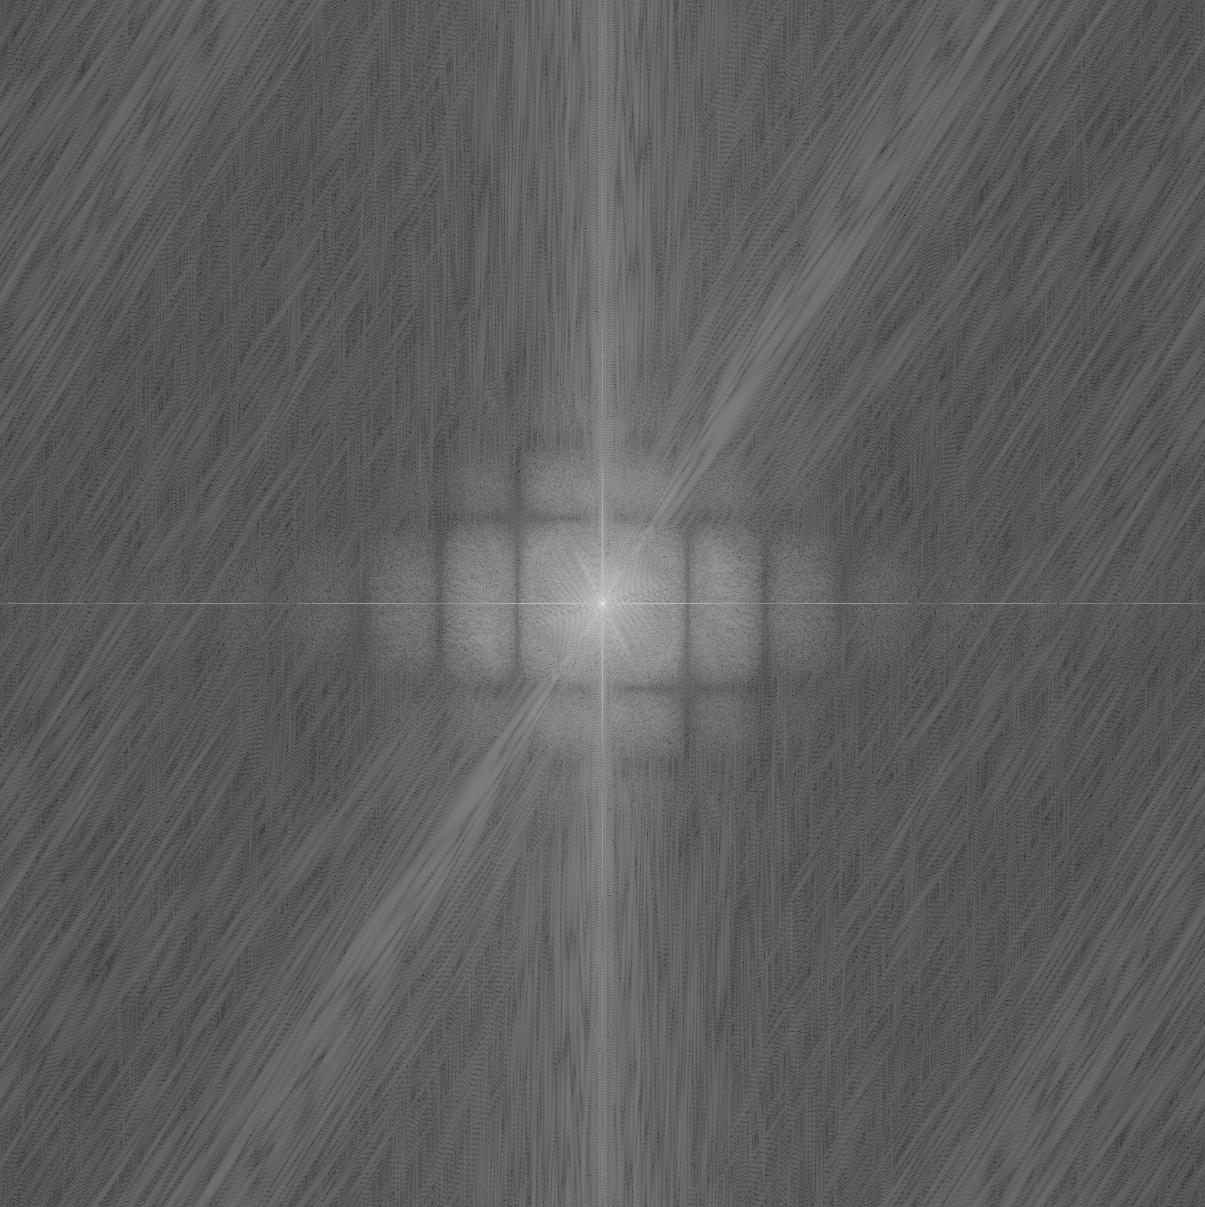
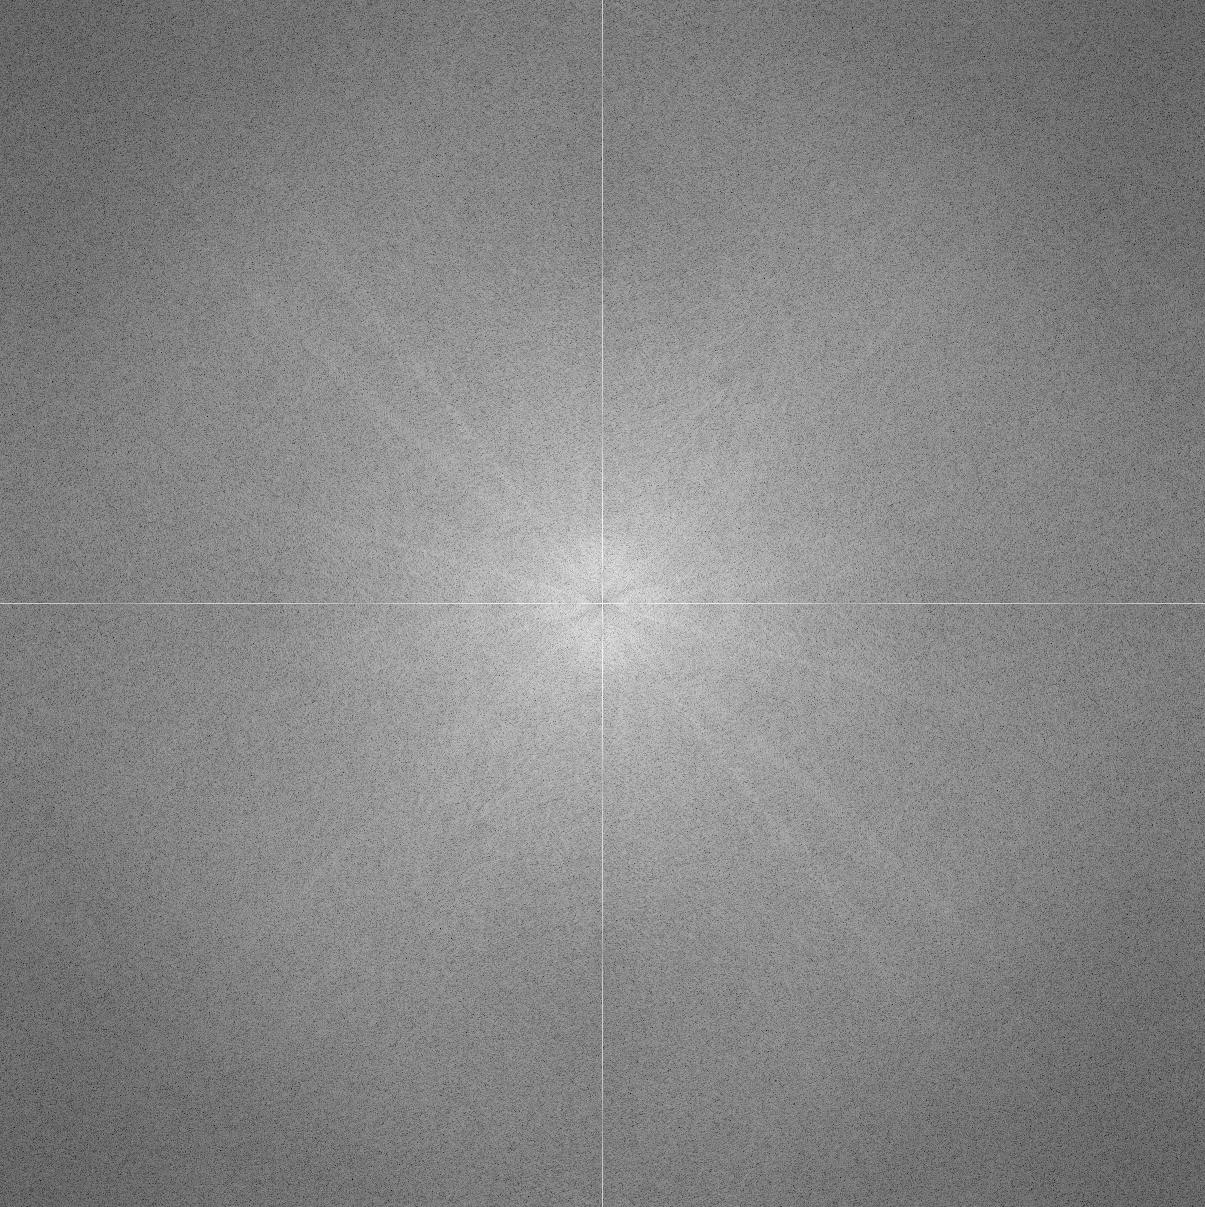
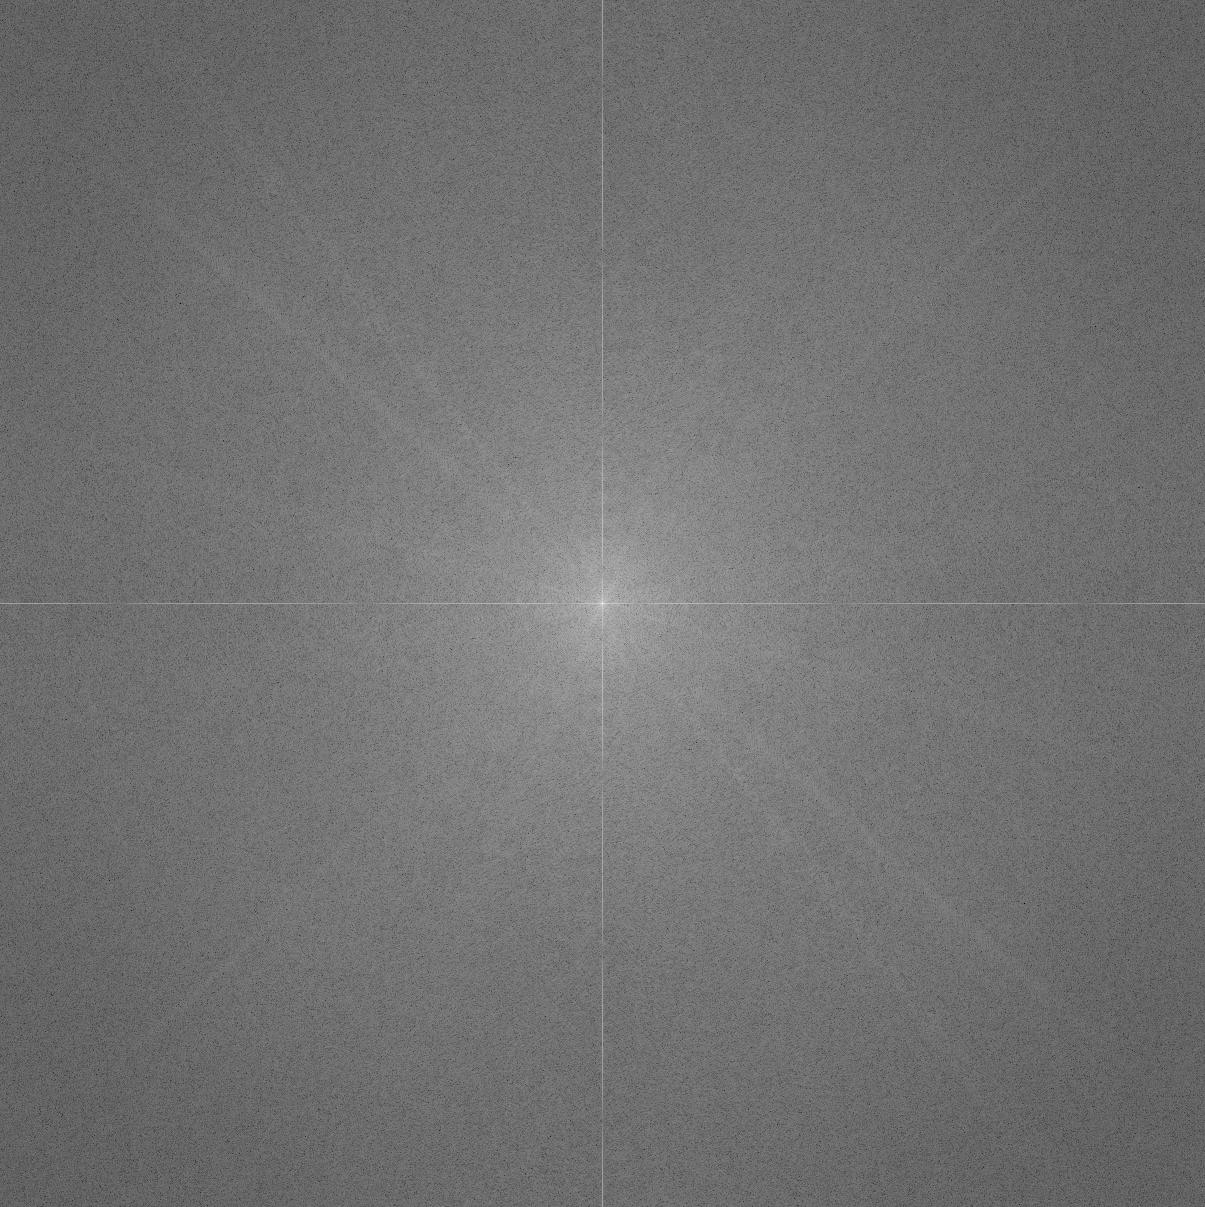
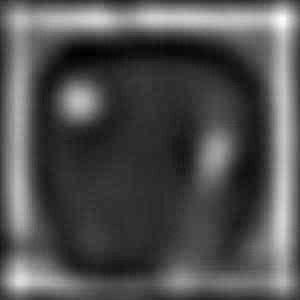
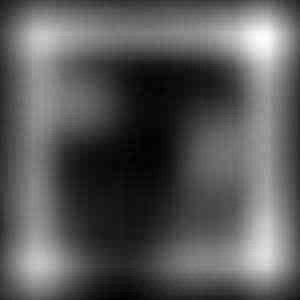
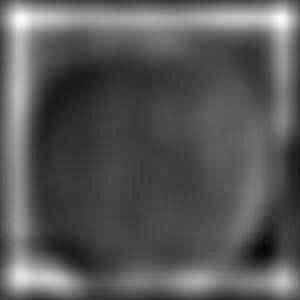
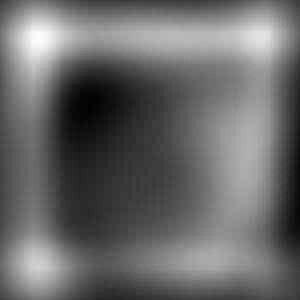
Here we have the original images, the low frequencies of the basketball, the high frequencies of the soccer ball, and then the final image. Hover over each image to see its log magnitude of the Fourier Transform.
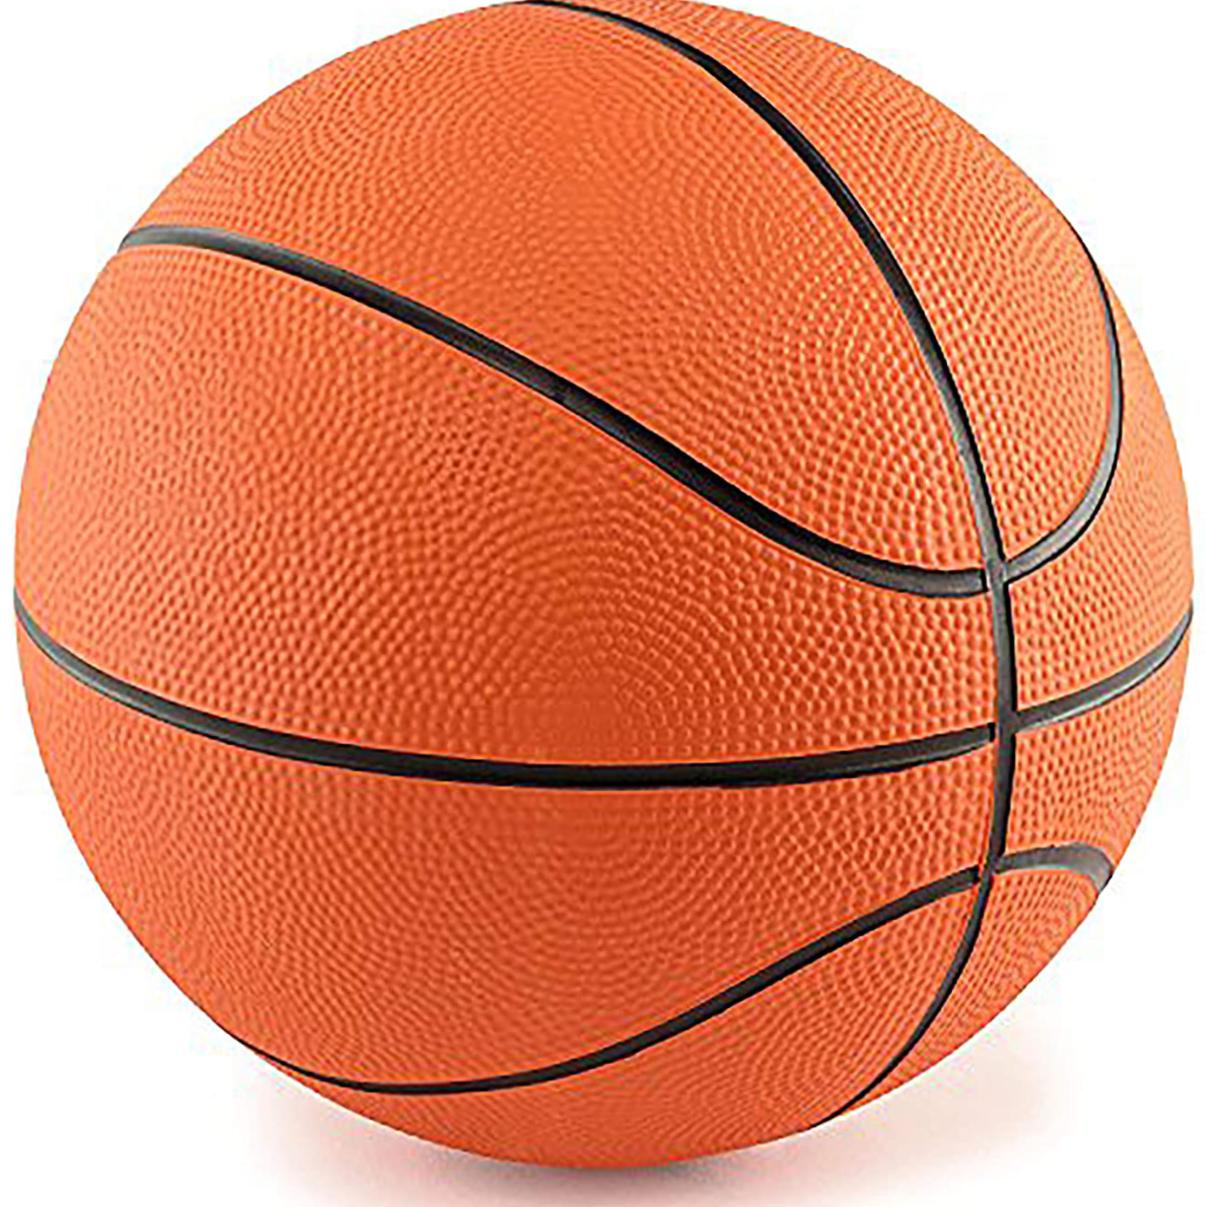


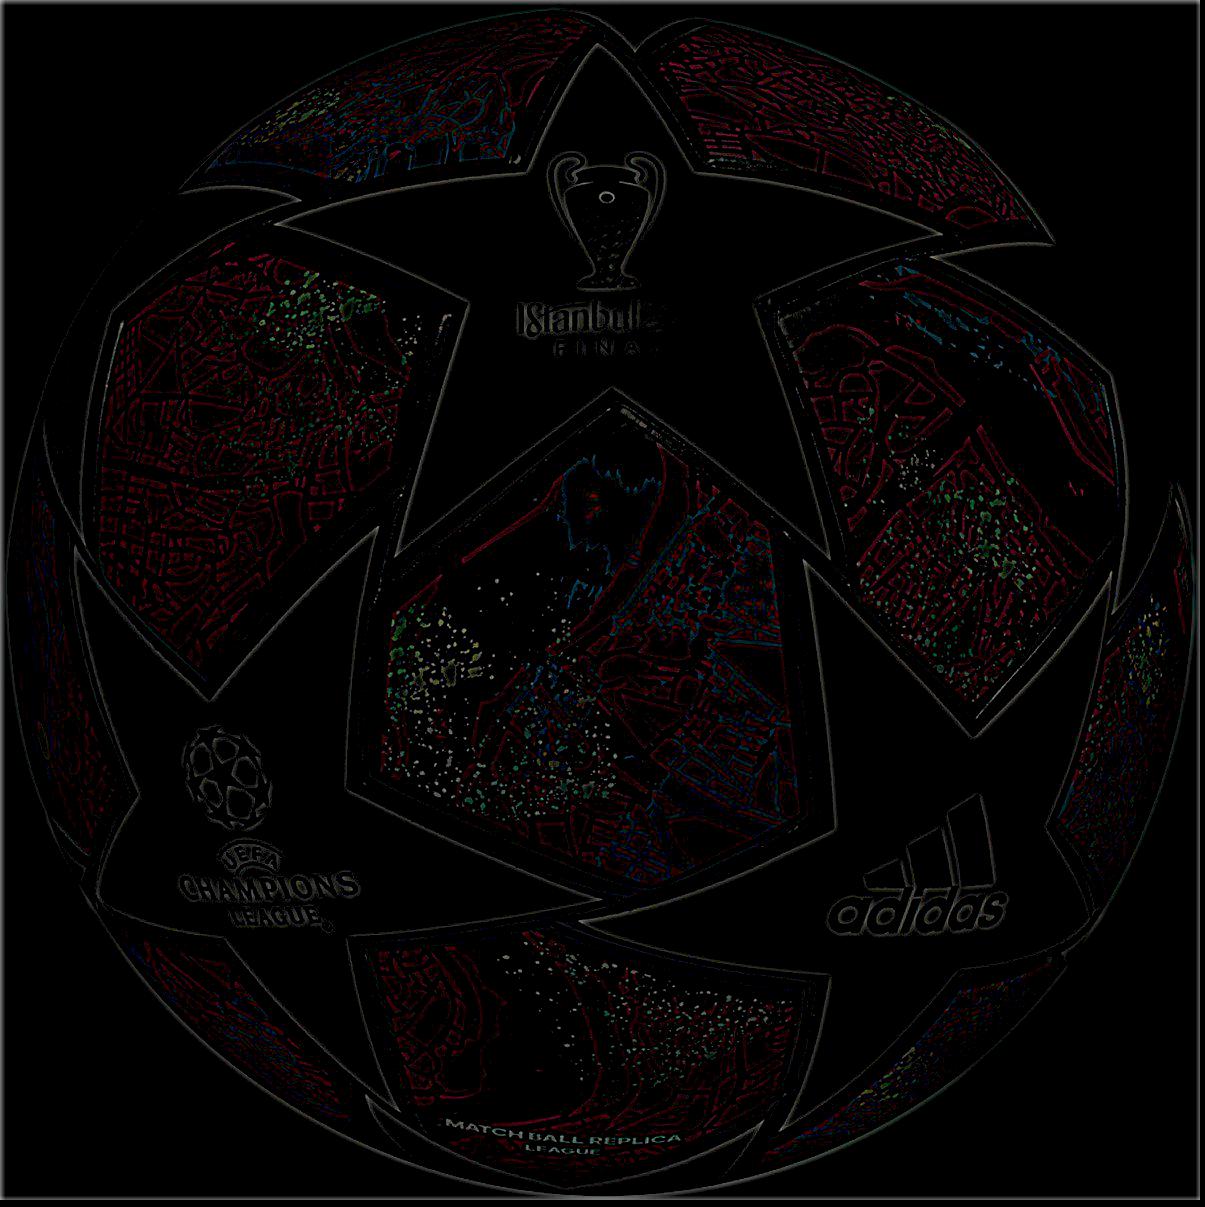
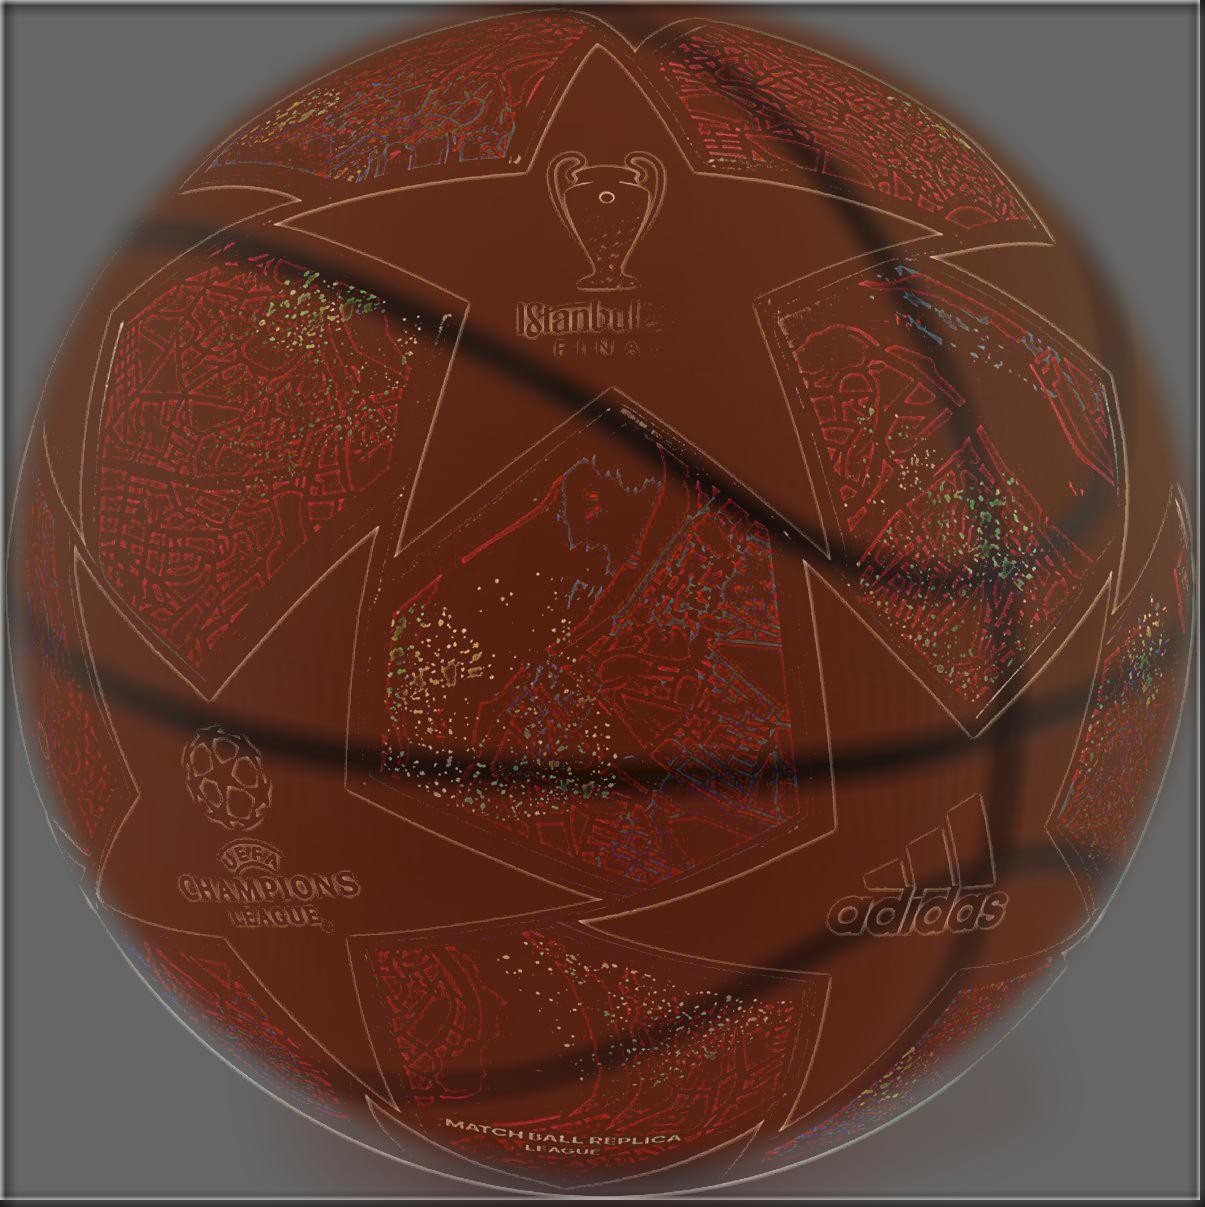
Through trial and error, it seems as if when working with colors, it works best when the lower frequency image has the brightness of its pixels adjusted, so that it does not overpower the high frequency up close. This was why the Tom Holland and Zendaya picture failed, as I did not take that into account and so it looks like Zendaya from close and from far. However, by adding that in the soccer-basketball image, we have that it looks much more like a soccer ball up close and like a basketball ball from a distance.
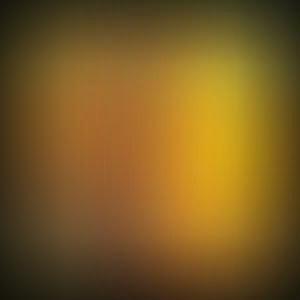
We can continue using high and low frequency manipulation to create Gaussian and Laplacian stacks of images, which can then be used to create blended images by using a mask and following the method layed out by the 1983 paper by Peter Burt and Edward Adelson. We will showcase this in both black/white as well as color to see how color can enhance the final image.


This was a super cool project that taught me a lot about how to visualize a photo not as just pixels on a screen, but instead in terms of frequencies and how we can differentiate these frequencies to create unique effects and perform surprising manipulations. The most interesting thing I learned is about hybrid images and how we can use it to create the desired effect. I thought it was very interesting how the paper on hybrid images also talked about possible uses in coded messages and making words hidden until someone is up close, as that seems like it would have many different real life applications.