In this project, we used derivative of gaussian filters and finite difference operators to perform edge detection in one part. In the next part, we used the gaussian filters to generate sharpened images and hybrid images. Finally, we also used the gaussian and laplacian stacks to create blended images.
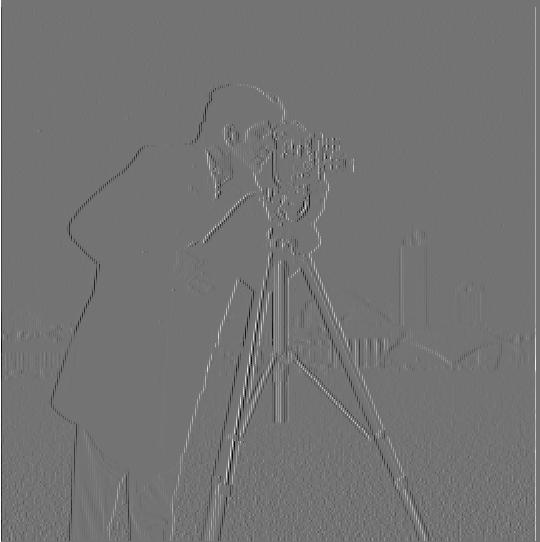
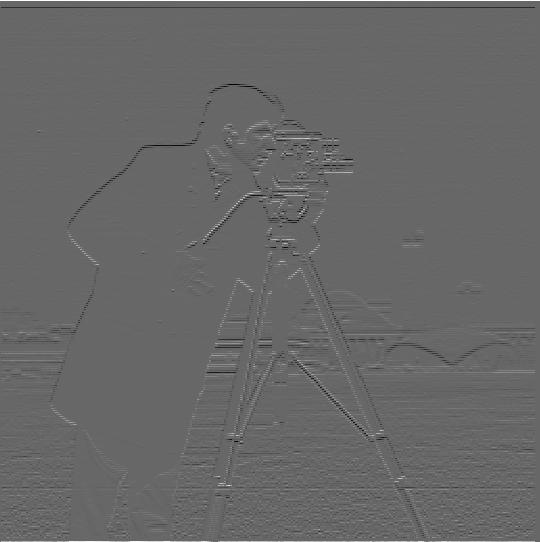
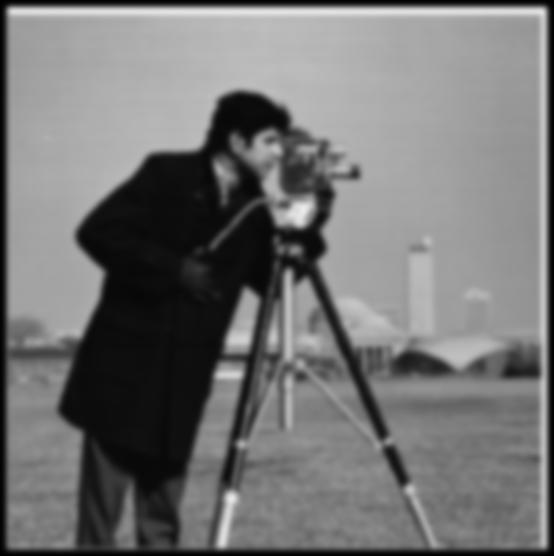
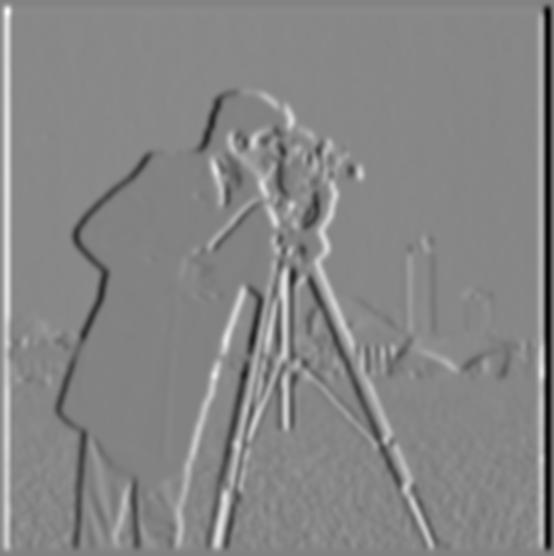
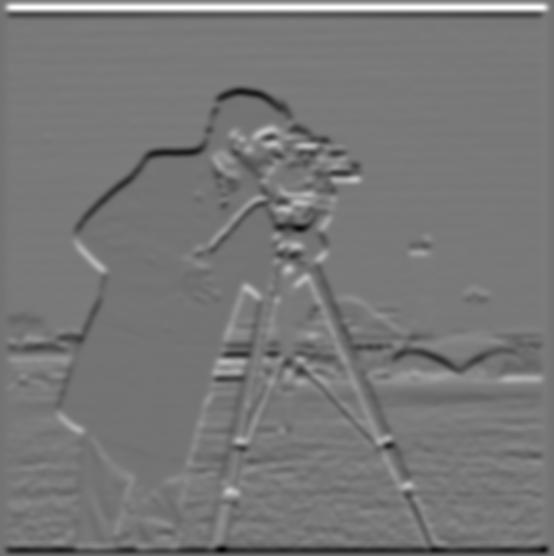
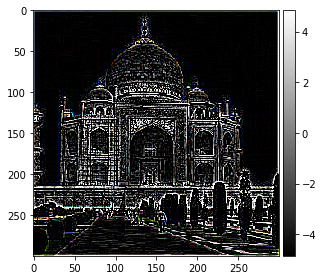
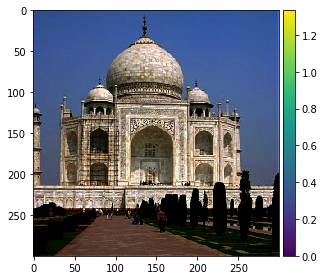
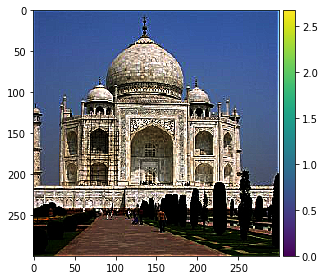
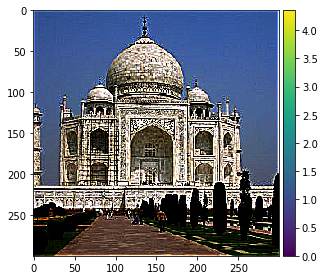
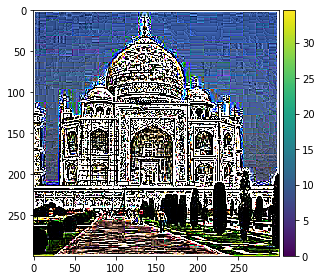
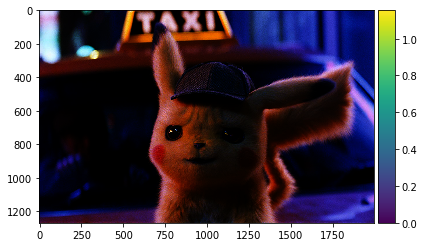
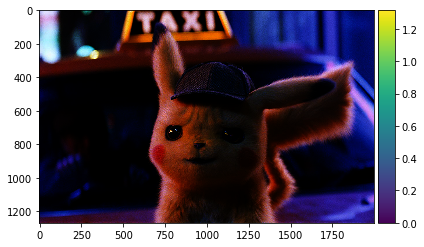
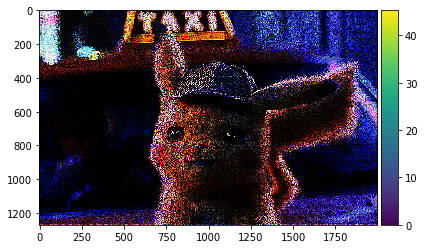
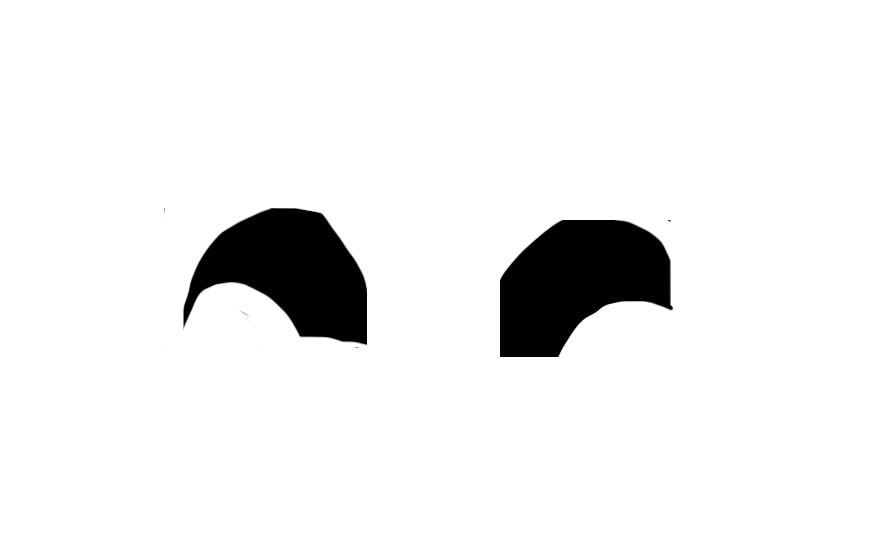
In order to compute the gradient magintude of the image, we first found the convolution of the image with respect to D_x ([[1, -1]]) and D_y ([[1], [-1]]) which we have the results for in the above 2 images. Defining the convolved images with D_x and D_y as Dx and Dy respectiviely, we can then compute the graident magintude by taking (Dx ** 2 + Dy ** 2) ** 0.5. To generate the edge example below, we also binarized this output, by taking all values above the threshold value 0.25 and rounding them up to 1, while taking all values below the threshold and rounding them down to 0.
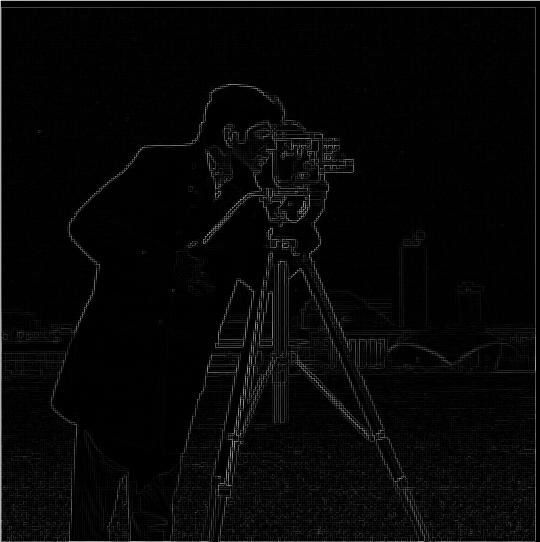
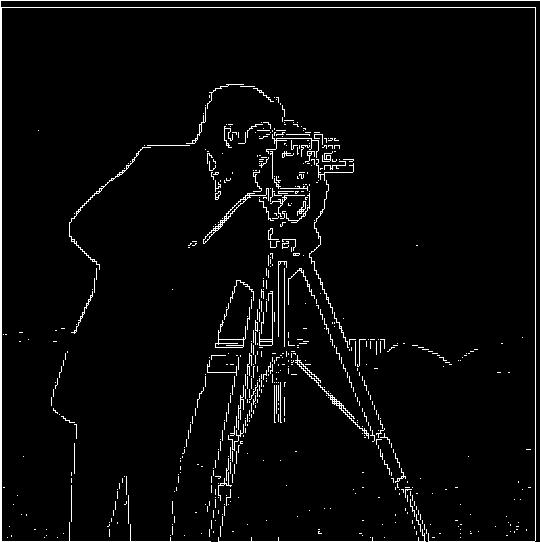
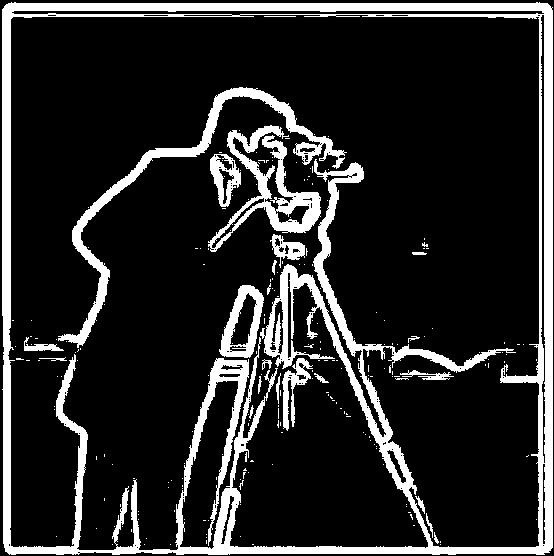

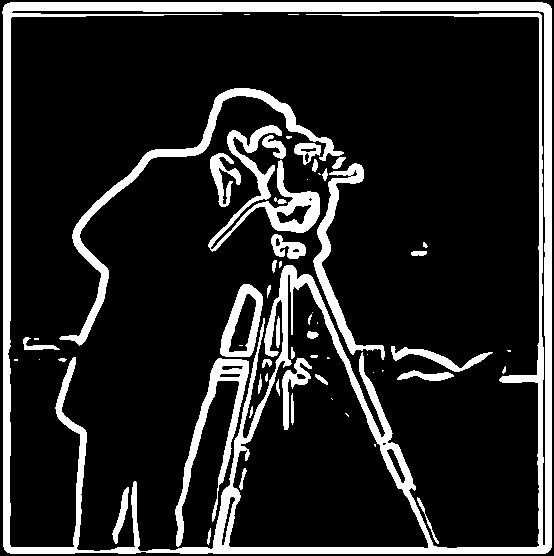
In terms of differences seen, the results in 1.2 clearly have bolder and smoother lines with slightly less noise that wasn't fully filtered in part 1.1.
We can see that the output Binarized Gradient Magnitude for the one convolution and two convolution output are the same based on the results shown for the most part. Some of the pixels arent as smooth in the two convolution approach, most likely because of some outlier values.
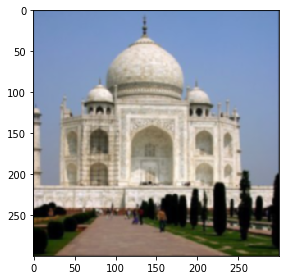
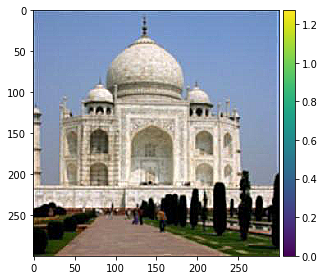
In order to sharpen an image, we first generate a blurred version of the image using a single convolution operation, but we can also do this using a gaussian filter to blur. If we generate the sharpened image using the single convolution operation, we take the product of the image and the blurred image, which is scaled by a factor of alpha to generate our sharpened image. Using the normal gaussian filter method, we would take the blurred image, subtract the blurred image from the blurred image to generate a sharpened filter. Then we can use original + alpha * sharpened_filter to generate our sharpened image. The progression for the second method is shown below with an alpha value of 1. From left to right the images are the original image, the blurred image, the sharpened filter (multiplied by 10 for clarity), and then the resulting sharpened image.


Here we take the original image, blur it and then resharpen it using the blur and sharpen methods mentioned before. We observe that the resharpened image is still slightly blurry compared to the original, but it definitely retains more of the features compared the blurred image. Mainly the edge features of the resharpened image are not well recreated.
The left image is the original, the middle is the blurred, and the right is the resharpened.
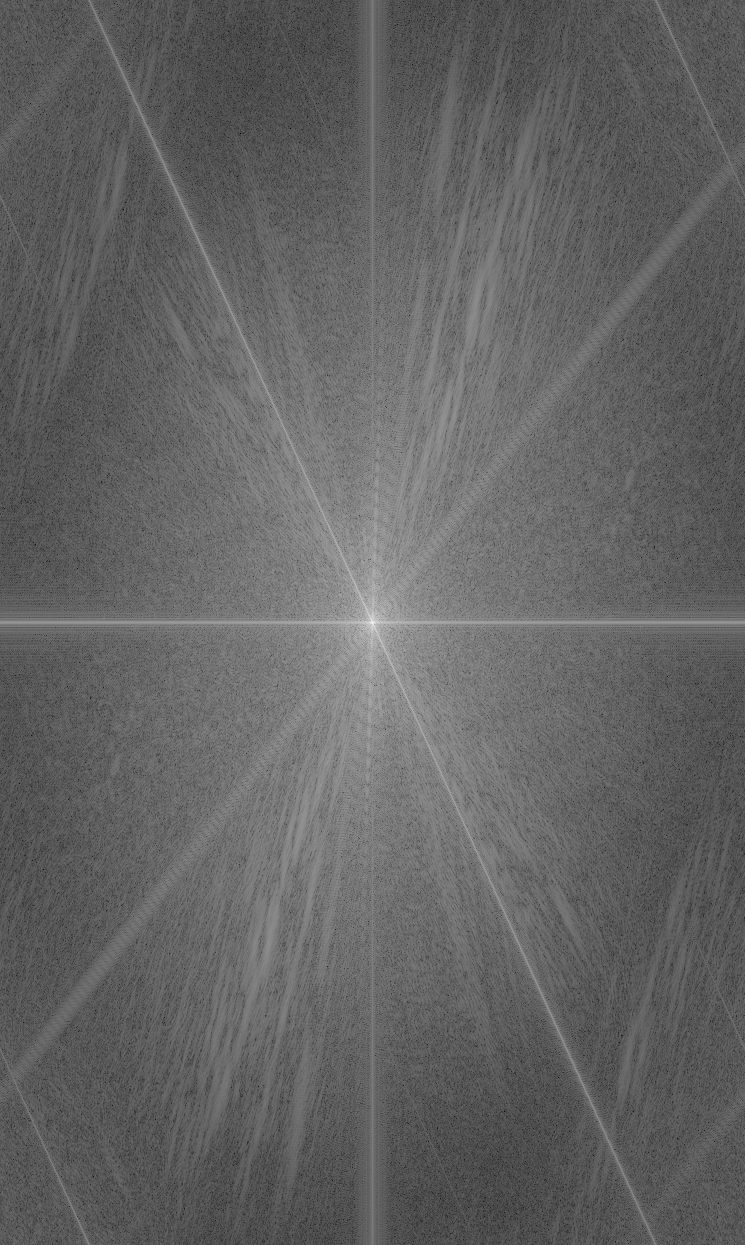
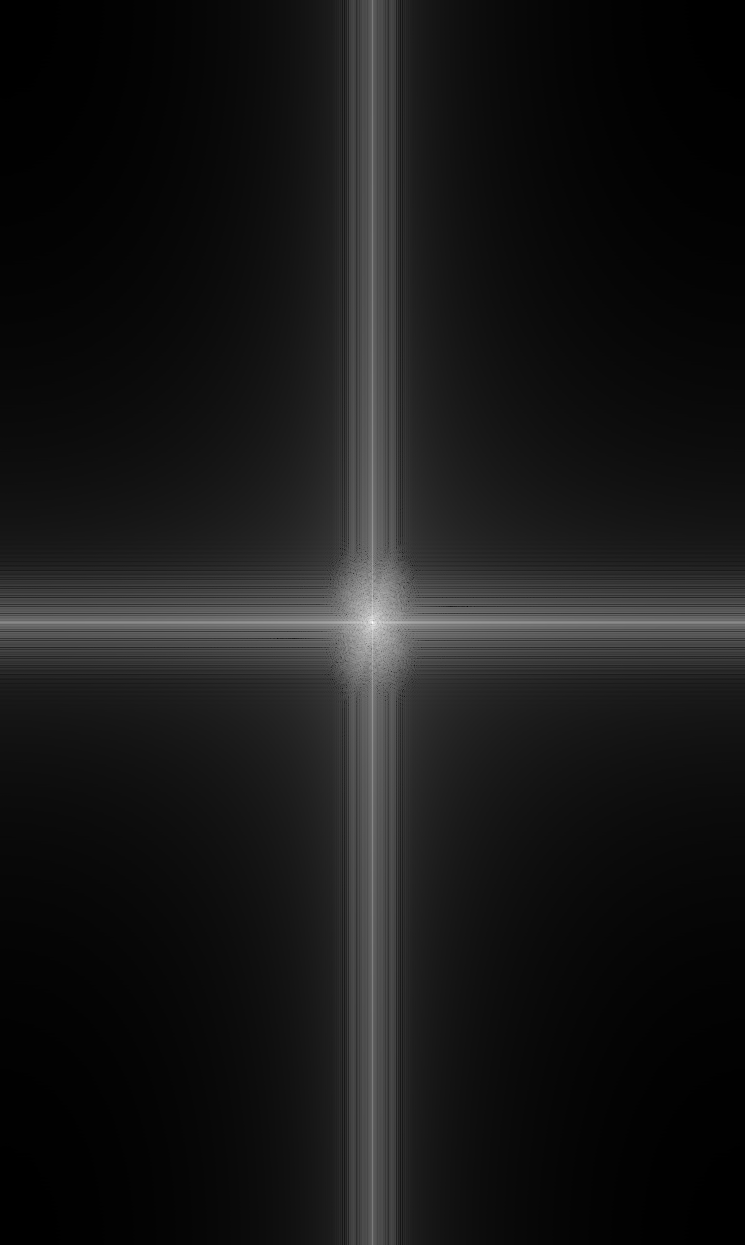
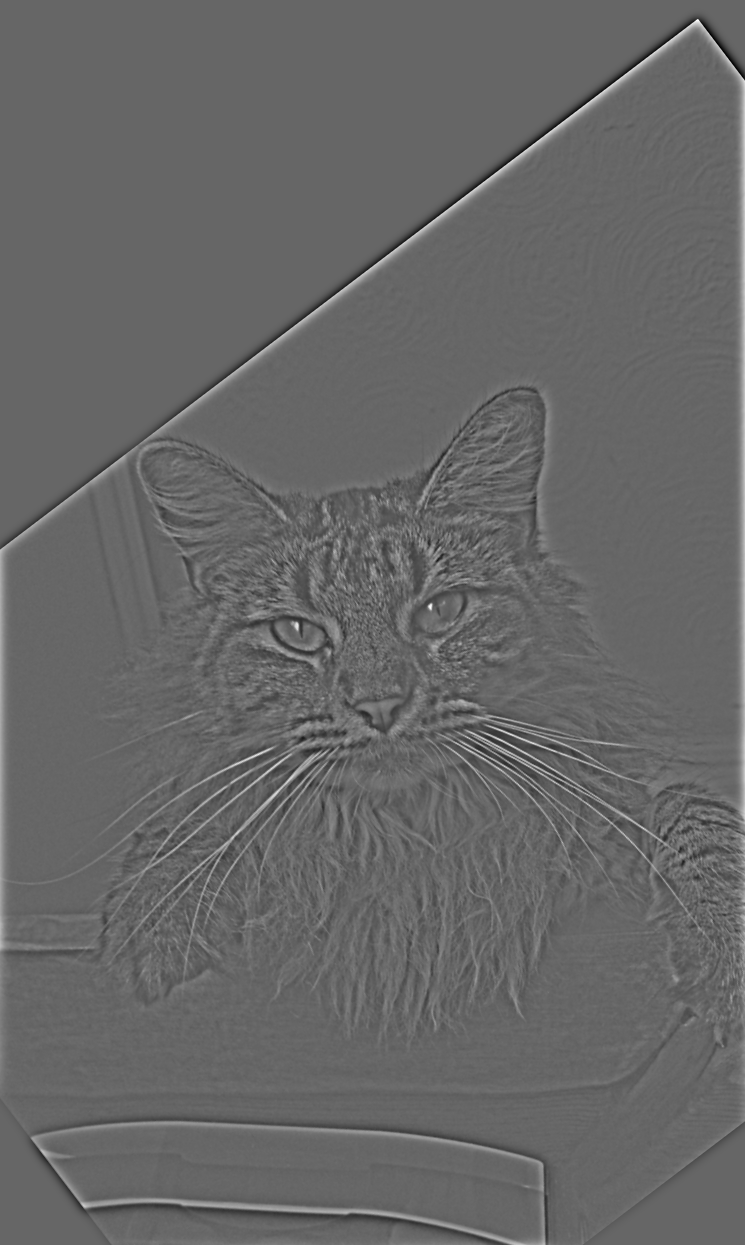
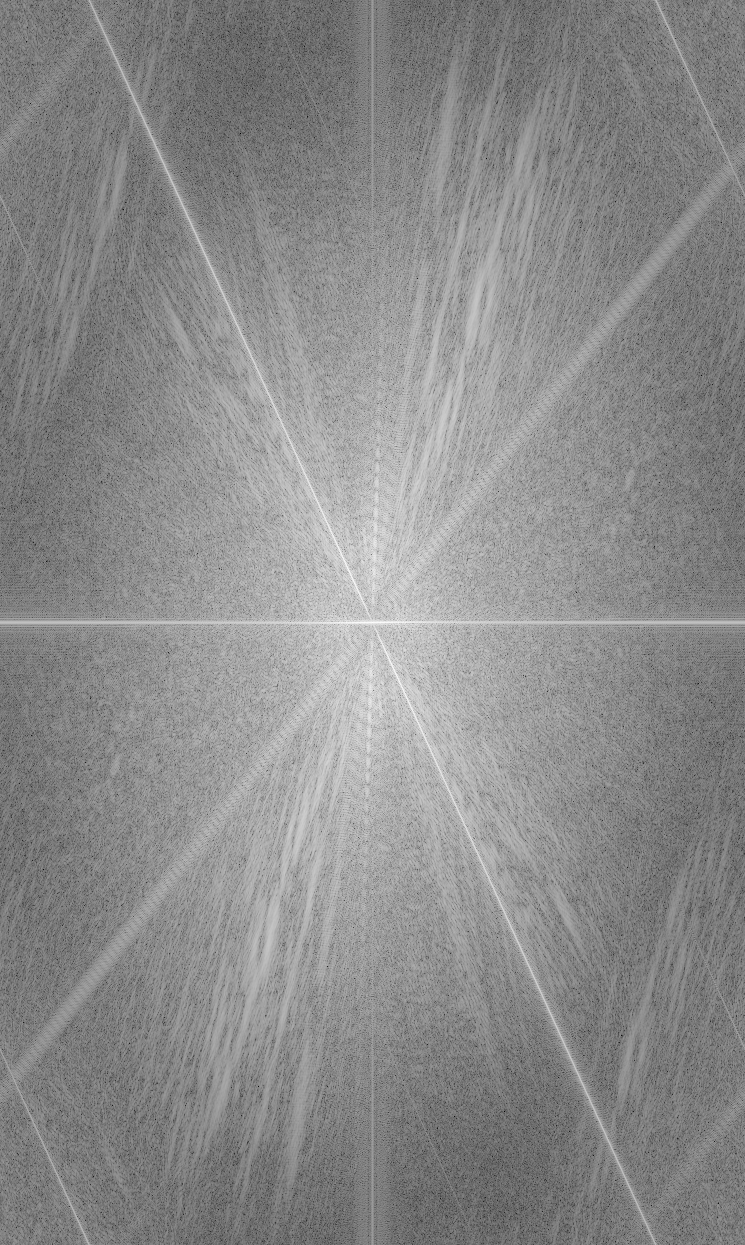
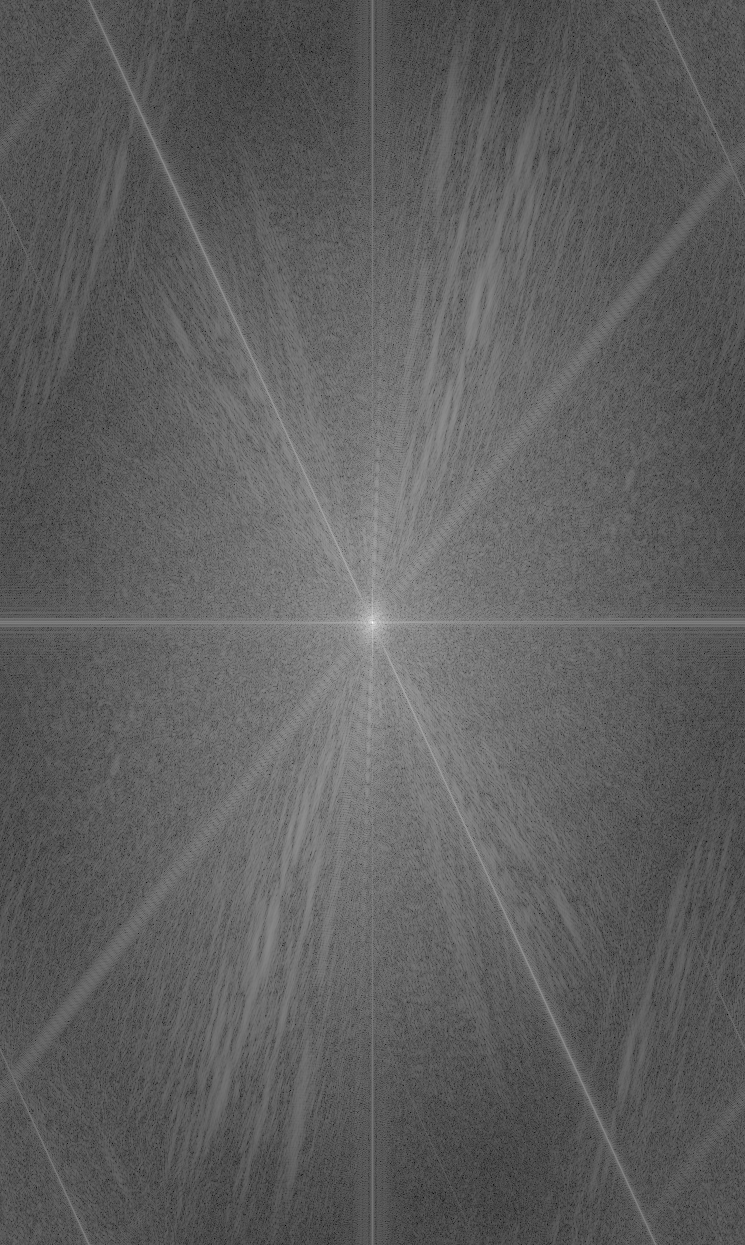
In each row we show the image and its FFT.
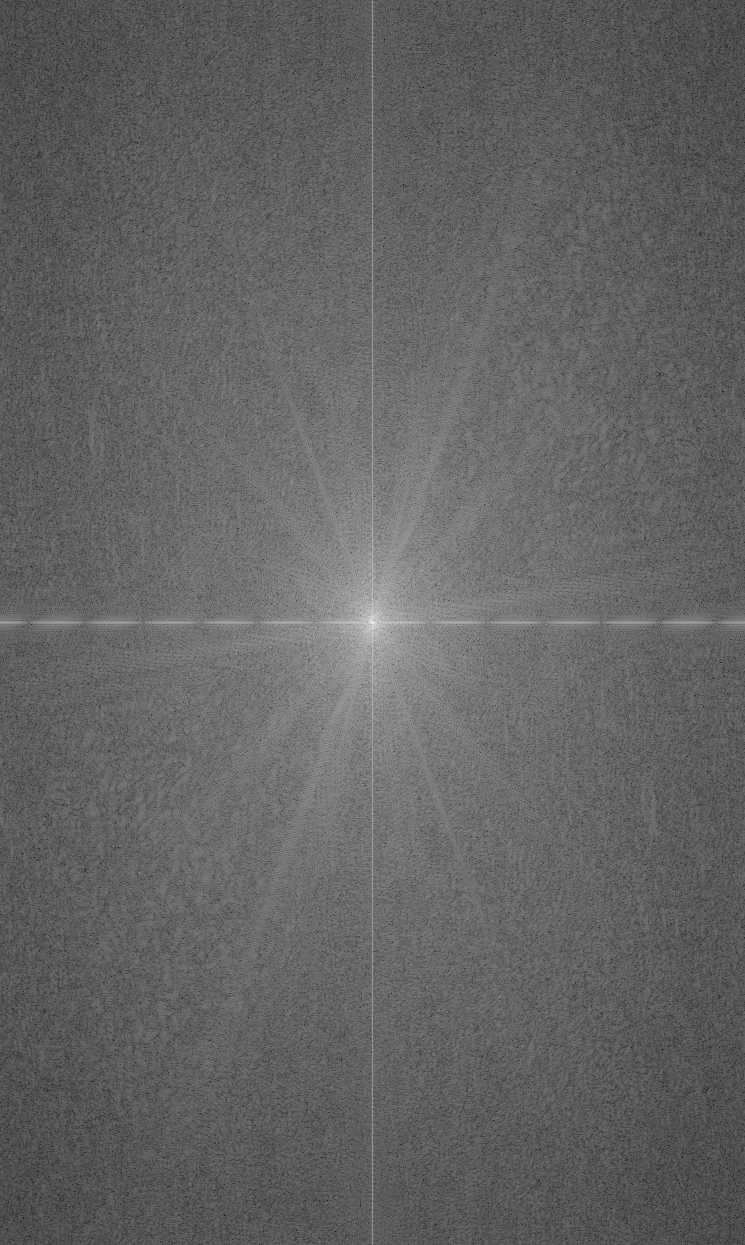
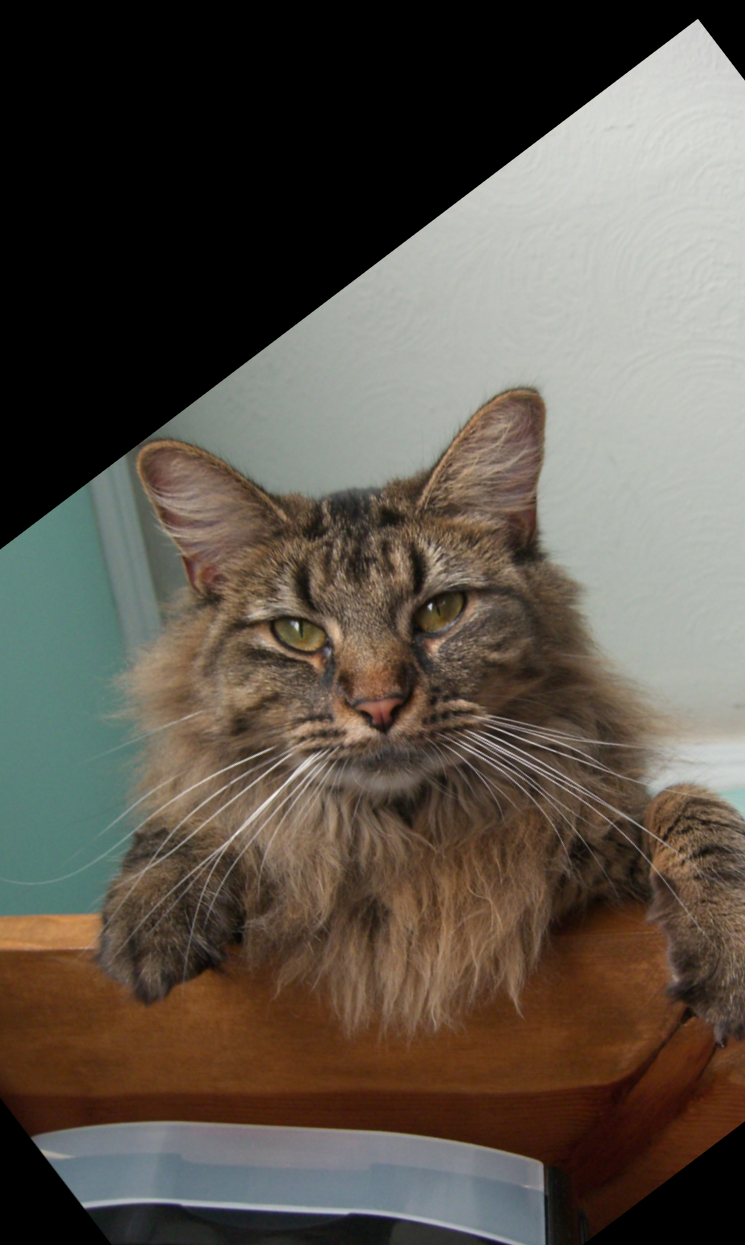
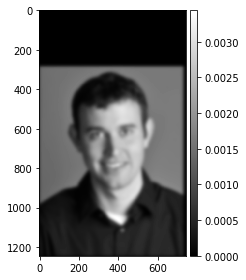
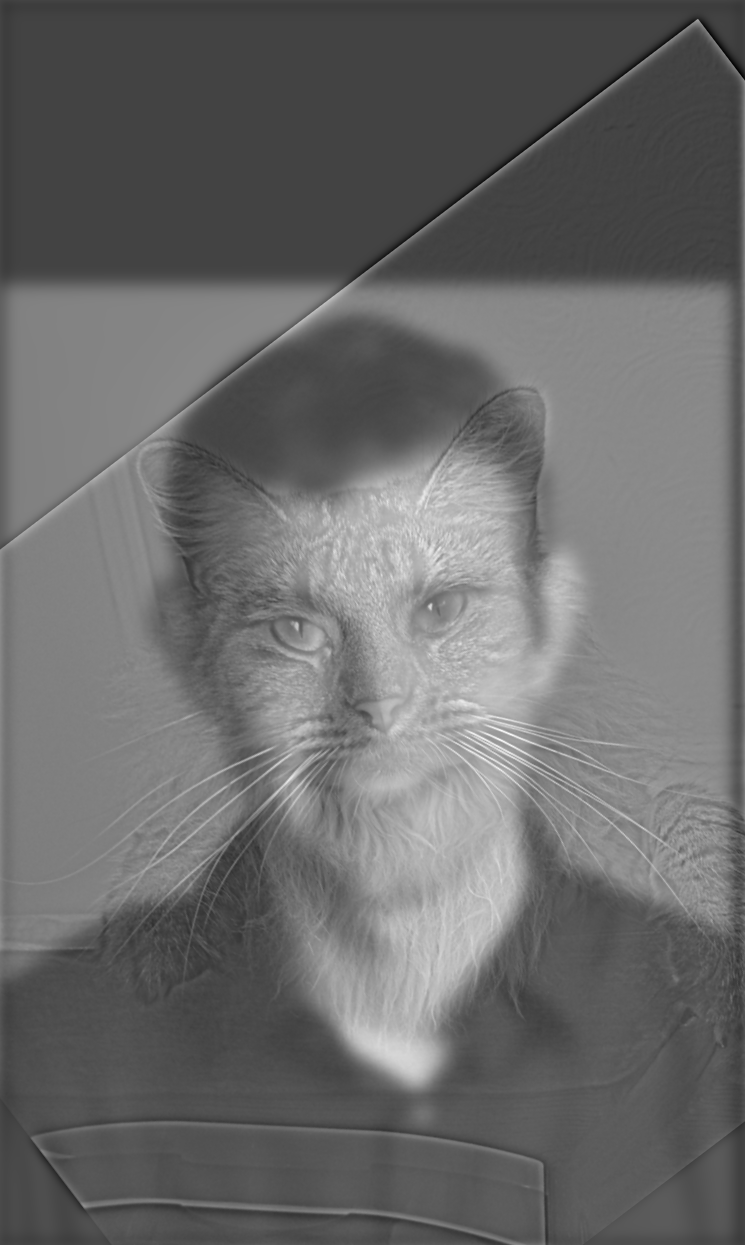
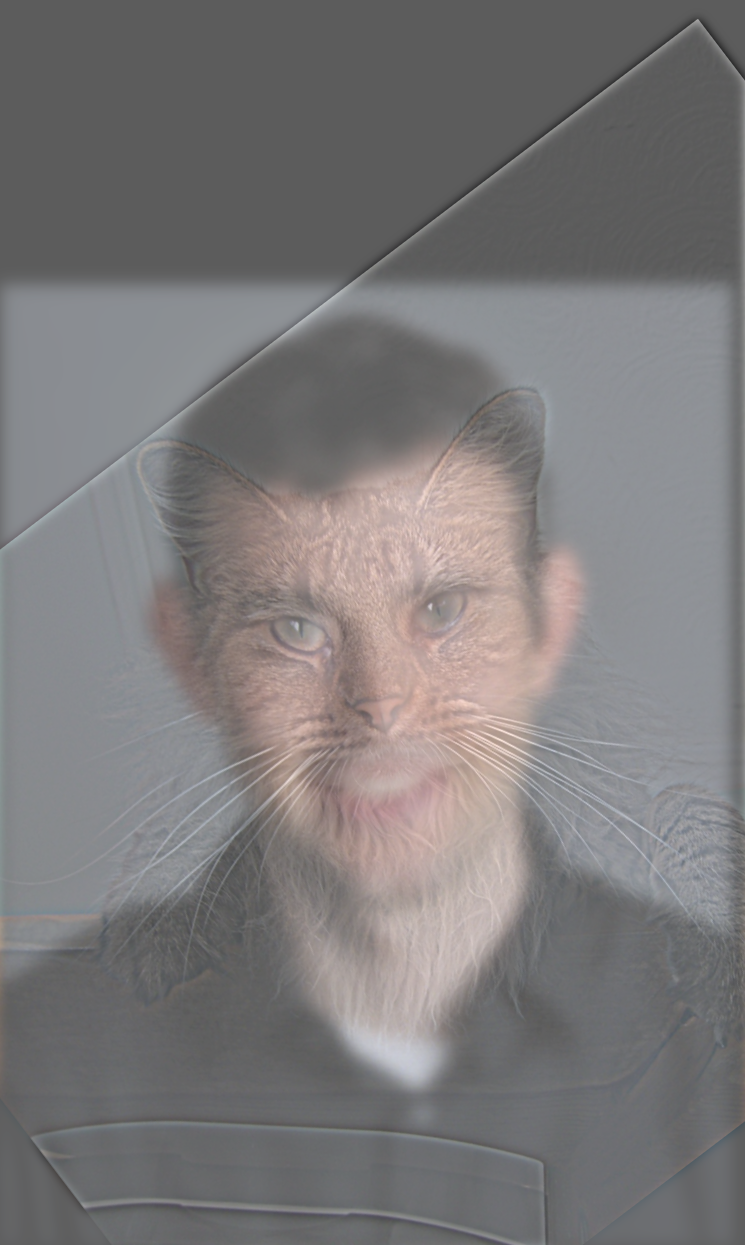
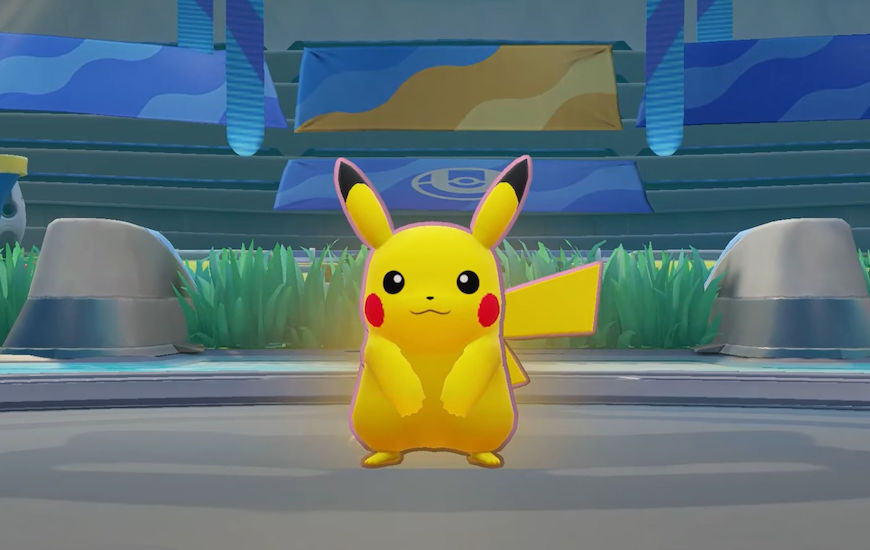
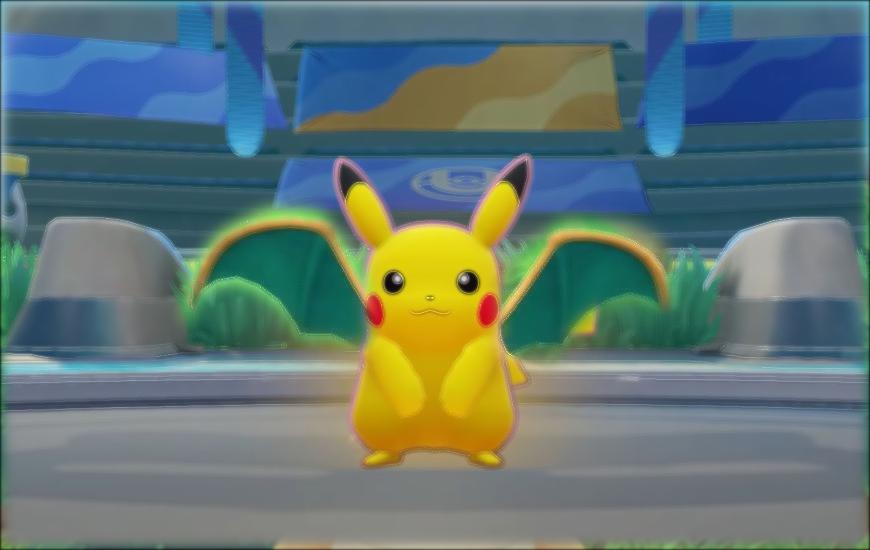
For another bells and whistles, I tried generating the hybrid images with color for both the high frequency and low frequency components. This generated the nicest output for the Derek and Nutmeg hybrid because you can better distinguish Derek's face from that of the cat. However, this was not the case later on for one of my other hybrids, for reasons which I describe later.


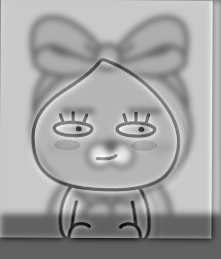


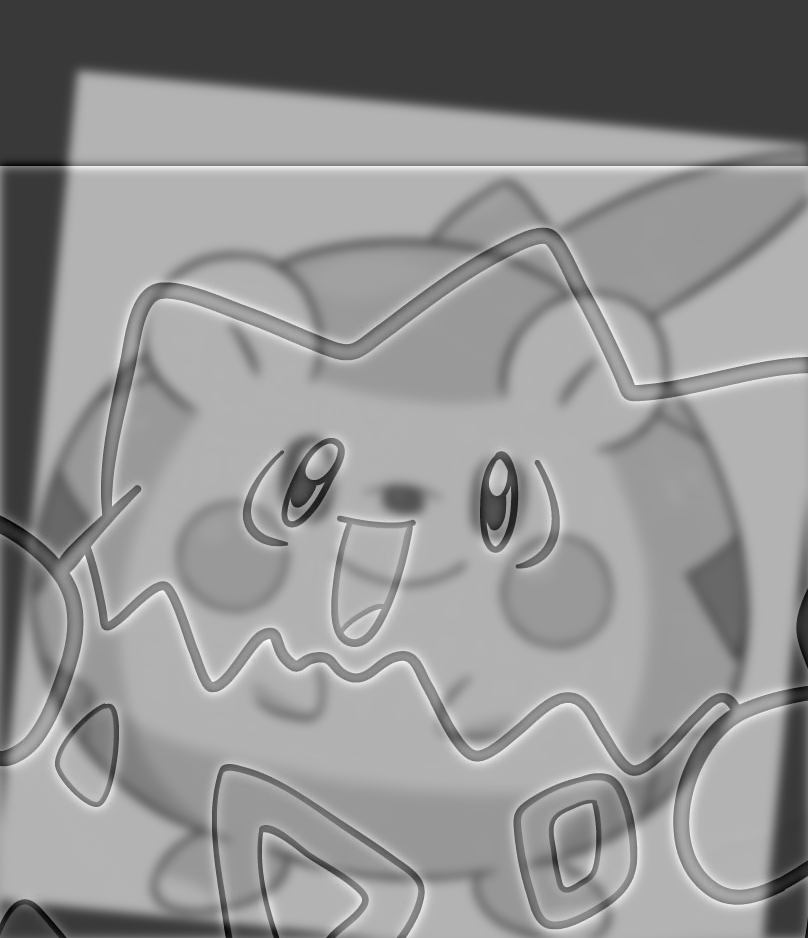
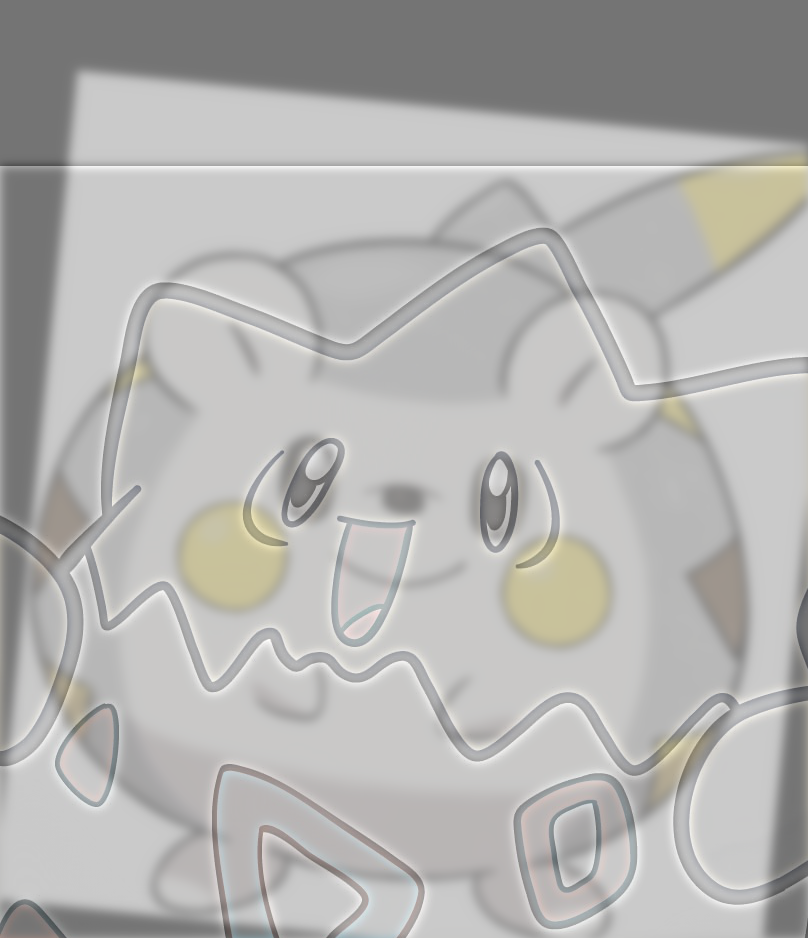
The reason this hybrid was a slight failure was because the colors in the togepii were all filtered out by the high pass filter, so all the color was gone when the image was generated, making it such that the colors were no longer visible in the hybrid image
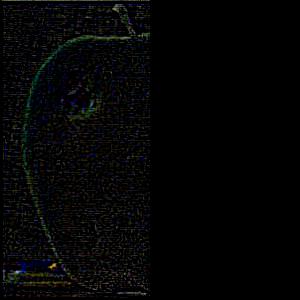
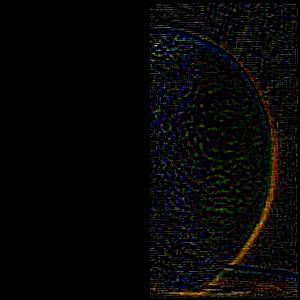
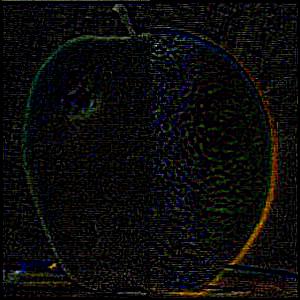
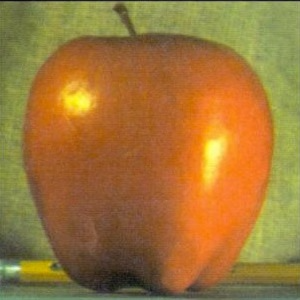
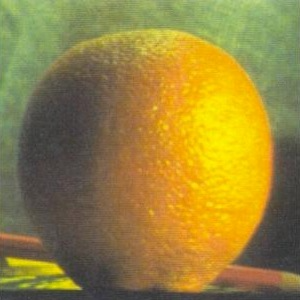
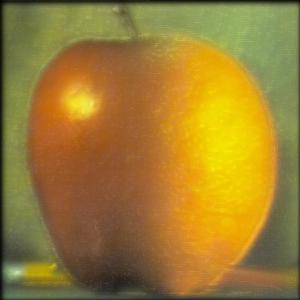
In each row, the leftmost image is the laplacian stack for the apple with the mask applied, the middle is the orange with the mask, and the rightmost is the combination of both.
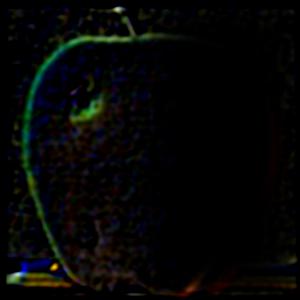
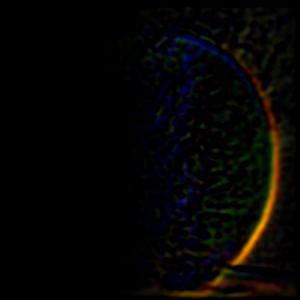

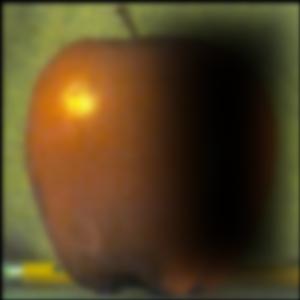
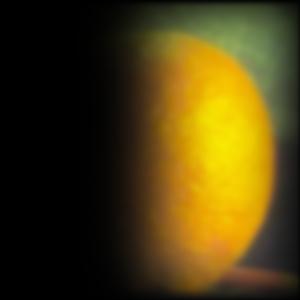
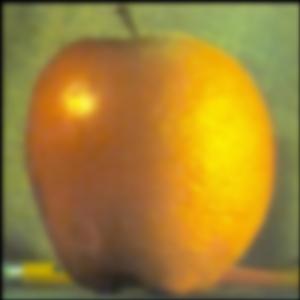
For each blended image, we show the two original images, the mask used, and the final blended result.


The most important thing I learned from this project is how to be better with visual debugging and using the images I had generated to figure out how to adjust my hyperparameters like sigma for the gaussian kernels. This helped me a lot with generating better outputs!