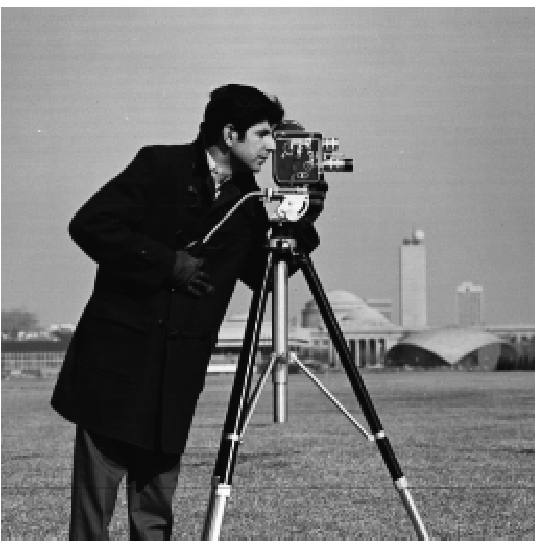
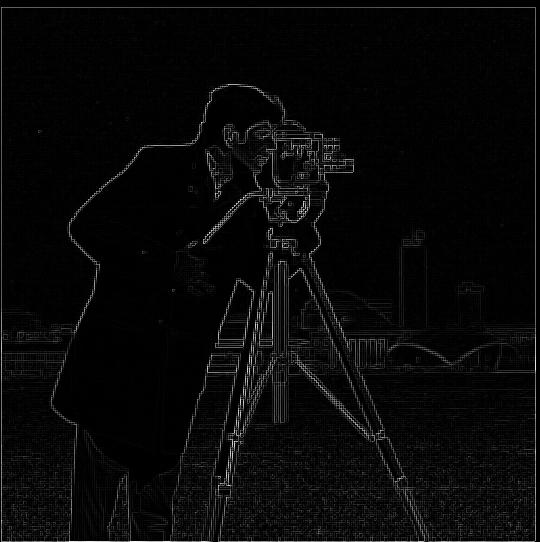
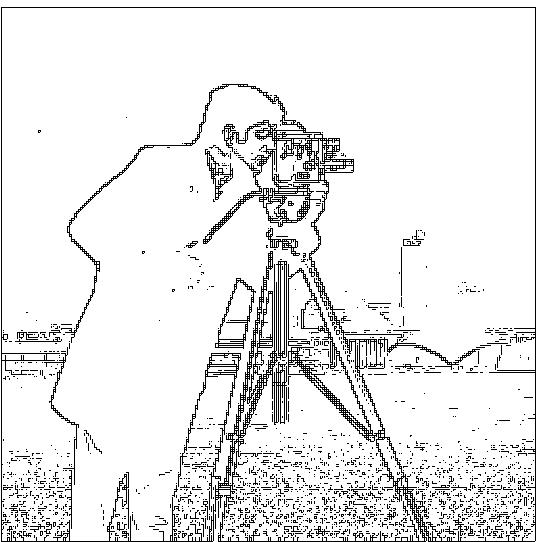
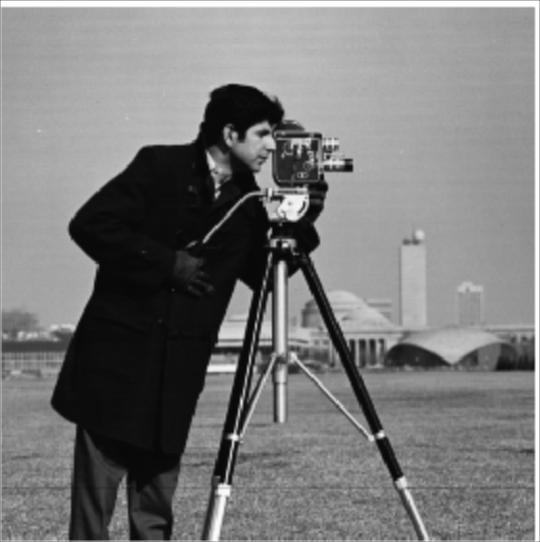
As seen below, I converted cameraman image into an edge image using finite difference operators and a gradient magnitude calculation. First, I found the gradient of the image by finding the partial derivatives with respect to the x and y axes. This gradient gave information regarding the locations in the image that had the most rapid change in intensity. In order to detect the edge strength, I calculated the magnitude of this gradient. Finally, in order to suppress noise while still showing the edges, I binarized the gradient magnitude to obtain the final image edges.
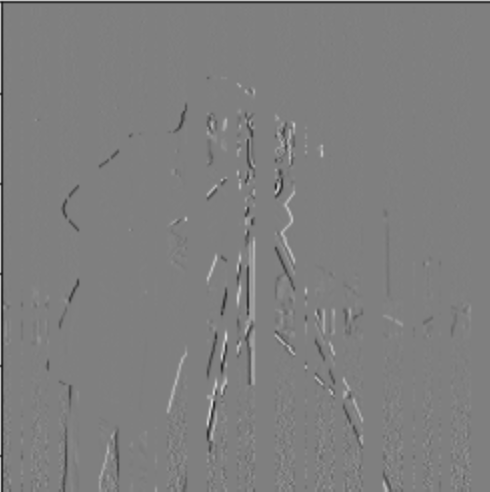
To improve my edge image, I tried the approach of first blurring the cameraman image with a Gaussian filter and then finding the binarized gradient magnitude of the blurred image. Here are the results:
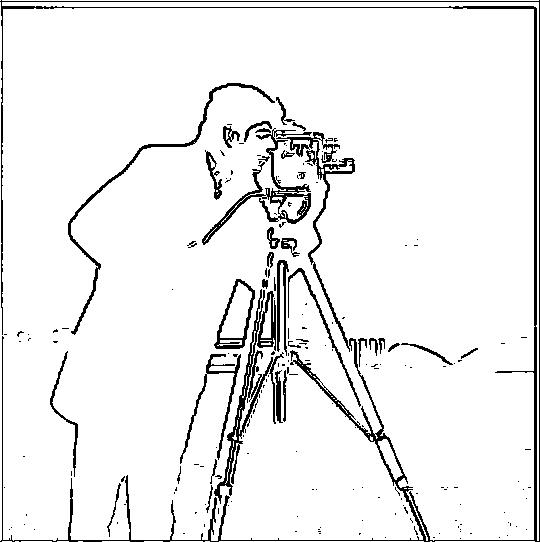
One of the most noteable differences with the DoG approach is that it was able to considerably reduce the amount of noise in the edge image and was able to only keep the significant edges of the orignal image: the silhouette of the man, the tripod, and the camera. The edges also appear to be much smoother compared to the first approach, in which the edges were jagged and discontiuous.
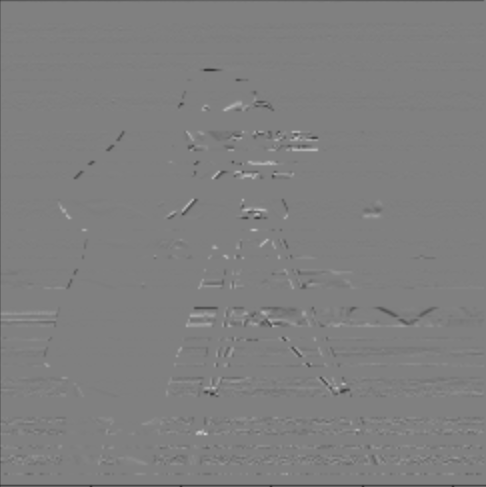
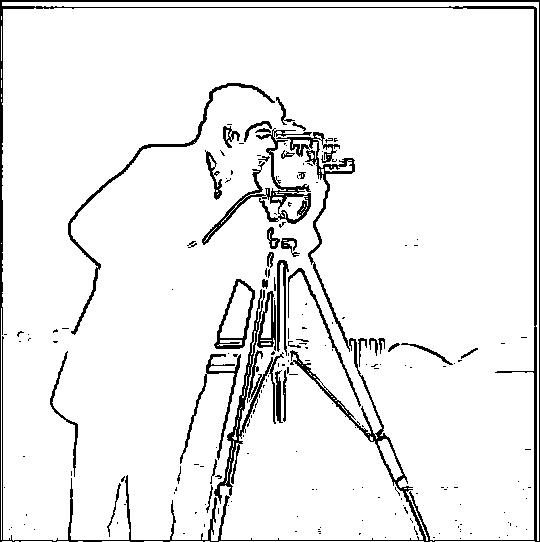
Next, I found the edges of the cameraman with a single convolution rather than two by creating a derivative of gaussian filter. As shown below, in the edge image and in the difference image, I obtained the same result while using a single convolution rather two.

In order to sharpen an image, the image can be convolved with an unsharp mask filter: this convolution encapsulates the process of obtaining the high frequencies of the image and adding them to the original image. Below are the results of applying the unsharp mask filter to a variety of images:
Now, I will take a sharp image, blur it and sharpen it again. Here are the results:


The re-sharpened image on the very right is not as sharp as the original sharp image. This is since some of our high frequency components are lost after blurring the image, so sharpening the blurry image will not completely restore it to it's original sharp state.
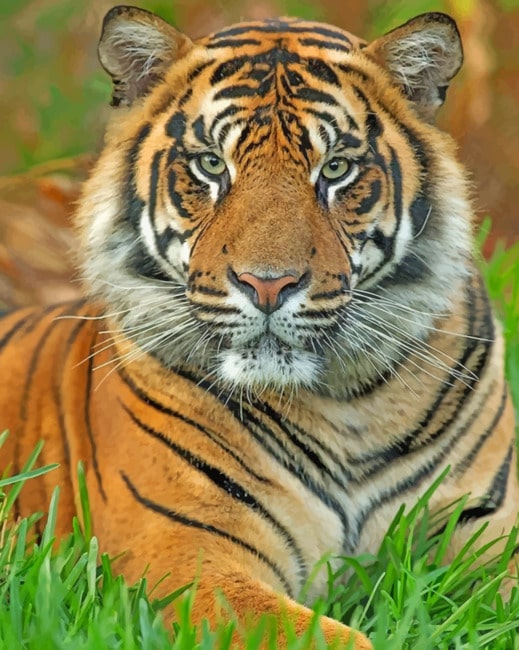
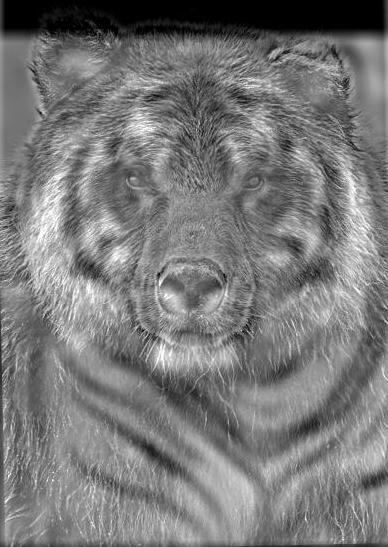
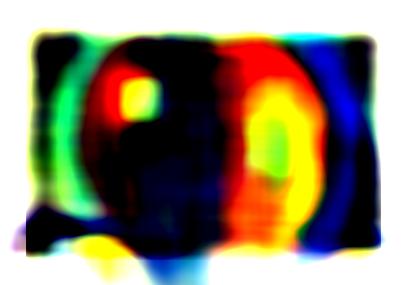
In this part of the project, I created hybrid images by applying a high-pass filter to one image, a low-pass image to another image, and finally averaging them together. This creates an image such that the high-pass filtered image is seen from up-close, and the low-pass filtered image is seen from far away.
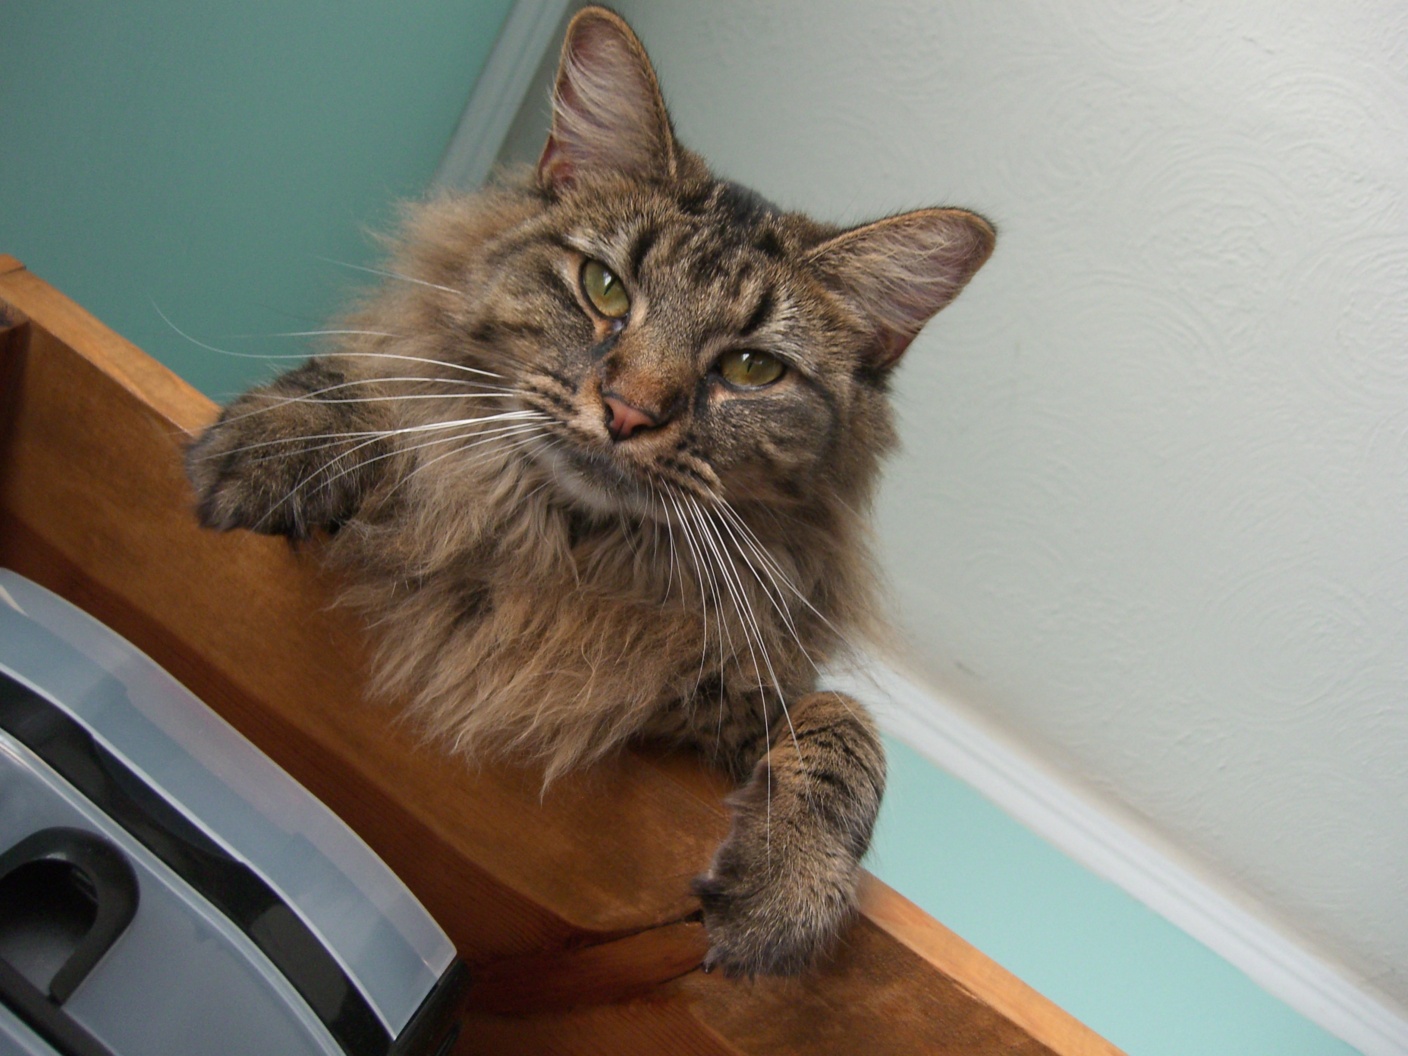
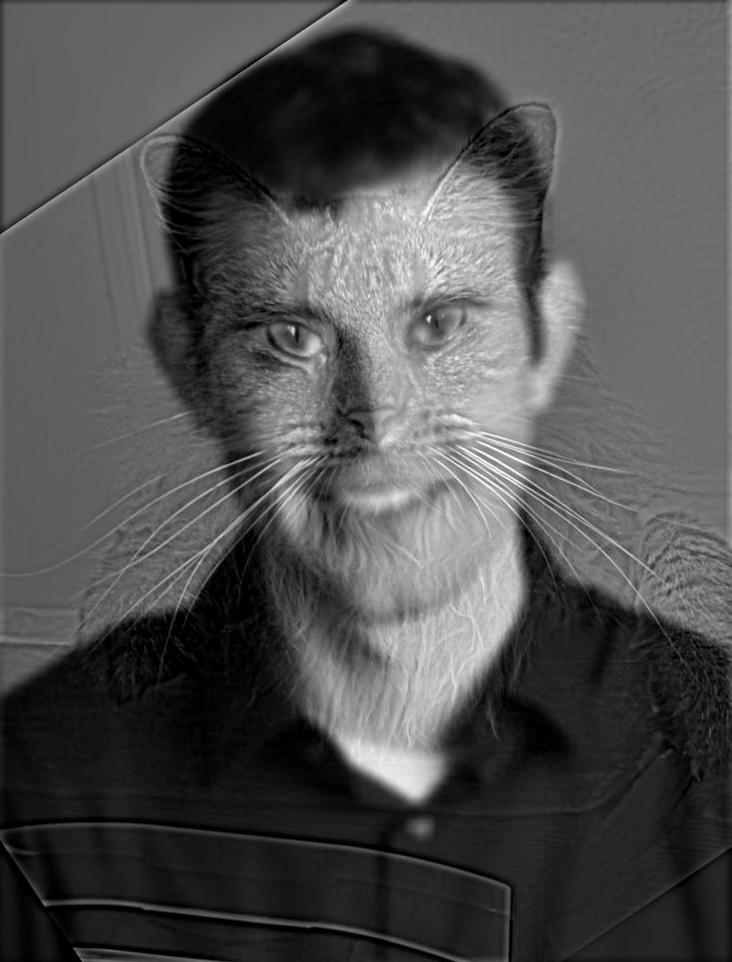
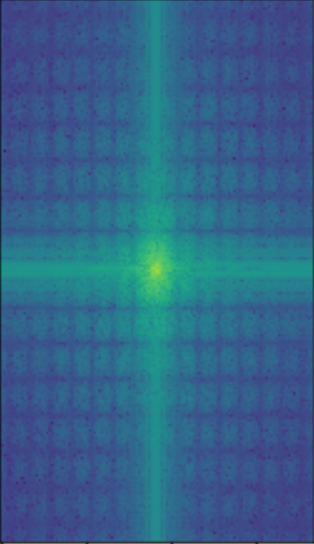
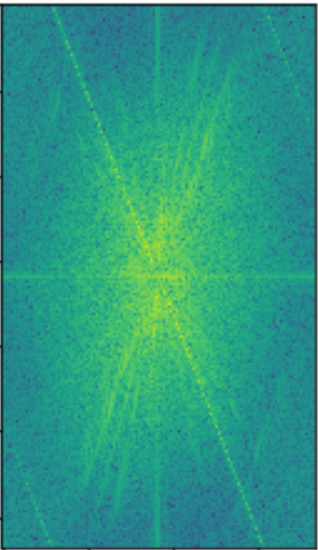
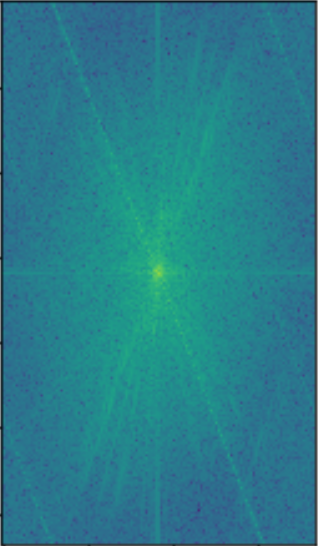
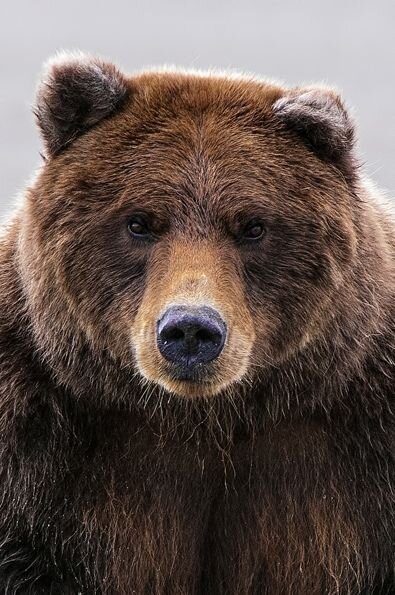
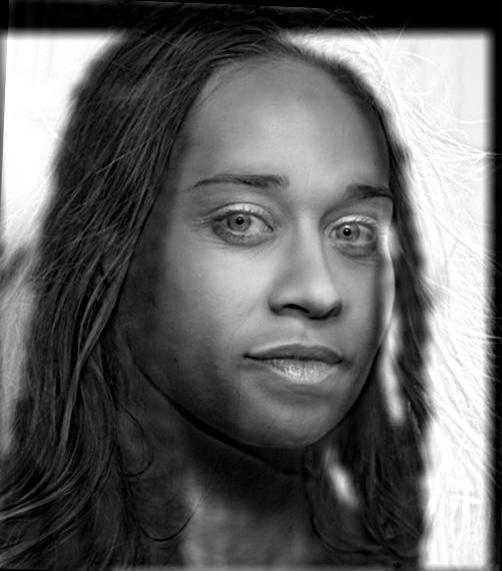
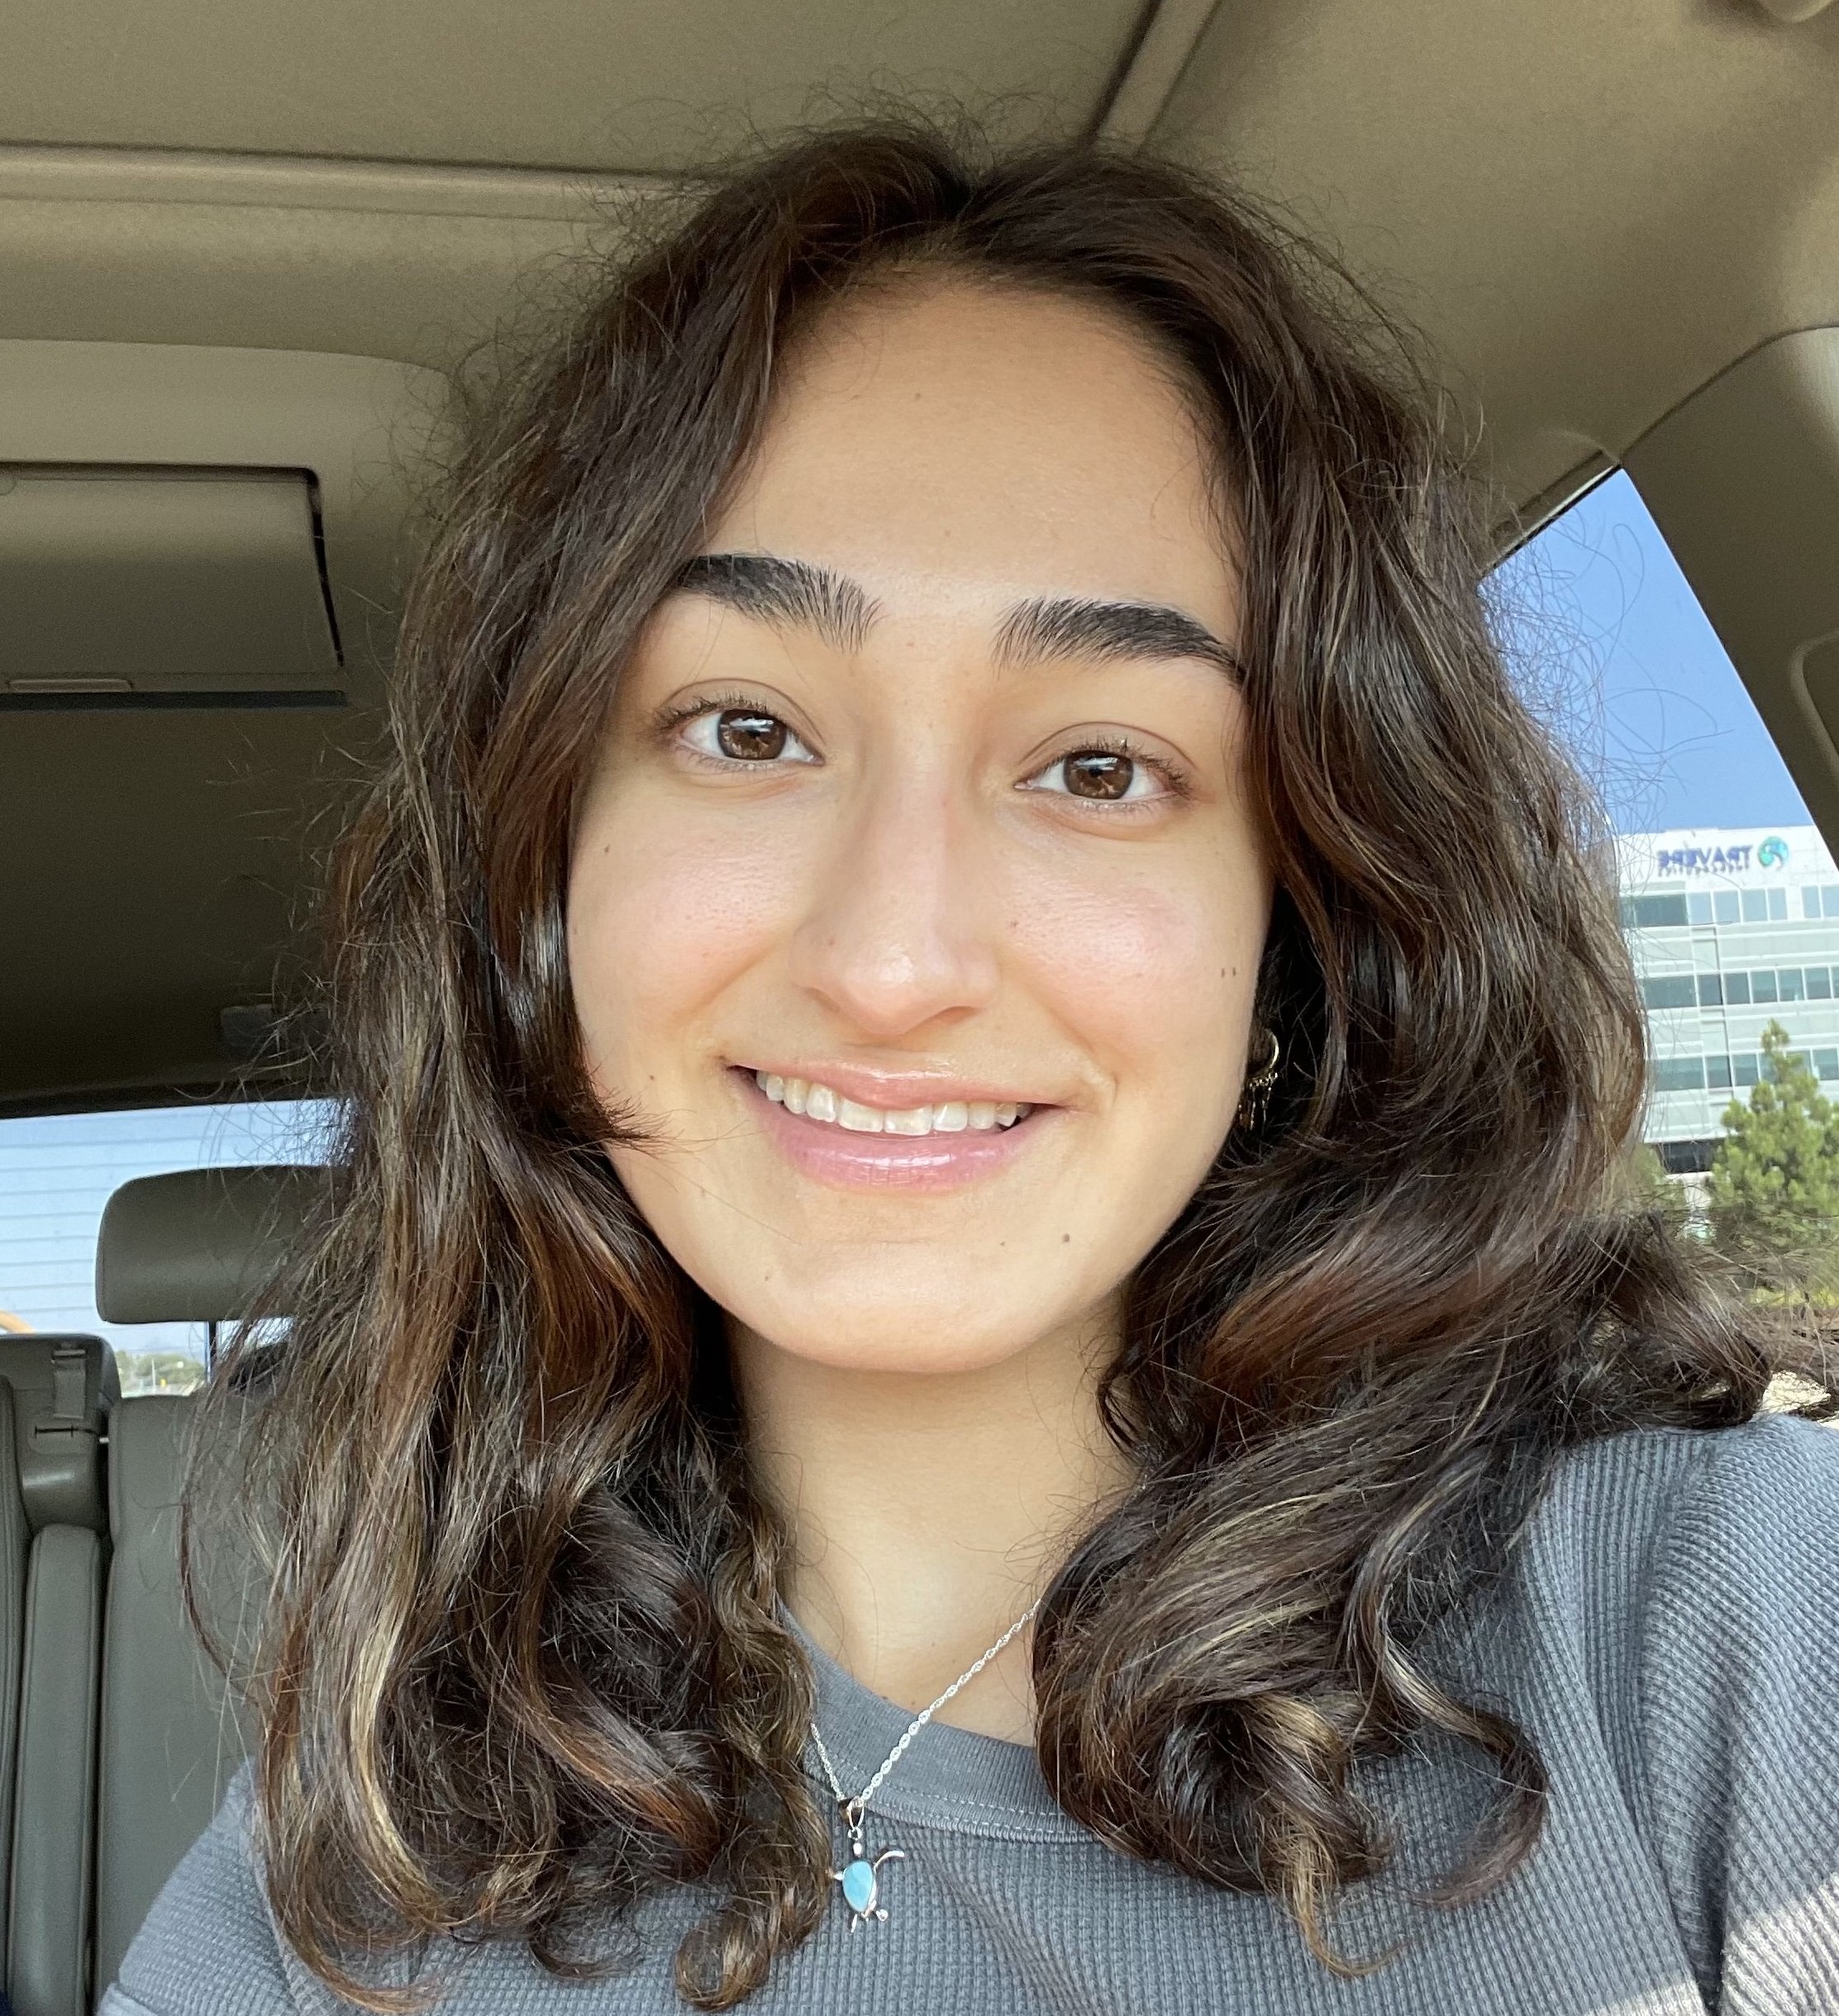
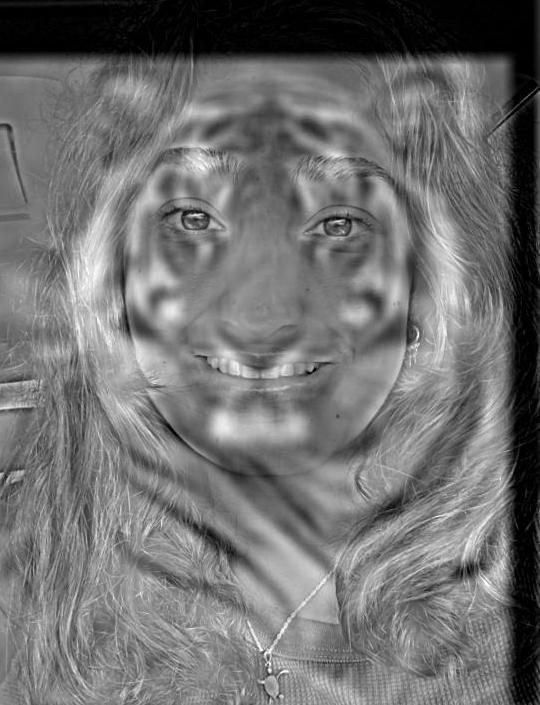
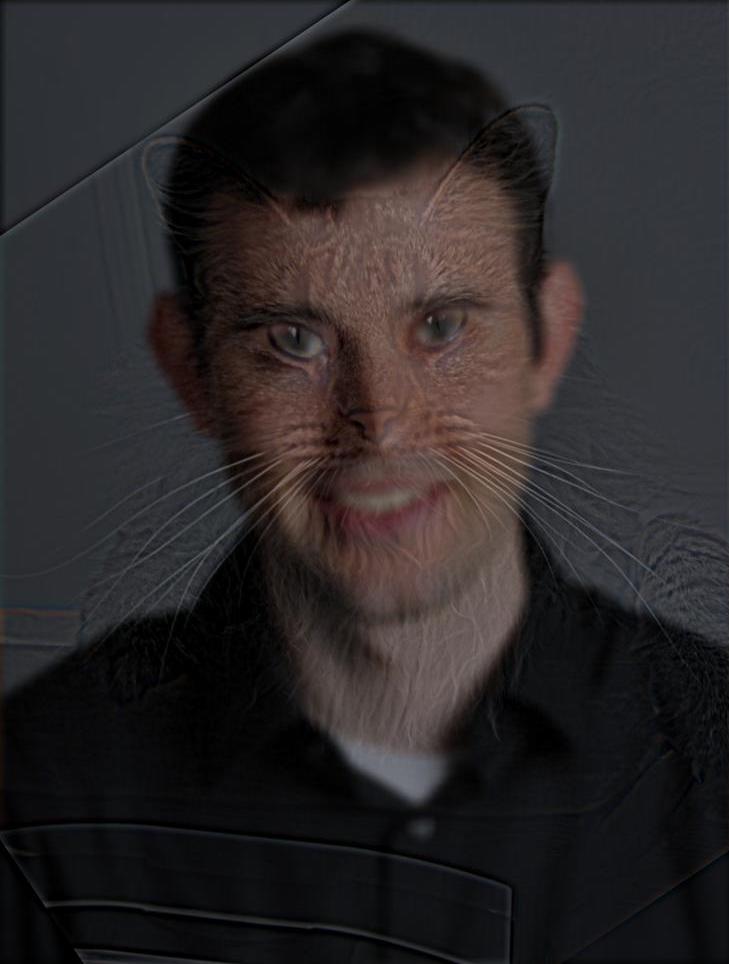
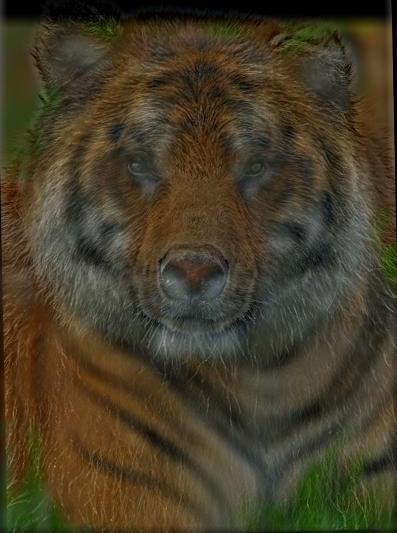
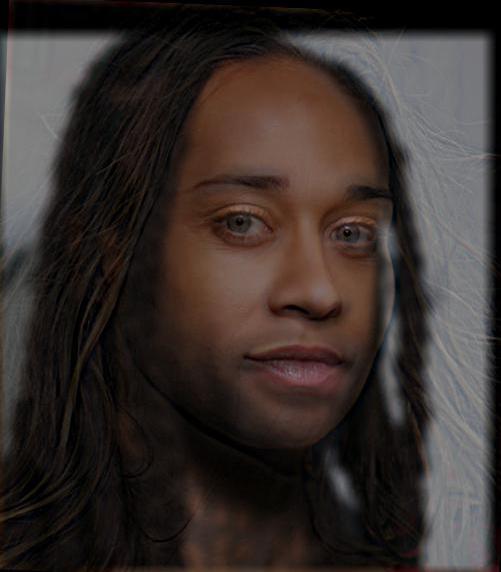
Next, I created some additional hybrid images. The Bear-Tiger and Fiona-Ty Dolla Hybrids were a success, while the Sarina-Tiger Hybrid was a failure. This was due to the fact that the face shapes were significantly different; I was smiling with my teeth in my image while the tiger was not, leading to big discrepancies between the high and low frequencies and ultimately creating a hybrid that was not cohesive. The other hybrids were successful since the two input images had very similar silhouettes.
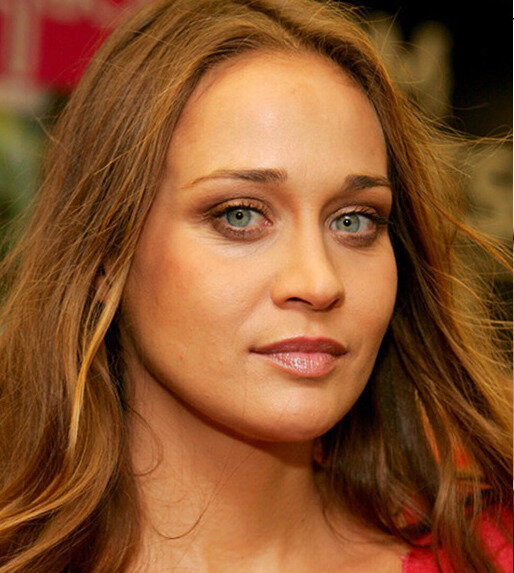
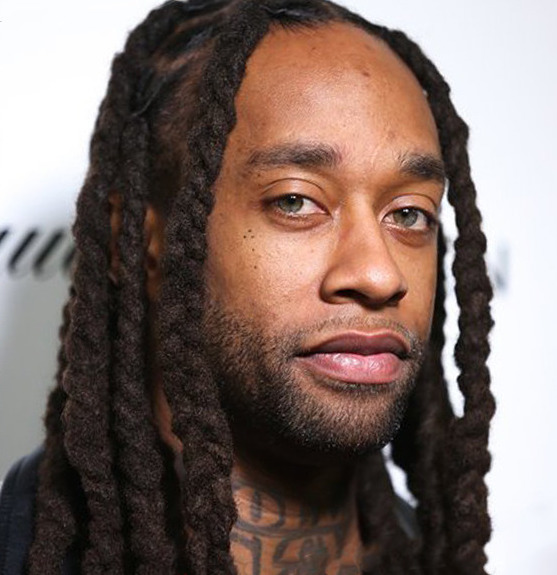
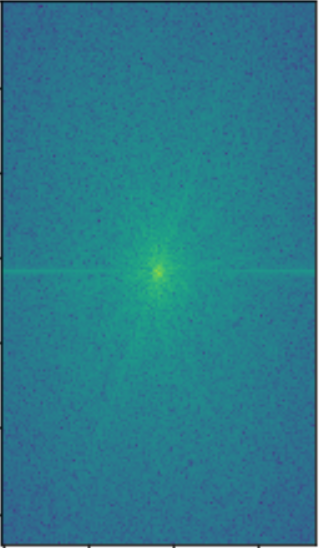
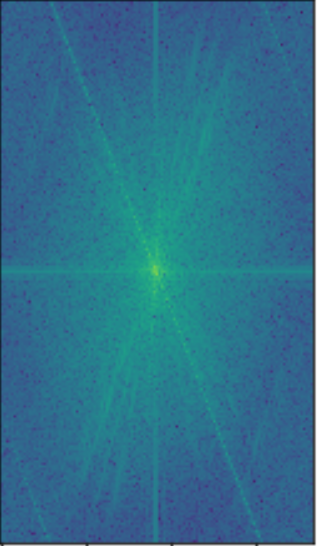
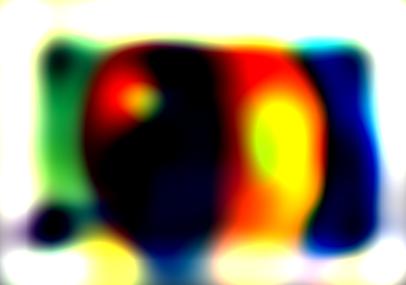
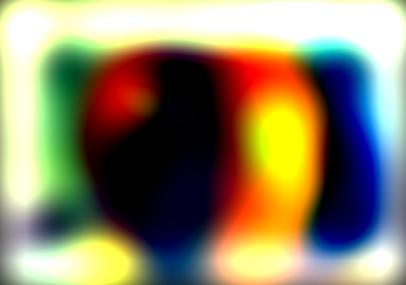
I enhanced my hybrid images by creating a color version of them. The approach of using color for both the high and low frequency component images created the best looking hybrid images.
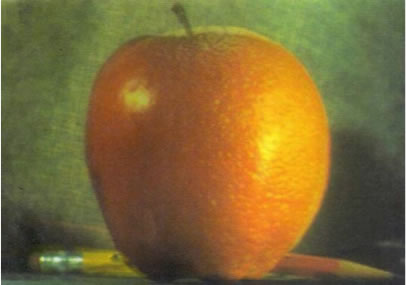
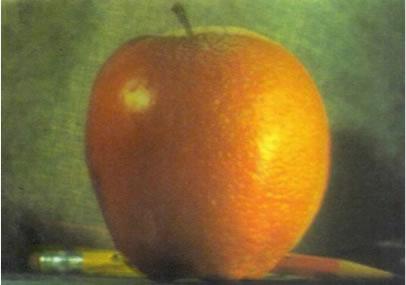
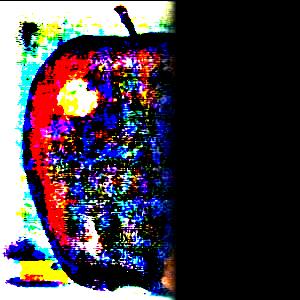
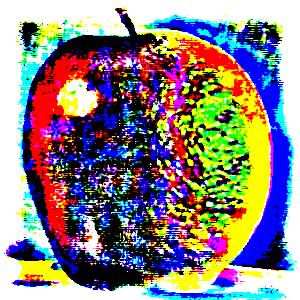
The following images are the Gaussian and Laplacian stacks of the Oraple image.

Now I will visualize the process of creating the oraple blended image. Each row represents the level of this blending process: The left column shows the apple laplacian stack image with the mask applied at each level, the right column shows the orange laplacian stack image with the mask applied at each level, and the right column shows the blended image at each level. The bottom right image shows the final blended oraple.

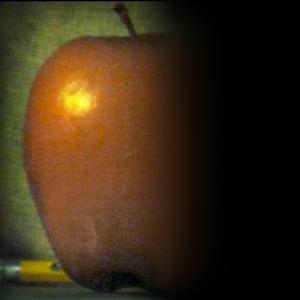
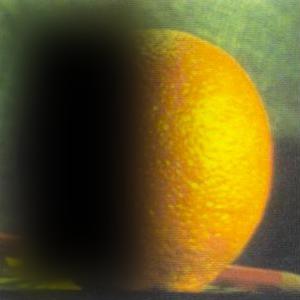

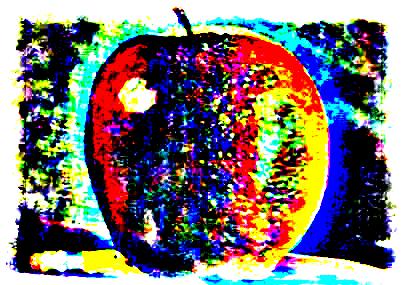
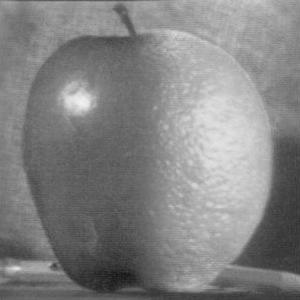
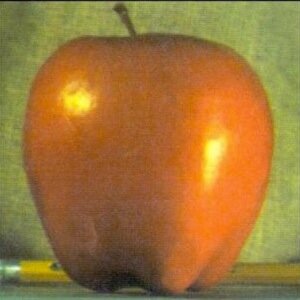
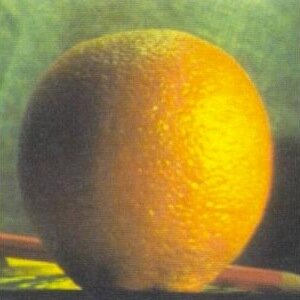
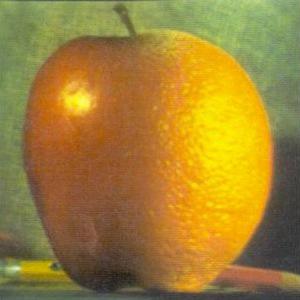
The following is the result of blending the apple and orange together in black and white.

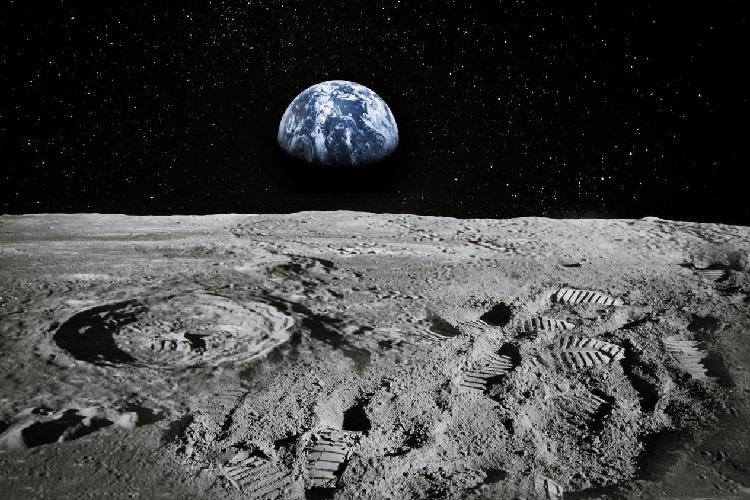
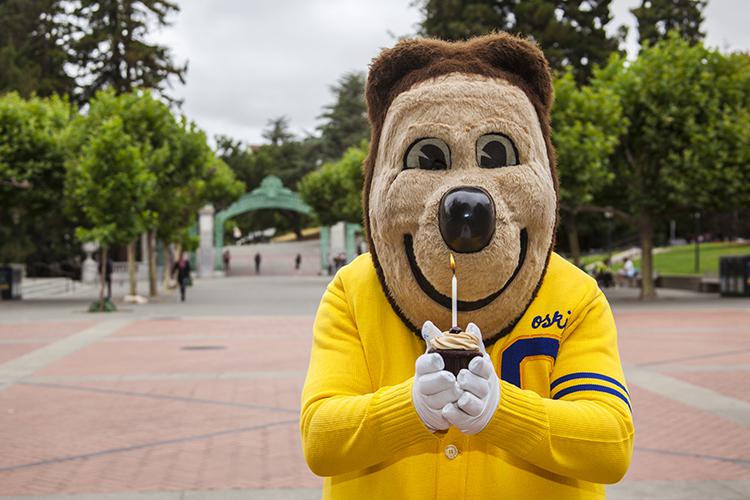
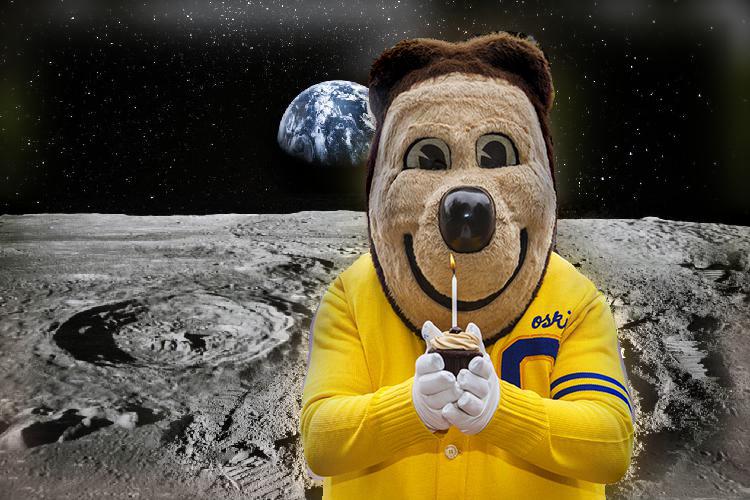
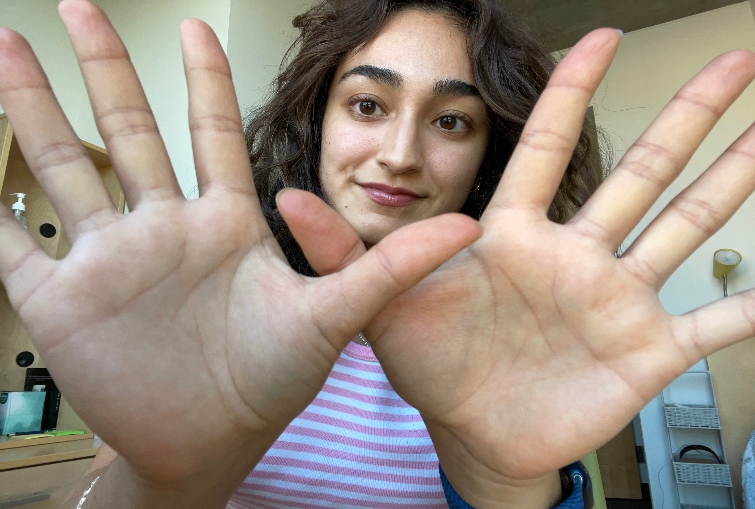
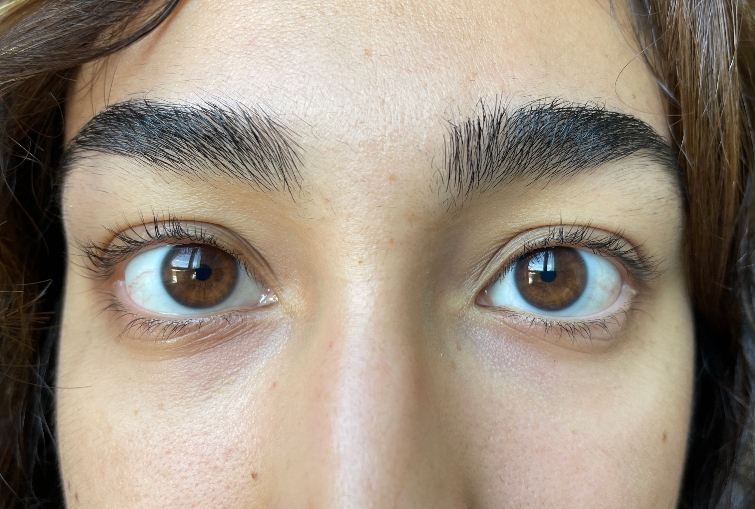
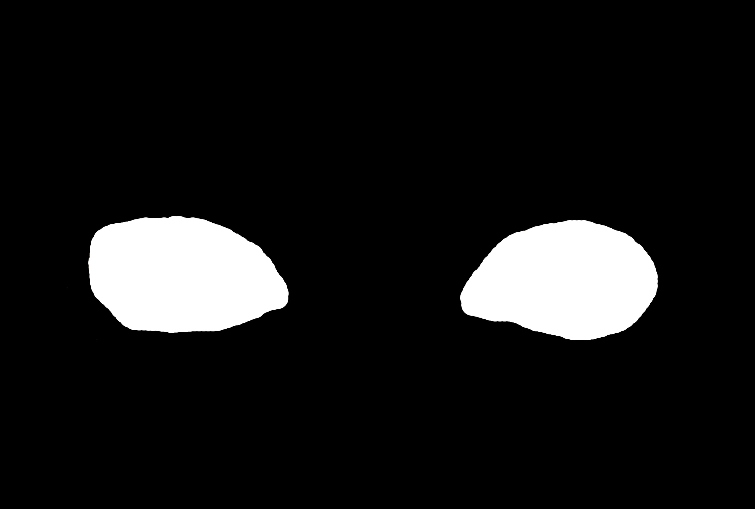
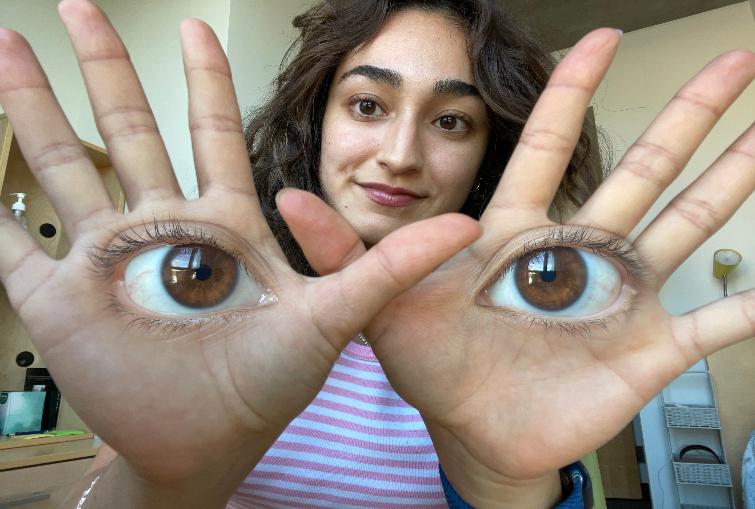
For this part of the project, I used the laplacian stacks of the two input images and the gaussian stack of the mask to create a blended image. The "Oski on the Moon" and "Eyes on Hands" blended images required me to create an irregular mask, which I made using a drawing tool. To get a color blended image, I found gaussian and laplacian stacks for the red, blue, and green color channels seperately and stacked these channels together to get a color blended image at each level. Here are some of the blended images I created:
Overall, I really enjoyed this project as it allowed me to apply the skills we learned in class regarding
filtering and frequency analysis while allowing me to explore my creative side. One of the most important and interesting
things I learned from this project was how useful the Gaussian filter is in a variety of different applications, from detecting edges,
sharpening images, creating a high-pass filter, and in generating a laplacian stack for image blending.
Another takeaway from this project was the importance in the human eye and an artistic decision in choosing the inputs to create the hybrid and
blended images. It was up to me to pick images that would look good in a hybrid image or blended together
based on the similarites and cohesiveness of the two. With computer-vision related projects, at the end of the day it is up to the human
to evaluate the correctness of an output, not a computer.