CS194 - Computer Vision
Project 2: Fun with Filters and Frequencies!
Nick Lai
Overview
In this project, we aim to be able to utilise various band pass filters which we have learnt to composite different images together in a way that looks somewhat respectable.
Finite Difference Operator
The goal of this operator is to obtain an edge-image from a normal image by first obtaining the derivative of the image across the x and y axis, thus generating a gradient magnitude image. This derivation highlights the parts of the image where the change in colour is most evident, which commonly are the edges that we percieve.
After we get our gradient magnitude image, we apply a binarization filter such that all pixes above a specific threshold value will be convereted 1. This allowed us to generate a cleaner and more clear edge threshold image. Finally we summed both the dy and dy images to obtain the overall edge image.
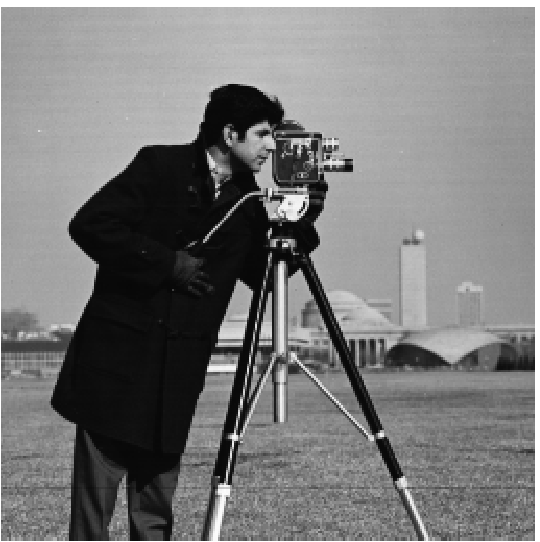
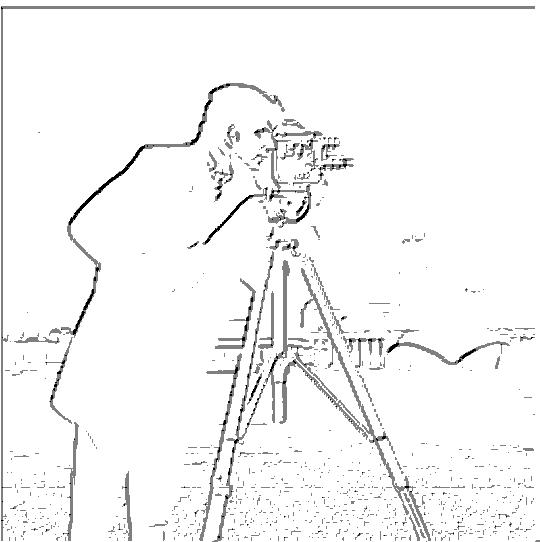
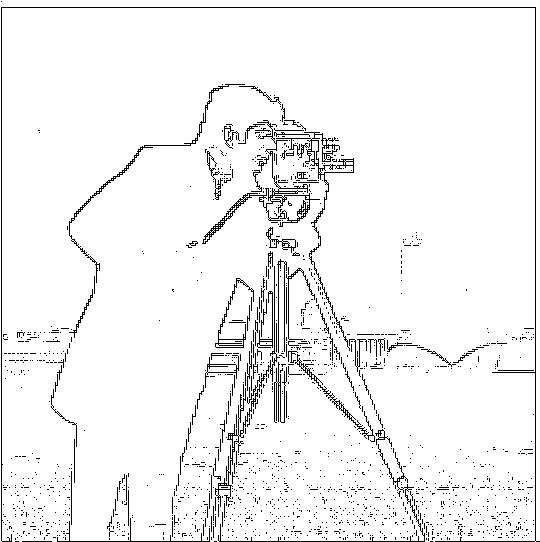
Cameraman image
dy operator
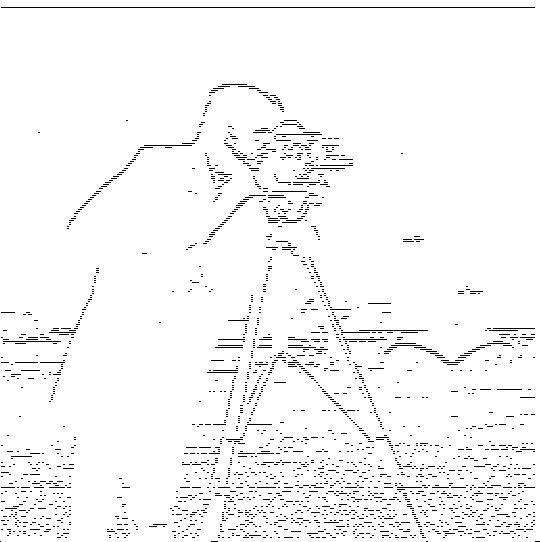
dx operator
dy + dx
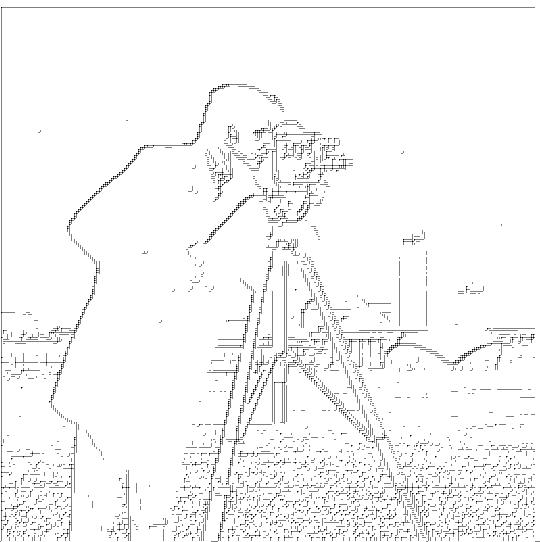
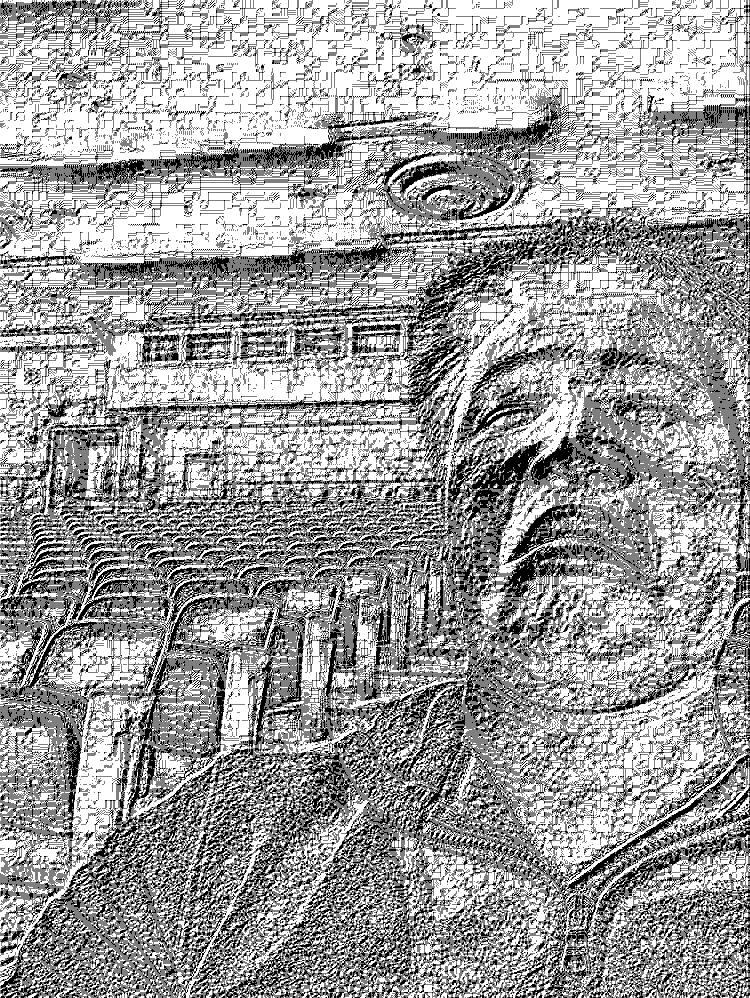
The implimentation and testing of the finite difference operator was pretty straightforward and we didn't run into many bugs. However we have discovered that, given a larger and less... "defined" image, we tend to end up with something marginally more horrific.
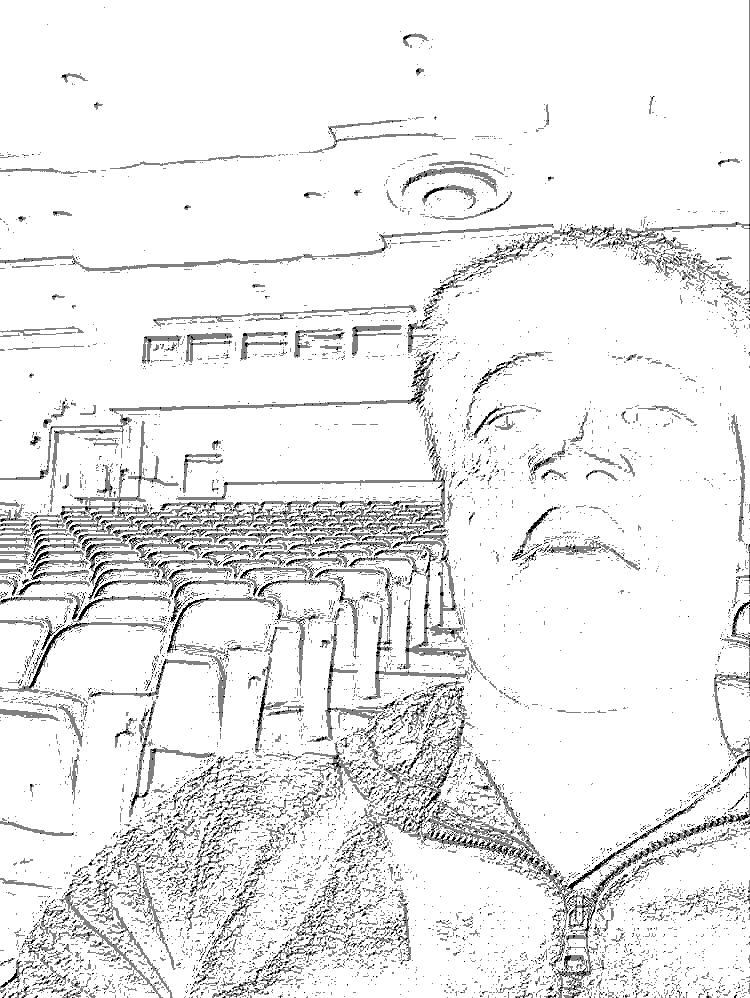
me.jpg
after edge-detenction

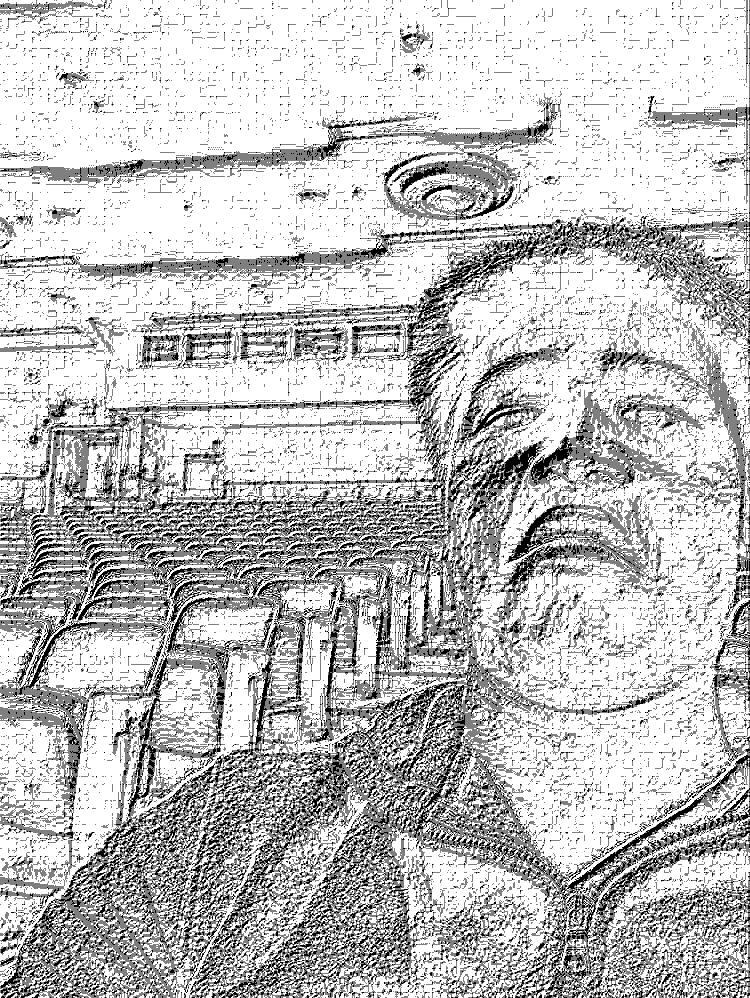
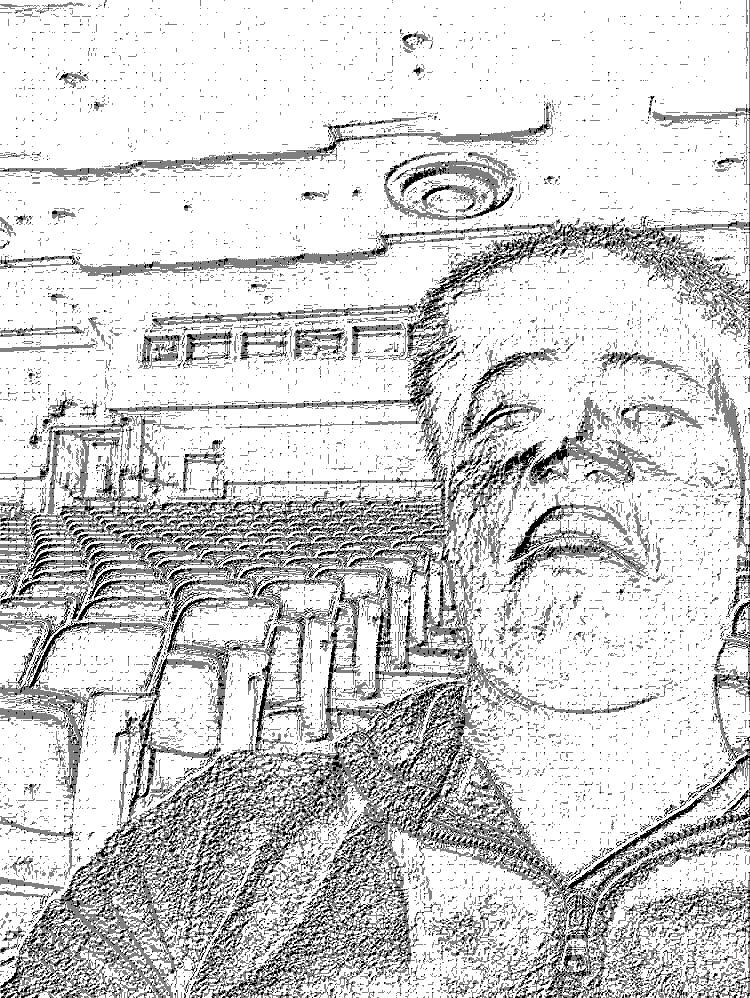
The fix was simply a matter of fiddling with the binarization threshold to obtain an array of images of varios levels of clarity. I had considered increasing the dimensionality of the dx and dy operators. But honestly, I was too lazy and too dumb to fiddle with this for much longer and simply settled for what I had
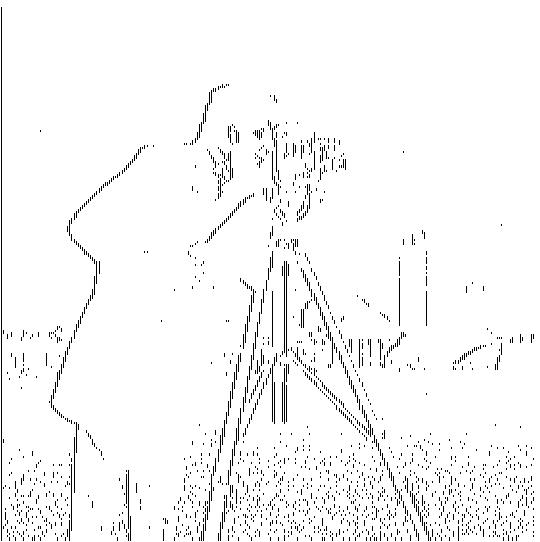
Threshold= 0
Threshold= -0.005
Threshold= -0.008

Threshold= -0.01
Threshold= -0.017

Threshold= -0.03
Derivative of Gaussian Filter
For this part, we are attempting two different implementations of a simple gaussian filter by convolving the image with a gaussian kernal array. Pretty simple and straightforward is the process, and consequently the results.
Convolved of the Gaussian
However, when I generated the alternative implmenetation for which we convolved the dy and dx vectors with the gaussian, and thne only applying a single convolution, we eneded up with similar, but slightly funky results. I suspect this is attributed to the slightly different resulting values causing my current thrshold value to be off.
Convolved of the Gaussian Version 2
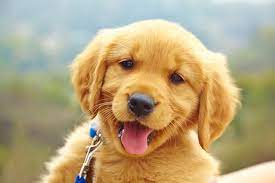
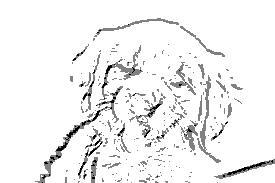
In honour of the DoG filter, have some puppies :D
Original image
DoG filter V1
DoG filter V2
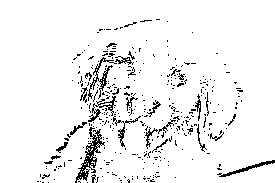
Image "Sharpening"
It appears that we are attempting to use black magic to "sharpen" an image by increasing the strength of the higher frequencies of the image and adding them back to the original image. We're basically pulling a party trick in which we pretend that our shoddy cameras aren't so shoddy by using IMAGINATION :D
Original taj.jpg
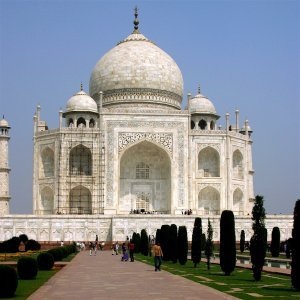
Post-sharpening

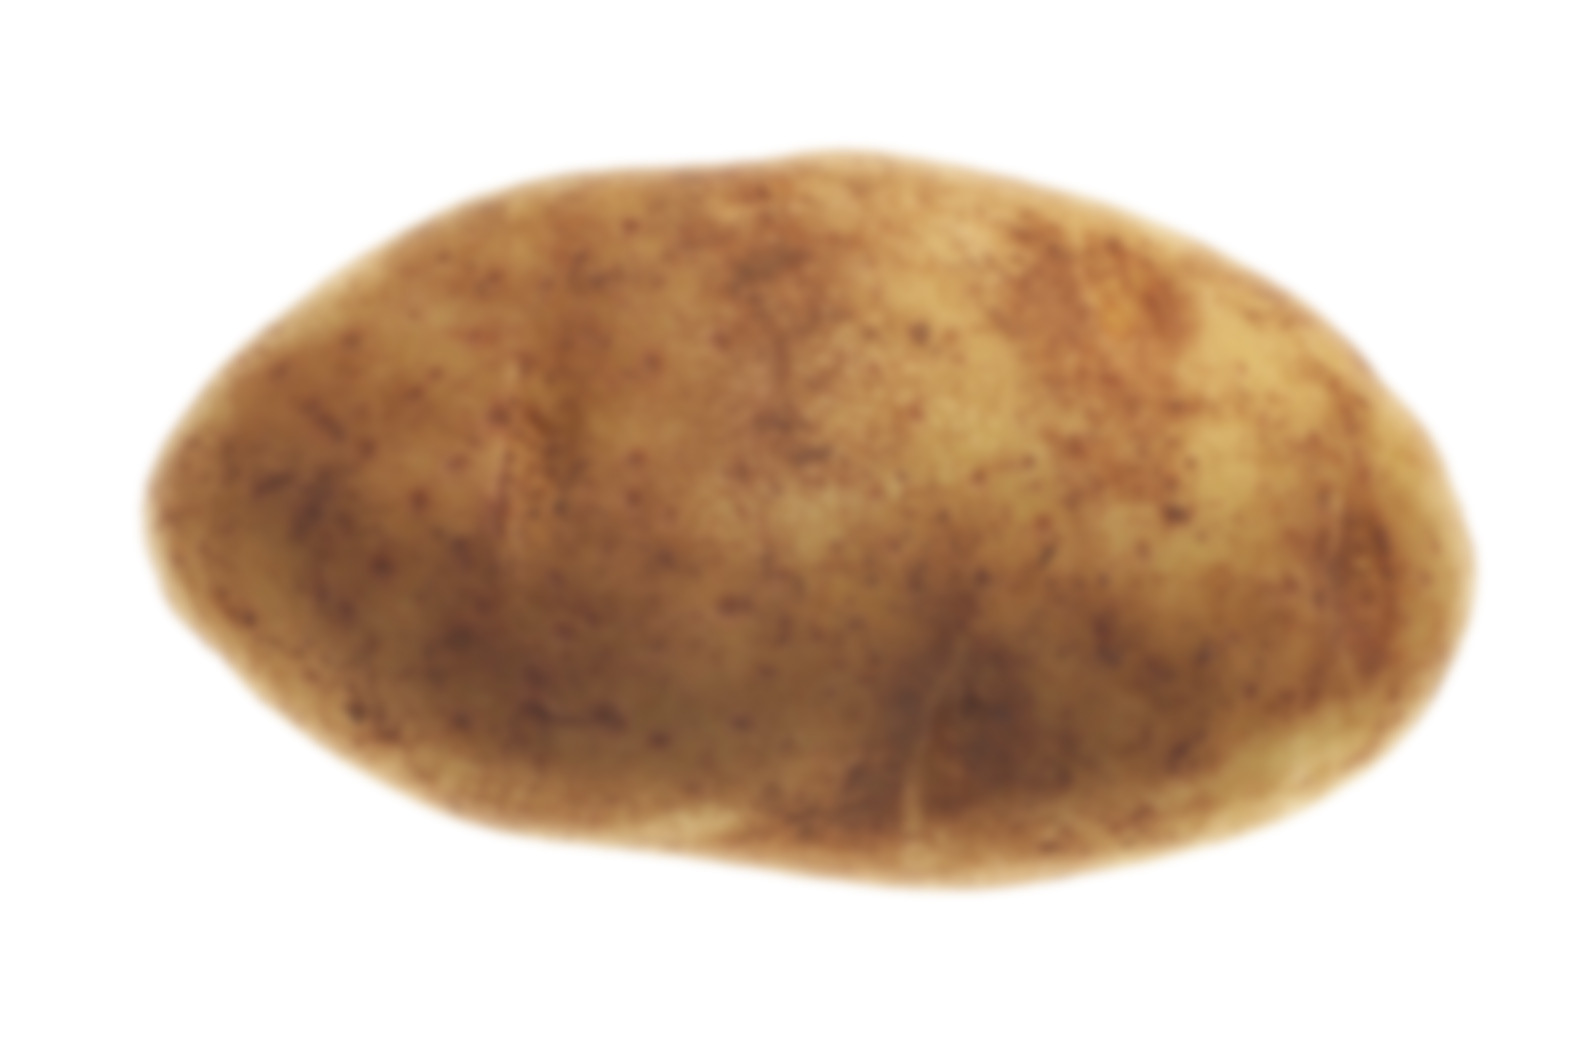
Apply our blood and sweat sharpening magic to a already-pretty-sharp potato, we see, to our lack of surprise, virtually no difference in the potato. Who would've thought that applying a sharpen filter to an already-sharp image would do next to nothing?
Original potato.jpg

Post-sharpening

More interestingly if I manually apply a gaussian blur (and by manually, I mean with photoshop), and then proceed to attempt sharpening the image, it does nothing. I suspect that a potato is probably not the best subject of this experiment. Especially a high definition potato, but using other images that require a larger kernal size fries my laptop, so we'll just have to make-do with this.
Original potato.jpg
Blurred potato.jpg
Post-sharpening

I would like to say, it could be me getting a poor nights sleep and hence being blind in the morning, but I think the sharpened one has marginally better-defined outlines.
Let's see what happens when I throw in a stove or something, with some more range of frequencies, and colour differences.
Original stove.jpg

Post-sharpening

Blurred stove.jpg

Post-sharpening
Funny enough, the effect wasn't obvious, but I am pretty sure that I see some difference between the original and the sharpened image. I hypothesise that the greatest different would be caused by images for which the key features to be sharpend stack out from the background such as text or maps.
Hybrid Images
Generating hybrid images is always a good time. The idea is that you take the higher frequenceis from ne particular image, and then add it to the lower frequencies of another image, such that at different distances one image tends to dominate over the other.
The approach is simple. You obtain the lower frequencies by apaplying a gaussian filter over both the short-distance and long-distance images obtaining the lower frequencies of both images. Then you simply subtract the lower frequencies of the short-distance image from the original image to obtain the high frequencies. Finally, you simply sum up the two components to get a final hybrid image.
Original nutmeg.jpg
Low-pass filtered
high pass filtered
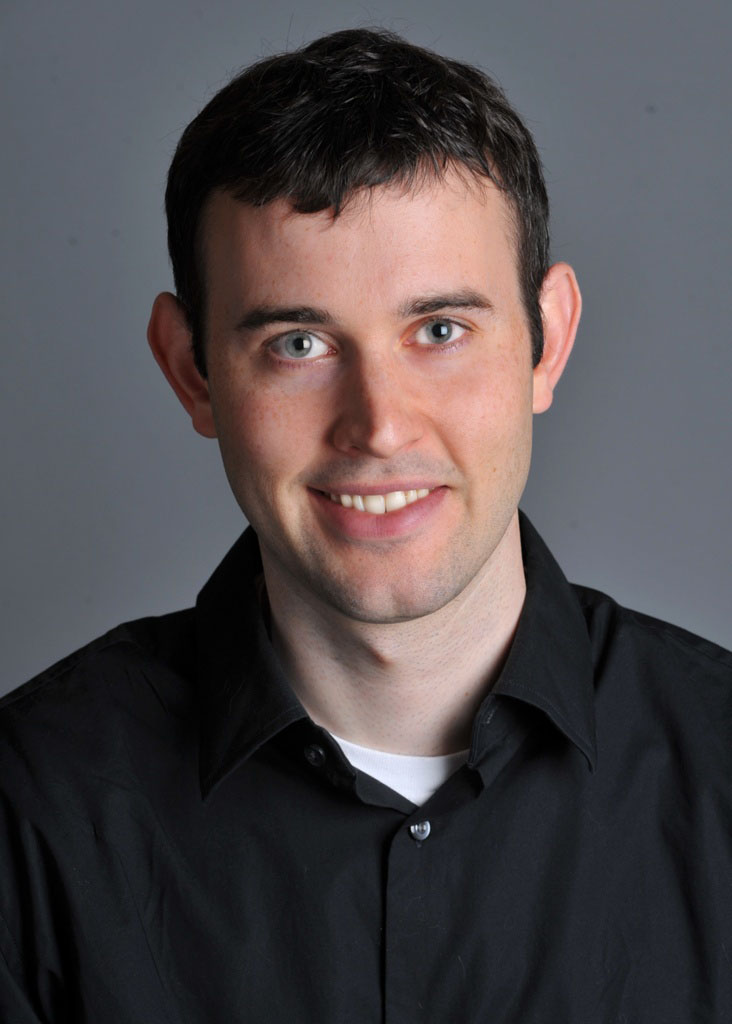
Original Derek.jpg
Low-pass filtered

Hybrid image
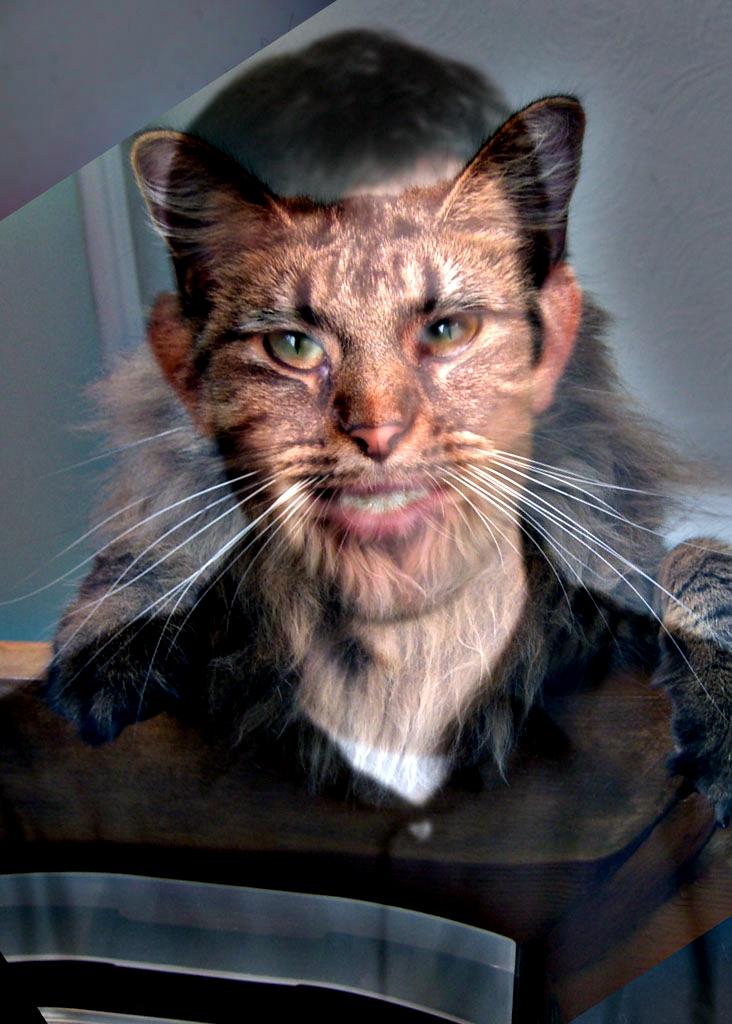
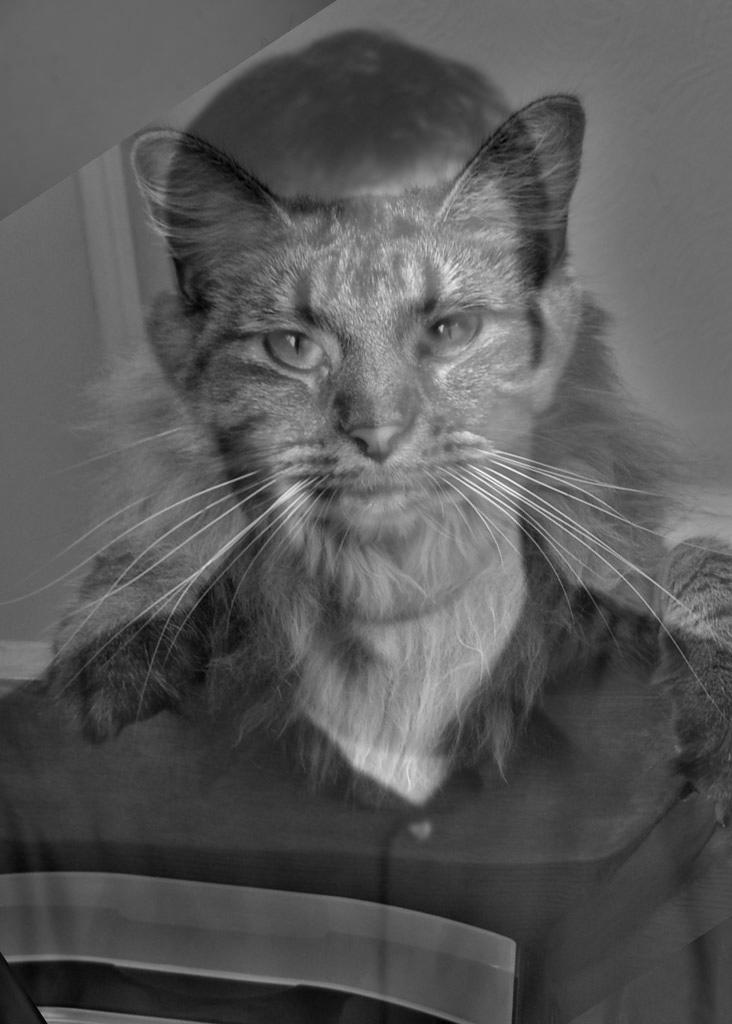
And because the result above looks slightly horrifying, we decided to also post the black and white version such that you can still appreciate the algorithm without suffering the night-terrors that now plague me.
Respectable Hybrid image
Funny enough, the hardest part about this particular part of the project was simply getting the provided align_images to work. After fiddling with it for numerous hours, trying to get it to work, I ended up deciding it was a waste of my genius to labour away at petty tasks irrelevant to my score, so I simply photoshopped nutmeg.jpg and derek.jpg to align to perform the hybridization.
Anyhow, here's a handful more hybrid images:
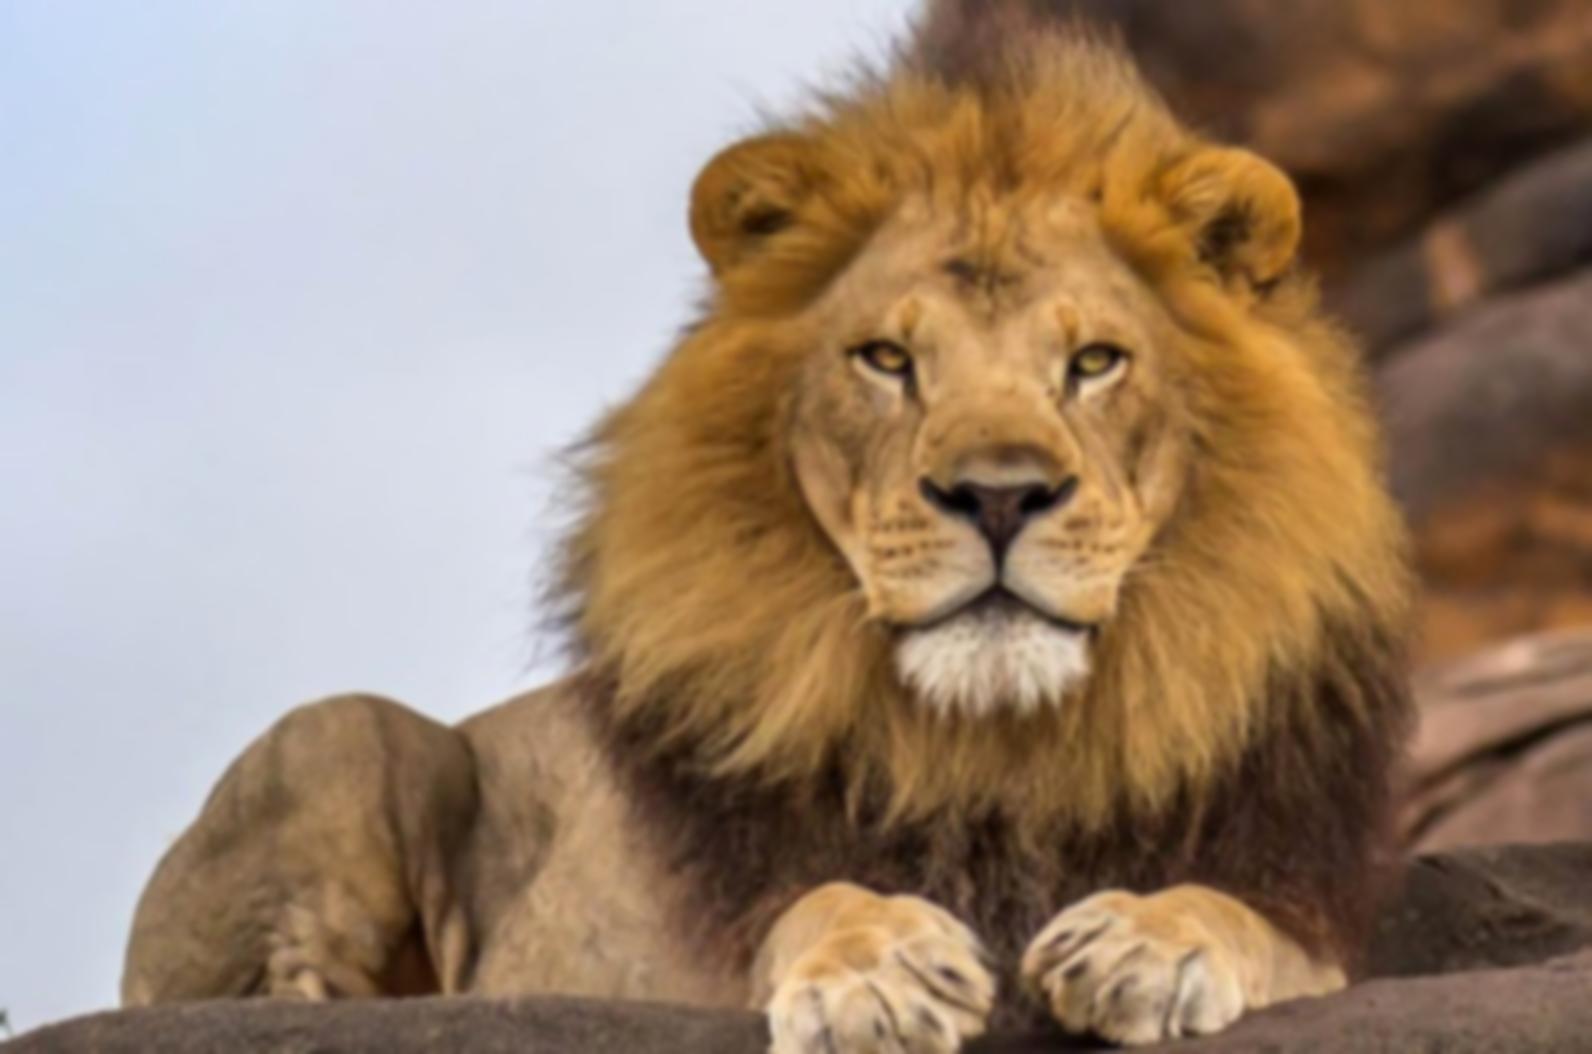
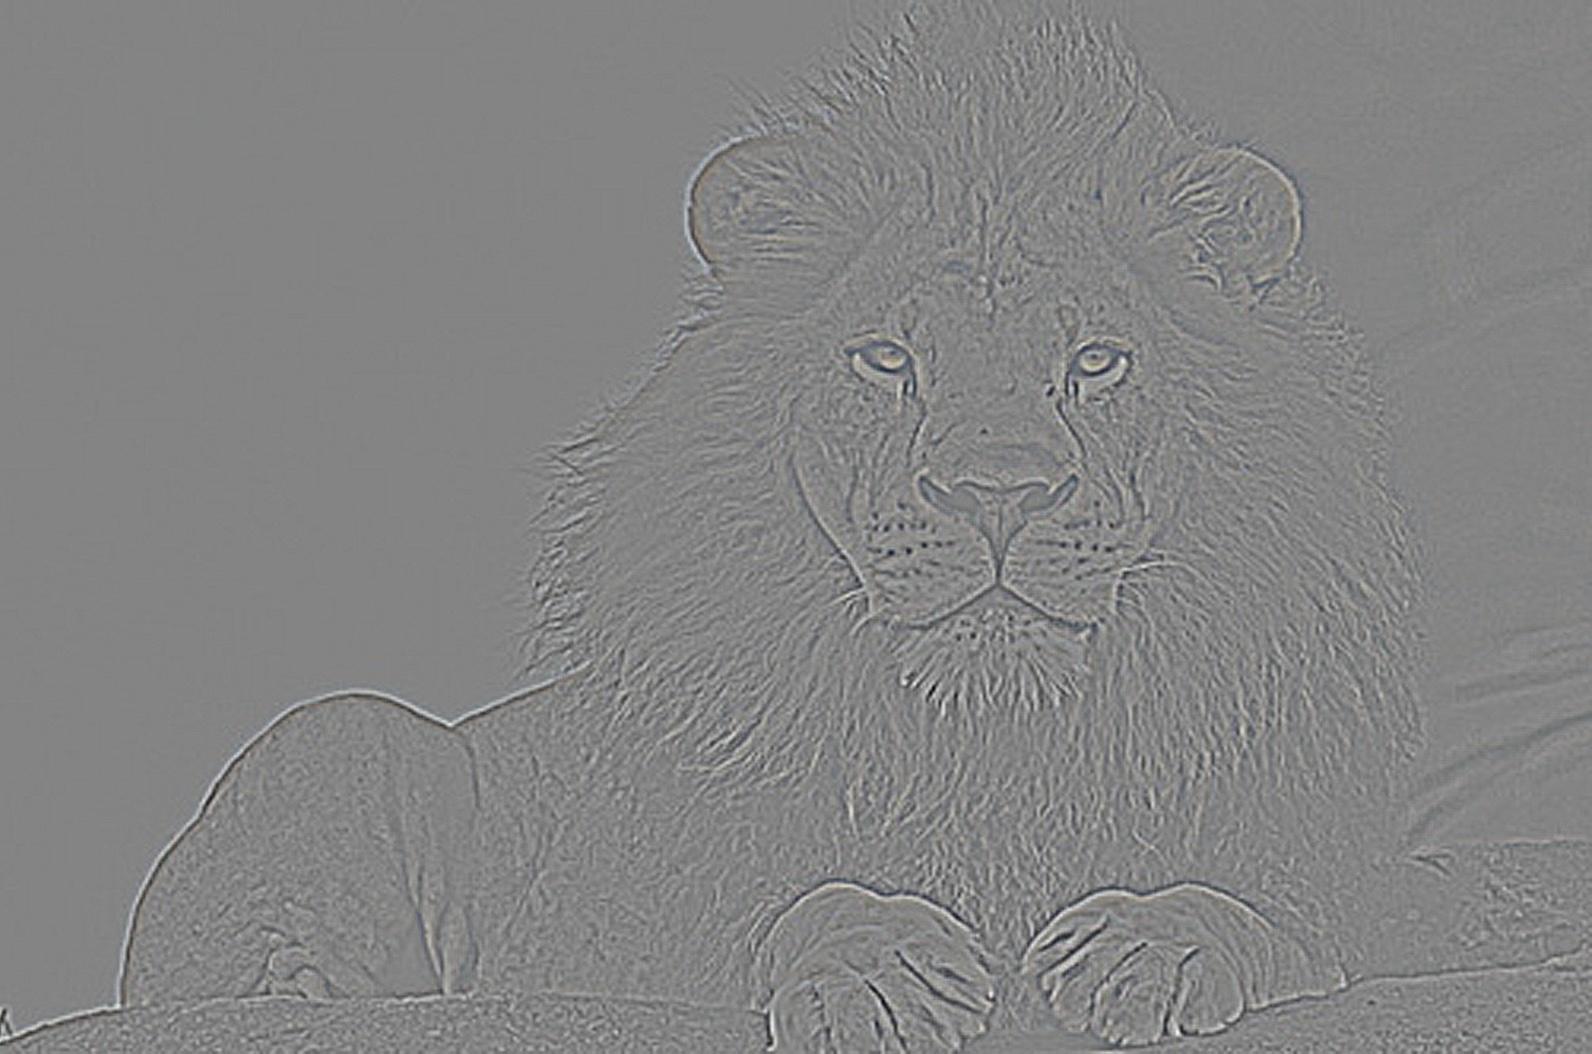
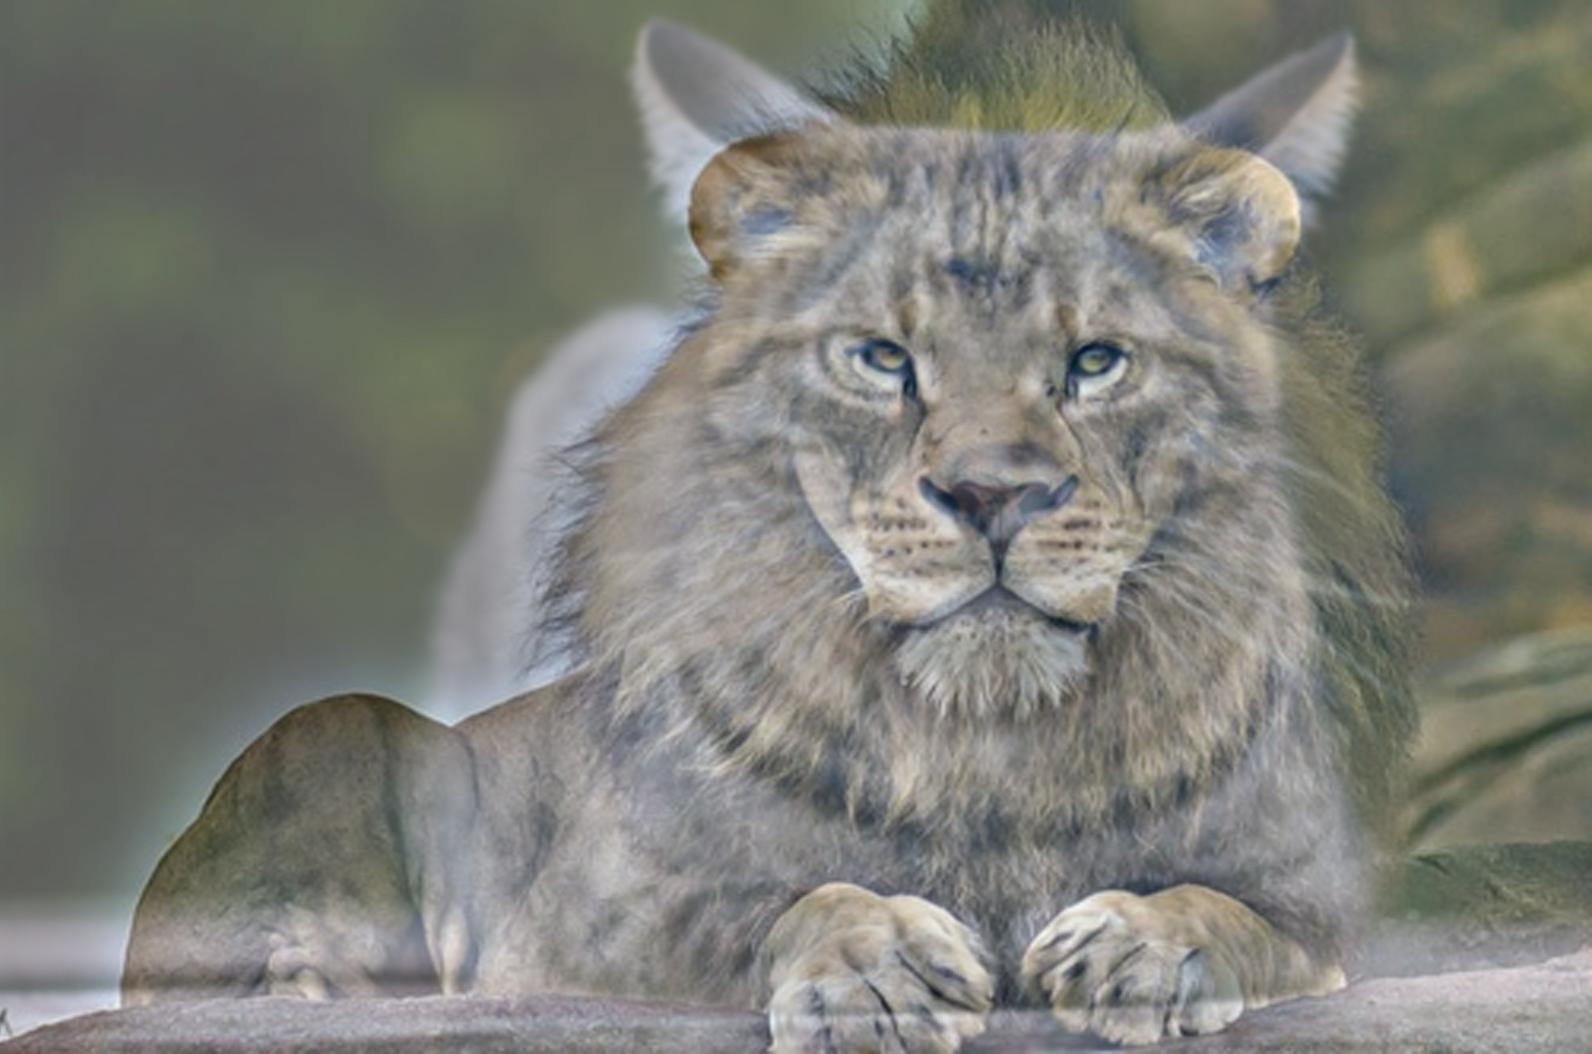
Original lion.jpg

Low-pass filtered
high pass filtered
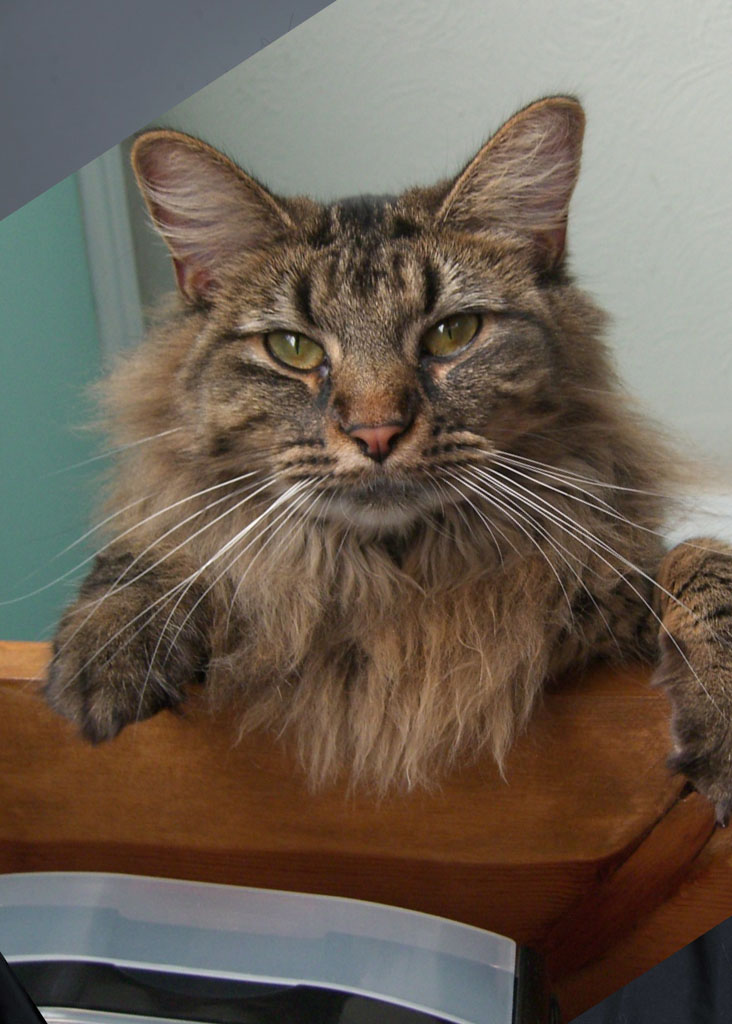
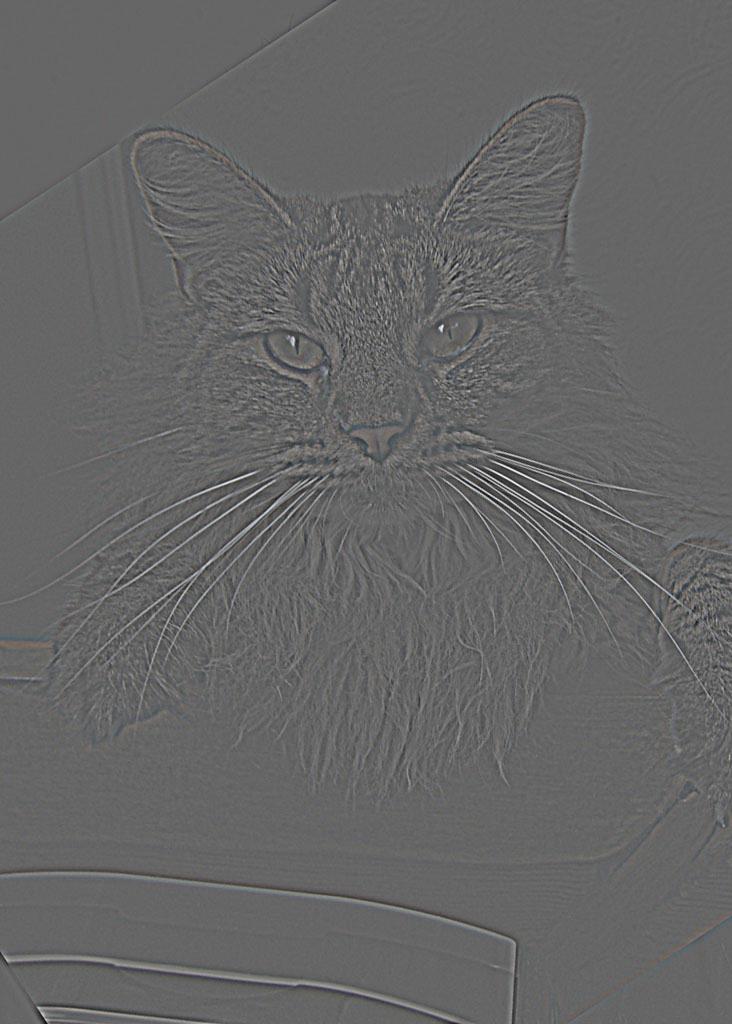
Original cat.jpg

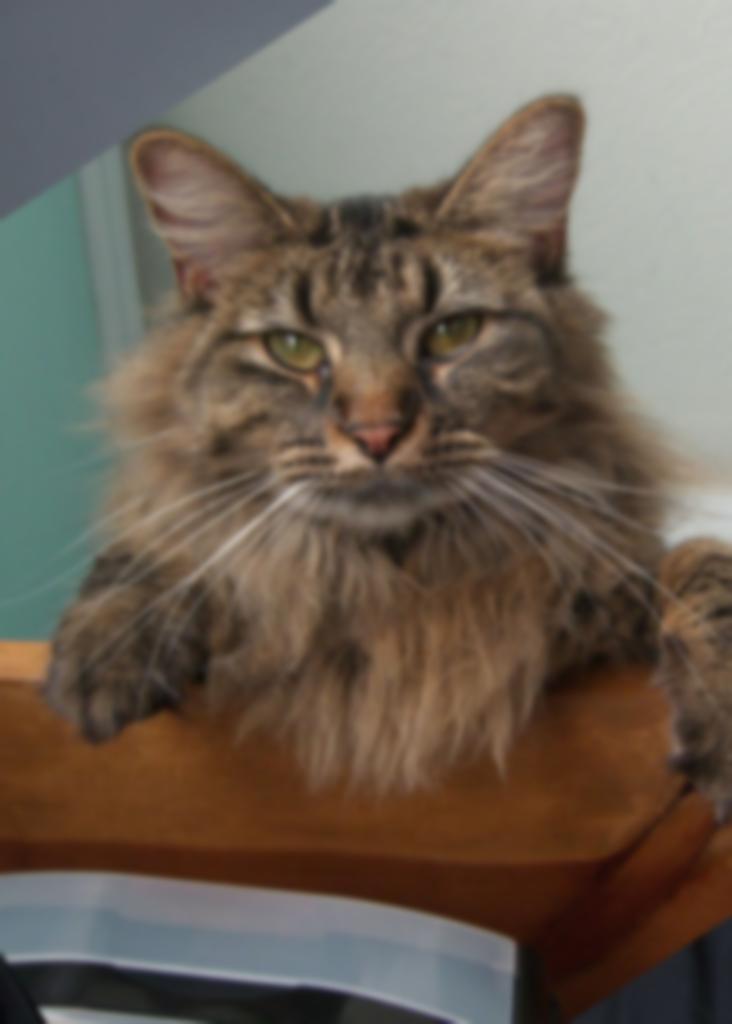
Low-pass filtered
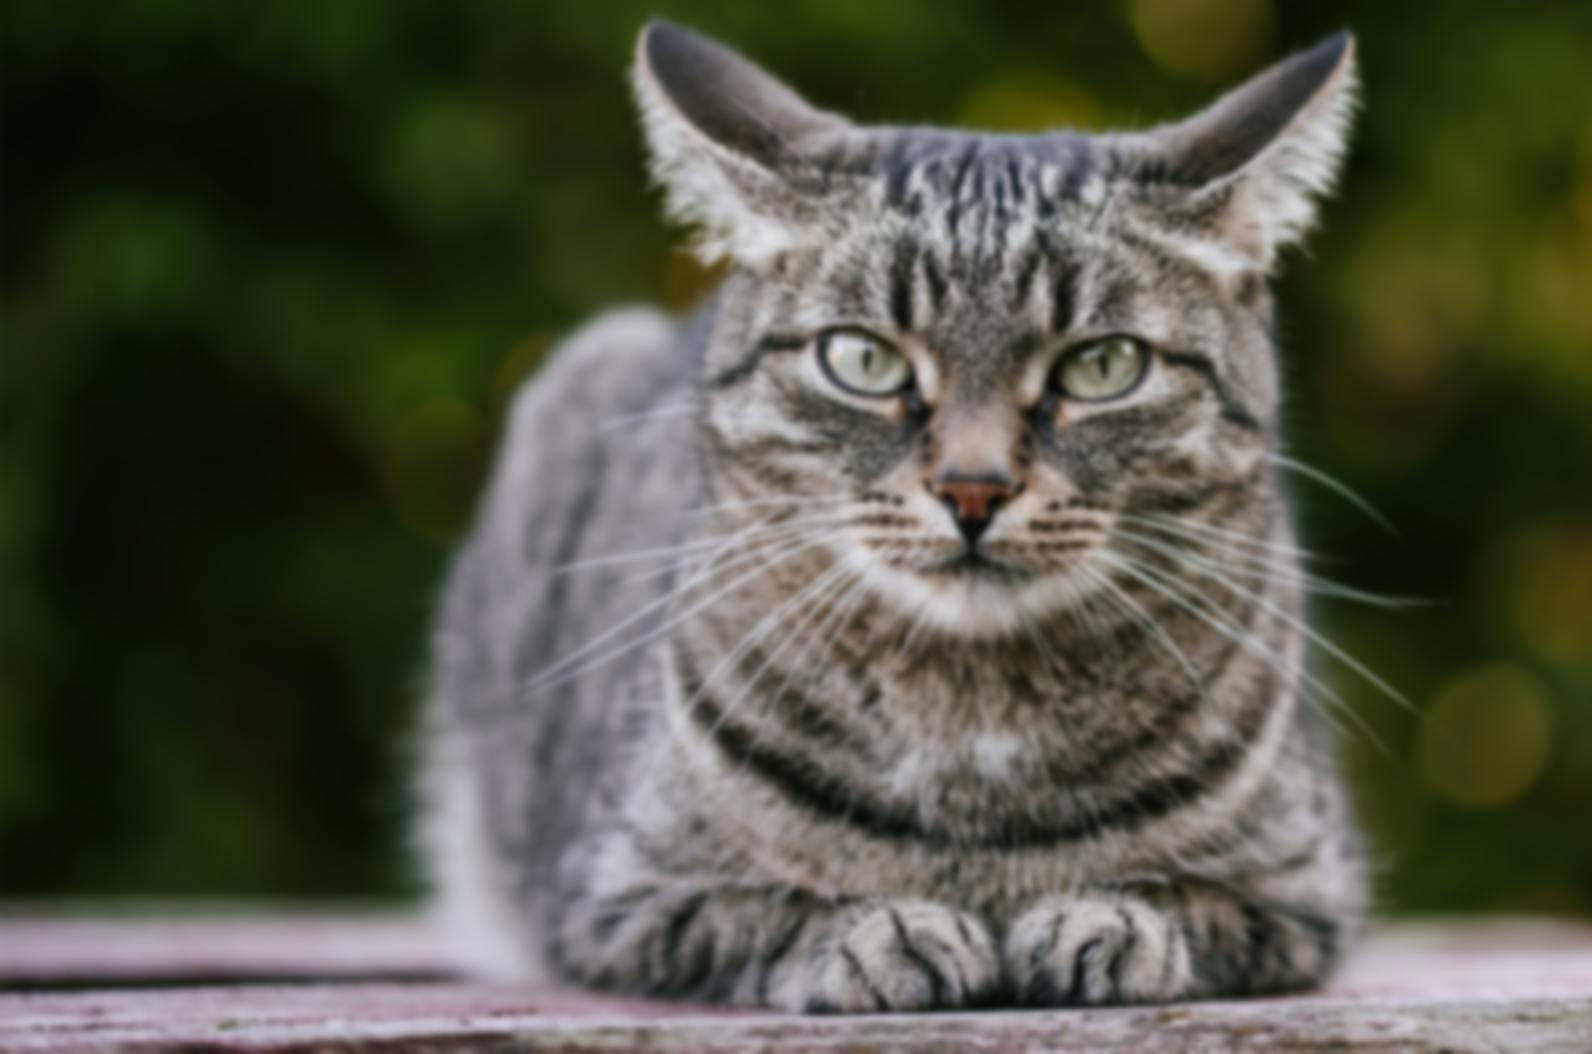
Hybrid image
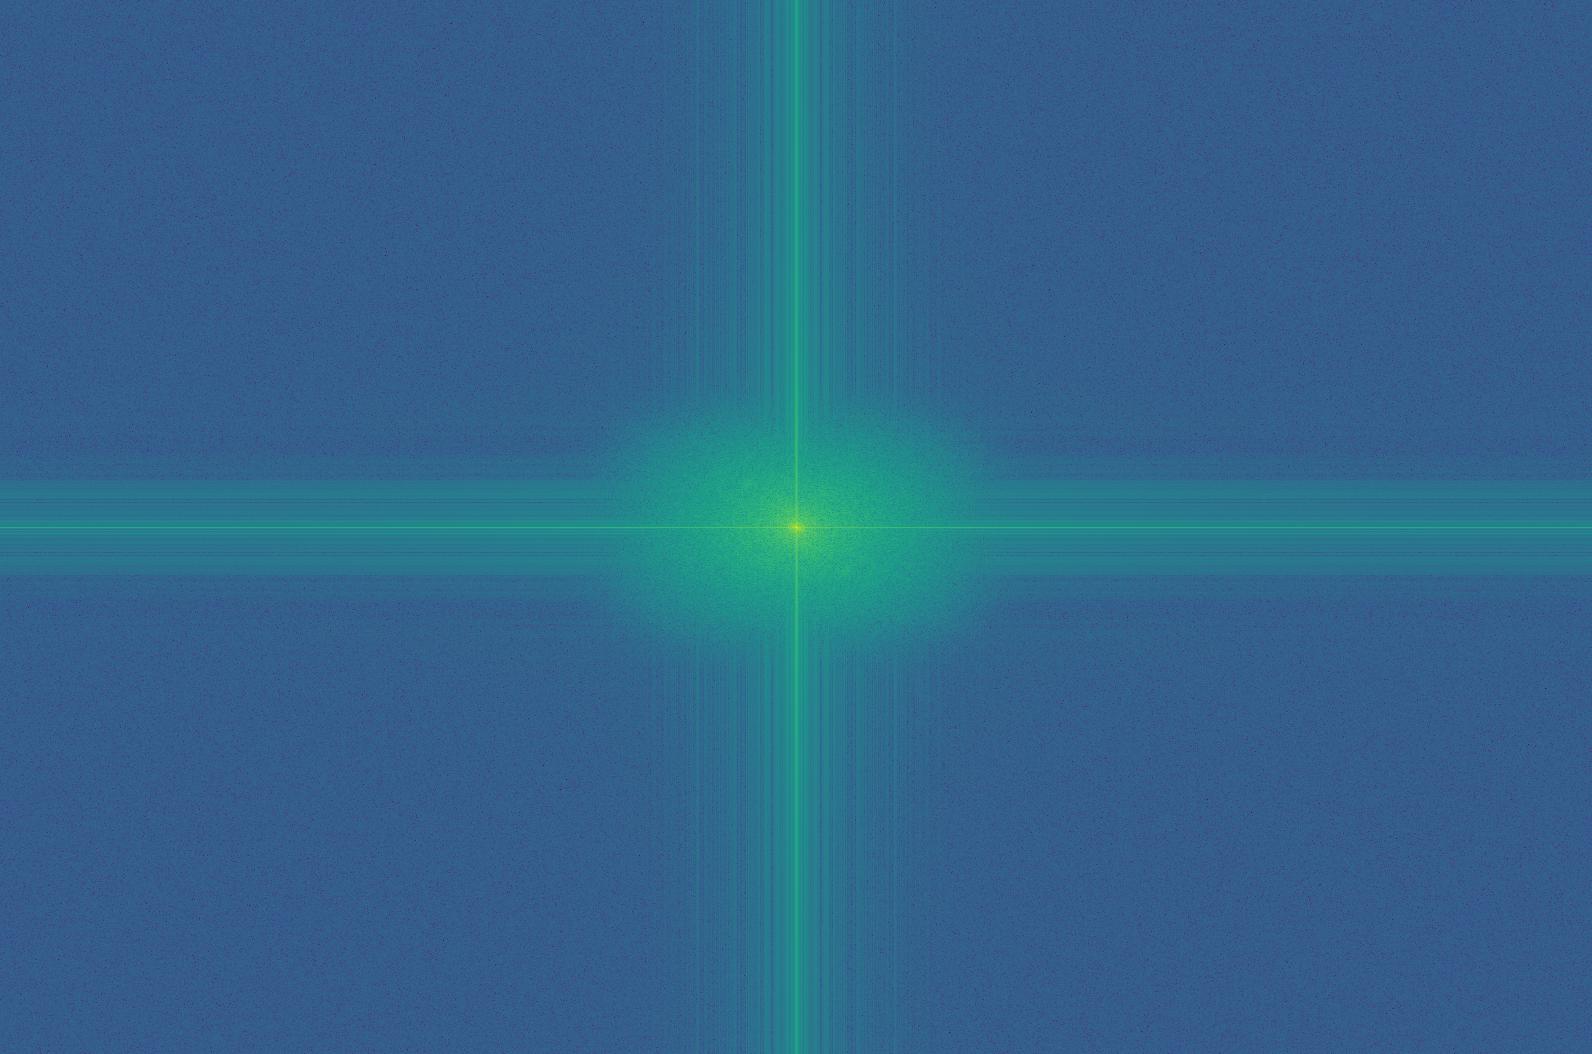
fft cat.jpg lowpass

fft cat.jpg highpass

fft lion.jpg lowpass
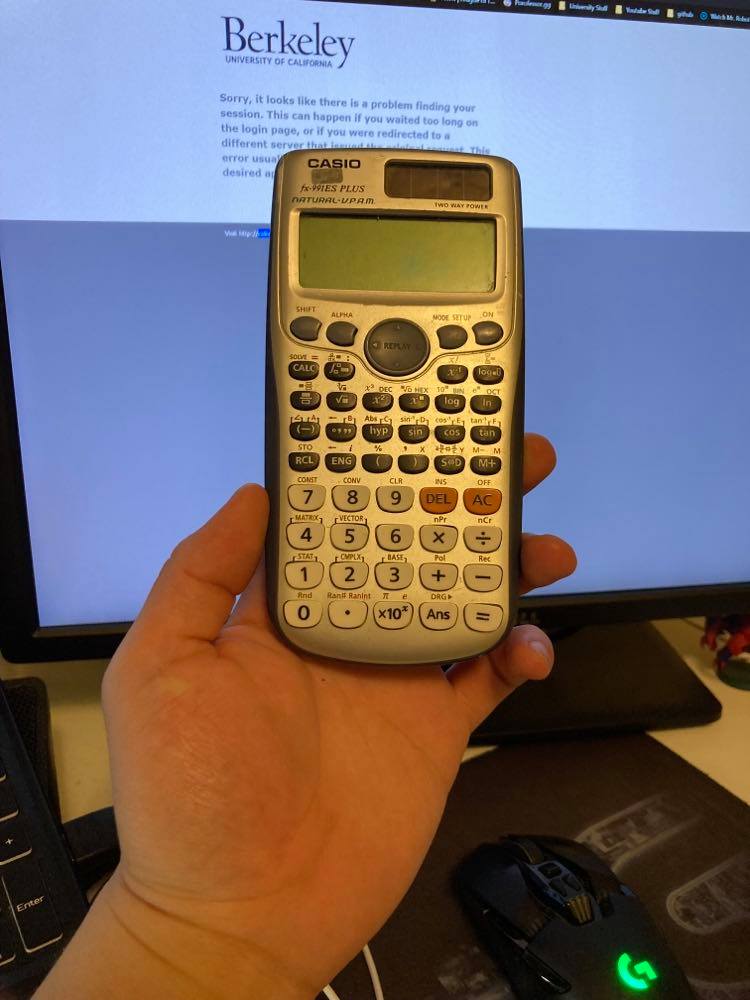
Original calculator.jpg
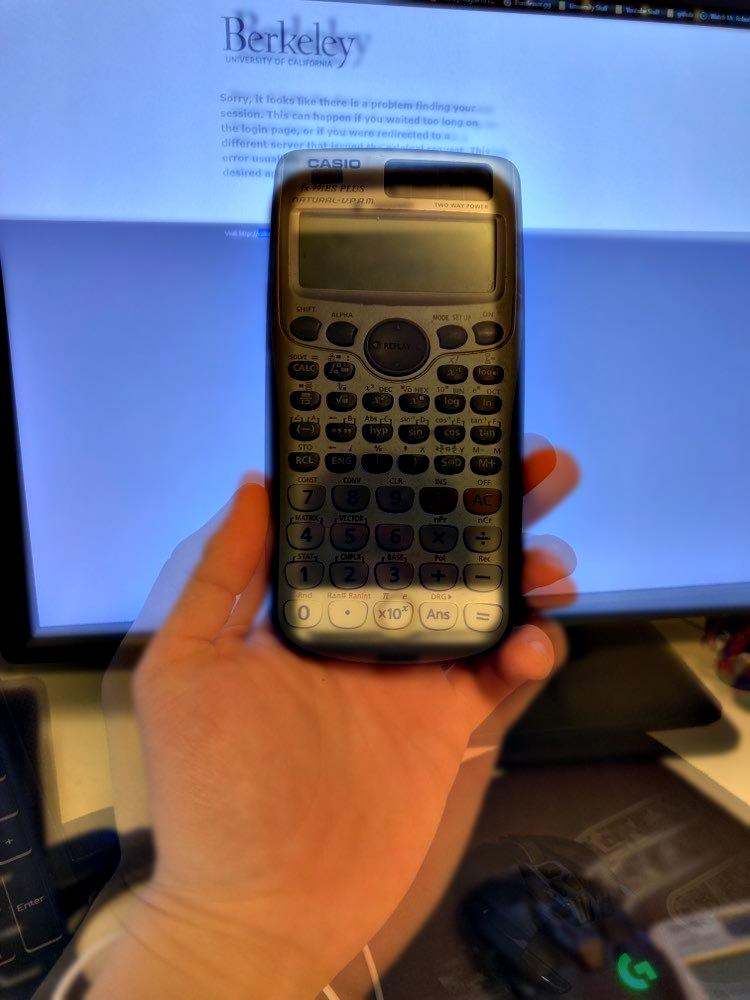
Low-pass filtered

high pass filtered
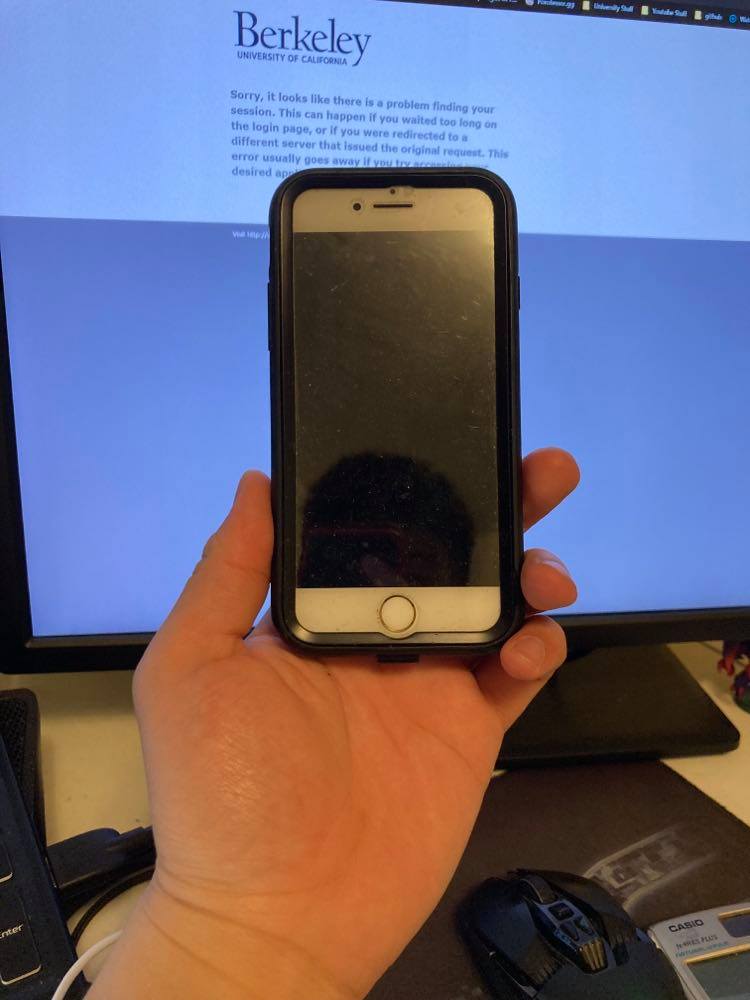
Original iphone.jpg
Low-pass filtered

Hybrid image
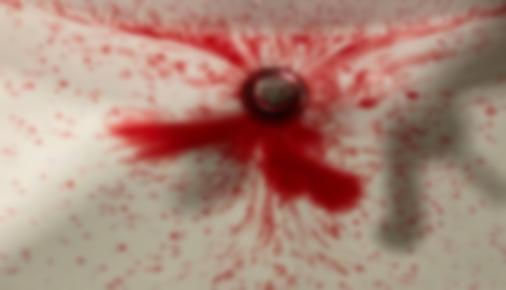
Original nosebleed.jpg

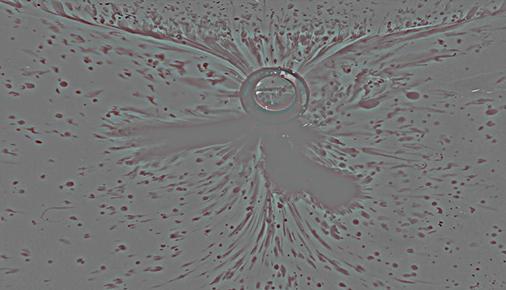
Low-pass filtered
high pass filtered
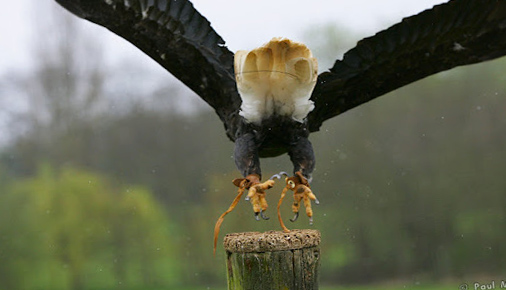
Original eagle.jpg
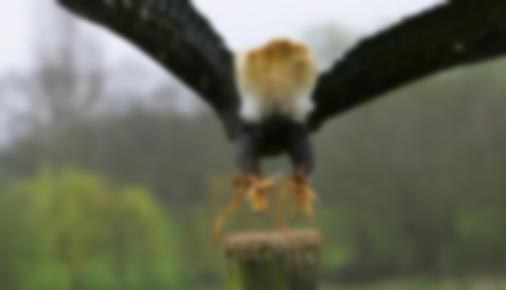
Low-pass filtered
Hybrid image
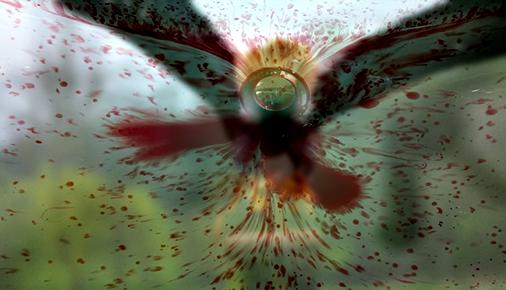
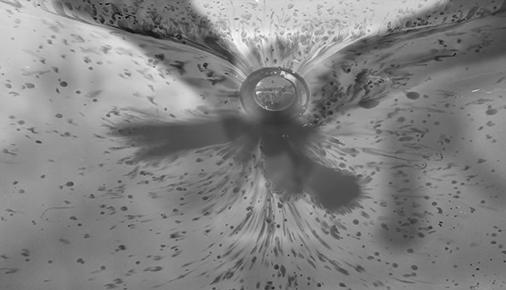
As you can see, the nosebleed and eagle image hyrbrid doesn't look that great relative to the rest of them. This I suspect is due to the fact that despite the motif being there, the colour difference is too great and the outlines don't actually line up that well. I just thought it would be funny to post my nosebleed. However, converting it to black and white made it somewhat better!
Nosebleed + Eagle black and white
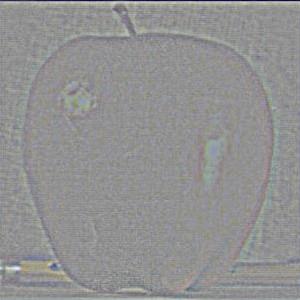
Gaussian and Laplacian Stack
As we have implemented a pyramid before, the stack is no harder than simply repeatedly applying a process on the same image, to obtain a different one. The gaussian stack would be repeatively applying the guassian filter to the image and obtaining a lower and lower-pass image. And the laplacian would be simply taking the difference of two gaussian stacks to create each band-pass image, and then sticking what ever remains of the gaussian at the end of the stack to fulfil the stack.
I don't really think there was much to it, and there wasn't really any challenges, so here's all the images.
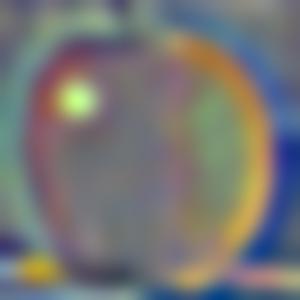
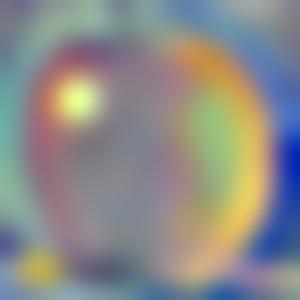
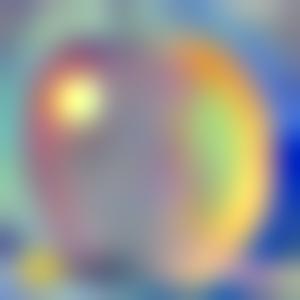
Gaussian Stack
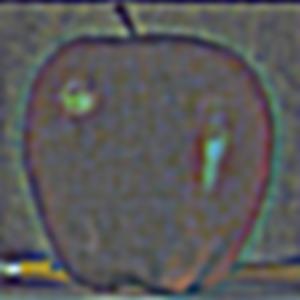
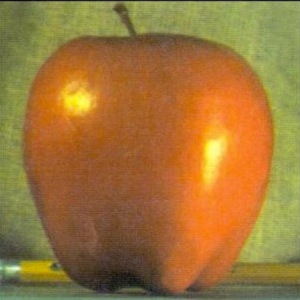
Apple 1.jpg

Apple 2.jpg

Apple 3.jpg

Apple 4.jpg

Laplacian Stack
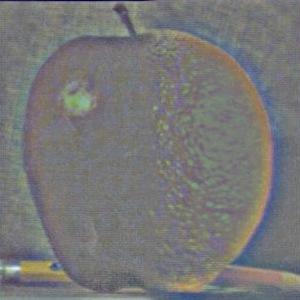
Apple 1.jpg
Apple 2.jpg
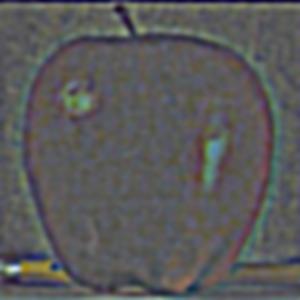
Apple 3.jpg
Apple 4.jpg

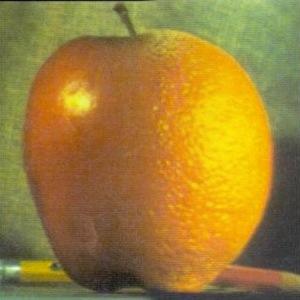
Multiresolution Blending
Now this is a little more neat! By extracting a laplacian stack from the two input images, we're able to merge each bandwidth of frequencies at the optimal feathering edge-width. This meant that we are able to effectively seamlessly integrate two images together where all ranges of frequencies match.
This was accomplished by first extracting the laplacian stack from both images, and then calculating the optimal feathering border-width for the merging of each layer. Then, using my custom feathering-and-cropping-and-sticking-together function, we feather and crop and stick the two images of that specific bandwidth together. And we simply apply this process to every level of the stack and stack the stack back all the images to get our oraple :D
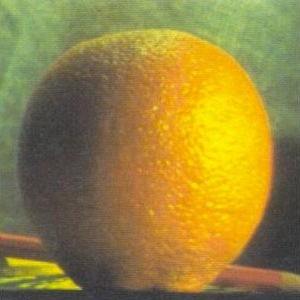
Orange Original.jpeg
Oraple 1.jpg
Oraple 2.jpg
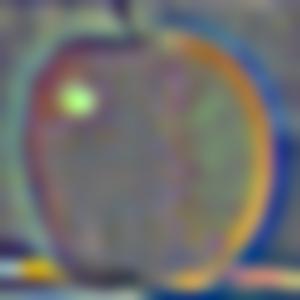
Oraple 3.jpg
Oraple 4.jpg

Oraple 5.jpg
Apple Original.jpeg
Oraple 6.jpg
Oraple 7.jpg
Oraple 8.jpg
Oraple 9.jpg
Oraple 10.jpg
Orange Final.jpeg
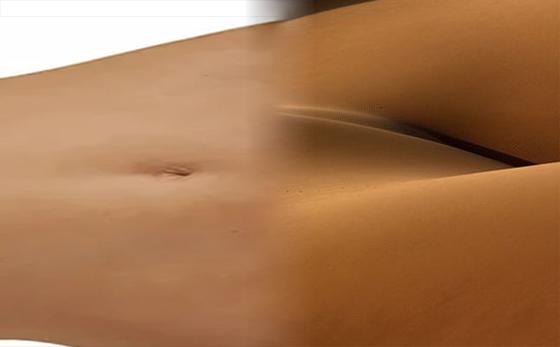
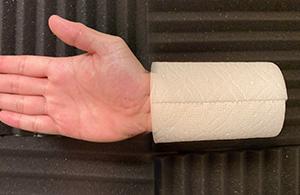
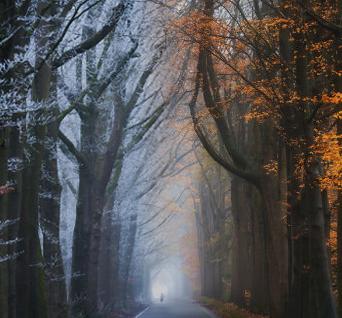
Messing around, here we have some other images :D
Sand dunes + Woman.jpeg
Hand rolled.jpg
Seasons 1&2.jpg
Cat ears.jpg
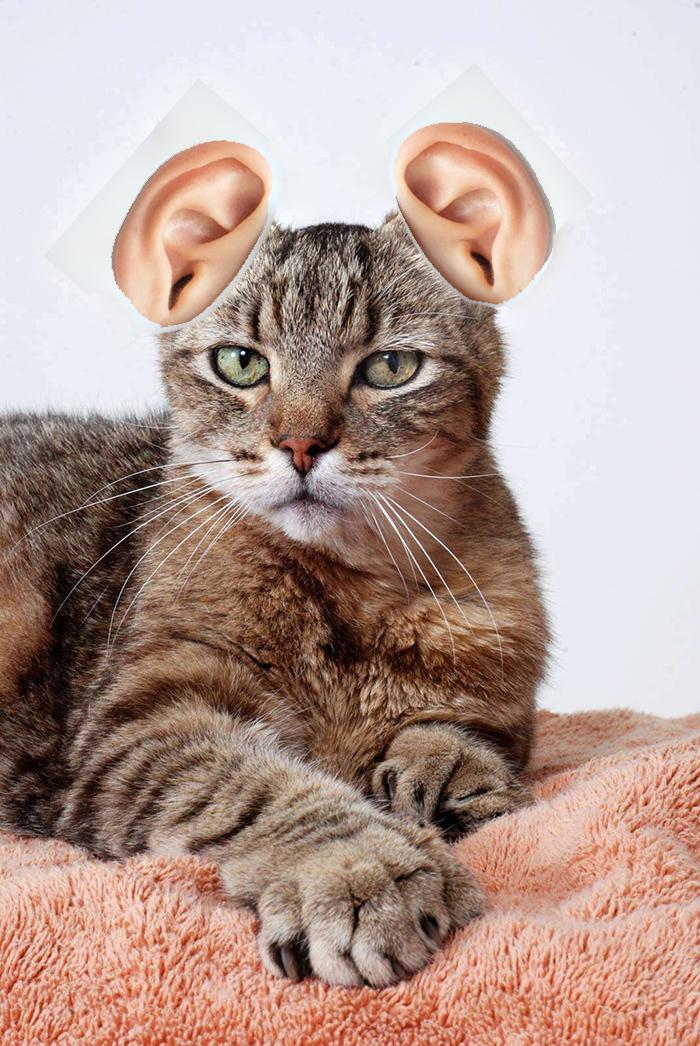
Yeah, I know, the cat-ears looks kinda like I just stuck images of ears onto the cat in Ms paint or something. This is probably because the texture of human ears and that of a cat's head is a little bit different, meaning that the higher frequencies don't merge that well. Alternatively, if I used cat ears and human hair, the higher frequencies of the hairs would probably make it blend better.
Baby cat.jpg
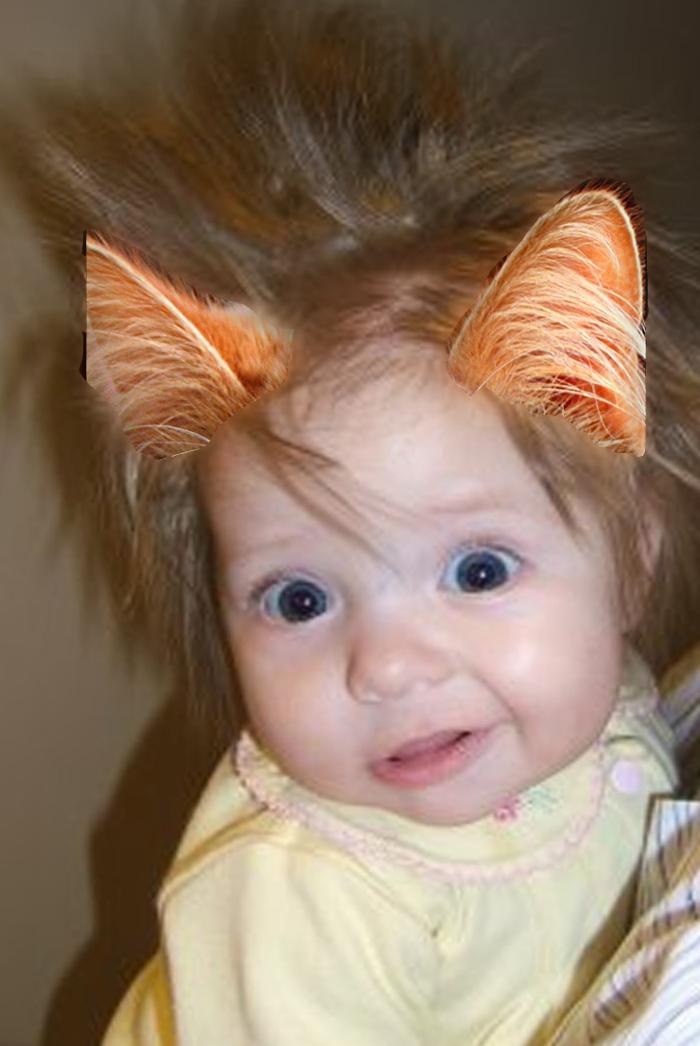
I was wrong
I thought perhaps if we switch to someting a bit more... good-for-merging I would end up with a slightly nicer image. I thought maybe it was due to the poor masking and flawed placement and angles of the ears that make those two images not-great-looking. So I tried a different image.
Baby cat.jpg
Turns out my artistic vision just sucks.