Part 1: Fun with Filters
Part 1.1. Finite Diference Operator
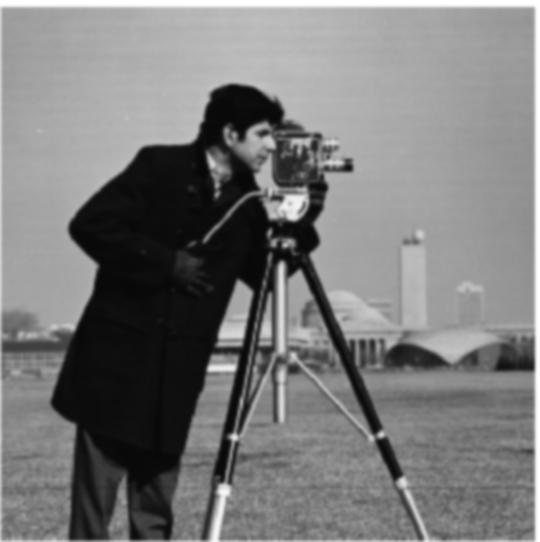
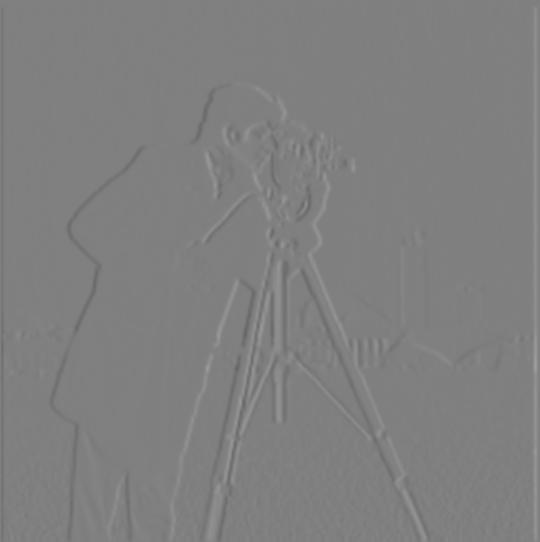
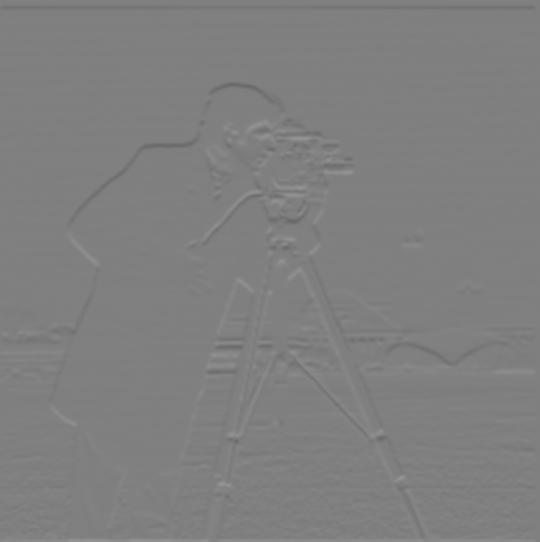
In this section I used the finite difference filter in order to get the partial derivatives in the x and y direction.
To compute the gradient magnitude image, since gradient is an elementwise operation, I simply take the dx image and the dy image
and use NumPy to compute np.sqrt(dx ** 2 + dy ** 2) to get the graident magnitude. Then I used a threshold of 0.2 to
binarize the image to an edge image. These images are shown below:
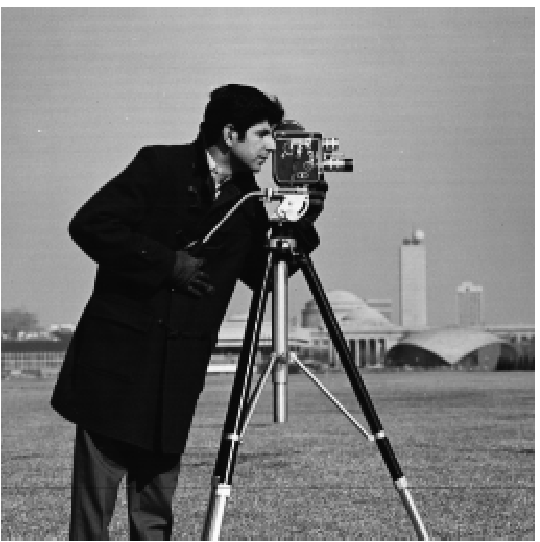
original |
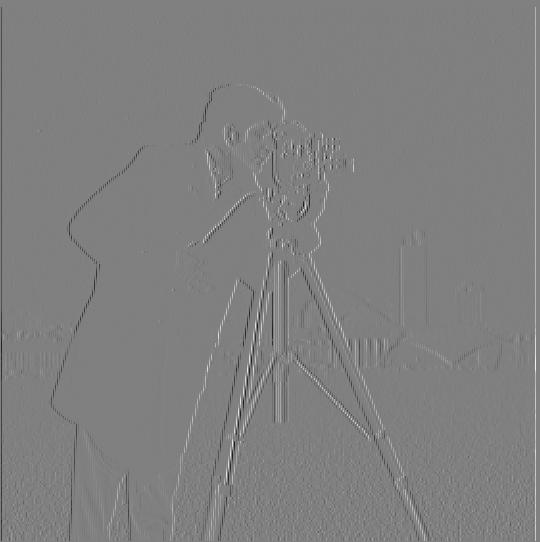
dx |
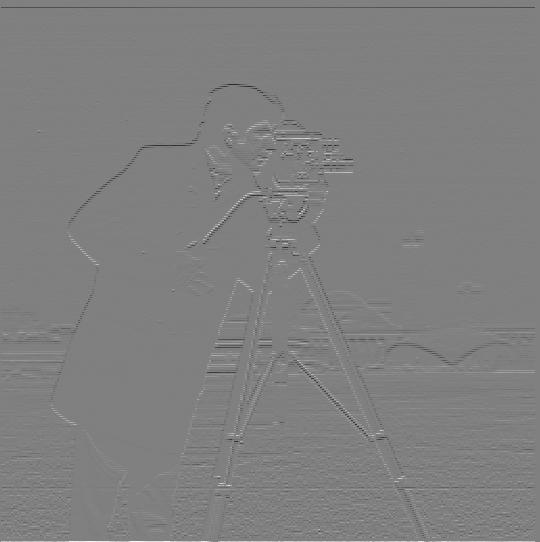
dy |
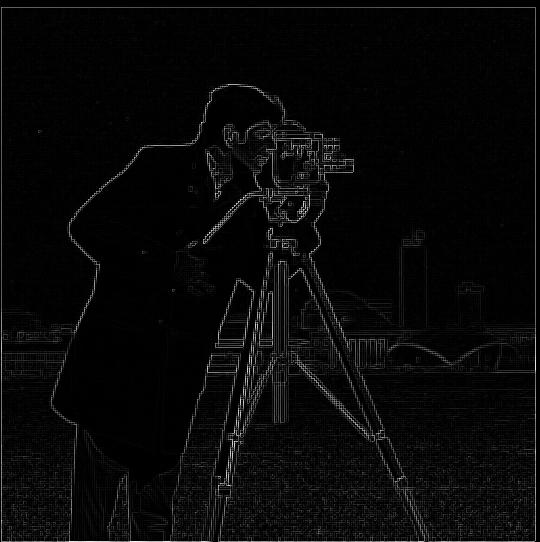
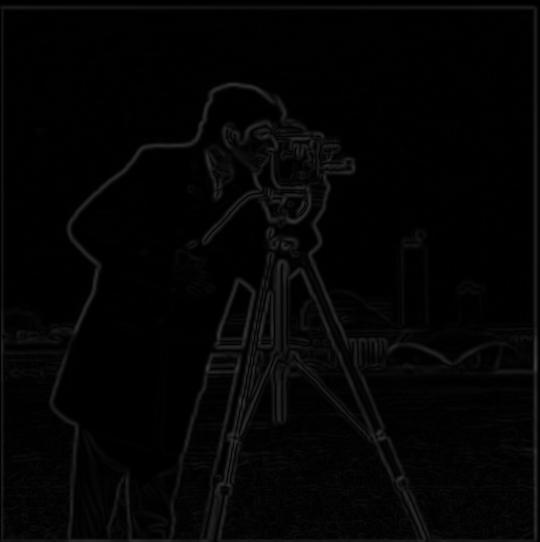
gradient magnitude |
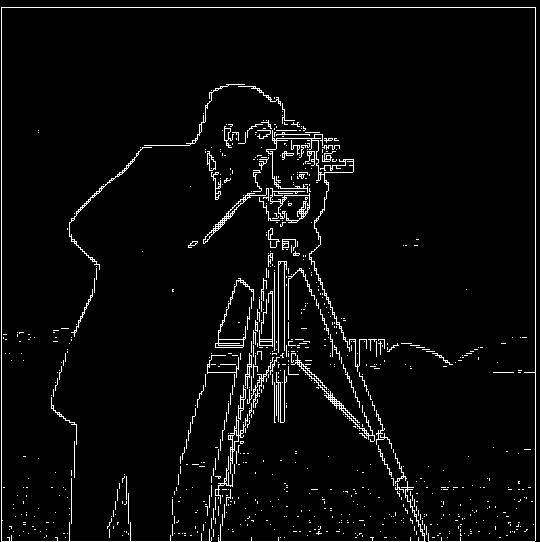
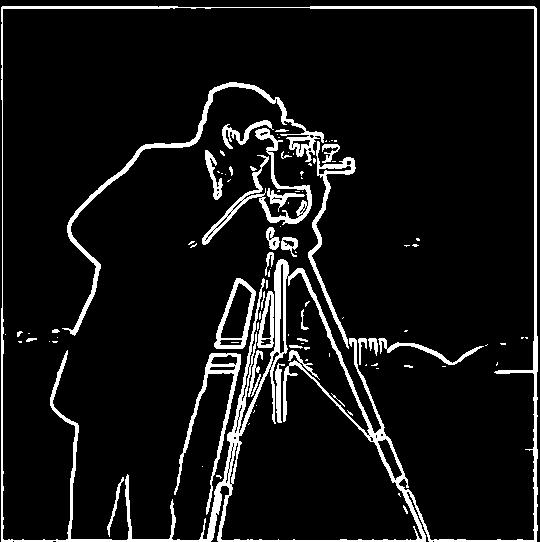
edge image |
Part 1.2. Derivative of Gaussian (DoG) Filter
In this section, I first blurred the image with a sigma=1.5 Gaussian and then repeated the steps above to get an edge image, this time with threshold of 0.06:
blurred |
dx of blurred |
dy of blurred |
gradient magnitude of blurred |

edge image of blurred |
The result is fairly different from when I didn't blur the input image. We see that the edges are thicker and that there are less noise in the background (especially on the grass).
Now we can combine the blur and the finite difference operator to get a DoG filter, which gets us the same final result:

Dx DoG kernel |

Dy DoG kernel |
Edge image using DoG |
Part 2: Fun with Frequencies
Part 2.1: Image "Sharpening"
For image sharpening, I first blur the image with a sigma=1.5 gaussian, then I subtract the blurred image from the normal image to get the high-passed image, and then add it back to the image to sharpen it. This is known as "unmask sharp" filter. Below I show the progression of two images through this procedure:
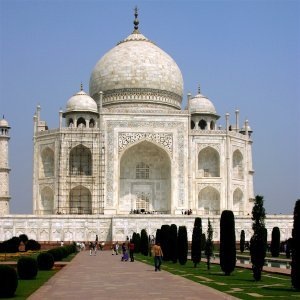
taj |

taj blurred |
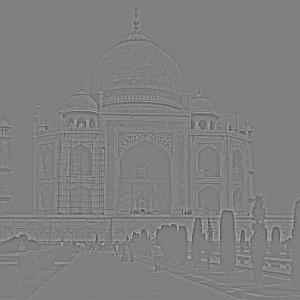
taj high-passed |
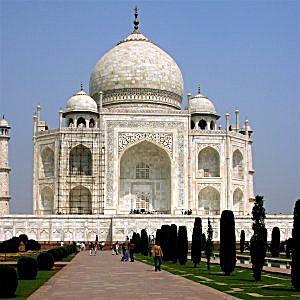
taj sharpened |
windows (source: https://www.pinterest.com/pin/733594226771800471/)
windows |
windows blurred |
windows high-passed |
windows sharpened |
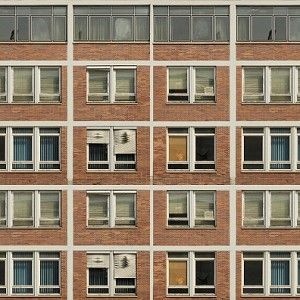
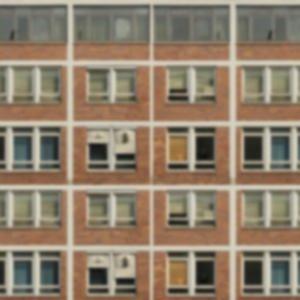
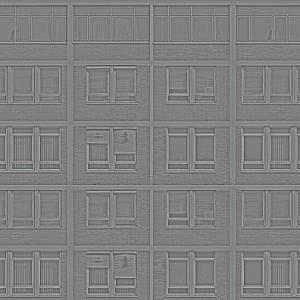
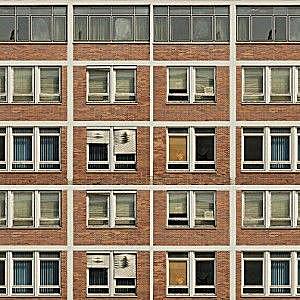
However, unsharp mask doesn't actually "sharpen" an image. For example, if I take a sharp image and blur it first and then try to sharpen it, the resulting image will not regain the sharpness of the original image. This is because unsharp mask simply increases the intensity of the high frequencies of the image, but if there isn't any high frequencies to begin with (such as a blurred image), then of course the unsharp mask won't create them out of thin air. Example image of a building (source: https://www.americanbuildings.com/project-gallery/#office):
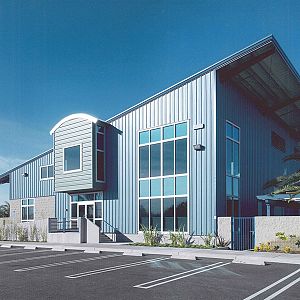
original |
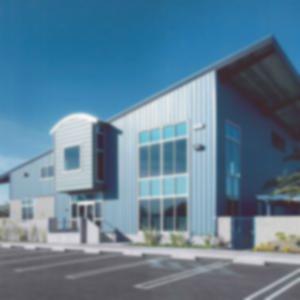
original blurred |
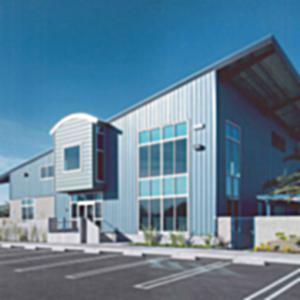
unsharp mask applied on blurred |
Part 2.2: Hybrid Images
In this part, I created hybrid image by firs aligning both images, then low-pass filtering one image (using a Gaussian filter), then high-pass filtering the other (using a impulse minus Gaussian filter), and then averaging the two resulting images together. Below I show a few examples:
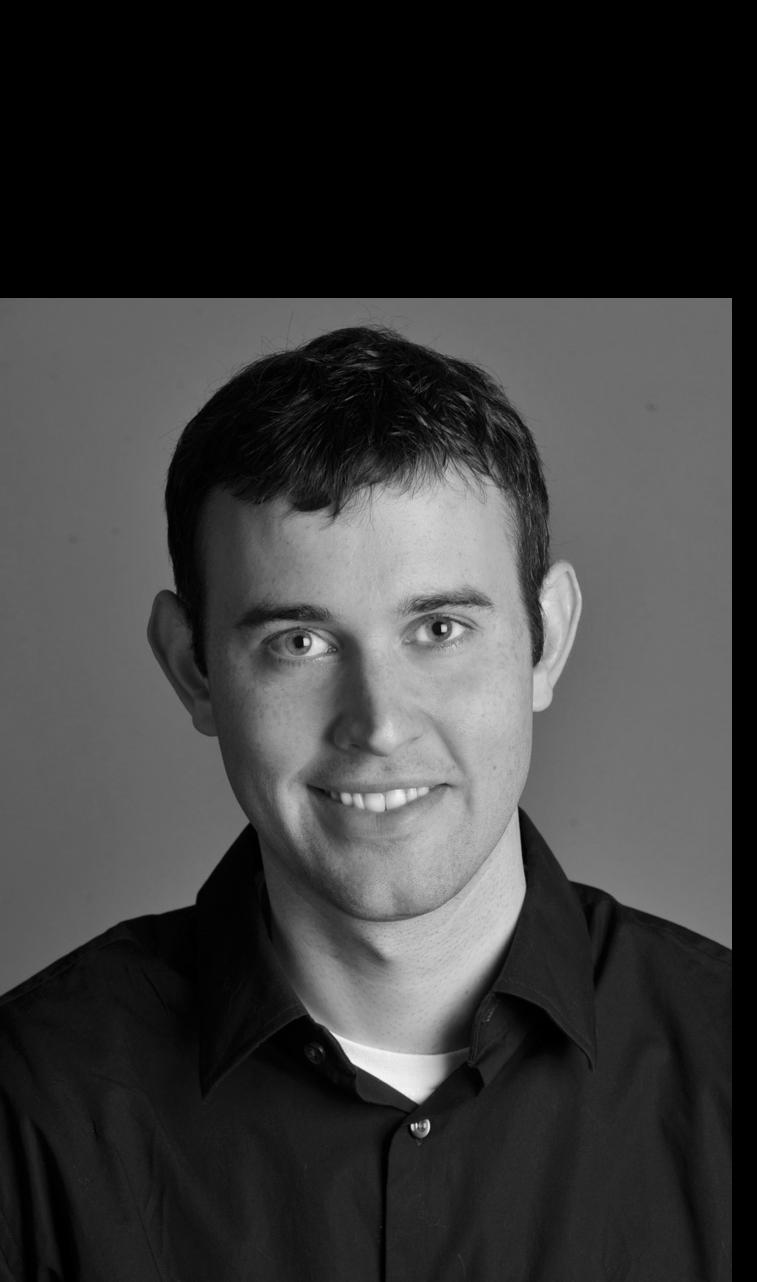
derek |
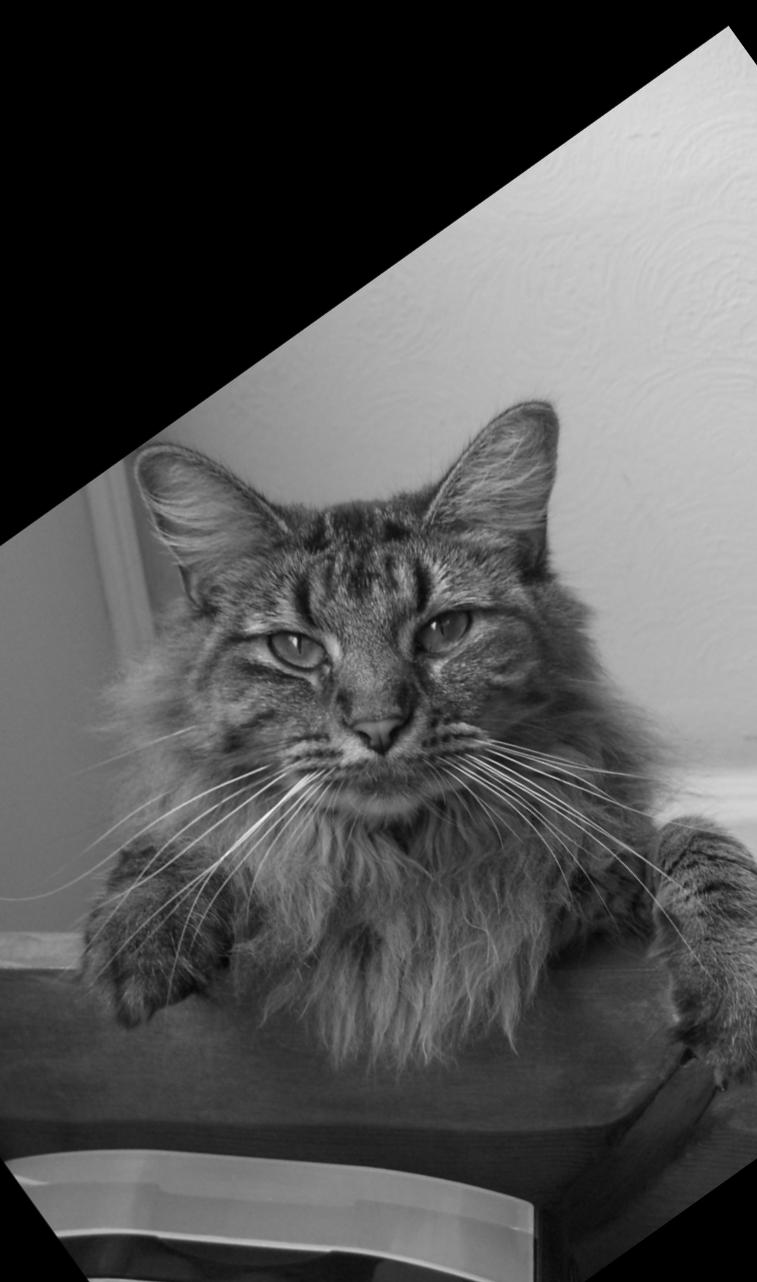
nutmeg |

derek low-pass |
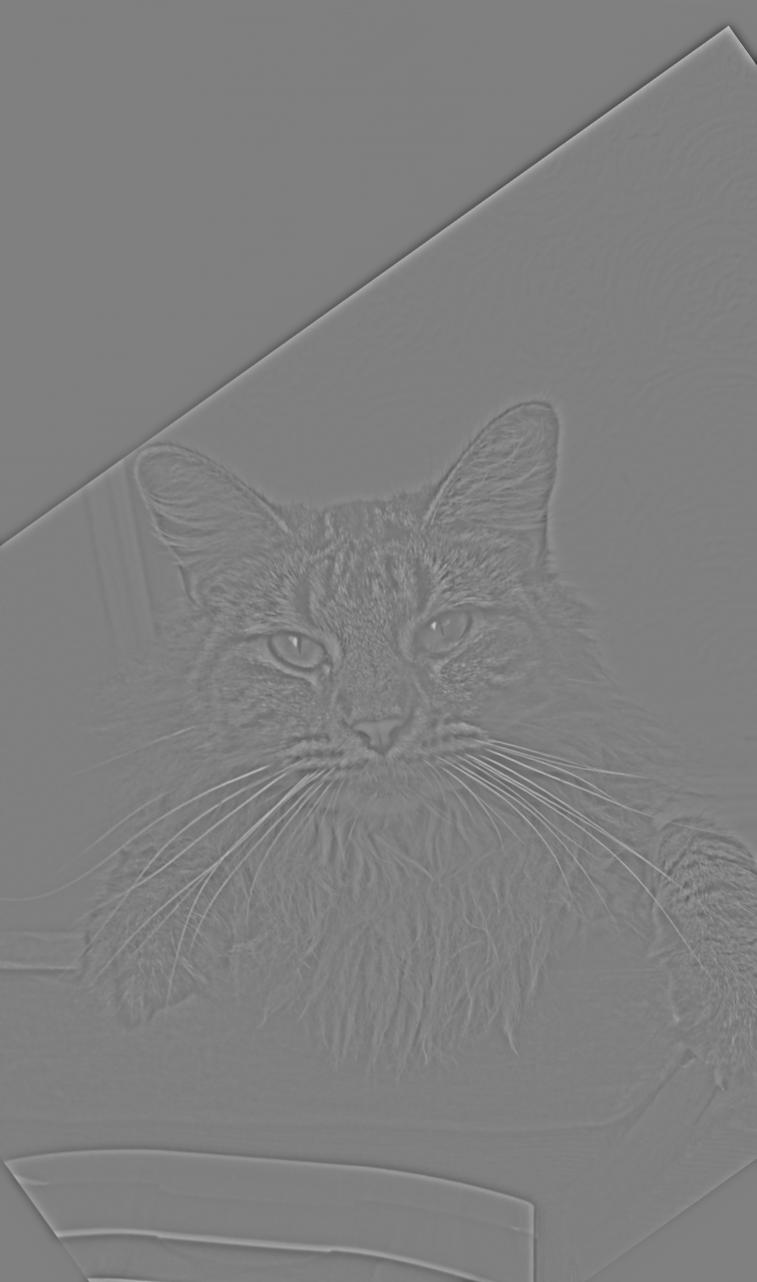
nutmeg high-pass |

derek + nutmeg |
watermelon (source: https://www.heb.com/product-detail/fresh-watermelon/583329), durian (source: https://phys.org/news/2020-02-durian.html)
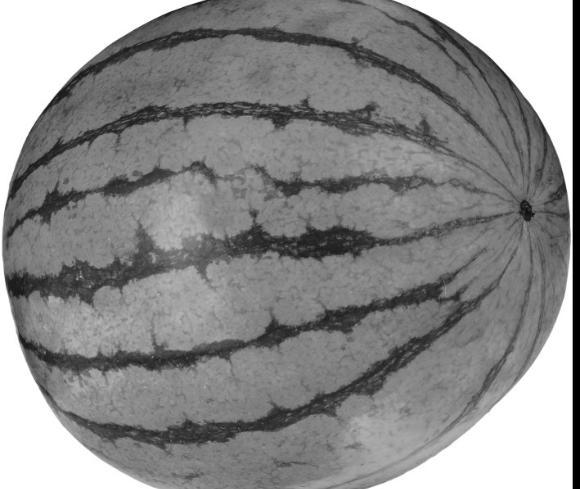
watermelon |
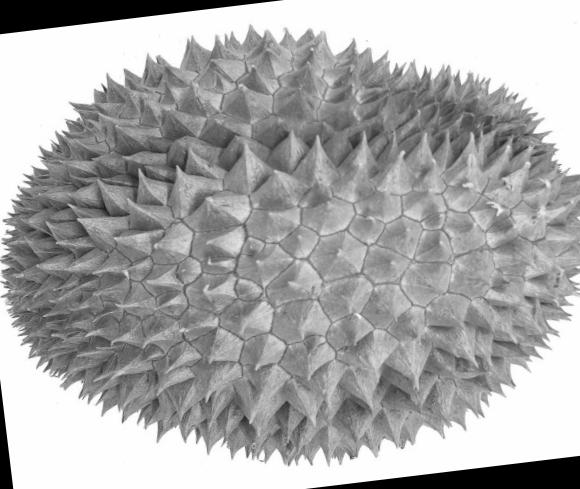
durian |
watermelon low-pass |
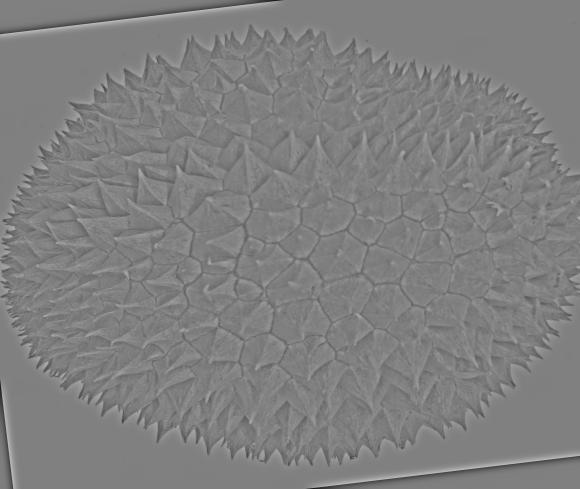
durian high-pass |
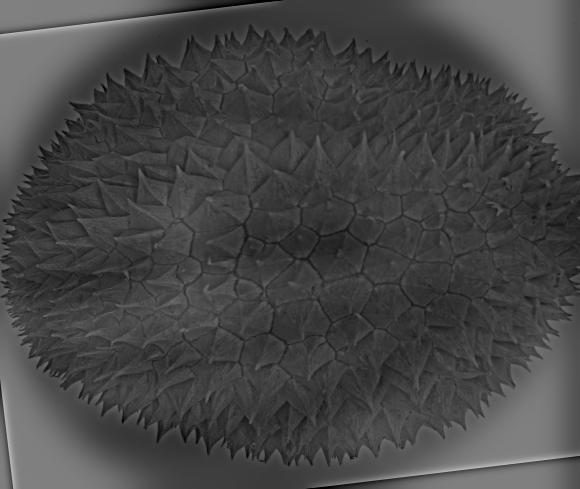
watermelon + durian |
For Jungkook + RM I also show the frequency domain analysis. As expected, low pass removes a lot of the low frequencies and high pass keeps all the noisy high frequences, and in the combination we see bright lines that are characteristic of both images.
(source: https://www.allure.com/story/bts-jungkook-long-hair-viral), RM (source: https://www.soompi.com/article/1425304wpp/btss-rm-donates-100-million-won-to-museum-on-his-birthday)
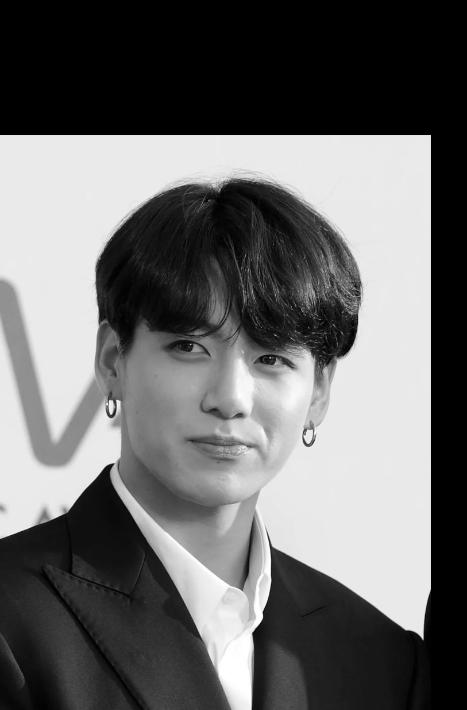
Jungkook |
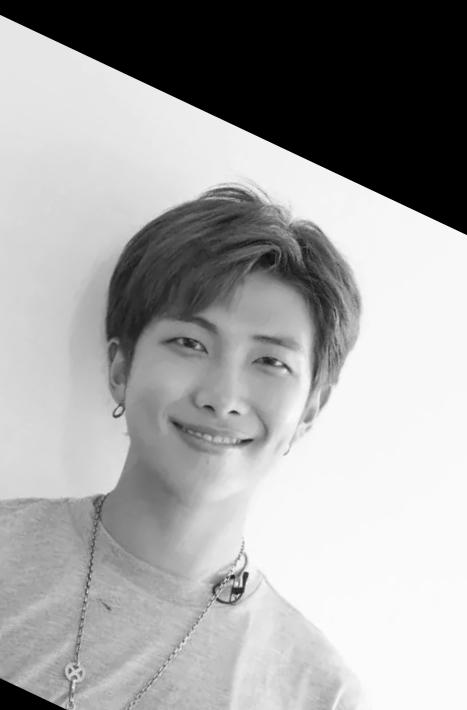
RM |
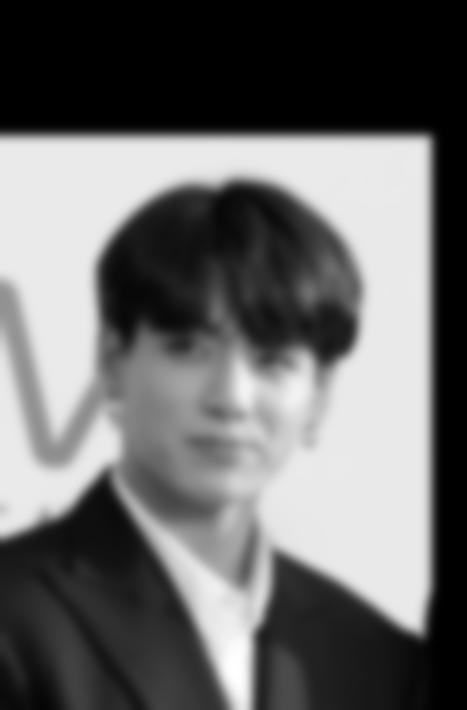
Jungkook low-pass |
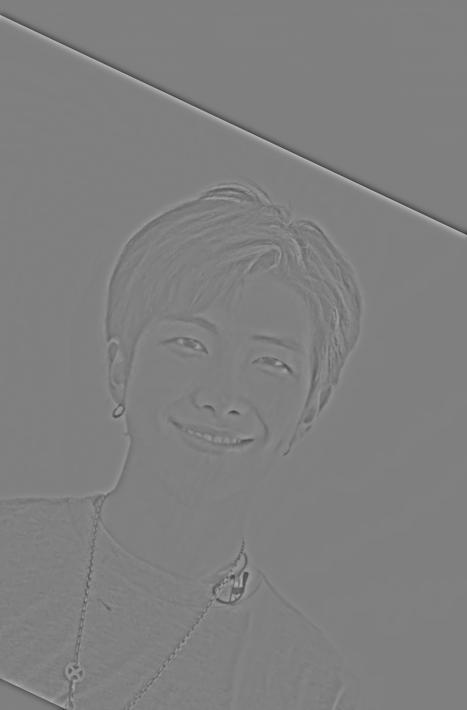
RM high-pass |
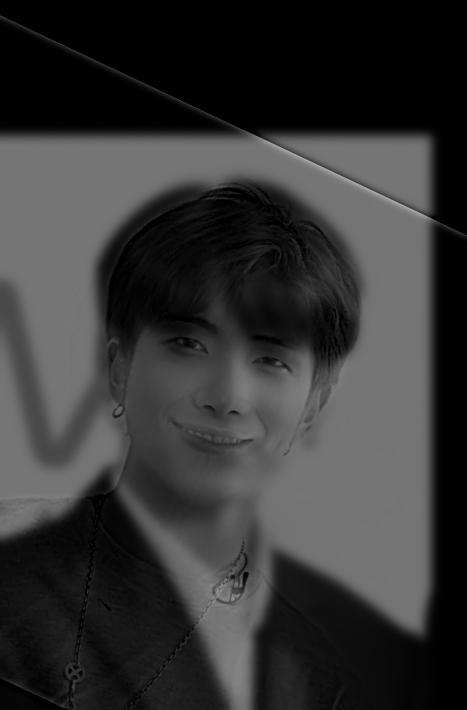
Jungkook + RM |
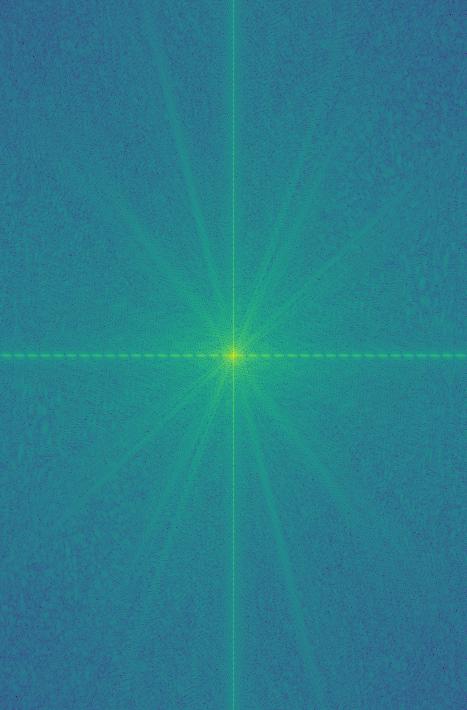
Jungkook FFT |
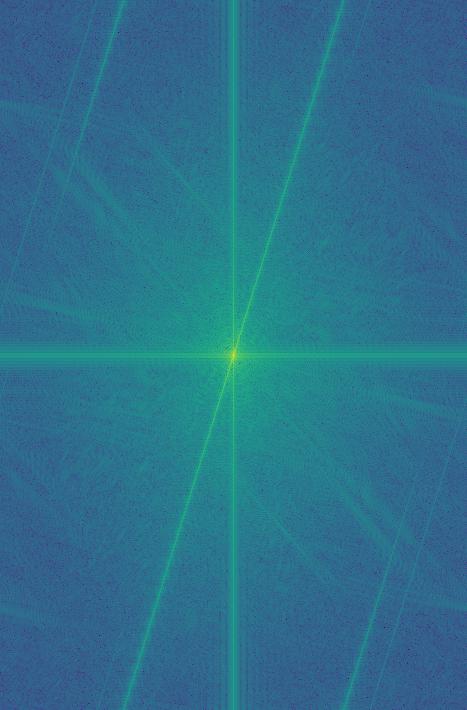
RM FFT |
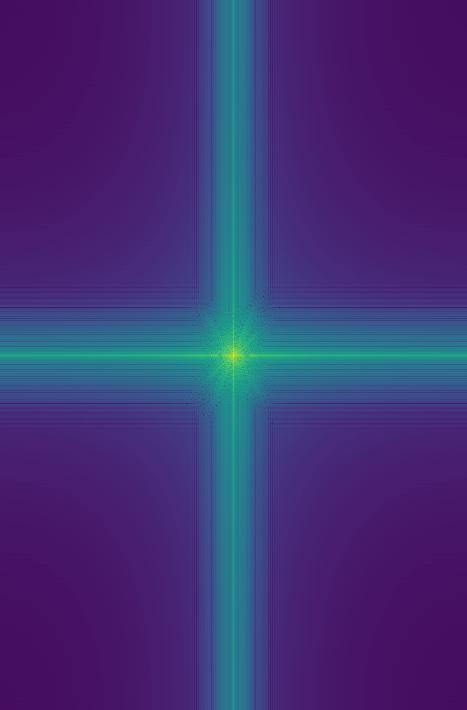
Jungkook low-pass FFT |
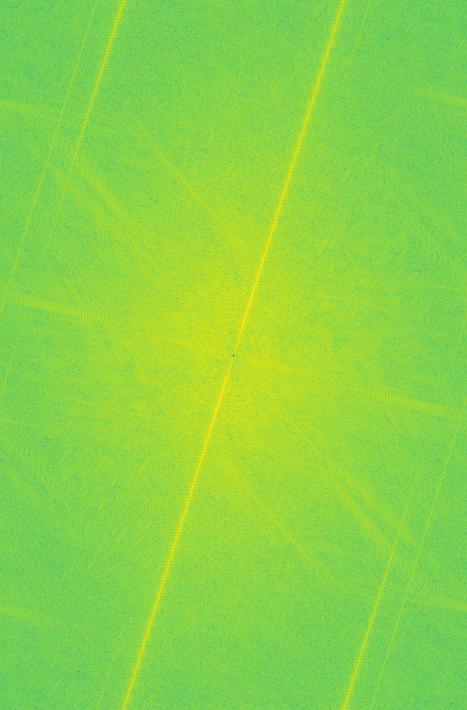
RM high-pass FFT |
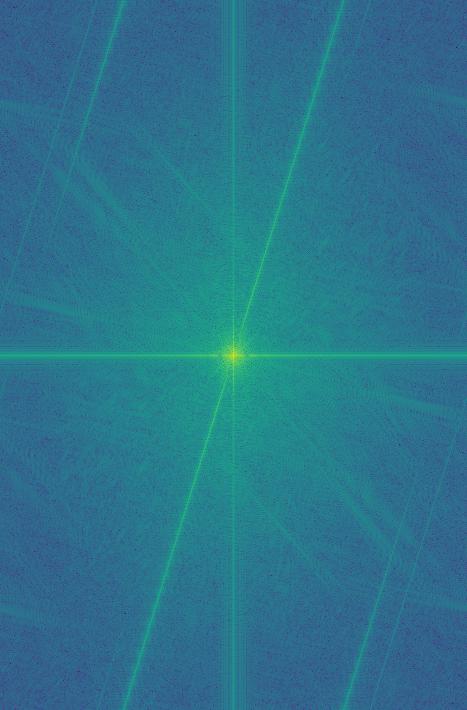
Jungkook + RM FFT |
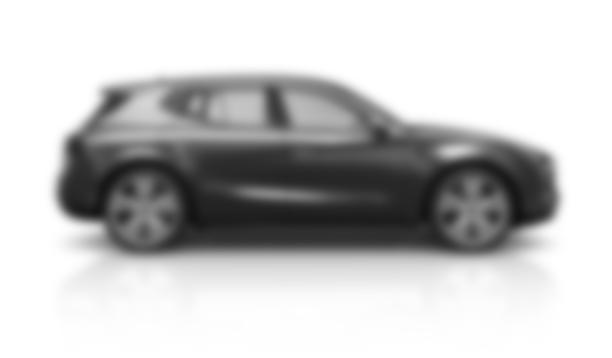
For Car + Simu, I show that this one doesn't really work, because for this hybrid method to work well, both images should have objects of similar shapes. Otherwise, it just looks like two images existing at the same time.
Simu (source: https://www.today.com/popculture/shang-chi-star-simu-liu-responds-critics-about-marvel-movie-t230259), Car (source: https://www.istockphoto.com/photos/side-view)
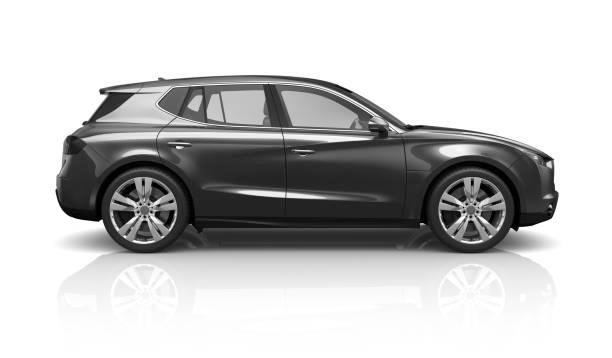
car |
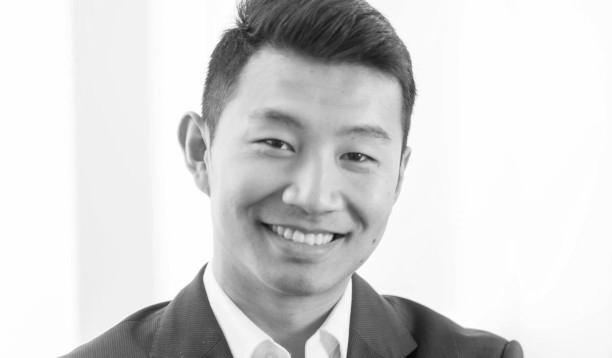
simu |
car low-pass |
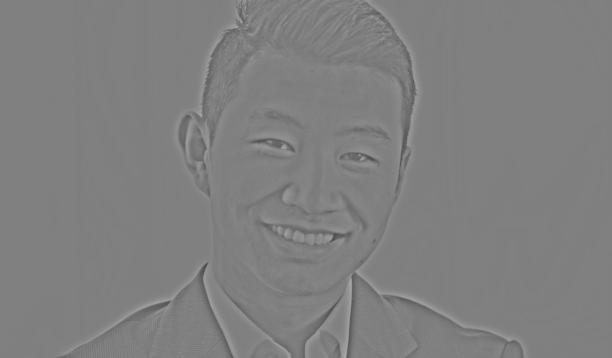
simu high-pass |
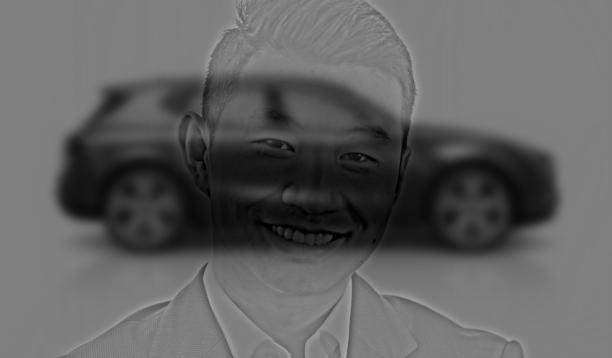
car + simu |
Part 2.3 + 2.4: Gaussian and Laplacian Stacks + Multiresolution Blending
For this section, I implemented multiresolution blending using Gaussian and Laplacian stacks. How this works is by splitting the two input images into different frequency bands, then blending the bands together using masks blurred at different levels, and then adding the blurred bands together.
Bells and Whistles: I implemented everything with RGB colors. However, I will show the final result of Orapple using grayscale just for comparison (the colored version looks better).
Orapple
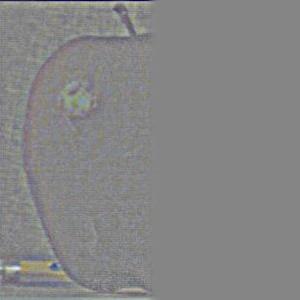
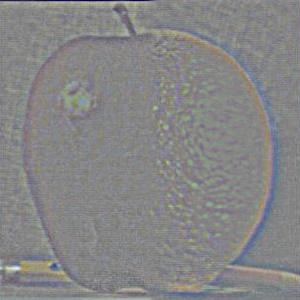
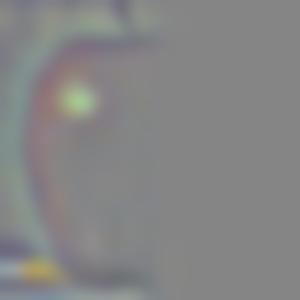
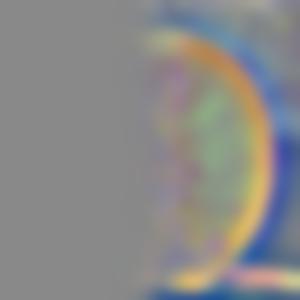
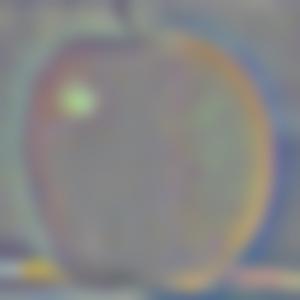
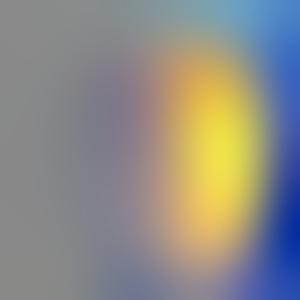
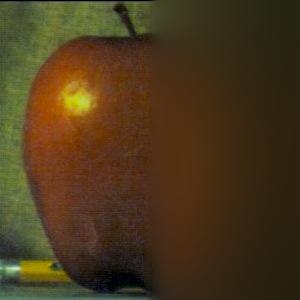
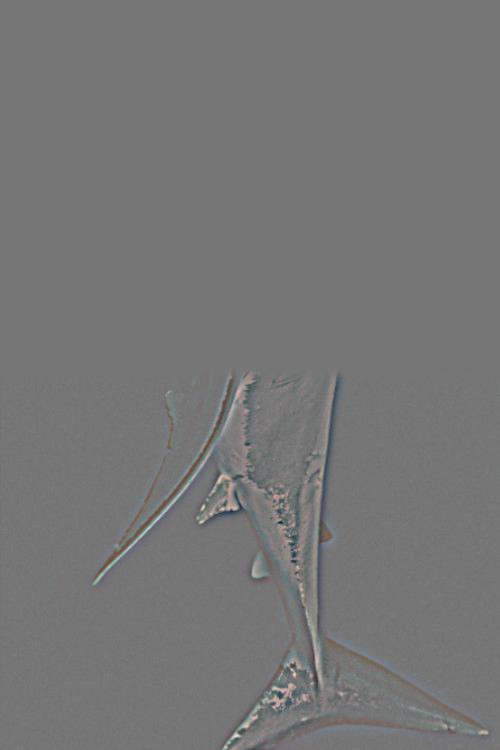
I first apply this on the Orapple, i.e. blending together an apple on the left and orange on the right. For all the blends, I used 5 levels and initial sigma of 4.0, doubling sigma at each level. For all the visualizations, I will show the laplacian pyramid at level 0, 2, and 4, and the combined image. I will also show the initial images, the mask, and the final image.
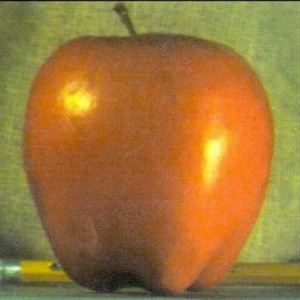
apple |
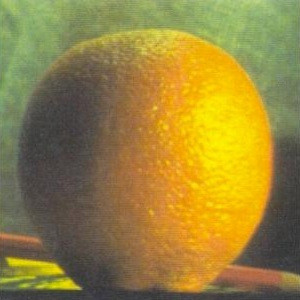
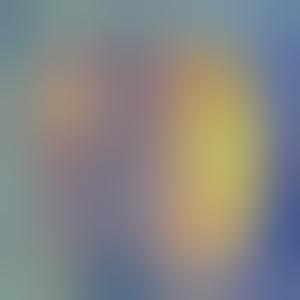
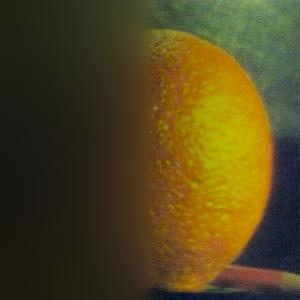
orange |

mask |
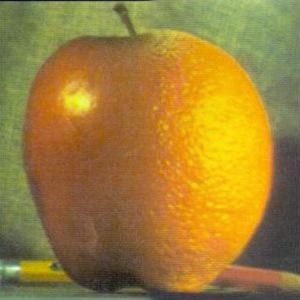
orapple |
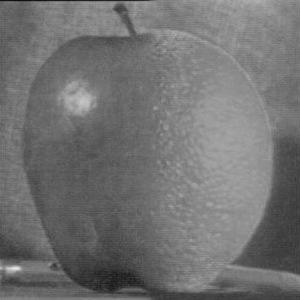
grayscale |
|

|
|
|
|
|

|
|
|
|
|
|
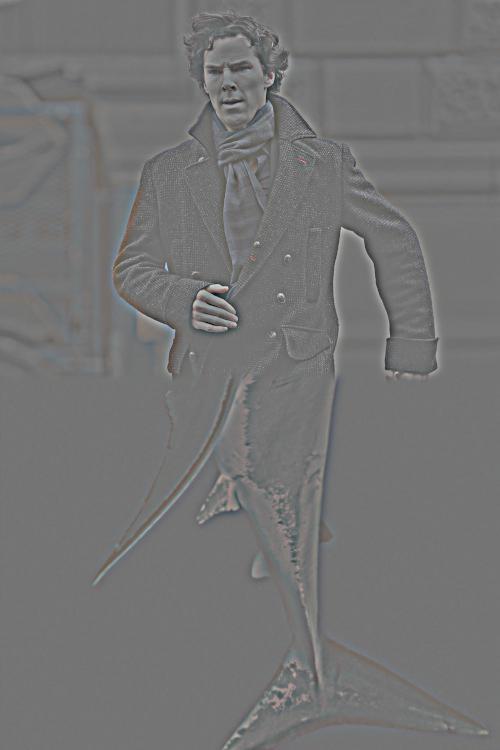
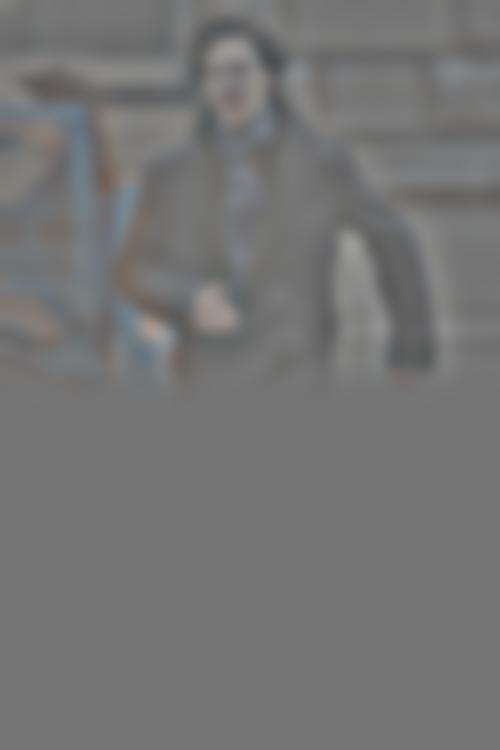
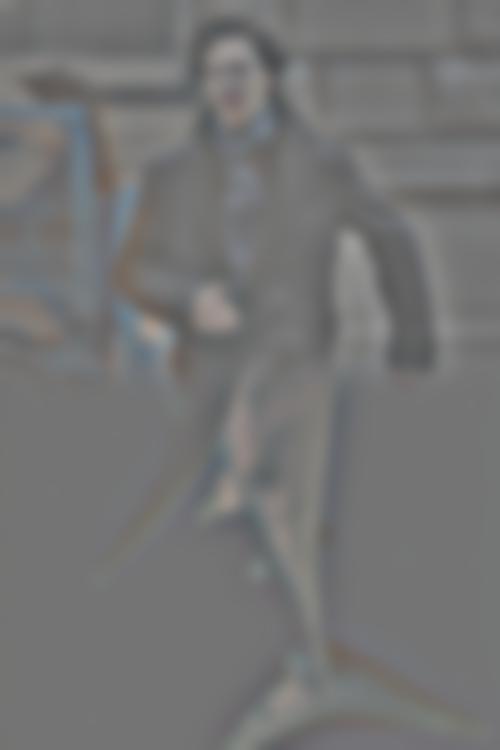
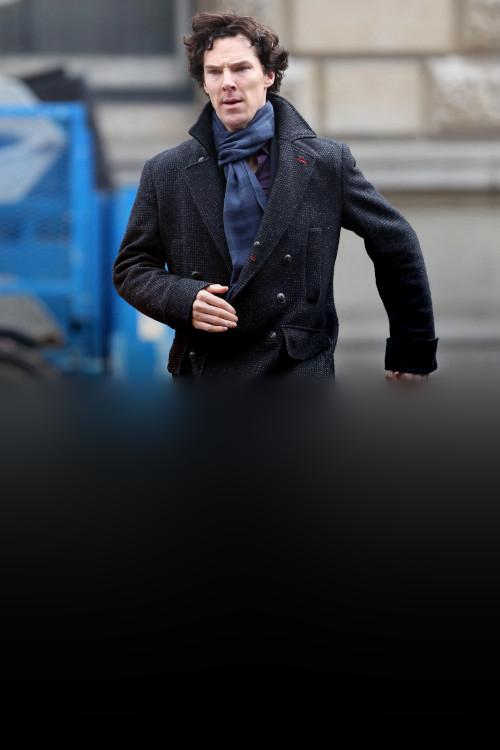
Cucumber Shark
The next one is combining Benedict Cumberbatch (a.k.a cucumber), and a shark. Sources: https://www.thesun.co.uk/news/6432784/benedict-cumberbatch-saves-deliveroo-assault/, https://www.nytimes.com/2020/08/14/science/great-white-shark.html
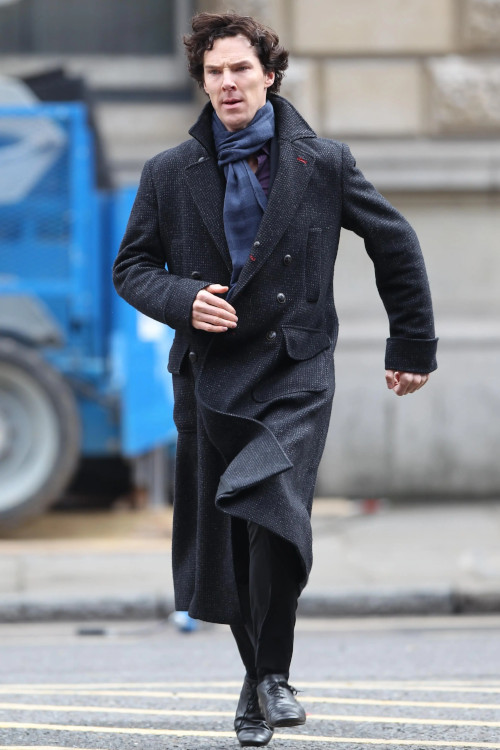
cucumber |
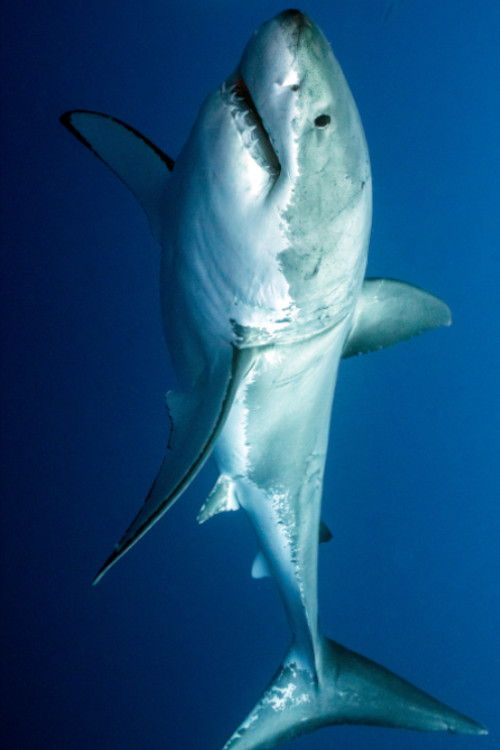
shark |

mask |
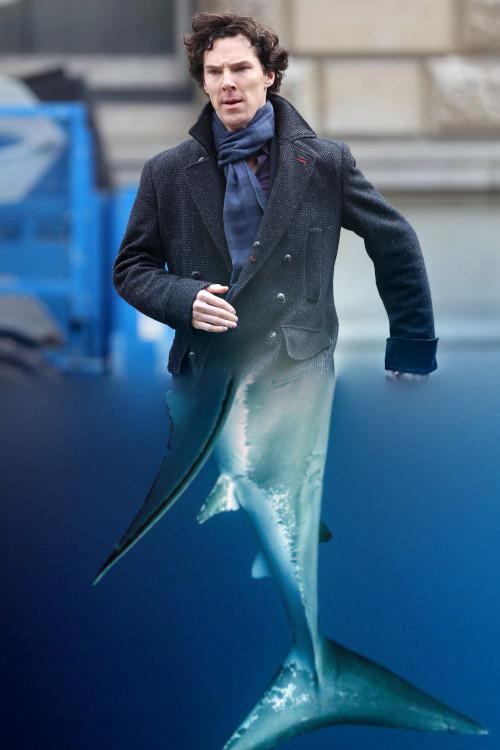
cucumber shark |

|
|
|
|
|
|

|
|
|
|

|
|
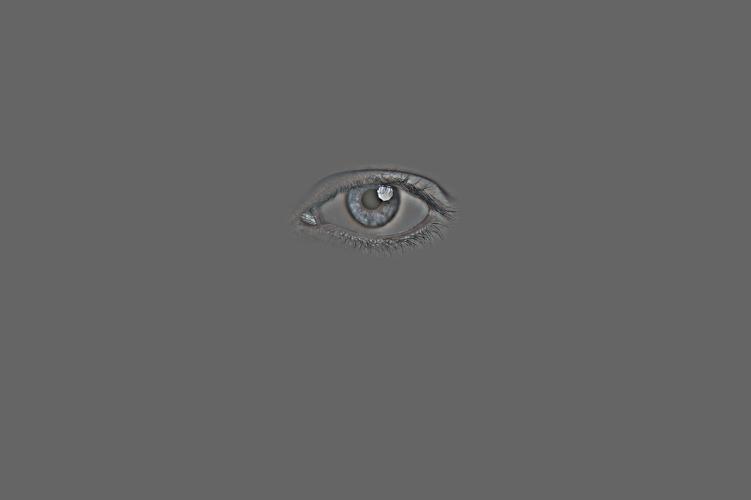
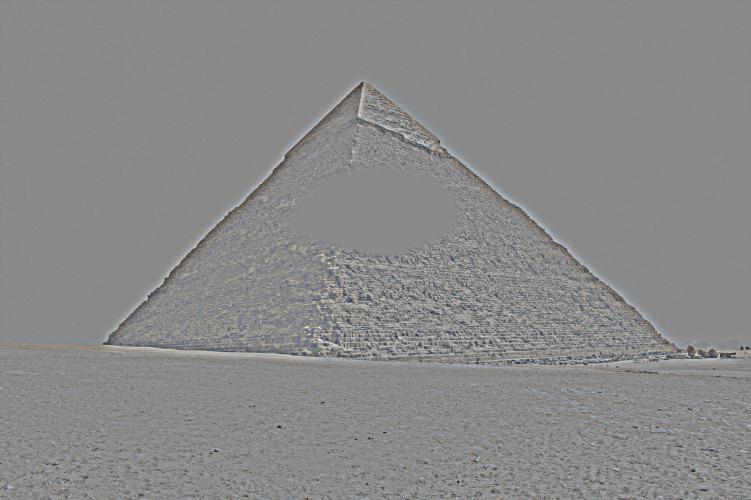
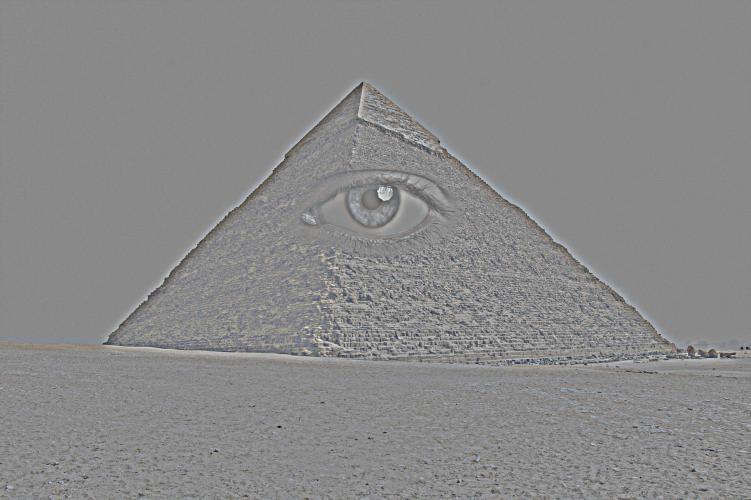
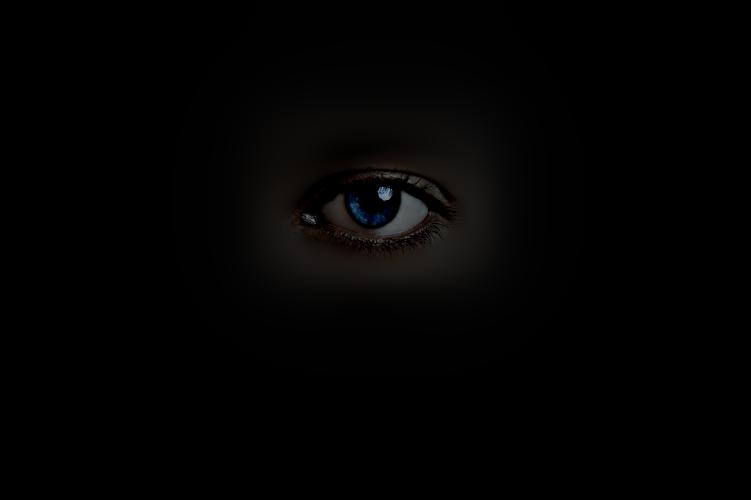
Illuminati
The next one is combining a pyramid and an eye into illuminati. This one also uses an irregular mask. Sources: https://www.livescience.com/3919-human-eye-works.html, https://www.mentalfloss.com/article/512833/scientists-discover-mysterious-void-great-pyramid-giza

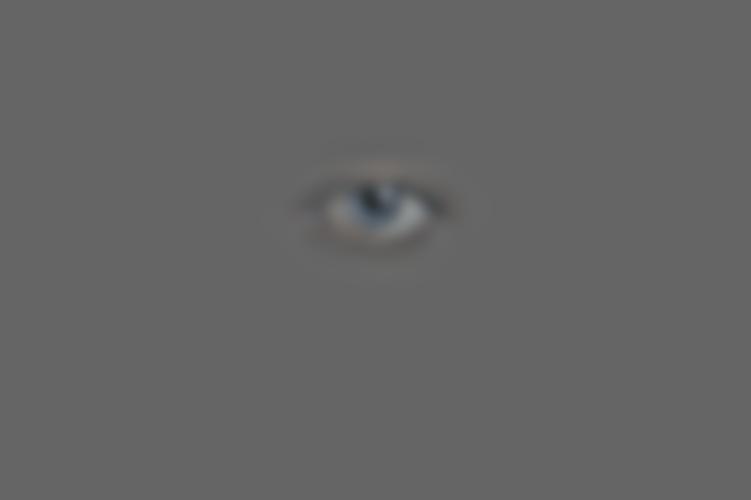
eye |
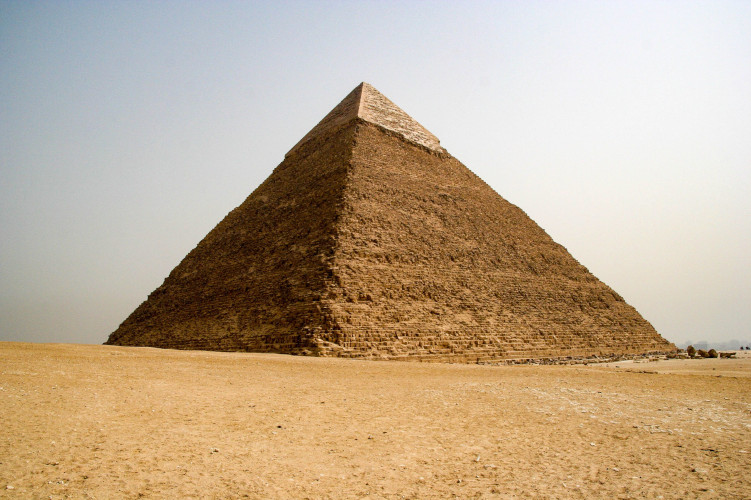
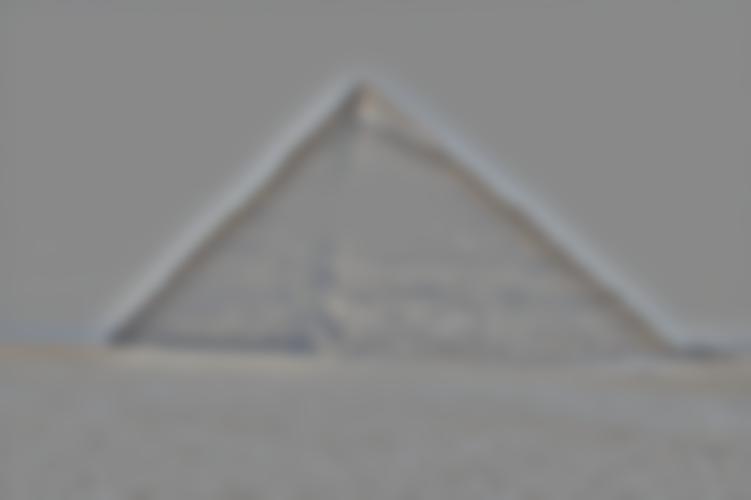
pyramid |
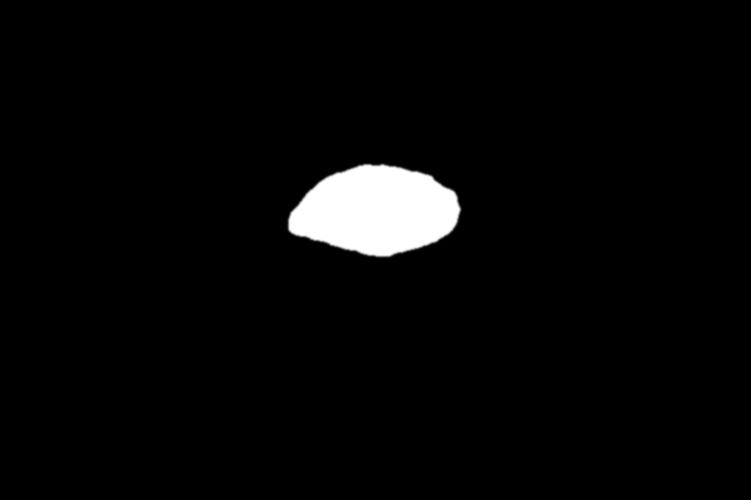
mask |
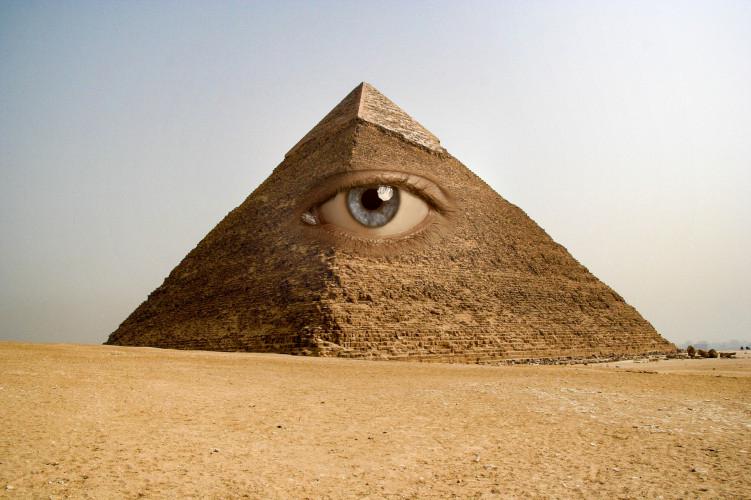
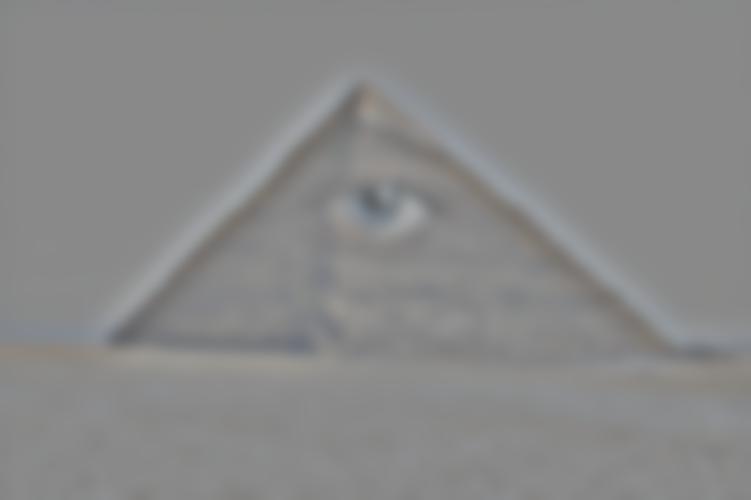
illuminati |
|
|
|
|
|
|

|
|
|
|

|
|
Conclusion
I really liked this project! The coolest thing was definitely the multiresolution blending, because that let me make so many cool images!