Overview
In this project I used filters and frequencies to create some fun and interesting images!
Details
Part I: Fun with Filters
Part 1.1
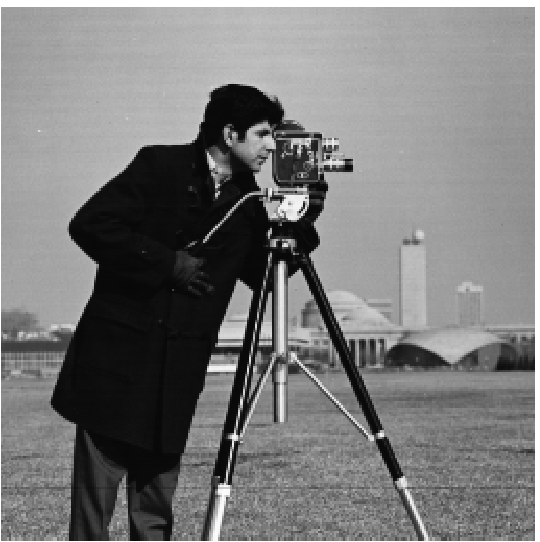
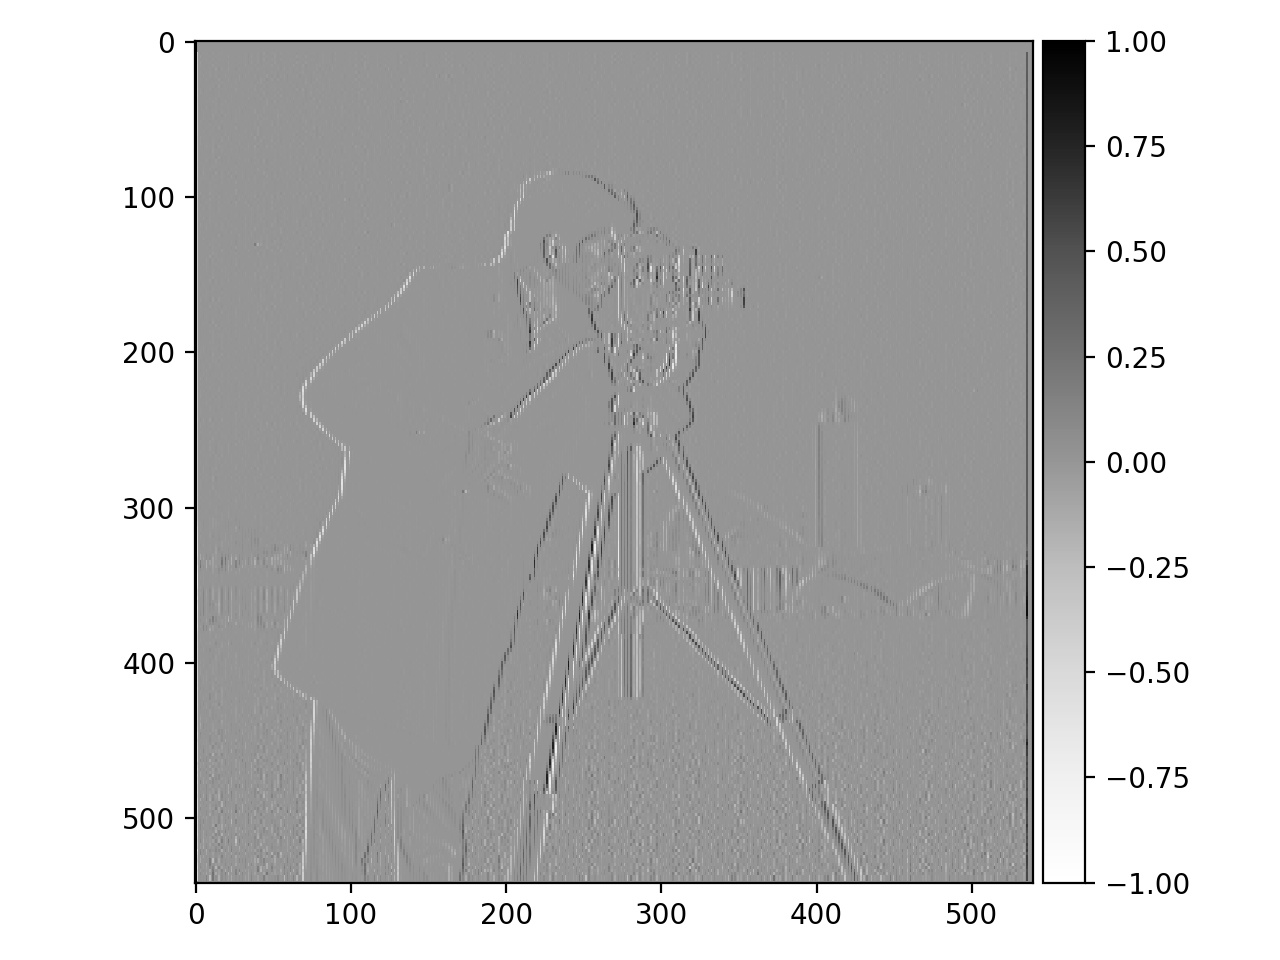
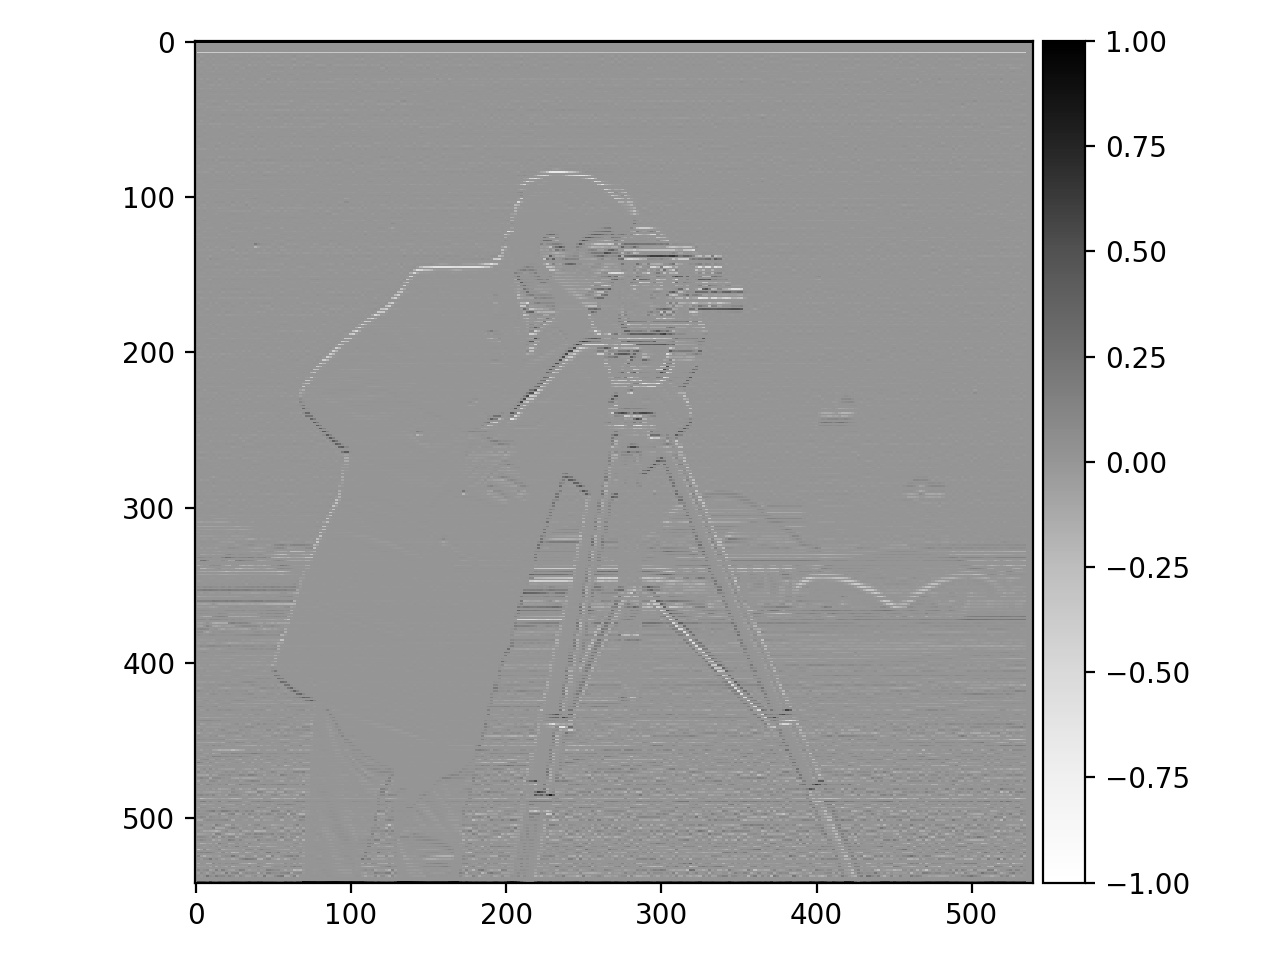
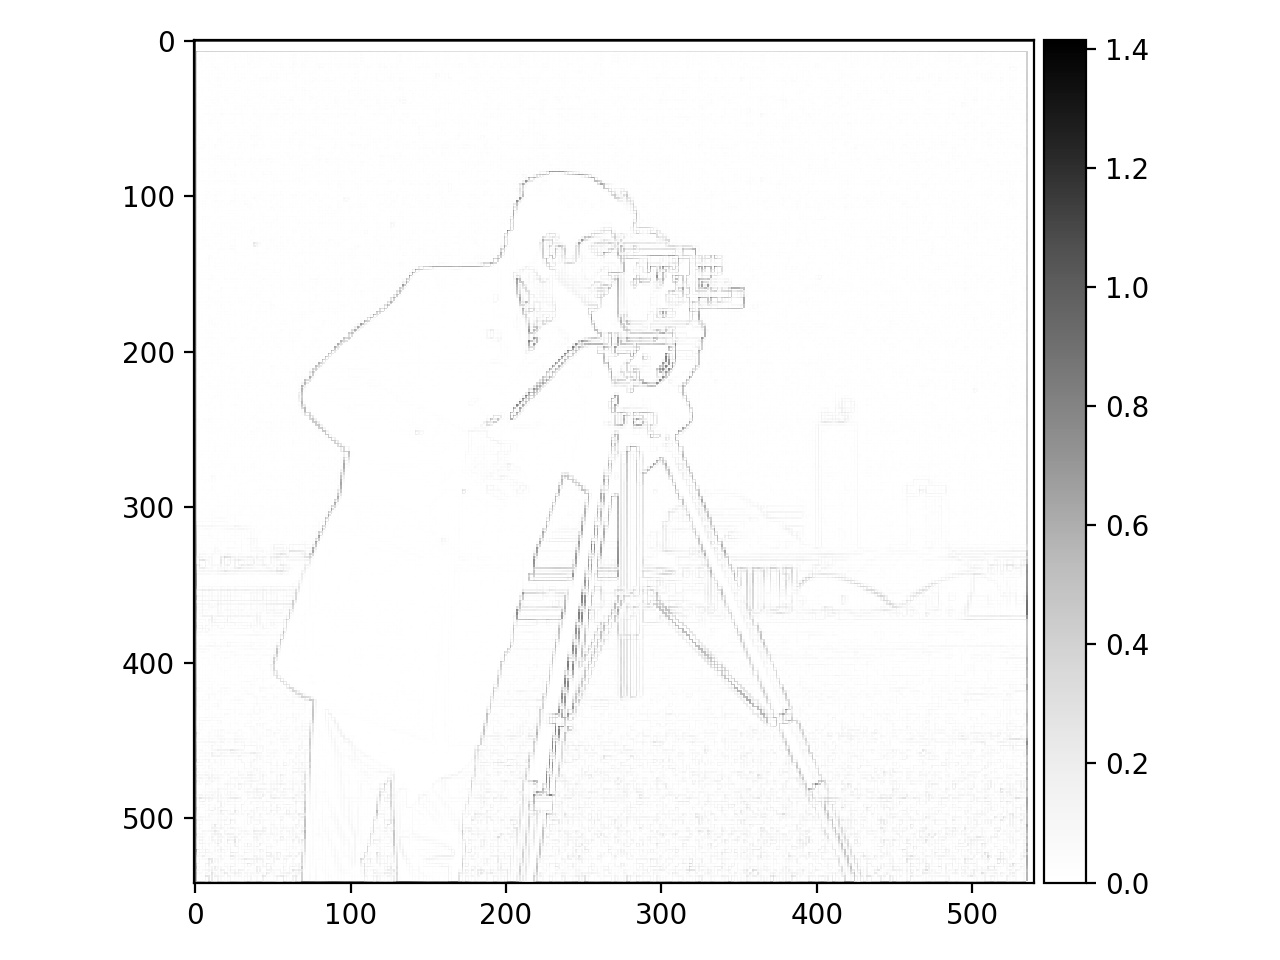
In part 1.1, I convolved the input image with finite difference operators D_x and D_y to compute the gradient magnitude image. II took the derivative of the image in the x and y directions. The gradient magnitude of an image provides useful information about how quickly it changes. For example, areas where the gradient magnitude of the image are higher may represent the boundaries of objects in an image, and this can be helpful for edge-detection.
Source: https://www.cs.umd.edu/~djacobs/CMSC426/ImageGradients.pdf
|
|
|
|
|
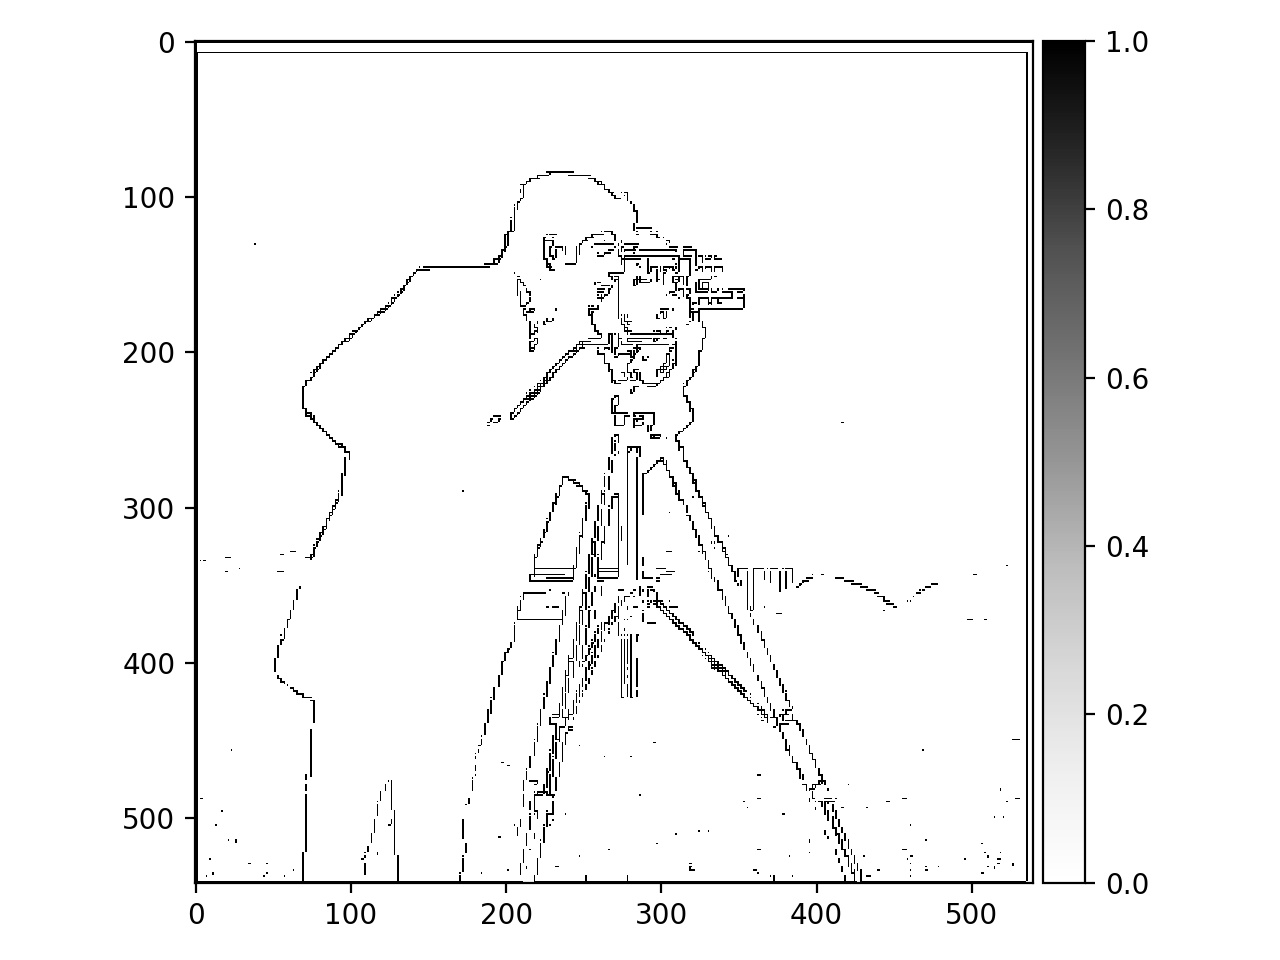
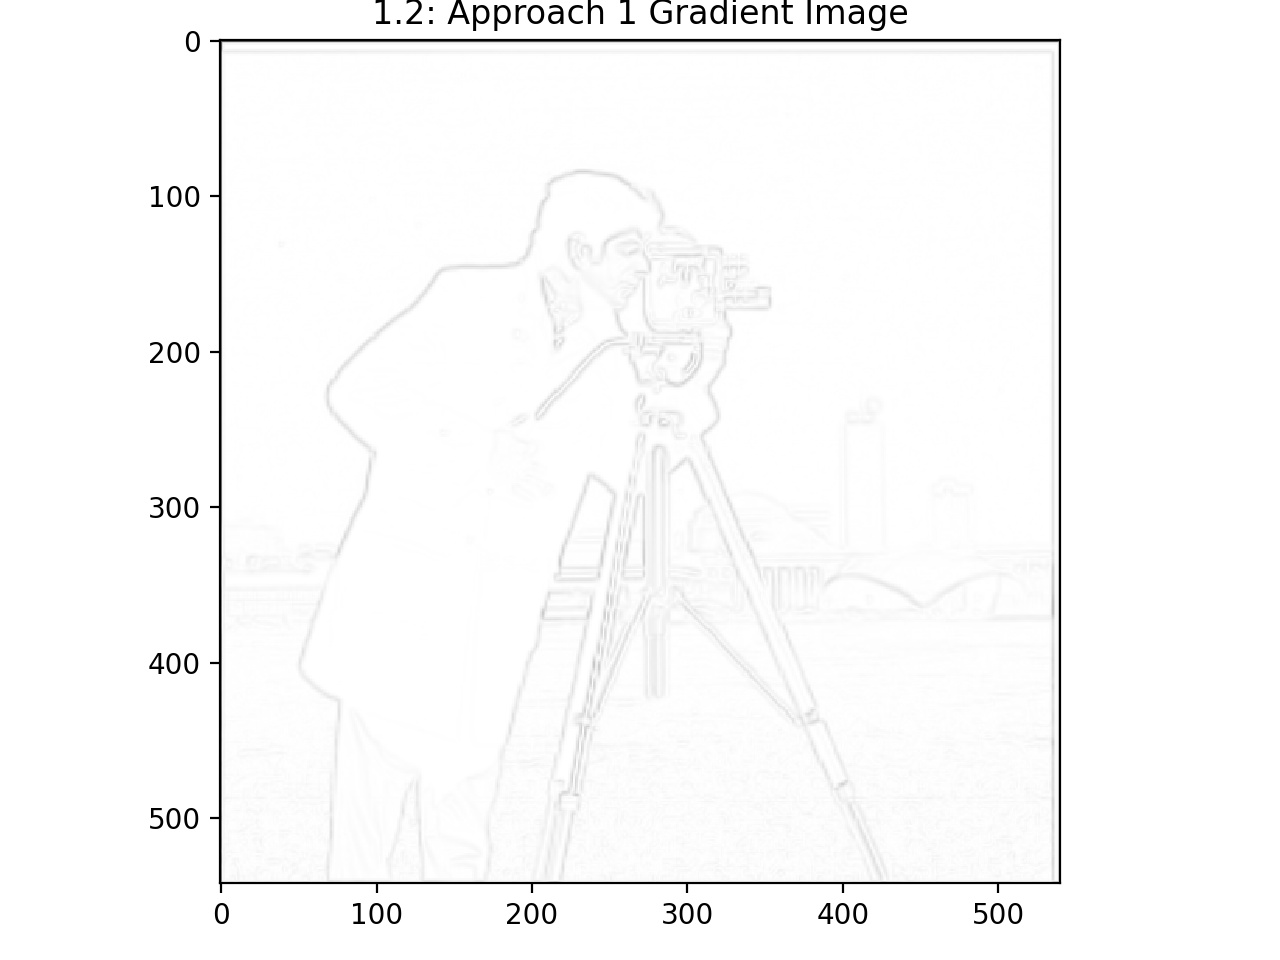
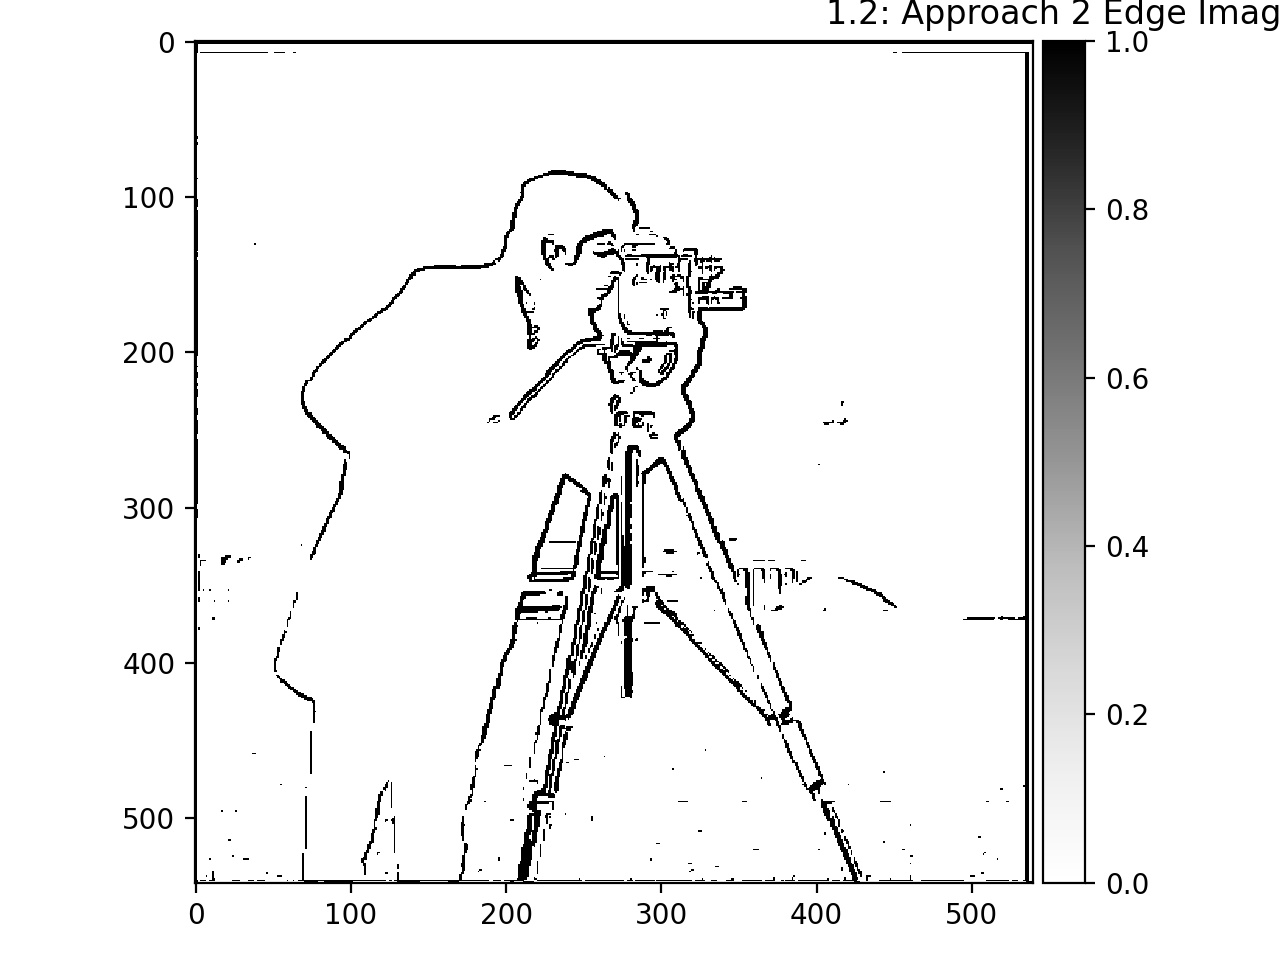
Part 1.2
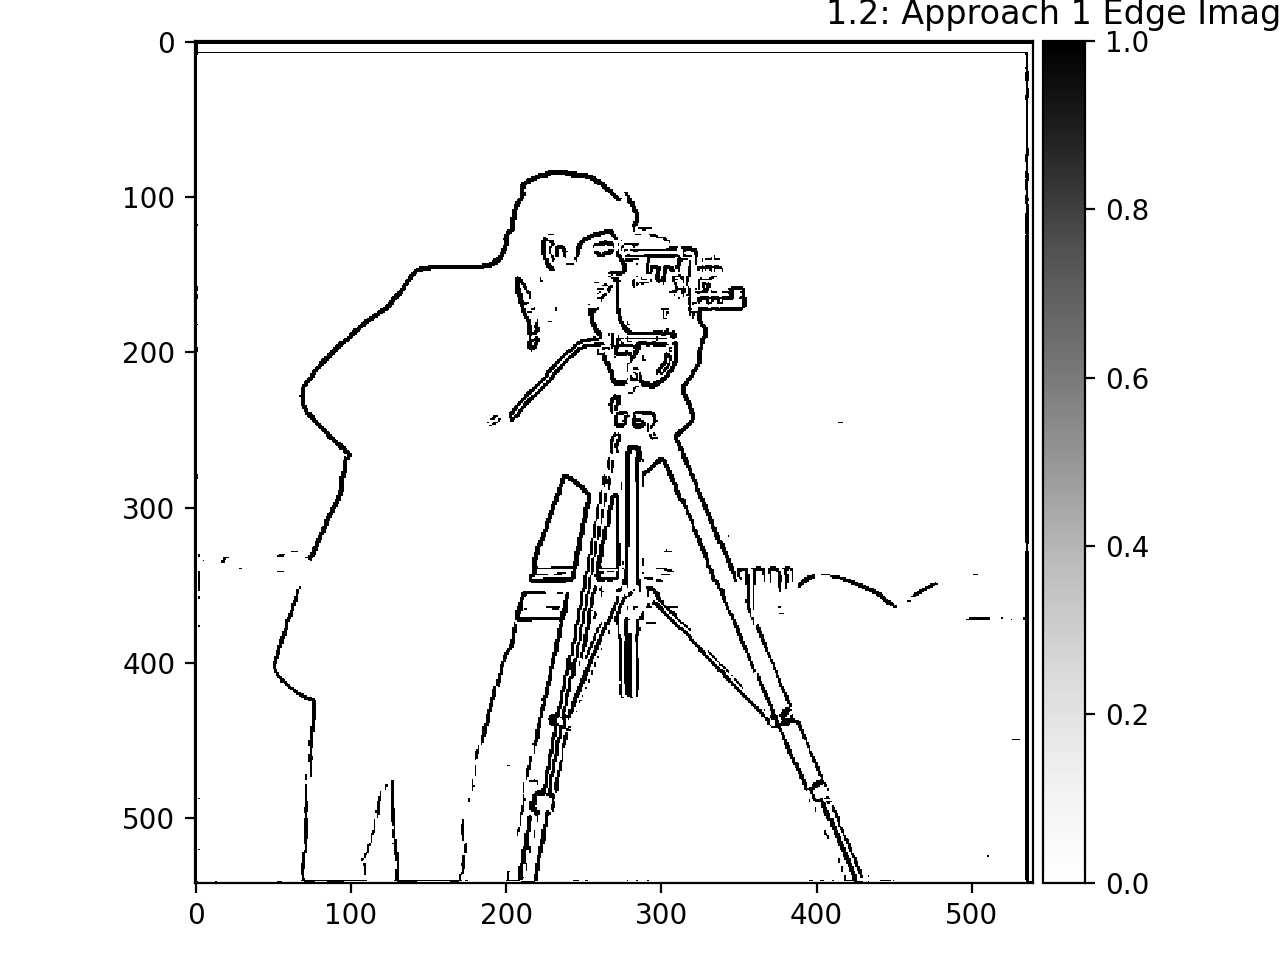
By using a Gaussian filter in combination with the approach in Part 1.1, I was able to create a less-noisy resulting image. I tried two approaches: One in which I first convolved the image with the Gaussian filter and then used the finite difference operators to compute the gradient magnitude image, and the other in which I did the same thing but in the opposite order.
Here is the first approach:
|
|
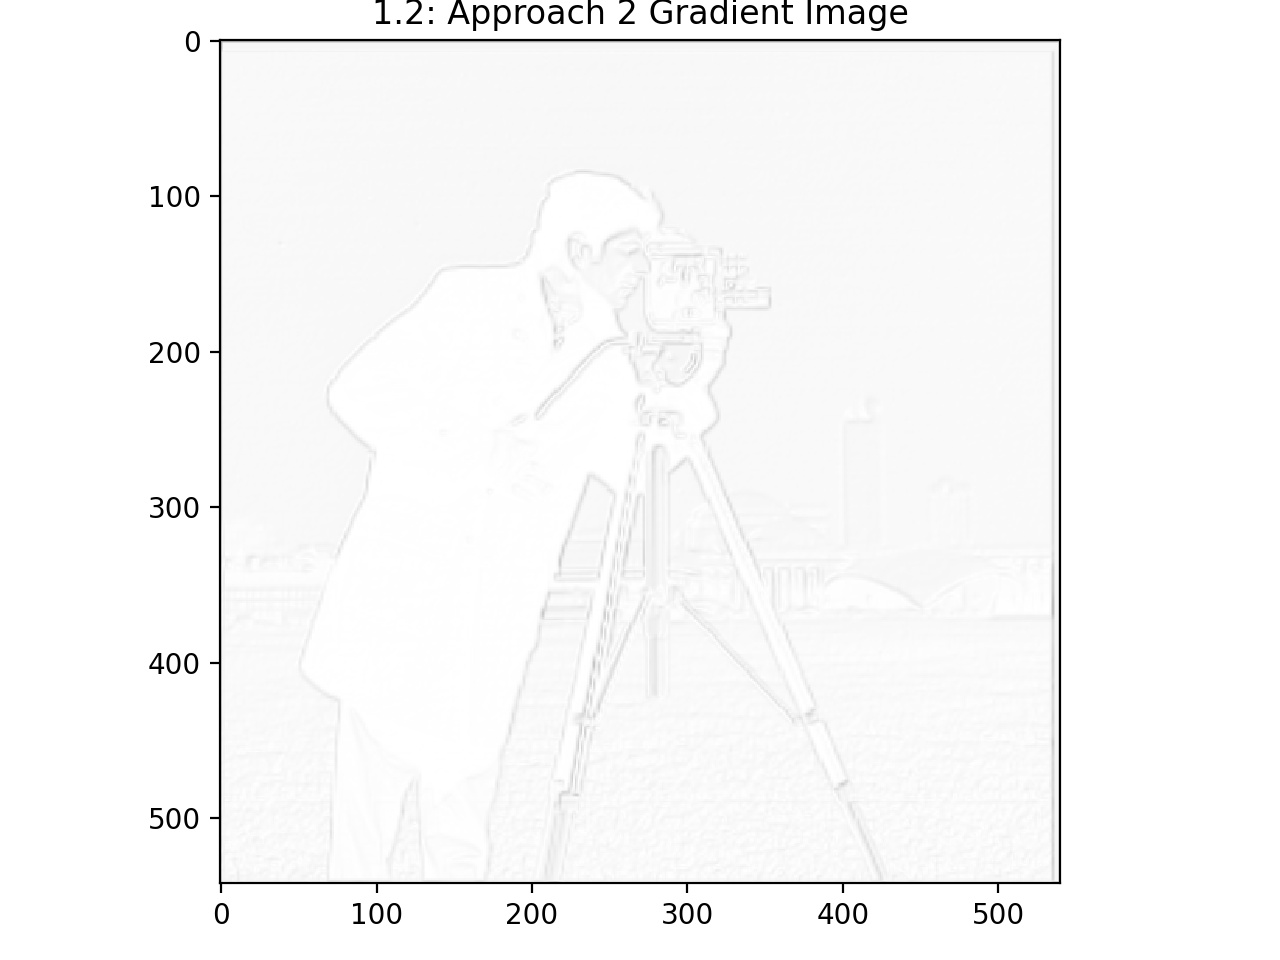
Here is the second approach:
|
|
These two approaches produce the same result!
Part 2: Fun with Frequencies
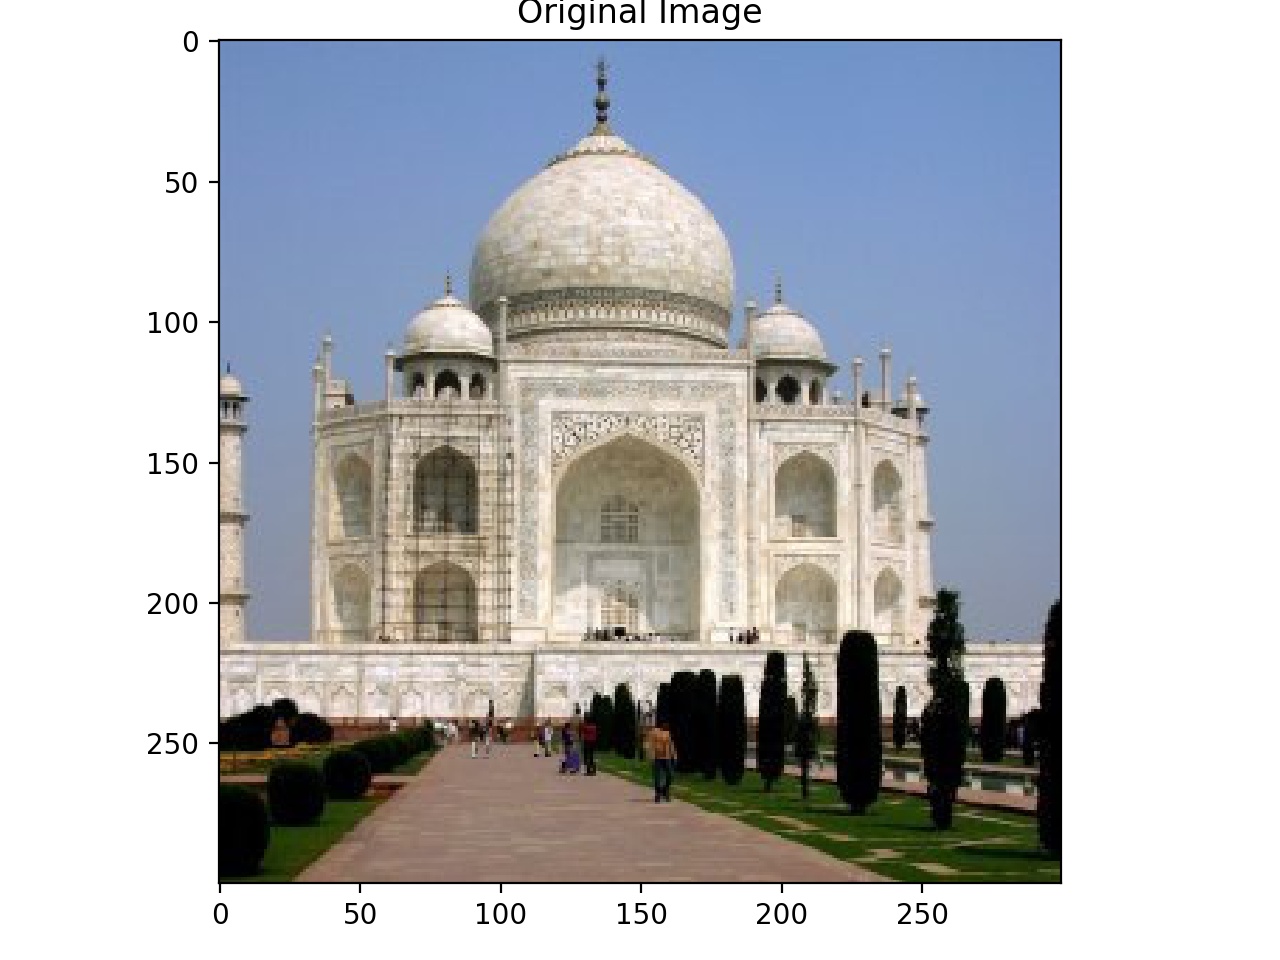
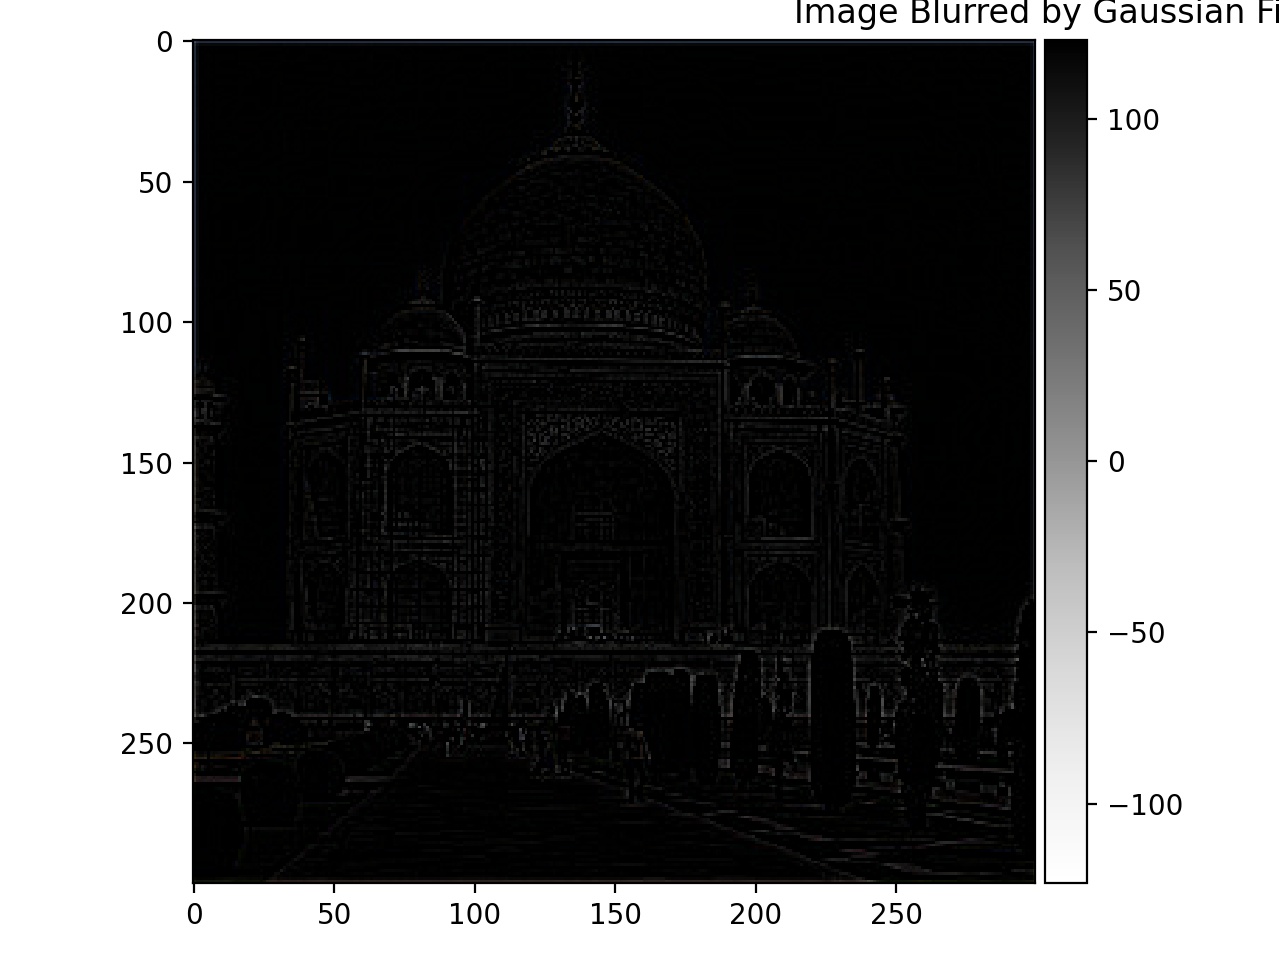
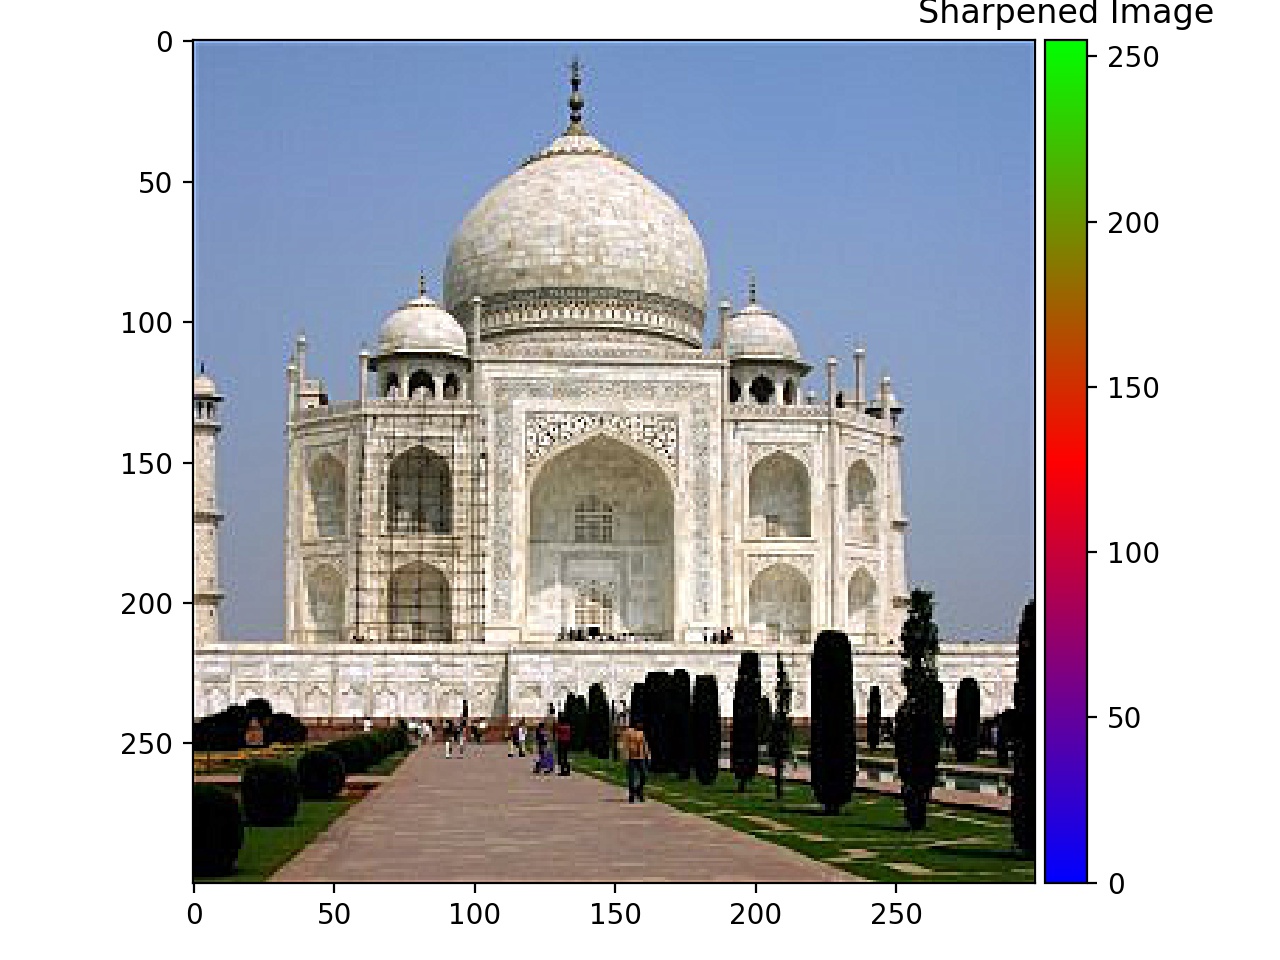
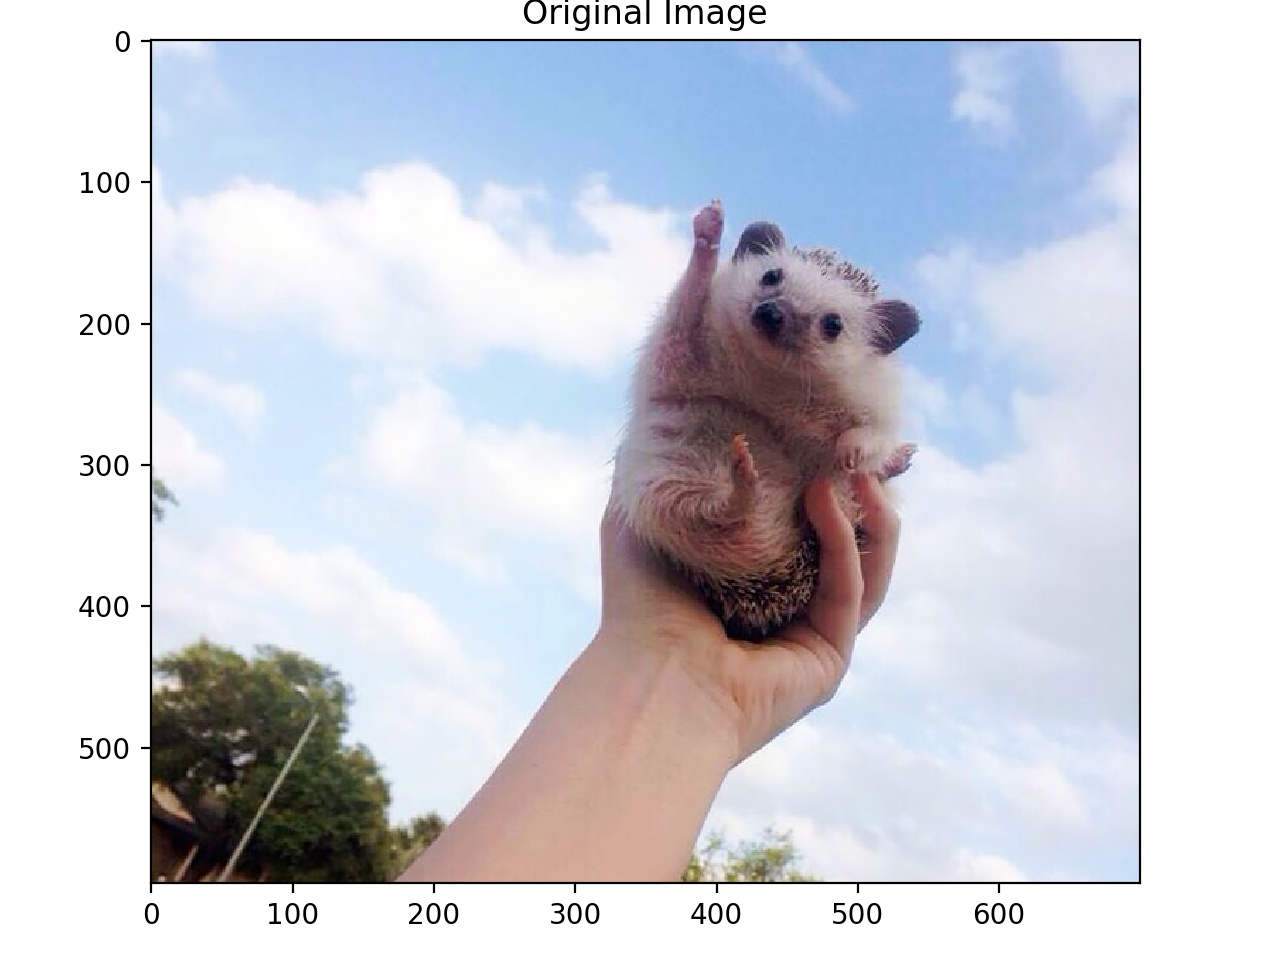
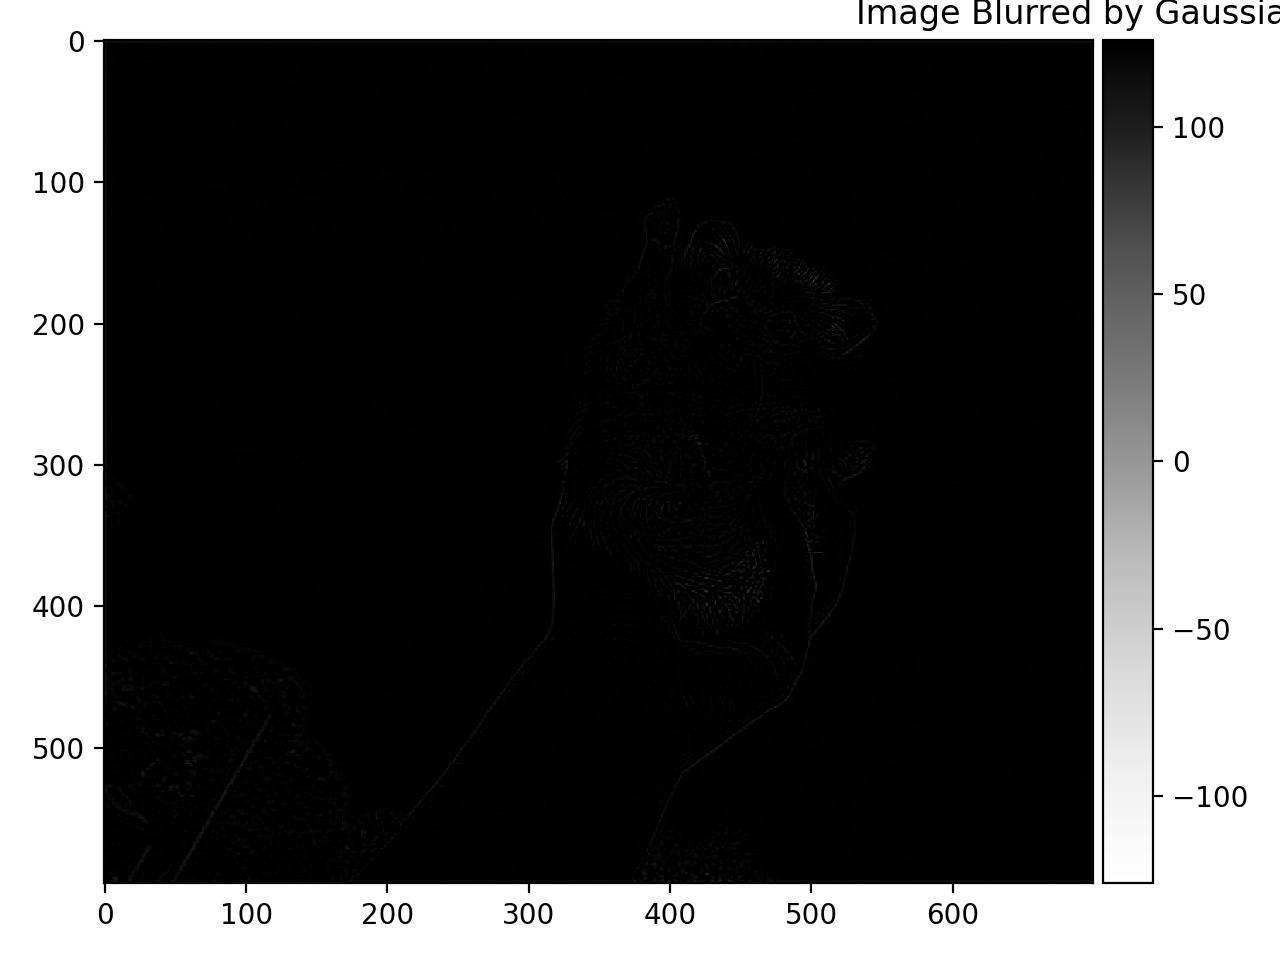
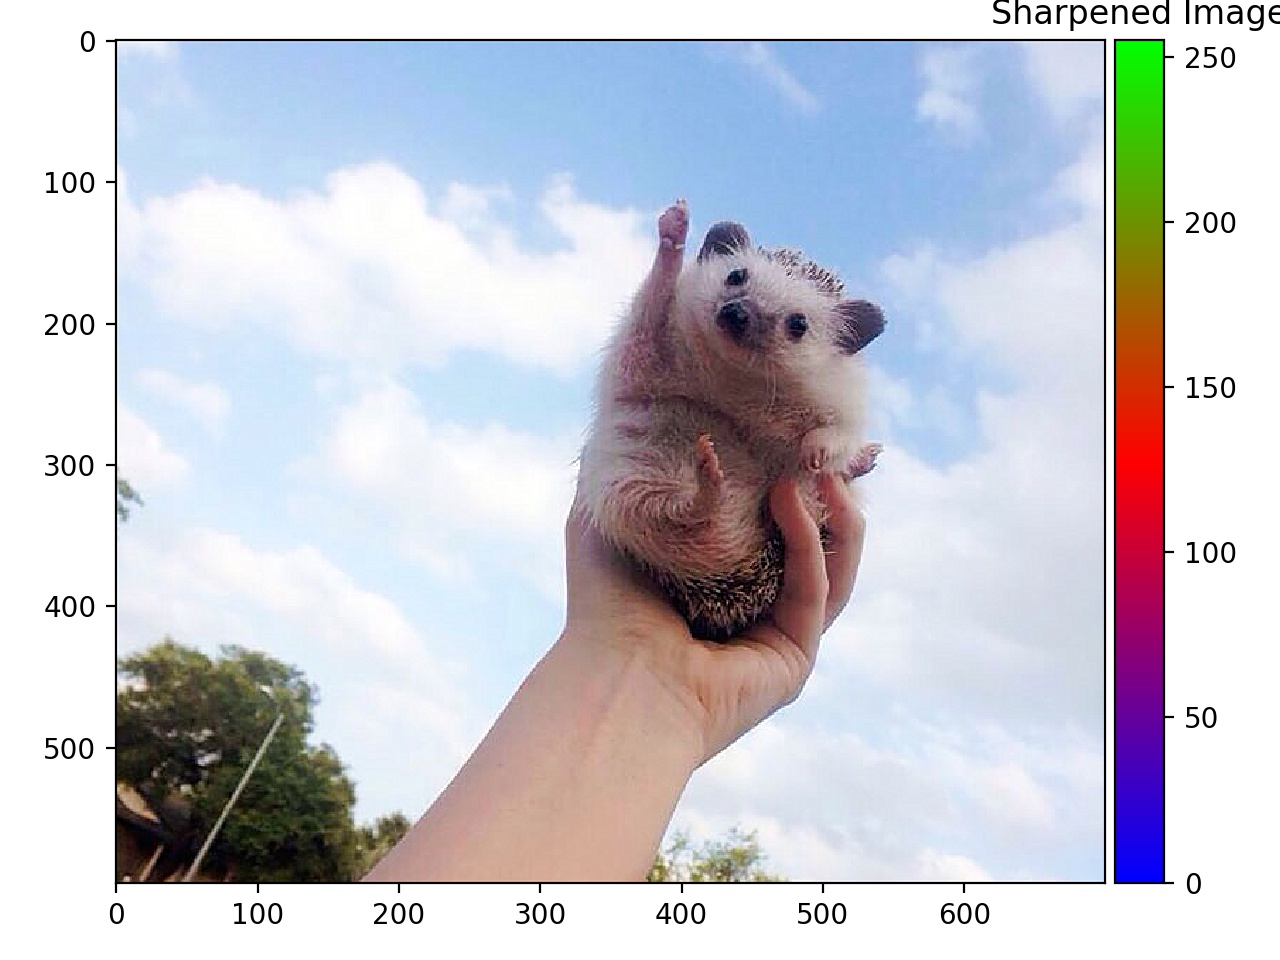
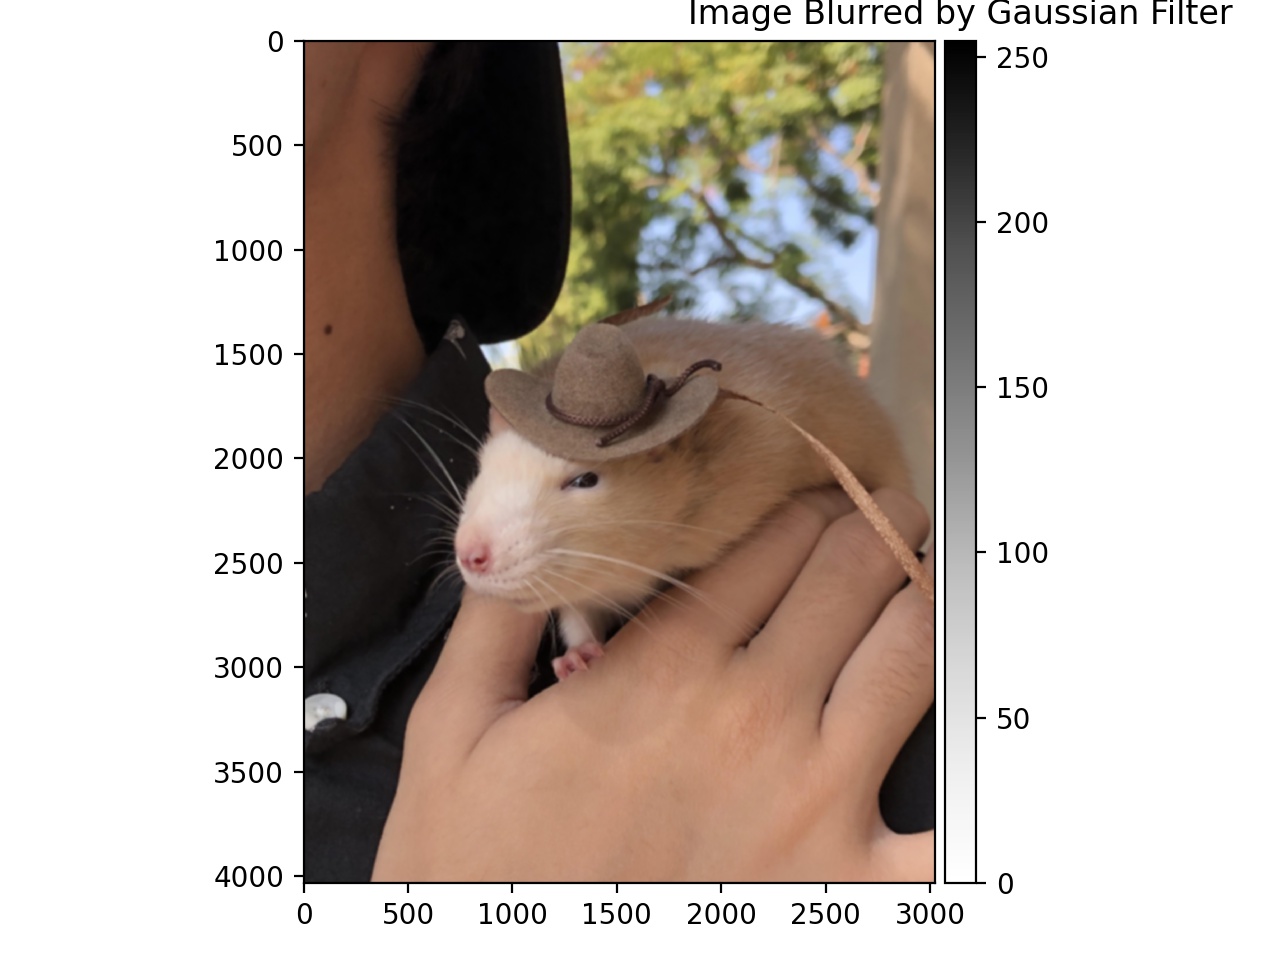
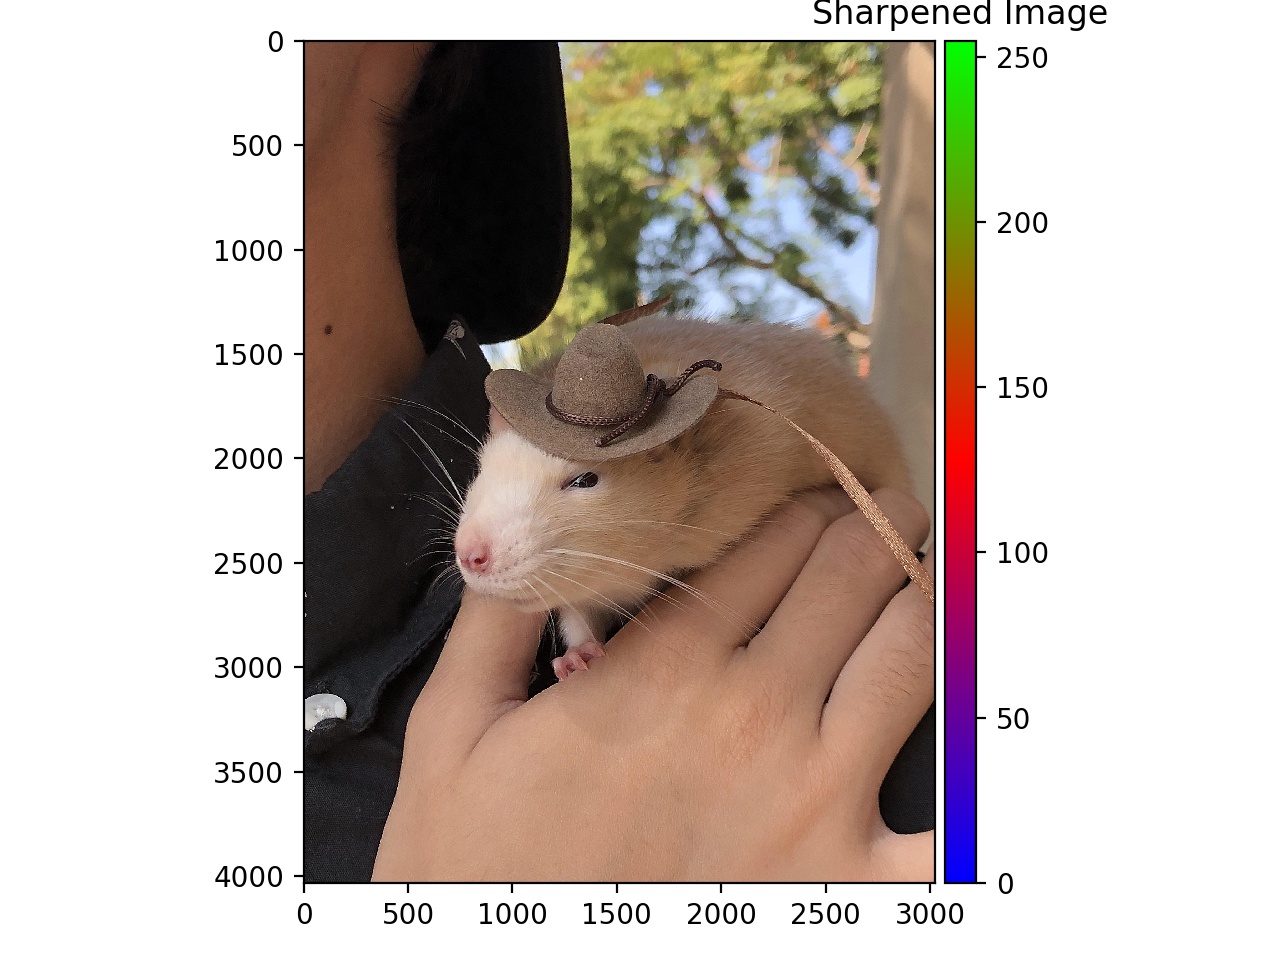
Part 2.1: Image Sharpening
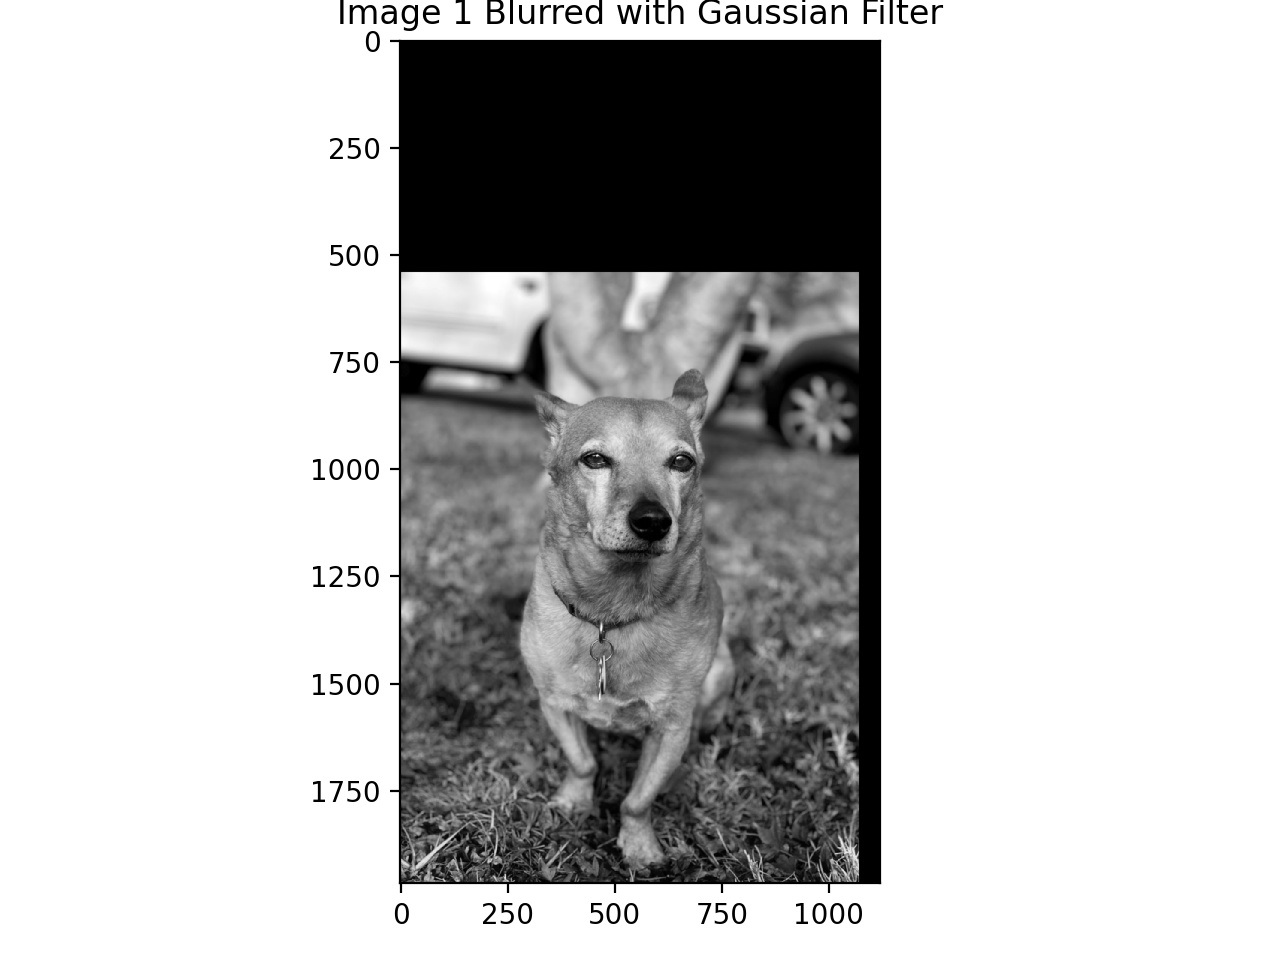
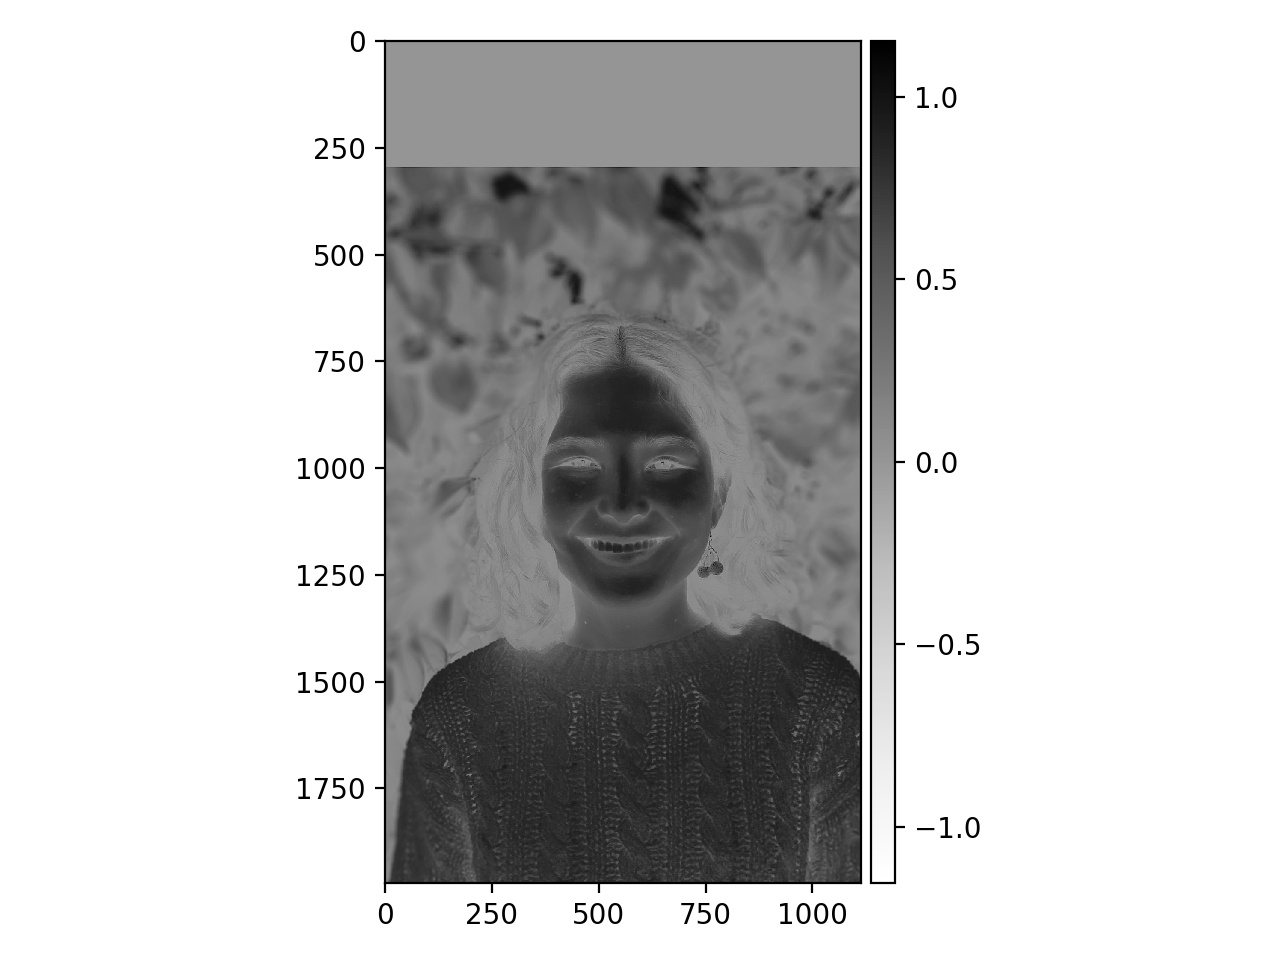
I used the unsharp masking technique to "sharpen" blurry images. This technique also uses the Gaussian filter. By subtracting the blurred version of an image (created by convolving with the Gaussian filter) from the original image, I obtained the high-frequencies of the image. Adding these high-frequencies to the original image makes it appear "sharper"!
|
|
|
|
|
|
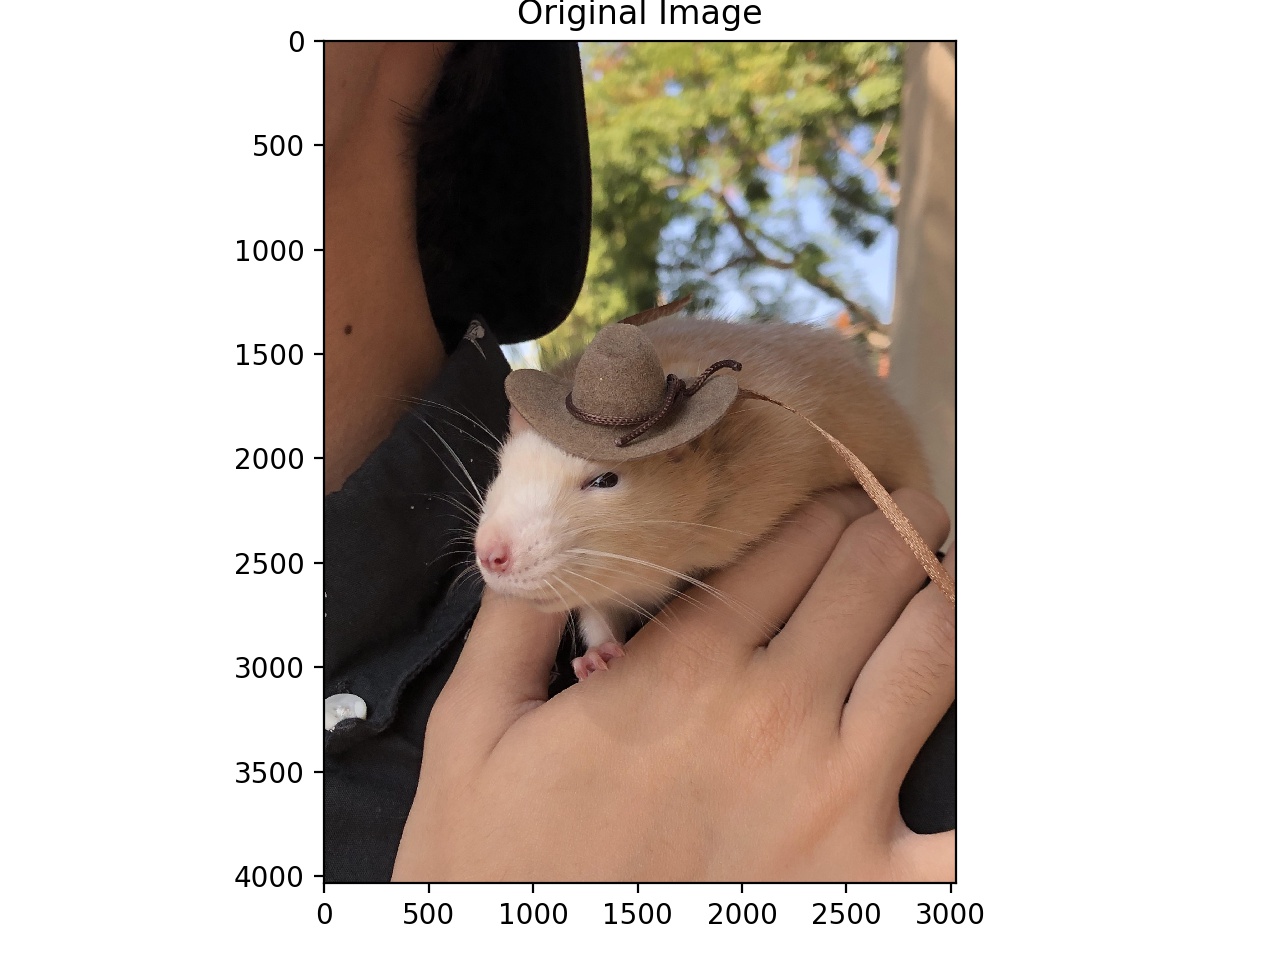
I also took a sharp image, blurred it, and then sharpened it again.
|
|
|
The "sharpened" image does have higher conntrast in some areas (especially at object borders), but the overall quality of the image is not as high as the original.
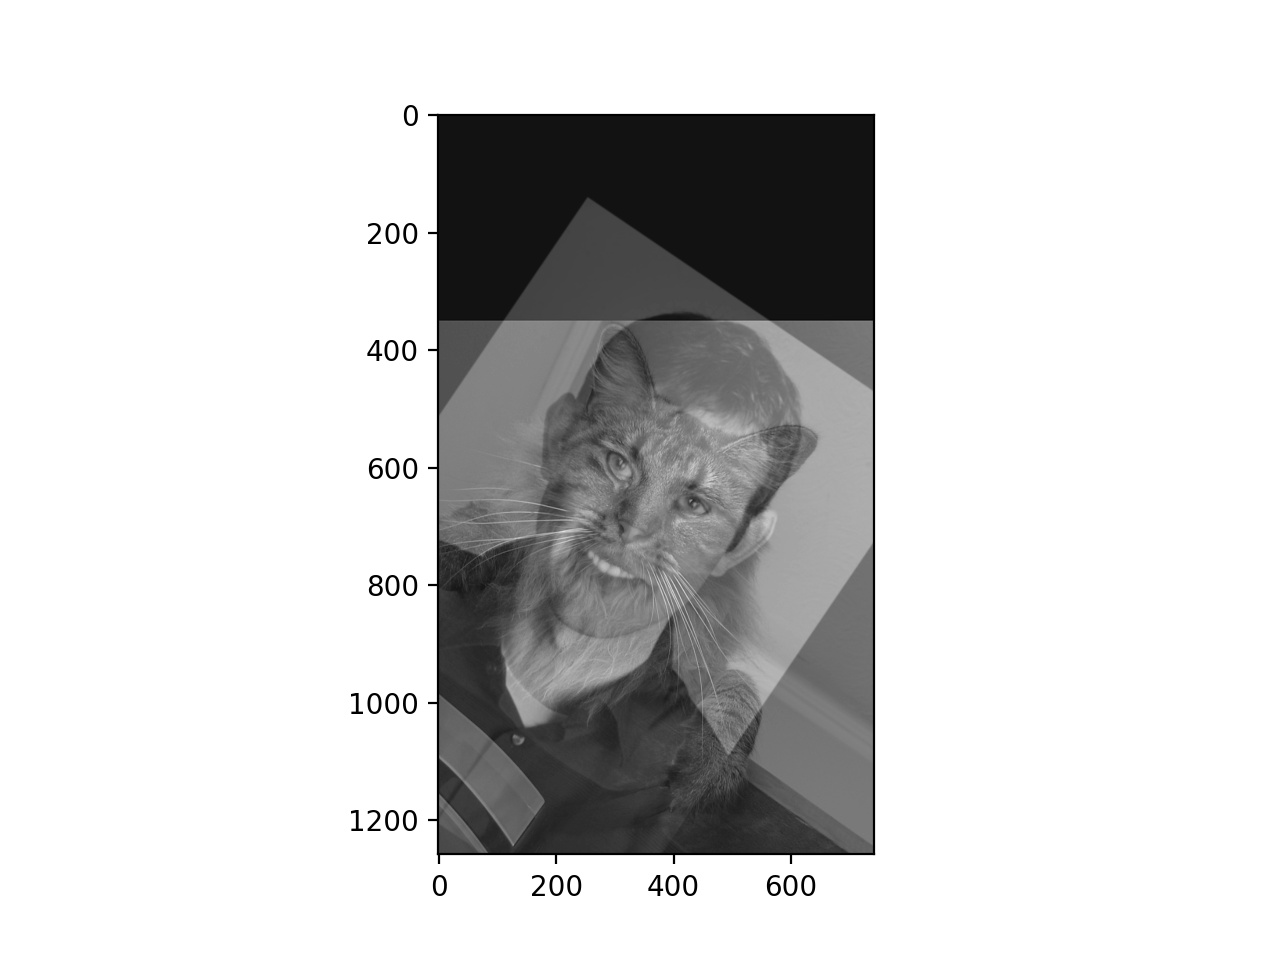
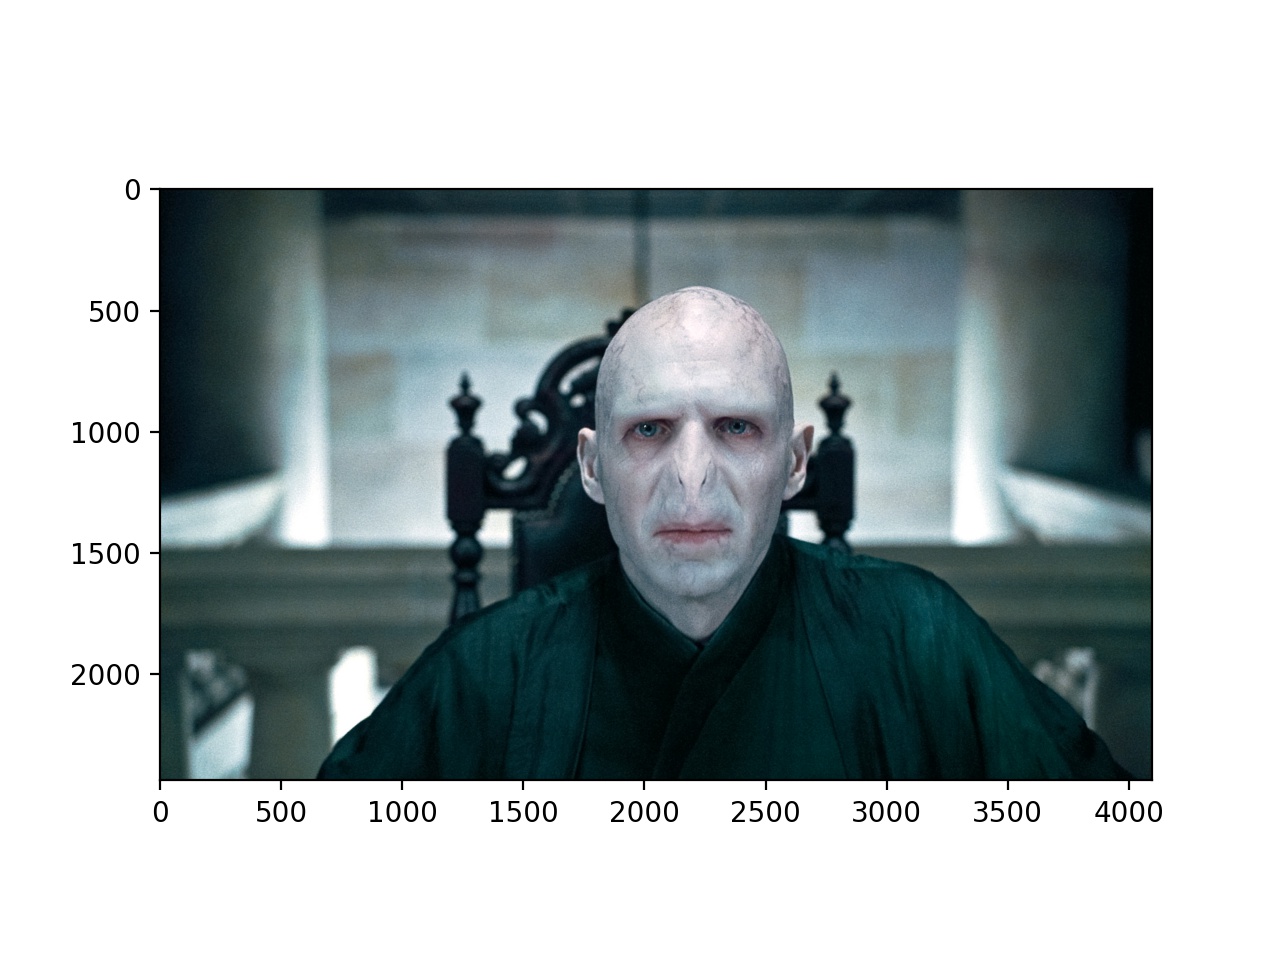
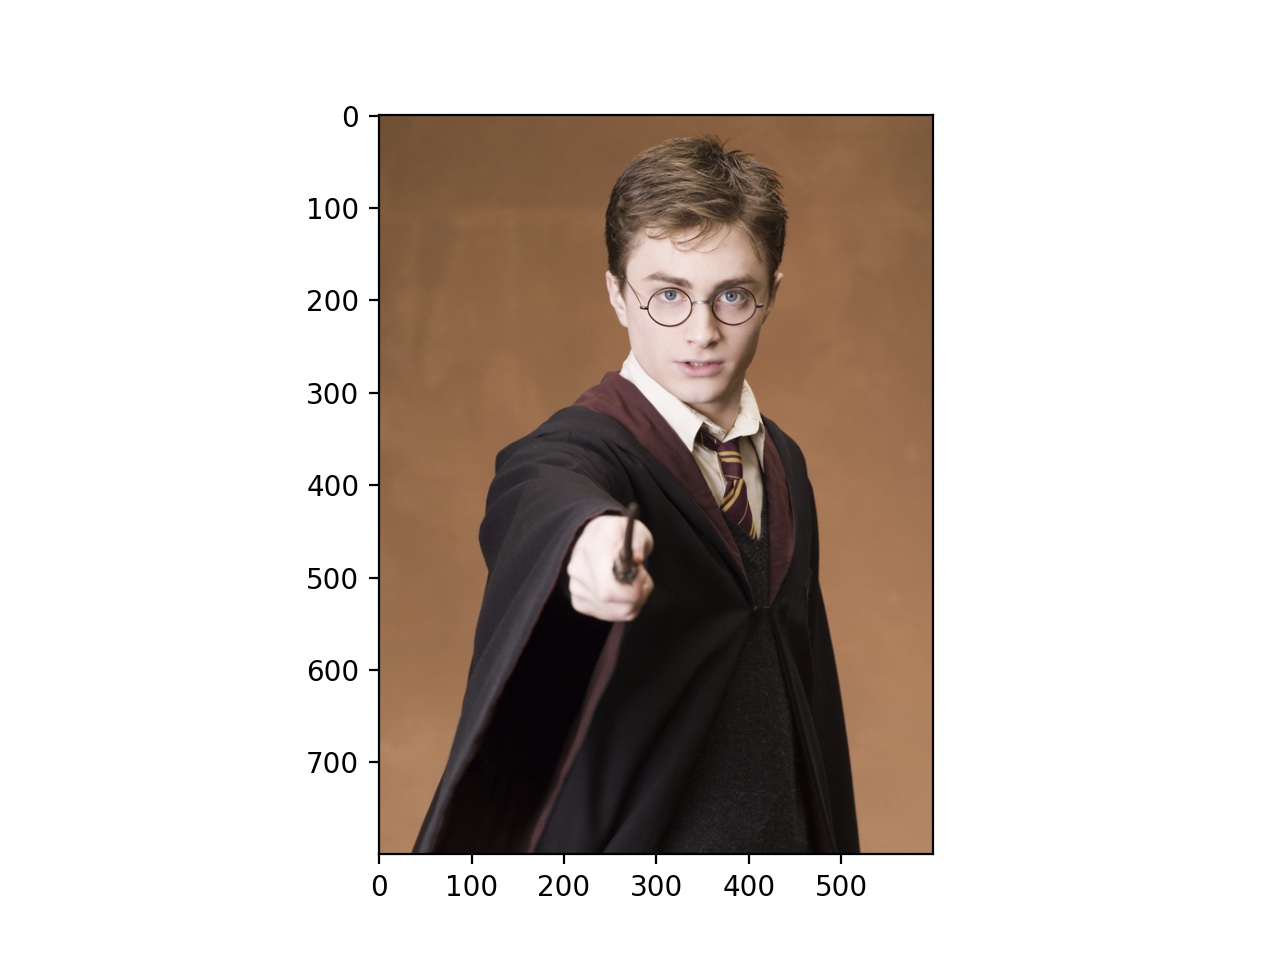
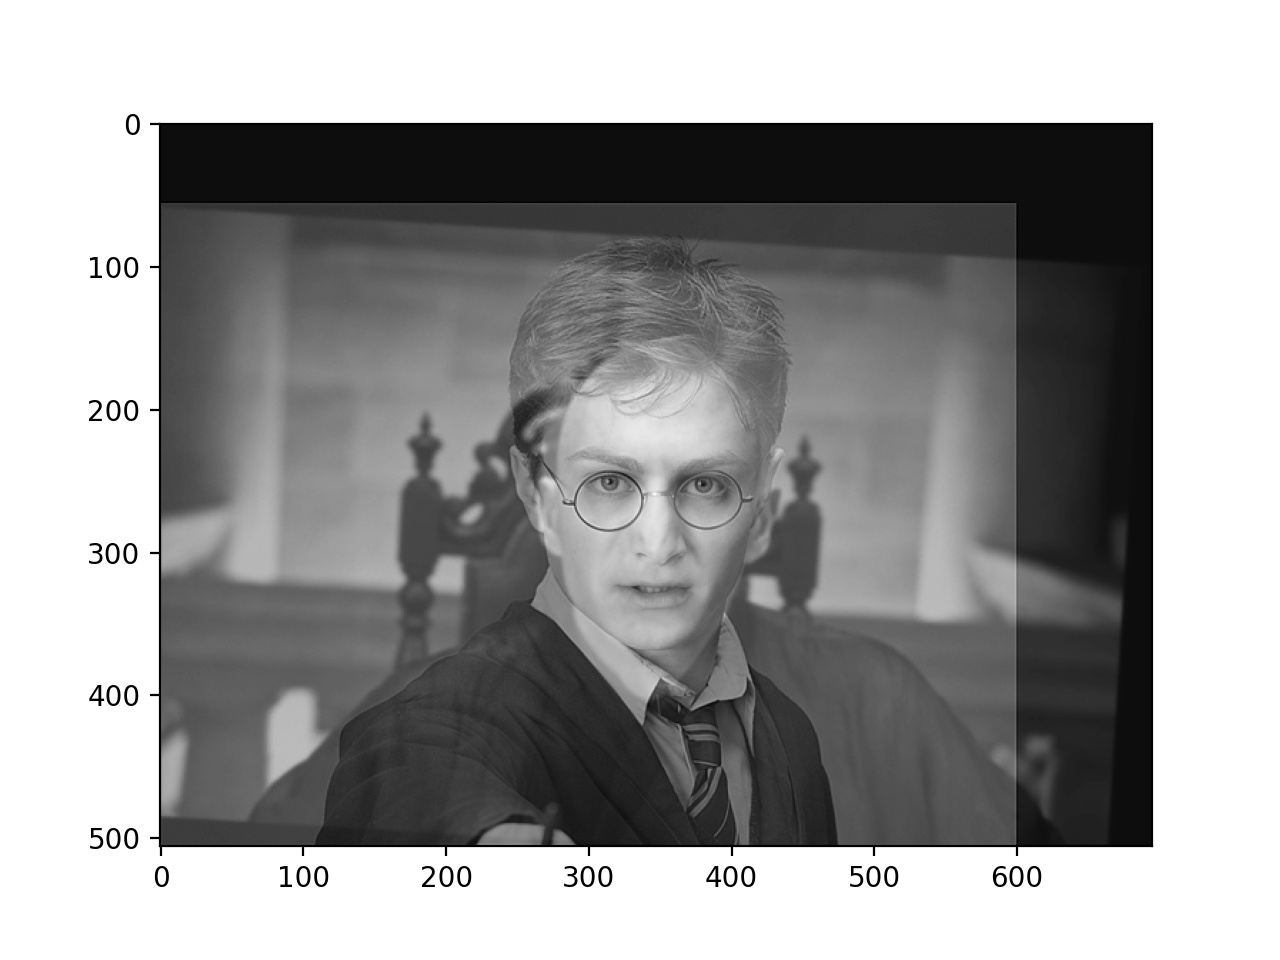
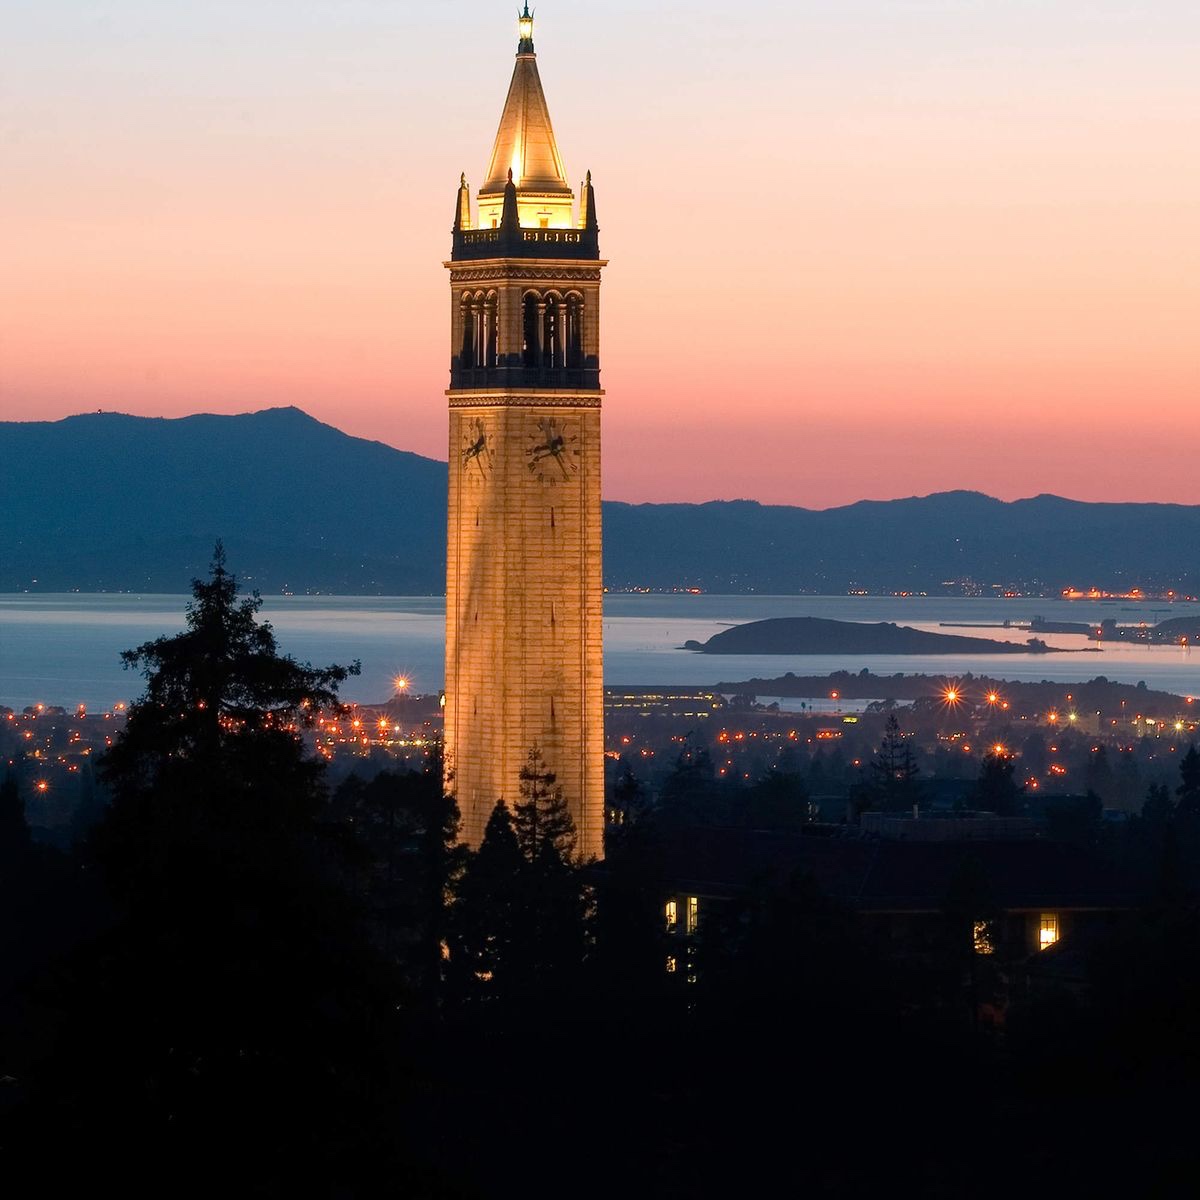
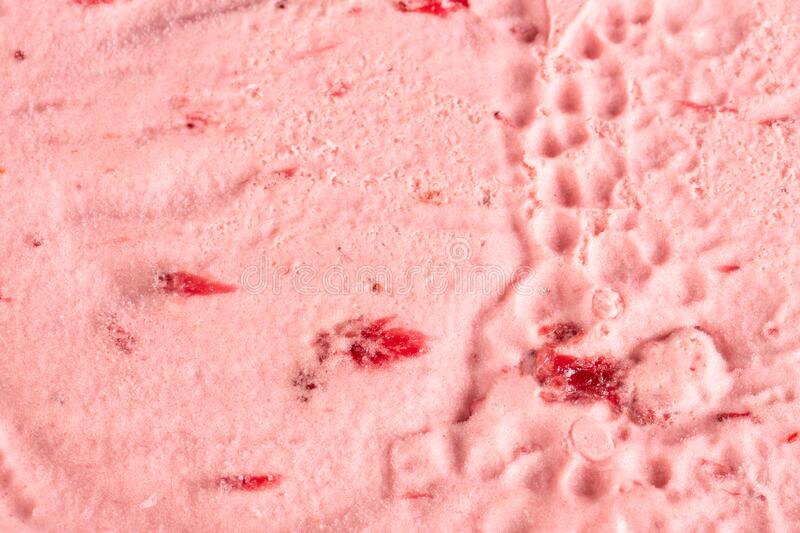
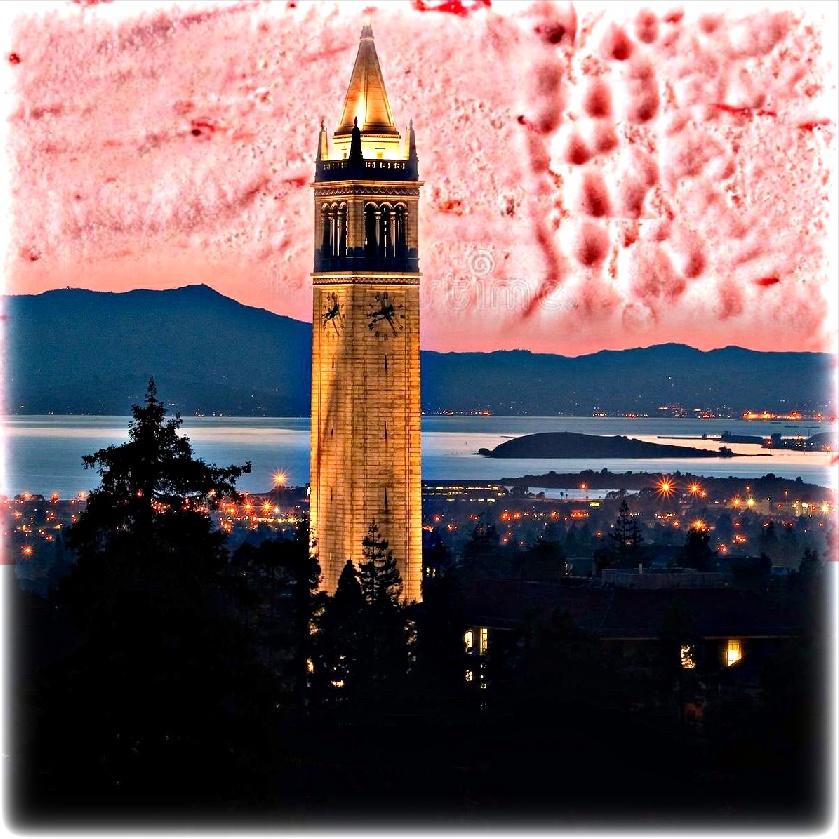
Part 2.2: Hybrid Images
Here we used the high frequencies of one image and the low frequencies of another image to blend to images, to create a hybrid image. Up close, it should be observed that the high frequency image is more visible, whereas from farther distances the low frequency image should be more visible.
|
|
|
|
|
|
|
|
|
|
|

|

|
|
|
|
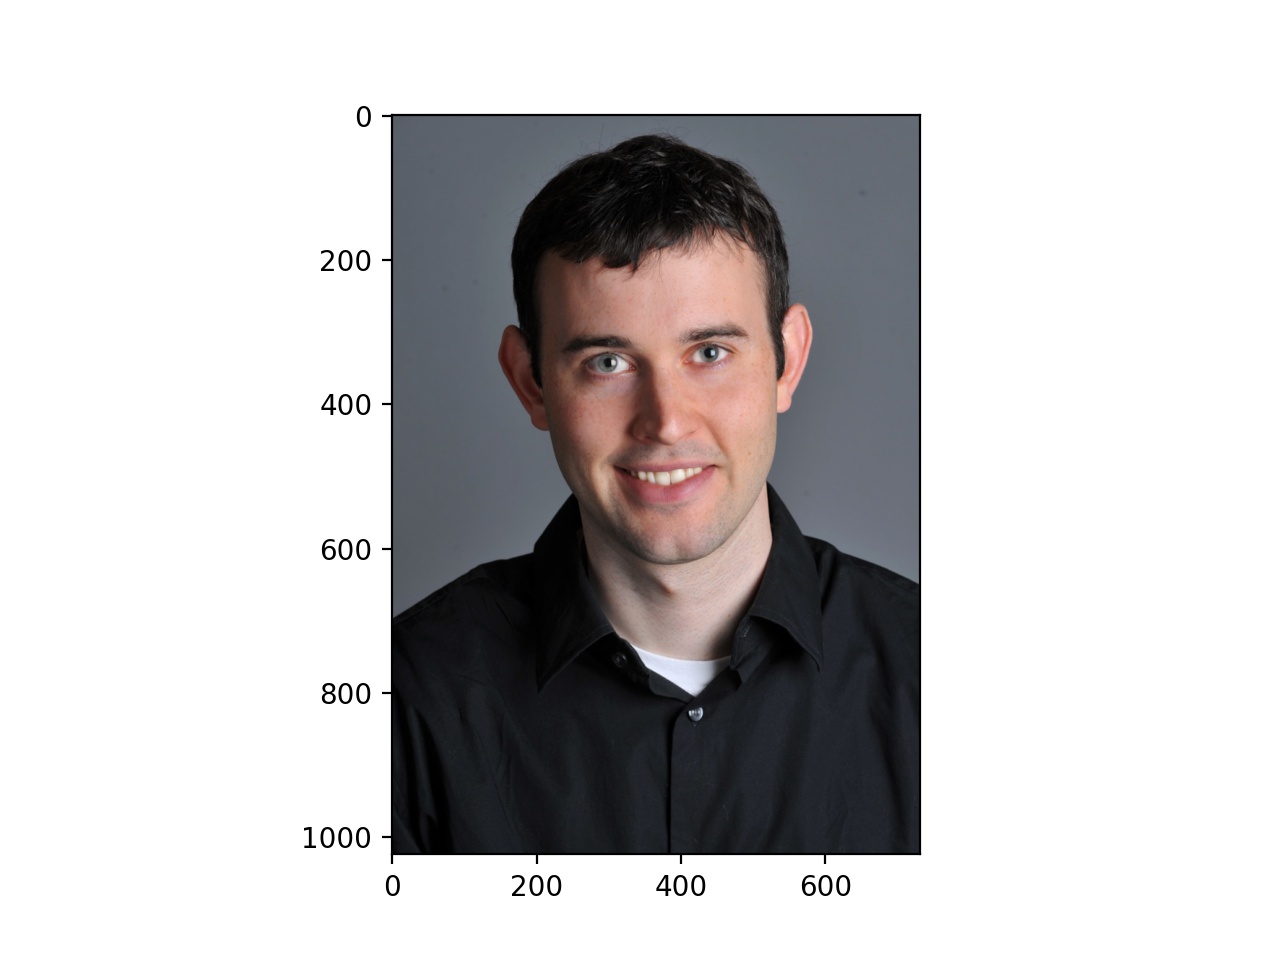
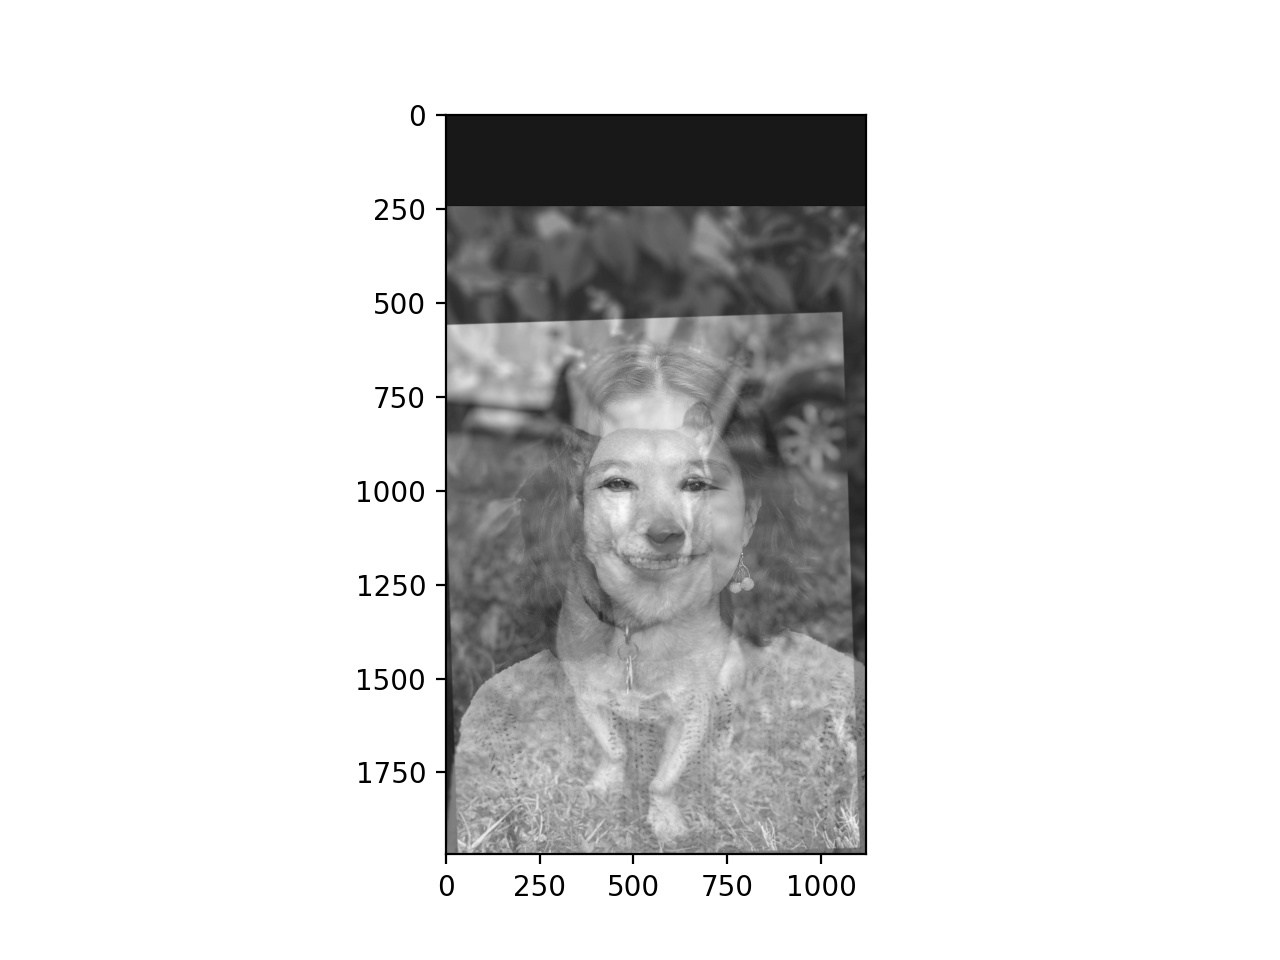
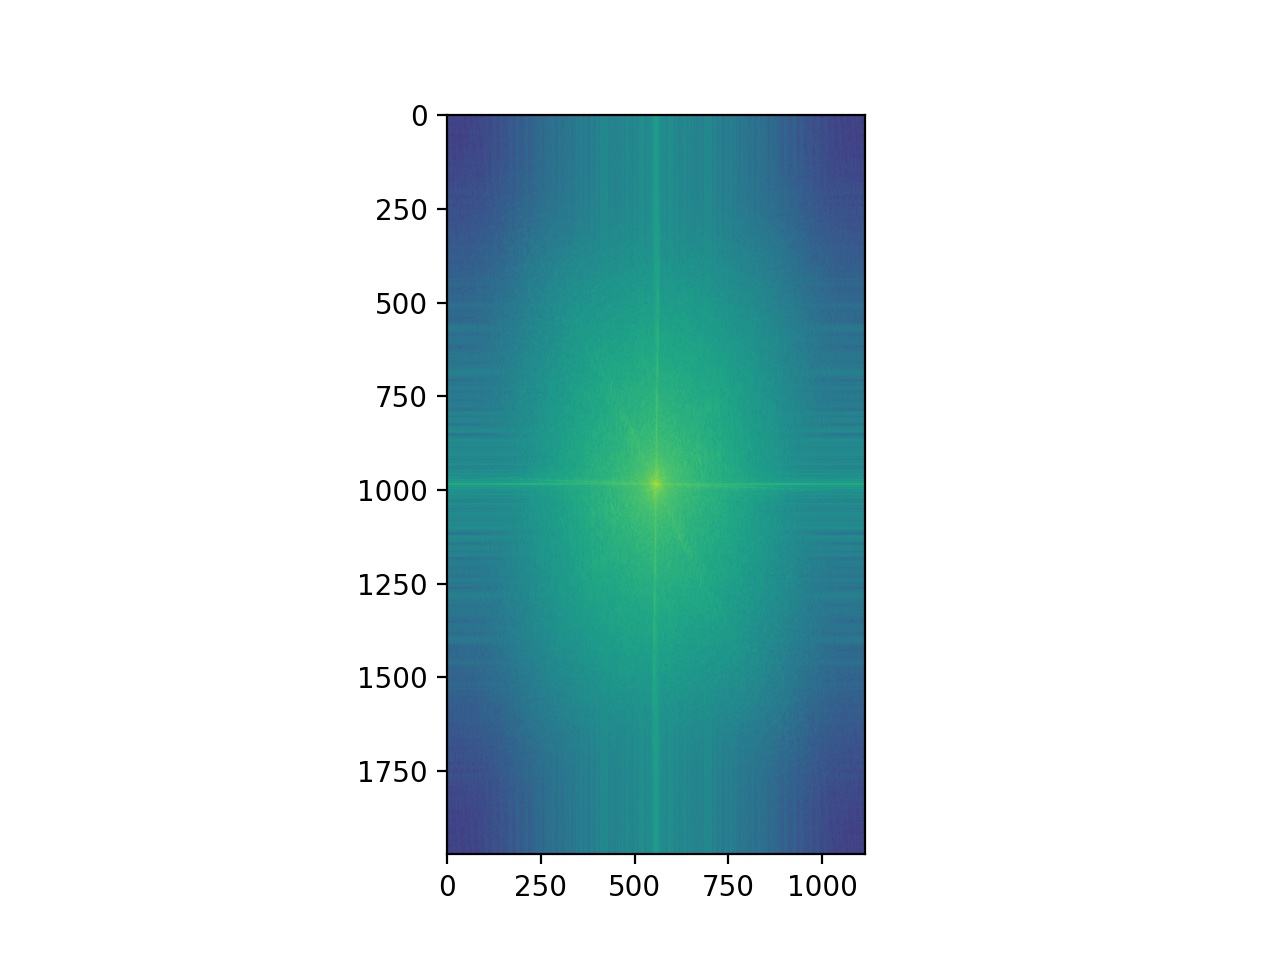
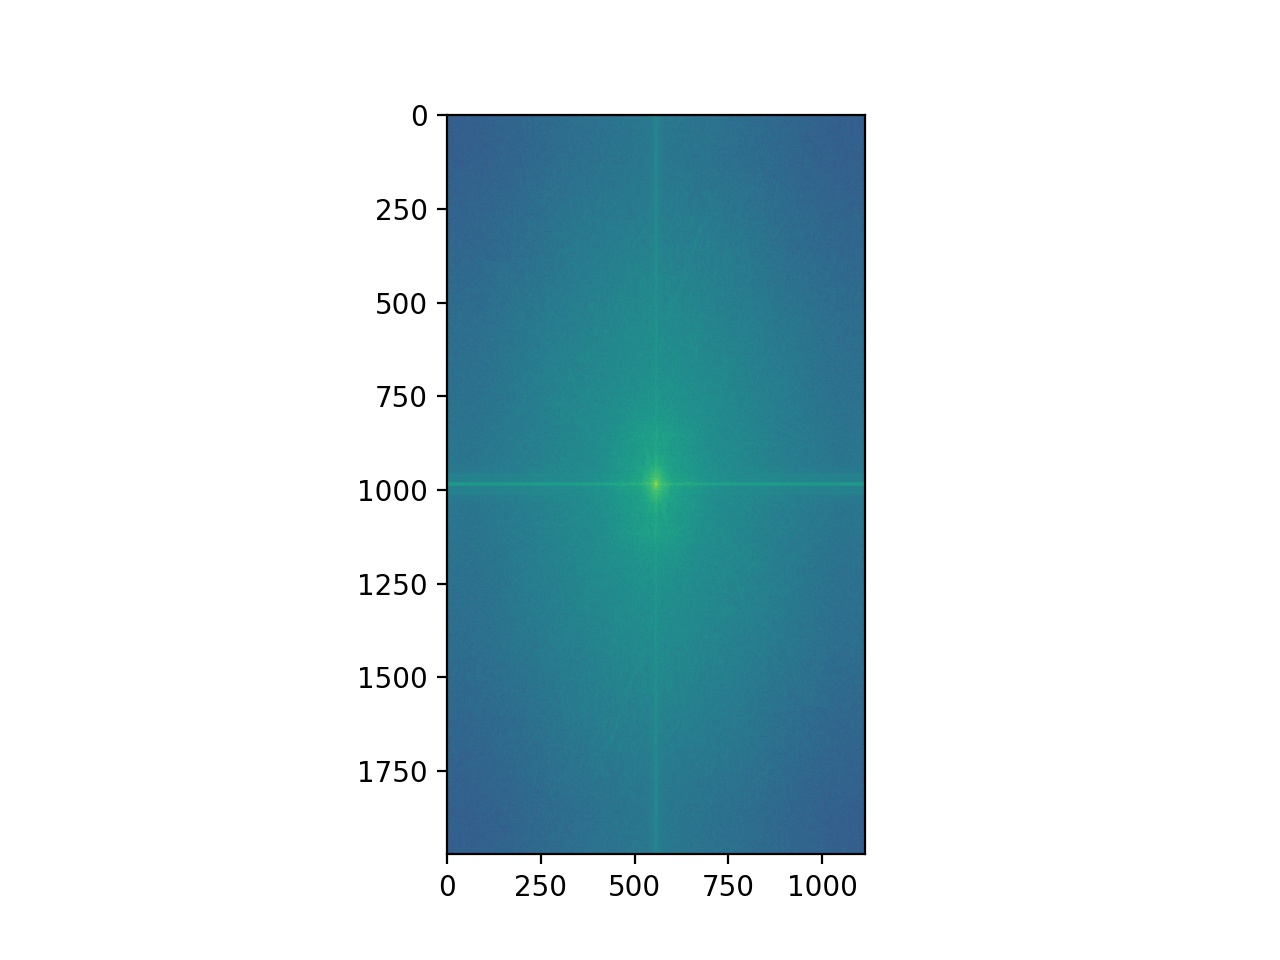
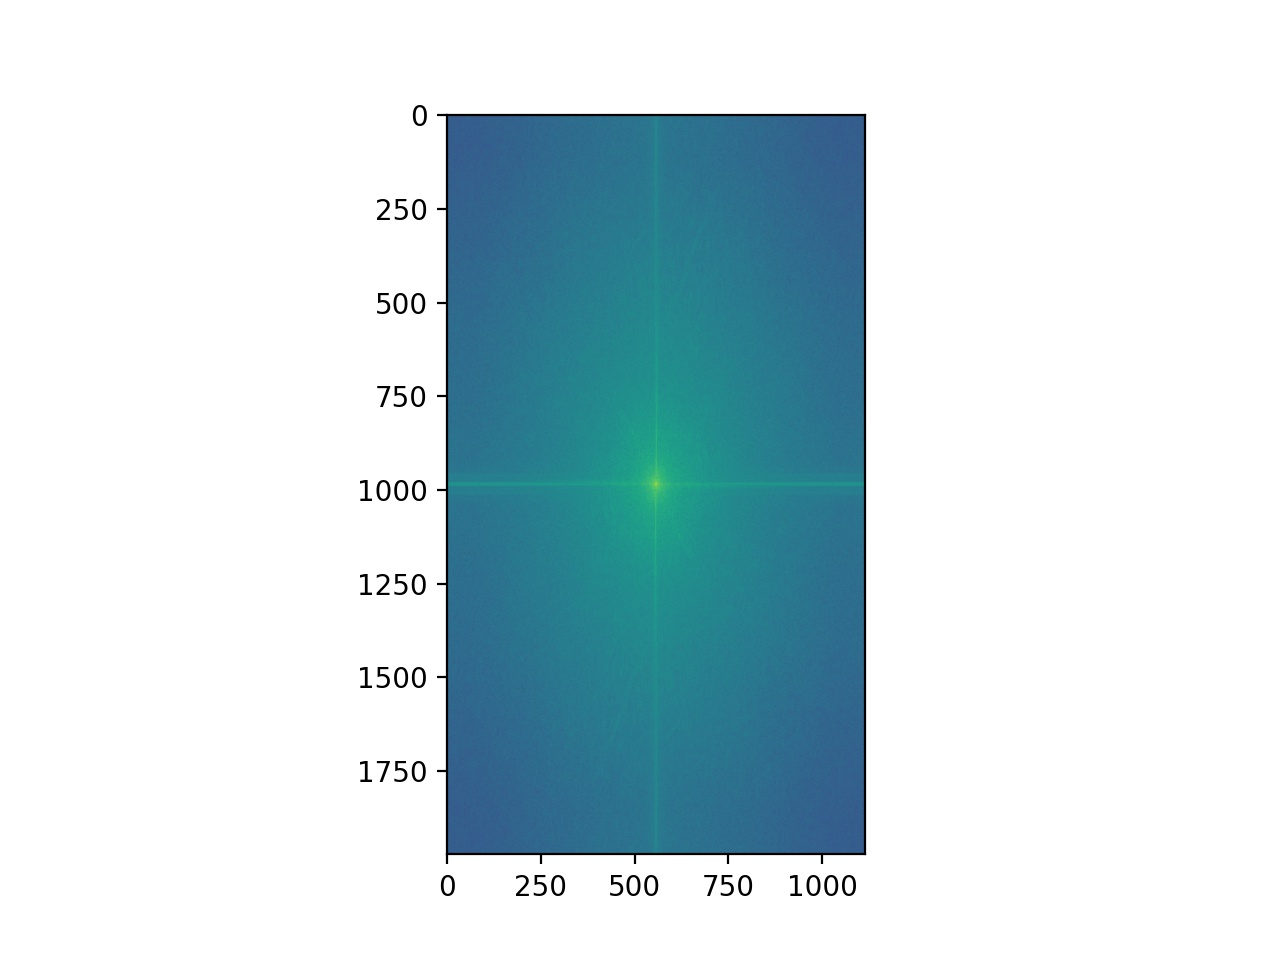
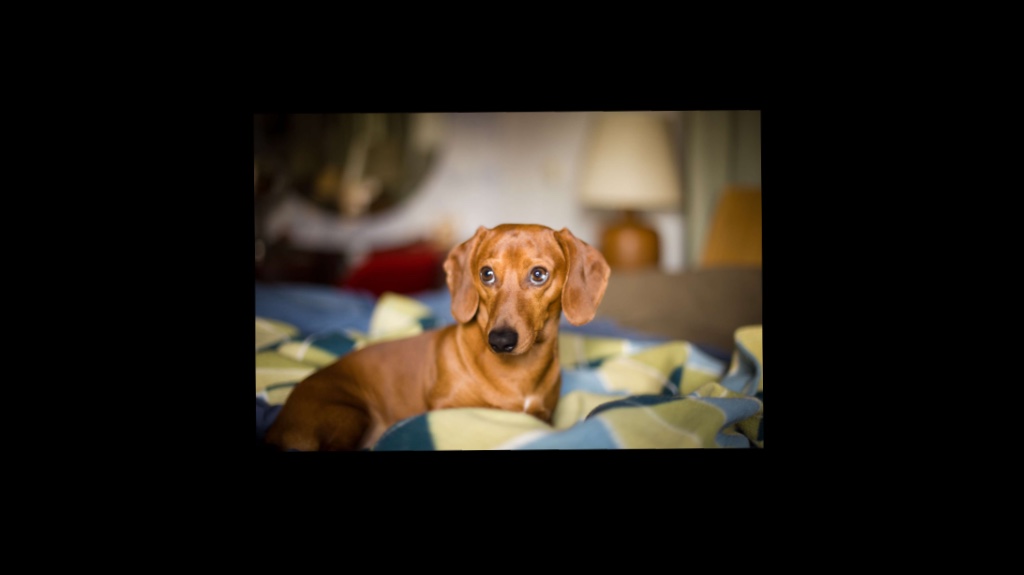
In the Fourier analysis of my "Li-na" creation, you can gain some insight into how this hybrid image was formed. The Fourier transform of the blurred image (of my dog, Link) shows that some high-frequencies have been removed. In the transform sharpened image (of me, Gina), there is an increase in high-frequency values. The transform hybrid image thus has a combination of the low-frequency values from the blurred image of Link, and the high-frequency values of the image of myself.
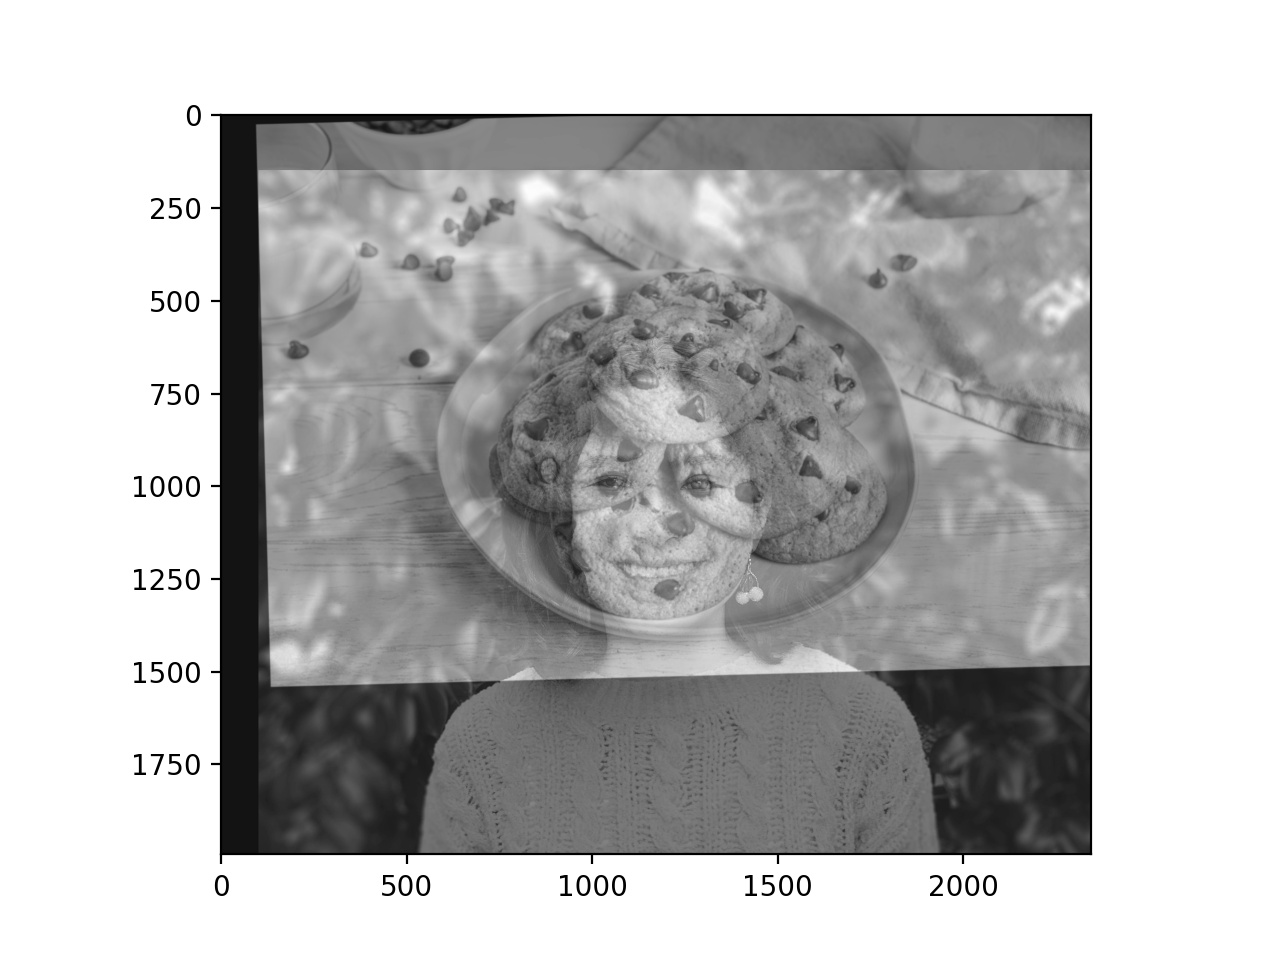
And a case where it did not work so well: Me + Cookie = ???
It seems like this method only works with images that are already pretty similar. In all of my successful examples, I was aligning the images based on the eyes of each person/animal. But for pairings that don't share quite so similar features, such as that of myself an chocolate chip cookies, it is difficult to align the images well in a way that makes sense.
|
|
|
Part 2.3: Hybrid Images
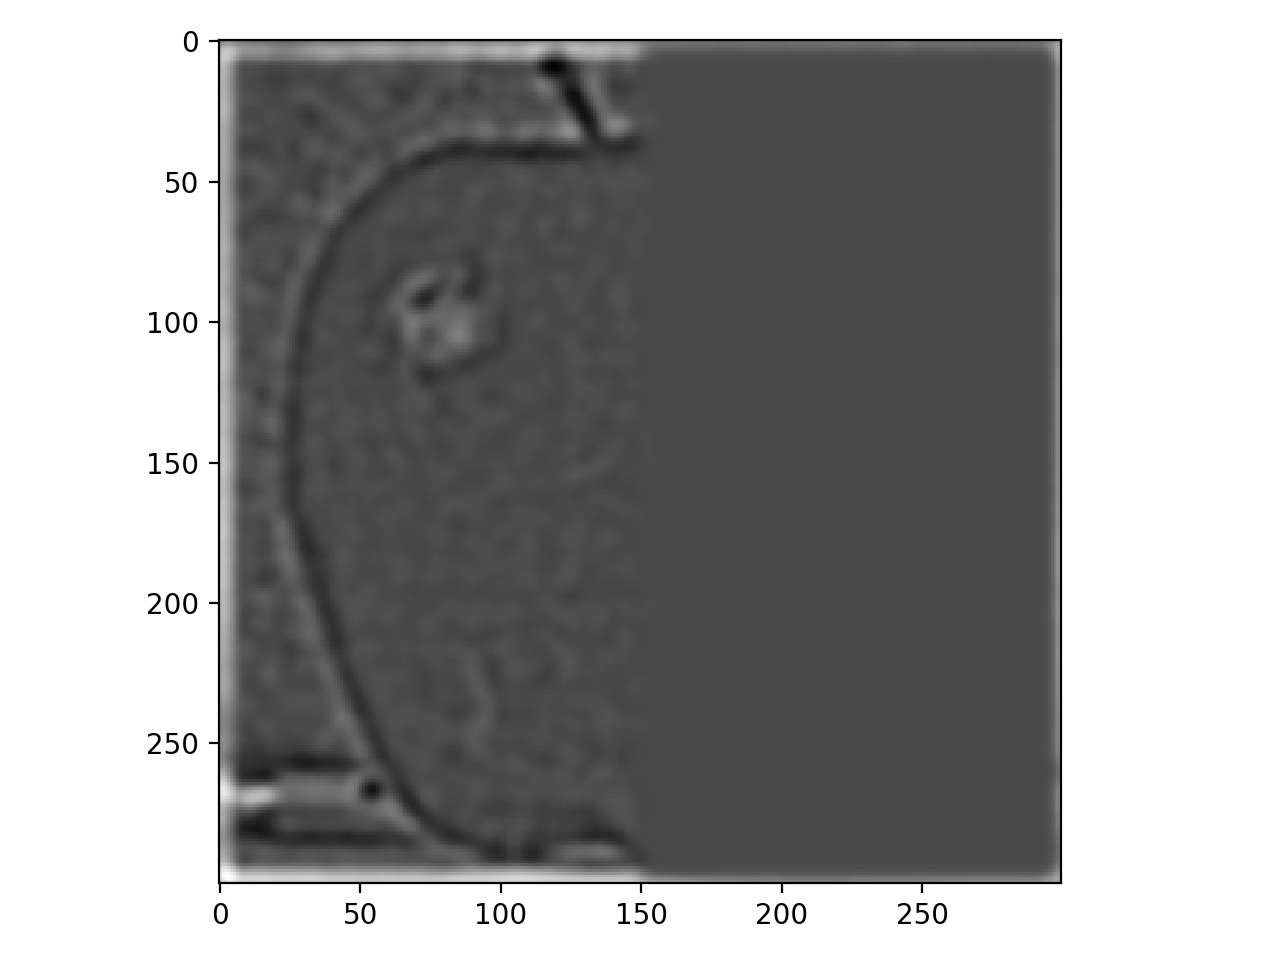
Gaussian Stacks:

|

|

|
|
|

|

|

|

|

|
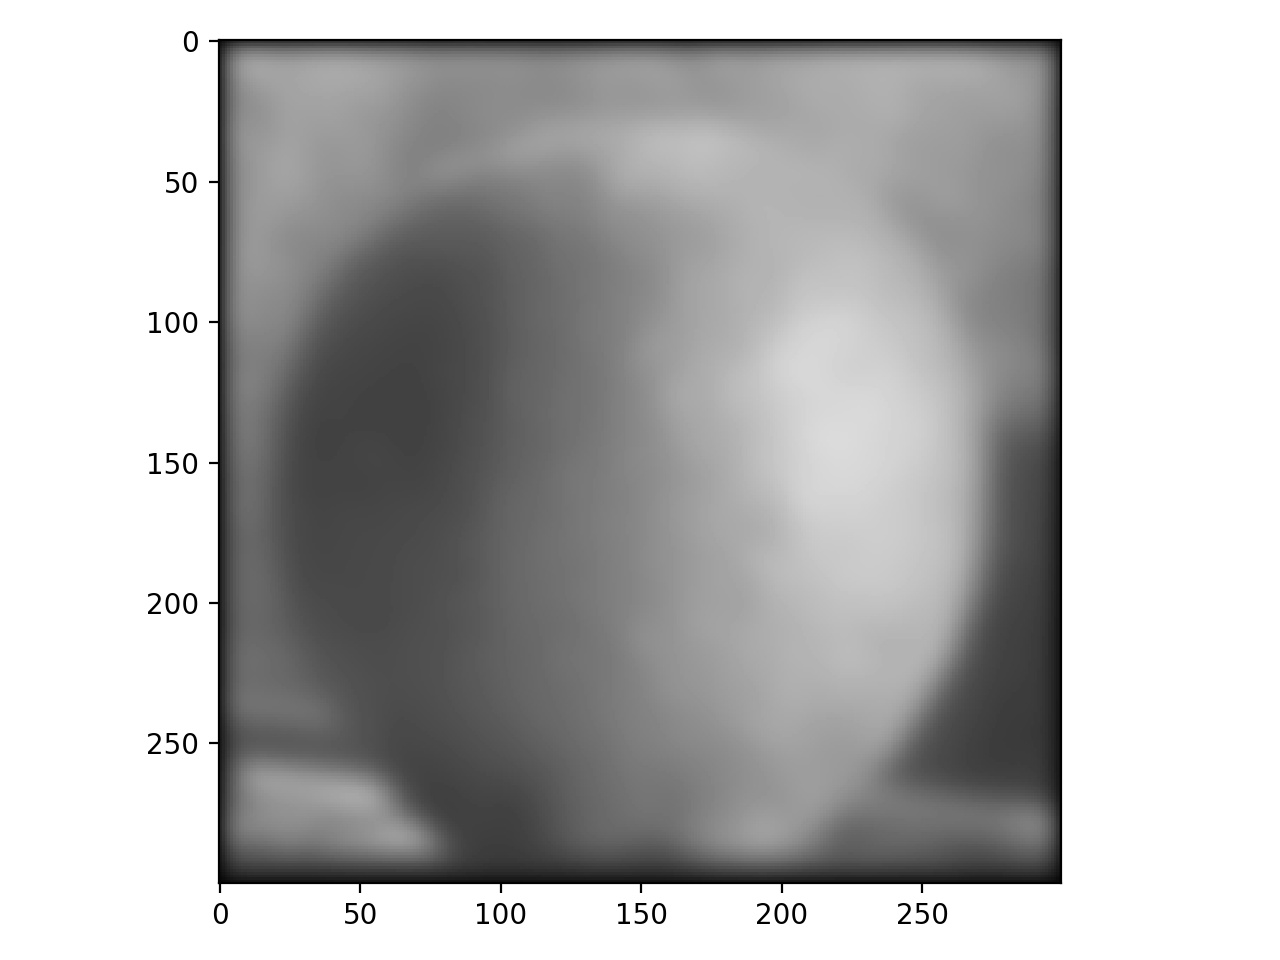
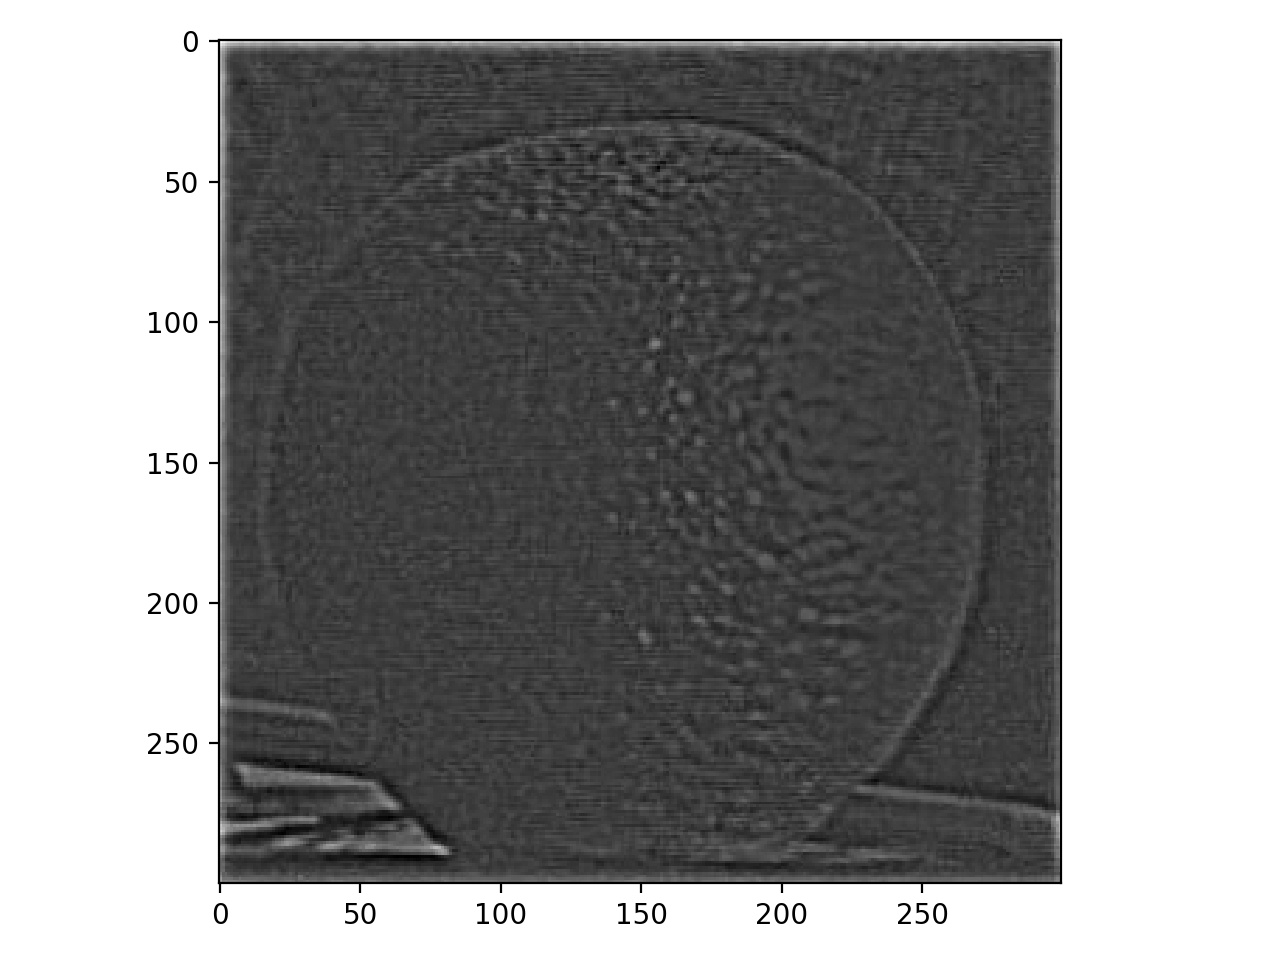
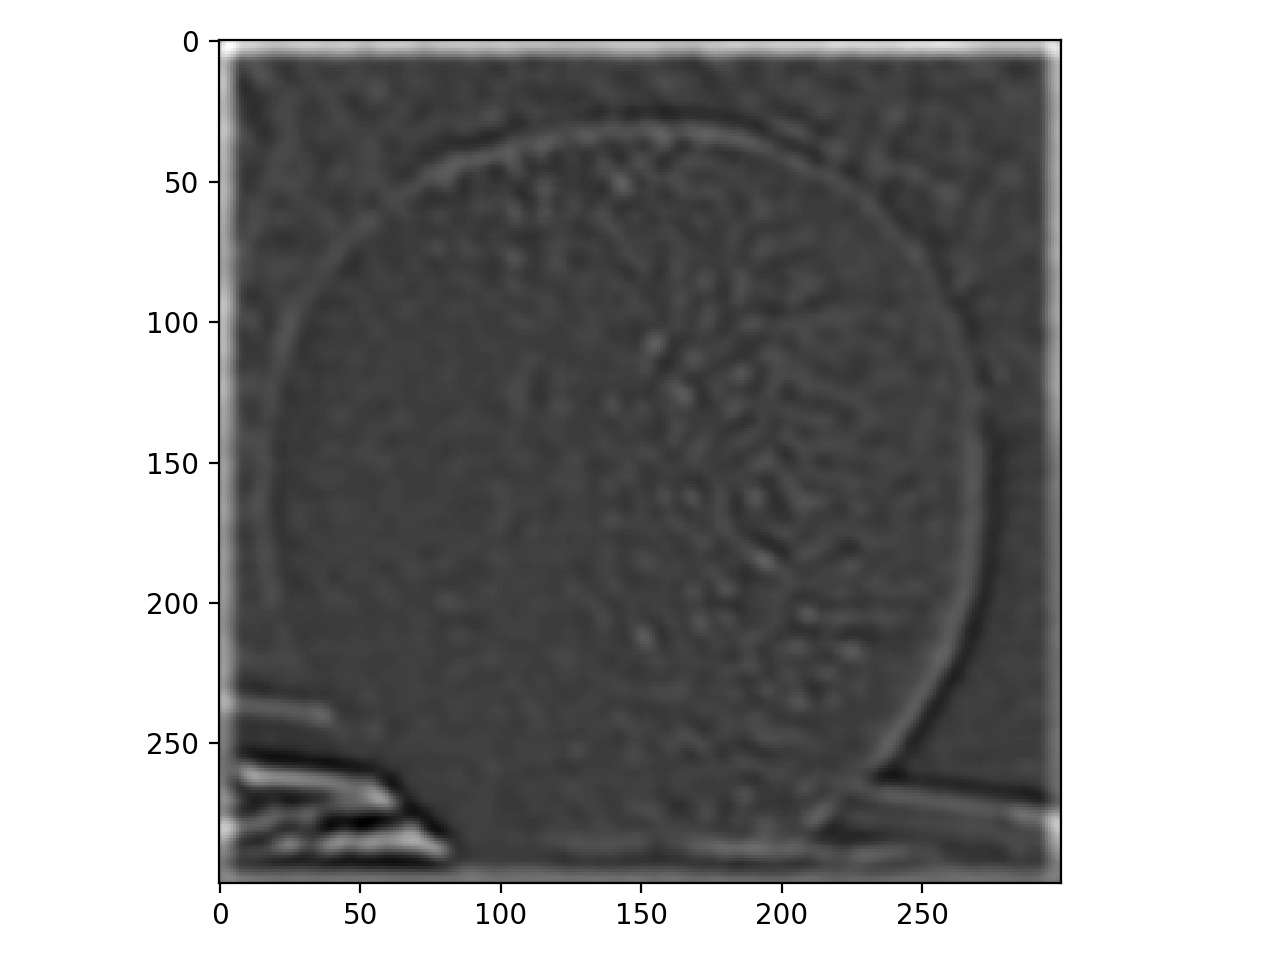
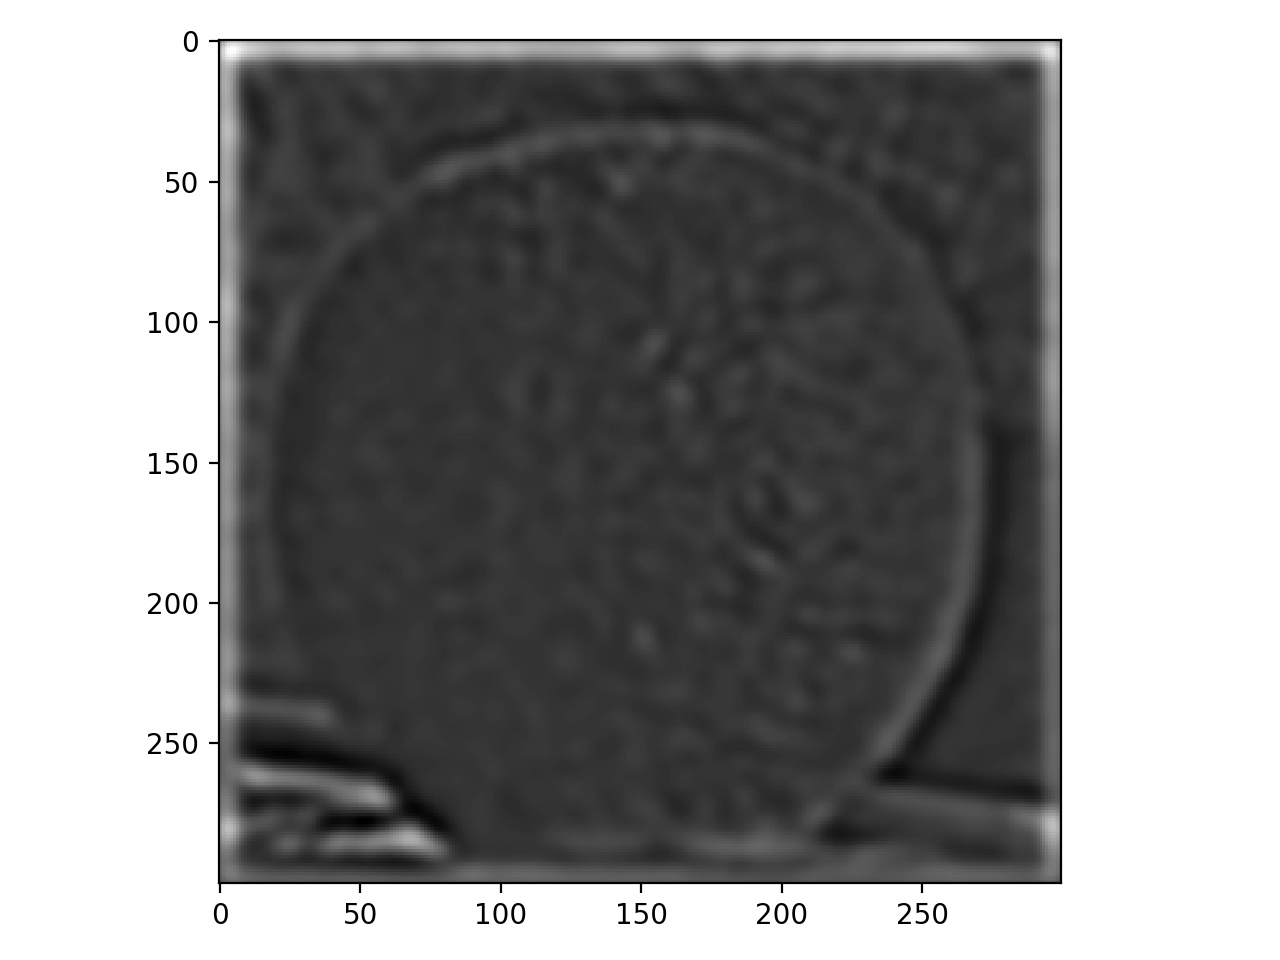
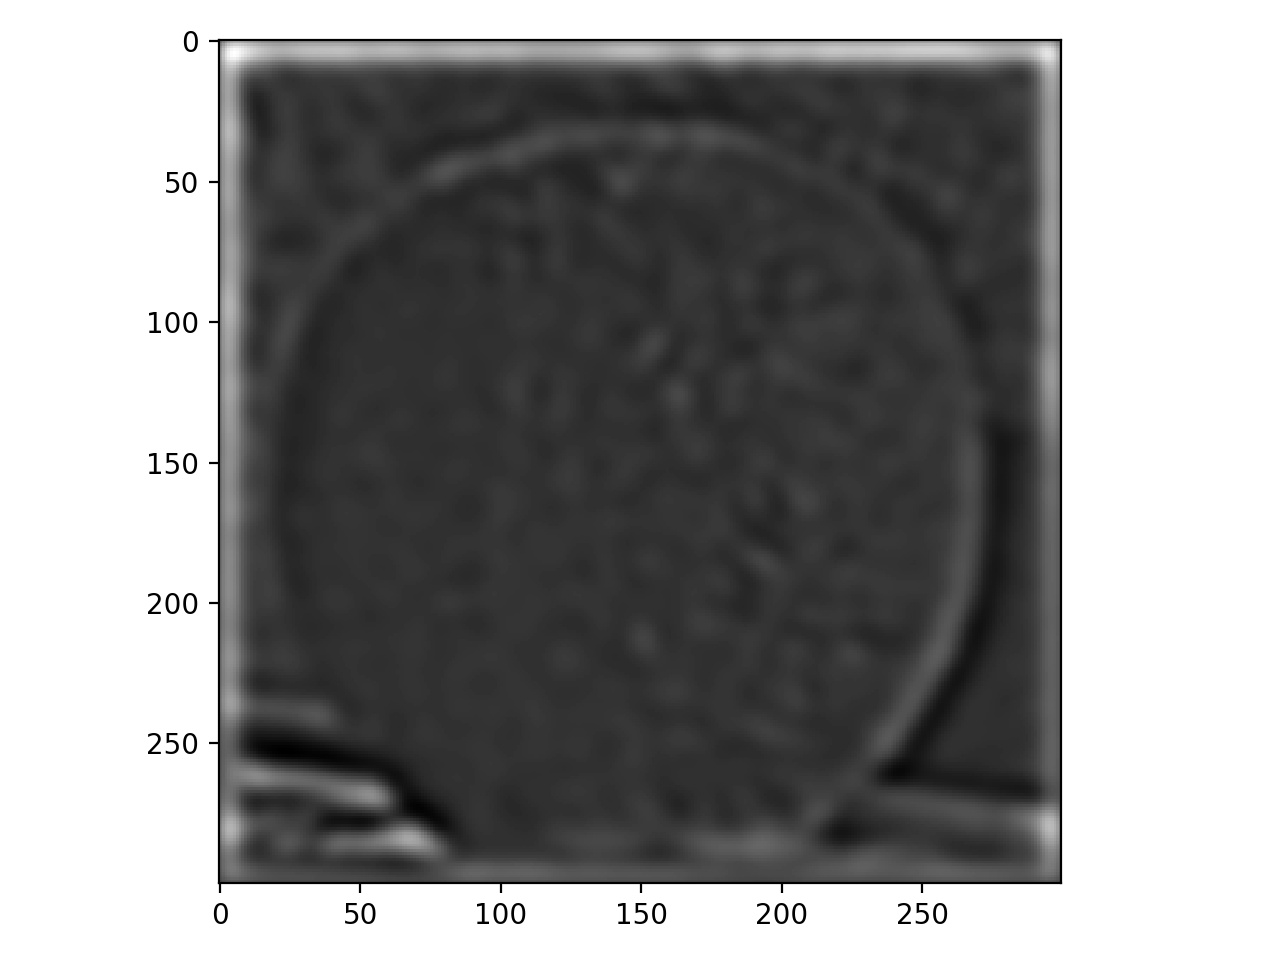
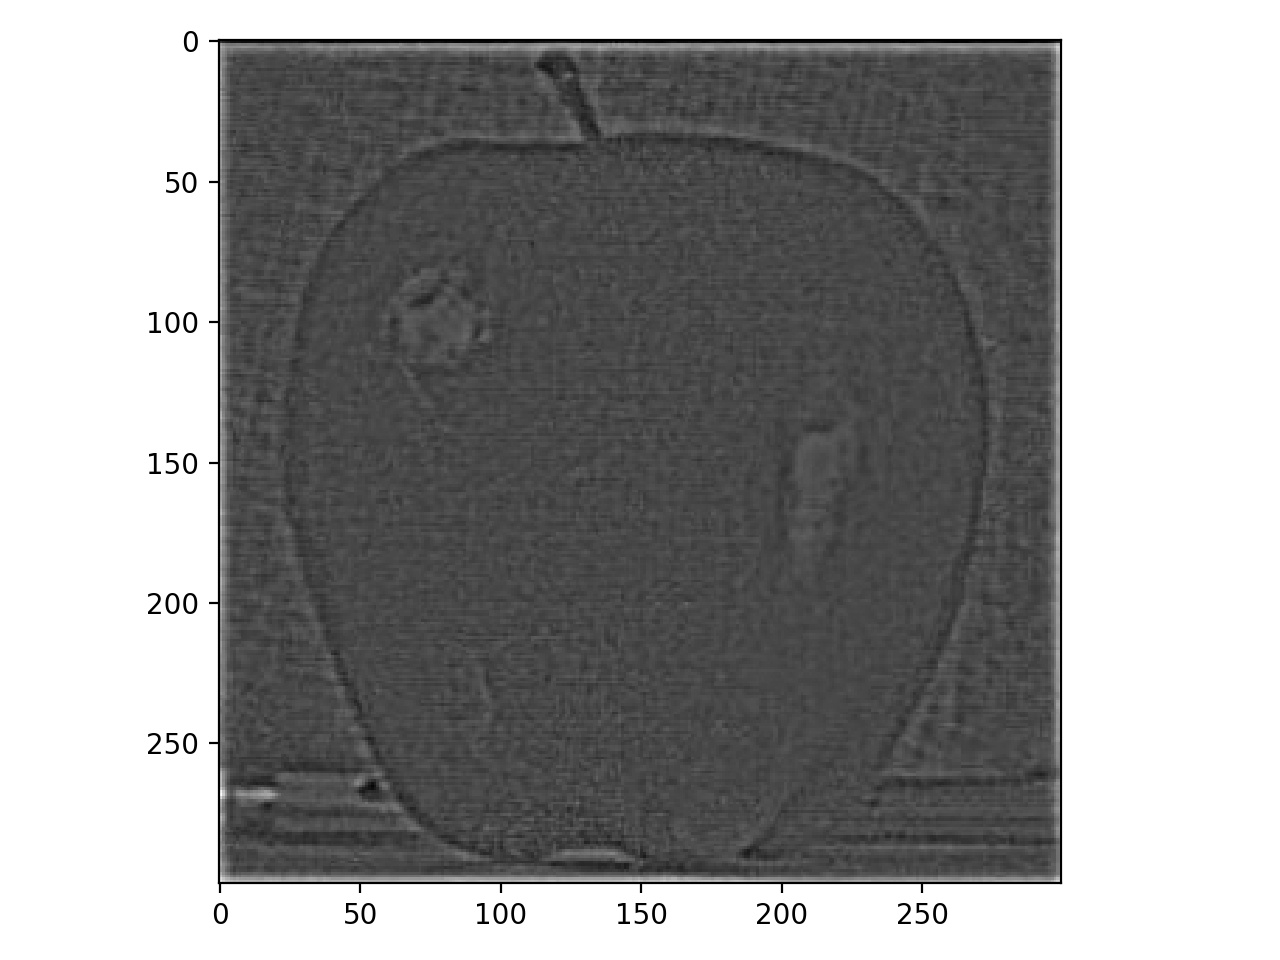
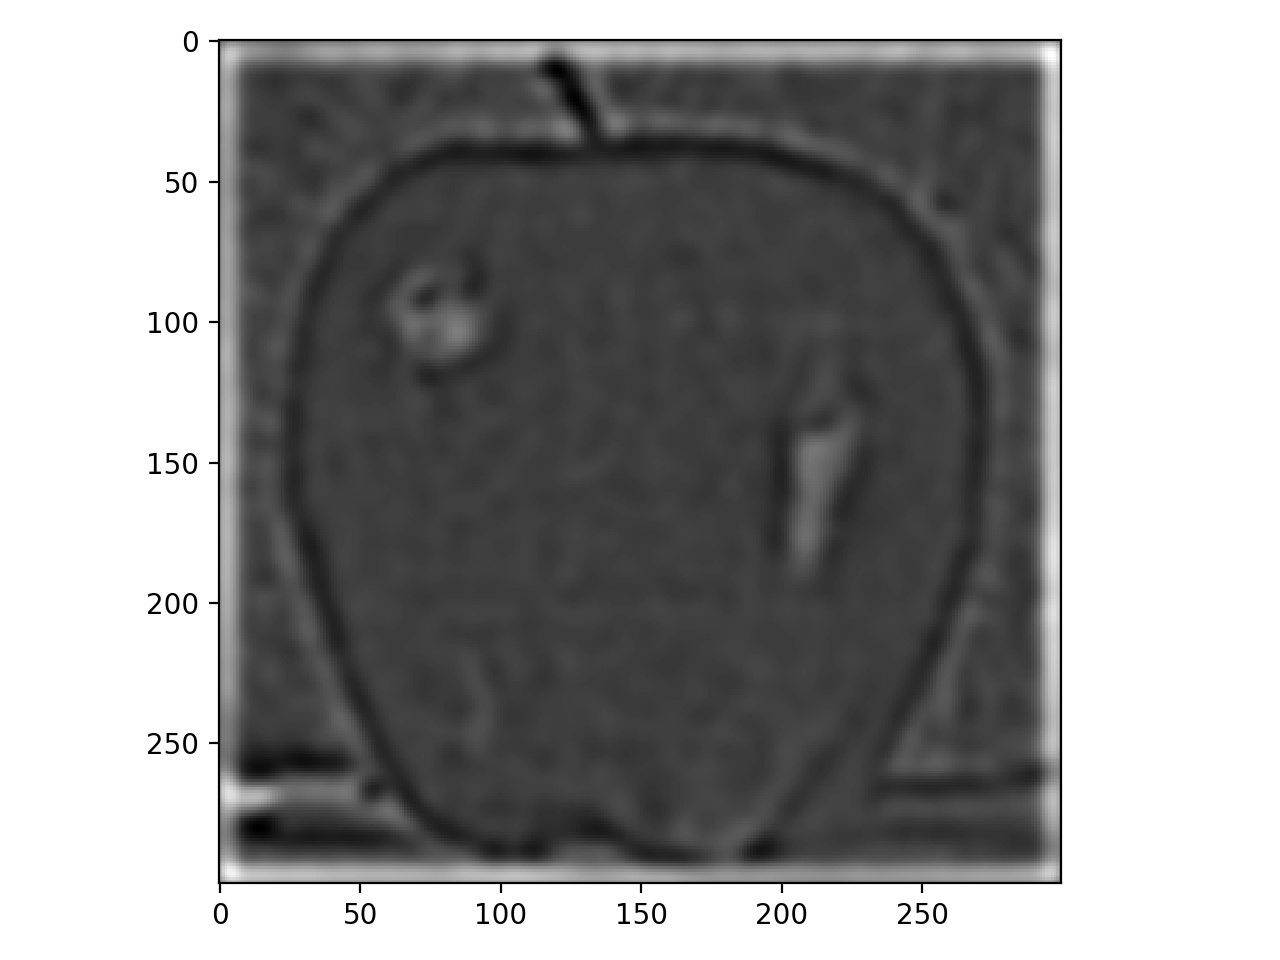
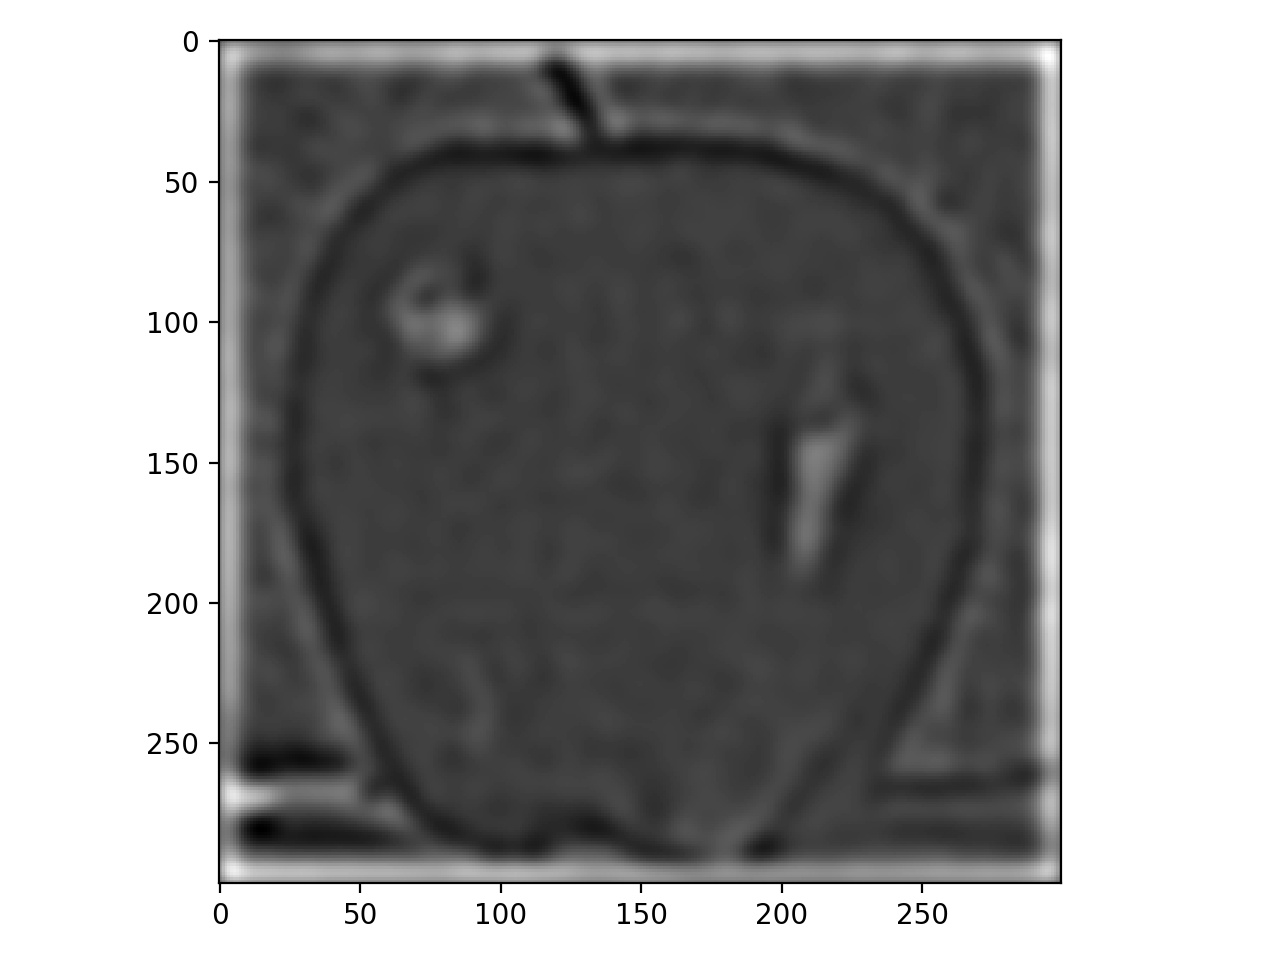
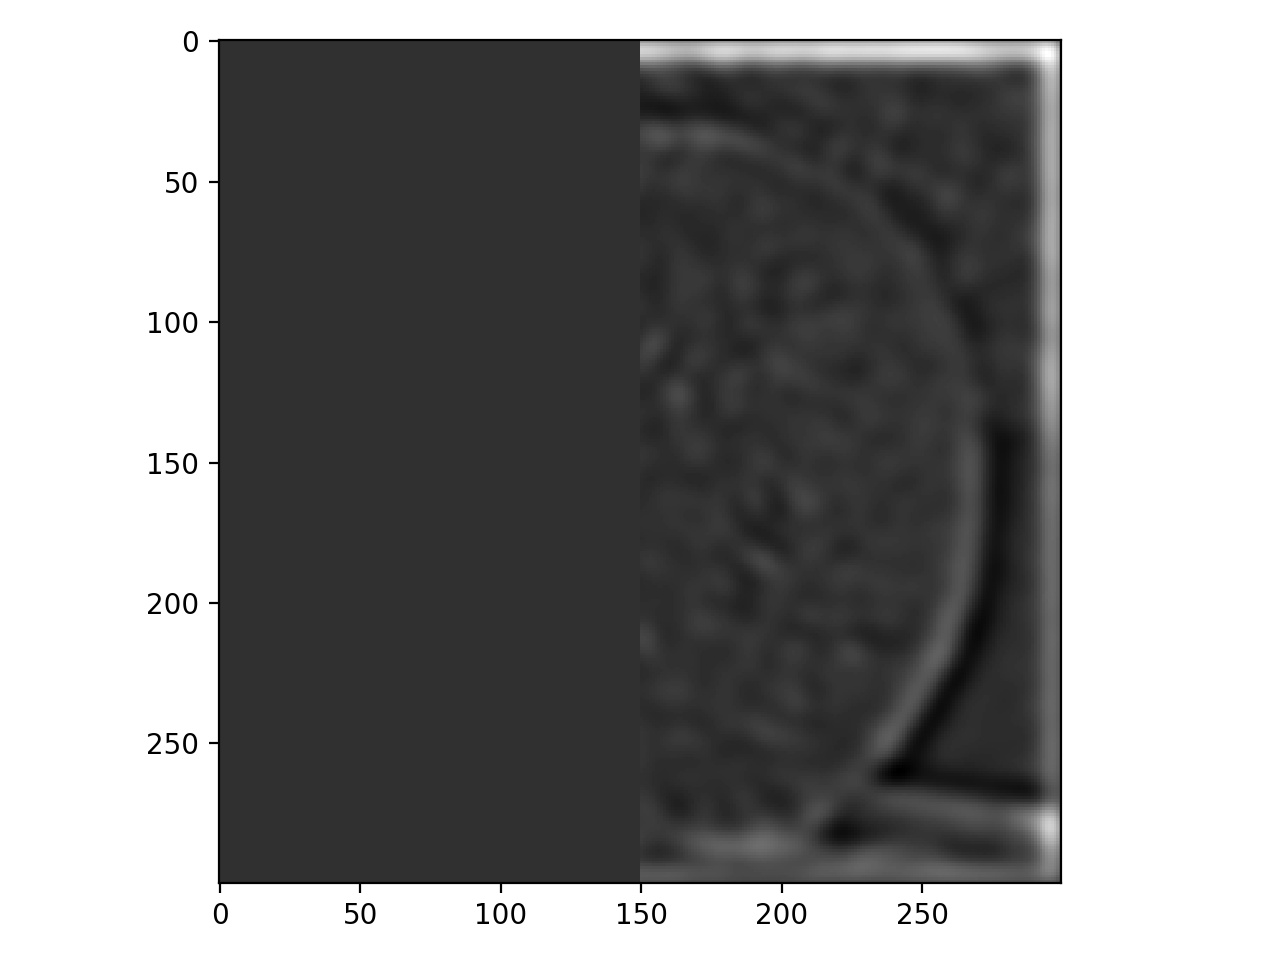
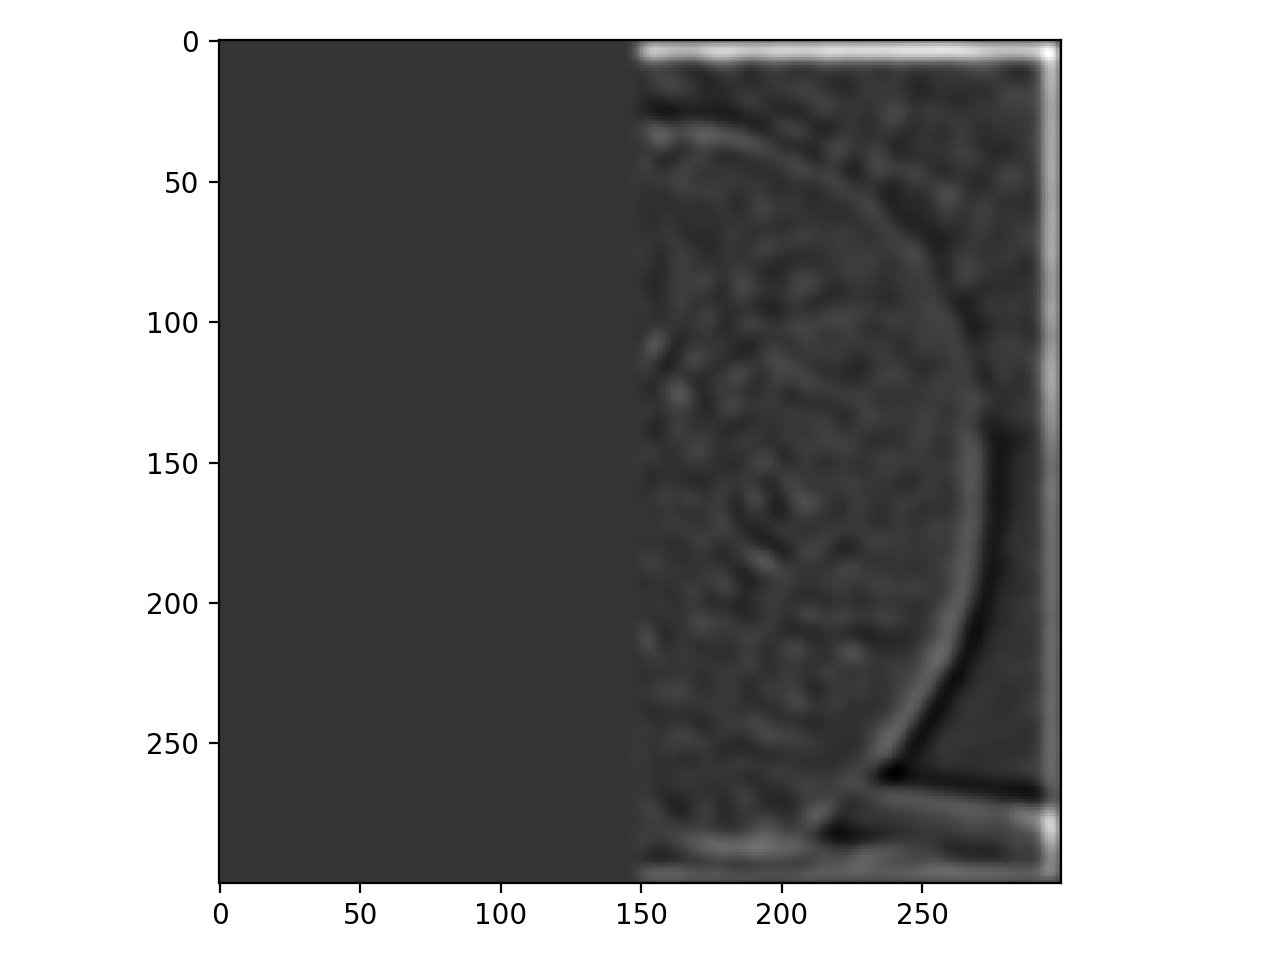
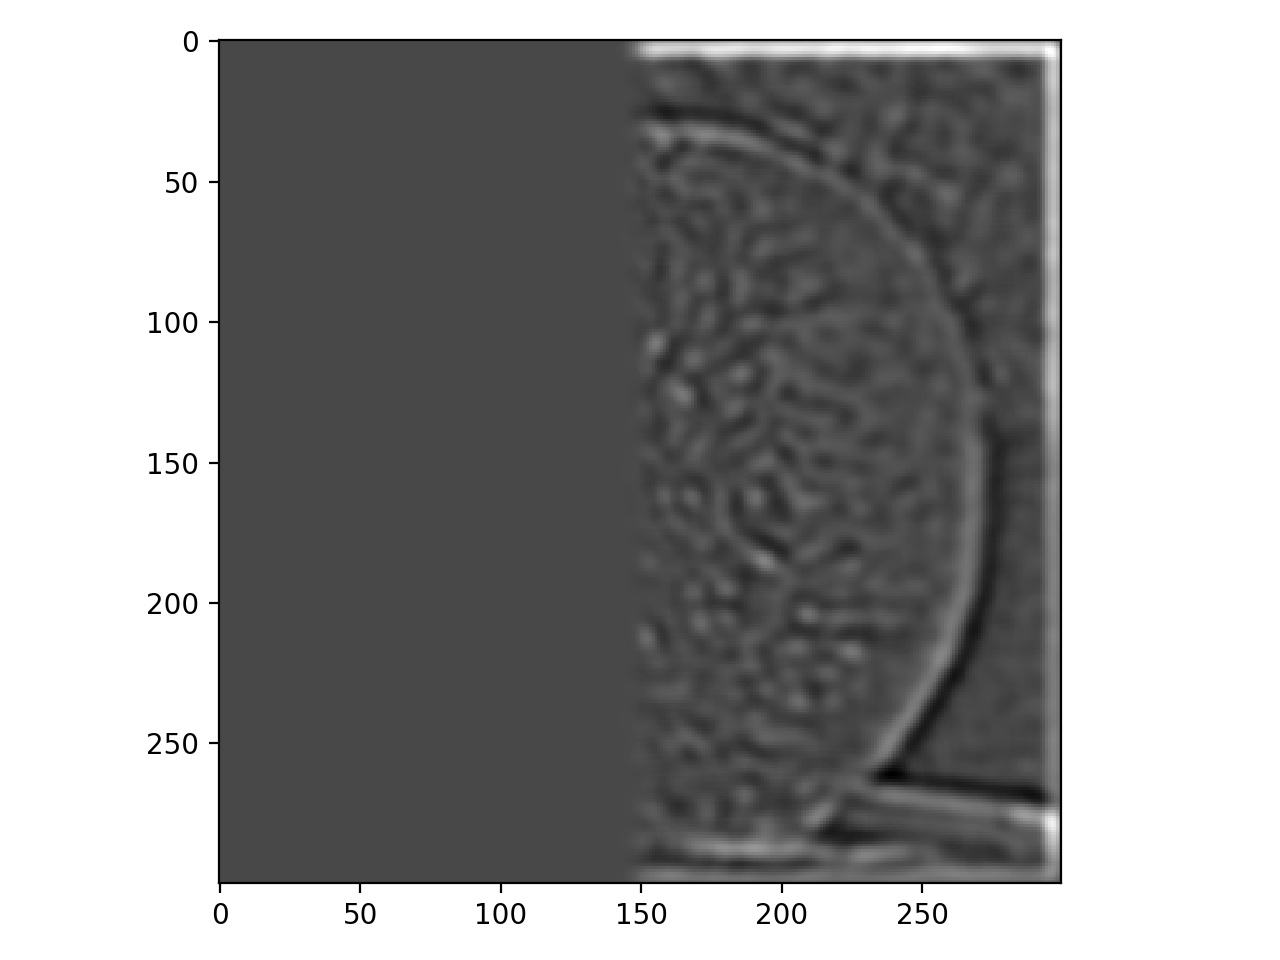
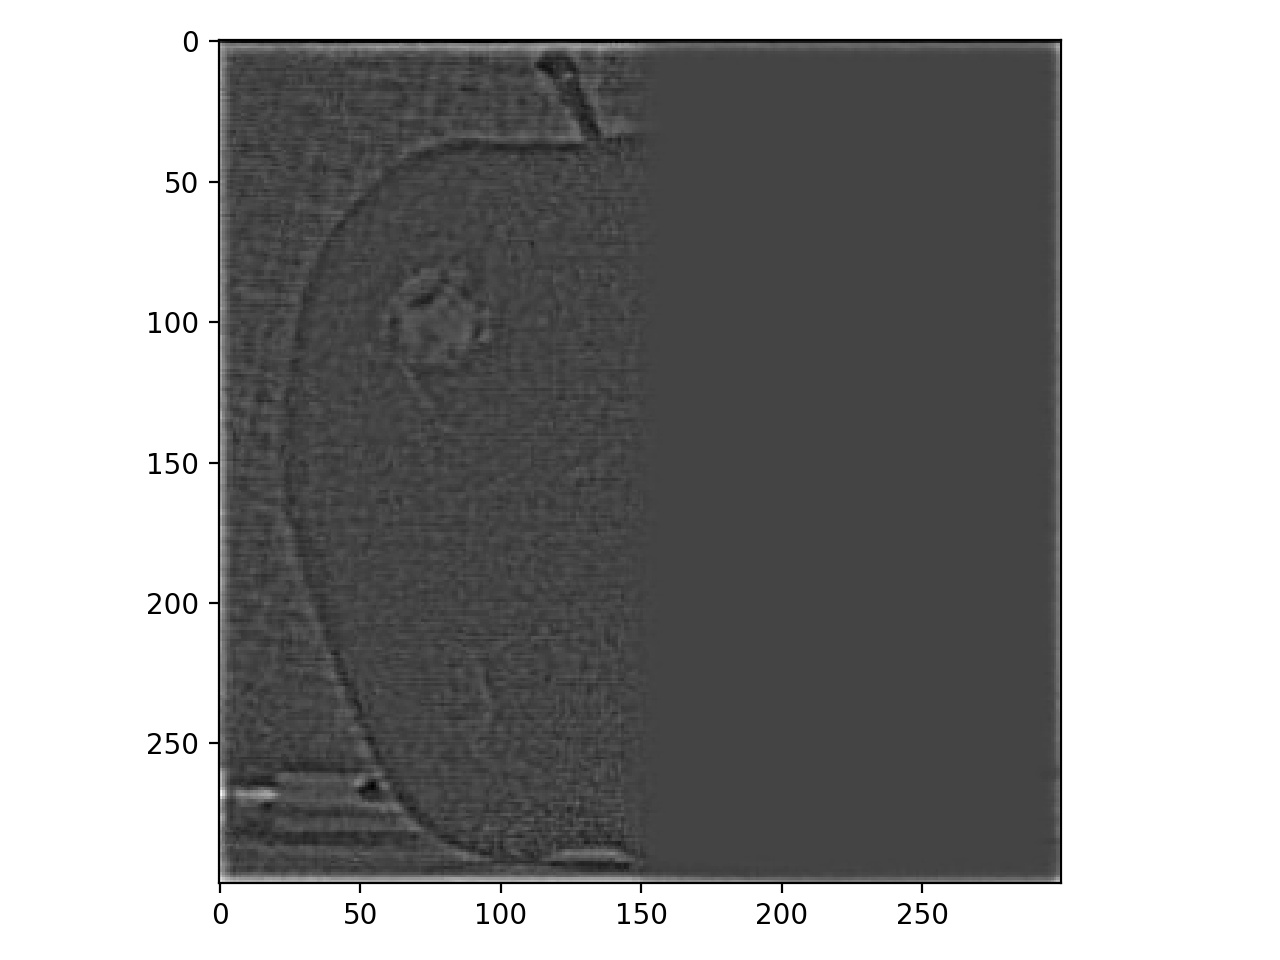
Laplacian Stacks:
|
|
|
|

|
|

|
|
|
|
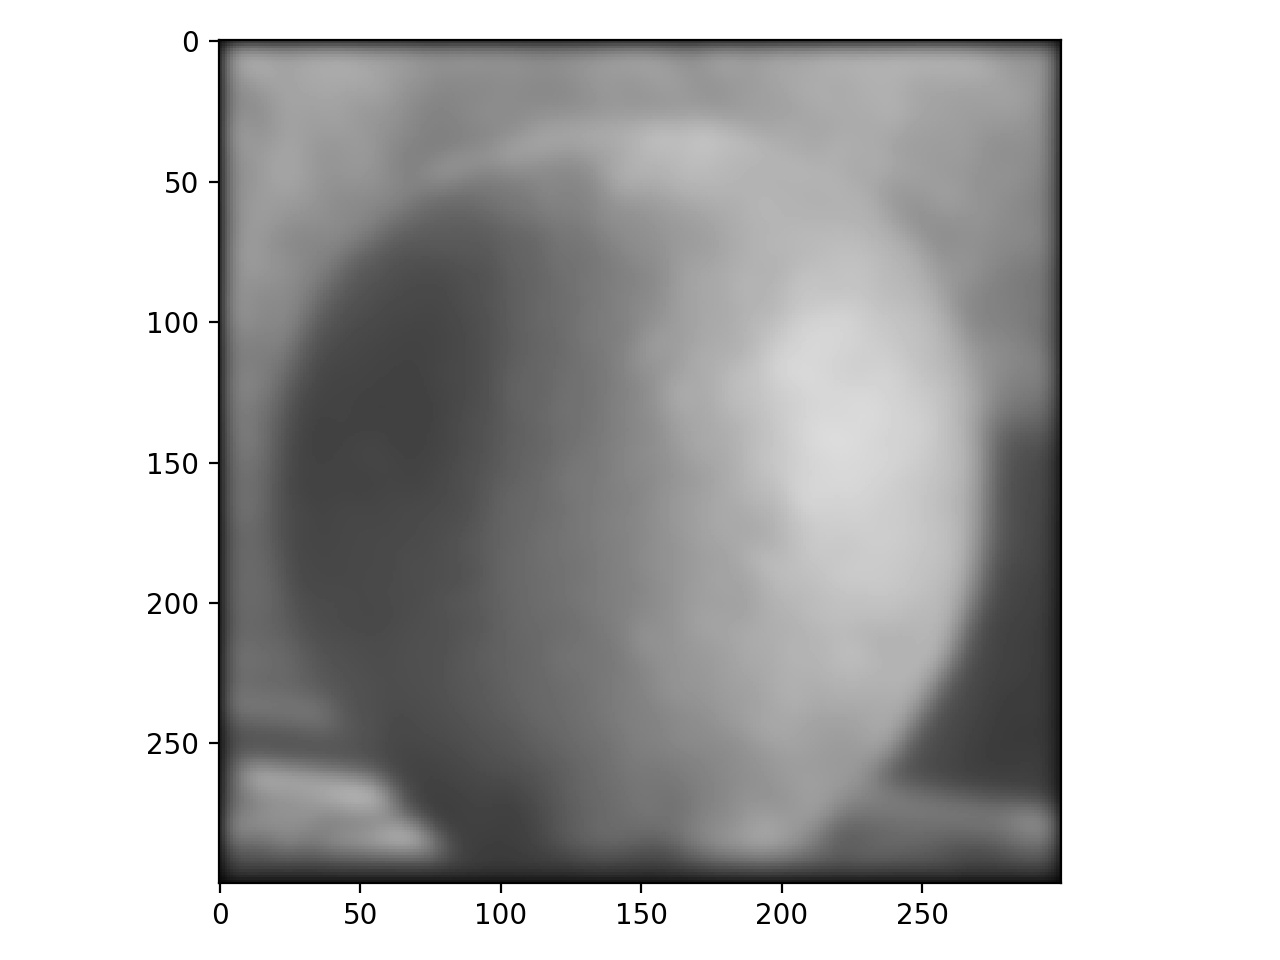
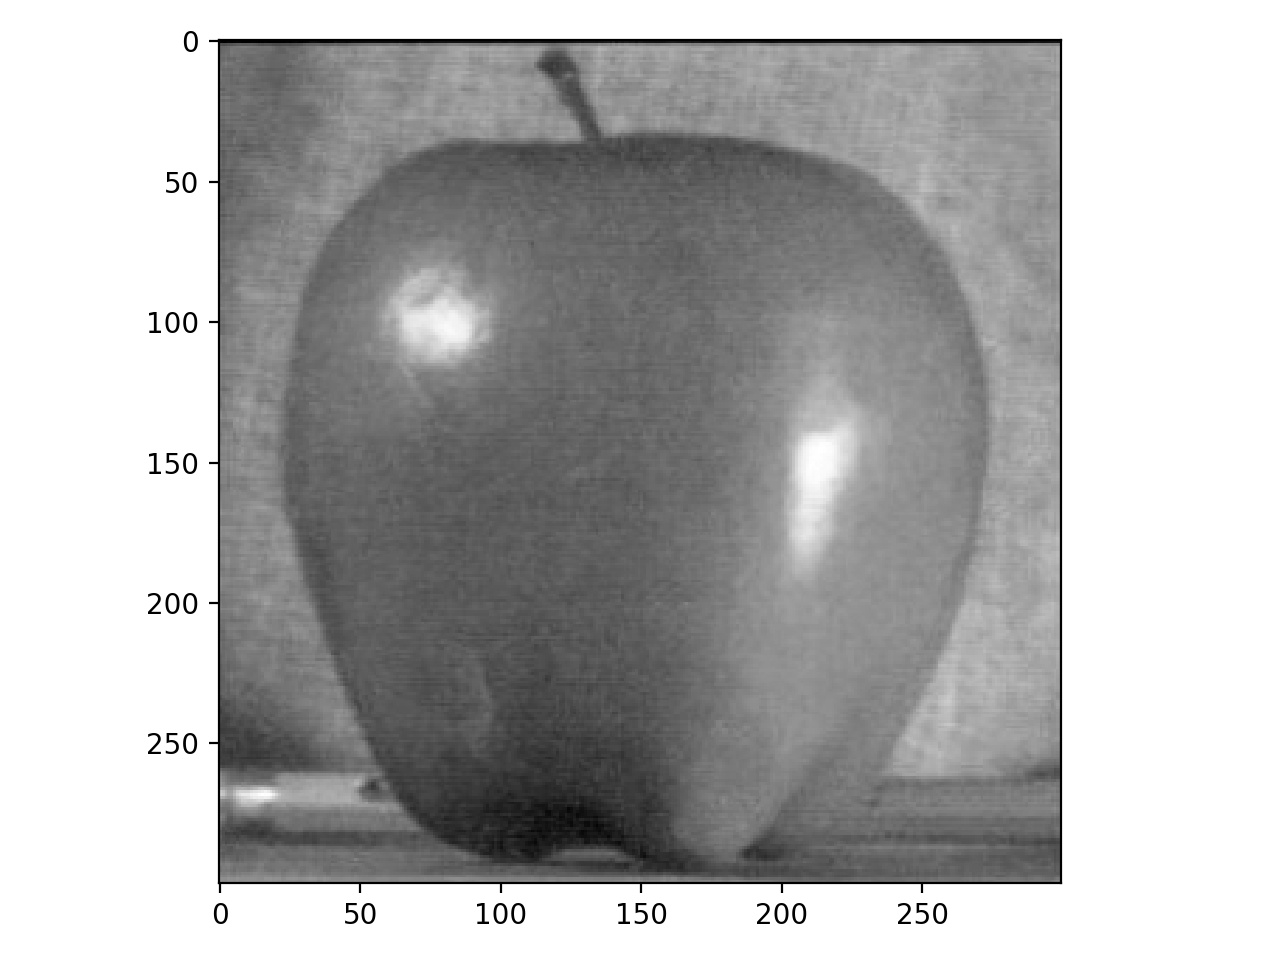
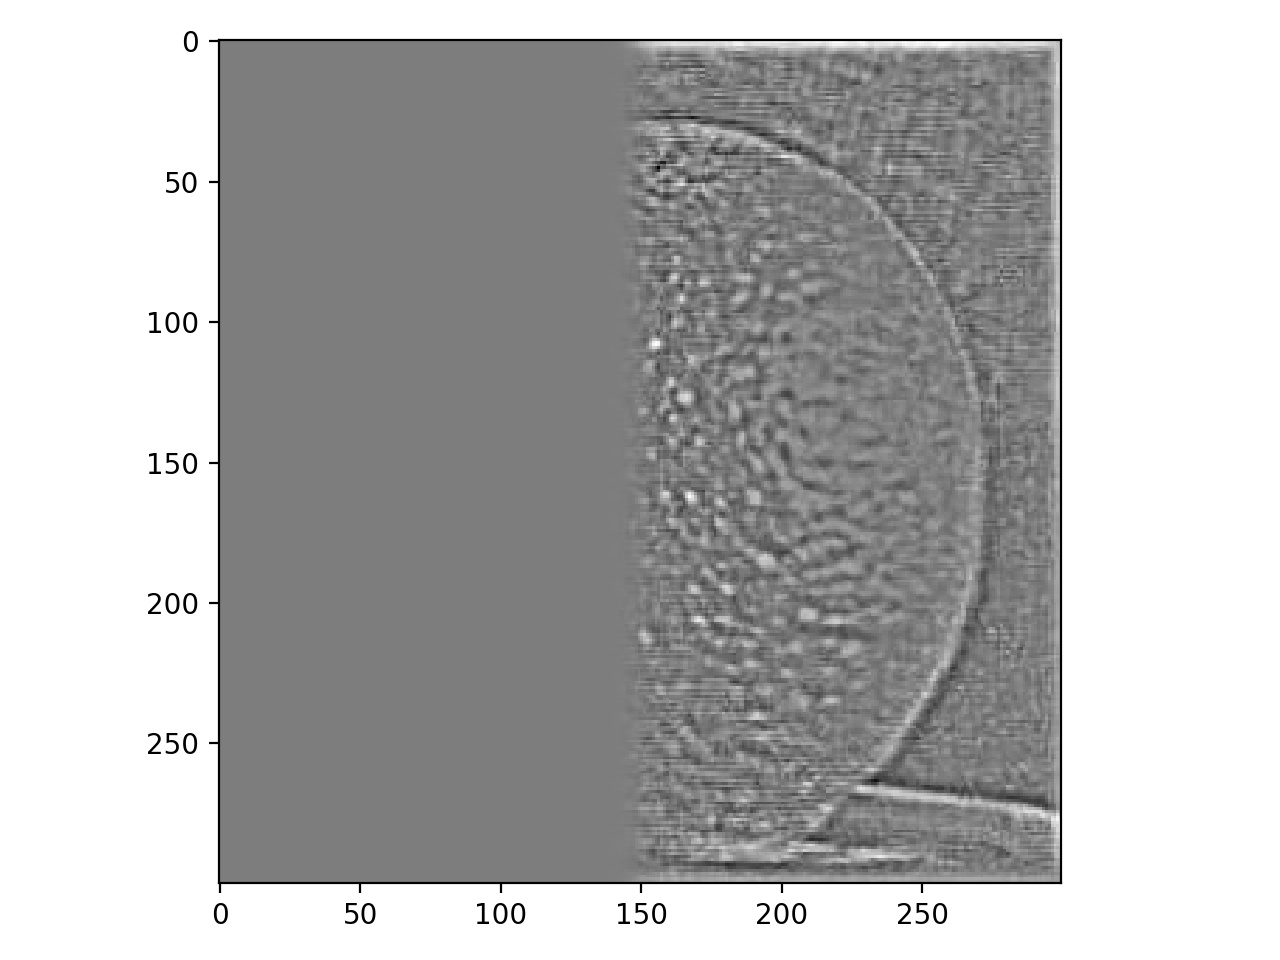
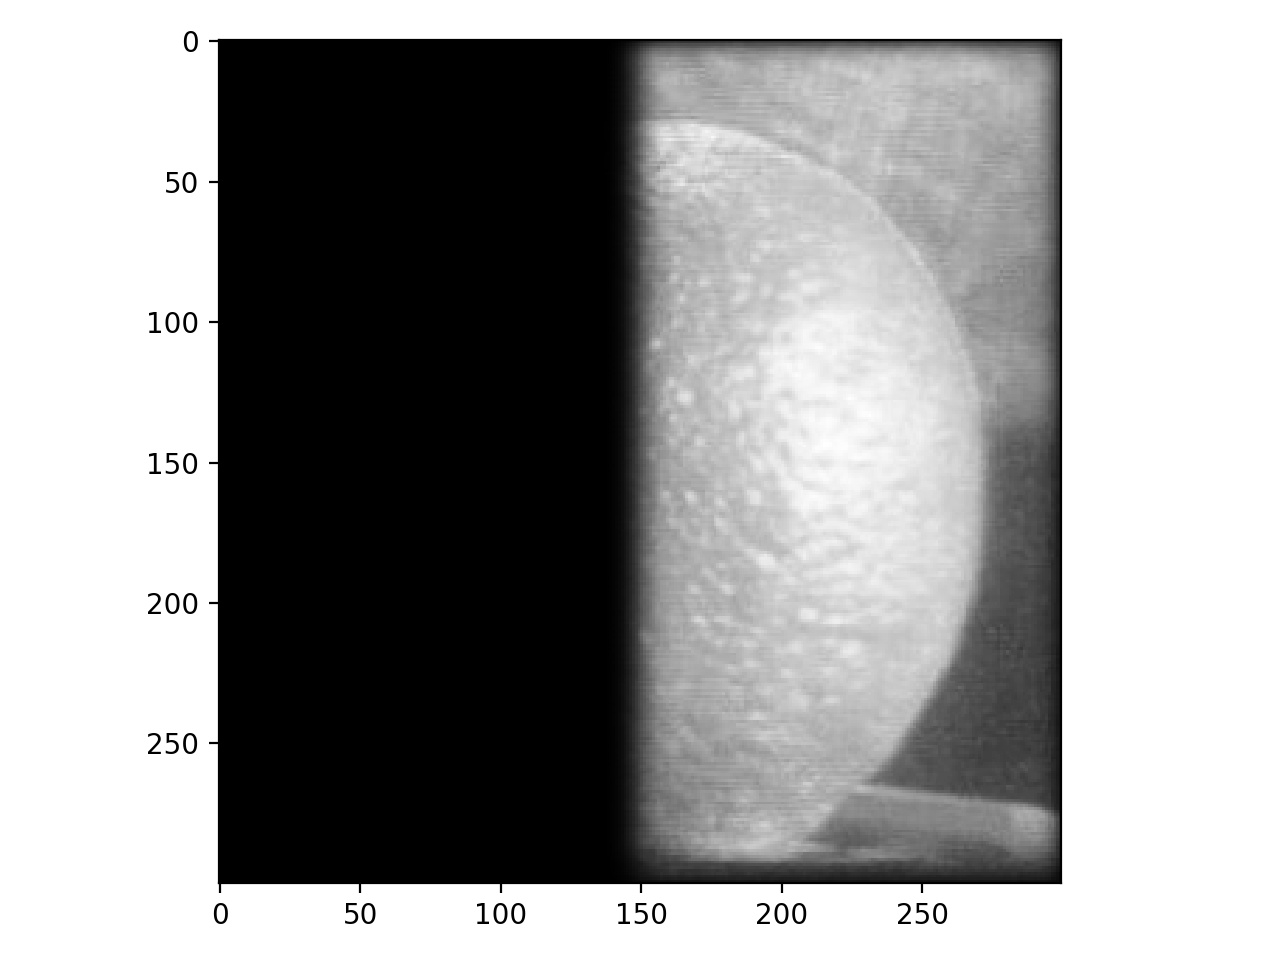
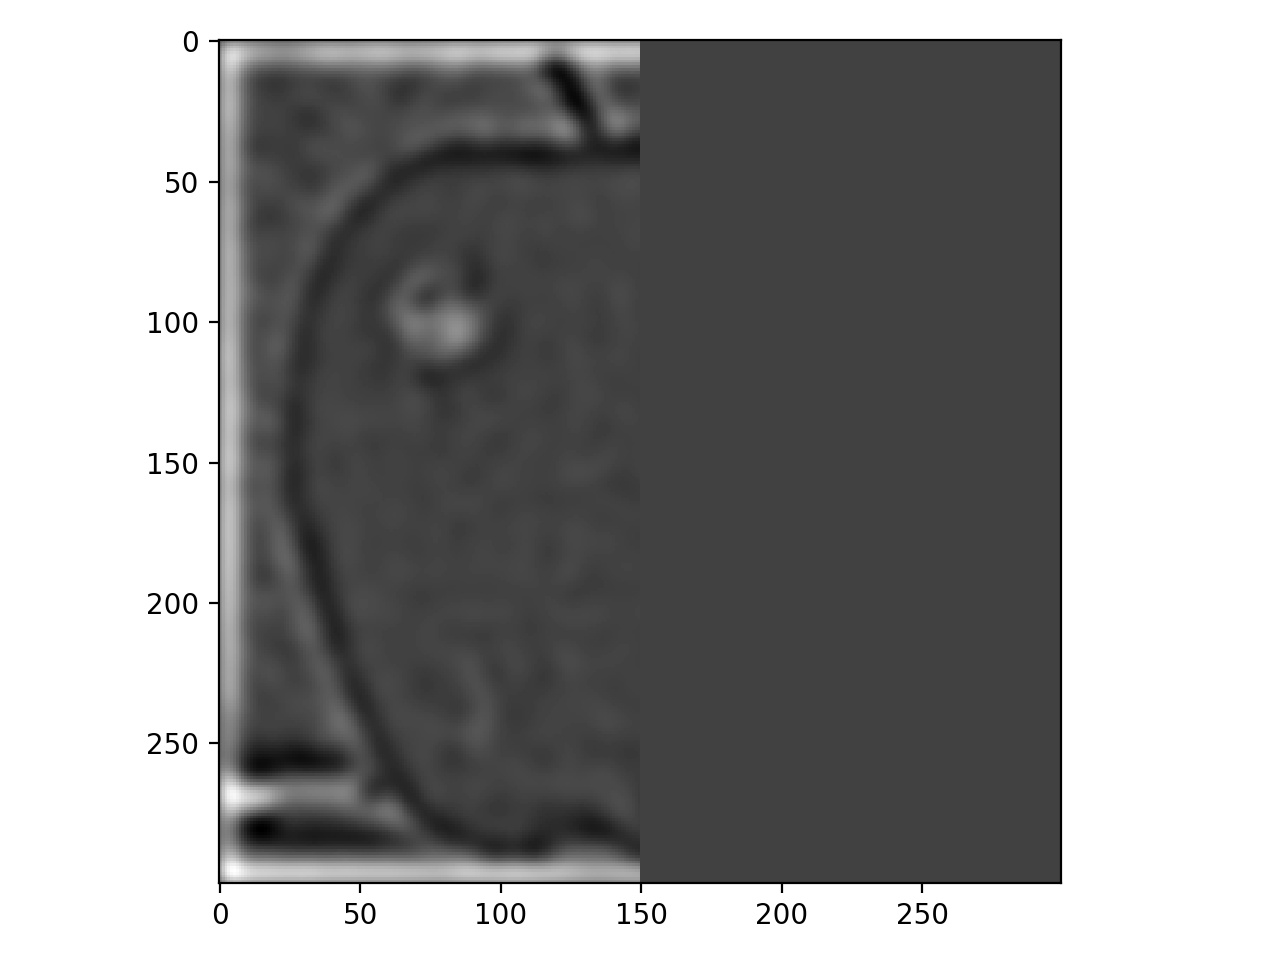
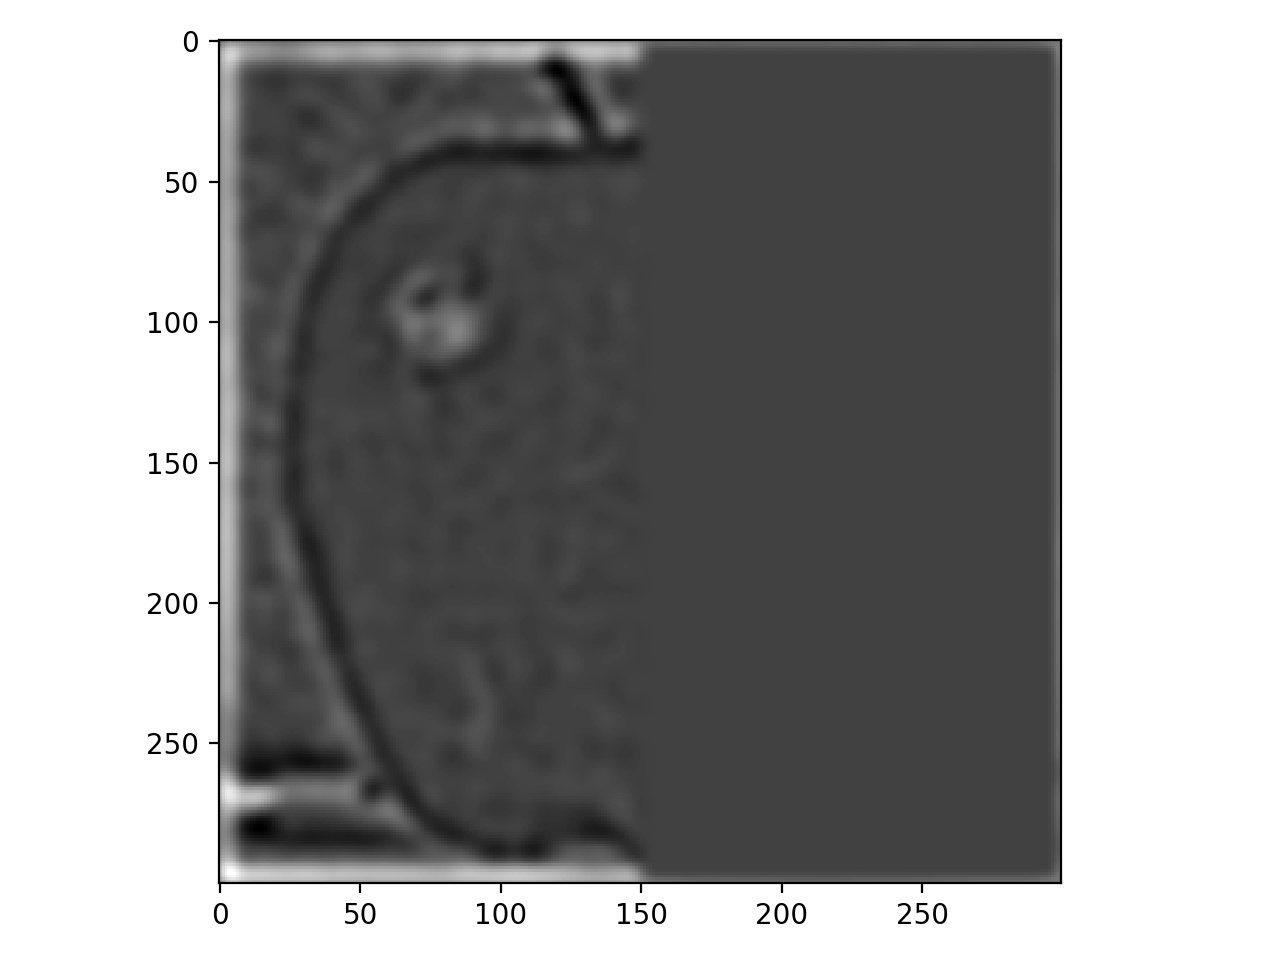
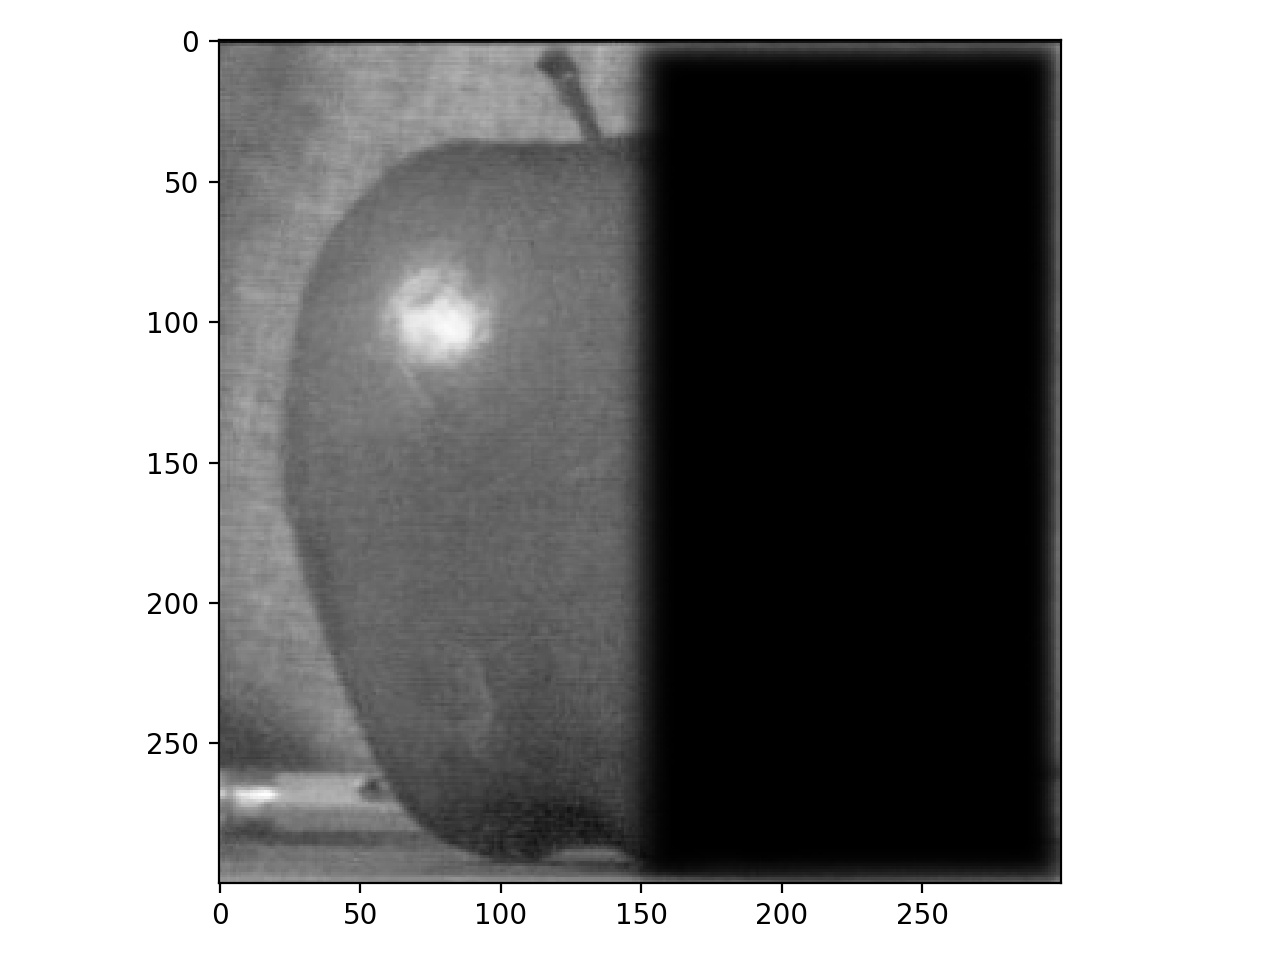
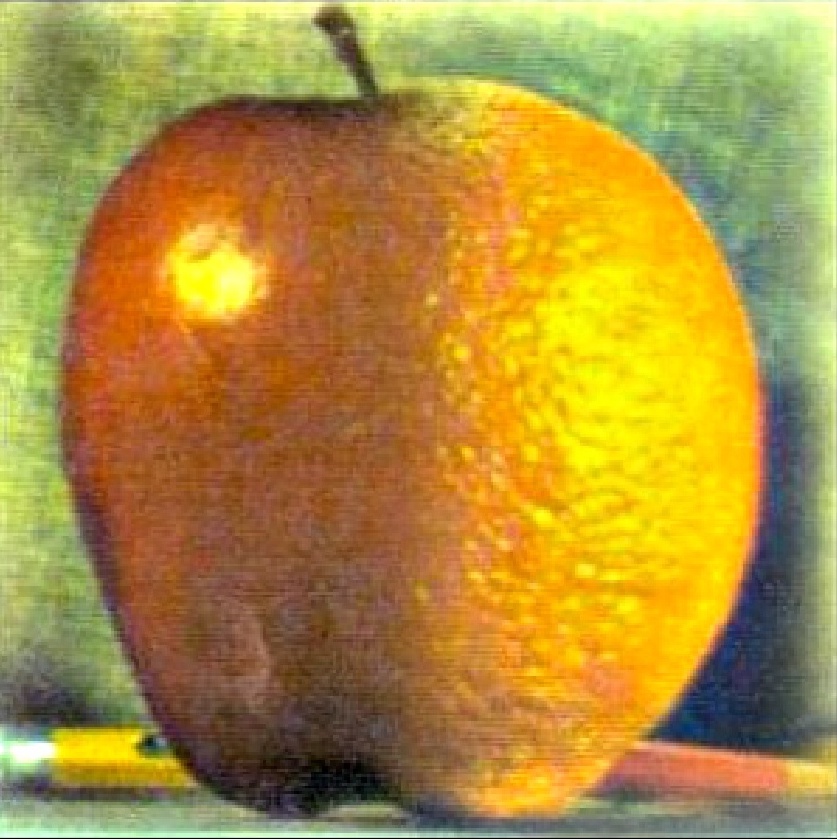
Apple and Orange with Binary Masks Applied:
|
|
|
|
|
|
|
|
|
|
The final or-apple!
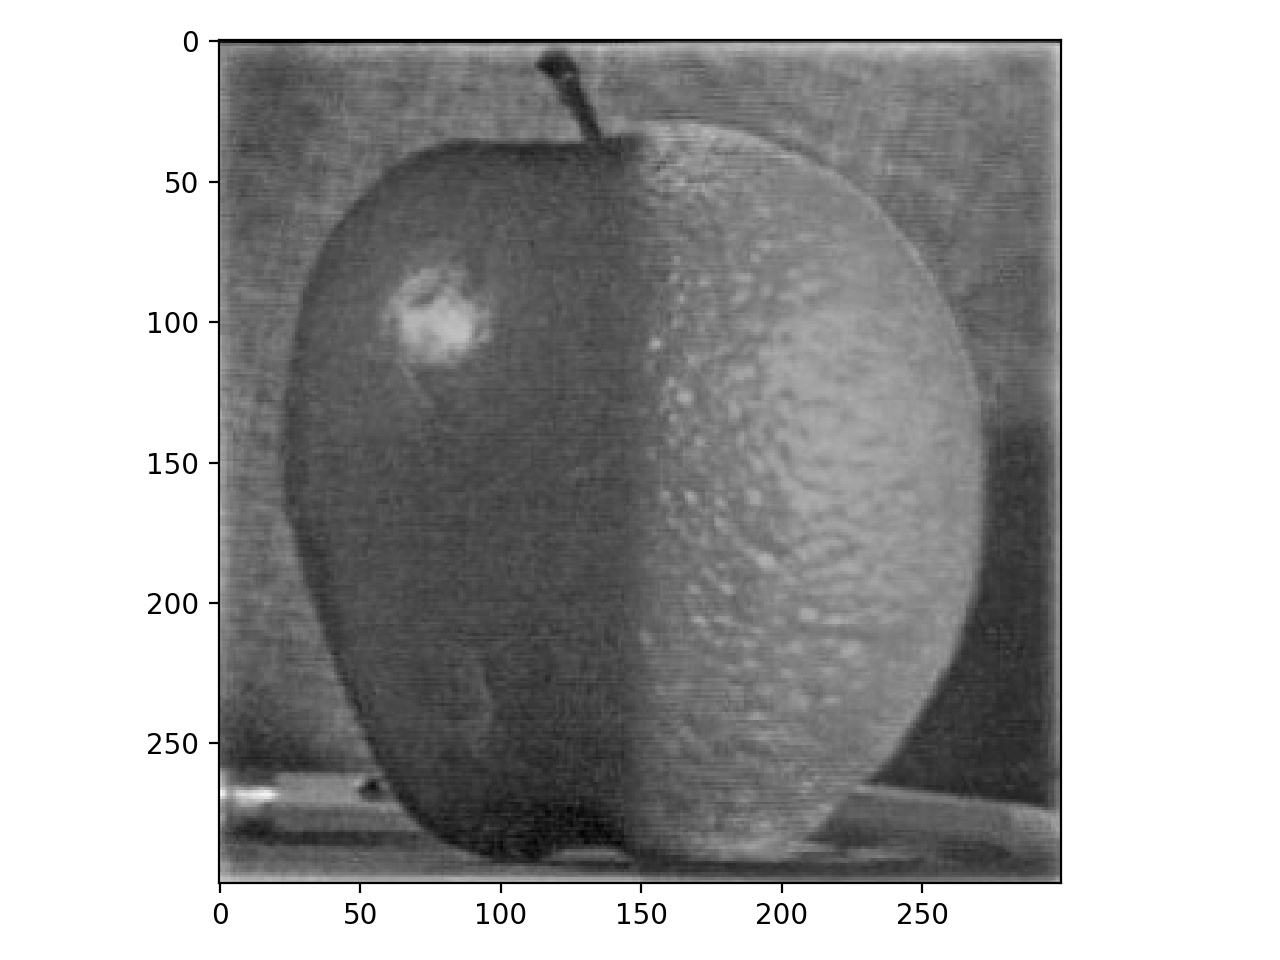
|
Part 2.4: Multiresolution Blending

|

|
|
|
|
|
|
|

|
I had a lot of fun with this project - I almost just felt like I was playing around in Adobe Photoshop! I feel like I've learned some really interesting new skills and am excited to see what fun new images I can think up and create on my own!