CS194-26 Project 2: Fun with Filters and Frequencies!
Part 1: Fun with Filters
Part 1.1: Finite Difference Operator
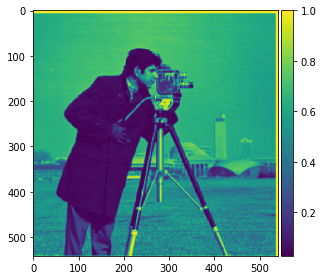
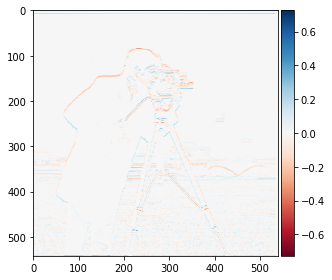
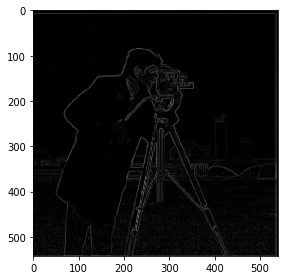
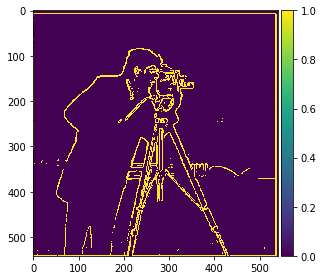
In this part, I first computed the partial derivative in x and y of the cameraman image by using scipy.signal.conolve2d() to convolve the image with the finite difference operators D_x and D_y. I then used those to compute the gradient magnitude image (sqrt(dx**2 + dy**2)). Finally, I computeputed the edge image, by binarizing the gradient magnitude image with a threshold of 0.25.
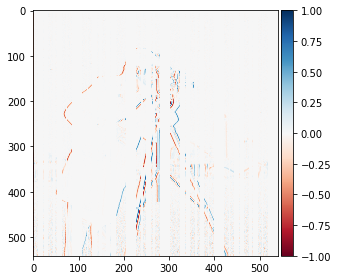
Gradient (dx)
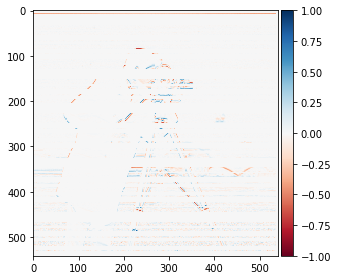
Gradient (dy)
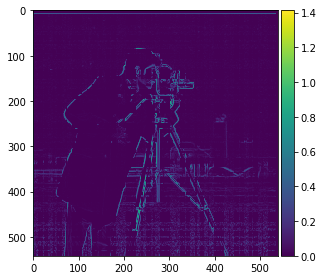
Gradient Magnitude
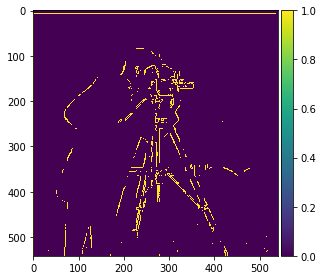
Edge Image
Part 1.2: Derivative of Gaussian (DoG) Filter
Here, I first blurred the image by convolving it with a Gaussian filter before repeating the steps from part 1.1. I noticed that after blurring the image, some of the noise got smoothed out, which resulted in a much clearer gradient magnitude image as well as edge image.
Blurred Image

Post-blur Gradient (dx)
Post-blur Gradient (dy)

Post-blur Gradient Magnitude

Post-blur Edge Image
Afterwards, I repeated the same process using a DoG filter, which took a single convolution instead of two.
DoG Filter (dx)
DoG Filter (dy)
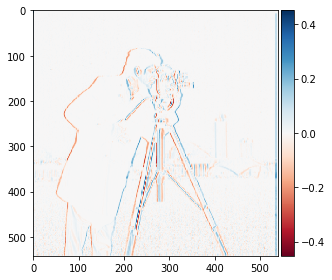
Image convoluted with DoG (dx)
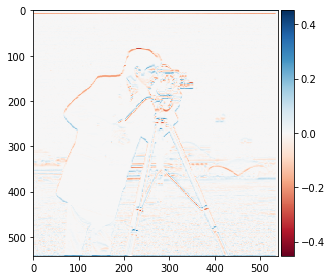
Image convoluted with DoG (dy)
DoG Gradient Magnitude
DoG Edge Image
Part 2: Fun with Frequencies!
Part 2.1: Image "Sharpening"
I first applied a Gaussian, or low pass, filter with kernel=3 and sigma=1 to the original Taj Mahal image. I then subtracted the blurred image from the original to get back only the high frequencies, then added these frequencies back (alpha=3) to artificially "sharpen" the image. I played around with a few different alpha values, but using higher values (alpha=5-10) made the image look "deep fried" or artificial. I was able to sharpen the image with one convolution by using an unsharp mask filter.
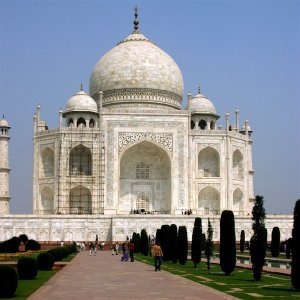
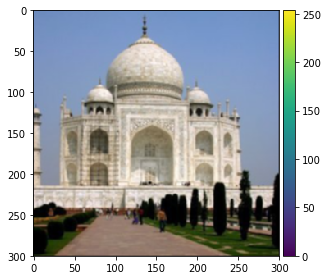
Original Image
Blurred Image
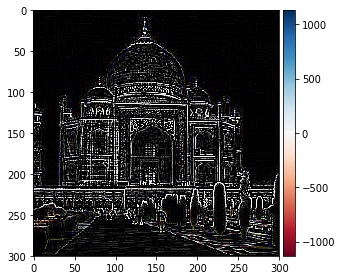
High Frequencies (original - blurred)
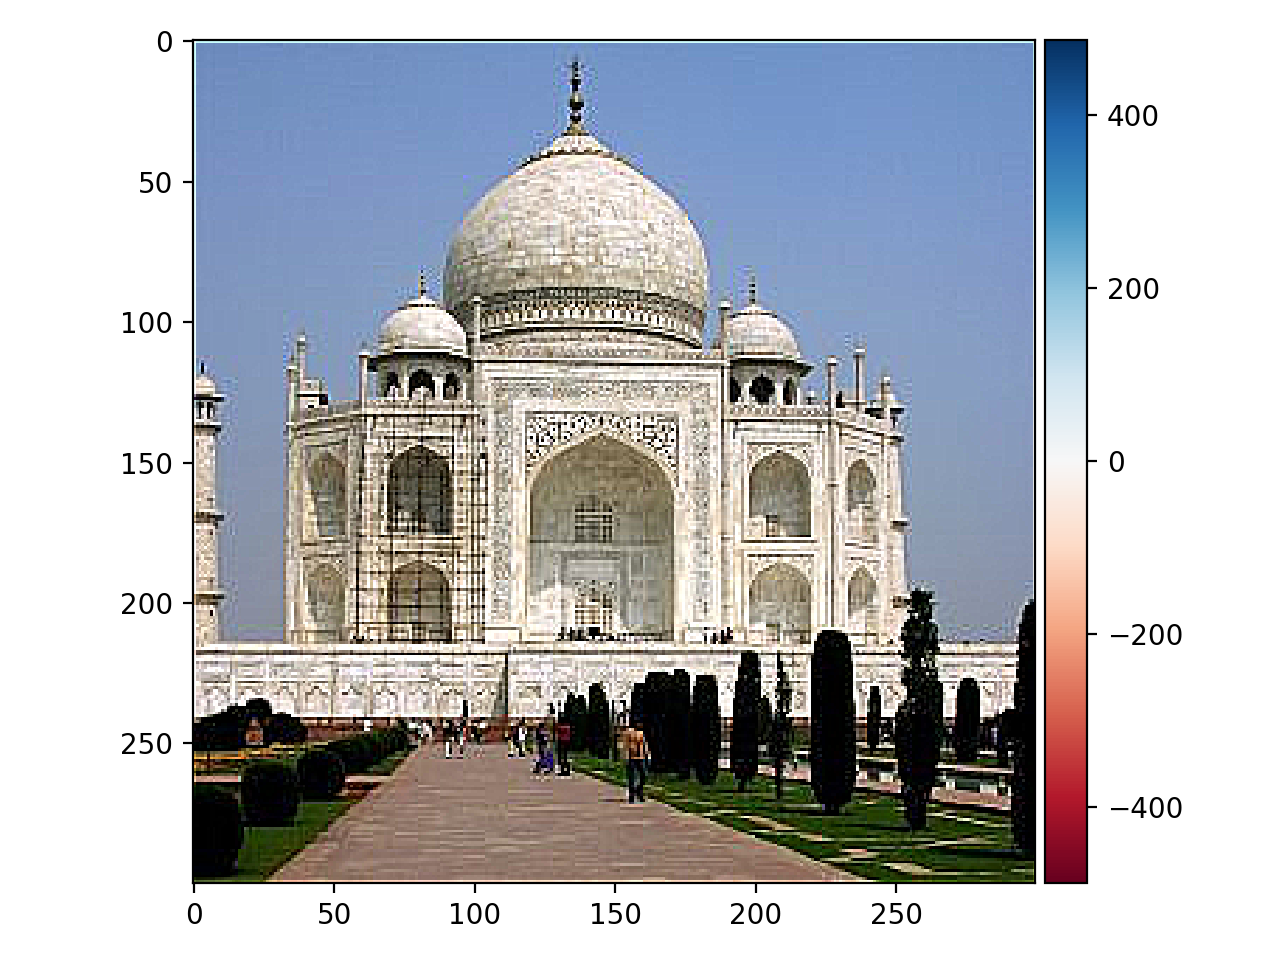
Sharpened Image
I then repeated the blurring and sharpening process again with an already sharp image of a pagoda in Taipei. Using alpha=3, I think visually we can see that it does "look" sharper/crisper.
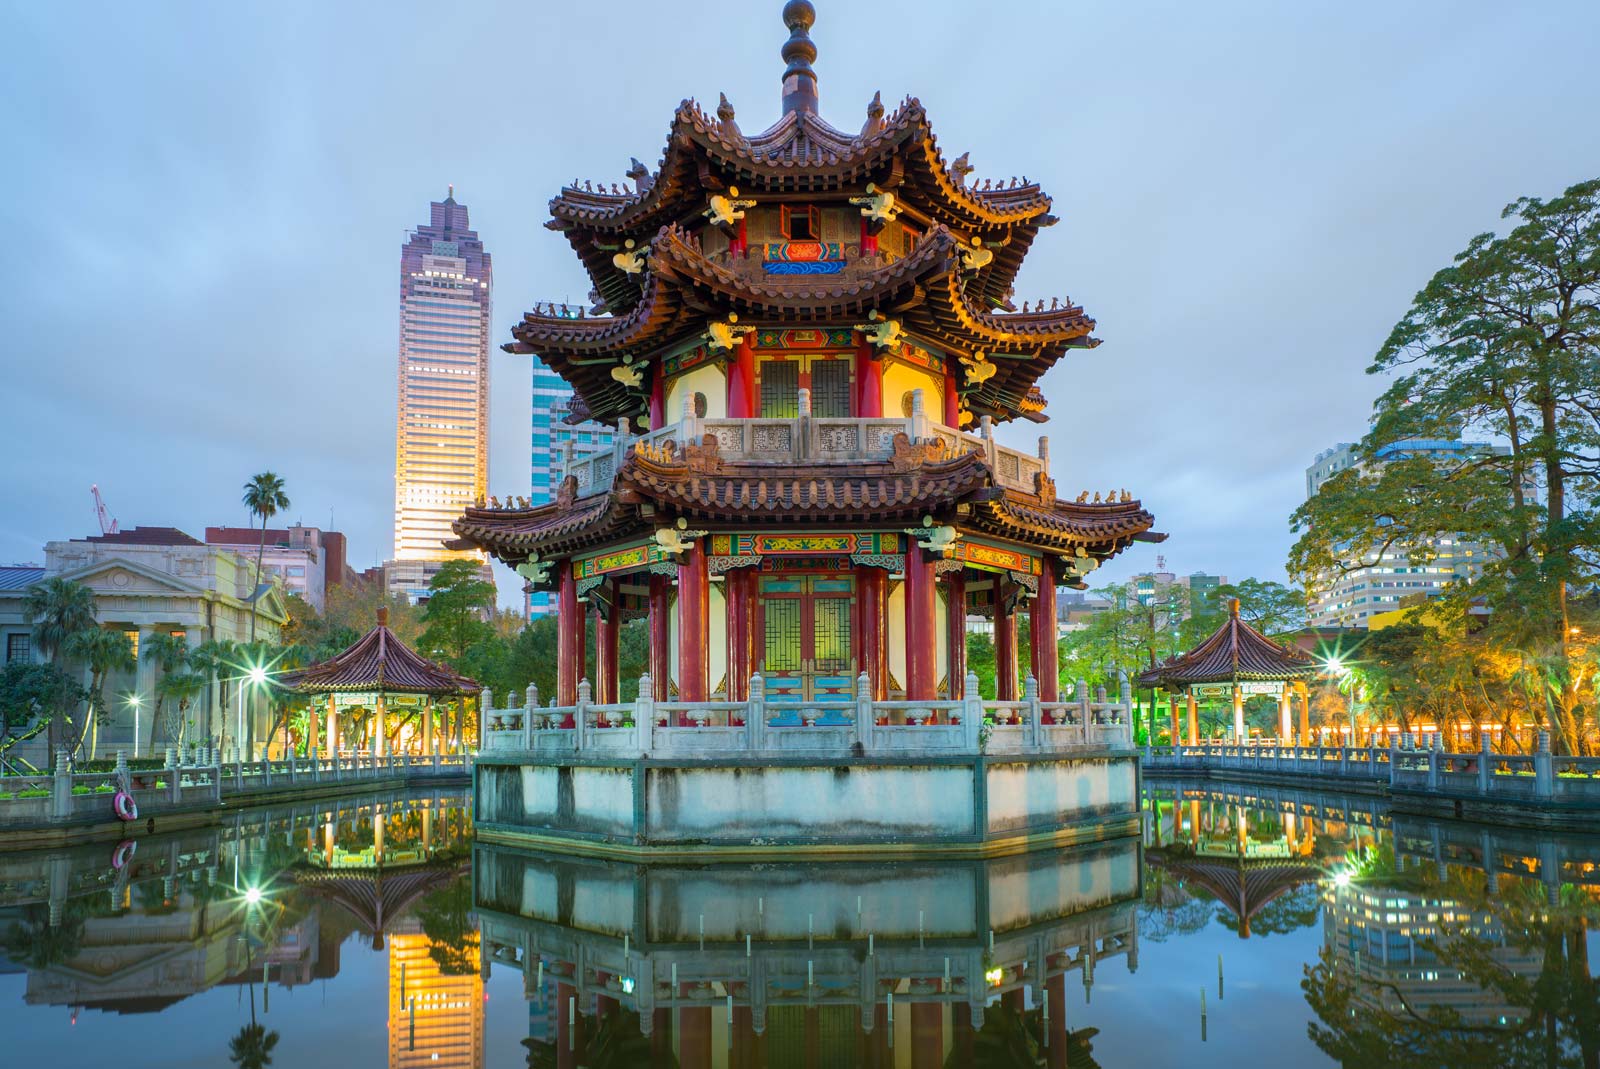
Original Image
Blurred Image
Sharpened Image
Part 2.2: Hybrid Images
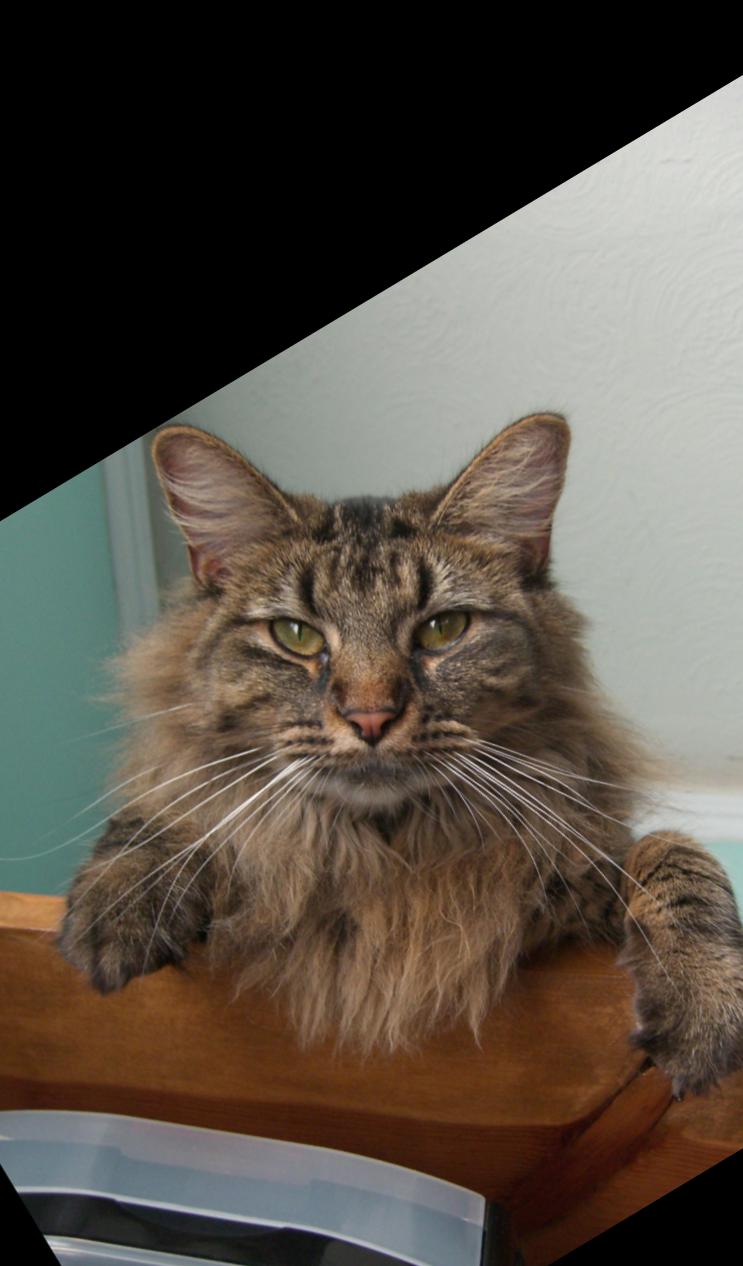
In order to create these hybrid images of Derek and his cat Nutmeg, I first used the class starter code to align (to the pupils) and crop the 2 images, then I applied a Gaussian/low pass filter with kernel=15 and sigma=30 to the one image (Nutmeg) and a high pass filter with kernel=10 and sigma=20 to the other (Derek). I then averaged the two images and added them to each other. These kernel sizes and sigma values were determined pretty arbitrarily through visual inspection. From up close, the image looks like Derek, while from far away, the image looks like Nutmeg.
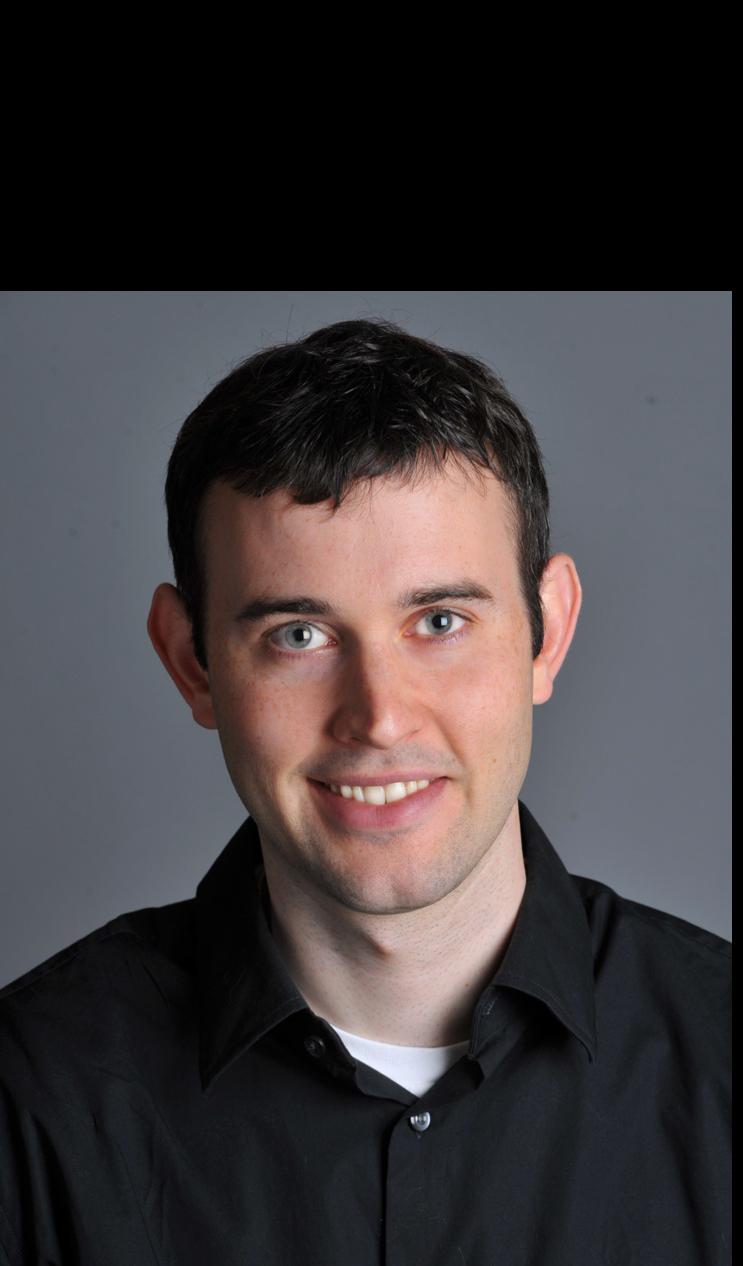
Aligned Derek Image
Aligned Nutmeg Image
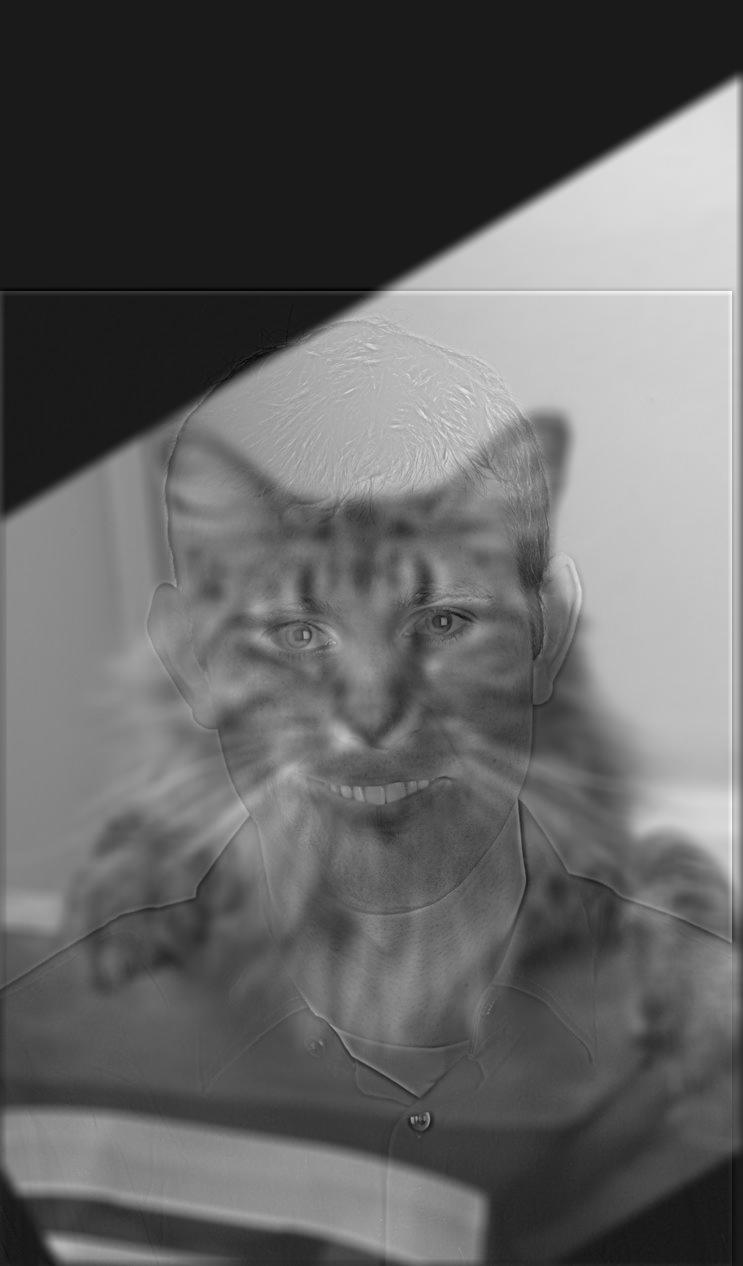
Hybrid Greyscale Image
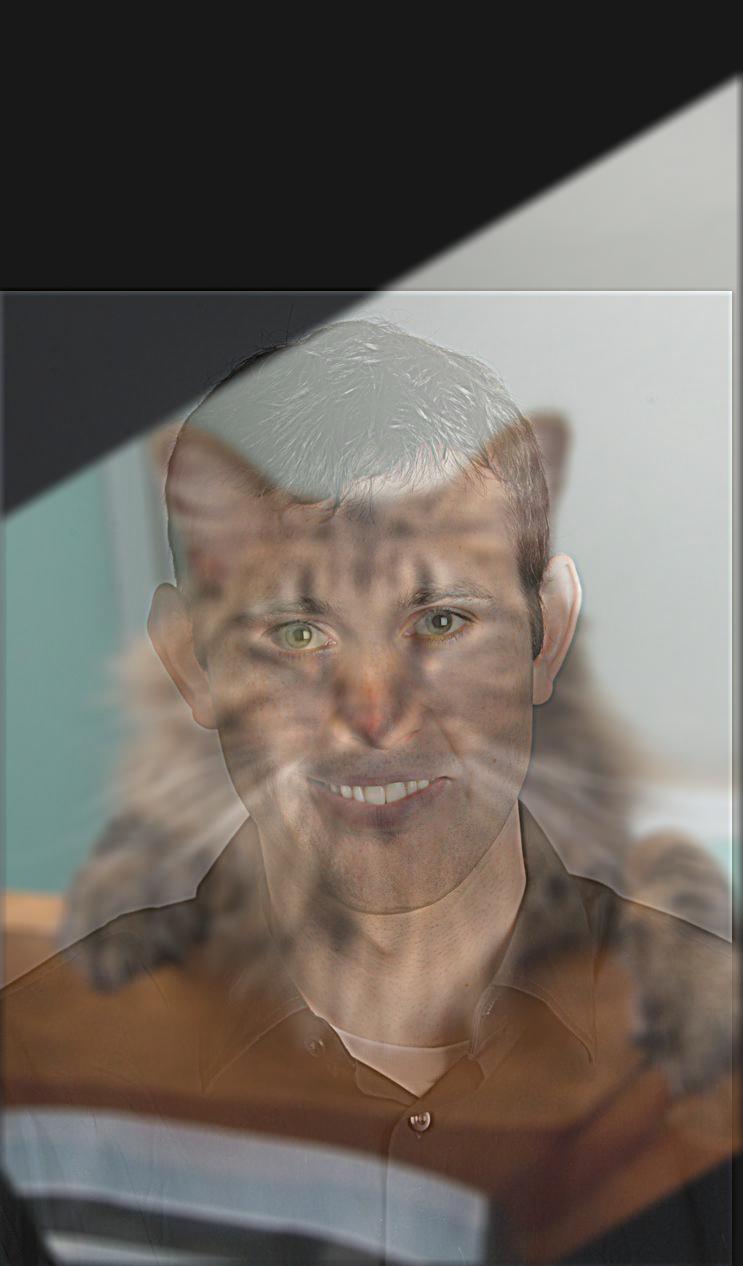
Hybrid Color Image
I repeated the same process with a hybrid image of a cup of coffee and a cup of tea by aligning the images to the left and right edges of the cups. I first used tea as the high pass and coffee as the low pass, but it was not successful as the image of the coffee overpowers the tea greatly. I found that it worked a little better vice versa though, with coffee as the high pass and tea as the low pass.
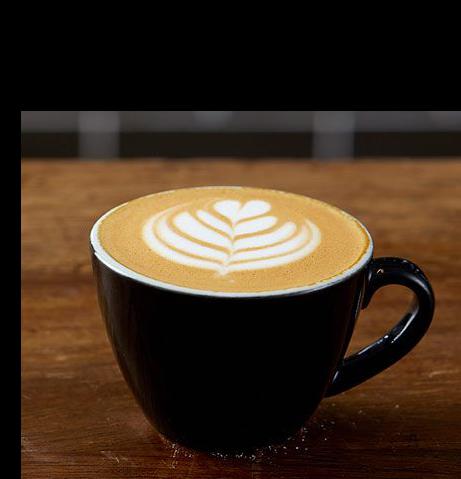
Aligned Coffee Image
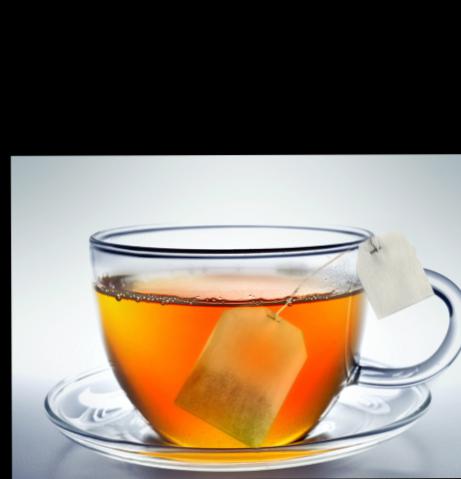
Aligned Tea Image
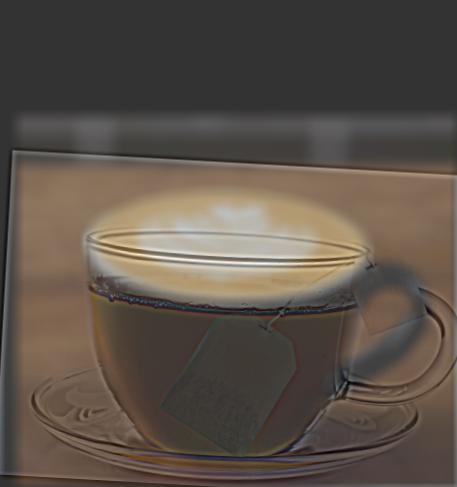
Hybrid Tea(high) Coffee(low) Image
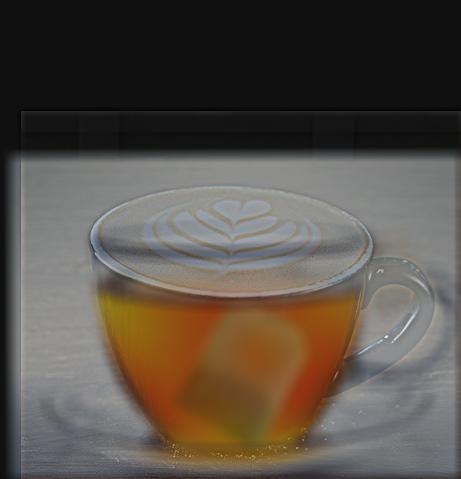
Hybrid Coffee(high) Tea(low) Image
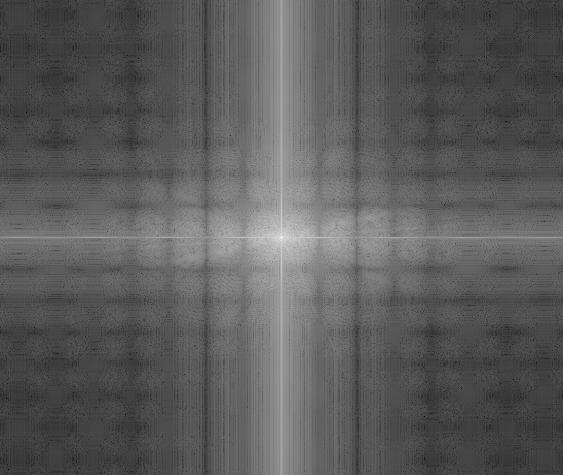
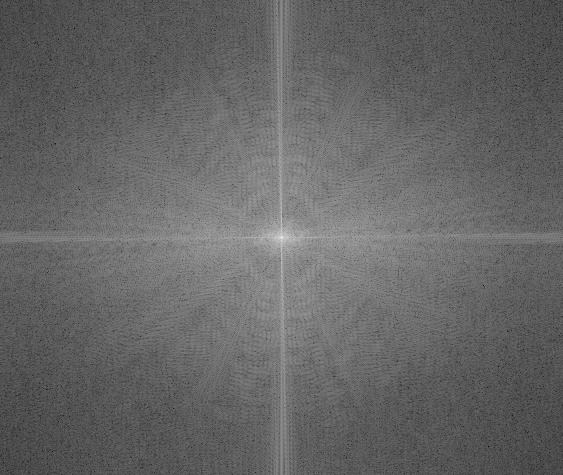
I did the same thing with image of Sakura and Sasuke from the anime Naruto. I thought this would be pretty cool but it is a bit unsettling. I used Sakura as the high pass and Sasuke as the low pass. I also performed frequency analysis on this process by computing the log magnitude of the Fourier transform of the two input/aligned images, the high pass/lowpass versions, and the hybrid image.
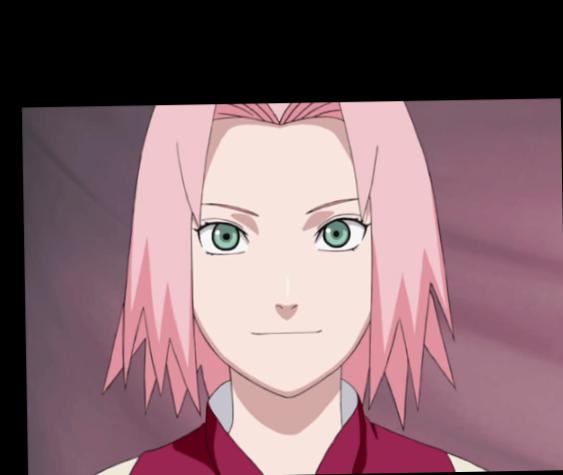
Aligned Sakura Image
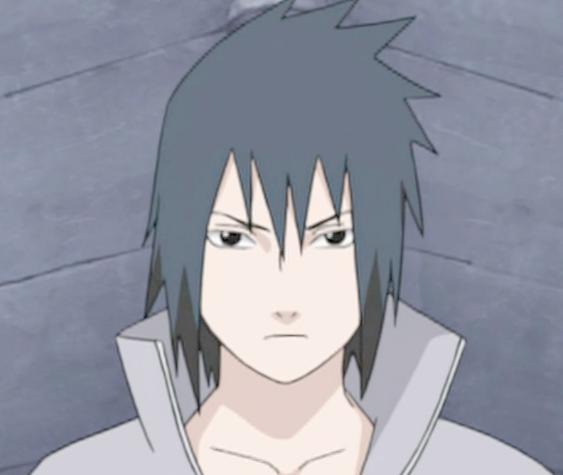
Aligned Sasuke Image
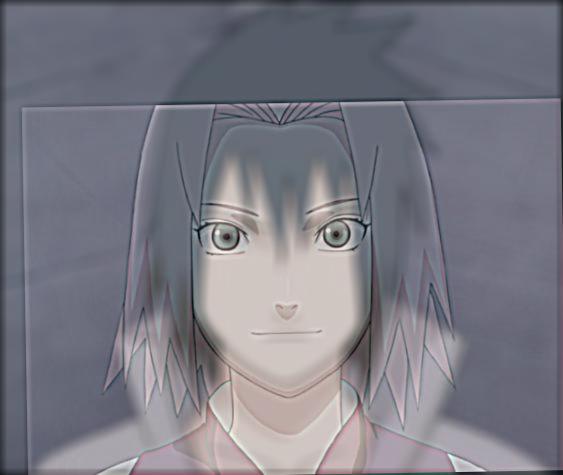
Hybrid Sakura/Sasuke Image

Log Magnitude of FT of Sakura
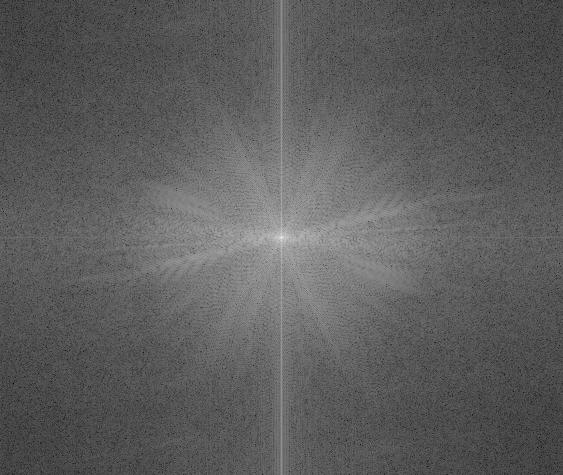
Log Magnitude of FT of Sasuke
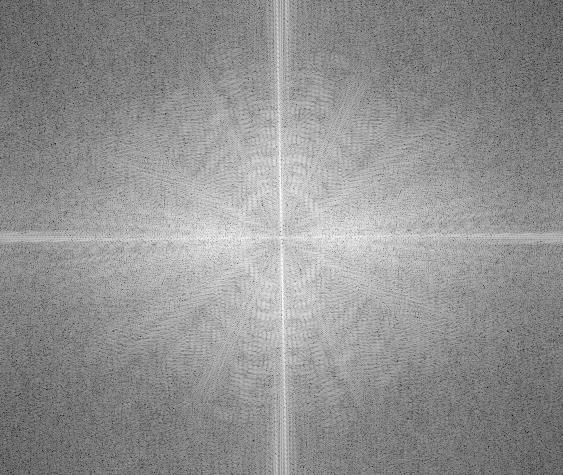
Log Magnitude of FT of High Pass Filtered Sakura
Log Magnitude of FT of Low Pass Filtered Sasuke
Log Magnitude of FT of Hybrid Sakura/Sasuke
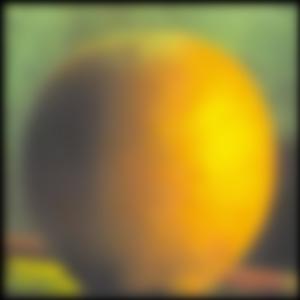
Multi-resolution Blending and the Oraple journey
Part 2.3: Gaussian and Laplacian Stacks
In this part, I blended 2 images together by first creating a Gaussian stack and a Laplacian stack, then using those stacks to blend.
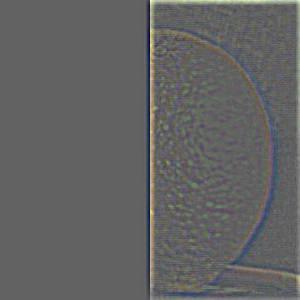
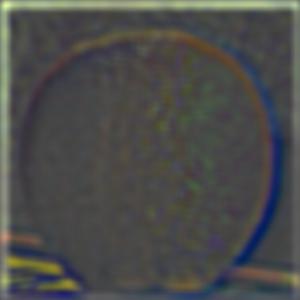
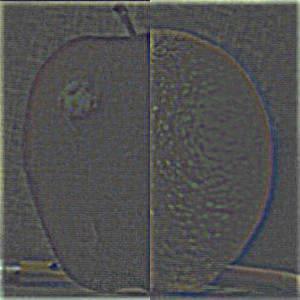
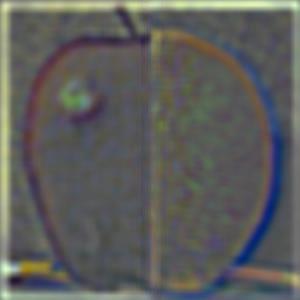
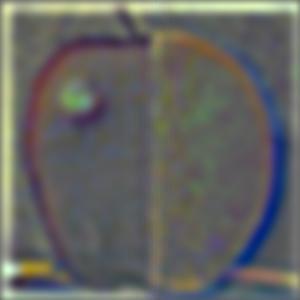
Laplacian L0 of Apple
Laplacian L2 of Apple
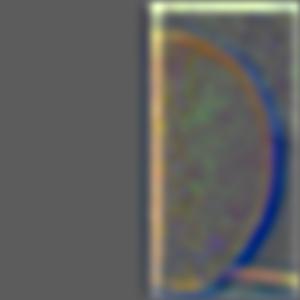
Laplacian L4 of Apple
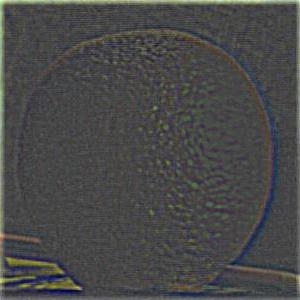
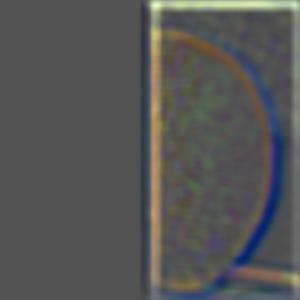
Laplacian L0 of Orange
Laplacian L2 of Orange

Laplacian L4 of Orange
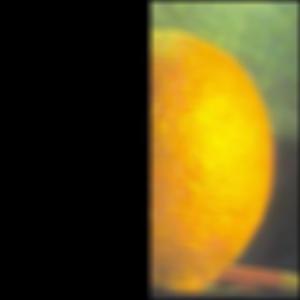
Gaussian L0 of Apple
Gaussian L2 of Apple
Gaussian L4 of Apple
Gaussian L0 of Orange
Gaussian L2 of Orange
Gaussian L4 of Orange
Part 2.4: Multiresolution Blending
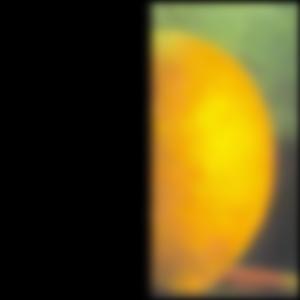
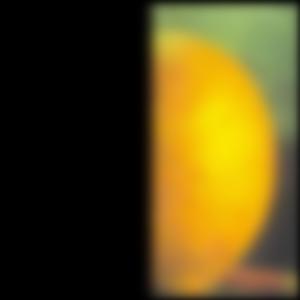
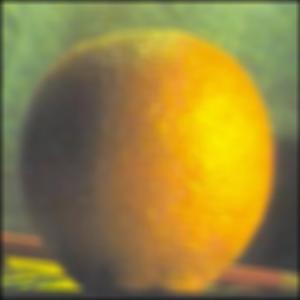
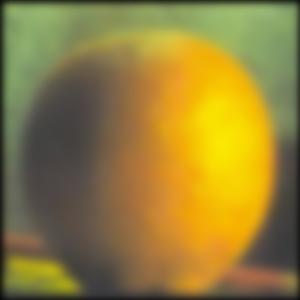
Now that I have the laplacian filtered apple and orange images, I combined them at L0, L2, and L4 respectively, then added all of these frequencies into the final image.
Hybrid L0
Hybrid L2
Hybrid L4
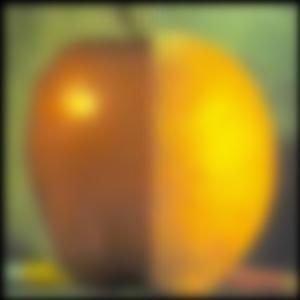
Final Image