|
|
|
|
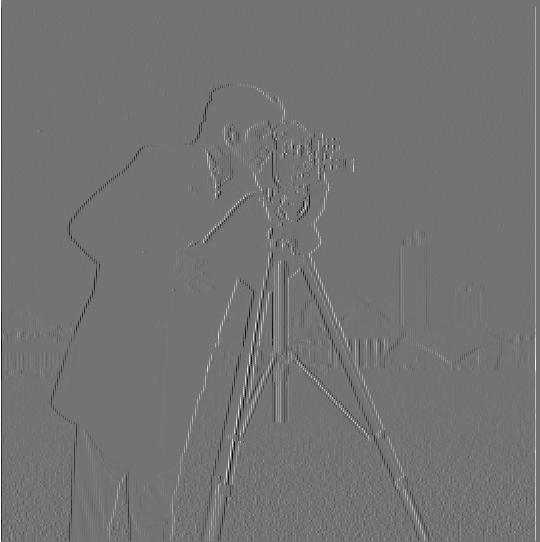
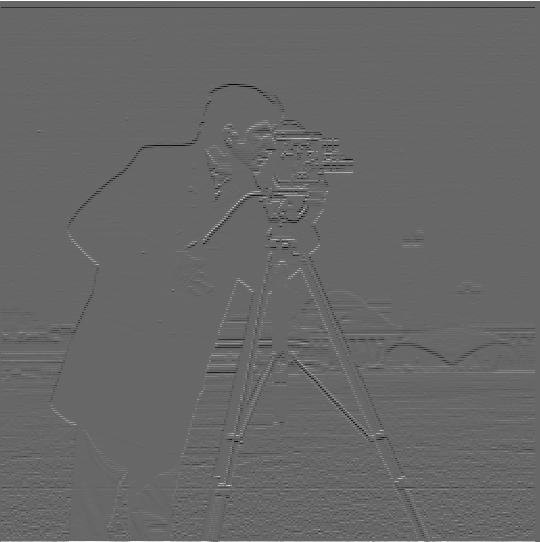
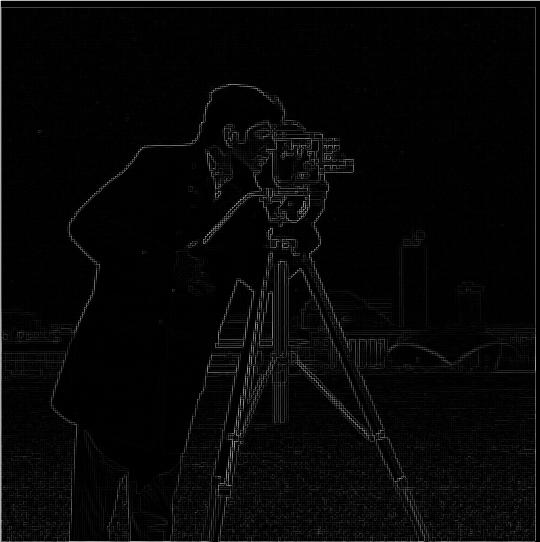
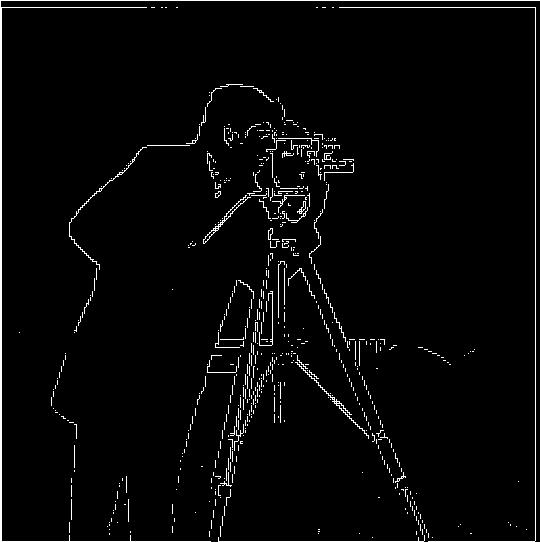
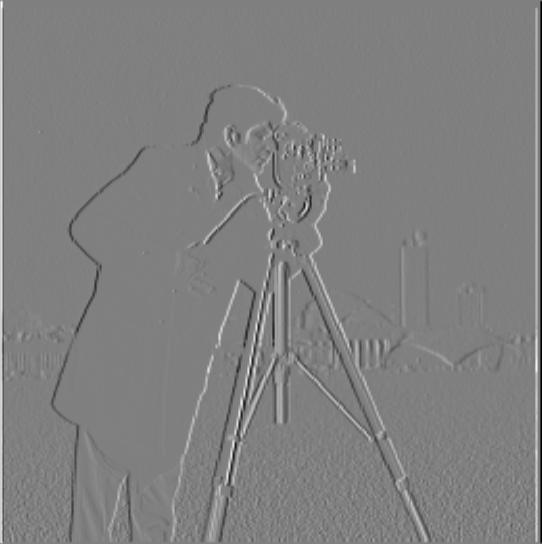
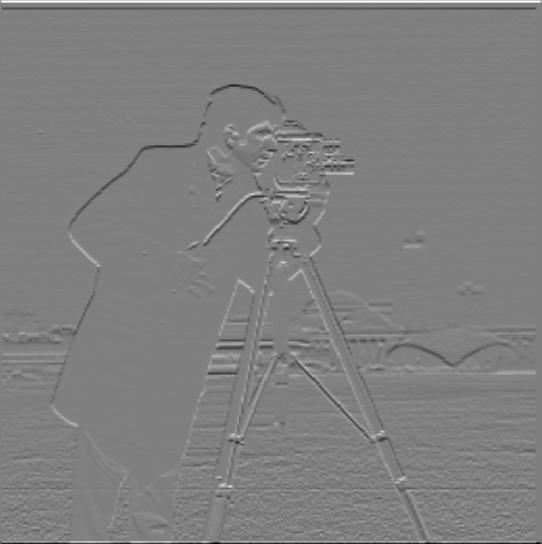
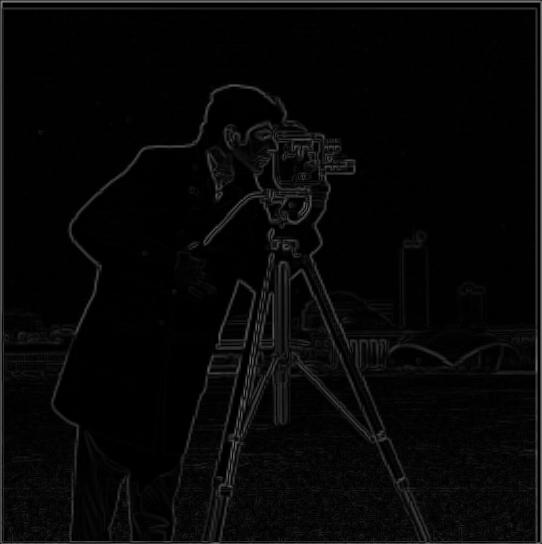
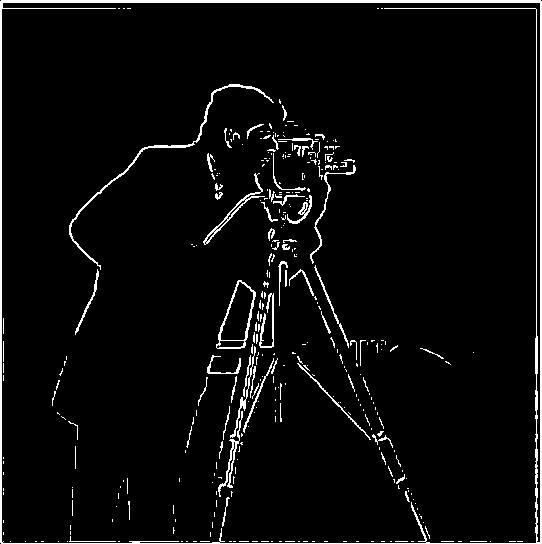
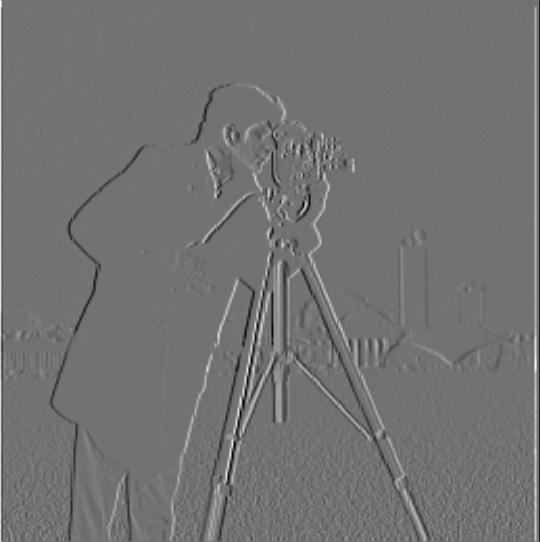
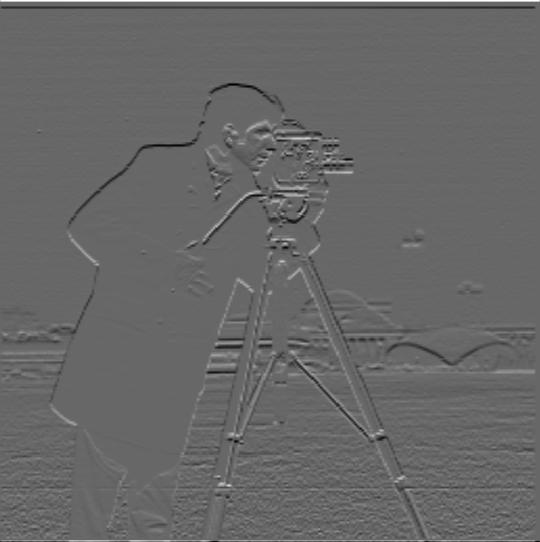
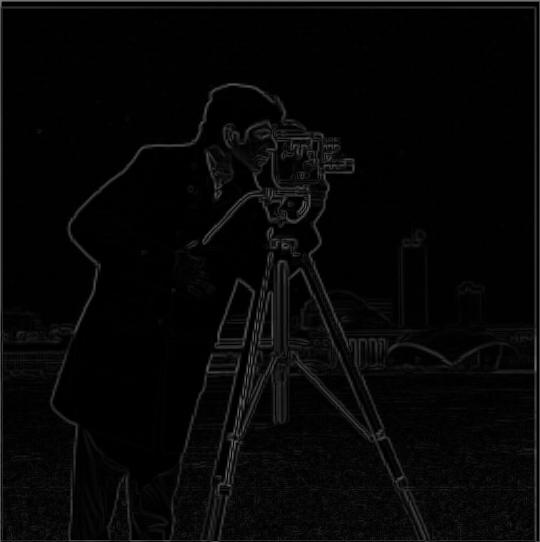
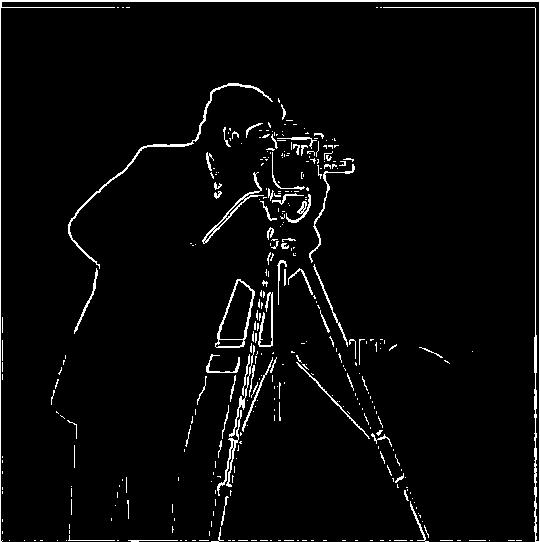
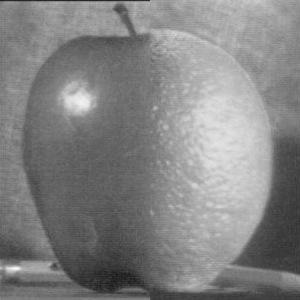
For calculating the gradient magnitude image, the gradients with respect to x and y must be first computed by convolving the finite difference operators Dx = [1 -1] and Dy = [1 -1]^T. This will produce the gradient of the image with respect to each direction. Next, the gradient images are combined and then filtered so that any values below 0.3 (which I determined through trial and error) are replaced with 0 and everything above is replaced with 1. This filters out low values so that the remaining 1s correspond with lines in the image. Below are images of the Dx, Dy, total gradient, and lines of the cameraman.
|
|
|
|
|
|
By convolving the image with a Gaussian filter, a blur results. The level of blurring can be modified through the kernel size and sigma of the Gaussian. Below are images of the same calculations performed in the previous part, but this time on the file after the Gaussian blur has been applied.
|
|
|
|
The blurred version of the cameraman seems to have more clear gradient magnitudes. Additionally, the lines of the image are far better in the blurred version, as most lines are continuous, as opposed to jagged cuts from the original. This may be because the blurring is making lines more "full", or more continuous. The above images were created in two steps: first convoluting with the derivative then with the Gaussian. To do this in a single convolution, the derivatives of the Gaussian can be precomputed, then convoluted with the image. Below are images showing this operation. These images are the same as above, but are shown to prove that the operations result in the same output.
|
|
|
|

|

|
|
Additionally, I selected this image of two whales to sharpen, as I felt that there was significant amount of detail present in the whale bodies that could be exposed. Below is the progression of the image. Notice how in the sharpened image the textured skin of the whales becomes more visible.

|
|

|
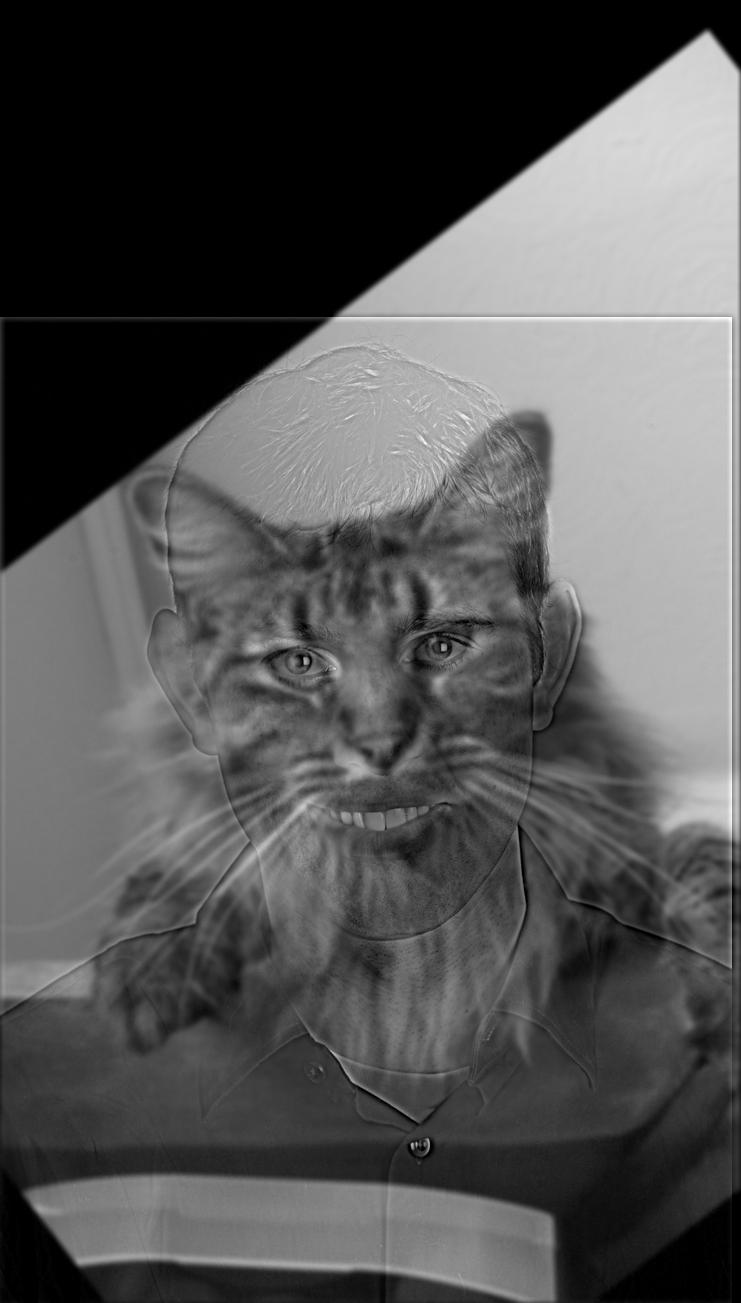
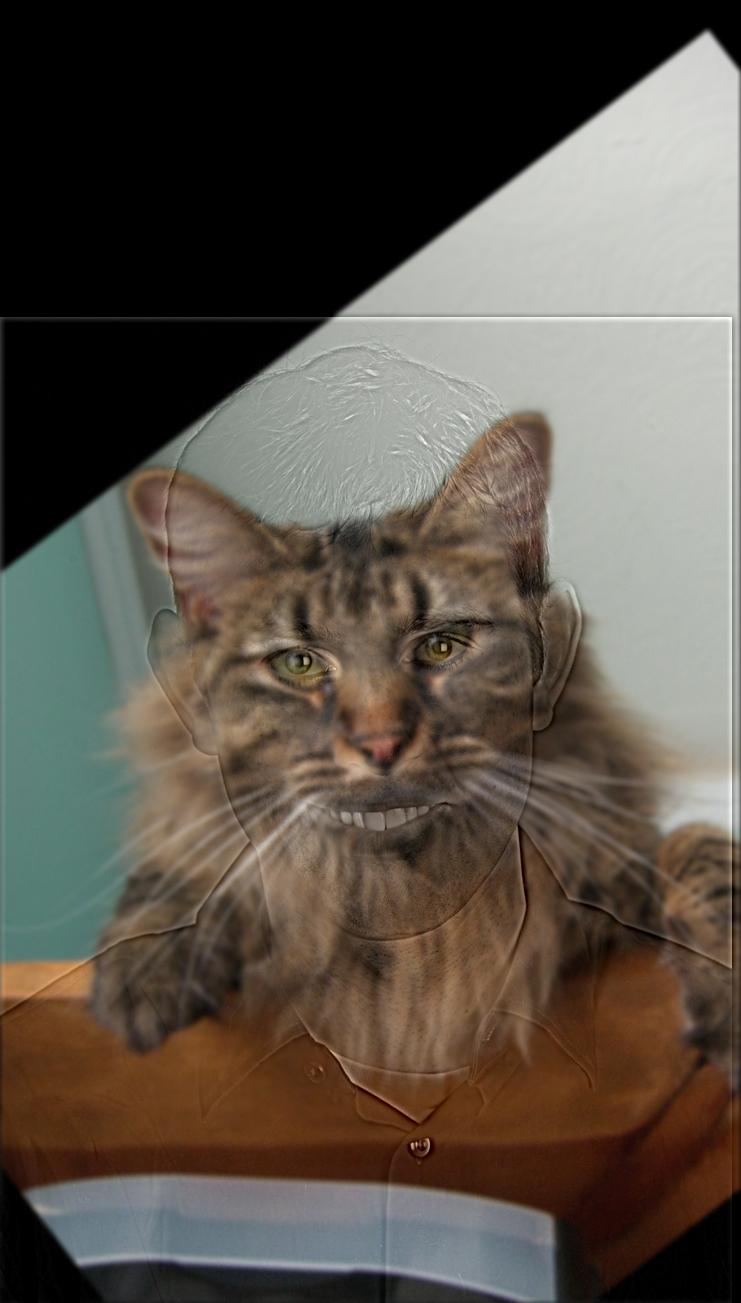
For creating hybrid images between two images, first all of the low frequencies are obtained from one image and all of the high frequencies are obtained from the other image. These frequencies are then combined to produce an image that changes based on the distance at which it is viewed. At close distances, the high frequencies can be identified, but at far distances only the low frequencies of the one image are visible. Below is the first example: the picture of derek and the cat.
|
|
|
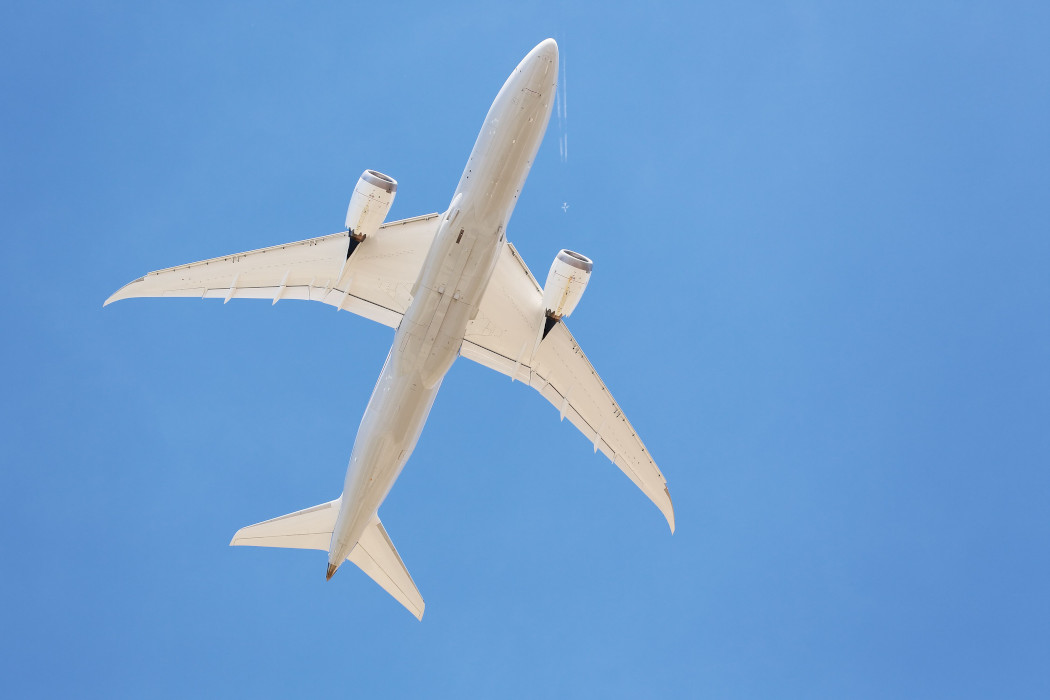
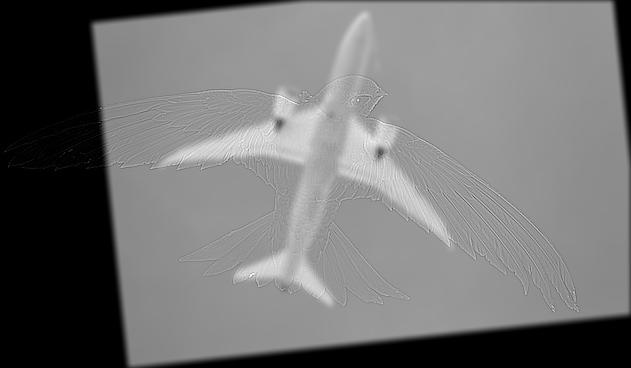
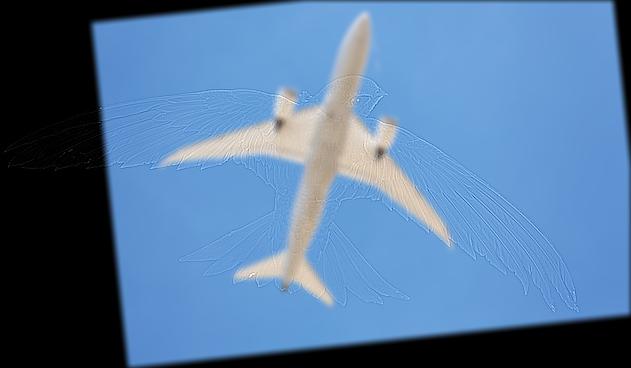
Following this, I chose to create a hybrid image between that of a bird (specifically a swift) and an airplane, with only the airplane being present at far distances (the bird would then dominate the high frequencies). Below are the two images as well as the hybrid image that resulted.
|
|
|
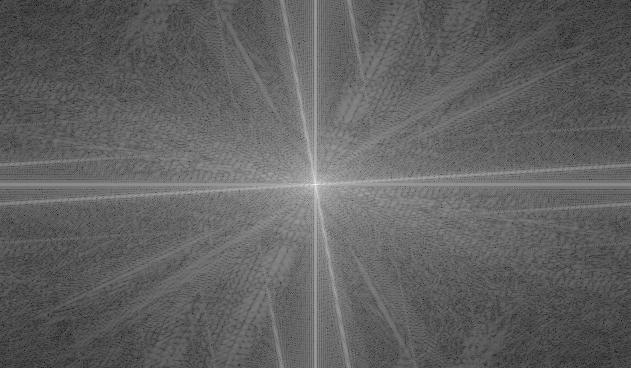
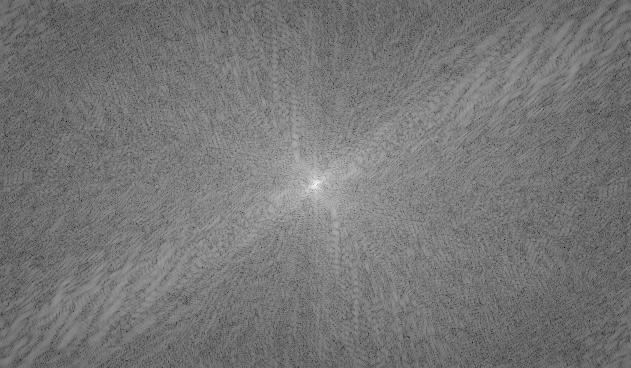
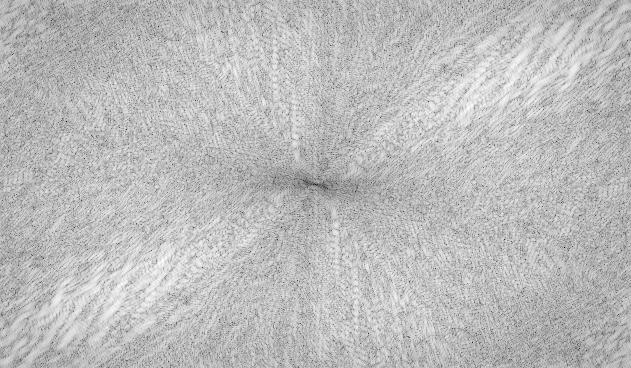
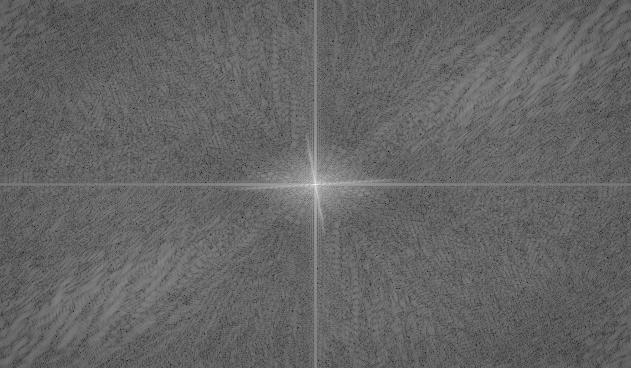
Since I considered the hybrid of the plane and the swift to be my best result, I outputted the Fourier images of the images before they are filtered, after they are filtered, and the resulting hybrid image, all shown below:
|
|

|
|
|
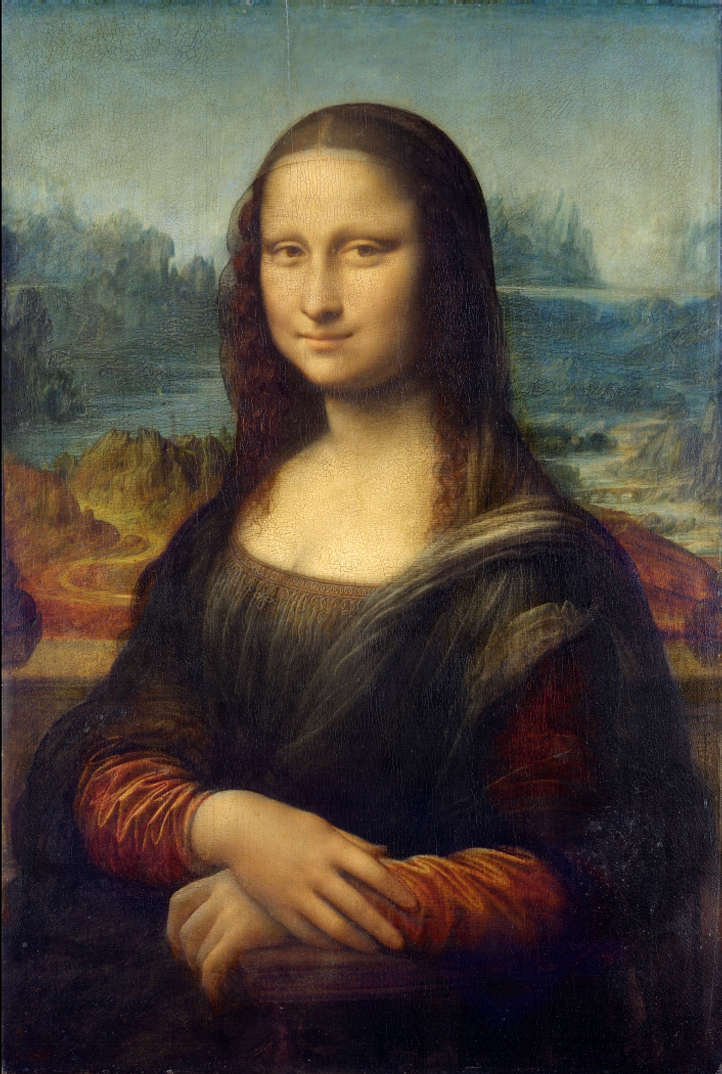
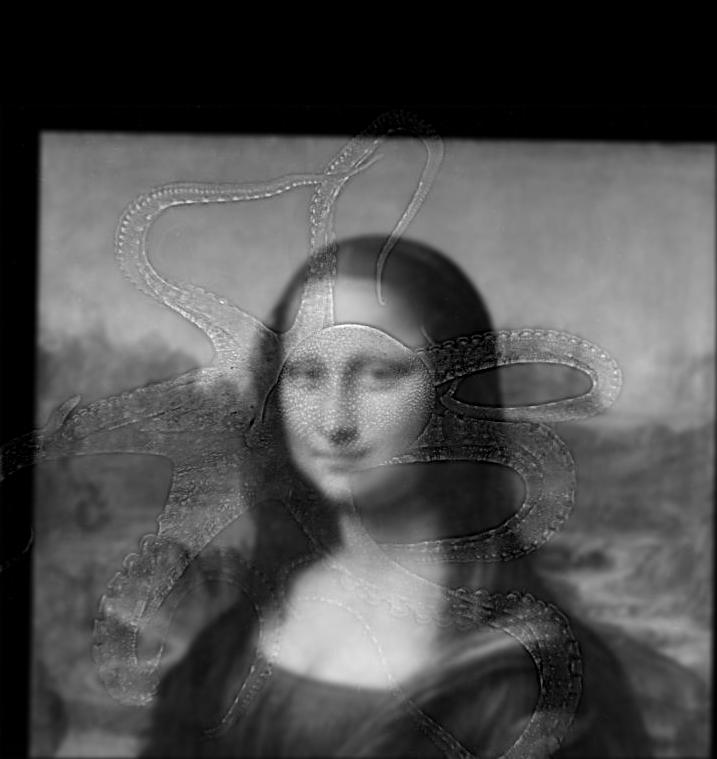
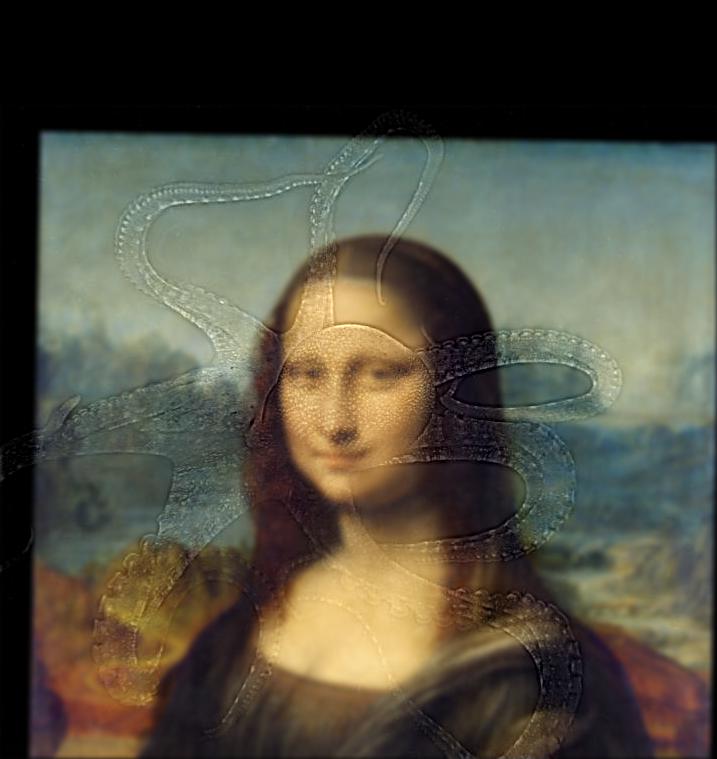
The next image was a failure attempt at creating a hybrid image between an octopus and the Mona Lisa. Since neither the geometries nor the colors match up very well (color example in next segment), the frequencies of the image do not blend together nicely, and the hybrid is quite odd looking:
|
|
|
For the bells and whistles portion of this part, I implemented color in both the high and low frequencies and tested to see which produced the best results. I found that the best results can be found either when the whole image is colored or when the low frequencies are colored and the high frequencies are left gray. This may be because the high frequencies are more easily discernible in grayscale.
|
|
|
|
|
|
|
|
|
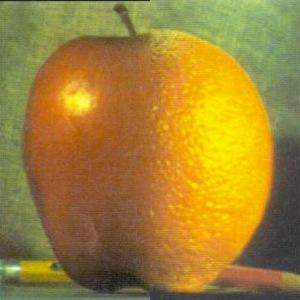
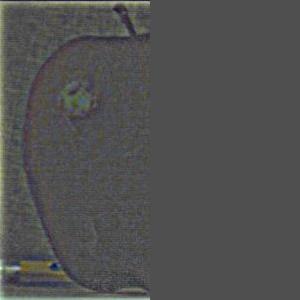
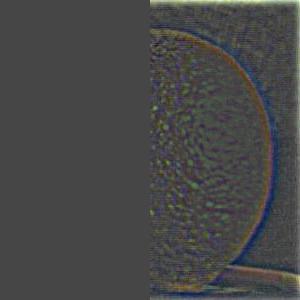
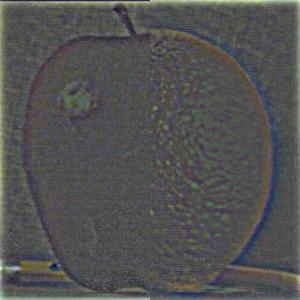
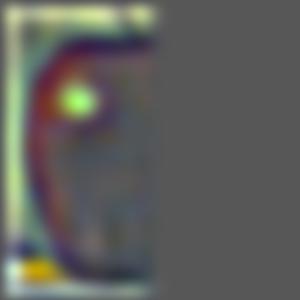
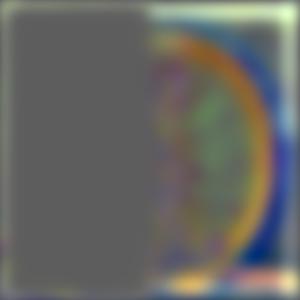
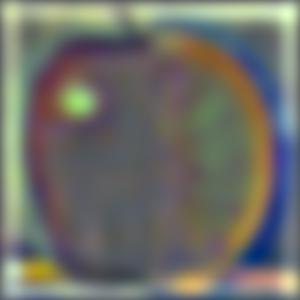
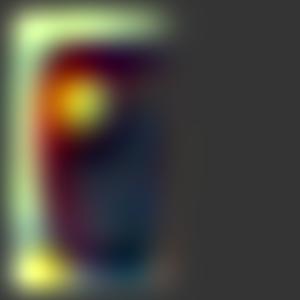
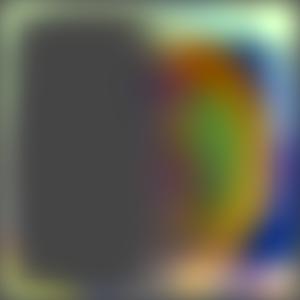
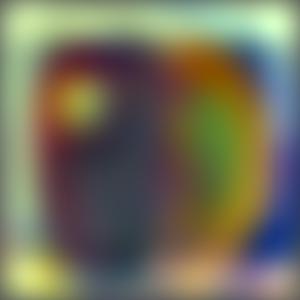
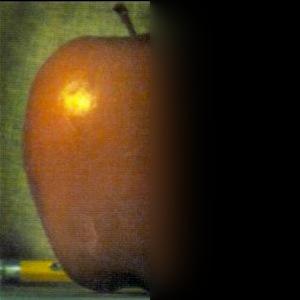
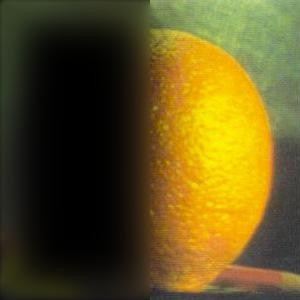
To create a layer in the Gaussian stack of an image, I applied the Gaussian blur to the previous layer. To create a layer of the Laplacian stack, I subtracted the next layer of the Gaussian from the current layer, with the final layer of the Laplacian corresponding to the final layer of the Gaussian. To implement multiresolution blending, I created a mask for each pair of images being blended. Following this, I computed the Laplacian stacks of both images and the Gaussian stack of the mask. Using the Gaussian stack as a weight, I combined the two images at each layer of the stack, then summed over them to produce the output image. For all images, I created 6 layers for the stacks. The first image created below was the oraple, which is a combination of an apple and an orange with a mask splitting down the middle of the image. Below are the images of the Laplacian stacks for both images, as well as the outputted image:
|
|
|
|
|
|
|
|
|
|
|
|
|
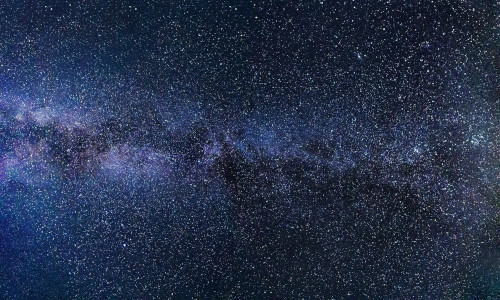
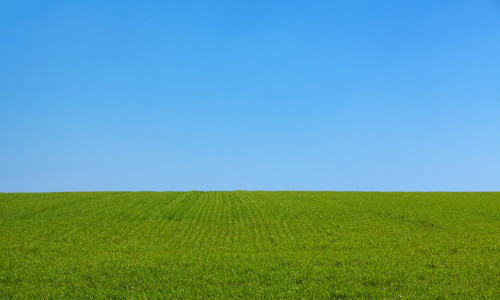
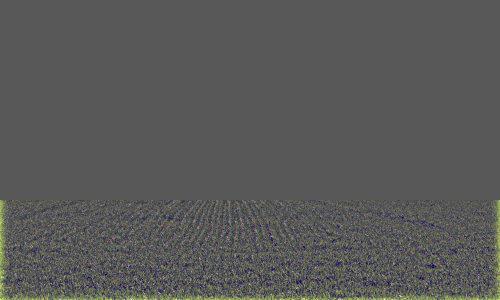
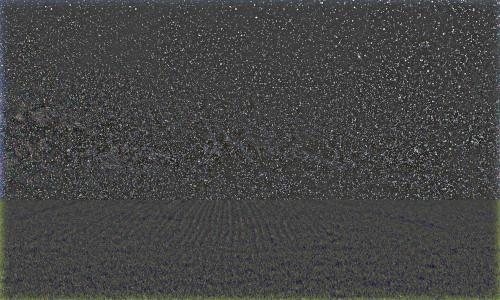
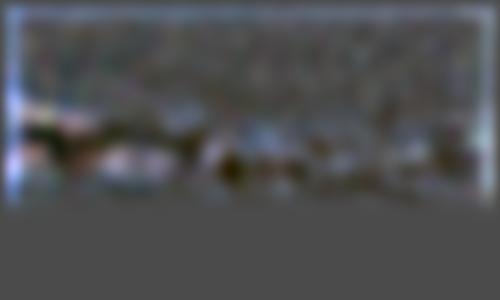
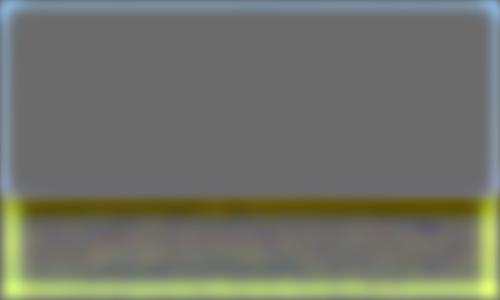
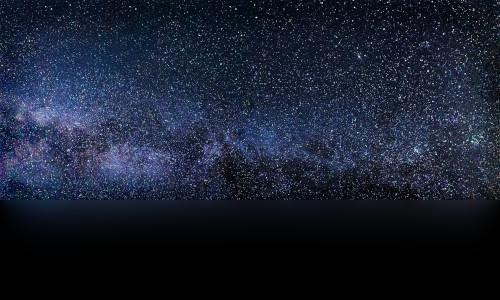
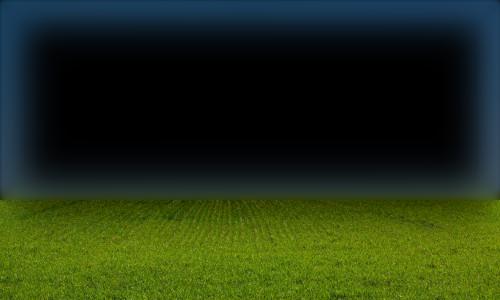
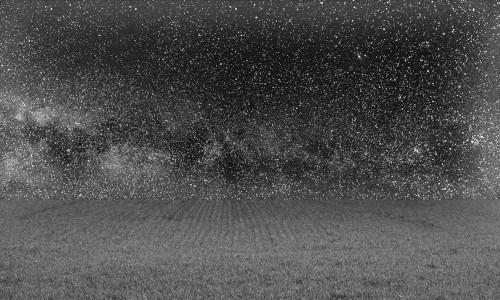
Following this, I attempted to create another multiresolution blending image using a grass field and stars in the sky, replacing the sky above the horizon of the grass. I used a mask that split the image horizontally at the height of the horizon:
|
|

|
|
|
|
|
|
|
|
|
|
|
|
|
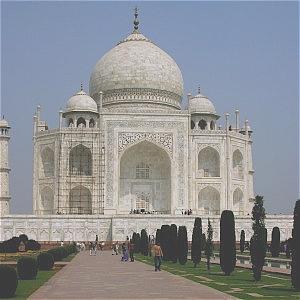
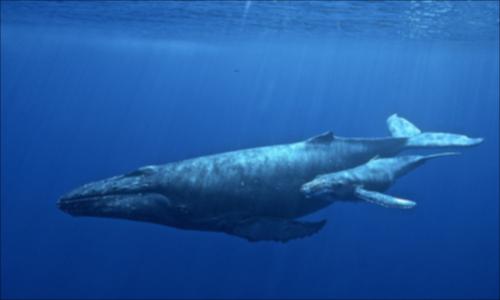
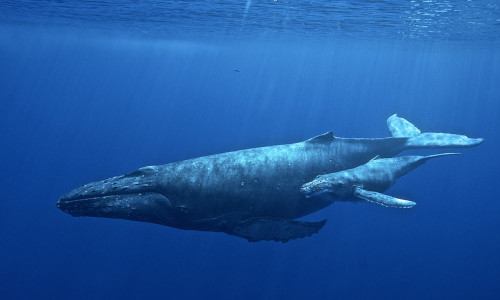
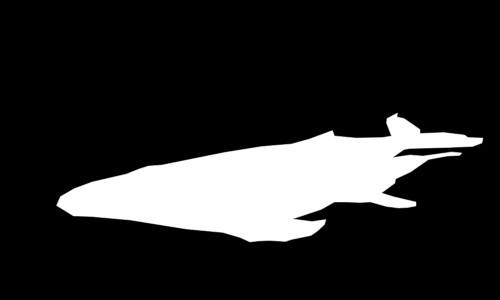
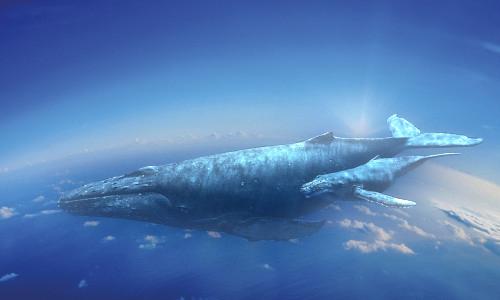
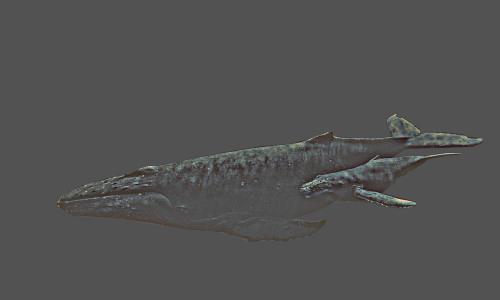
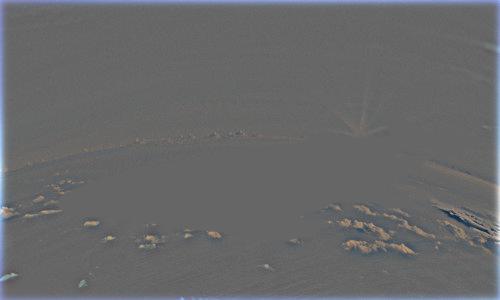
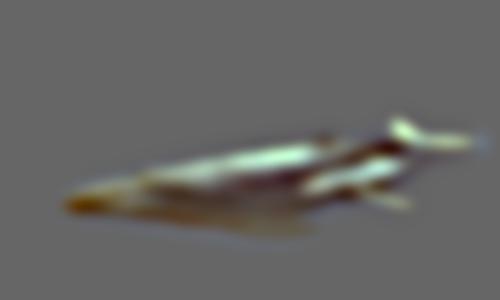
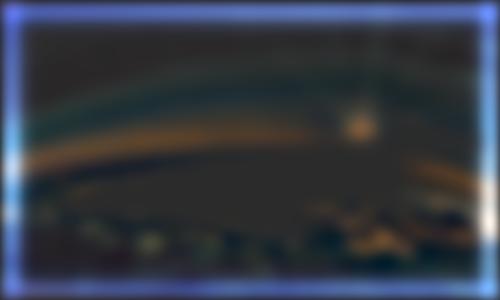
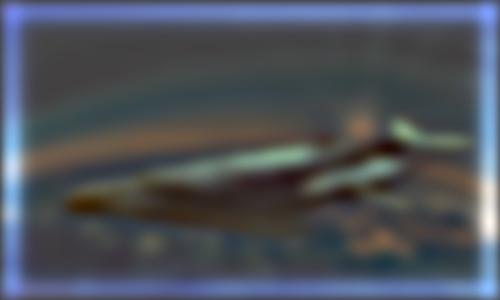
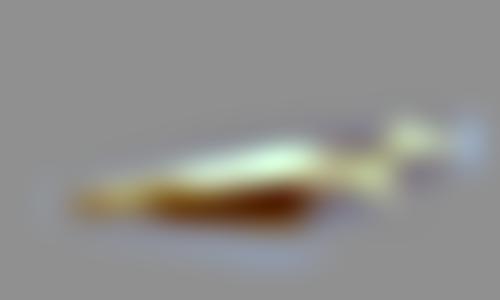
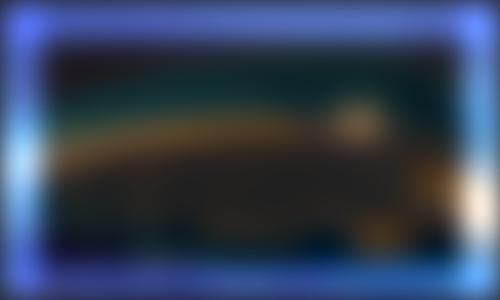
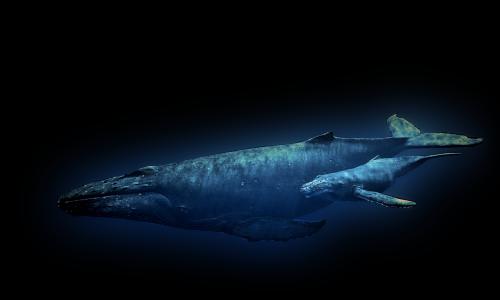
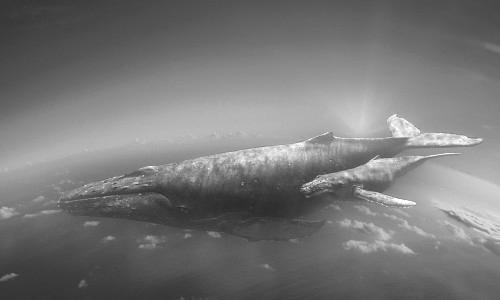
Finally, I worked on creating a multiresolution blending image that used an irregular mask. My plan was to combine an image of a whale with the sky, to make it seem as if the whale was flying. To do this, I drew a custom mask of the whale and performed the same blending as the above images. I believe this led to to my best image, and the blending went quite well due to the similar color.
|

|
|
|
|
|

|
|
|
|
|
|
|
|
|
|
For the bells and whistles portion of this part, I implemented color in the Gaussian and Laplacian stacks, blending each of the colors separately. I found that when the colors of the two images are similar, the blending result is very nice. For the starry horizon image, I feel that the gray version is better, since the frequencies of the two images are very different.
|
|
|
|
|
|
The most interesting thing I learned in this project was multiresolution blending. I found it very interesting to blur the mask such that the blending between the two images was more gradual, and I enjoyed playing around with the effect on the above images.
https://hips.hearstapps.com/hmg-prod.s3.amazonaws.com/images/airliners-flying-overhead-royalty-free-image-1584642486.jpg
https://i.natgeofe.com/n/b0dbaac0-9ded-4d05-ba5c-07158eee85d2/common-swift-01.jpg?w=636&h=423
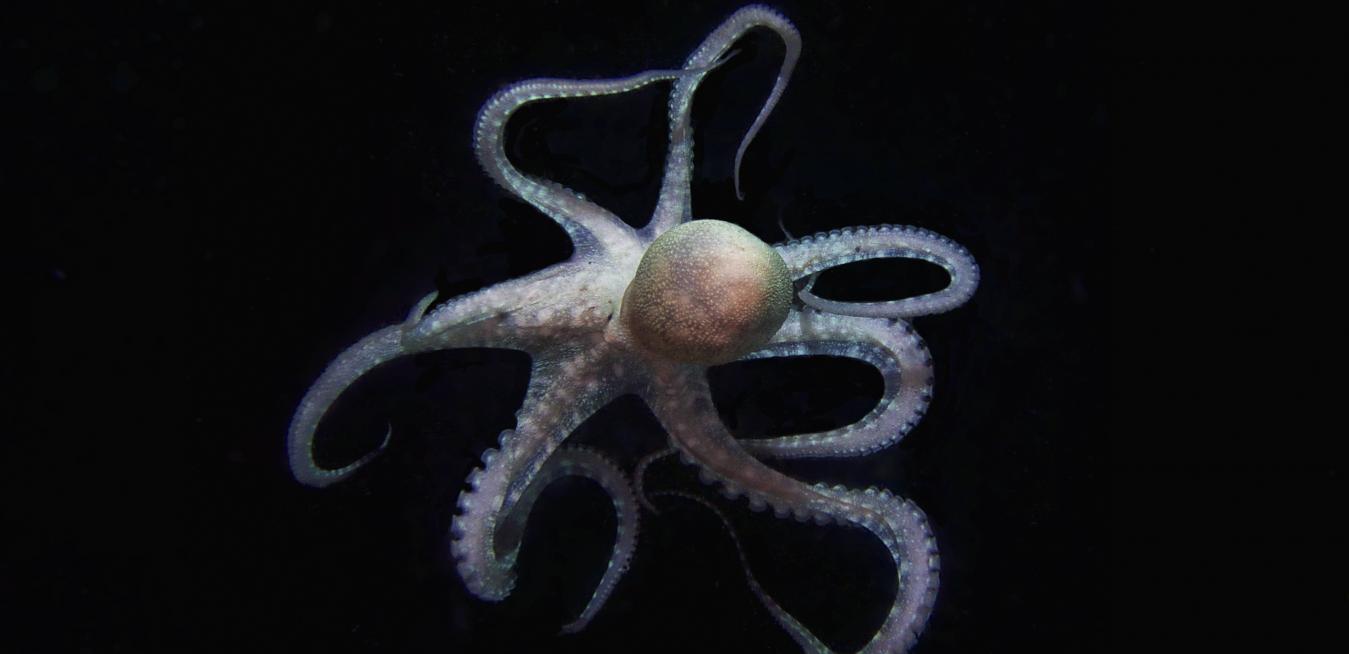
https://www.ge.com/news/sites/default/files/styles/full_header/public/Reports/2020-03/Octopus1.jpg?itok=WWPaTp4e
https://upload.wikimedia.org/wikipedia/commons/thumb/e/ec/Mona_Lisa%2C_by_Leonardo_da_Vinci%2C_from_C2RMF_retouched.jpg/1200px-Mona_Lisa%2C_by_Leonardo_da_Vinci%2C_from_C2RMF_retouched.jpg
https://scx2.b-cdn.net/gfx/news/hires/2018/milkyway.jpg
https://images.pexels.com/photos/53545/background-blue-clean-clear-53545.jpeg?auto=compress&cs=tinysrgb&h=750&w=1260
https://www.shell.com/energy-and-innovation/the-energy-future/scenarios/shell-scenario-sky/_jcr_content/pagePromo/image.img.960.jpeg/1548184031017/clear-blue-sky.jpeg