Overview
In this project, we played with the concepts of frequencies and filters. We made edge detection models, used high and low frequency filters to create optical illusion images, and used Laplacian stack and gaussian filter to blend two images along a seam.
Part 1.1: Finite Difference Operator
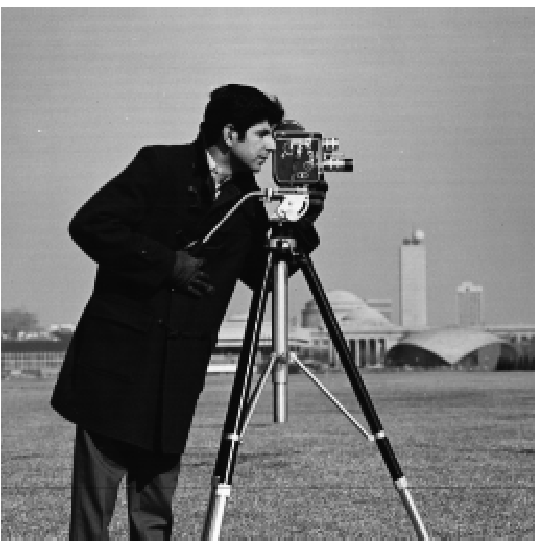
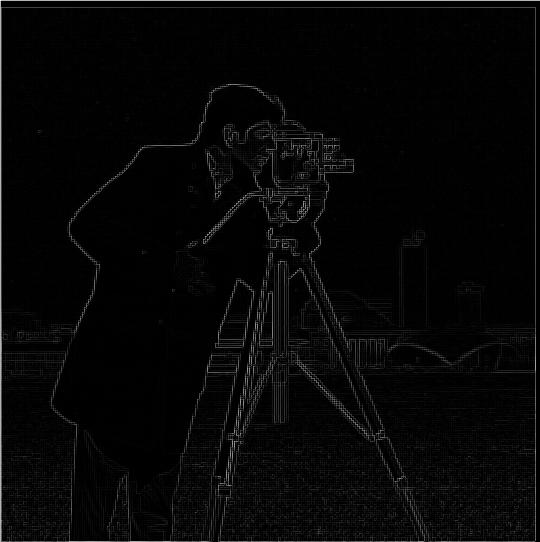
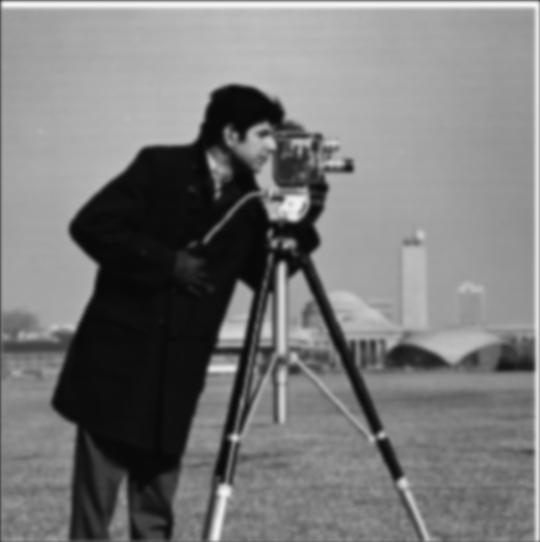
In this part, we work with this cameraman image.
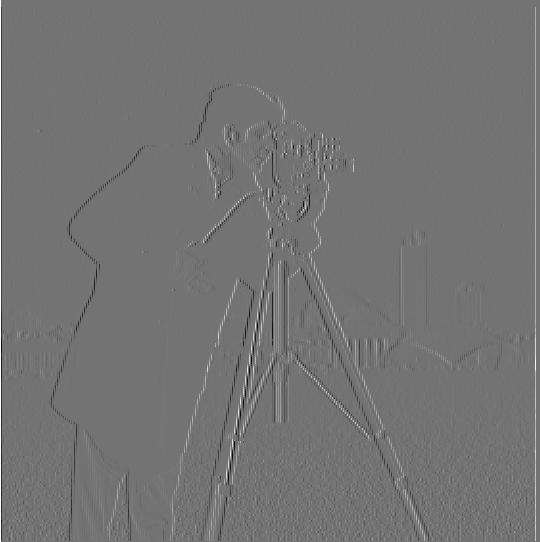
1. Partial Derivative in x and y:
First, we make a derivative image of the cameraman image in the direction of x and y as shown below. They are made by convolving the cameraman image with finite difference operators D_x = [1, -1] and D_y = [[1], [-1]]
2. Gradient Magnitude Image
Then we compute the gradient magnitude image.
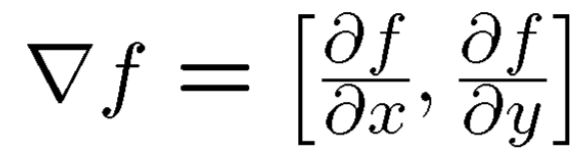
For each point in the image, the gradient is defined as follows:
We then get the gradient magnitude of that point, which is the magnitude of the gradient in the formula above, so we get:

To calculate the Gradient Magnitude Image for our image, we just follow the formula above. We take the two deritive images, and for each point [i, j], calculate sqrt(dx_img[i][j] ** 2 + dy_img[i][j]), and that will be the Gradient Magnitude for that point. I use numpy functionalities to efficiently calculate the Gradient Magnitude Image. Shown as follows.
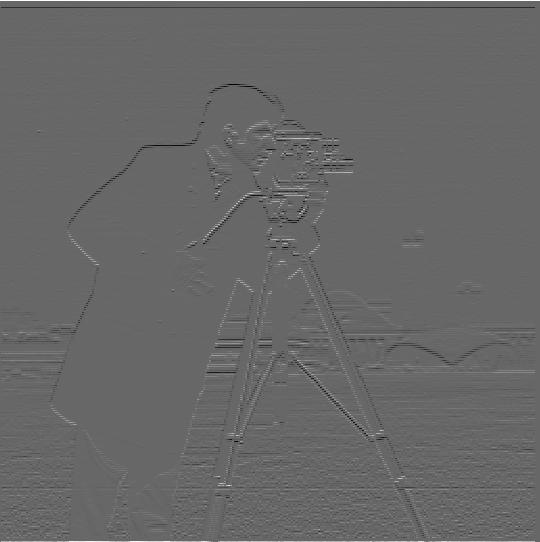
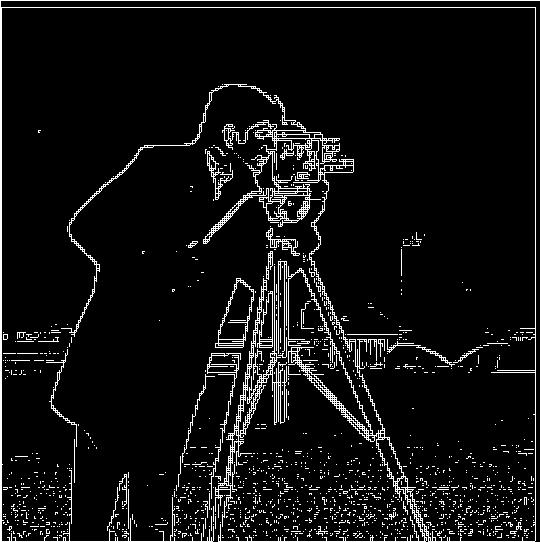
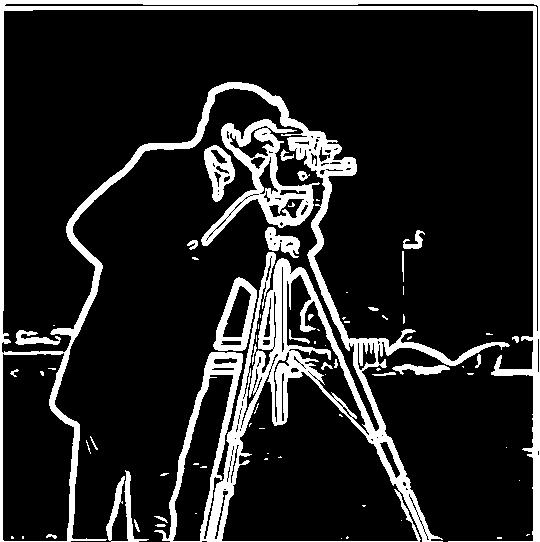
3. Edge Image
Next, to produce an edge image, I binarize the Gradient Magnitude Image. After experimenting with the cutoff value, I decide to use cutoff value 0.13 to get the following edge image.
Part 1.2: Derivative of Gaussian (DoG) Filter
In this part, we use the same algorithm in Part 1.1 on a image that is gaussian blurred, and compare the difference.
1. Create blurred image using a Guassian Kernel
We first try to create a blurred image using a gaussian kernel. I just used the cv2.getGaussianKernel function with sigma = 2 and ksize = 12. The result blurry image:
2. Create new edge image and comparison with Part 1.1
I run the same algorithm used in part 1.1 on this blurred image. This time, I used cutoff frequency 0.03. The result and cmparison is as follows:
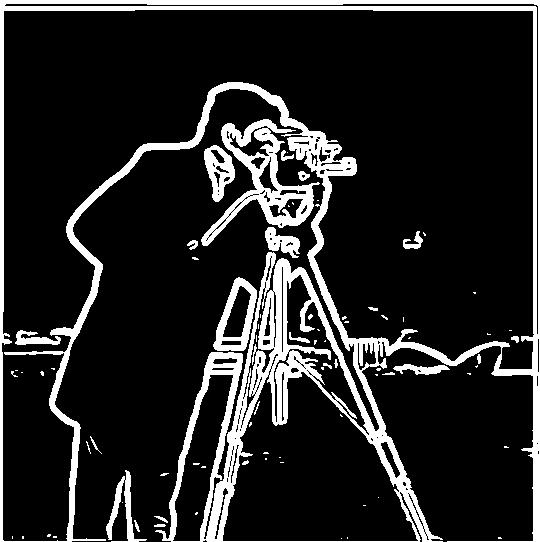
Discussion: As we can see, the edge from the blurred image is thicker and looks cleaner, especially in the grass areas. That is because as we blurred the image, the higher frequencies, which include a lot of the noises, are filtered out. The lines are also thicker and more profound becasue the edge is blurred as well.
1. Create blurred image using a Guassian Kernel
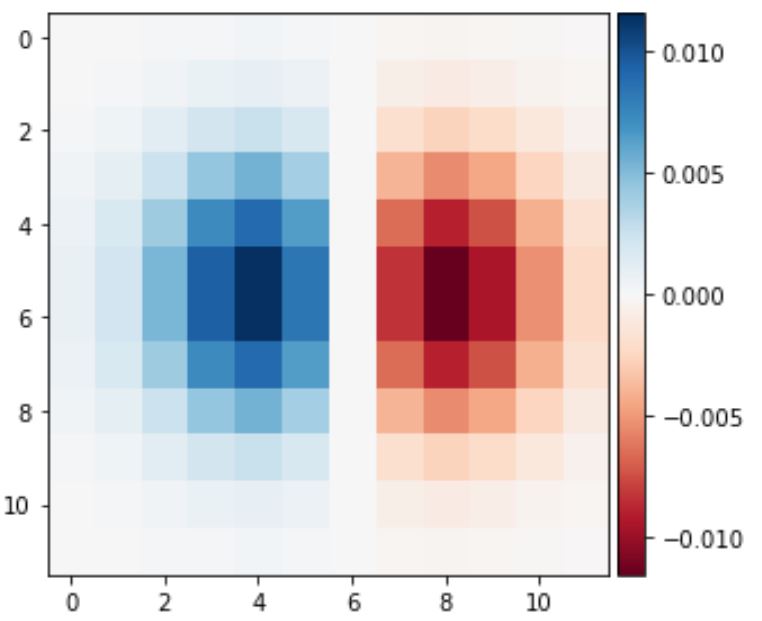
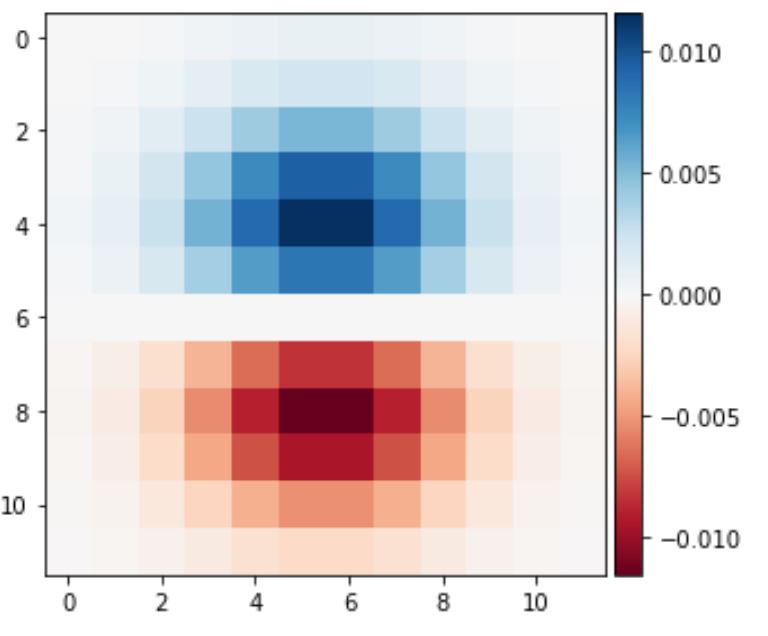
Next, we try to create the same result using derivative of gaussian filters. I convoled the gaussian filter with D_x and D_y, and got two filters that is visualized below
I then applied this filter to the blurred iamge, and calculated the Gradient Magnitude Image using the result. This produced the following image on the left, compared to the edge image created by gaussian filter and the derivative filter separately as shown on the right.
As we can see above, the two edge images are very similar, with slight differences in small areas, likely due to numerical issues while calculating the filter matrices. But we can conclude that these two methods are the same theoretically.
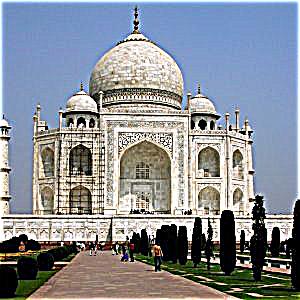
Part 2.1: Image "Sharpening"
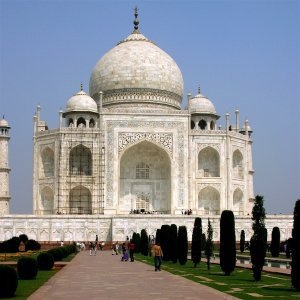
In this part, we work with this taj image and some of our own images to try to create the "sharpening" effect.
1. Algorithm explain
To create a "sharper" image, we blur the image using gaussian, and then subtract the blurred image from the original to get the "details image". Then we multiplay the "details image" by a weight alpha and add that onto the original image. The result is shown as follows. I used alpha = 3, and gaussian kernel with sigma = 2 and ksize = 11.
2. Combine the process into a single unsharp mask filter
We can compute the process in bullet 1 using a single "unsharp mask filter". Specifically, the formula after applying matrix mathematics looks like this:

We then can apply the unsharp mask filter to the original image to get the same sharpened image result. The following shows the sharped image produced by the unsharp mask filter on the left, and the sharpened image produced by the steps on the right as comparison.

As we can see, the two images are exactly the same. Proving that the unsharp mask filter does the same job as the more intuitive steps in the first part.
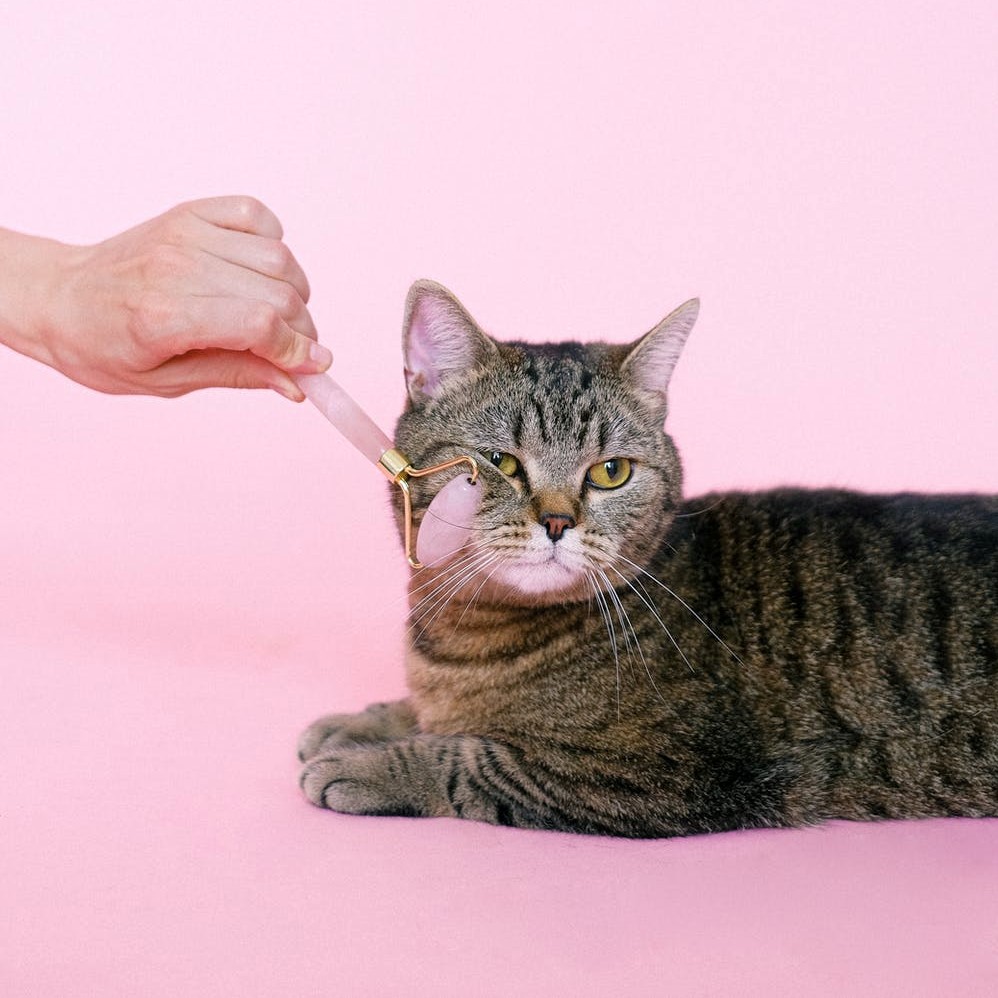
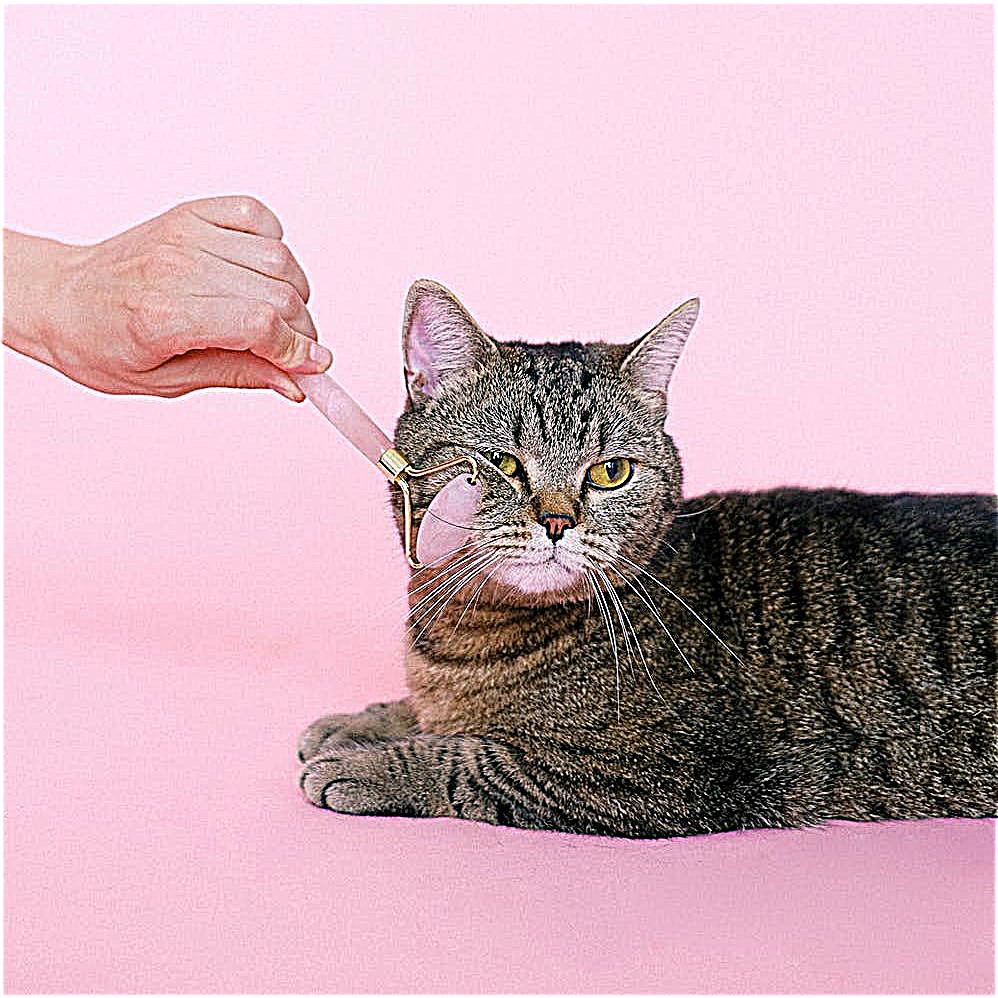
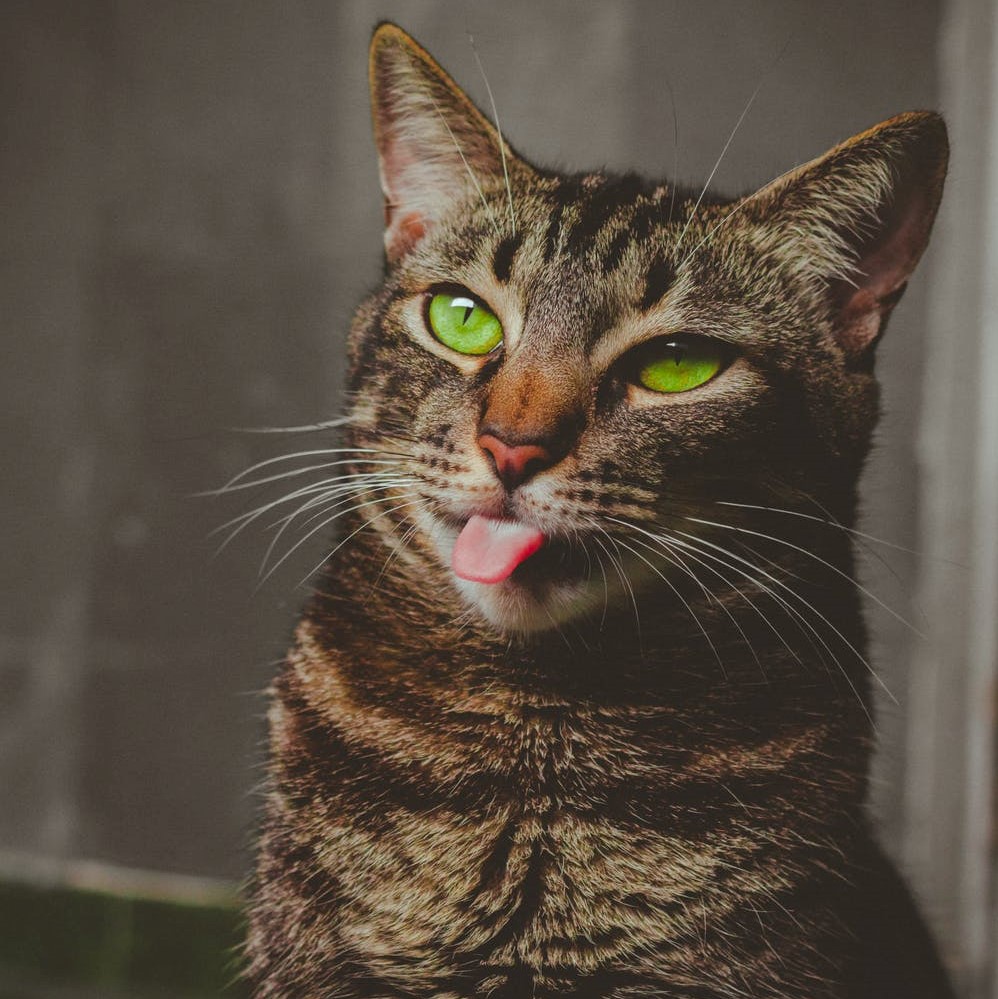
3. Sharpen my own images
I then tried to sharpen some of my own images. I love cats, so here are a couple of cute photos of cats. For each row, the left is the unsharpened image, and the right is the sharpened image.

3. Blur and then sharpen an image
I also tried blurring and then sharpening an originally clear image. The original image looks like this

Then, I blurred the image using gaussian filters, and got this image.

Lastly, I applied the unsharp mask filter to the blurred image, and got the following sharpened image

I compare the original image with the blurred and then sharpened image below:
Discussion: We can see that the sharpening is definitely make the edges profound, but it is not recreating the small details, especially small strands of fur areas, like on the kitten's eyebrow or around its head.I believe it is because after the blur the image, some small details went completely missing, and can't be recovered by our sharpening algorithm. Only the larger details can be enhanced and restored to create sharpening.
Part 2.2: Hybrid Images
In this part, we try to create hybrid images by combining low frequency of one image with high frequency of another.
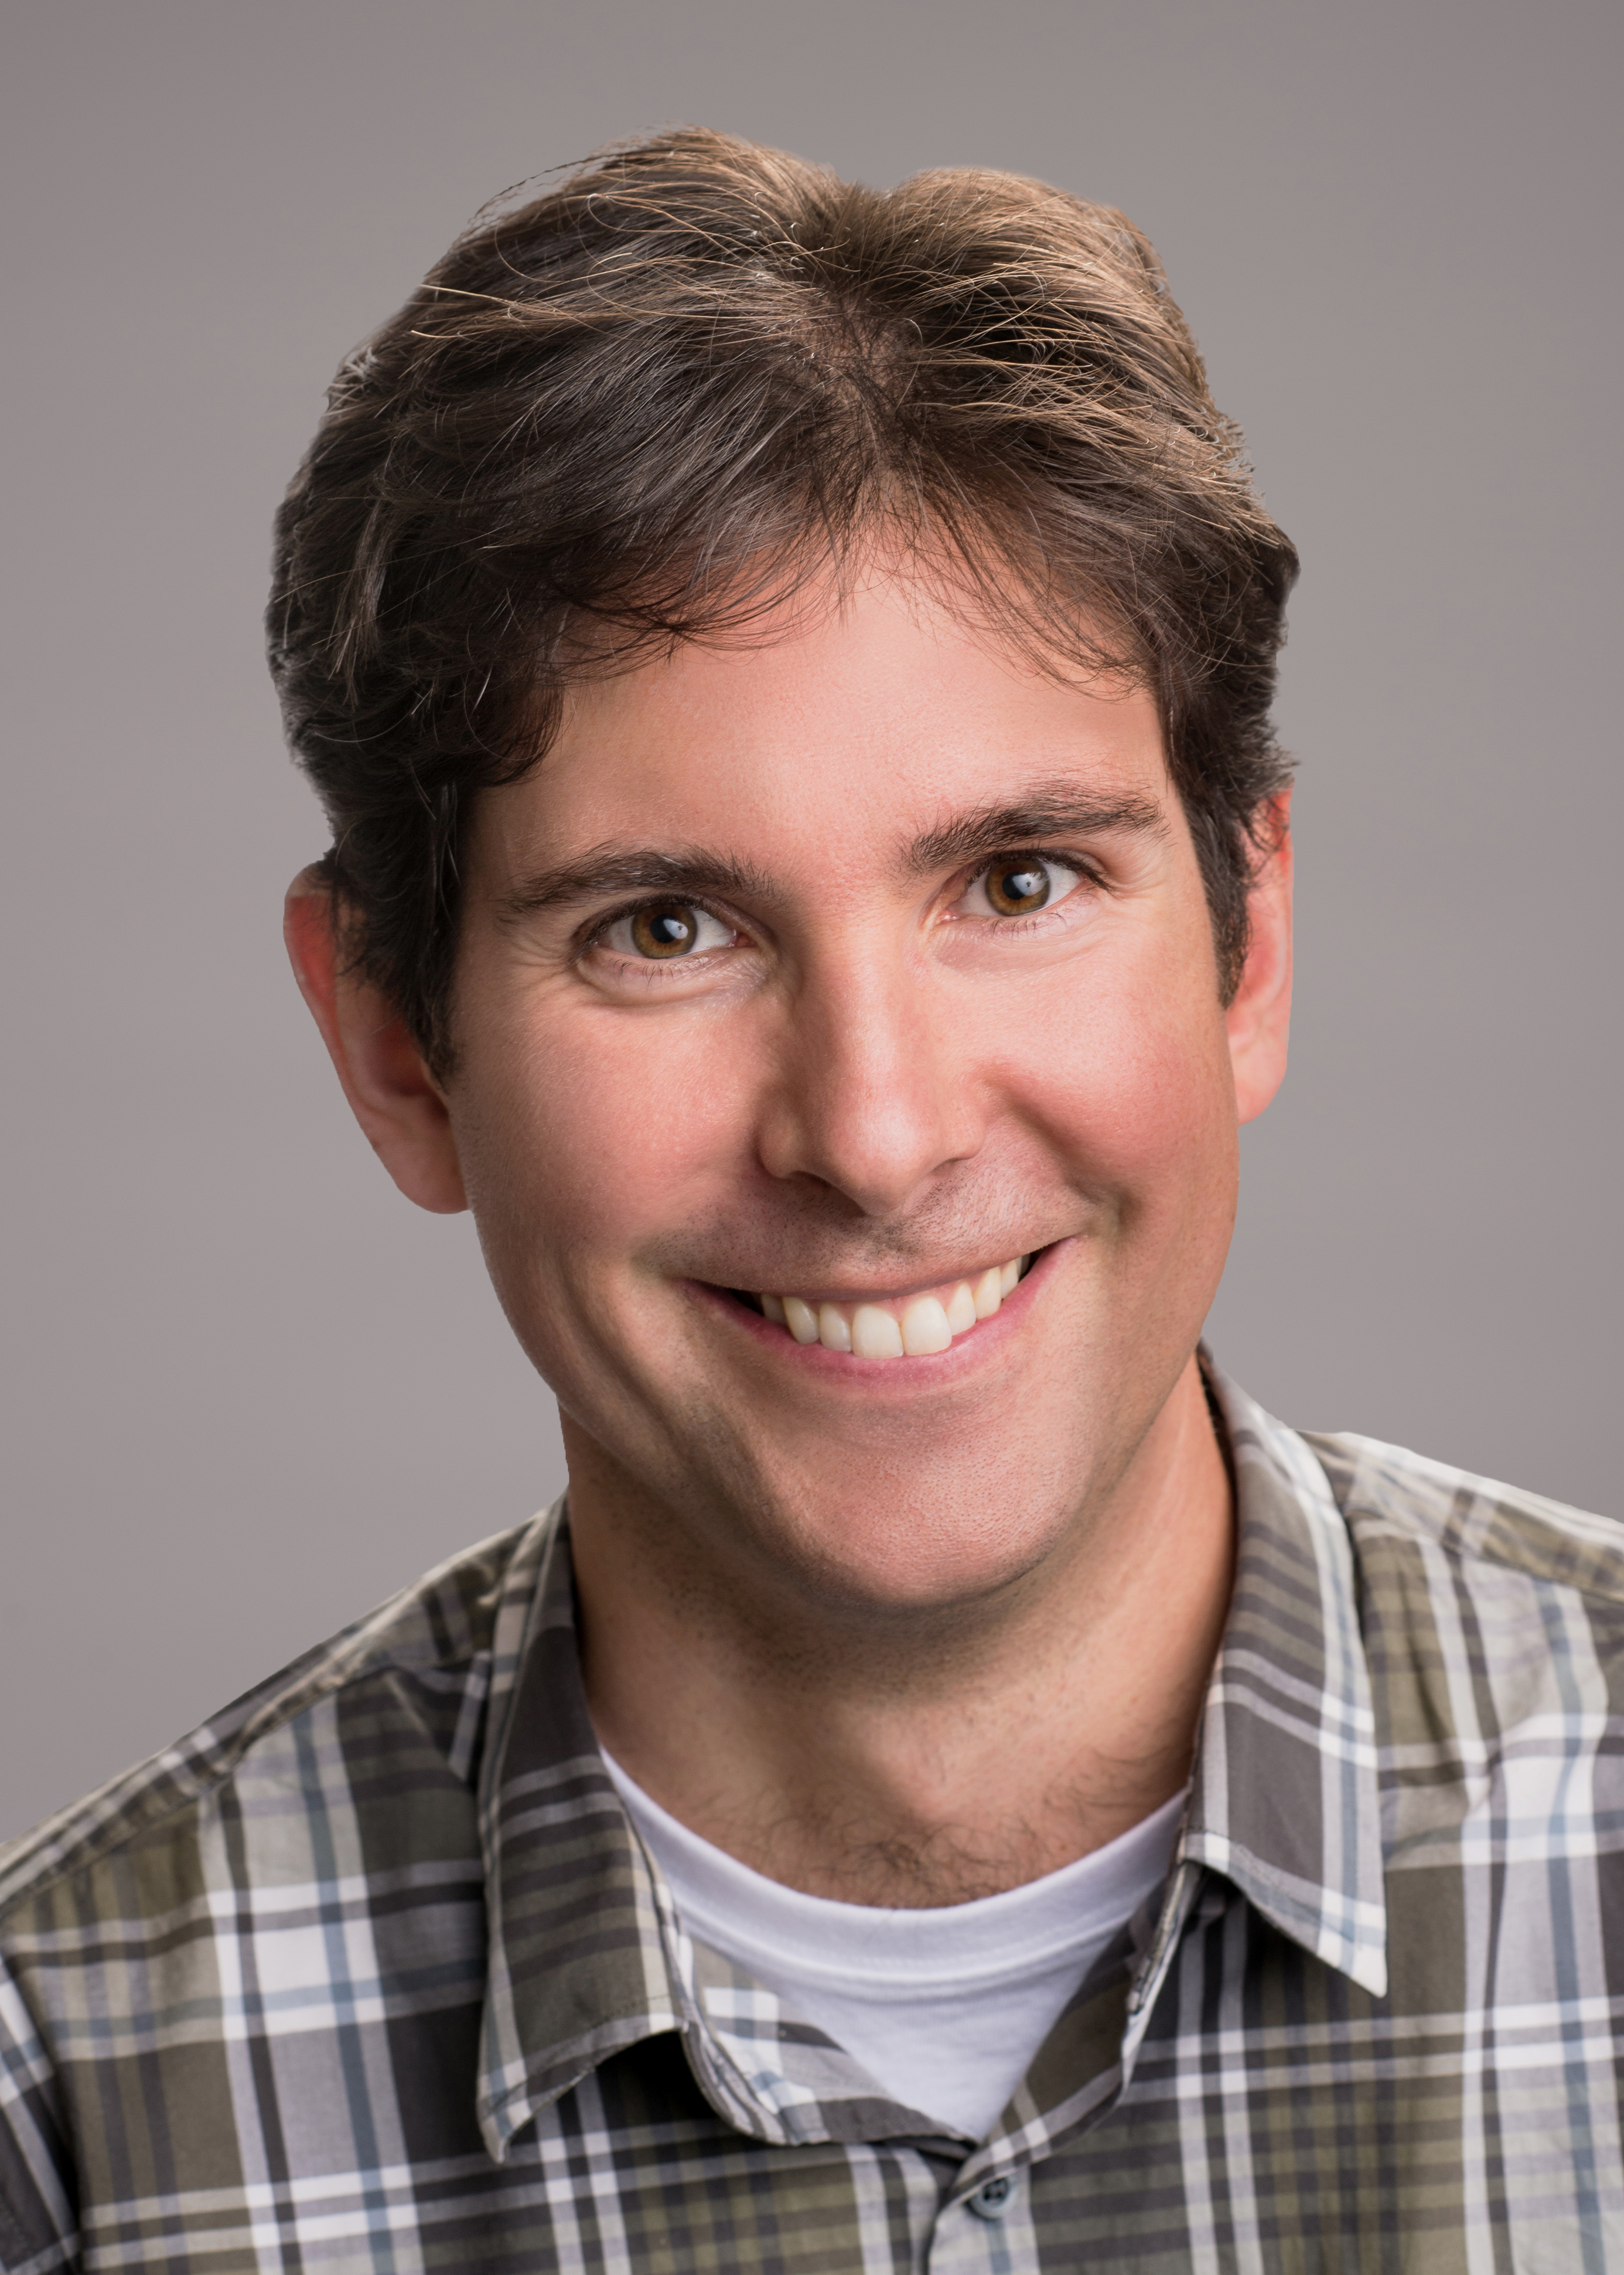
1. Favorite result and Fourier Analysis
Among all my experiments, my favorite result is this hybrid image of Professor Ren Ng and Porfessor Alexei Efros. Their eyes and mouths are perfectly aligned, and I find the result super interesting!
The following is the Fourier Analysis of the inputs, the filtered image for each one, and the hybrid image.

Analysis: To achieve a better effect, I used a very large gaussian blur (sigma = 30 for both high frequency and low frequency cut off). So the result is not very obvious. But we can roughly see in the very middle of the input1 filtered result, there's a dark spot. That represent the low frequencies that are cut off using the high frequency filter. The input2 filtered image is relatively more obvious. Most of the high frequencies are cut off, except along the axis, and we have the low frequency as the bright dot in the middle. And then the hibrid is basically the sun of the two filtered frequency images.
2. Failure and reason
After the success of Professor Rennei Efrong, I tried to produce another hybrid image of professors: Professor John Denero and Professor Anca Dragan. And the result is rather disappointing:
I think one of the reason of failure is that the two images are vastly different in resolution. Another reason could be that the mouth are not aligned, so it looks like Professor Denero has a weird mustache.
3. Fun and Memes
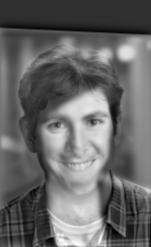
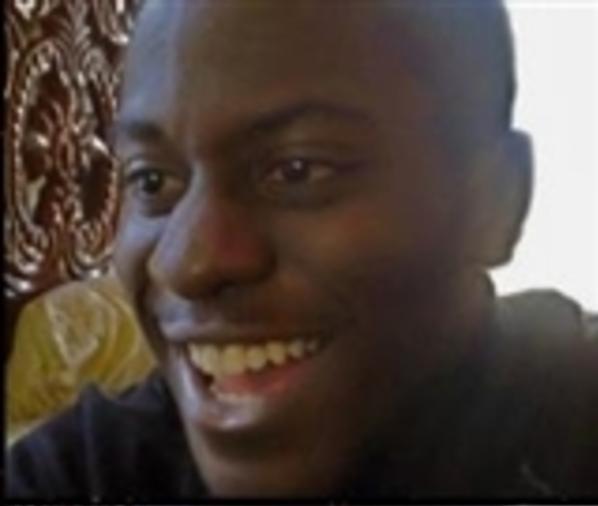
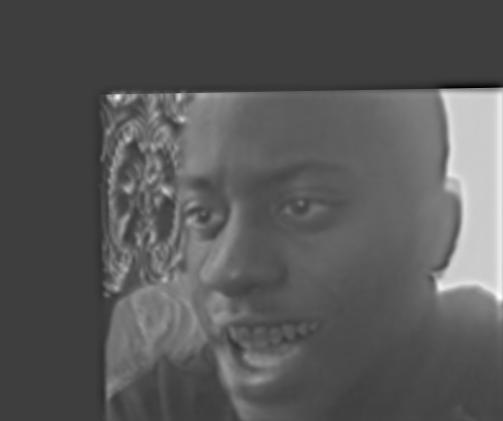
Last but definitely not least. I made a (meme) hybrid of the happy and then disappointed dude. Sometimes life is just like this. When you look closely, you are happy, and when you look at things from a distance, nothing seems to matter anymore. Your heart is filled with disappointment. (I'm joking. But please enjoy.)

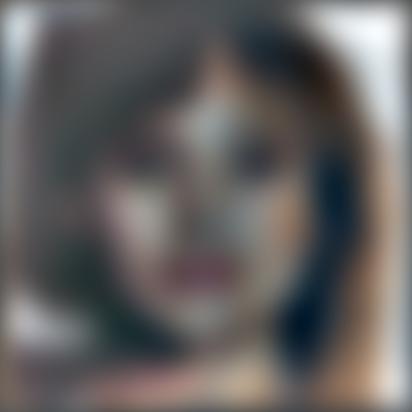
Part 2.3: Gaussian and Laplacian Stacks
In this part, we calculate the Laplacian Stacks, applying the blurred regional mask to each layer, and try to recreate the Figure3.42 in the paper. The colors are a bit different due to me not interpolating the value between 0 - 1, but I think it is a correct result, as the final result is very similar.

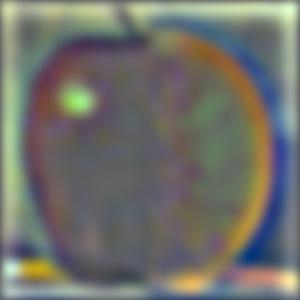
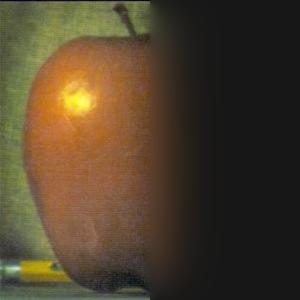
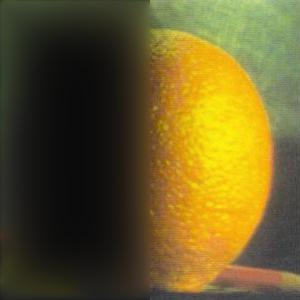
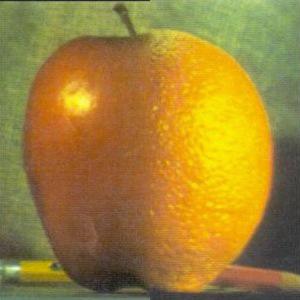
Part 2.4: Multiresolution Blending (a.k.a. the oraple!)
We have produced the oraple in Part 2.3 already! In this part, I will showcase some fun multiresolution blending results that I am very proud of.
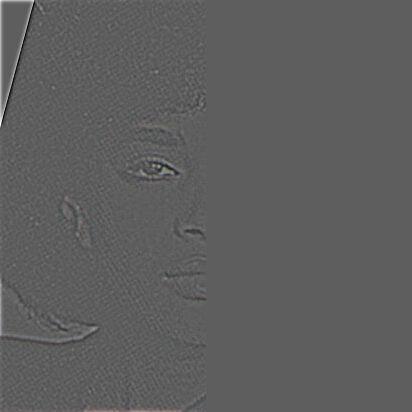
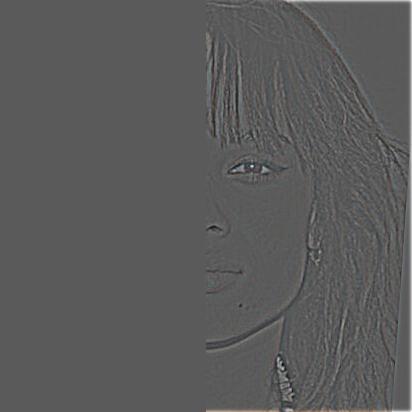
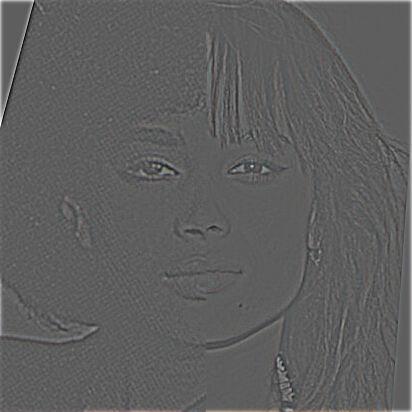
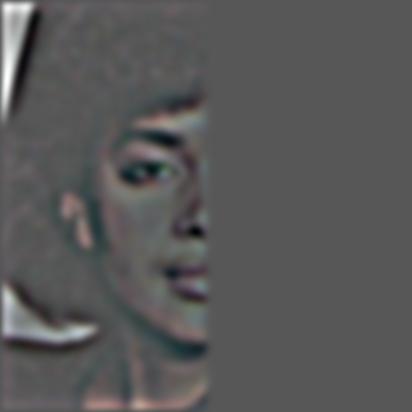
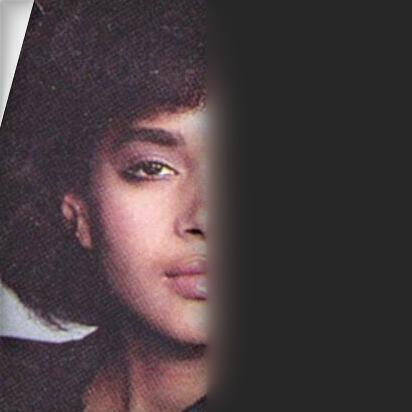
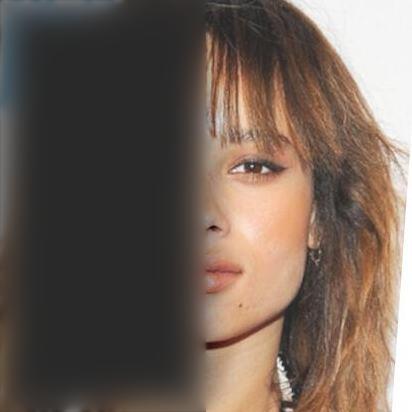
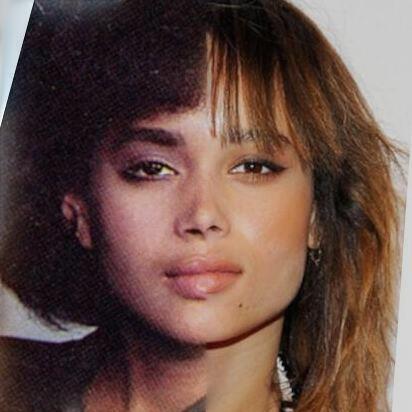
1. Mother Daughter Blending
I have always been amazed by how strong some genes are. I am especially intrigued by those comparison photos that put parents and kids side by side to show how much they look like each other. Today we are going to attempt to create such an image by ourselves!
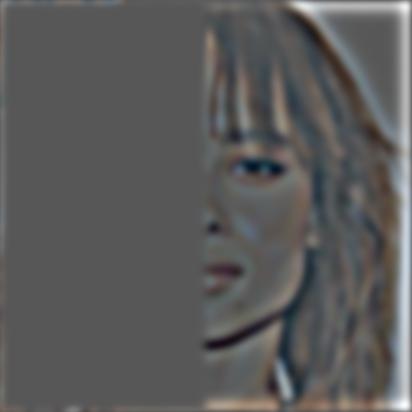
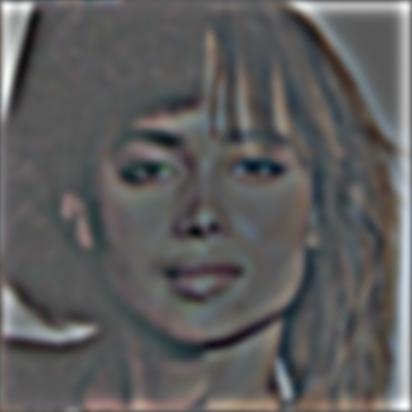
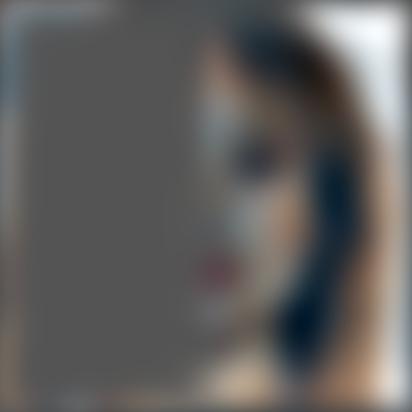
I took this set of photos of Lisa Bonet and Zoe Kravitz, left and right respectively.
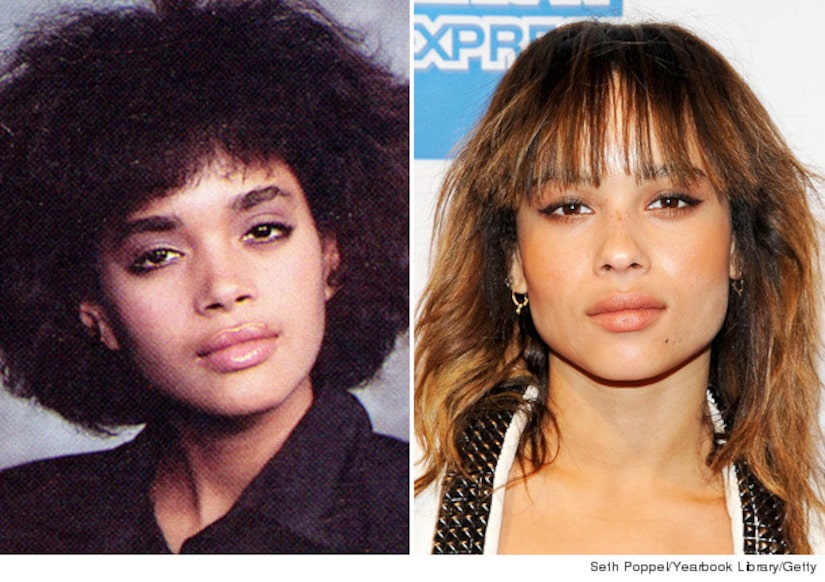
I then blended images of left half of the mother and right half of the daughter together. The following is the resulting Laplacian stack
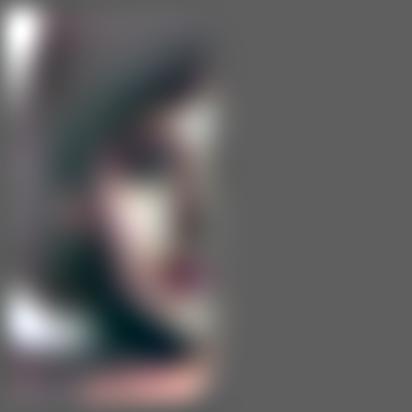
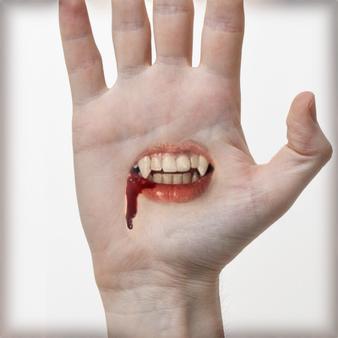
2. Irregular Blending
Inspired by the image of an eye on the hand, I want to put a vampire mouth on a hand image. This is also inspired by the anime jujutsu kaisen, in which the protagonist has a monster living inside him, and would appear in this form.
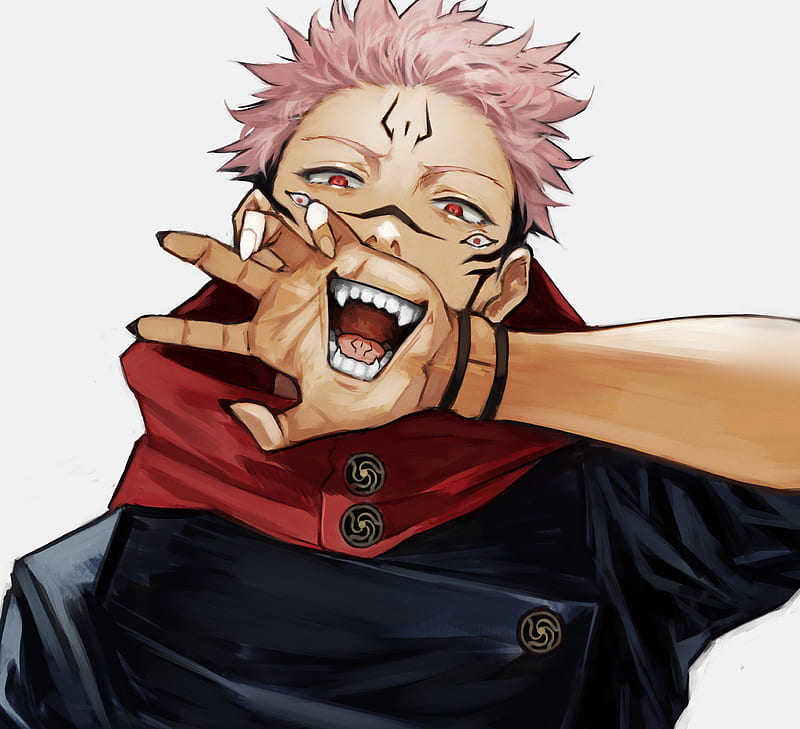
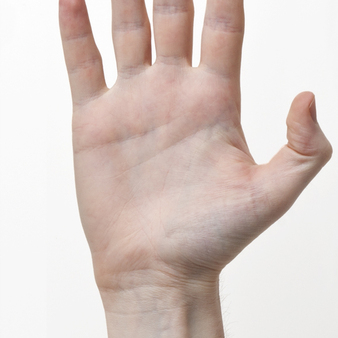
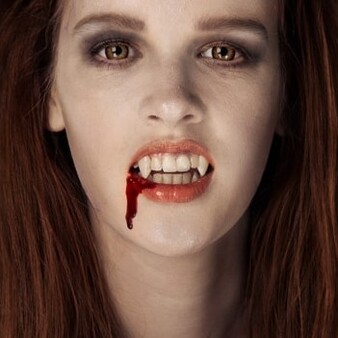
I created the region map by importing the vampire photo to a drawing software and tracing the boundary of the mouth. I then

Result looks pretty cool!
Ending and what I learned
I really had a lot more fun than I thought I would in this project! I spent so much time on it but it's very worth it. I showed my friends my results and they are all very impressed and think Computer Science is cool. It's moments like this that reminds me of why I want to learn CS: to create cool stuff and serve and entertain people. I also learned that we can combine creativity and technical skills during learning and creating. That's also pretty fun!