My Submission: Fun with Filters and Frequencies!

Part 1: Gradient Magnitude Computation

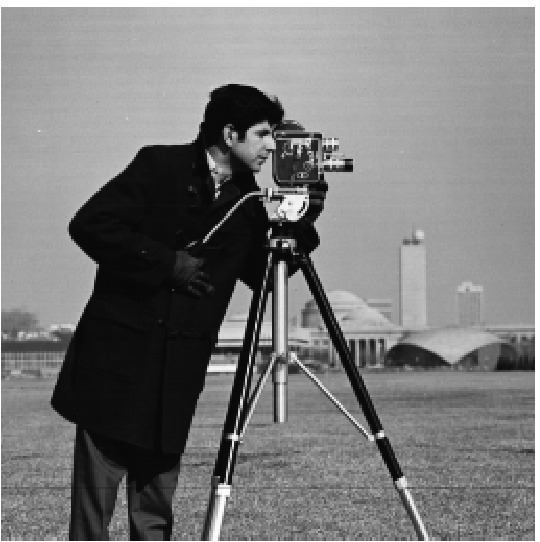
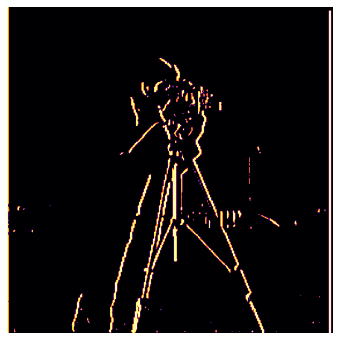
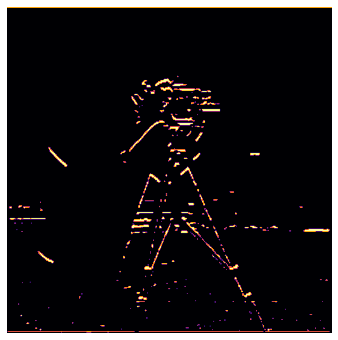
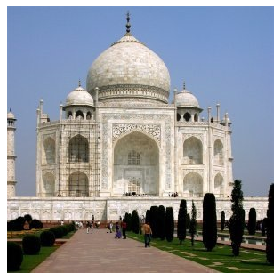
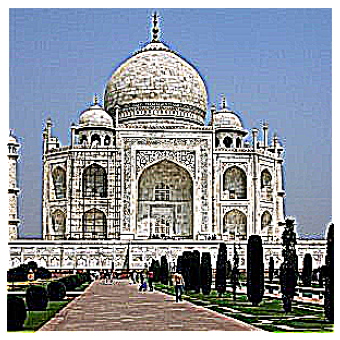
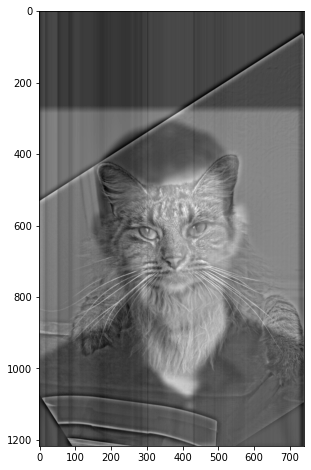
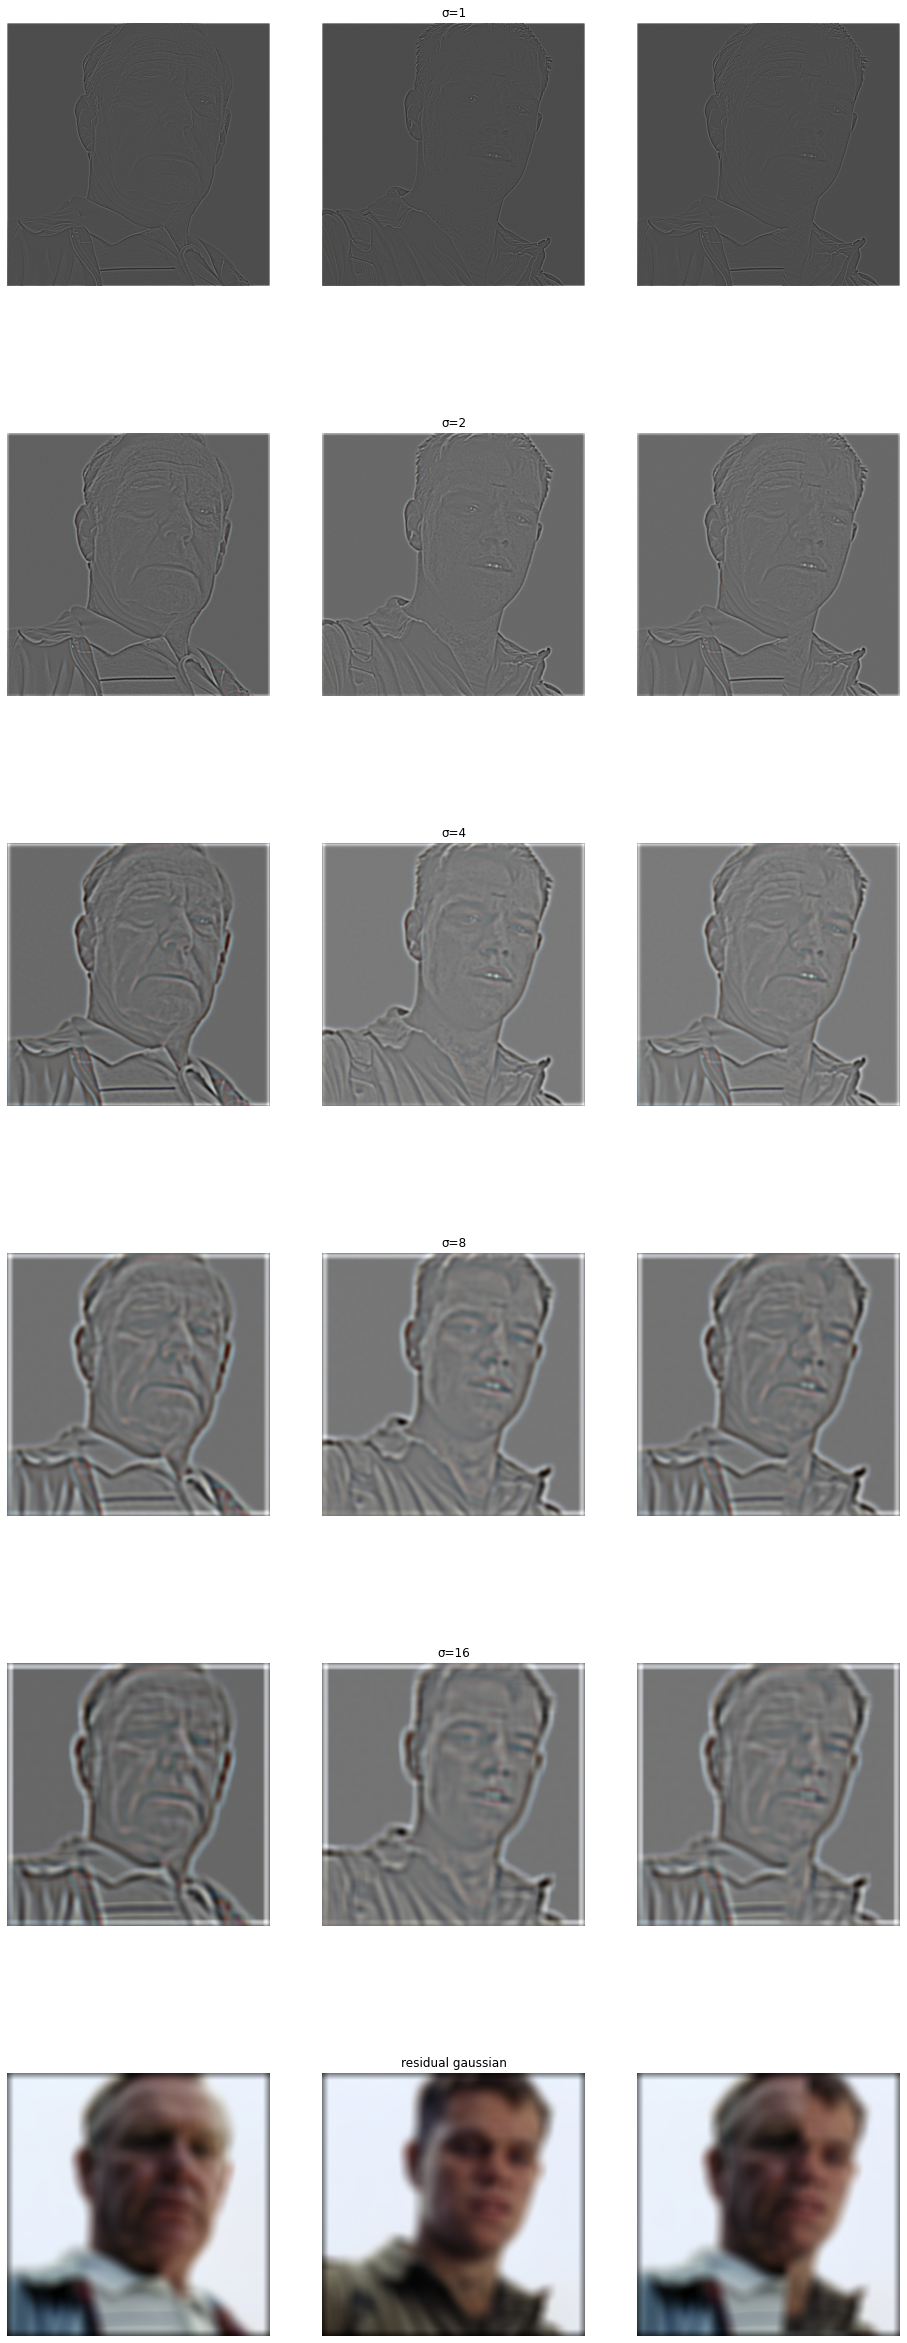
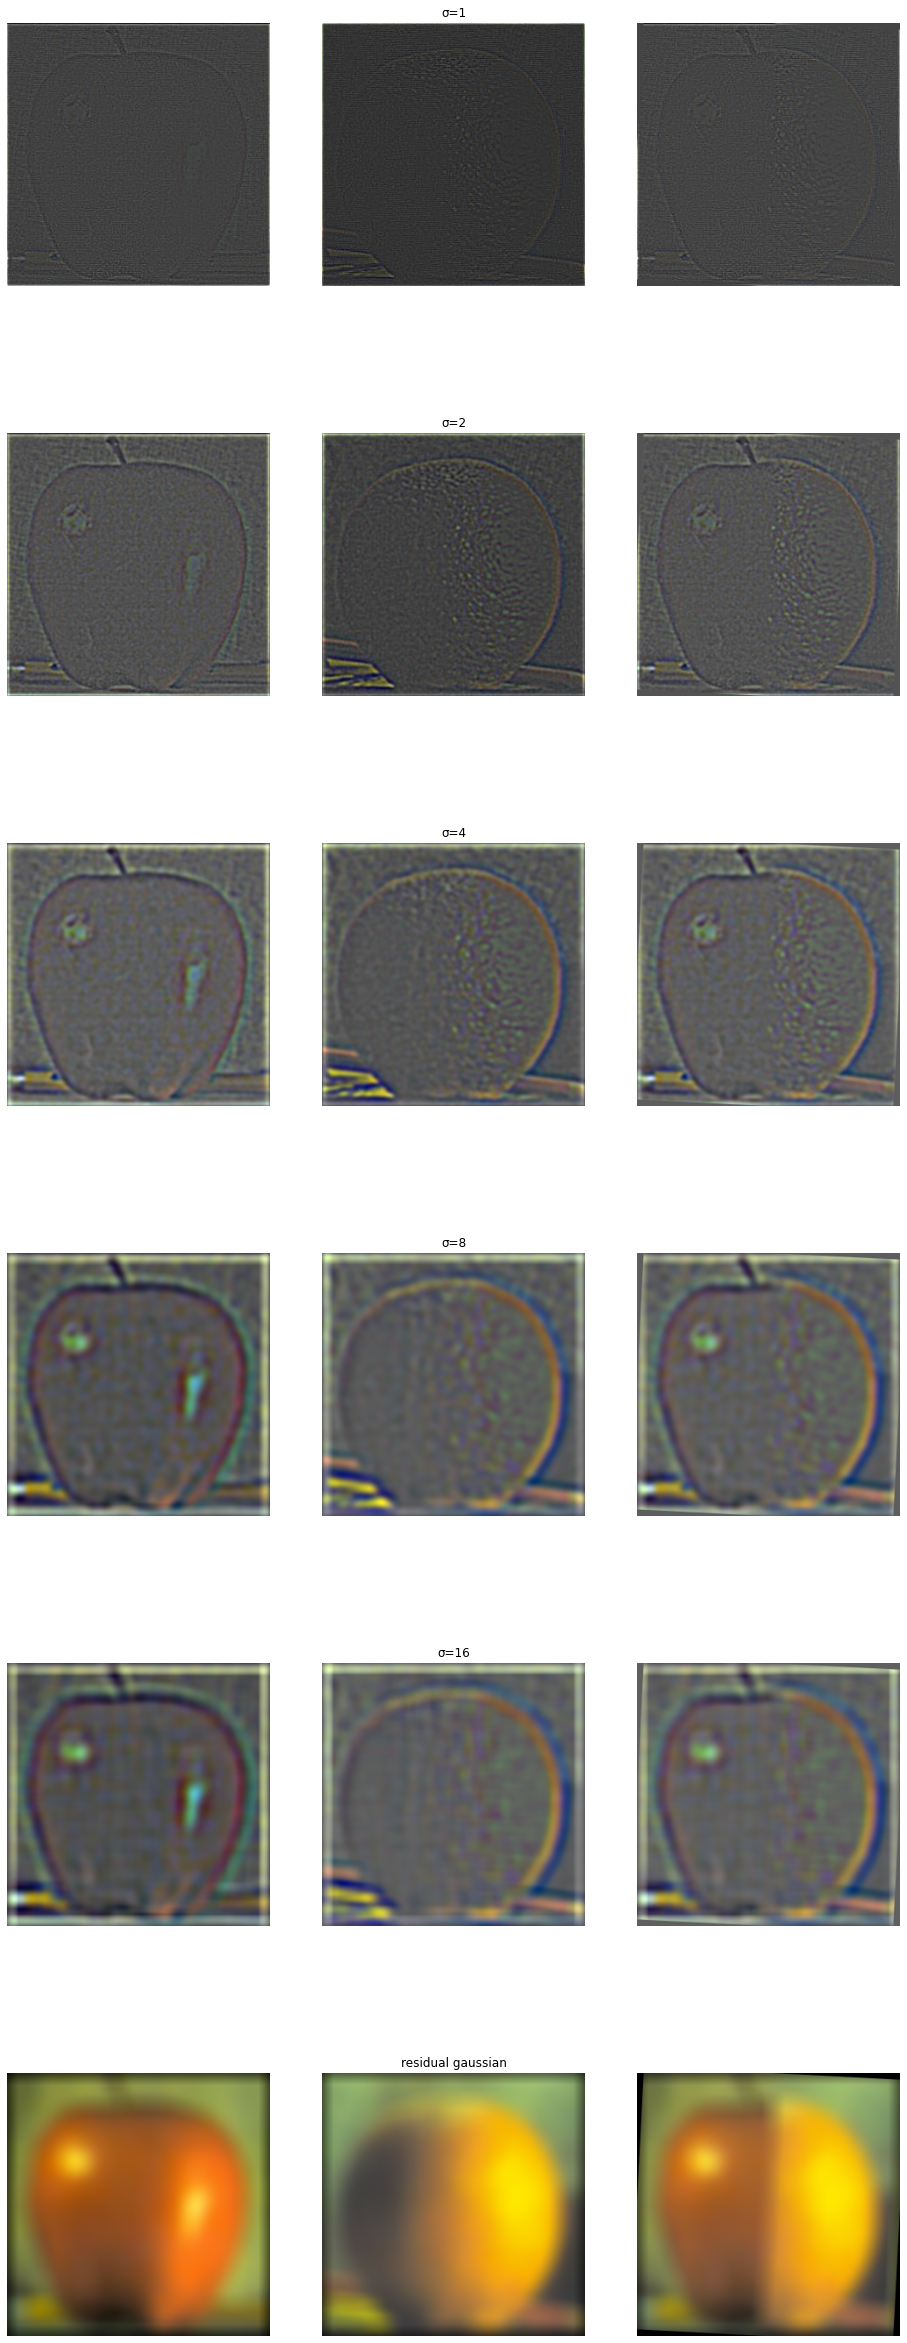
Let us apply the finite difference filters to a photo of a cameraman!

When applied as a convolution to an image, the finite difference operators simply look at two adjacent pixels in the x or y direction. Intuitively, since we know that these pixels will take on values in [0,1], we expect the convolution to be maximized when the left/top pixel is 1 and the right/bottom pixel is 0 for D_x and D_y, respectively.

More generally, the greater the difference between two adjacent pixels, the greater the final value of the convolution.

We construct a basic edge detector by convolving the image with our finite difference filters and then binarizing the result based on some manually tuned threshold.

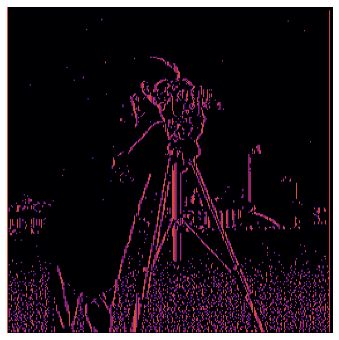
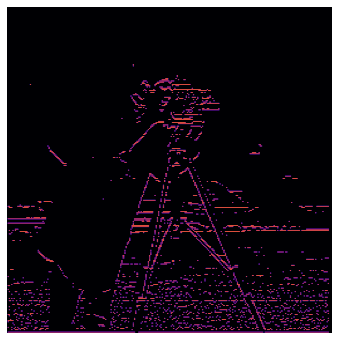
The resulting edge images are pretty good, but they're a bit grainy, apparently because of the noisy grass acting as lots of tiny edges. Increasing the threshold for the edge detector helps somewhat, but beyond a certain point there's a tradeoff, since eliminating all the grass will also eliminate valuable details from the subject and his camera!

In order to combat this, we introduce the Gaussian kernel. After convolving with the gaussian kernel, our image has become blurry! As you can see, the application of the gaussian blur has resulted in the removal of much of the noise in the image.

Now, when we apply the difference operators, much of the noise is gone :)

Part 2: Frequency Fun

Let's have some fun with those gaussian filters! Here, I have first blurred the Taj Mahal at successive rates by applying the Gaussian filter with increasing values of sigma.

Then, I subtracted a blurred image from the original to isolate the edges of the original image, and then added it back to the original image ten times. The result is like a surreal ironic meme (I love it).

I also played around with this technique on my own images. Here is a tilt-shift render I made of a scene in a game:

I love staring at tilt-shifted cities and picking out all the little details. But here, some of the finer details may be harder to make out if this image is reduced to smaller sizes. Let's sharpen it so it's easier to see here!

With an alpha of 2, the image has become noticeably sharper, while the artefacting is also barely noticeable! I love it :D

2.2: Let's make some hybrid images.


Here's the spectral analysis of my images:

Part 2.3 and 2.4: Chasing the Mythical Orapple

Now for the pièce de résistance of this project: the mythical orapple.

For this next image, I tried blending two toy versions of very iconic cars I loved as a kid: the Mitsubishi Lancer Evolution and the Toyota AE86 Trueno.

I thought that blending these images would be easier because the photography for the toys would be similar, but I failed to appreciate the large differences in colors and the result is very obvious.

Here's a cool one! I tried blending Matt Damon with... himself! From his aging scene in Saving Private Ryan

For this, I utilized a special masking step function :) It's just a slightly rotated and shifted step. Needs a bit more tweaking, but the end result is quite good on the face.


Recreation of Figure 3.4.2 using my code,

showing the laplacians of the orange and apple at various sigma values,

as well as the combined orapple mask.