Part 1: Fun with Filters
Part 1.1: Finite Difference Operator
.png)
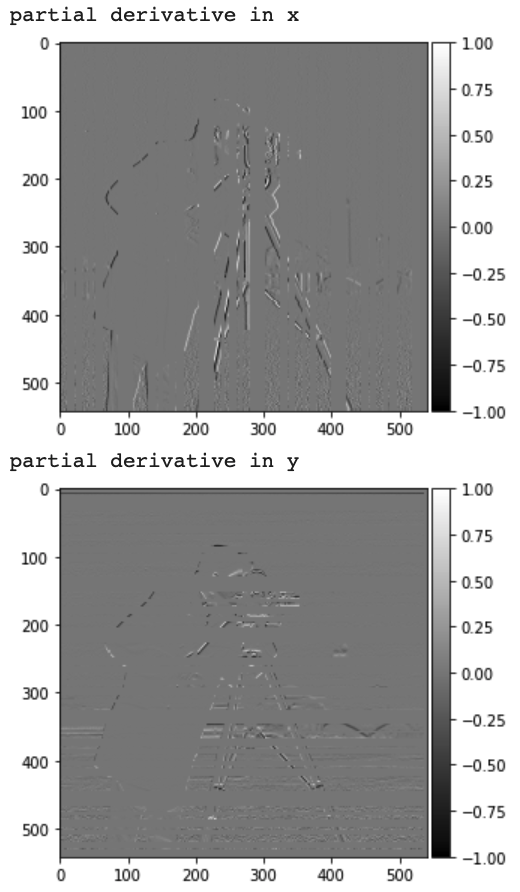
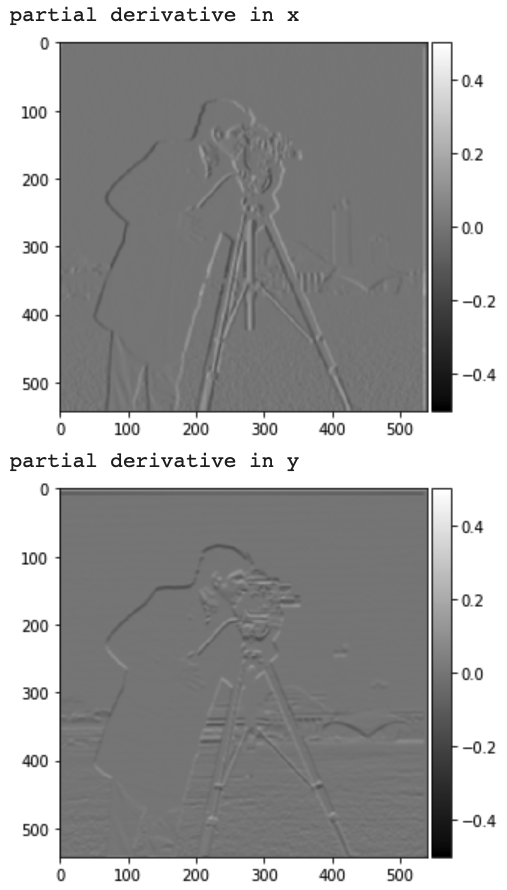
We take the above image of the cameraman and convolve with D_x and D_y to get the partial derivative in x and y of the image.
We then compute the gradient magnitude by taking the square root of the square of the partial derivative in x plus the square of the partial derivative in y. This is also shown in the equation below:
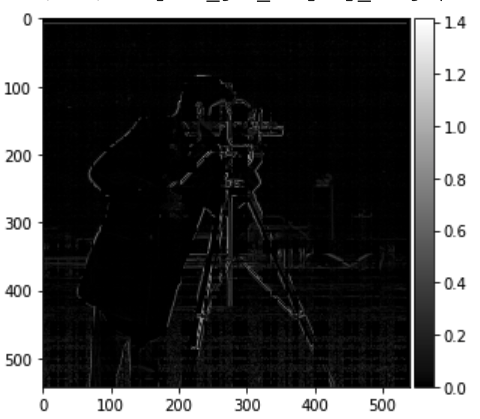
The gradient magnitude is visualized below:
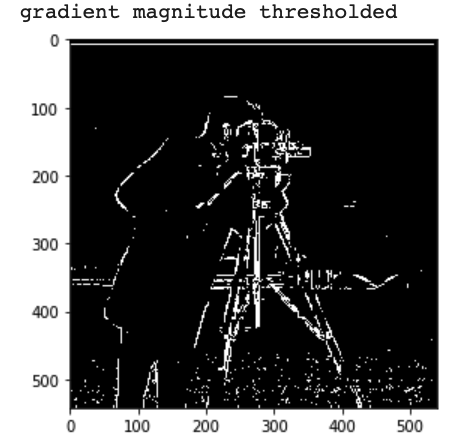
In order highlight the edges of the image we will binarize the gradient magnitude. This means that we set a threshold: every magnitude that is less than the threshold will be set to 0 and everything above the threshold will be set to 1. The thresholded image is shown below:
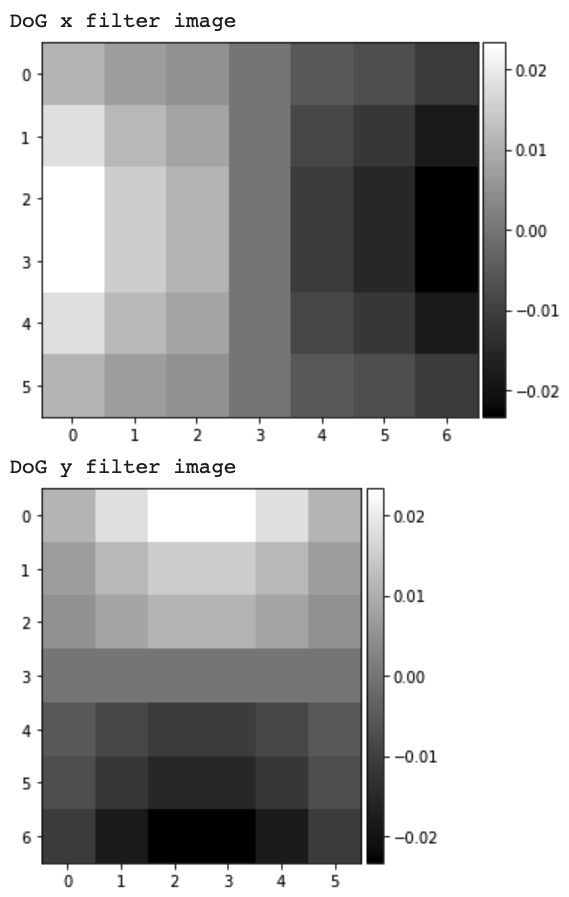
Part 1.2: Derivative of Gaussian (DoG) Filter
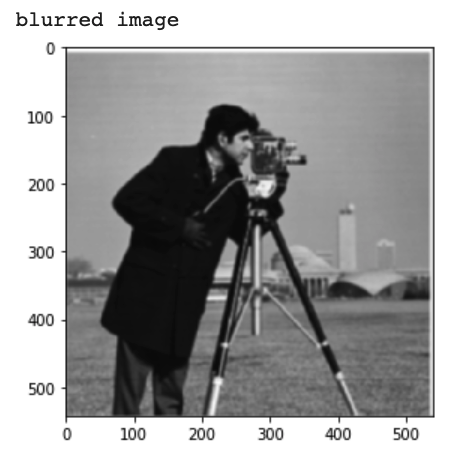
As we can see the edges image from the previous part has a lot of noise. In order to combat this, we will first blur the original cameraman image and then do the same steps as before. We will blur the image by convolving with a Gaussian. The blurred image is shown below:
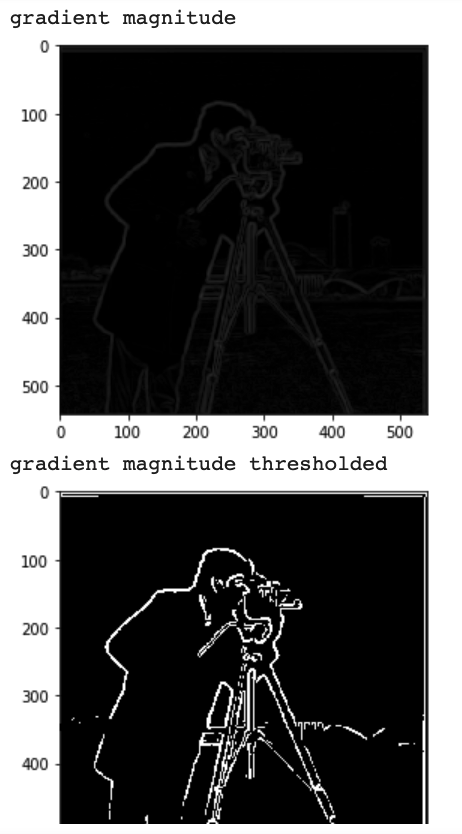
As we can see this edge image has a lot less noise than the one from the previous part. The bottom of the edge image from the previous part had a lot more "dots." In addition, this edge image is able to outline the cameraman a lot better. All this is possible because the gaussian blur will help reduce the noise.
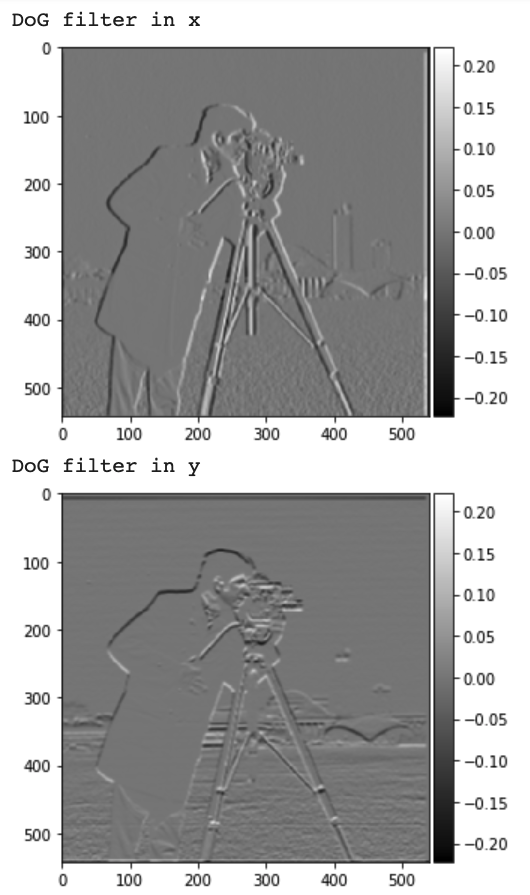
Instead of taking the Gaussian blur and then taking the derivative, both these steps can be combined into one convolution. We convolve D_x and D_y with the Gaussian. The resulting derivative of gaussian (DoG) filters are shown below:
The following are the result of applying the DoG filters and thresholding the gradient magnitude.
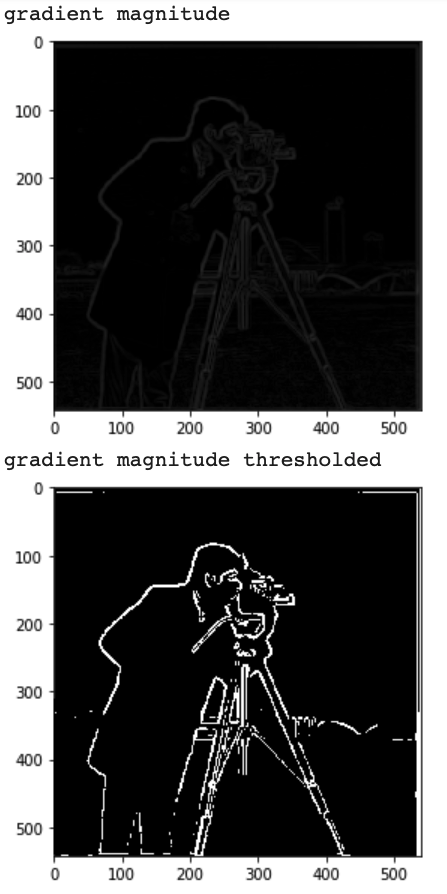
As we can see the edge image produced from doing a single convolution is the same as when doing multiple separate convolutions.
Part 2: Fun with Frequencies!
Part 2.1: Image "Sharpening"
We run an unsharp mask filter on the following initially blurry images in order to sharpen them. The photo on the left is the original blurry version while the photo on the right is the sharpened version.
.jpg)
.jpg)
.jpg)
.jpg)
Next I will pick an originally sharp image and then I will purposefully blur it and try to sharpen the blurred version.
.jpg)
The sharpened image definitely lacks some detail in comparison to the original image. This is because the image is blurred from the Guassian. The sharpened image seems to focus on the available edges only.
Part 2.2: Hybrid Images
The following is the hybrid of the cat and person given as an example:

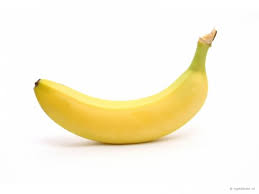
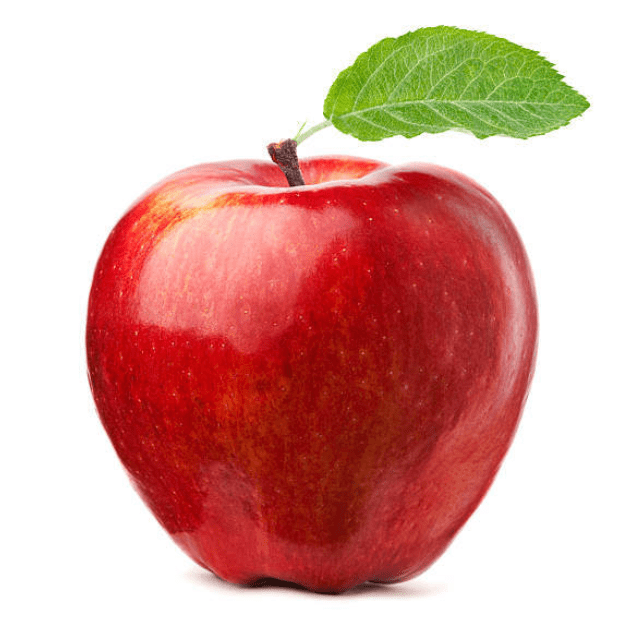
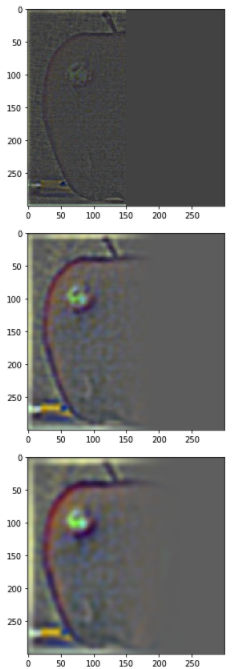
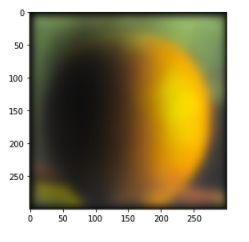
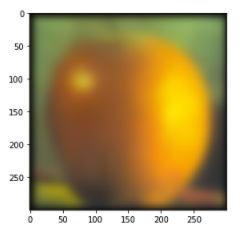
Next I tried to blend with a banana and apple. The original images are shown below:
The blended image is shown below:
The blend of the apple and banana did not turn out the well due to the difference in shape of the two. It was just not that visually apealing.
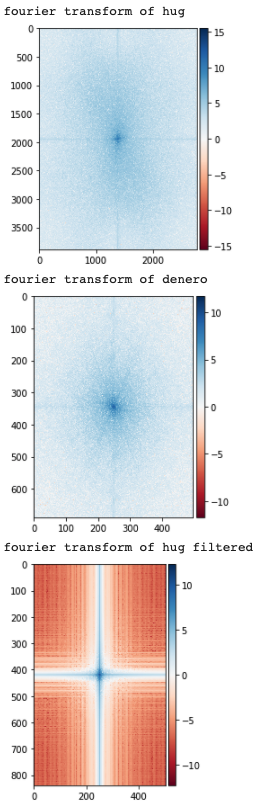
Next I wanted to blend Hug and Denero. The original images are shown below:

As we can see Hug is high passed while Denero is low passed. The visual Fourier analysis of the images are below:

Part 2.3: Gaussian and Laplacian Stacks
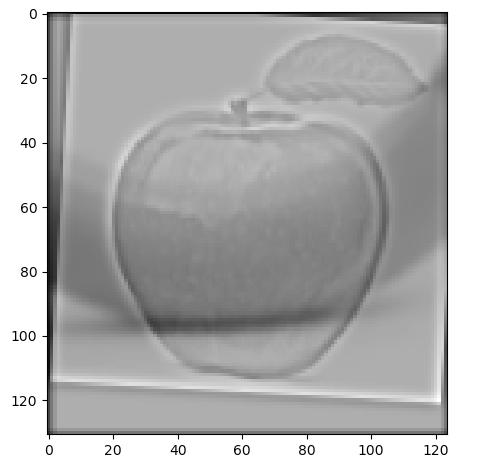
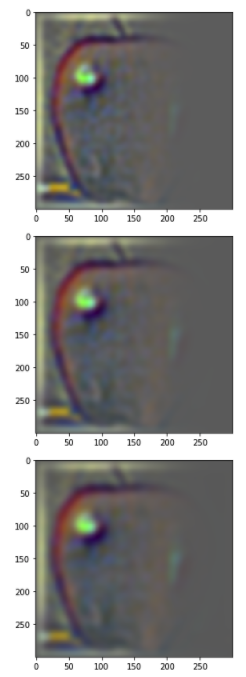
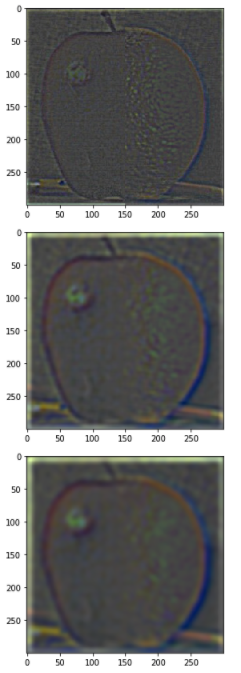
We implement laplacian stacks. We illustrate all the laplacians from L_0 to L_6. First we take a look at the laplacian stack for the apple with the mask applied as the weight.
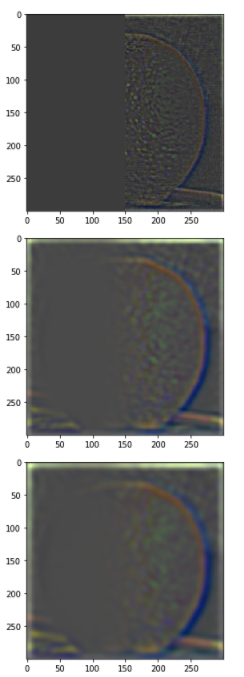
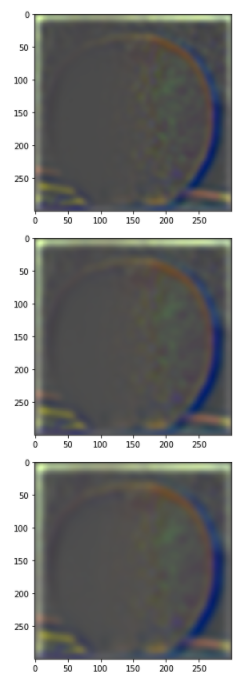
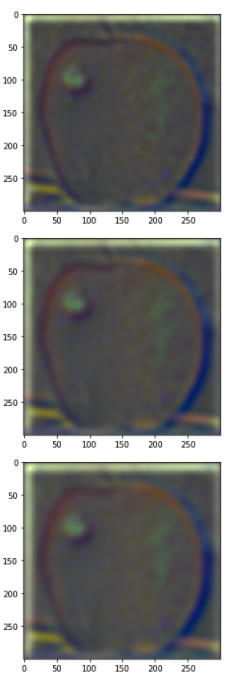
Next we take a look at the laplacian stack for the orange with the mask also applied:
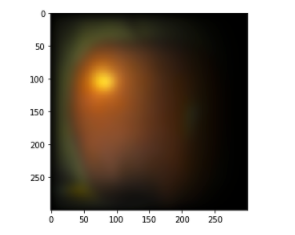
Finally we look at the average contributions for the combined laplacian stack:
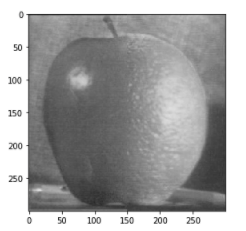
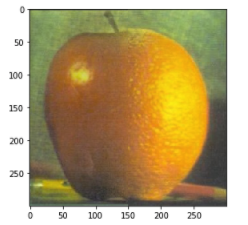
Part 2.4: Multiresolution Blending (a.k.a. the oraple!)
Next we will look at the results of the oraple. First we see the black and white version followed by the color version to enhance the effect!
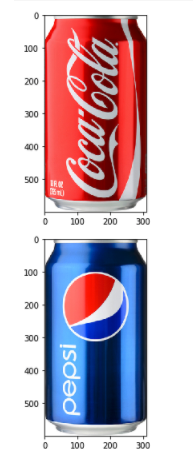
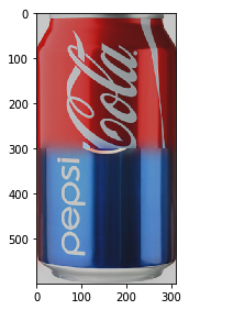
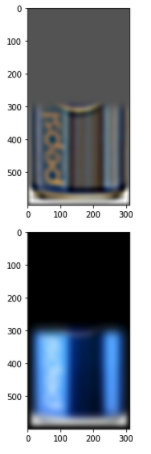
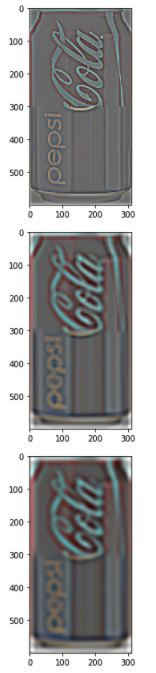
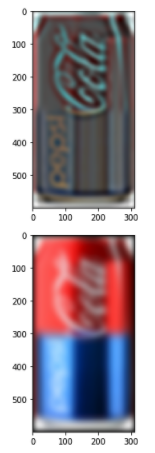
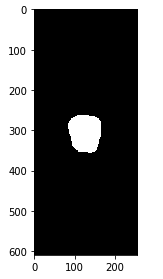
We can do a similar thing but with a Pepsi and Coca-Cola can! The mask is just a horizontal line rather than a vertical line that was used for the oraple. First we look at the original images:
The blended images is the following:
The laplacian stack for the Pepsi can is below:

The laplacian stack for the Coca-Cola can is below:
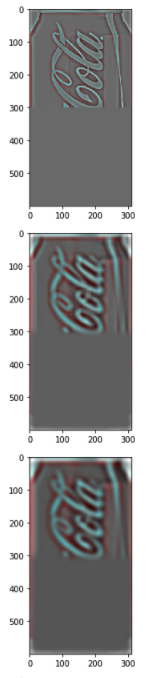
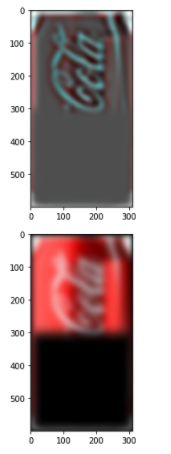
The laplacian stack for the combined weighted contributions is below:
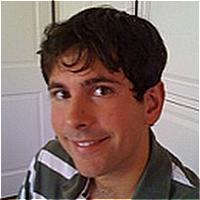
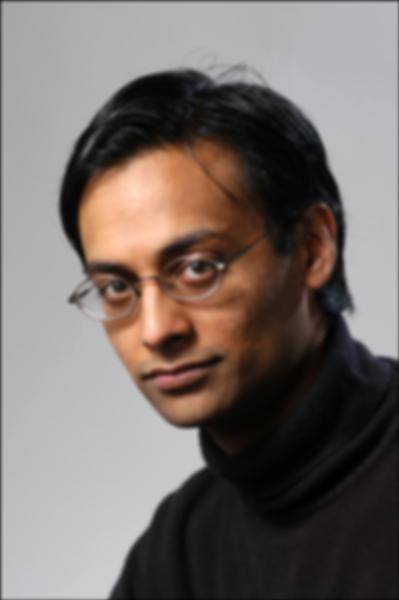
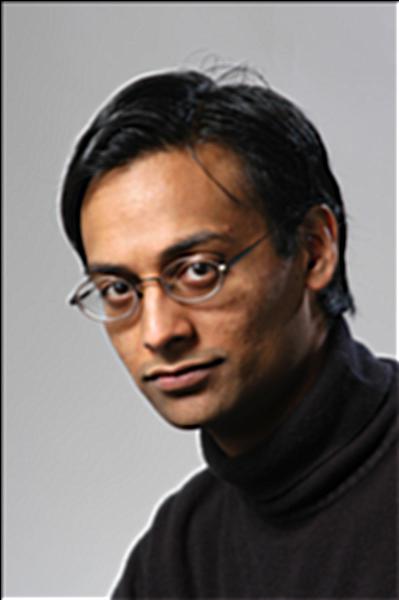
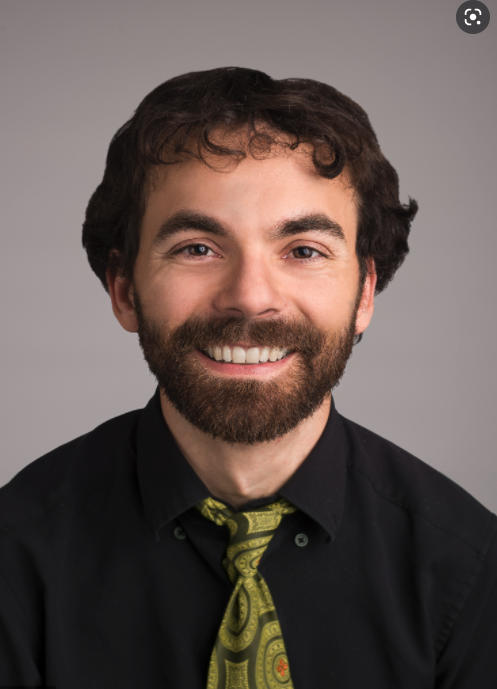
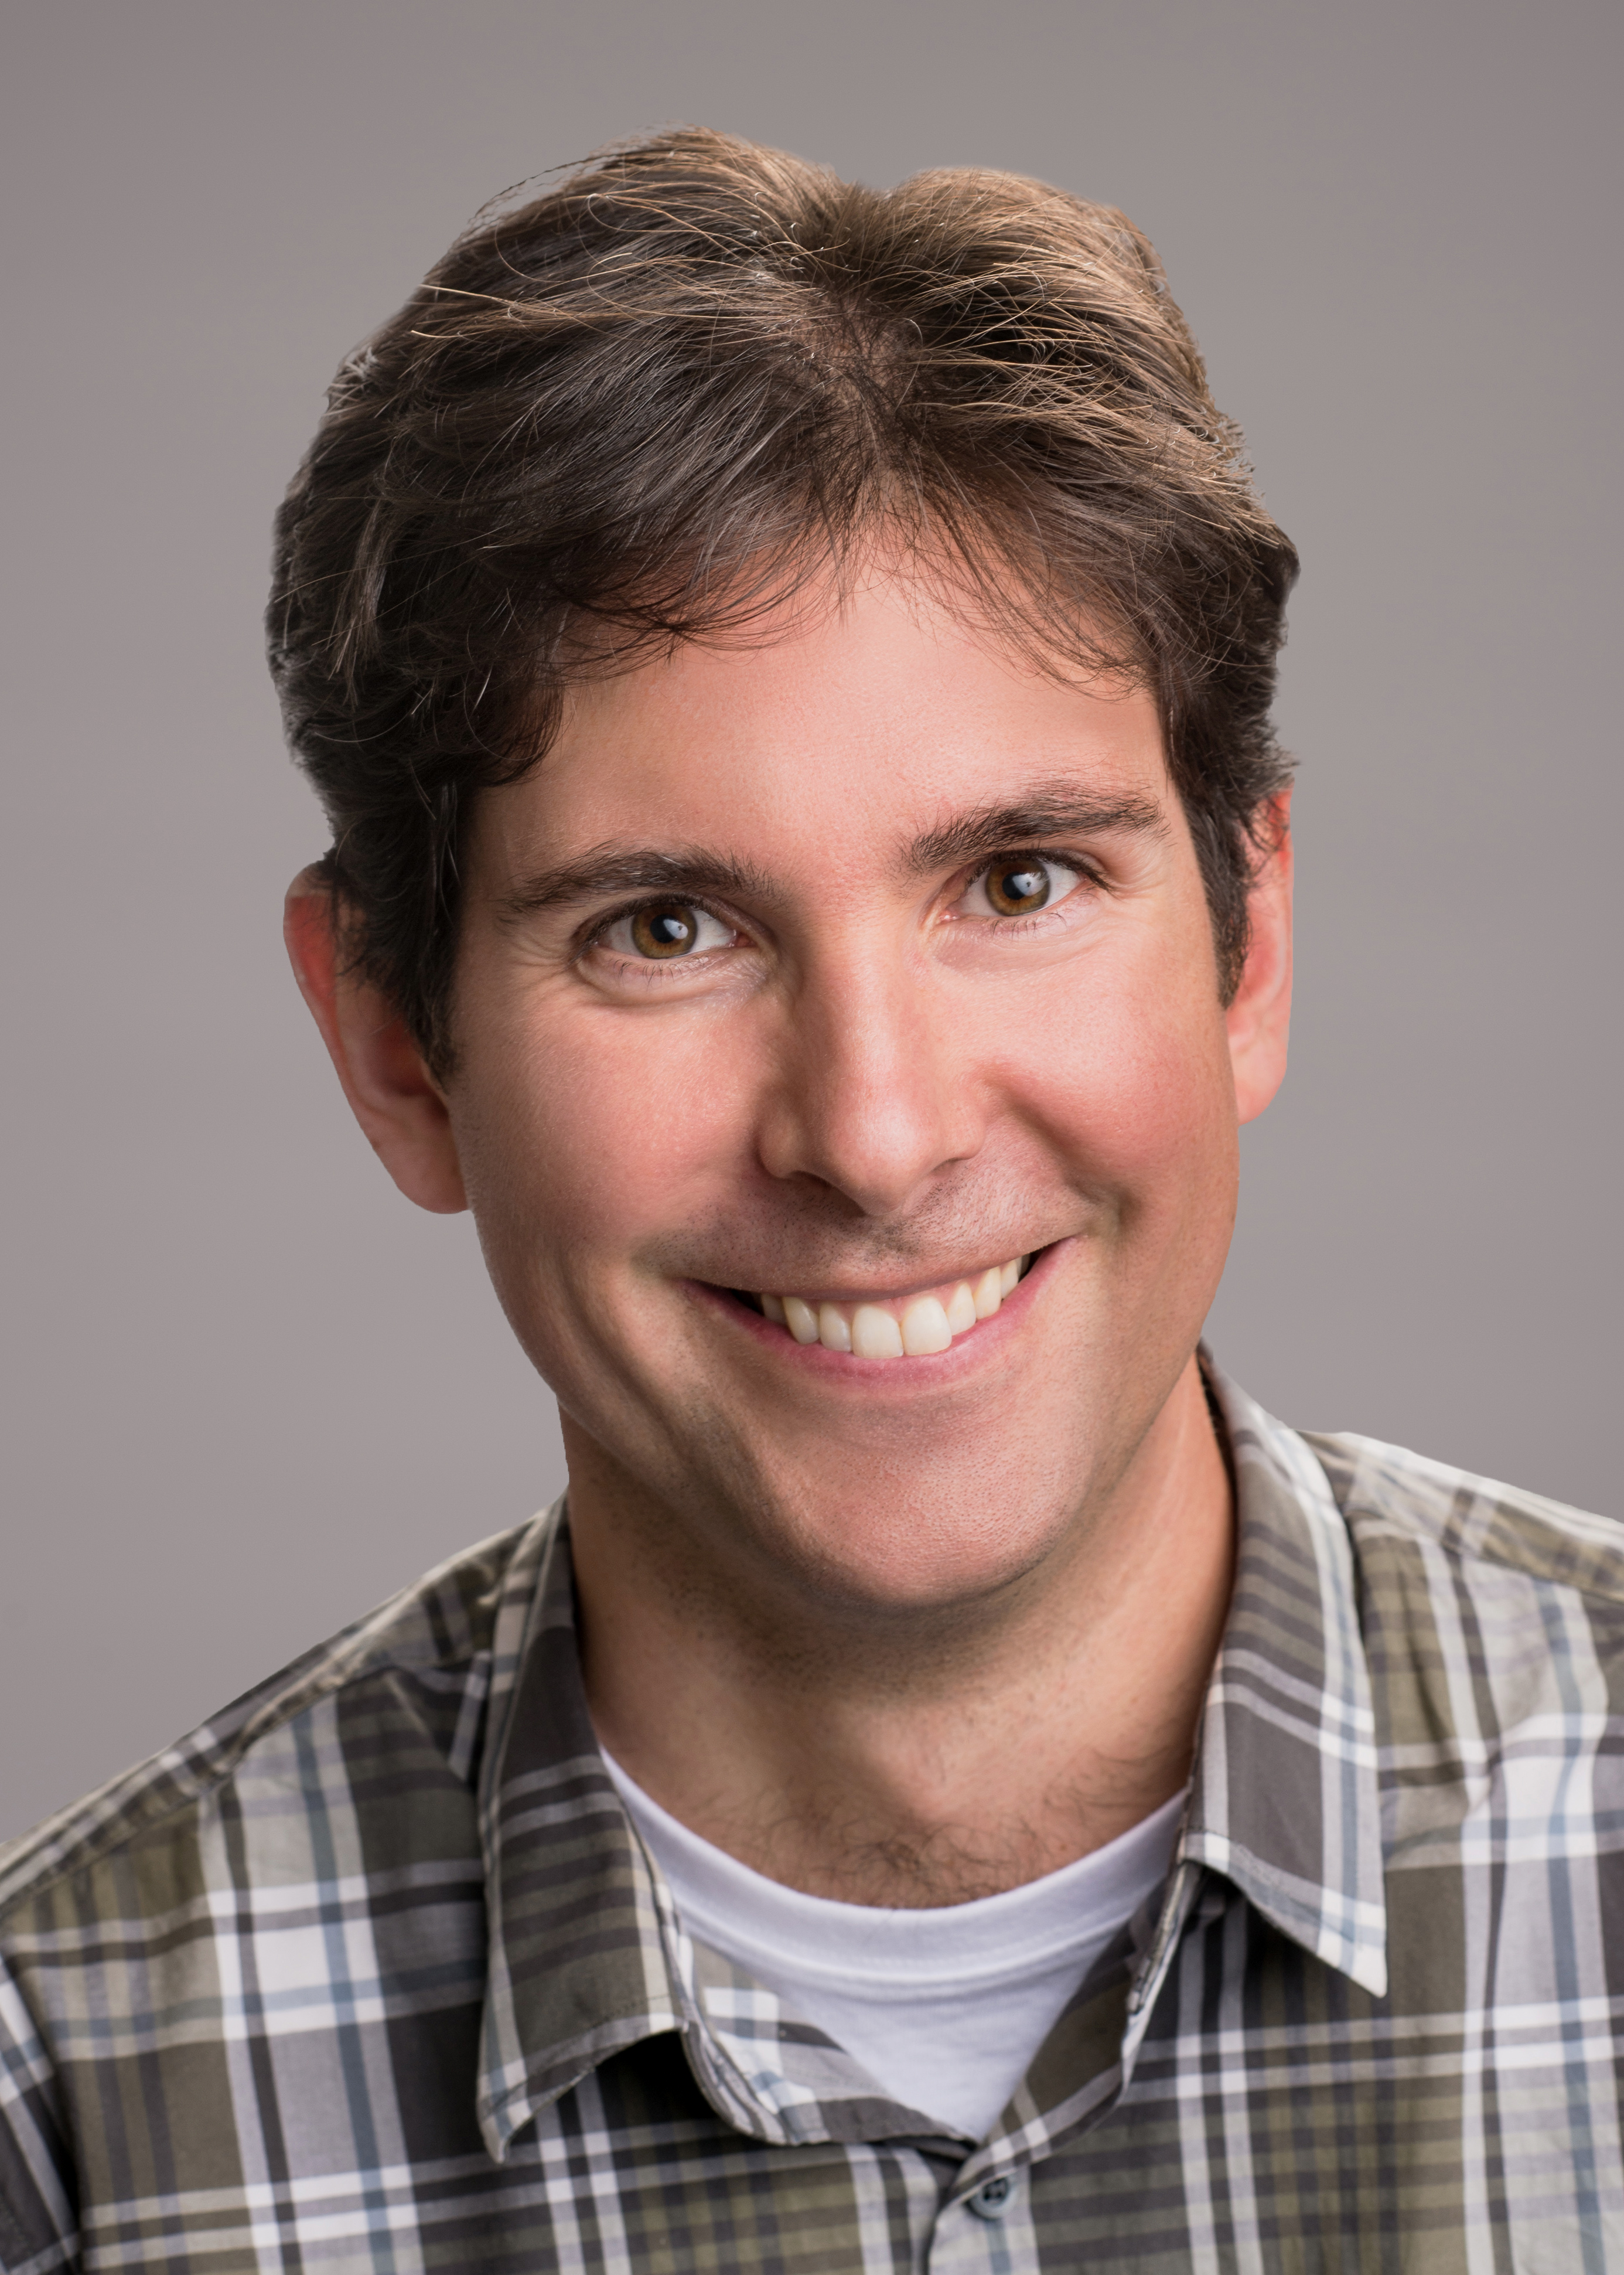
Next I wanted to combine my face with my favorite actor Kumail Nanjiani. In order to create aligned images, I used the same functions that were provided for the hybrid images section of this project. The original images along with the mask are shown below:

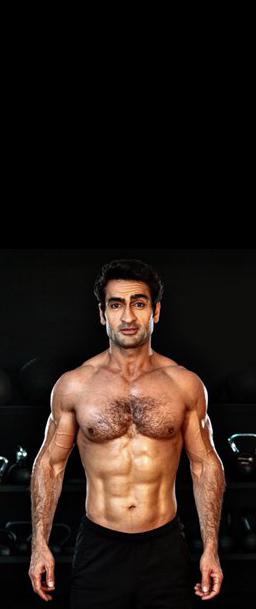
The result was as follows:
.jpg)
Final Note
After finishing this project I think the most important thing I learned was how to detect the edges of images with DoG filters