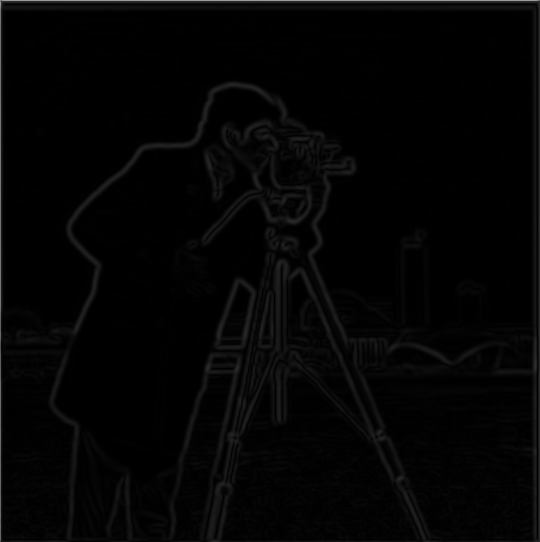
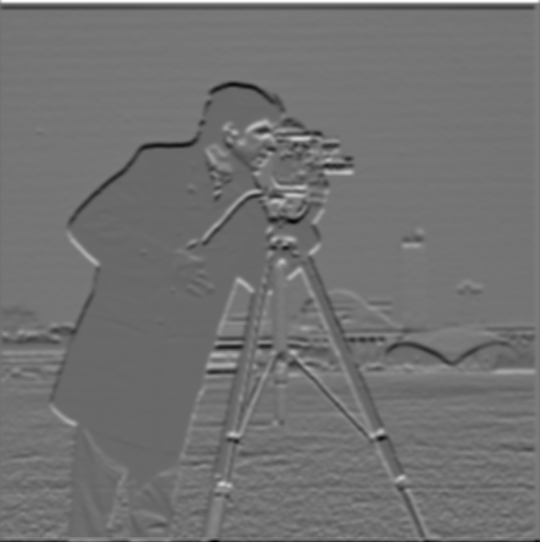
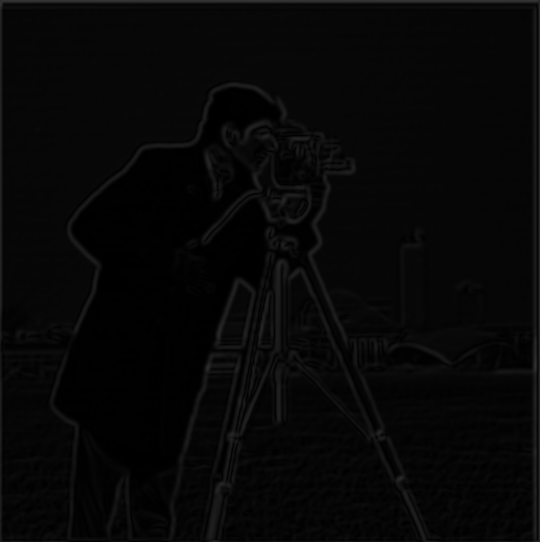
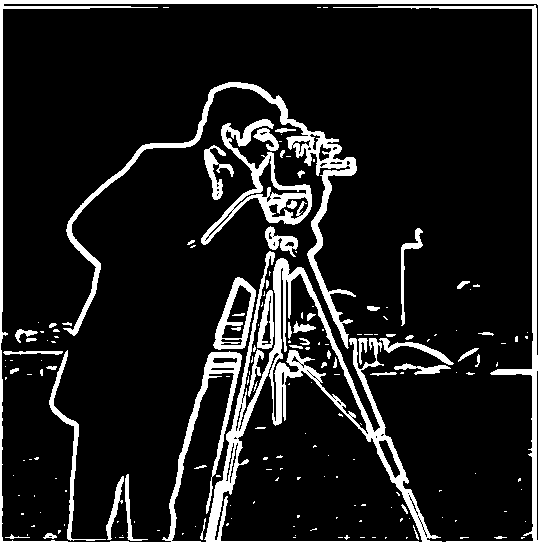
In this project, we first learned to use the difference filter (or the derivatives) combined with a gaussian filter to create a simple edge detector. We then learned that we could combine the filters and the result would be the same. (PART 1)
In part 2, we first learned how to sharpen an image by enhancing the high frequencies, and learned how to combine the whole process into one convolution filter called unsharp mask filter. We then combined two images together to give the effect of seeing one object from afar and another object from close-up. This is achieved through combining the low-pass of one image and the high-pass of another image. Lastly, we learned how to blend two images smoothly by using Laplacian stacks and appropriate masks.
2.1: Sharpening
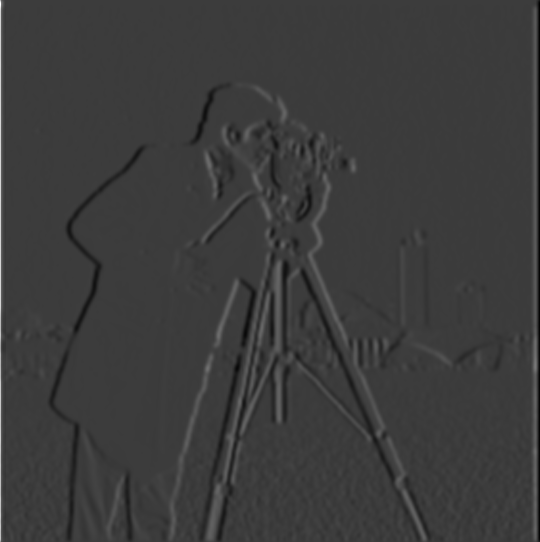
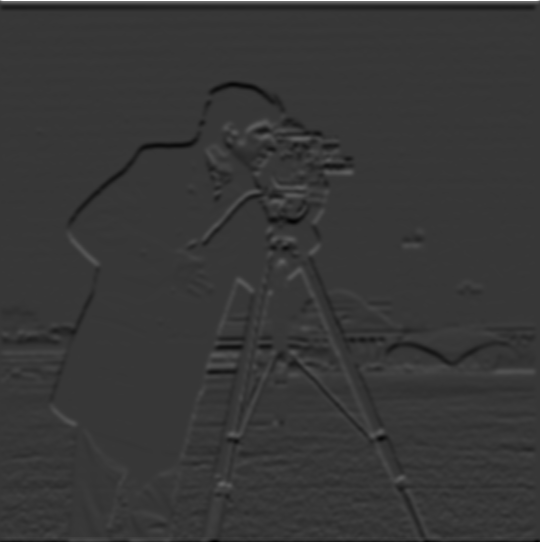
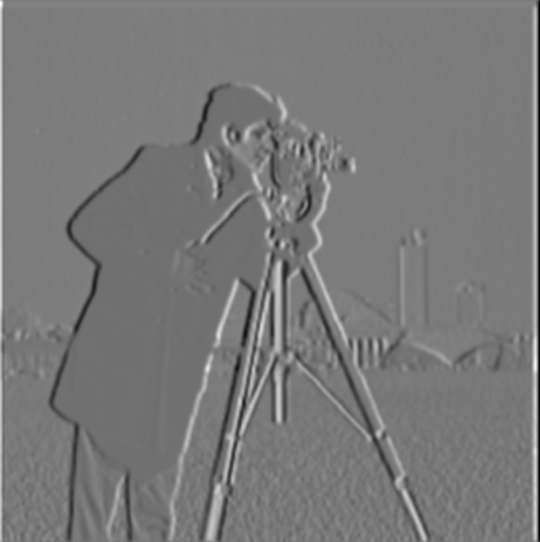
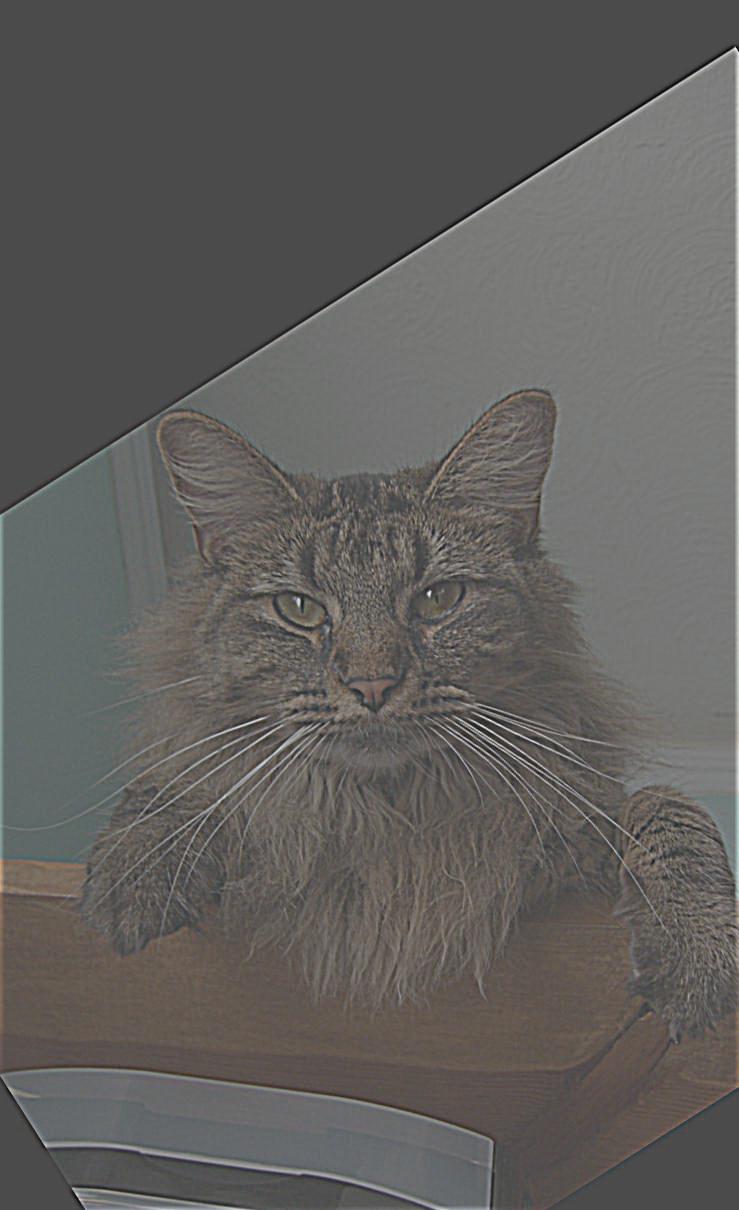
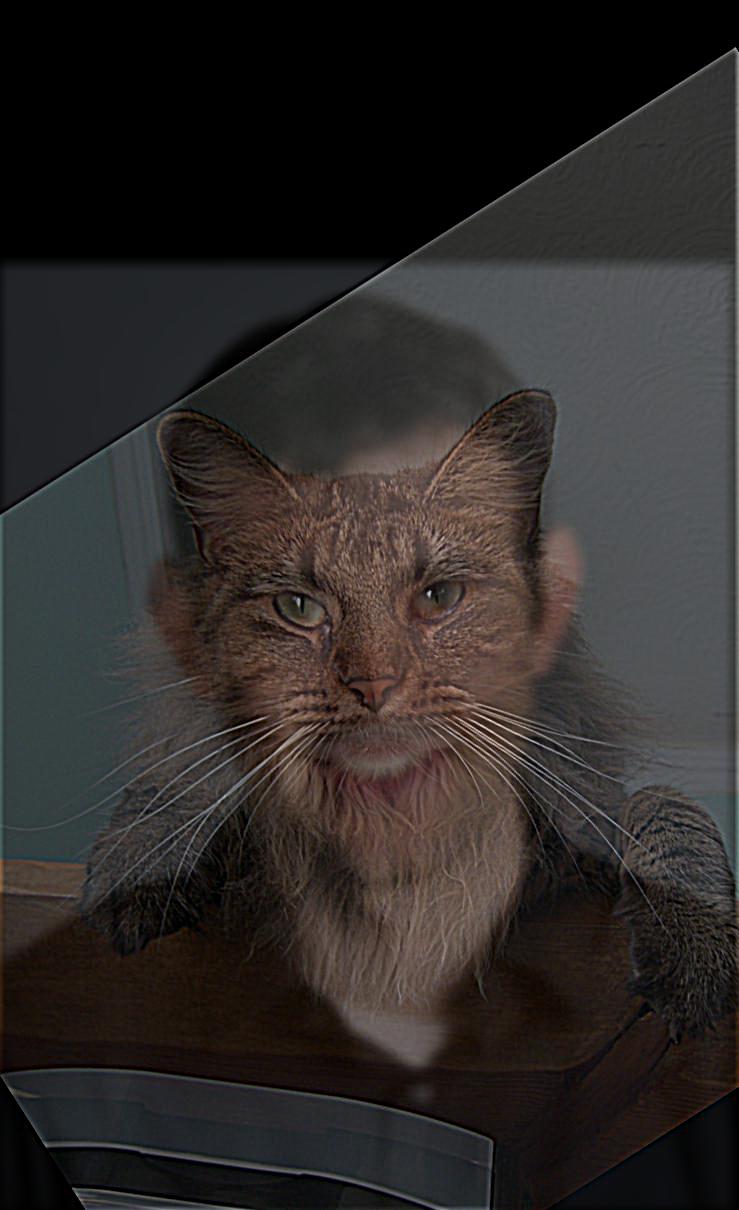
We sharpen the image by separating the high frequencies of the image using high-pass filter and add it back to the original to enhance high frequencies.
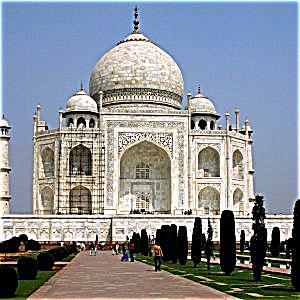
 Original Taj
 Sharpened Taj
I also picked a picture of shang-chi and sharpened it.
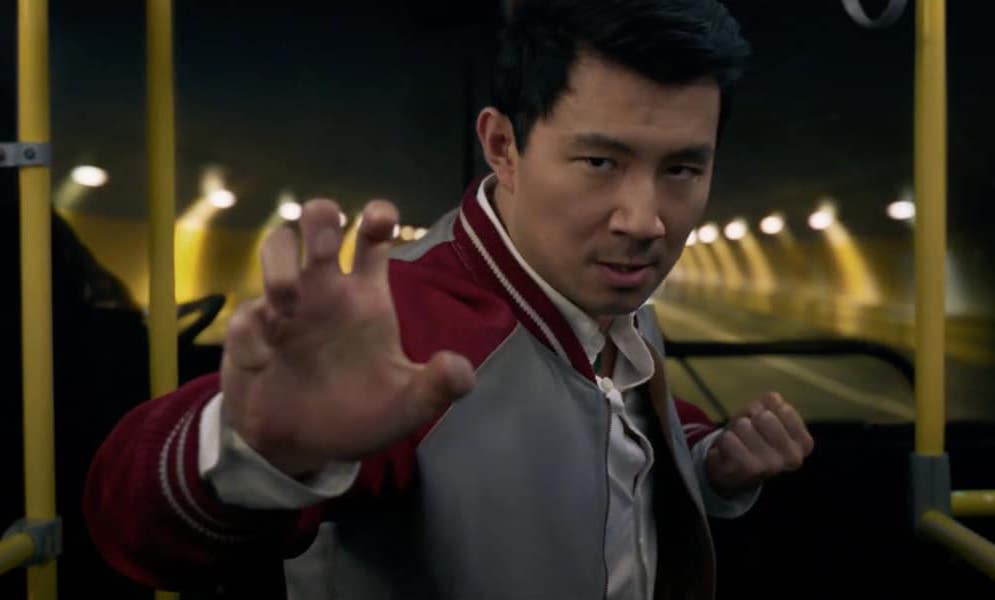 Original Shang-chi
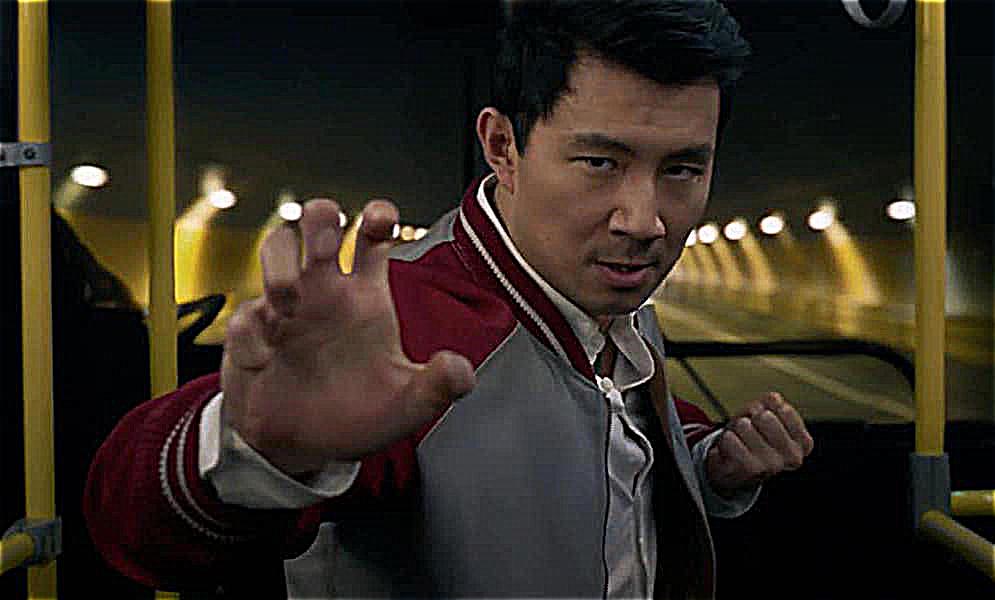 Sharpened Shang-chi
I also picked an already sharp image, blurred it with gaussian filter, and then resharpened it. As we can see, the resharpened image is not the same as the original, because blurring image takes away information, while sharpening it does not add any new information. Thus, the resharpened image will be much lower quality and will very different.
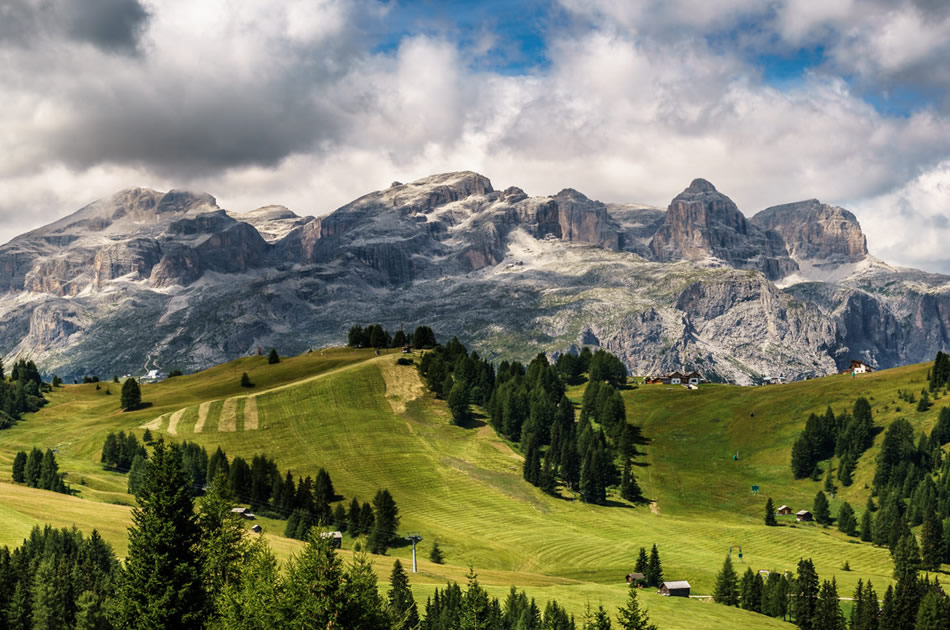 Origin mountain
 Blurred mountain
 Resharpened mountain
2.2: Hybrid images
In this part I created hybrid images by getting the low-pass from one image and the high-pass from another. To do this we need to first align them with each other, and then apply the filters, and then add the two tensors together.
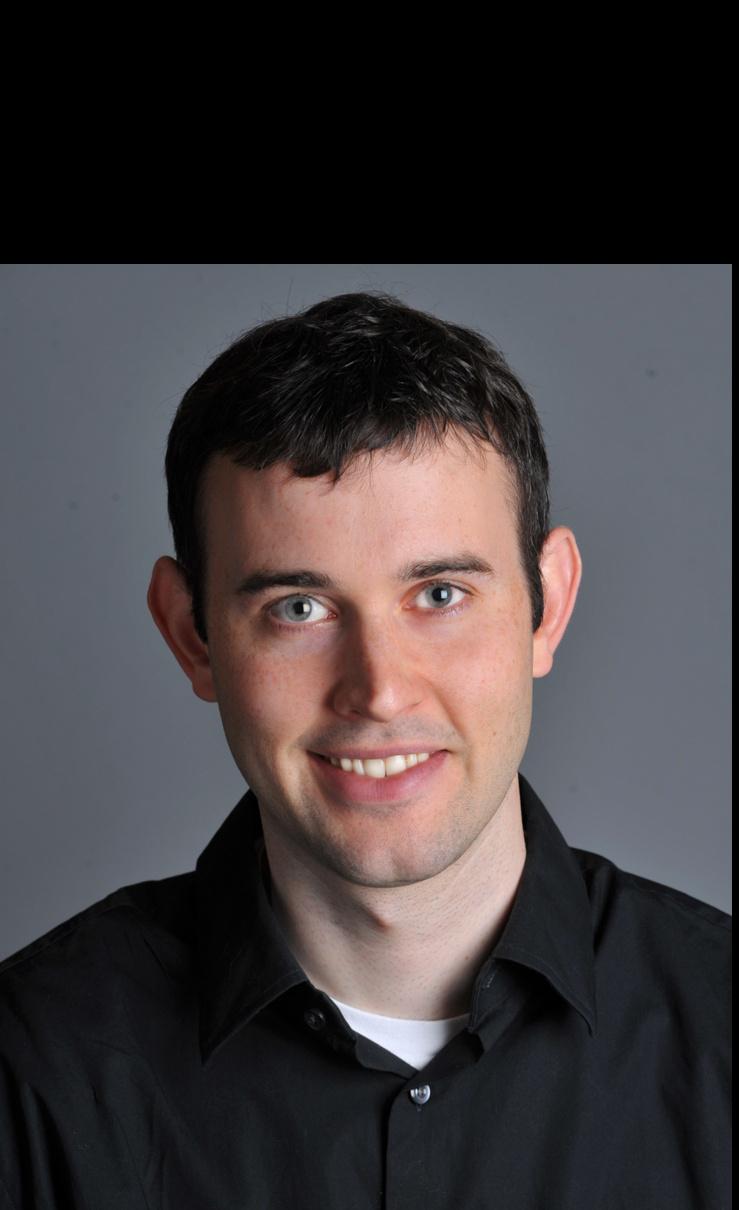
 Original Nutmeg aligned
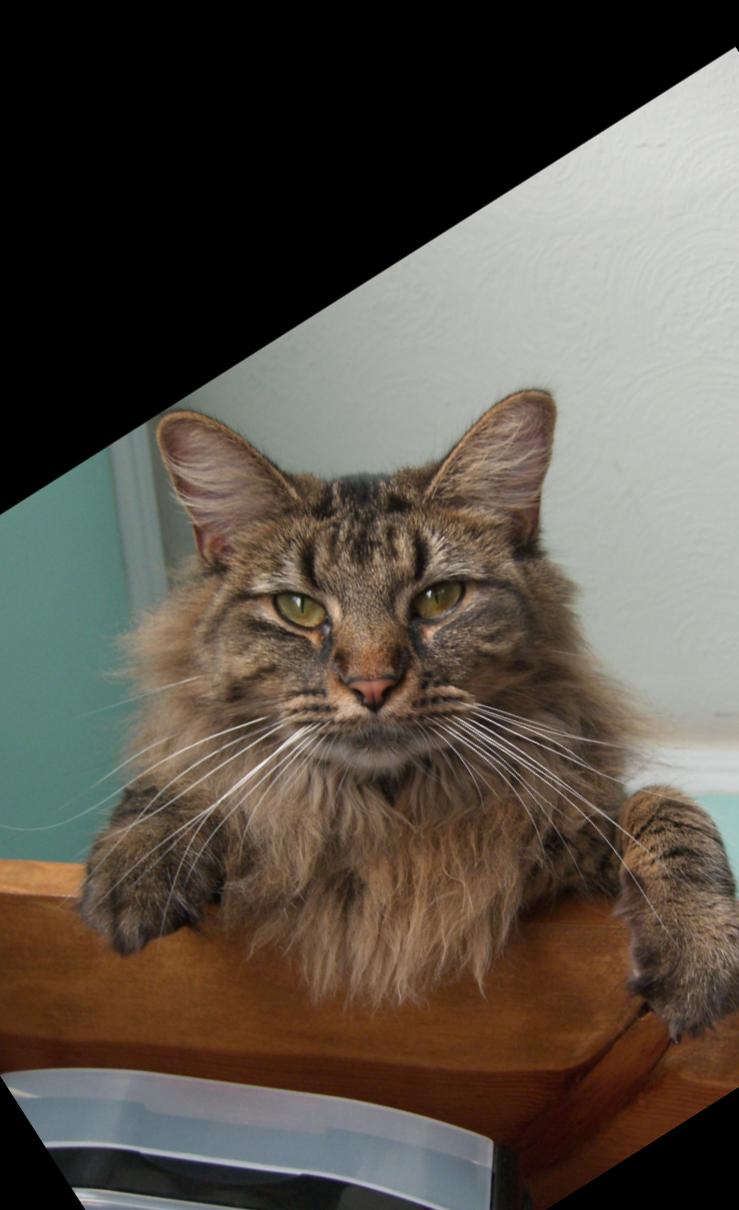
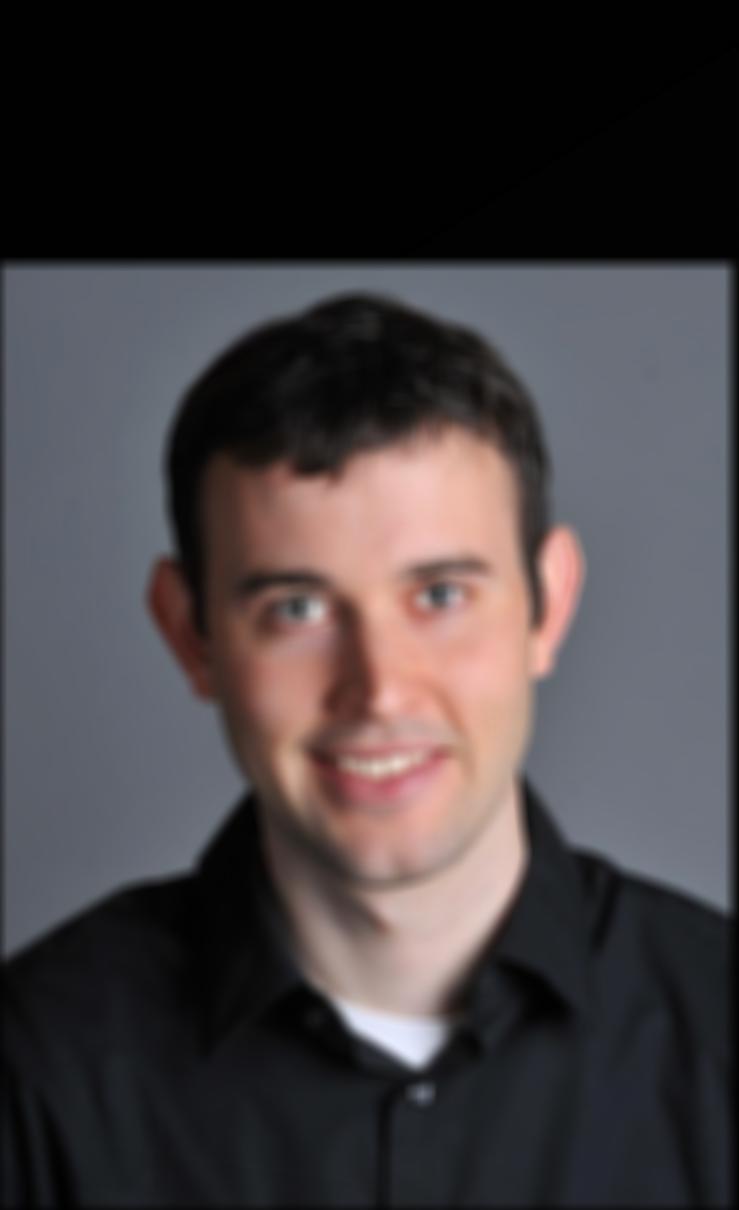
 Original Derek aligned
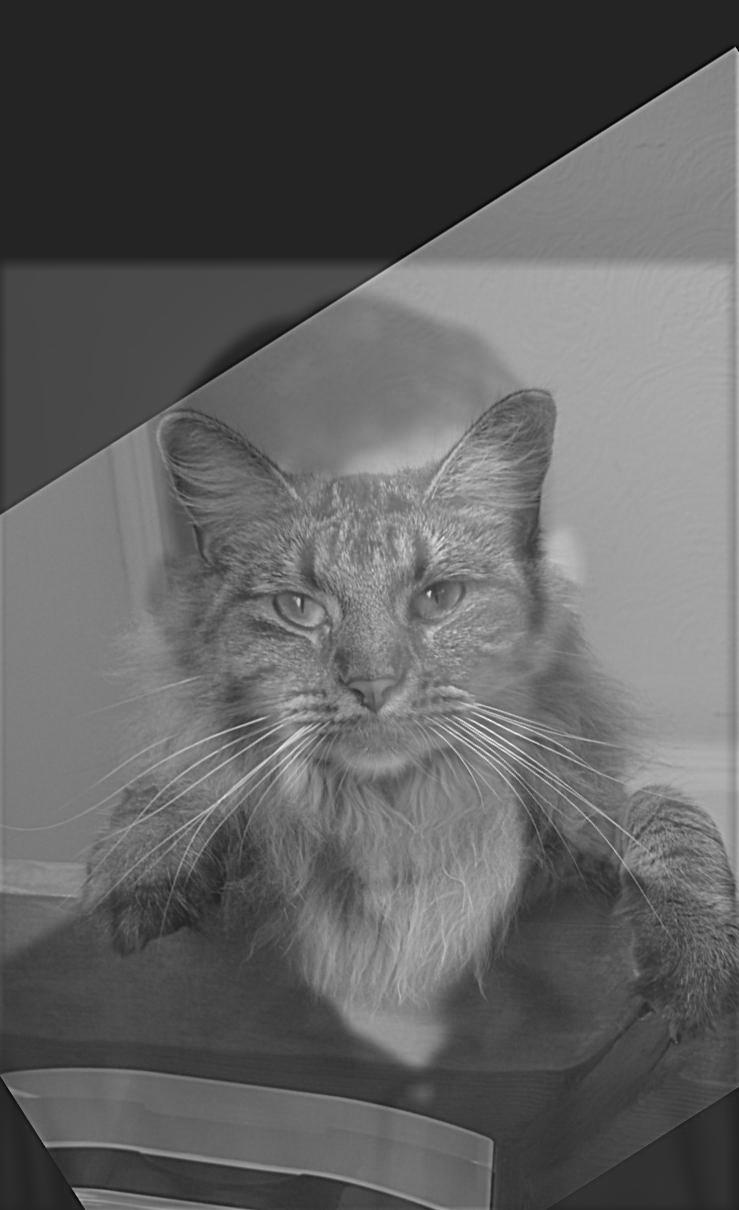 Hybrid nutmeg and Derek
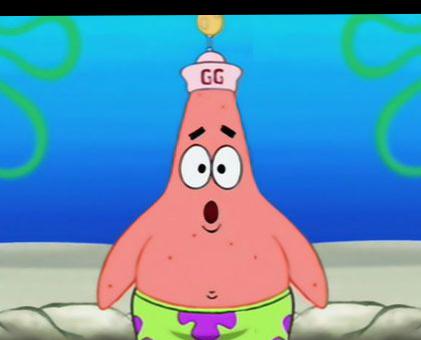
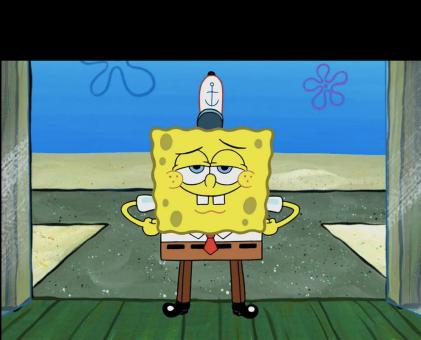
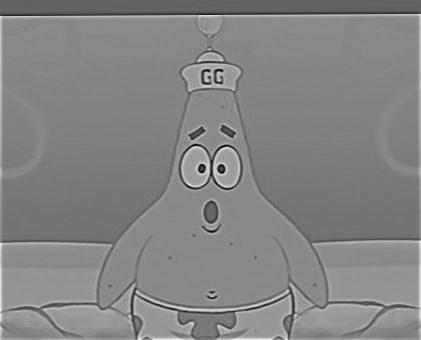
I also picked some of my pictures. My favorite is spongebob x patrick start.
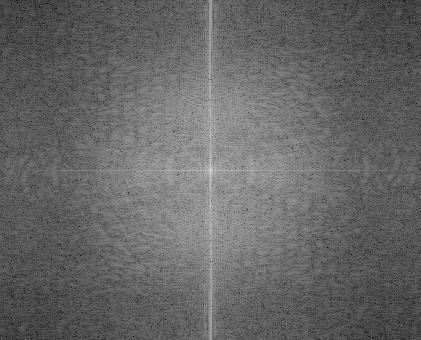
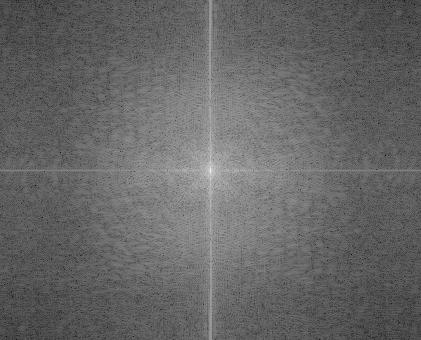
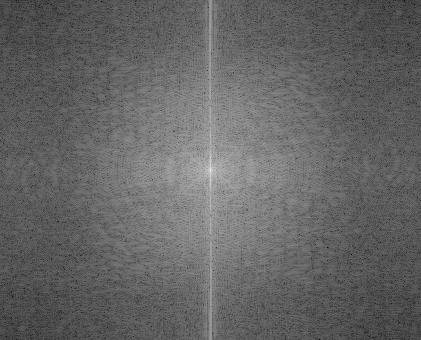 Original spongebob and its FFT analysis
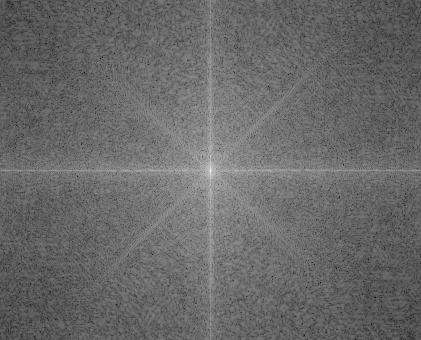 Original patrick star and its FFT analysis
 High-pass filtered spongebob and its FFT analysis
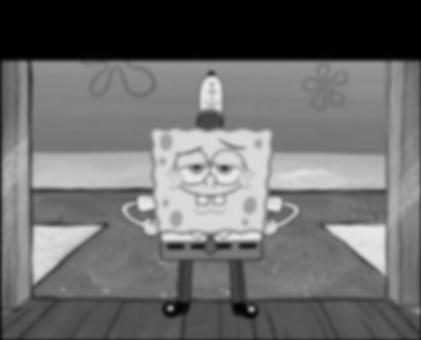
 Low-pass filtered patrick star and its FFT analysis
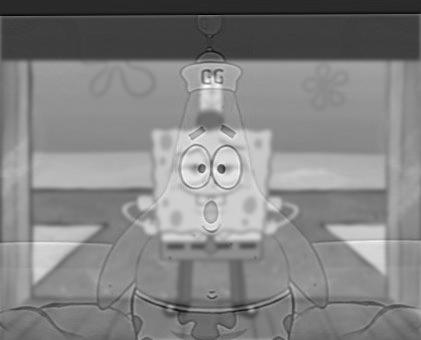
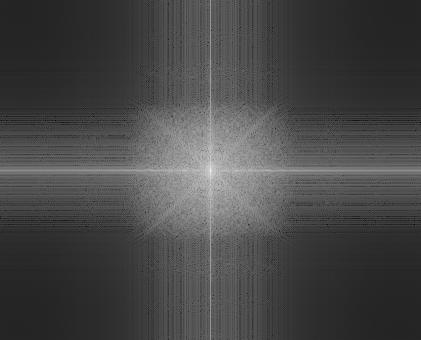
 Hybrid spongebog and patrick star and its FFT analysis
I also did a hybrid between pizza and chocolate cake. It doesn't seem that great tho, probably because the pepperonis are too distinct making the cake hard to be seen.
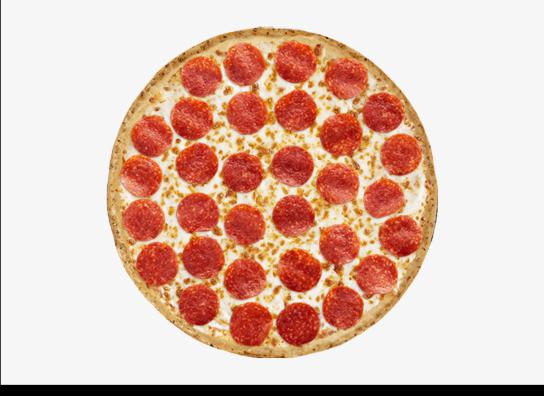 Original pizza aligned
 Original chocolate cake aligned
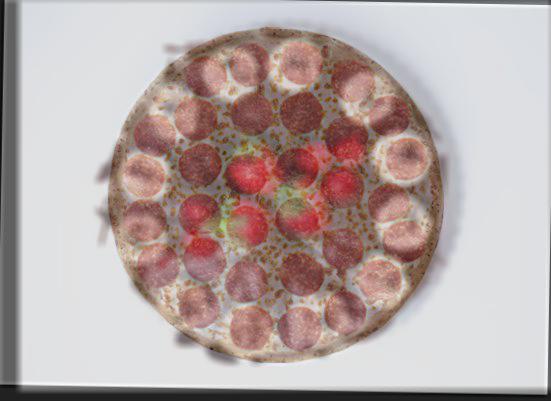 Hybrid chocolate cake and pizza with colors
Extra credit: colors
I experimented with colors on Derek and nugmeg. It's obvious that it works the best when both images are processed withe colors.
 Hybrid nutmeg and Derek with color
 Hybrid nutmeg with color and gray Derek
 Hybrid gray nutmeg and Derek both with color
2.3: Gaussian and Laplacian stacks
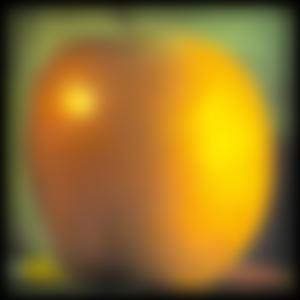
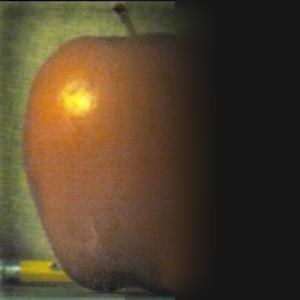
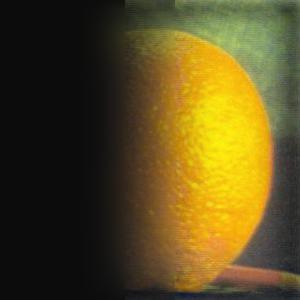
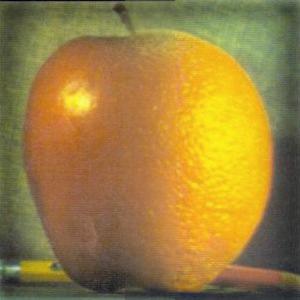
This part, I used Gaussian and Laplacian stacks to blend the orange and apple together. Below is the Laplacian stacks covered with mask thats half 1s and half 0s, and the combined images.
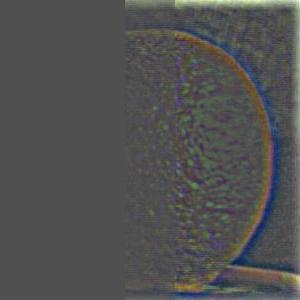
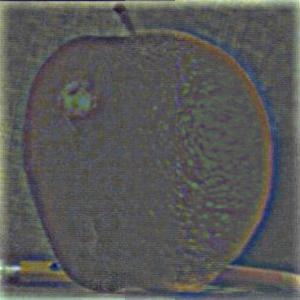
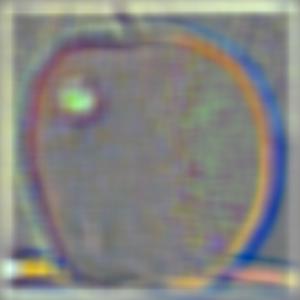
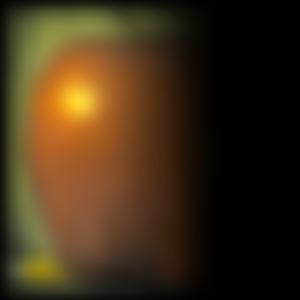
 Original apple aligned
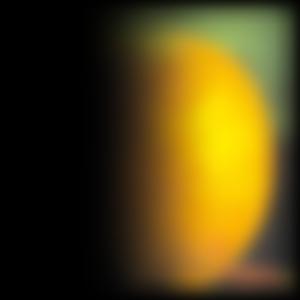
 Original orange aligned
 The original images and the combined result recovered from the stacks
2.4: Multi-resolution Blending
This final part, I picked two other pairs of images, aligned them, and created their blending.
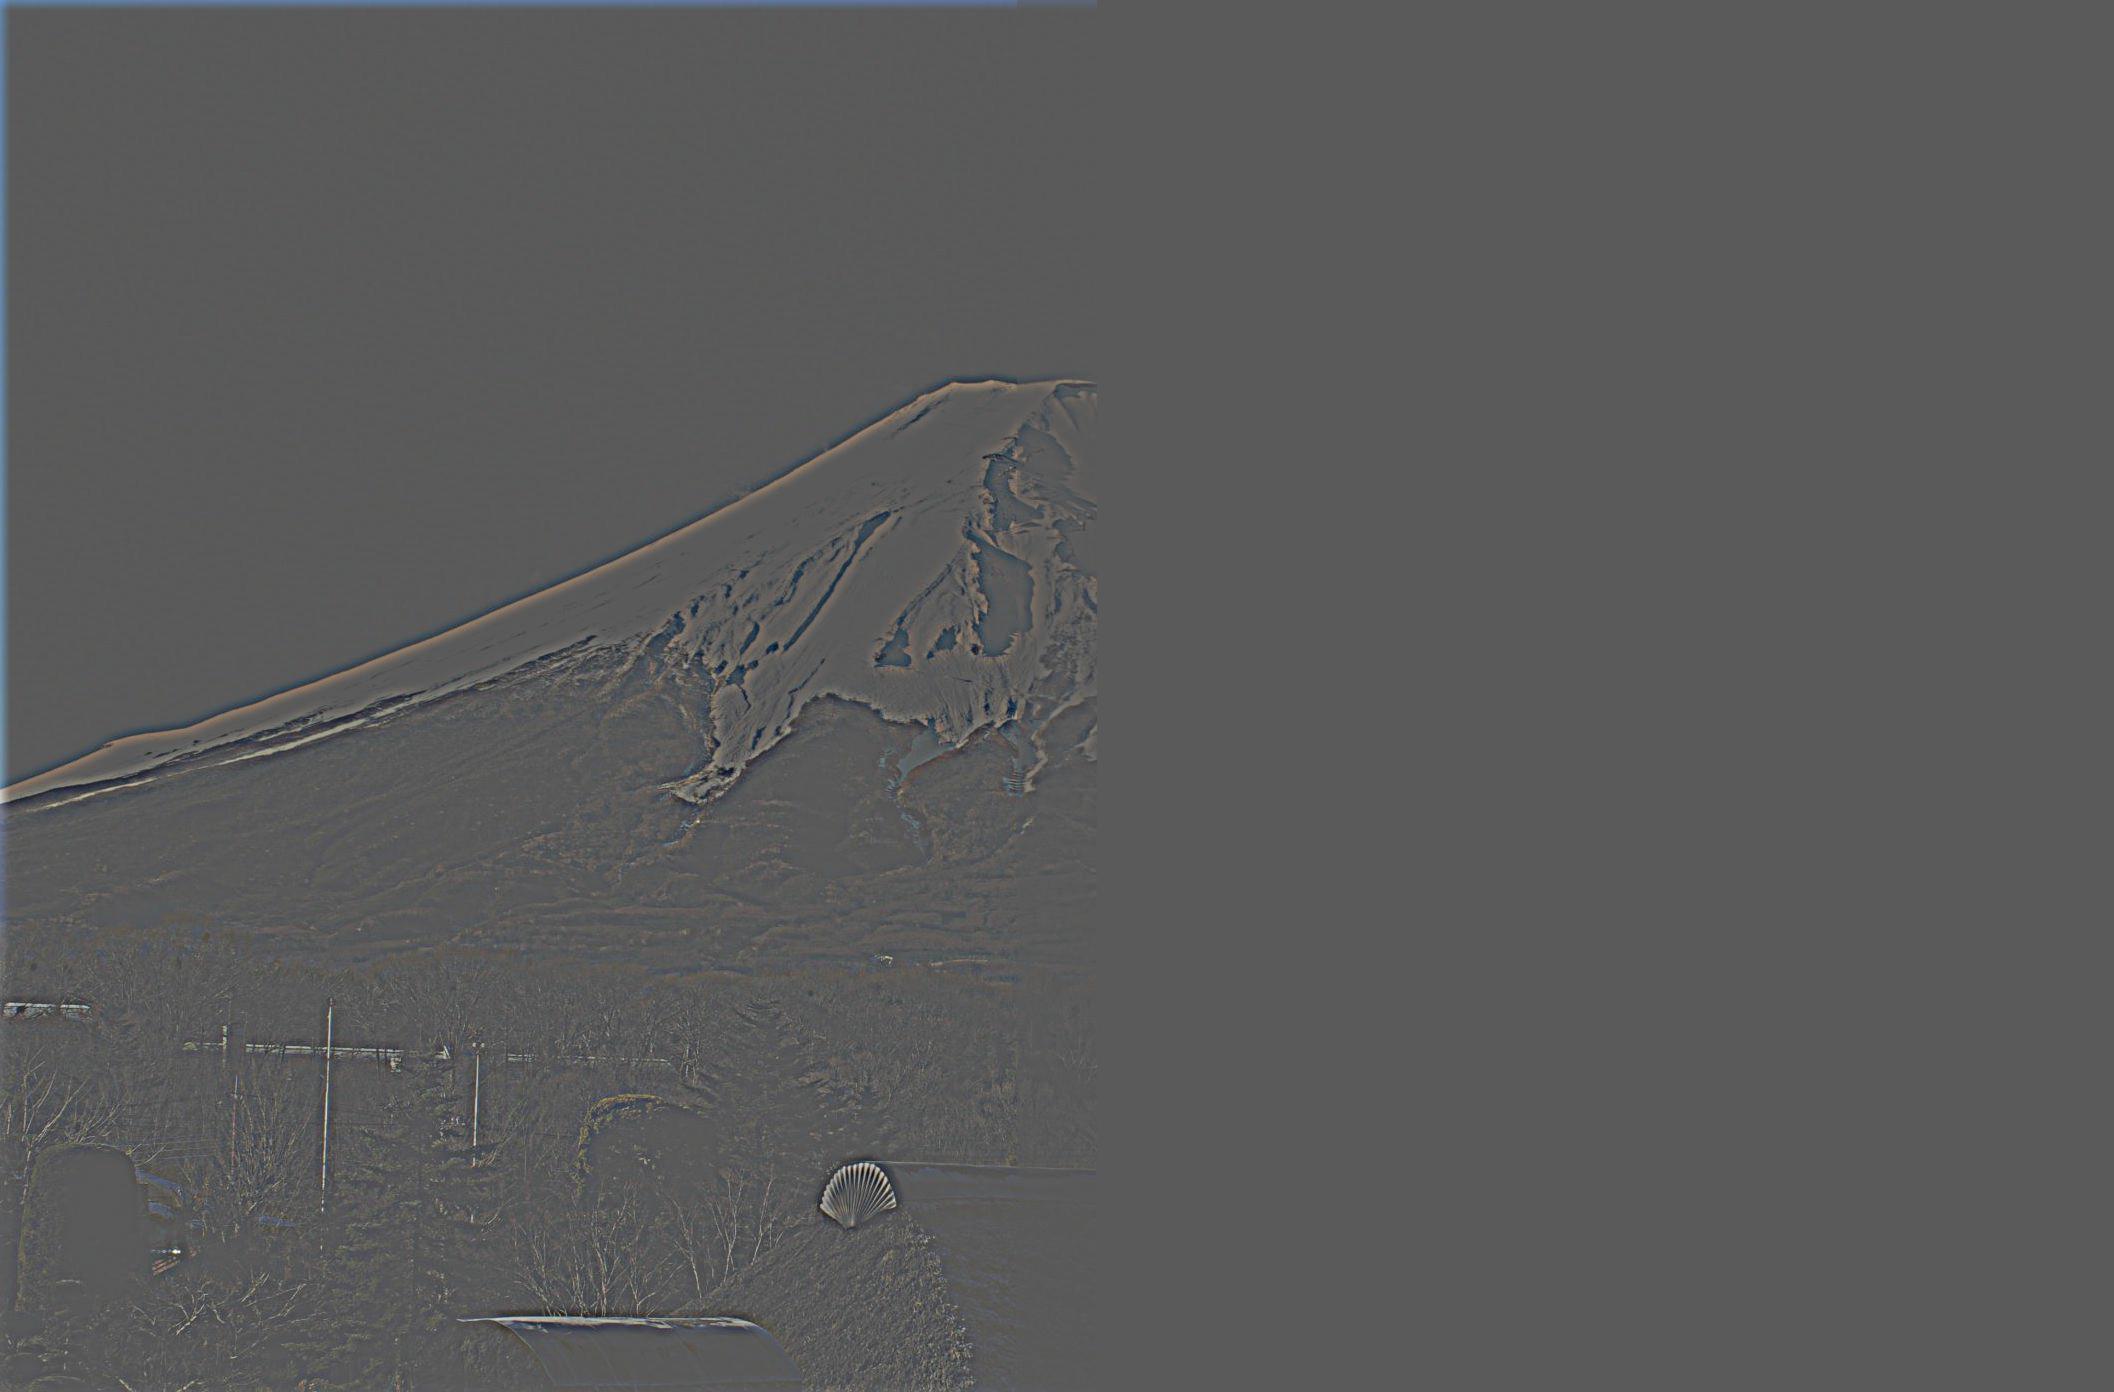
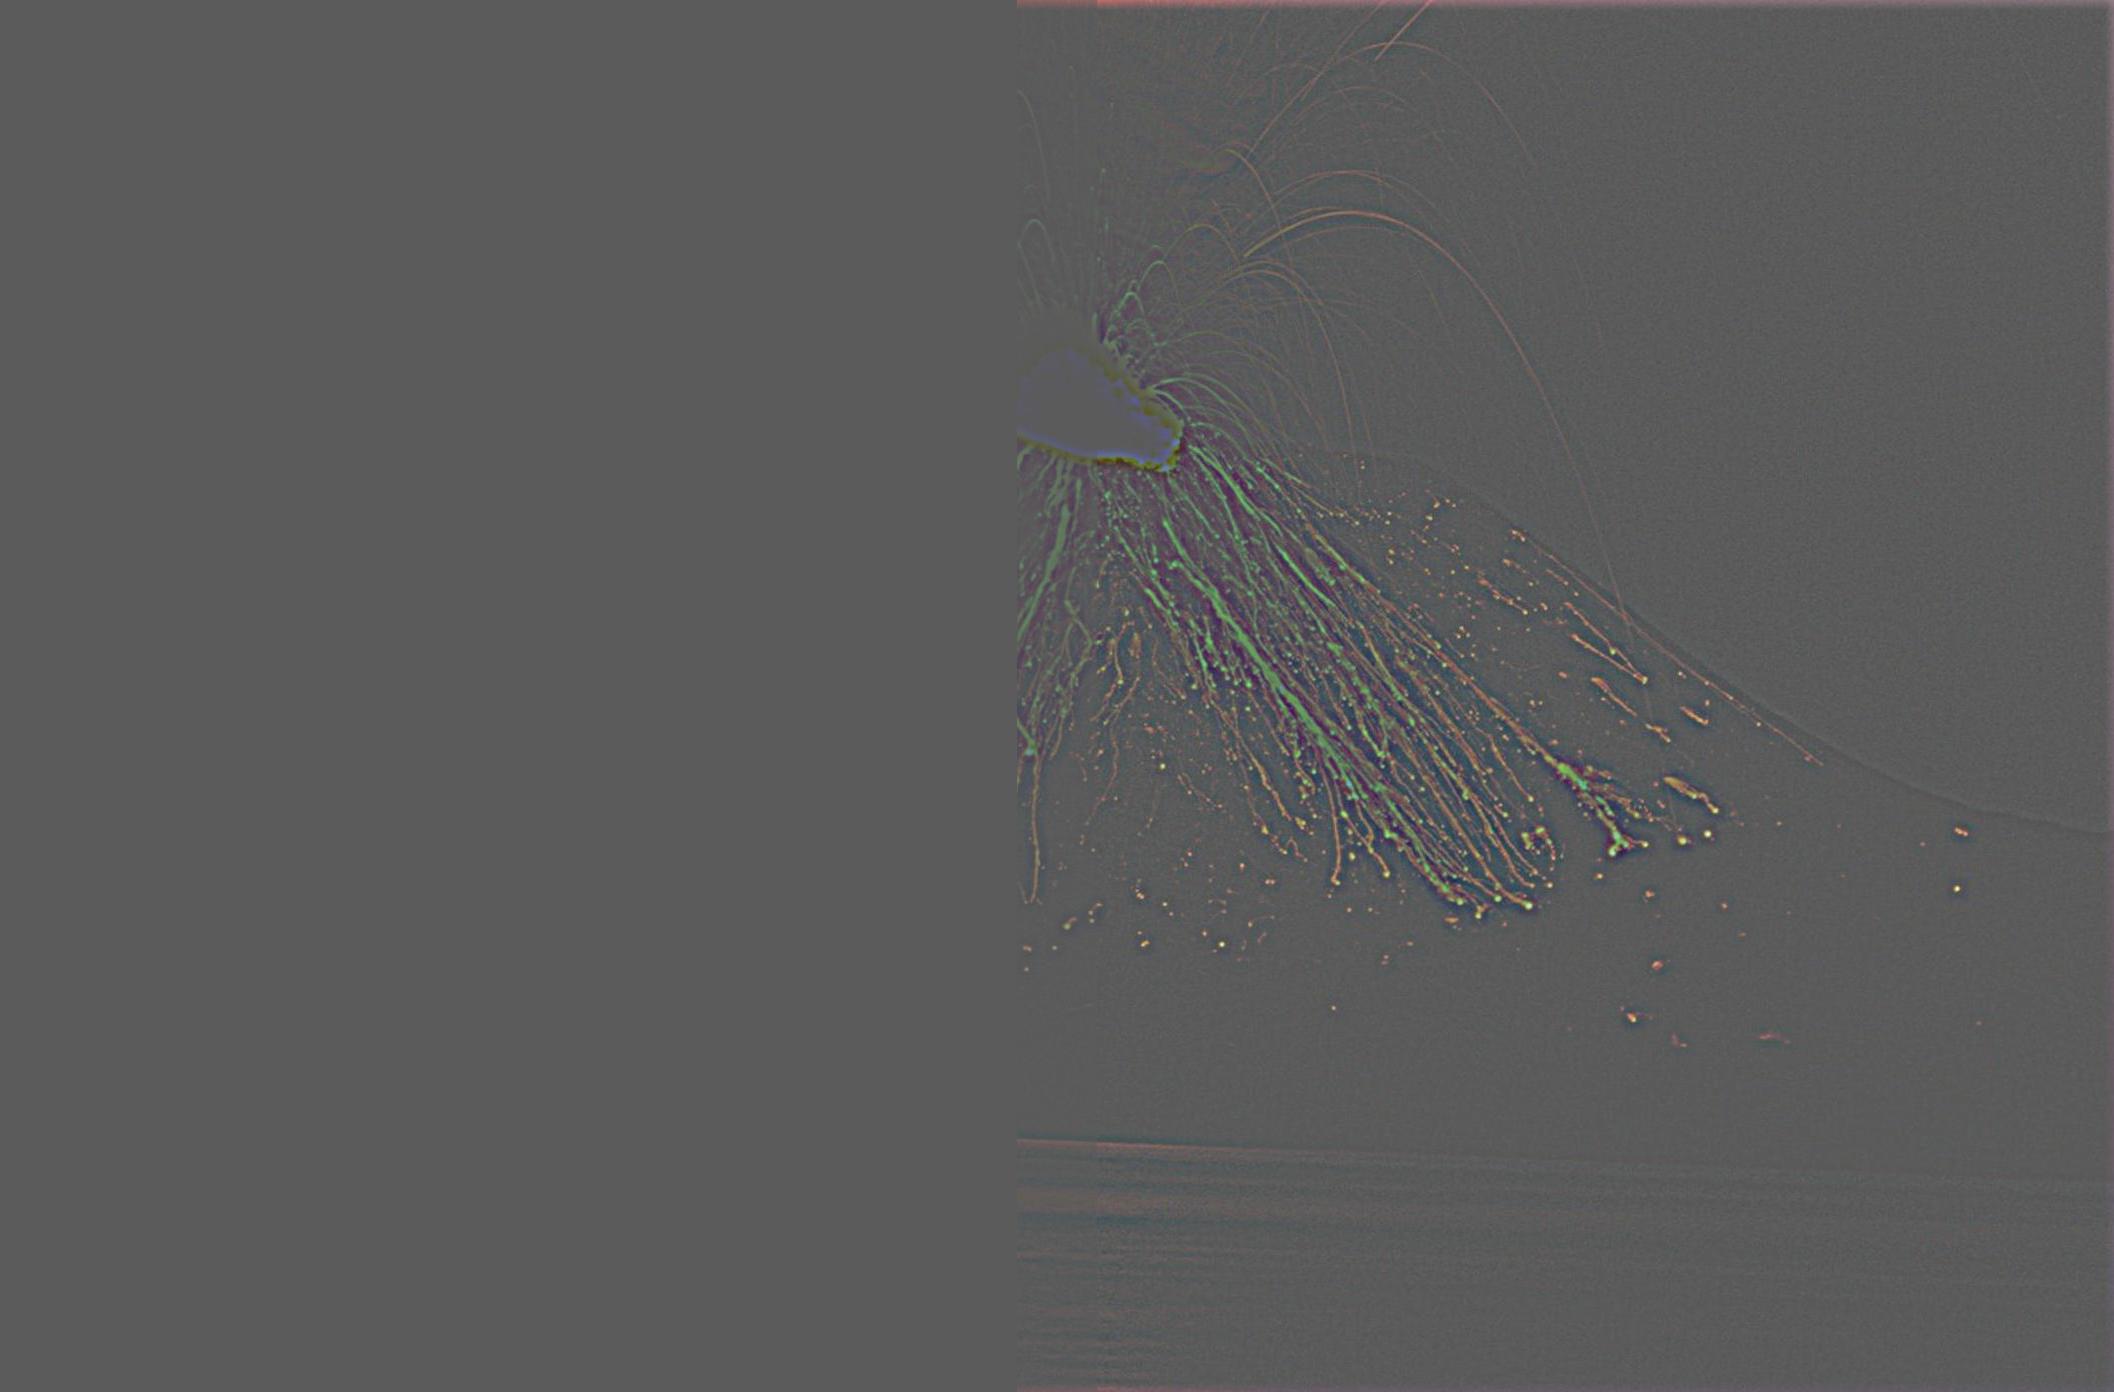
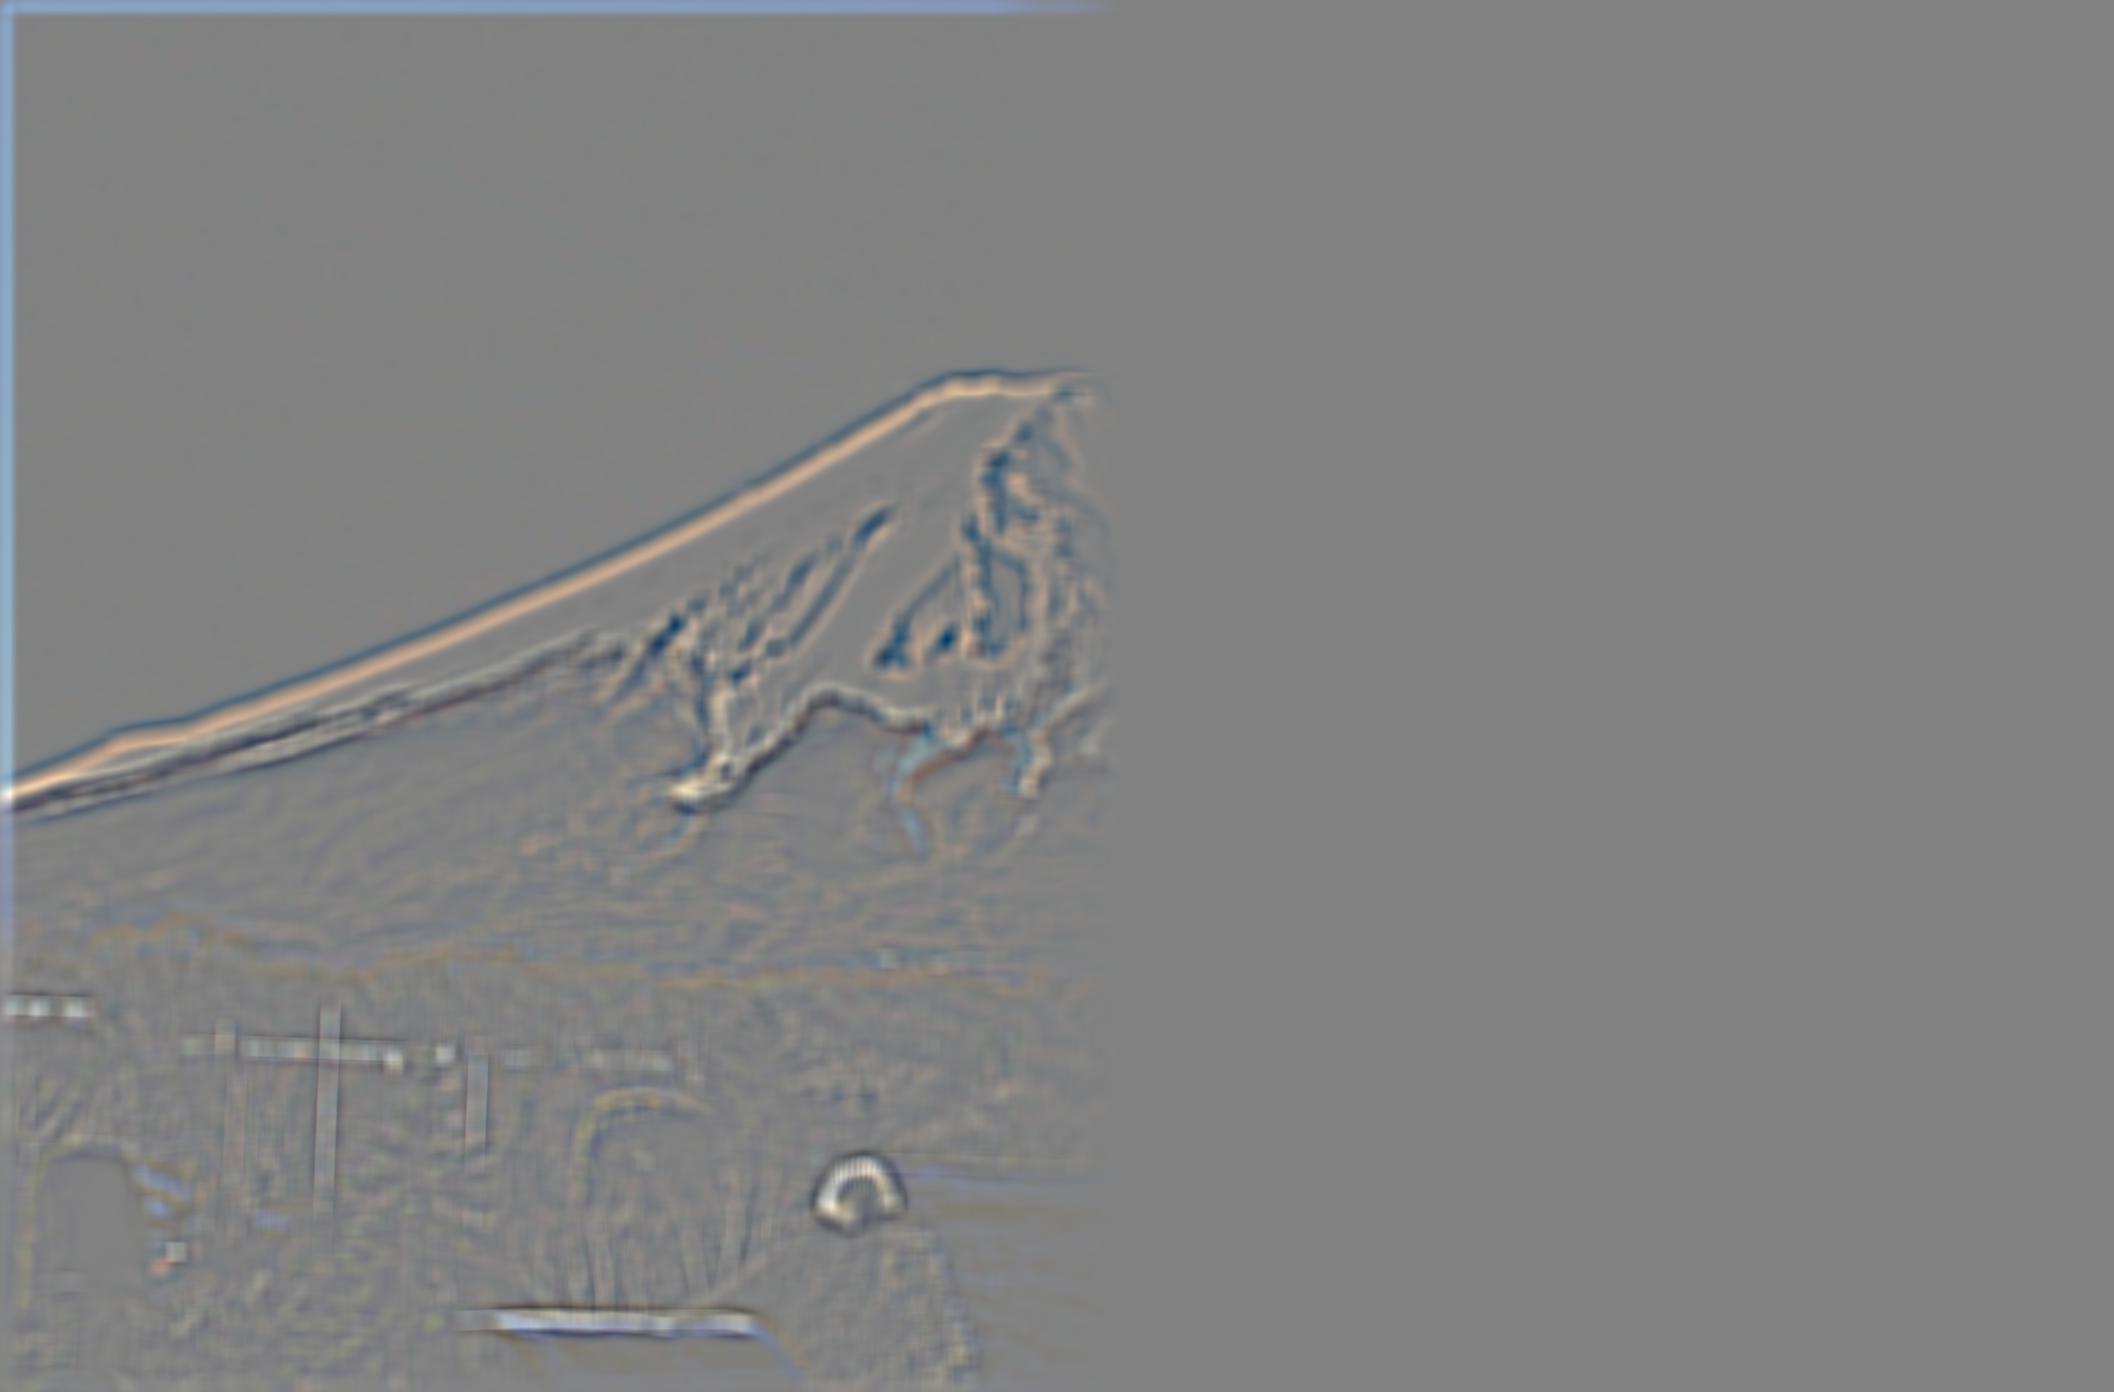
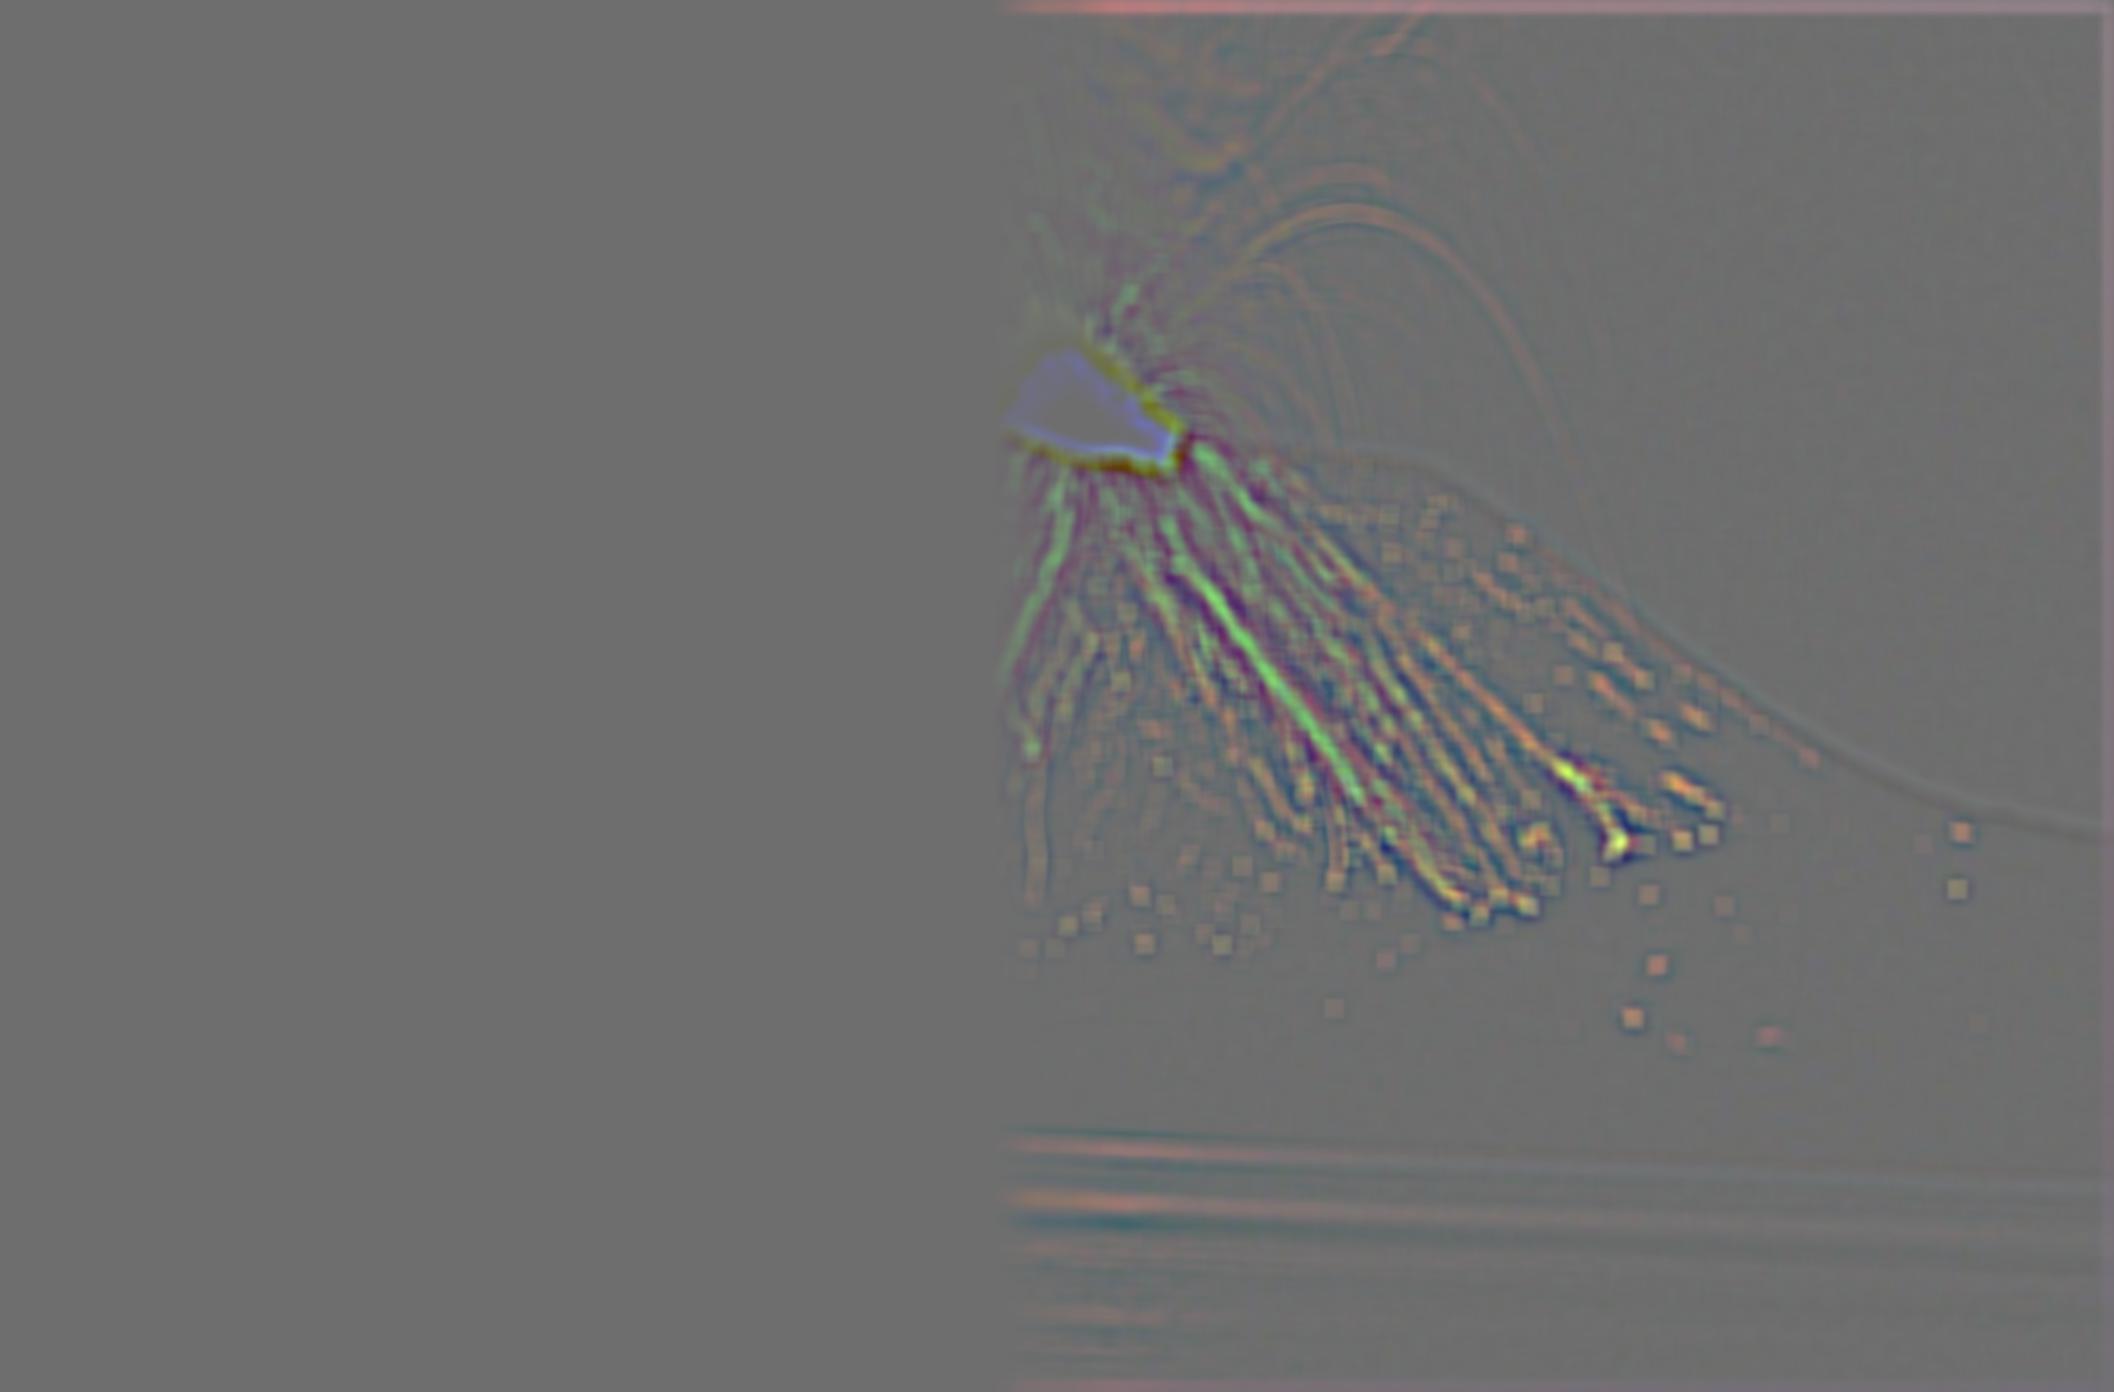
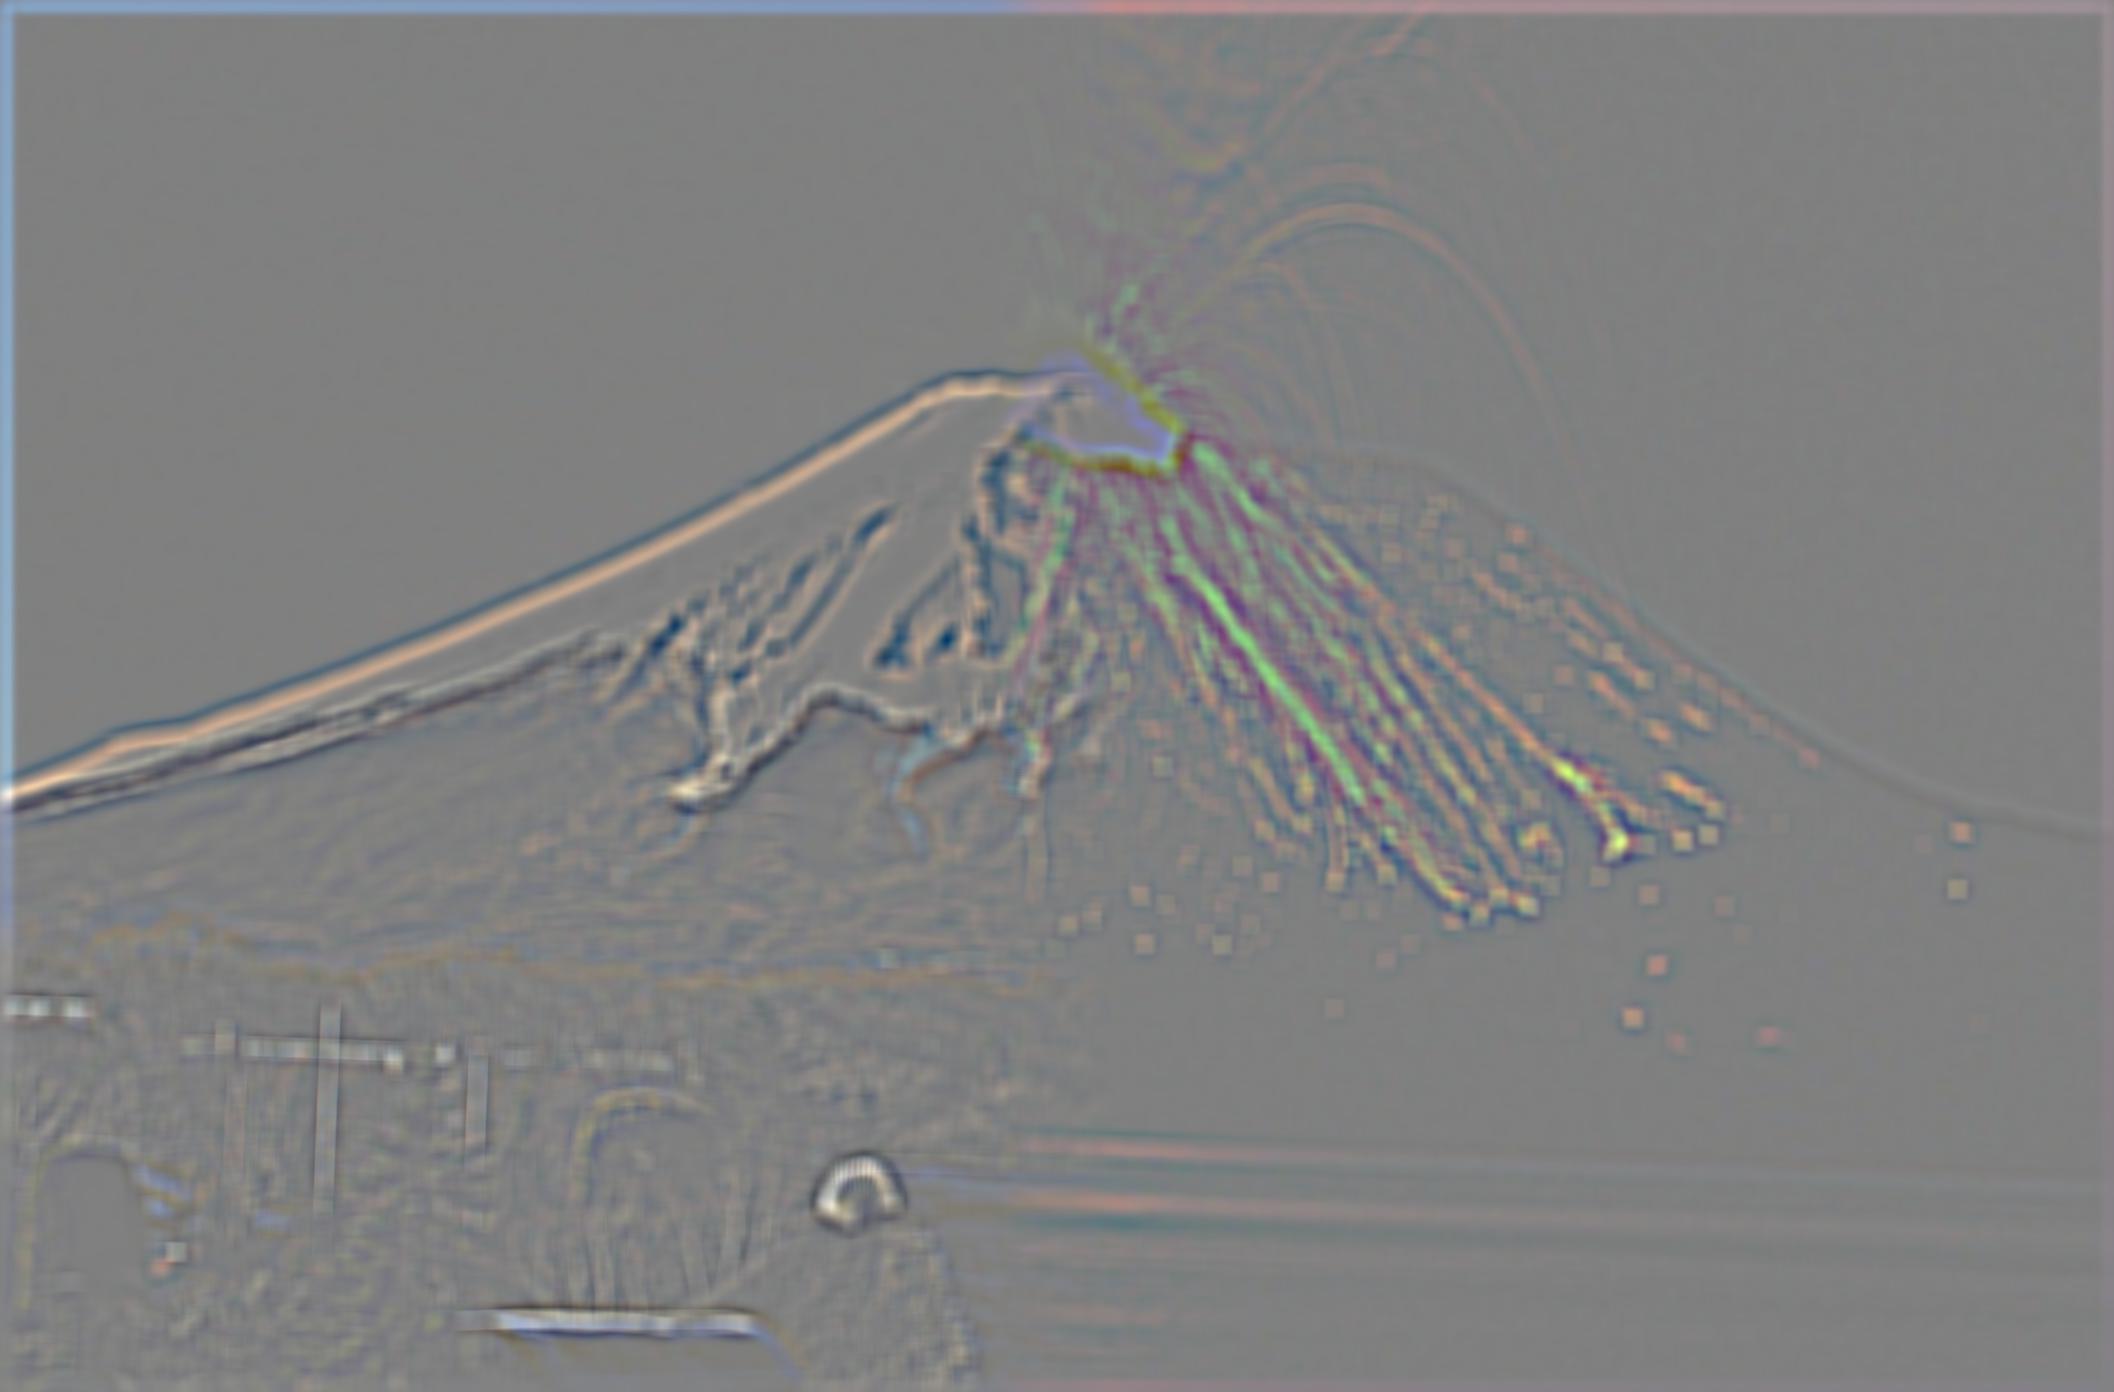
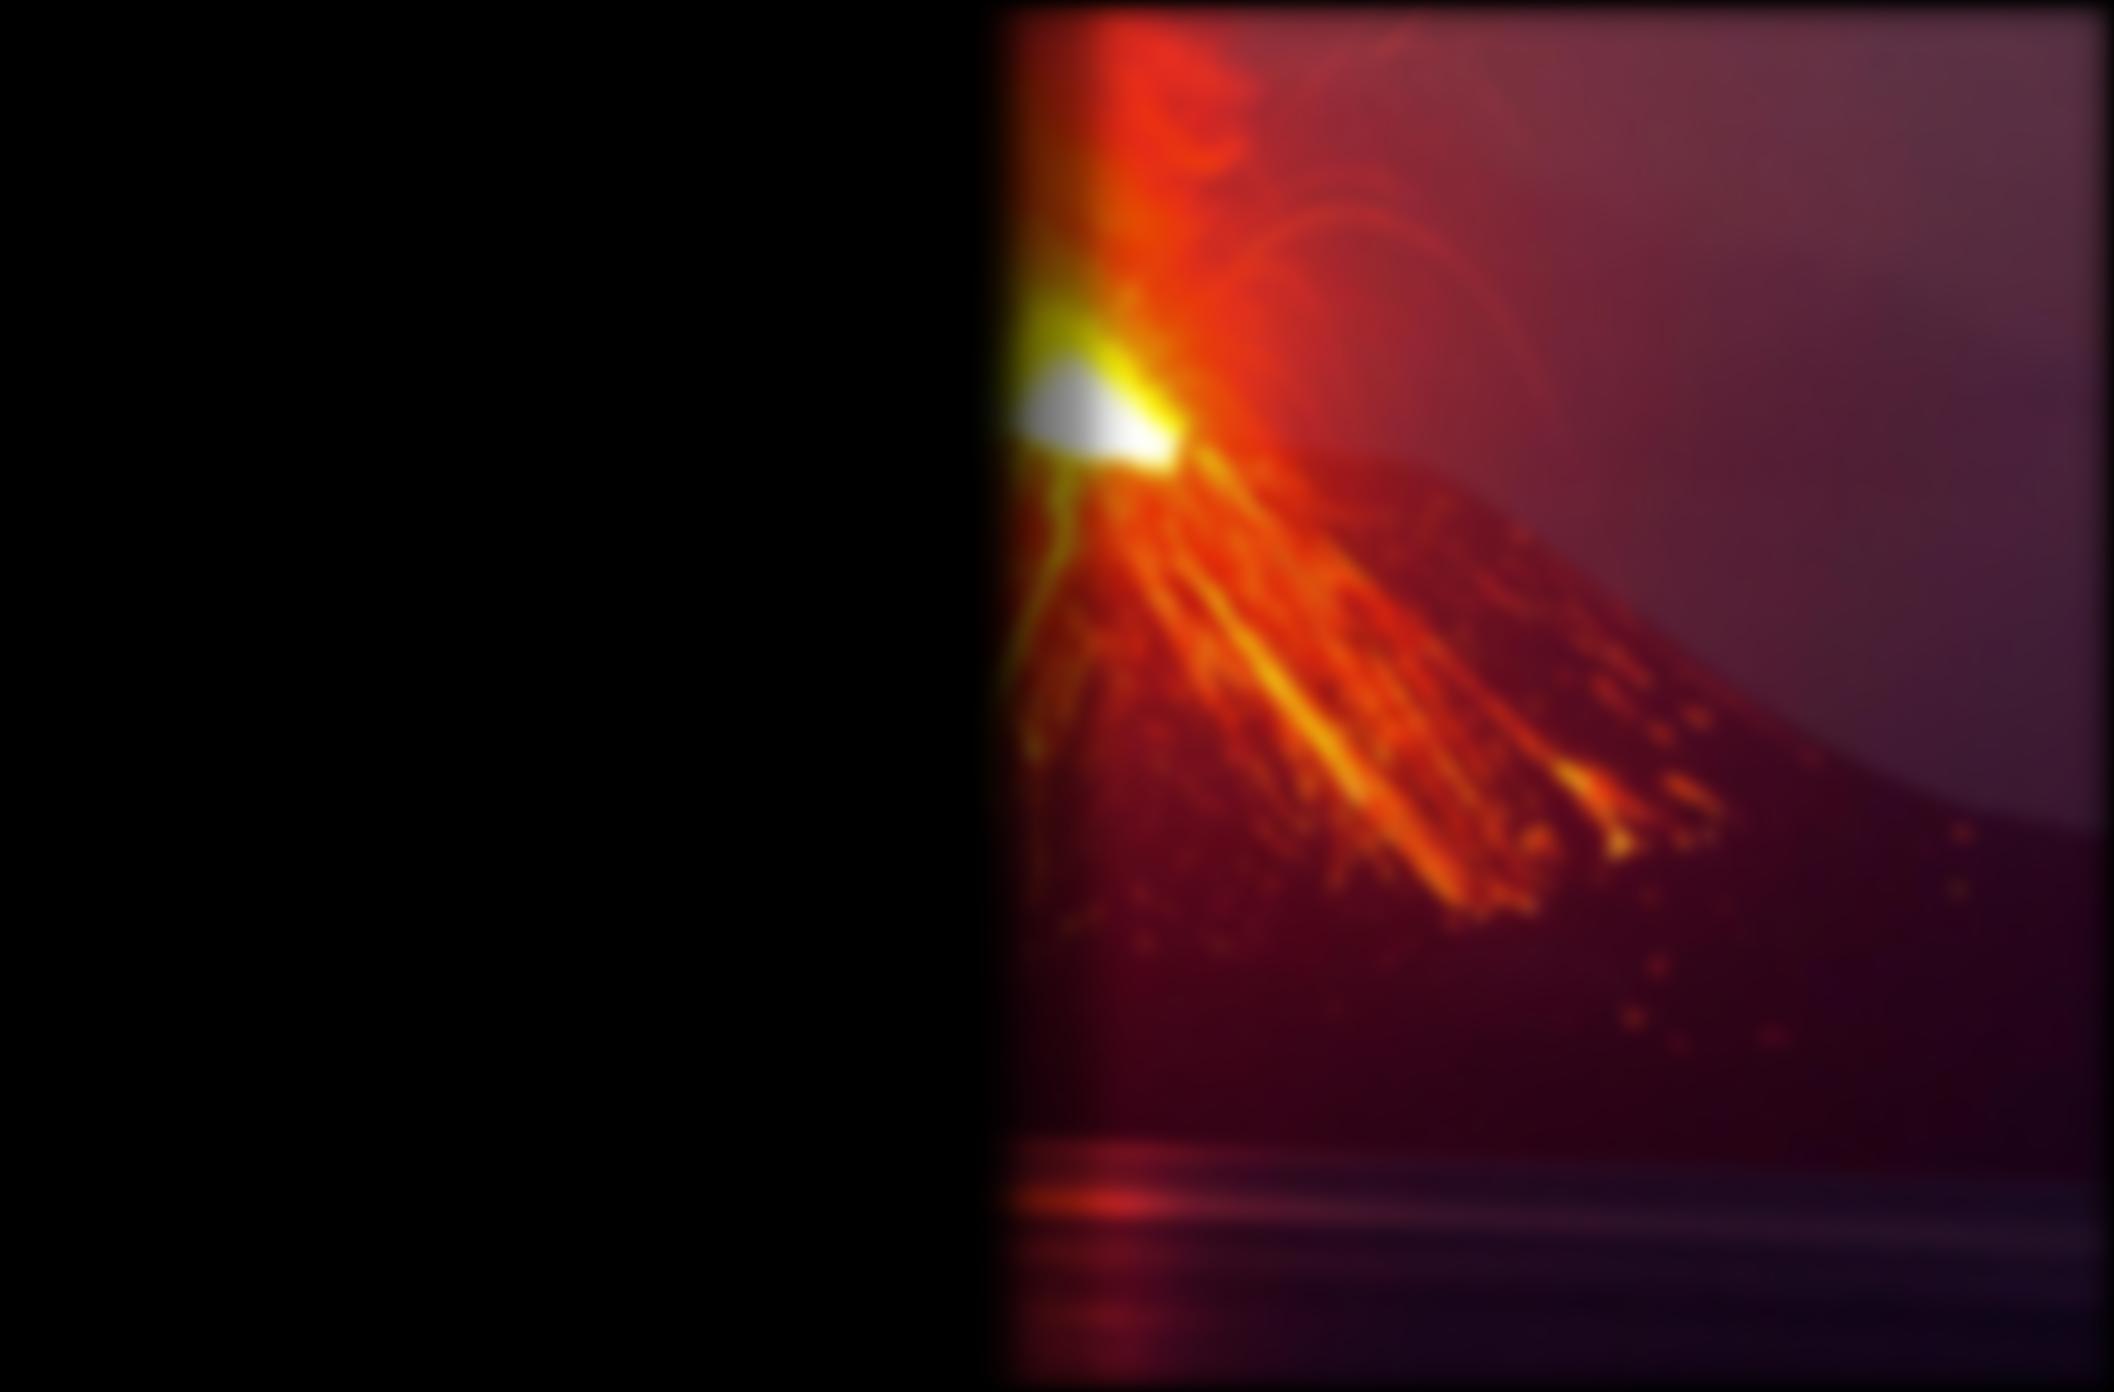
The first is mountain fuji and a volcano.
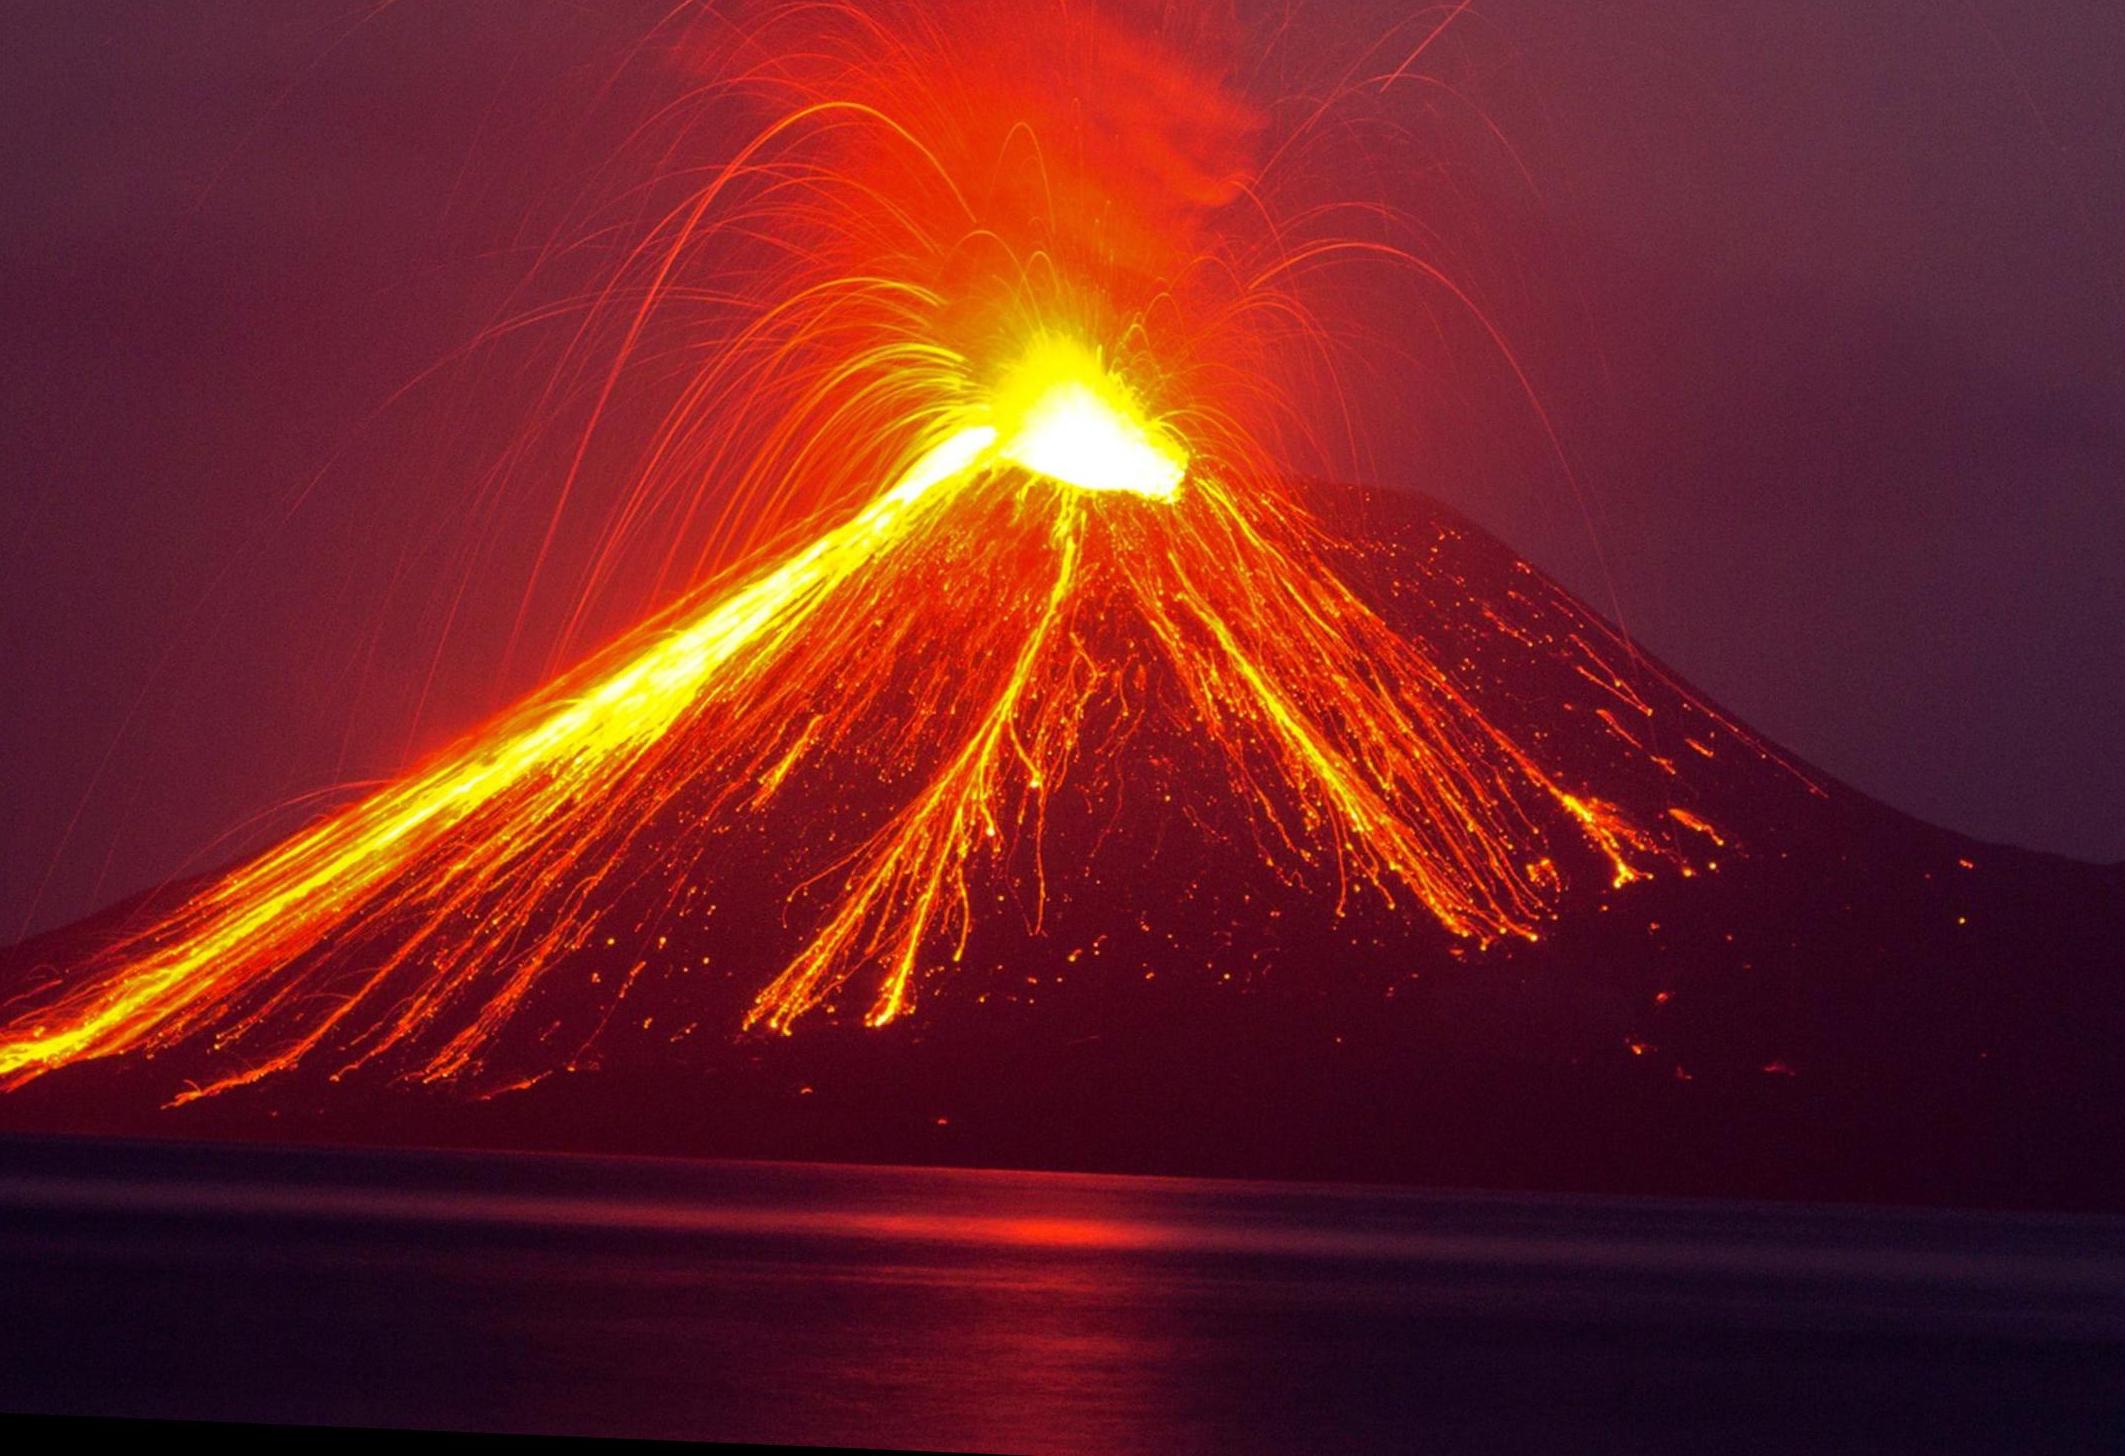 Original volcano
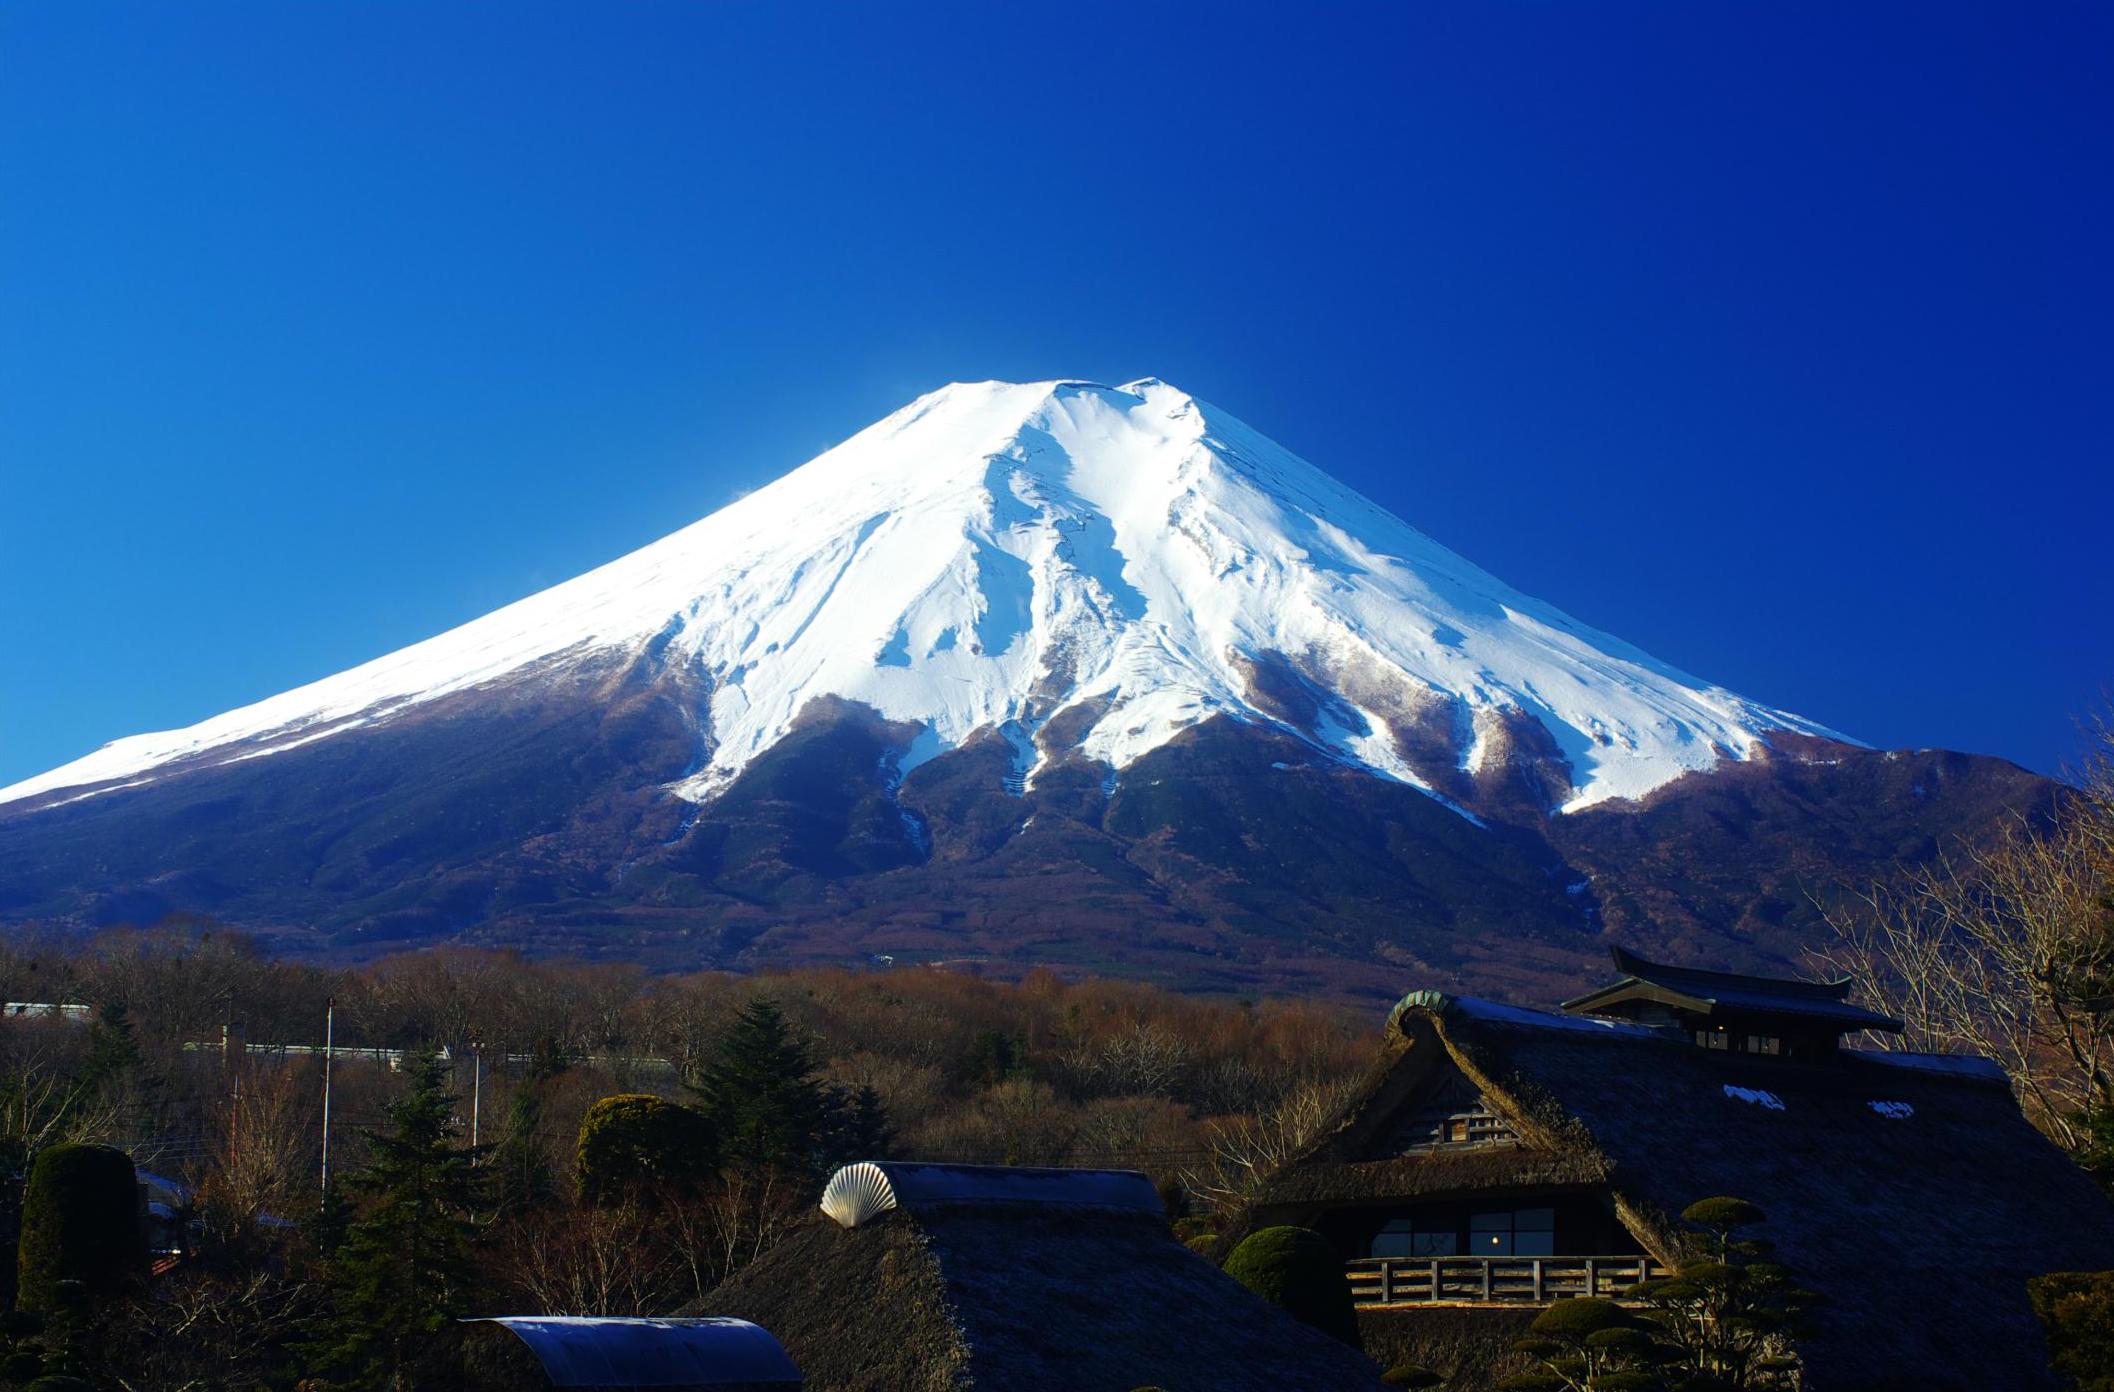 Original Mt. Fuji
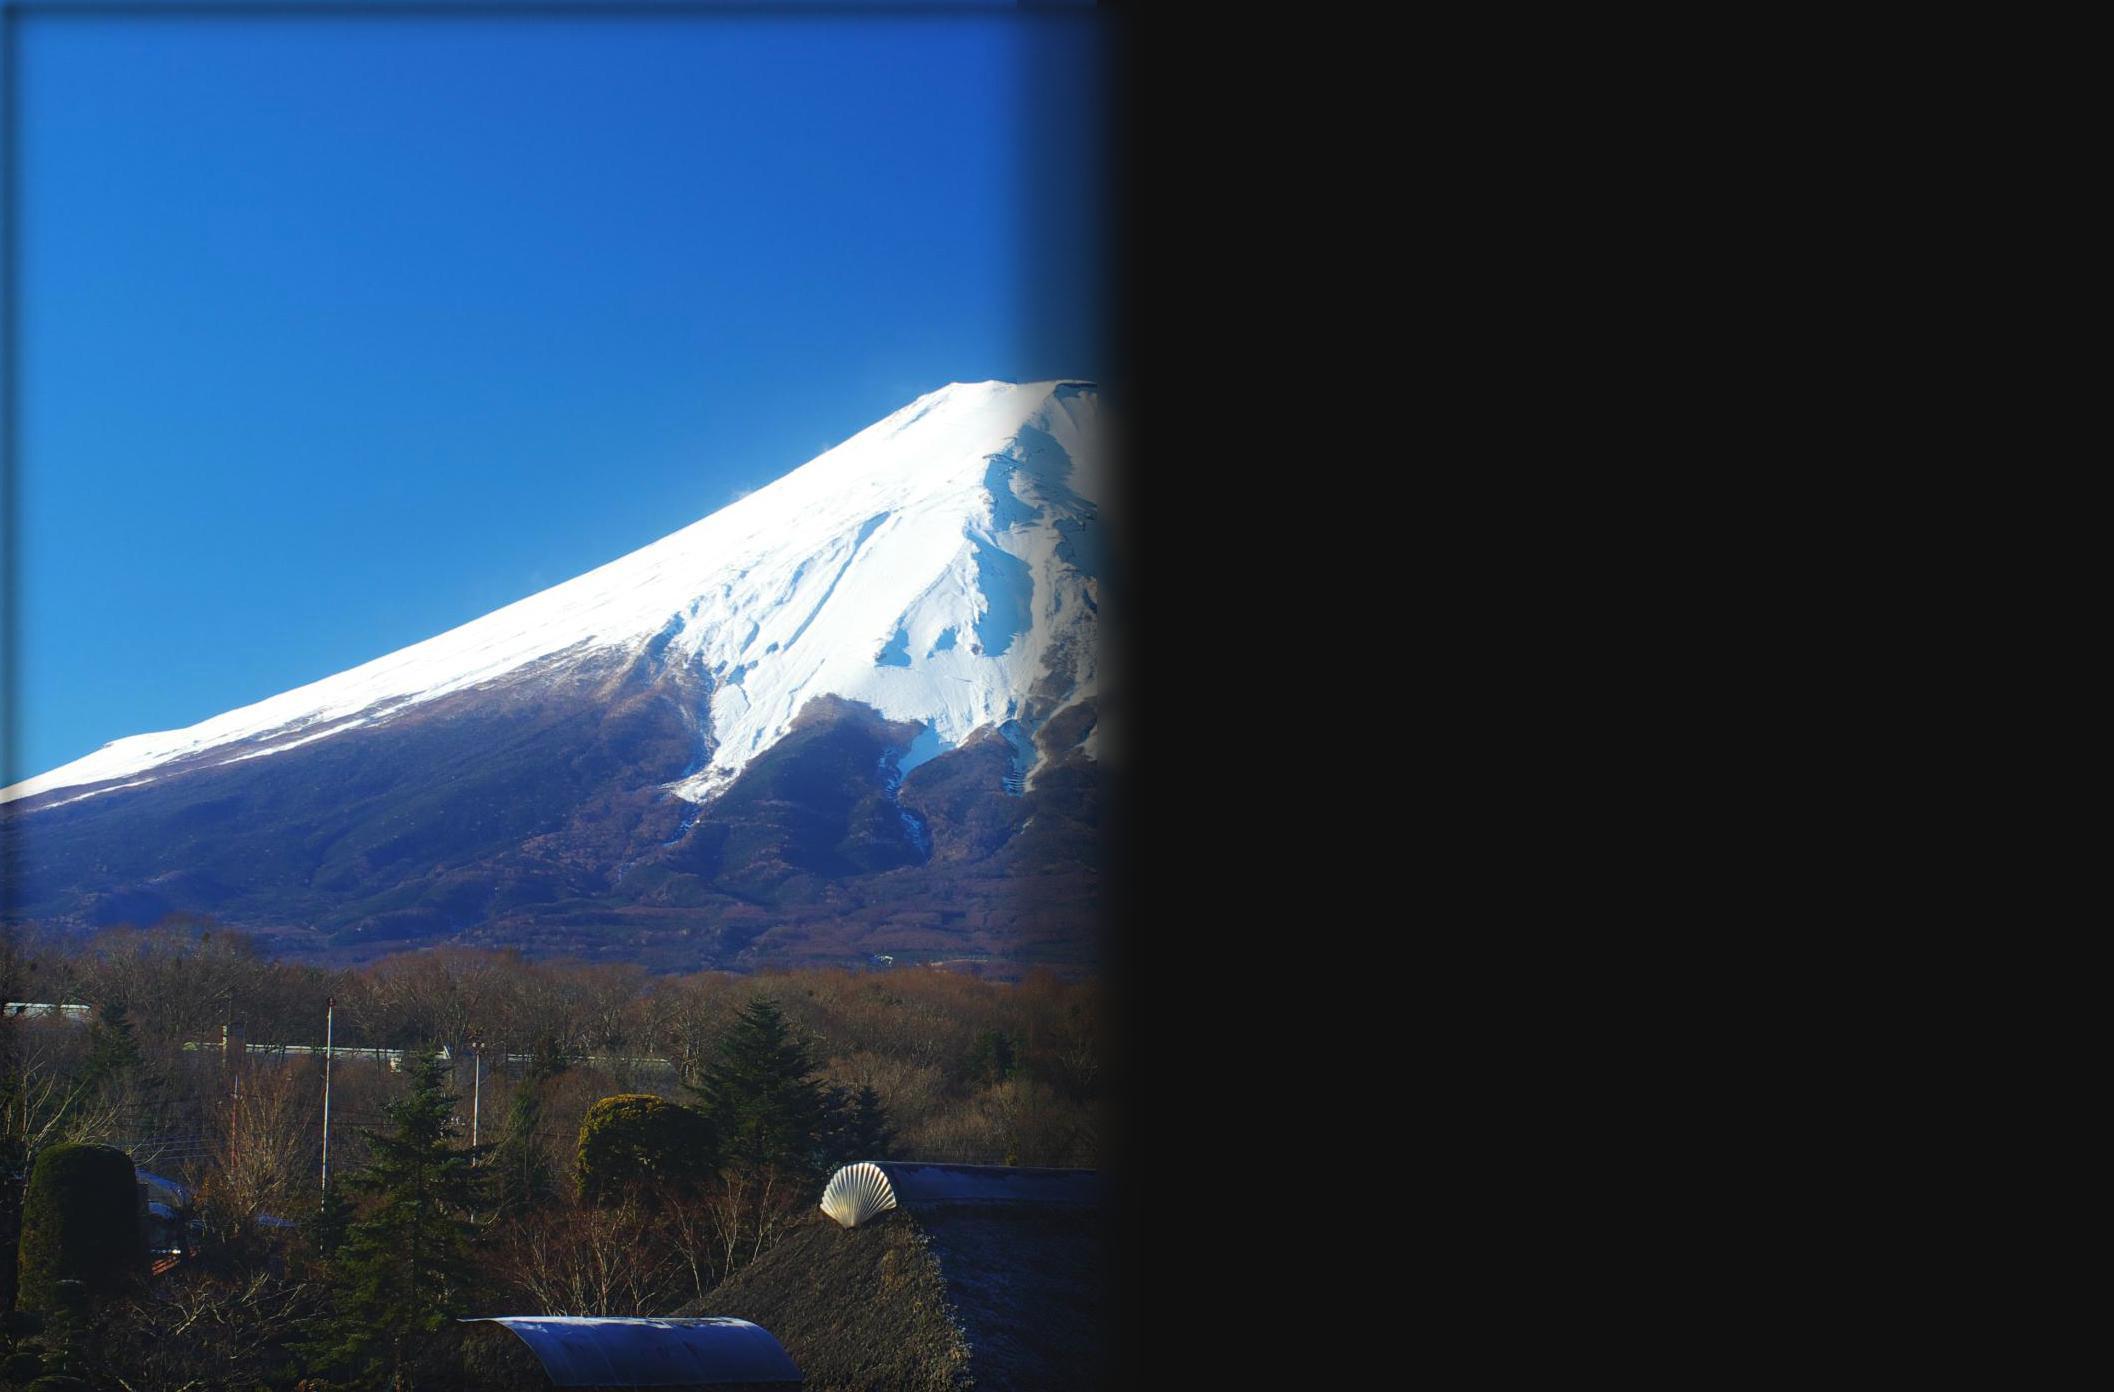

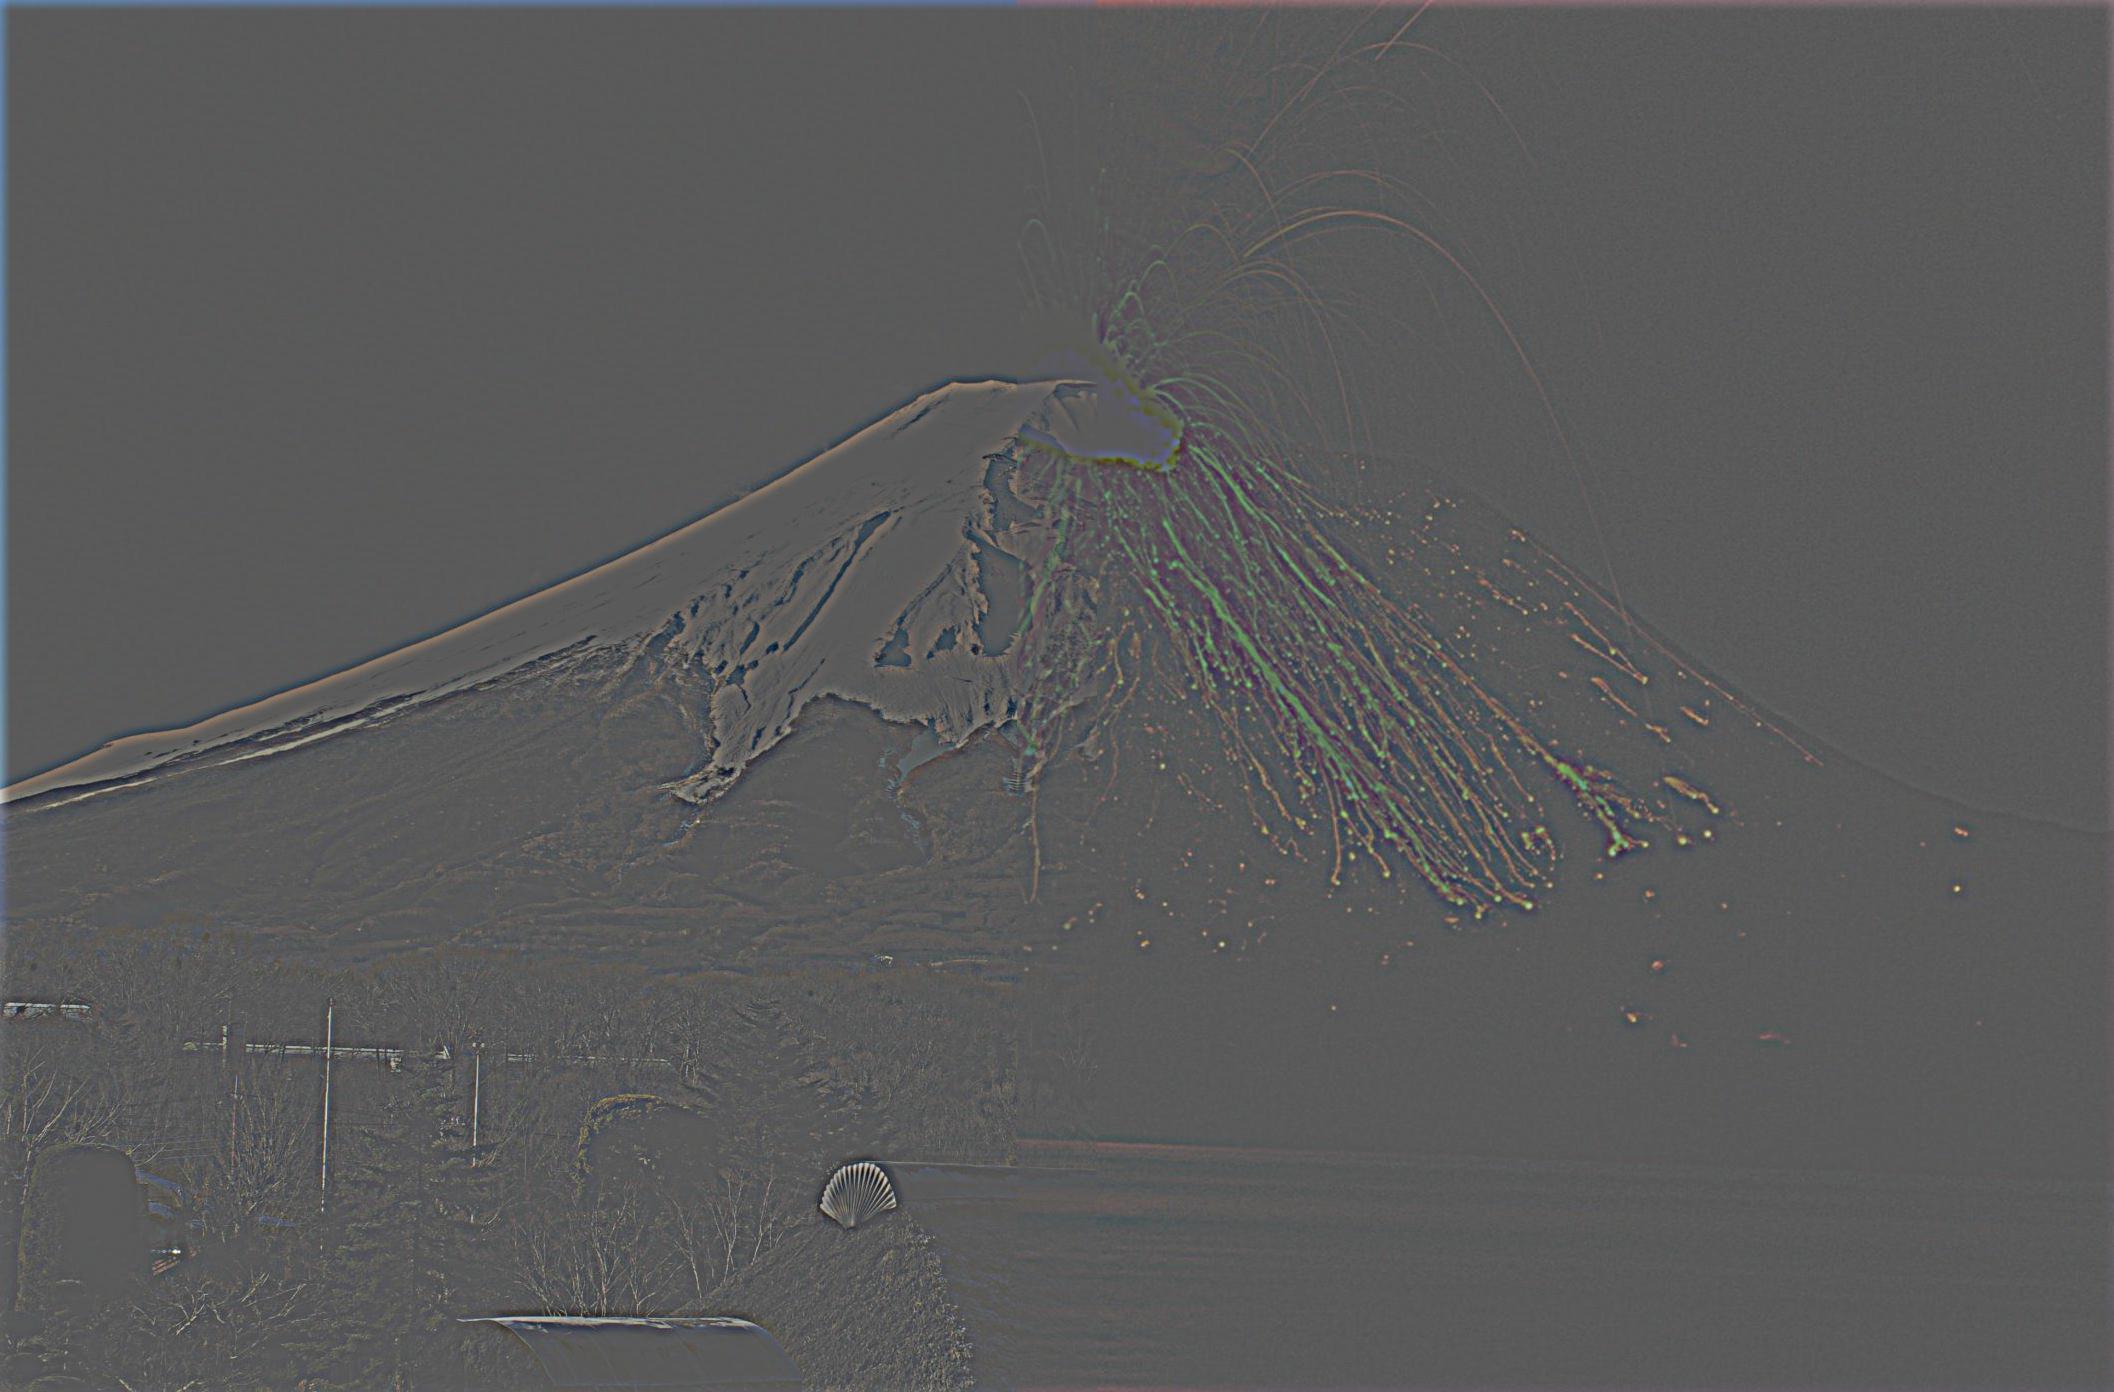
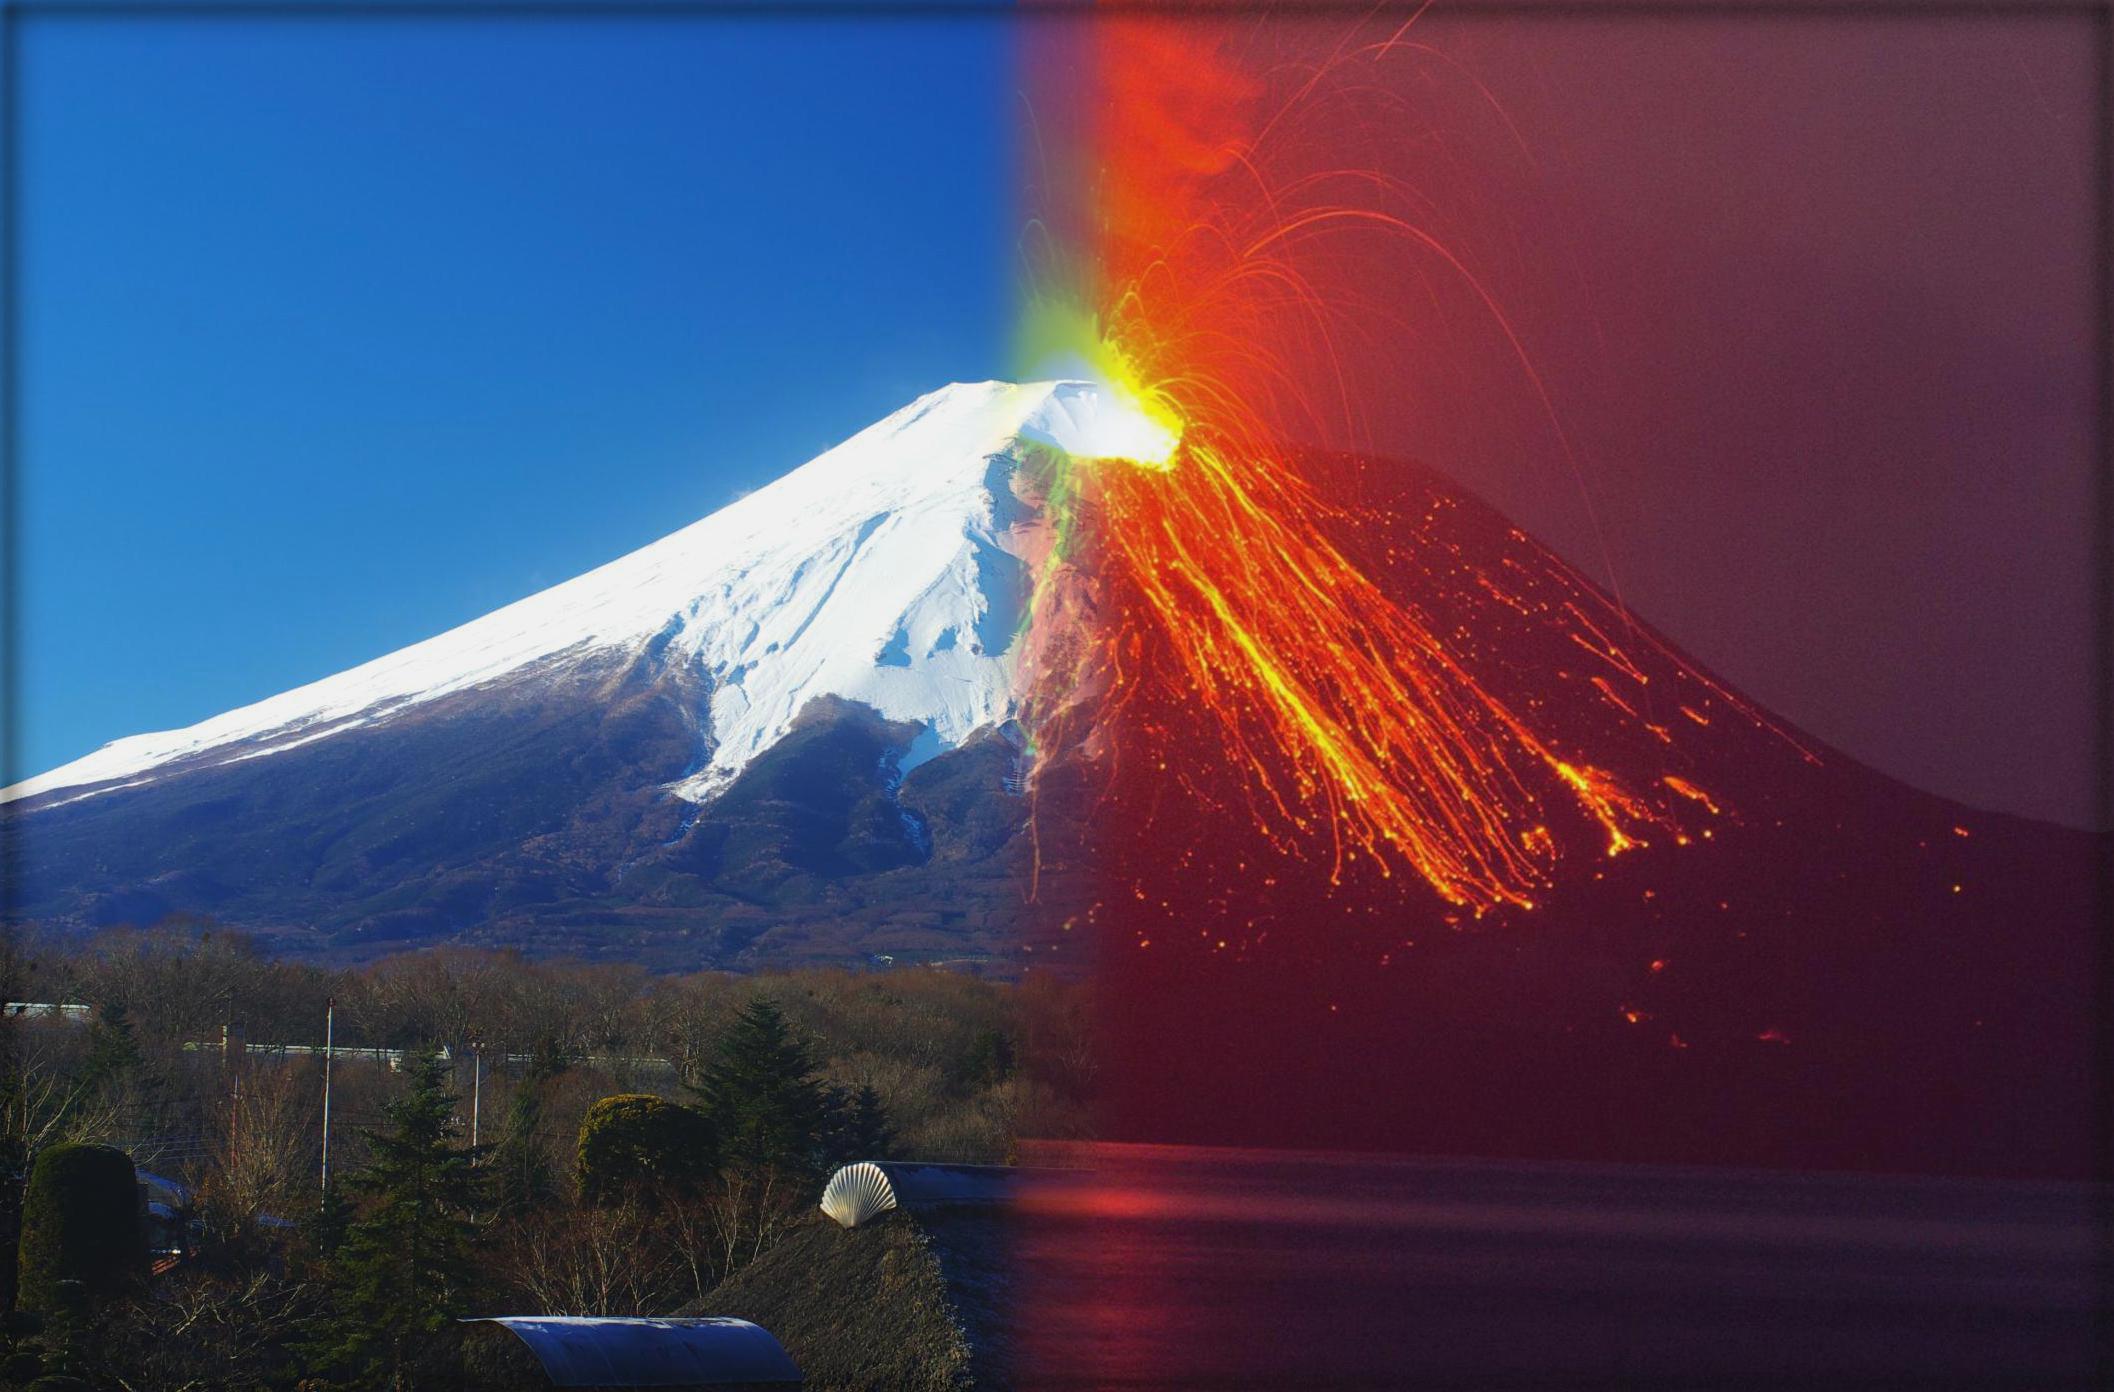 The original images and the combined result recovered from the stacks
I also blended Kobe Bryant and sharingan eyes. I used an irregular mask that I hard-coded by find the locations of the eyes. However, this did not work well because the mask is still a square, which does not provide a good blend for eyes. A round one would be better, but also harder to create.
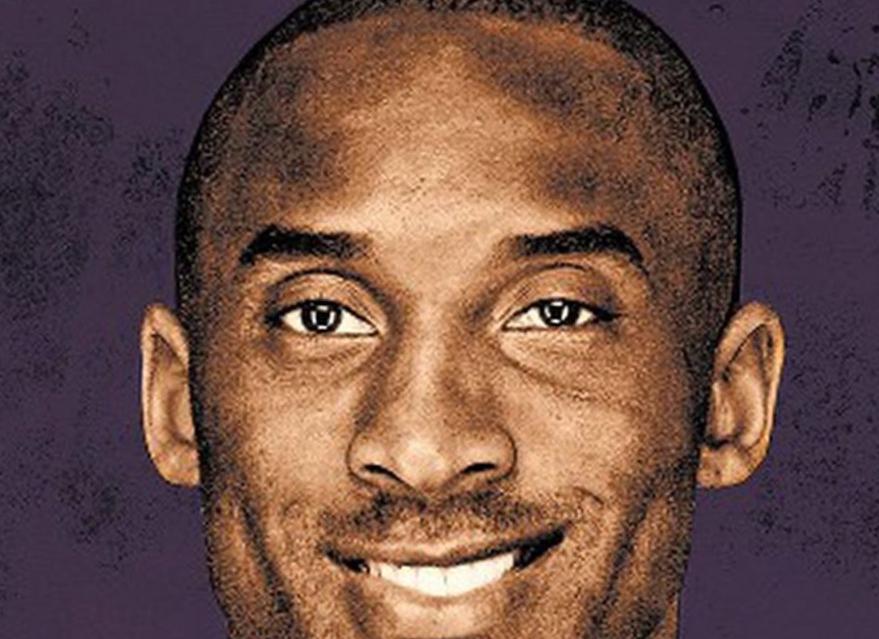 Original Kobe
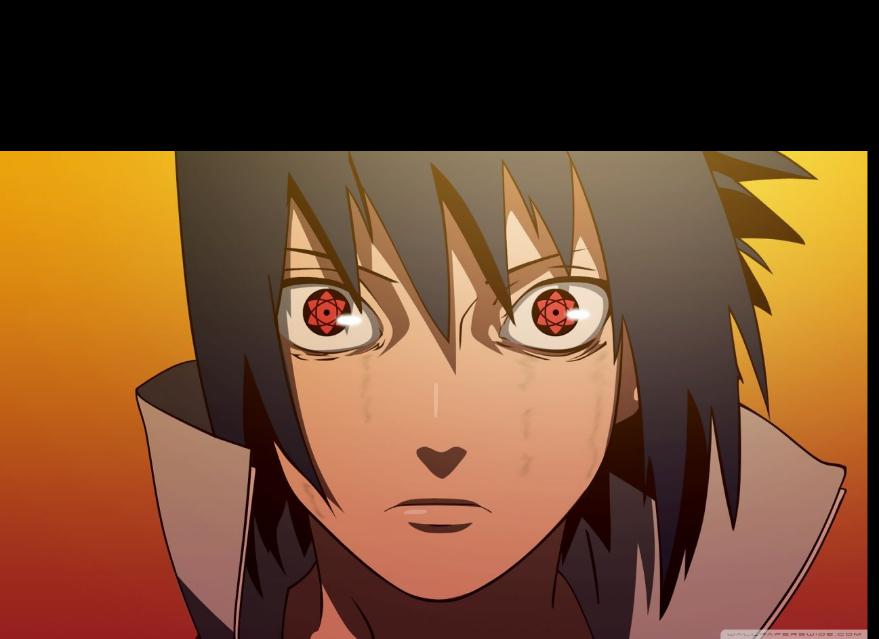 Original Sharingan eyes
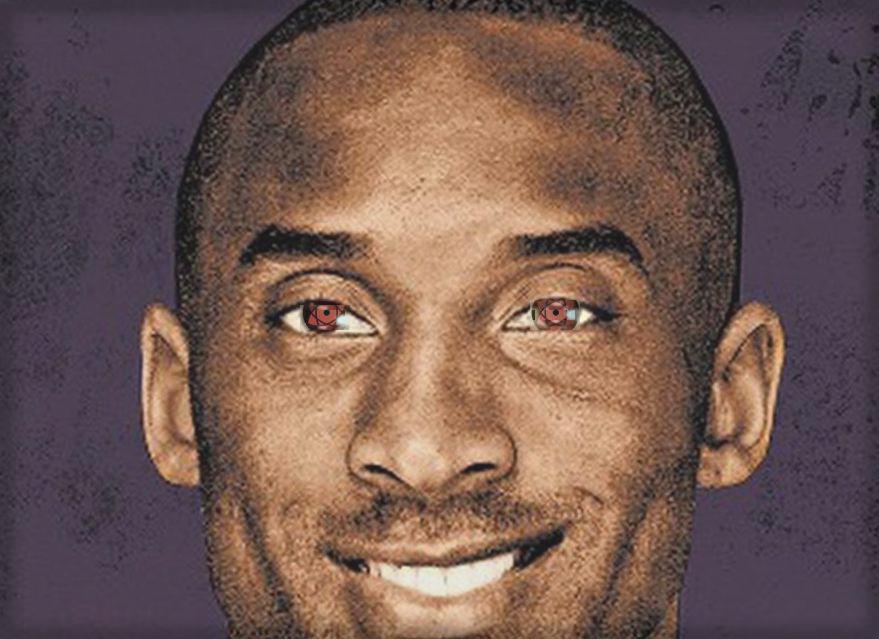 Kobe with Sharingan eyes