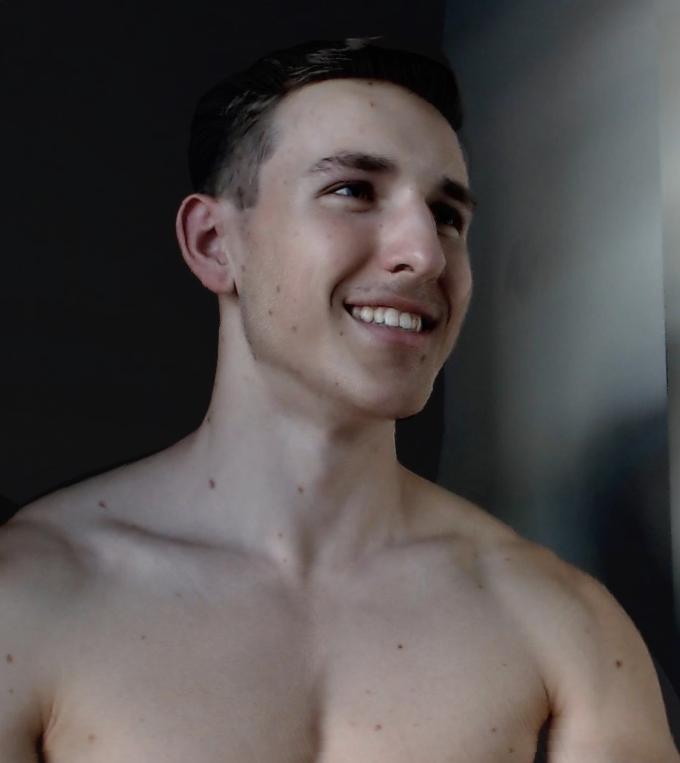
> 99.9% Nick
COMPSCI 194-26: Computational Photography & Computer Vision
Professors Alexei Efros & Angjoo Kanazawa
September 26th, 2021
Nick Kisel
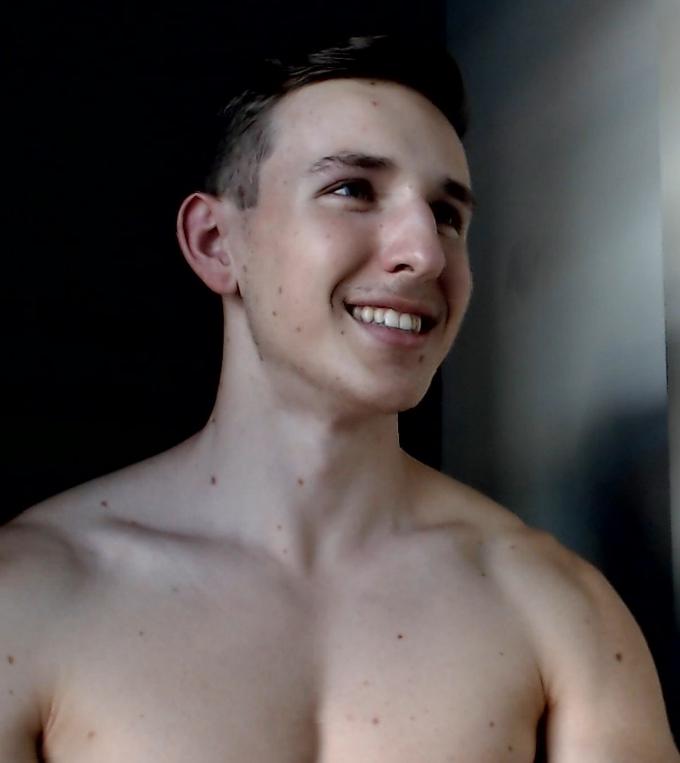
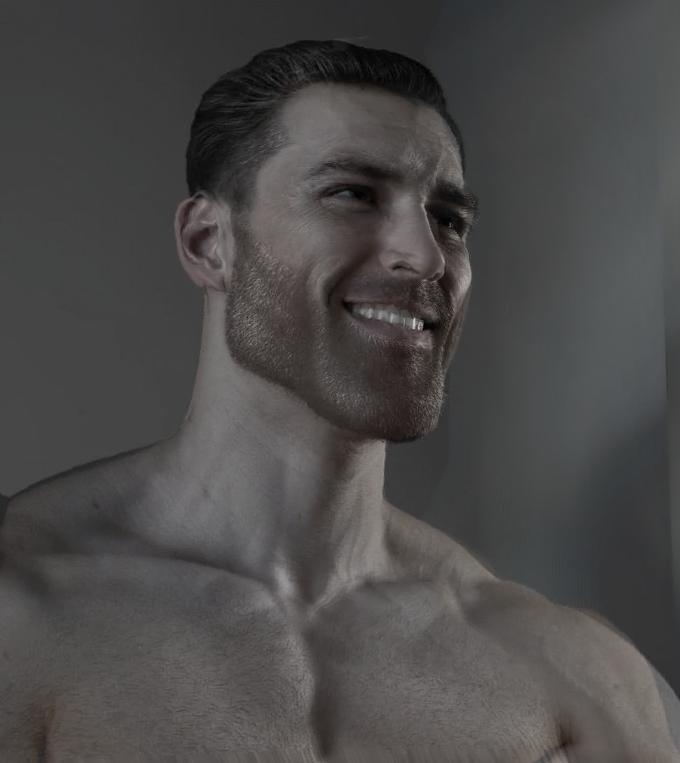
"Gigachad" image courtesy of photographer Krista Sudmalis & model Ernest Khalimov.
The subject of the "Average Fan" image is YouTuber James' YouNiverse.
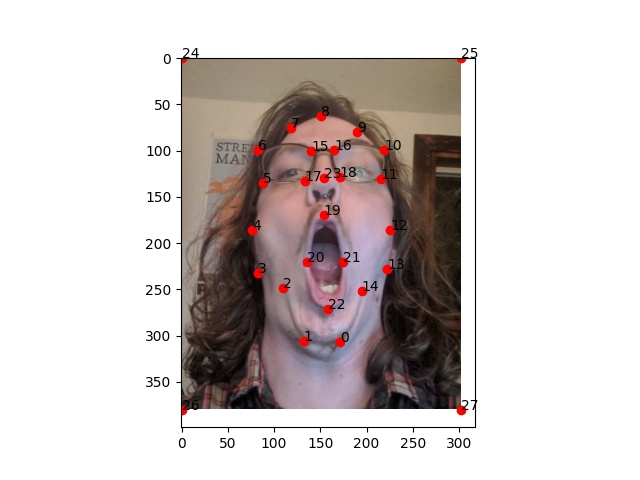
This technique involves selecting an equivalent number of points on matching features of the two input images (it is highly important that these points be selected in the exact same order to ensure that the correct regions of the image are aligned and morphed). This set of points provides a method for us to generate several matching triangles on the images. For example, if you take the triangle generated by connecting vertices 0, 1, and 2 (or any other set of 3 points) on the input image and compare them to the triangle formed by connecting the vertices of the same numbers on the transformation image, you'll notice that the two shapes aren't exactly congruent, but they contain the same "content." In the case of a face, this might encase a nose, an eye, or the background. Once the corresponding points have been defined, morphing the image becomes a process of transforming the corresponding points inside the triangle of the input image to more & more closely match the shape of the output image. Then, if you're doing a morph video, you can substitute in a mix of the pixels of the input image and transformation image such that the middle of the morph sequence becomes the perfect "in-between" image - a combination of both the color and shape features of both images.
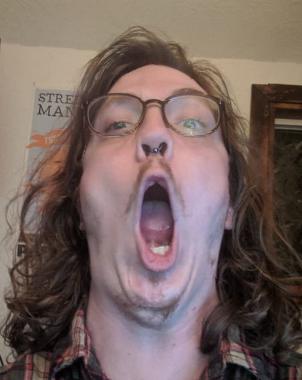
> 99.9% Nick
Nick's looking a little different
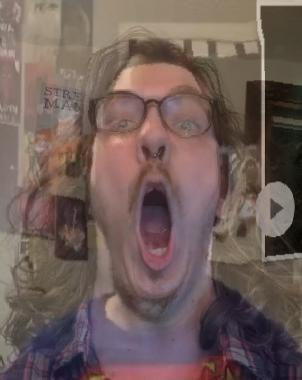
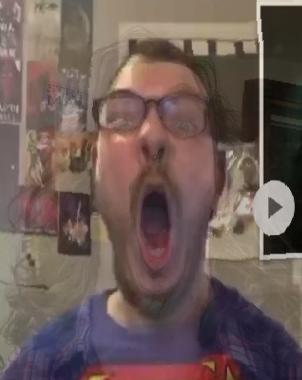
Giganick
Chad
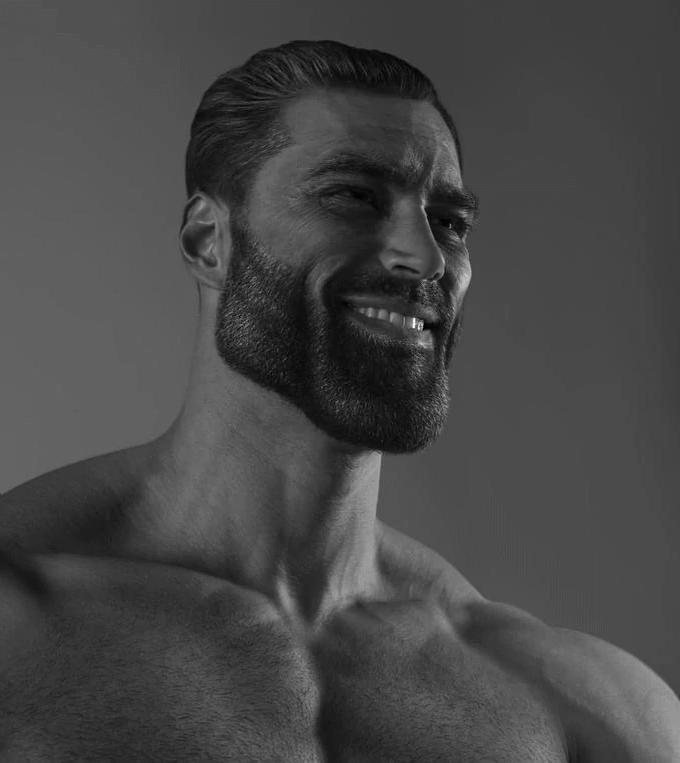
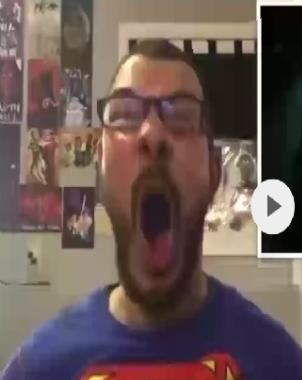
> 99.9% Gigachad
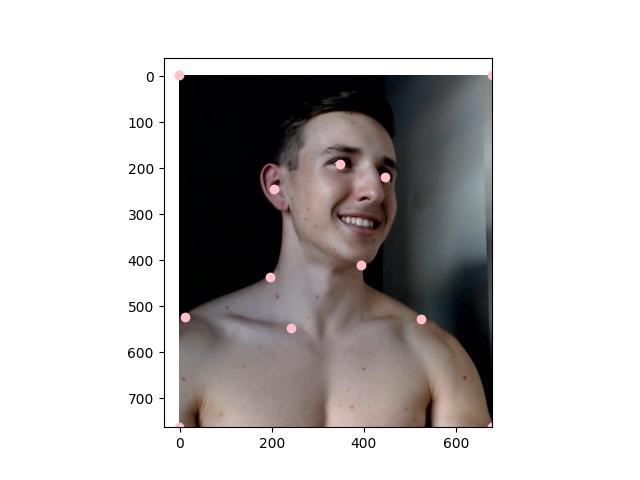
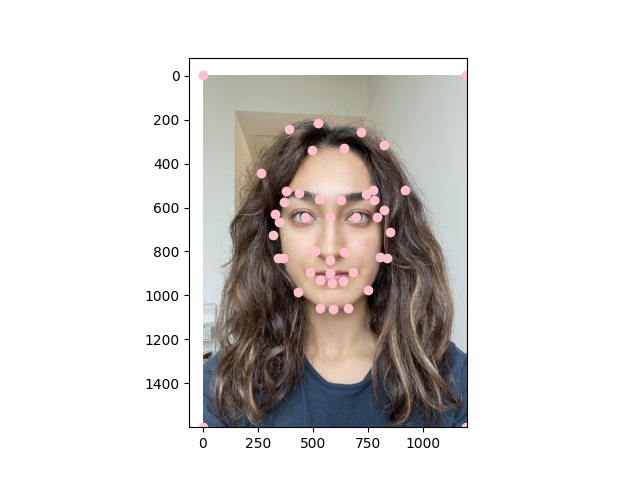
> Nick with input points
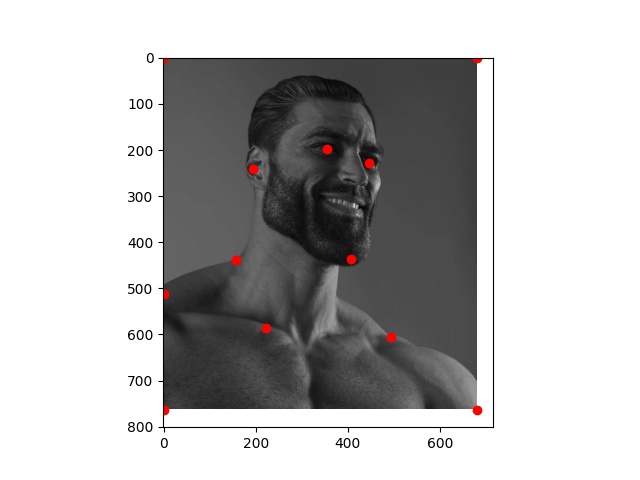
Gigachad with input points
Brandon

(thanks for posing for this!)
Average Frandon
Above-average Fan
Average Fan
> Brandon with input points

the Average Fan with input points
See the full transformations here:
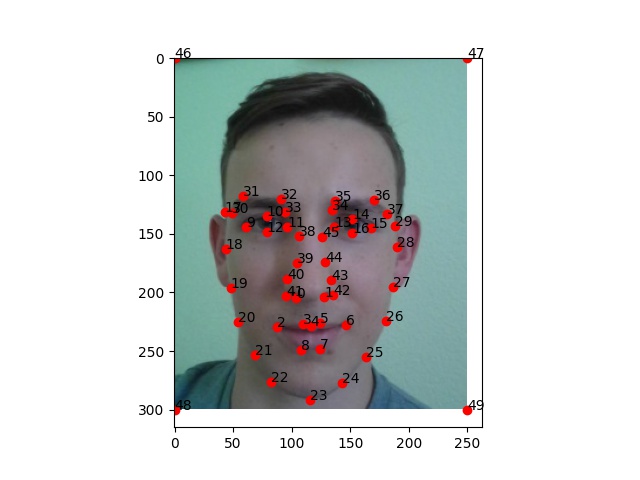
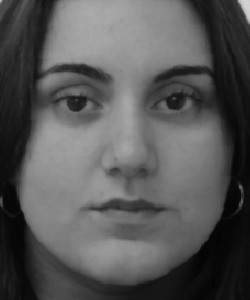
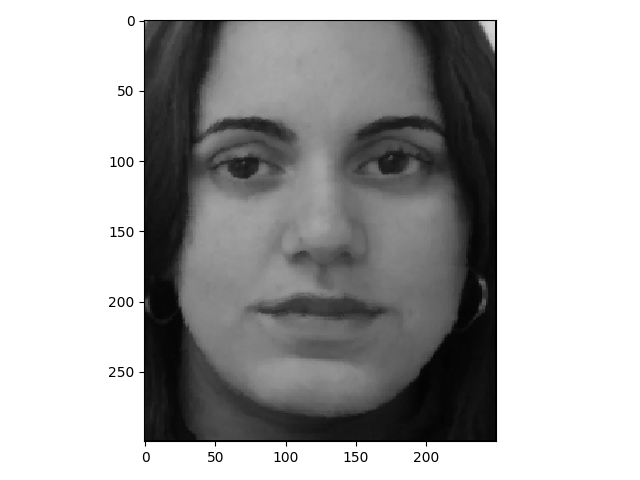
Next, I downloaded the FEI annotated faces database and got to work. This database
contains 200 unique faces, each with 2 expressions. Each of these 400 total images
contains 46 total "annotations," or systematically mapped points. That is to say,
point 0 and 1 always lie on the left and right nostrils, and the rest of the points
similarly lie on other specifically pre-defined locations and features of the face.
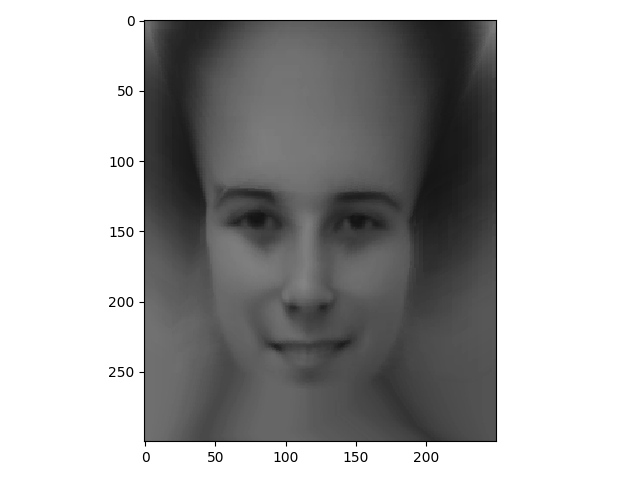
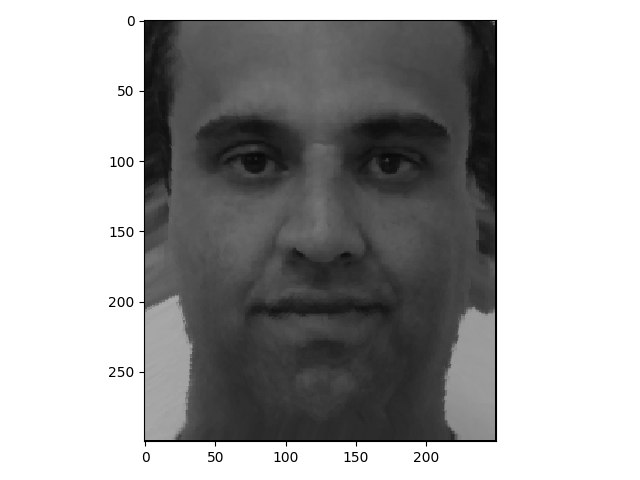
For each of the 46 points in each annotated face in the dataset, I found the average
position of each. That is, I found the average position of all left nostrils, all
right nostrils, noses, eyebrows, chins - you name it. Once I had the average feature
locations, I put them together into a final "average face" set of points. Here's what
that looks like.

Population mean face.
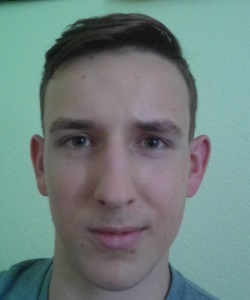
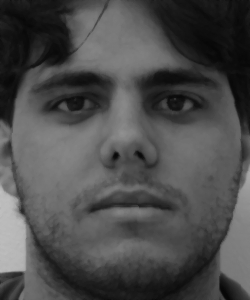
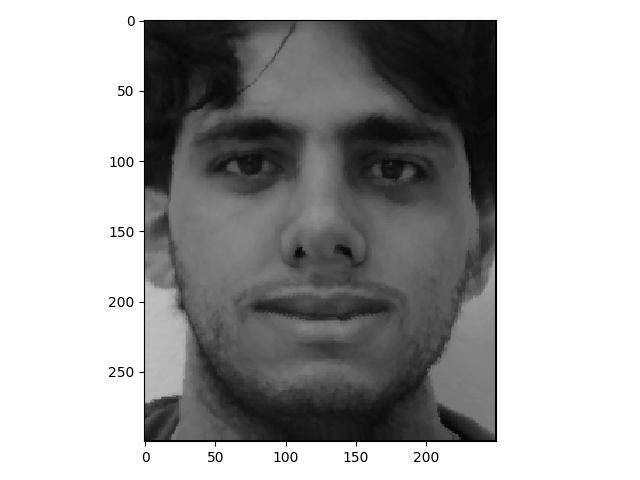
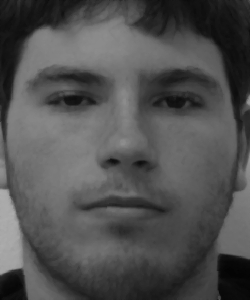
With this set up, I mapped the same 46 points onto my face.


Population mean stretched to my face
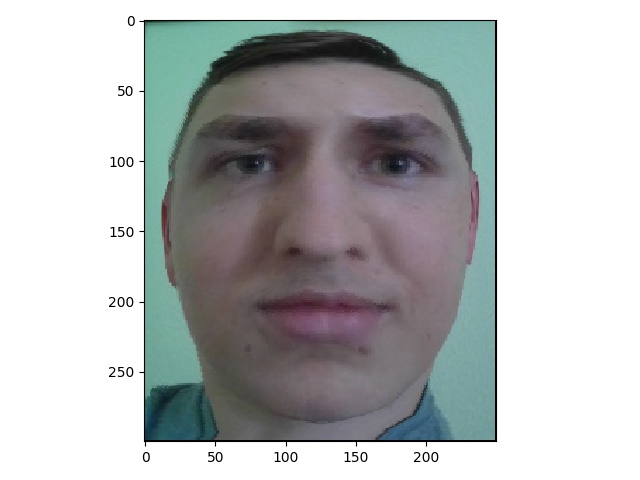
My face stretched to the population mean
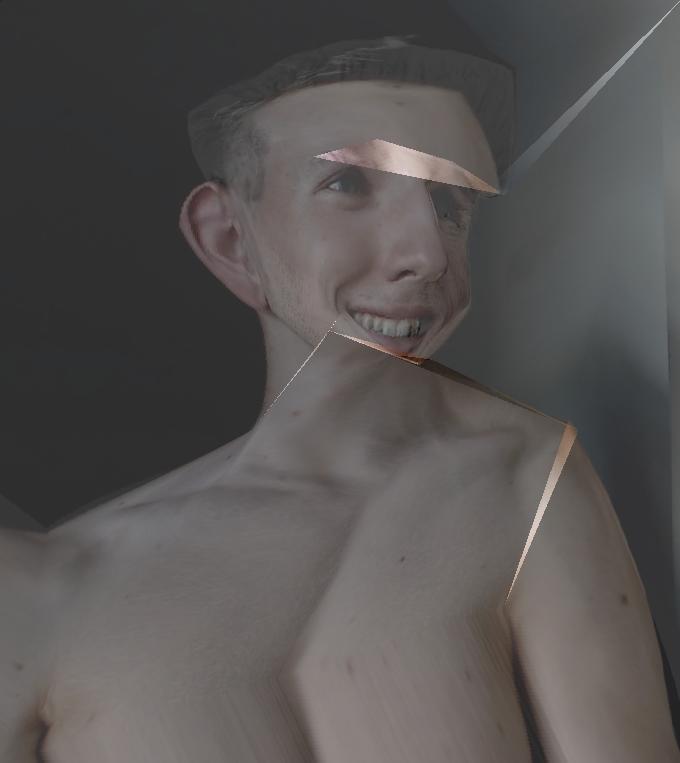
These last two results are quite jarring, aren't they? That's because of two reasons: first, it's that my facial features are more vertically spread than average (just look at my long nose!); second, it's because my alignment isn't standardized to the other photos, and I opted to have my hair and blank wall space in the photo. Thus, we're stretching a lot of pixels around the edges to get these faces to morph into each other.
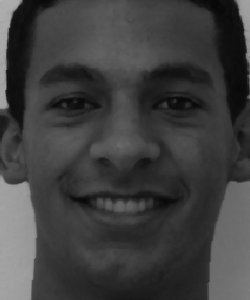
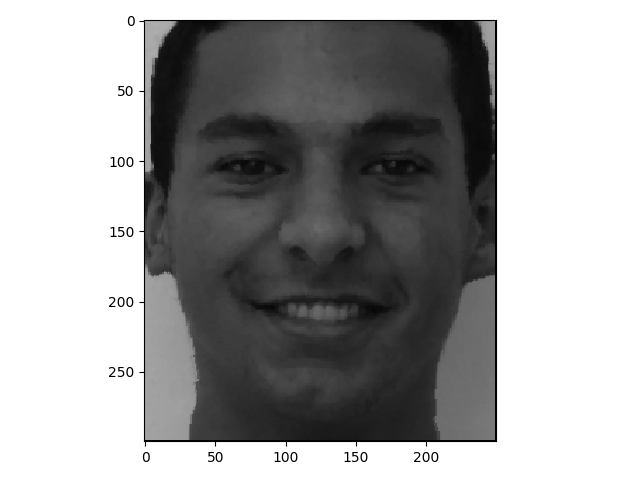
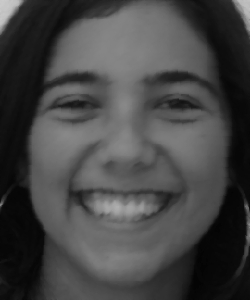
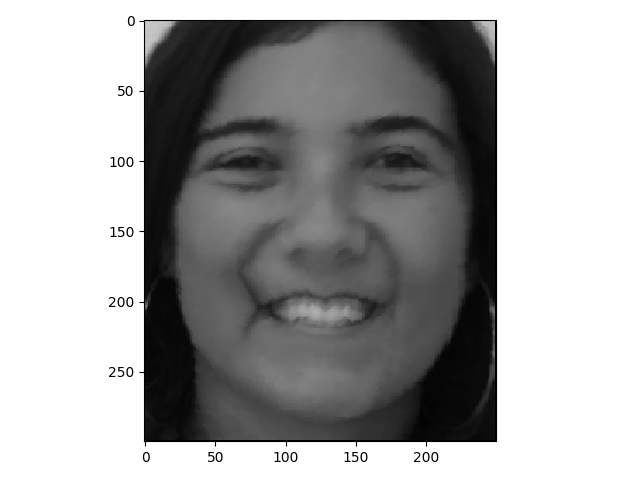
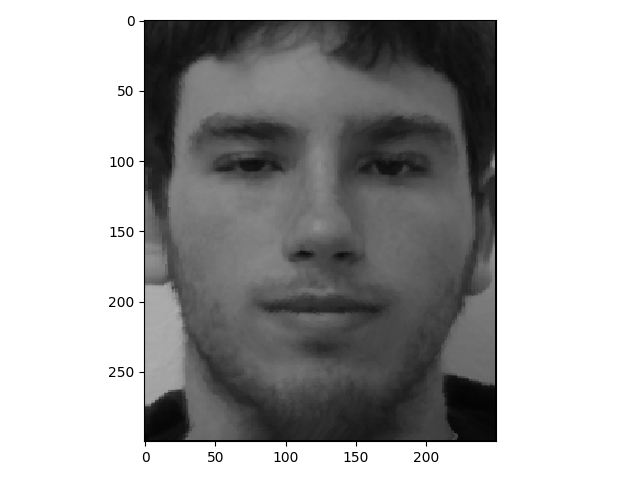
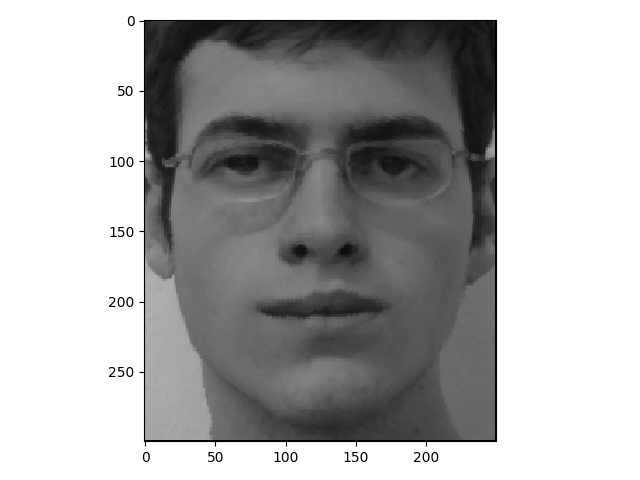
Now, here are some samples of images from the collection, then stretched to the mean face.


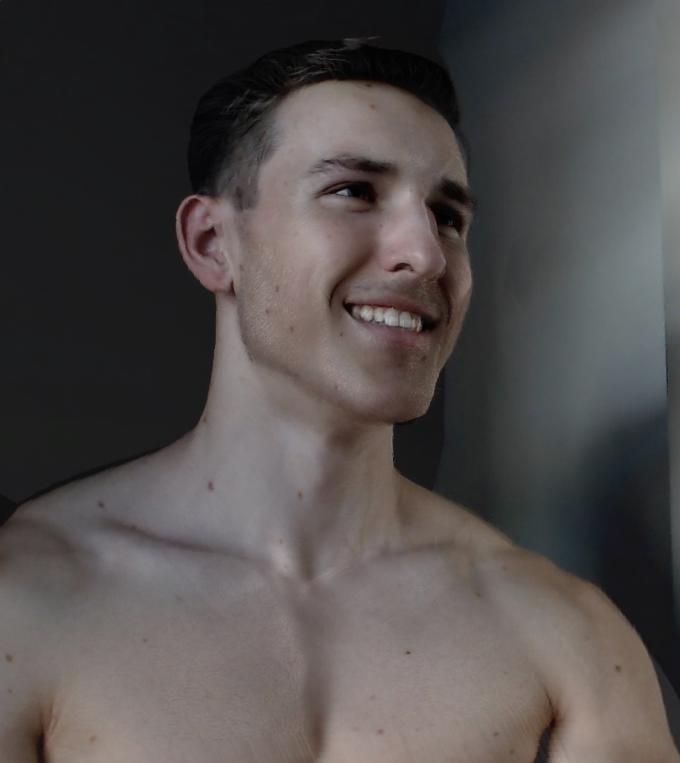
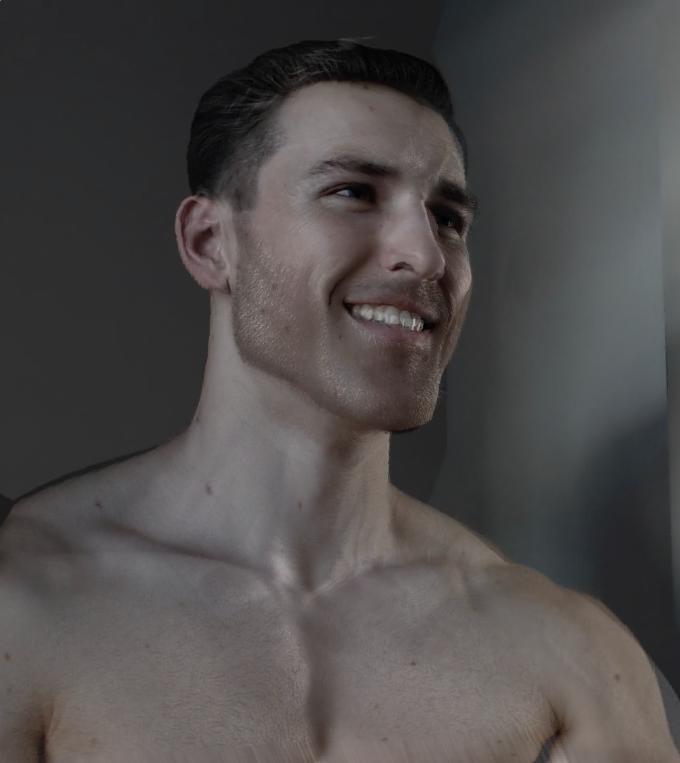
We can also push the points even further in the direction of the morph image and create caricatures. Here's what that looks like, moving from Gigachad, deep into myself:

Gigachad
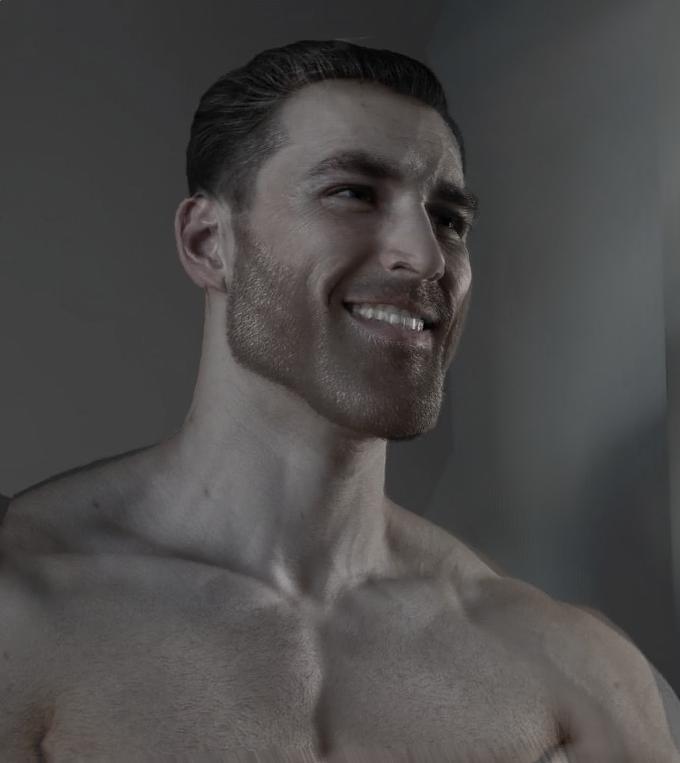
Halfway to me
Me

Beyond me

Warping the image
Pointy
You'll notice Gigachad has an extremely deep chin, so as we move further towards a caricature of me, my chin severely recedes. Since his left shoulder is positioned far lower than mine, my shoulder greatly rises up.
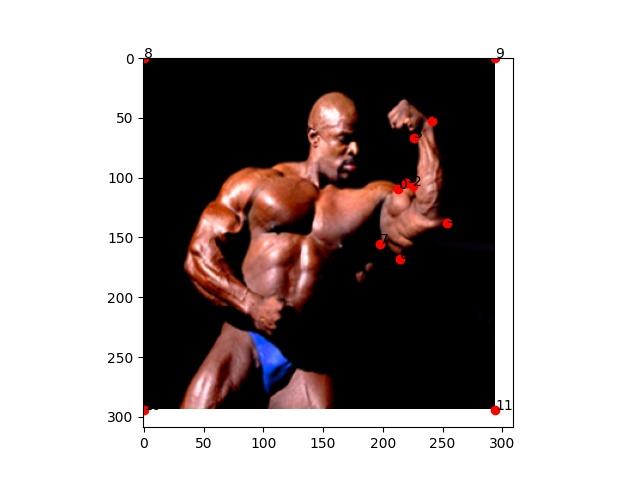
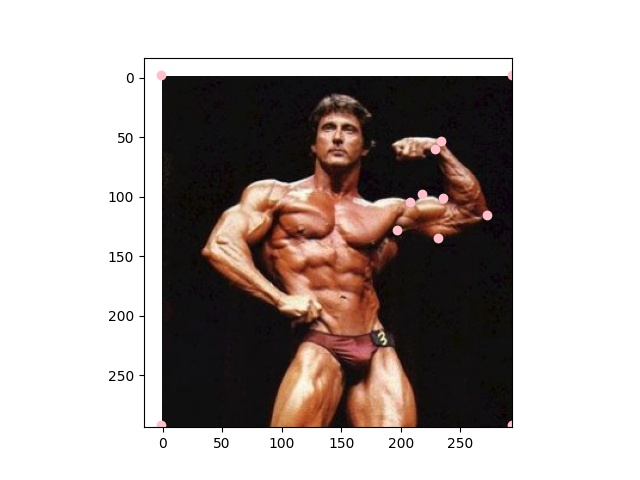
Since the mid-1960s, the Mr. Olympia championship has posed the largest bodybuilders of all time against each other in a competition judging who has the largest, most impressive muscles of all. I've compiled a morph between the Mr. Olympia winners over the years - only in this case, we merge the images together on pre-defined points on the competitor's biceps rather than their faces. There were challenges in getting this to work, particularly related to finding the same pose among all participants. For many, a double bicep pose wasn't available, so I flipped images to get a nice bicep flex on the right side of the image at the very least. Then, since the photography dates back to the 1960's and isn't so popular, the best images on the web for the old guard Mr. Olympia. Without further ado, the biceps pose bodybuilder music video:
I looked for partners for this part early on via Piazza, but didn't get much of a response for a while. At the very least, I'd like to show off my entry into the class music video. I mapped 43 points along my classmate and I's faces, shown below. Notice that there's a massive difference in not just our hairstyles, but the proximity of the edges of our facial features. Some of the points on my face are cramped together, which they're more spread apart on my classmates' face. In particular, having to move down points 20-22 of my face into my classmates' is probably what ended up causing some of those triangles to interleave.