
In this project, I play around with morphing and averaging faces. Morphing consists of two steps: warping and cross-dissolving. The basic process for each set of images is that I first align the images, then choose corresponding points (correspondences) between the images, then morph the images.
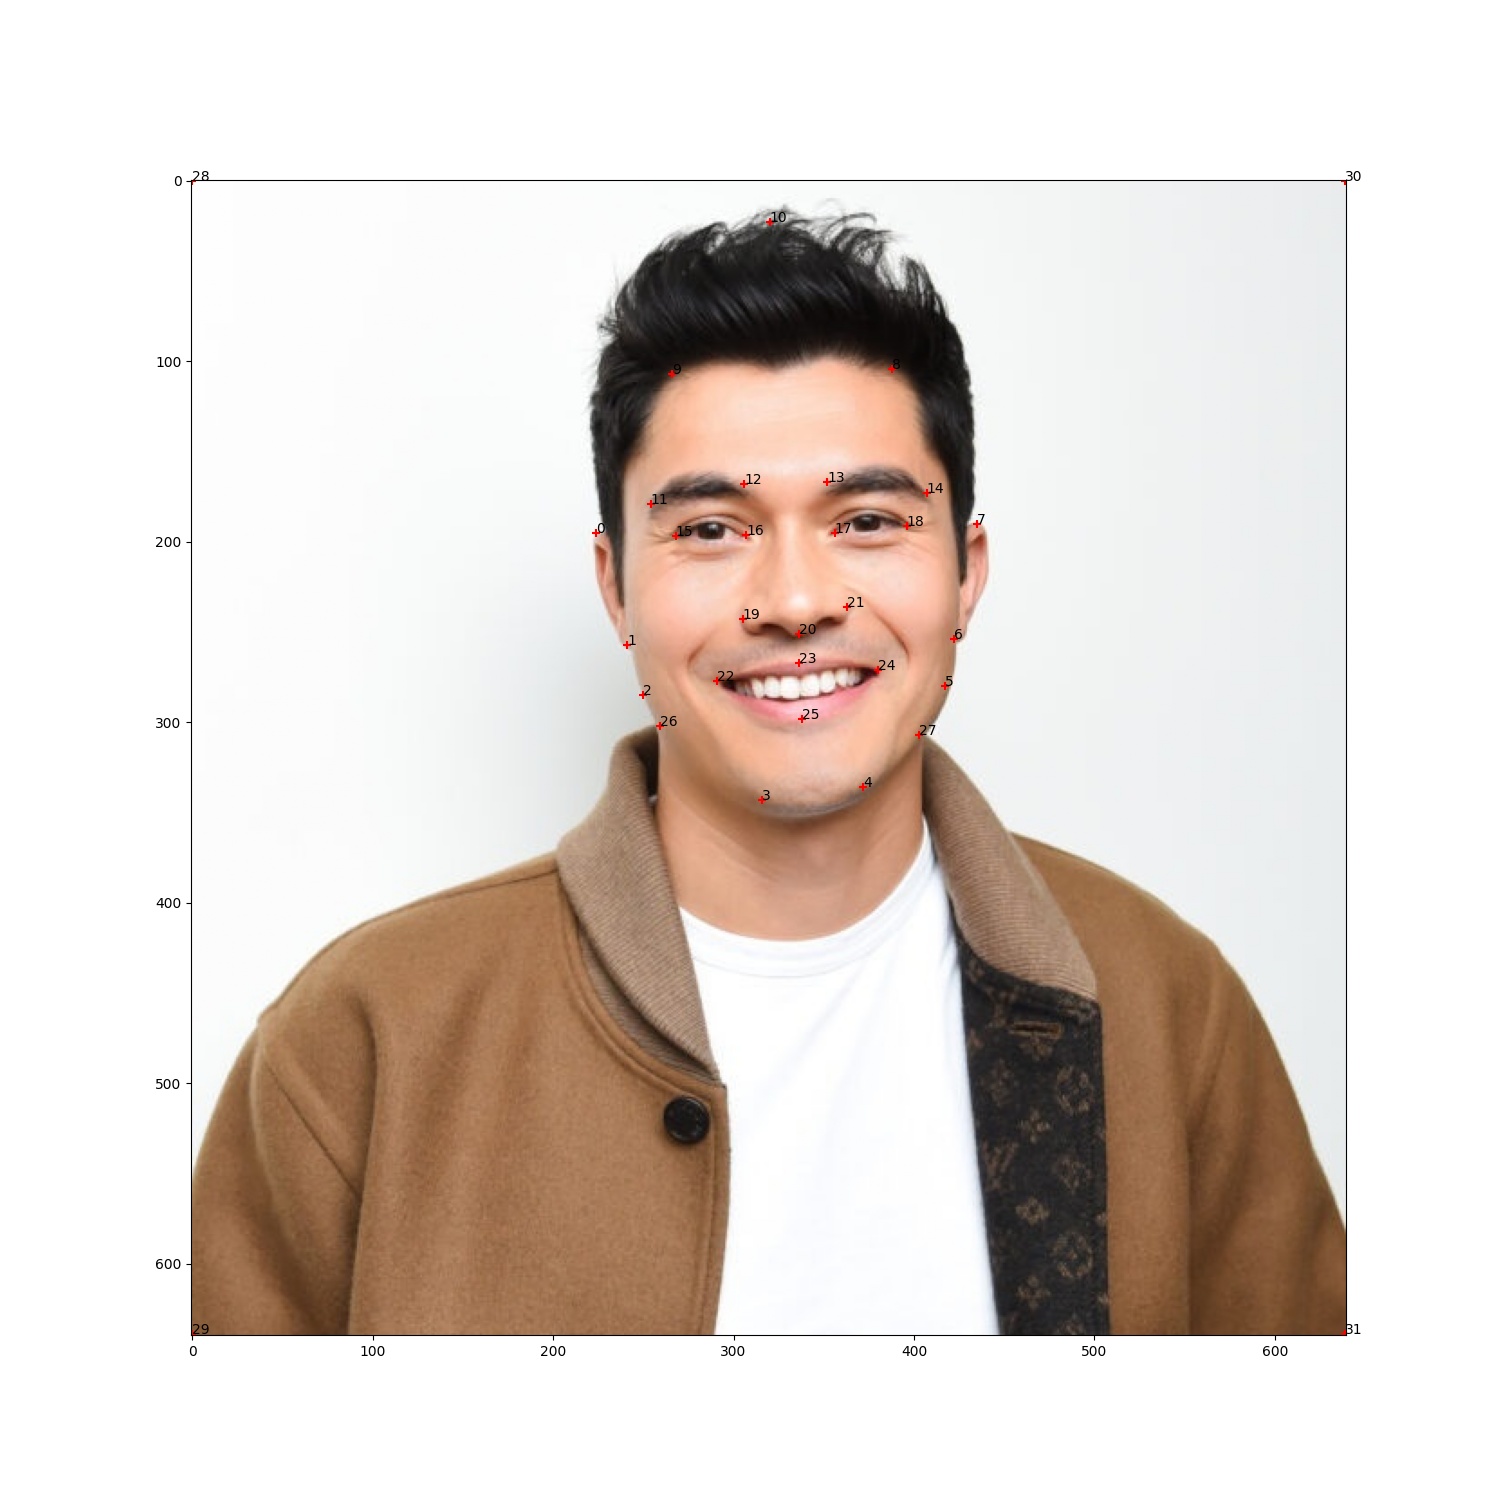
Defining the correspondences for each image is simple. I created a function, define_correspondences, that takes in >= 2 sources, and allows the user to define correspondences for each image, one at a time. Point selection is done through the matplotlib.pyplot submodule. There is also a function for creating a single correspondence, should a user want to add another source to an existing set of sources.
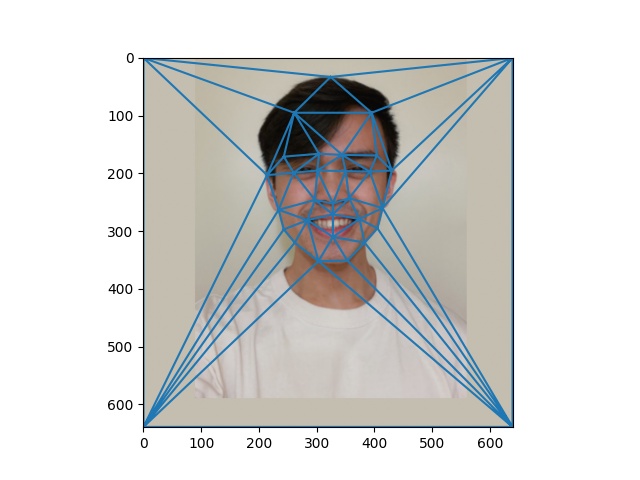
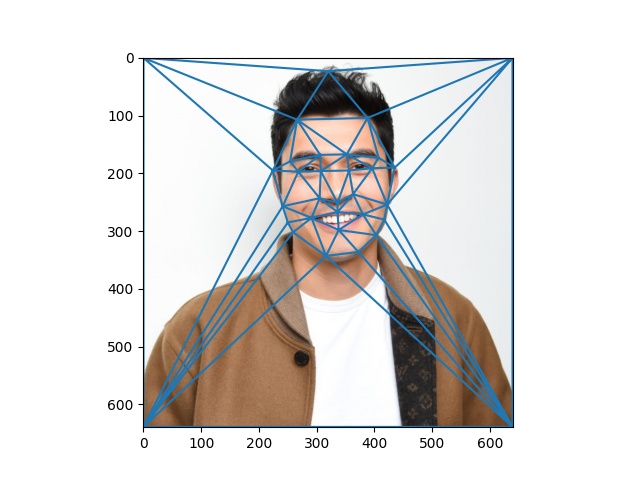
This project relies on Delaunay triangulations. For a pair of 2 faces, the function, triangulate_two, computes the triangulation based on the warp fraction, warp_frac:
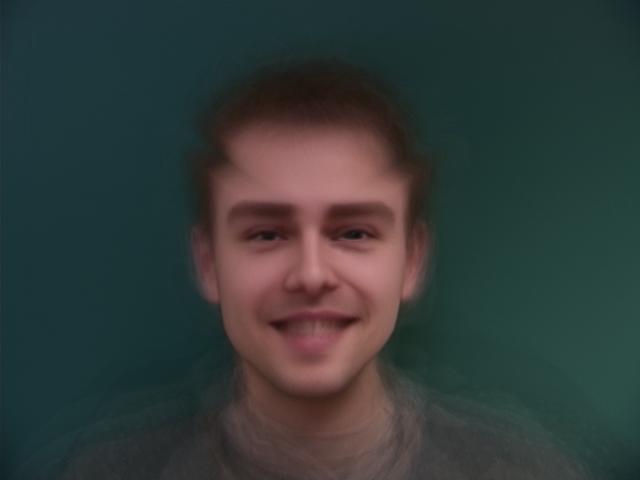
Computing the midway image involves two steps
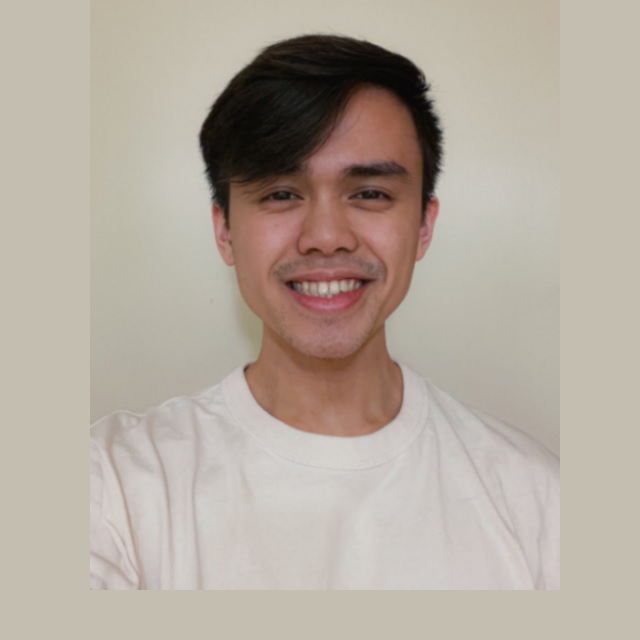
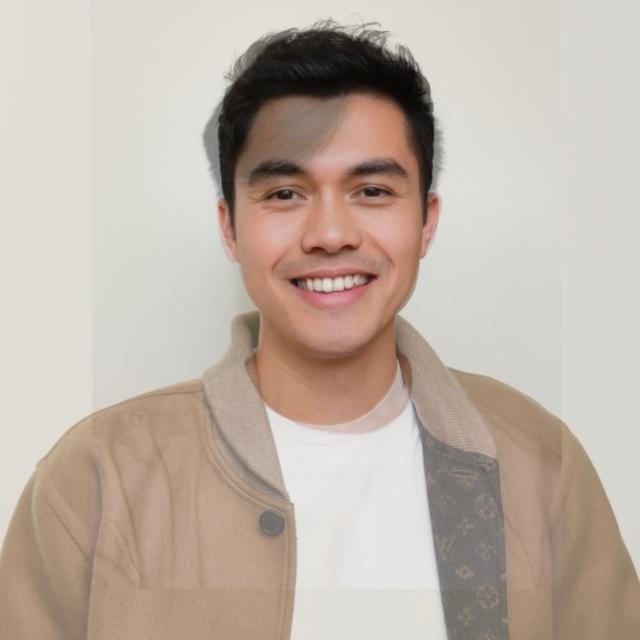
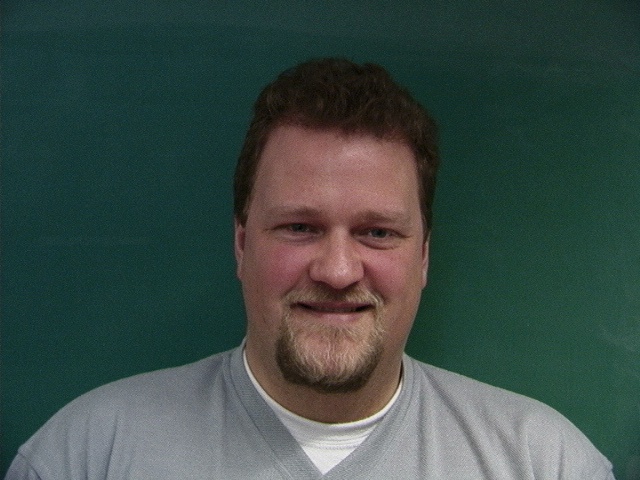
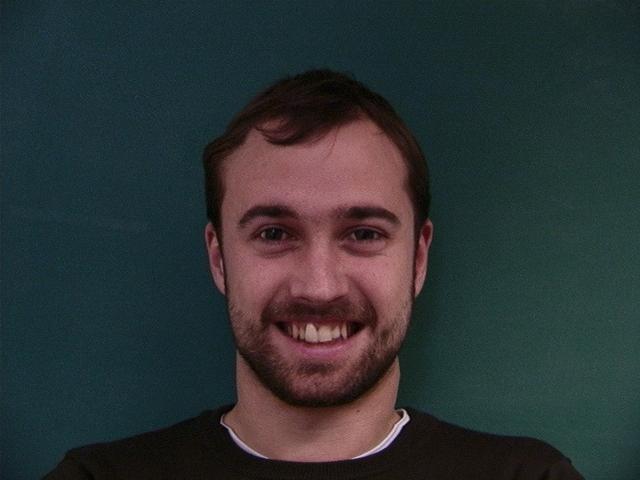
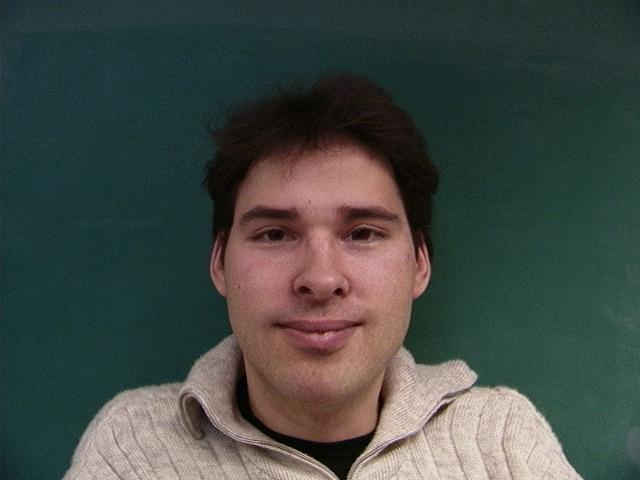
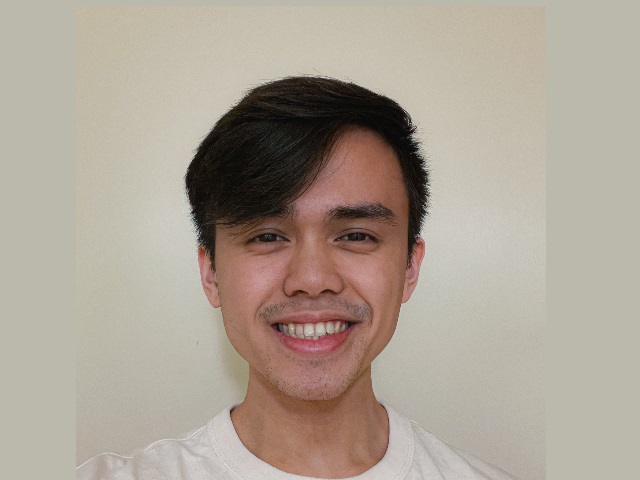
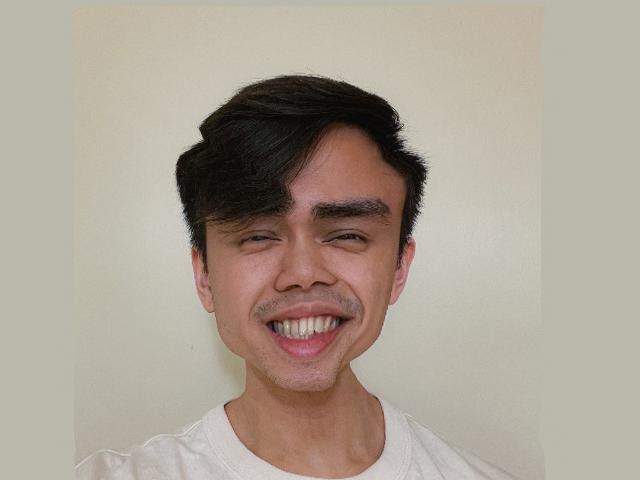
Here are the original images used:

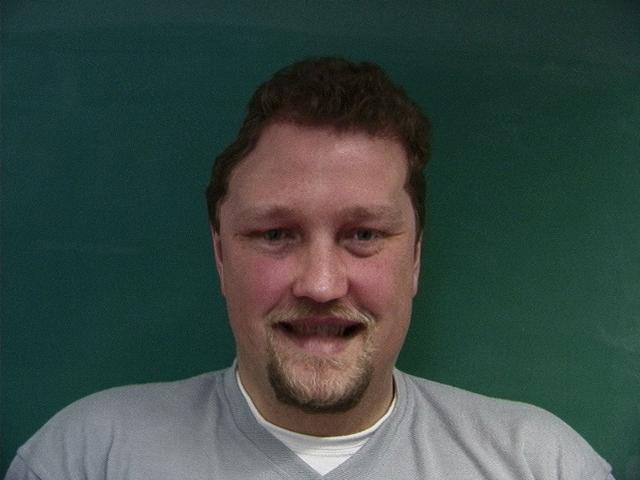
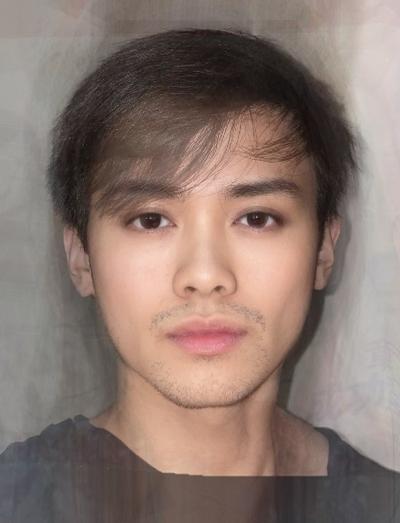
Here is the midway result that I calculated:
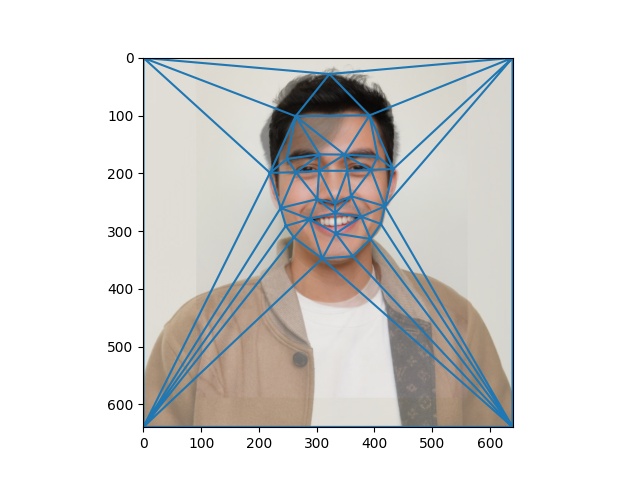
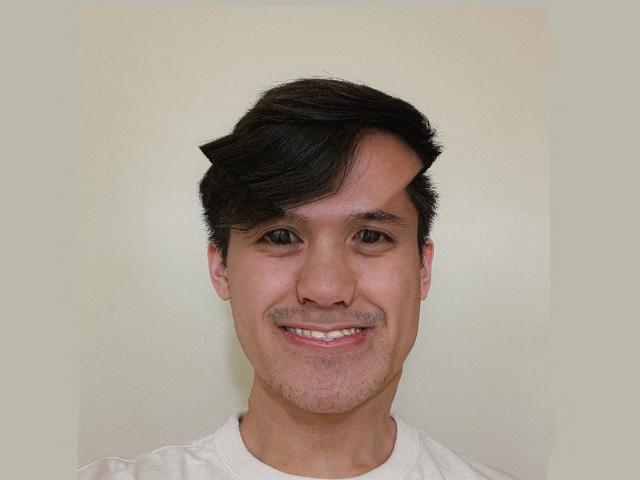
For any interested readers, here are the triangulations for the original image, as well as the midway result:
There's a couple of slight, nonrealistic, visual artifacts with regards to the hair, since we have different hairstyles. I also have a bit more facial hair in my original image, but it seems to be small enough to transition cleanly.
Computing the morph sequence involved computing 45 midway faces/frames between each pair of images. Between the two images, I varied the warp fractions and dissolved fractions linearly between 0 and 1. I then combined the frames into a gif (which I then turned into a video, since the gif was too large).
Here's the same video, but with the video bouncing back. It's kind of fun to watch on repeat.
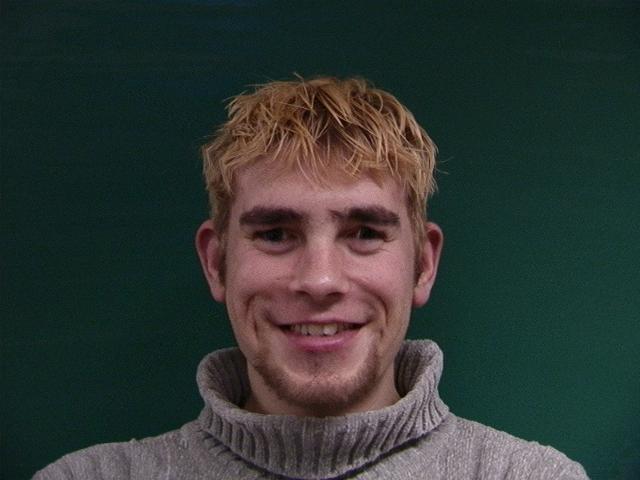
The population that I used in this part was a set of Danish faces (Stegmann). In particular, I chose the male faces, in which the men were smiling. The preliminary steps involved included aligning my face to the Danish images and setting new keypoints for my face. I also had to write a function to parse the keypoints stored in .asf files.
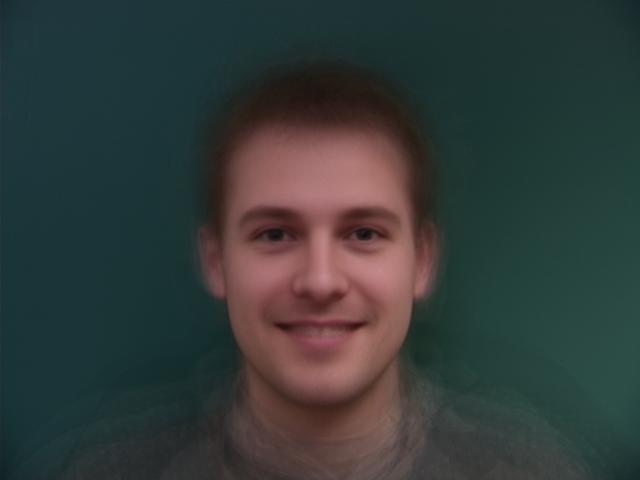
Here's the mean Danish male smile:
Here's some examples of some of Danish individuals from the study, with their faces warped into the average shape (original on left, warped on right). Though I only used the warp() function to create these images, the equivalent morph() (written in project code as compute_midway_face) arguments would involve a warp fraction of 0, and a dissolve fraction of 1:


Here's my face warped into the average danish face's geometry (original on left). Again, this would involve a warp fraction of 0, and a dissolve fraction of 1:

Here's the average danish face warped into my face's geometry. Unlike before, this wouild involve a warp fraction of 1, and a dissolve fraction of 0:
Here's a caricature in which I turn myself very danish. I used the same mean shape as in the section above. To create the caricature, the warp fraction I used here is -0.5 (-1 seemed to be too much):
Here's a caricature in which I turn my face much less danish. The warp fraction used here is 2:
In the less danish picture, you can see a visual artifact in the top right portion of my head, which appears to be due to differences in head shape and to the fact that the Danish set of images doesn't include any correspondences above the eyebrows.
For the Bells and Whistles part of this project, I chose to change my ethnicity, gender, and occupation: I turned from a filipino male Berkeley student into the average Chinese female actress. The preliminary steps involved included aligning the images and setting new keypoints. The process is largely the same as what has been described above. Getting these results involved playing around with both the warp fraction and diffuse fraction.
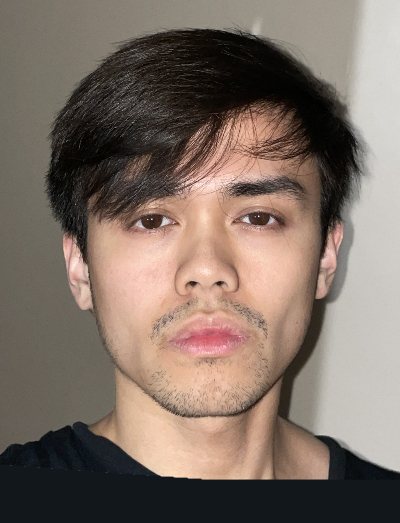
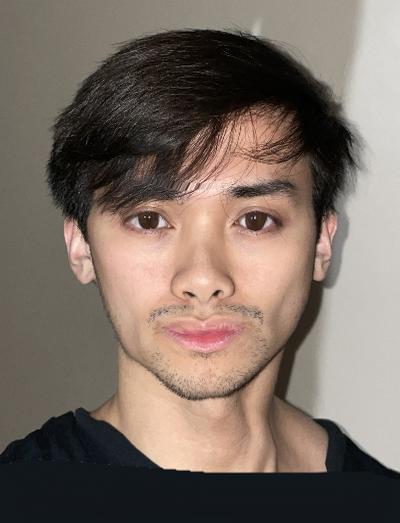
Here are the original images:

Here's me, with just my shape warped:
Here's me, with just my appearance changed:
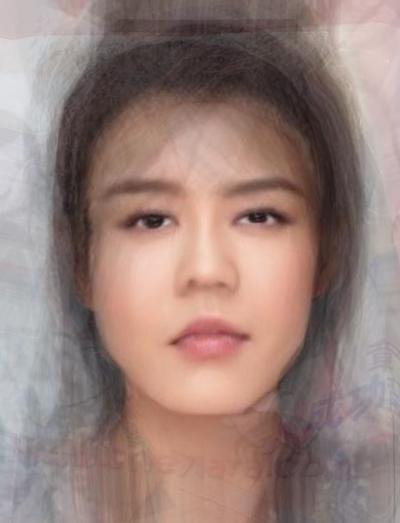
Here's a full morph, midway between me and the average Chinese female actress:
https://inst.eecs.berkeley.edu/~cs194-26/fa21/hw/proj3/
M. B. Stegmann, B. K. Ersbøll, and R. Larsen. FAME – a flexible appearance modelling environment. IEEE Trans. on Medical Imaging, 22(10):1319–1331, 2003