Face Morphing
In this project, we will explore the visual appearances of faces and how we can use affine transformations to manipulate facial features and even morph two faces together. Check it out!
Defining Correspondences
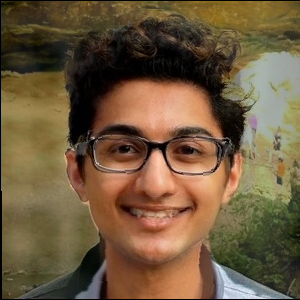
If we want to go about morphing two faces together, you will first need to label a set of points on both faces that correspond to each other. These correspondences can be used to match features together to perserve the overall facial features through the transition. For my face morph, I will morph pictures of me and my brother.

Me

Brother
Here are the keypoints I used to match our features. I selected 72 points in total:
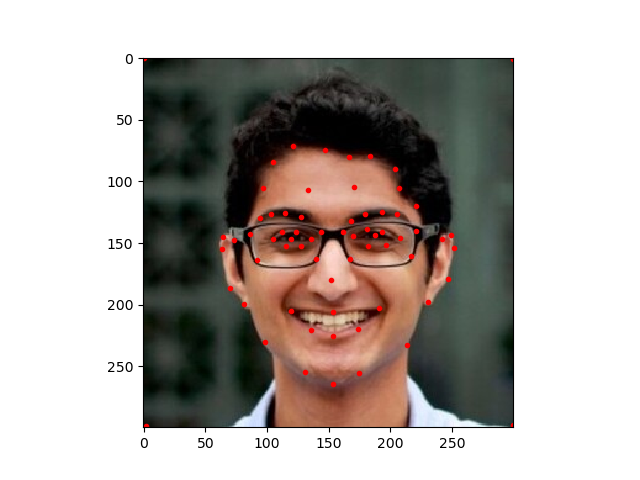
Me
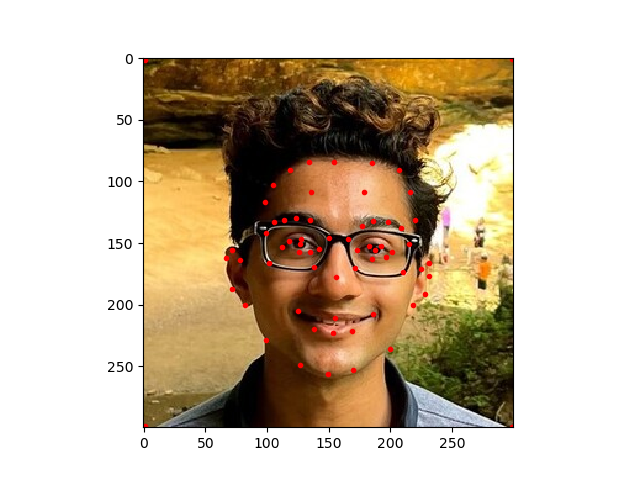
Brother
Once, we have these points selected, we must define a triangulation. With these trinagles, we can think about applying affine transformations to map a region of one face to the other. I computed the triangulation by using the mean of the labeled points for both images. Here is what the triangulation look like:
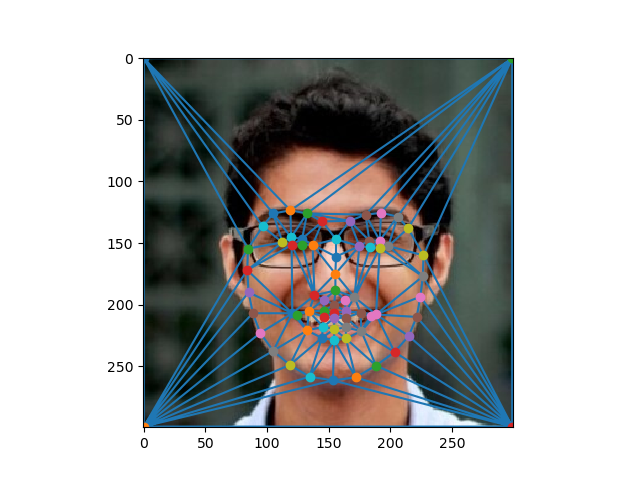
Me
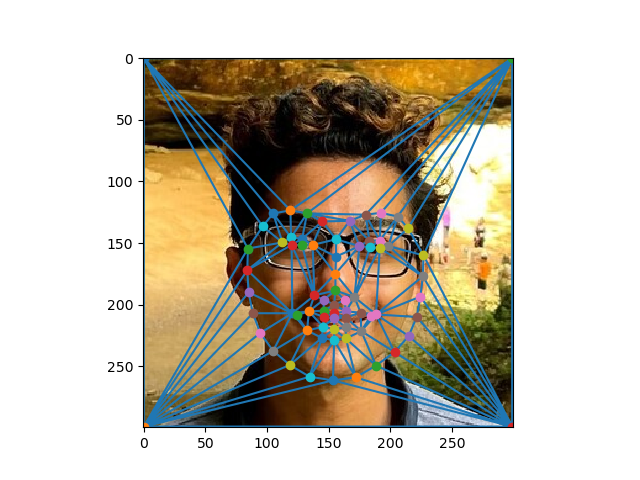
Brother
Computing the Mid-Way Face
Now we are ready to begin morphing. To start this process, let's first take a look at what the morph would look like if you averaged out both the shapes and colors of the two images. To do this, we computed an average shape by taking the average of the keypoints in both faces. I then warped both of the faces into this average shape. I then averaged the colors together. Let's take a look at the result, which turned out pretty good:
Mid-Way
I will concede a bit that we do look pretty similar, so it can be hard to distinguish my features from his. The main things I notice are my larger smile, a slightly brighter skintone, his wider nose, and his smaller head.
The Morph Sequence
We can extend this concept of an average to produce a complete morph from my image to my brother's. The idea is that instead of doing an equal average we can do a weighted average and frame by frame shift the weight of the average from my face to his face. This will produce a pretty transformation from my face to his. I am happy with how it turned out, let's take a look:

Morph
I also experimented with changing the way I warped between images. The above gif was created using a linear warping pattern where I iterated from 0 to 1 in same sized intervals. However, it might be better to emphasize the beginning and final averages and speed through the middle phases where the morphing produces some weird artifacts. To do this, I used a sigmoid function to scale the weights I used for averaging. I still iterated from 0 to 1, but then I plugged each weight into a sigmoid function and used that output for averaging. I experimented with modifying both the weights for the color blending and shape warping. Here are the results:
Linear Shape Warp
Linear Color Blend

Linear Shape Warp
Sigmoid Color Blend

Sigmoid Shape Warp
Linear Color Blend

Sigmoid Shape Warp
Sigmoid Color Blend
I like the sigmoid shape warping and color blending the most. It makes the transitions as smooth as possible. Doing just the sigmoid color blend produces this weird effect where the image color isn't changing at the end, but the face is still moving, which is awkward. Warping only shape with sigmoid has the weird effect where in the first few frames, the face isn't changing but the color is. So, having the same scheme for warping and blending is critical for this process.
Automated Morphing
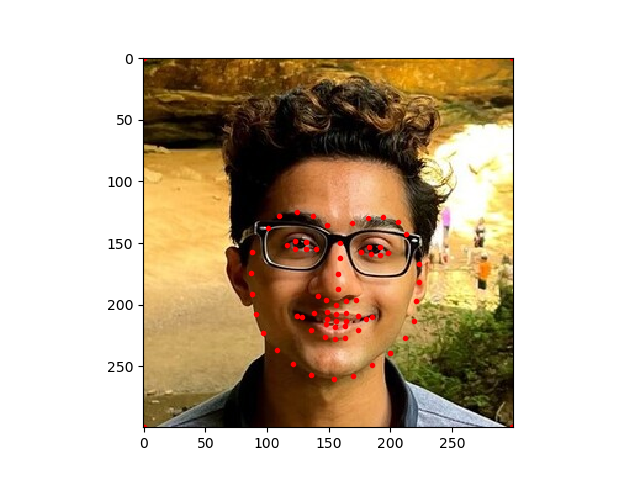
One of the major pain points of this process is having to manually select points on each image so we can do the feature matching. However, there are techniques that automate this process. dlib is a popular python package that has models that are designed to predict the key points on a face. Using this model, I was able to fully automate the morphing process and even get some better results. The dlib model predicts 68 key points, spread around the head, the eyebrows, the eyes, and lips. The spread of these points is very good at helping minimize odd facial artifacts during morphing. Let's take a look at the points that were selected and the final morph:


The Mean Face of a Population
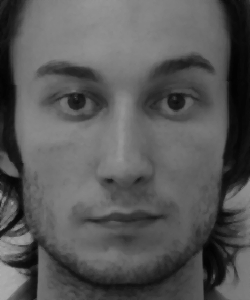
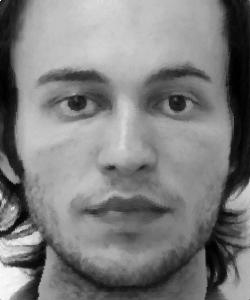
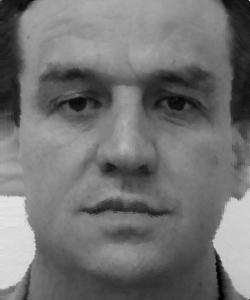
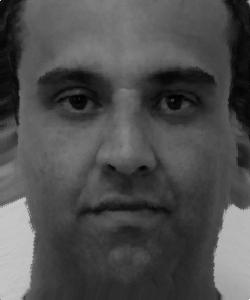
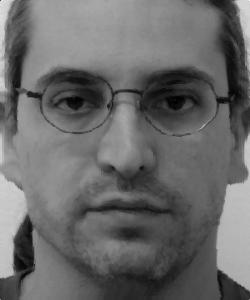
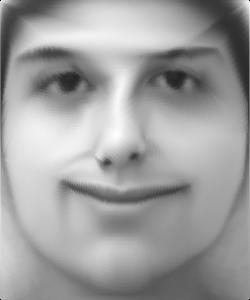
Another interesting concept is this idea of a mean face. Given a set of faces, it is interesting to see what the average person looks like. In order to do this, we need to reuse our alignment methodology. This is because we can't just naively take the average of all pictures of faces since all of the features won't be properly aligned and thus the average will just be very blurry. I apply this concept to a dataset containing 200 faces of Brazillians, 100 men and 100 women. This dataset has both neutral and smiling faces. Here, I calculate what the average neutral face looks like. Note: all of the images in this dataset are grayscale.
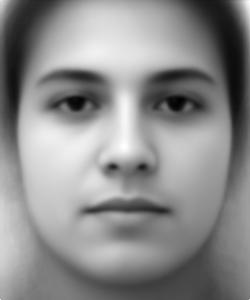
This is a pretty clear image with a strong neutral face. Let's take a look at what happens when you morph some of the people in this dataset into the average face. The first row are the originals, the second row are warpeds.
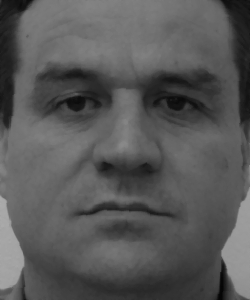
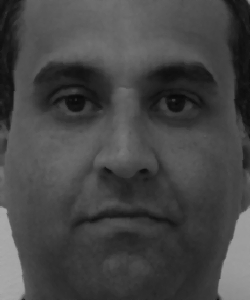
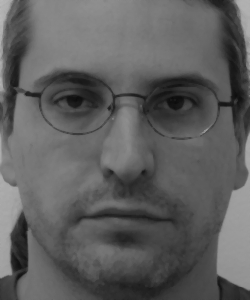

There are some pretty strange artifacts produced in this process, but what's most noticable to me is that the lips are much more straightened in the warpeds, matching the average face.
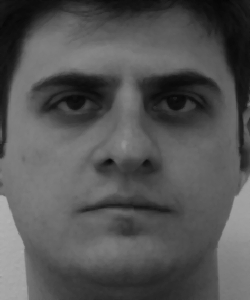
I also experimented with warping my face into the average Brazillian face and vice versa. I got some pretty funny looking results, probably because the facial structures are just so different.
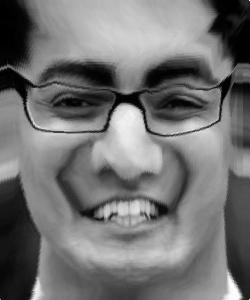
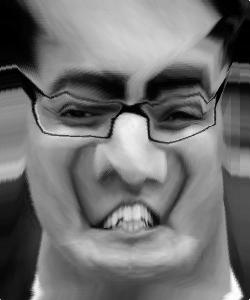
Caricatures
We can take this concept of warping into the mean to an extreme and produce caricatures of images by over emphasizing the ways my face is different from the mean. Here I push my face to be even more Brazillian by using an alpha of -0.5 to emphasize the Brazillian features:
Conclusion
I had a lot of fun working on this project. To conclude this walkthrough, I will show a morph of the best friends in the world.