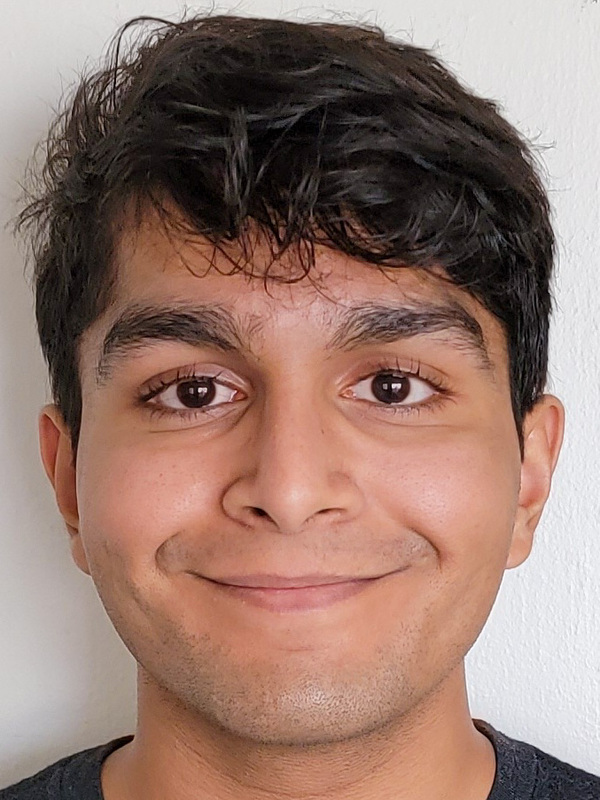
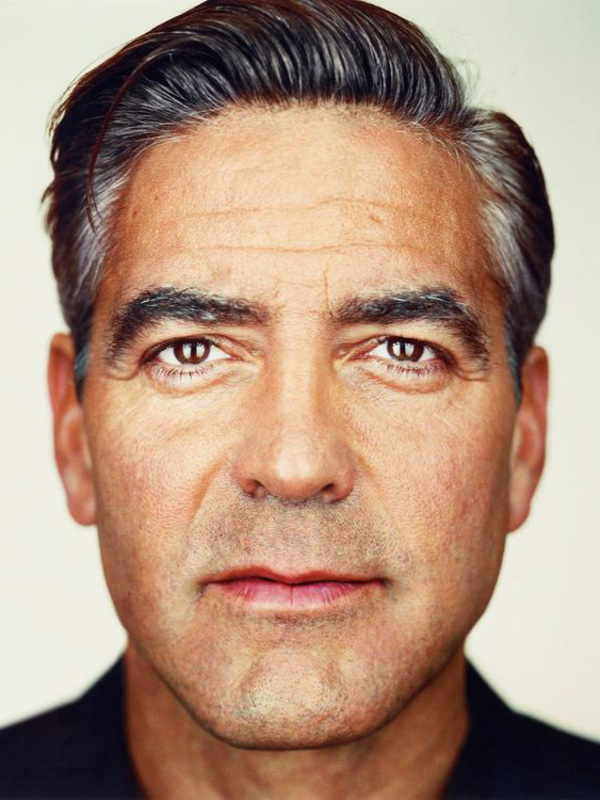
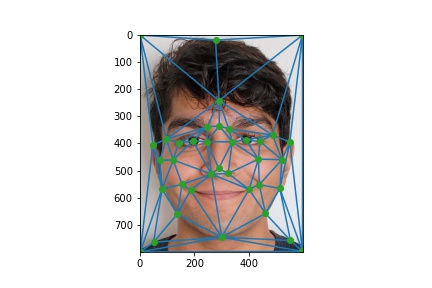
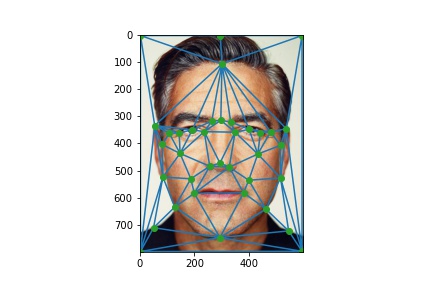
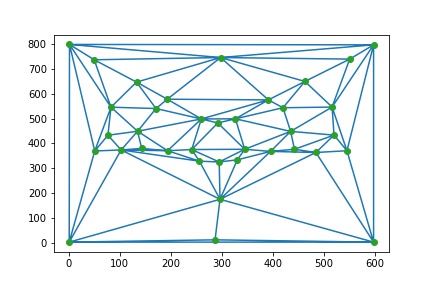
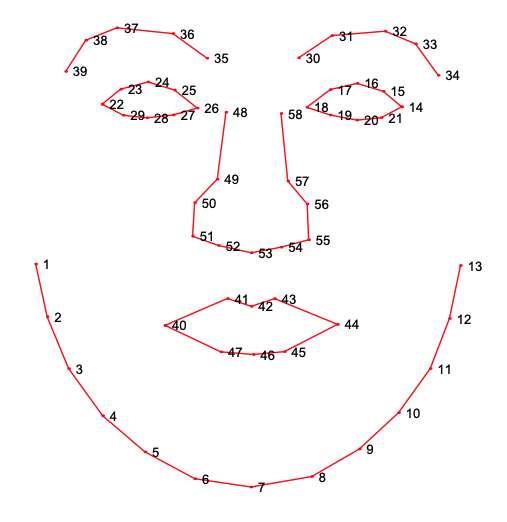
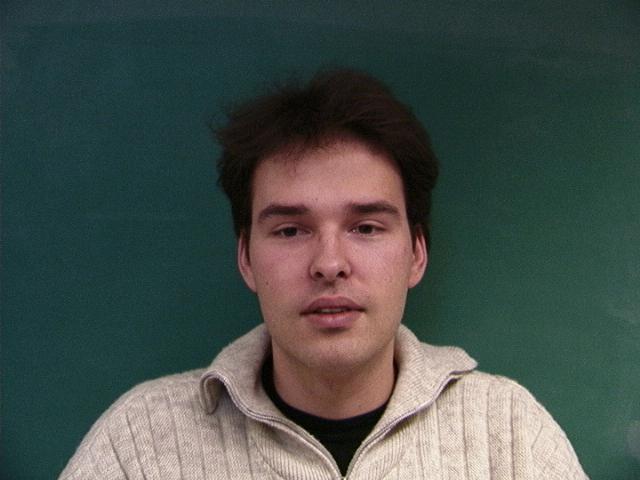
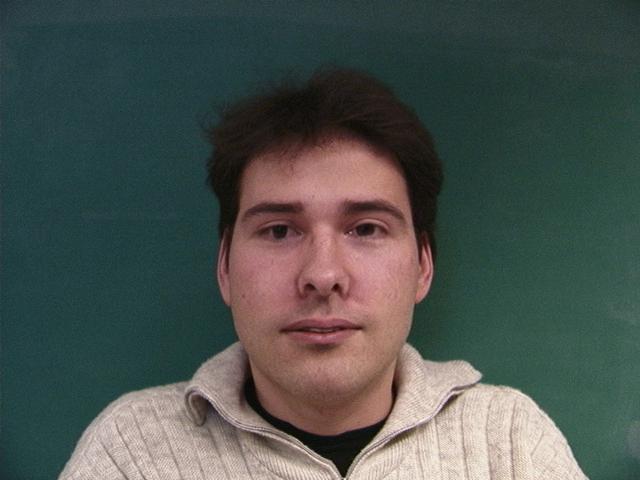
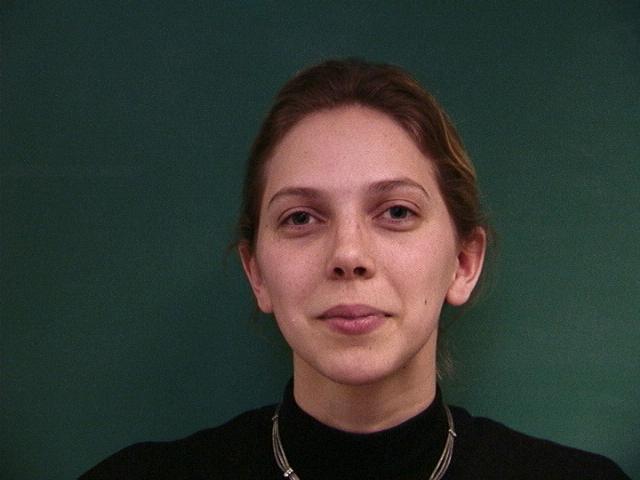
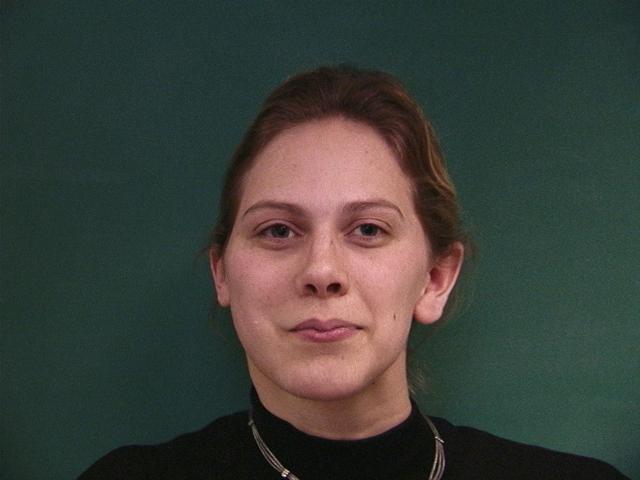
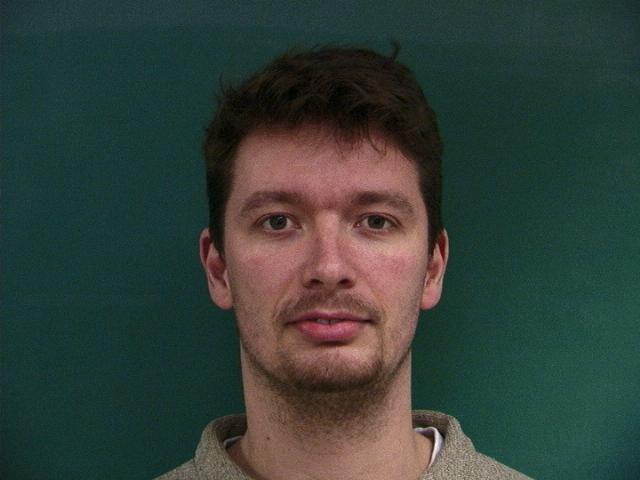
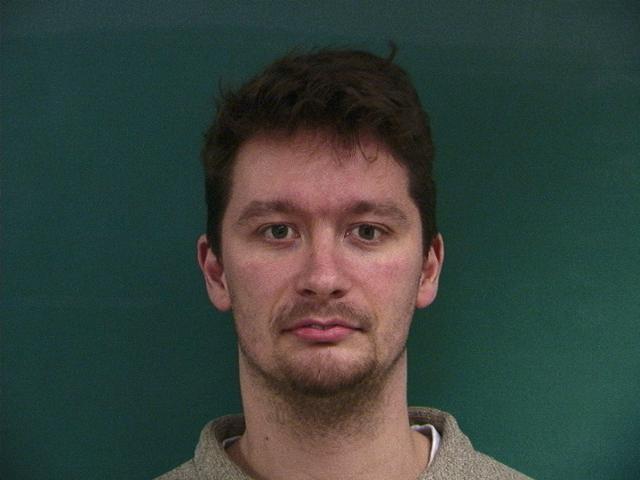
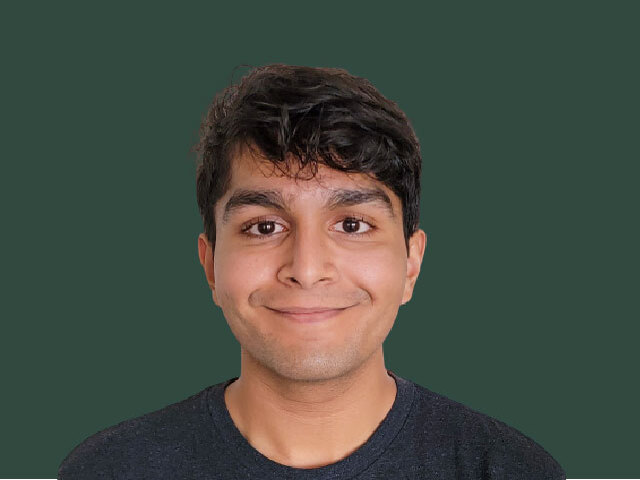
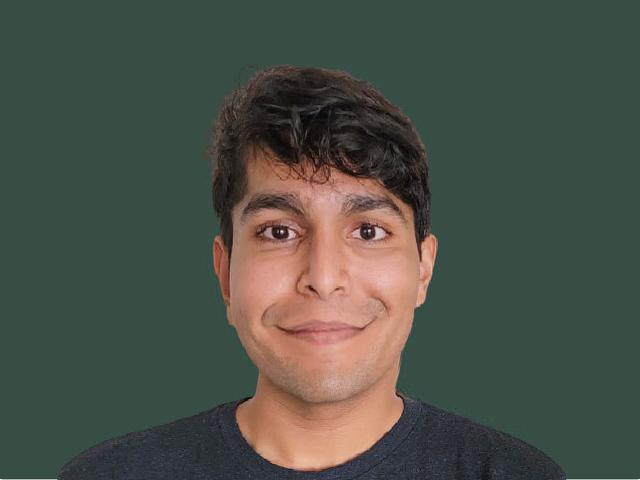
For this part of the project, I created an ordered list of facial keypoints that I then used ginput to select in both the images. These keypoints included important points of the nose, eyebrows, mouth, eyes, ears, facial outline, shoulders, etc. One realization that I made was that I would also need to have keypoints for the background otherwise only the faces would be morphed and the background would just be blank in the resultant image. Therefore, I also added the 4 corners of the images as keypoints. All in all, I had 37 defined keypoints for both images. I then computed the average value for each keypoint and then computed the Delaunay triangulation for these average keypoints. I chose to do the triangulation at the mean of the two point sets to avoid significant triangle deformations if I had chosen one image's keypoints for triangulation. Below, you can see the original face, the defined keypoints, and the Delaunay triangulation for each face (which wasn't actually used) and then the Delaunay triangulation of the average keypoints.
Computing the midway face meant computing the average face shape between Face A and Face B (this is done by taking the average of the corresponding keypoints which was already done in the previous step). After defining the Delaunay triangulation of this midway face shape, we need to warp each face into this midway-shape. Once we have Face A and Face B warped into the mean shape, we can average their colors to create the final midway face. In practice, to "warp" Face A/B into the median shape, we find the affine transformation from a triangle in the original image to the resultant image. Since we have 3 corresponding points (i.e. the vertices of the triangles) with 2 values each (the x,y coords), we essentially have 6 equations to solve for the 6 unknowns (a, b, tx, c, d, ty in the transformation matrix). We use numpy's linalg solver to solve these equations and then actually do the inverse transformation from the resultant triangle to the original triangle's corresponding coordinates. We interpolate at this point (since the pixel values may not be whole integers) to 'collect' the nearby colors. This is then done for all the triangles to complete the warp. The result of this process can be seen before (Finding mine and Clooney's midway face).
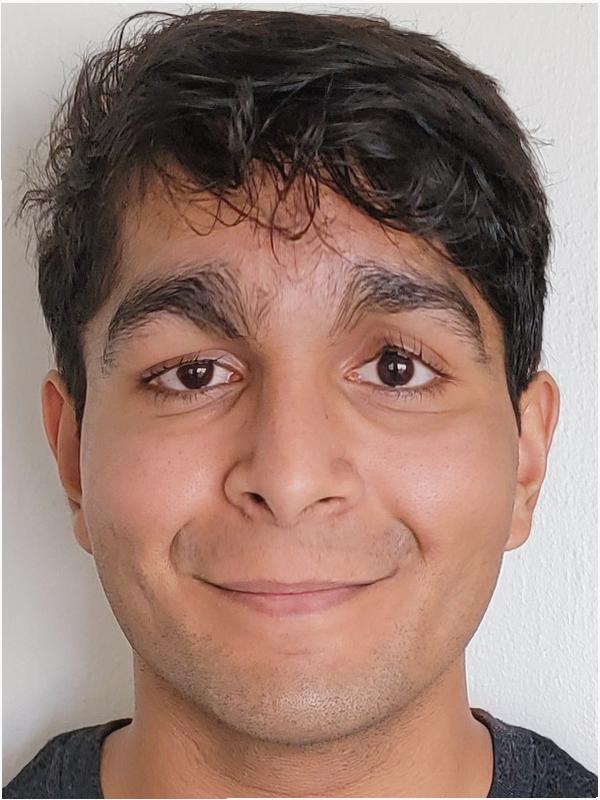
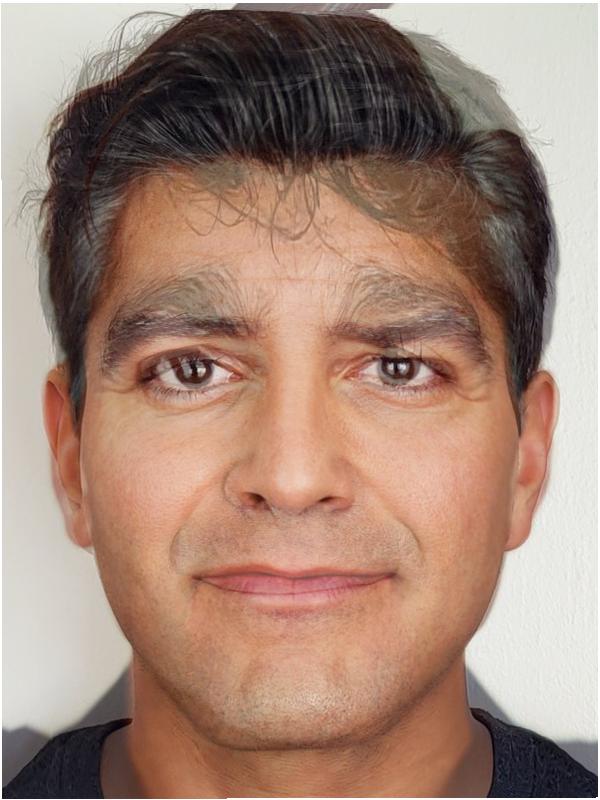
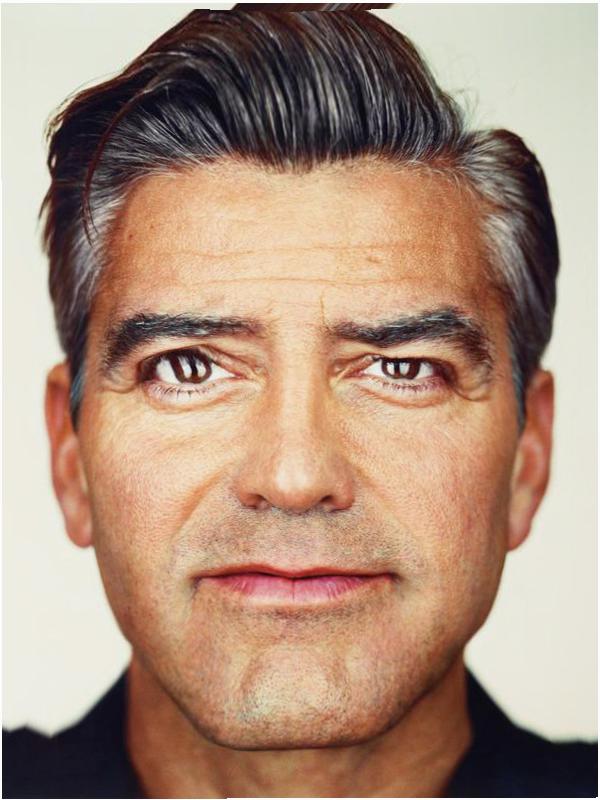
Some things to note: You can see the midway shape looks most realistic around the nose, mouth and ears. This is because these facial features are present in both faces and aligned at similar locations in the original photos. The eyebrows and hair is where we see some 'ghosting' effects because the shape of Clooney and my hair is very different and even after the warping, the mean of the hair colors causes this issue.
For this part of the project, I wrote a 'morph' function that takes in 2 images and their keypoint lists along with a warp_fraction value and a
dissolve_fraction value. This function will warp both images into the shape defined by:
warp_fraction * faceA + (1 - warp_fraction) * faceB
This is the same as the process used in Part 2 but instead of using the mean face shape (which would be at warp_fraction = 0.5), it uses this
weighted face shape. Once both faces are warped into this shape, we will find the transition face image by calculating:
dissolve_fraction * faceA + (1 - dissolve_fraction) * faceB
To create a full morphing process, I created a loop that increments dissolve_fraction and warp_fraction from 0 to 1 in 0.01 increments (i.e.
100 different transition faces). You can then show these tranisition faces in a row as a gif to showcase the full morphing process:
For this section, we had to take an available dataset of annotated faces and then compute the average face shape of the whole population.
I chose to use the 37 image aligned subset of the IMM Face Database (i.e. the Danes) and then to compute the average face shape, I first took the average
of each keypoint across all 37 images. Note: I also added 8 more keypoints to each image which were the 4 corners and then the midway point on each
border edge - This was so that the background would also be included for each image. I then warped each face into this average face shape (using the same process as Part 2 - Solving for the
affine transformation matrix for each triangle in the original image and the resultant image, and then inverse warping from the final triangle
to the coordinates of the original triangle using the inverse of the matrix, and then interpolating the colors from nearby pixels). Once each of
the 37 faces is warped into the average Dane face shape, I computed the average of the pixel color values across the images, and this gives the
resultant "Mean Face" of the Dane population.
Fun Fact: The hardest part of this portion of the project was parsing .asf files for the keypoints...
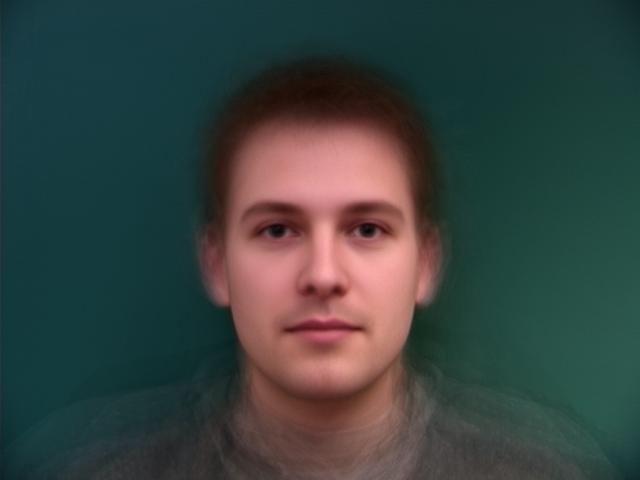
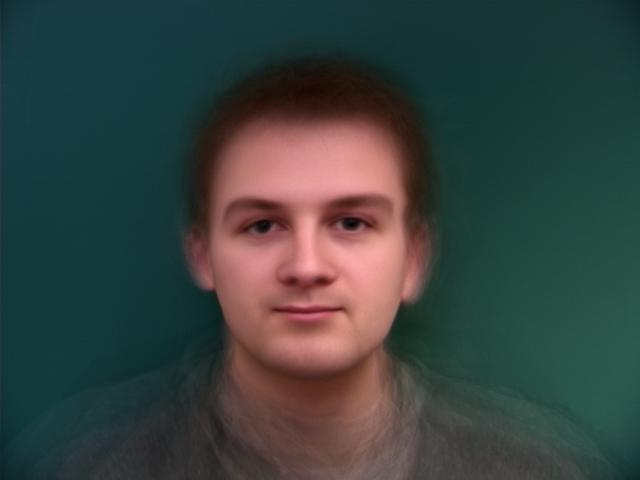
Warping My Face into the Average Dane Geometry:
Warping the Average Dane into My Face's Geometry:
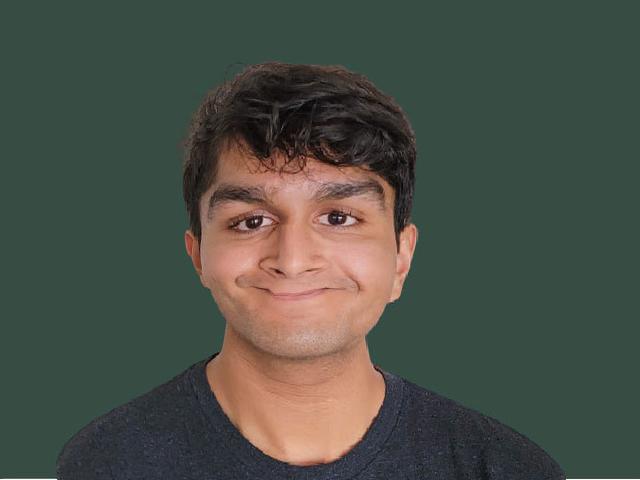
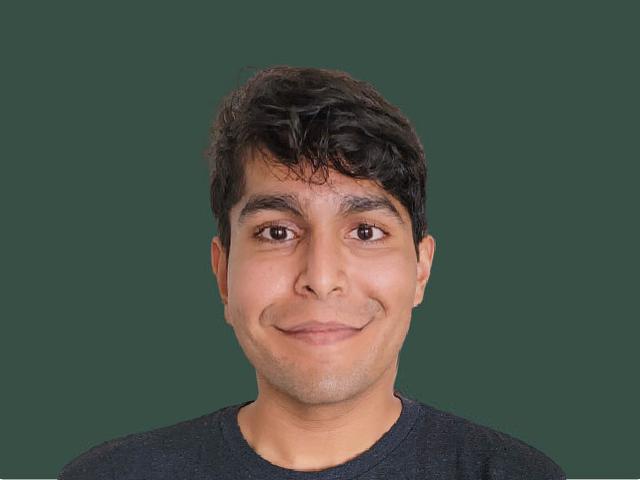
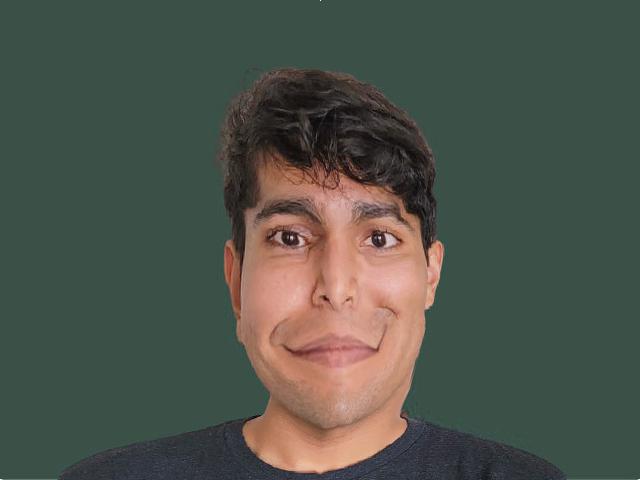
To produce caricatures of my face, I found the difference between my face's keypoints and the keypoints of the average, male Dane (chose
to only use the males as opposed to all 37 individuals in the past section). I then warped my face into the shape defined by:
myFaceGeometry + alpha*(meanDaneGeometry - myFaceGeometry)
By varying the level of alpha, this allows me to move more towards/away from a male Dane face structure. At alpha = 1, it is the equivalent
to warping to the average dane face as above. Below, you can see the results for alpha = -1 ("Anti Dane"), alpha = 1 ("Very Dane"), and
alpha = 2 ("Hyper Dane").
I'm part of a non-profit called Project RISHI that works in India and while working on this project, I had a meeting for the nonprofit. I took photos of some of the female leaders we have within the organization and created a looping morph between their faces as seen below:

Using the photos of the female individuals I had in the last section, I computed the mean face, and then morphed my face into this mean by just color, by just the facial structure and then by both. The results are in the YouTube video below. You can see during the shape warp, my lips are getting larger and my face is getting skinnier. The color warp by itself is not very pleasing since it's just a cross dissolve so that's why the full morph is a much better effect.