CS 194: Project 3
Face Morphing
Ever wanted to be someone you're not? Well now you can!
Introduction
In this project, we applied a diverse set of affine transformations to all of our input images, with different parts of each image being warped and stretched in different ways. We were able to analytically produce transformations between different points in each image by defining correspondences between matching points in different images, and interpolating between them. This technique, when combined with the blurs and cross-dissolves that we explored in our first two projects, allows us to make near-realistic morphing videos between different faces and objects!
Part 1: Defining Correspondences
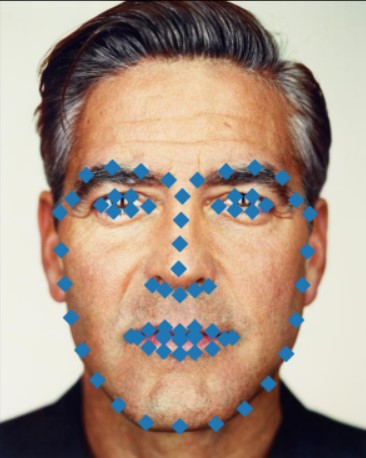
To begin, we need to define matching sets of keypoints on each image, which can be used to create our morphing map from one to the other. I didn't have a great idea of what kinds of points people usually used for tasks like this, so to get a hang of it, I looked up a few papers and blog posts about the keypoints that people have used for facial matching and recognition. Some of them seemed obvious. The eyes, for example, are clearly places that humans tend to look when we see a face, but what else was important to match?
Luckily, I found this GitHub post from somebody who had made an automated facial kepoint detector of their own:
According to them, the mouth, the eyes, the eyebrows, the bottom of the nose, and the rounding of the chin and jawline were the most useful points for determining the shape of one's face. So, with that in mind, I set about detecting those points on my own face:
Noticeably, the detectors that I looked into didn't create any keypoints on the foreheads or hairlines, probably because those were so variable among people and across days.
However, by this point, after hand-labeling all of these points on every face that I wanted to morph, I realized that this was going to be extremely tiring and time-consuming, and so I wanted to try something else: automatic face detection.

Luckily for me, OpenCV, which we've already used in previous has a built-in face detection and keypoints annotation library that is easily accessible as cv2.face in python. All that you have to do is download their pretrained face-segmentation and keypoint annotation models, and boom, you're good to go. It took a little bit of fiddling to make everything play nicely together, but once I did, I was rewarded by NEVER HAVING TO DO THAT 50+ KEYPOINT ANNOTATION THING EVER AGAIN. With that settled, I decided it was time to move on to making the actual morphing process work.
Part 2: Creating the Warp
To actually move our faces from one shape to another, we have to use warps, like the ones we discussed in class. A warp creates a mapping for pixel locations from one image to another. Normally, this is a relatively easy task: it only takes three points to define a warp, so as long as we have two sets of three matching points, we can use a simple formula to define our transformation!
Unfortunately, however, it's never that easy. Because every part of the image needs to be warped a little differently to make everything line up, we need to do something a little bit fancier. Enter the Delaunay Triangulation:
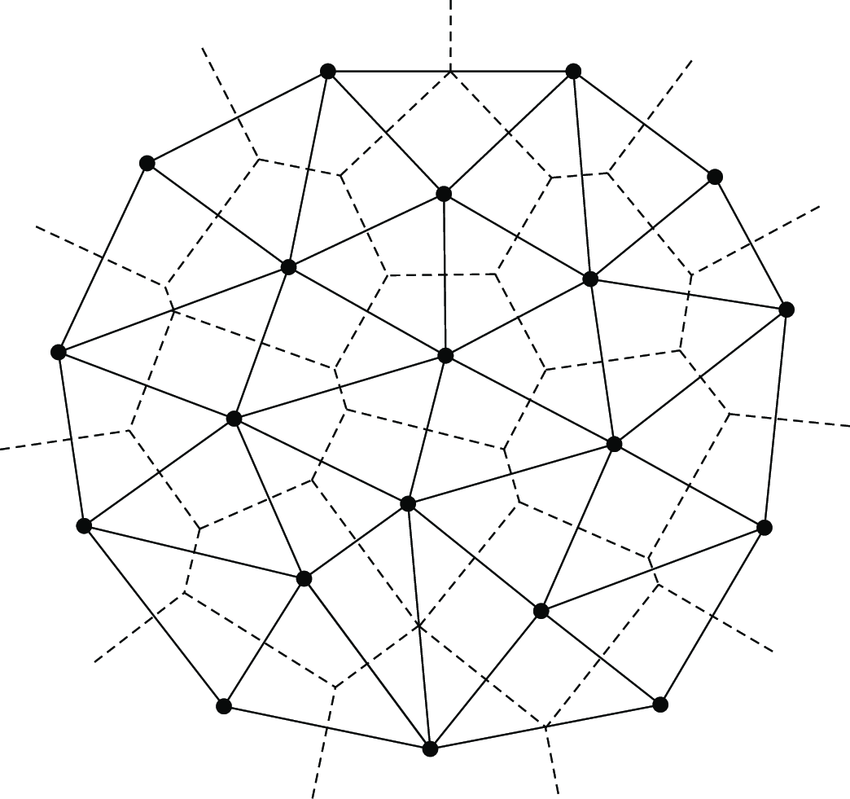
The Delaunay Triangulation is a method of creating sets of triangles from points such that you end up with triangles that aren't overly long and skinny. There's lots of cool math behind it (which you can read about here), but for our purposes, we really only need to know one thing: it connects points into nice triangles, which have three vertices! And you know what else three vertices define? An affine warp!!!!! If you're not having a Eureka moment right about now, maybe you should consider taking Prof. Efros and Prof. Kanazawa's awesome CS 194-26 class, because they teach this a whole lot better than I can.
Anyway, because we can use this triangulation technique to define nice triangles, it also defines nice warps. All we need to do is define the same triangles with the same points in each image. And since we have a library that's already going to define the correct points for us, and a method that's going to connect those points into triangles, AND a formula for computing the correct warp given three points in each image, we're basically done! All that we have to do now is plug in our images and let our code do the rest!!
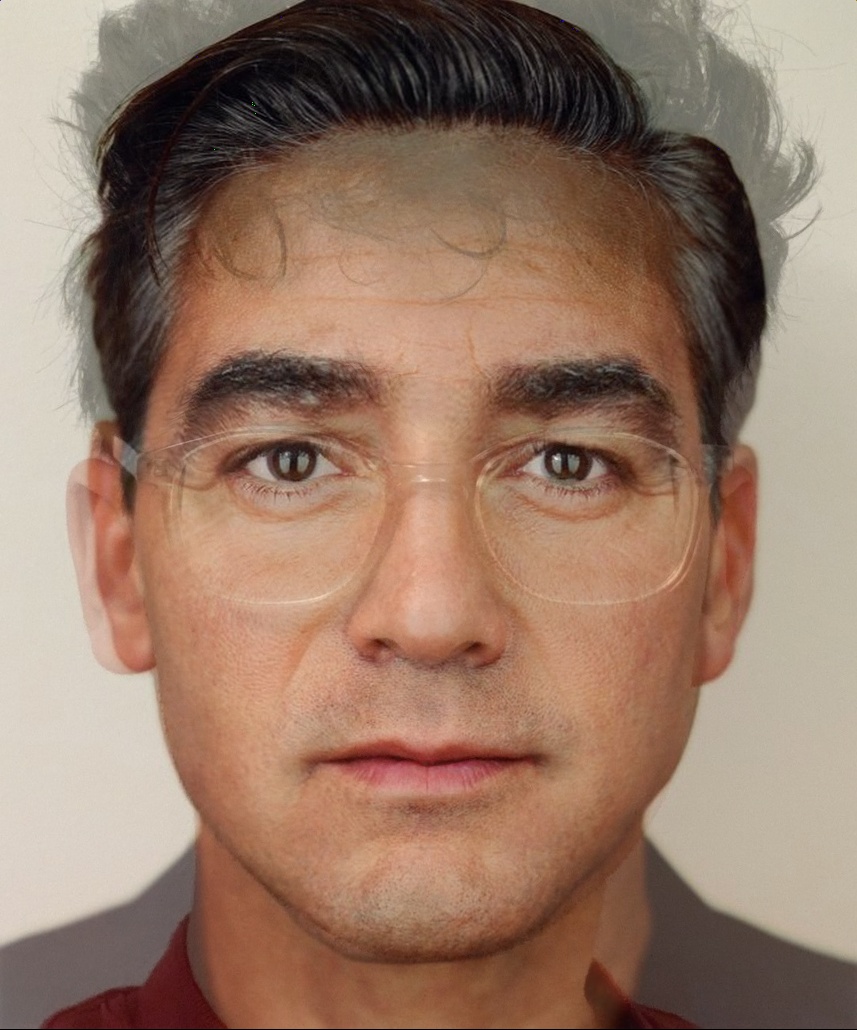
Gallery
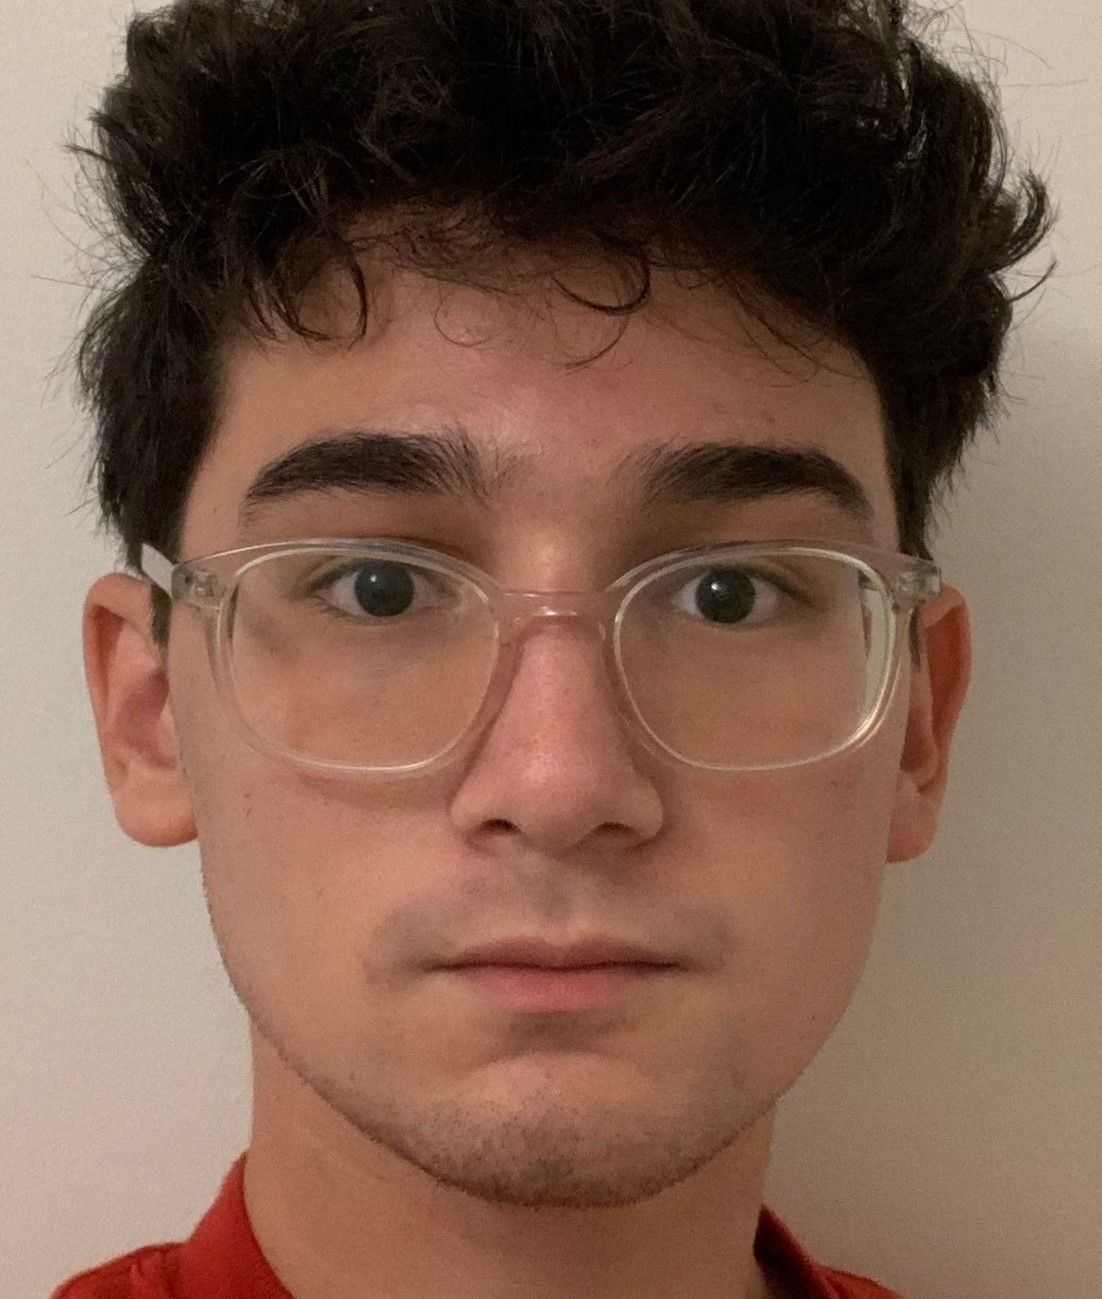
me n my bestie george
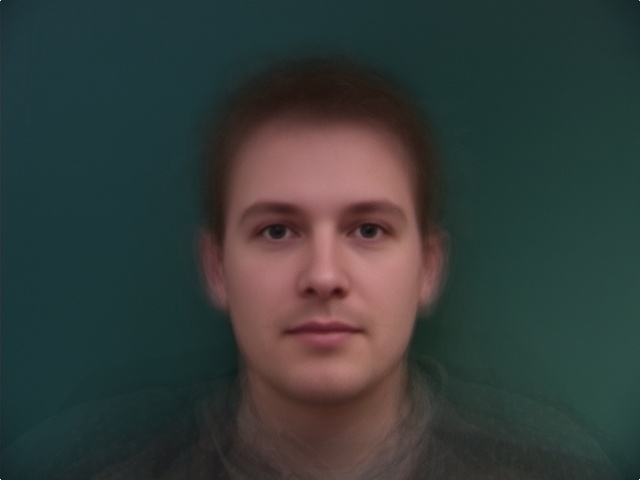
the average Danish computer vision researcher:
and some Danish computer vision researchers for comparison:
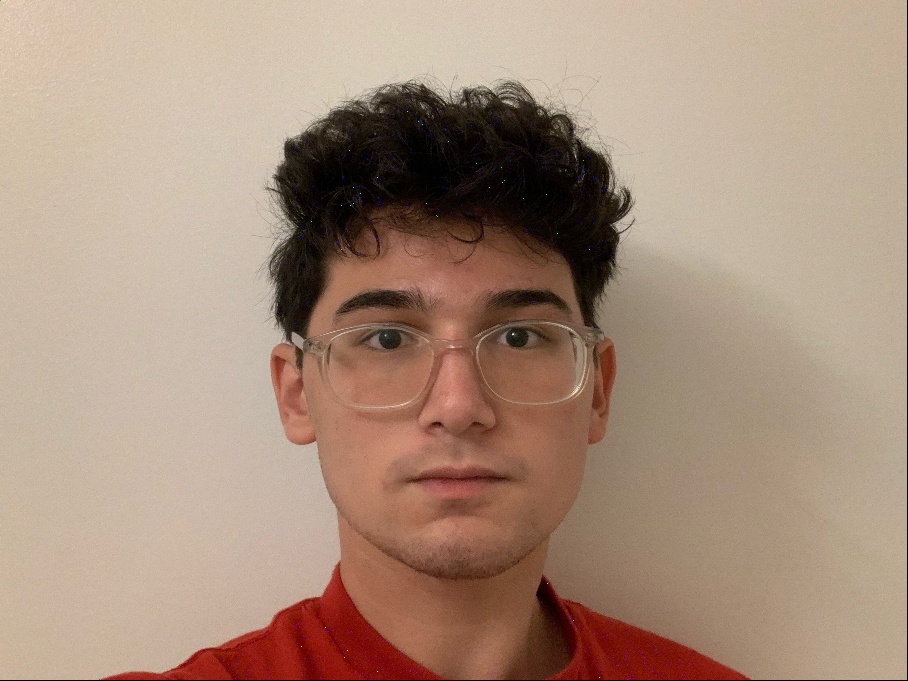
me if I were the average Danish CV researcher:
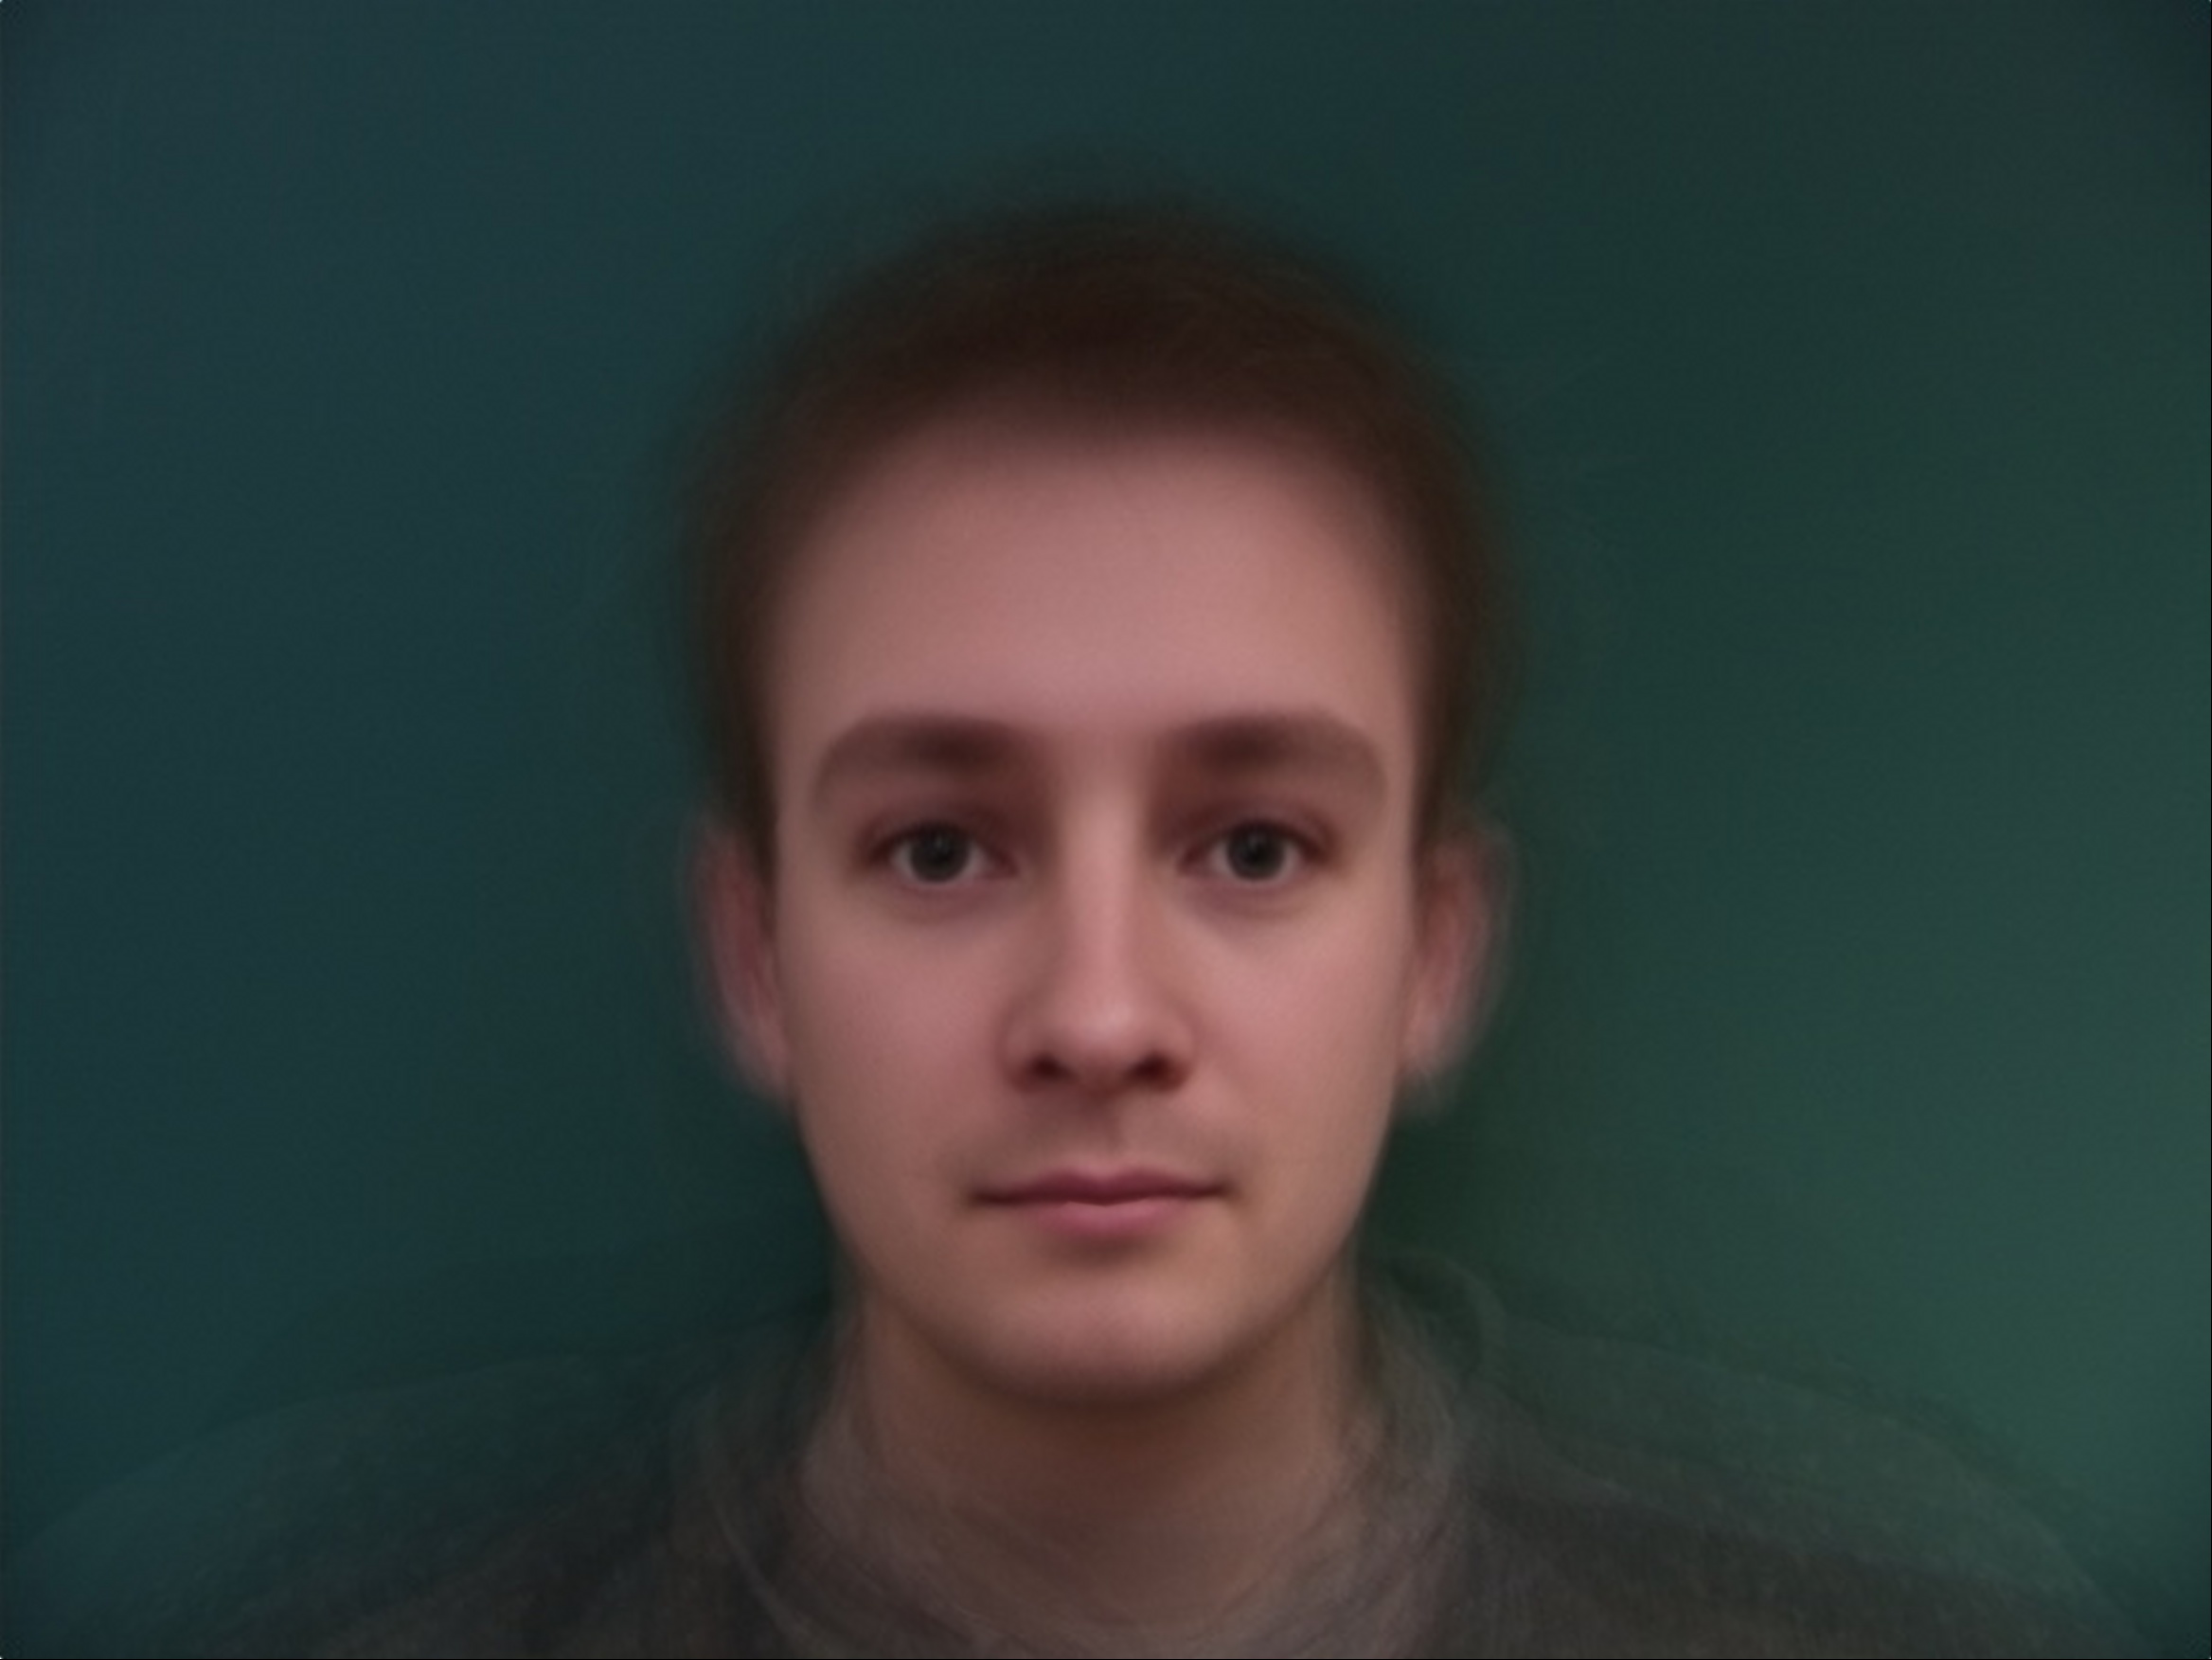
and the average Danish CV researcher if they were me!
an even more me-than-usual me (at least when compared to the average danish computer vision researcher by extrapolating the shapes of my features (notice how skinny and long my face becomes, and how high my eyebrows are: