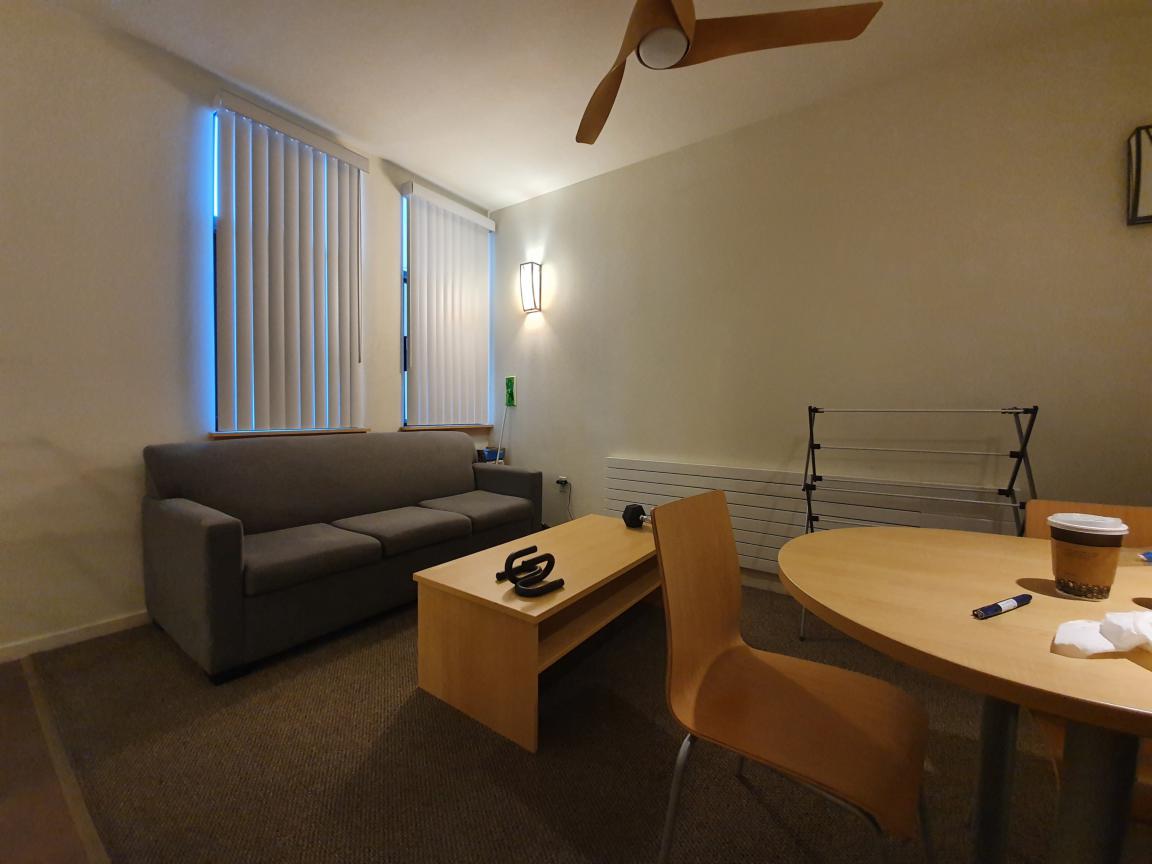
Living Room #1
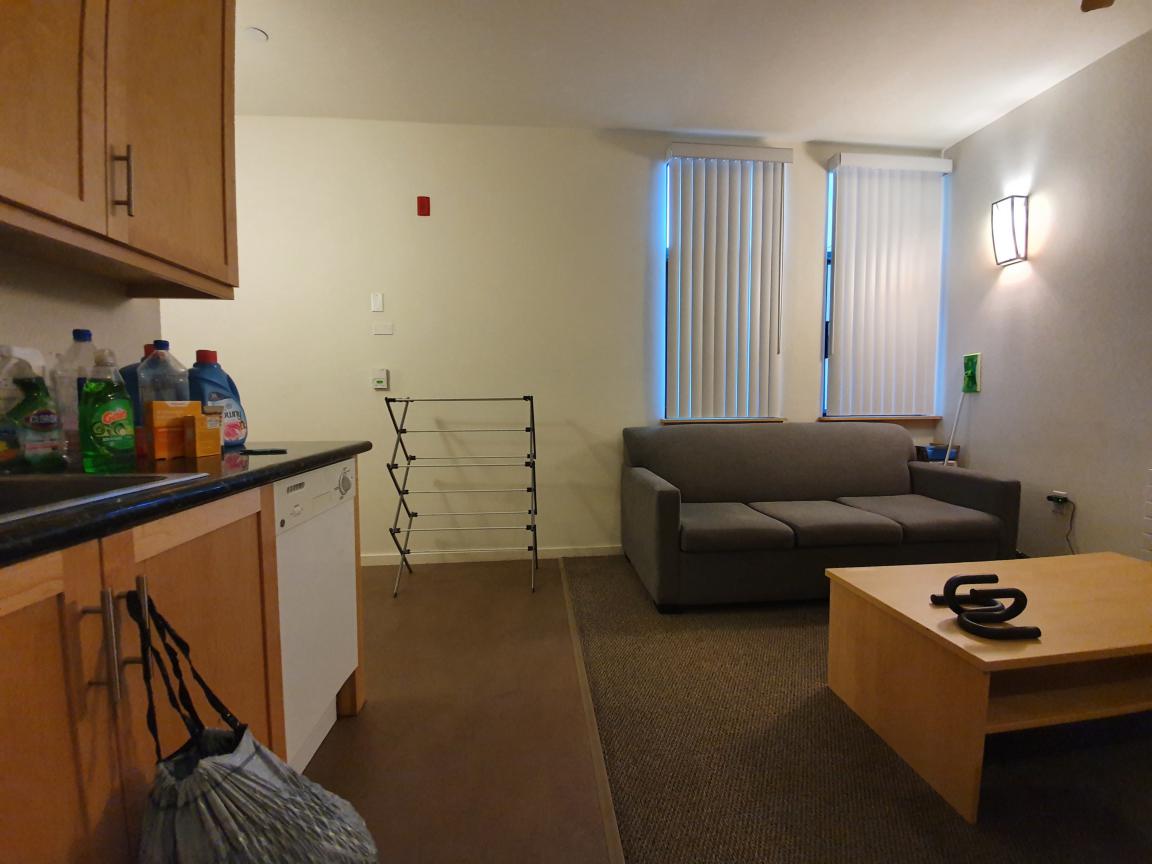
Living Room #2
The goal of this project is to [auto]stitch the images to create a panoramic photo mosaic of multiple images. In part 4A, we will be using pre-defined feature points and Homography Matrix to produce a stitched or rectified images.
Here are the original images that I took personally with my Galaxy S10 5G.
Living Room #1
Living Room #2
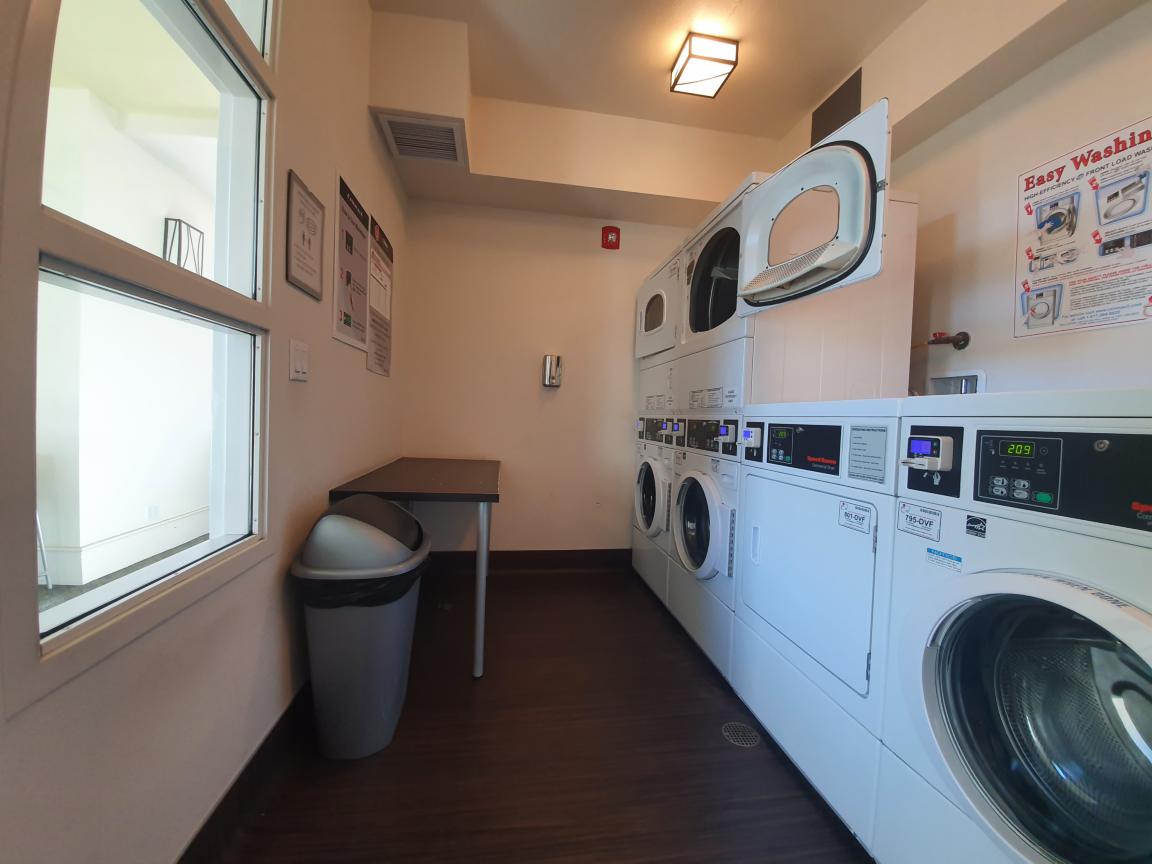
Laundry Room #1
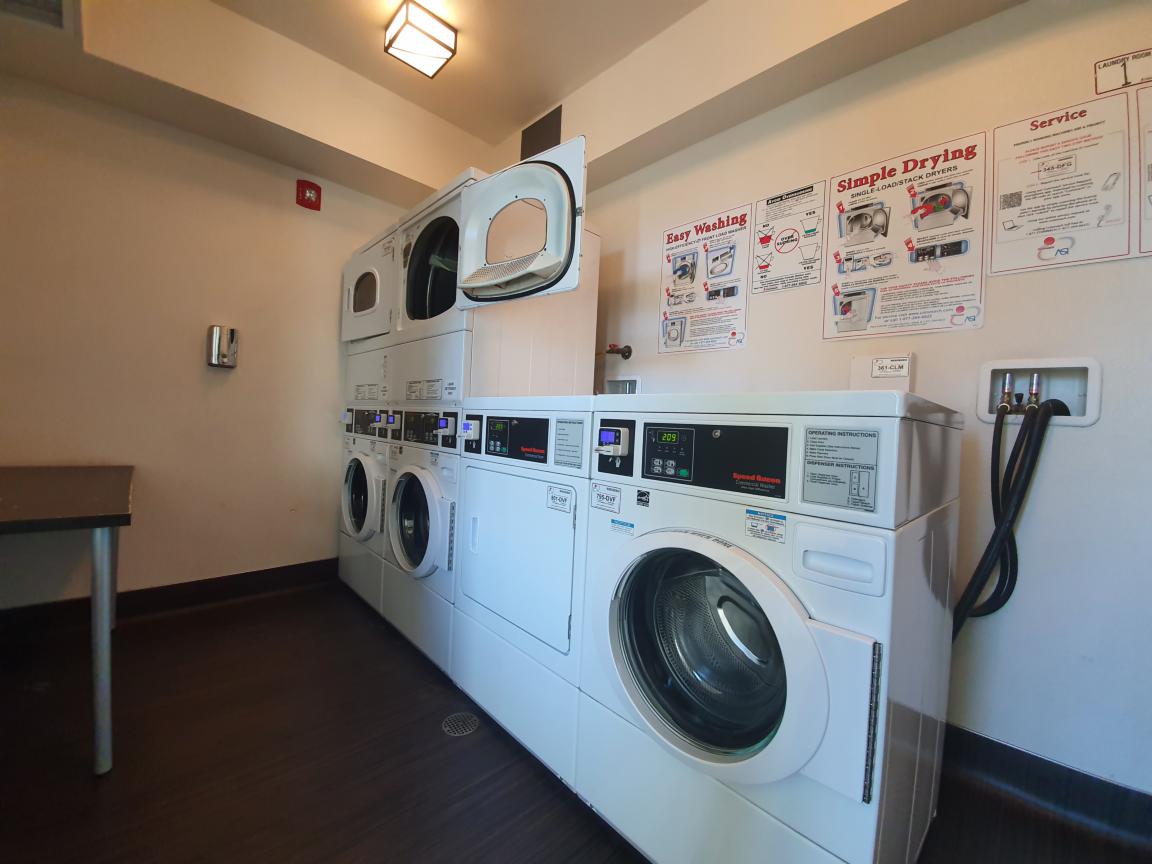
Laundry Room #2
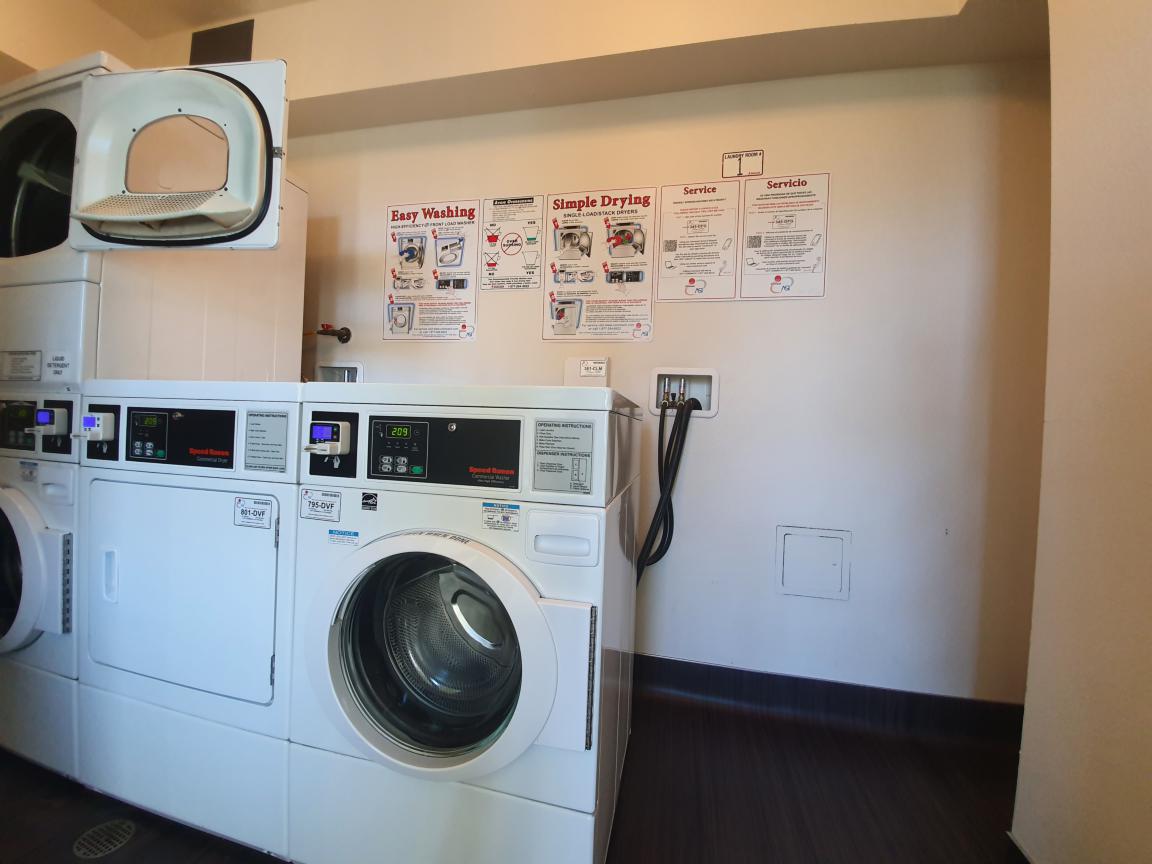
Laundry Room #3
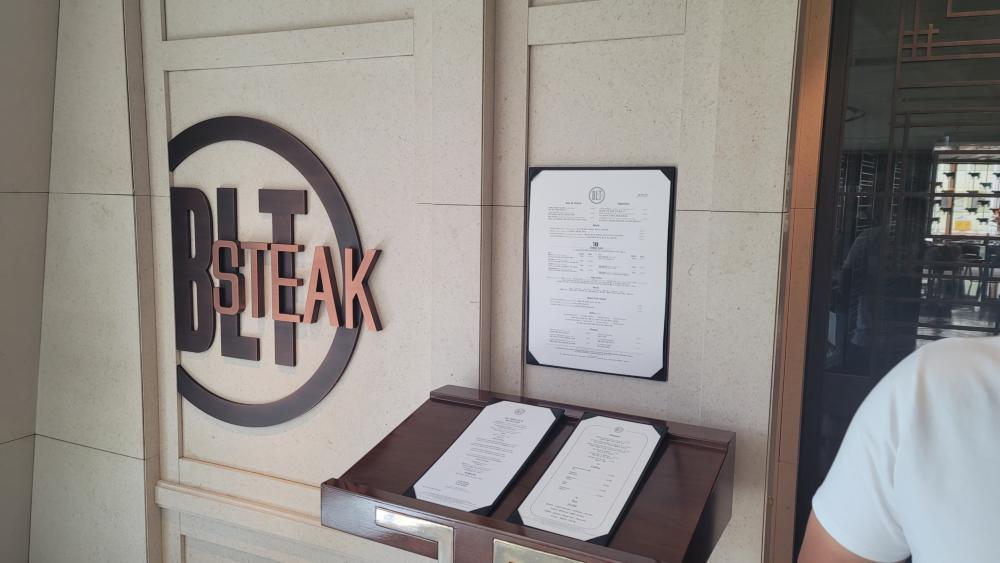
blt.jpg
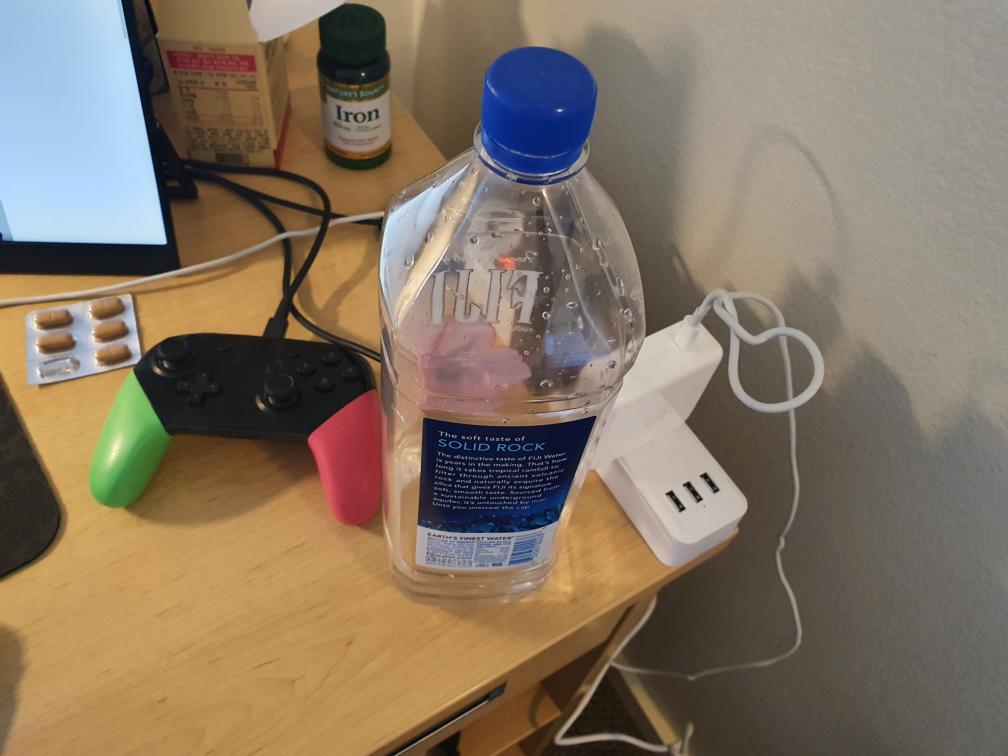
fiji.jpg
Here is the derivation that I've used to implement the computeH function.
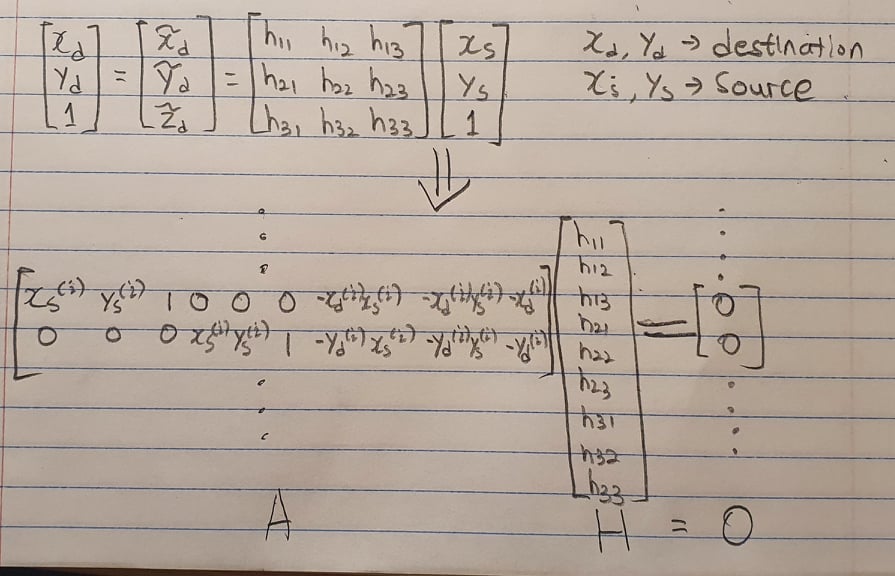
To solve for the matrix H, I've utilized Singular Value Decomposition and Direct Linear Transformation to obtain the values in the Homography matrix.
If I directly apply H to the images, the trasformed points would most likely be beyond the margins of the original image. Therefore, it is important to surround the image by black borders to avoid cropping. Here is some sample images of before warping with H and after warping with H.
Note: I've set the curtains as the feature points for the living room. The homography matrix is computed by each points and the average points.
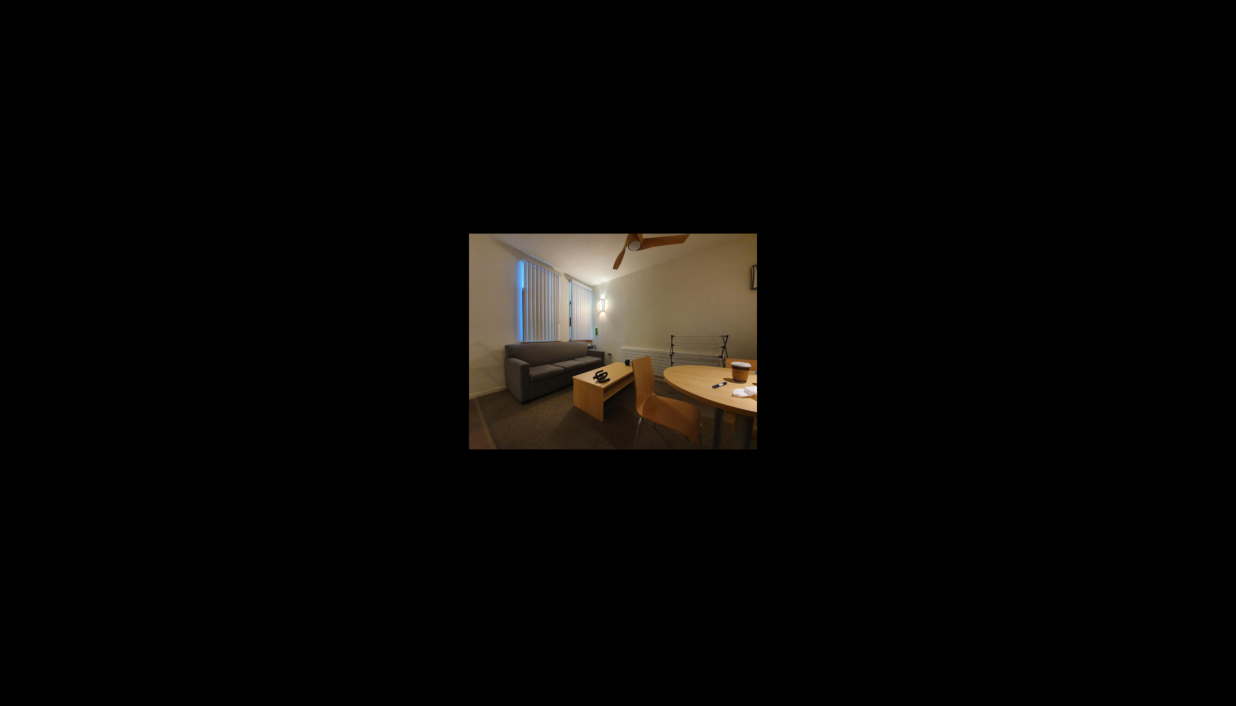
Before Warping
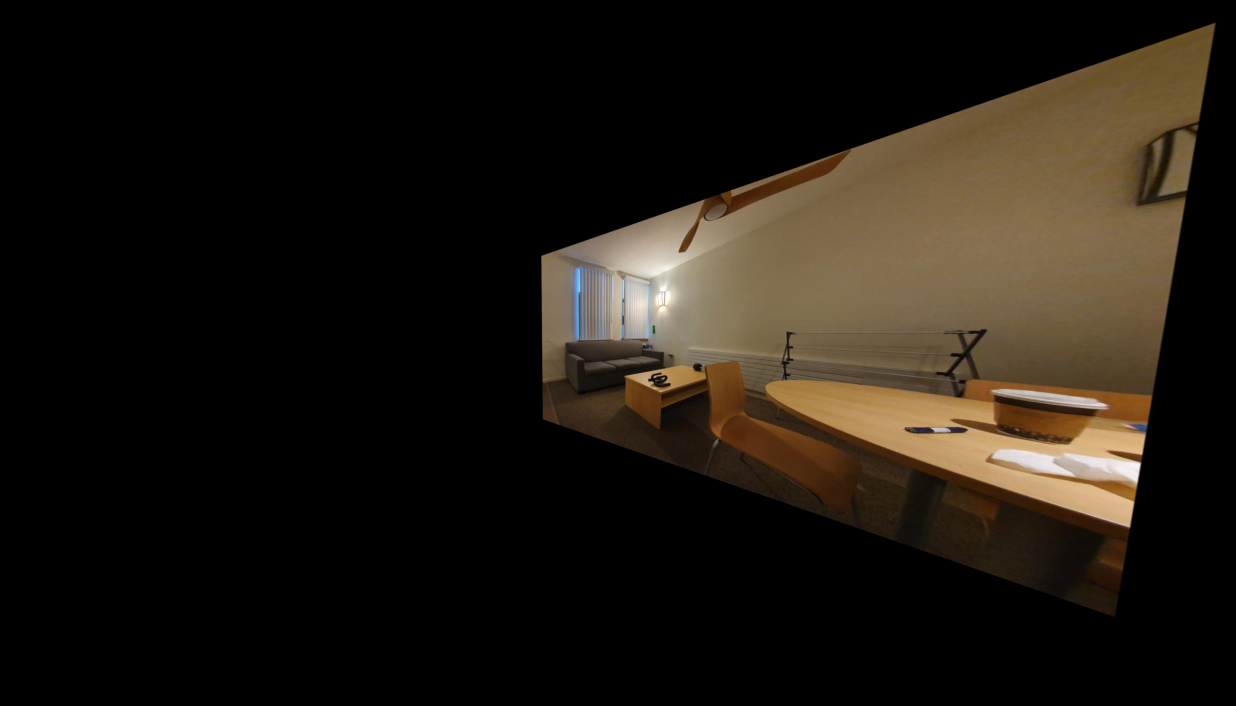
After Warping
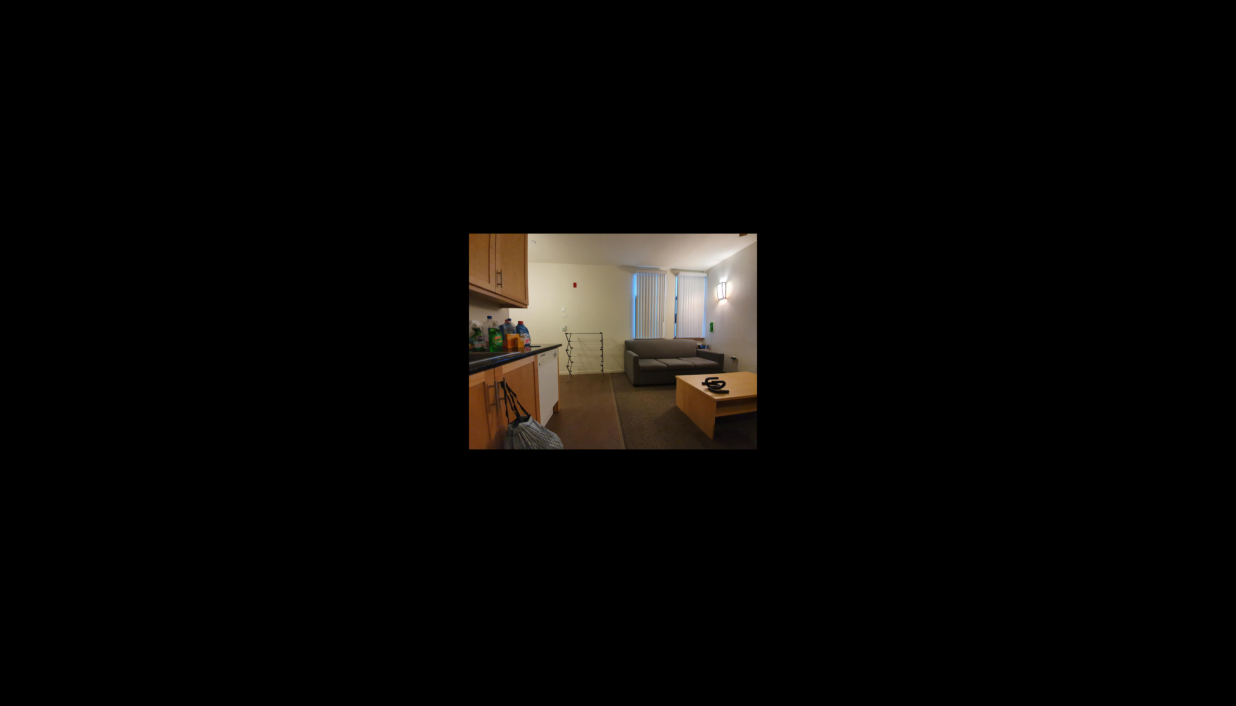
Before Warping
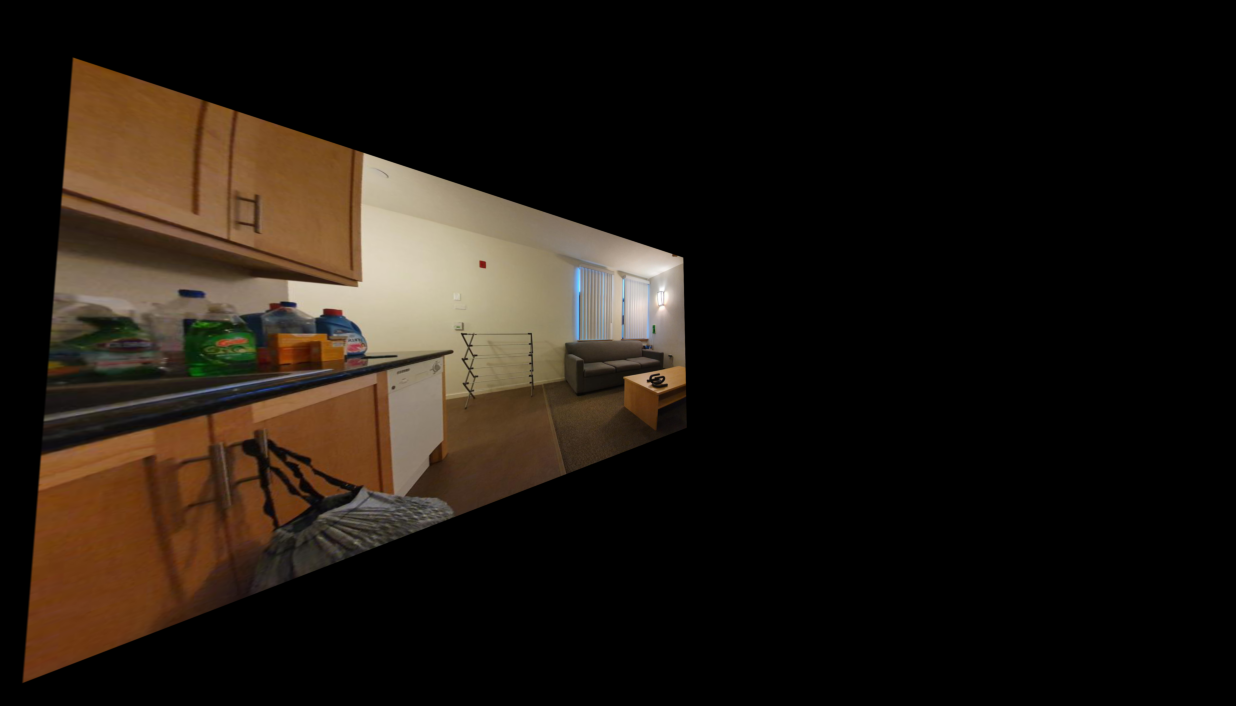
After Warping
I will show you the combined image mosaic later :)
Rectifying images is rather simple. Let's say we have a rectangular surface that we want to rectify. All we have to do is perform a warping of the image to rectangular points. Consider it as if we are transforming the perspective from that of an image to a perpendicular perspective. Here are some rectification that I've performed
Before Rectifying
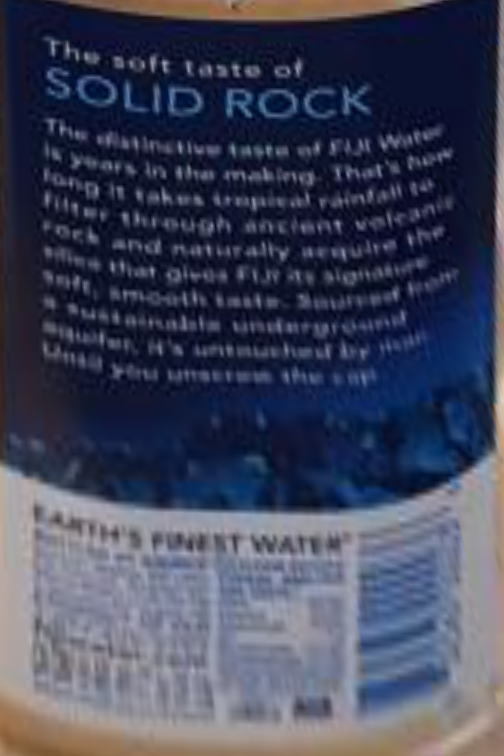
After Rectifying
Before Rectifying
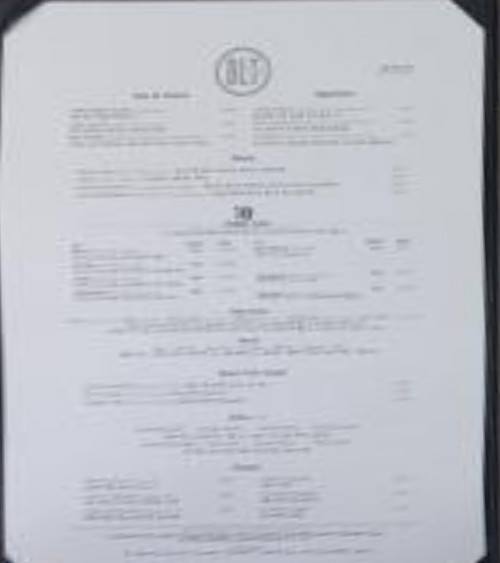
After Rectifying
Conclusion: Get a better camera than Samsung Galaxy S10 5G (or I might be a terrible photographer)
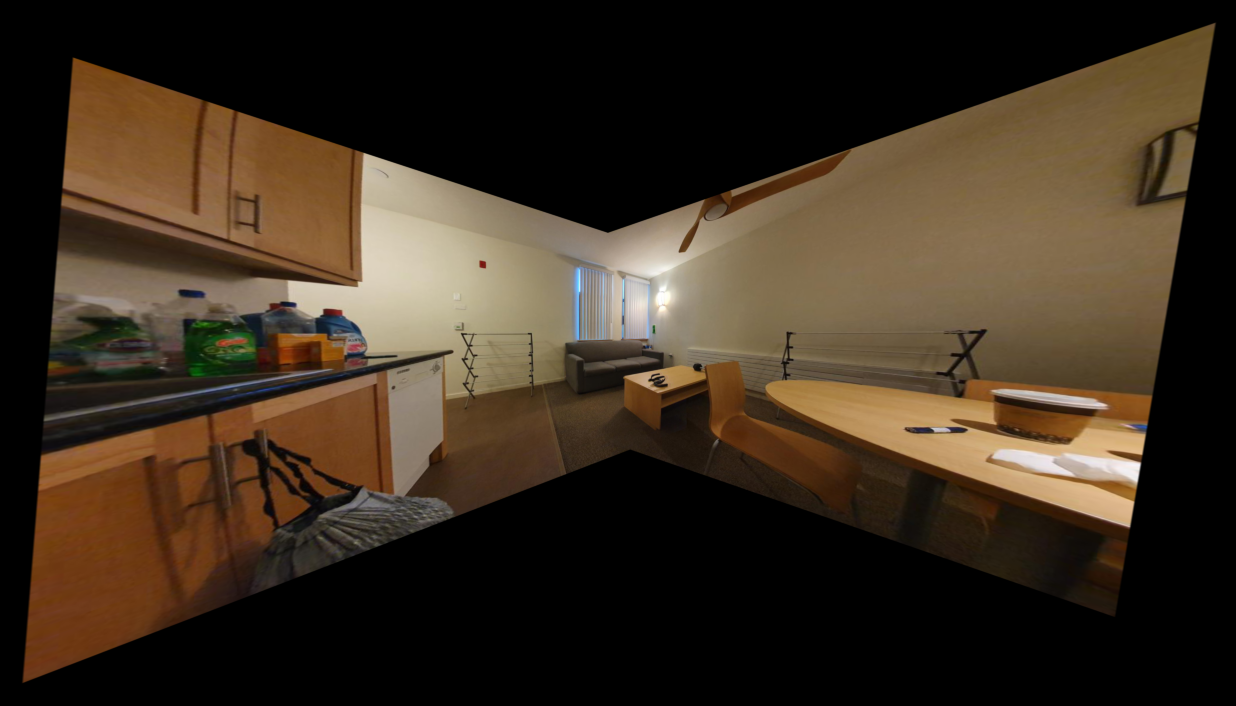
I've already managed to warp the living room photos. To blend the two photos, I've utilized np.maximum to overlay each points. It would take the brighter points of each image when two photos are added. Here is the combined photo of the living room!
I've also have stitched the laundry room photos together as well. Here are the results!
Laundry Room #1
Laundry Room #2
Laundry Room #3
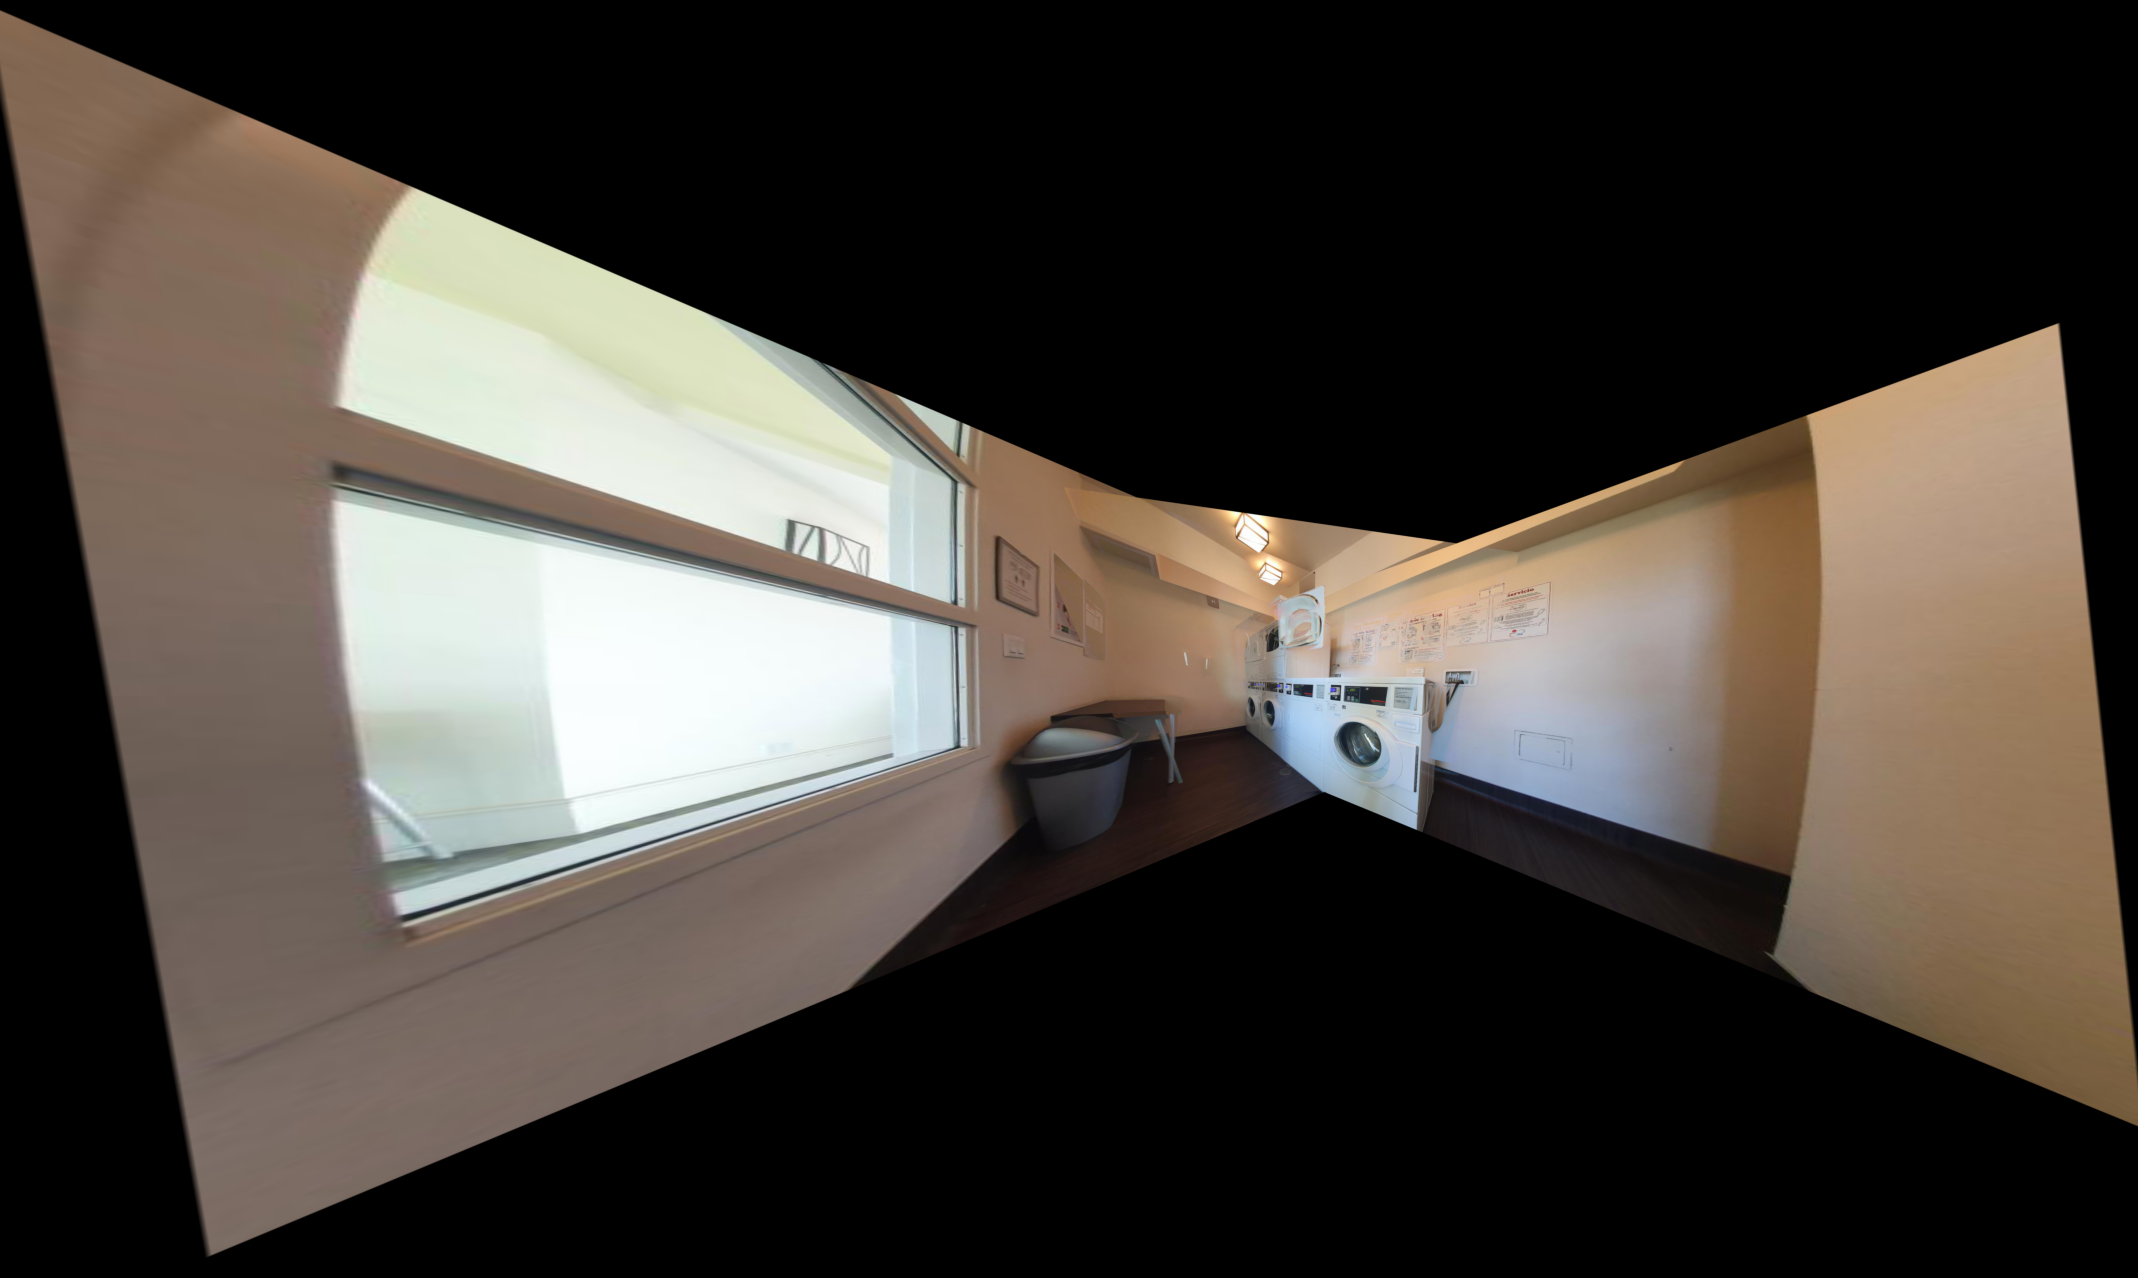
The most important lesson is that the photo itself and the feature points are the most crucial factors to creating a clean mosaic. When I first attempted to stitch the laundry photos, I've set the feature points close to each other. This caused the images to warp into a massively stretched such that it was impossible to create a stitch image that looks good. The feature points should either be infinitely many or at least far apart. In the following part of the project (4B), I will continue with feature matching and auto stitching.