Overview
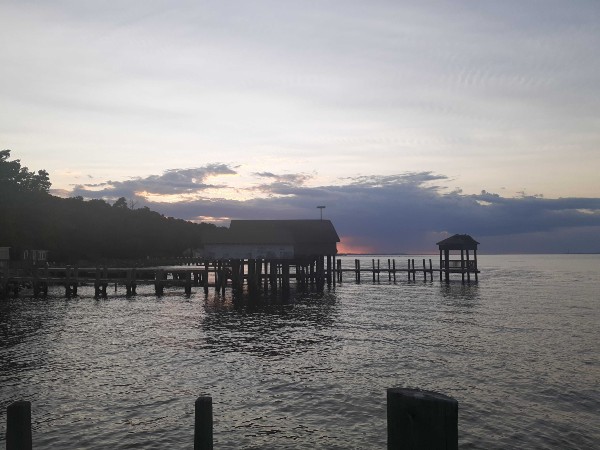
In this project, I first collected my own data such that the photographs contained projective transformations between them (same center of projection but different viewing directions). Afterwards, using these images, I recovered the homographic transformation between the images and used the homography matrix to warp and rectify the images. Finally, using my implementation, I was able to warp images onto a base image and blend them together to create a mosaic.
Recover Homographies
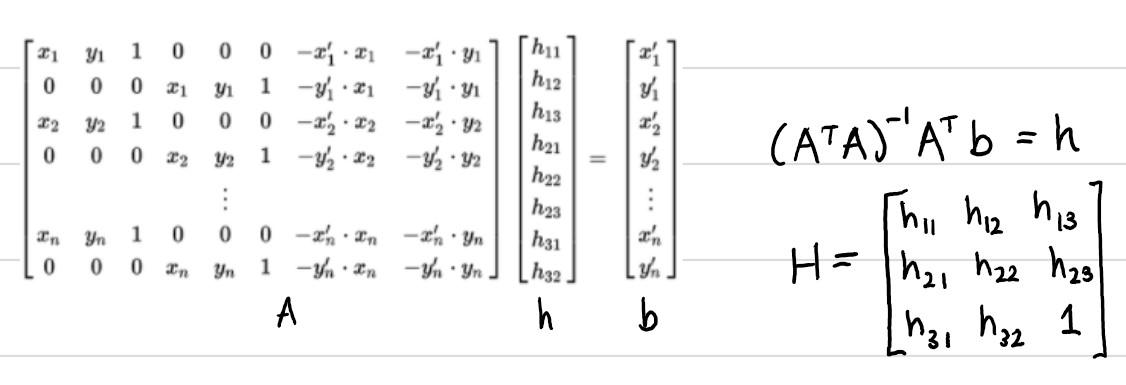
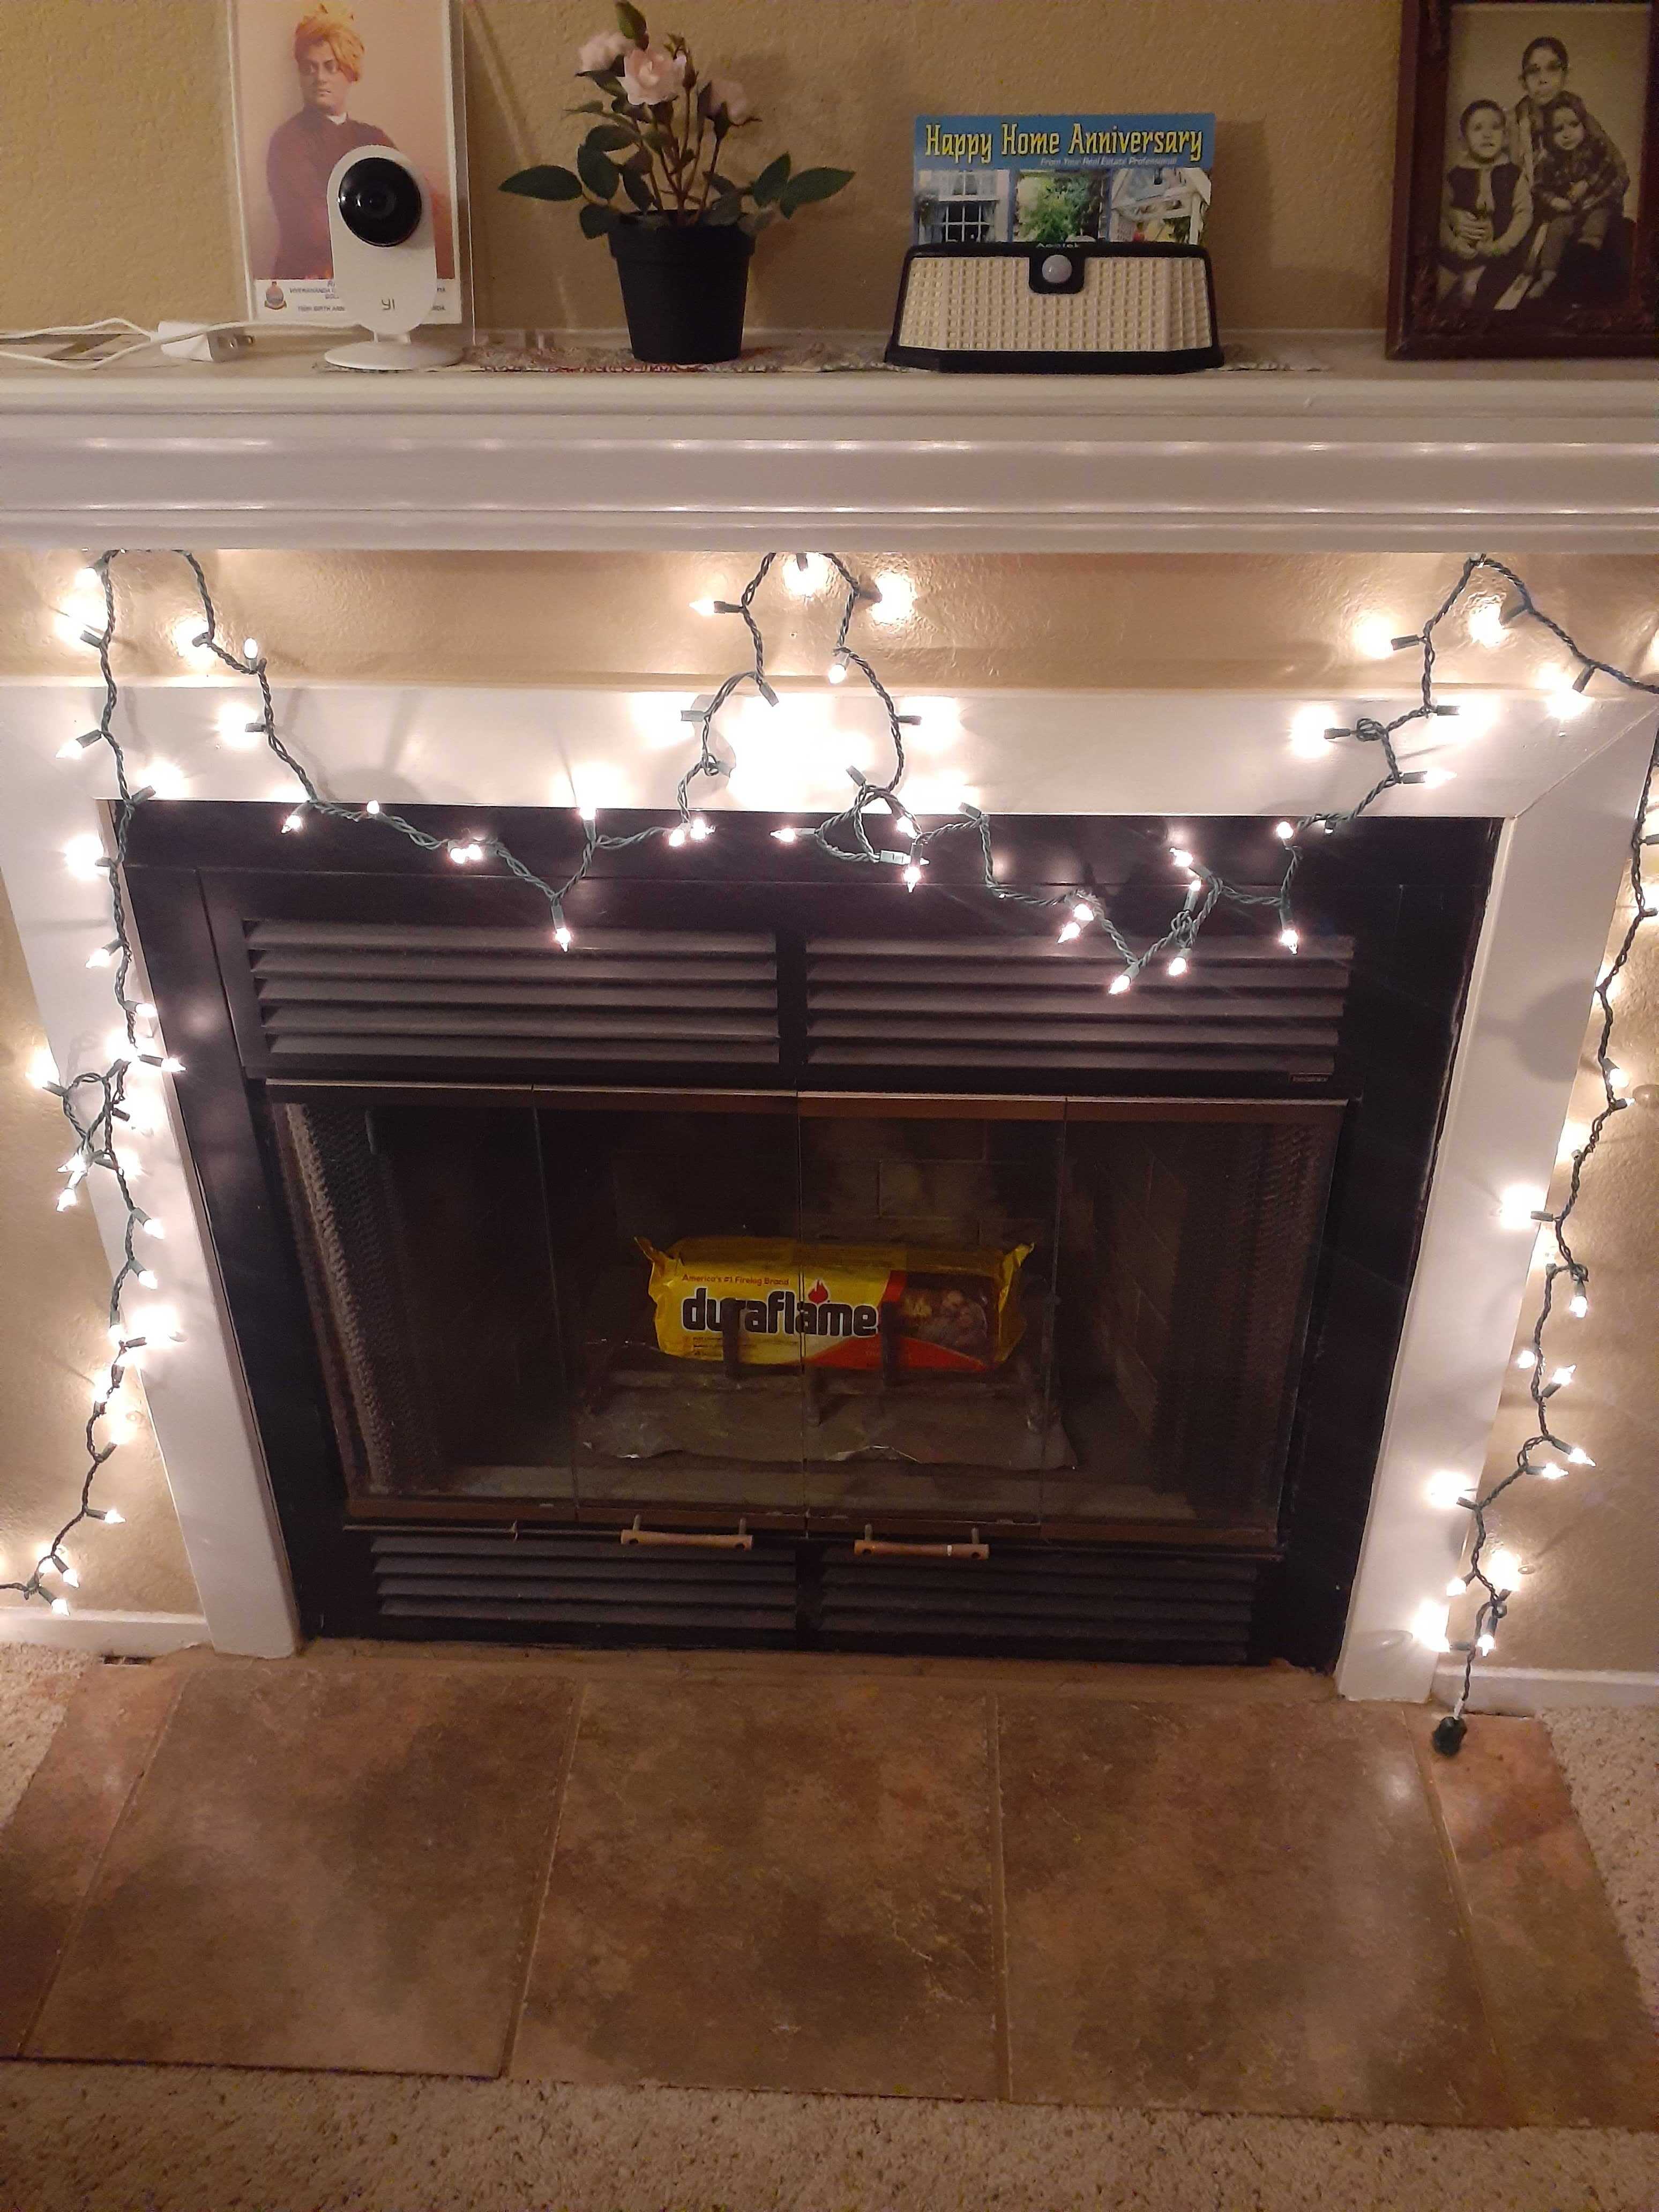
In order to recover the homography between two given images, I first had to use ginput to manually define the 1:1 correspondence points between the images. I specifically chose points on objects that were closer in terms of depth/more prominent in the picture, and had a distinct shape. I made sure to define more than 4 points for images that did not involve a primarily frontal-parallel plane, as our homography matrix has 8 unknowns and 4 points gives us exactly 8 values, leaving us with an unstable homography recovery. Thus, I collected more than 4 points to ensure an overdetermined system that I could solve with least squares. Here is the system that I used to recover the homography:
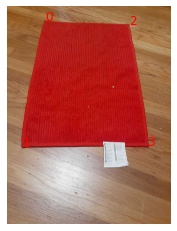
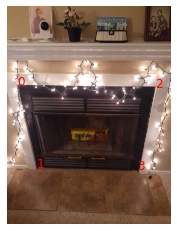
Here are some examples of the frontal-parallel correspondence points I used:
|
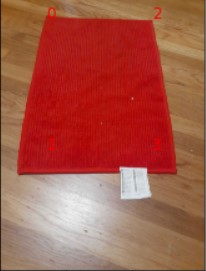
rectangular shape of rug |
|
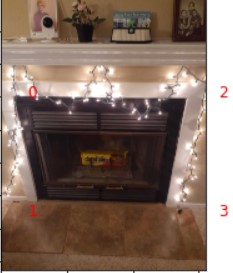
fireplace shape |
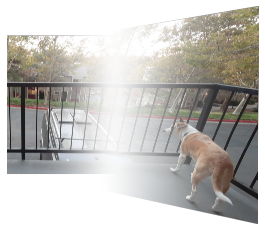
Warp the Images + Image Rectification
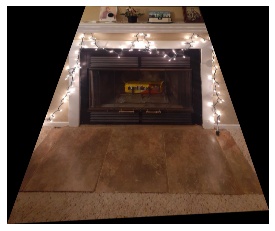
After constructing the homography matrix H using least squares, we can either use forward or inverse warping to rectify the image. In my case, I used inverse warping by defining the coordinates of the output image and passing them into cv2.remap() in order to "look up" where every destination/output pixel maps to in the original image. In order to define the output coordinates, I had to find the bounds of my output image, which I did by using the homography matrix to transform the input image corners into their transformed coordinates and finding the minimum and maximum of their corresponding x and y values.
In order to test both my homography recovery and warping function, I used the above images and their correspondence points to rectify the images. Here are the results:

|

|
|
|
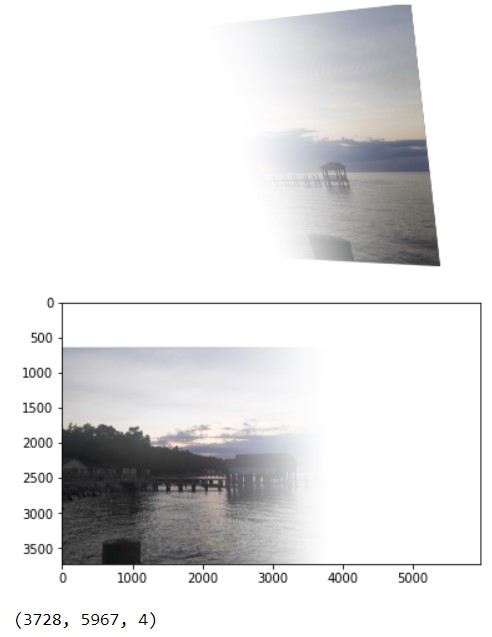
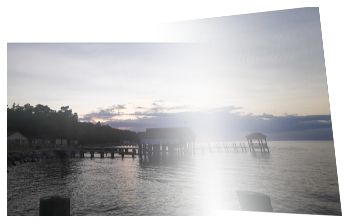
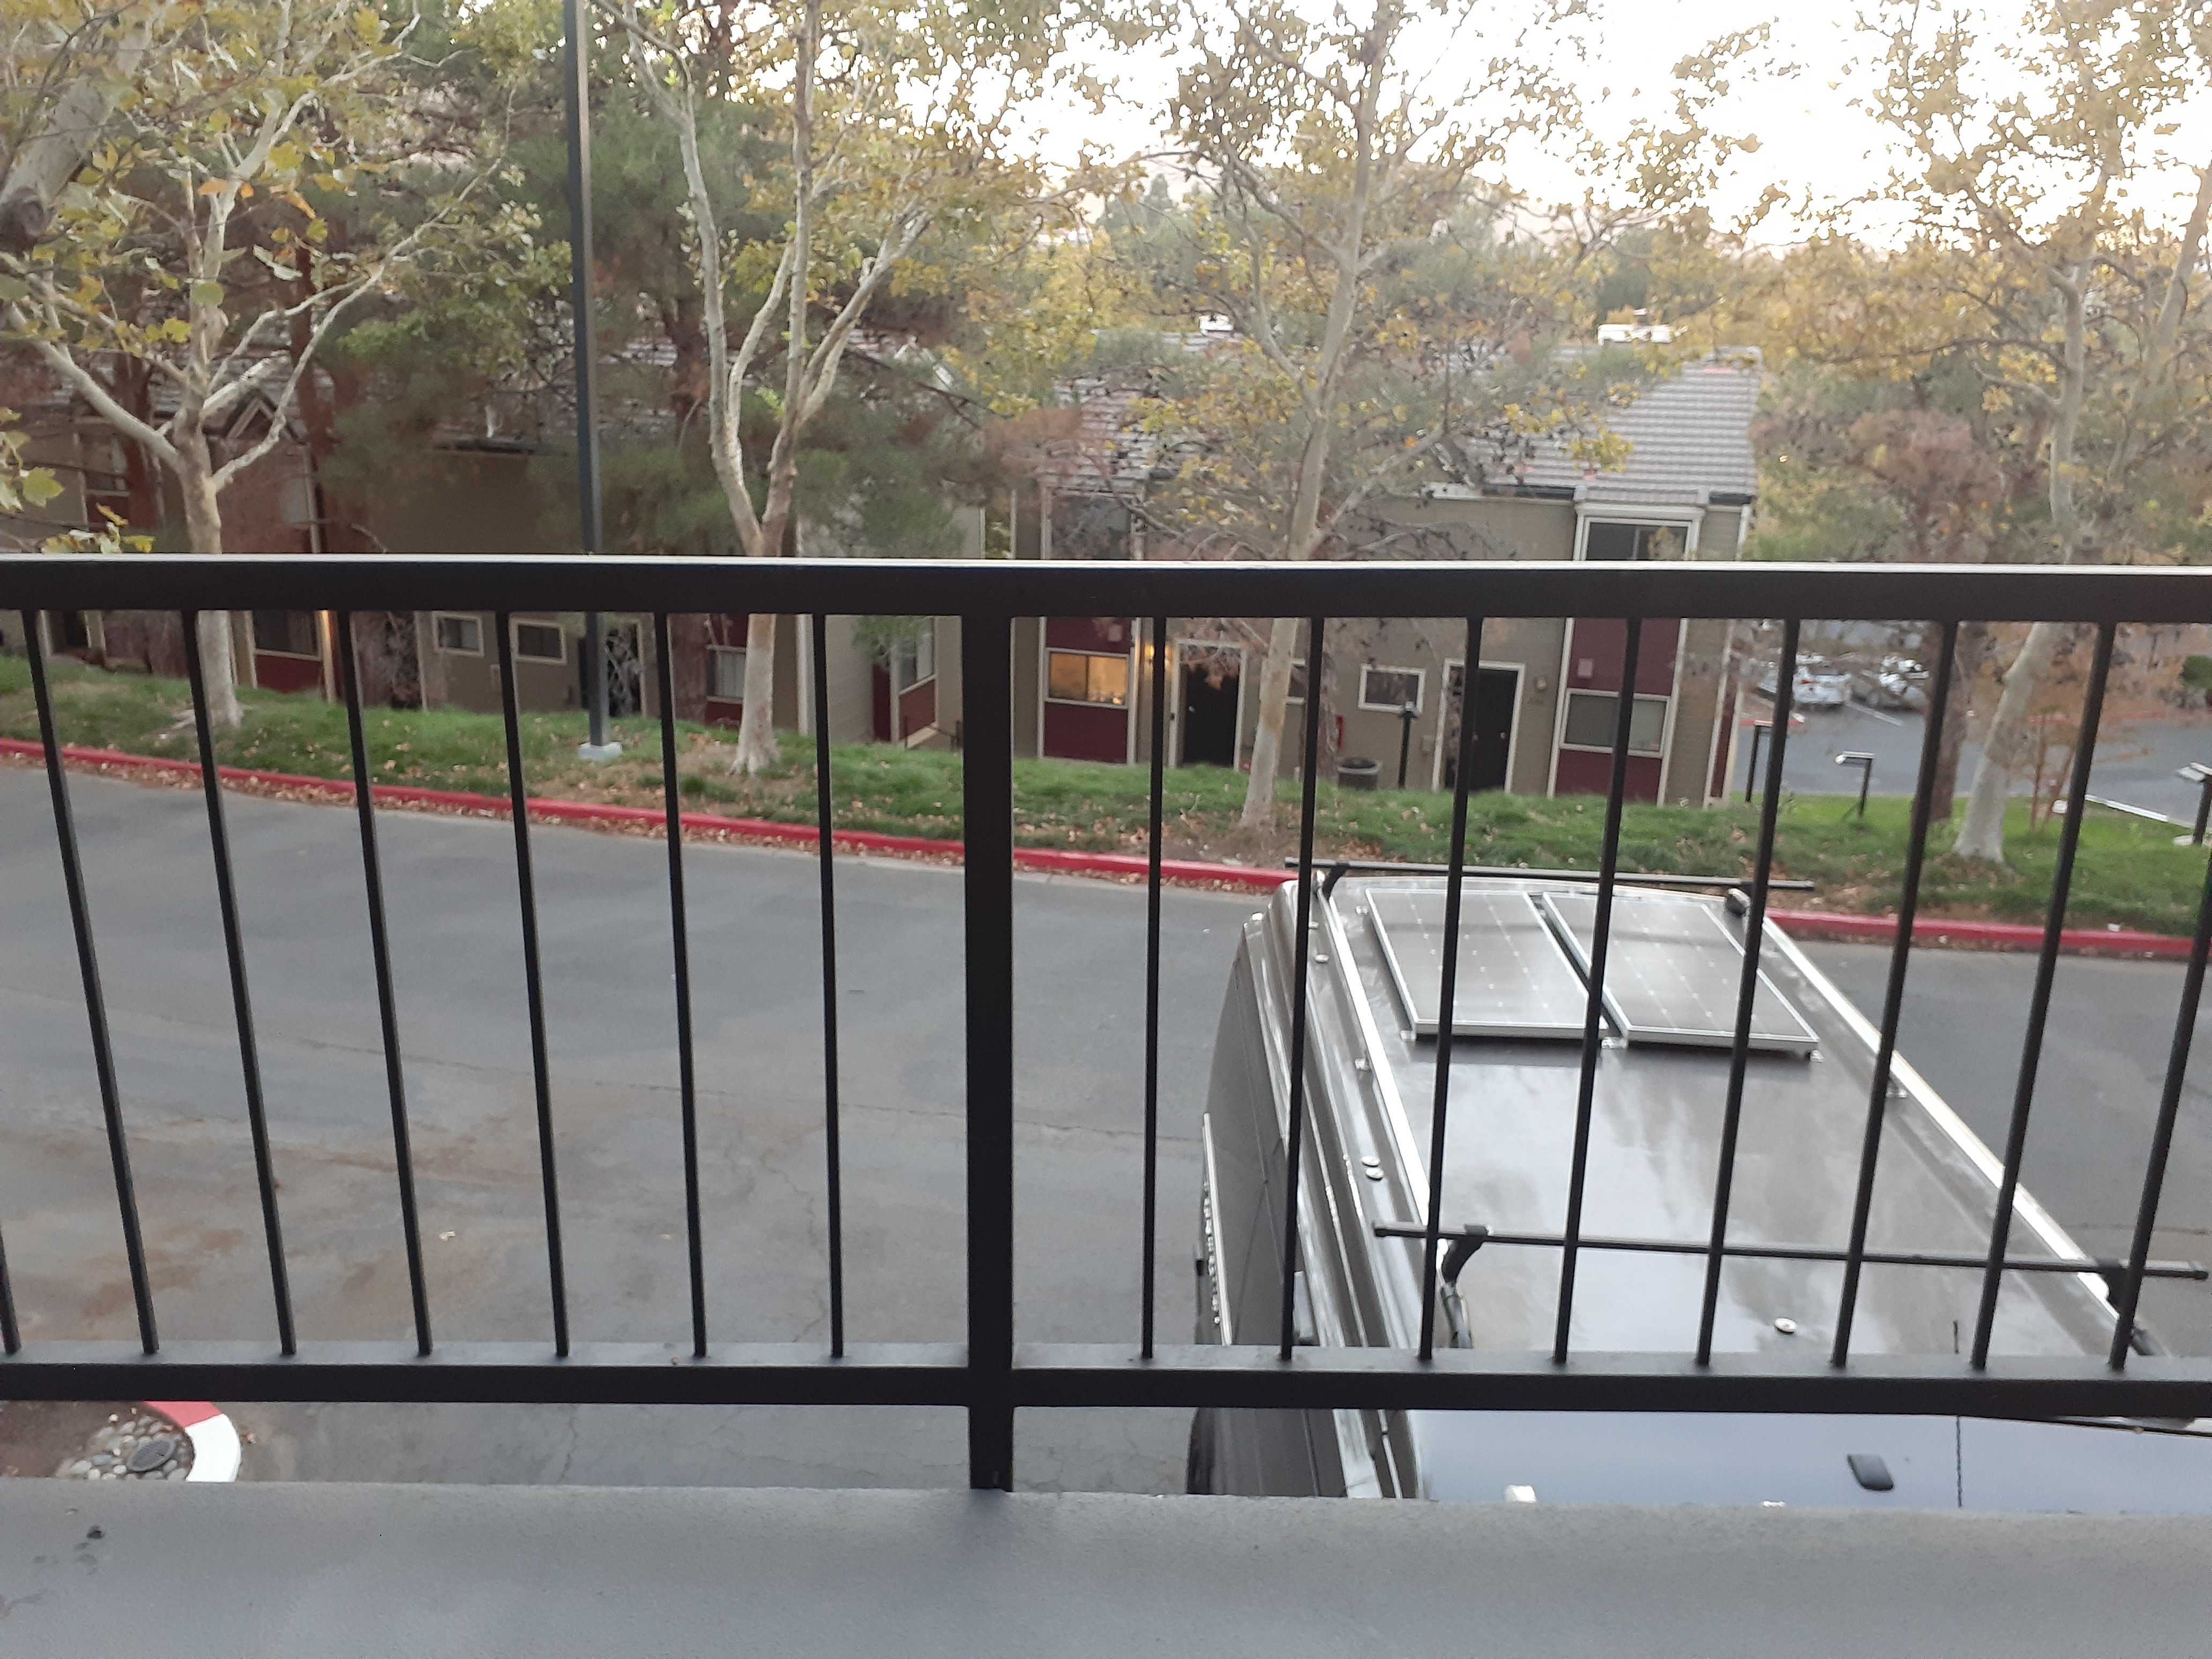
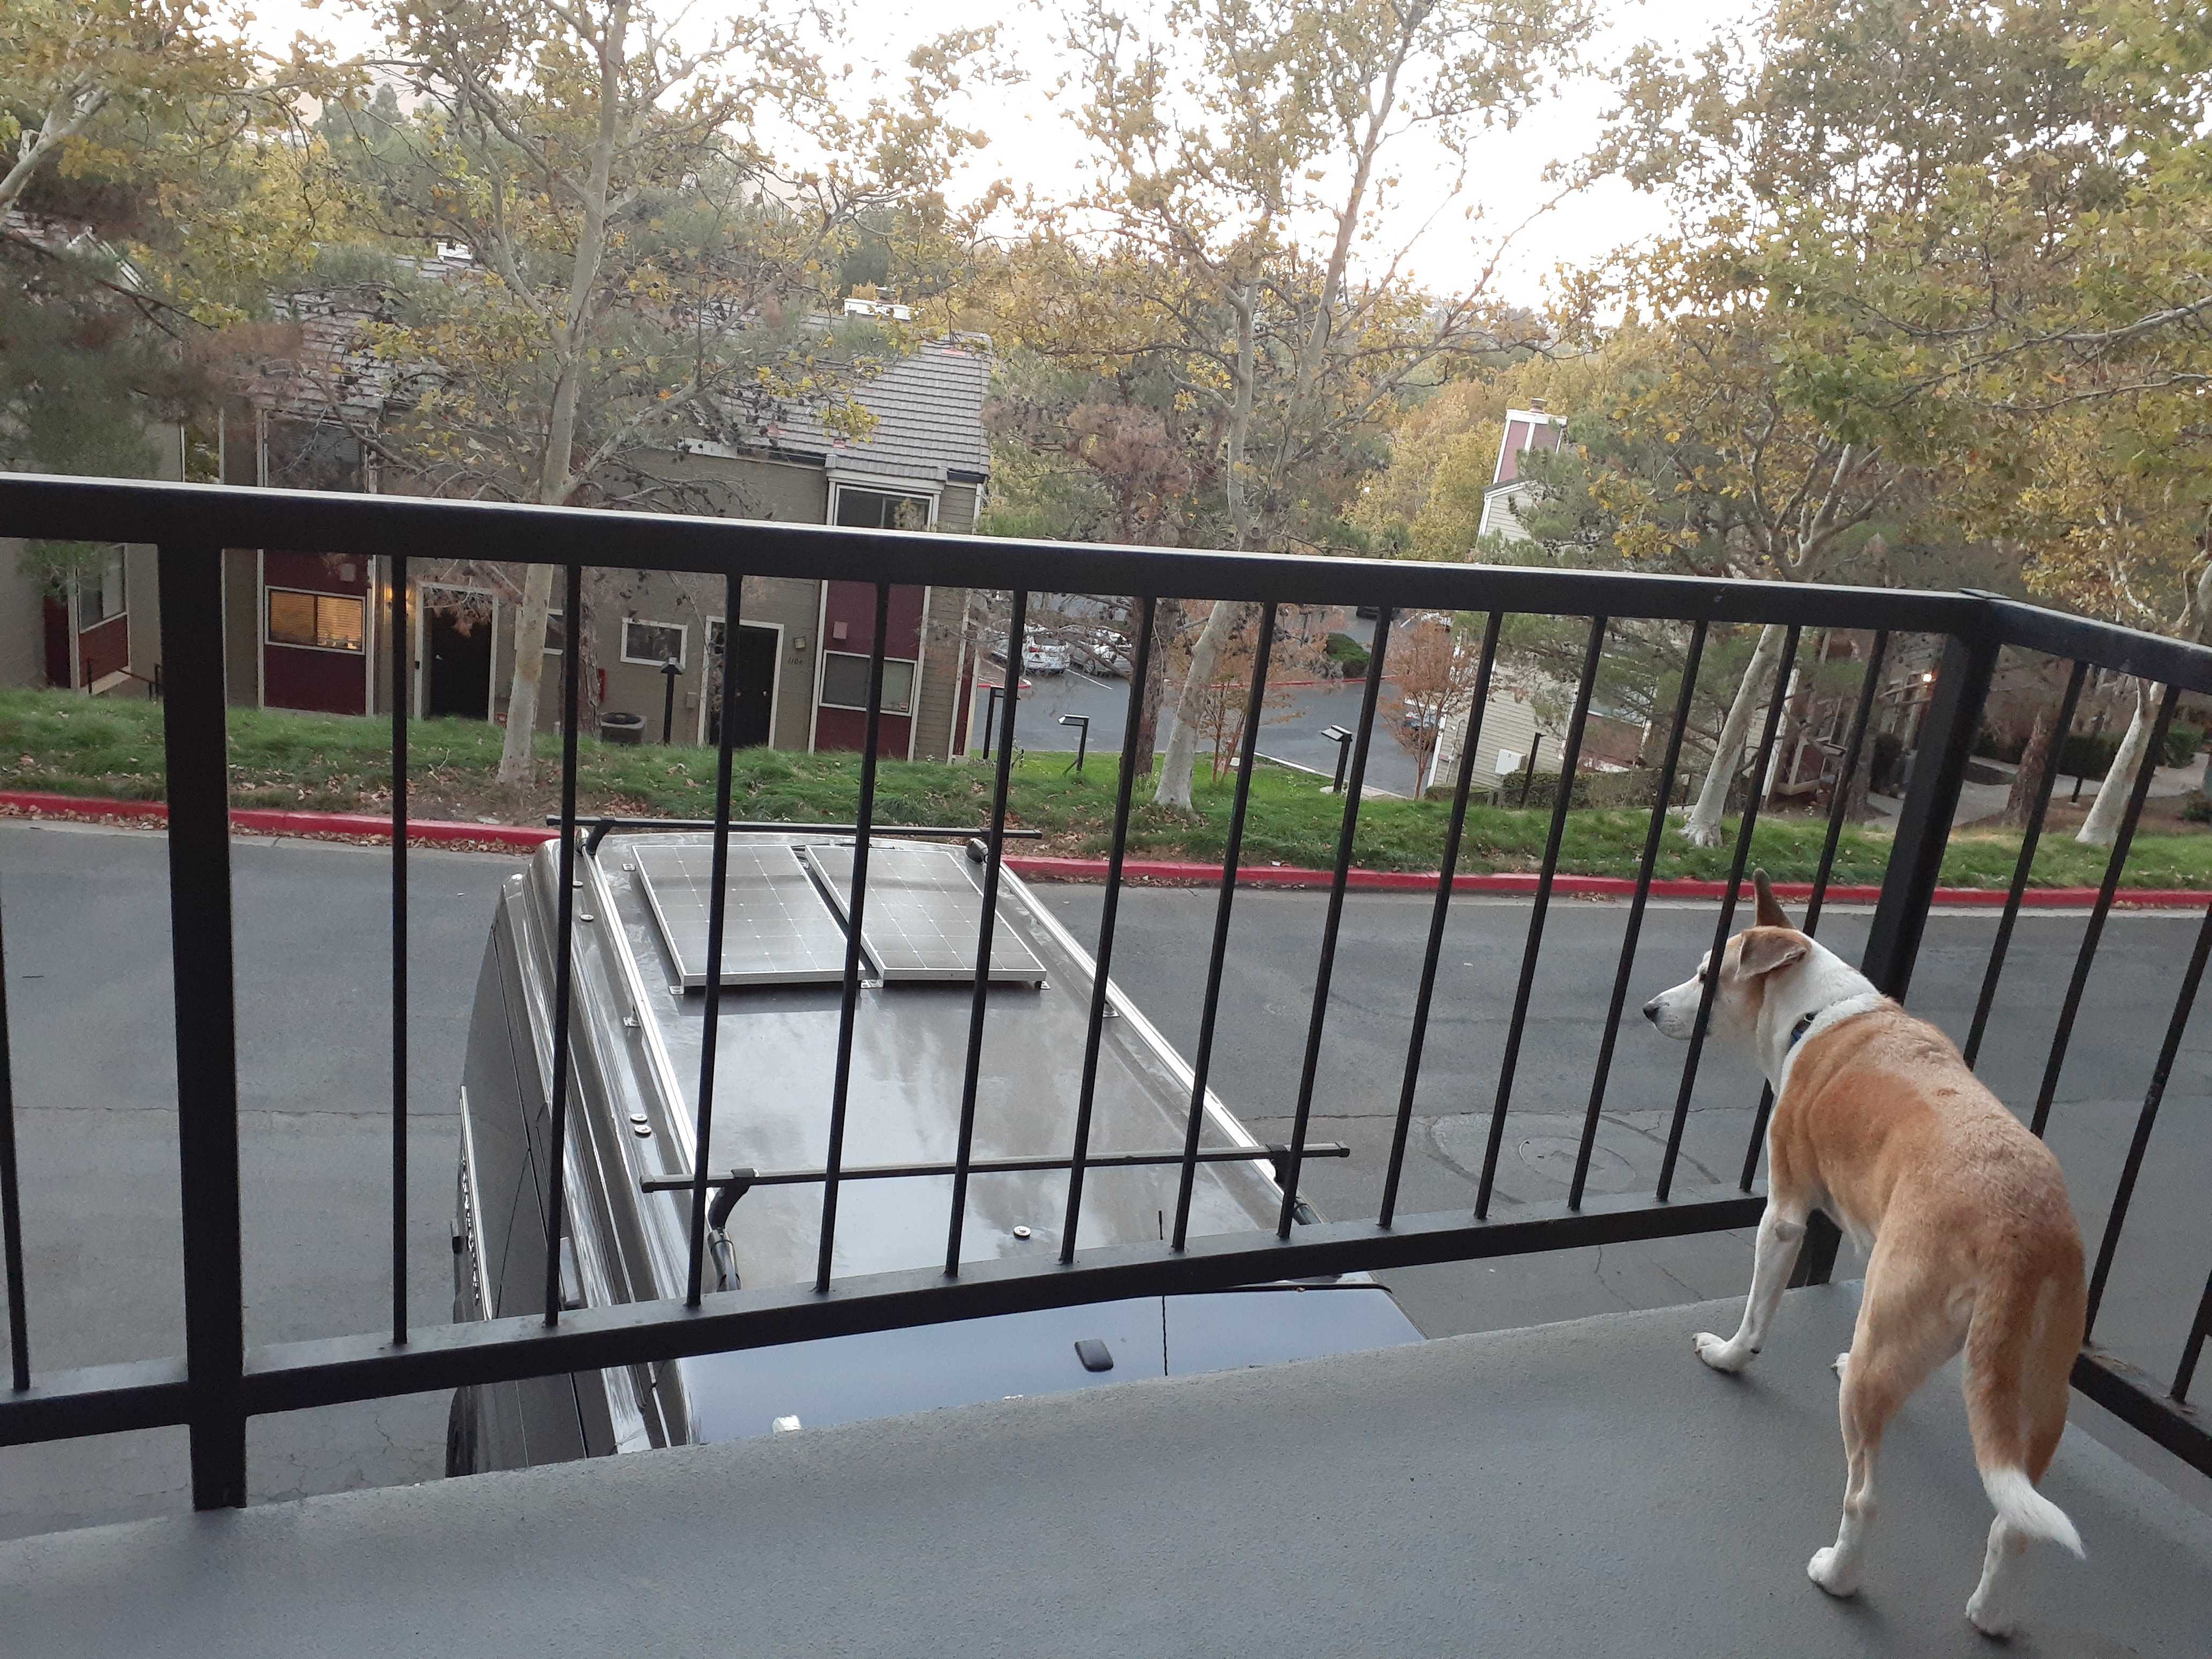
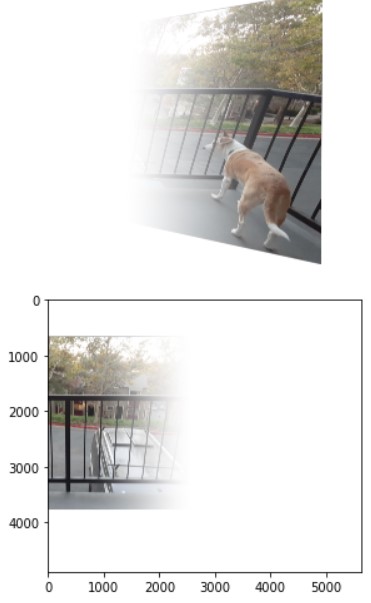
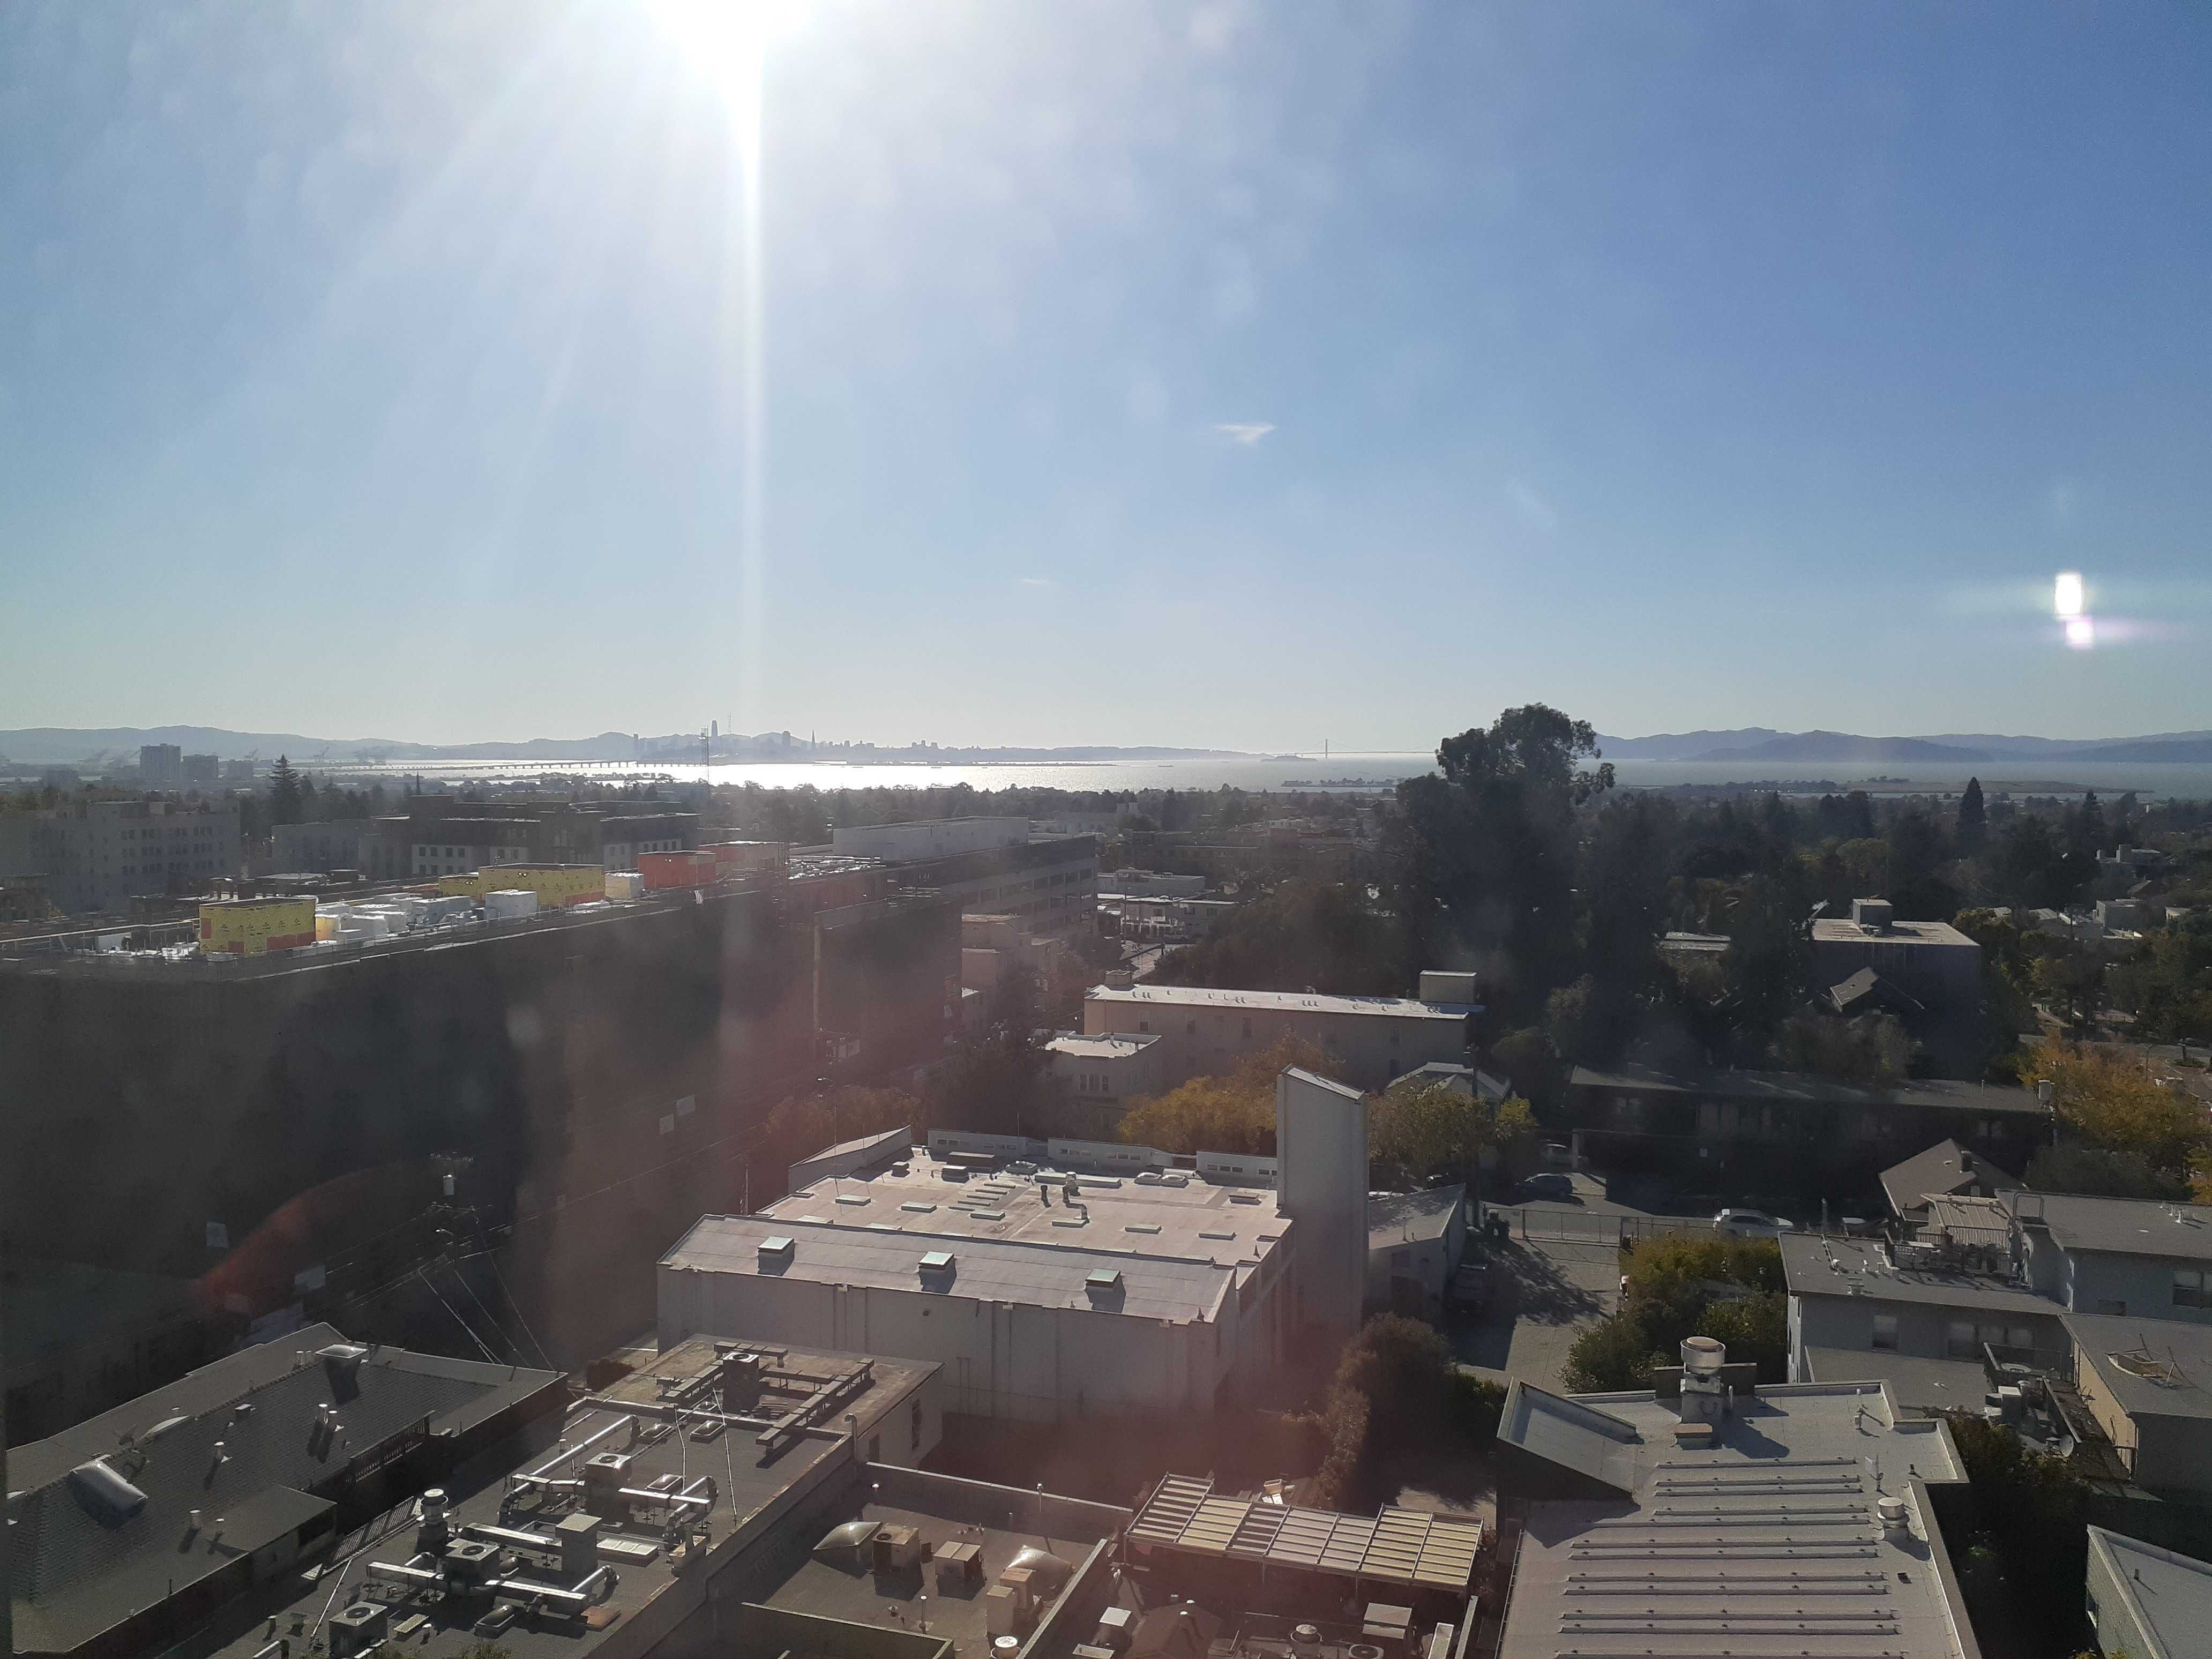
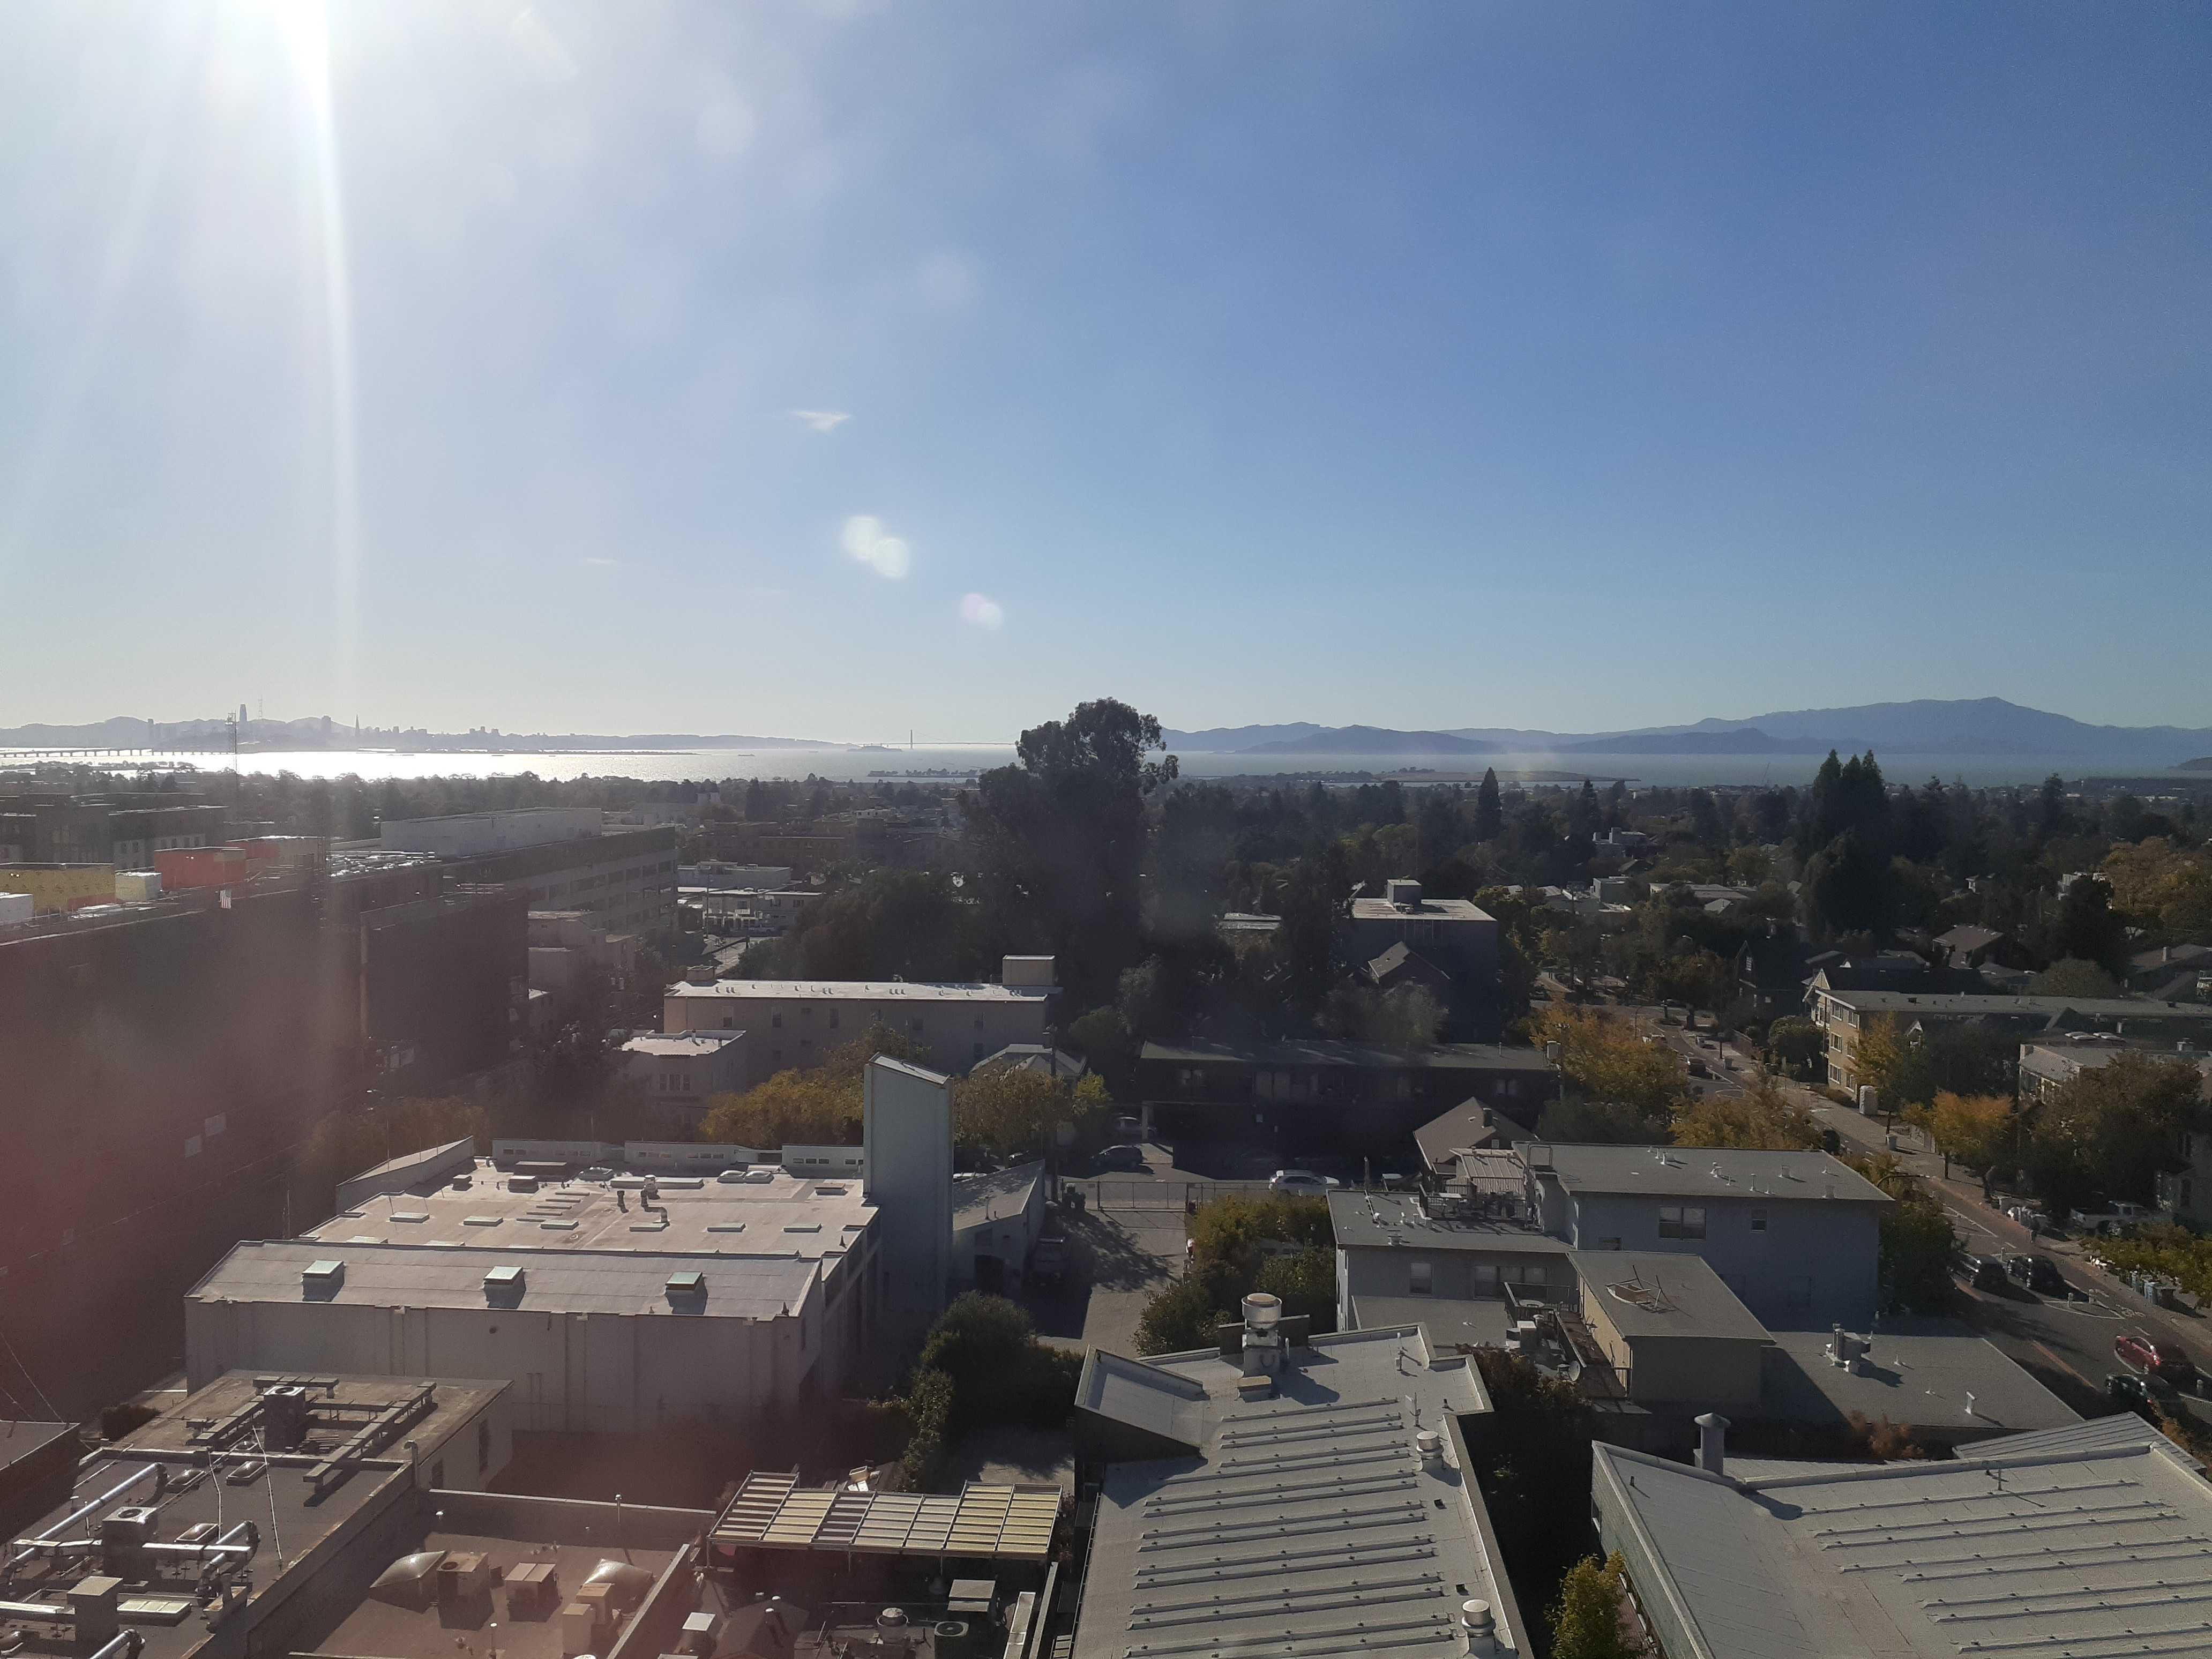
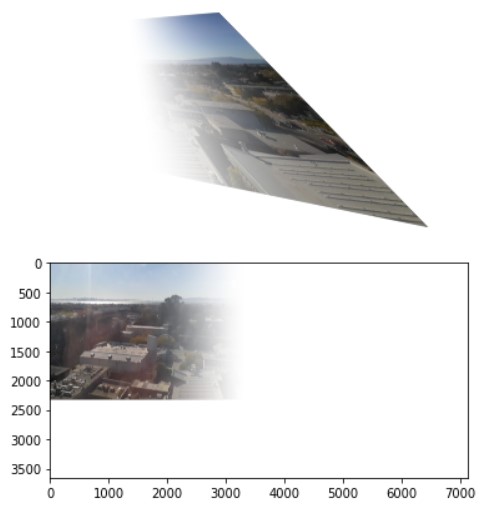
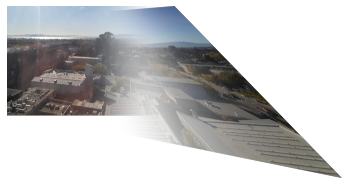
Blend the Images Into a Mosaic
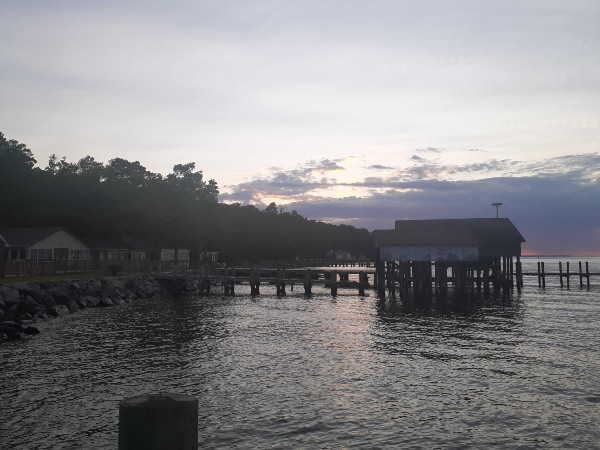
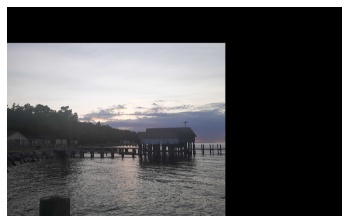
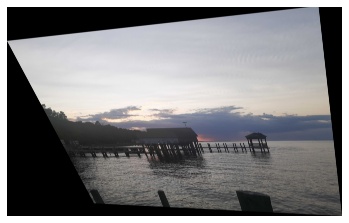
In this part of the project, I utilized the homography recovery, output image bound calculation, and inverse warping functions to create a mosaic out of a set of images. I set one of the images as my "base image" and warped the other images to it. In order to blend the images together, I created an alpha channel and used weighted averaging. Here are three mosaics using the above methods:
|
|
|
|
|
|
|
|
|
|
|
|
|
|
What I learned!
I learned a lot doing this project, from learning how to recover homographies from just a few points to realizing how applicable inverse warping is to so many cool applications!