Blending
As we saw above, we need a more robust approach to blend to images together than just averaging the overlap region. I came up with a blending method that made a gradually decreasing mask in the overlap region. The masks I create are pictured below:
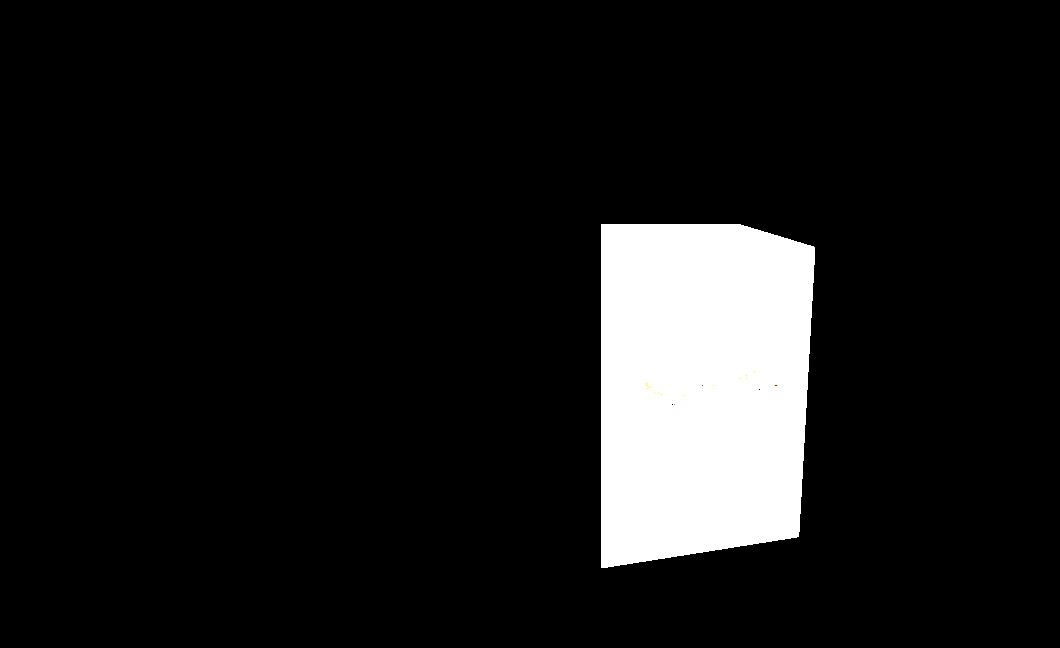
Overlap Region Mask
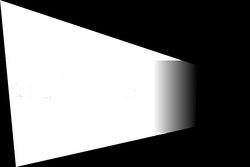
Left Image Mask
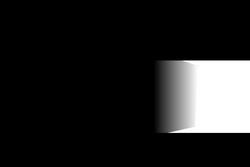
Right Image Mask
The resultant image is calculated as follows:
Blended_Image = left_image_mask * left_image + right_image_mask * right_image
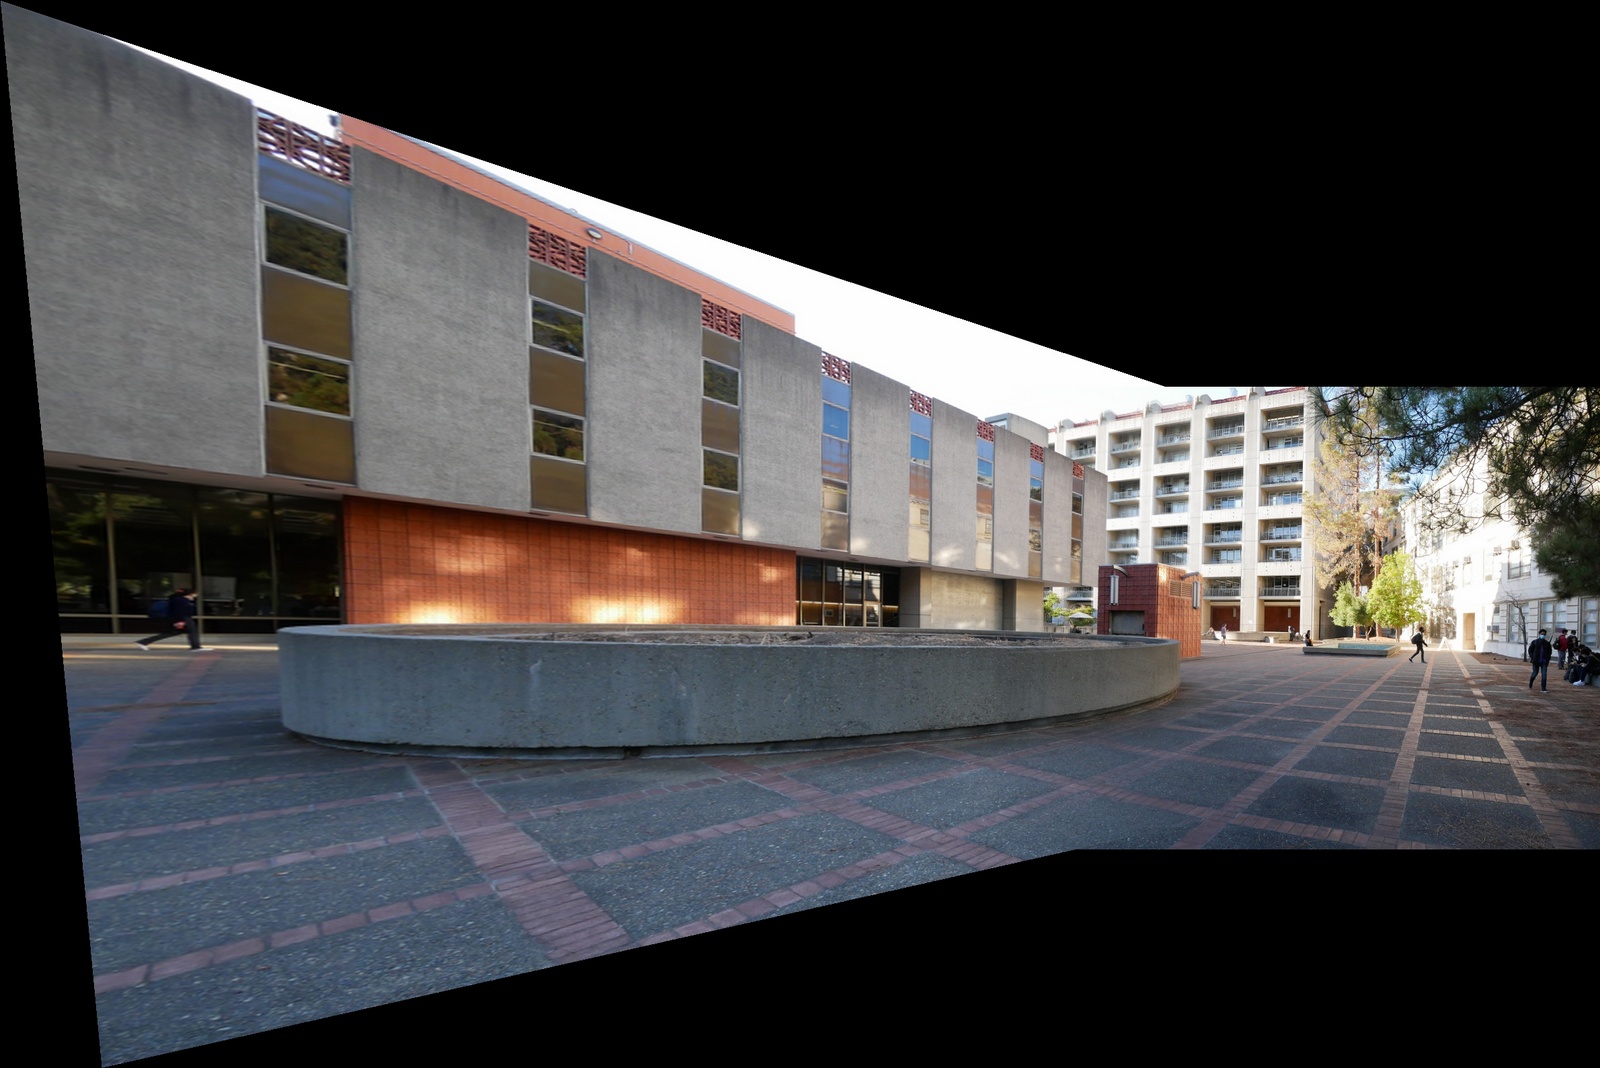
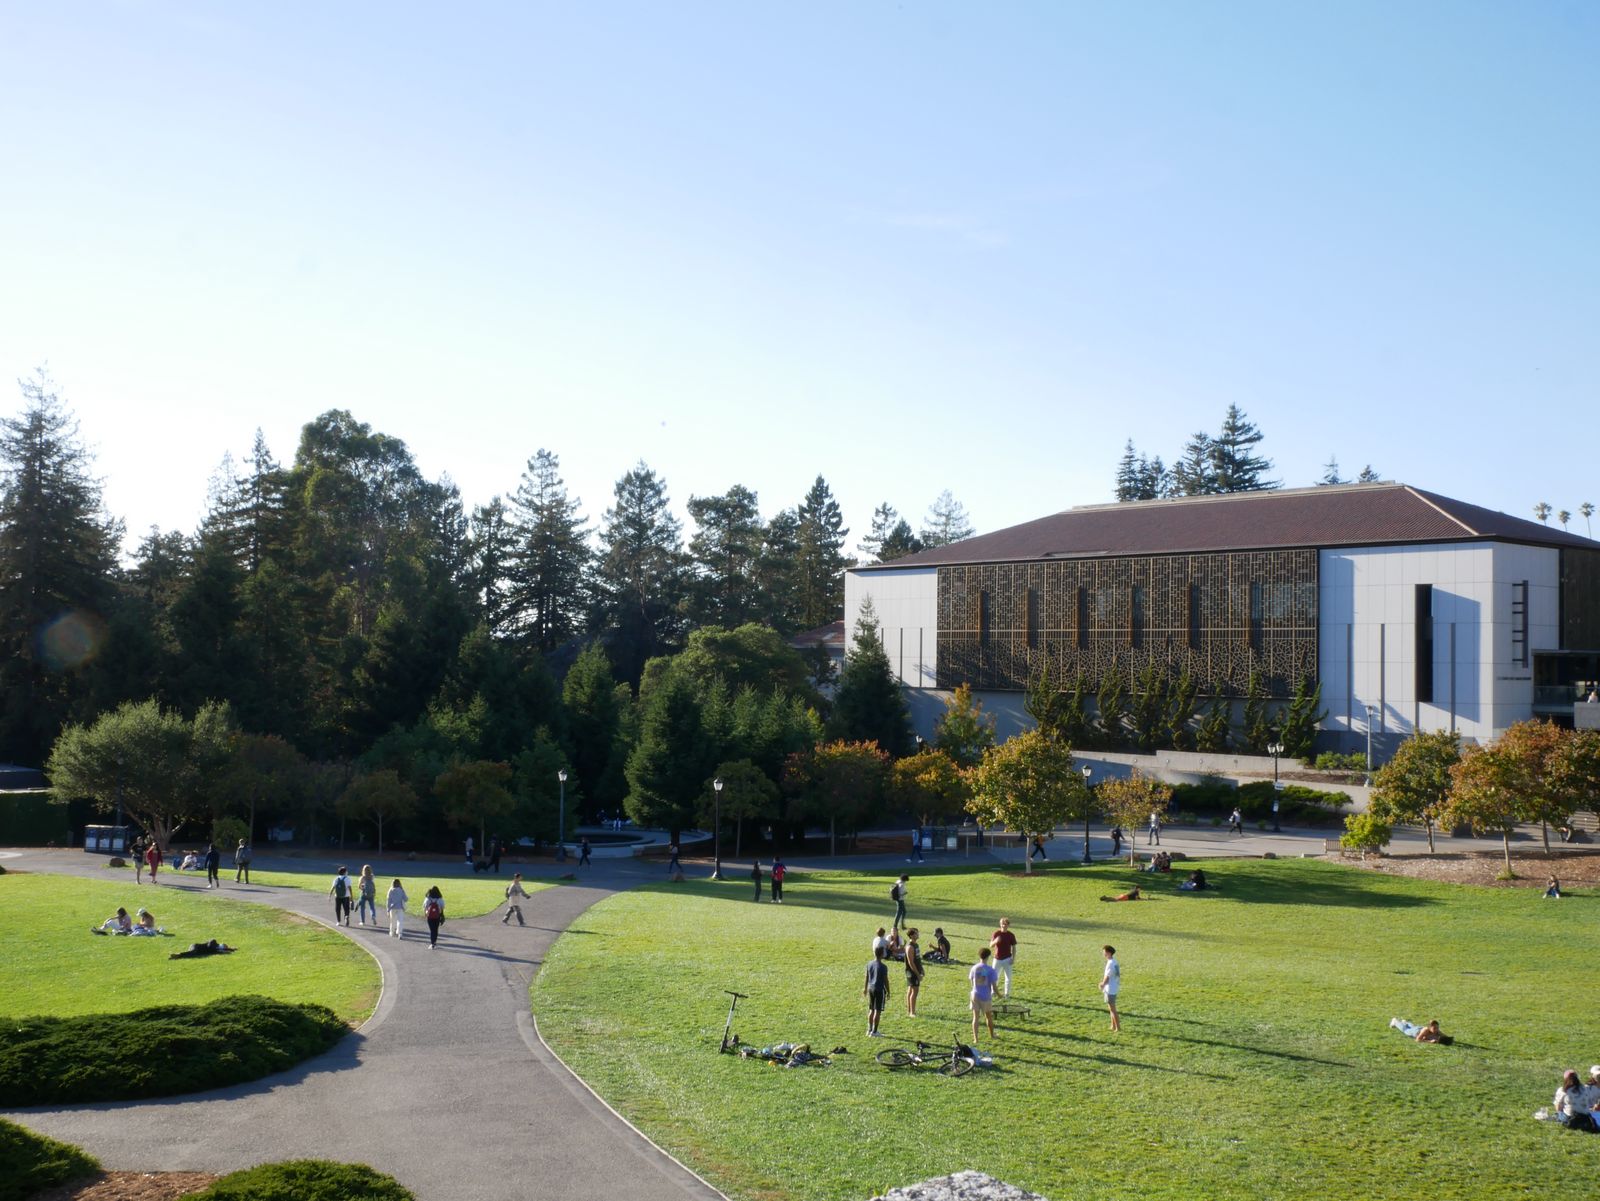
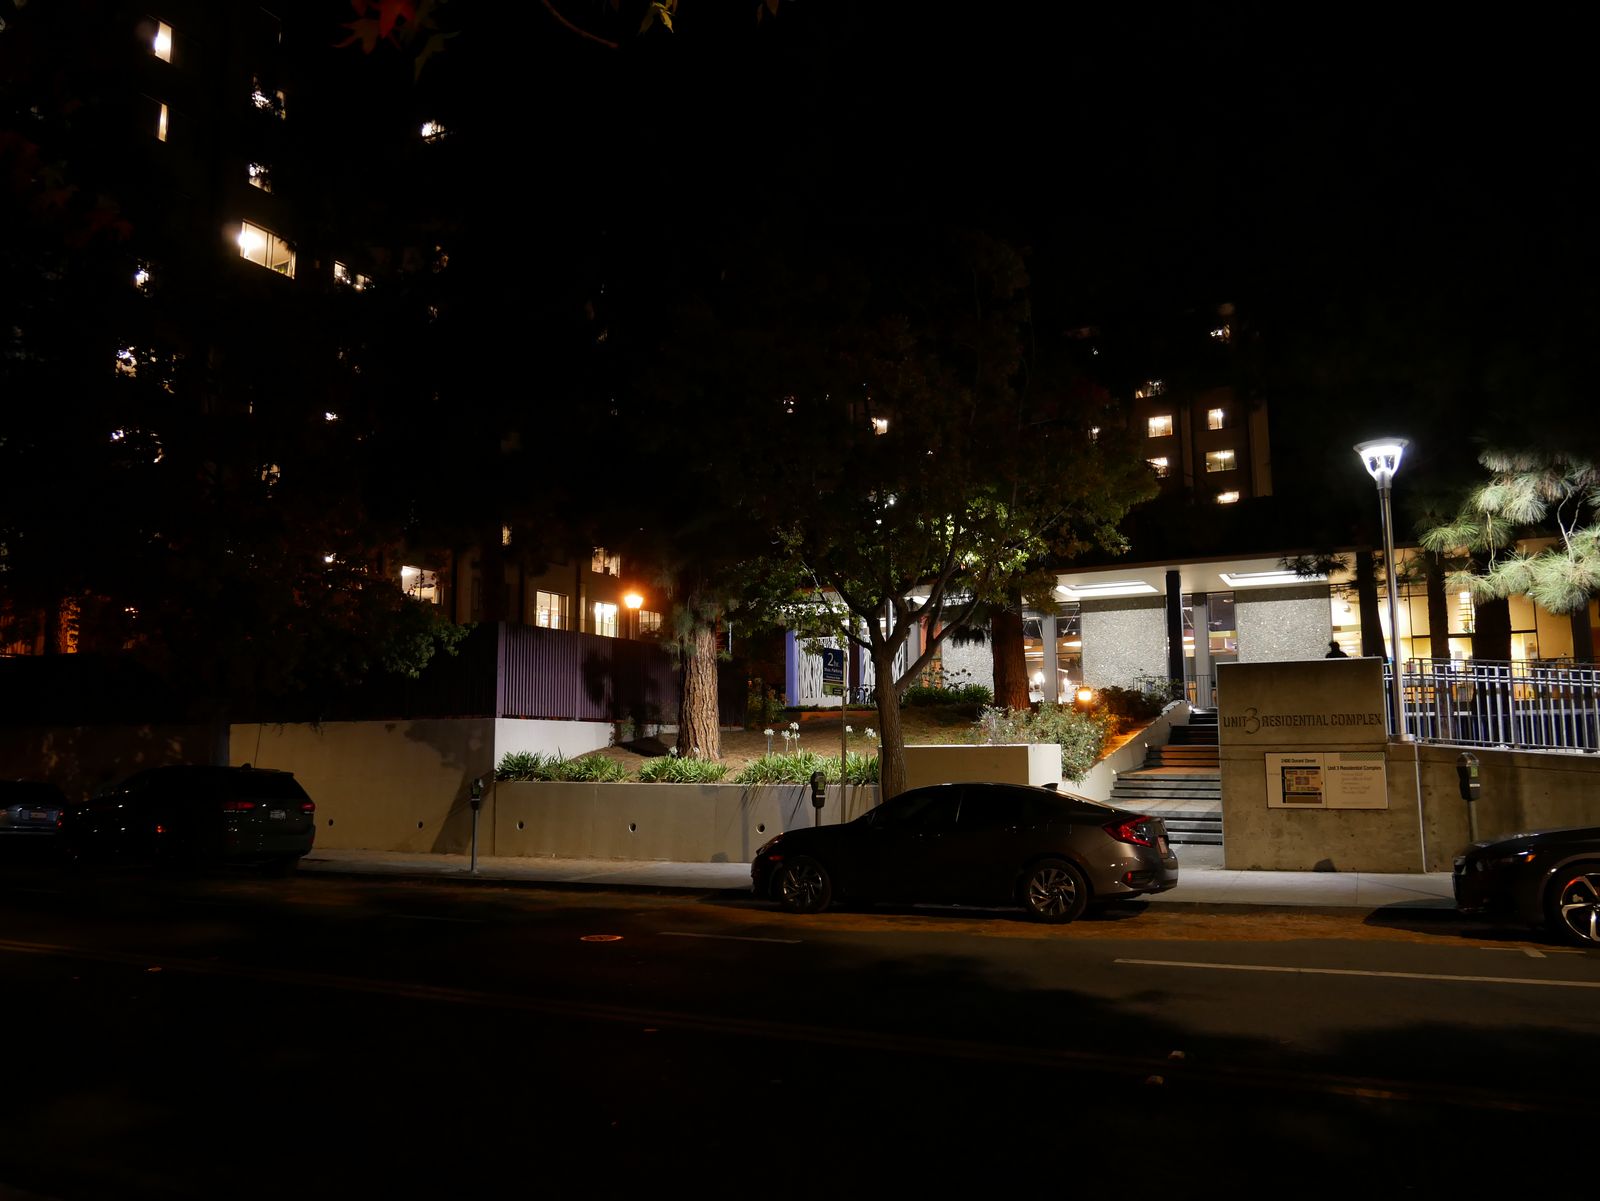
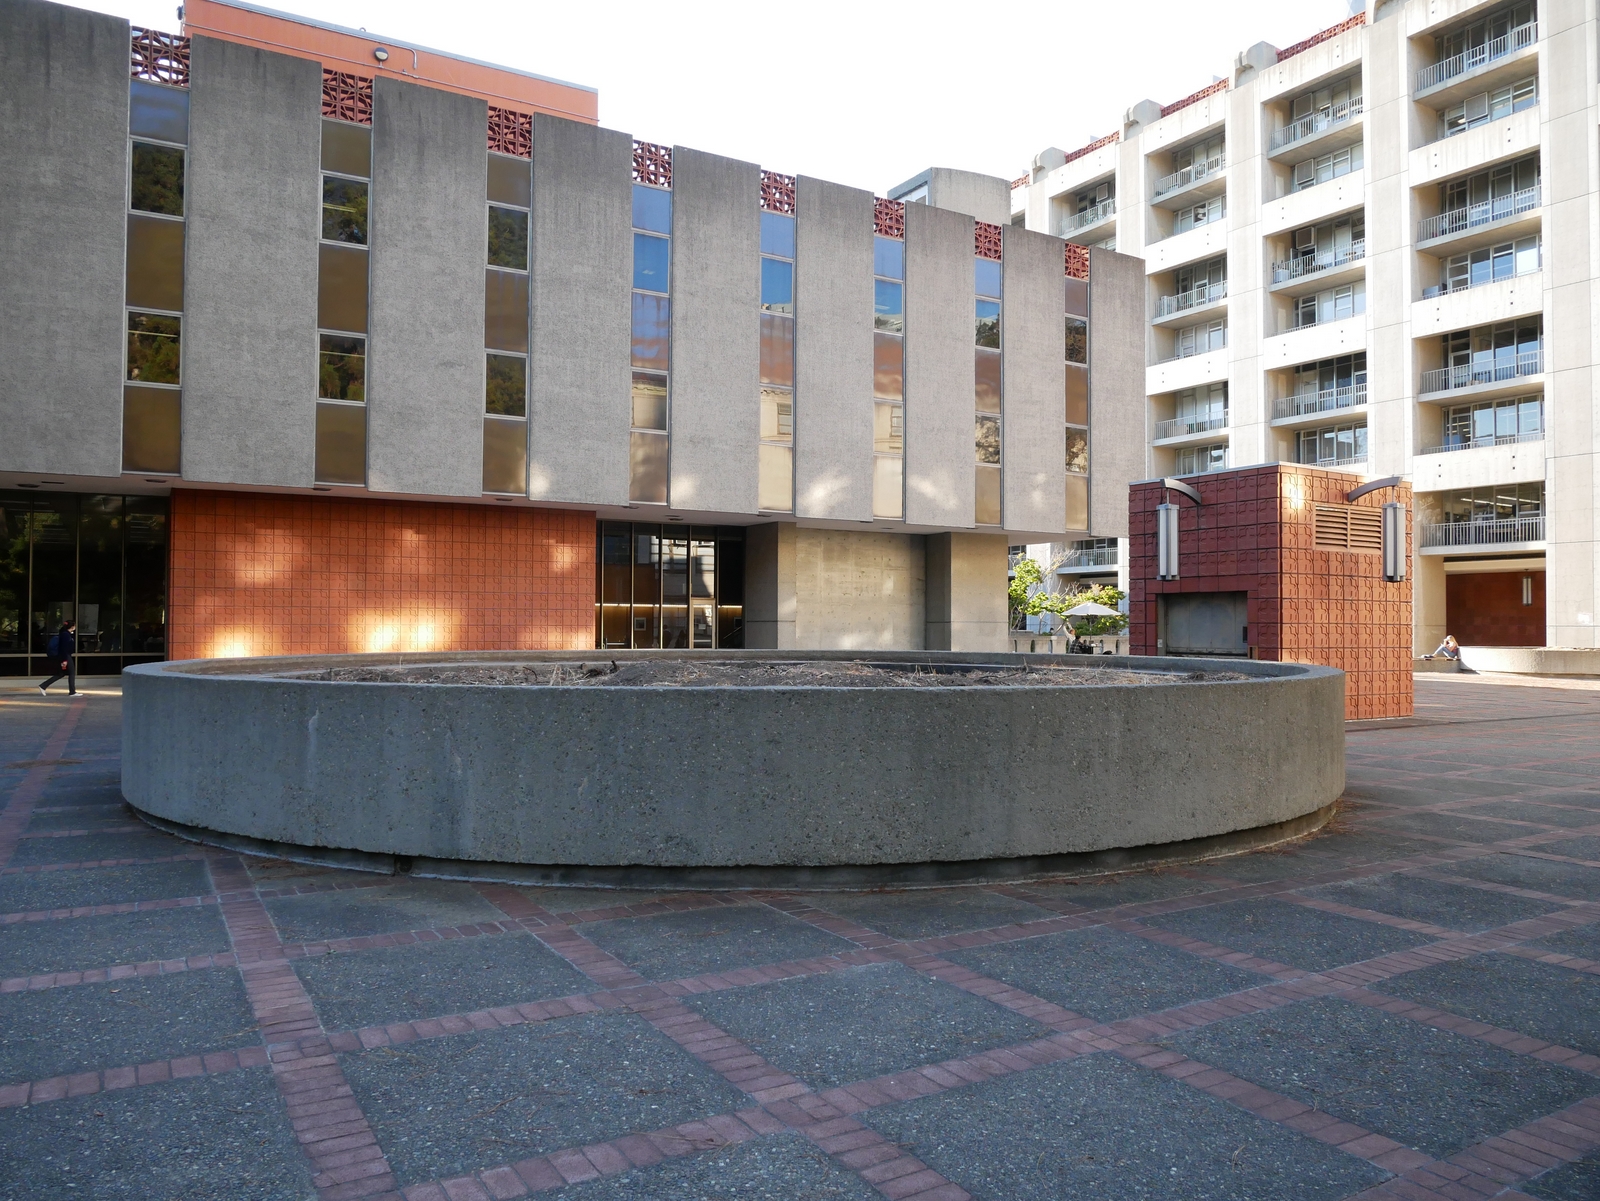
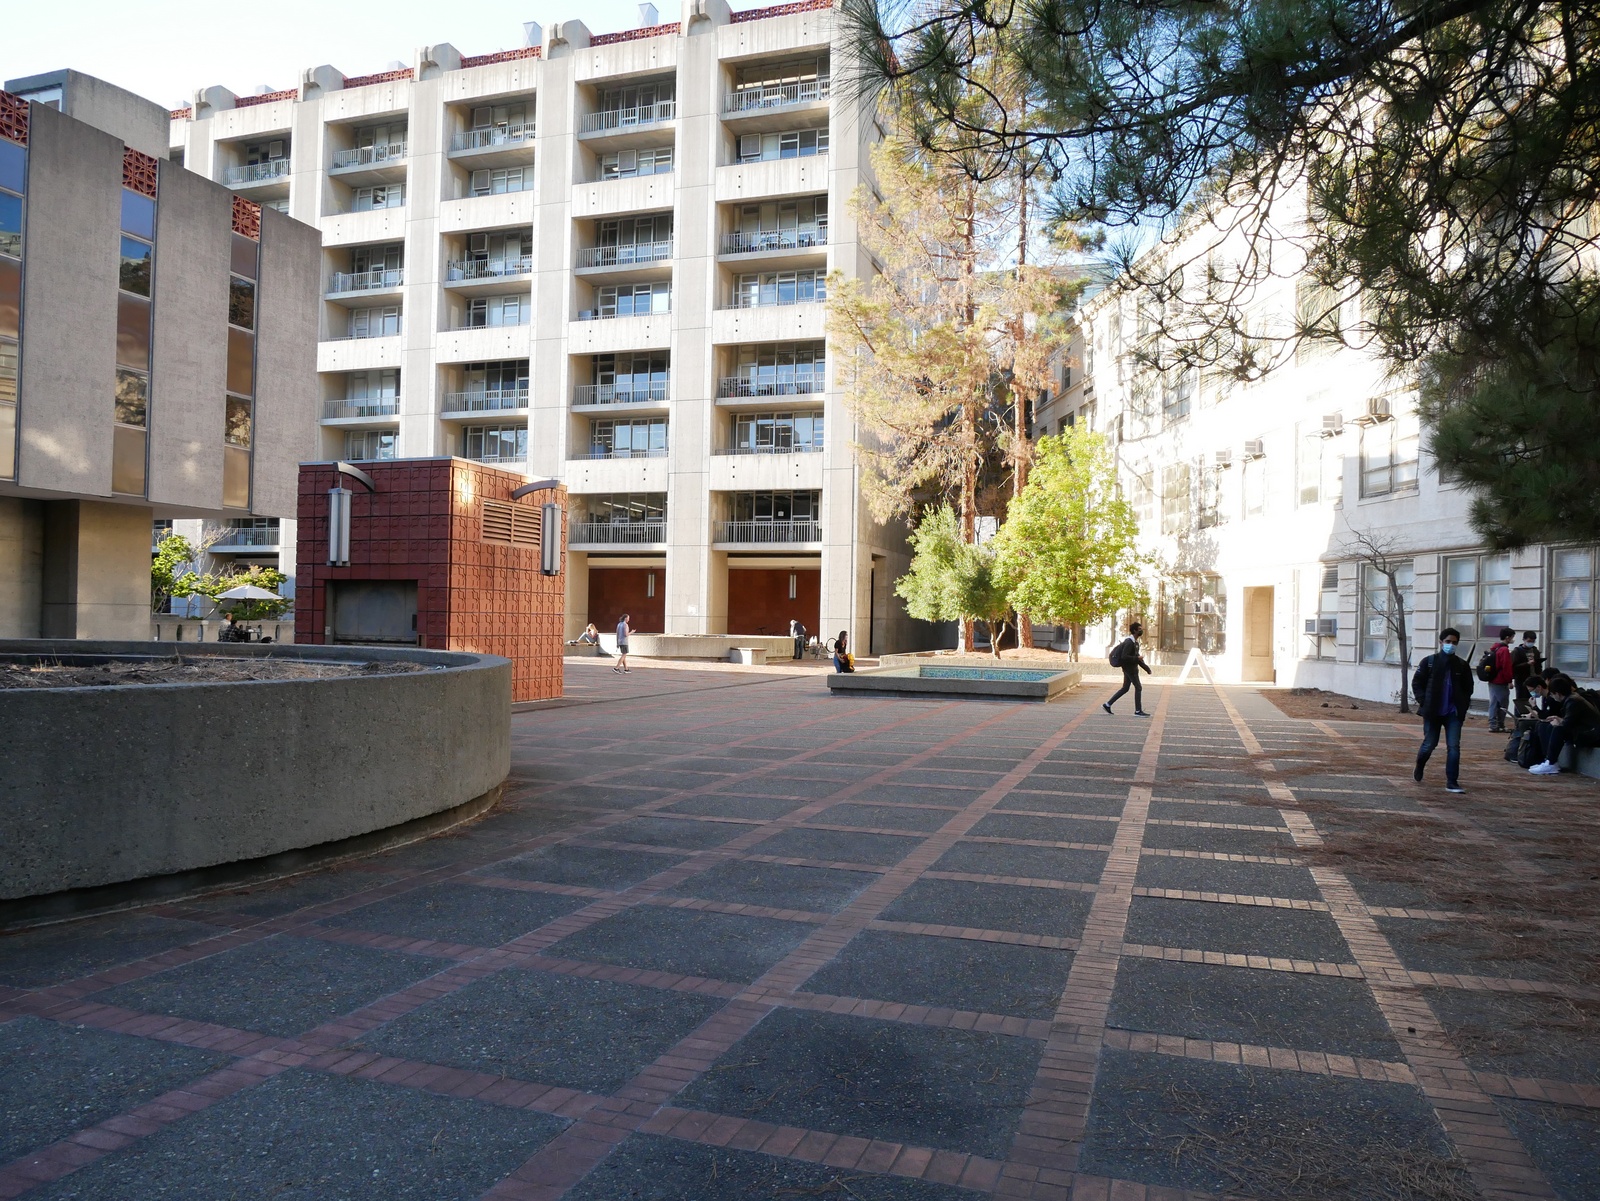
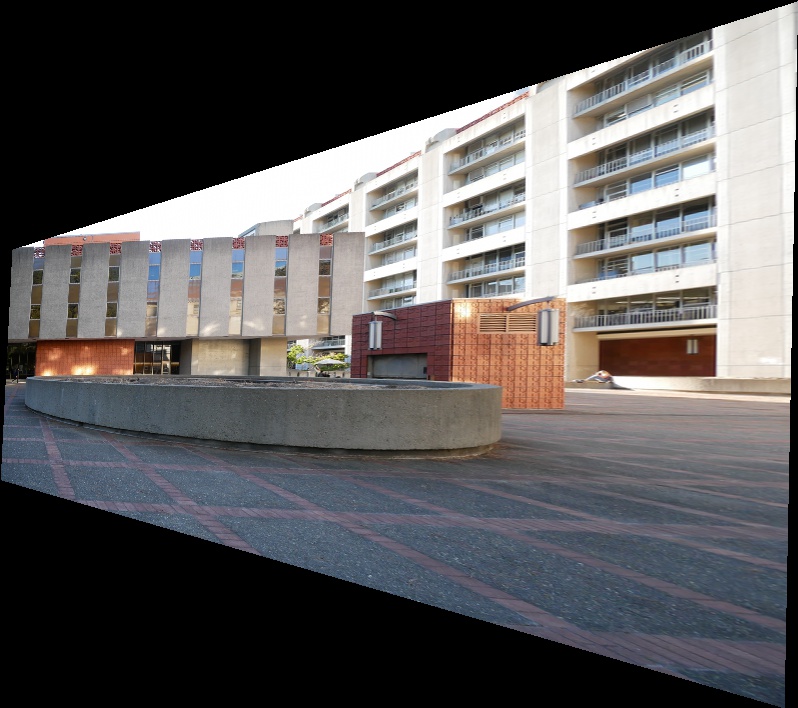
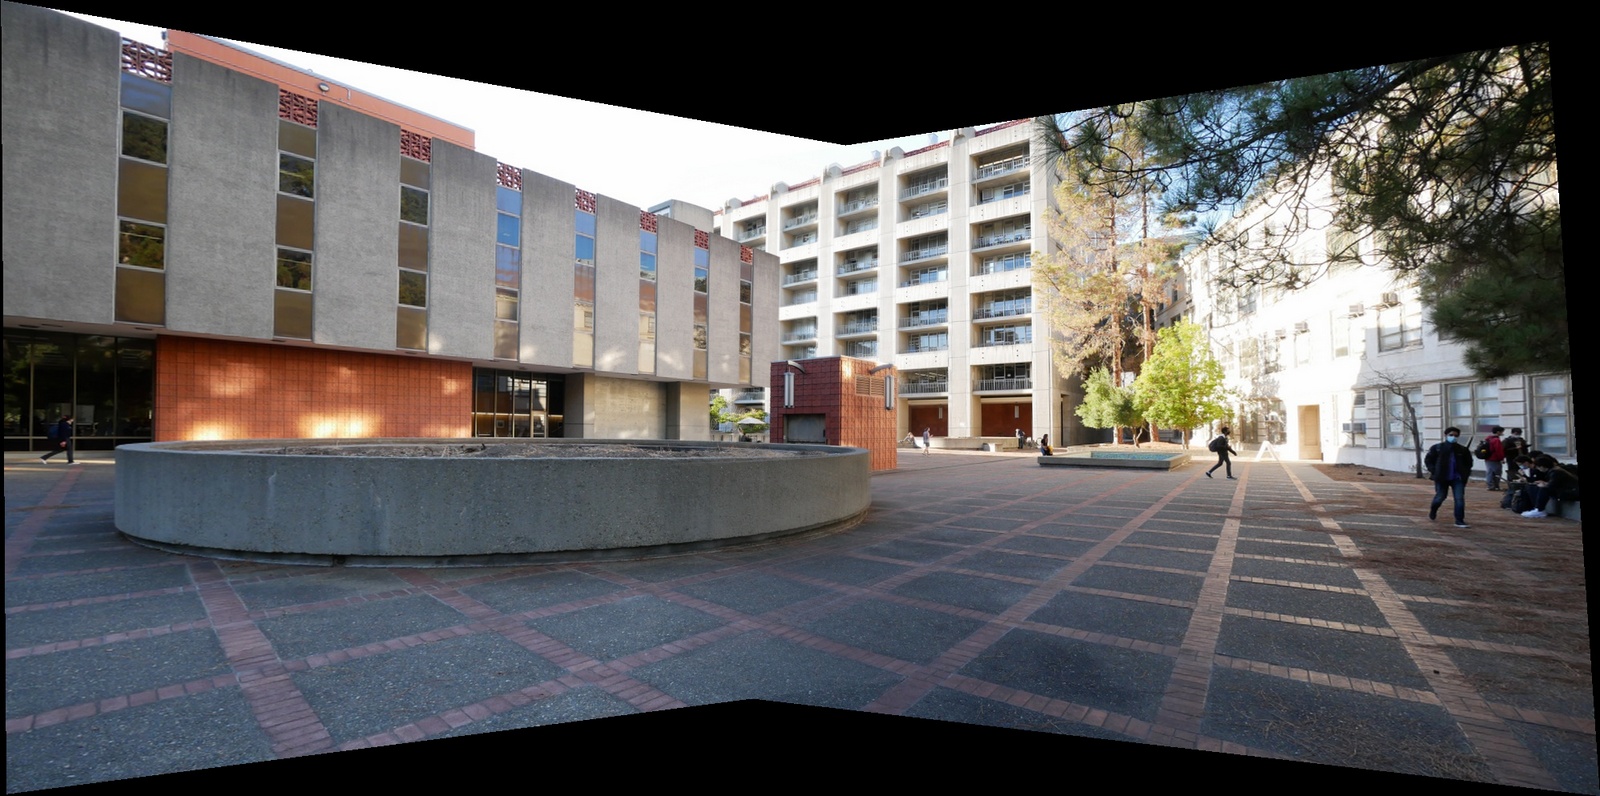
Pictured above is the result of the new blending method. There are no more obvious edges but there are however some slightly unnatural shadows. In the future, I would like to try and implement 2-level blending where I blend the laplacian stacks of the two images independently.