Project 4: [Auto]Stitching Photo Mosaics (PART A FOR NOW)
By Sriharsha Guduguntla
Project 4 entails taking images that are at the same center of projection and same position, but tilted slightly to allow us to get multiple images that can be then stitched together to make a panorama (also called a mosaic). Part A of the project involves manually selecting correspondence points between the images we want to stitch together and trying to use those to align them and then blend them together to make one large panoramic mosaic.
I shot pictures for the mosaics!
Here are the pairs of pictures that I shot and will be using for the mosaics.

A House in Berkeley - Left

A House in Berkeley - Right

My desk setup - Left

My desk setup - Right

My Lebron James poster - Left

My Lebron James poster - Right
Rectification Picture

Picture of my laptop from an angle on a desk
Homography Computation
To do my homographies, I first selected 4 correspondence points in each of my left
and right images for the mosaic. Then, I created a computeH function that basically
computes the homography
matrix H given the correspondence points of the left image and the right image. For example,
here are two images of the house pictures with the selected correspondence points. Then, I used
this homography matrix H to actually do my warping in the next step to warp the left image to
look like the right (explained more in the next section). To compute the homography matrix H for
p' = Hp, I used the least squares solution. p' are the right image correspondence points and p
is the left image correspondence points. I used regular rounding for the interpolation rather
than interp2d and it worked out fine for me.


Left Image Warped to Right

Right Image Warped to Left
Image Rectification
Here is an example of ground plane rectification of my laptop on a desk. As you can see my laptop goes from an picture from an angle (original image) to a top down view of the laptop after warping.
Blending Into a Mosaic
To blend the images into a single mosaic, I first warped my left image to my right image and
then I had to find a way to align both images so the pixels align when they are concatenated
together side by side. Before aligning both images, I padded the right image with zeroes all
around so that it is the same size as the two images put next to each other. Then, I find the
warped correspondence points of the left image and used those to translate my right
image's correspondence points to the warped correspondence points of the left image. Below, you
can see the two images side by side with their correspondence points labeled. To translate my
right image, I used np.roll and translated until all my pixels in the right image
aligned with the left warped image based on the warped correspondence points. Then, in order to
create a smooth blend between the two images, I used the Laplacian blending technique from
project 2 with 3 Laplacian layers and a regular mask that spans half the image. However, in my
project 2 code, my blending actually faded out my colors for some small reason that I have yet
to figure out. Therefore, my mosaics have faded colors at the moment, but I will fix that by the
final submission after getting the help because I have tried to figure it out myself, but have
not been able to figure out exactly why.

Examples
Left
Right
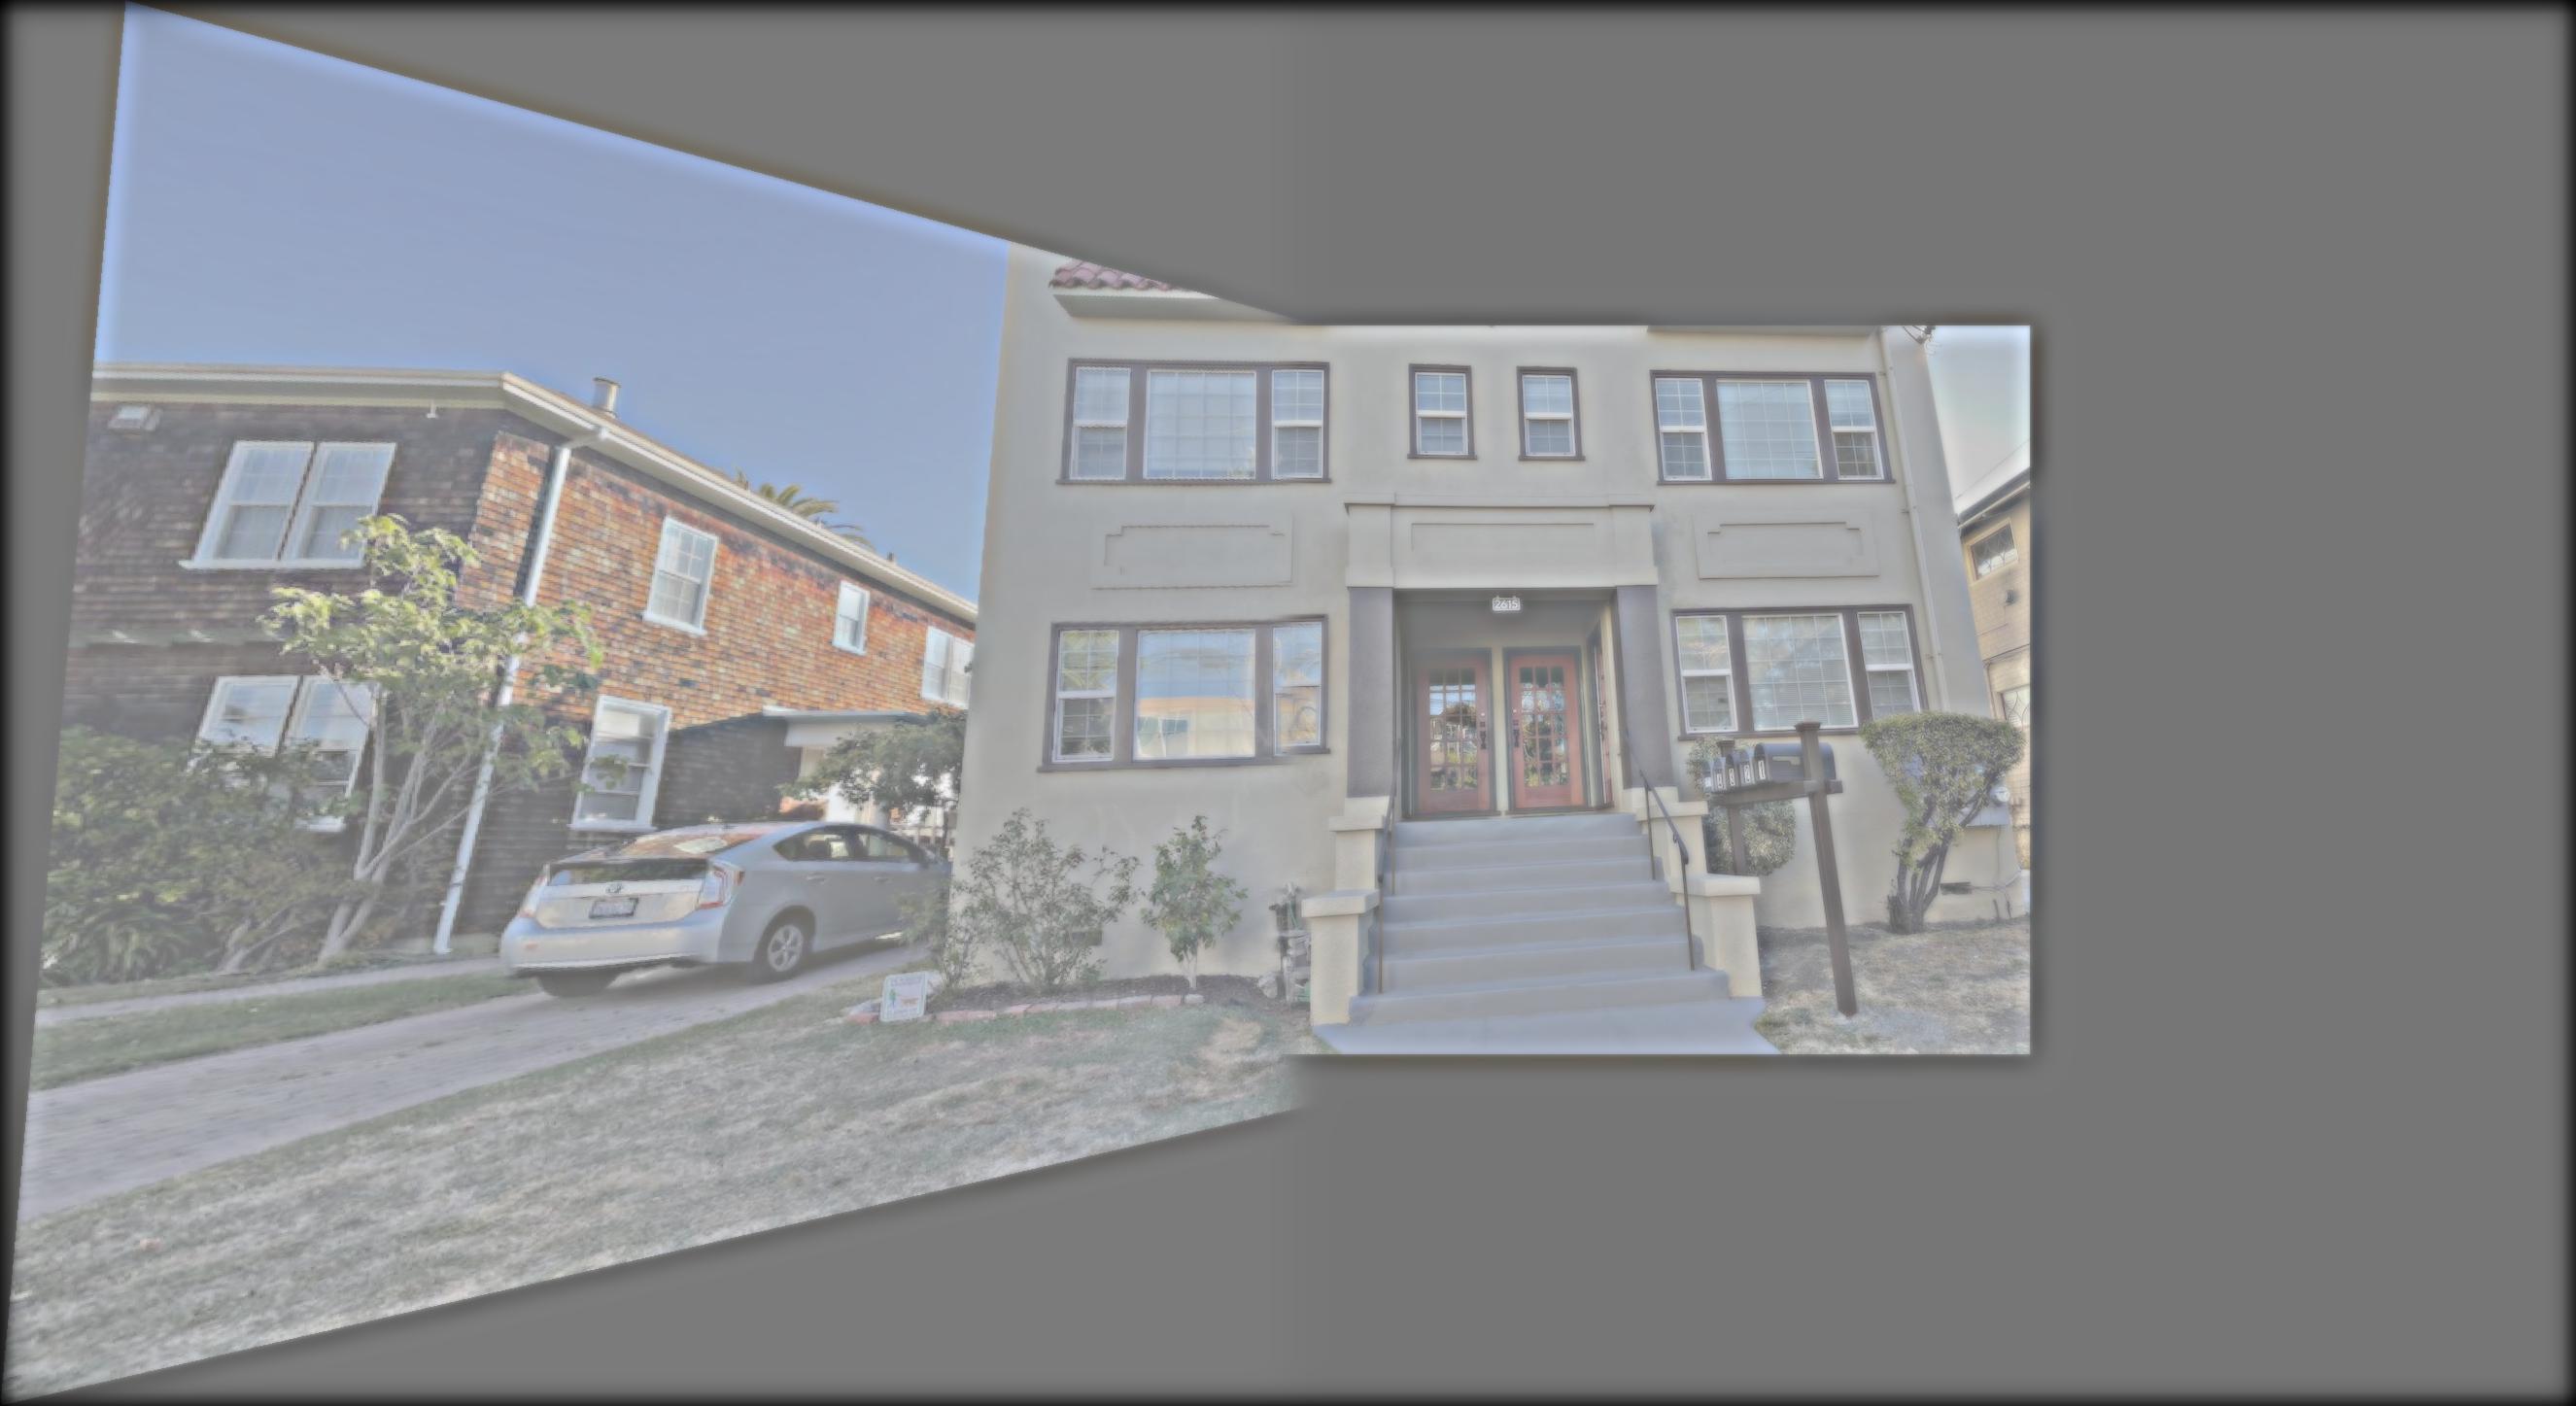
Mosaic of both images
Left
Right

Mosaic of both images
Left
Right

Mosaic of both images
What I Learned
This project was really cool and eye opening, and the most important thing I learned is how to warp an image using a homography matrix so that it can be warped to the likes of any other similar image. This is huge and it really opens up many possibilites for me to make cool panoramas and make optical illusions, etc. I learned about how to use the corners to first find a bounding box for the warped image and then use this to warp the image and then interpolate after.