Overview
In this project, I took pictures of a scene with two different perspectives, and I stitched them together to create a mosaic. To do this, I picked key points in each of the pictures and found a homography between each of those pictures. After creating this homography. I found the shape that one of the pictures was warpping to, and I inverse warped each one of those pixels to get the pixel value of the warped image with bilinear interpolation. Finally, I stitched the images together by finding where they overlap and taking a weighted average of the pixel values.
Shoot the Pictures
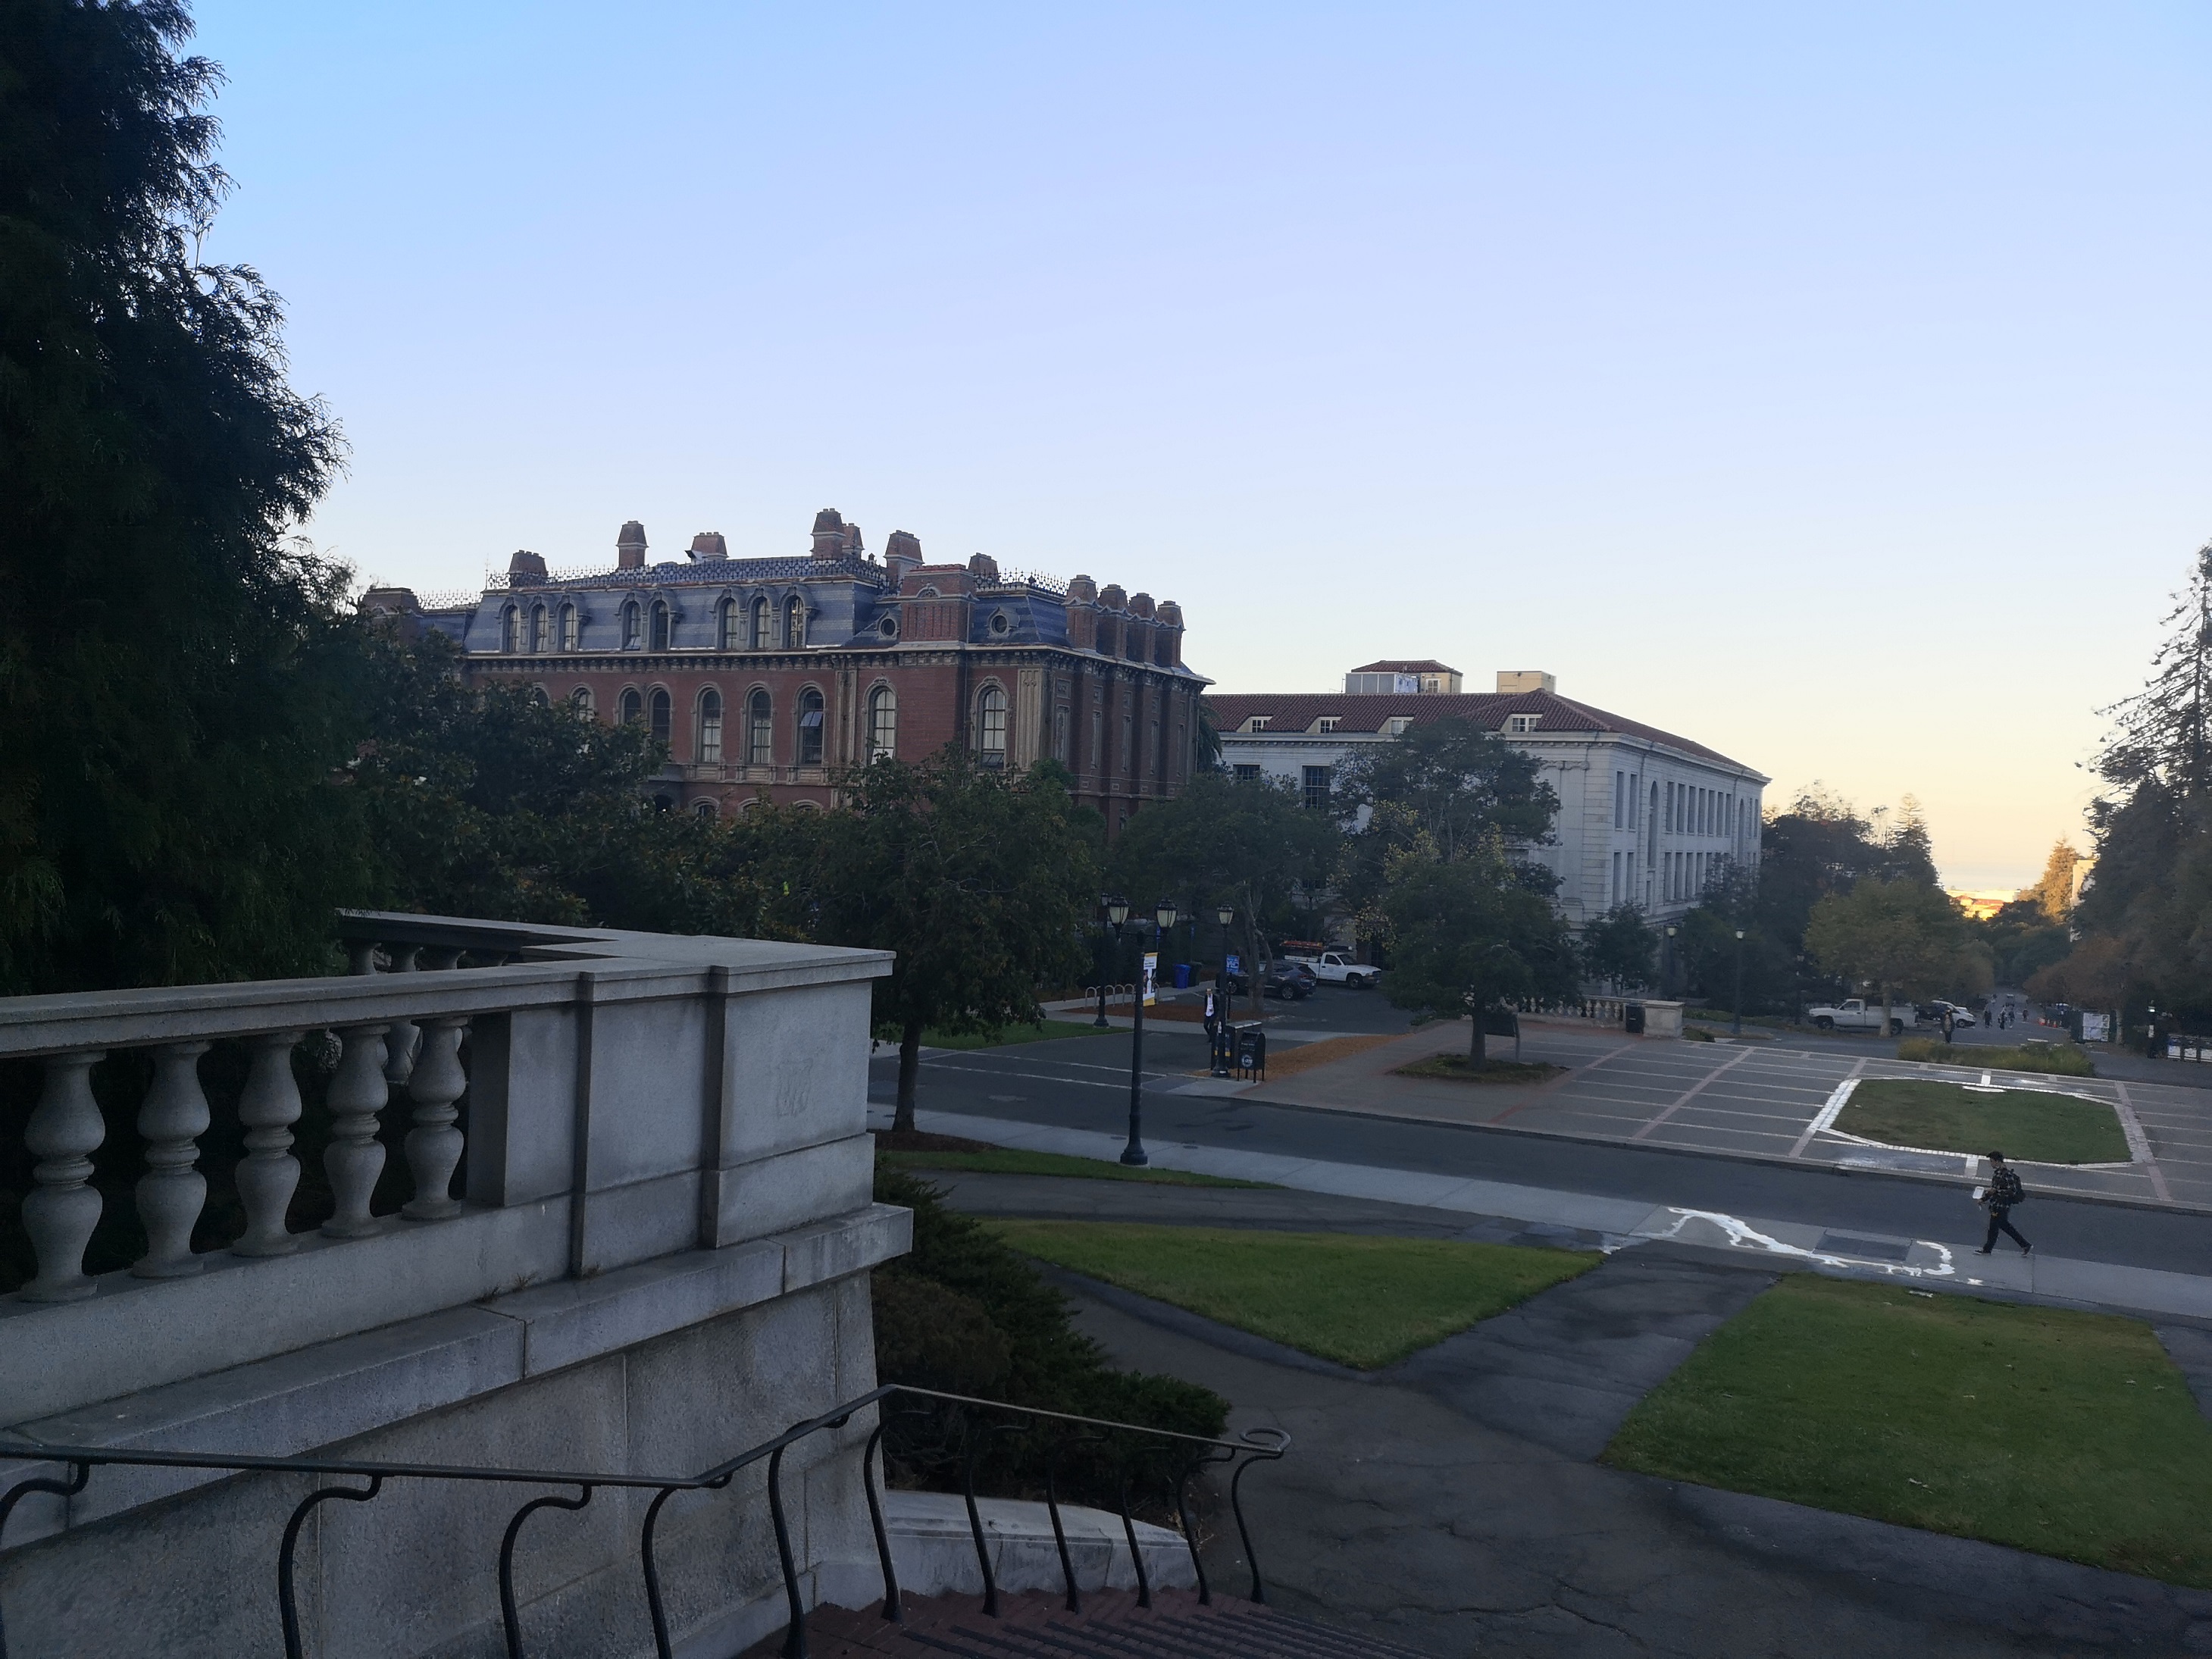
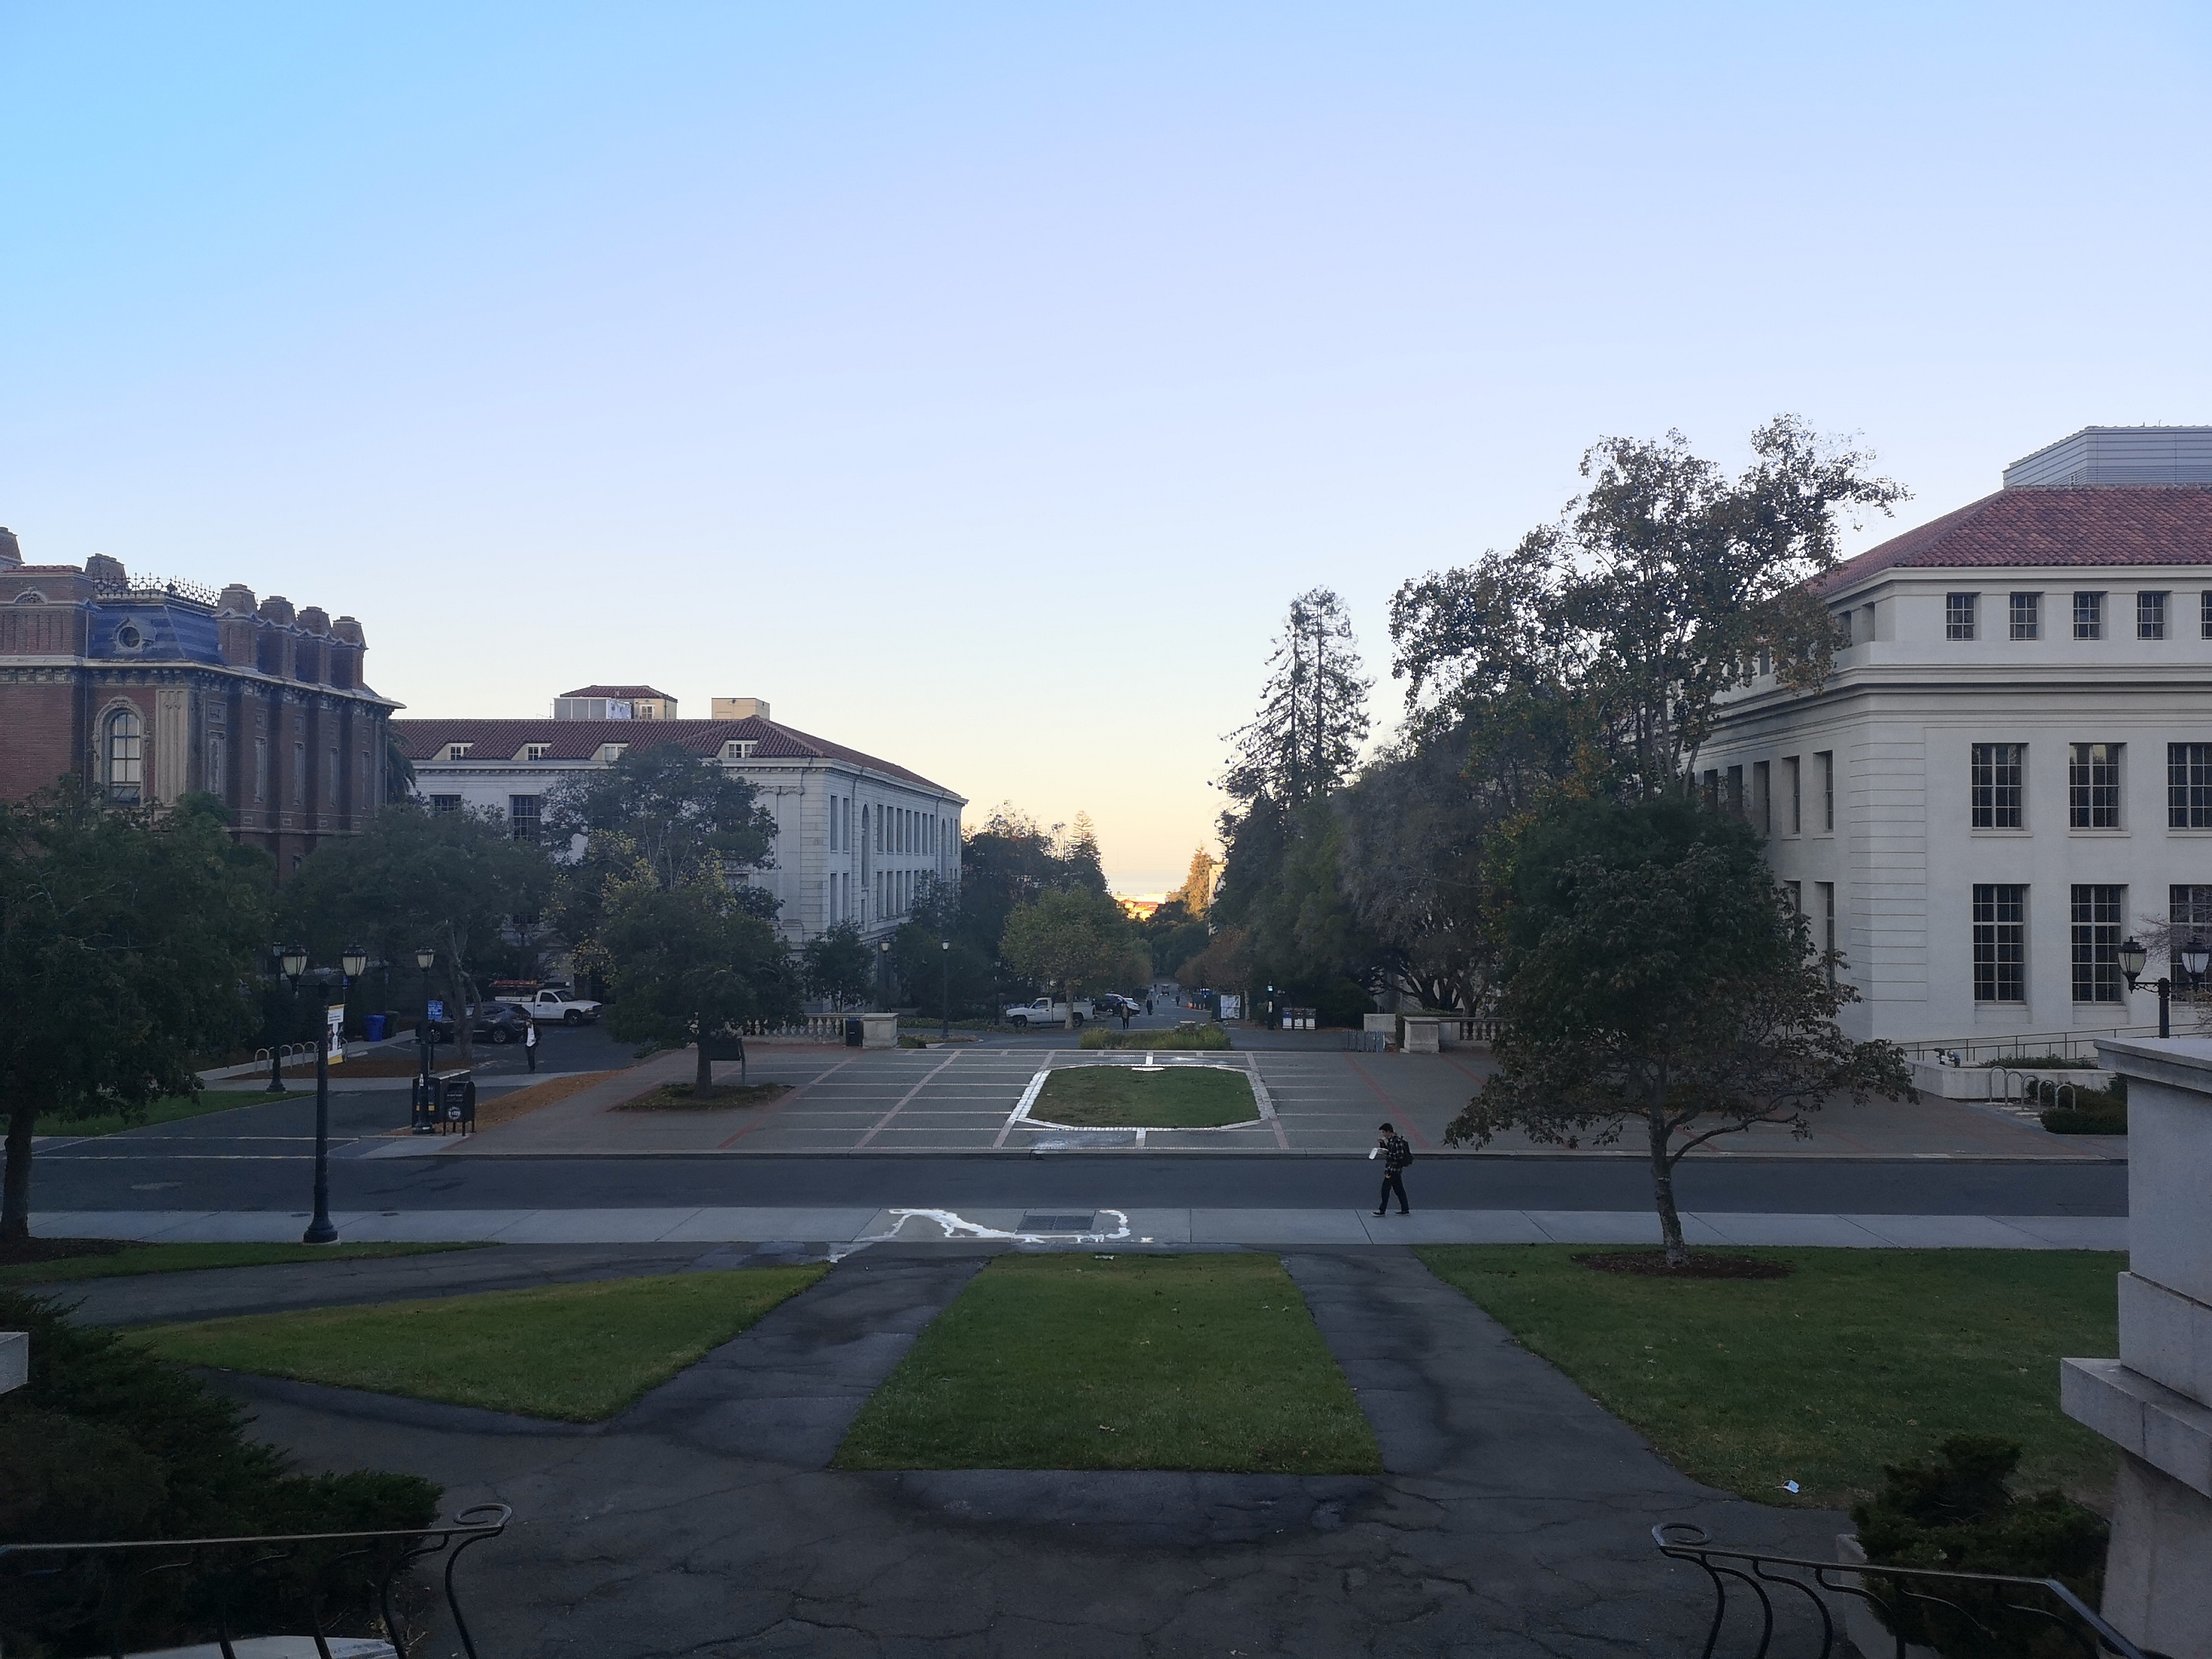
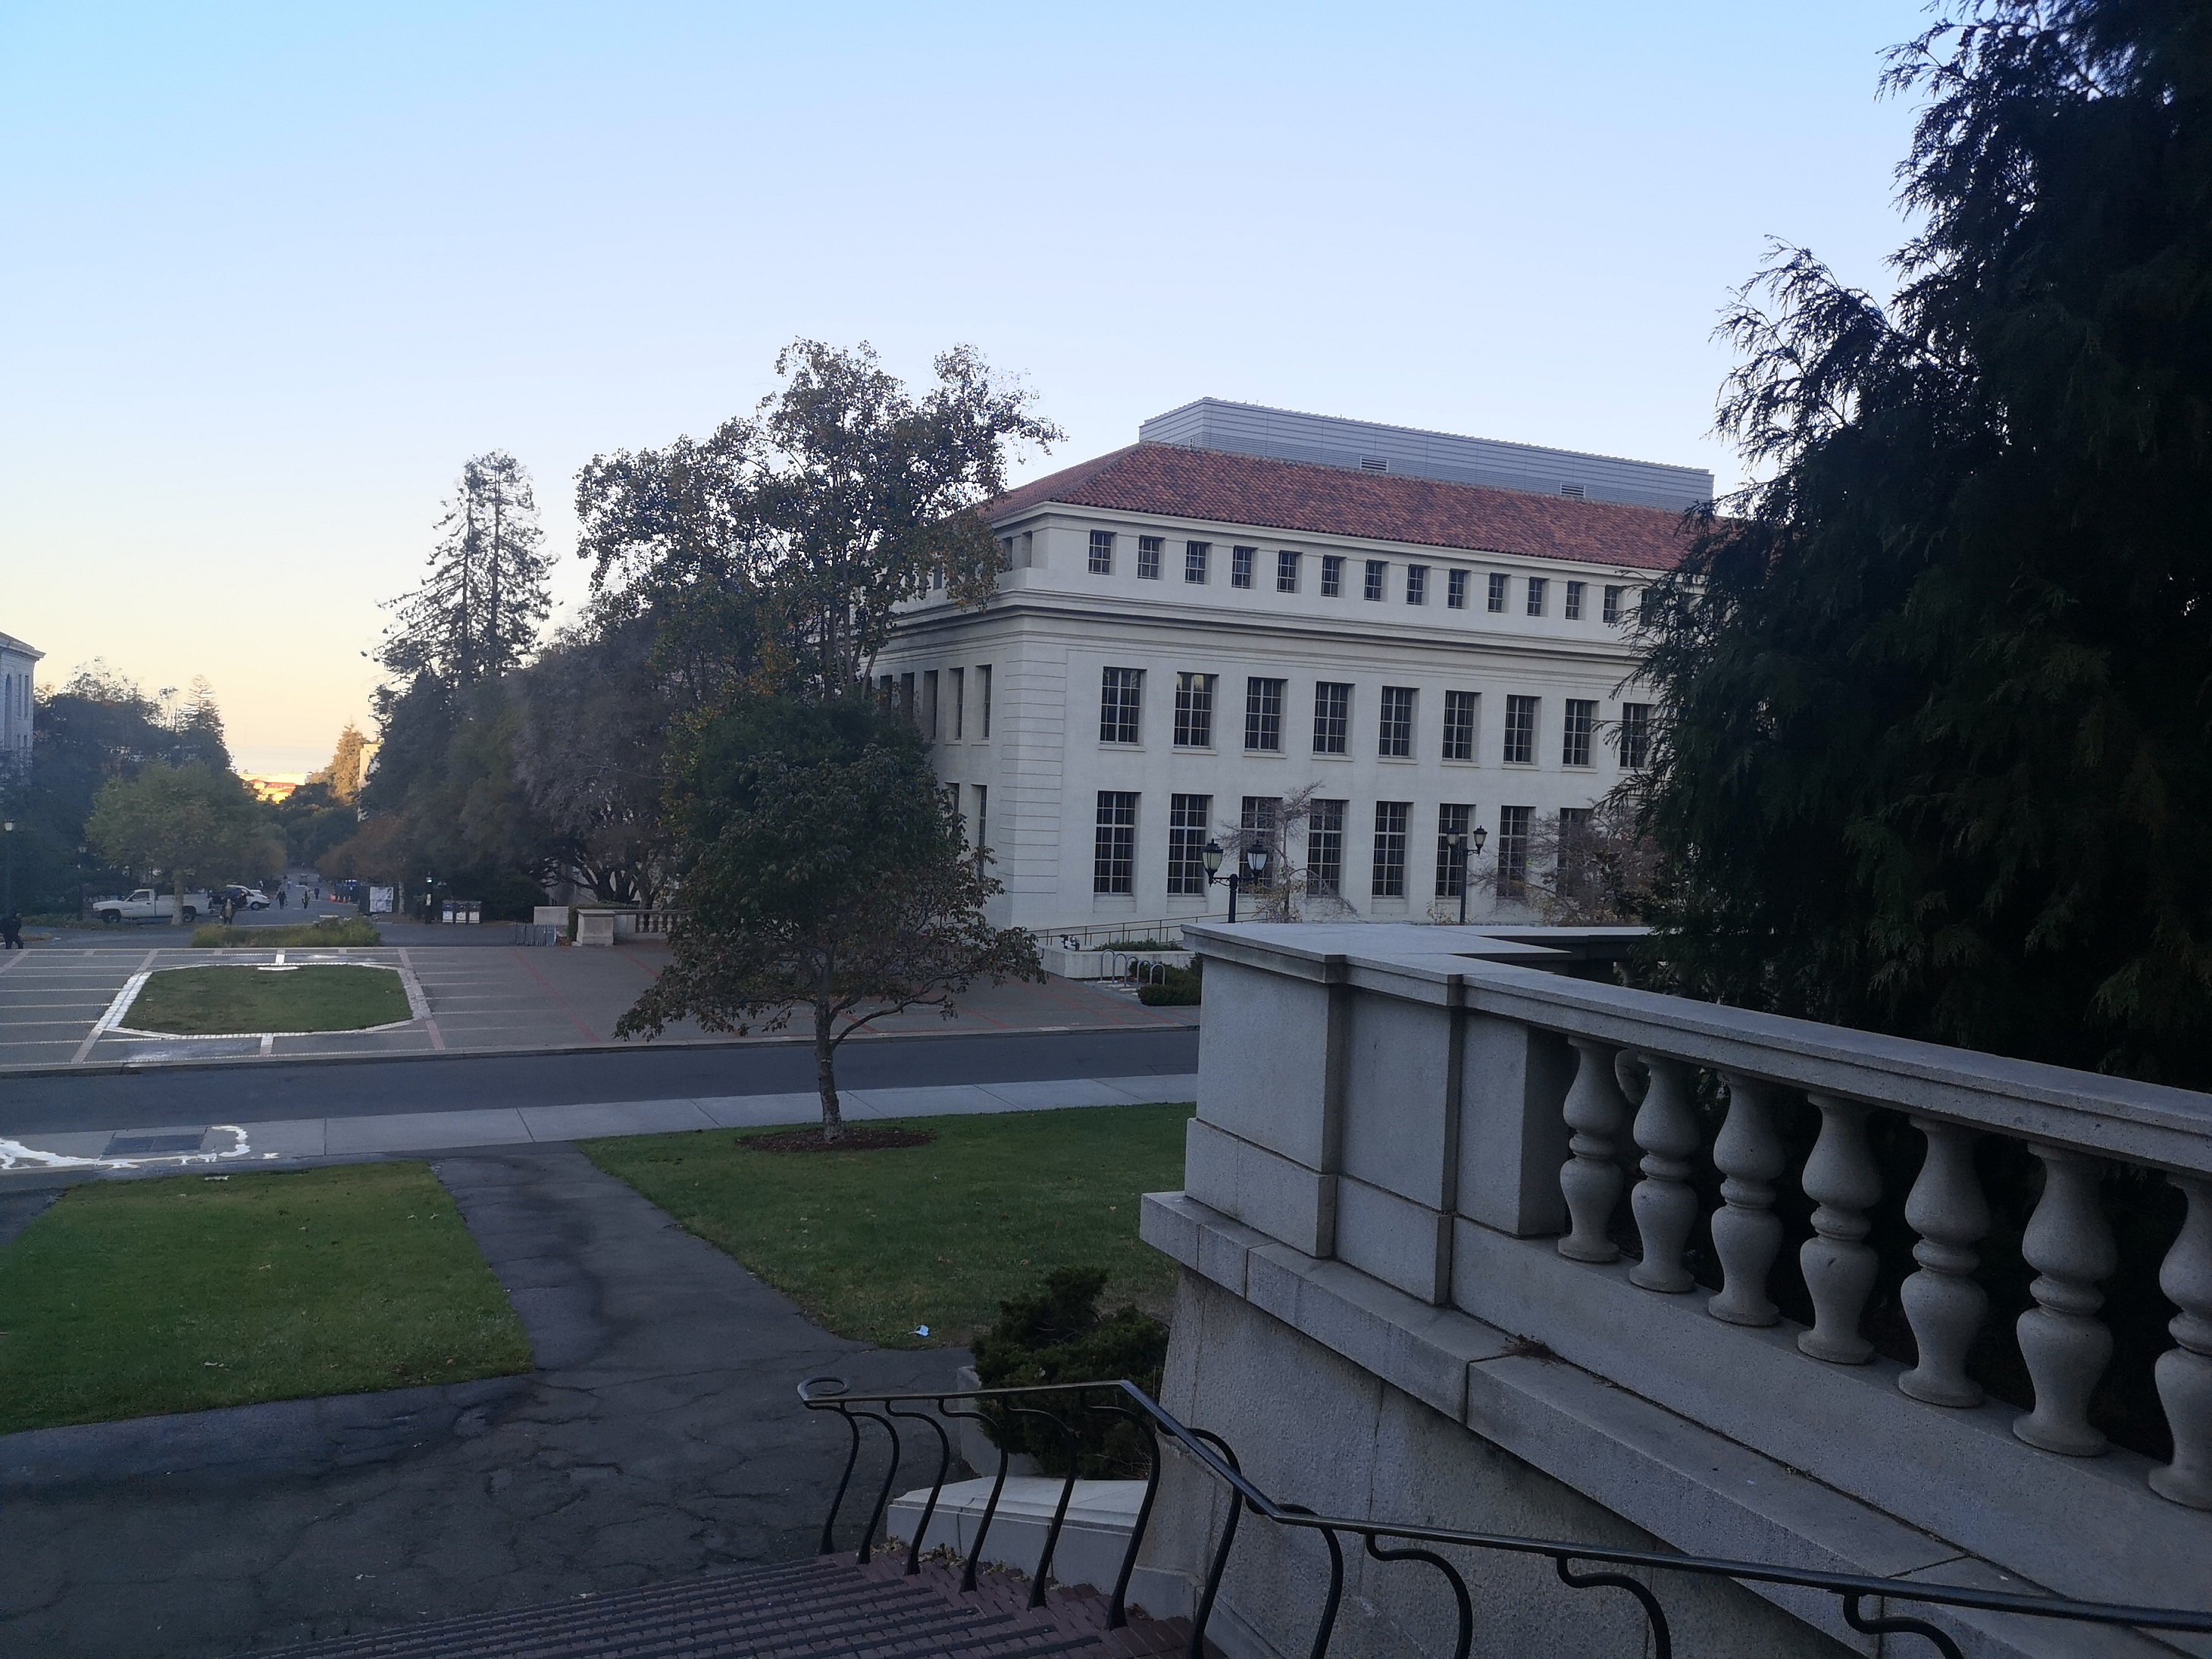
I took pictures of a couple of scenes: one in front of my apartment, one in my friend's house, and one on campus. The mosaic with the image on campus will have three pictures stitched together. I took these pictures by rotating around my camera, so the origin point of the camera will be the same.
|
|
|
|
|
|
|
|
|
Recoving Homographies
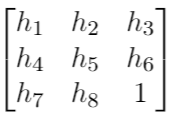
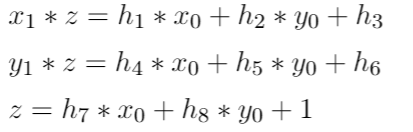
To get the homography, we needed to create a least squares problem that solves for the eight unknowns in the homography matrix. I will define a homography matrix as so:
|
We have points from one picture (x_0, y_0) and points from another picture (x_1, y_1), and we can generate this equation with the homography matrix.

|
We see that these equations get us:
|
To solve this for x_1 and y_1, I can plug in what we got for z.

|
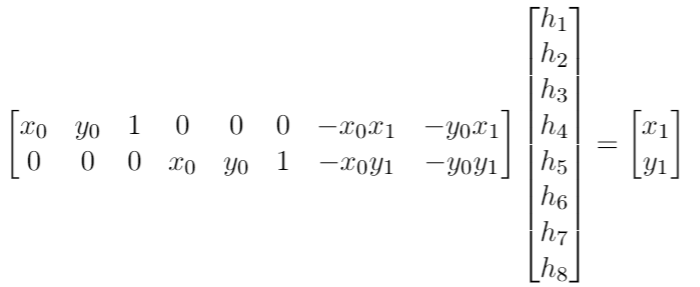
Finally, we can generalize this in matrix form for all of the points that we chose. The vectors look something like this:
|
We can create a matrix multiplication Ax = b equation, where b is filled with the feature points of one of the image, and the corresponding vector for each image shown above are stacked together to create the A matrix. The x vector is the vector of unknown elements, and then we use least squares to find the best values for our unknowns.
Image Rectification
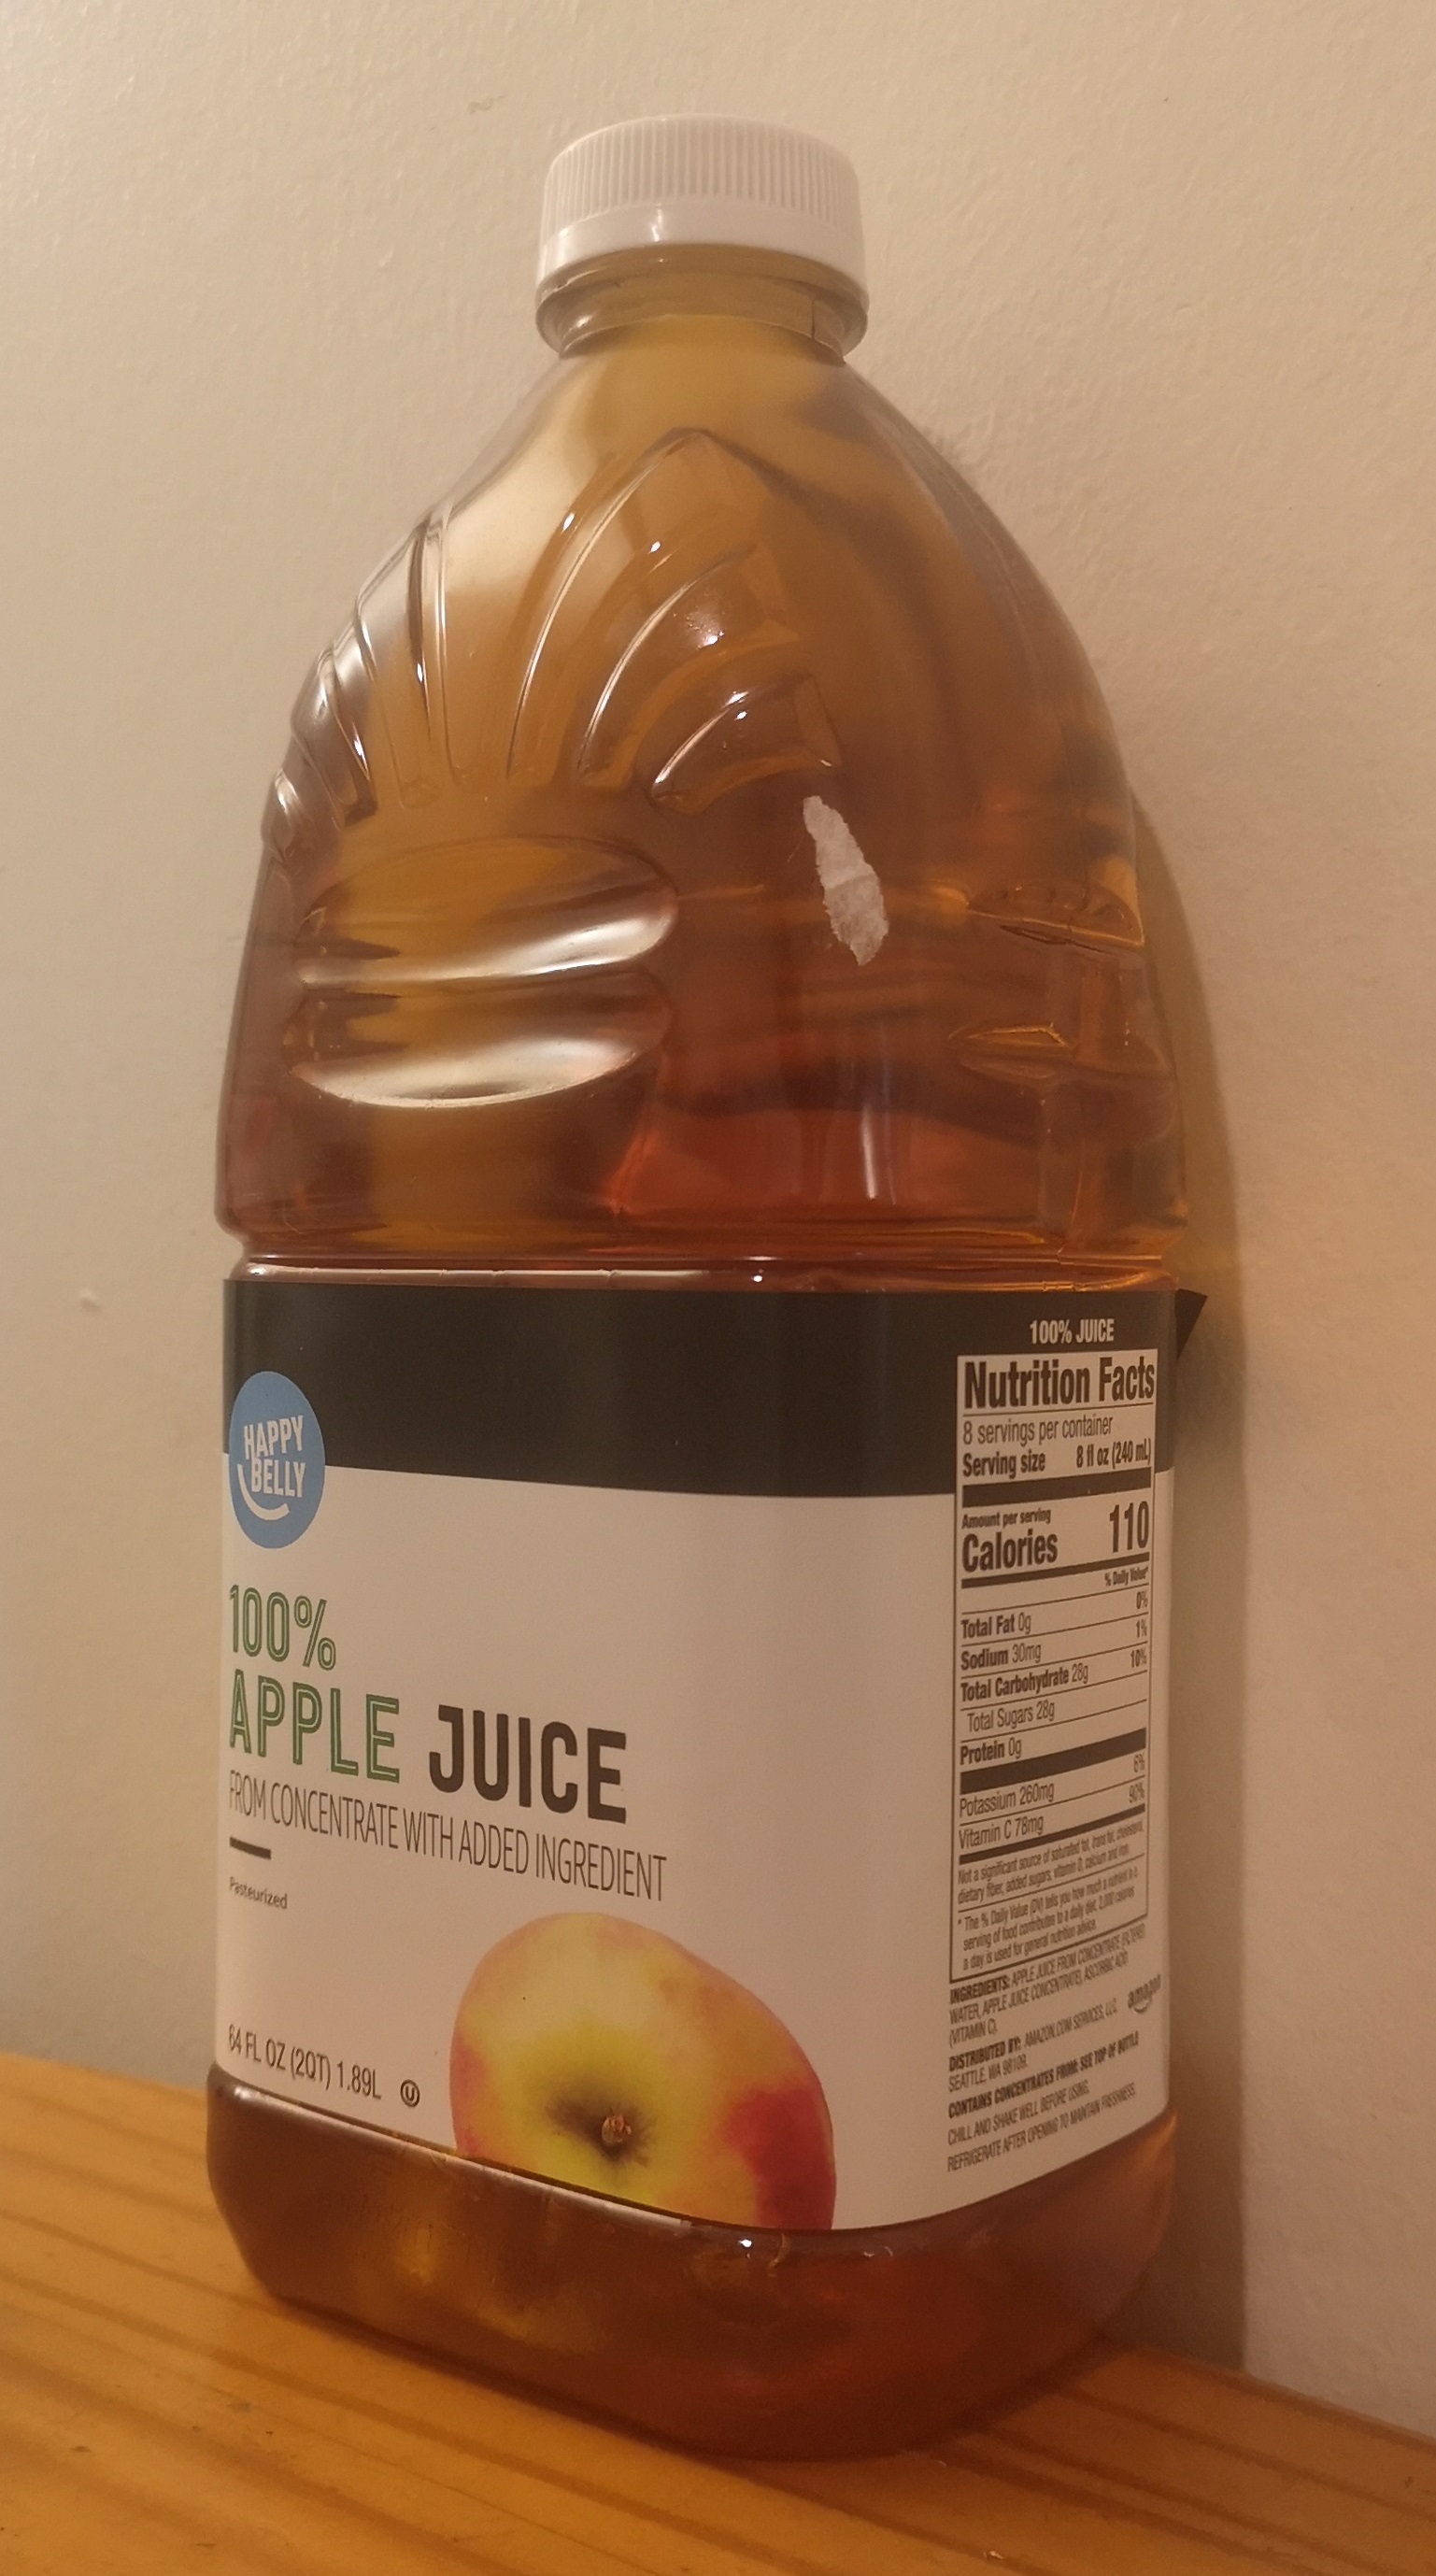
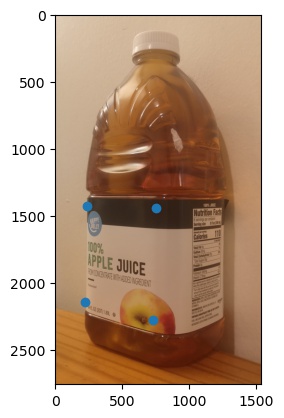
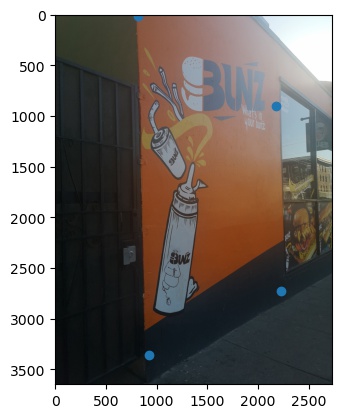
For image rectification, I chose the four corners of the part of the image I want to make front-facing. After that, I manually chose points to be where the corners should be. I calculated the homography between the four corners I picked on the image and the four points I manually created. I then warped my image to line up with the manually chosen corner points so that the image faces forward.
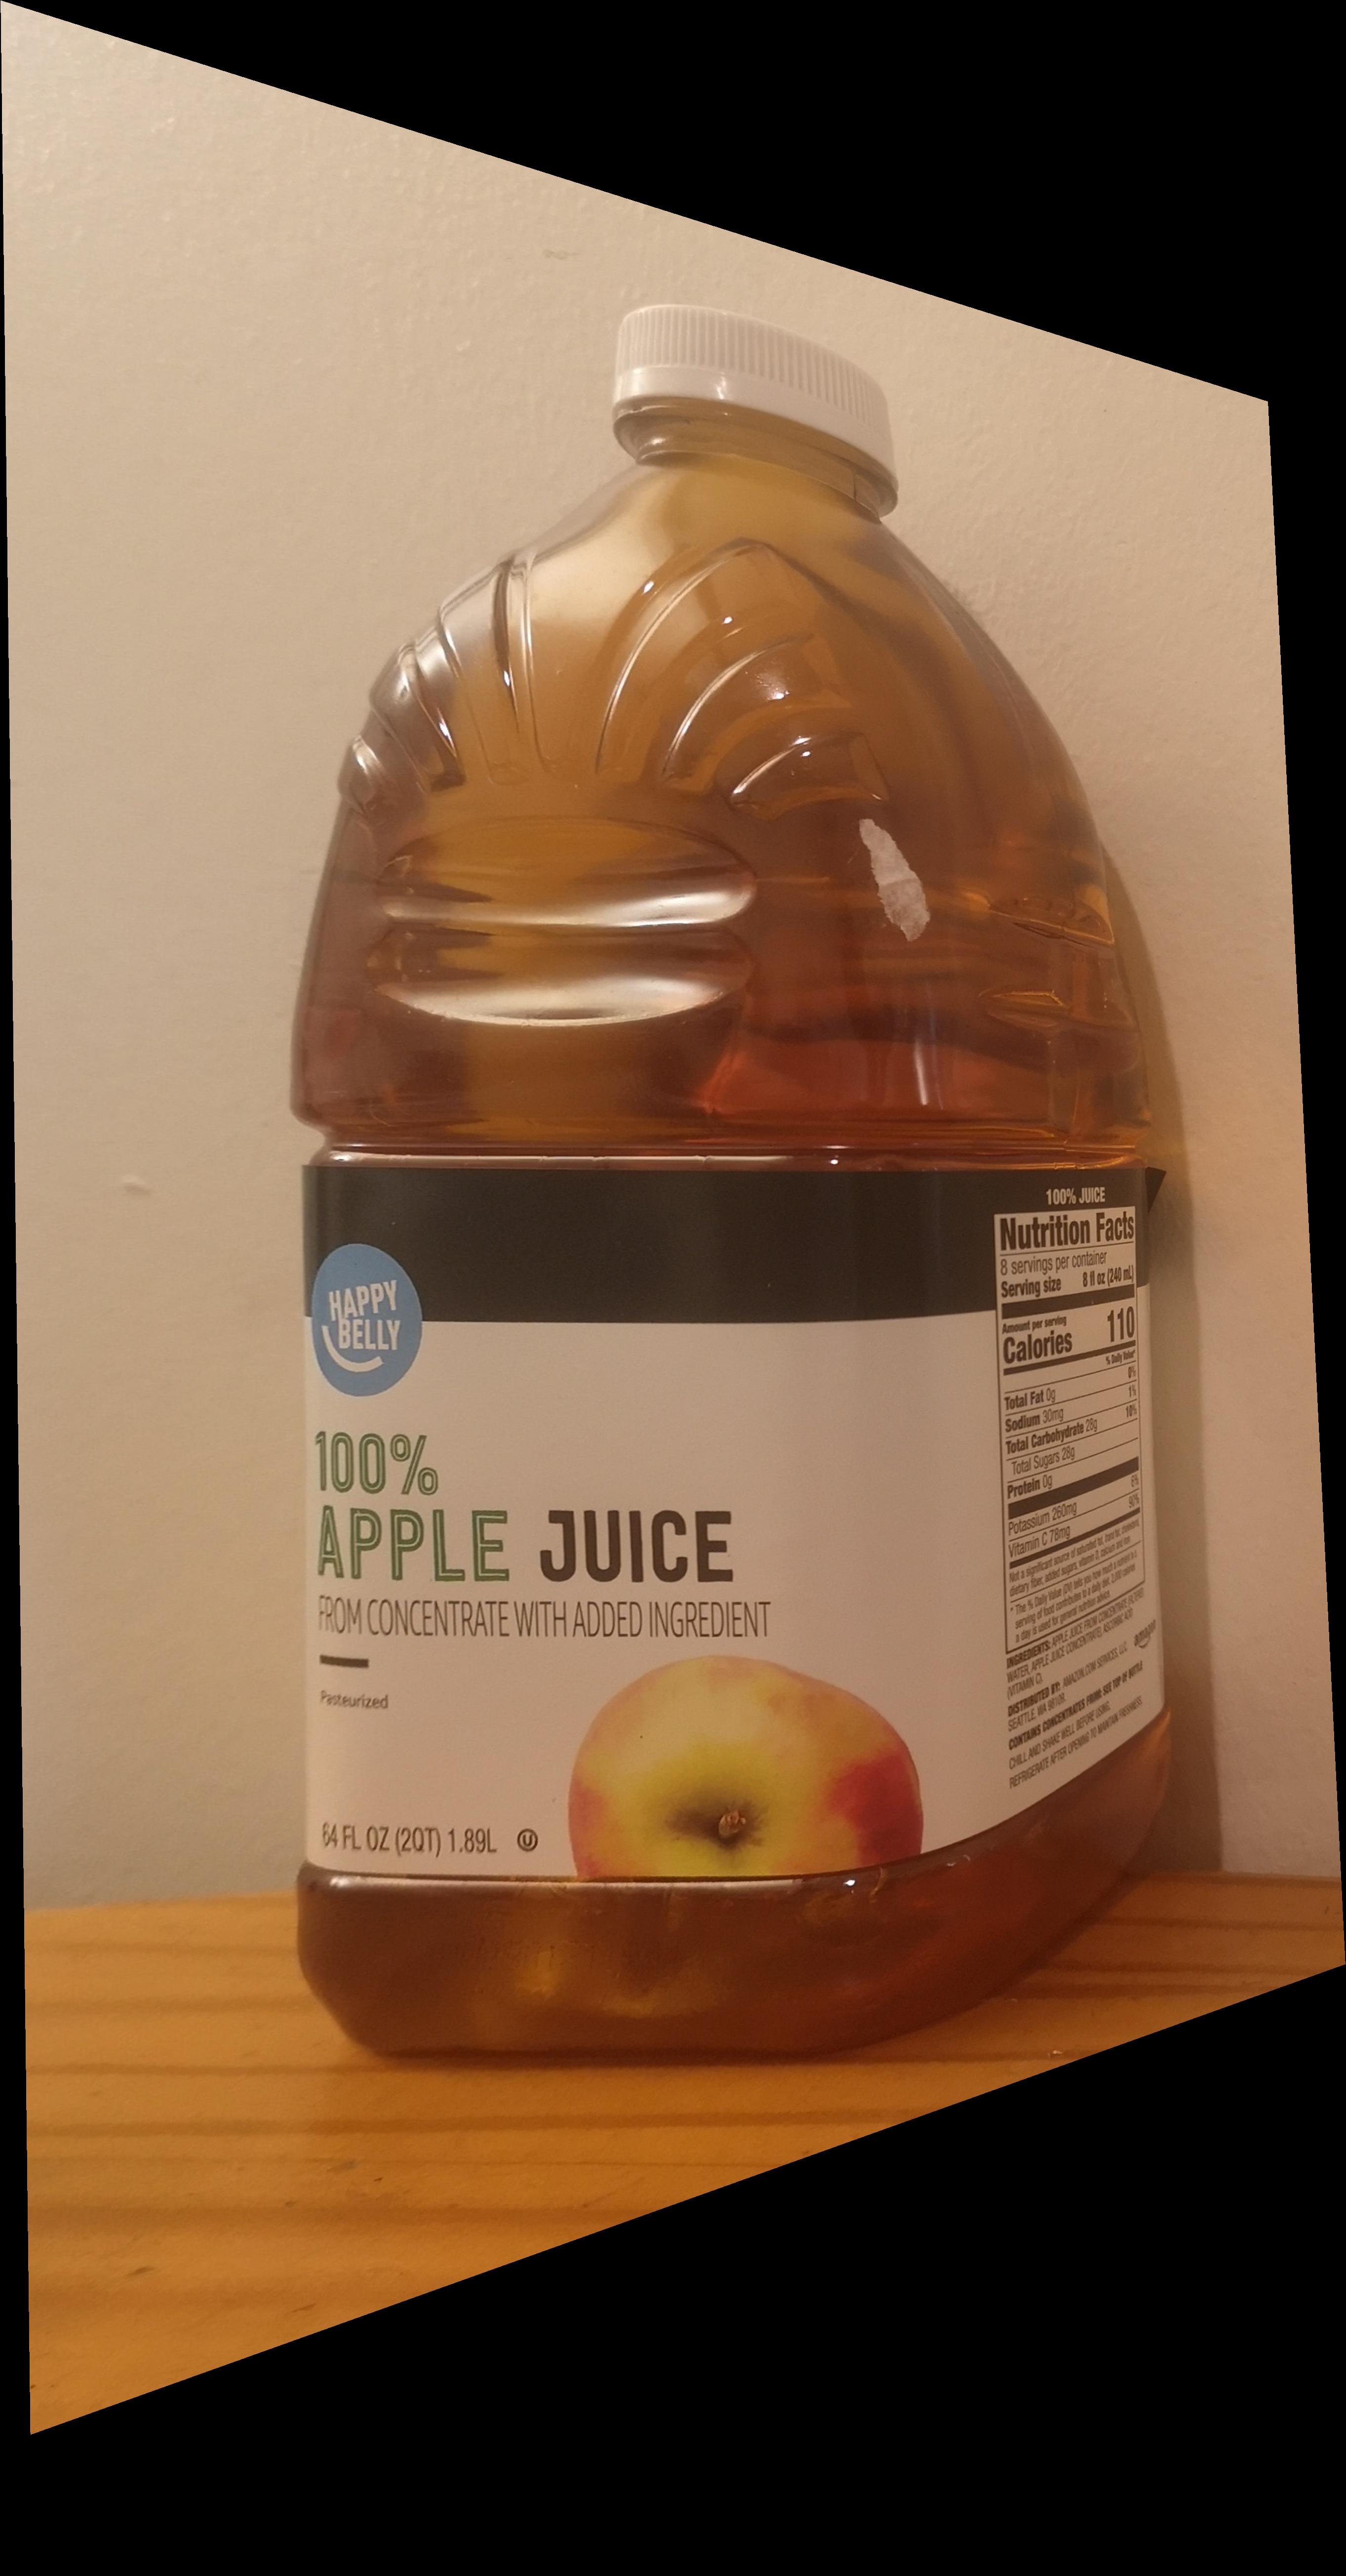
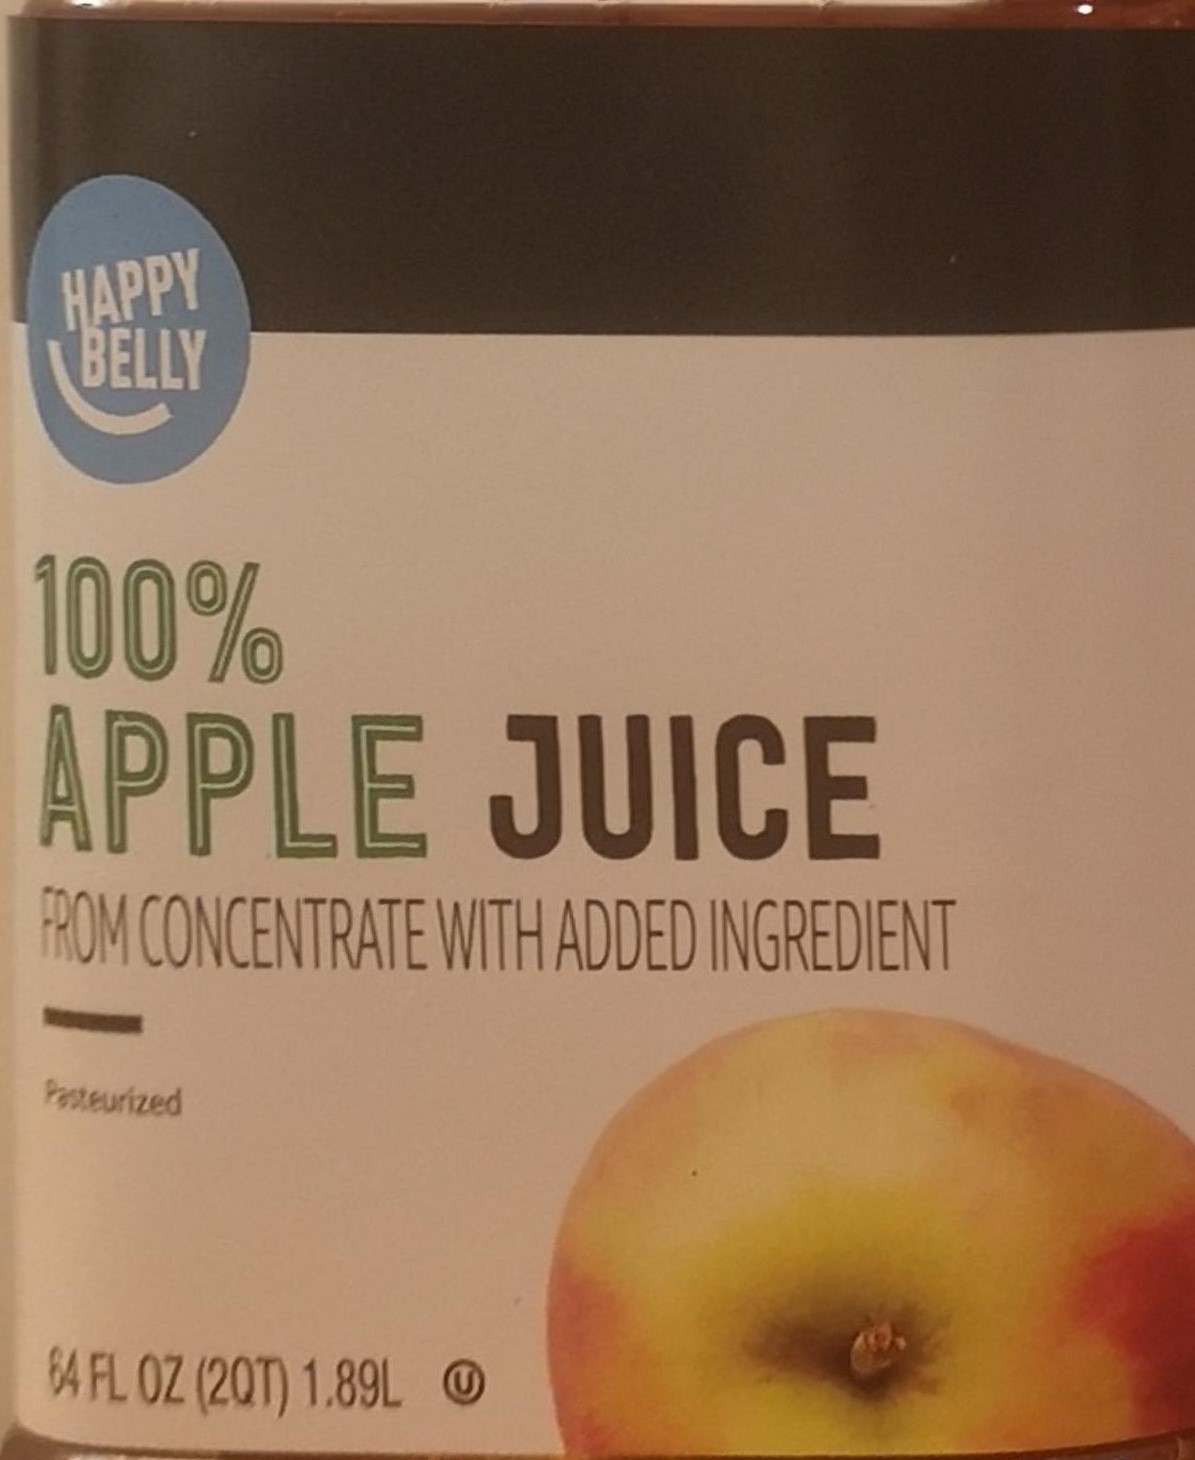
For the apple juice tag, because this image was not a completely planar surface, the warp for the bottle looks strange, but my goal was to rectify the slanted apple juice tag, so I cropped that part out by itself.
|
|
|
|
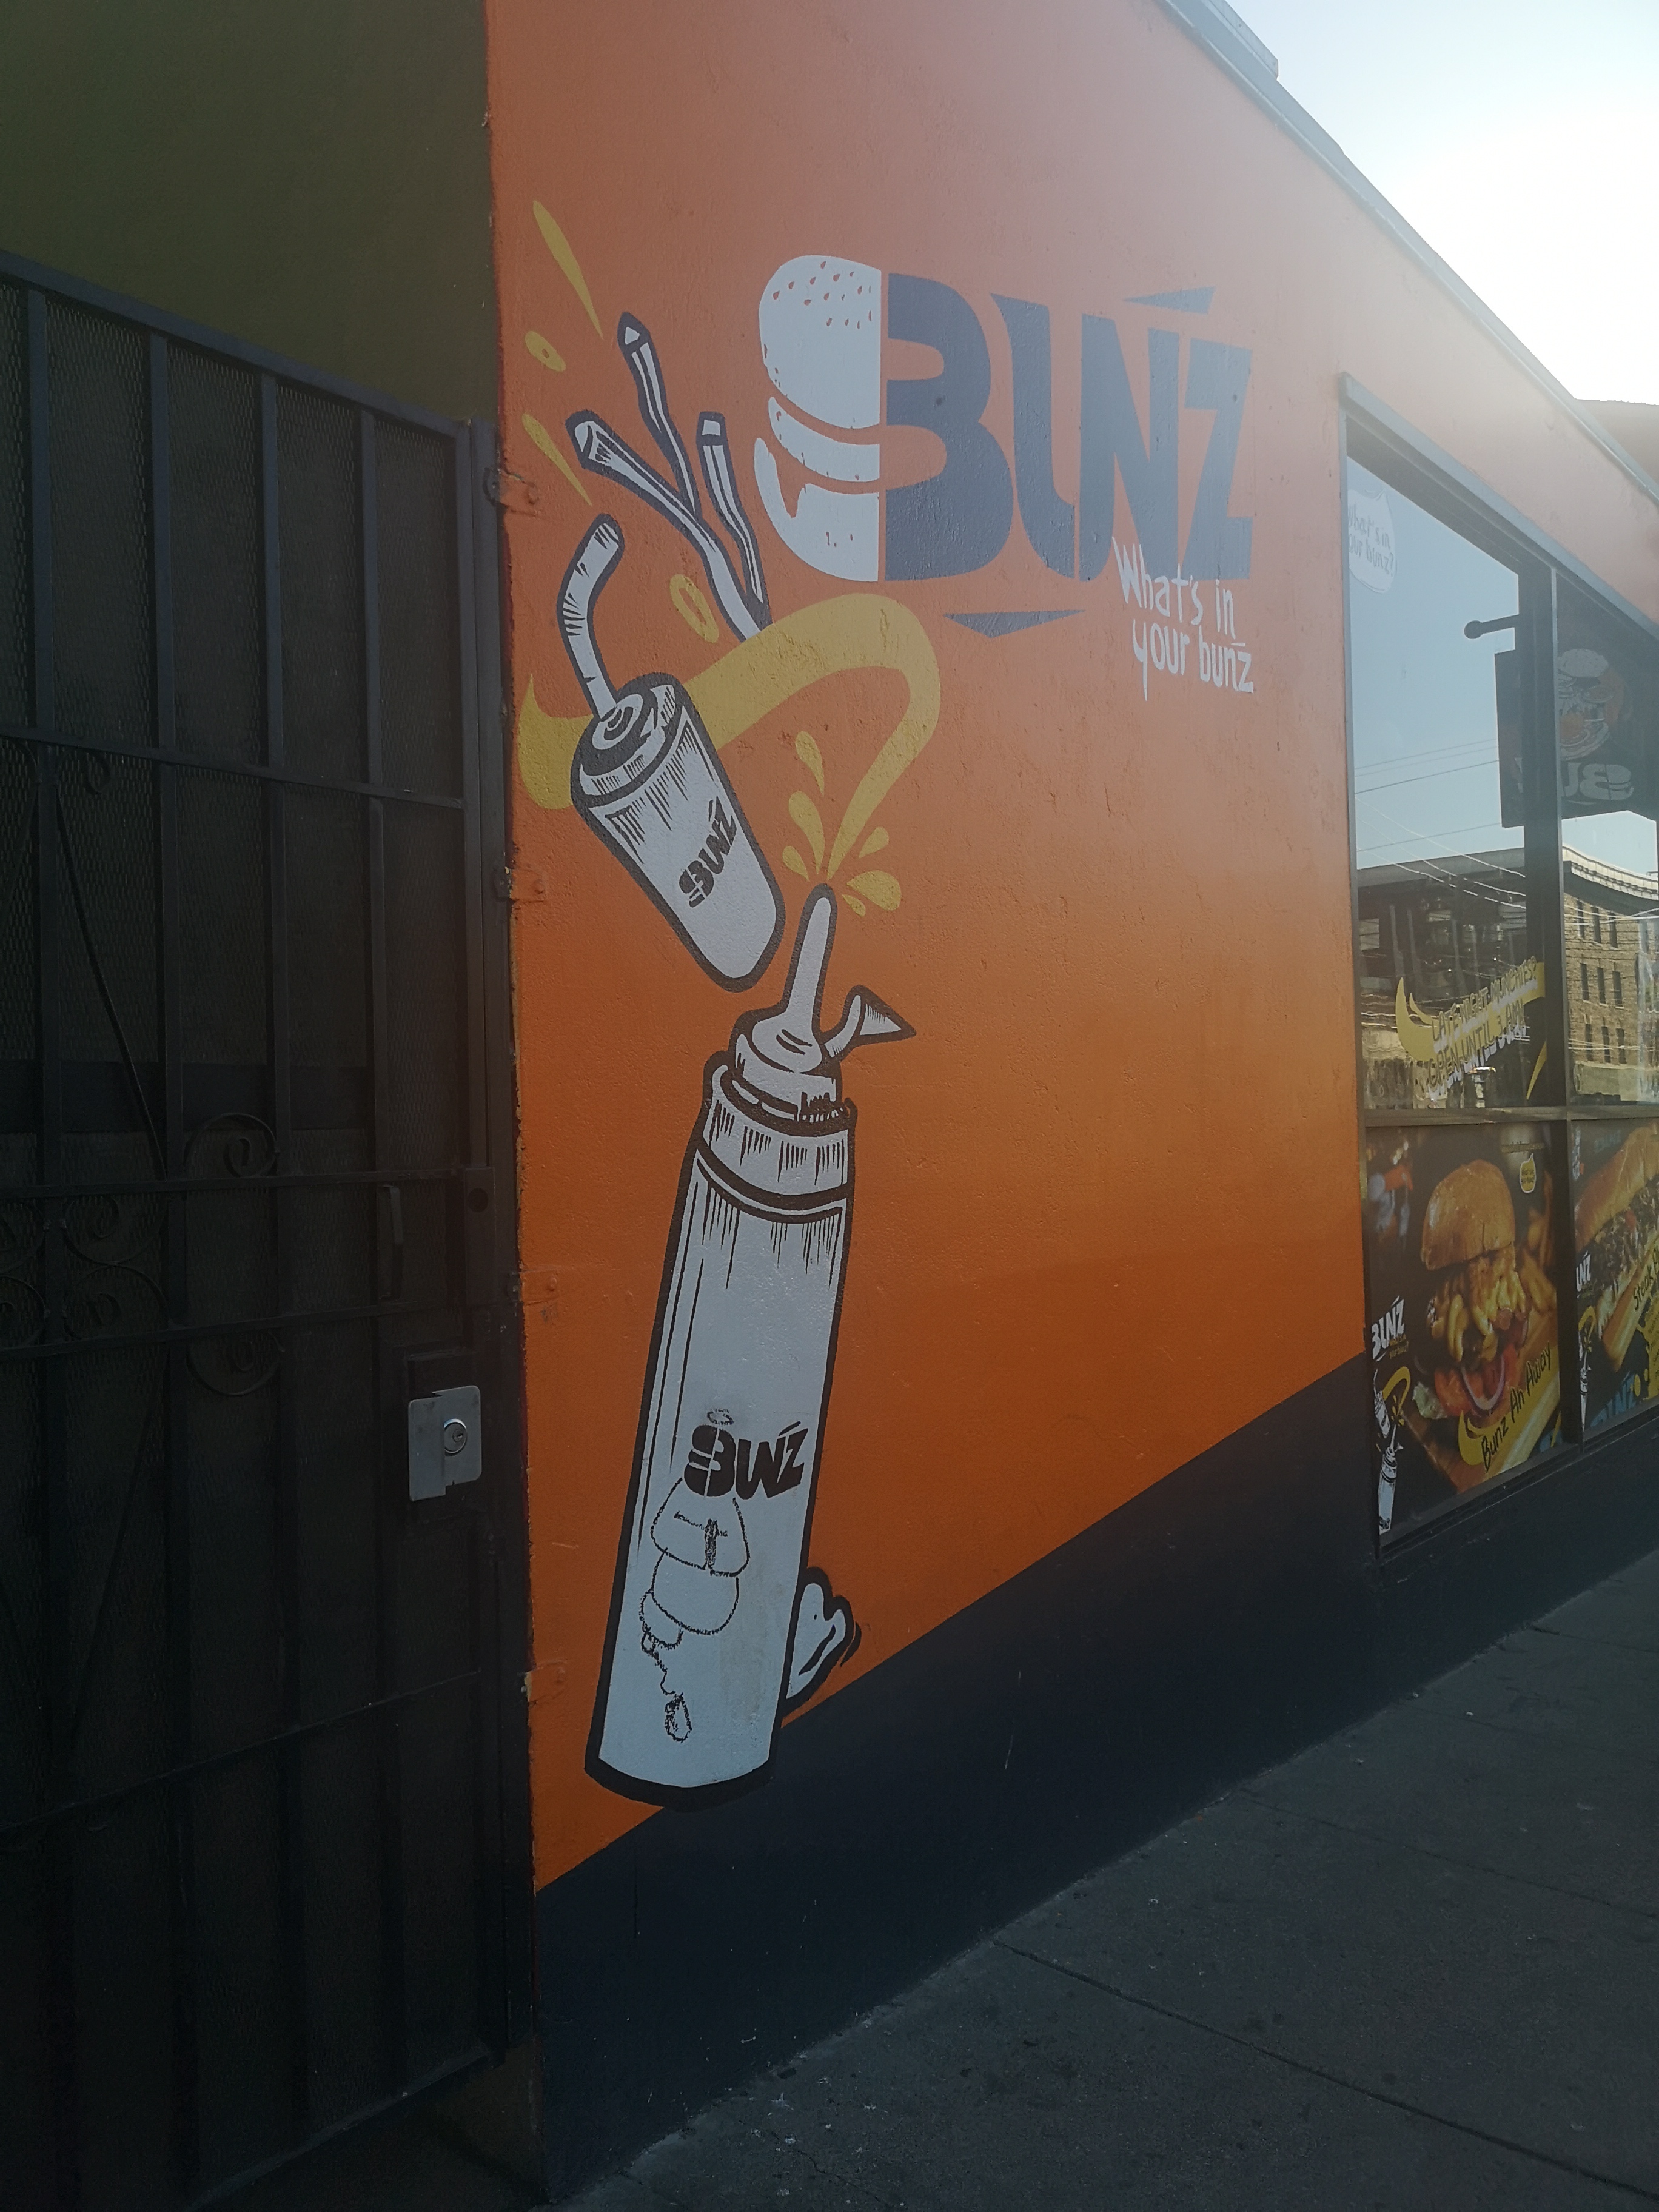
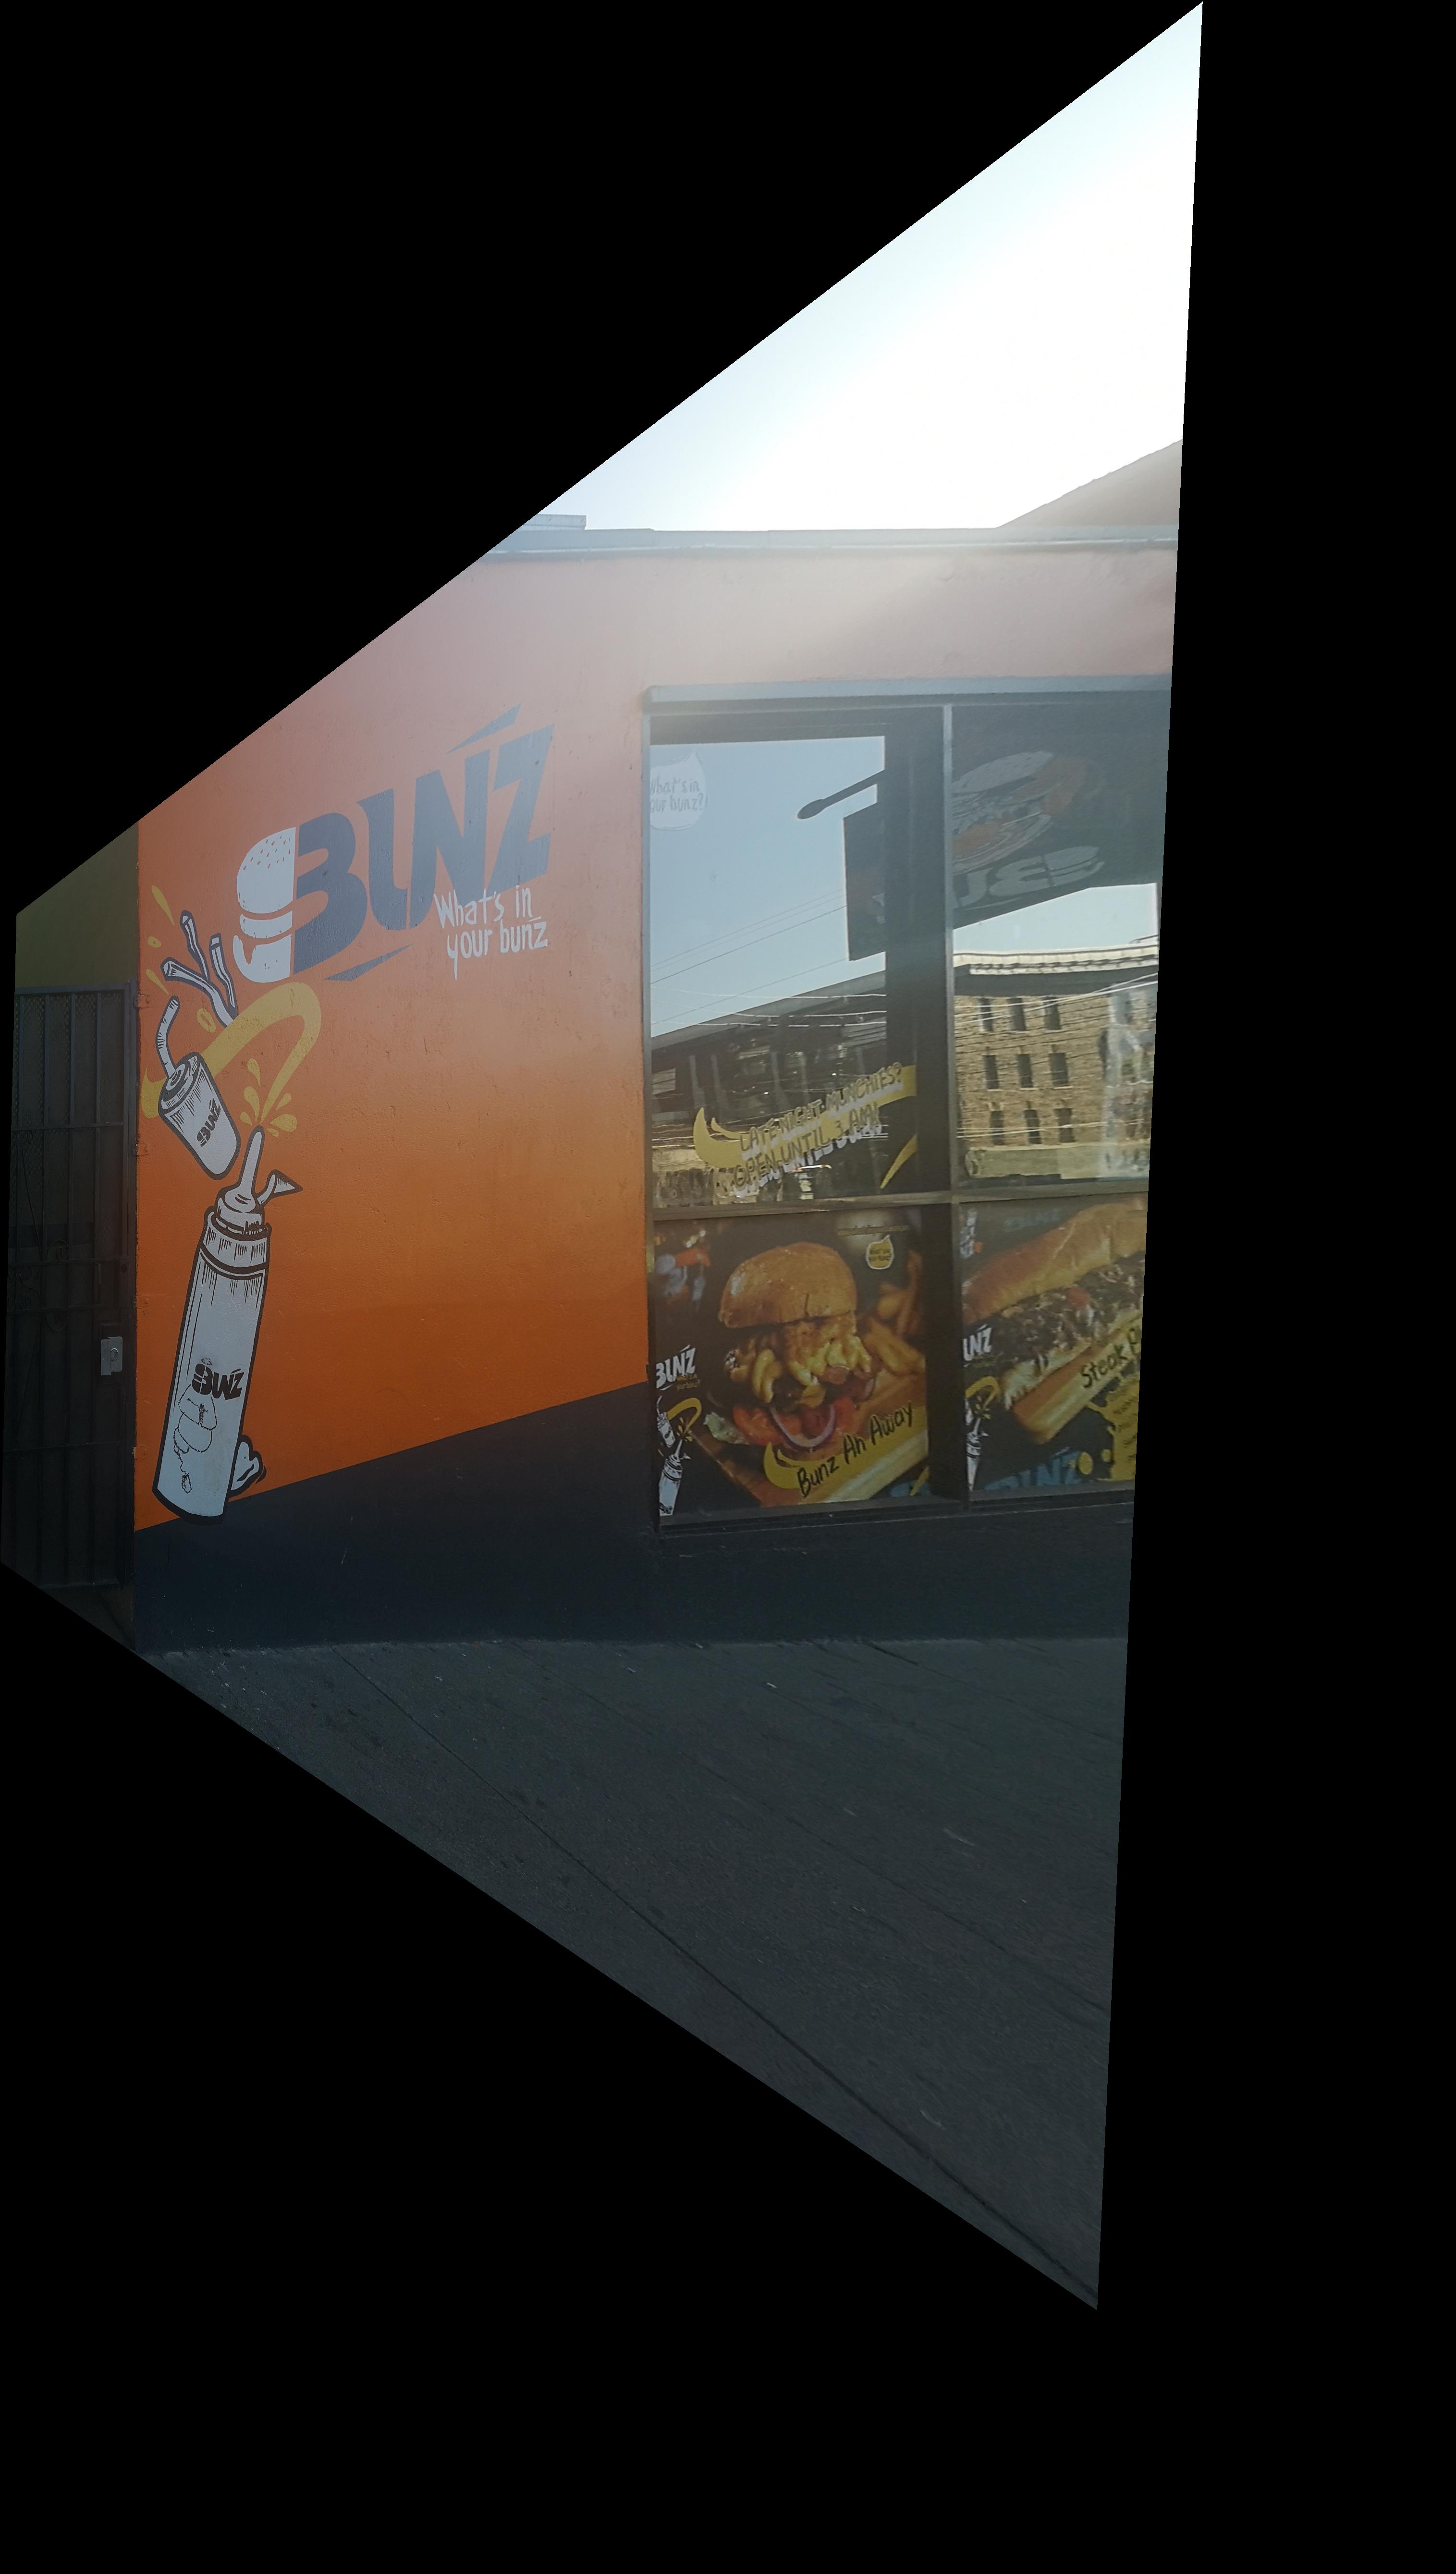
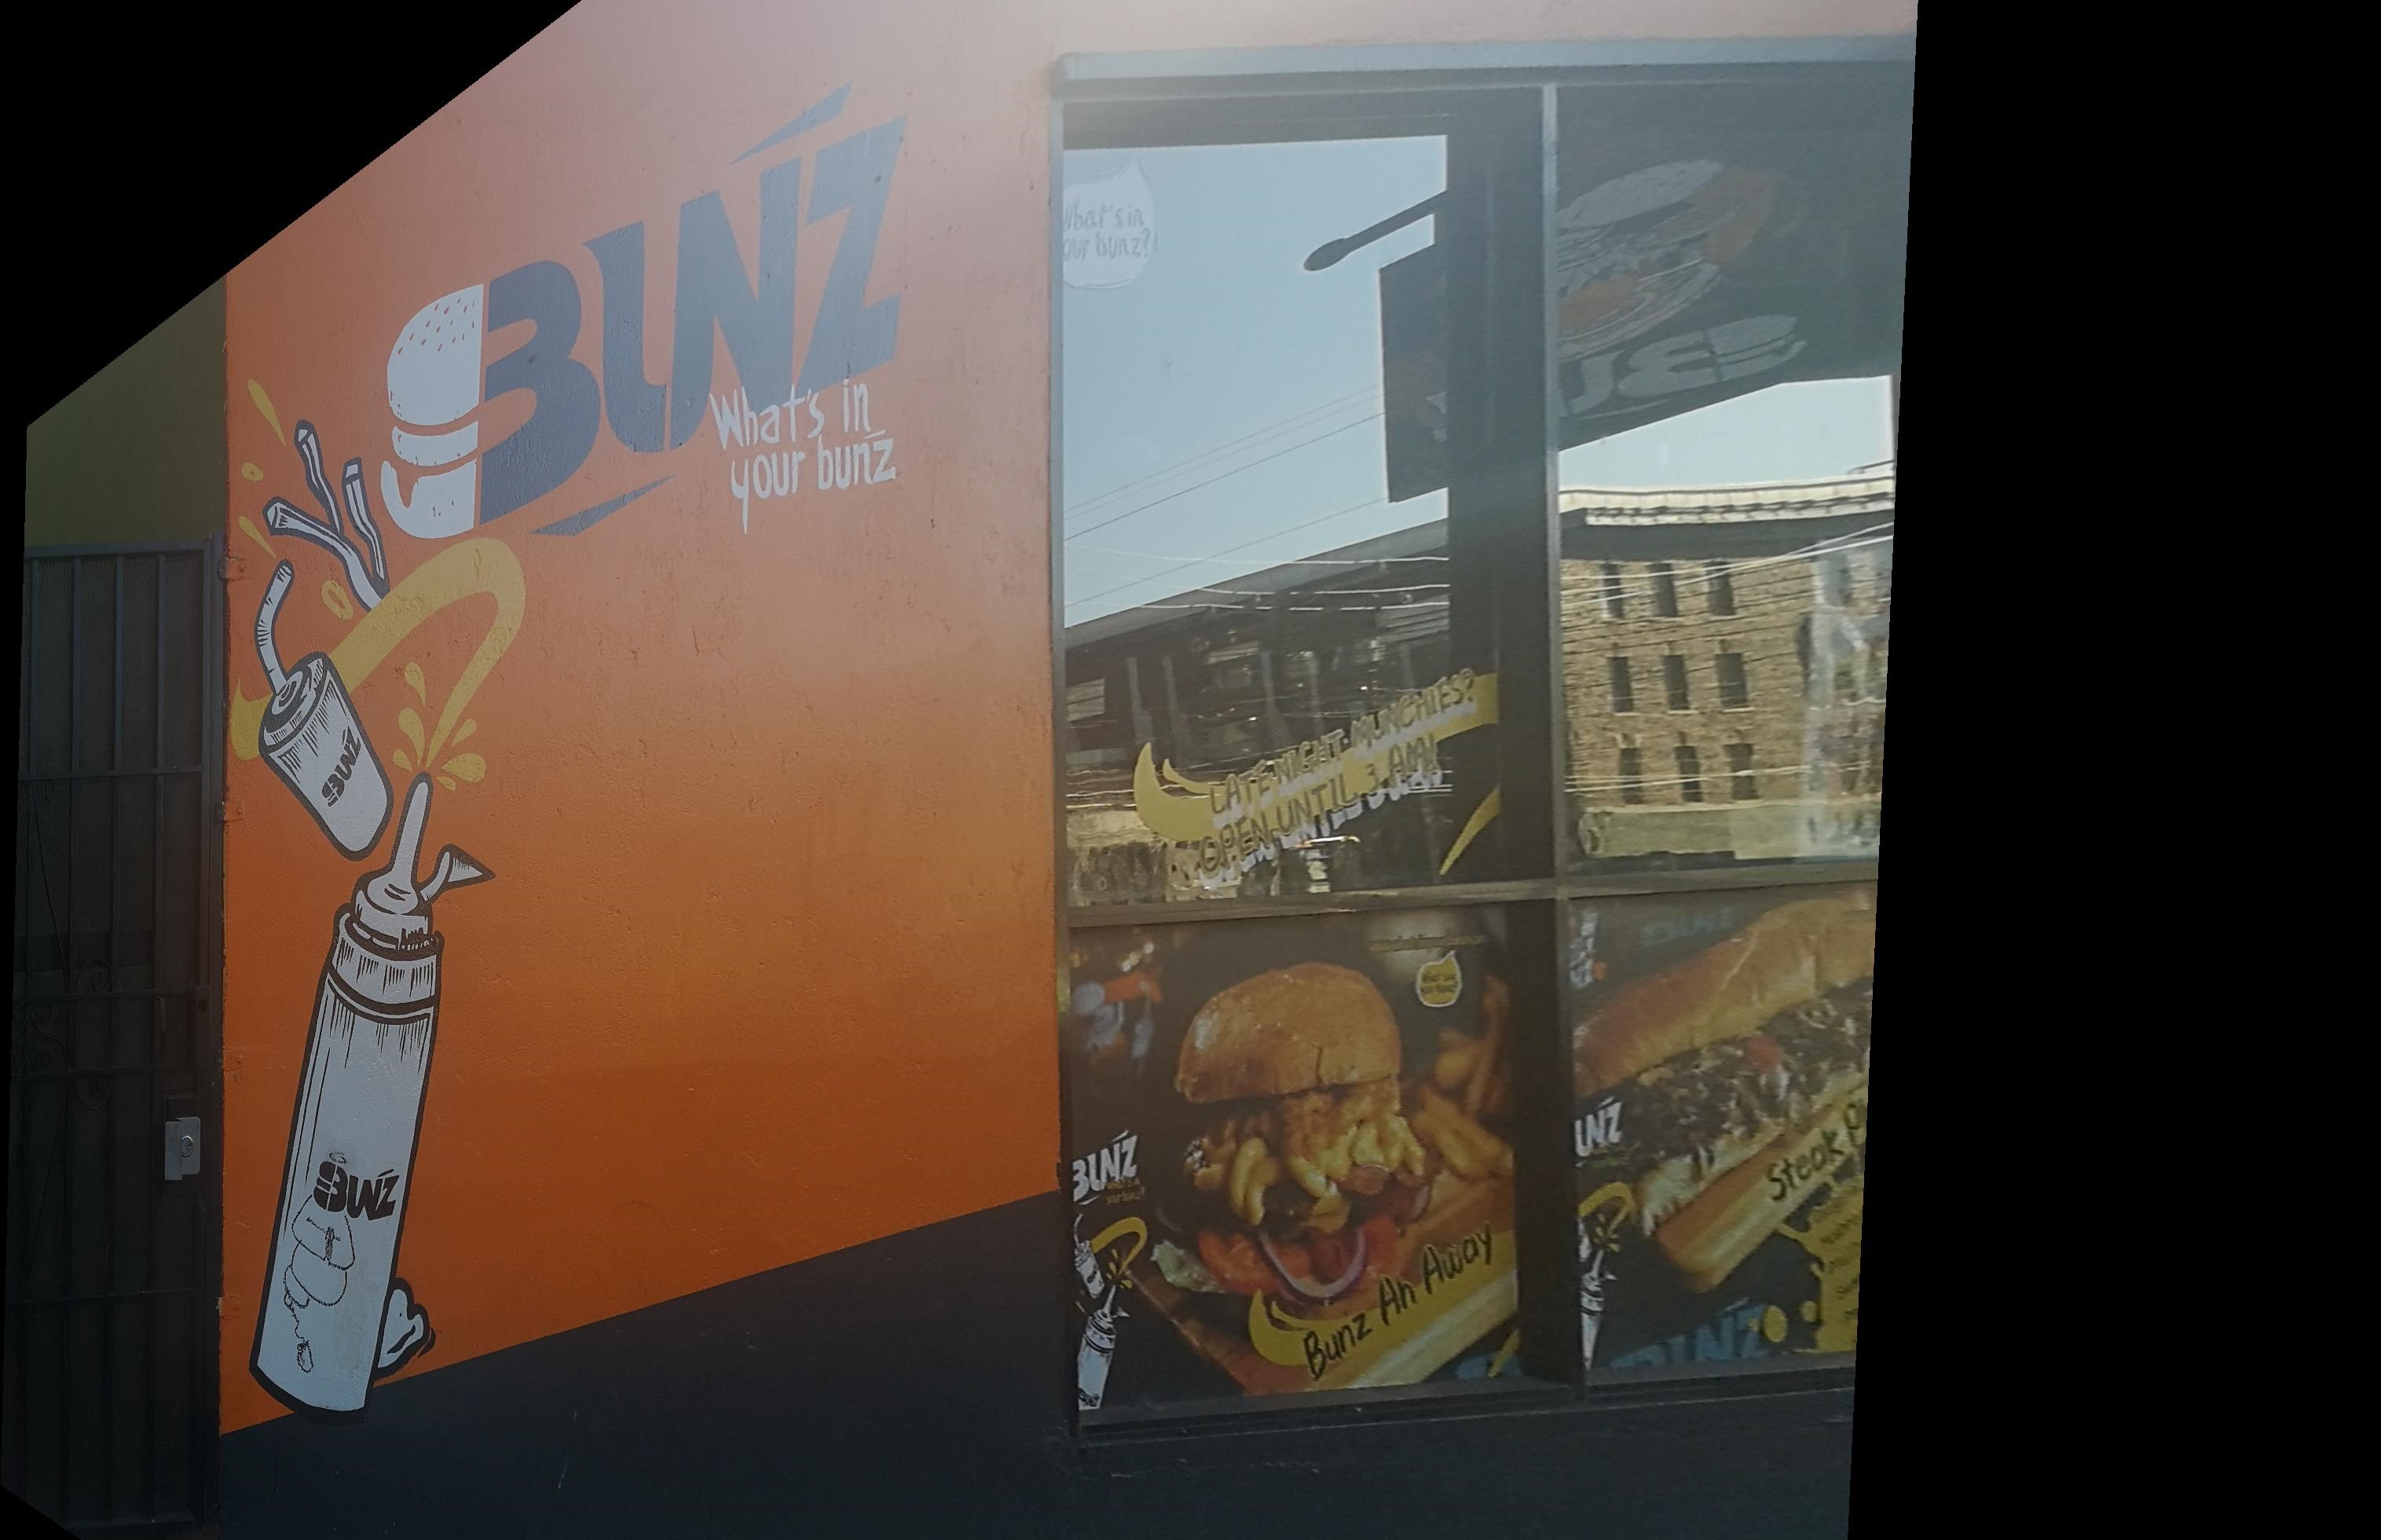
Because the Bunz sign is on a flat surface, the output became better. The black section are parts that we cannot fill in because we don't have that part of the building in our picture.
|
|
|
|
Image Mosaicing
To do image mosaicing, I found the homography matrix and found the shape of the warped image by first warping only the corners. Some of the warped indices may have negative index values because they go past the original image size. From there, I found all of the points within that warped image shape using the polygon method, but they only use positive indices, so I first need to shift the warped corner points so that they are all positive. After getting all of the pixels indices that are in the warped image shape, I shifted them back to do inverse warping to find the corresponding pixel values. Finally, I shifted both images down a specified amount so they would all have positive index values. To stitch the images together, I found where the images intersected and took the weighted average the pixel values in that area.
For stitching three images, I stitched together one image at a time. I made sure to shift/transform the original image points to where they are at after the previous stiches to make it easier for the next picture to align with it.
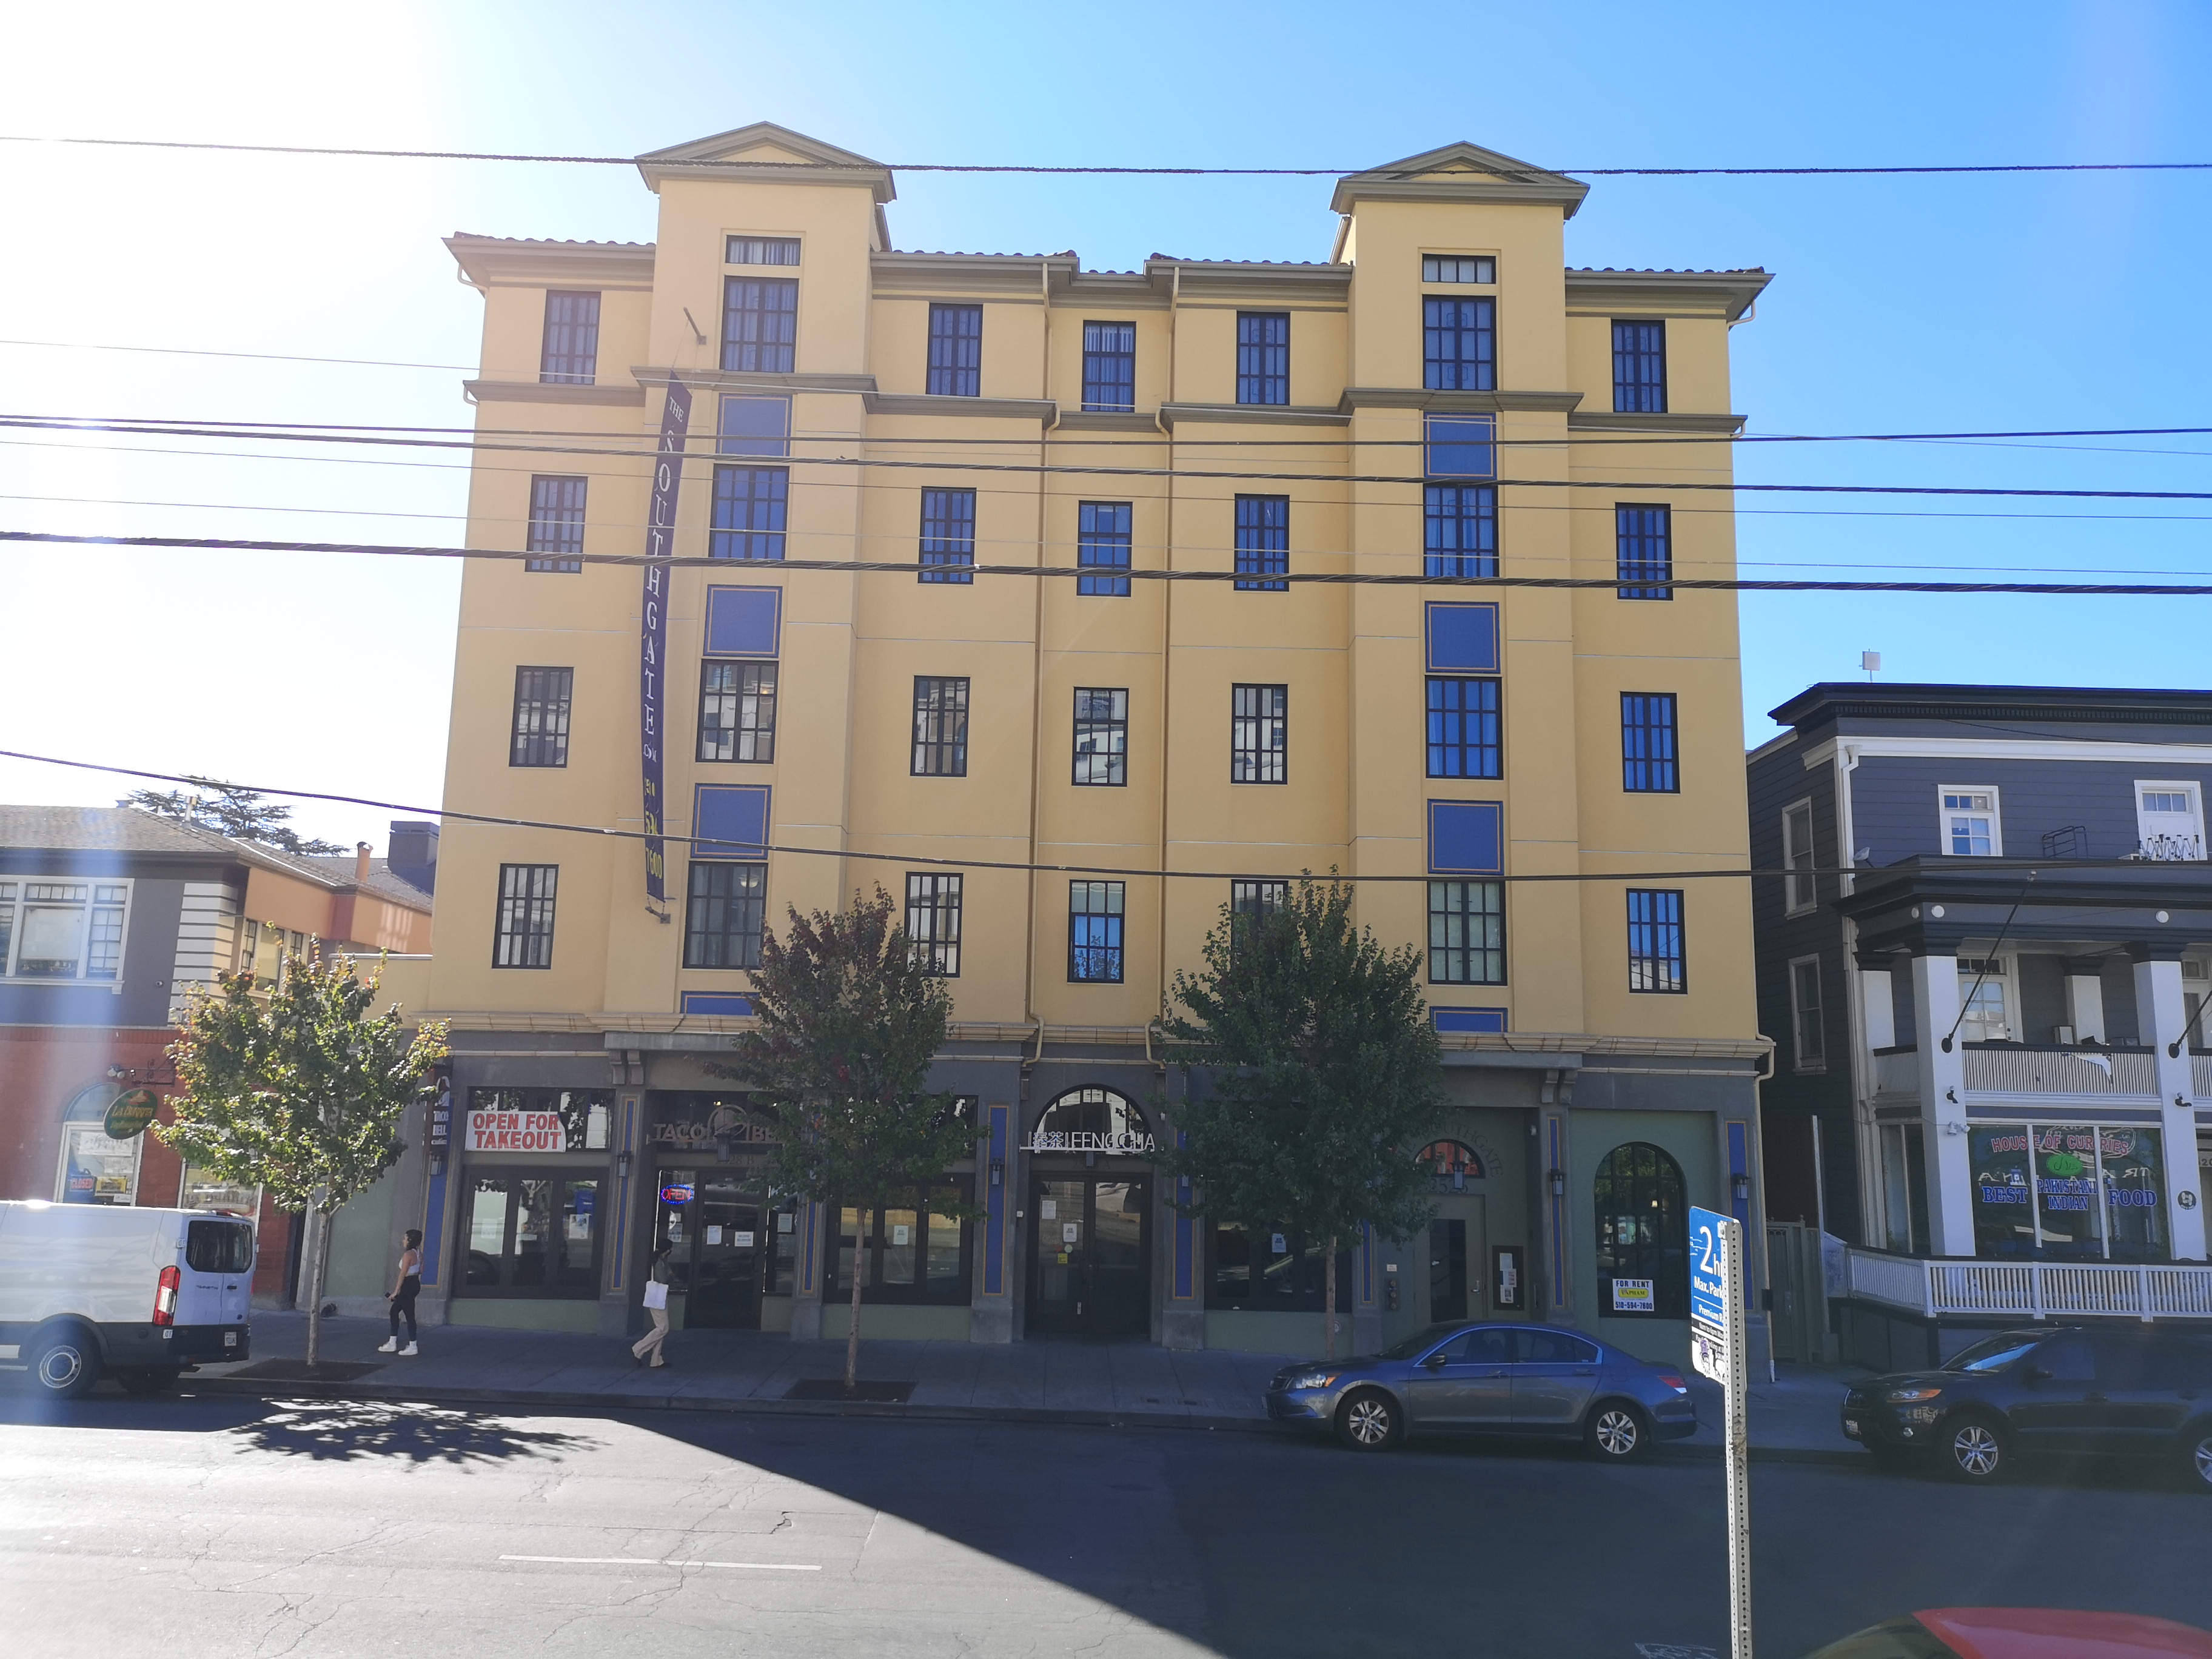
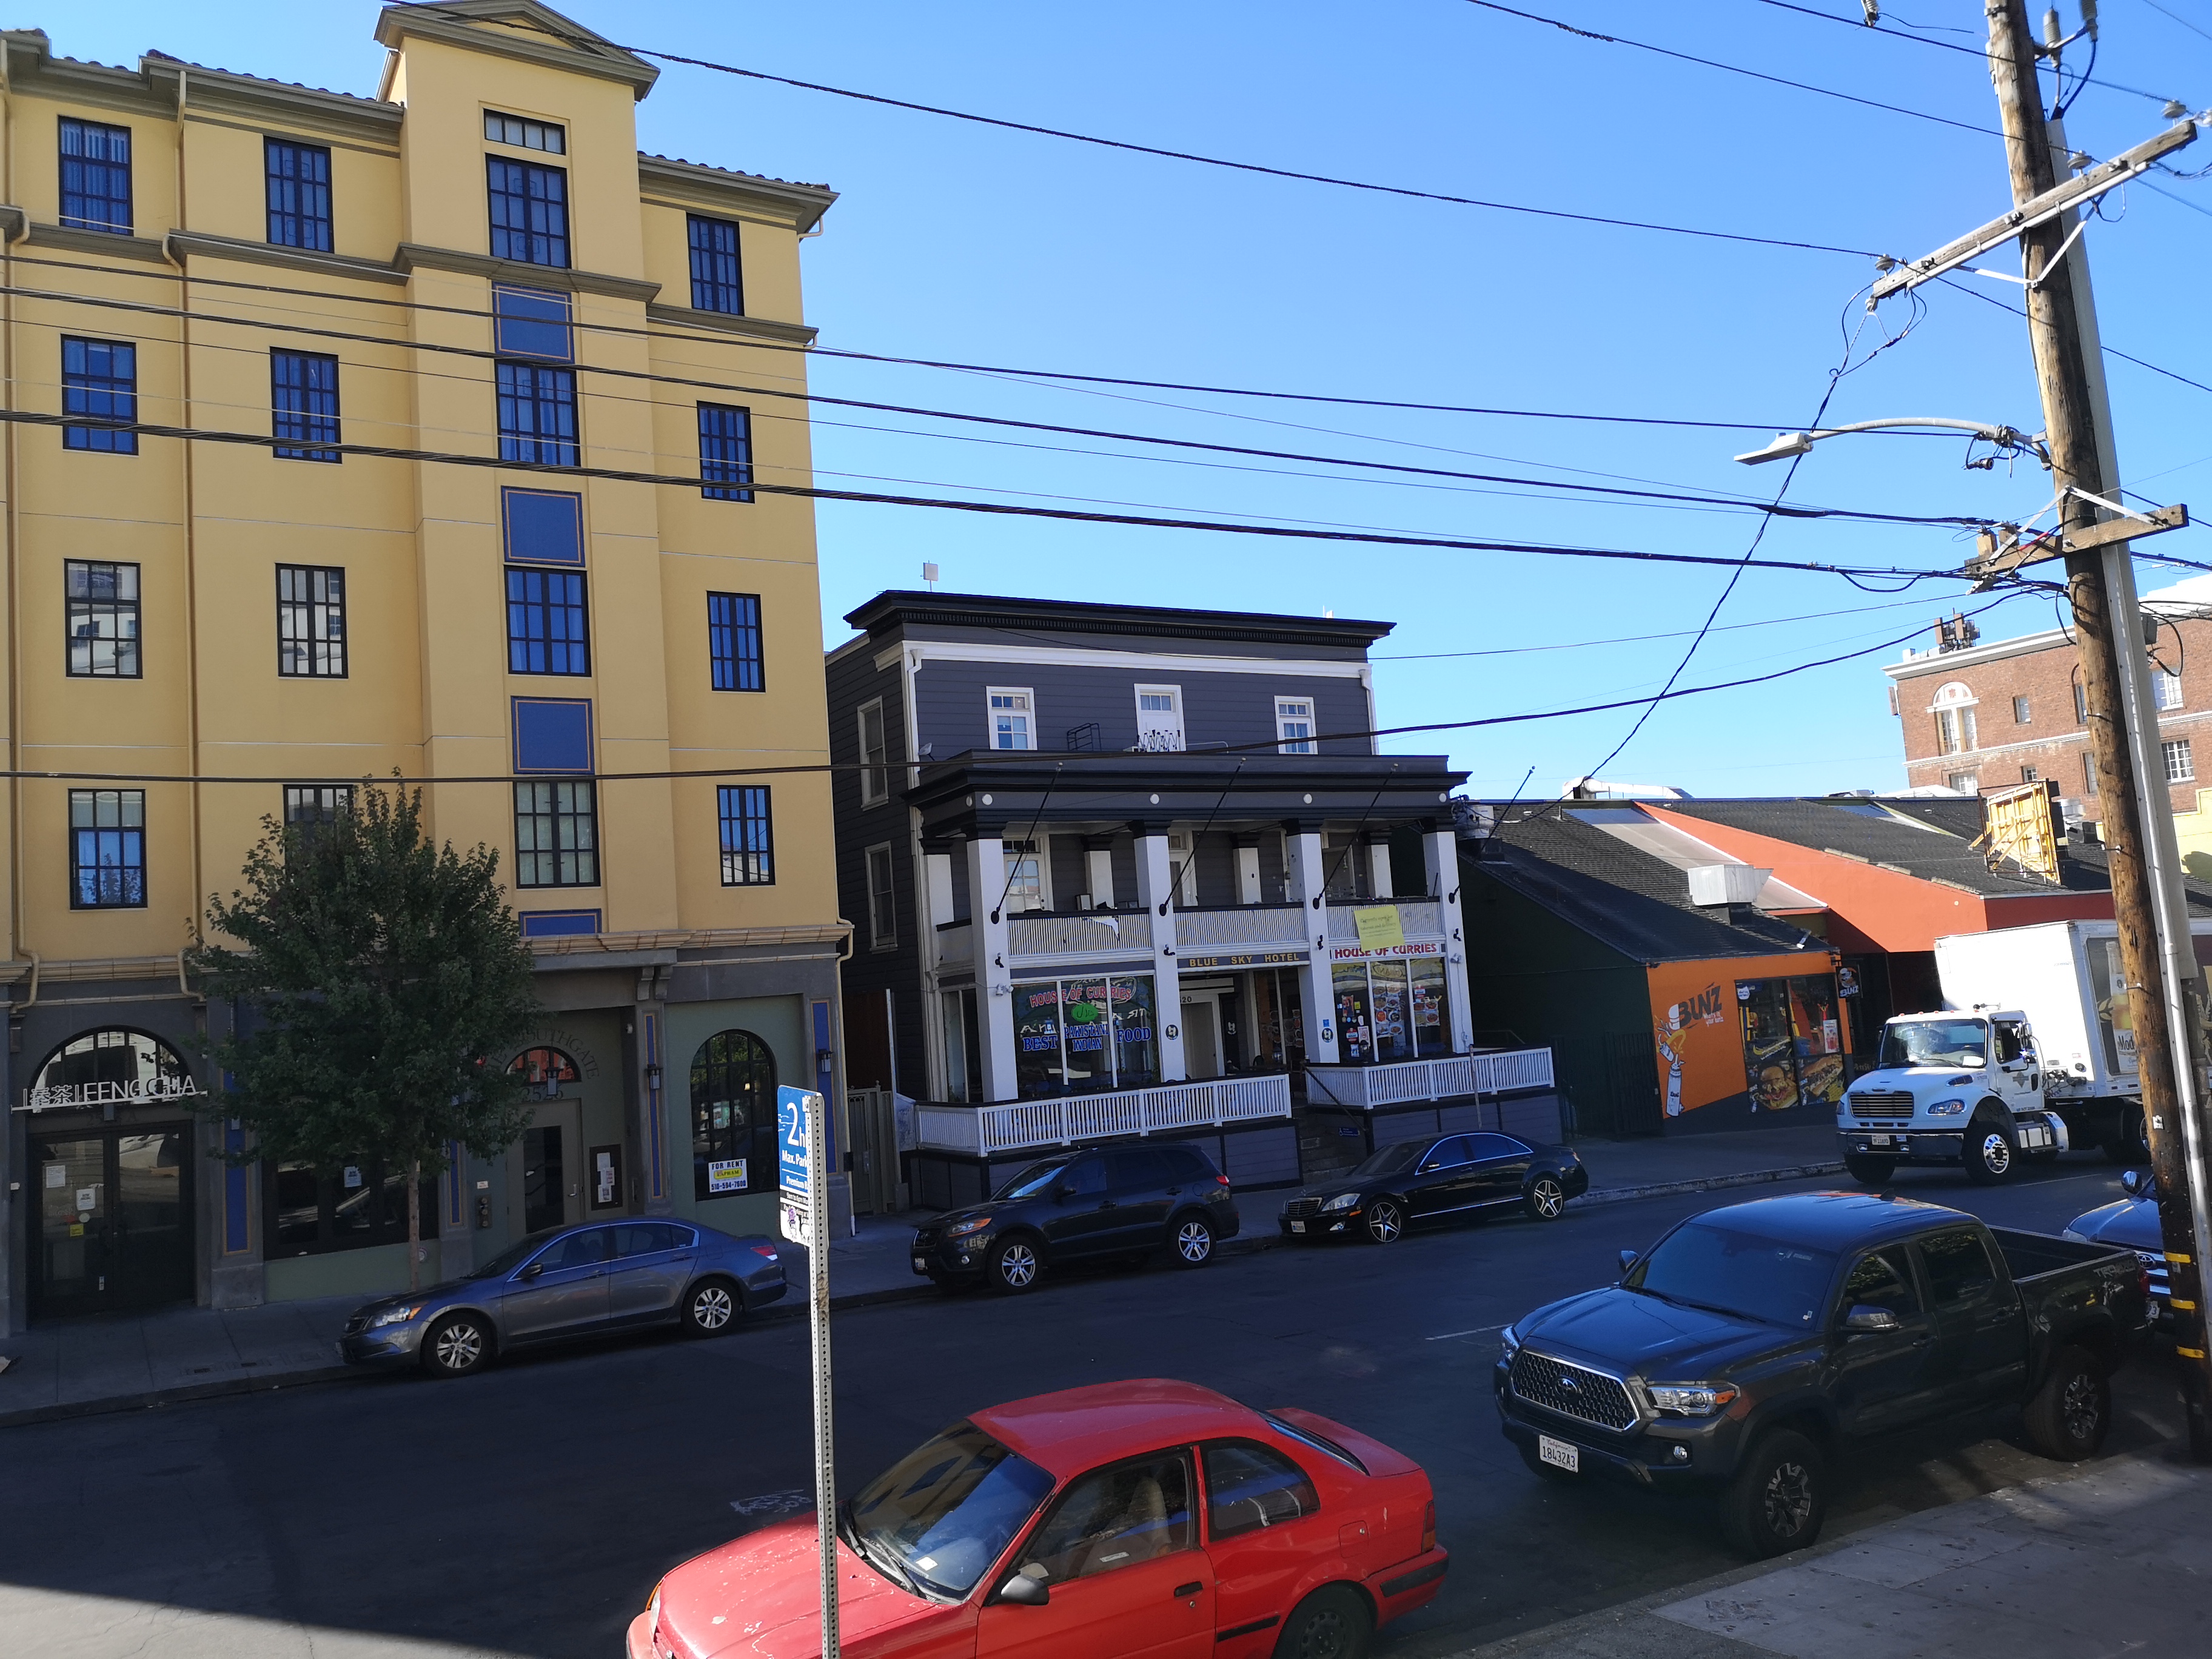
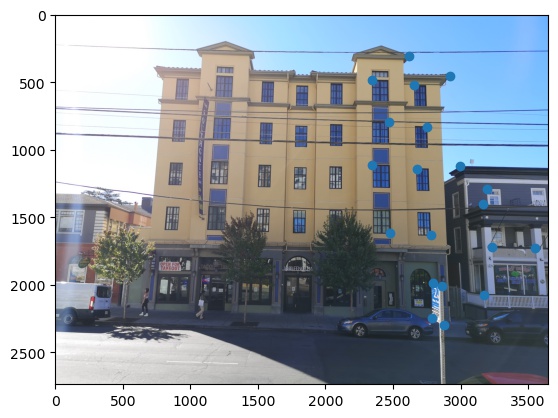
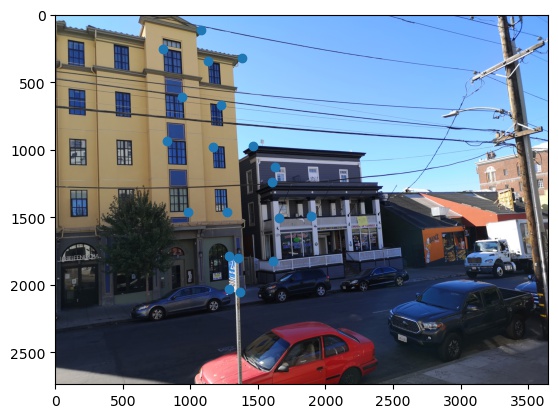
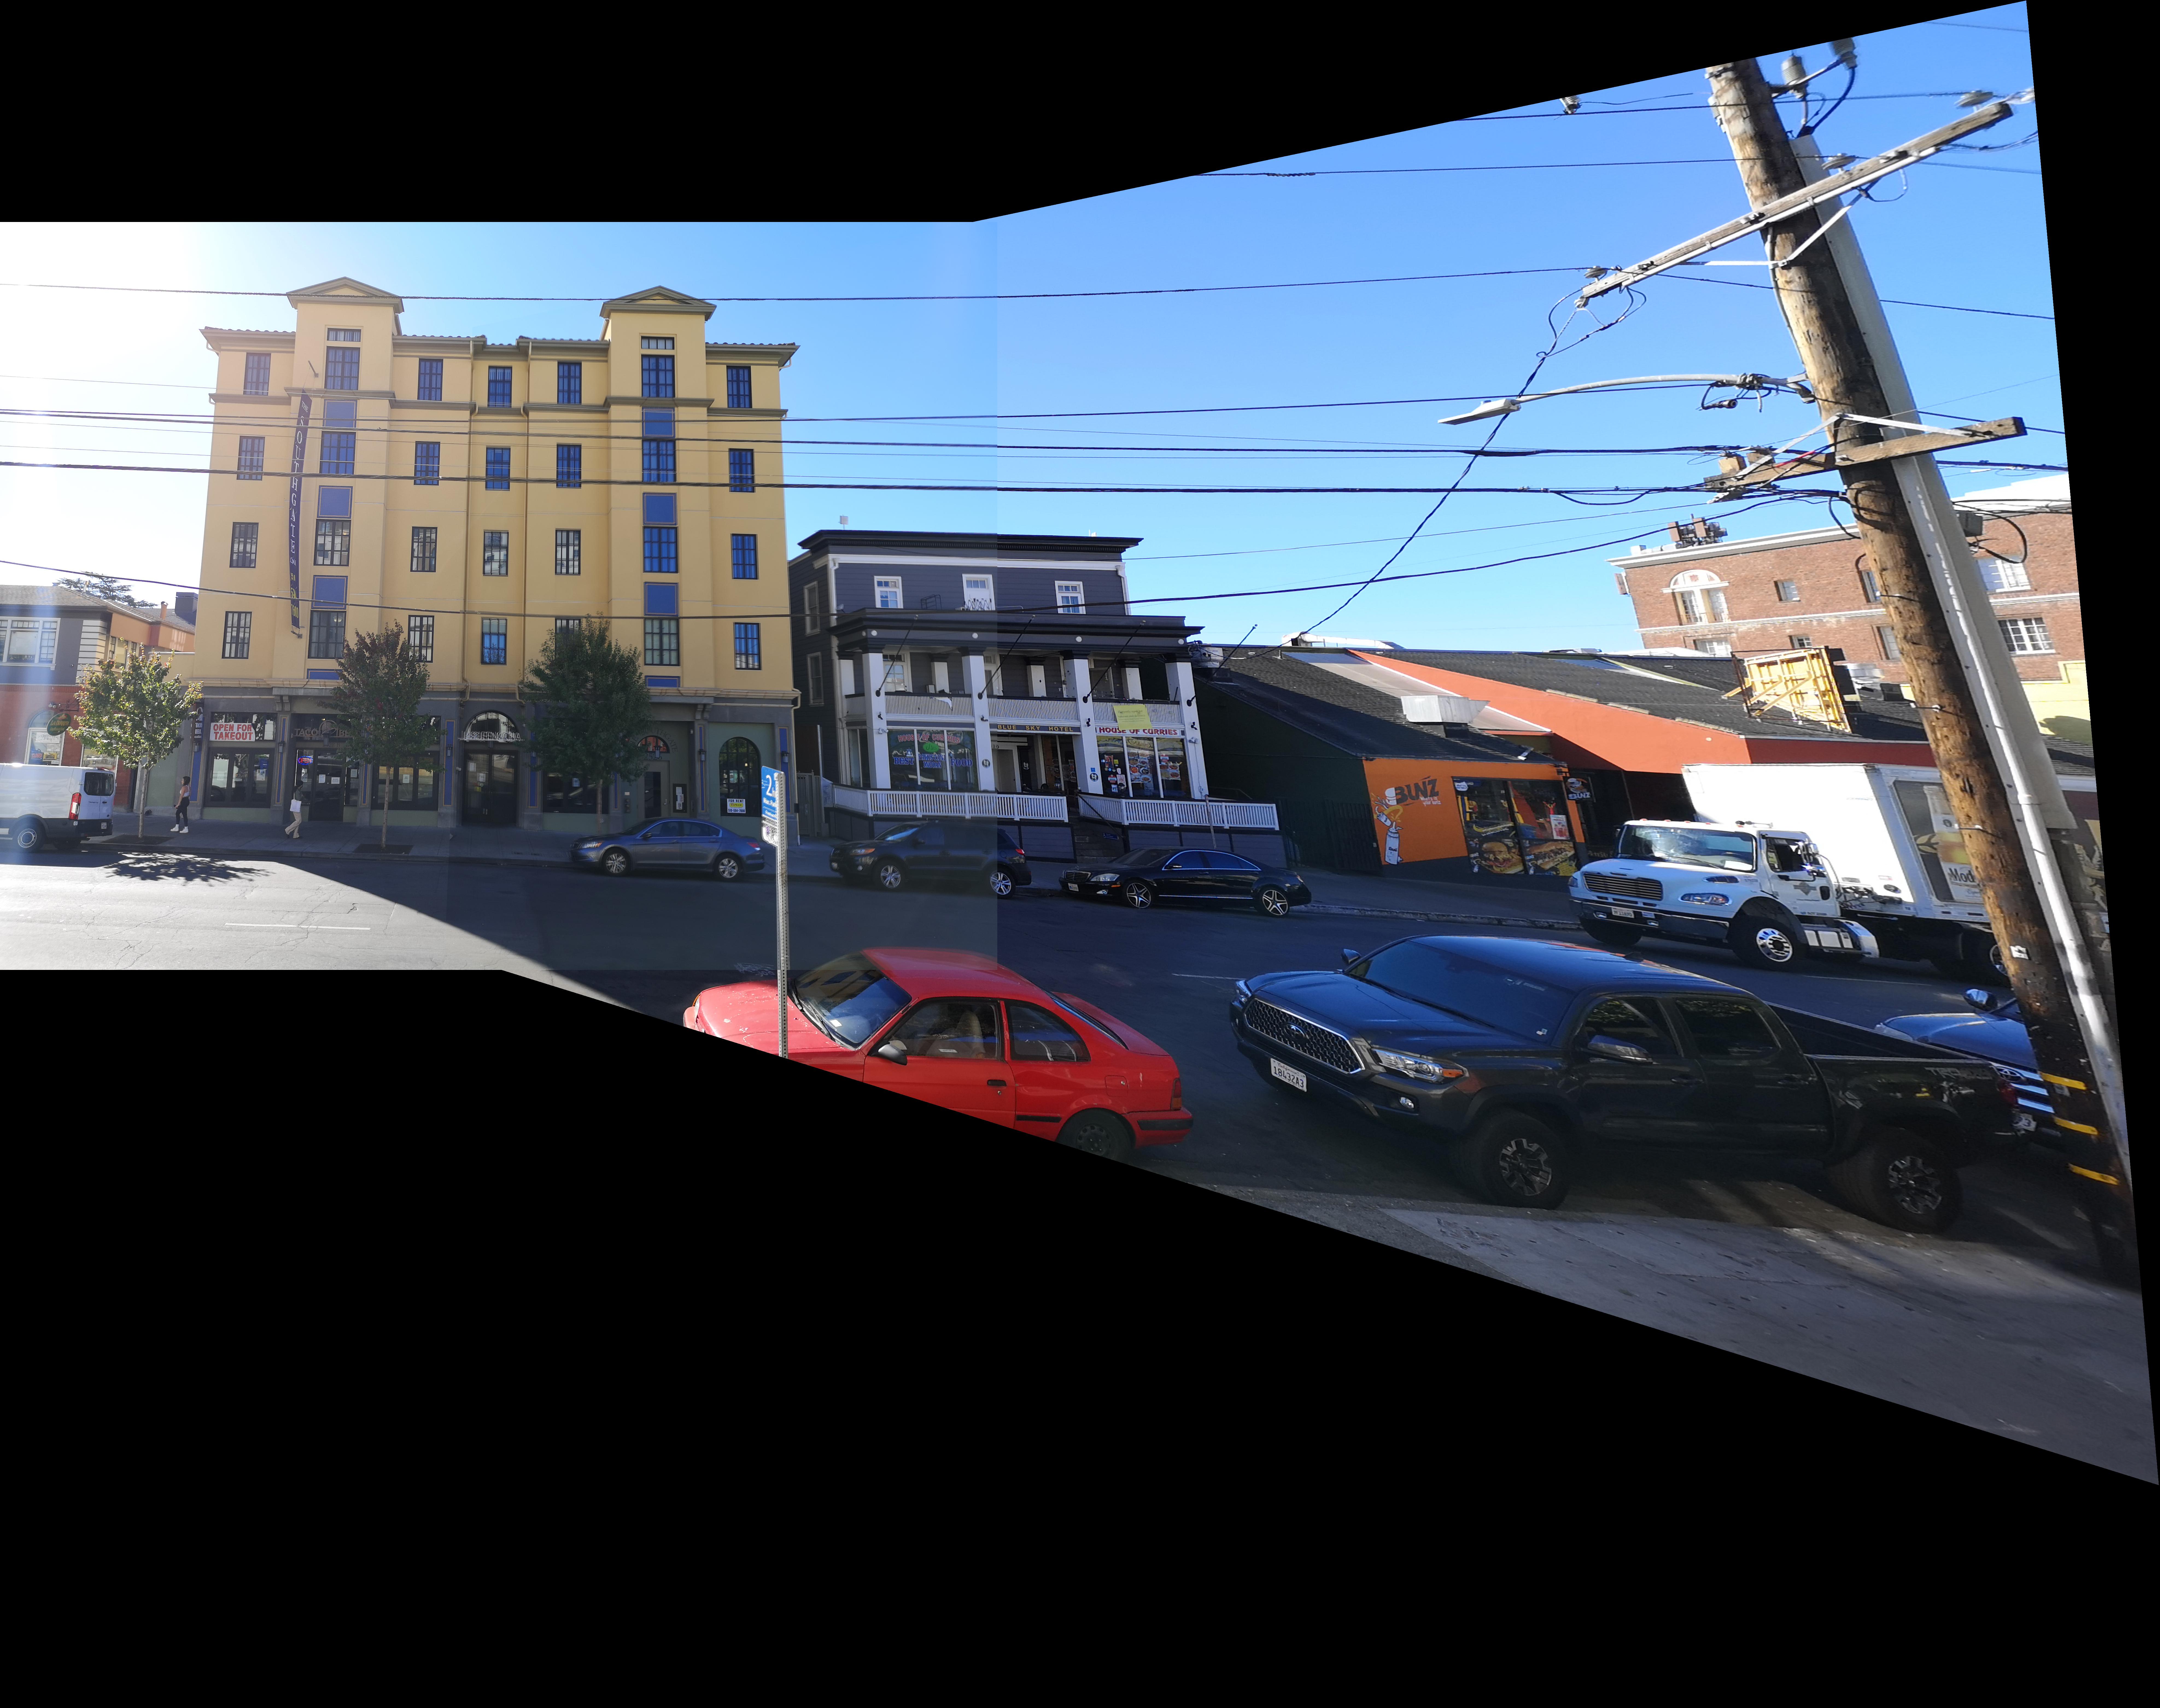
The first pictures are taken outside of my apartment of the other side of the street. The pictures line up pretty well for the most part and there is a small difference in color near where the pictures align.
|
|
|
|
|
|
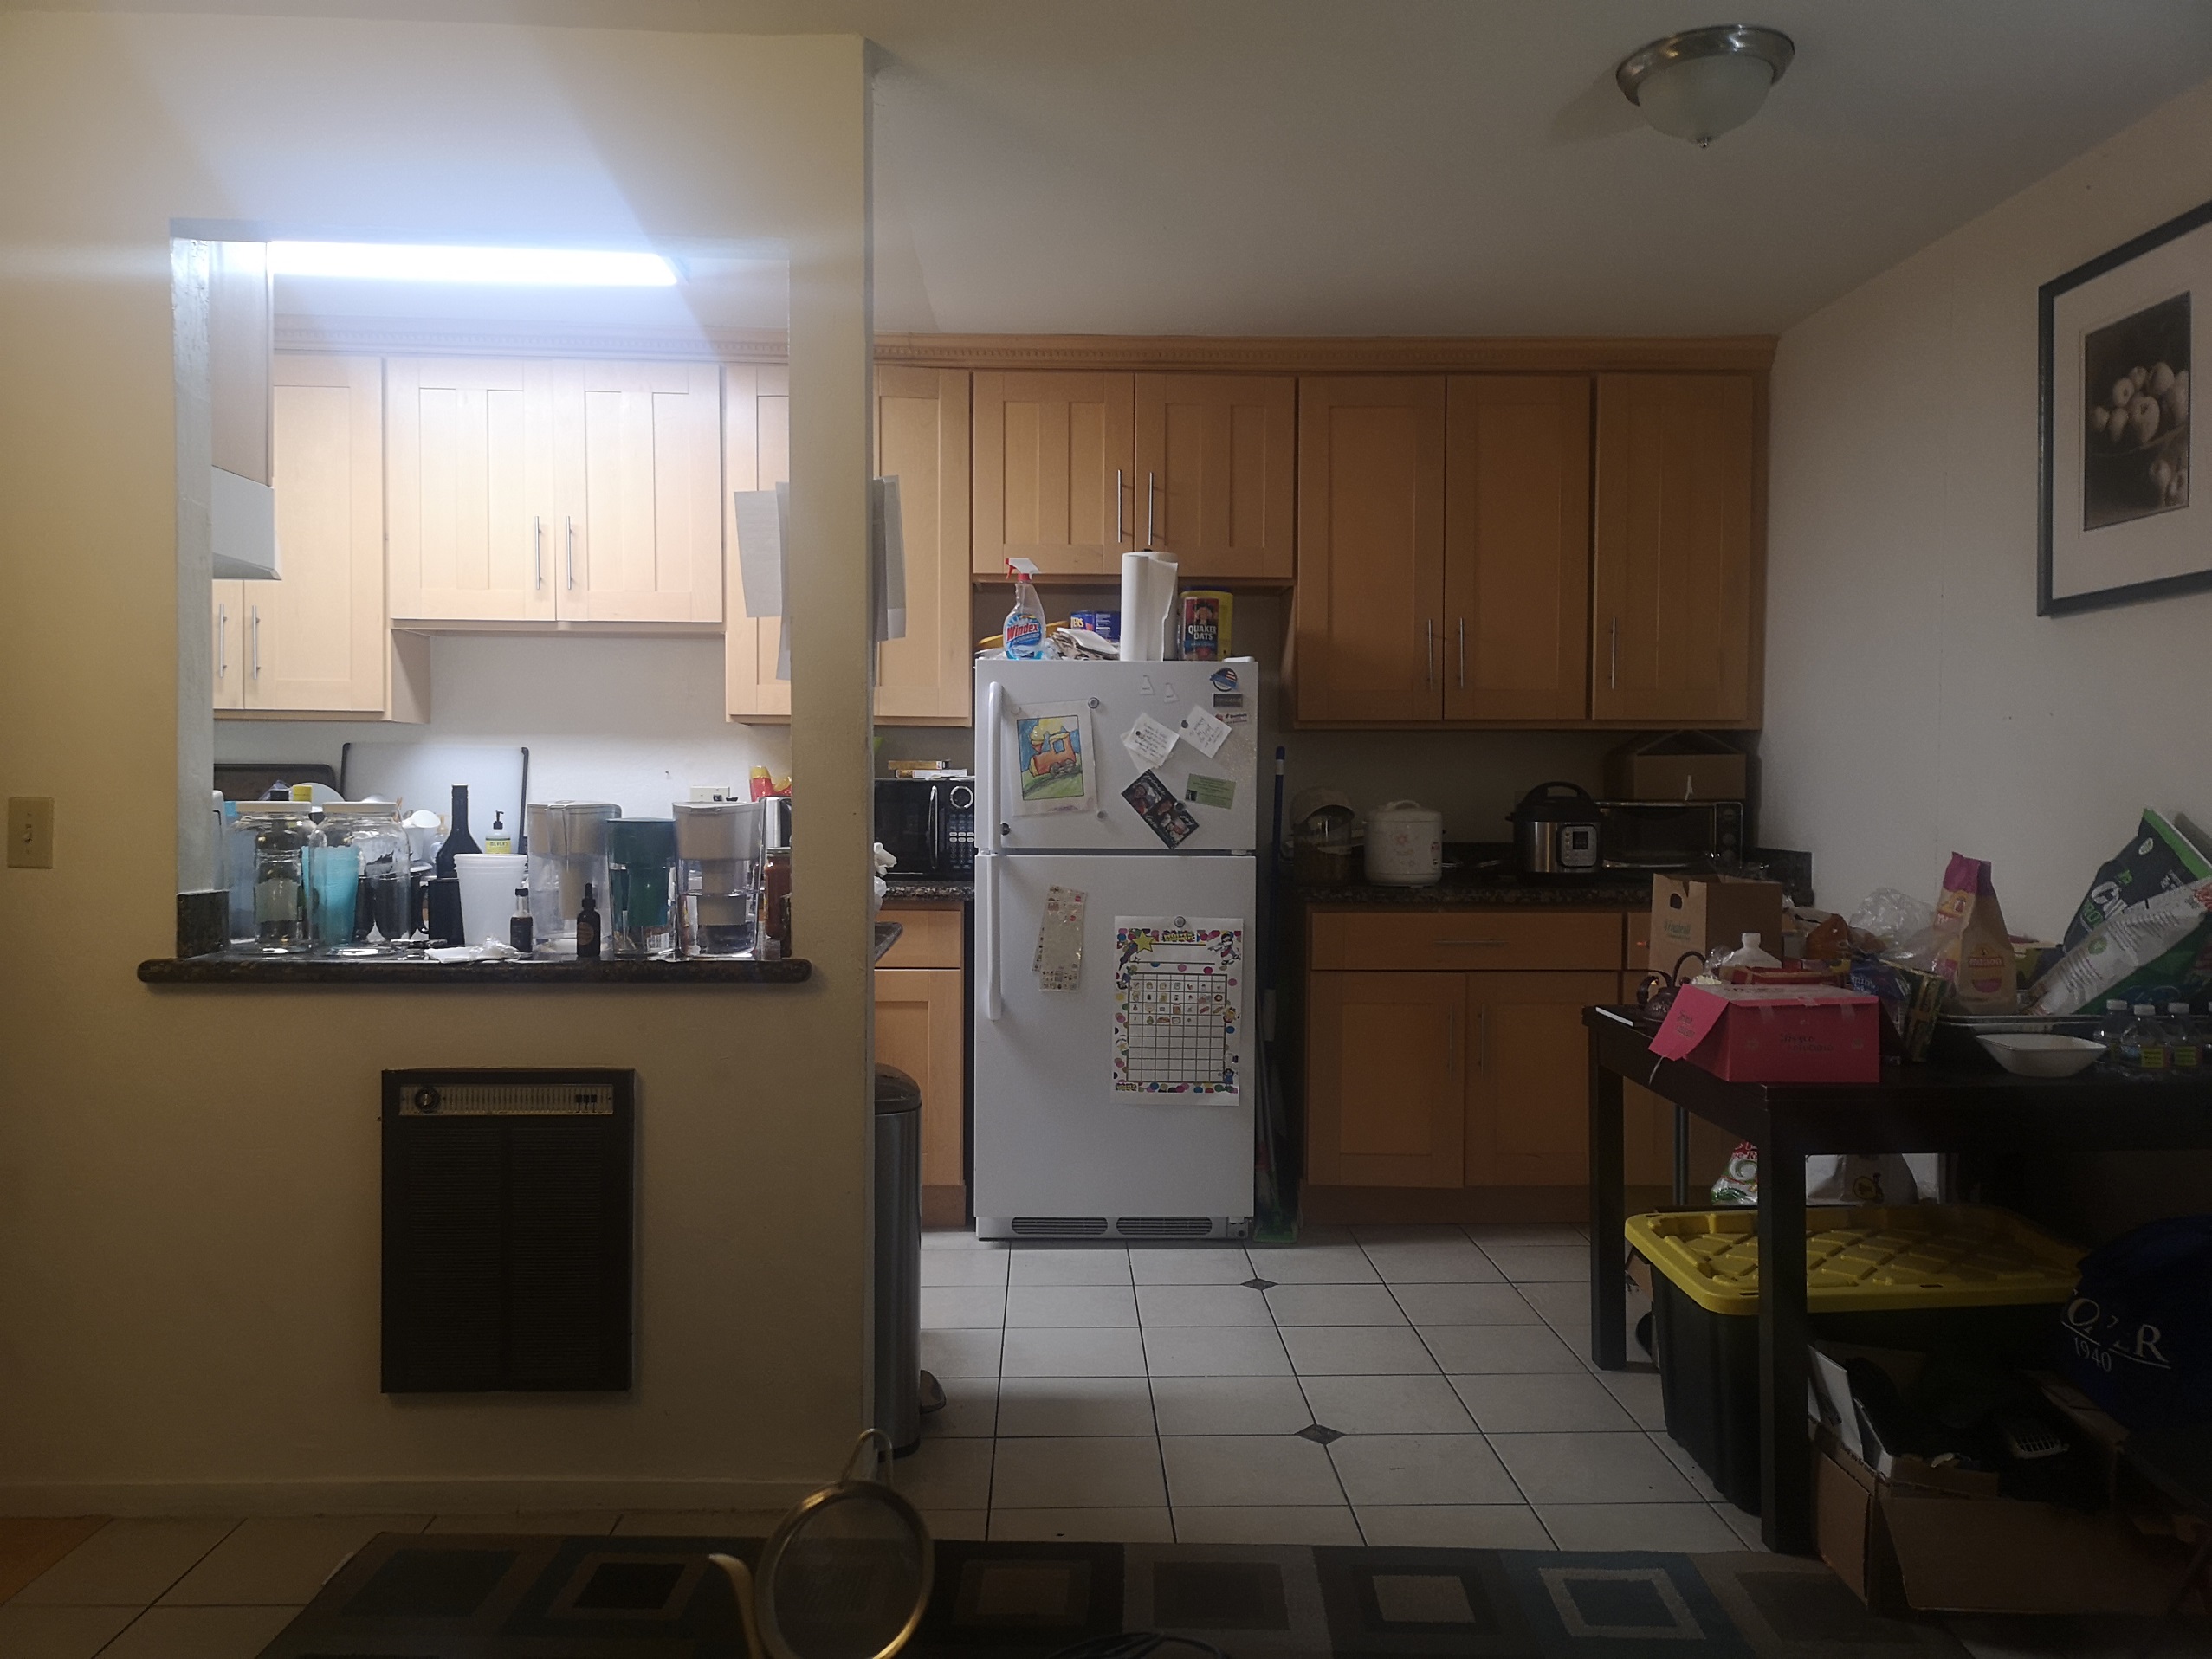
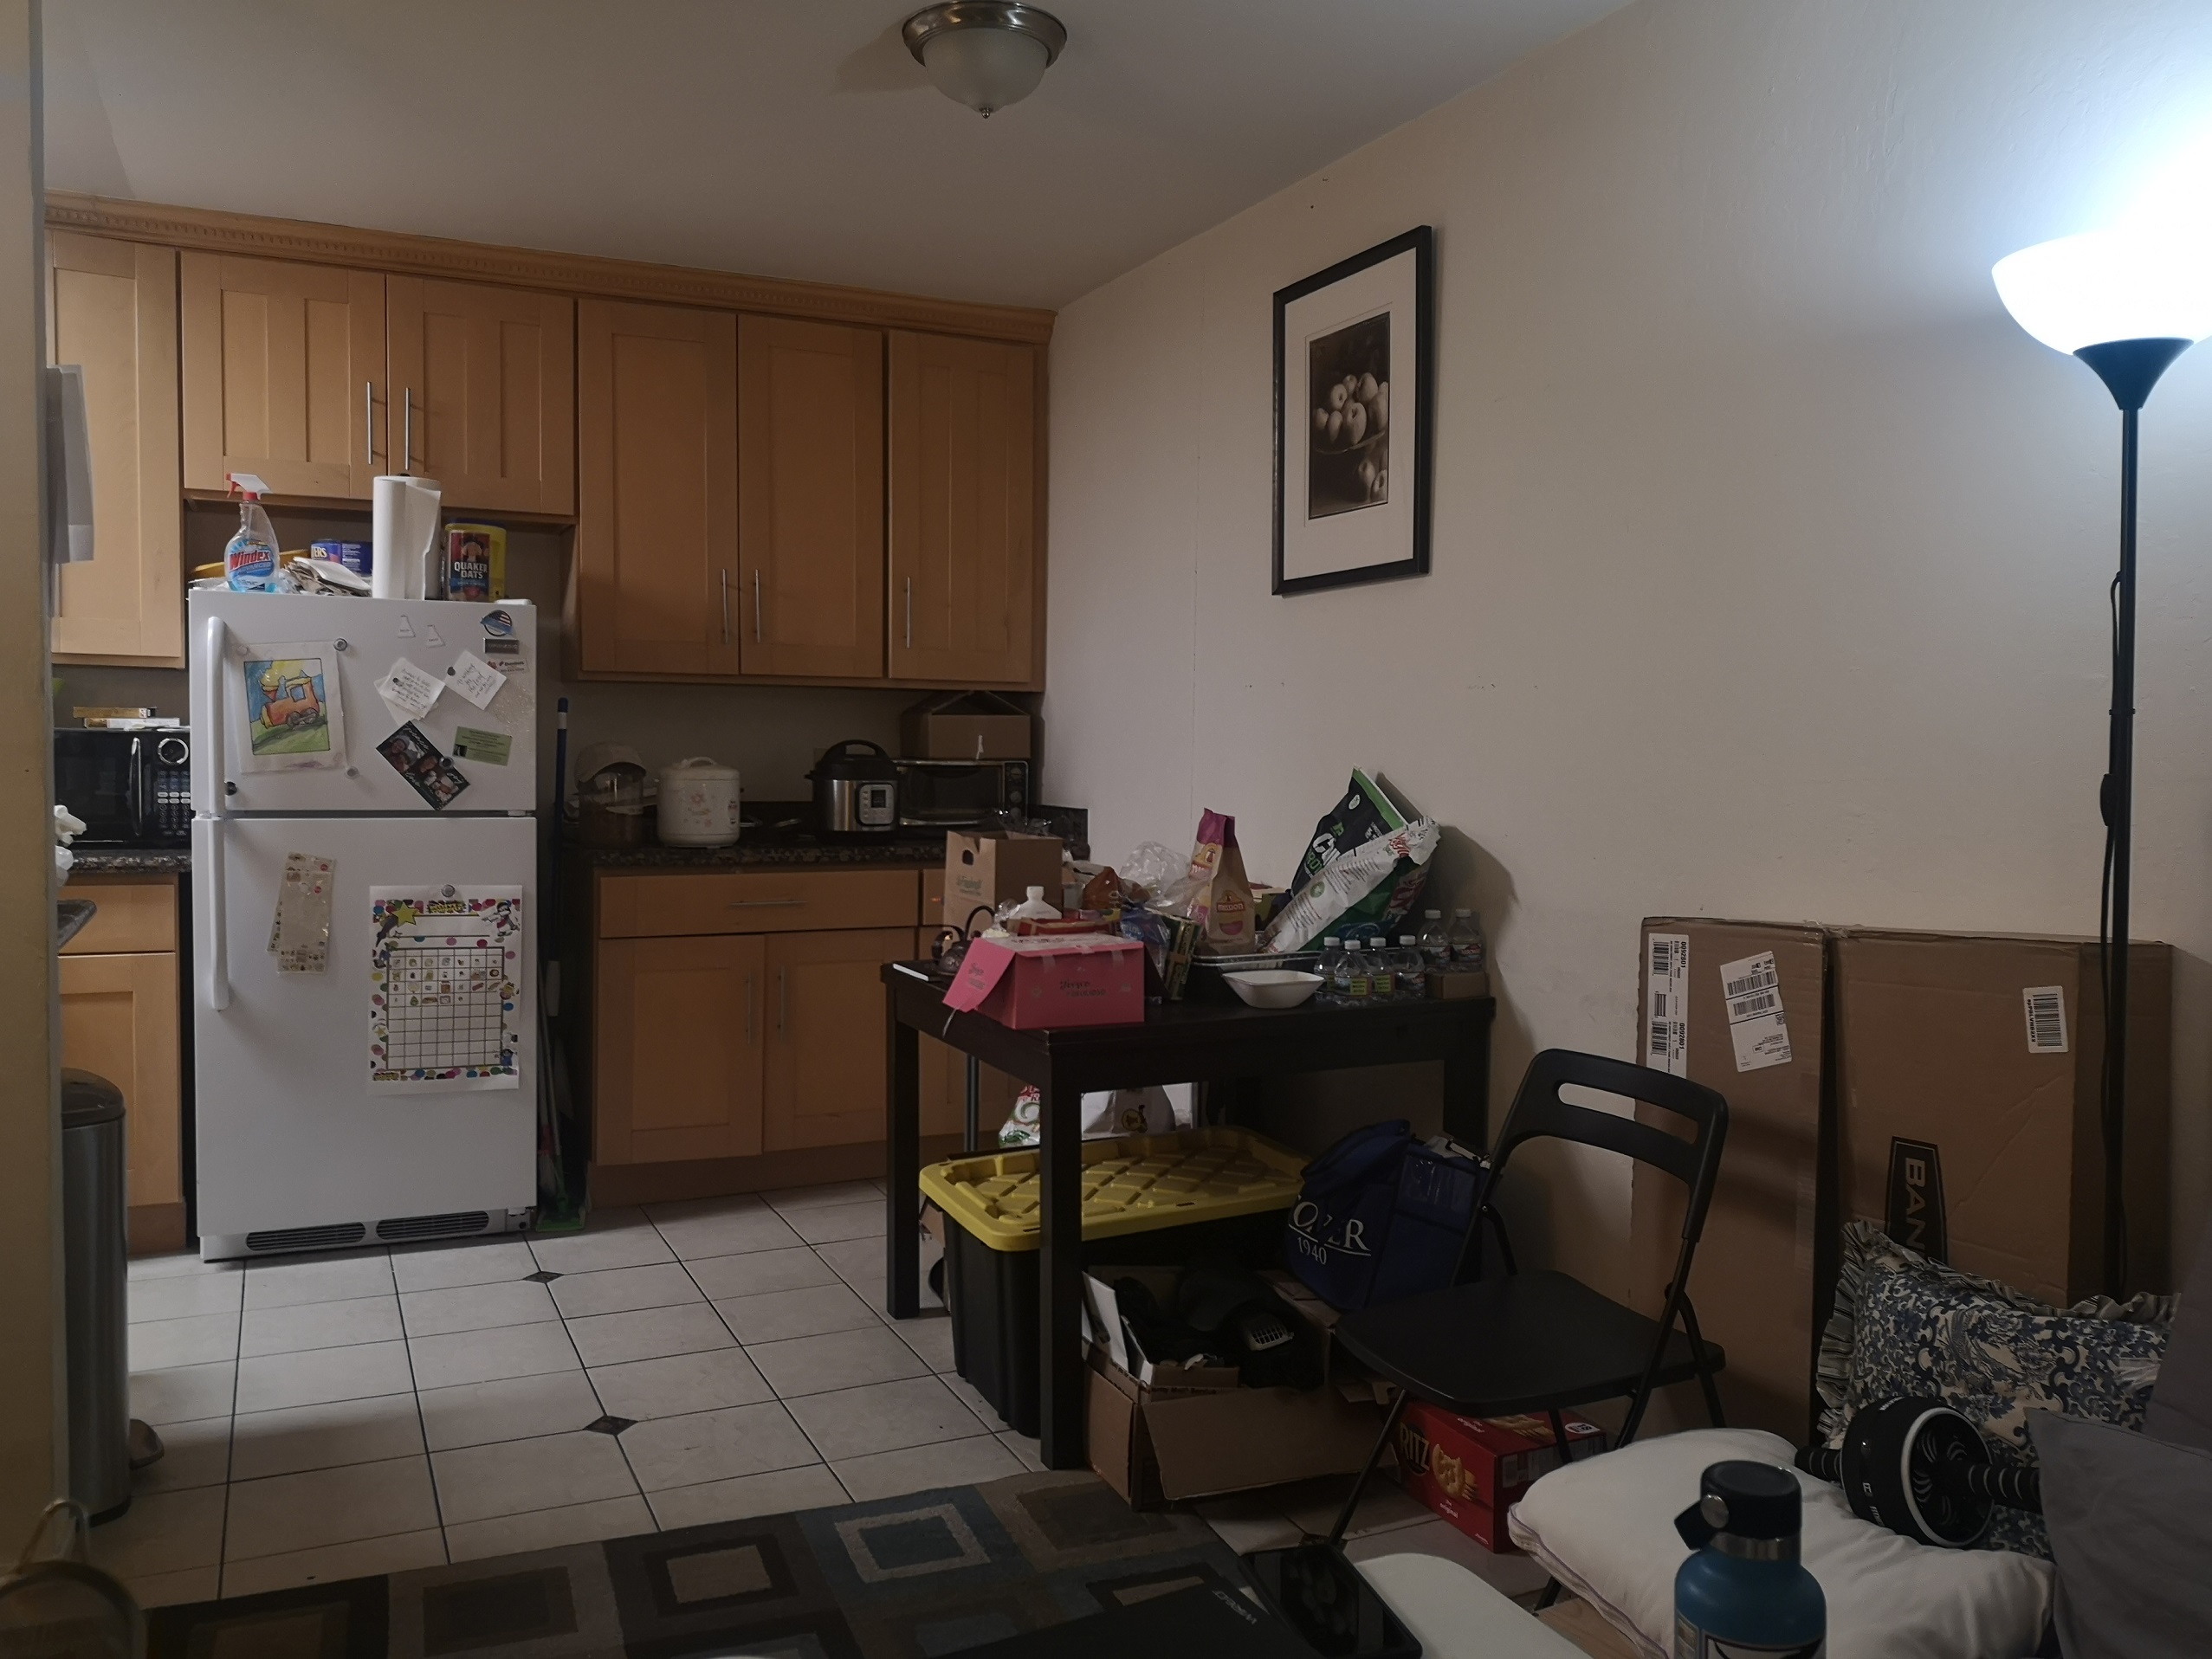
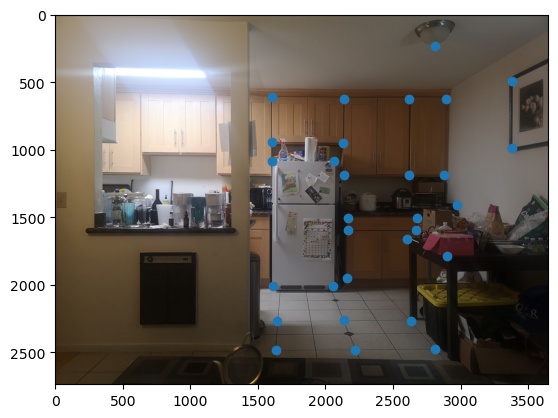
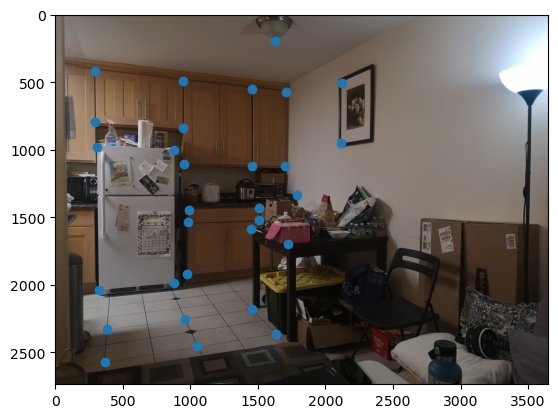
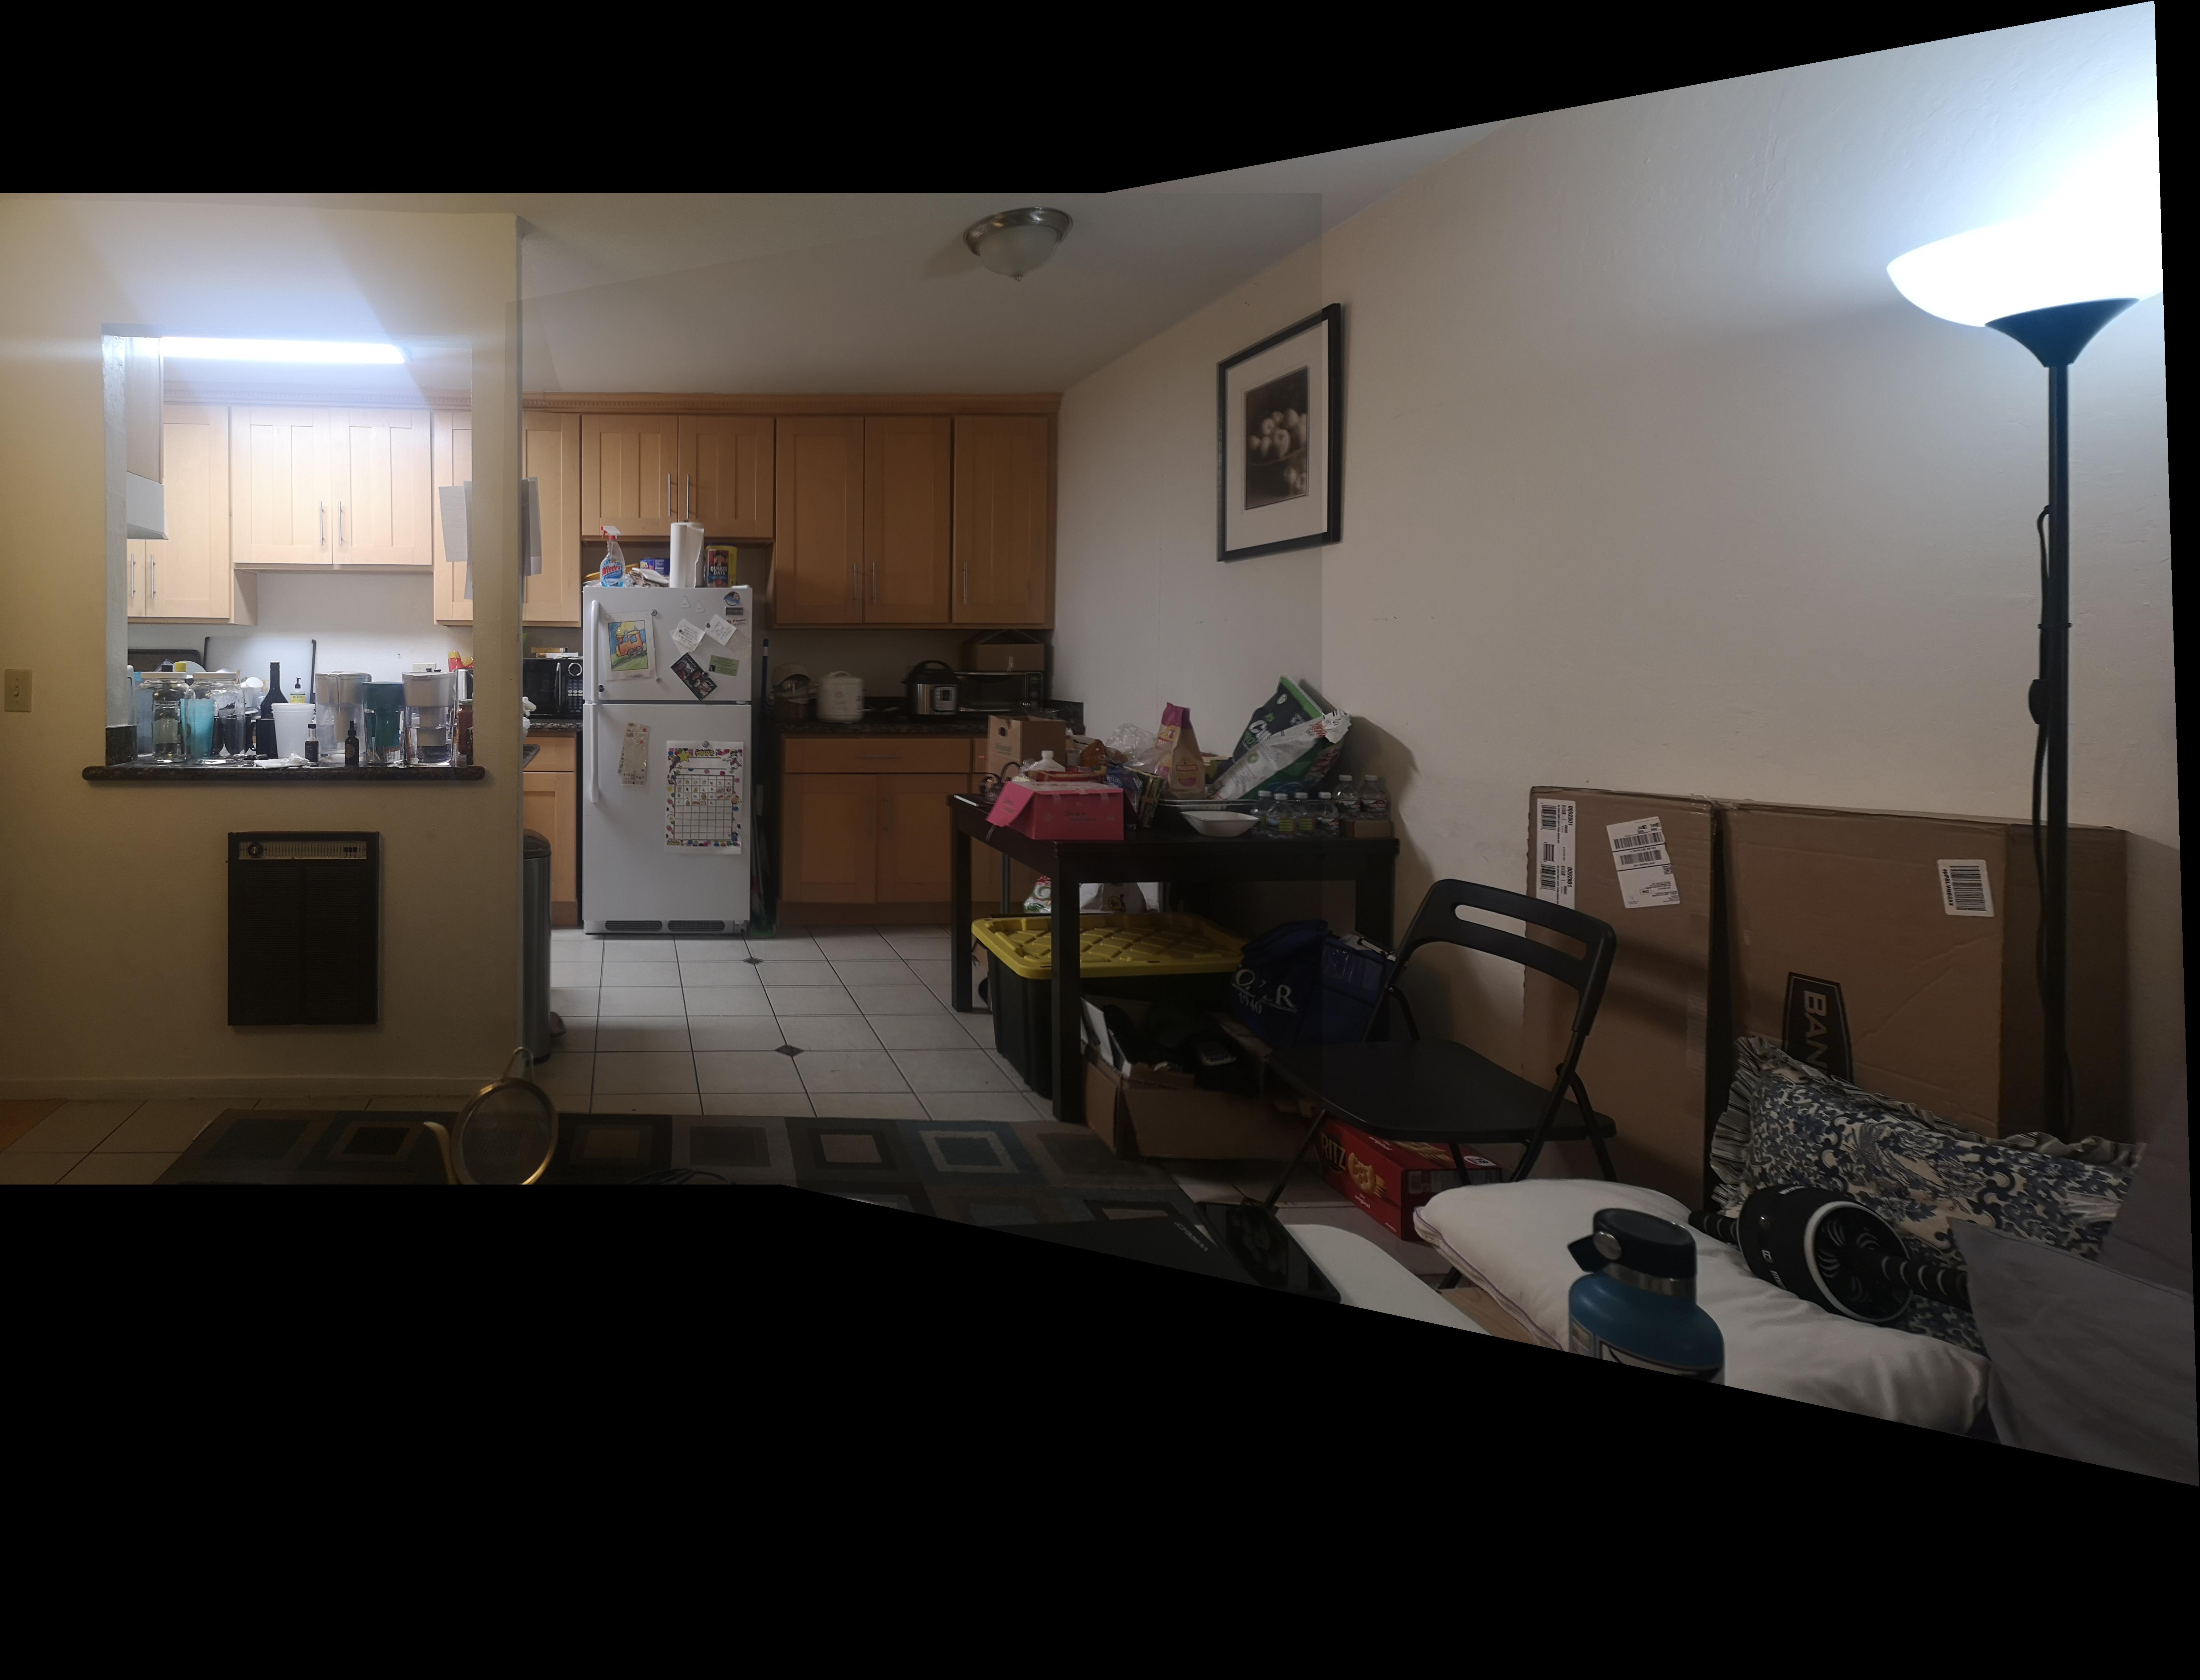
This mosaic is of my friend's apartment. The darker parts along where the edges align are more prominent. This is because each picture had only one of the two light sources, so the other side of the picture was darker, but in the mosaic, both light sources can be seen.
|
|
|
|
|
|
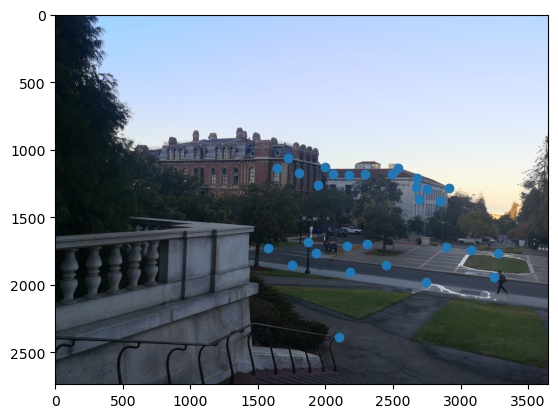
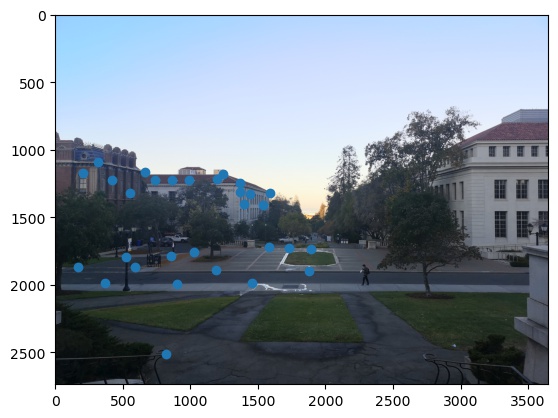
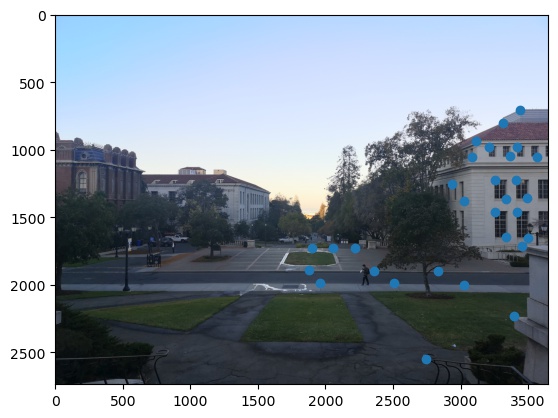
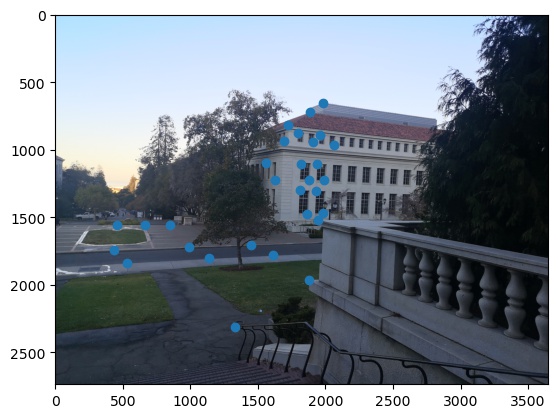
This mosaic is the view from the Campanile with three images stitched
|
|
|
|
|
|
|
|
|
|
Coolest Thing?
I think the coolest thing was leveraging least squares to find the homography matrix to change perspectives. I think being able to approximate that matrix with just picking pairs of corresponding points between two pictures was really cool to implement and see work well with my mosaics.