Image Warping and Mosaics
Gaurav Shah
Test Subjects
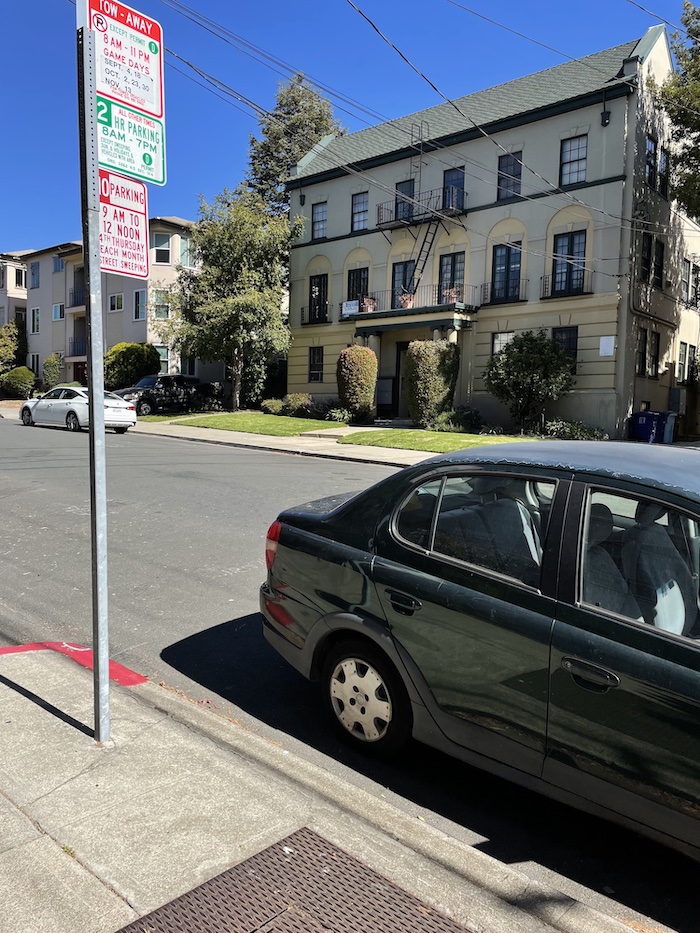
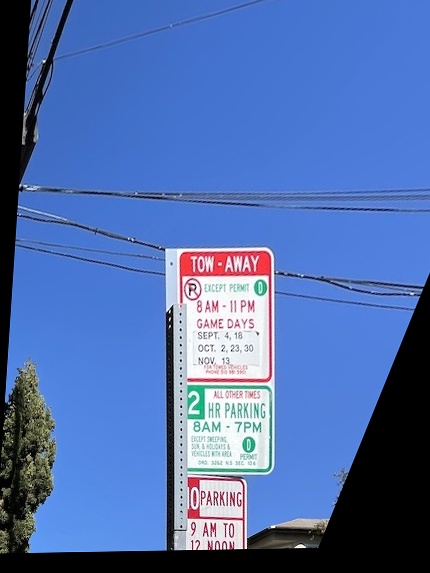
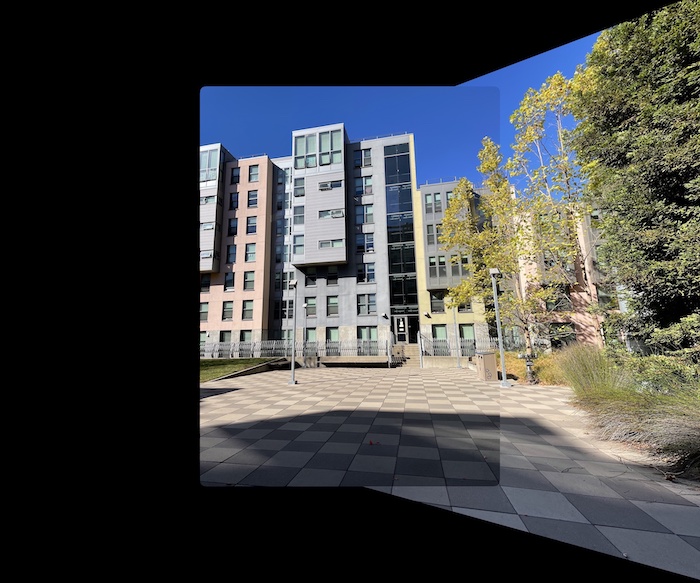
Have you ever wondered how panoramas are created? Or how we can shift the perspective of an image? Well, then wonder no longer, as that is what we will do today. First, let's take a look at the photos that we will be working with. These were shot with an iPhone 12.
Our first goal will be to rectify the first 3 photos so that they are facing straight on to the viewer. Our second goal will be to take the 3 sets of remaining photos and warp/merge them to create one panoramic photo.
Homography Matrix
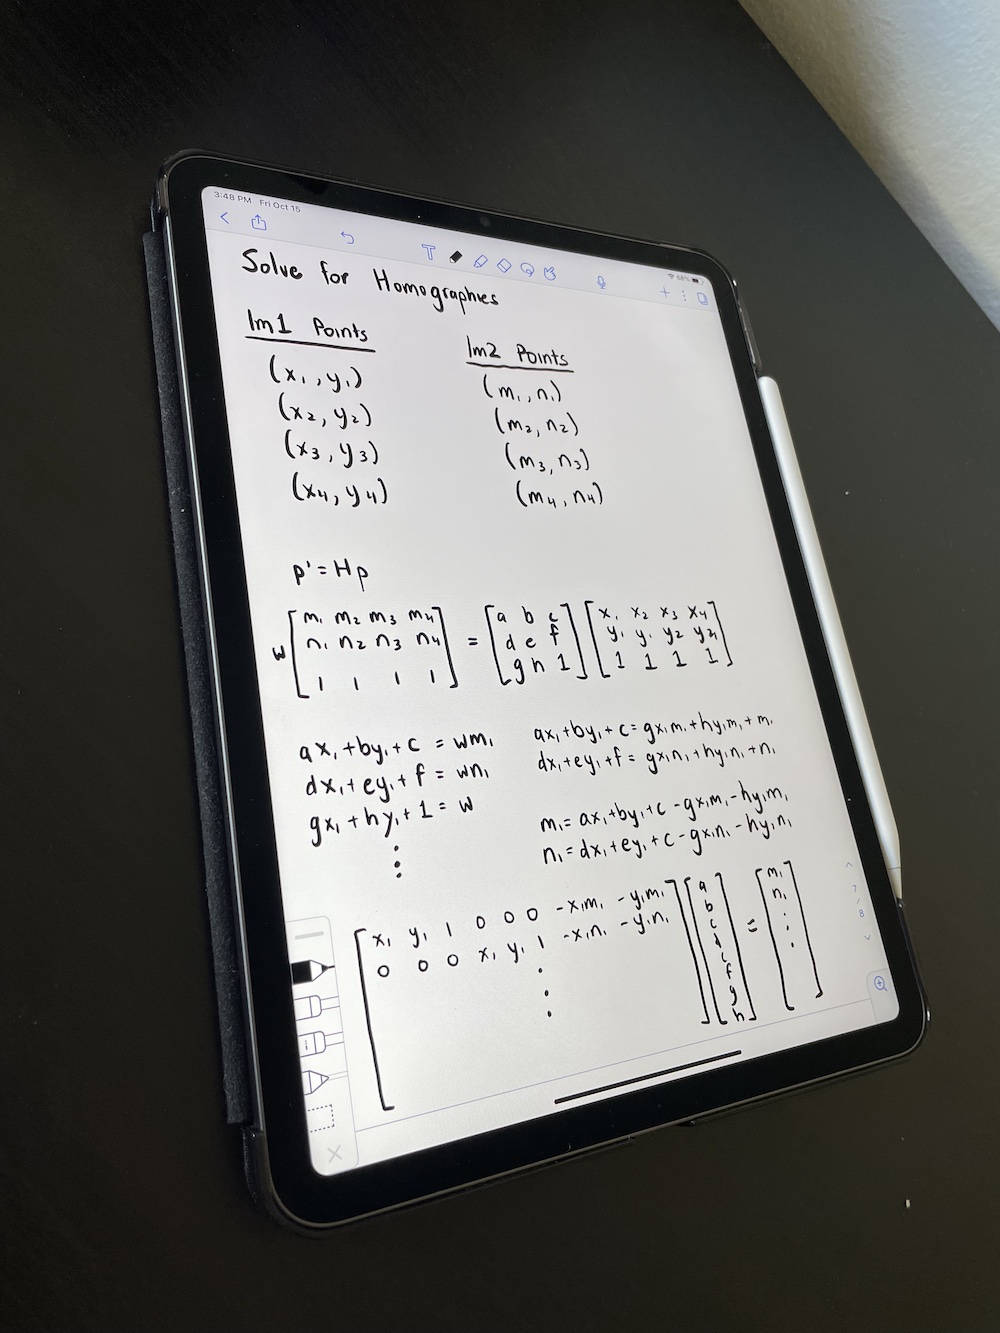
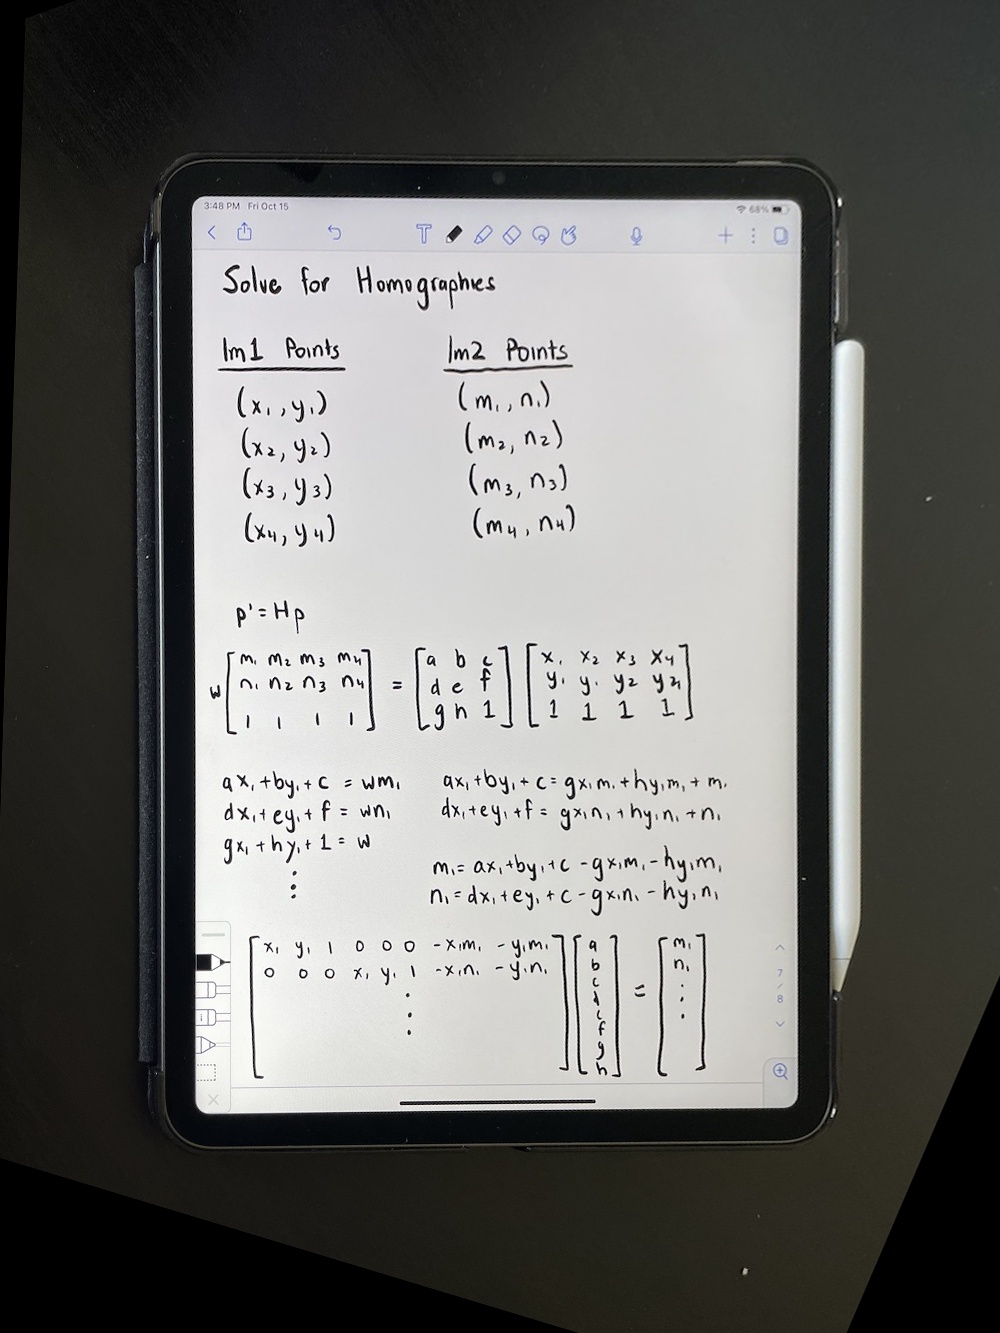
In order to acheive both of these goals, we have to establish a homography matrix that will perform the transformation needed on the pixels of one image to warp it to the desired shape. We can compute this matrix by selecting matching feature points (minimum of 4, but more to establish a more robust matrix), and then setting up a system of equations and using least squares to get the desired values. Take a look at the iPad screen, which serves not only as a show of work, but also as a sneak peek into the results of image rectification.
Image Rectification
Using our calculated Homography Matrix, we can rectify the perspective of images to be frontal-parallel. Instead of defining corrospondences between two images, we simply select features in our original image, and then provide the shape that we want it to take. For example, if we have an image where we expect a certain object to be a square, we can first select the corners of the object in the image. Then, we can provide [[0,0],[x,0][x,x],[0,x]] as our second input to have the object be warped to that of a square of dimension x. Below, we have some examples of changing the perspective of images to face towards the viewer. Hover to see the original image.
Image Mosaicing
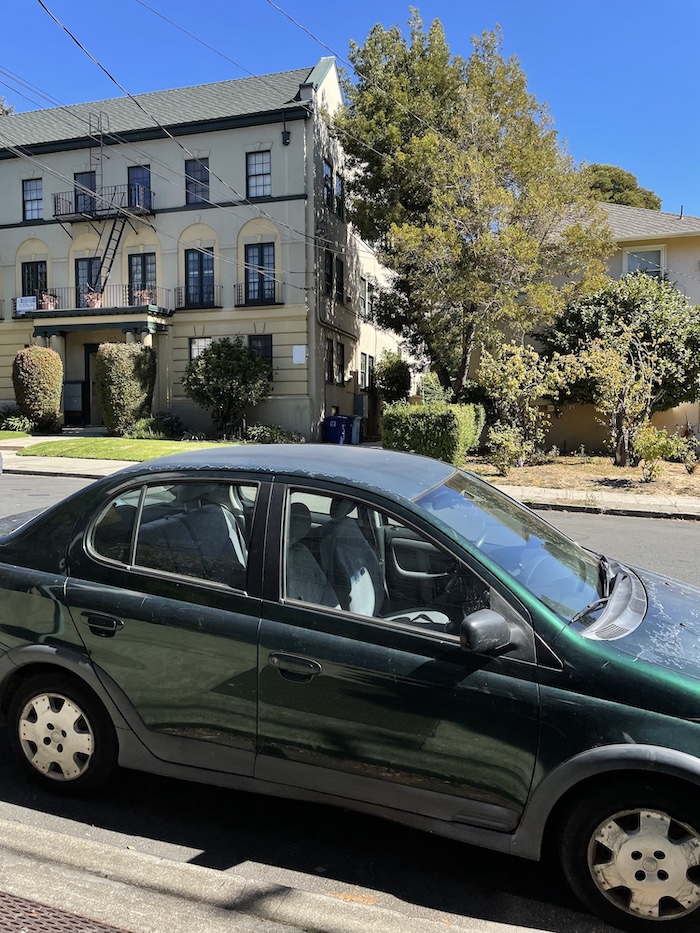
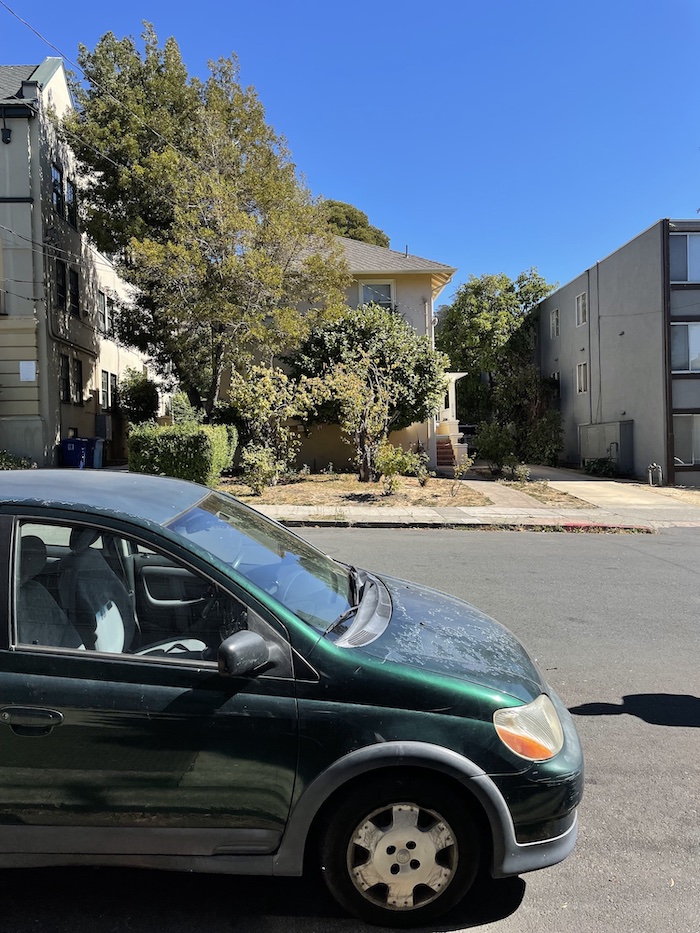
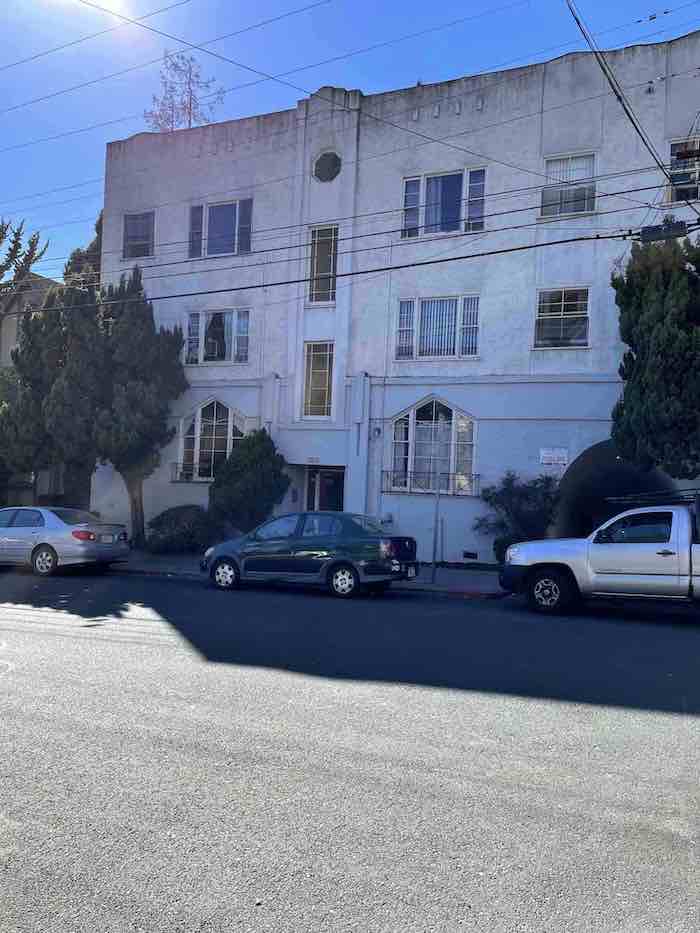
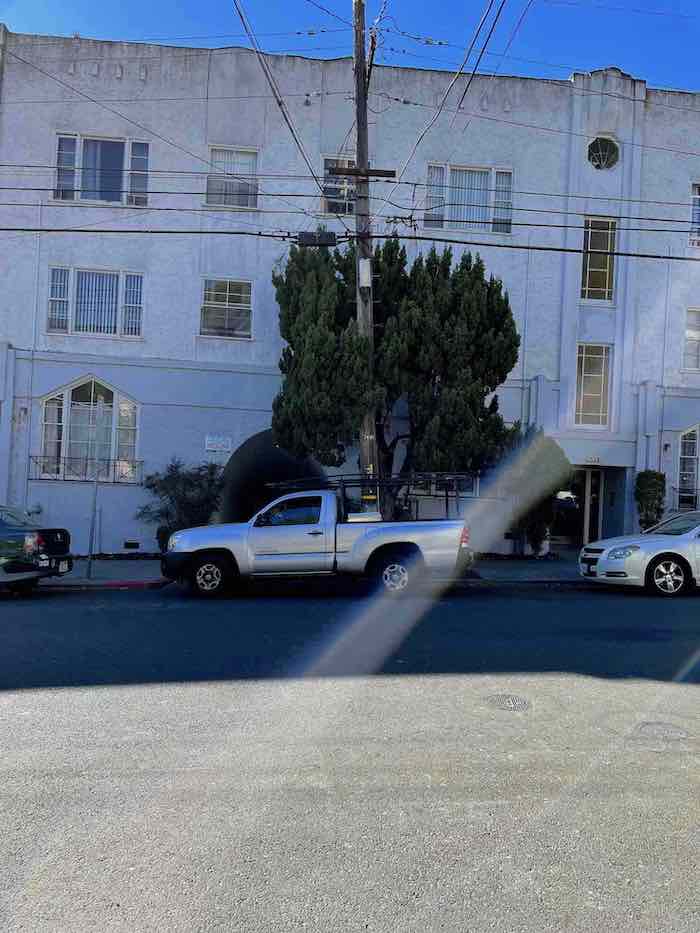
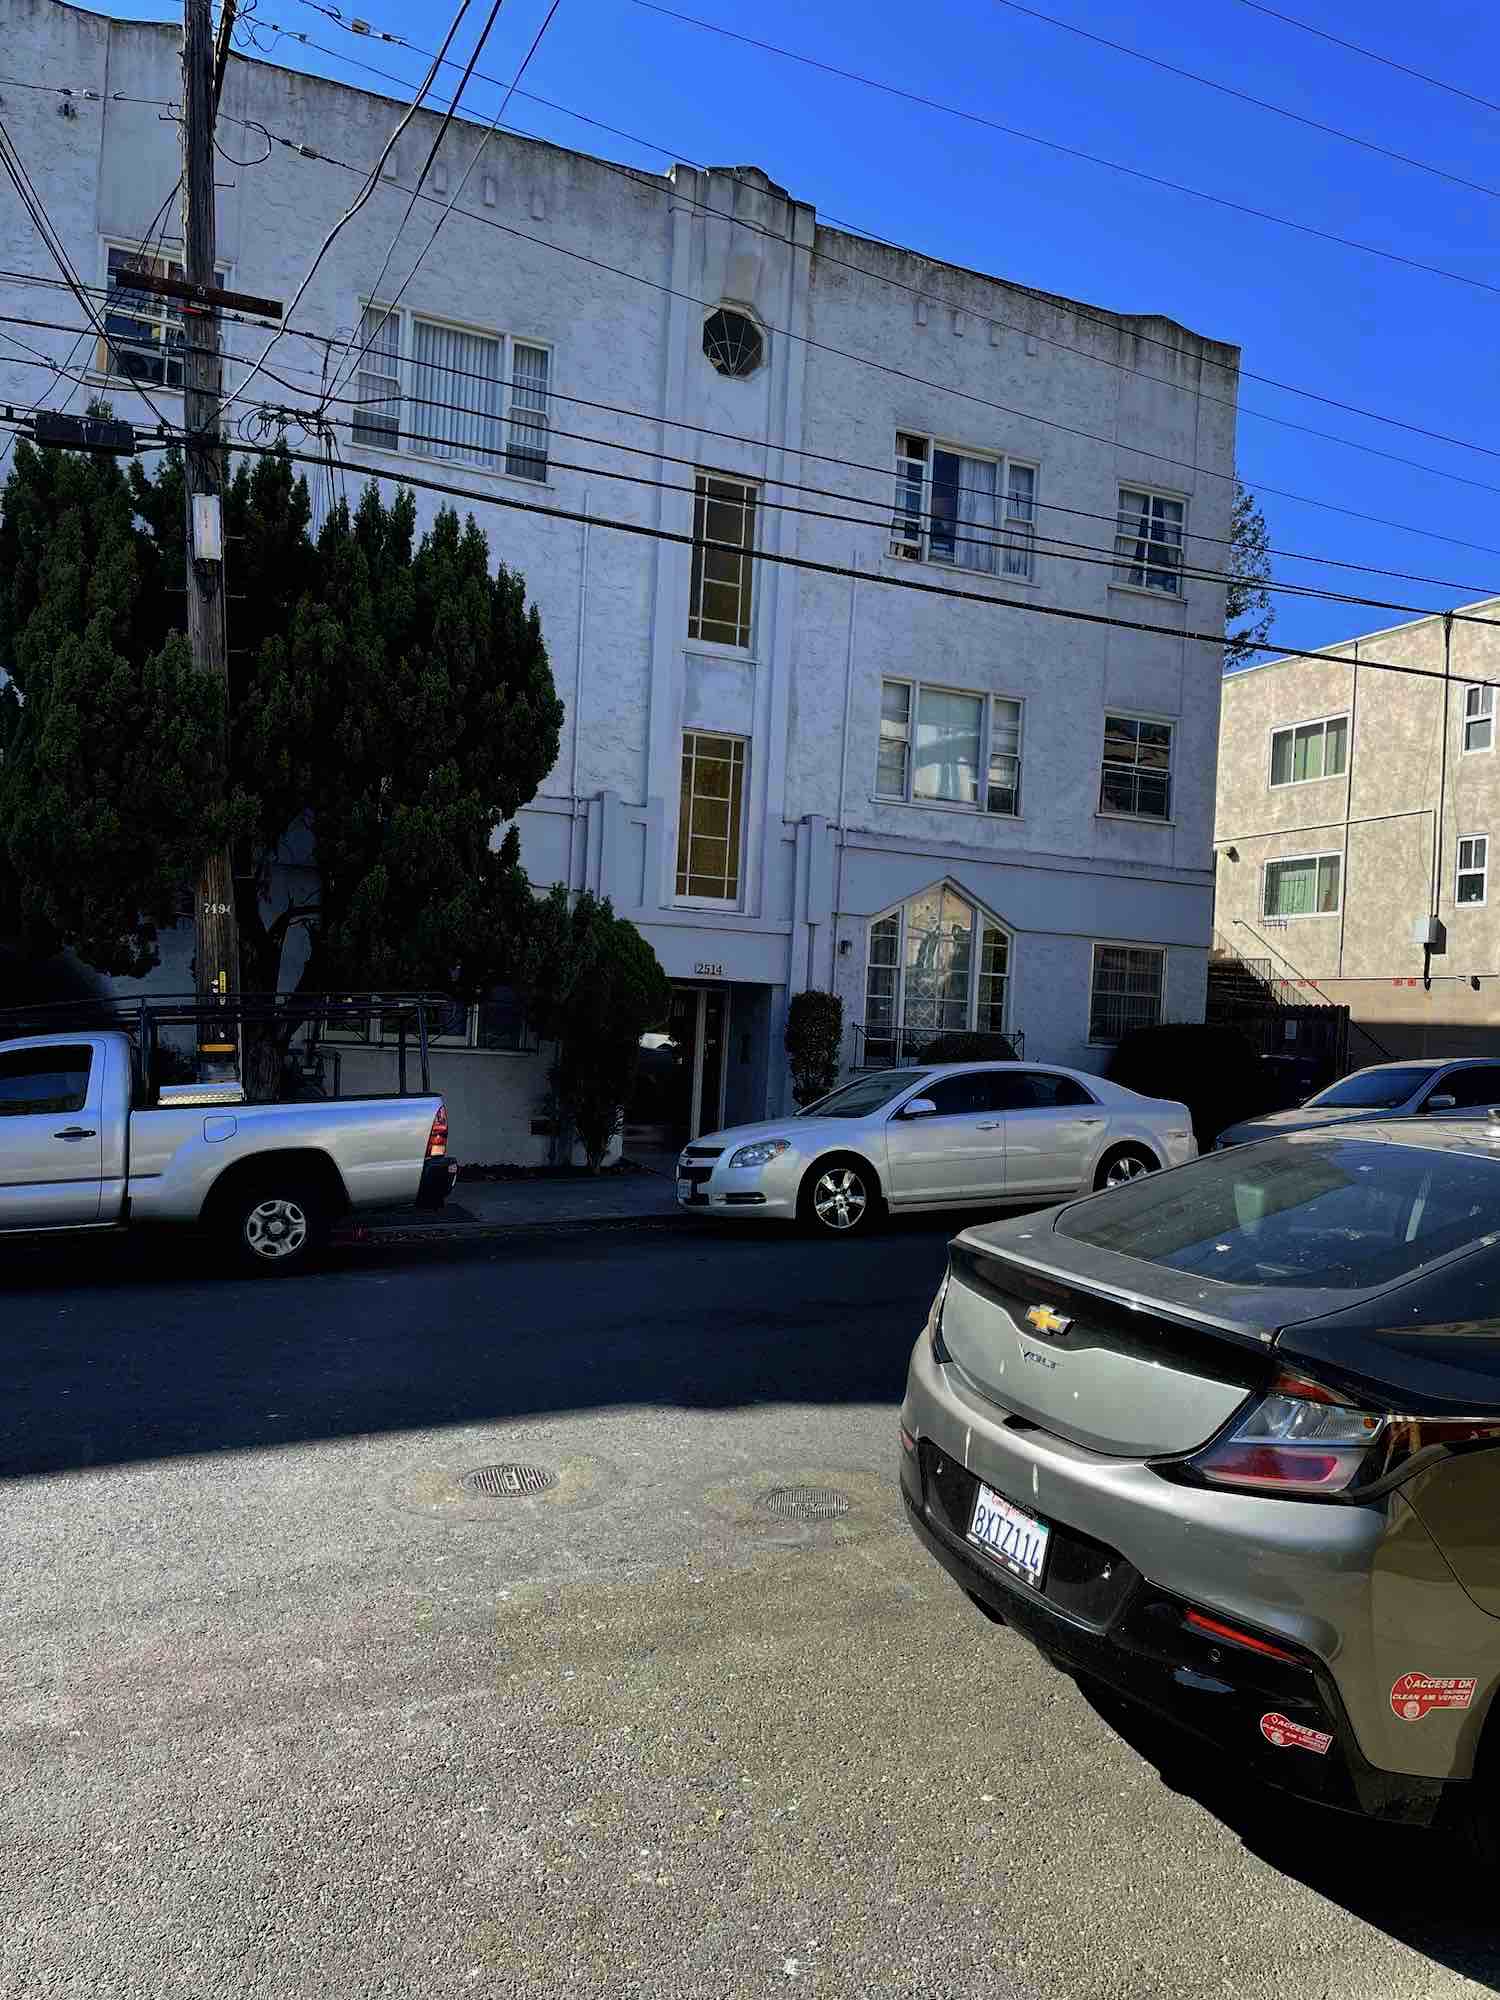
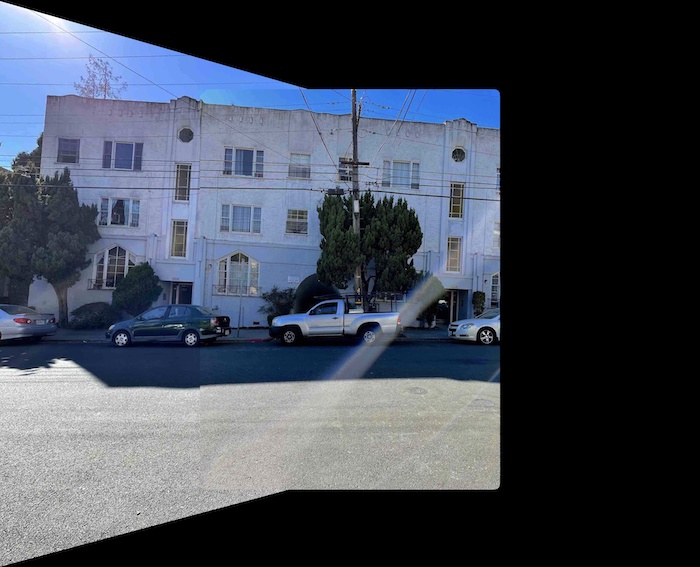
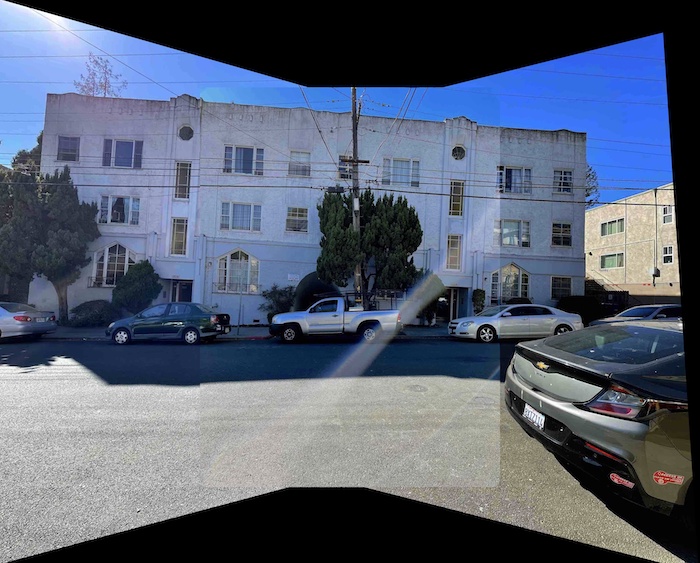
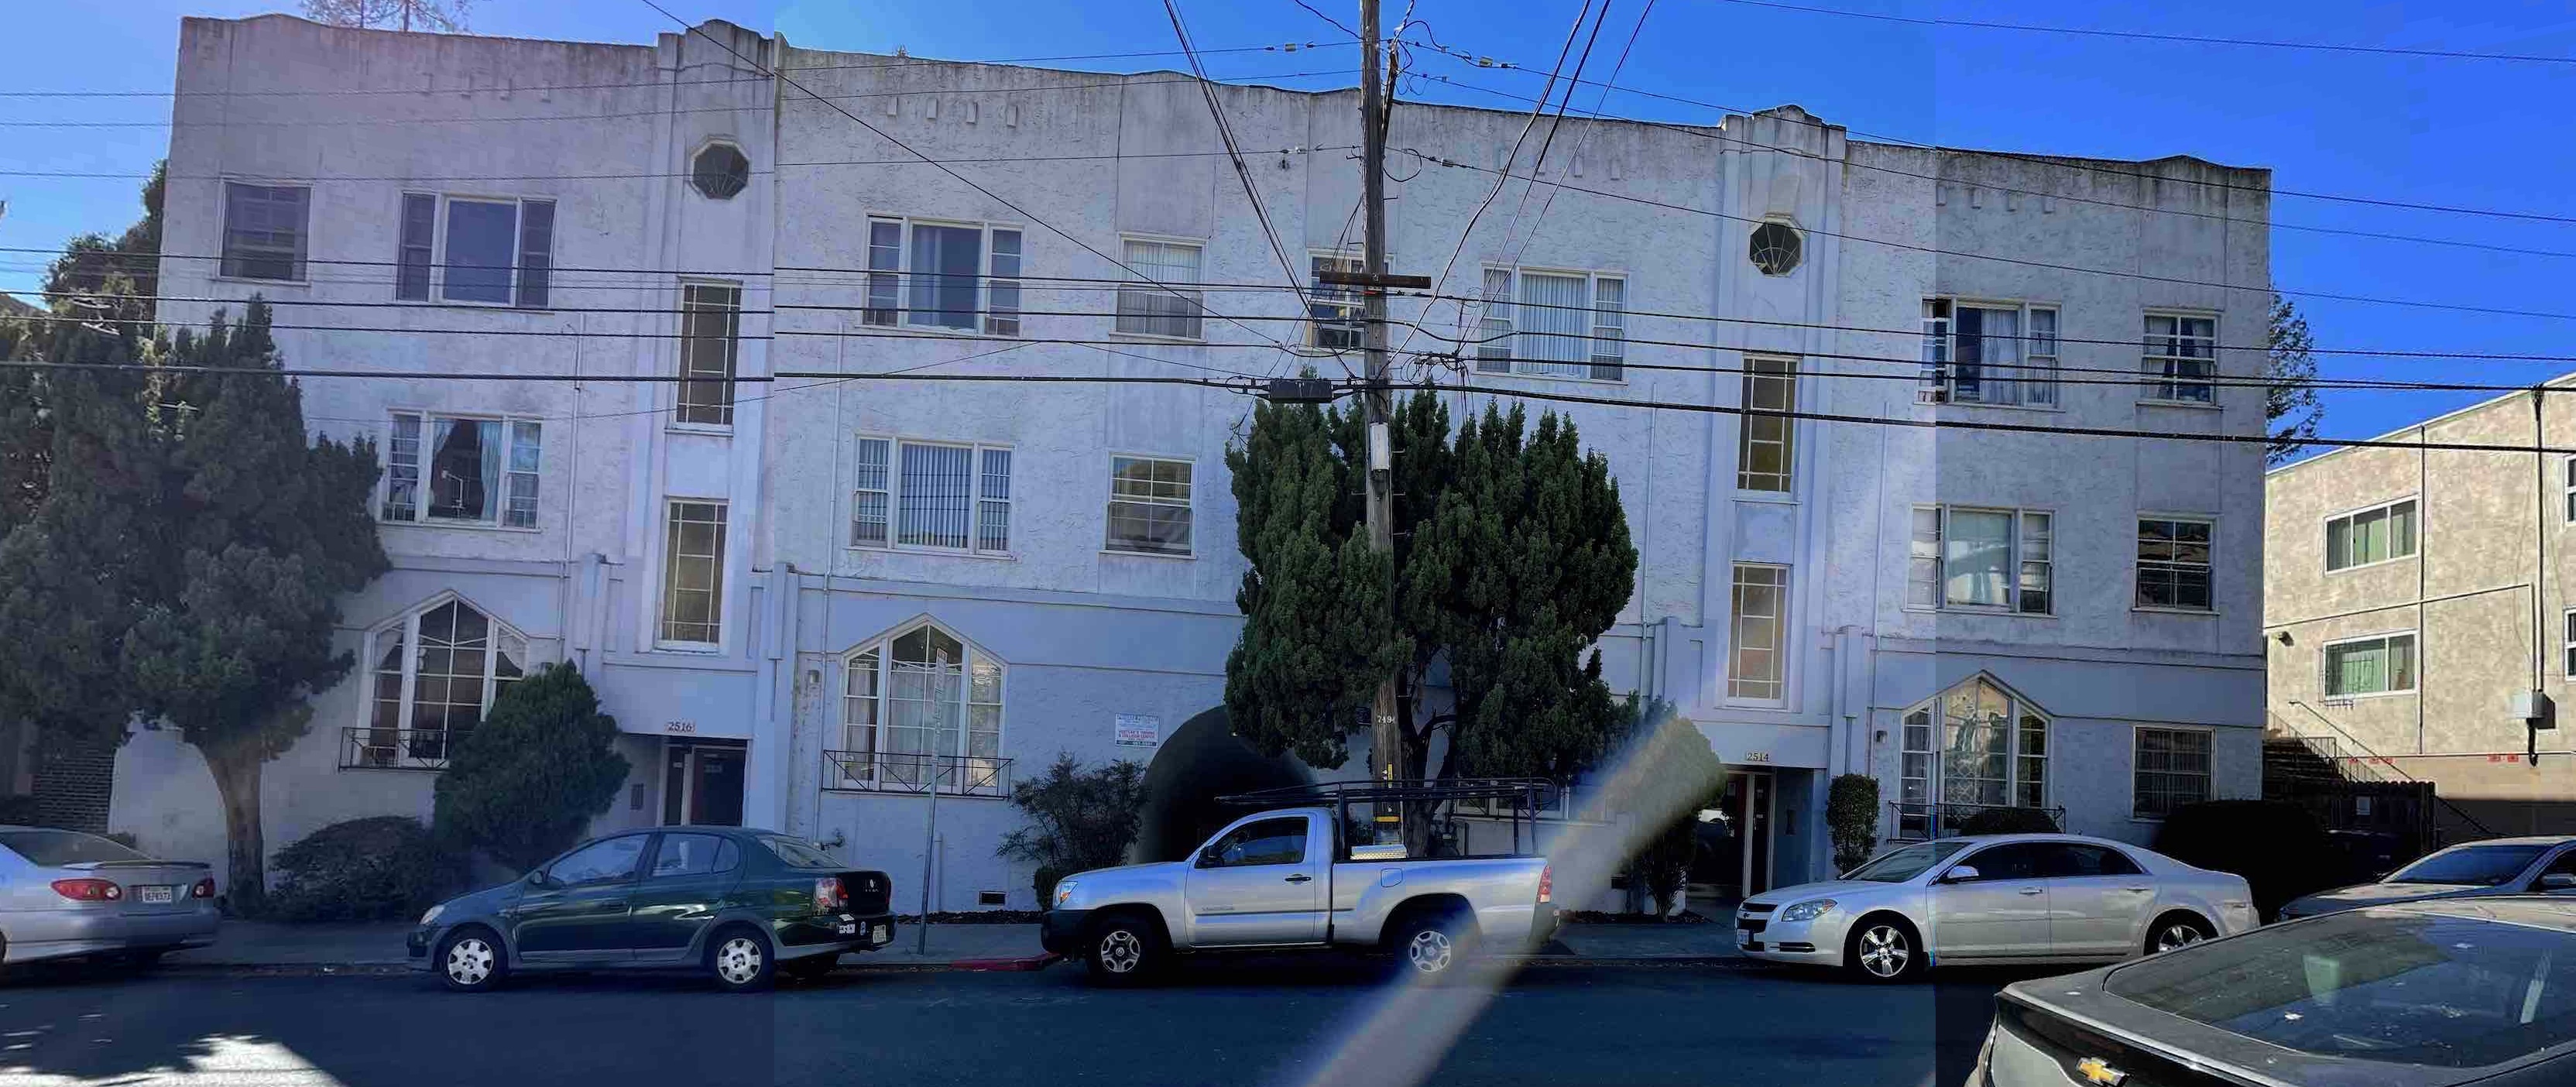
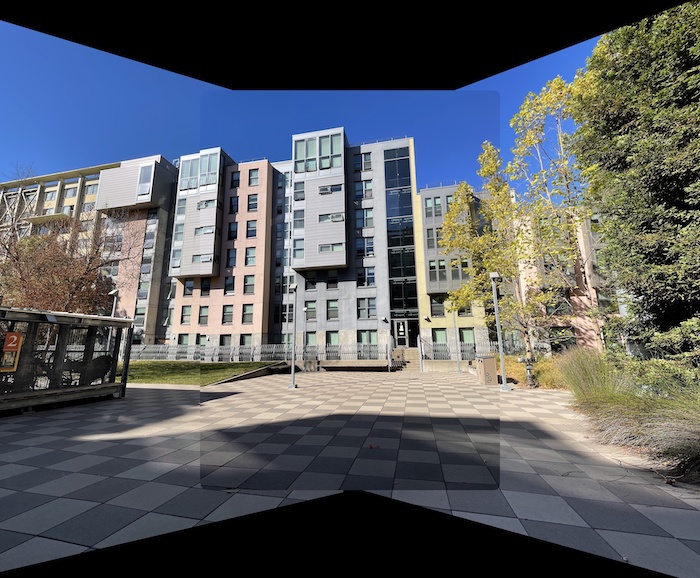
For the piece de resistance, we will now take several images, define their corrospondences, and then warp them towards each other and blend to create a mosaic of images. This will result in a panoramic photo. Before we can do this, we have to make sure to pad each image appropriately. I found that the best method to use was to simply apply the same large pad to each image and then process if from there. Another thing we have to keep in mind is that we want to choose one image to be the central image and then warp the rest to the view of that image. First, let's take a look at an example. Here we have 3 photos of my apartment building.
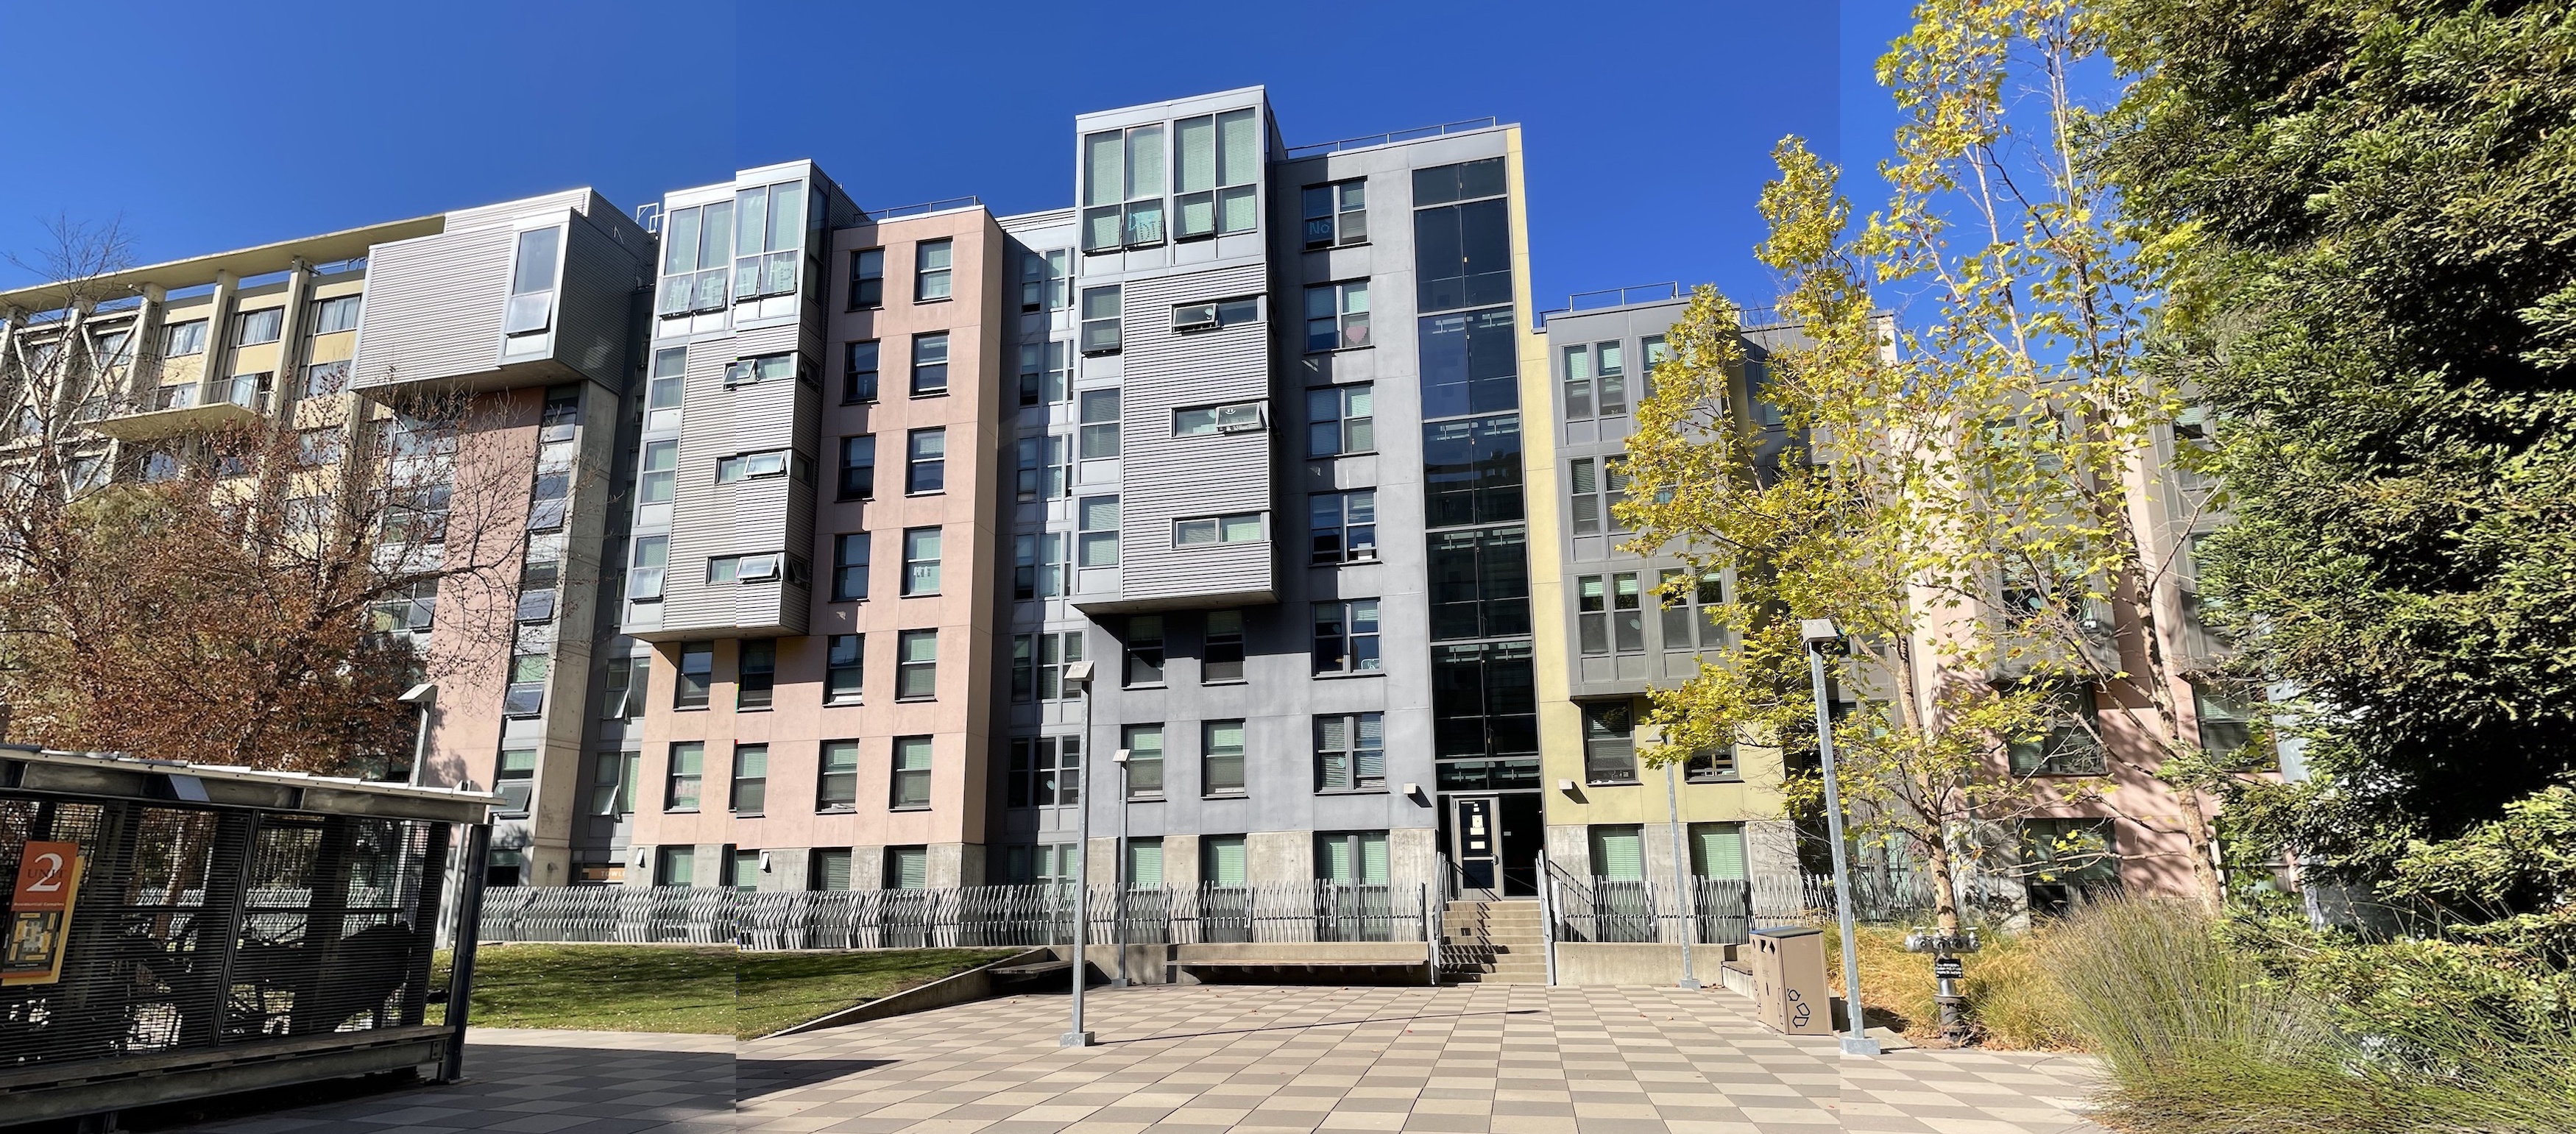
Lets warp the two images on either side towards the perspective of the one in the center. First, we warp the left image into the center one, and then we warp the right image into the warped image that we calculated in the previous step. Finally, we crop the image to get our desired panorama.
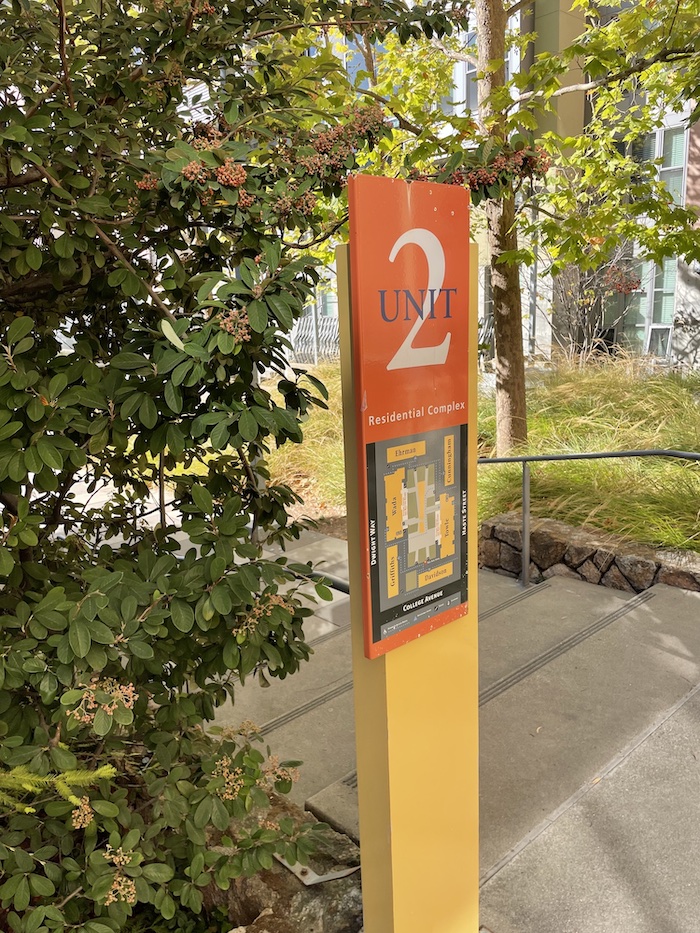
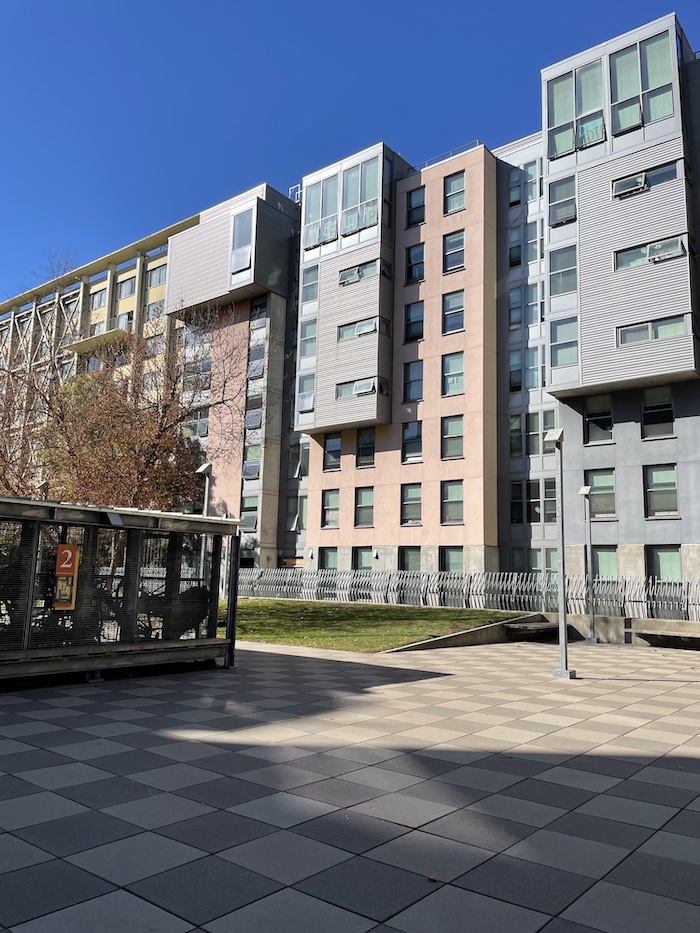
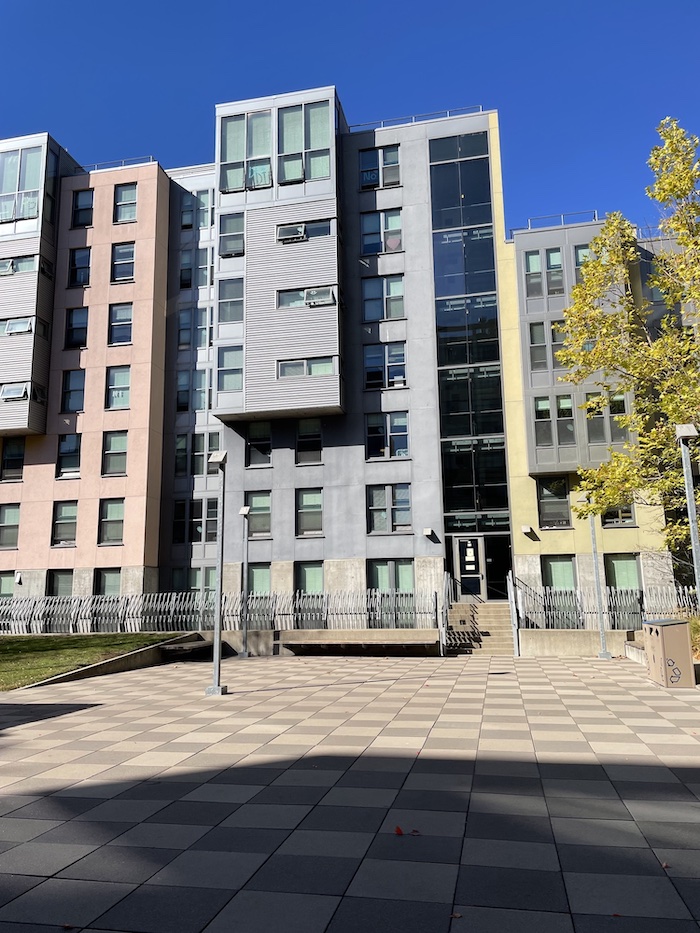
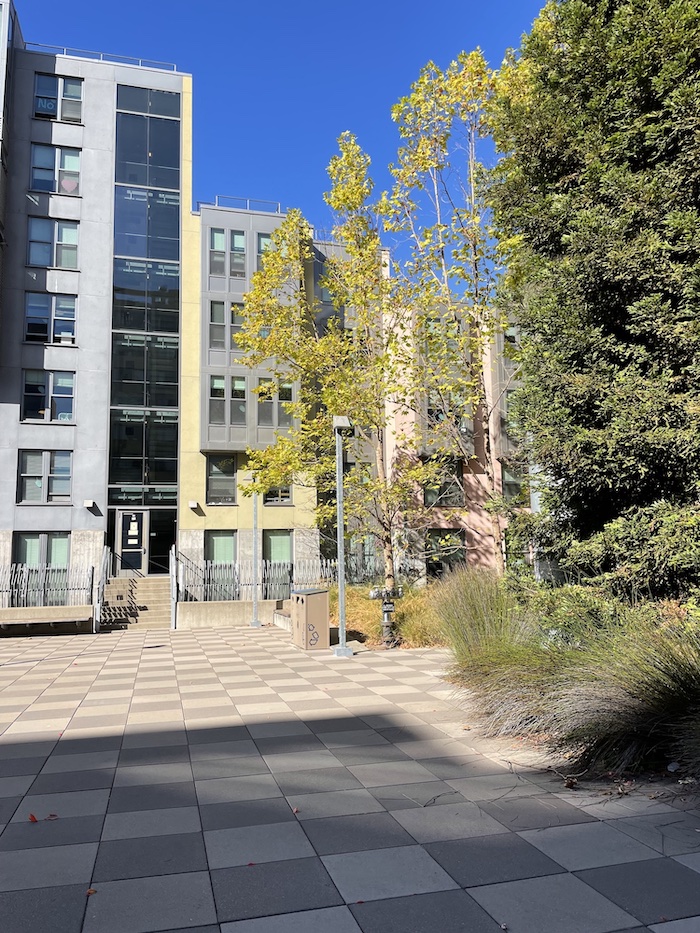
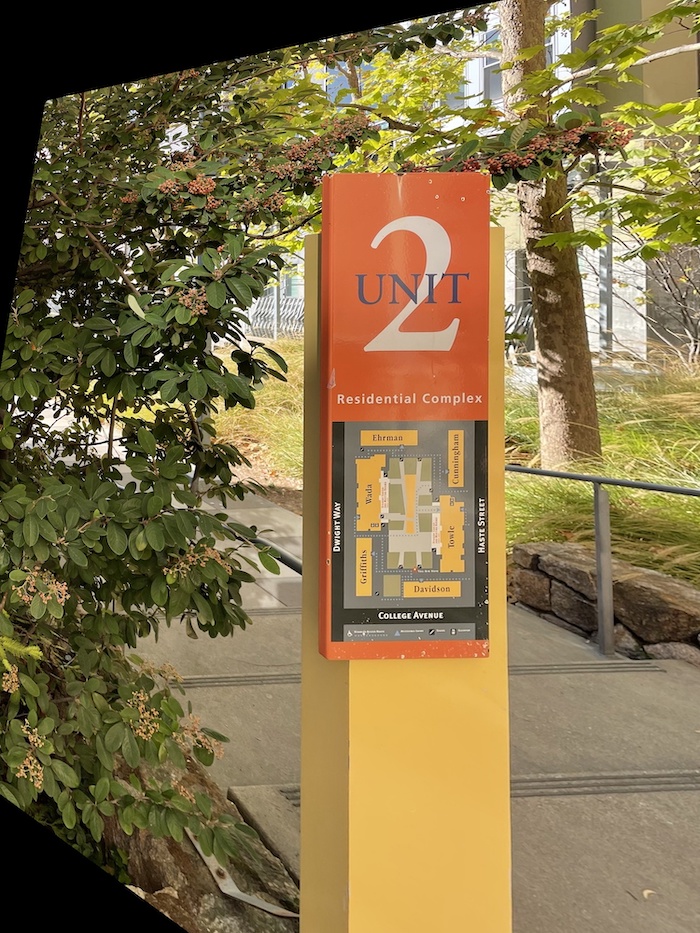
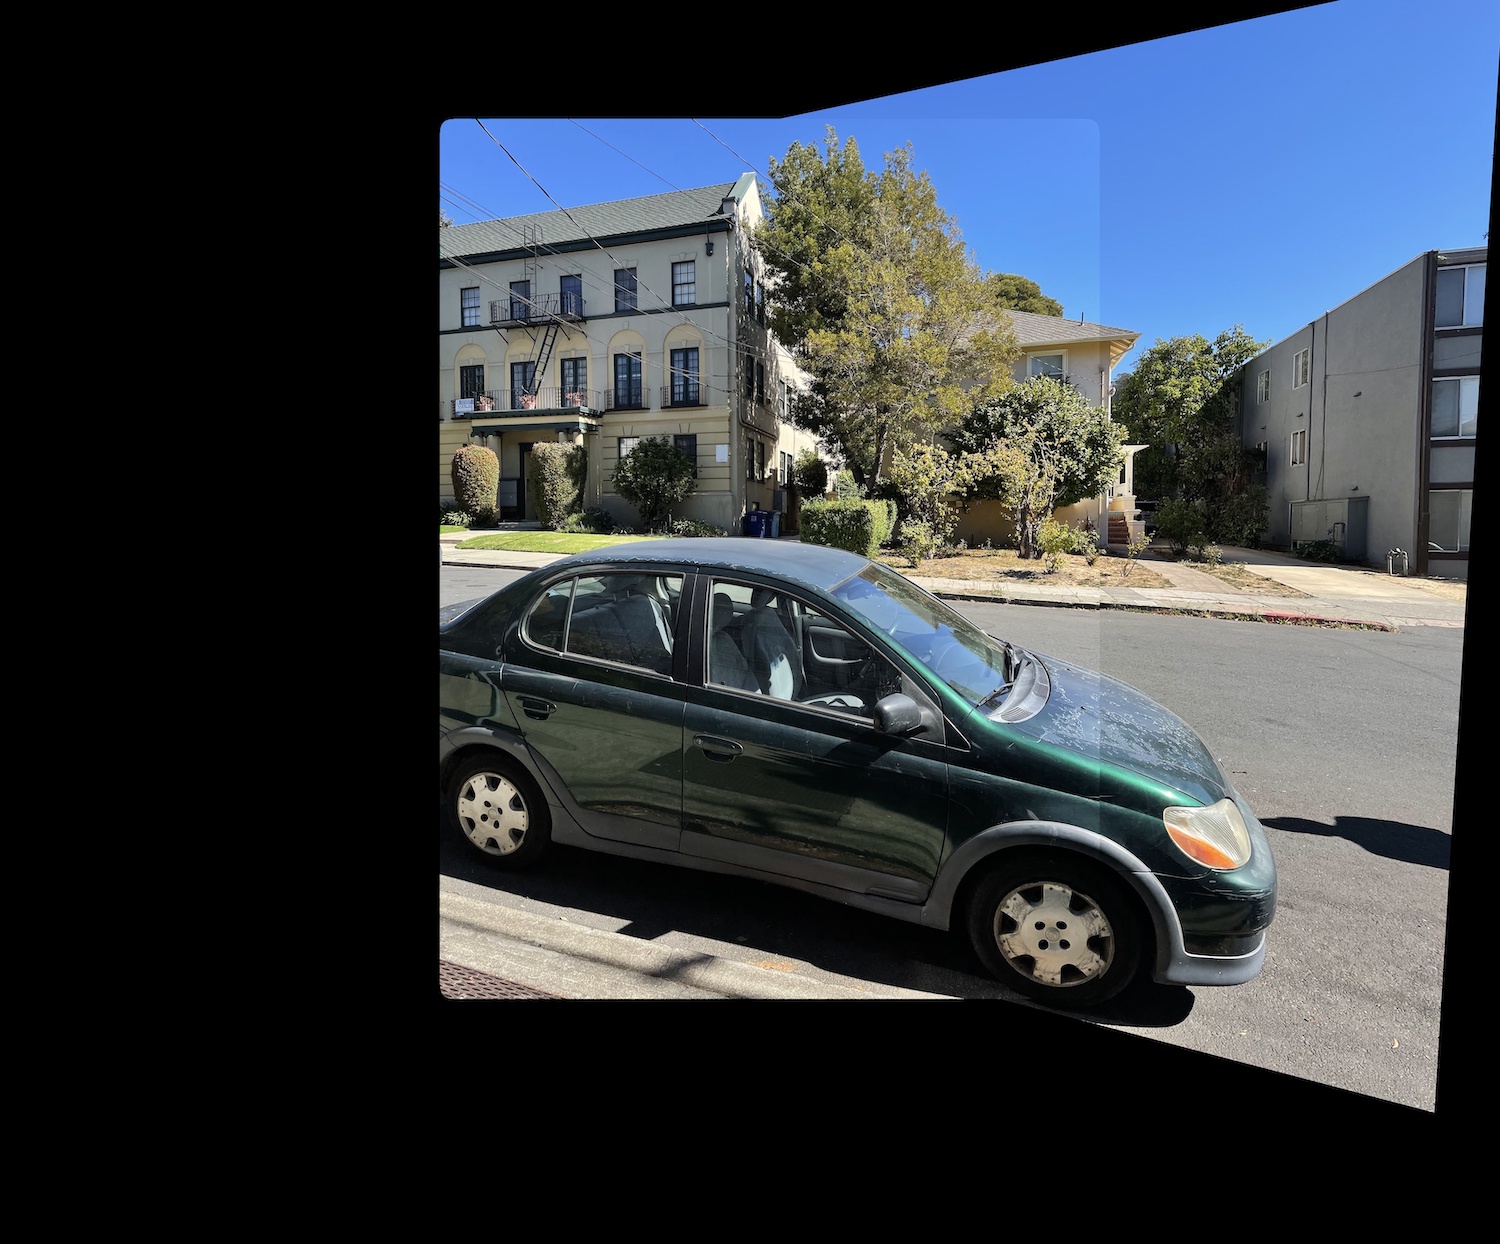
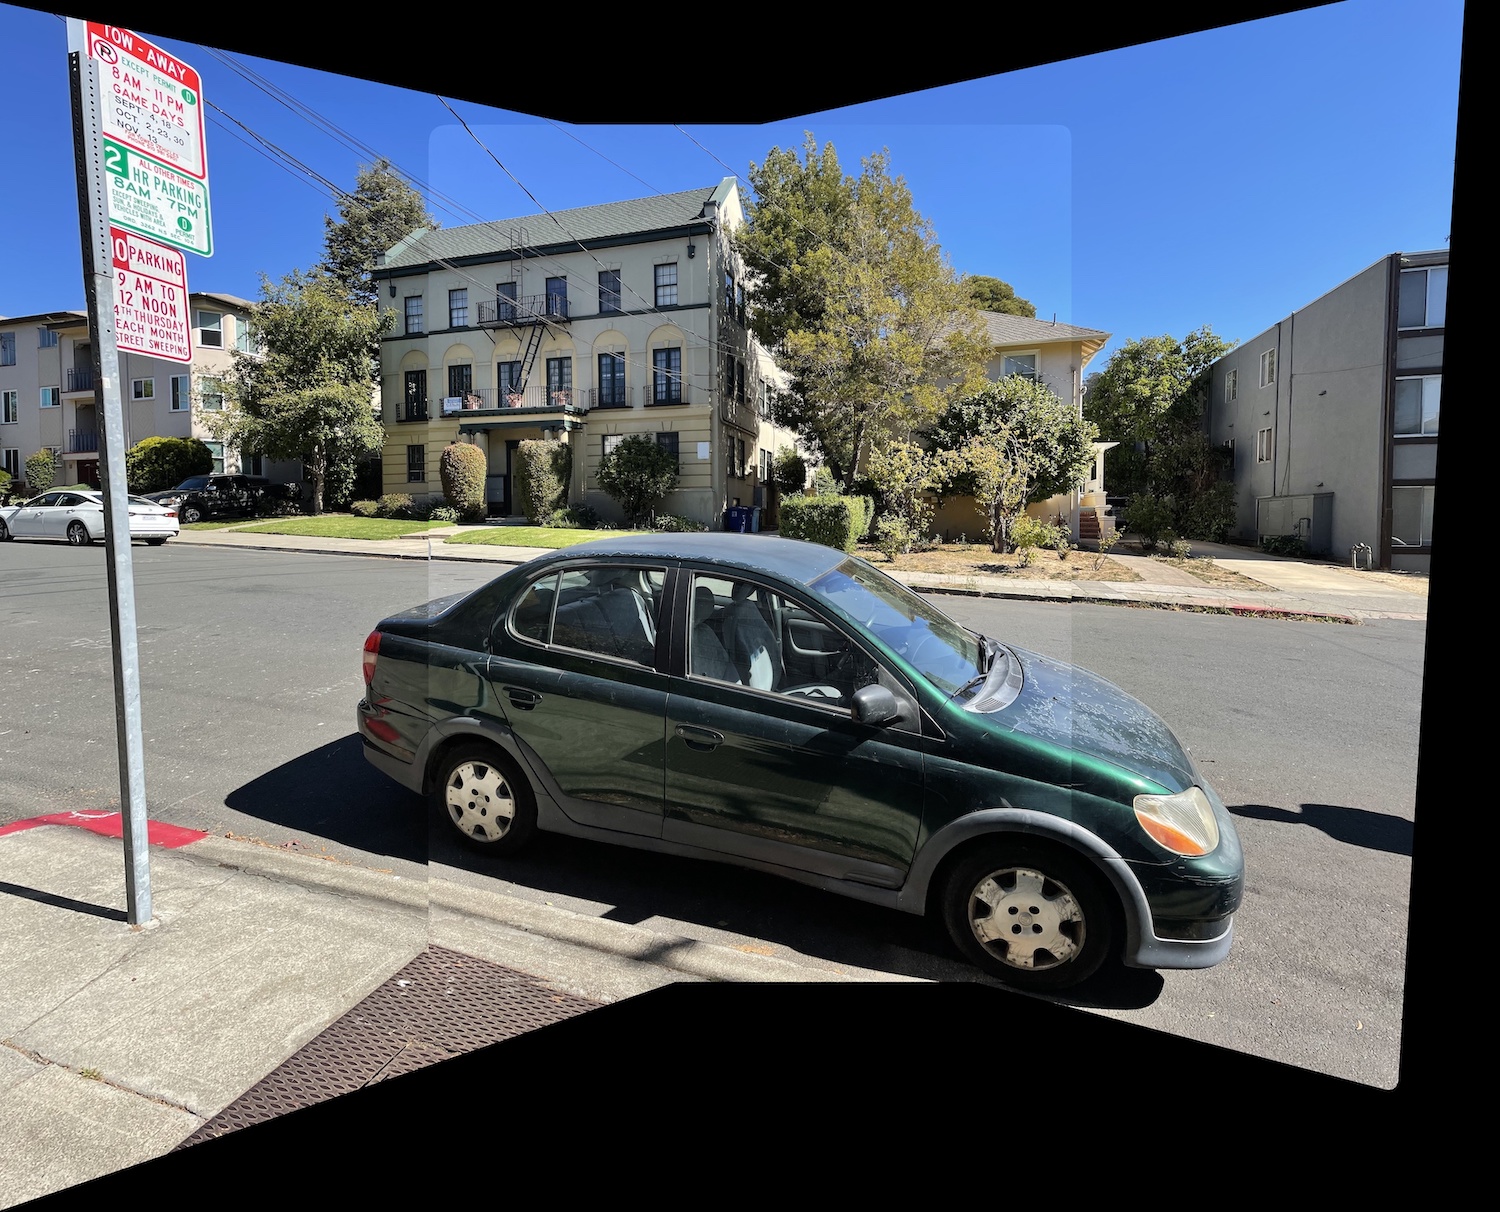
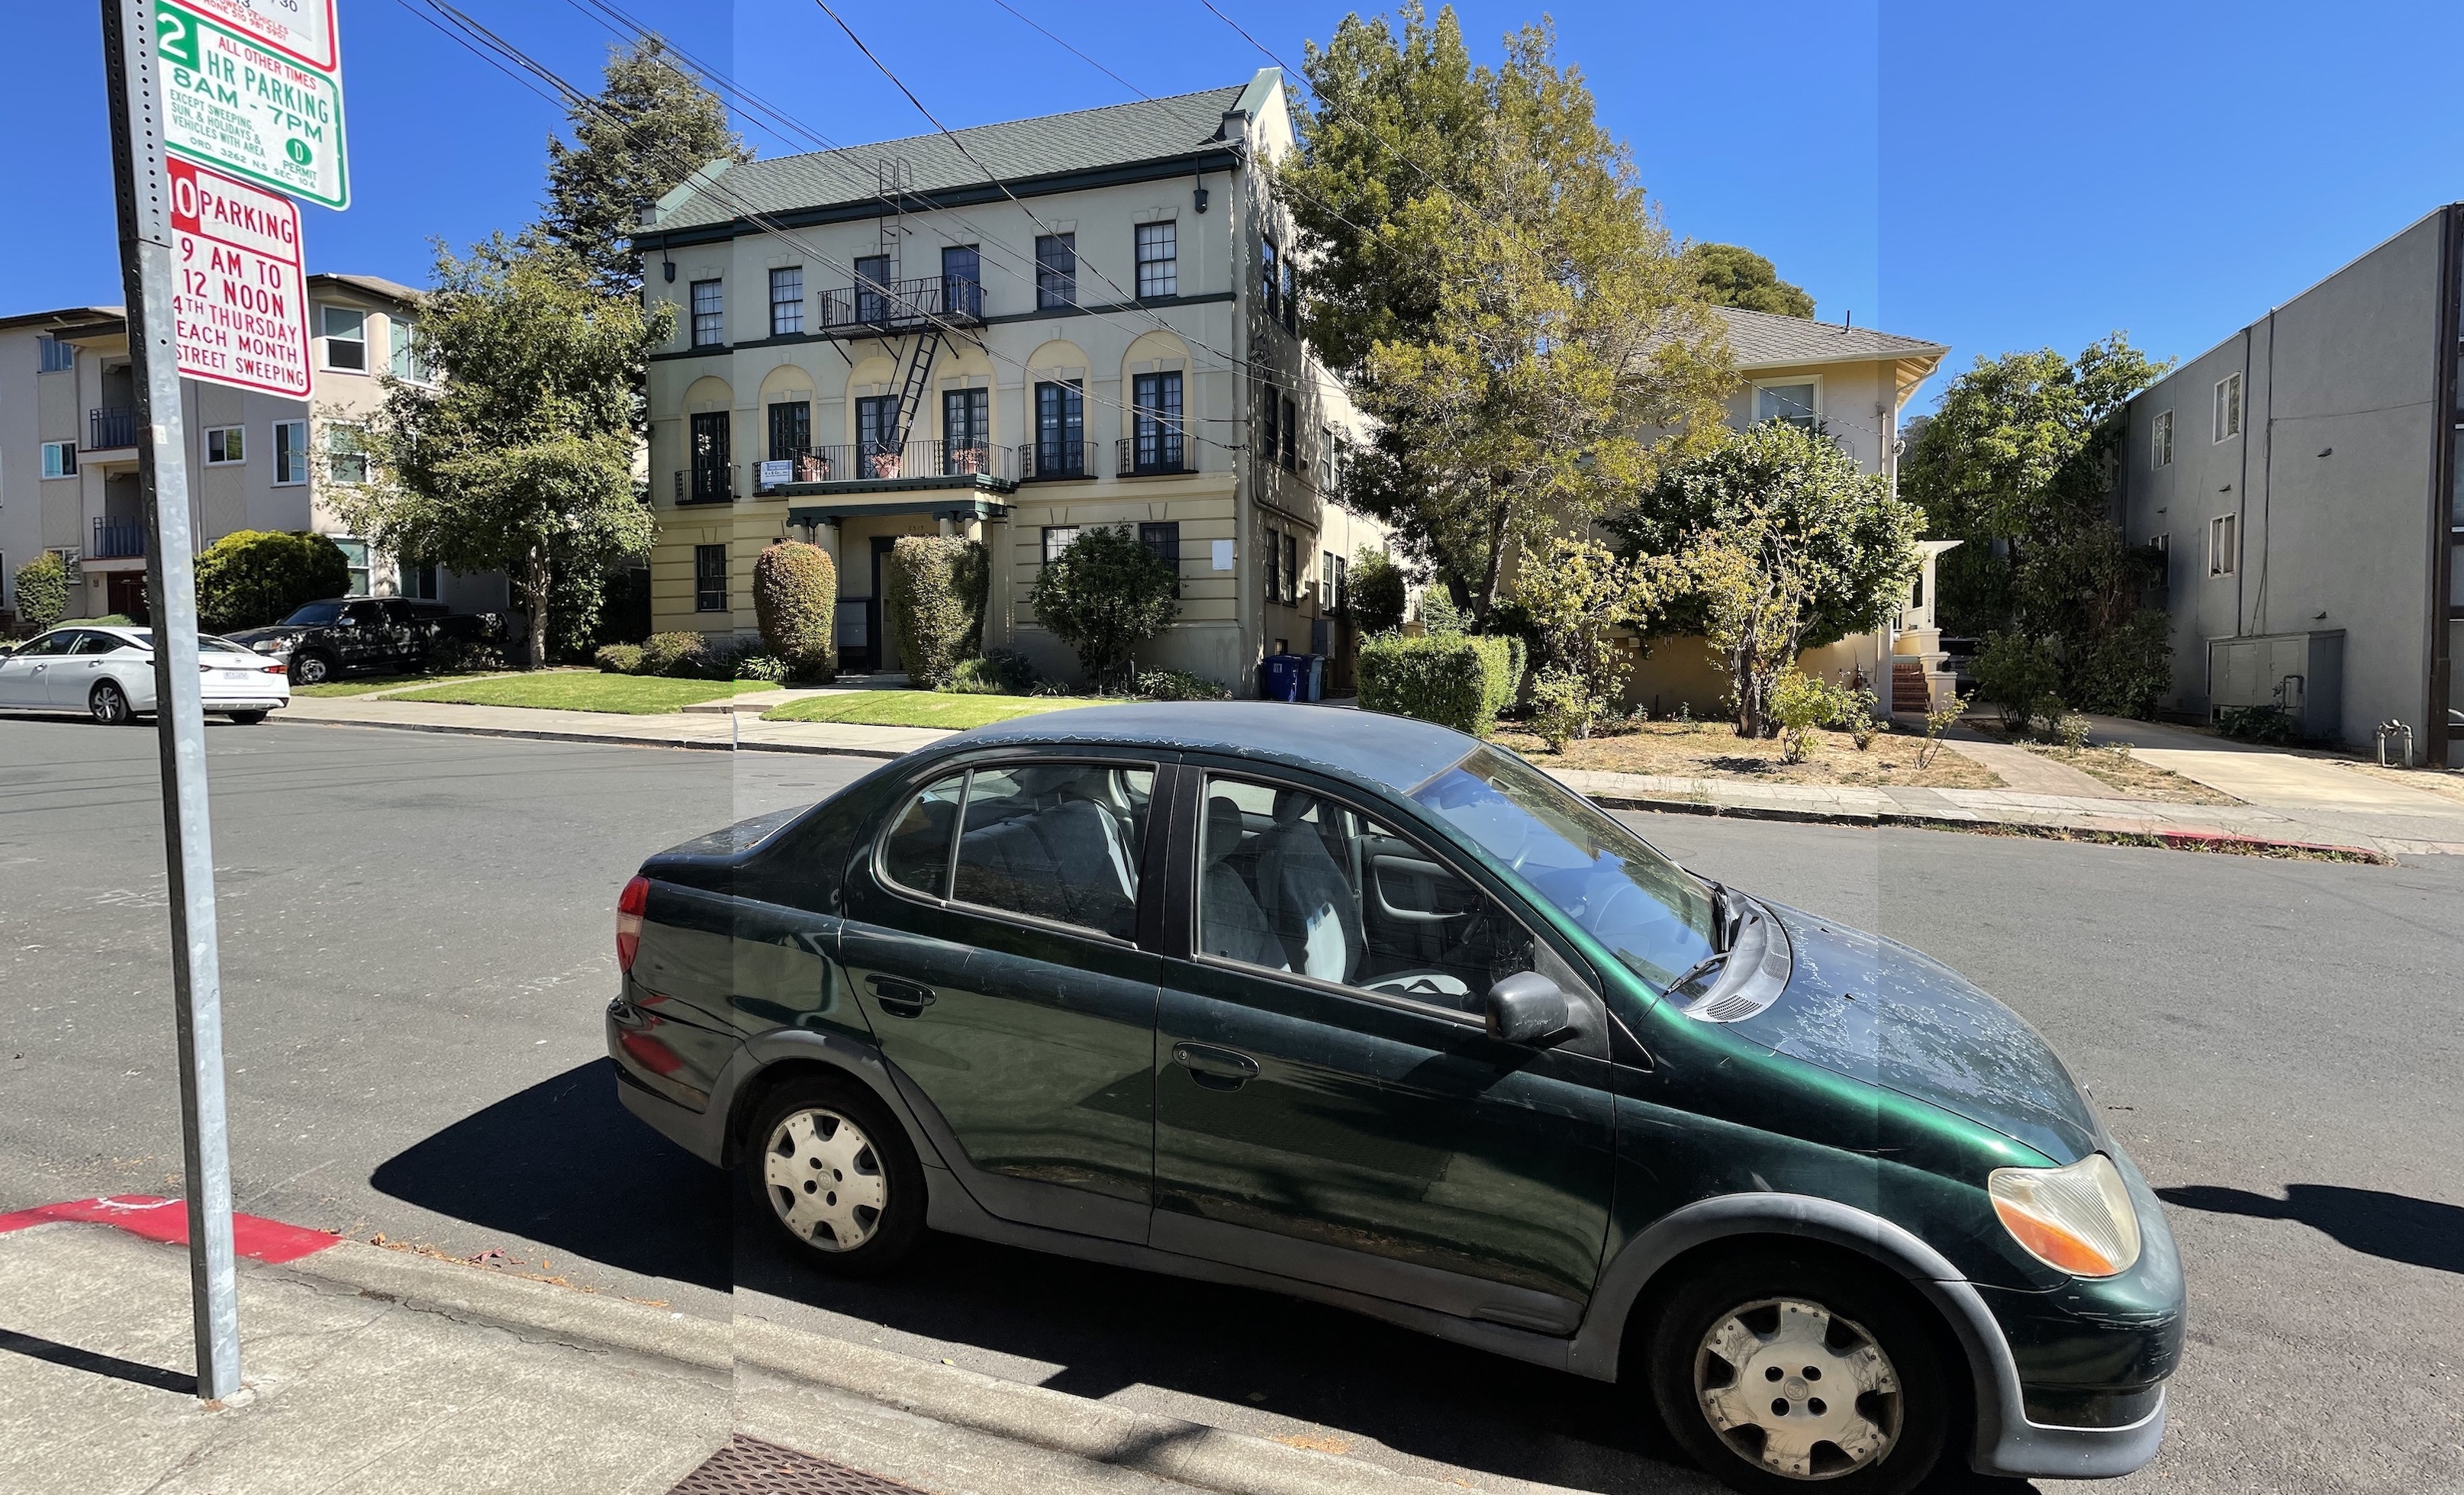
We can do this for the other photos as well. Below we have a mosaic for a car outside my building and another for the buildings of Unit 2. Although there were some lighting issues as a result of using an iPhone as opposed to a camera, the overall results turned out quite nice.
Lessons Learned
This has taught me a lot about how images work and also the mystery behind a lot of photo editing features on my phone that let me shift the perspective. As someone who likes things to be aligned perfectly, I use perspective warp quite a bit in my own photography and so its nice to know the behind the scenes of that. I also really enjoyed learning how to make my own panoramas, as now I don't have to hold my phone still and rotate extremely slow. Instead I can just take quick photos that have the same pencil of rays, fire up my laptop, and spend 5-10 minutes defining corrospondences and voila, Panorama!
BONUS
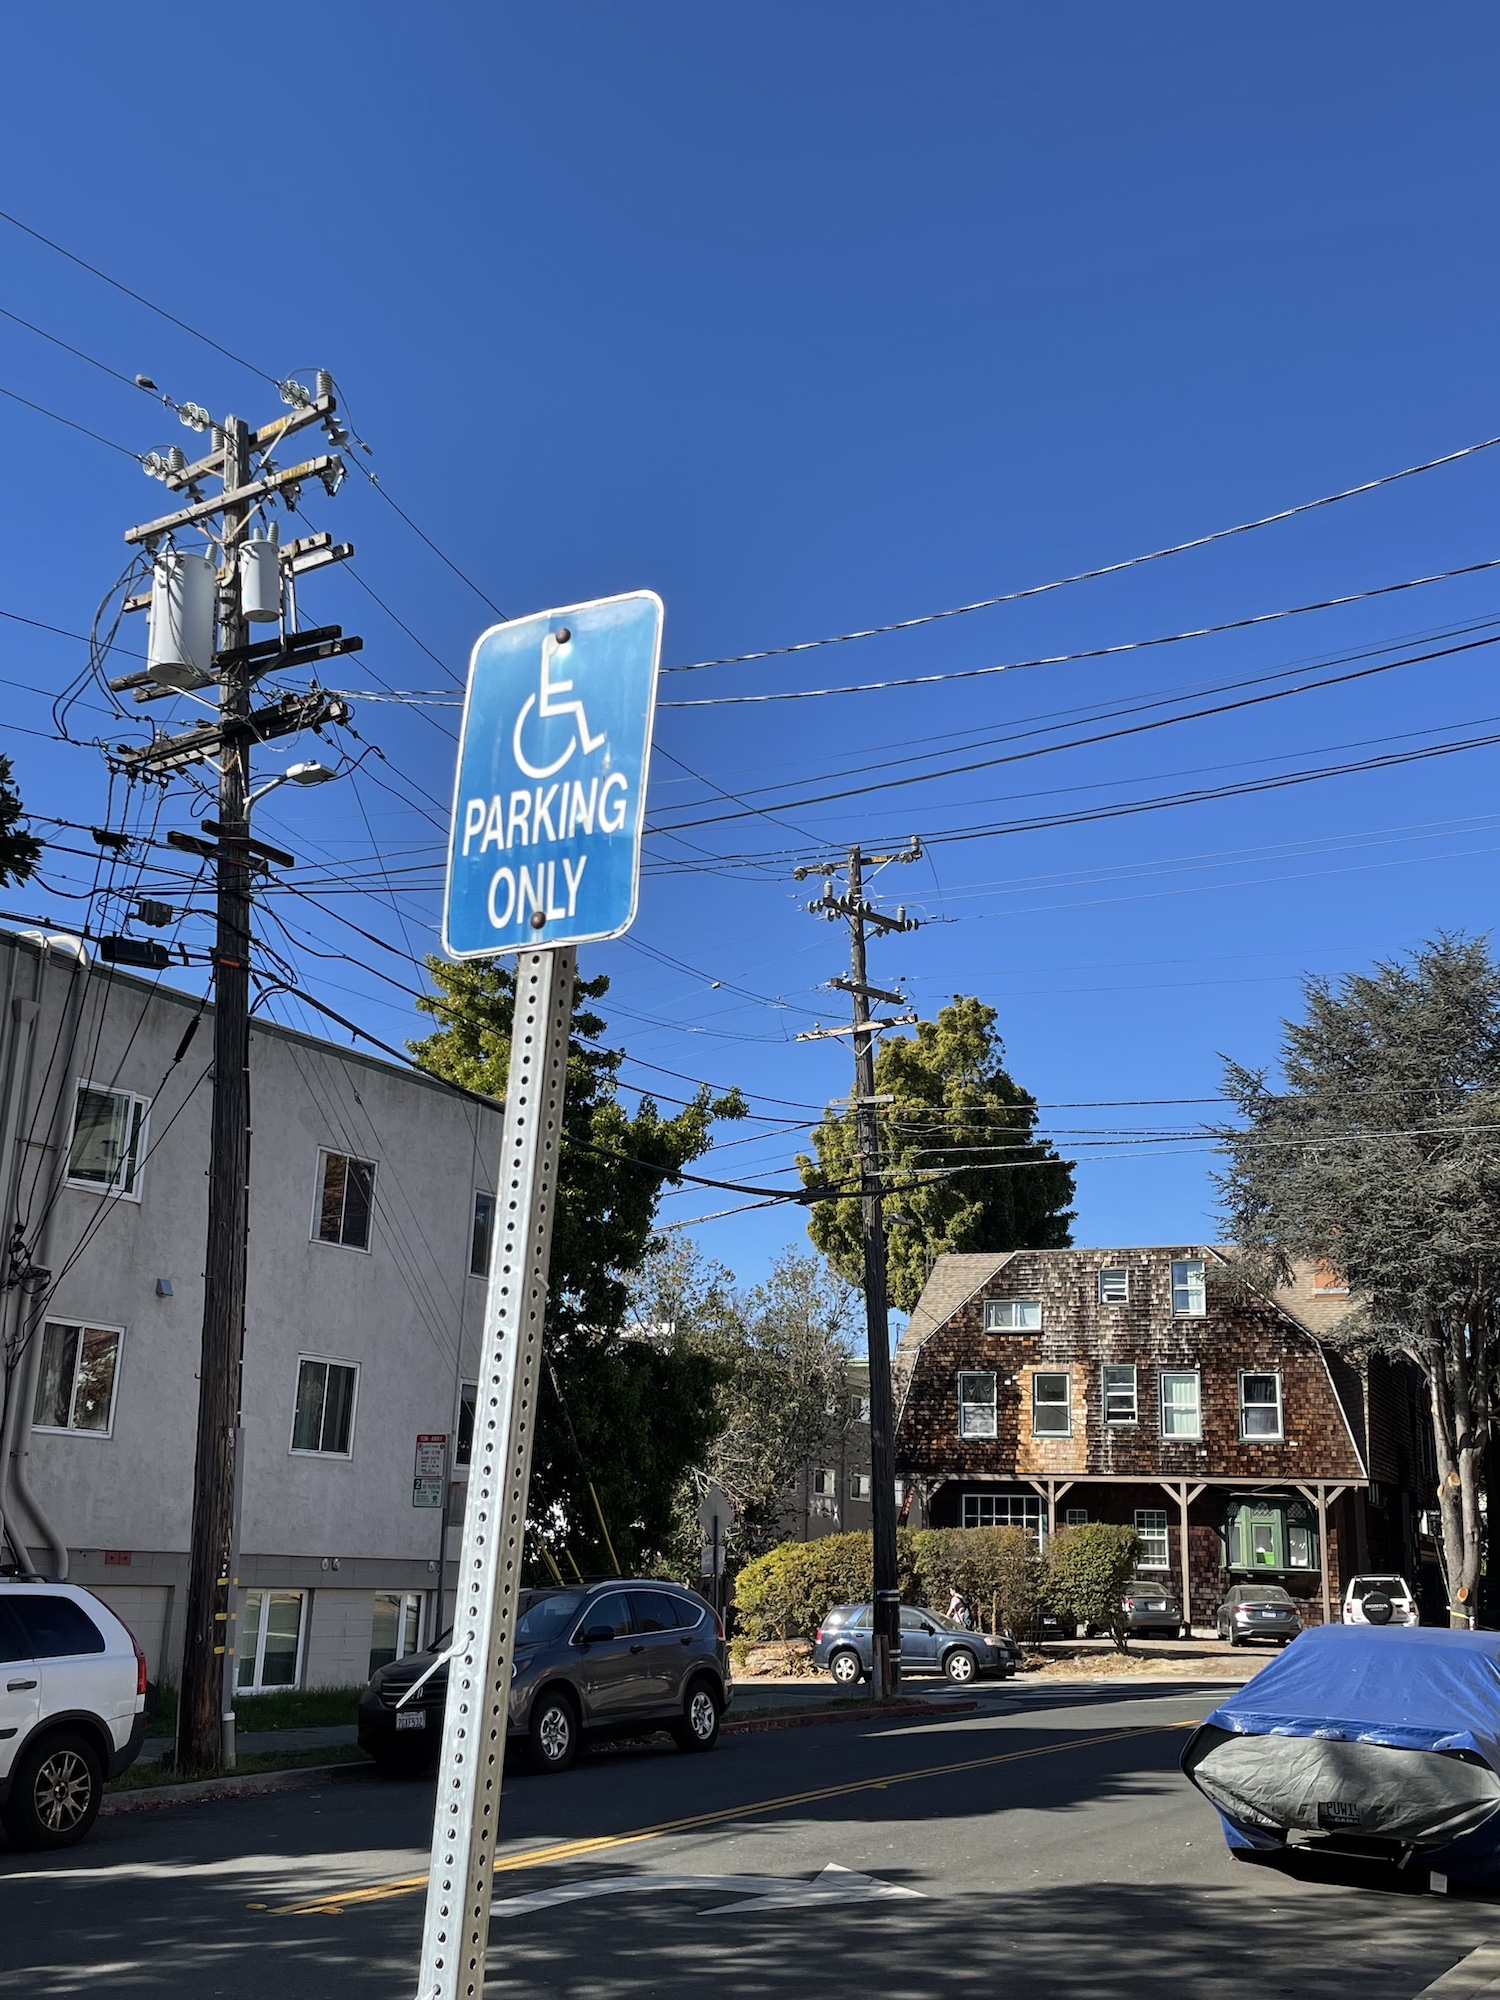
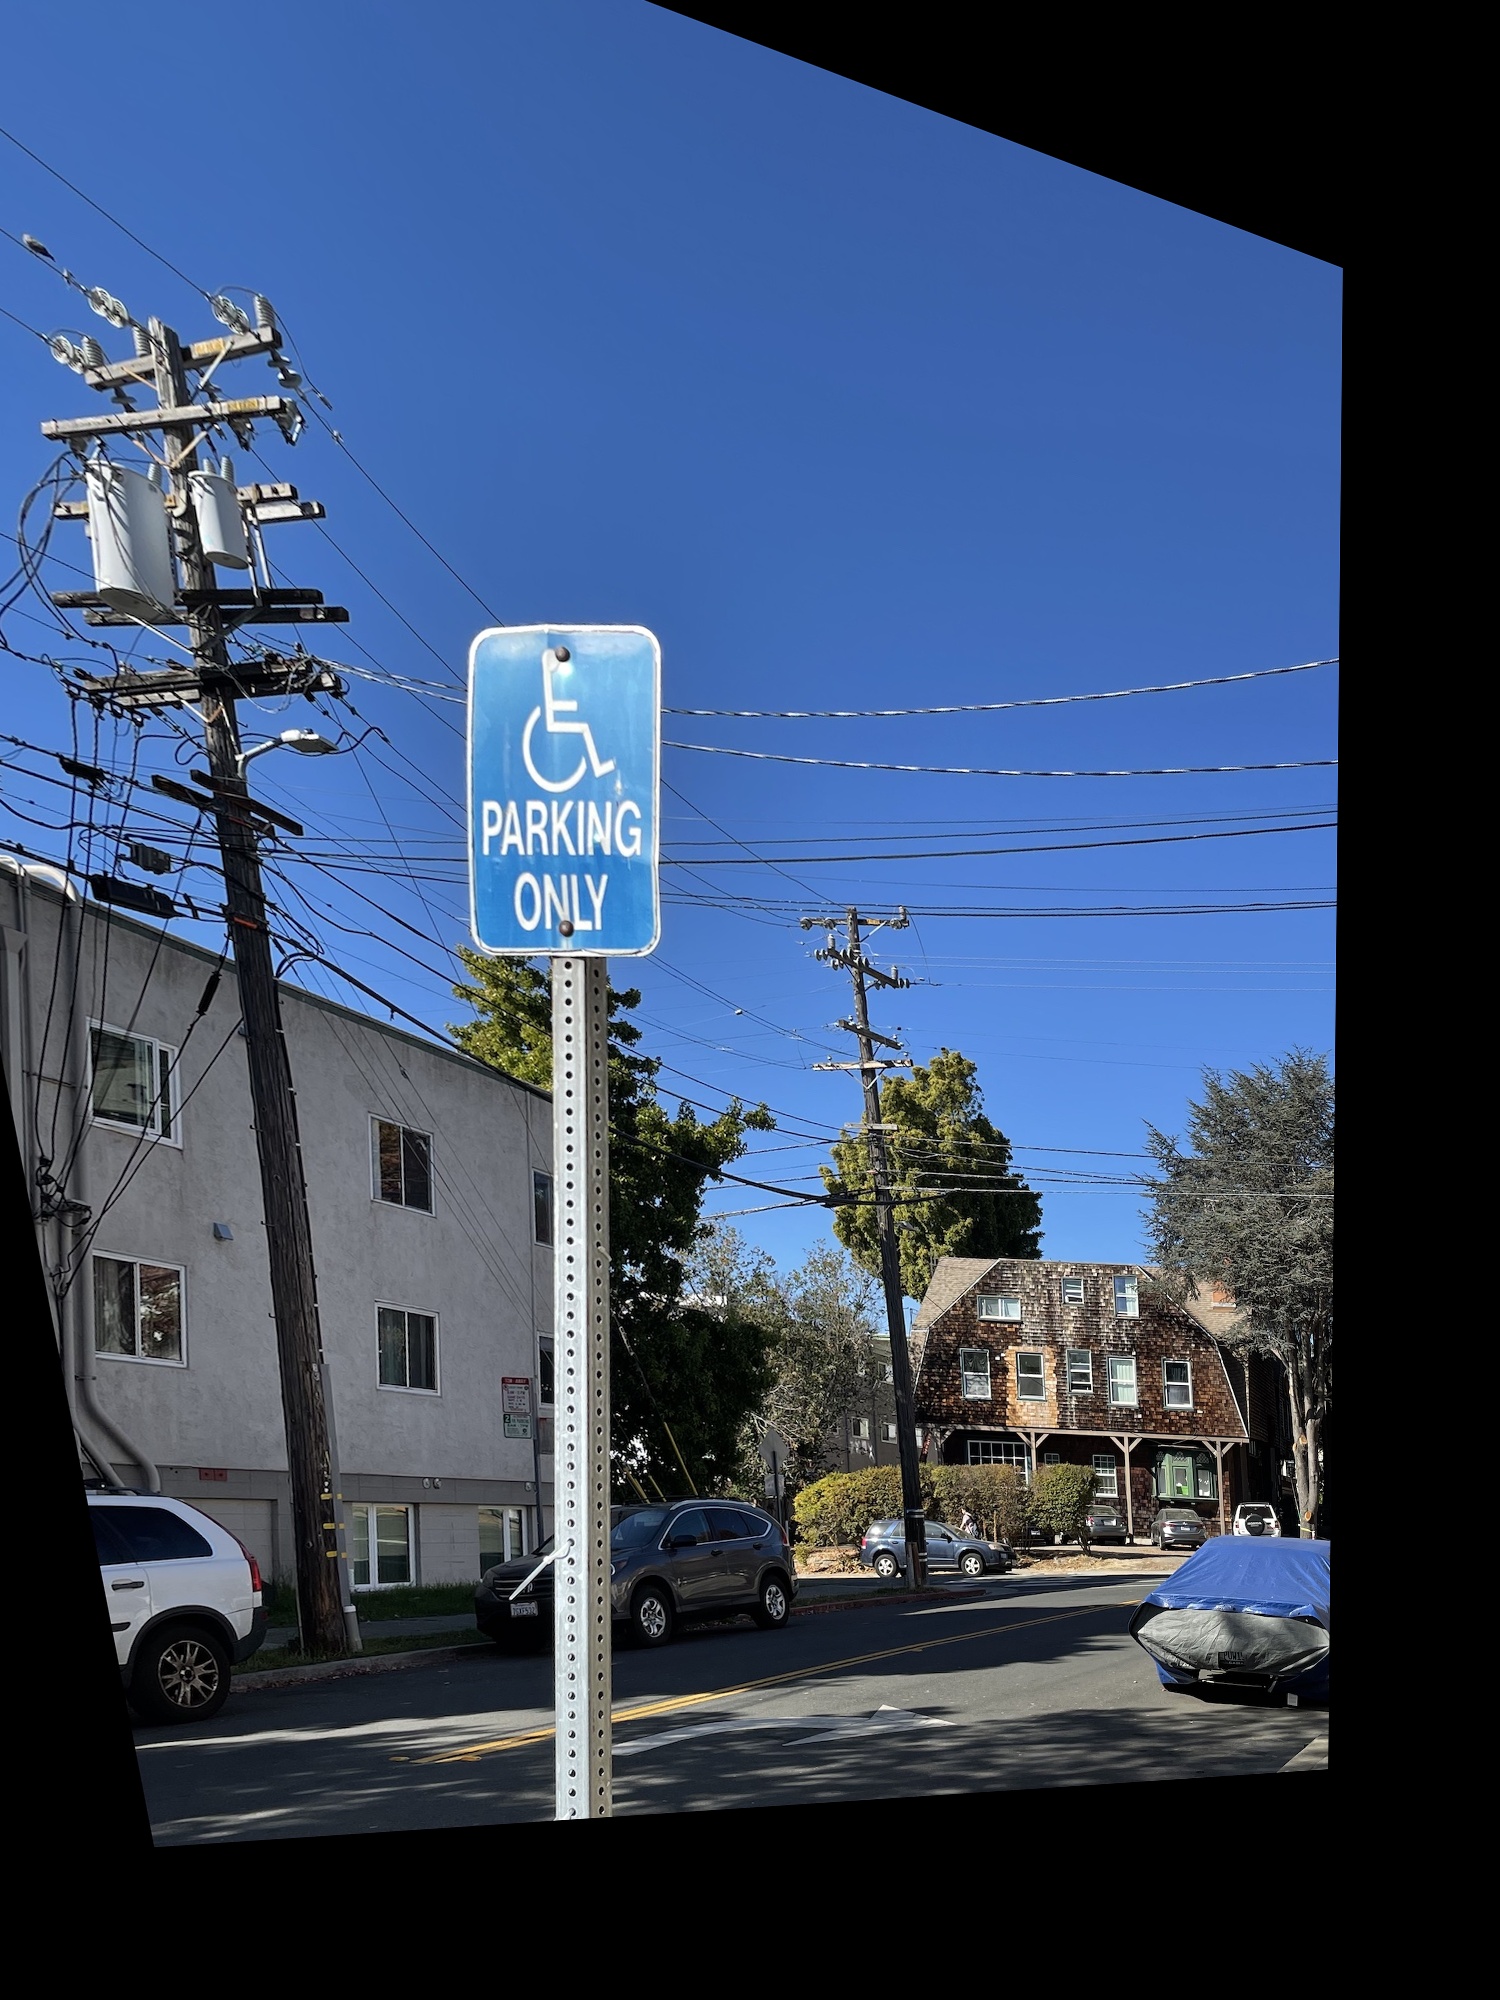
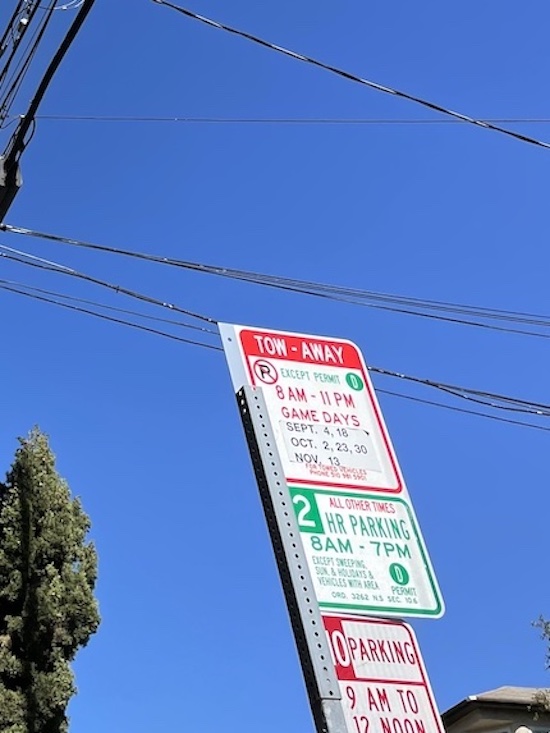
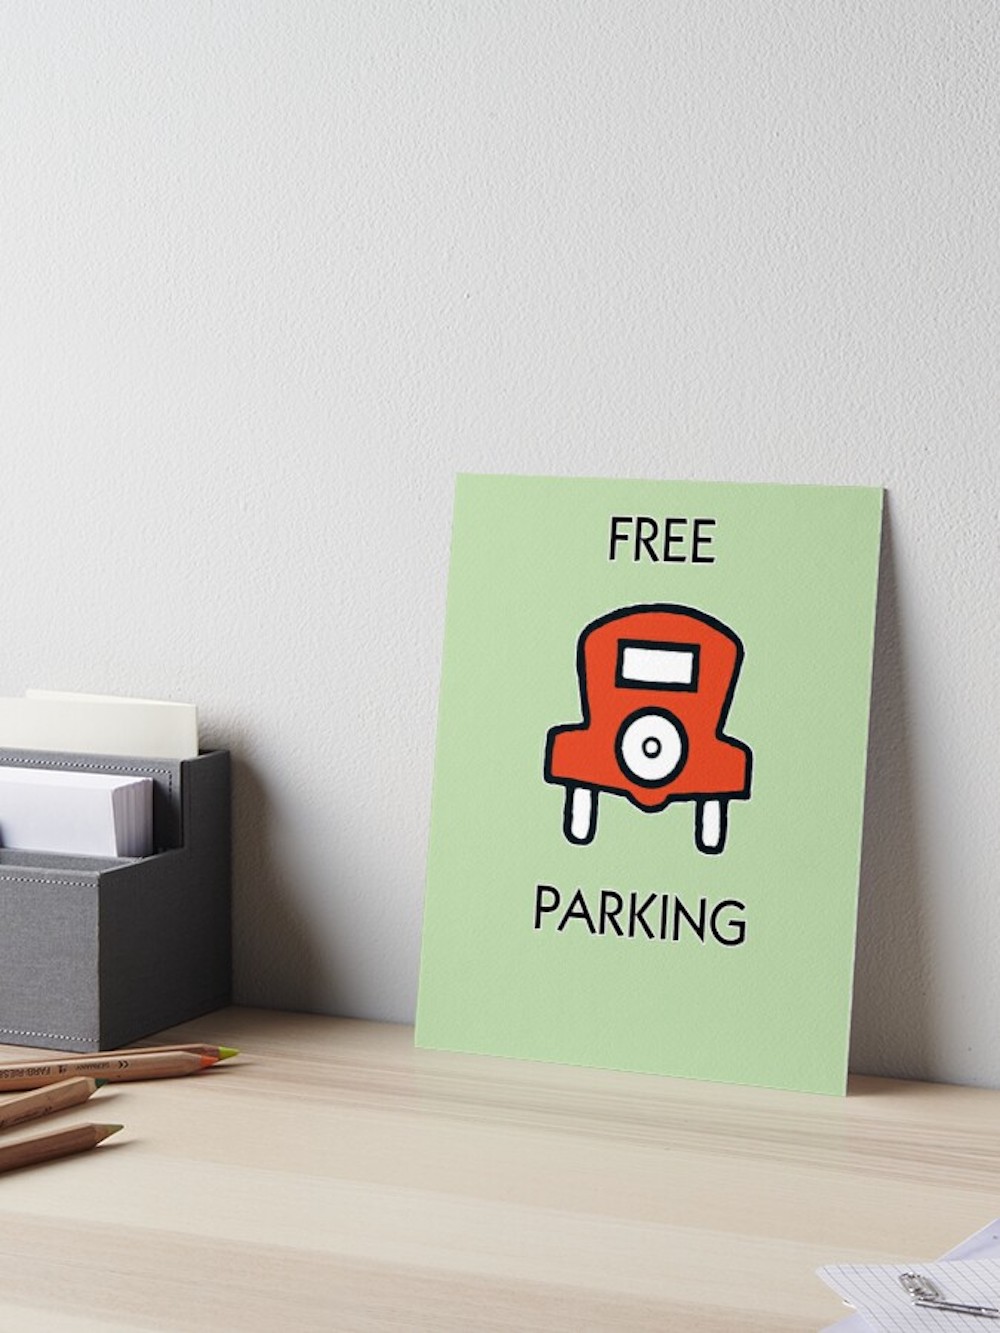
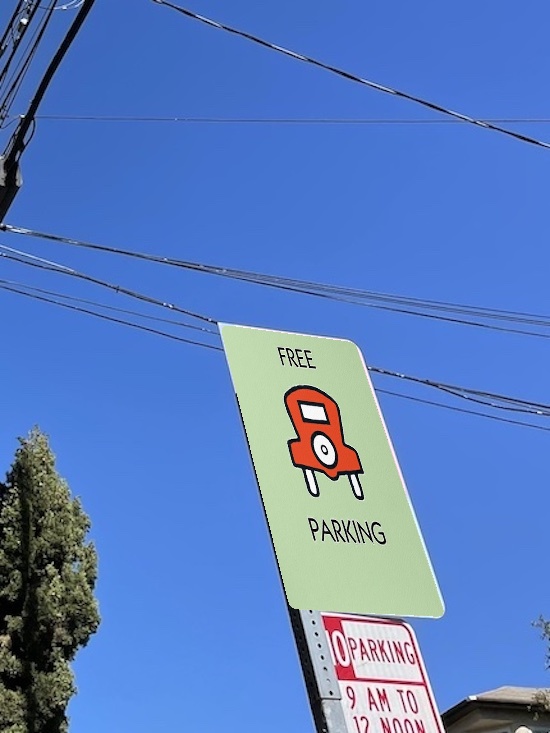
Although we can stop here, why should we? Let's try to do some fun things with our newfound technology. First, we can use the warp to project images onto a specific region of another image. Let's use this to fix the parking problem in Berkeley. We can replace the confusing parking signage with all its rules and regulations and instead create a nice, friendly parking spot.
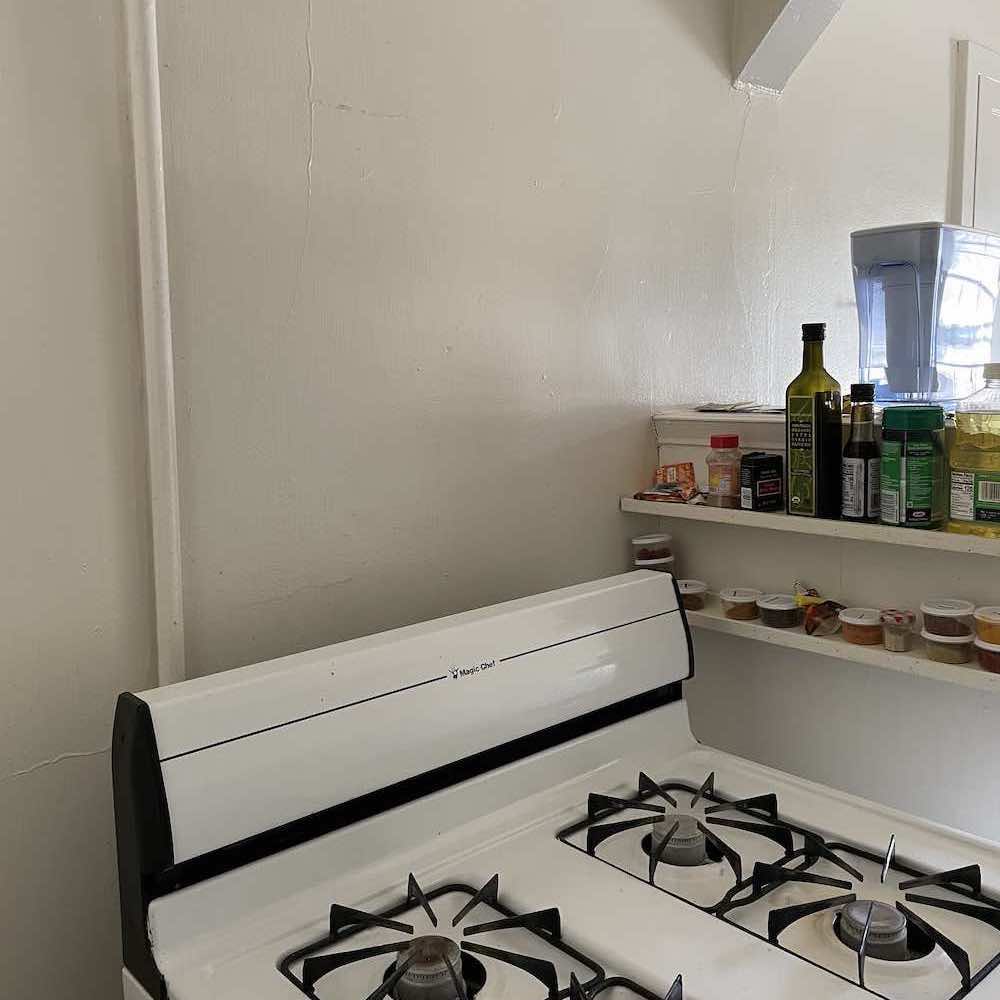
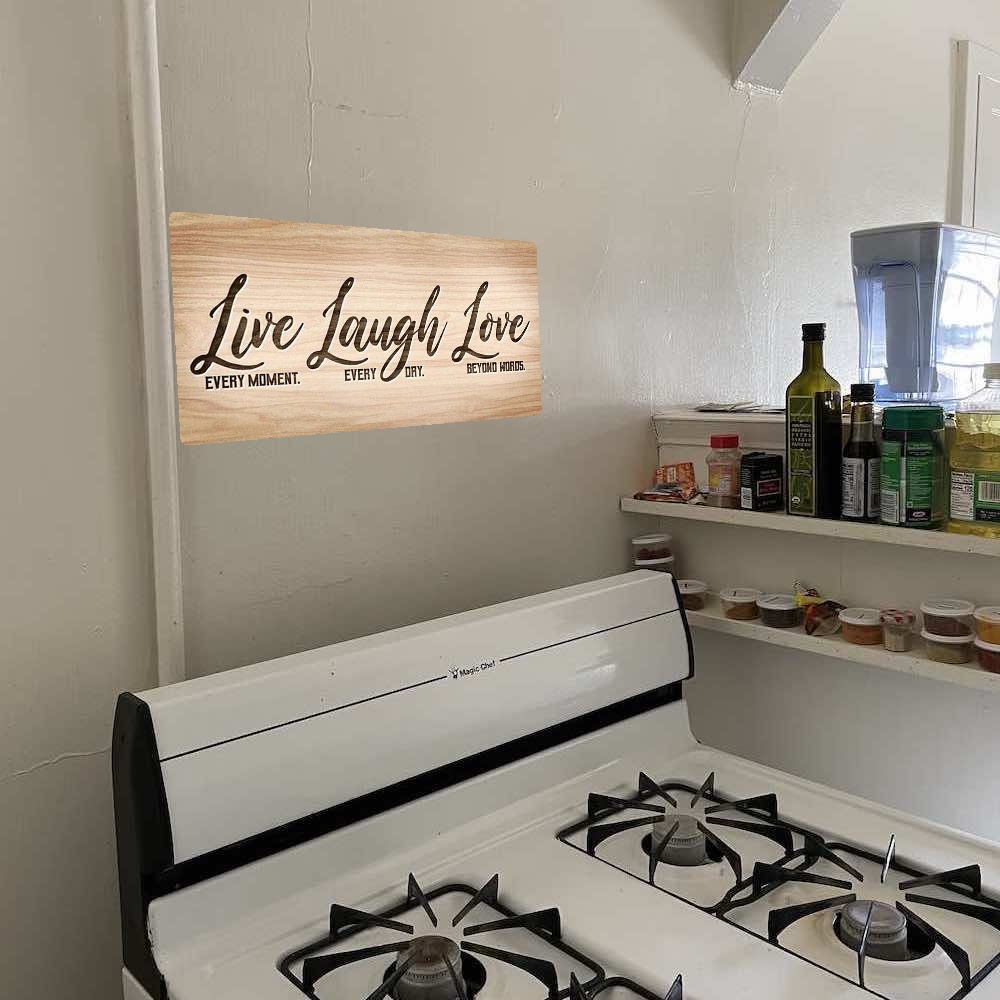
Or, we can make it so that my kitchen feels more homier. Who doesn't enjoy living, laughing, and loving? I know I sure do. Let's hang up an appropriate poster to cherish life.
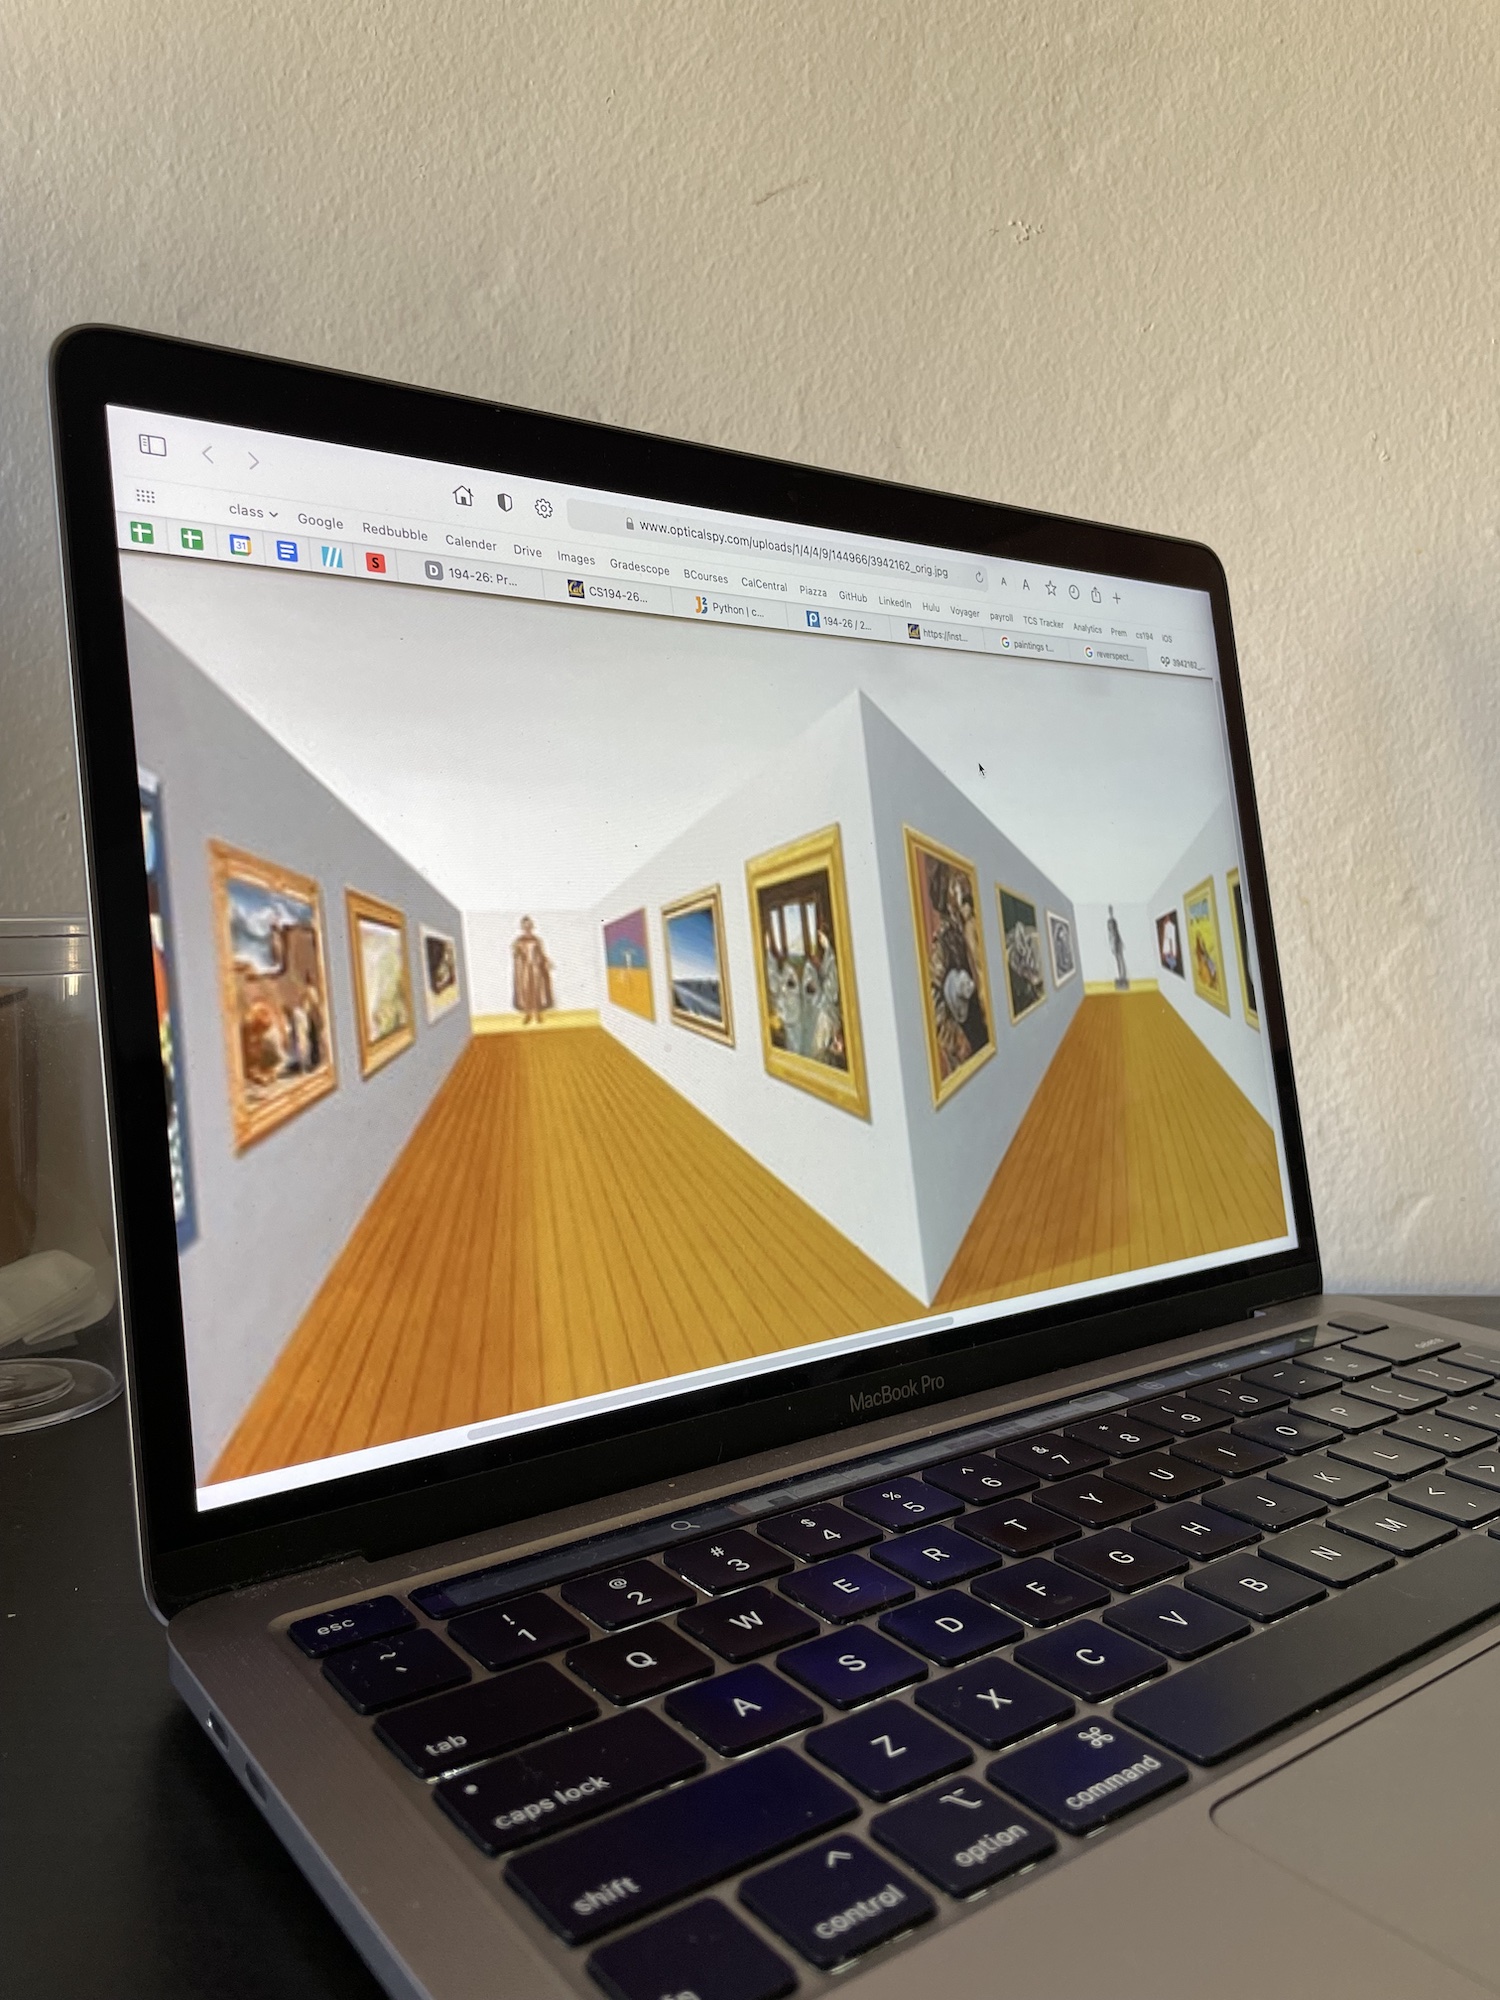
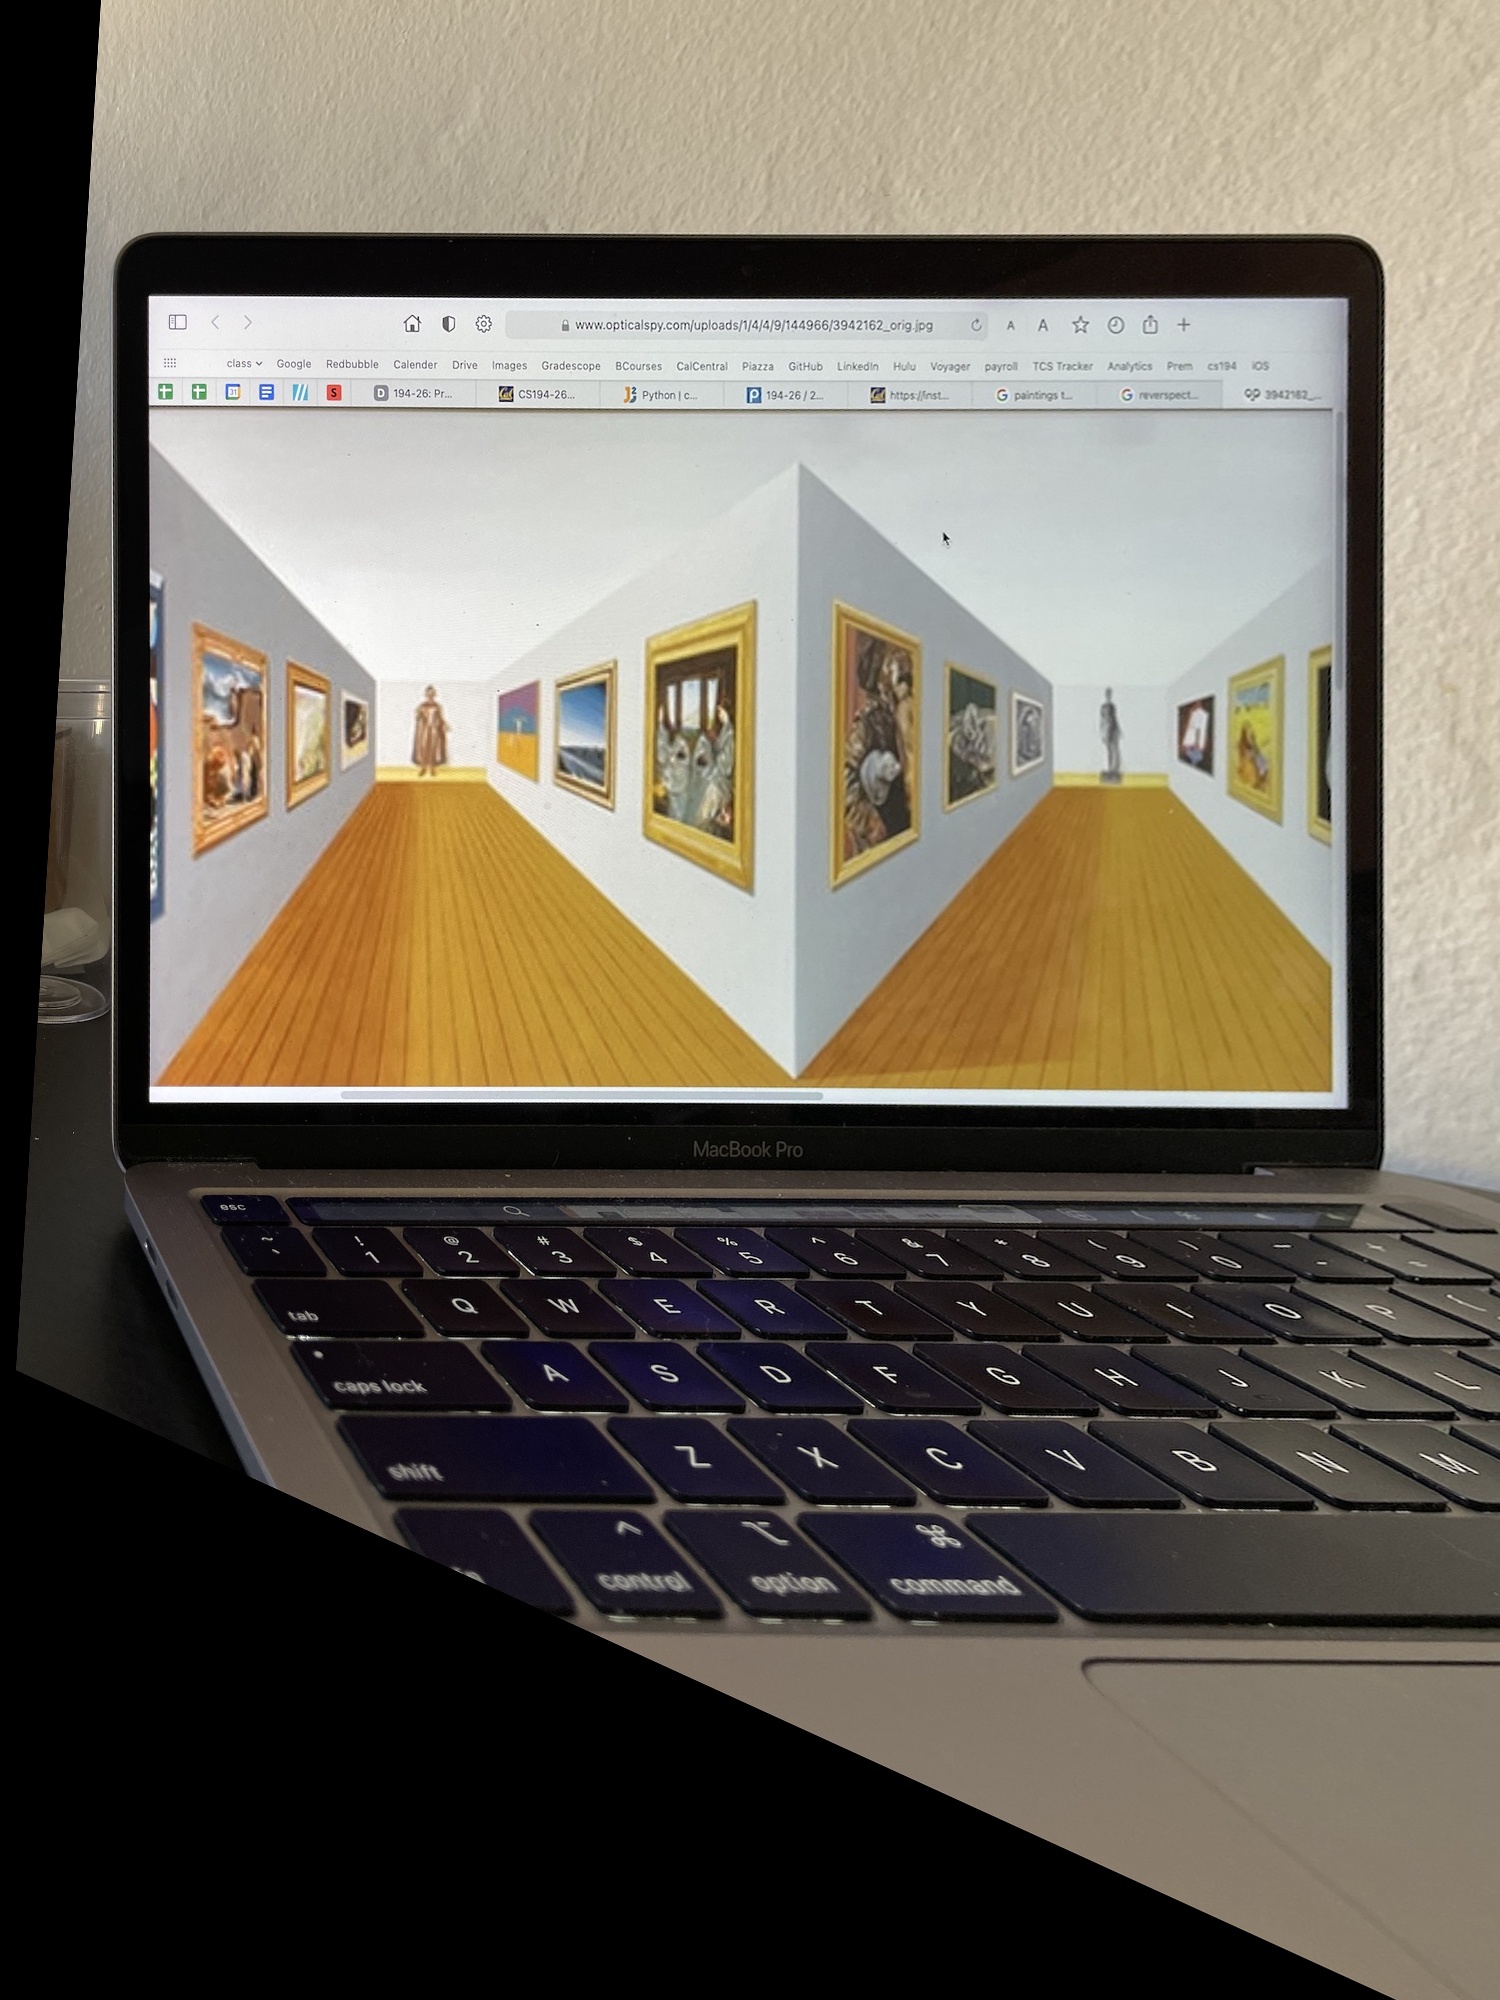
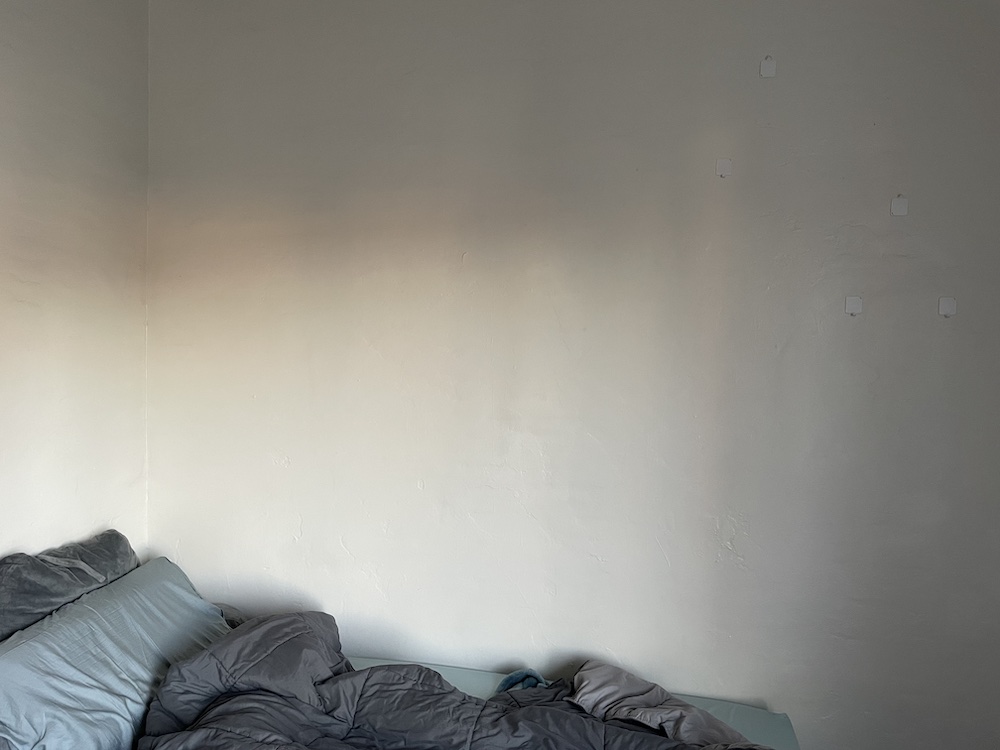
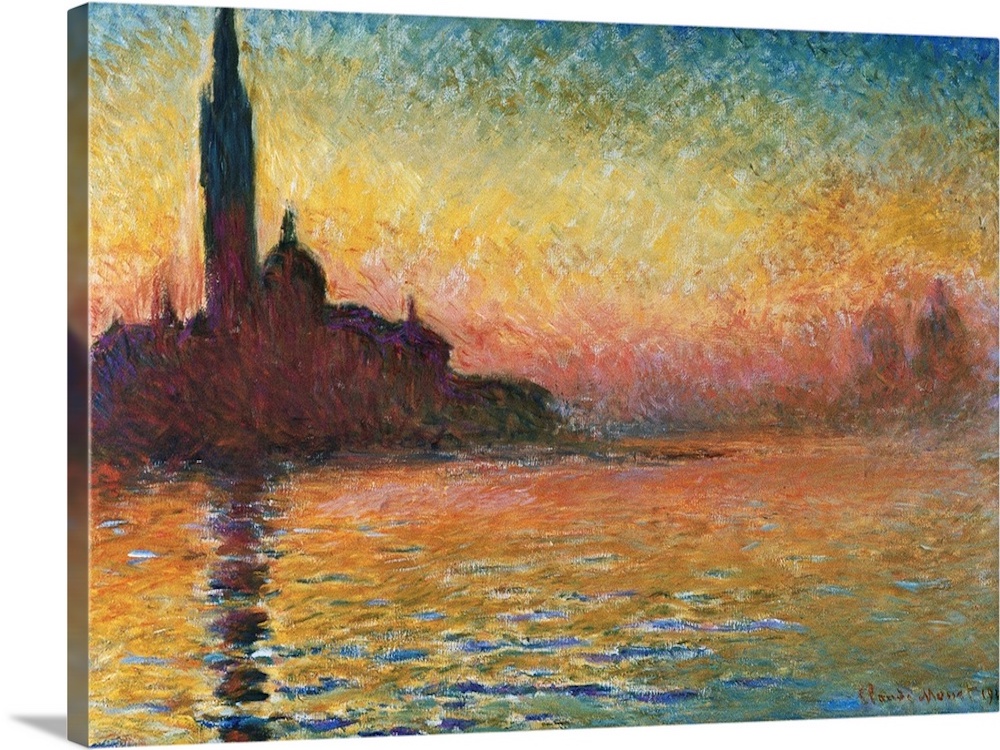
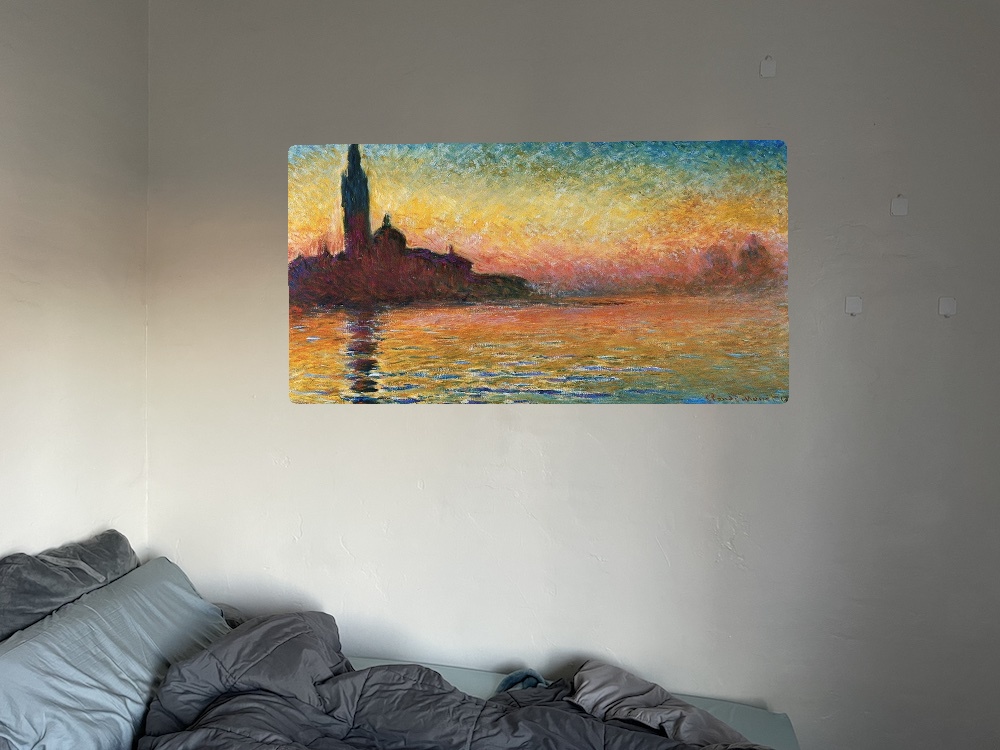
Finally, lets add some color to my bedroom. Right now, it looks pretty bleak with no paintings or posters. However, I do not want to settle for anything less than the best. So, lets see how an authentic Monet painting would look in my room.
Pretty! I guess I have found a new way to try out decorating my room and house! How spendid.