

In order to perspective-warp one image to another, we need to compute the transformation matrix, which in this case is a homography. The homography is a 3x3 matrix with 8 degrees of freedom (the bottom right entry of H is a scaling factor and can be set to 1.)
Figures by Zadeh
To recover the homography, we need pairs of corresponding points from the two images. Four correspondences are needed to fully recover the homography matrix, though using more than four may produce more desirable results. With four, we can simply solve the following linear system of equations, Ah = b, where h is a vector containing the entries of H, and b is a vector containing the x and y coordinates of the destination image's correspondence points.

Figure by Zadeh
As was previously stated, it may be beneficial for us to use more than 4 correspondences because it may result in a more stable homography recovery. In this case, we will need to solve the over-determined system with least-squares, but the equation setup is similar to the one above.
Once we have the homography, we can warp the images. I decided to use inverse warping, which applies the inverse homography matrix to destination image pixels in order to sample source image pixels.
Rectification by Criminisi, Kemp, Zisserman
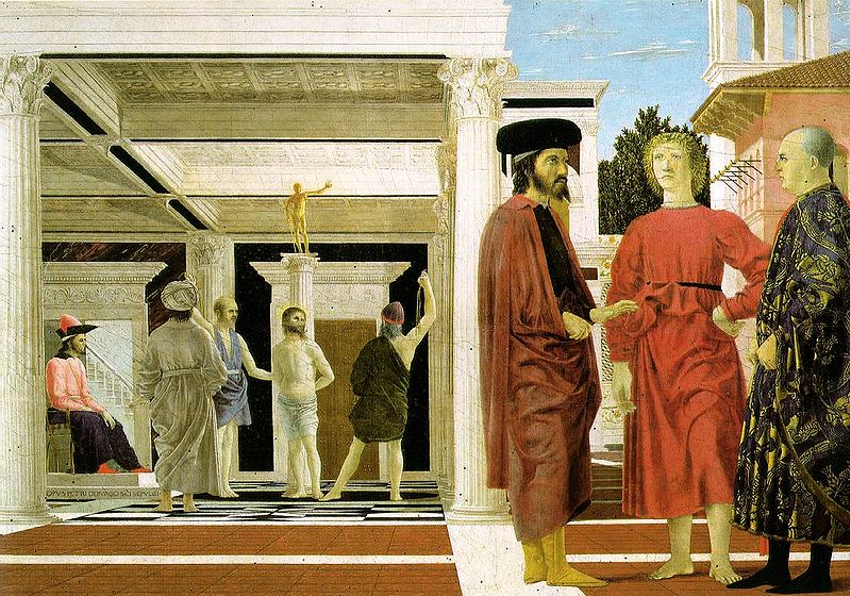
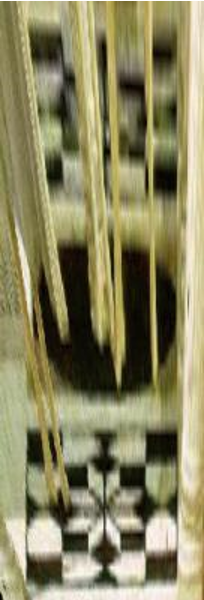
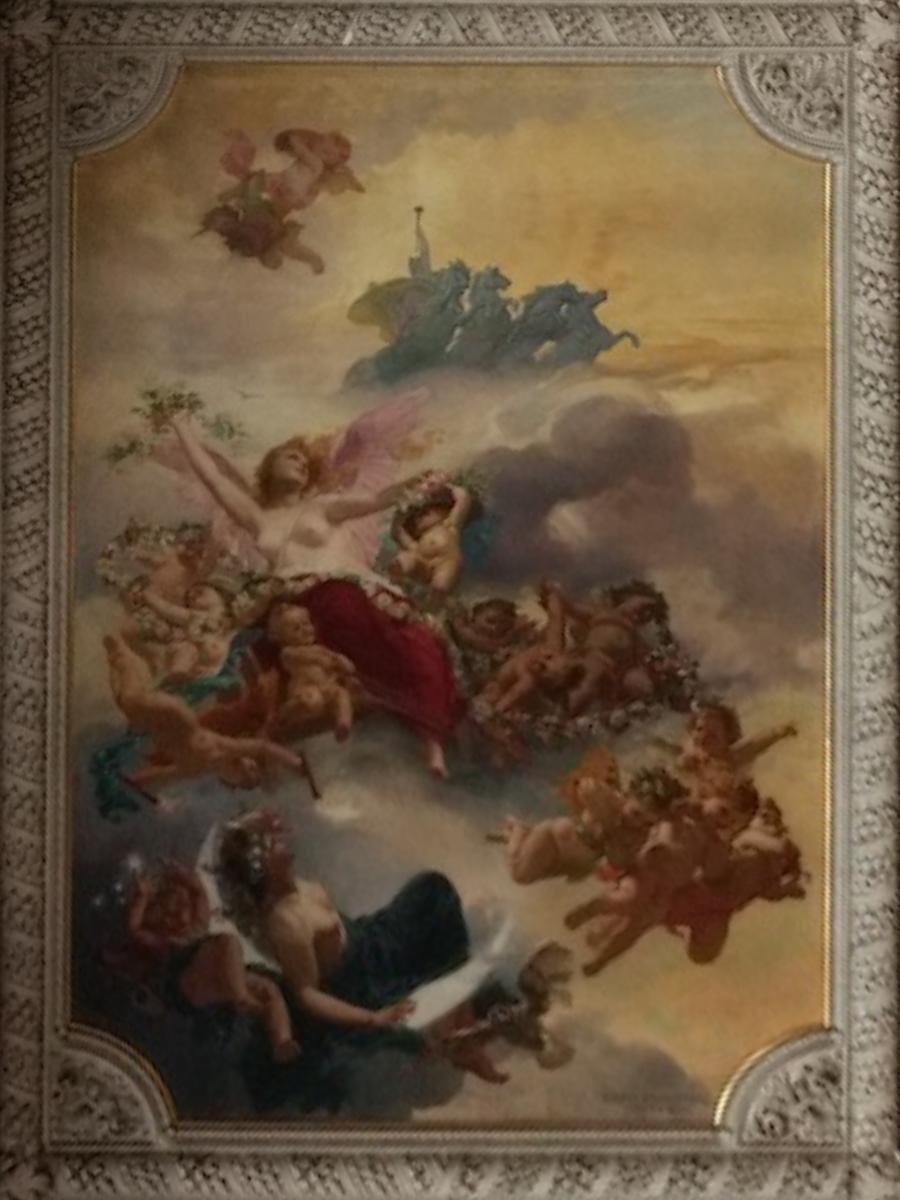
Suppose we would like to view the floor pattern in the painting, Flagellation of Christ by Piero della Francesca. Or perhaps, we would like to view a planar surface in a front-facing view. We can do exactly this through image rectification.
With a homography and a warp function, we can now "rectify" images that contain planar surfaces so that the planes are frontal-parallel.
This is done by warping the surface in the image to a rectangle.
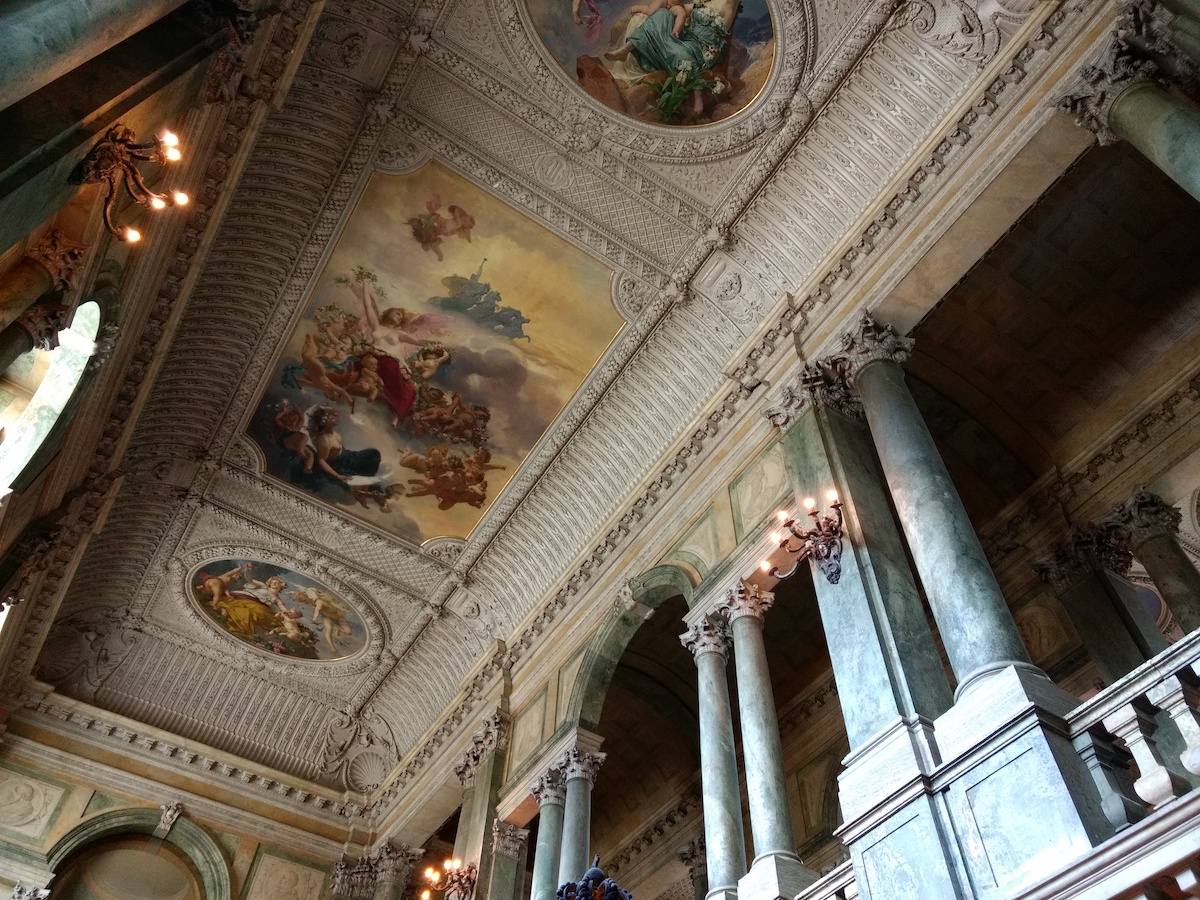
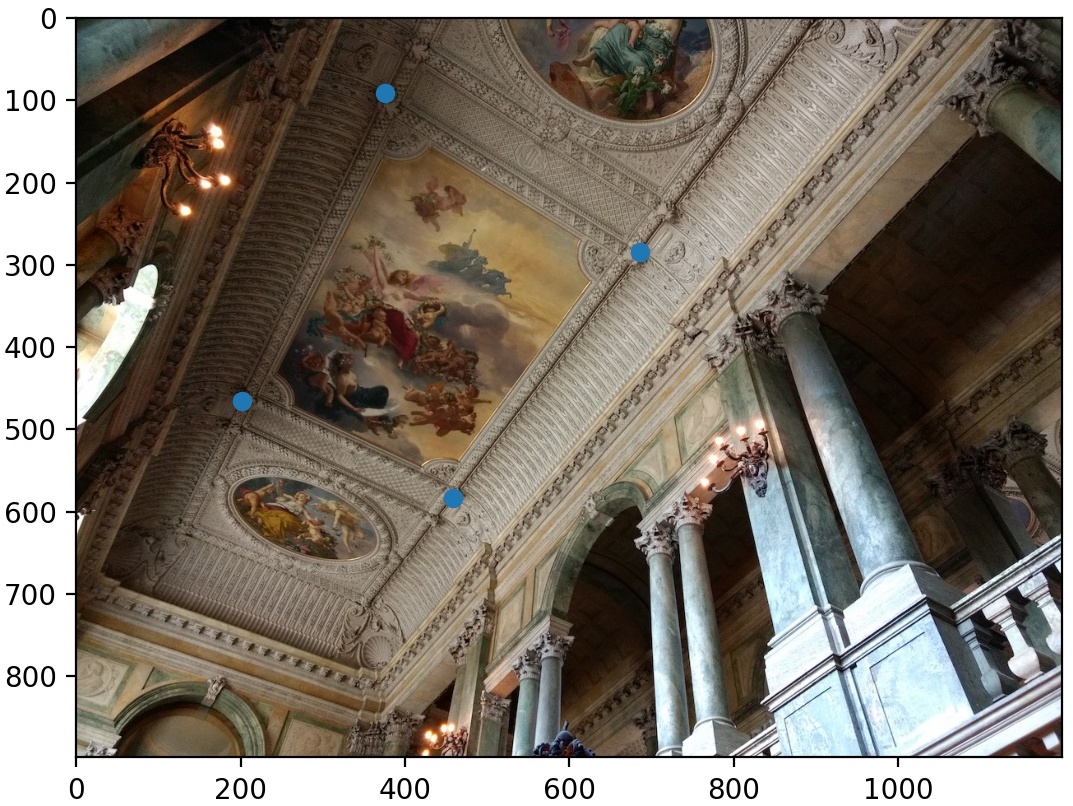
For example, below is a ceiling painting that has been rectified.
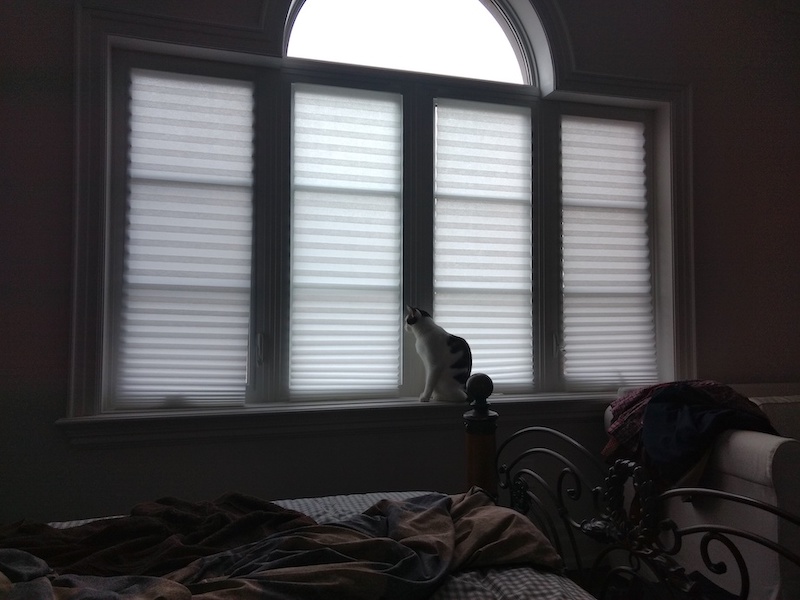
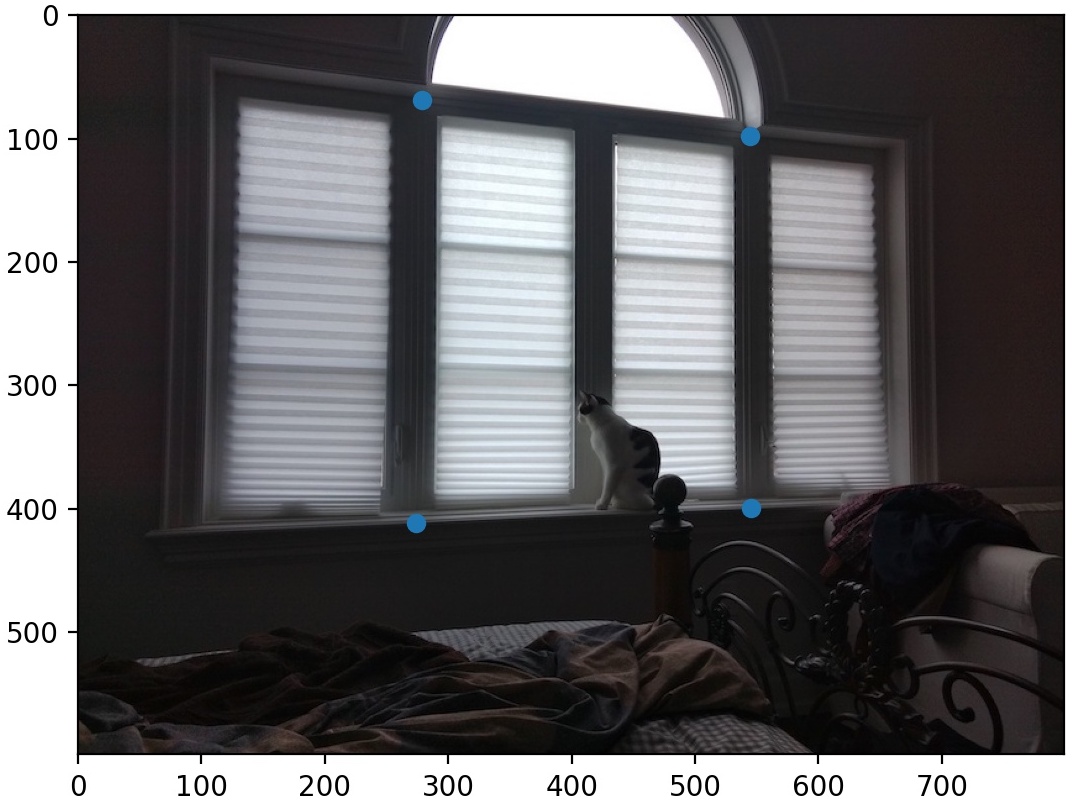
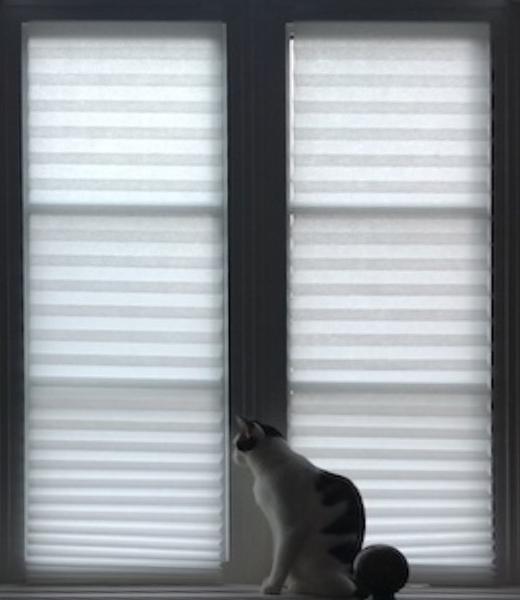
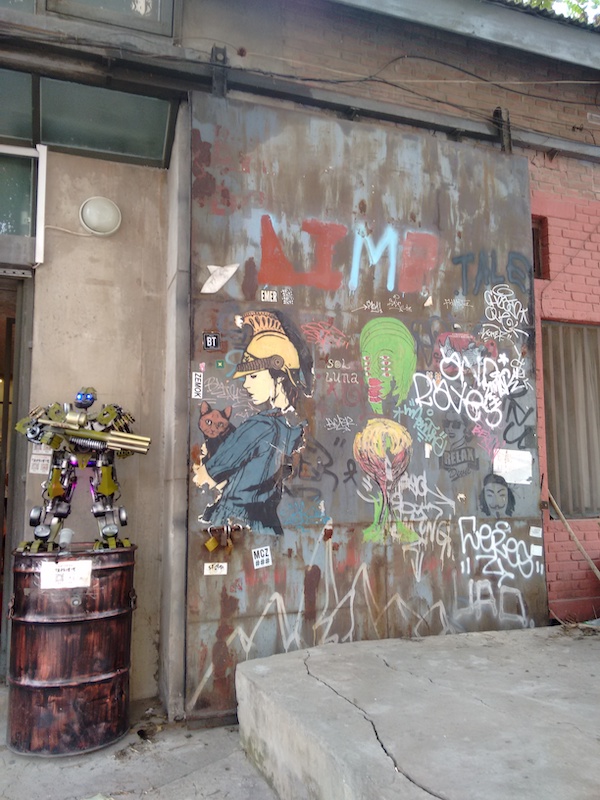
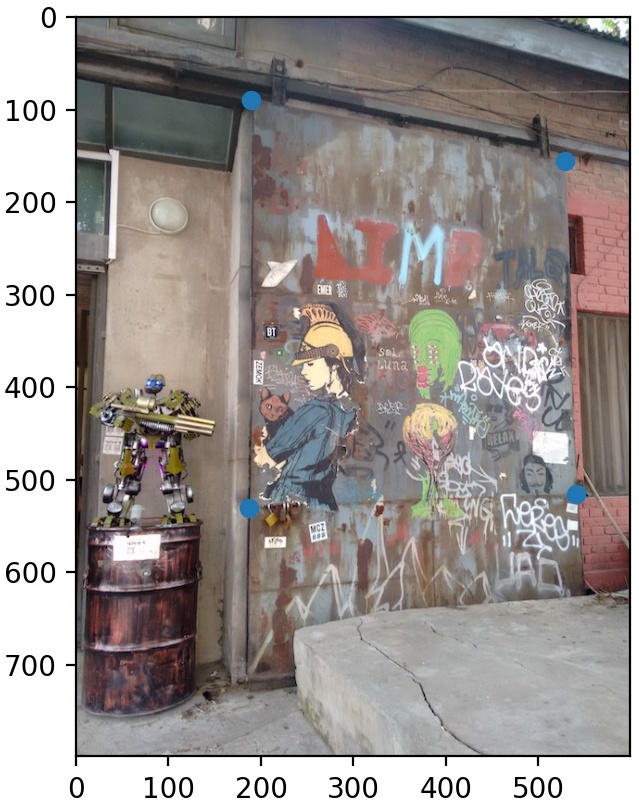
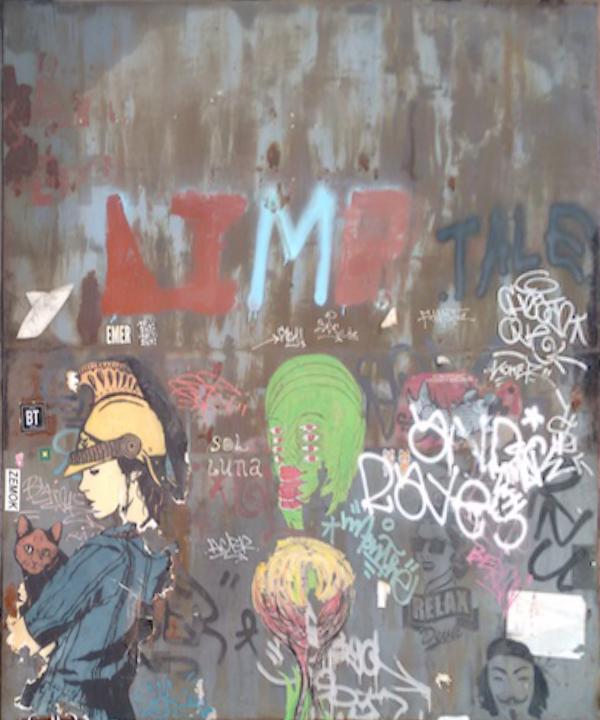
The same can be done with walls, windows, museum paintings, etc. Here are two more examples, one of a cat sitting in front of a window, and another of graffiti:
With homographies and warping, we can also blend images into a mosaic (aka a panorama.)
There are several things to consider when shooting the photos though:
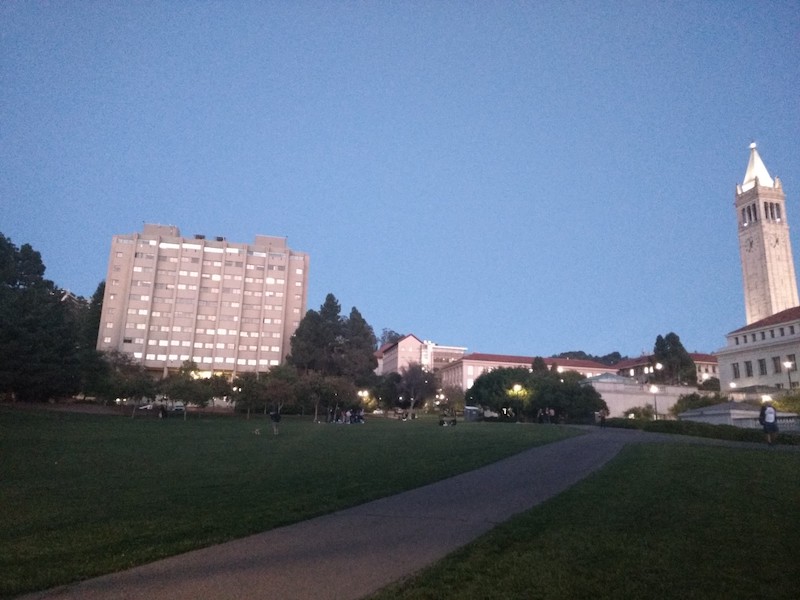
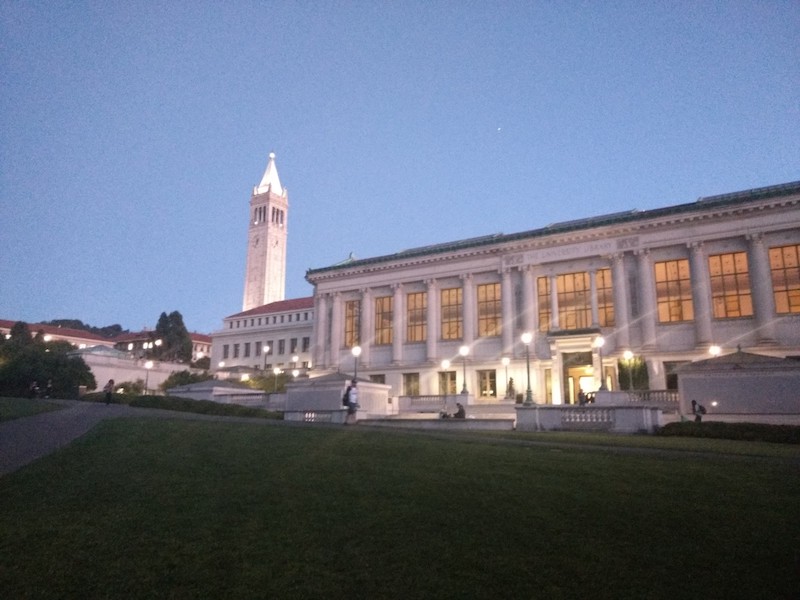
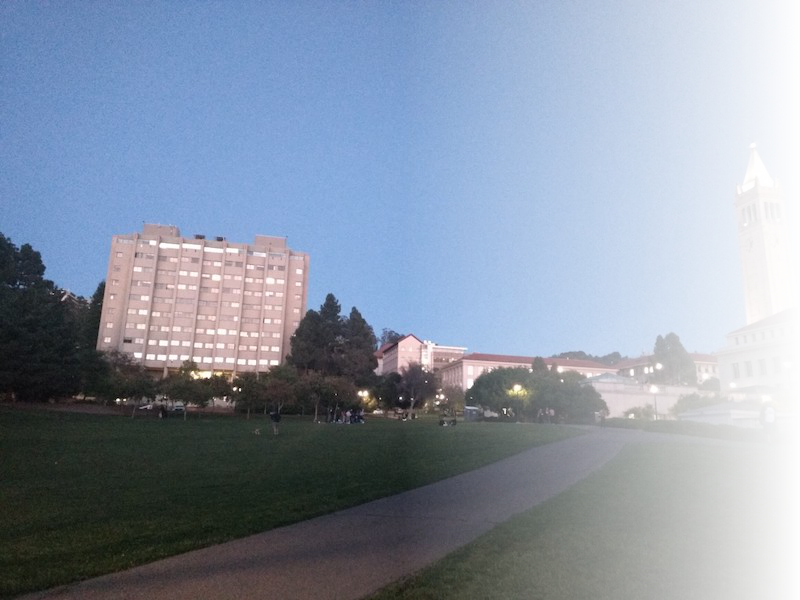
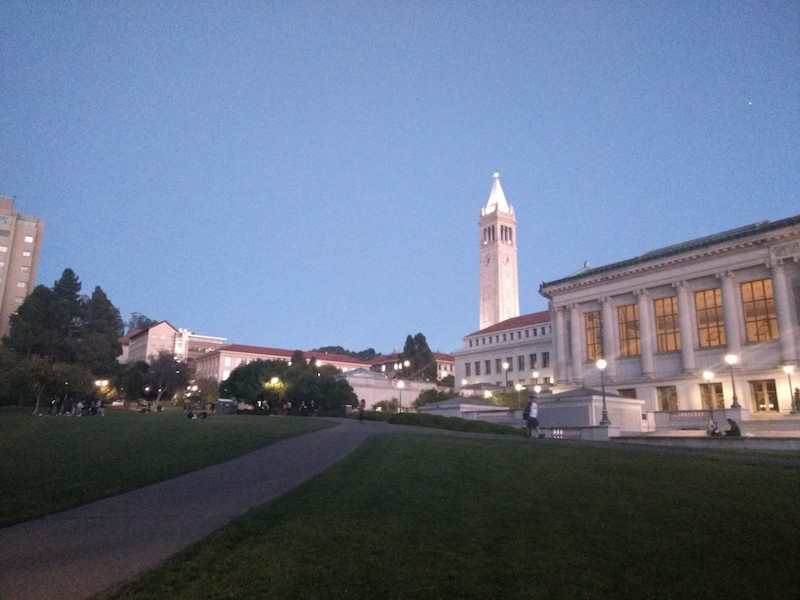
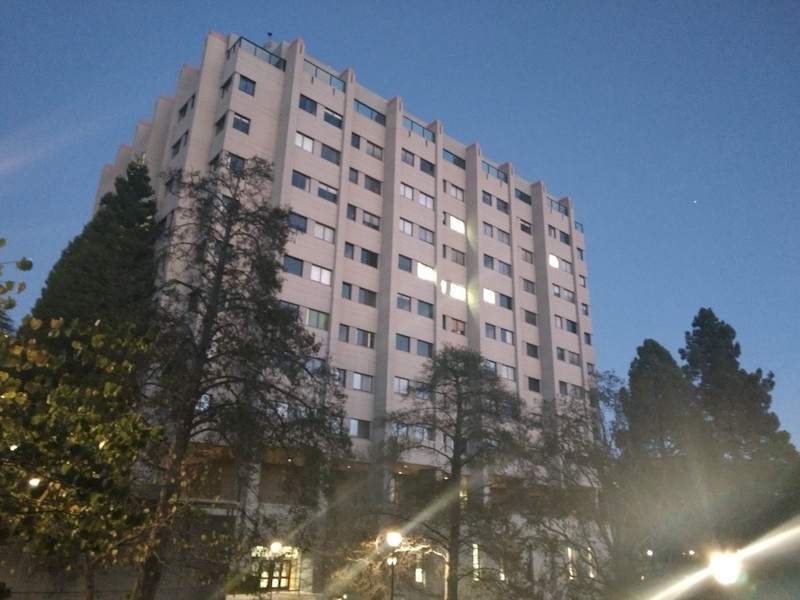
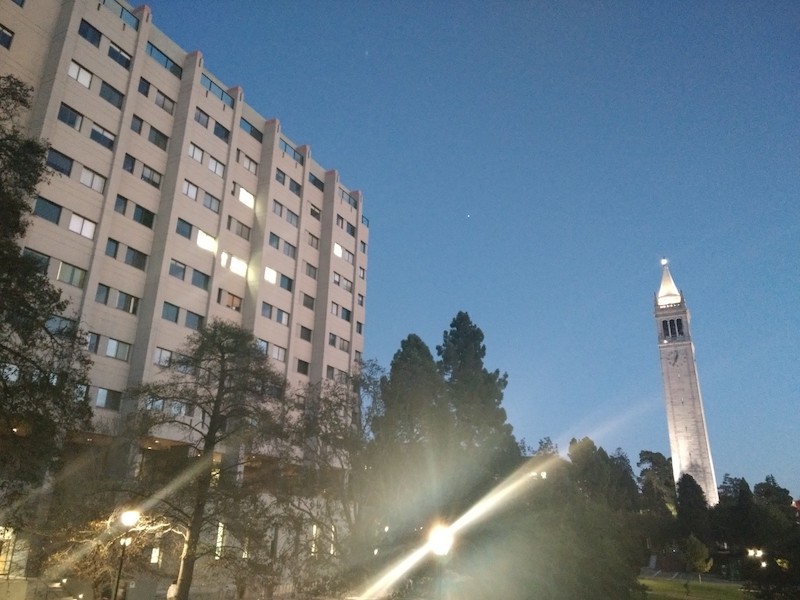
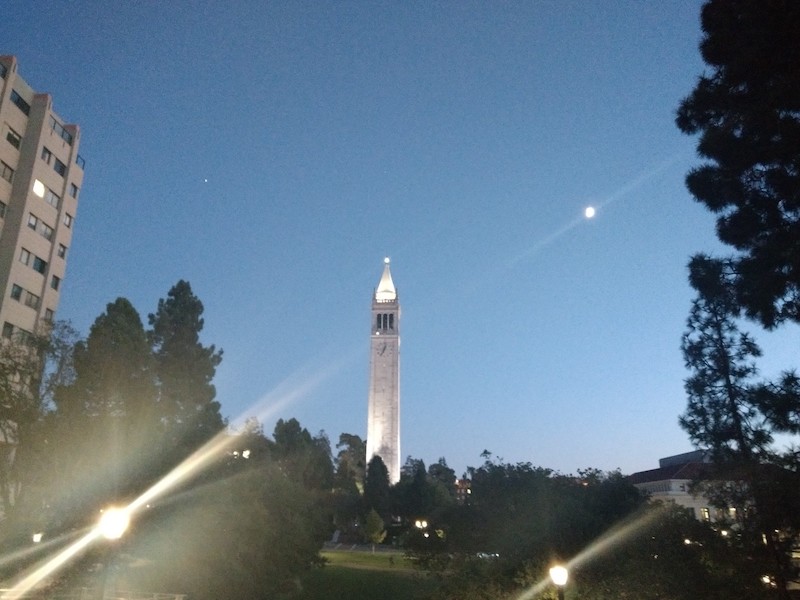
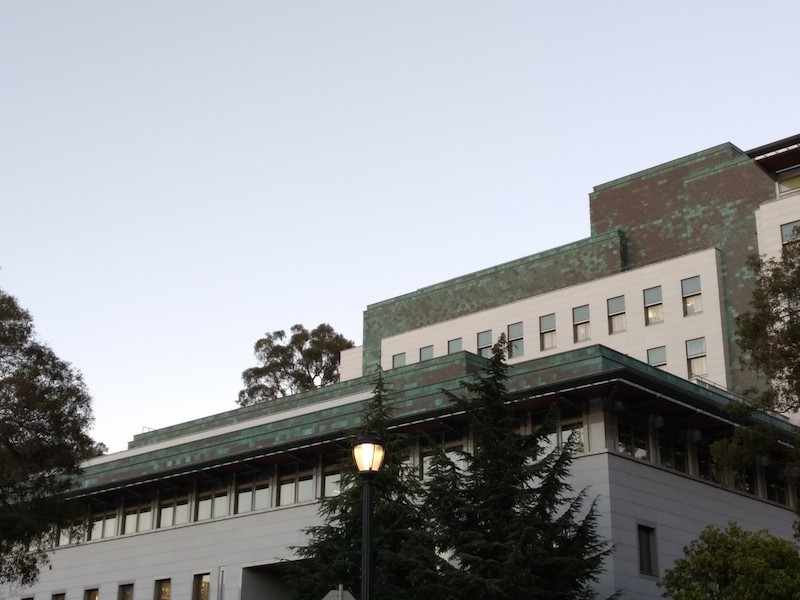
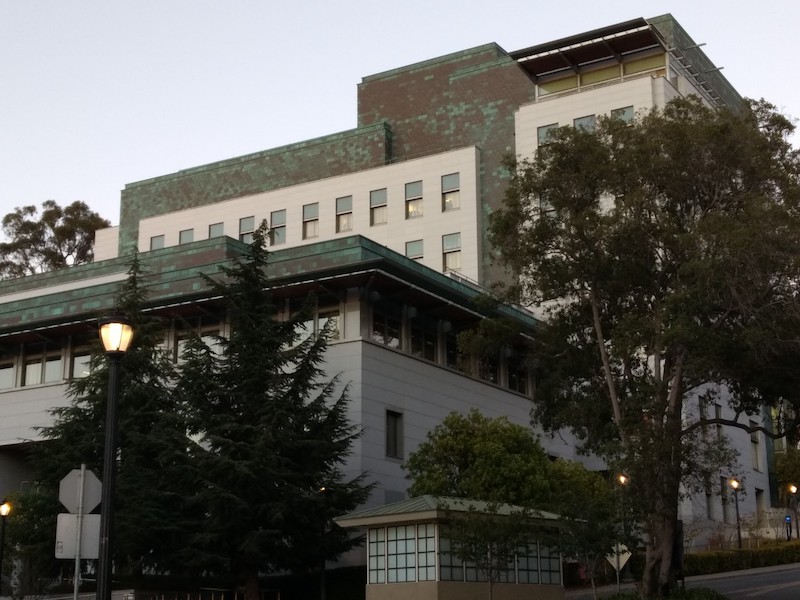
Here are three images I took of Memorial Glade:

Before warping these photos, I added an alpha channel mask to each image so that the image is more transparent near certain borders that I specify. This will help prevent harsh edges when we blend the photos.
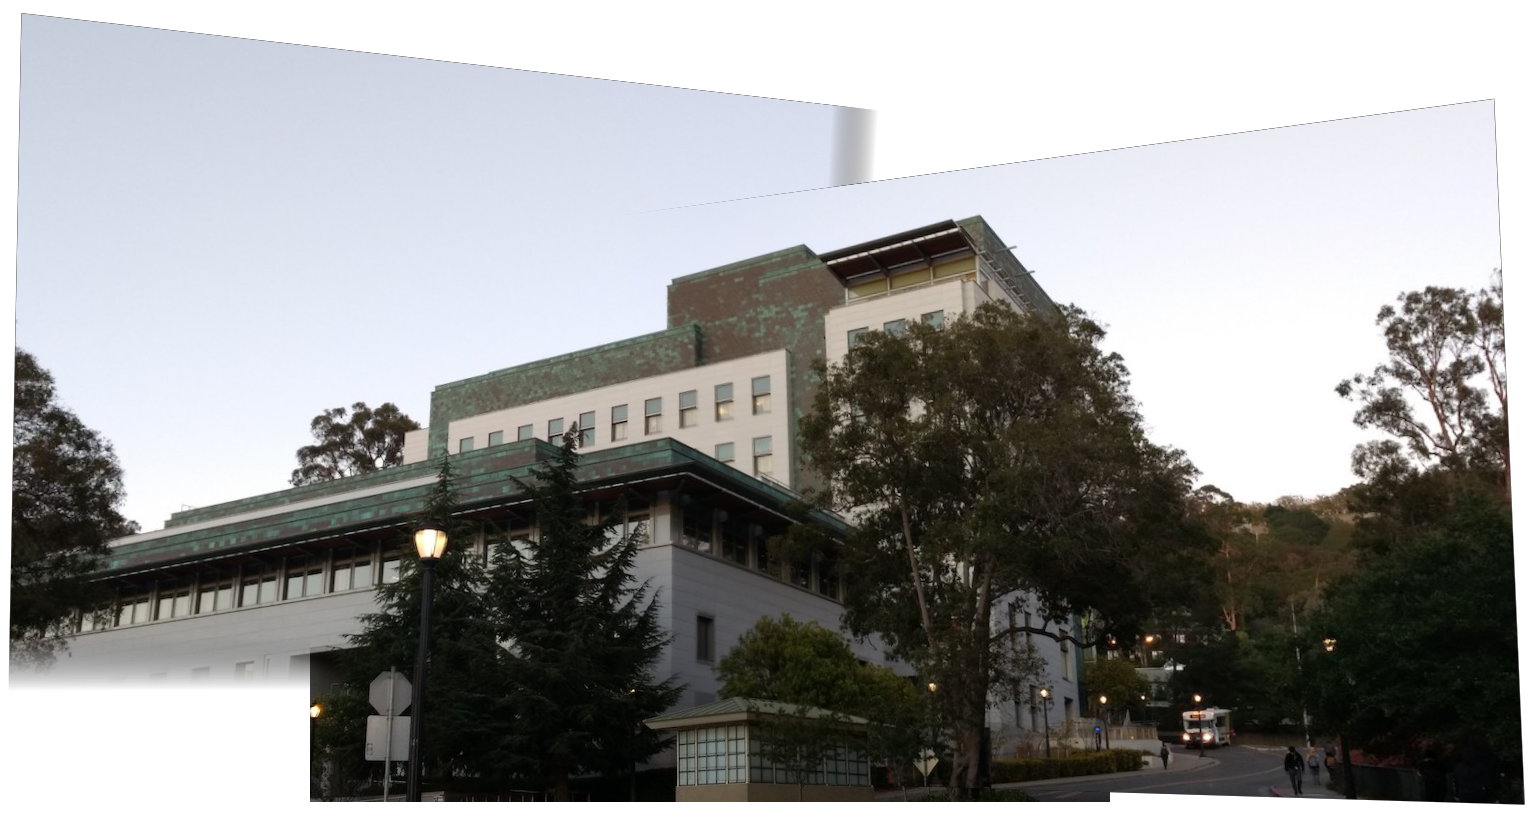
Now, we can define the correspondences and warp the images onto a large canvas.
Afterwards, we blend the warped images together with simple alpha blending.
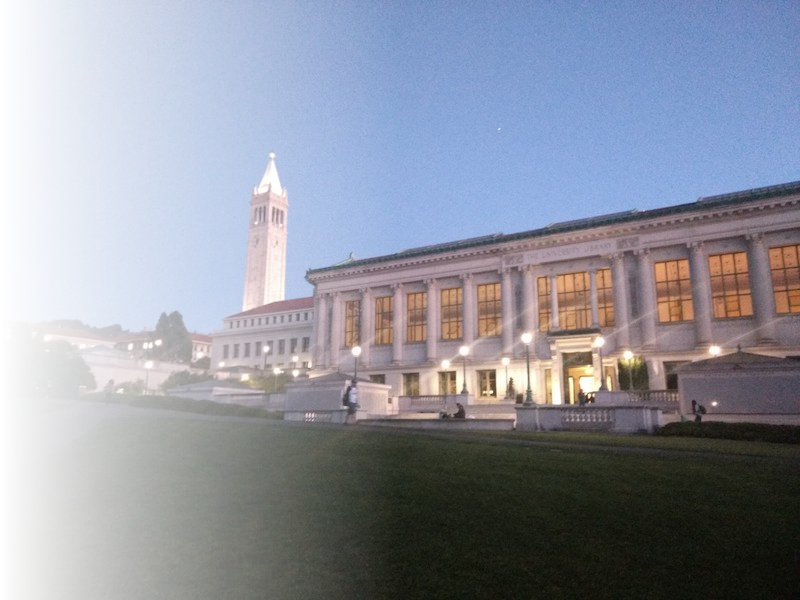
Below is the resulting Memorial Glade mosaic.
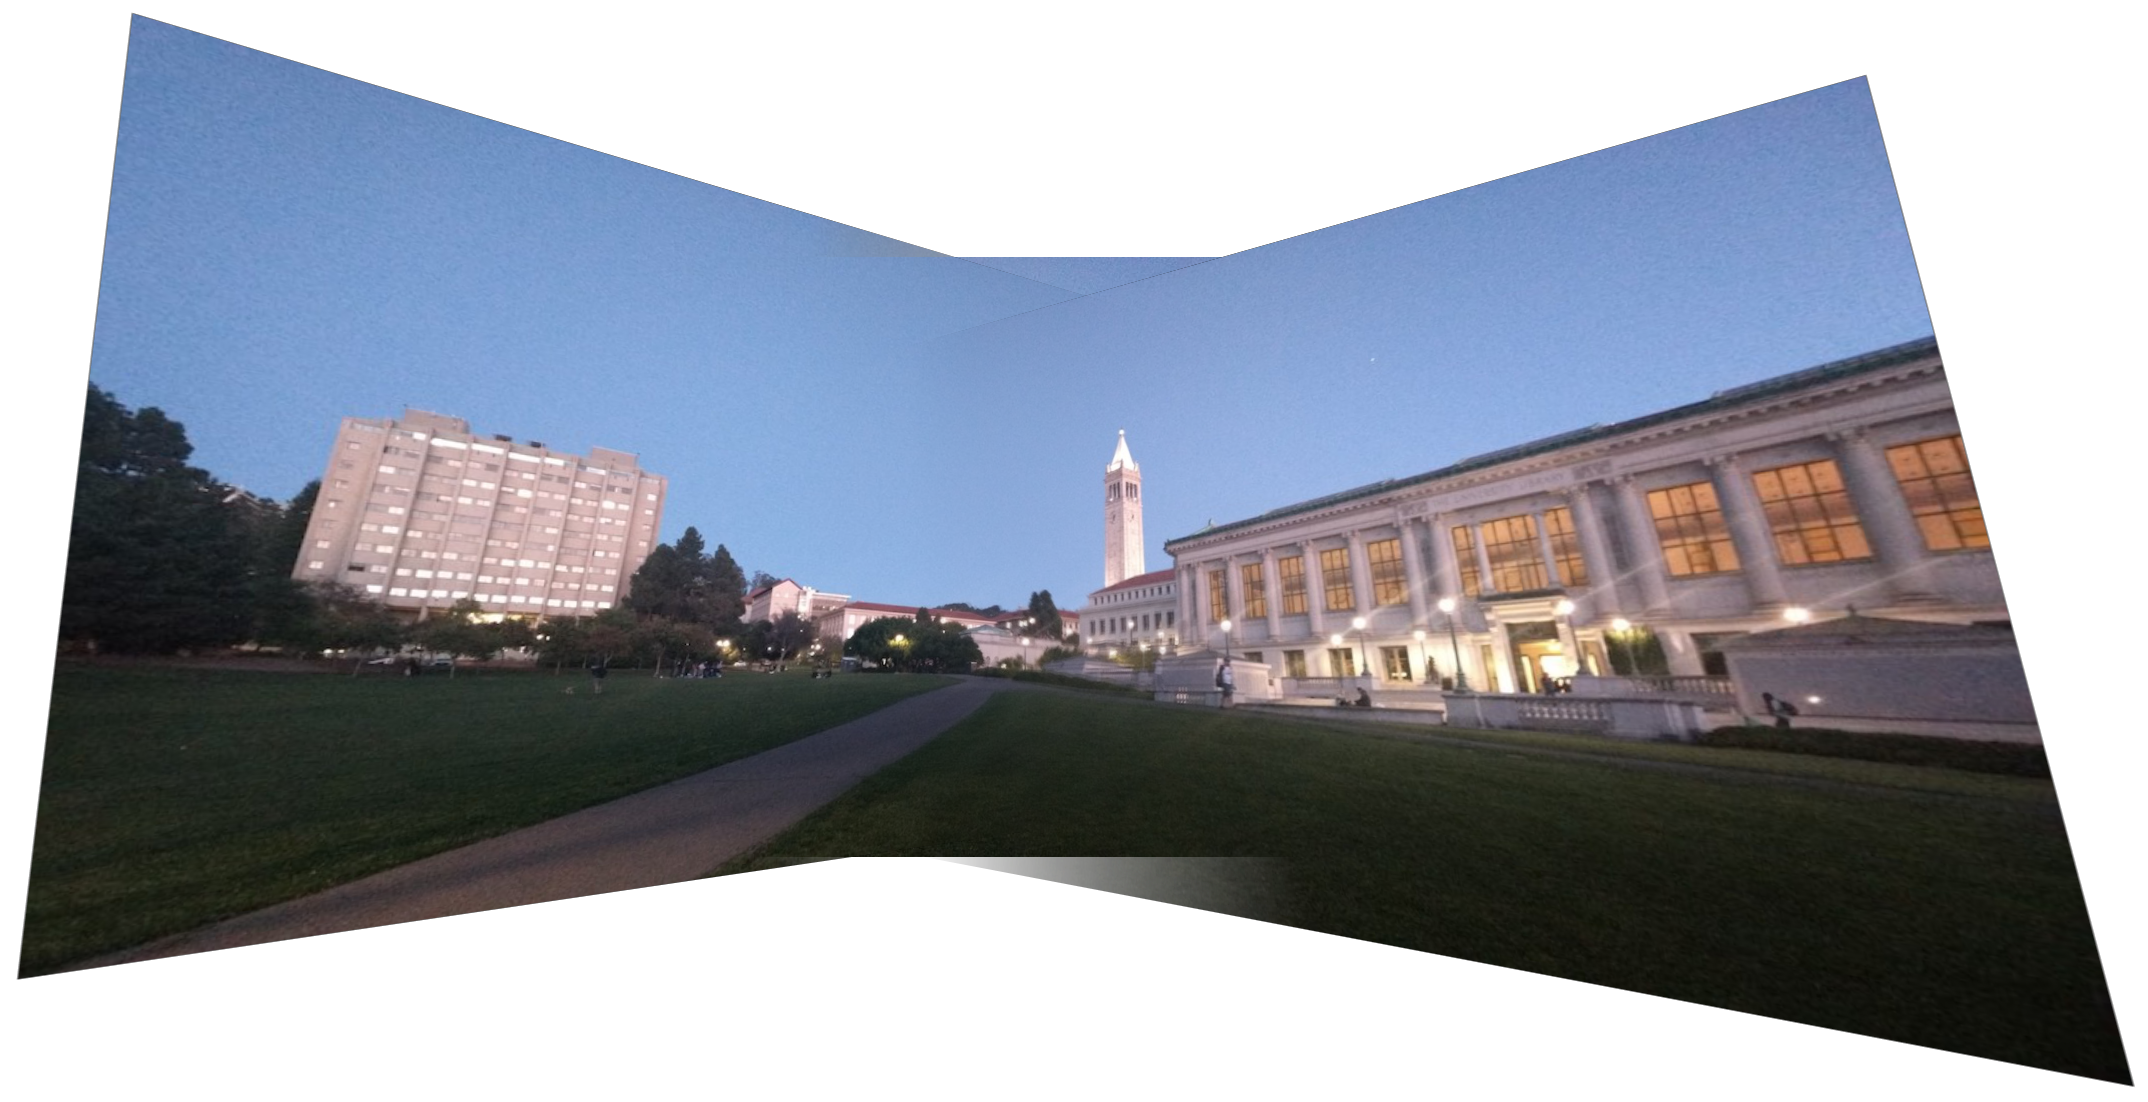
The same procedure can be applied to produce more mosaics!
Below are some more photos from campus and their mosaics:


I thought it was cool that surfaces in paintings, like floor patterns, that we normally would not be able to visualize, could be reconstructed using image rectification.
For more practical applications though, with image rectification, I can redeem all my poorly-taken museum photos...
As for image mosaicing, there are several areas I can improve on. In particular, the blending is not perfect, and this may be improved with a Laplacian stack.
Also, there is probably a better way of creating the alpha transparency masks for the original photos than the way I did so.
Overall, I learned a lot, and it was rewarding to see all the final images.