|
|
|
|
|
|
|
|
By Ana Cismaru
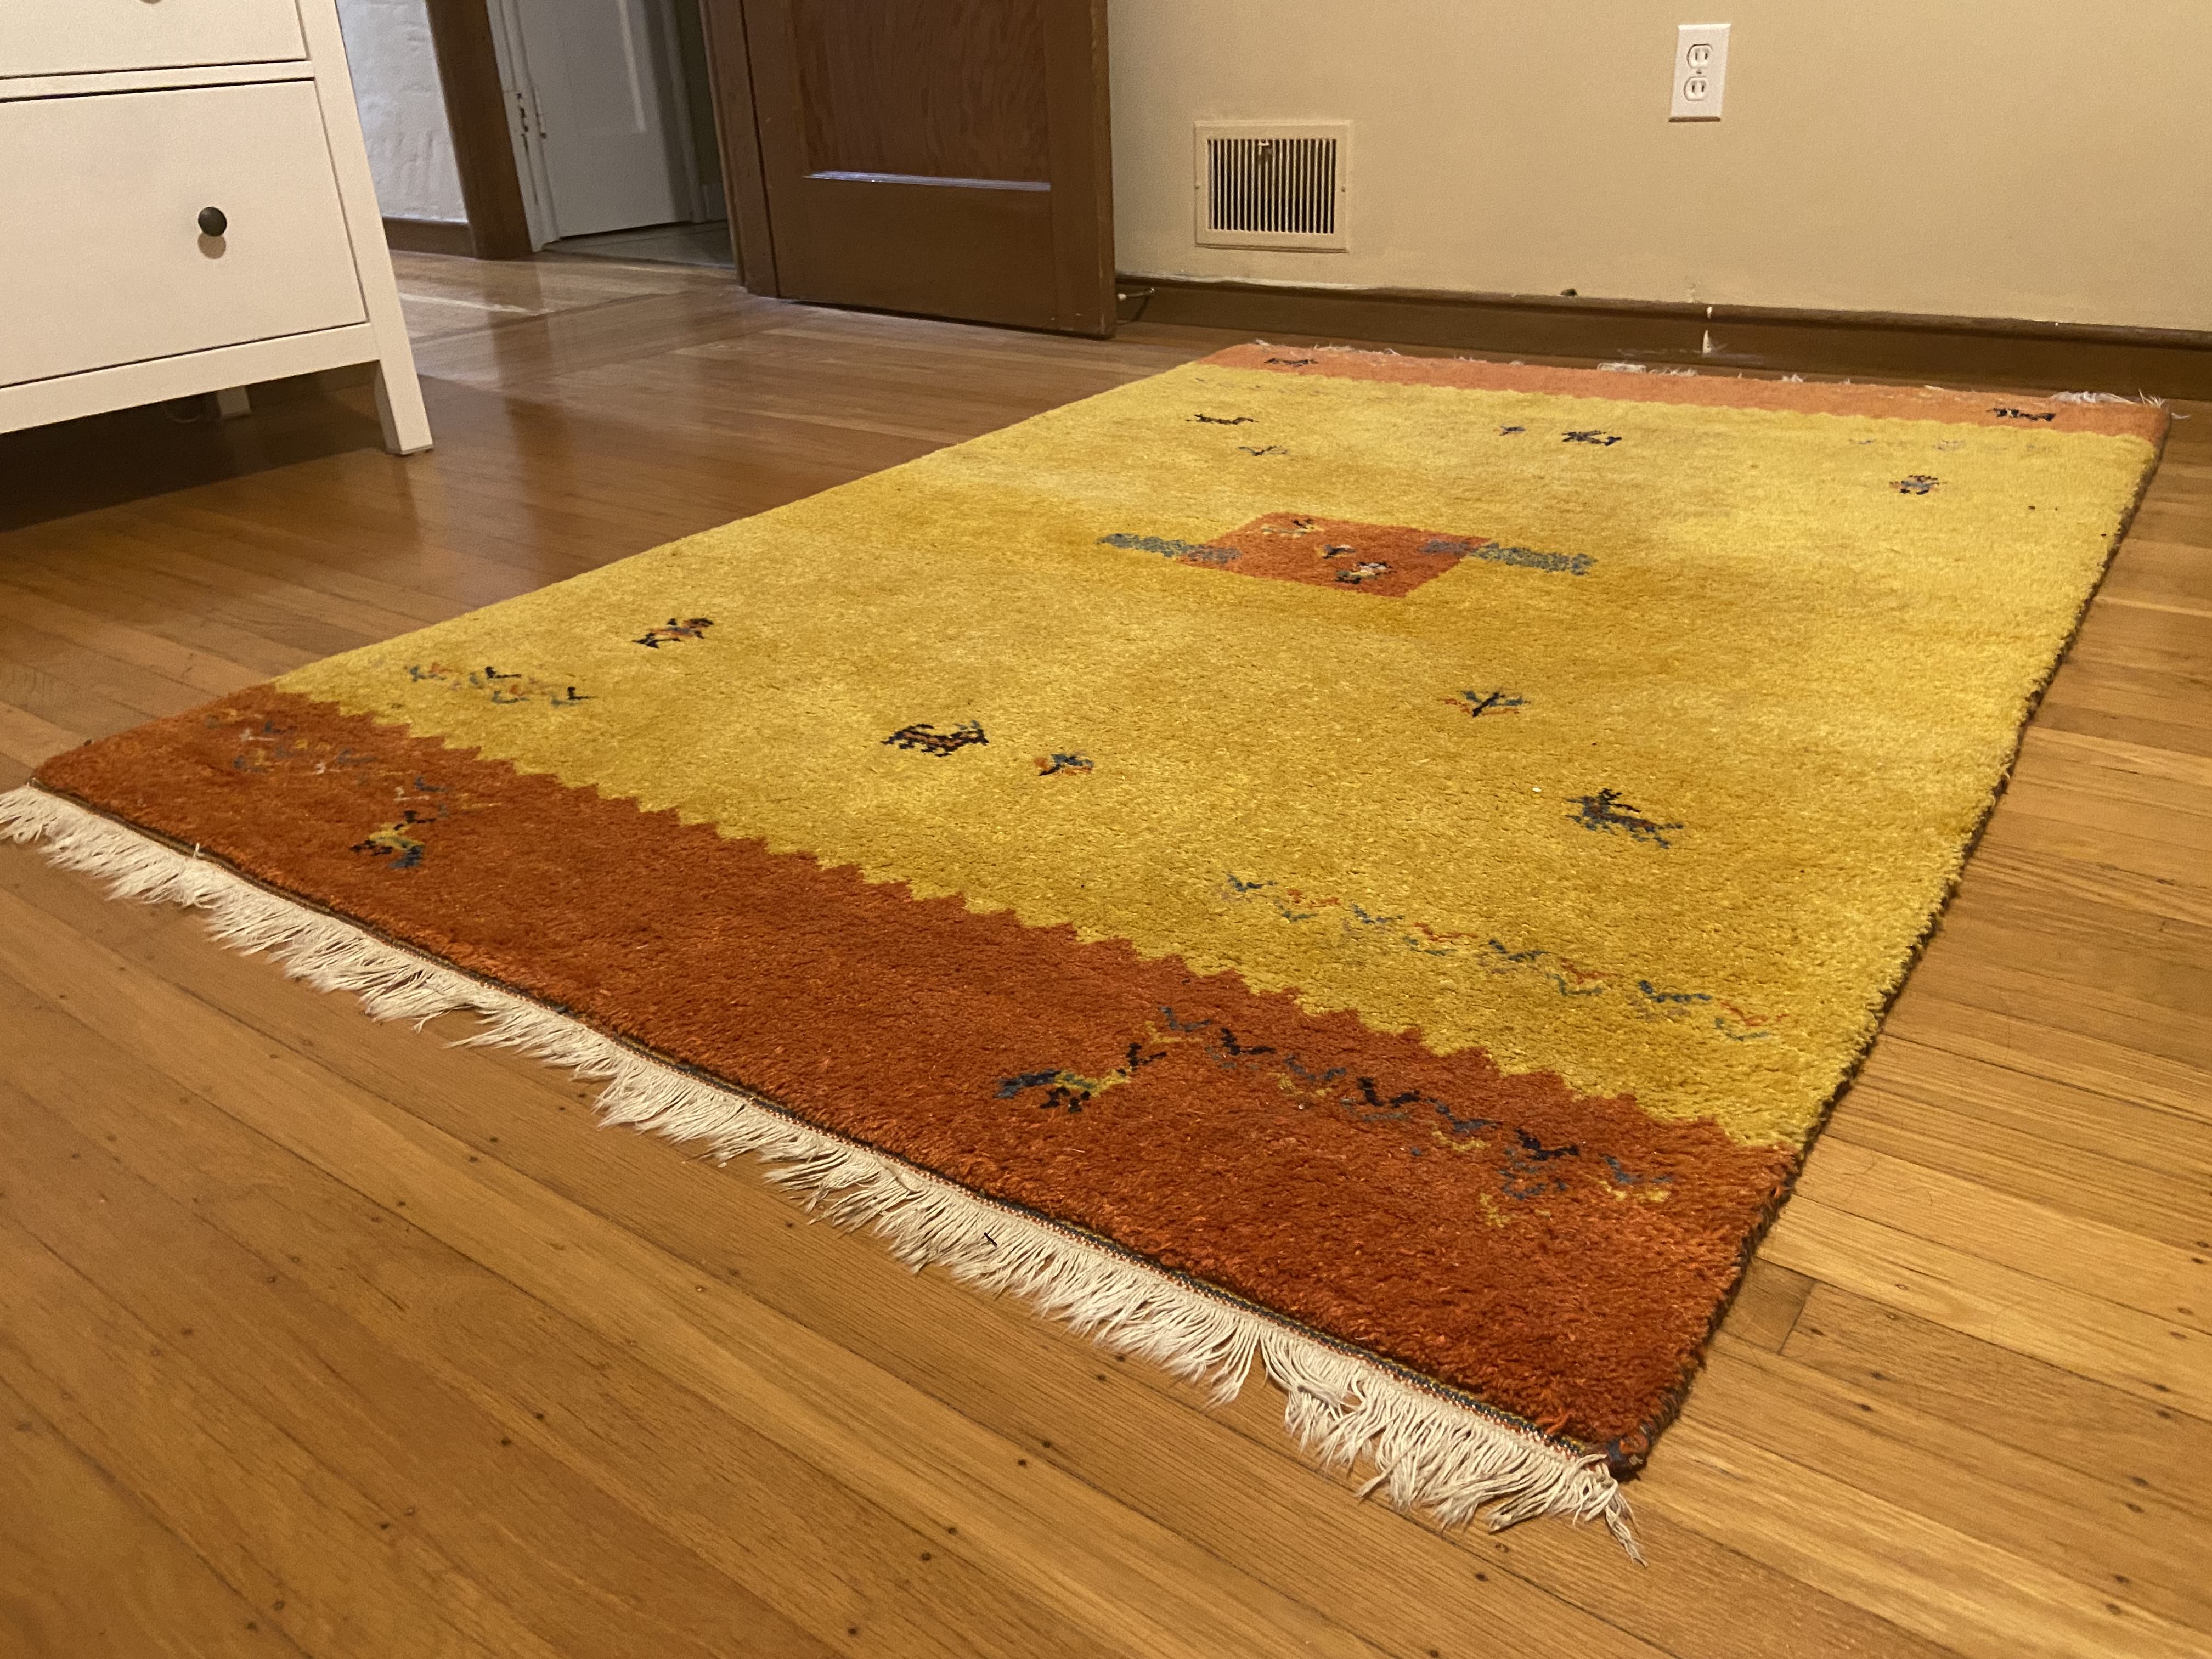
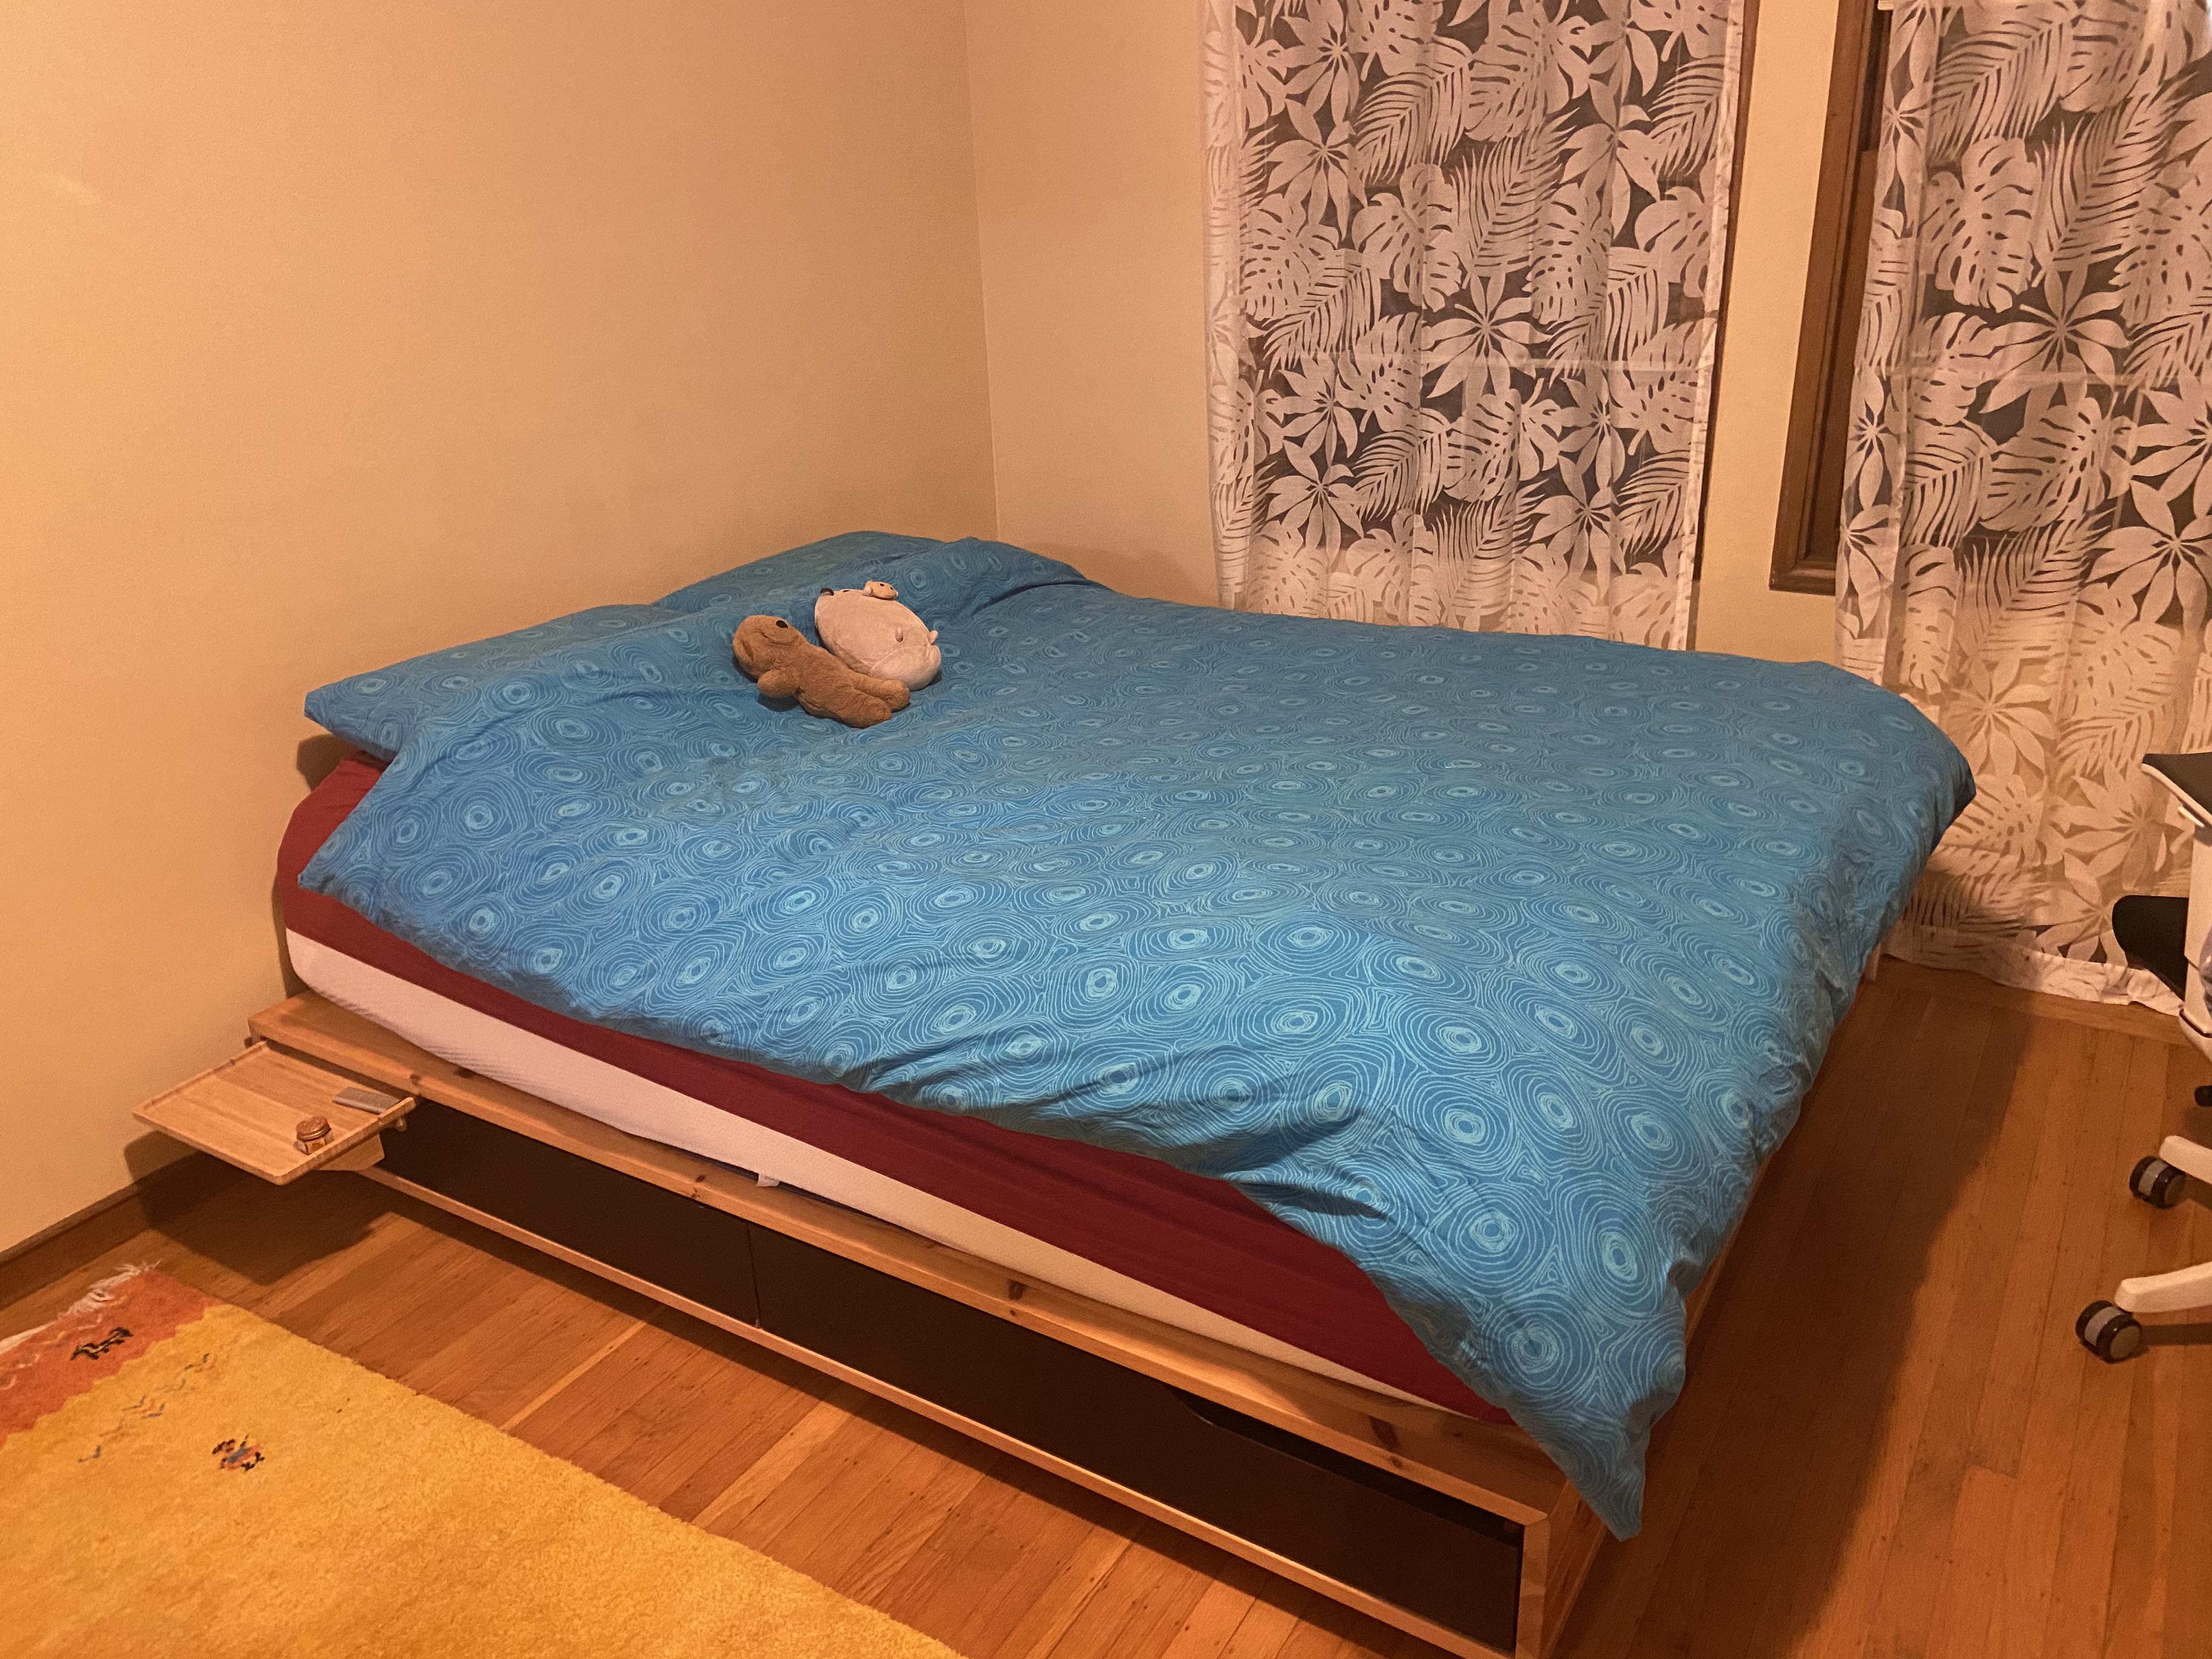
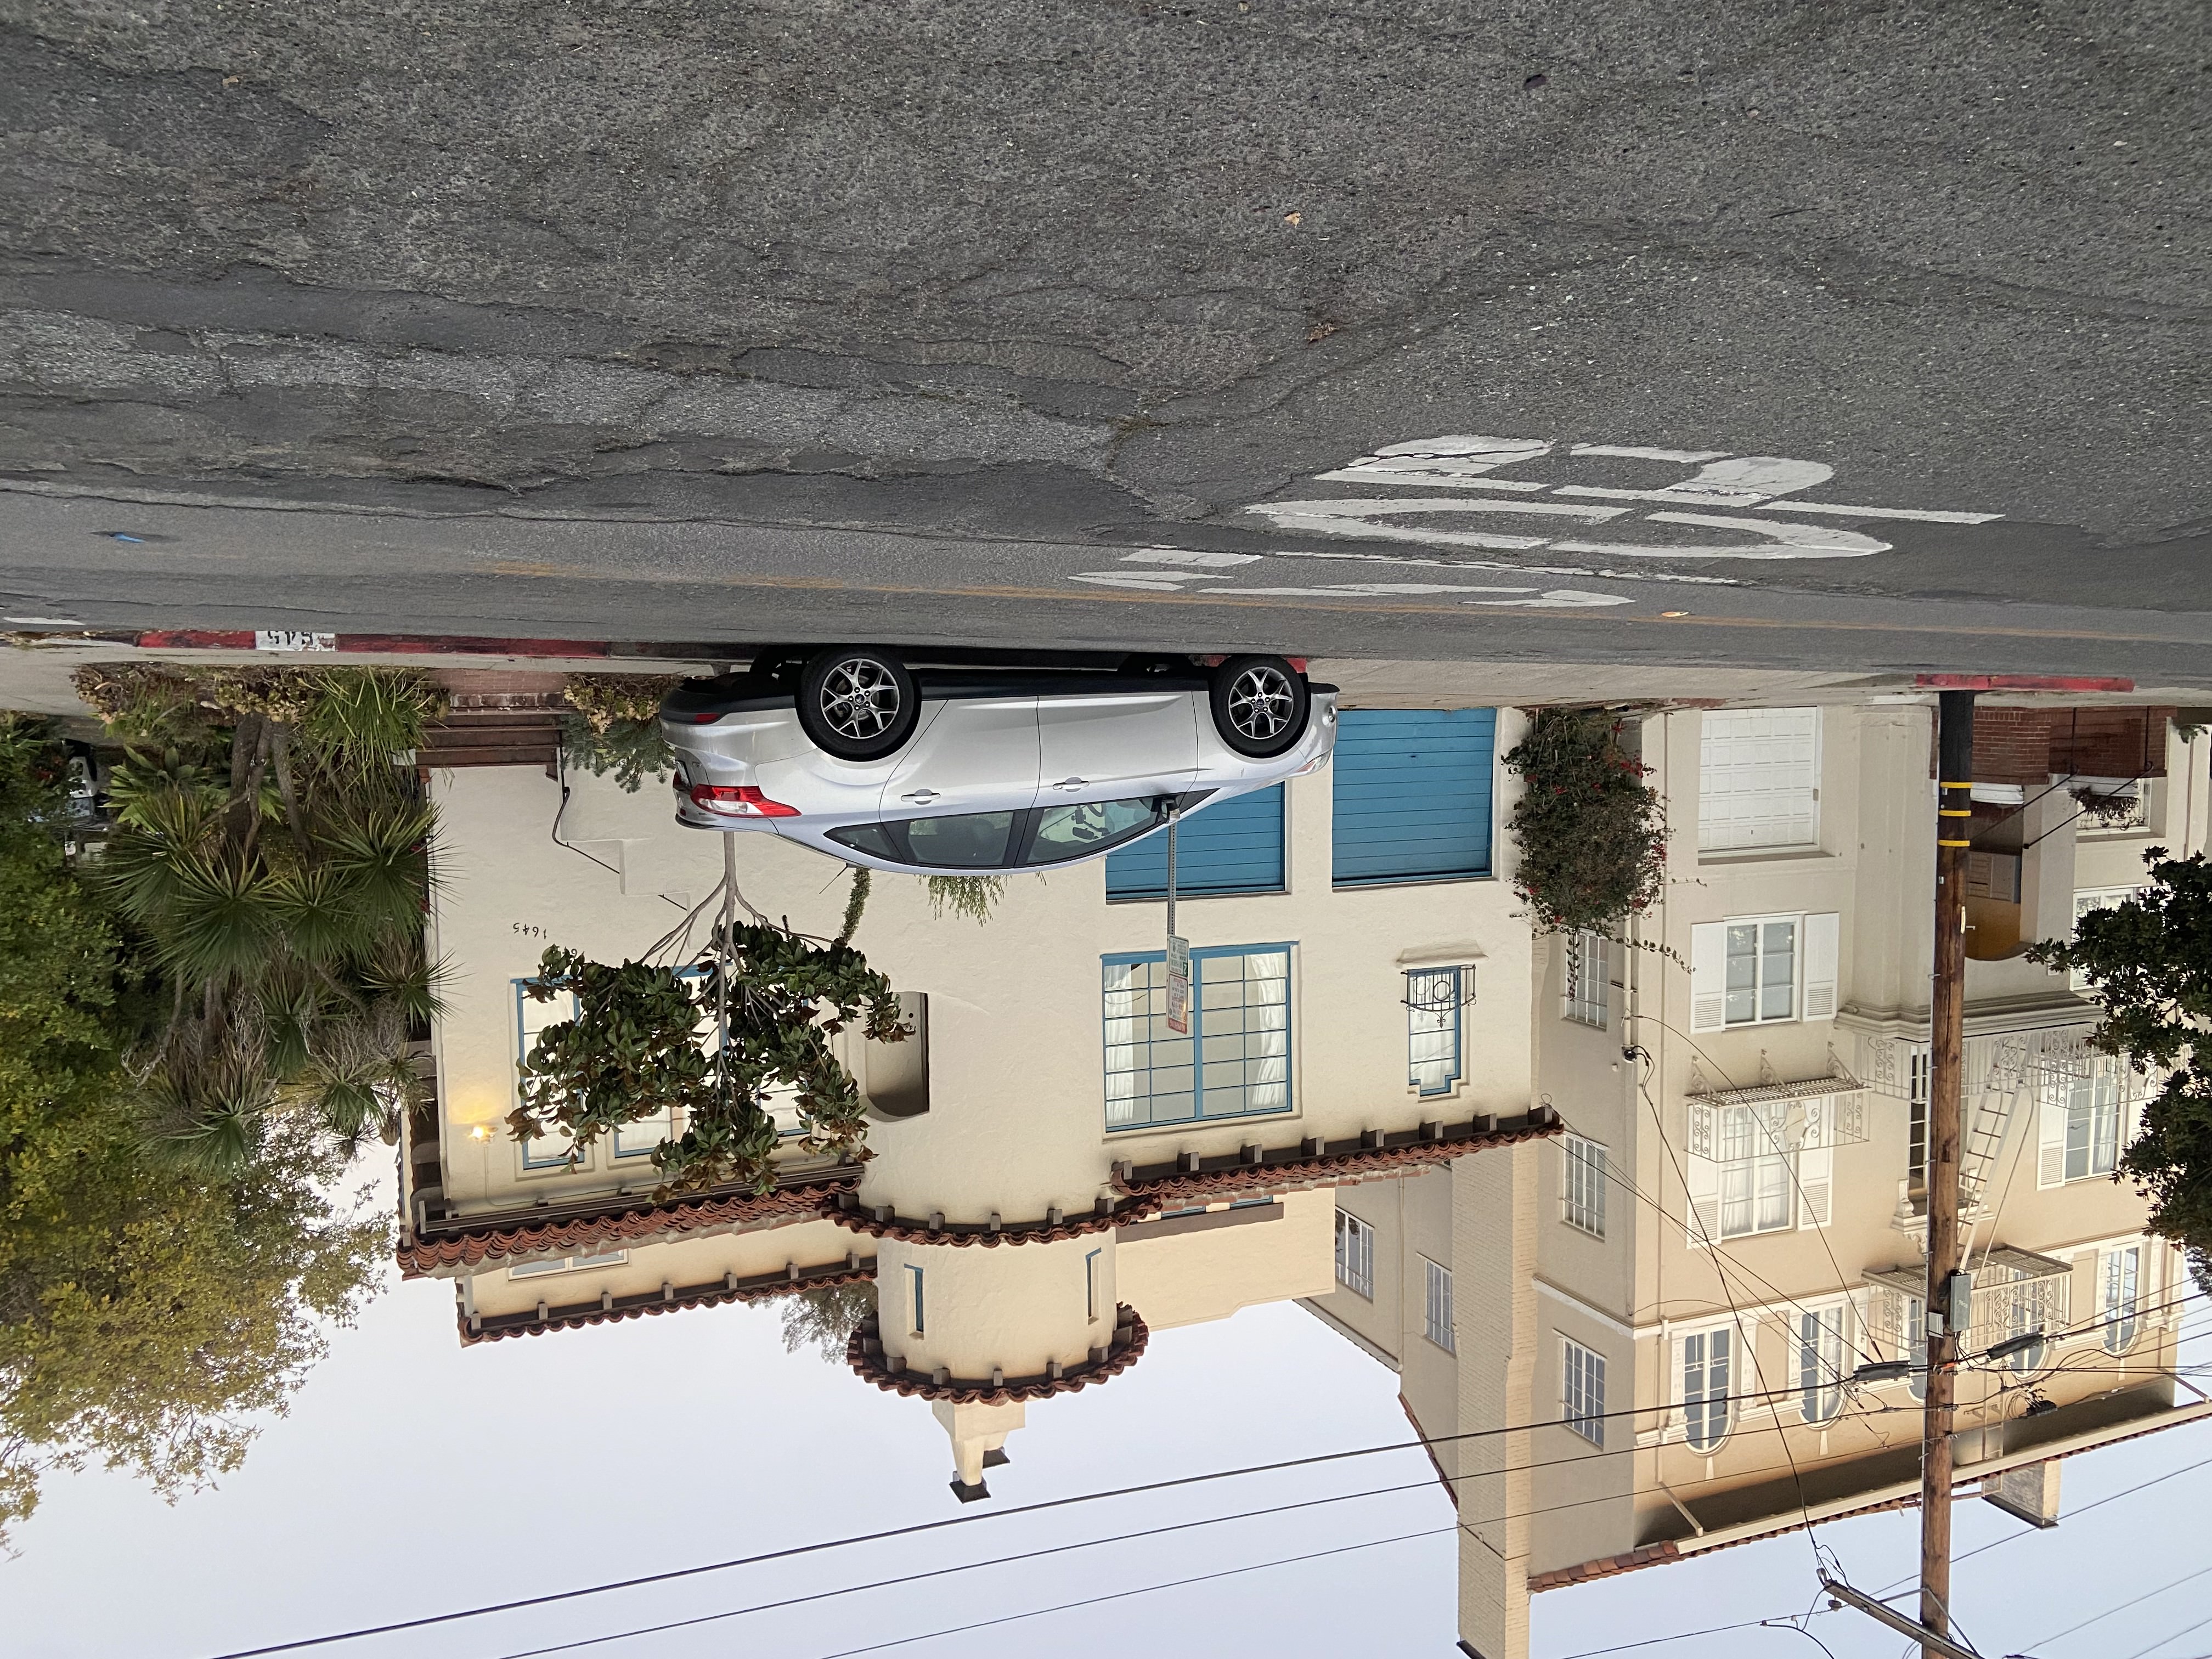
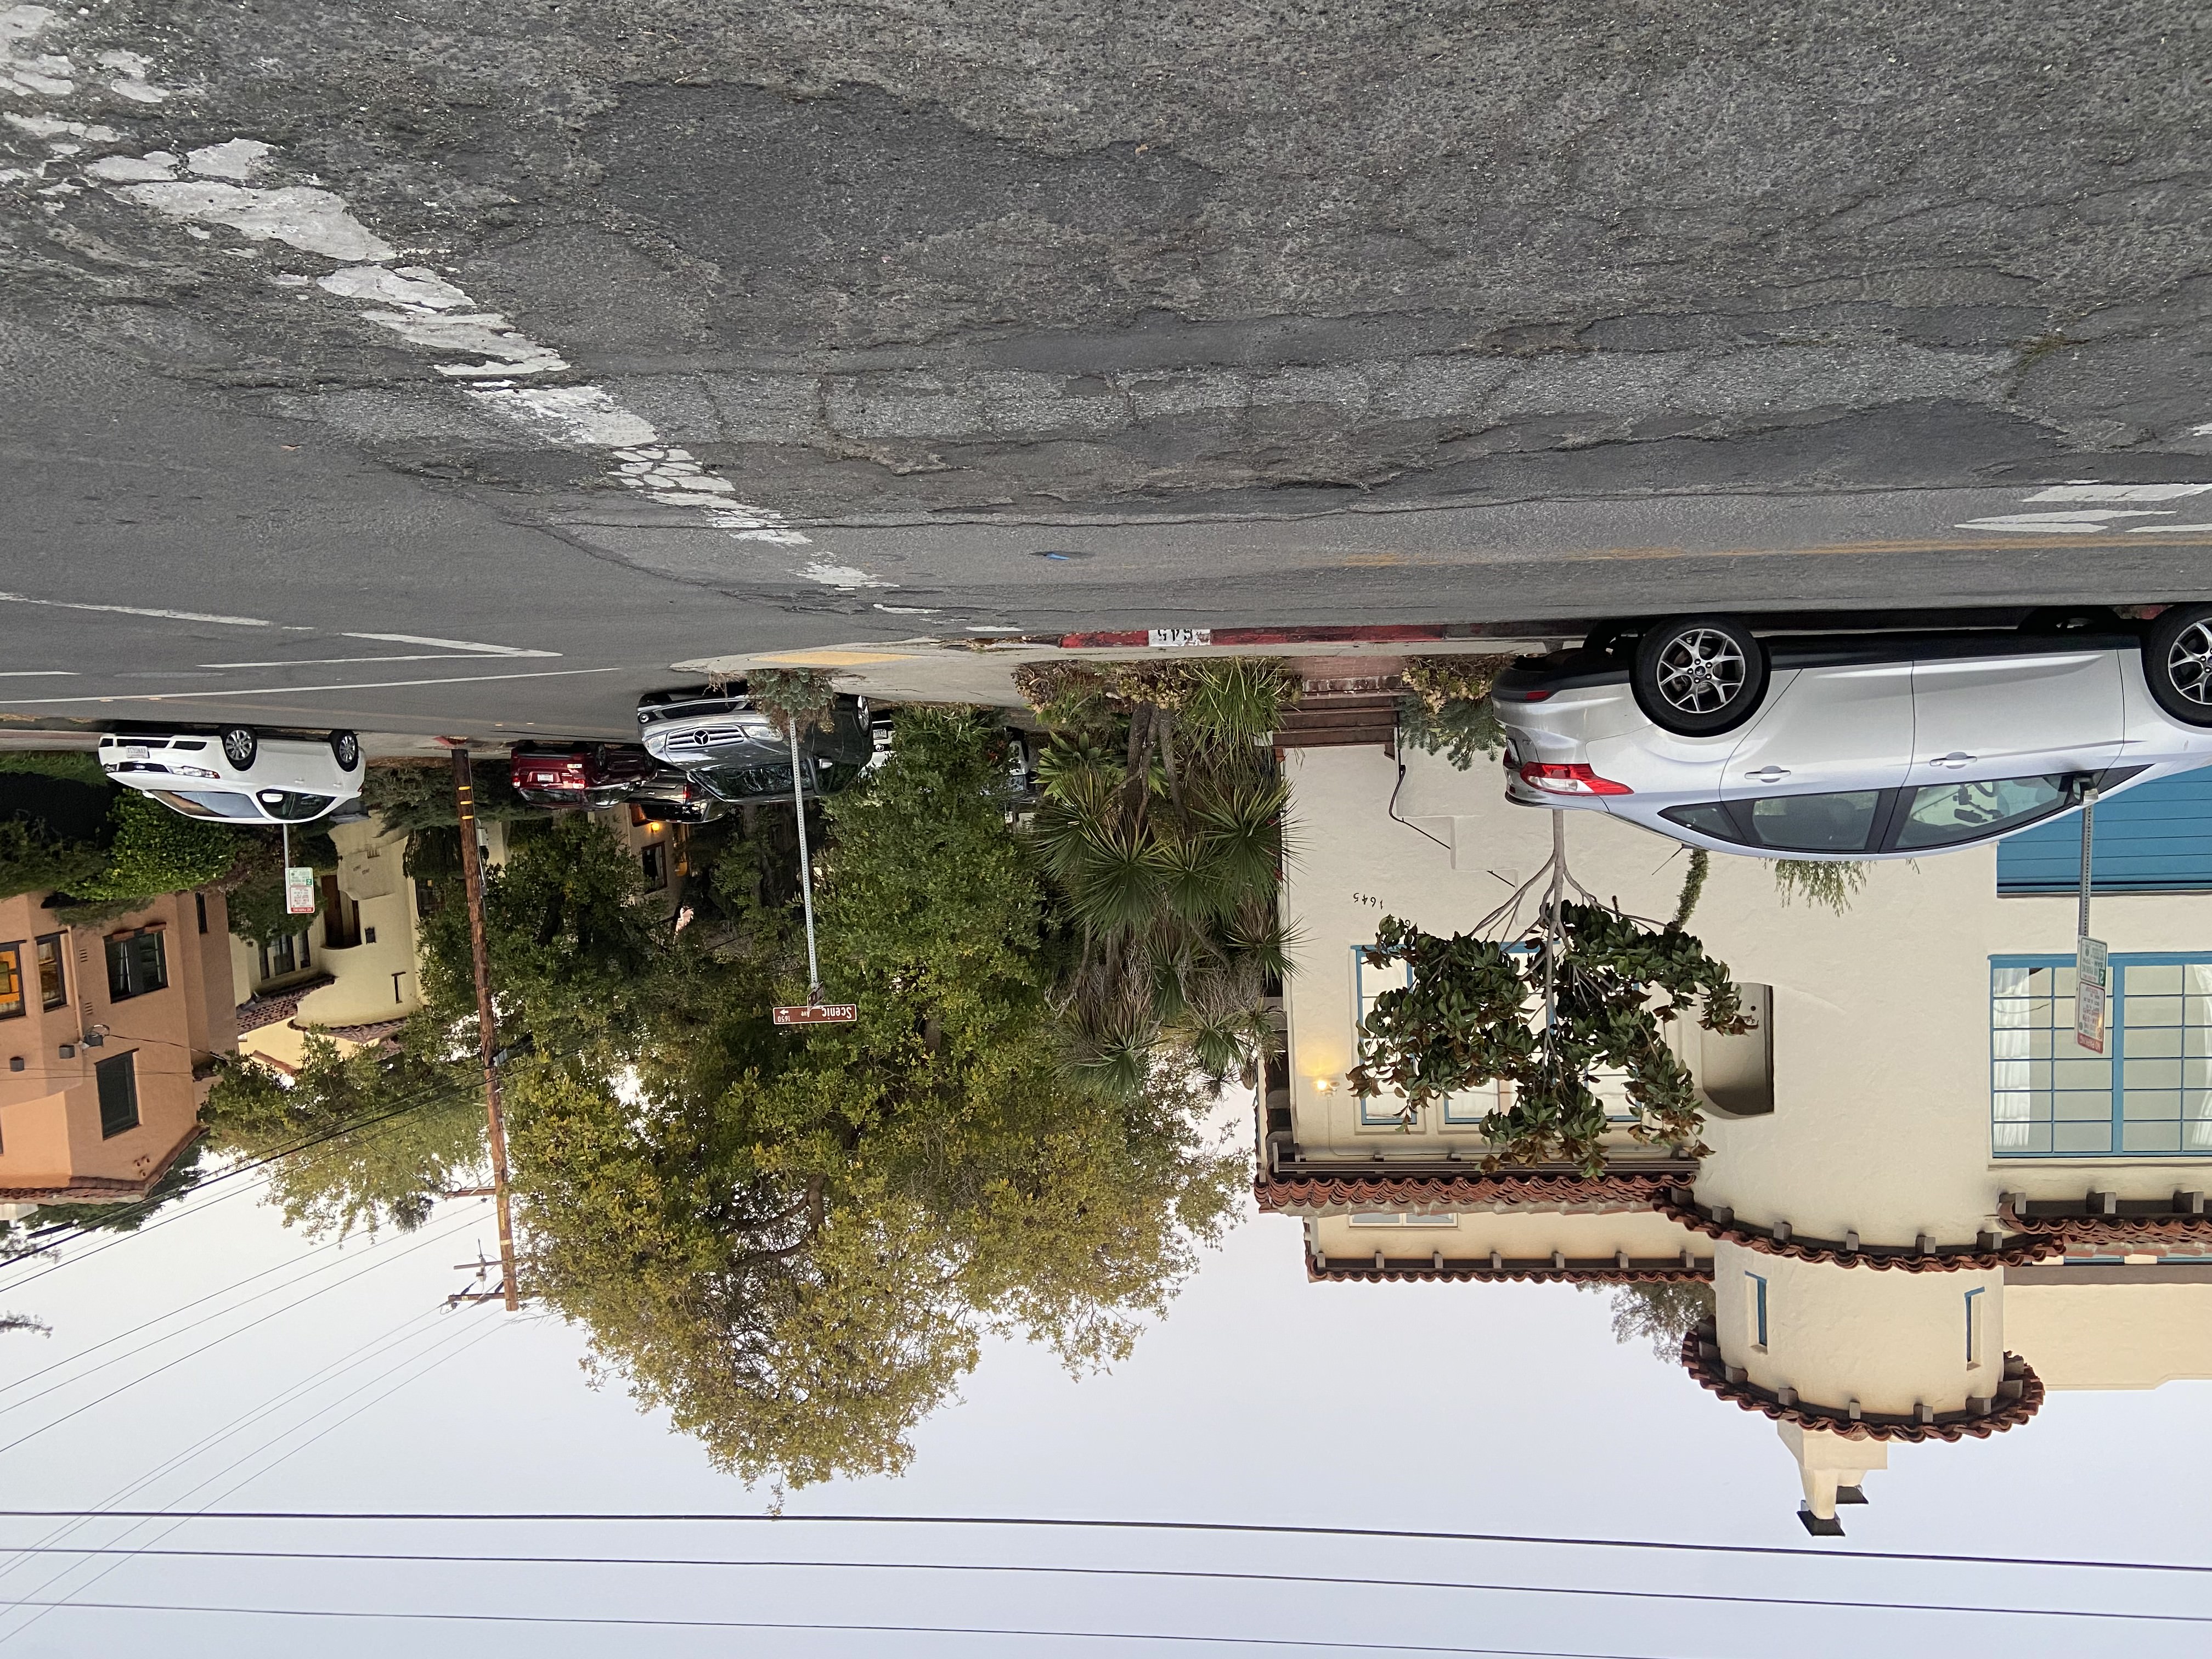
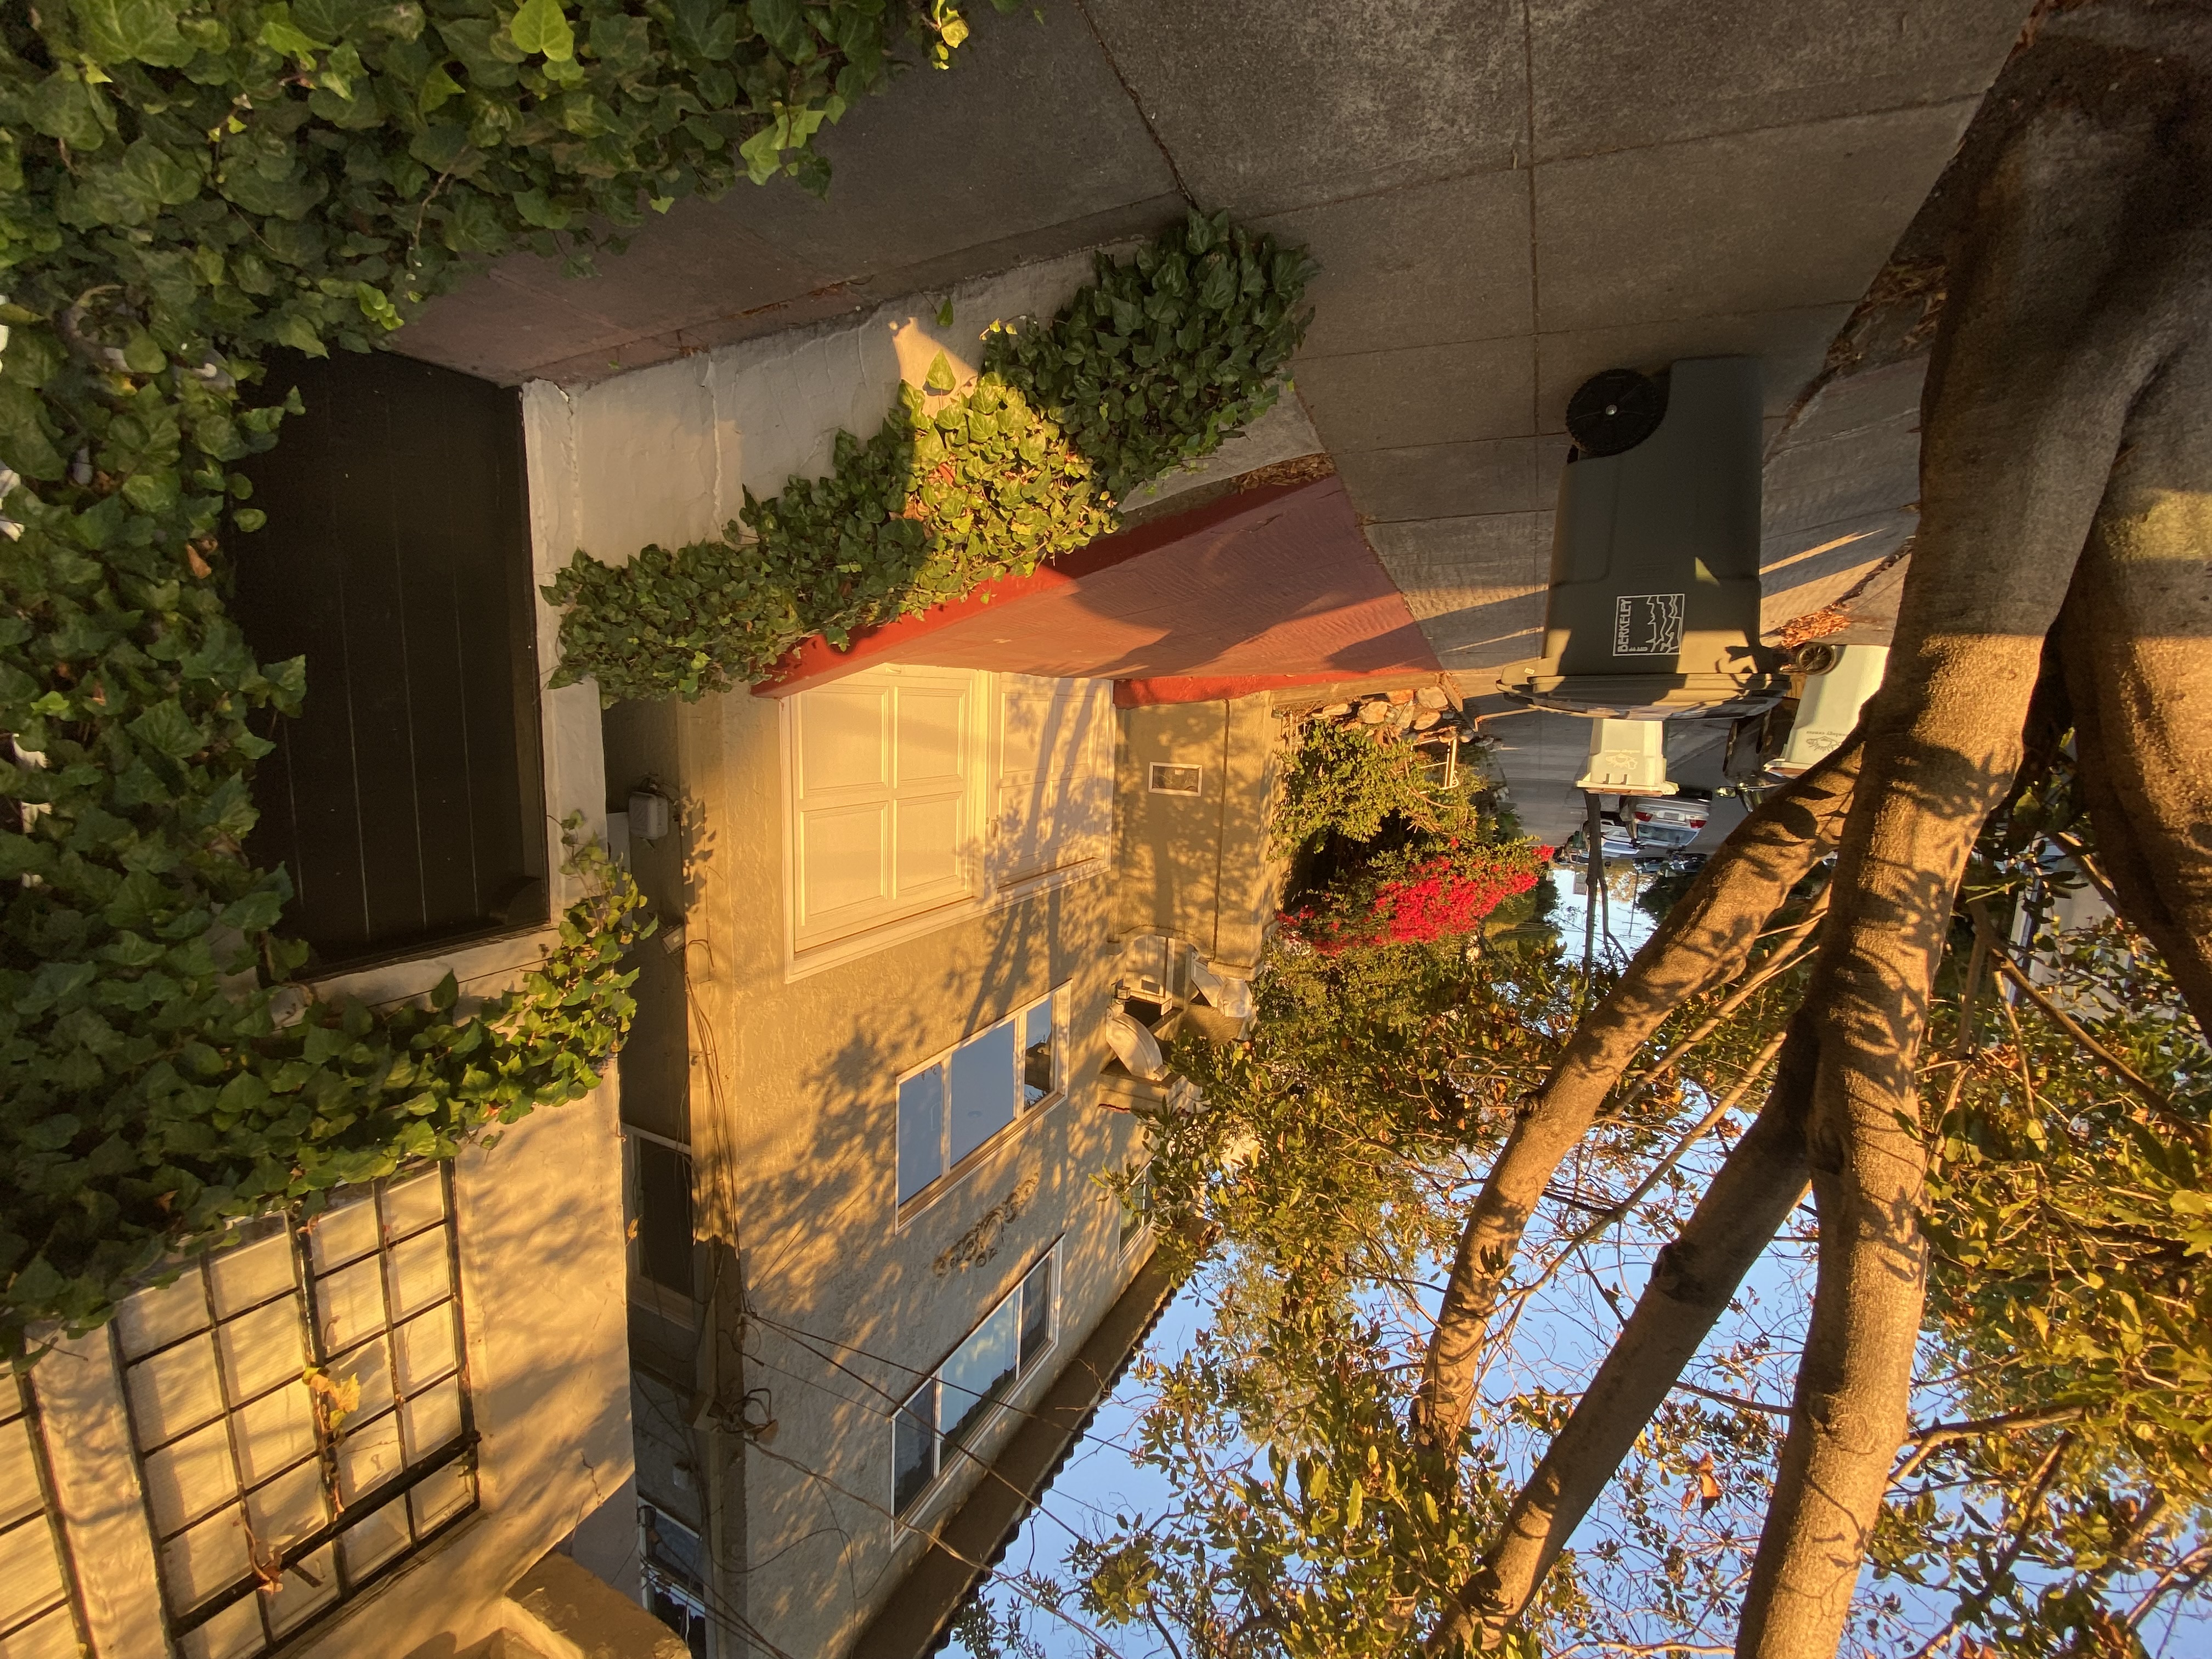
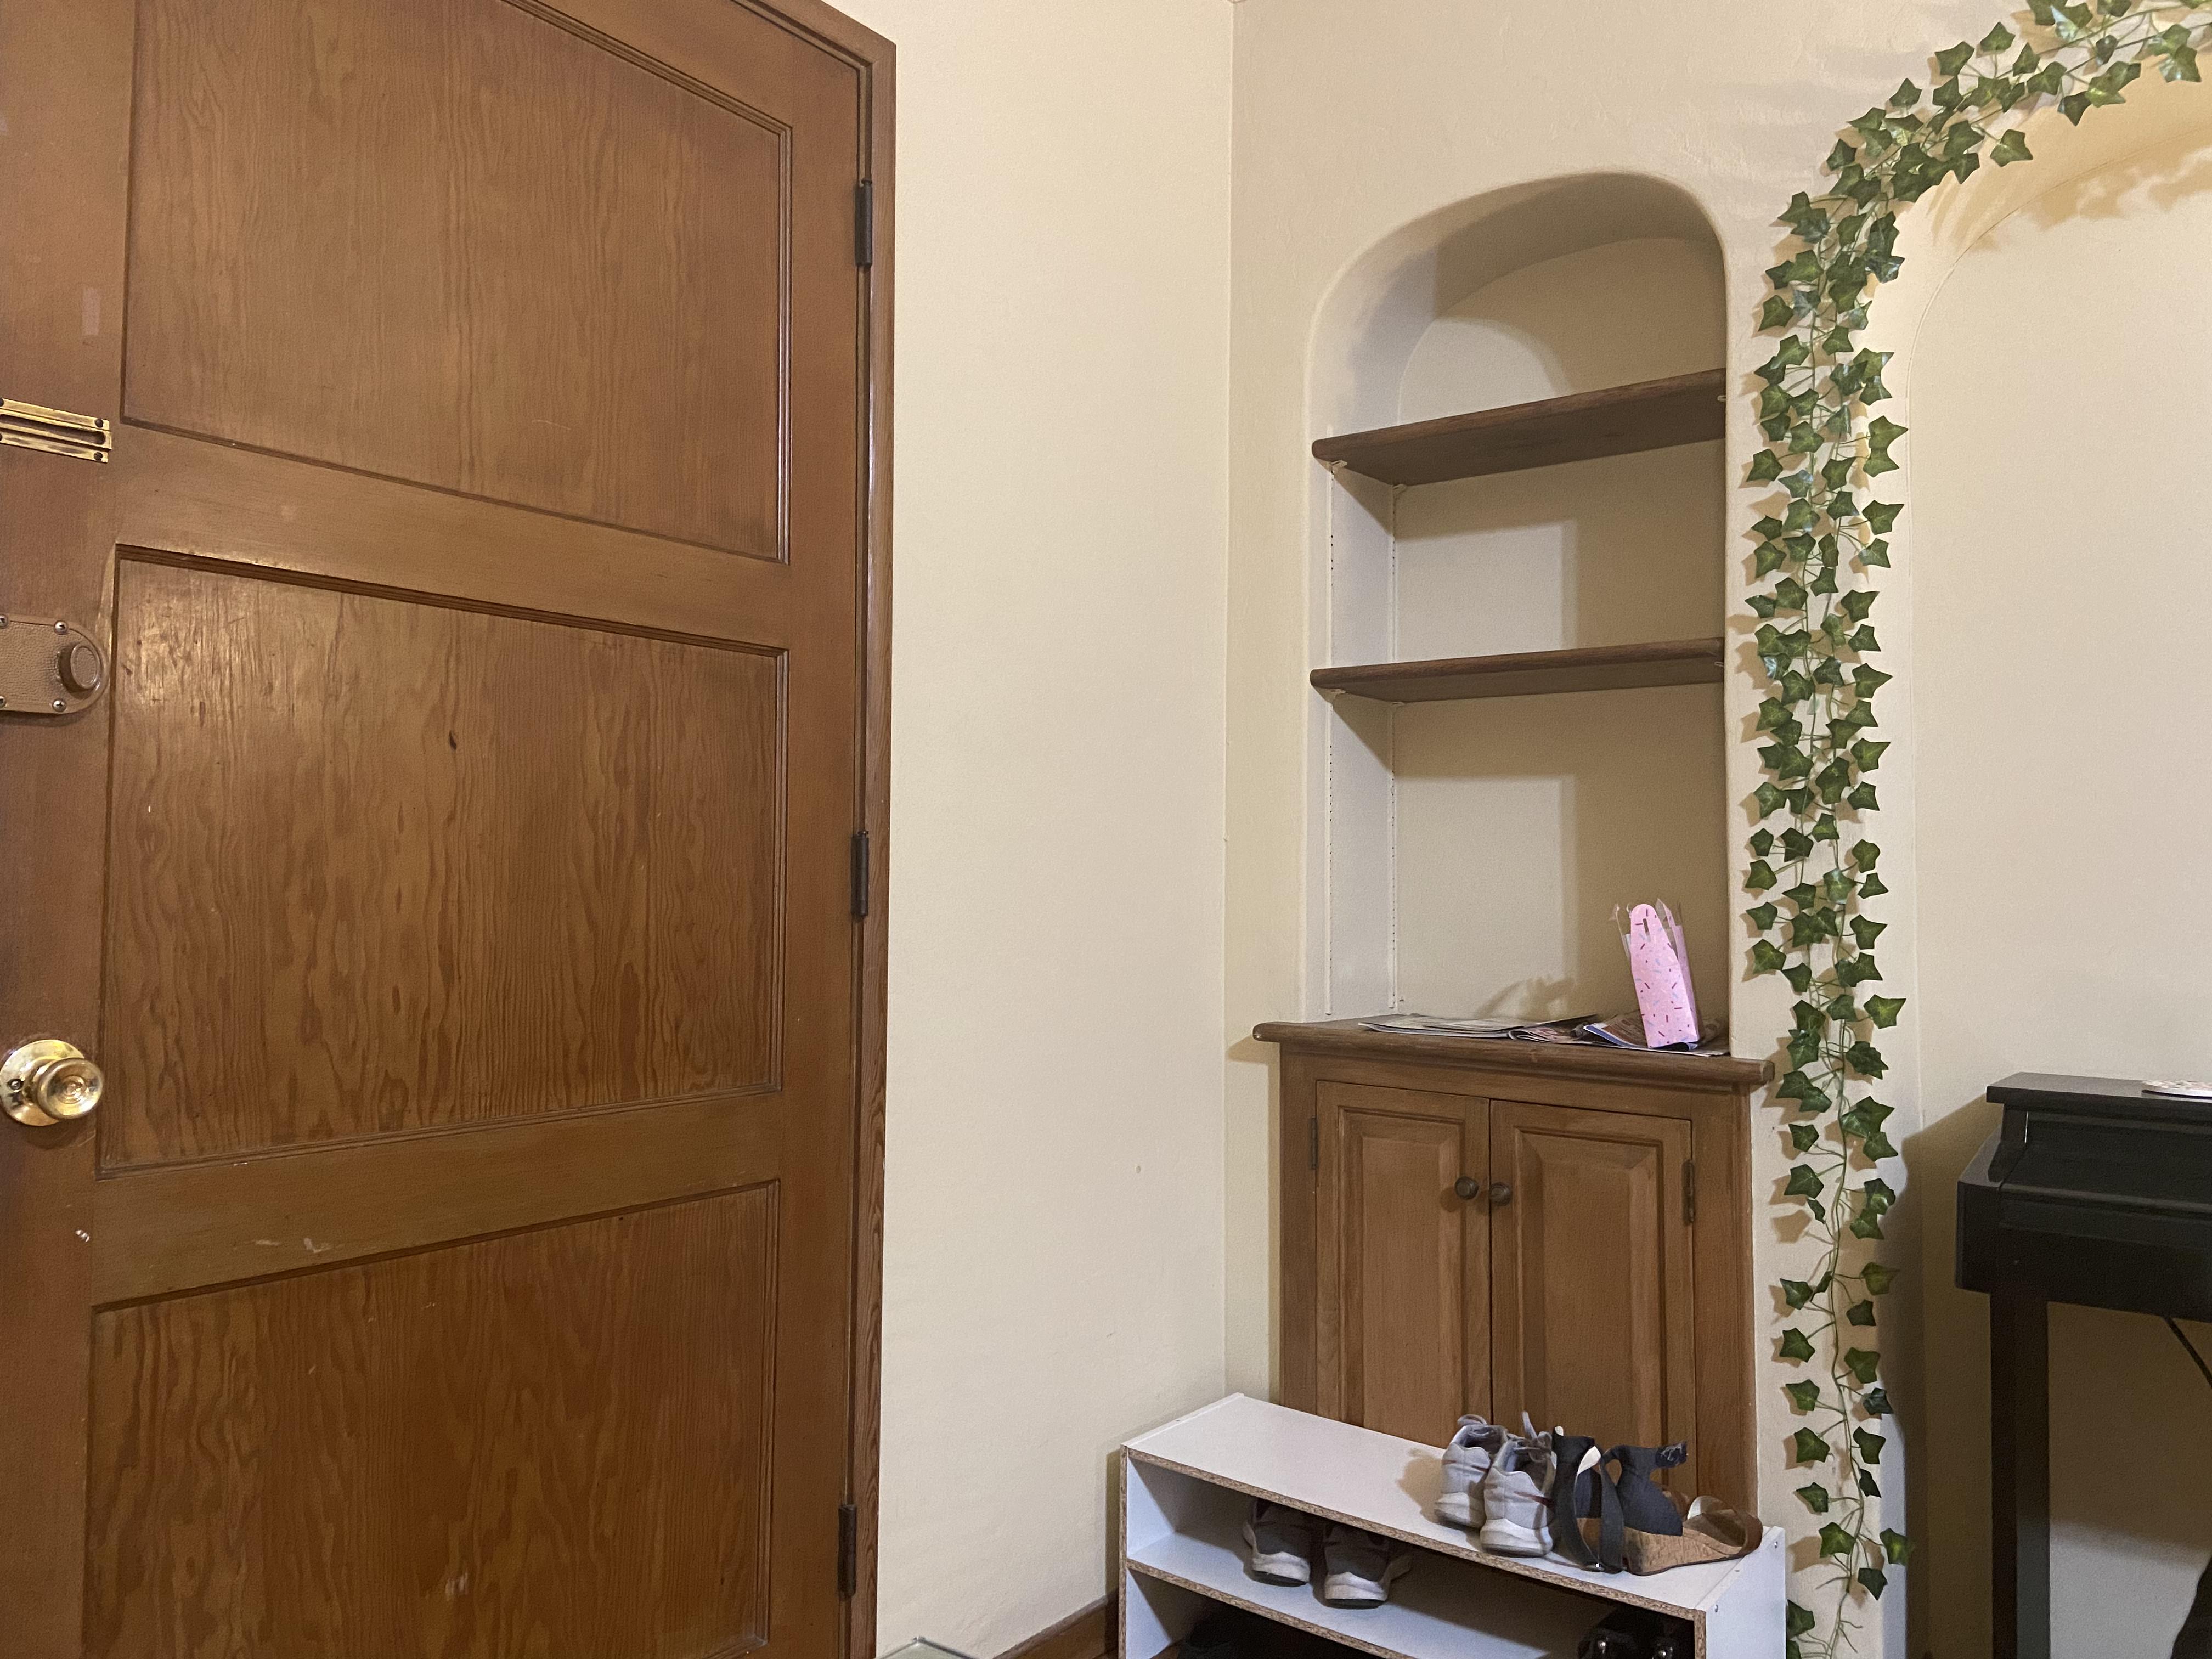
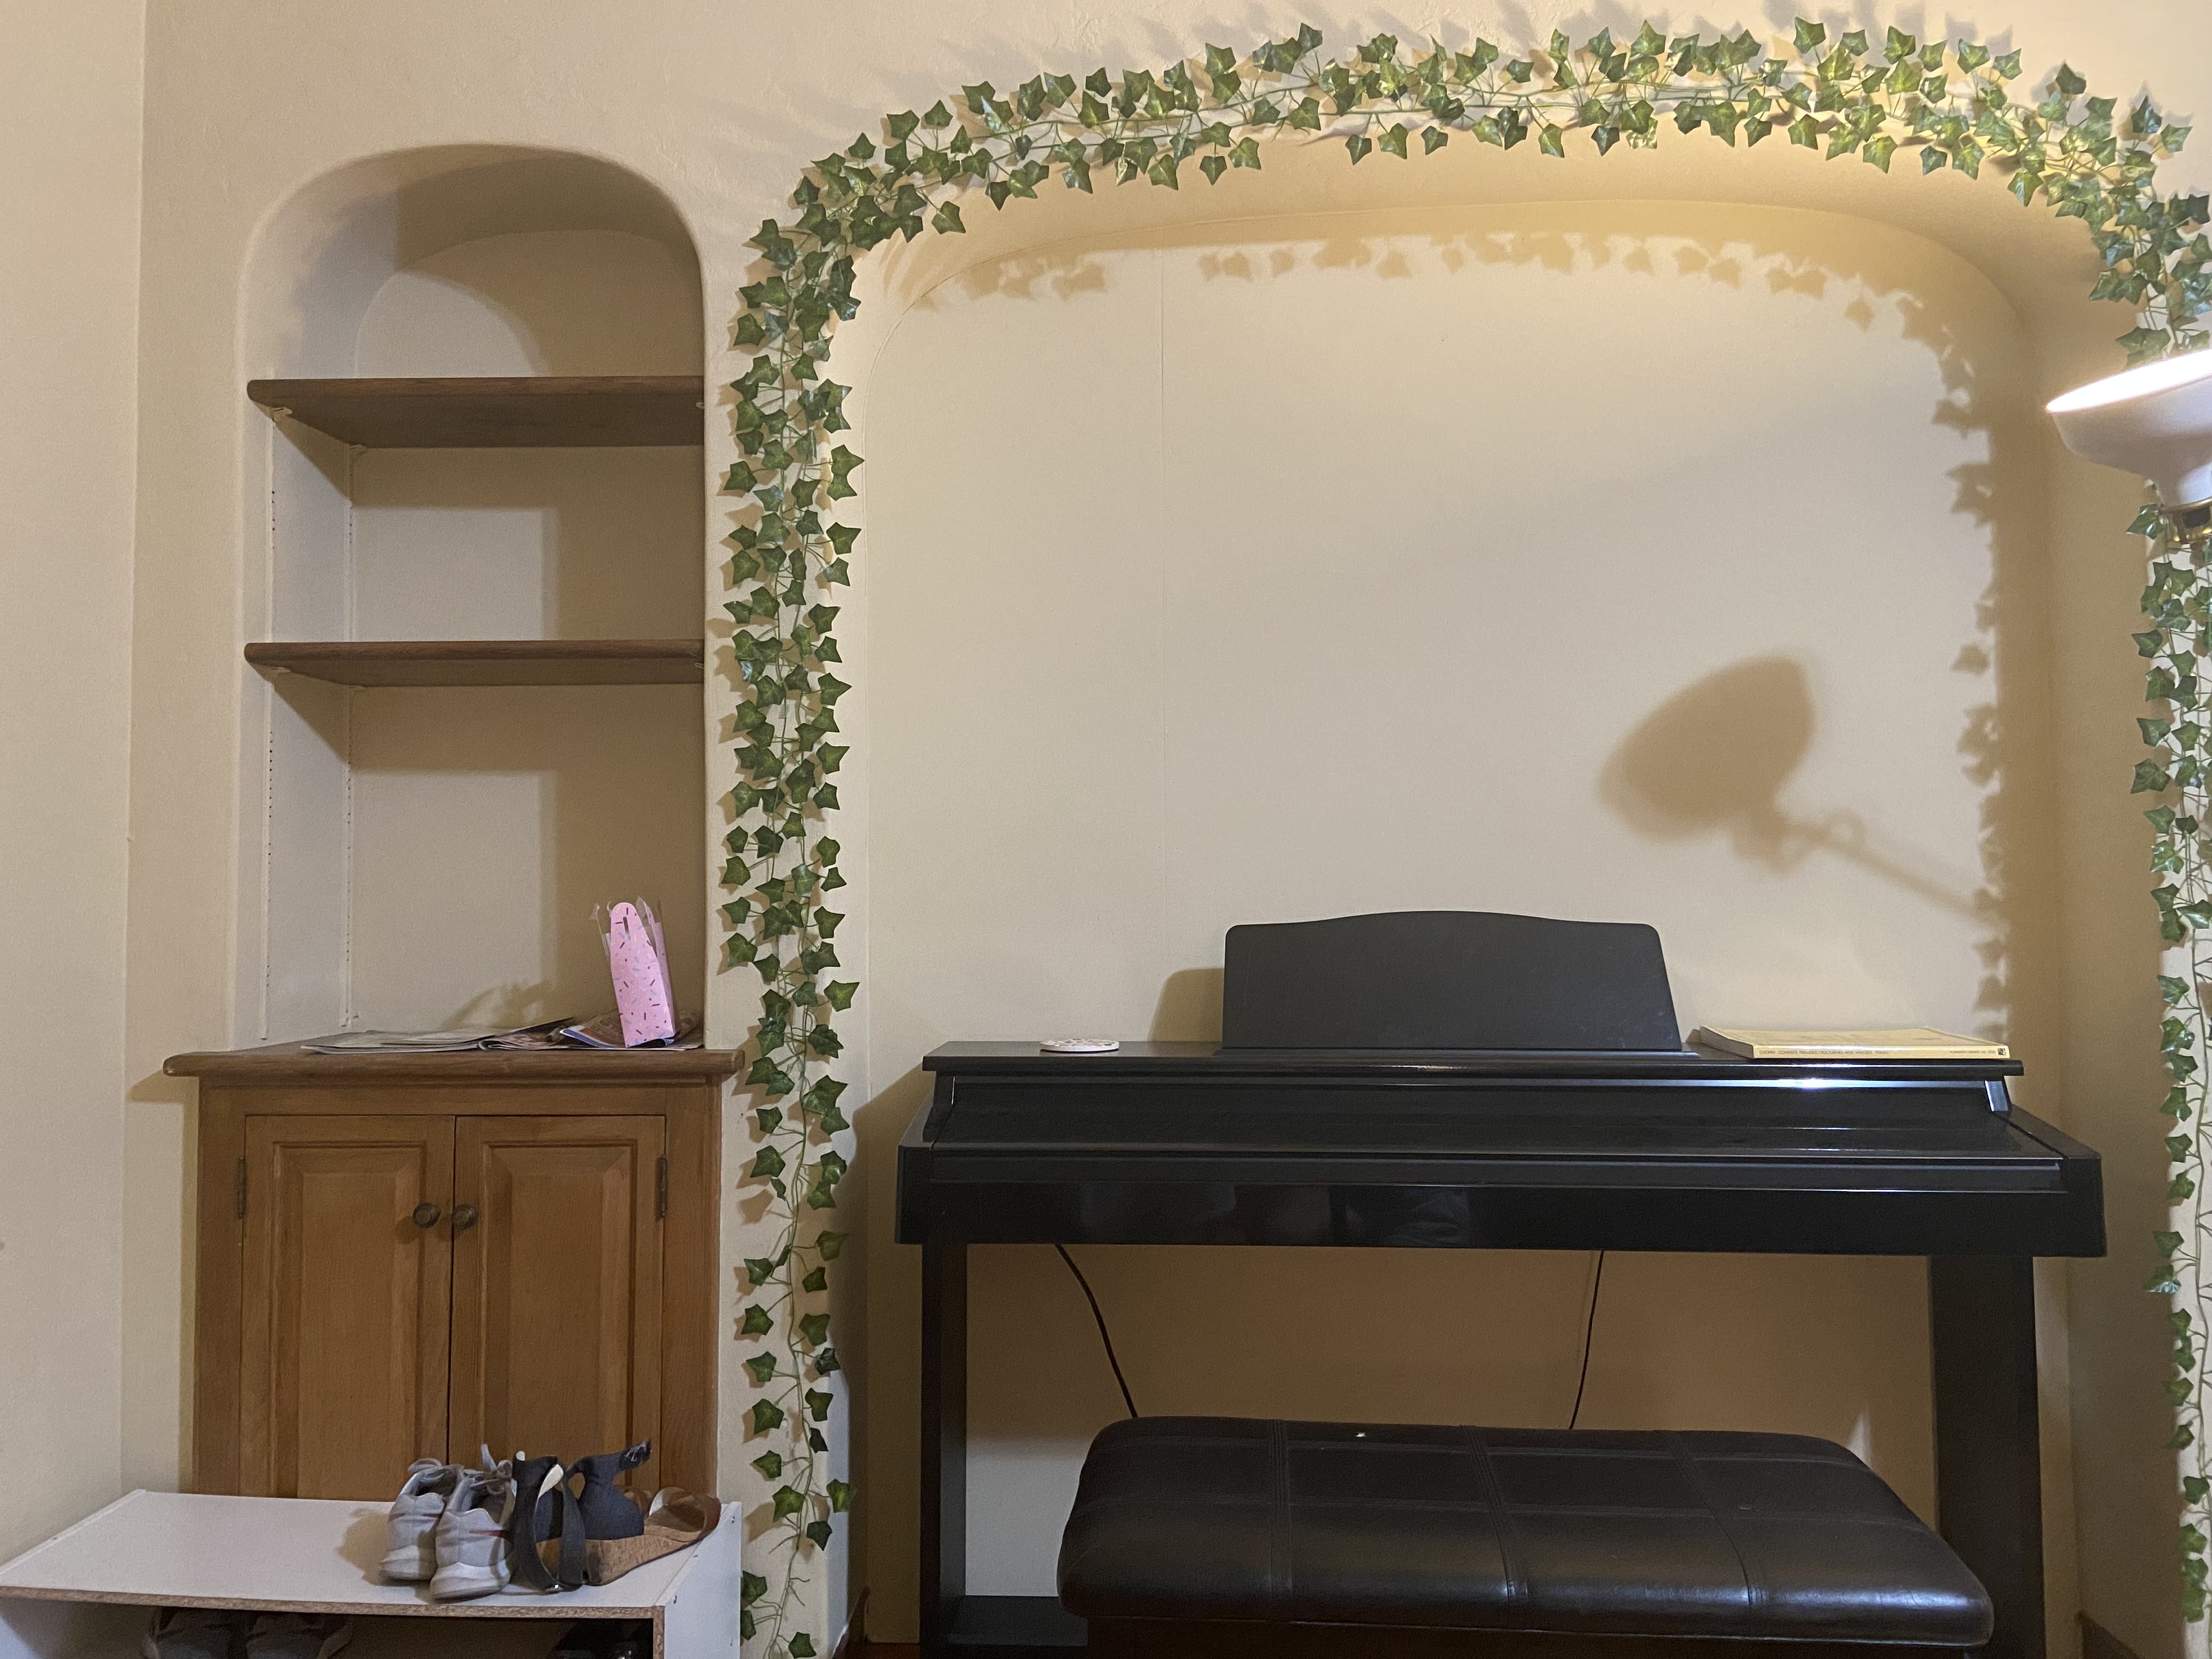
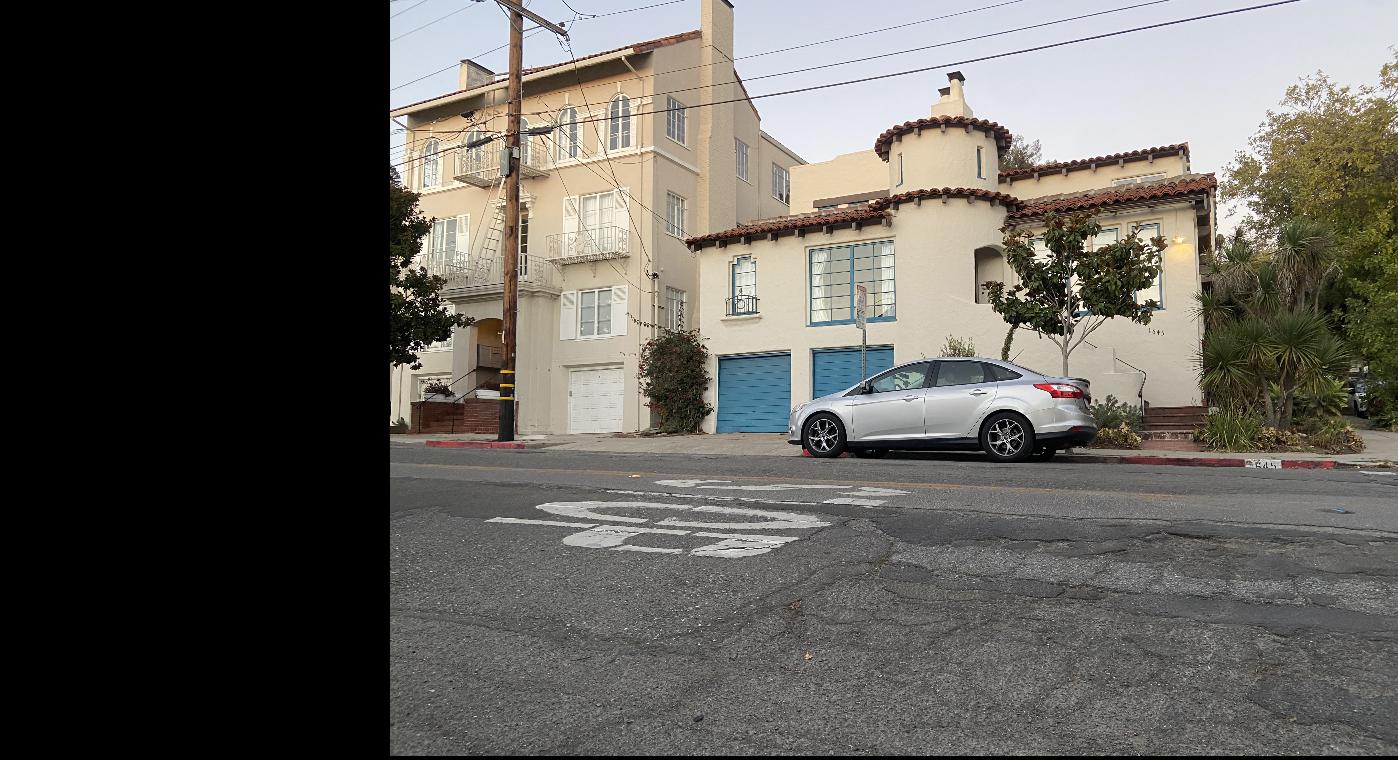
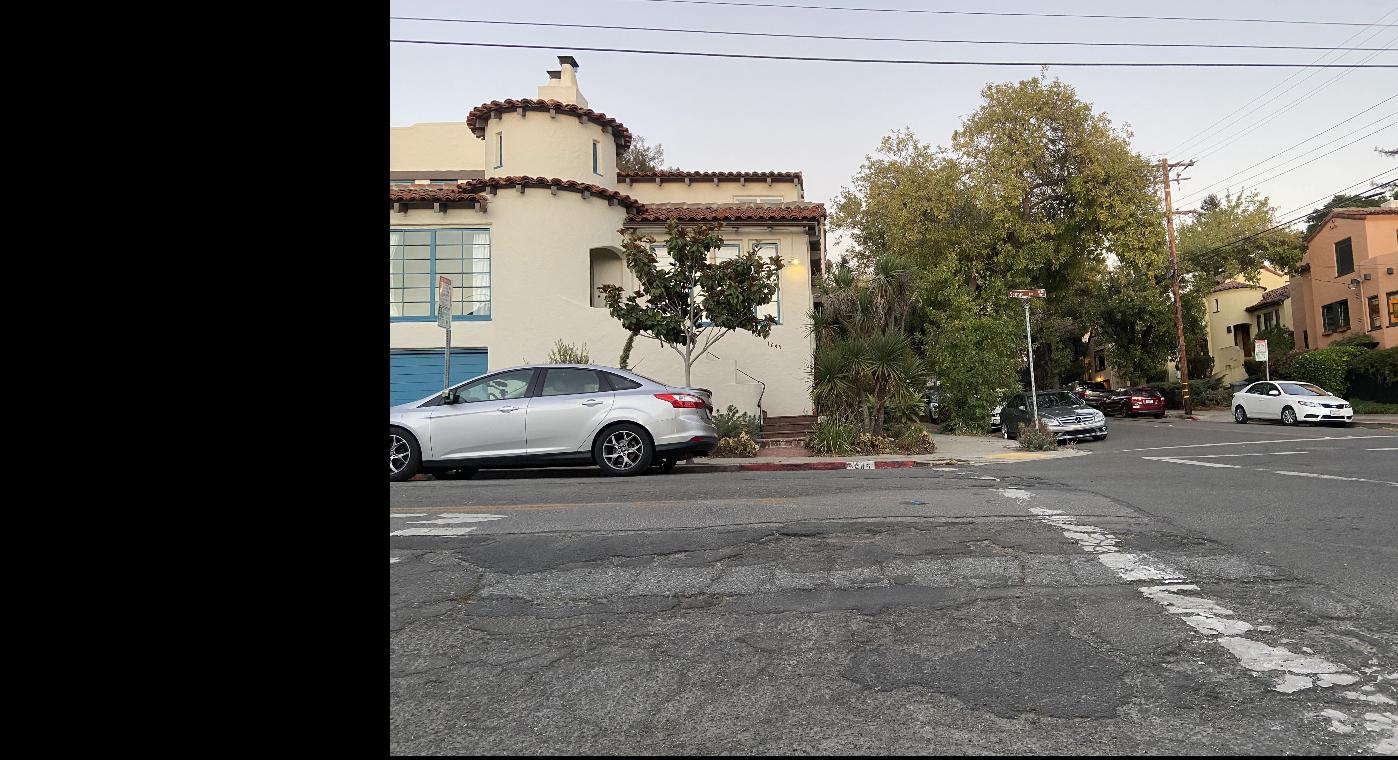
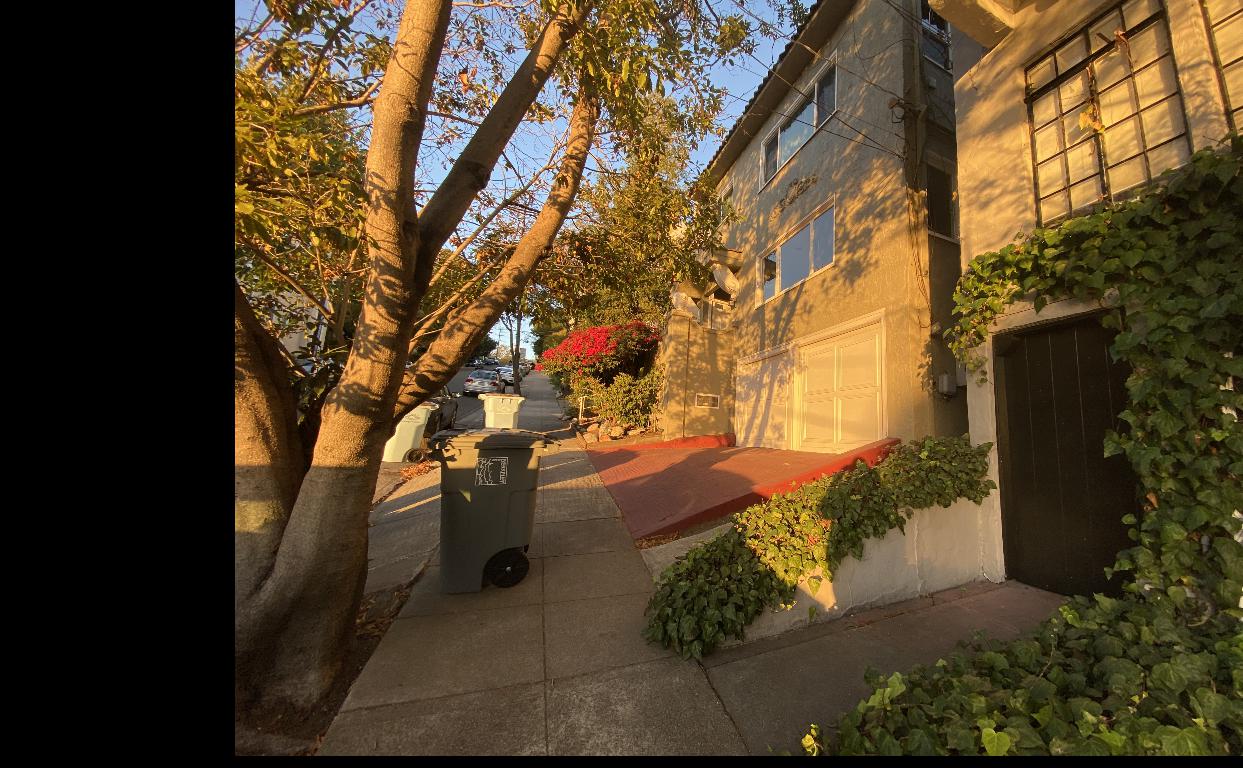
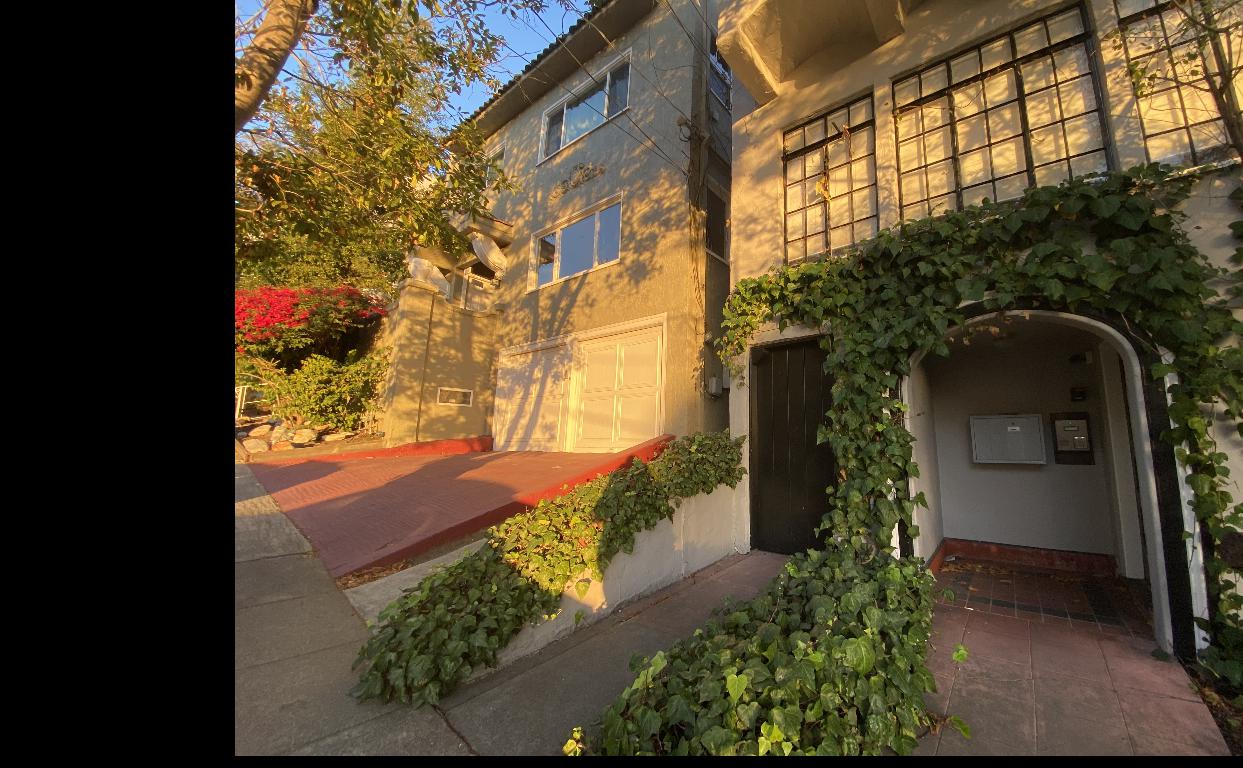
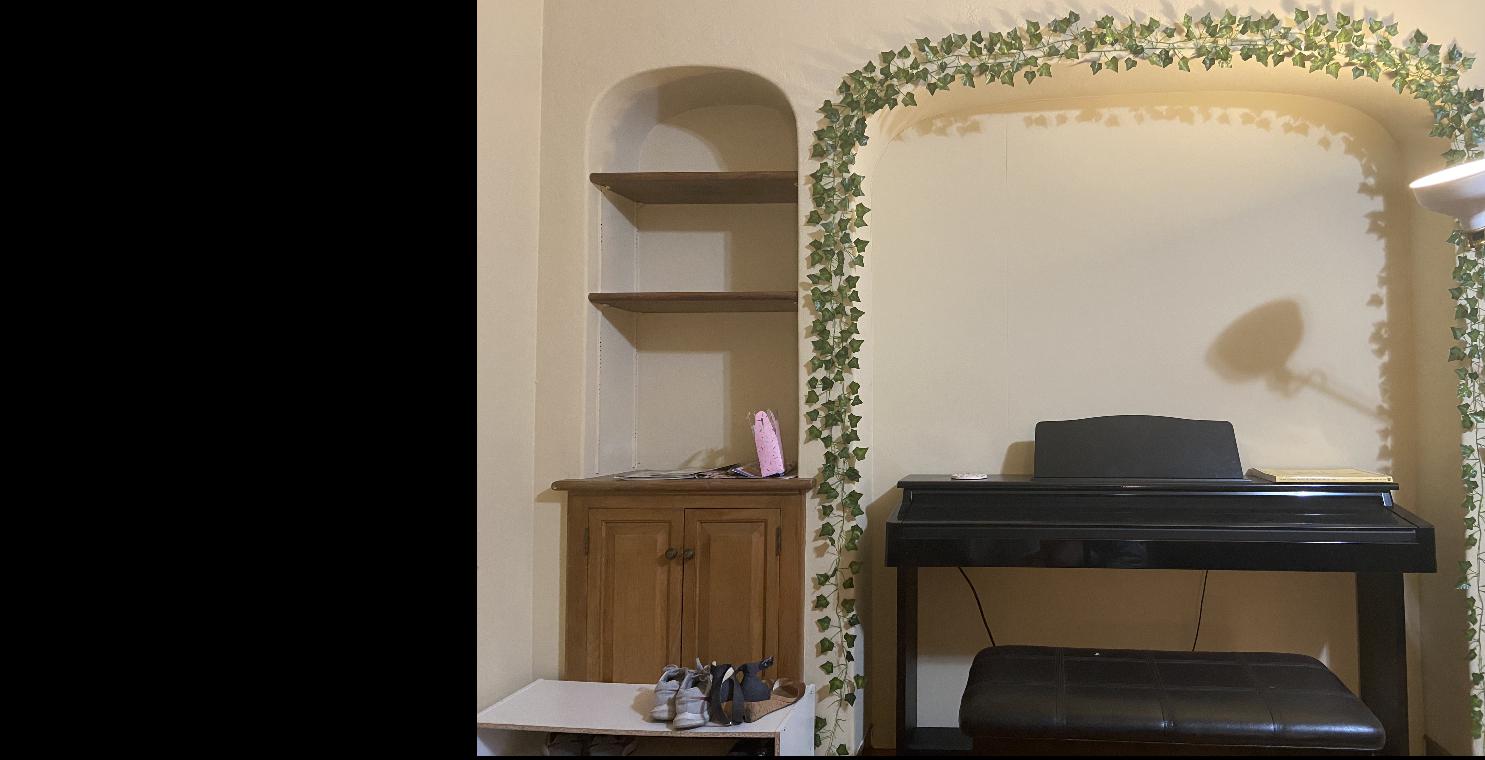
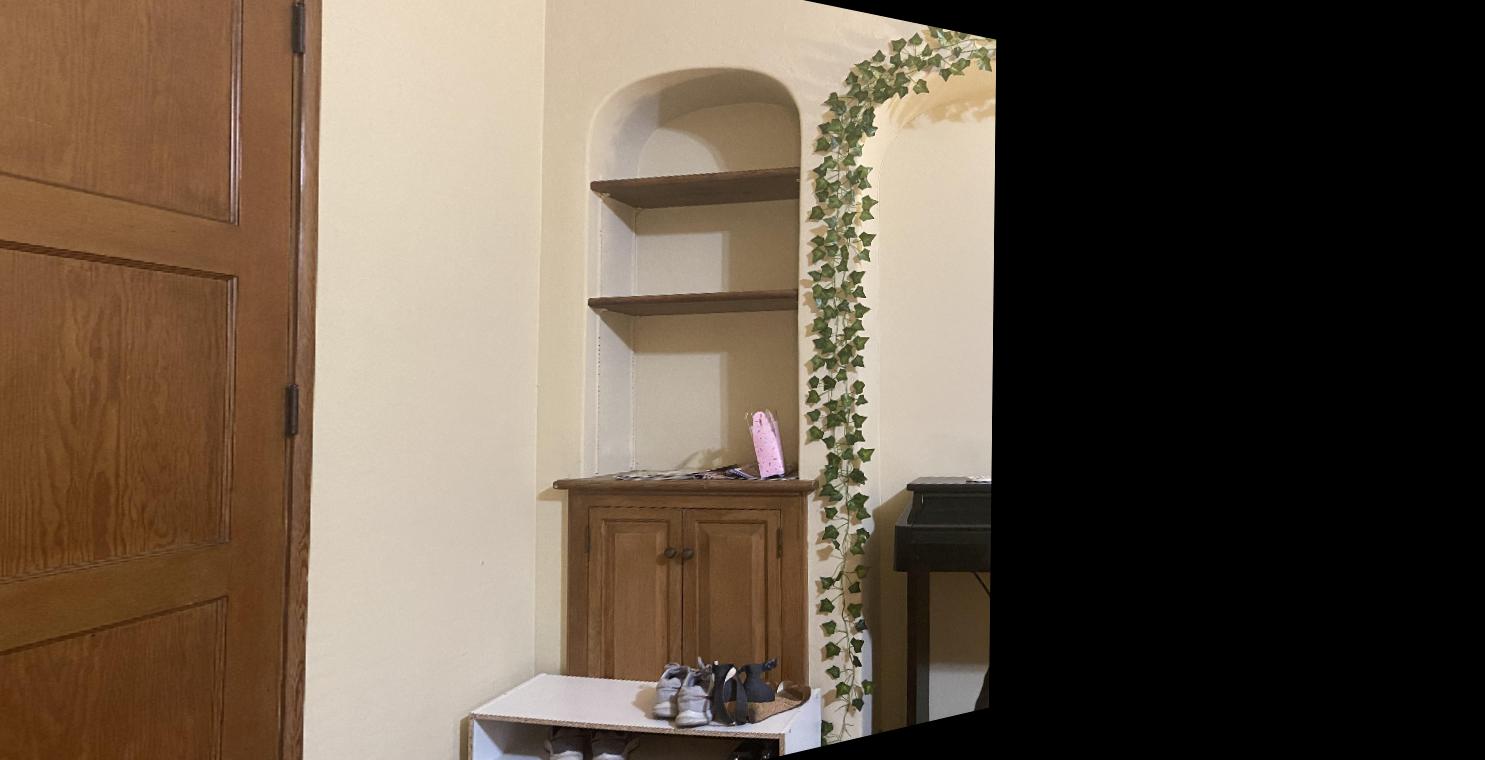
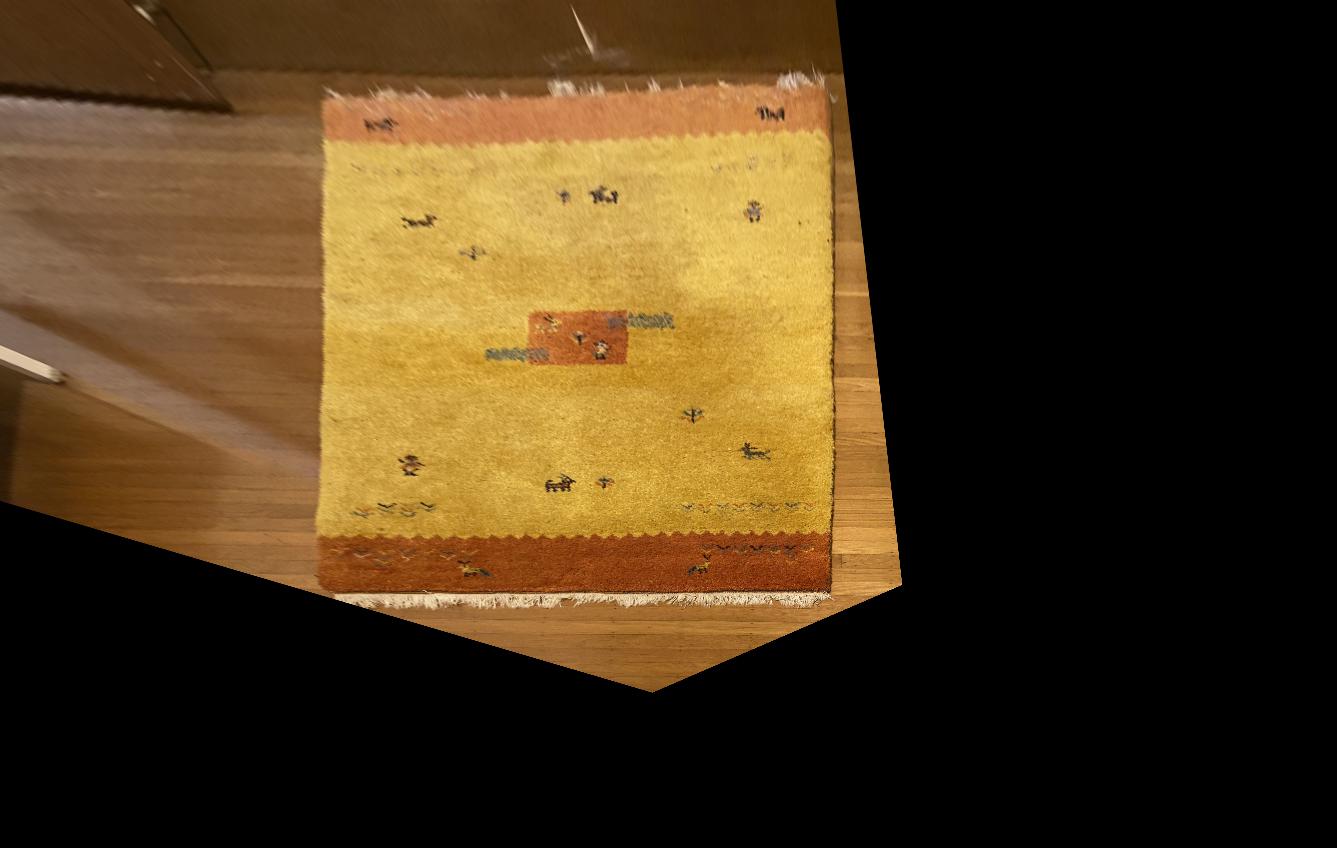
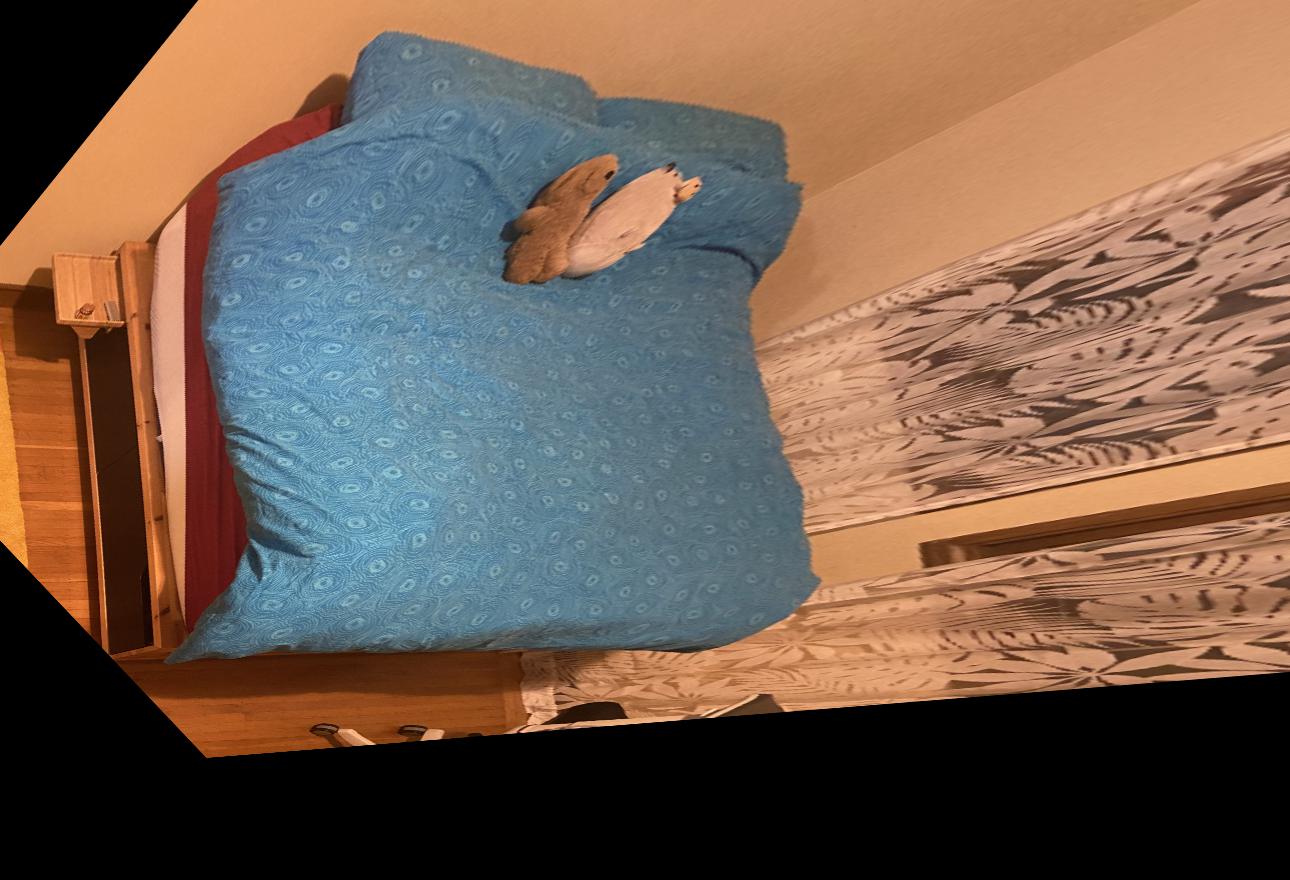
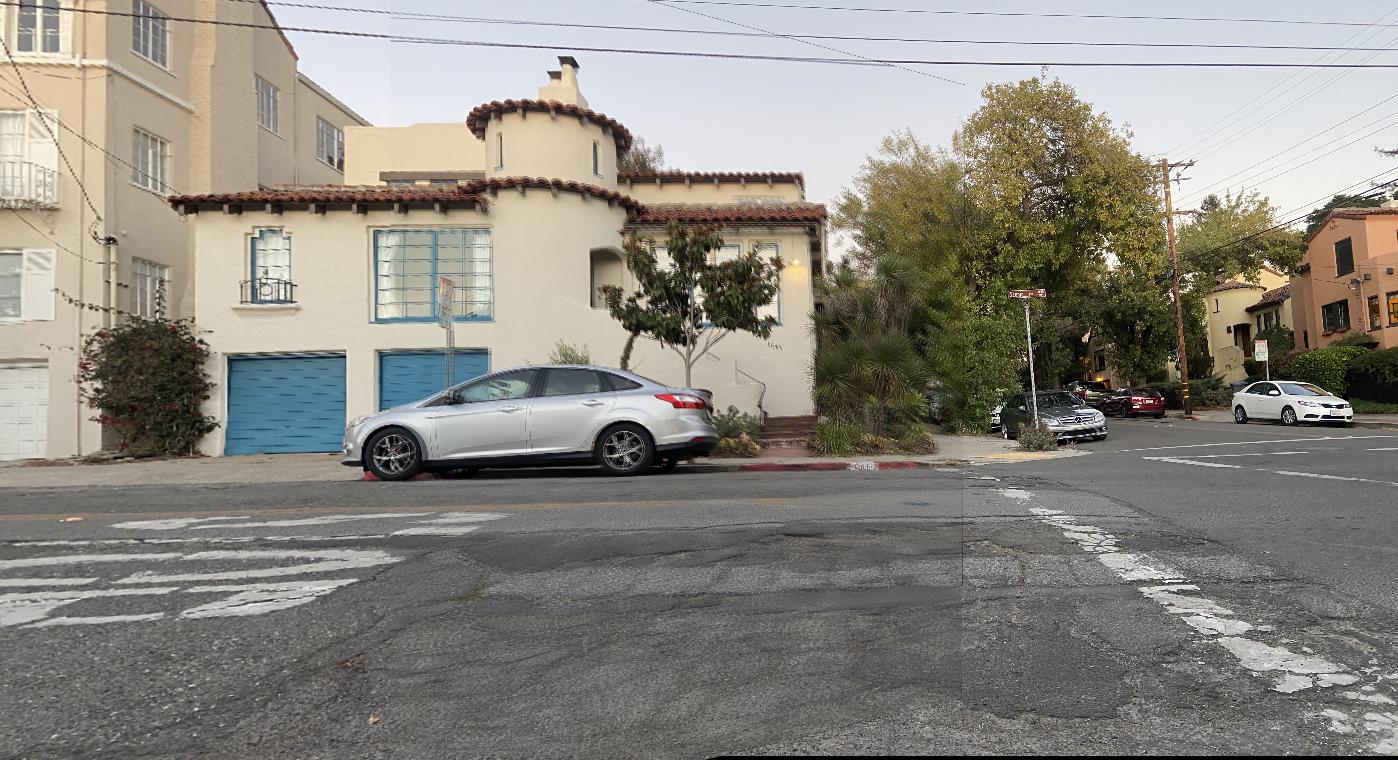
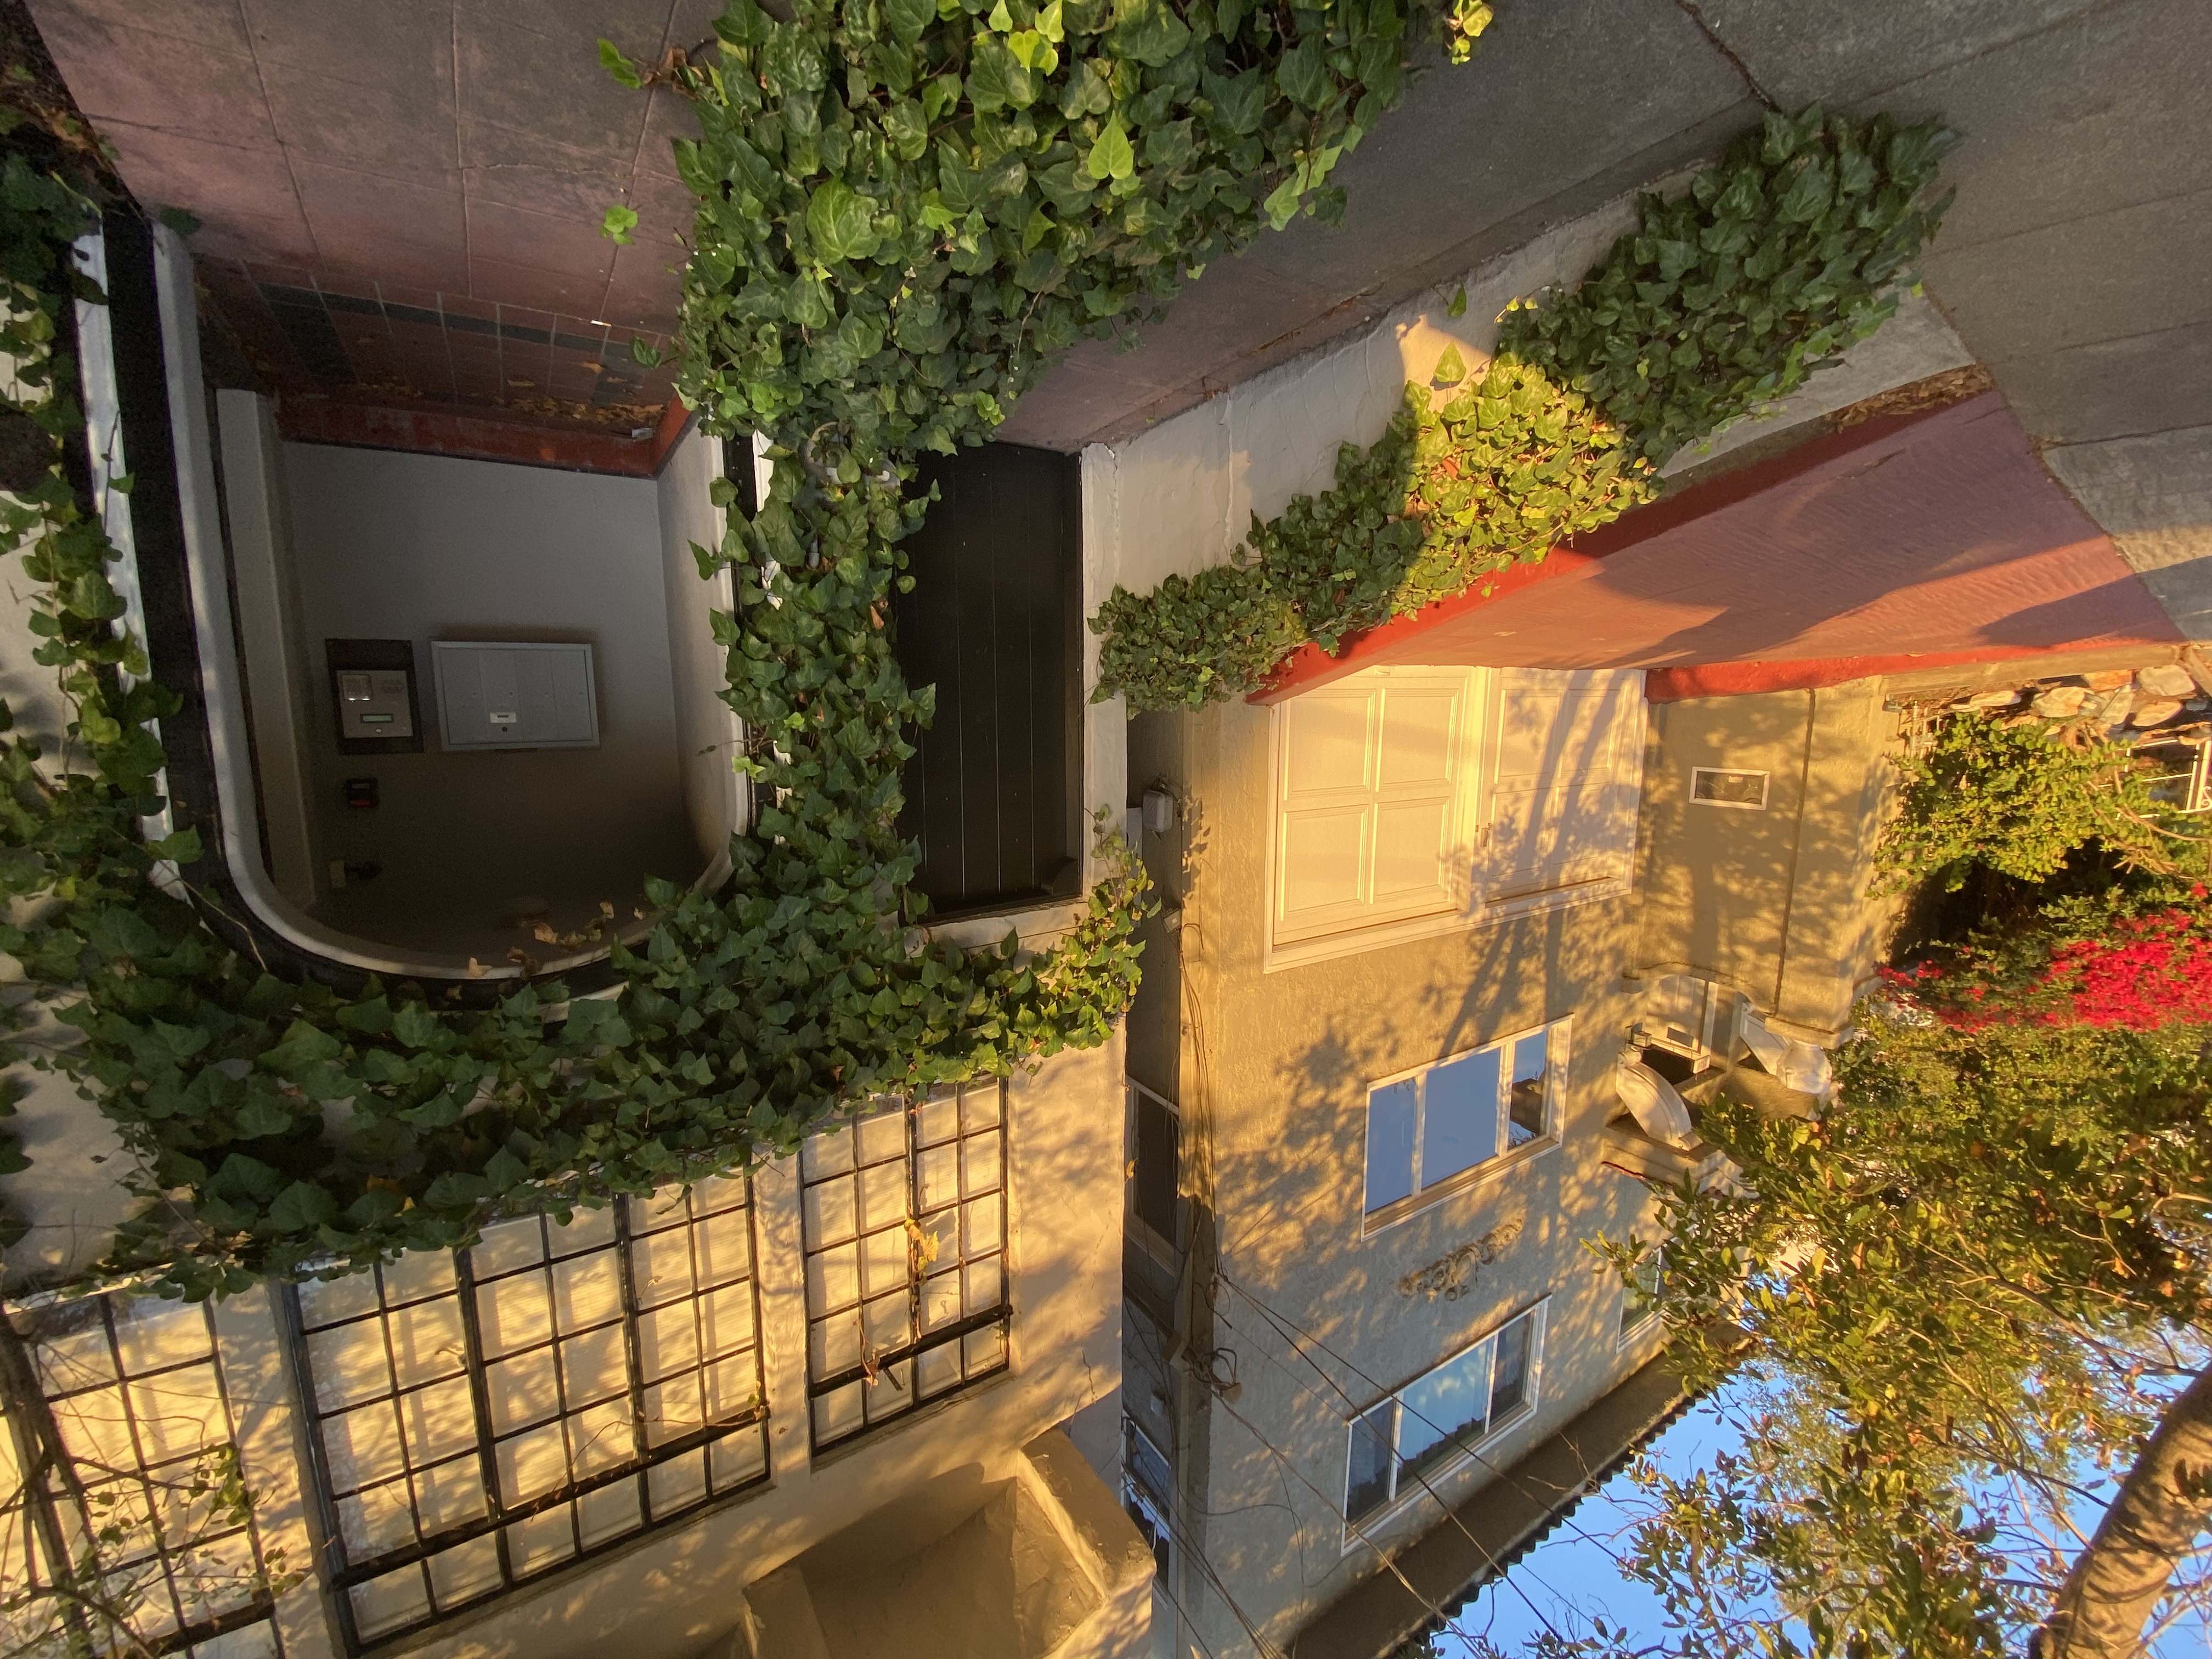
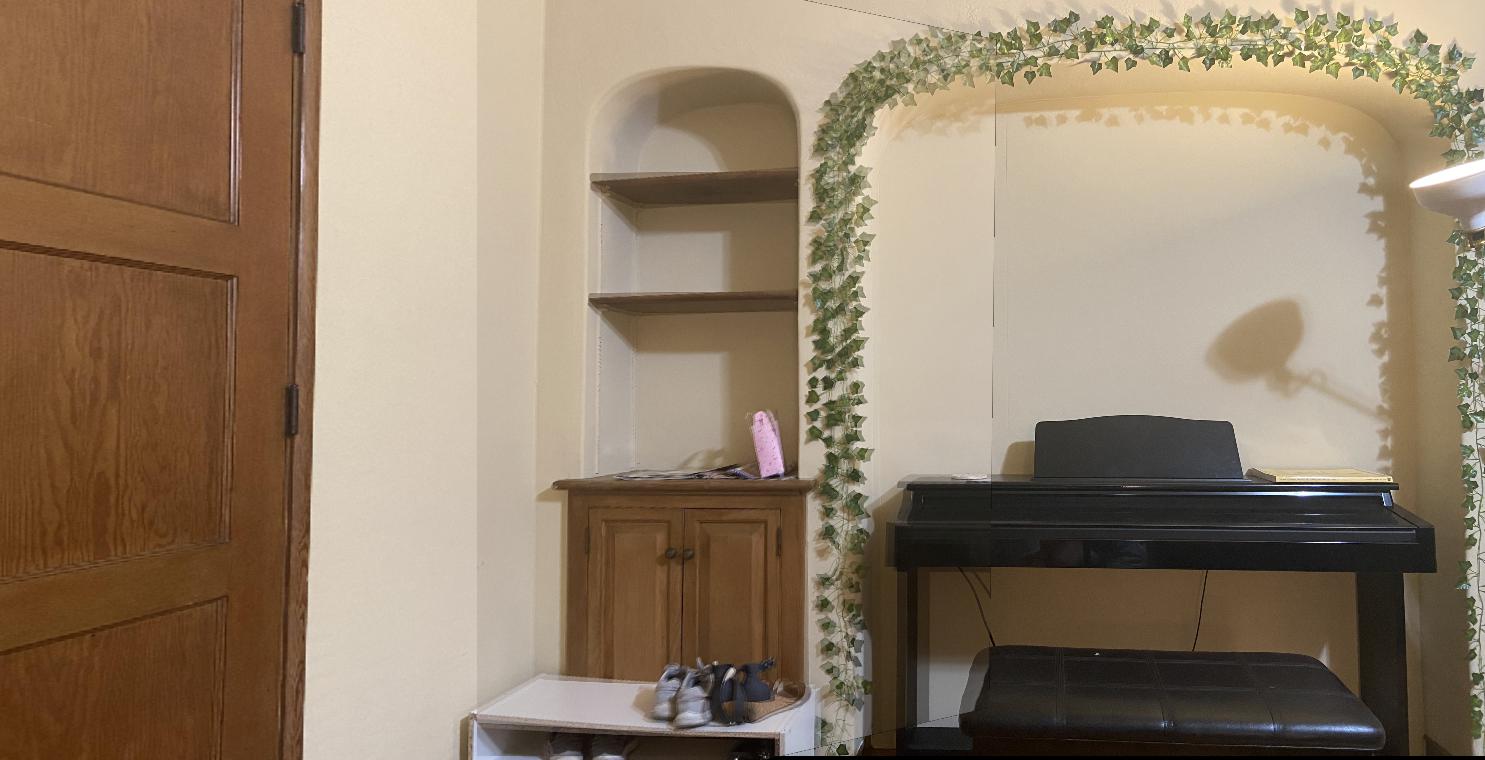
In order to perform warping and blending, we first must shoot some photos and define correspondences between image pairs. I shot photos for both panoramas and simple rectifications.
|
|
|
|
|
|
|
|
|
|
|
|
Before recovering the homography matrix, we must first pad our images such that our transformed images stay within the frame. To do this, we calculate the mean x and y distance between the correspondences in each image and then shift each image according to those mean values. This will ensure that our transformed image is aligned to the second image and that it's content are in frame. We will then also shift the correspondences for each image so they are aligned to the padded images. Finally we can compute the homography matrix on these new points.
|
|
|
|

|
|
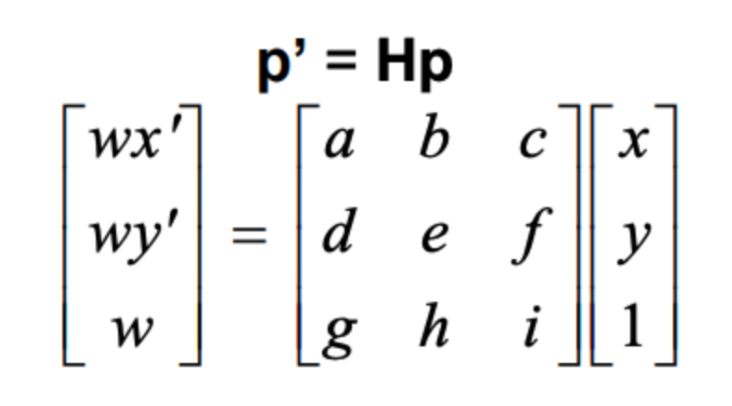
With our correspondences and padding set up, we can compute the perspective transform/homography matrix to determine how to warp one image into another.
|
|
|
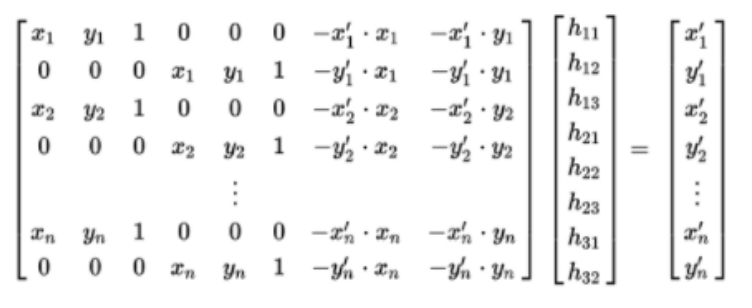
The way we do this is by deriving a least squares equation from our initial homography matrix equation. In the least squares equation we have 8 unknowns so we need at least 4 sets of correspondences for each image. We can however expand this equation to support any number of correspondences.
|
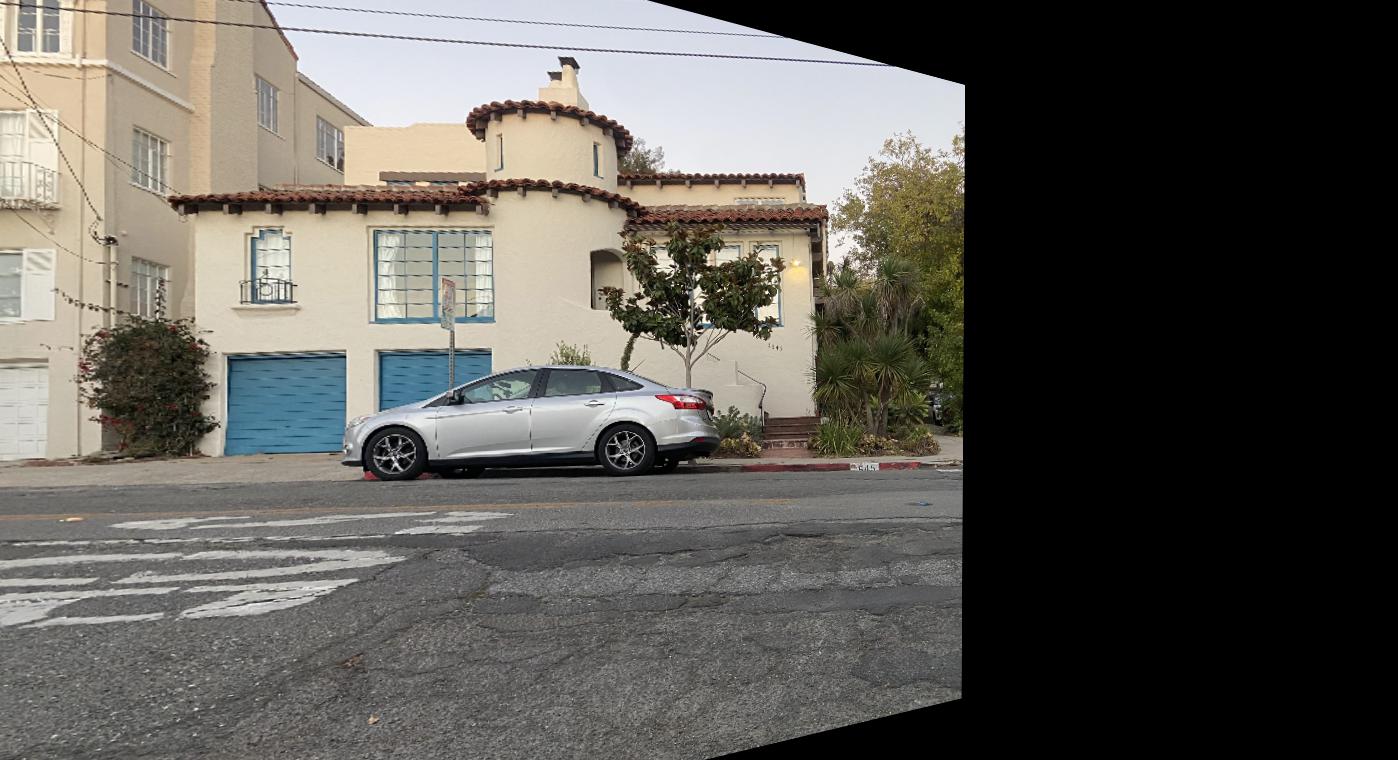
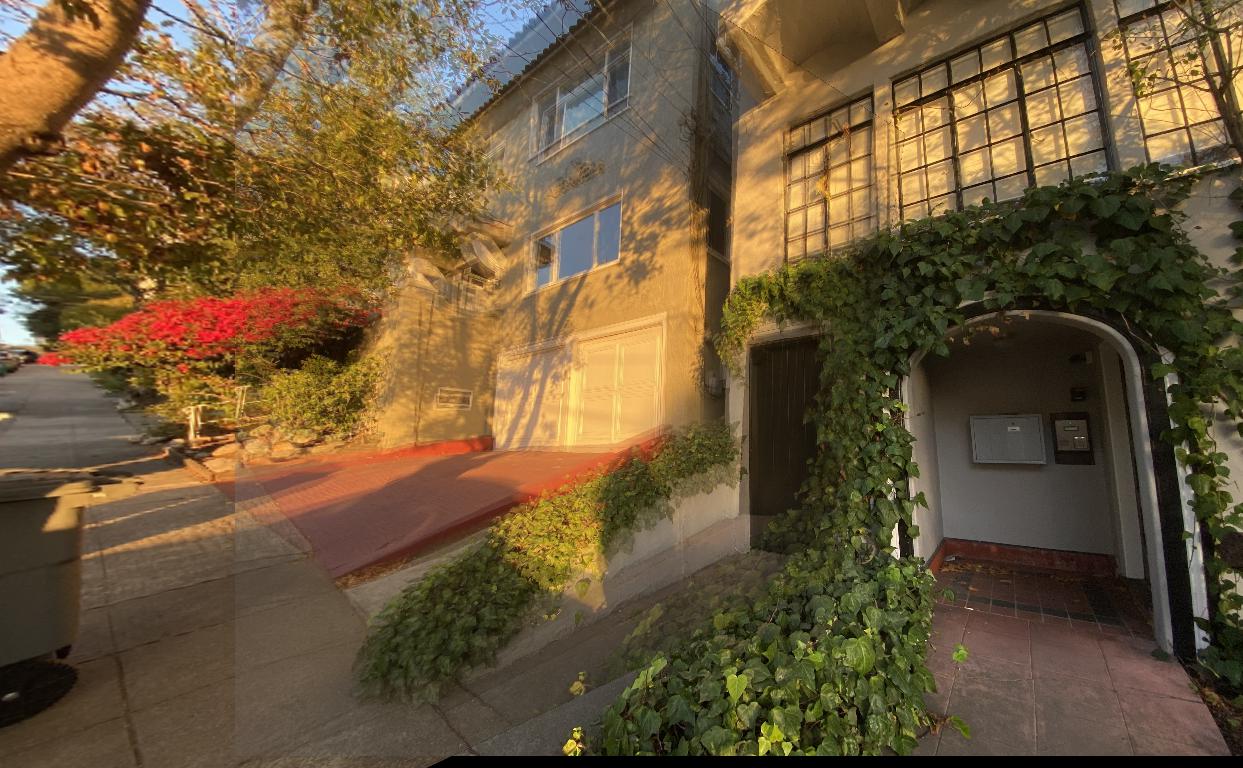
With our homography matrix prepared, we can then select all the possible (x,y) image pairs and transform then by multiplying against our image matrix and resampling the image to those new coordinates. This will result in a newly warped image.
|
|
|
|
|
The last step of our panaroma process is blending the transformed image with the reference image. This can be done via summing the two images together and diving the areas of overlap by 2. We can find the areas of overlap by performing a "logical and" between the two images.
|
|
|
|
|
|
|
|
|
|
|
|
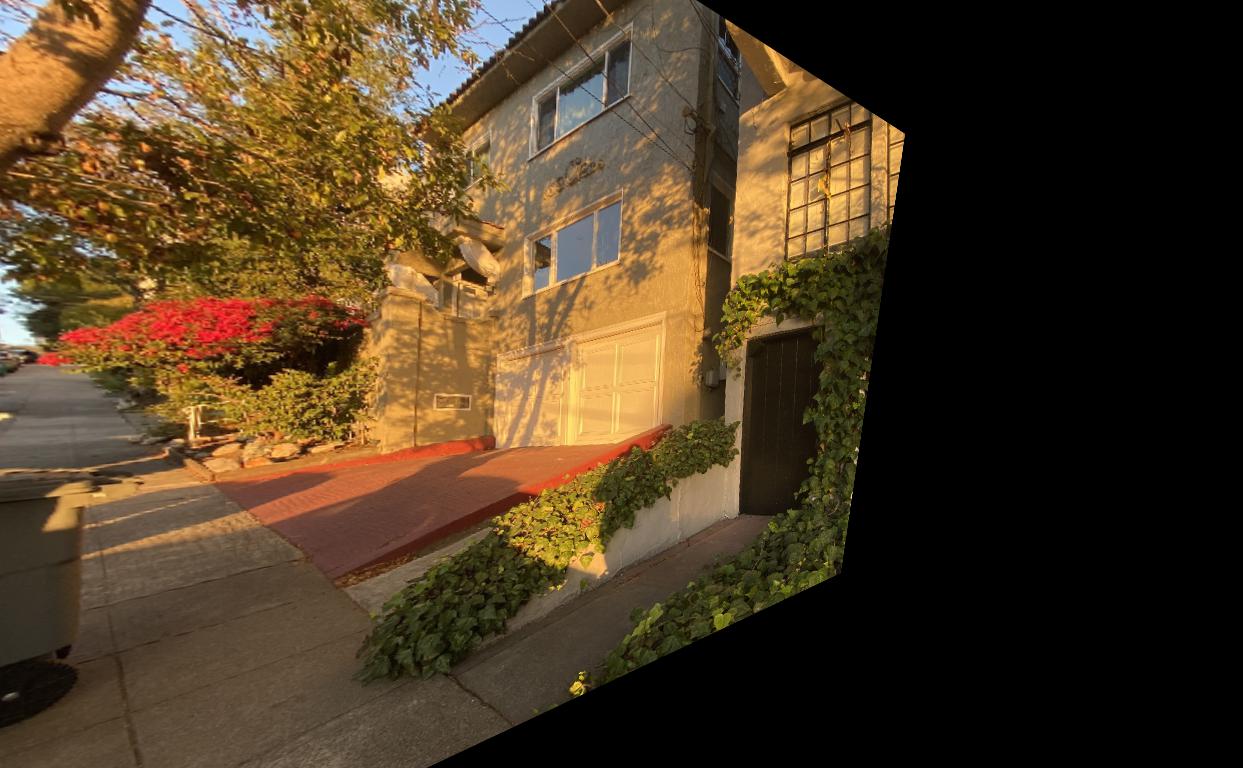
The most important thing I learned during this project is the importance of padding during transformations. Even with my automatic padding method, I would lose some of the transformed picture as some of its coordinates would fall offscreen. If I had a more accurate method of detecting possible shift between the two images or maybe had a stretching factor included in my padding I would be able to capture the full image when warping.
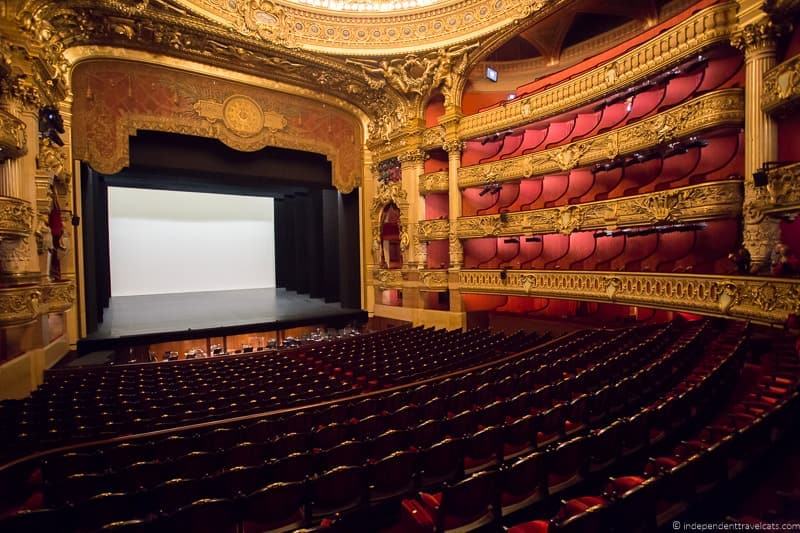
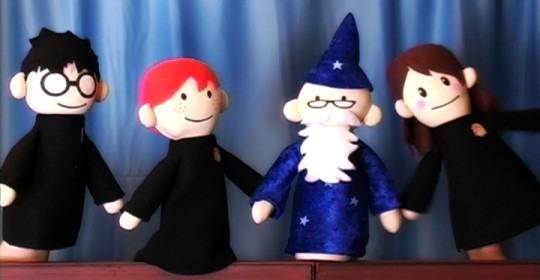
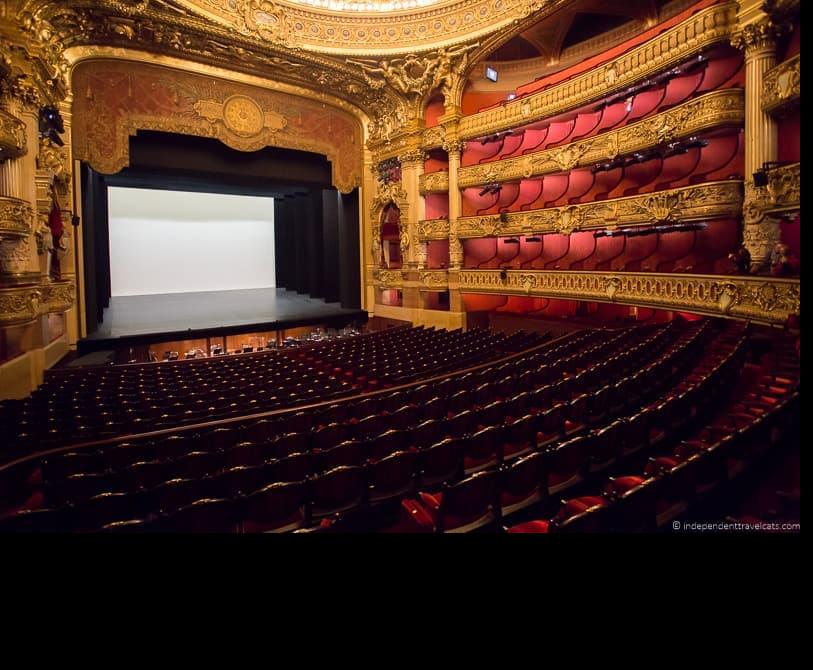
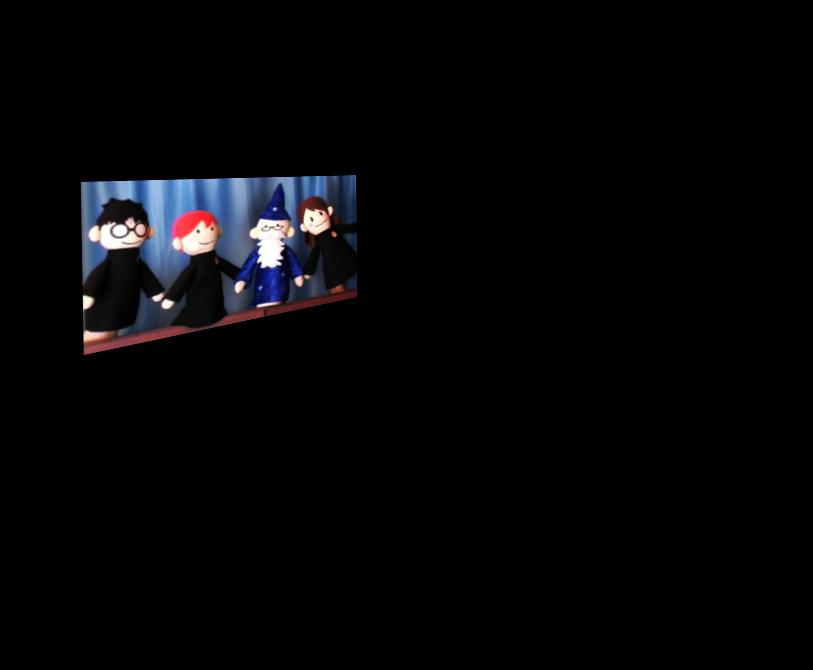
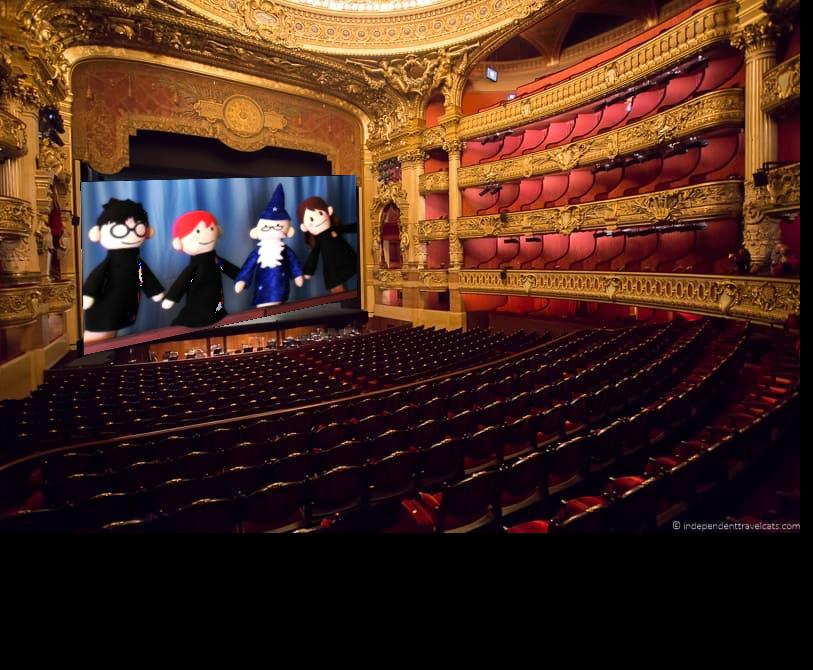
For bells and whistles, I inserted the Harry Potter Puppet Pals in the Opera Garnier as I thought it would be amusing to see that video in such a fancy opera. The main change here was modifying the blending function so that it overlaps the two images instead of blending them.
|
|
|
|
|