I took three sets of pictures to create the image mosaic and two pictures for image rectification.
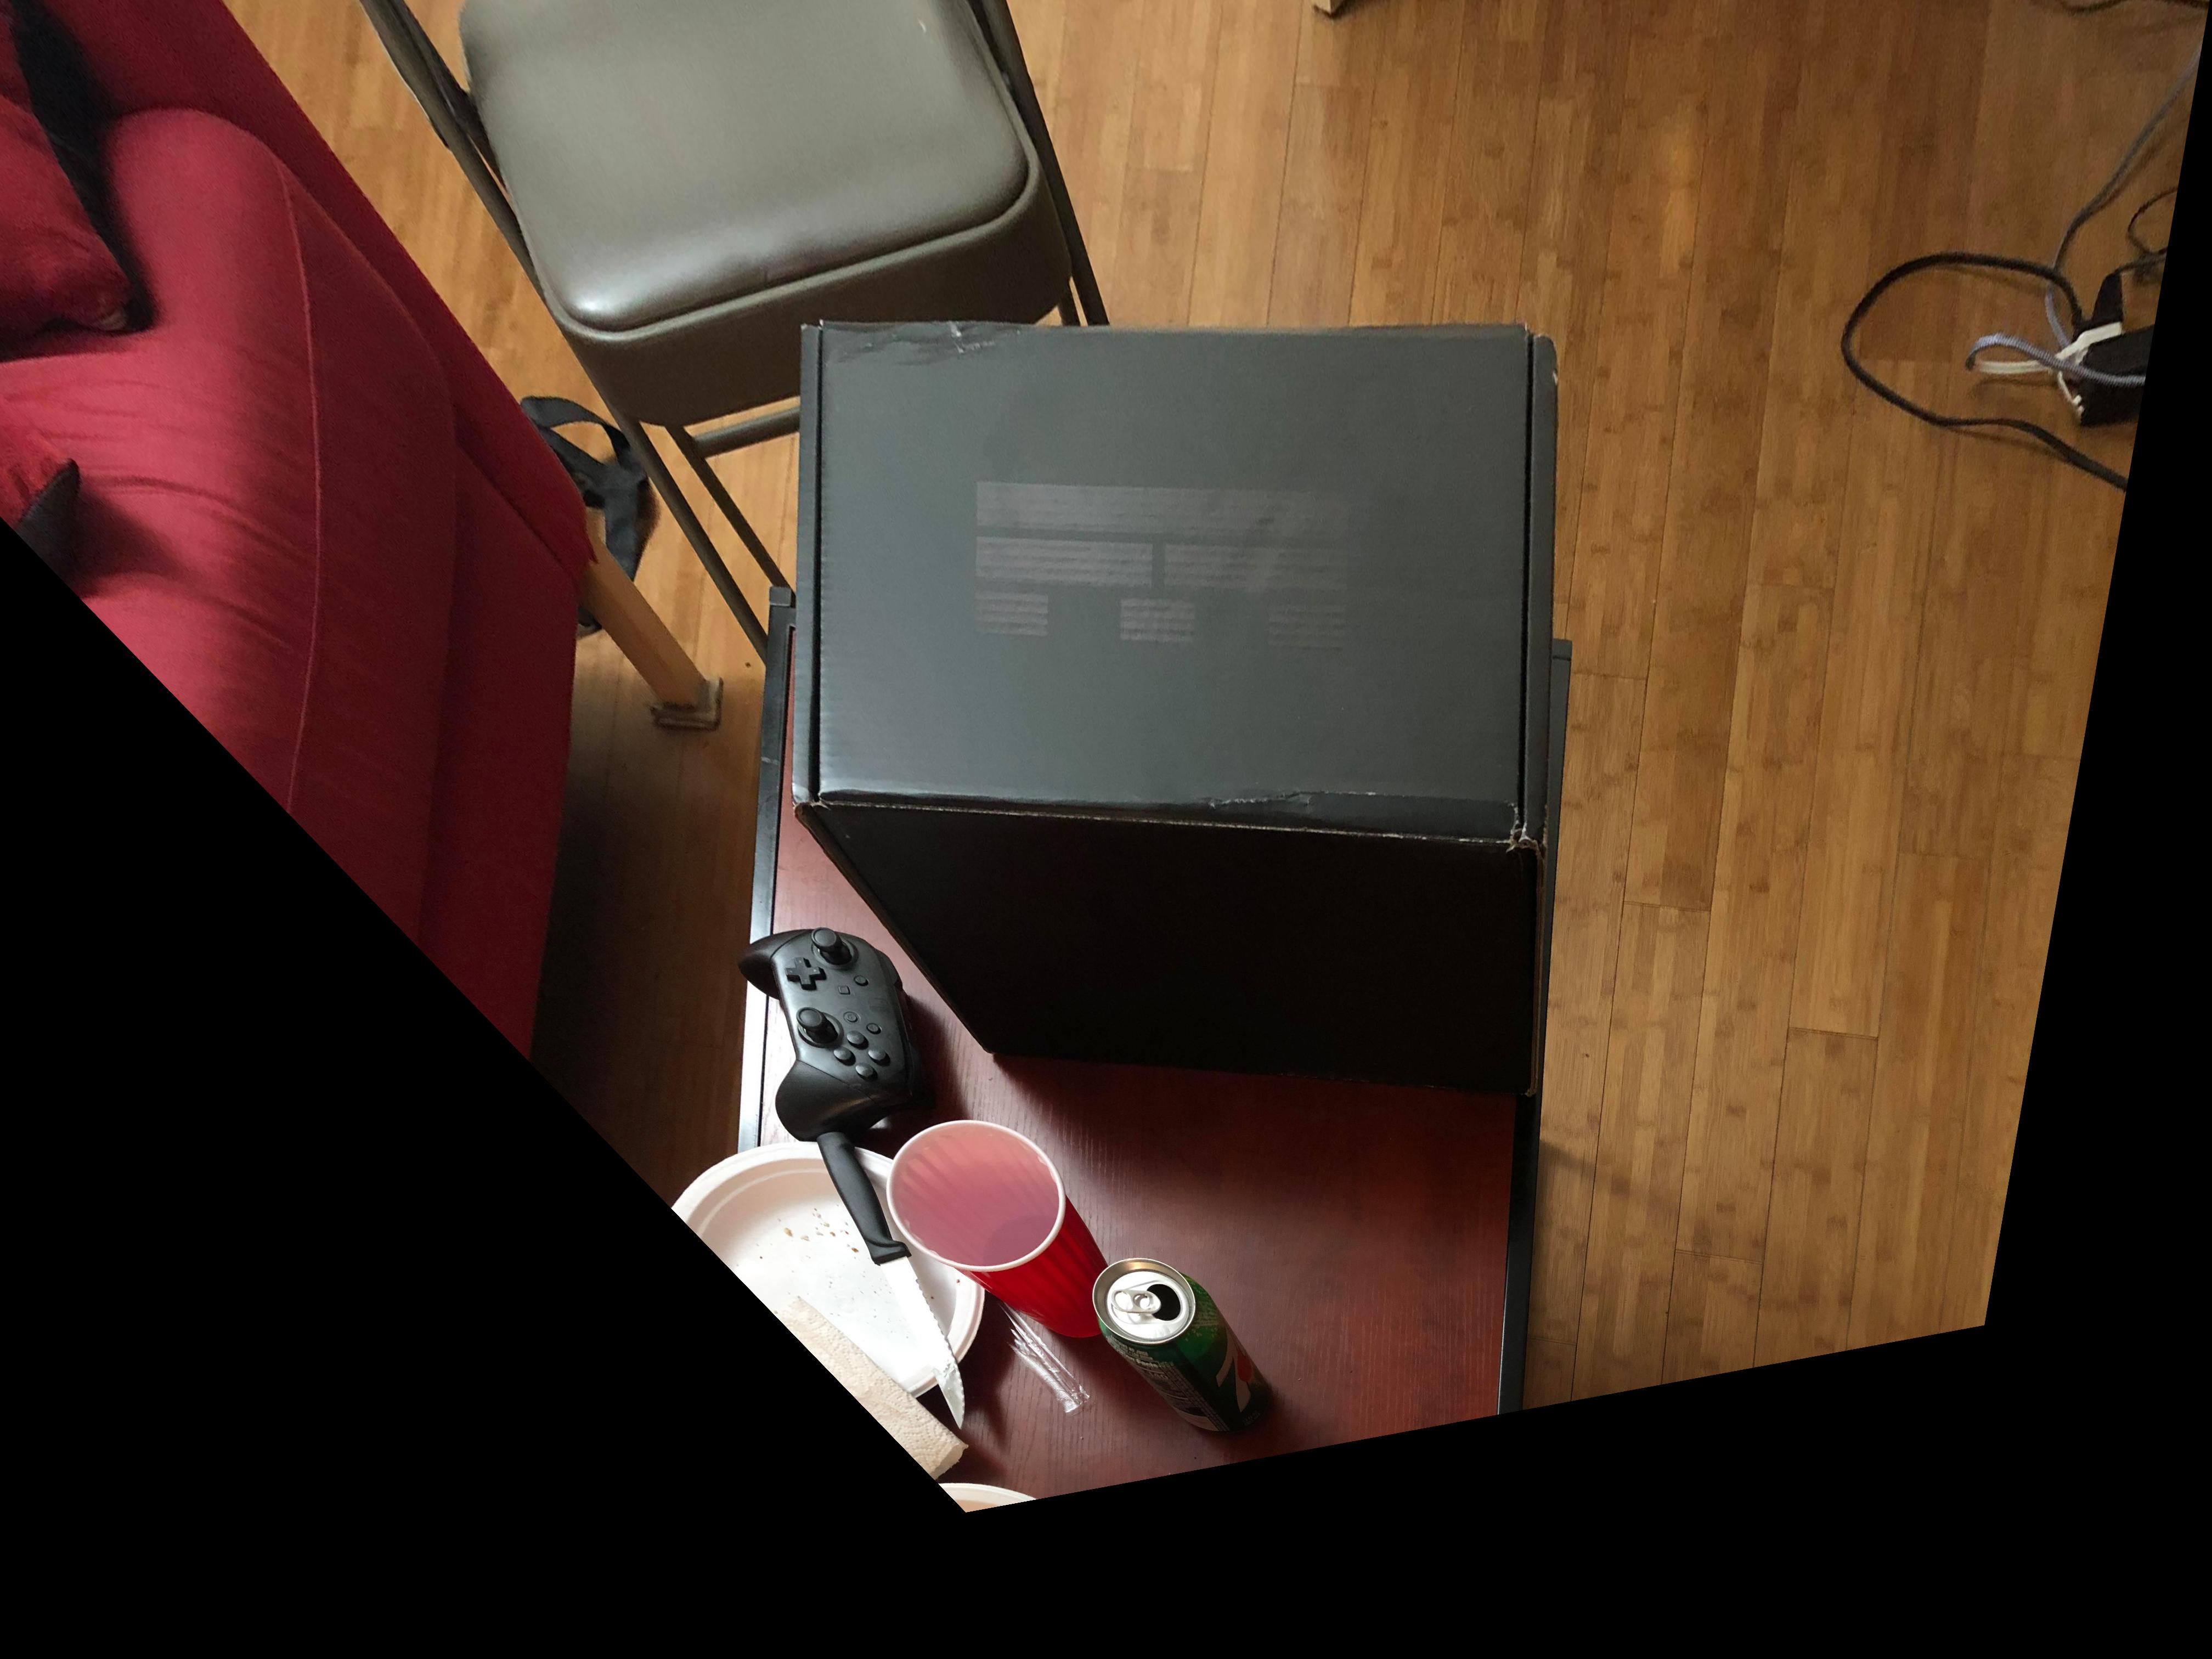
I took sample images with planar surfaces and warped them so that the plane is frontal-parallel.
To accomplish this, I defined source points on the image and destination points such that the destination points are in a rectangular shape.
I then warp the source points to the rectangular points.
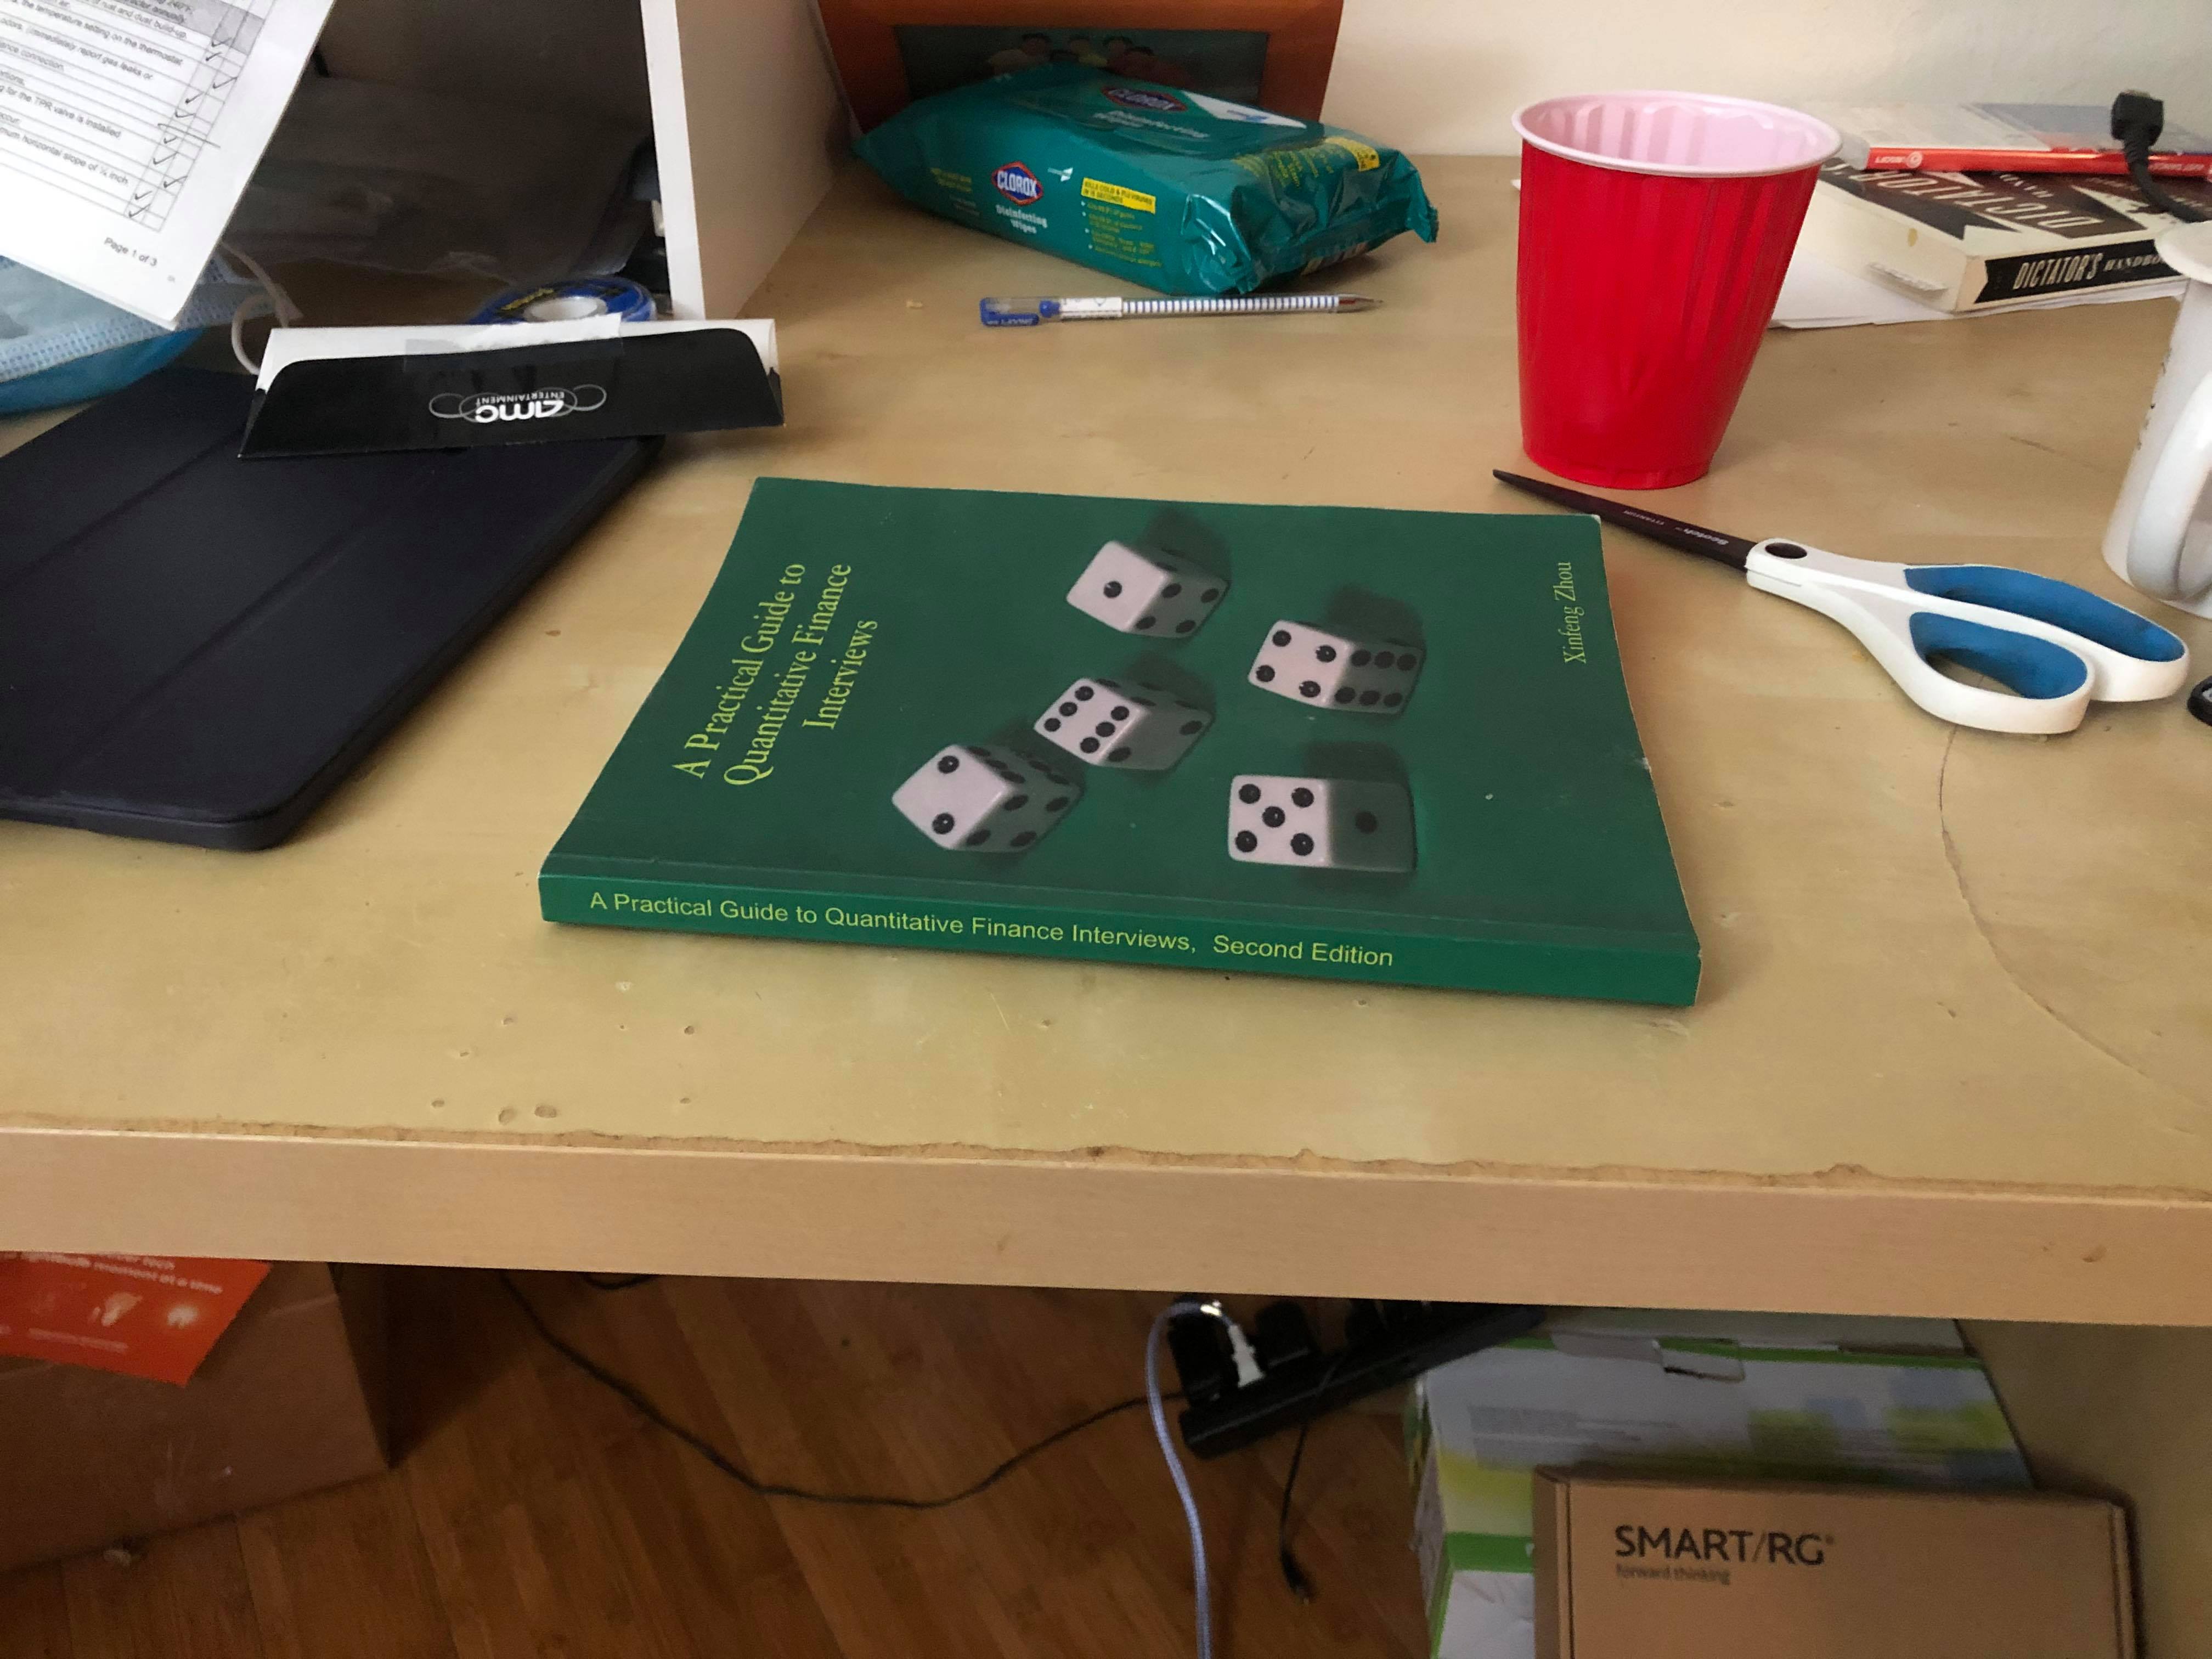
Book:
Rectified Book:

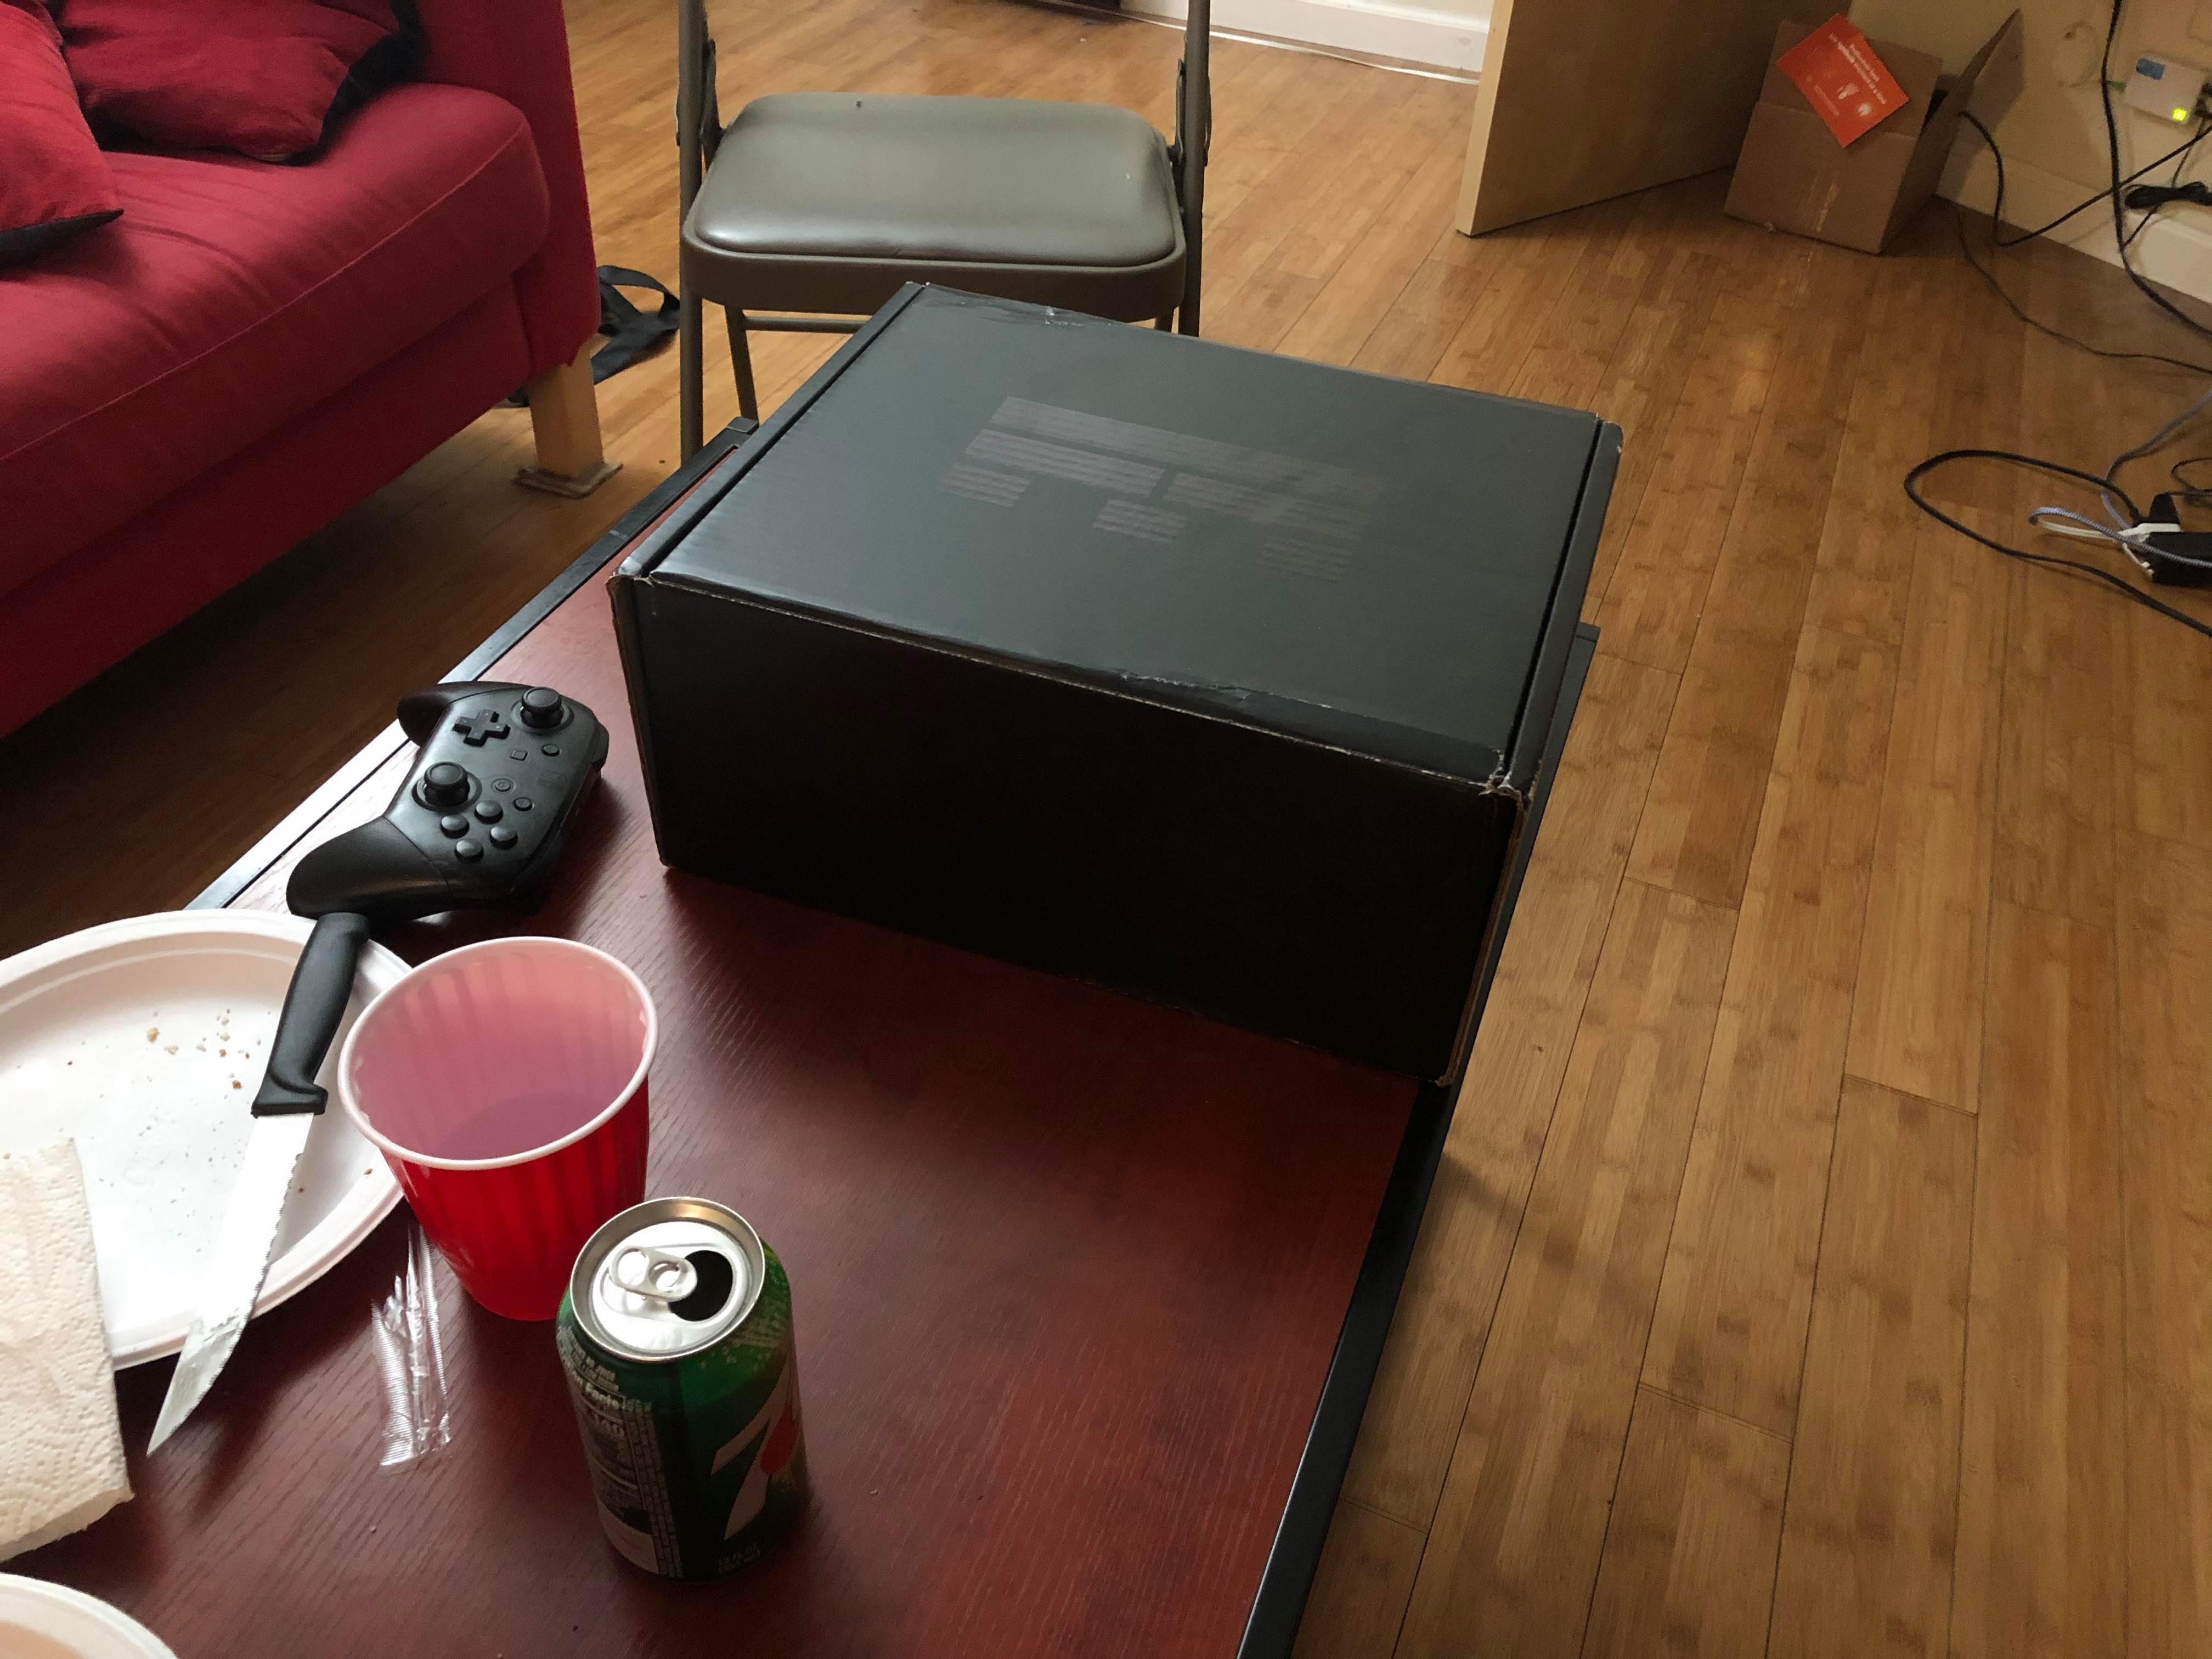
Box:
Rectified Box:
I used my phone camera to capture these images. (Rotated the phone horizontally to get 2 views of each).
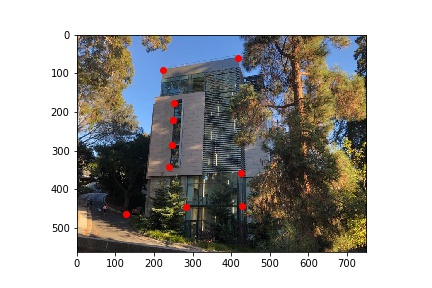
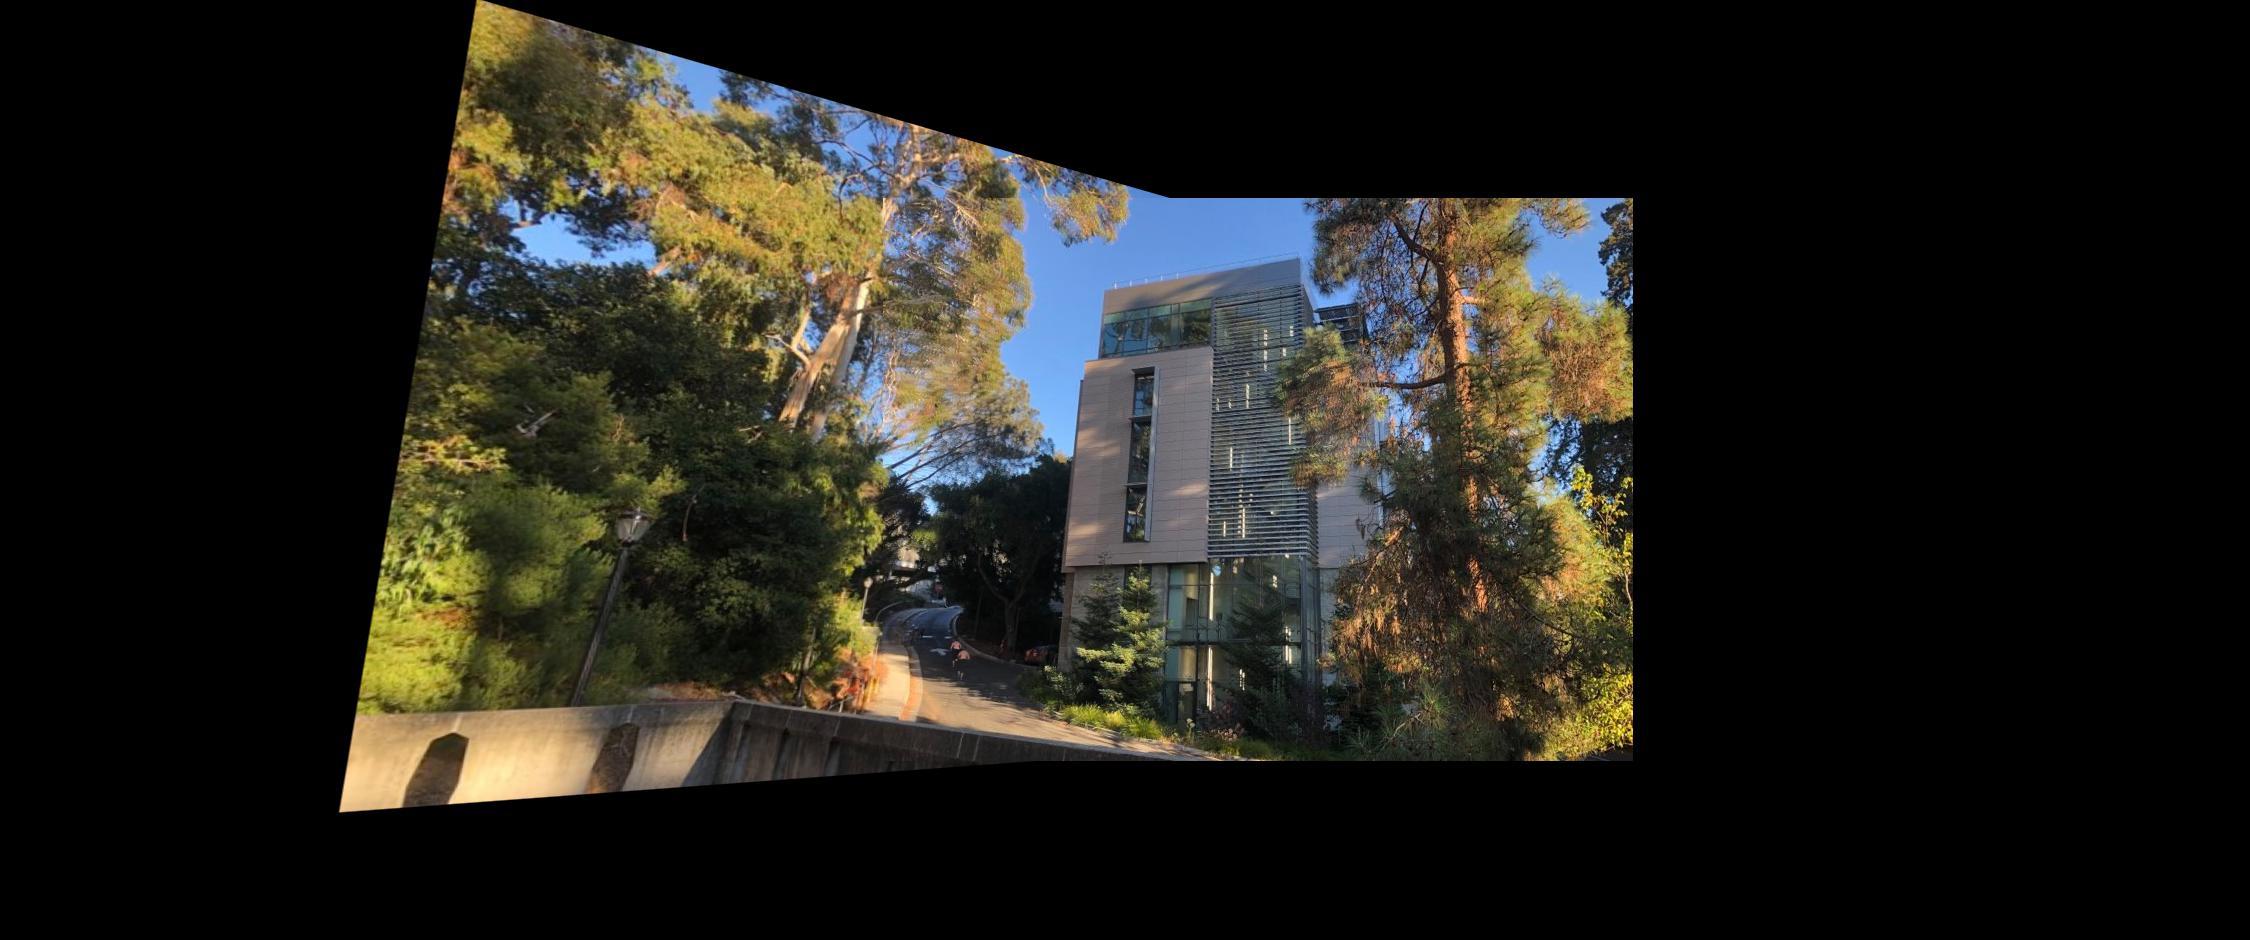
For each set of images, I defined points of correspondence. Then, with these points of correspondence, I computed the homography
For the next step, I use this homography to compute an inverse warp.
I also defined a coordinate system that would be large enough for all the warped images. I also had to find the x-axis and y-axis shift from warping to this new coordinate system.
After warping the image, I blend the two images together by matching the points of correspondence and inserting the second image.
When inserting the second image, I tried letting the second image completely override, using a weighted average, and taking the maximum pixel value for overlapping areas.
The best result ended up being using the maximum. Here are the results:
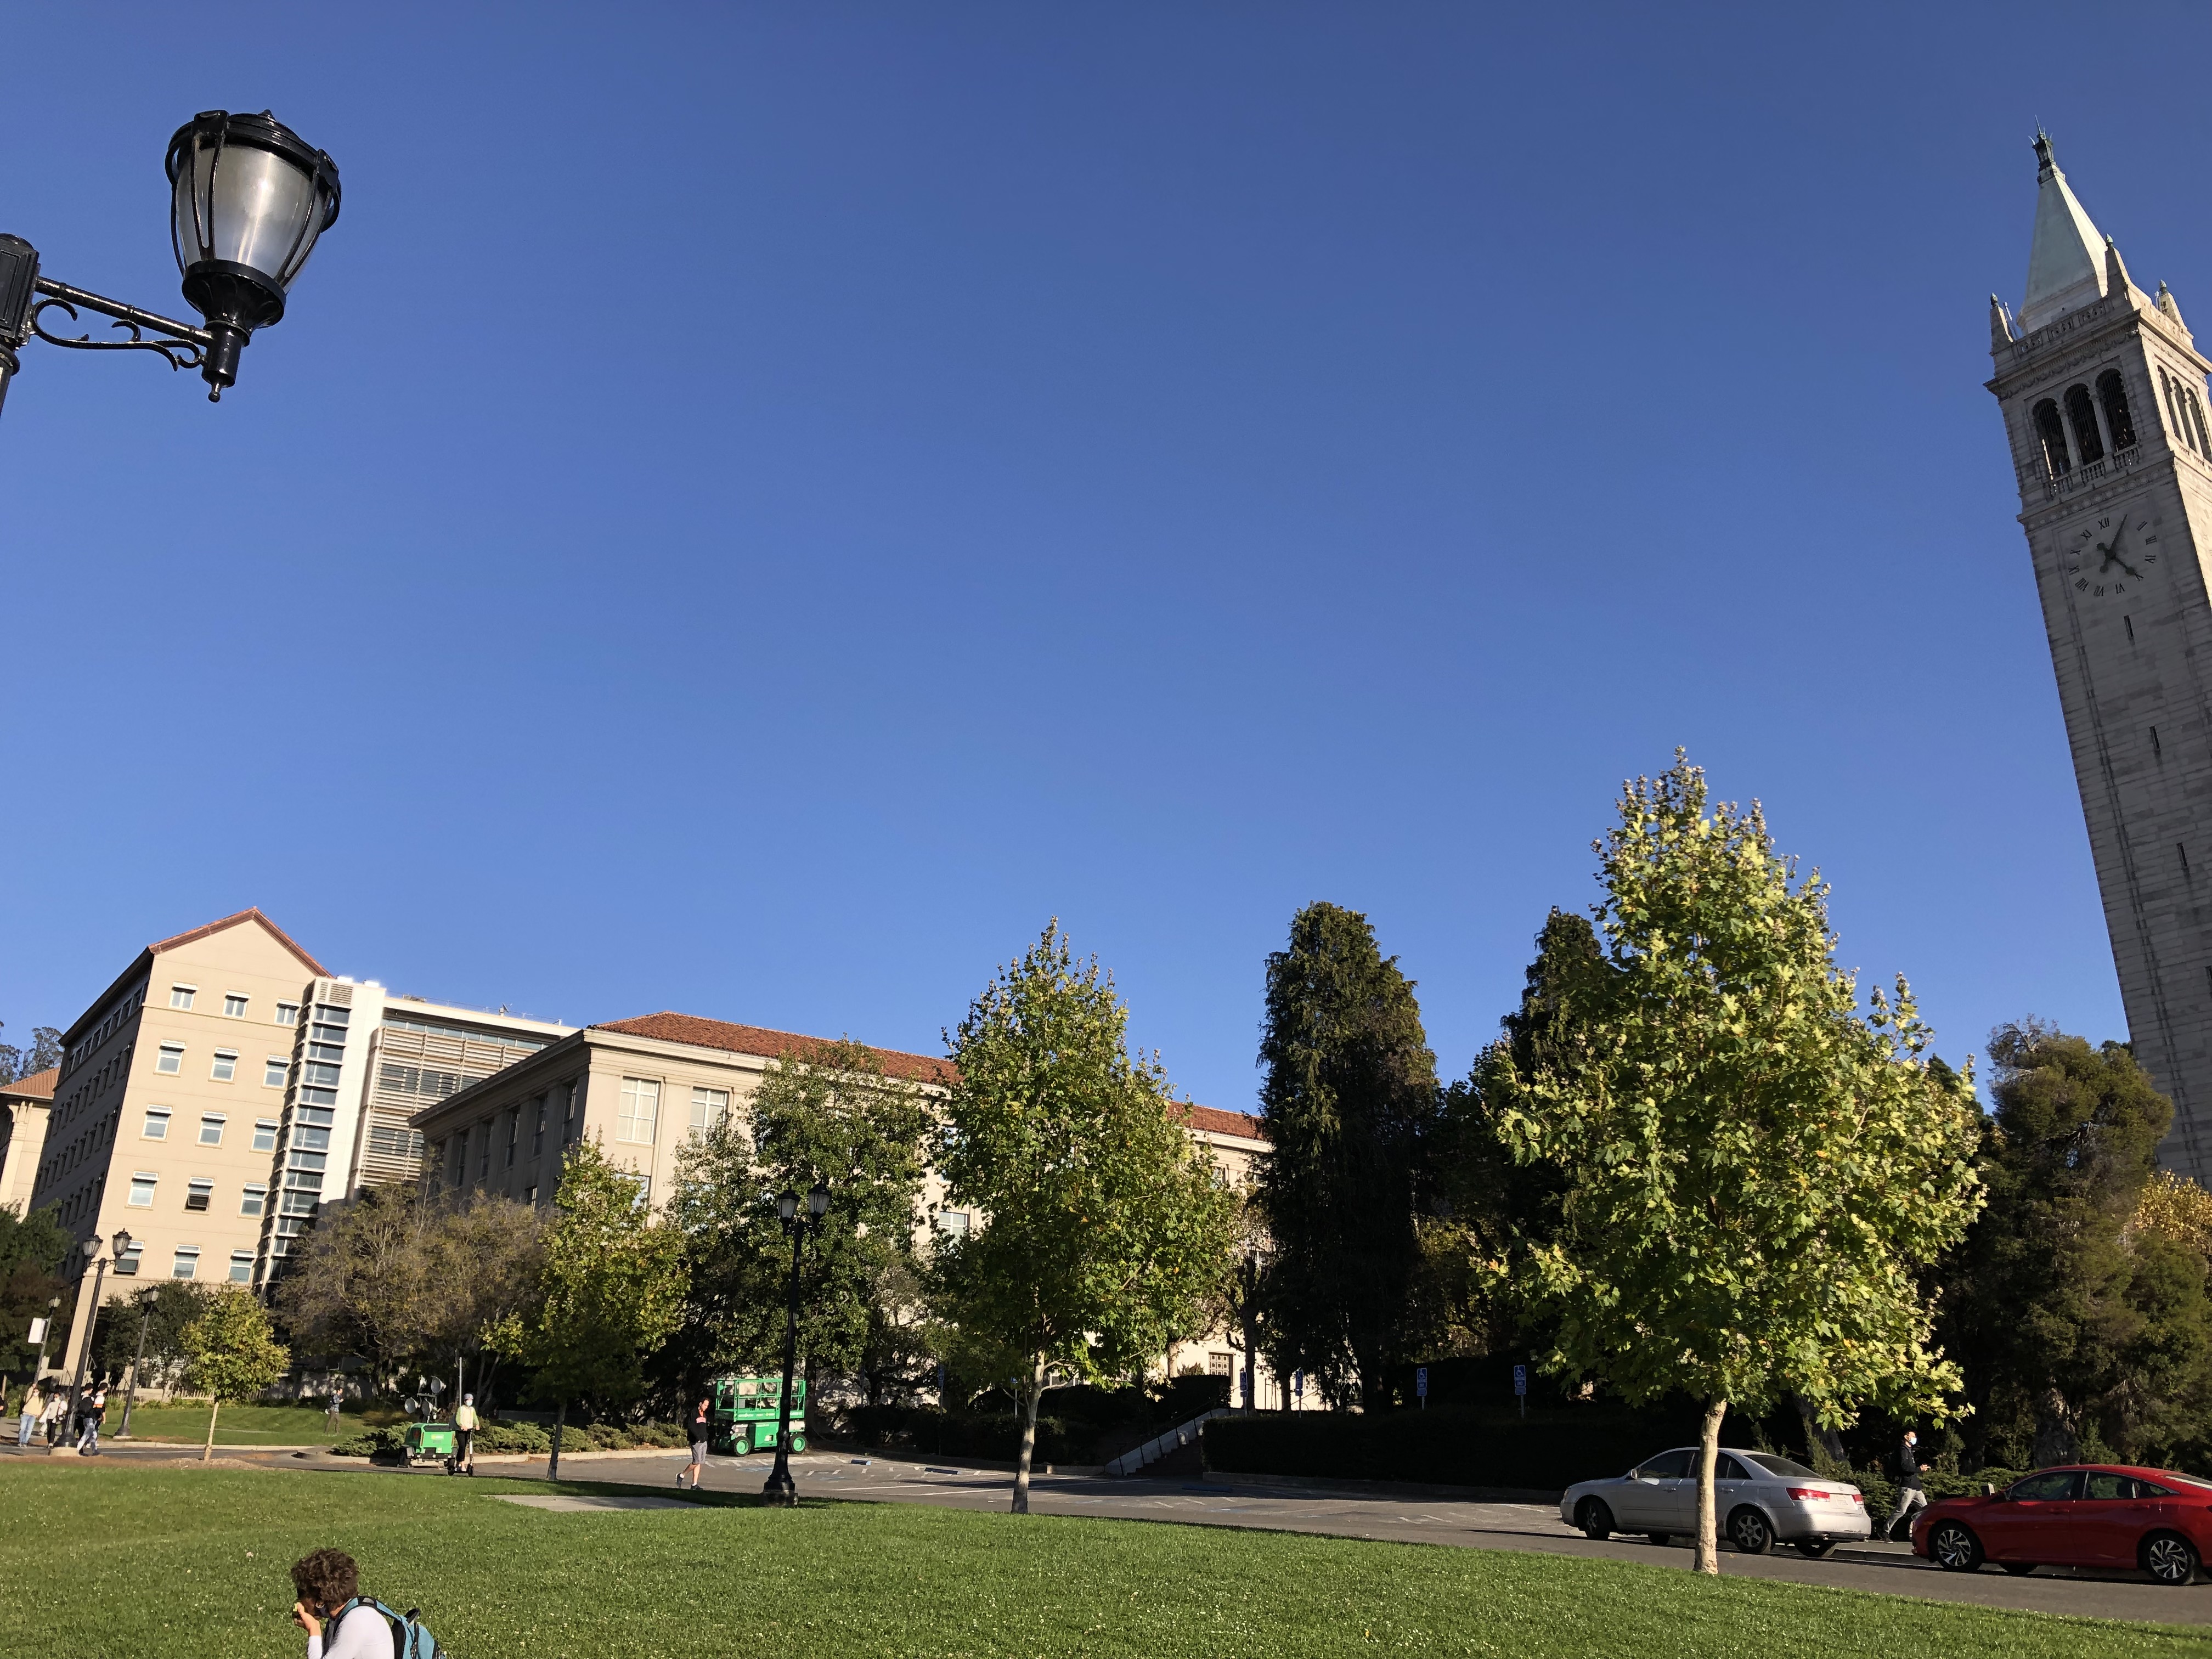
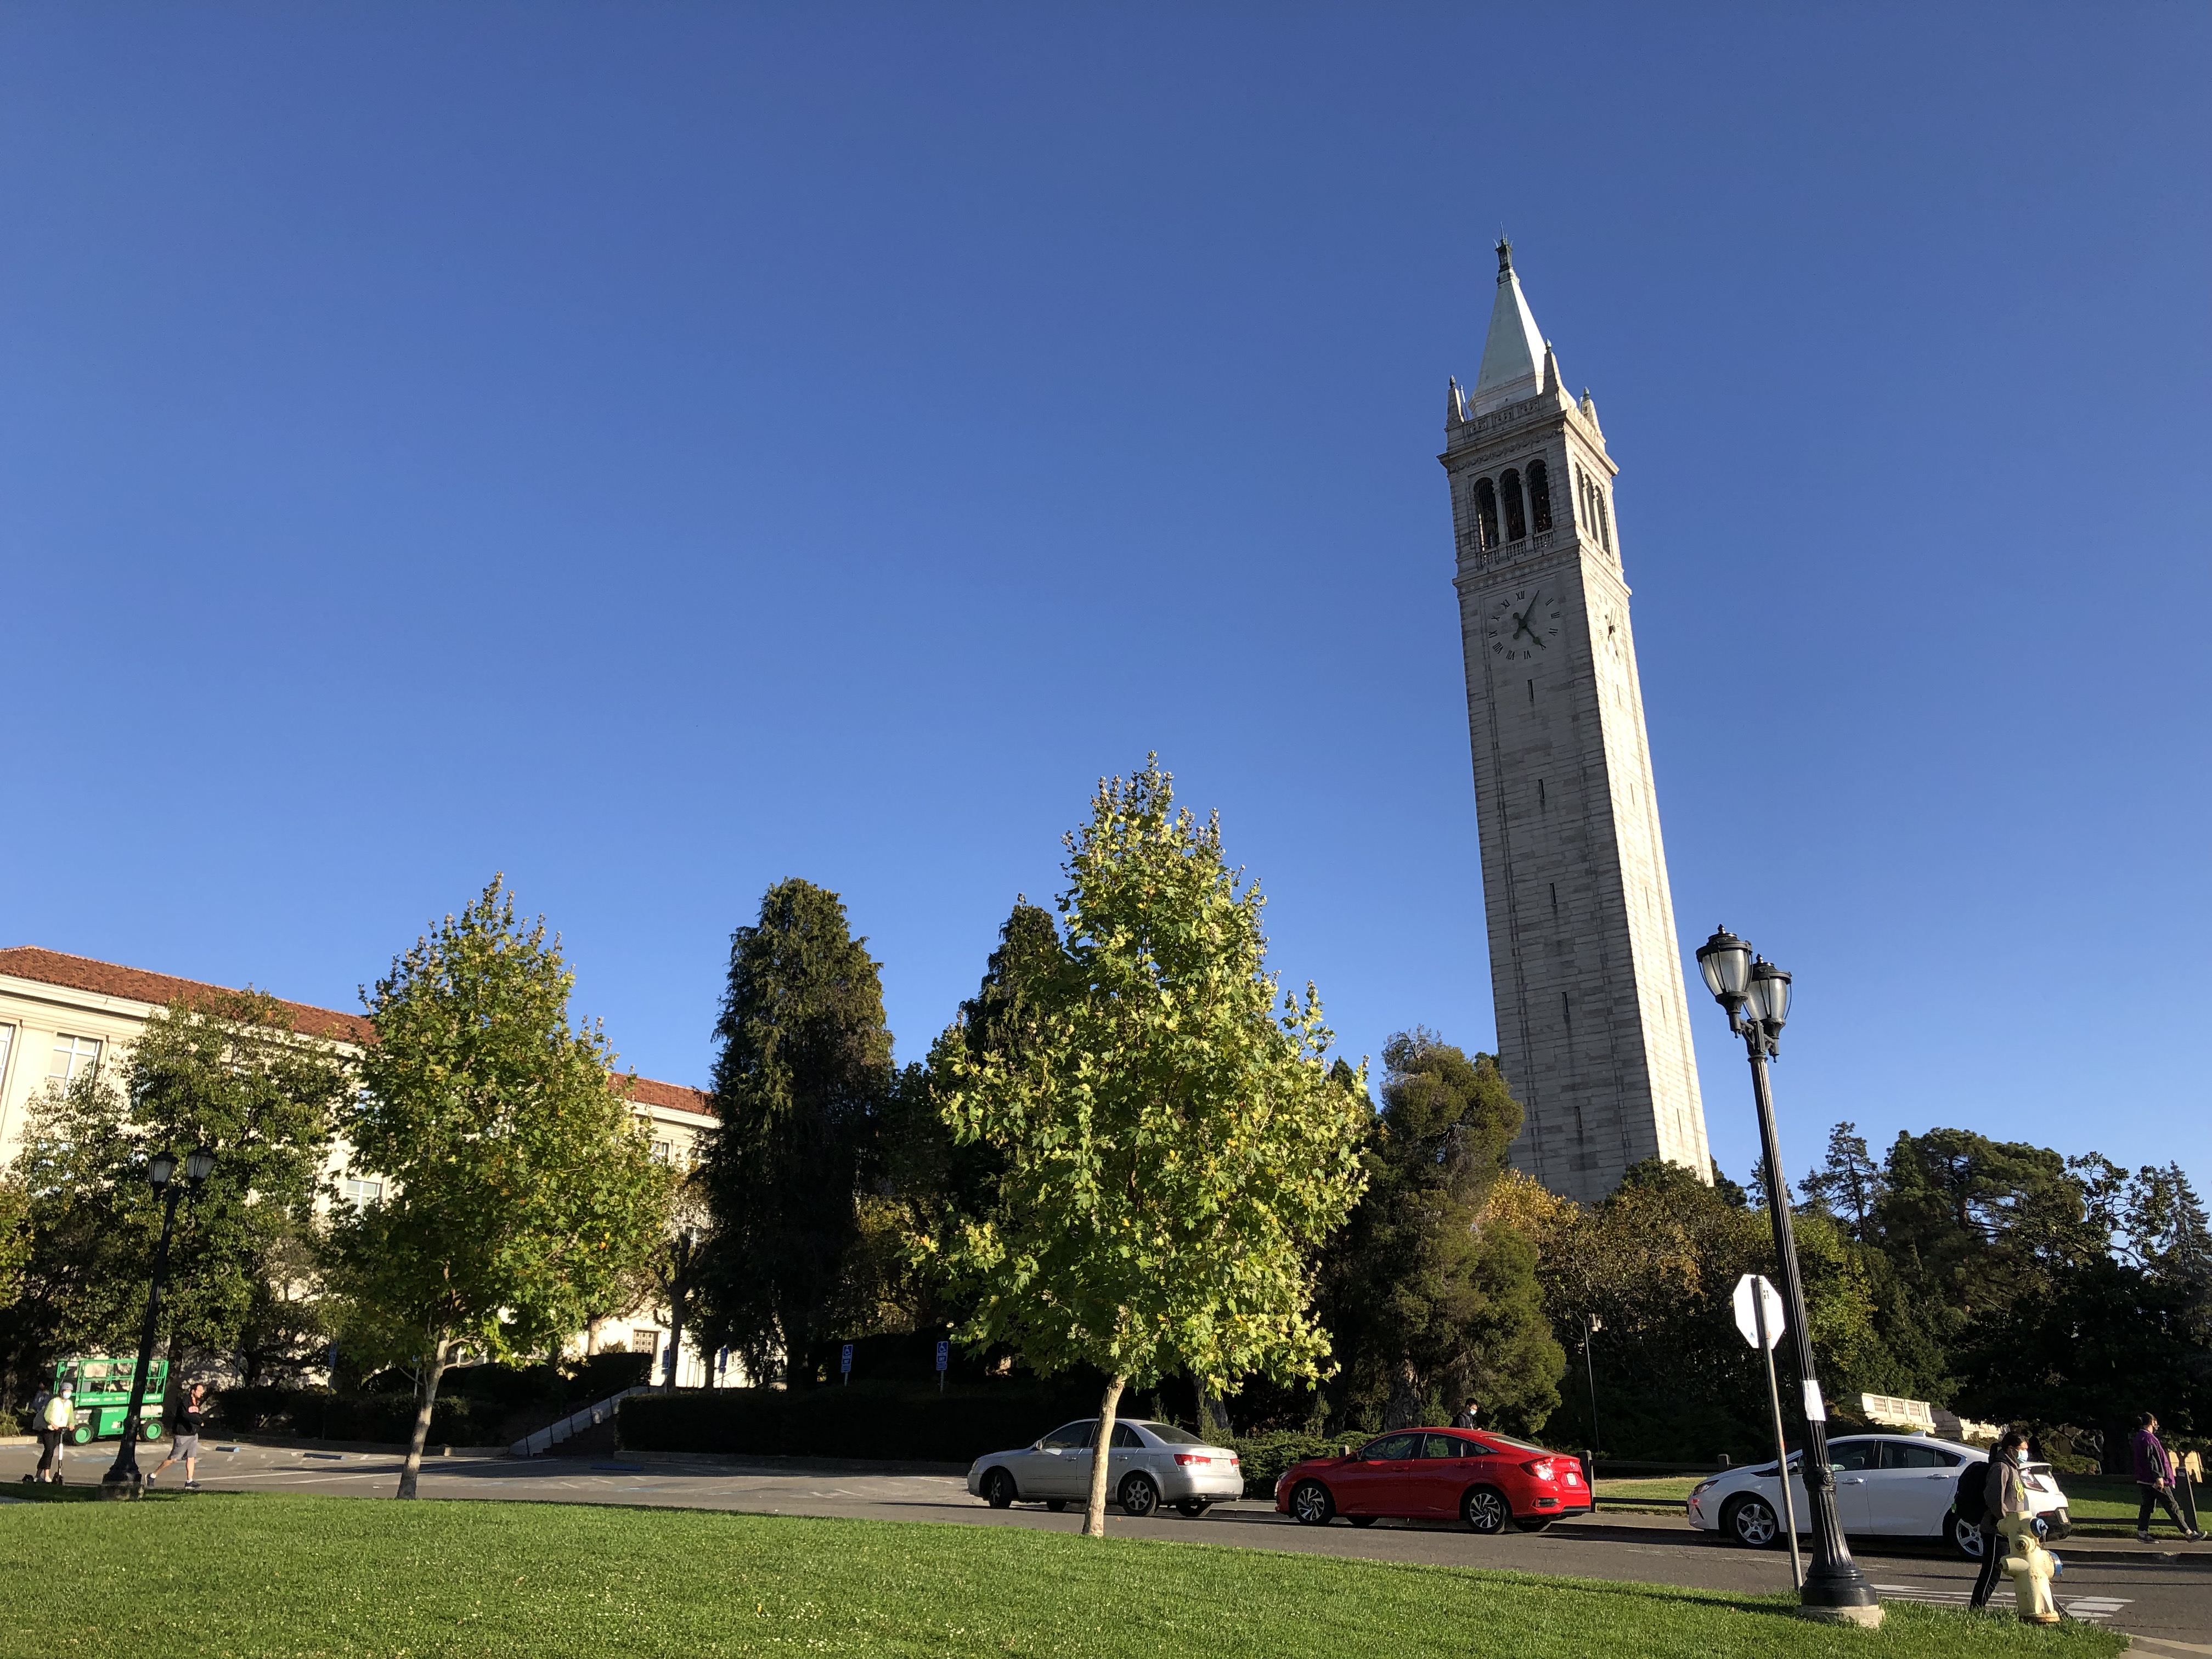
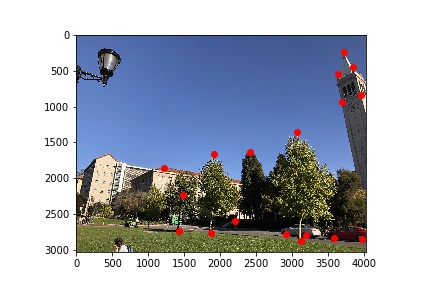
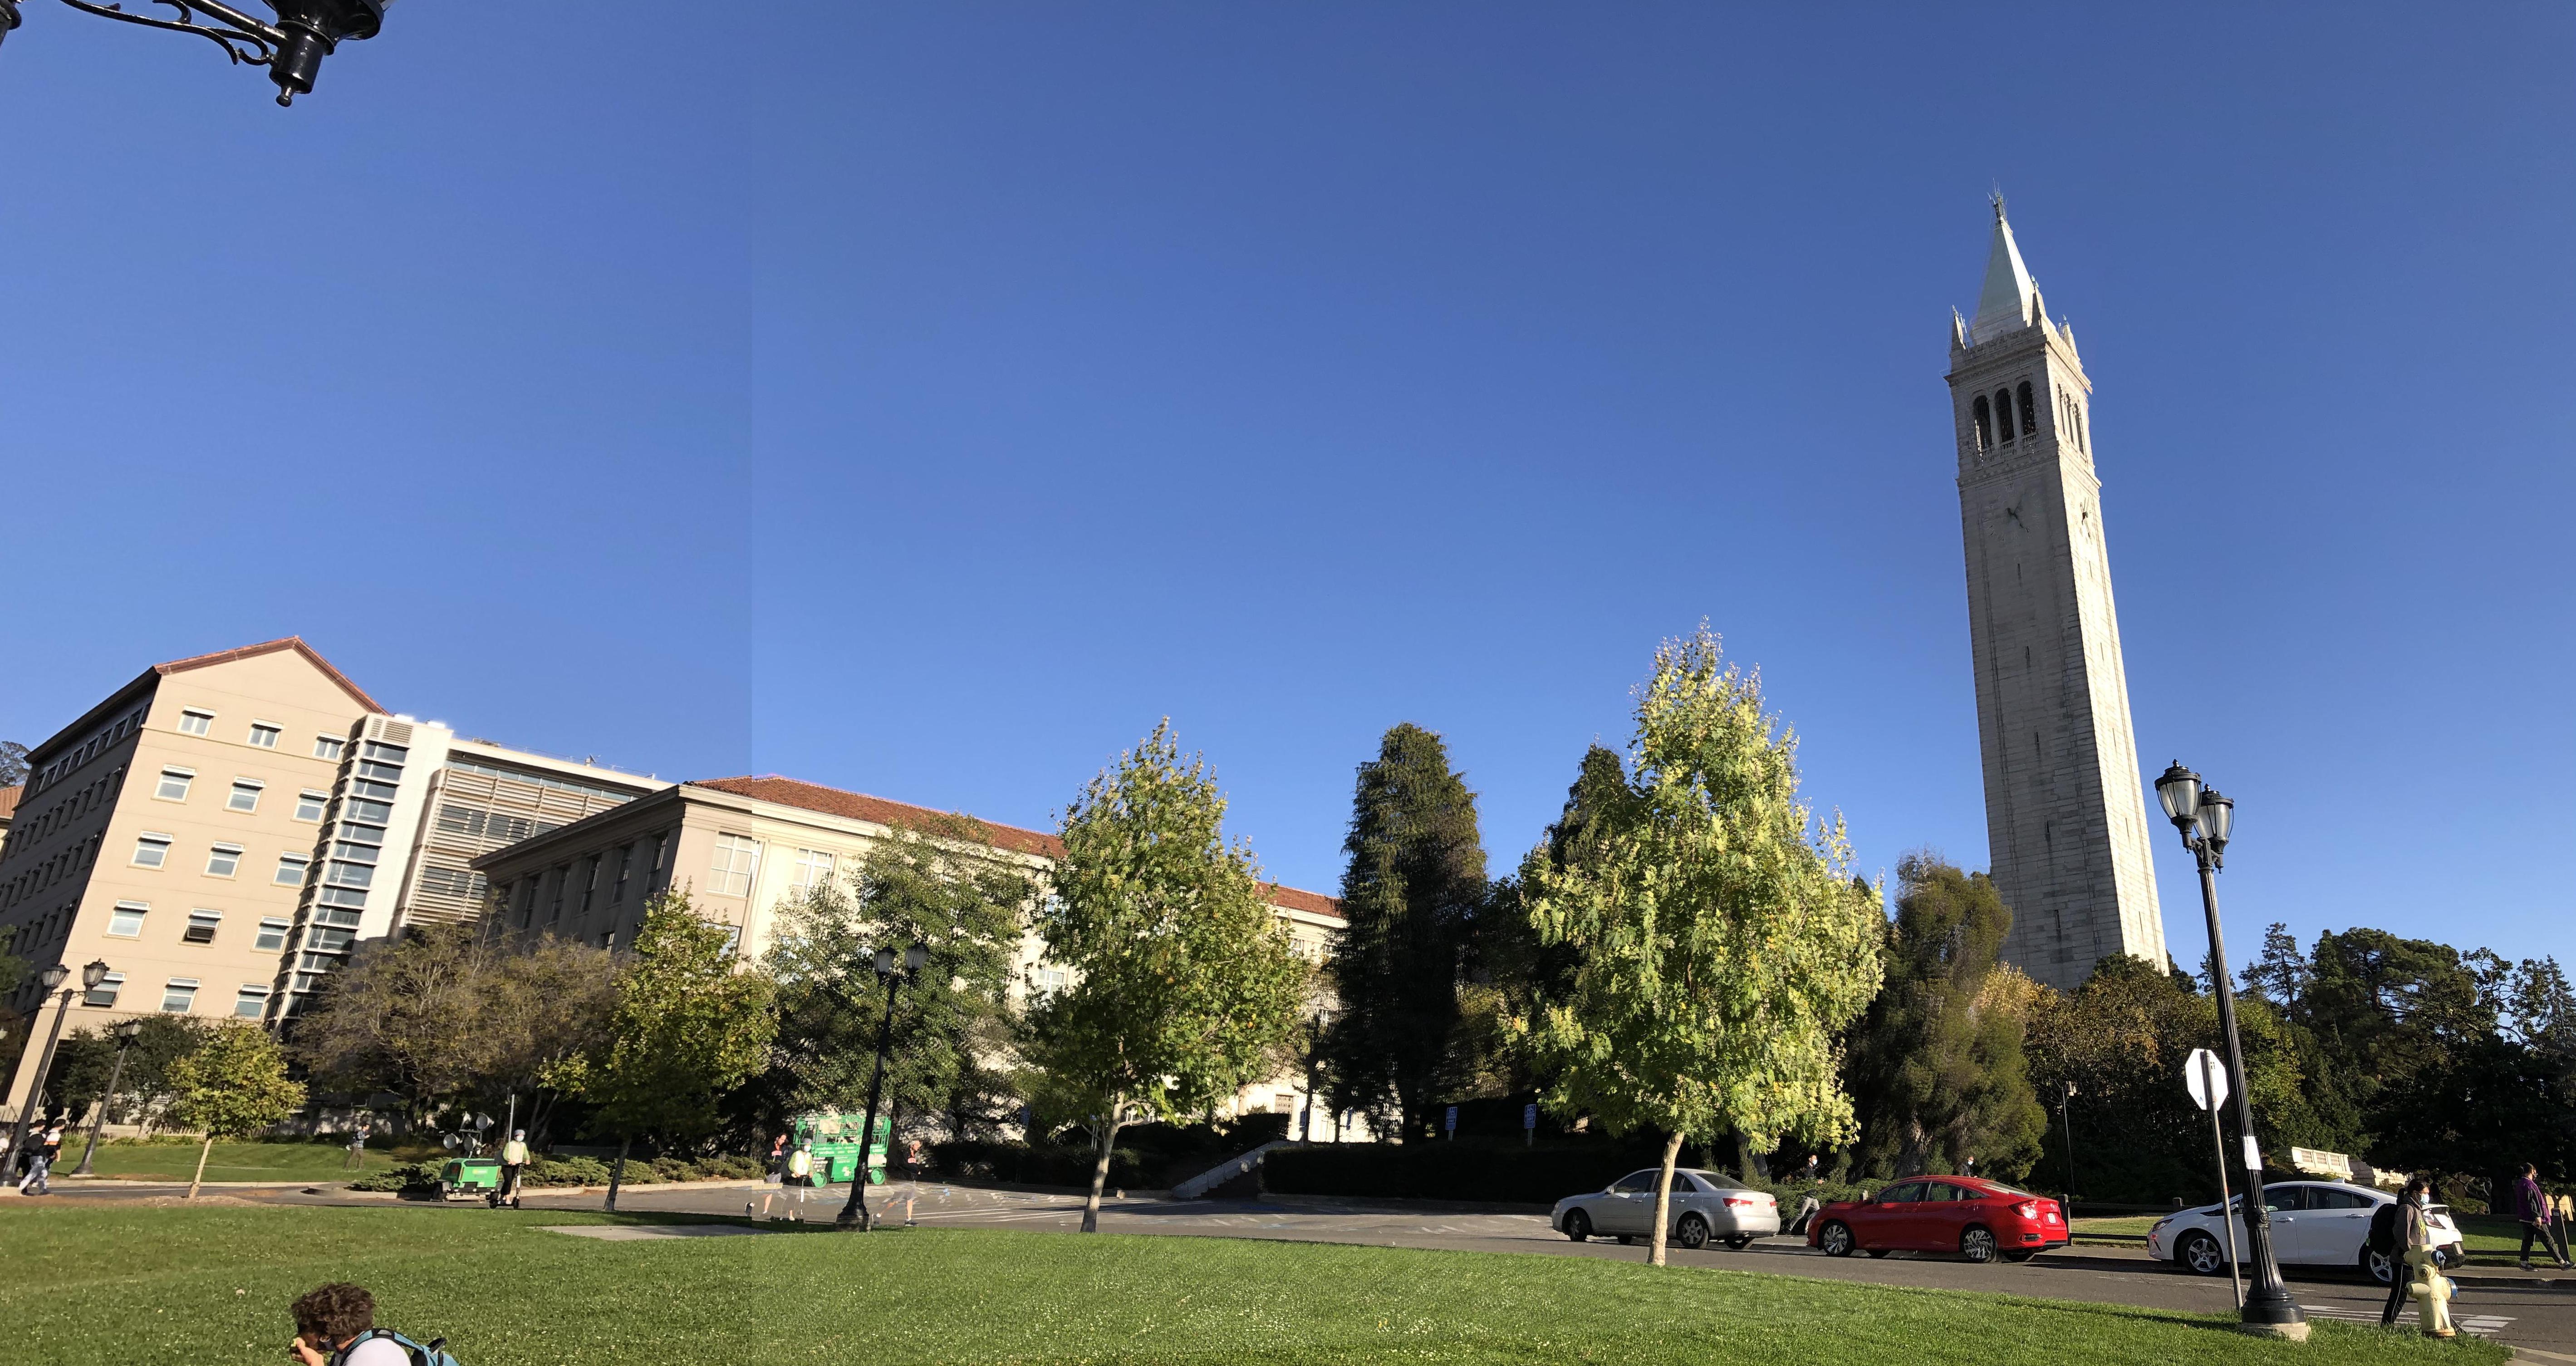
Campanile (and points of correspondence):
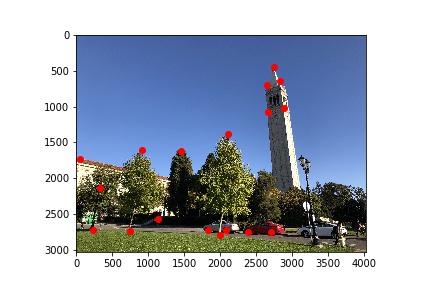
Warped and Blended image; Cropped Version:
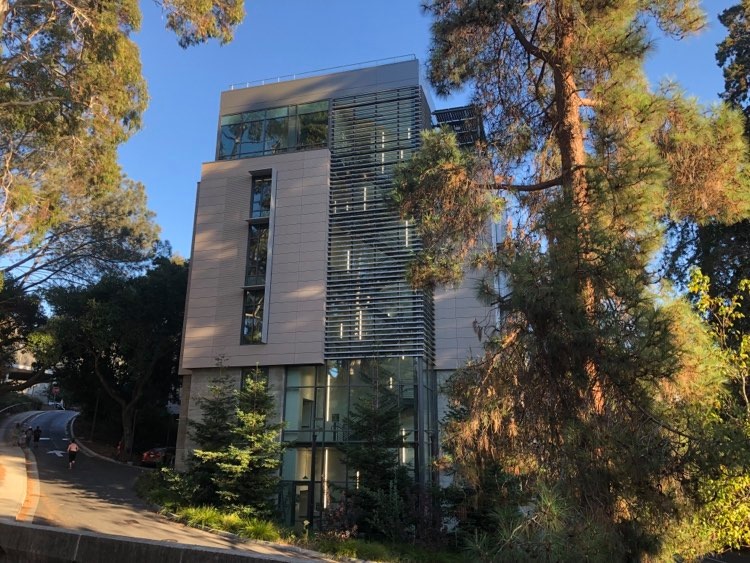
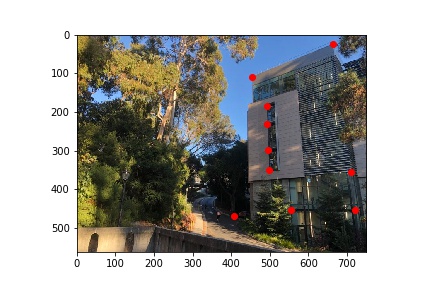
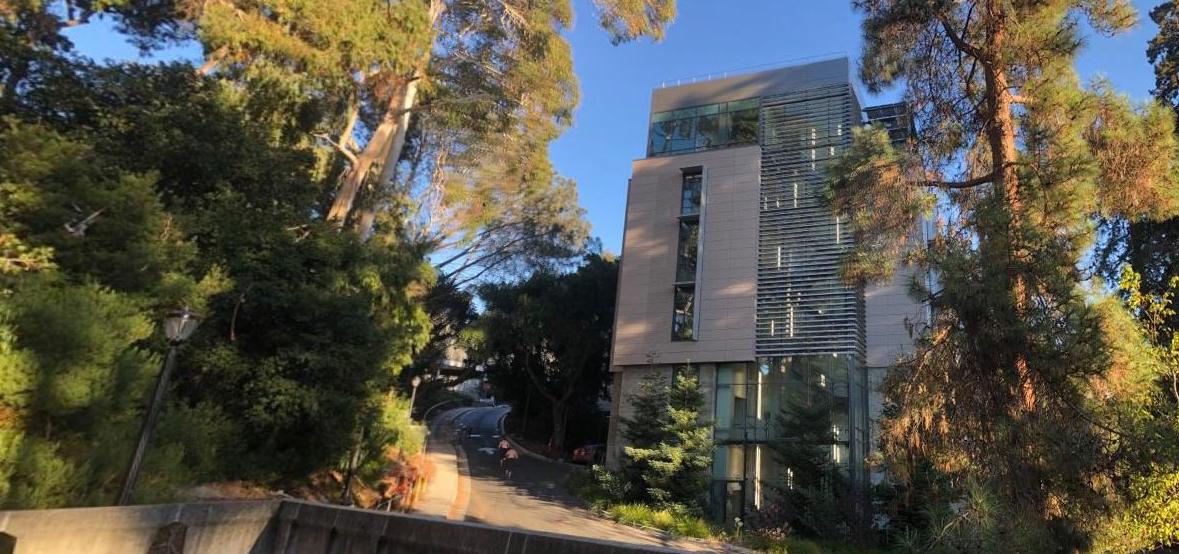
Building near Lewis (and points of correspondence):
Warped and Blended image; Cropped Version:
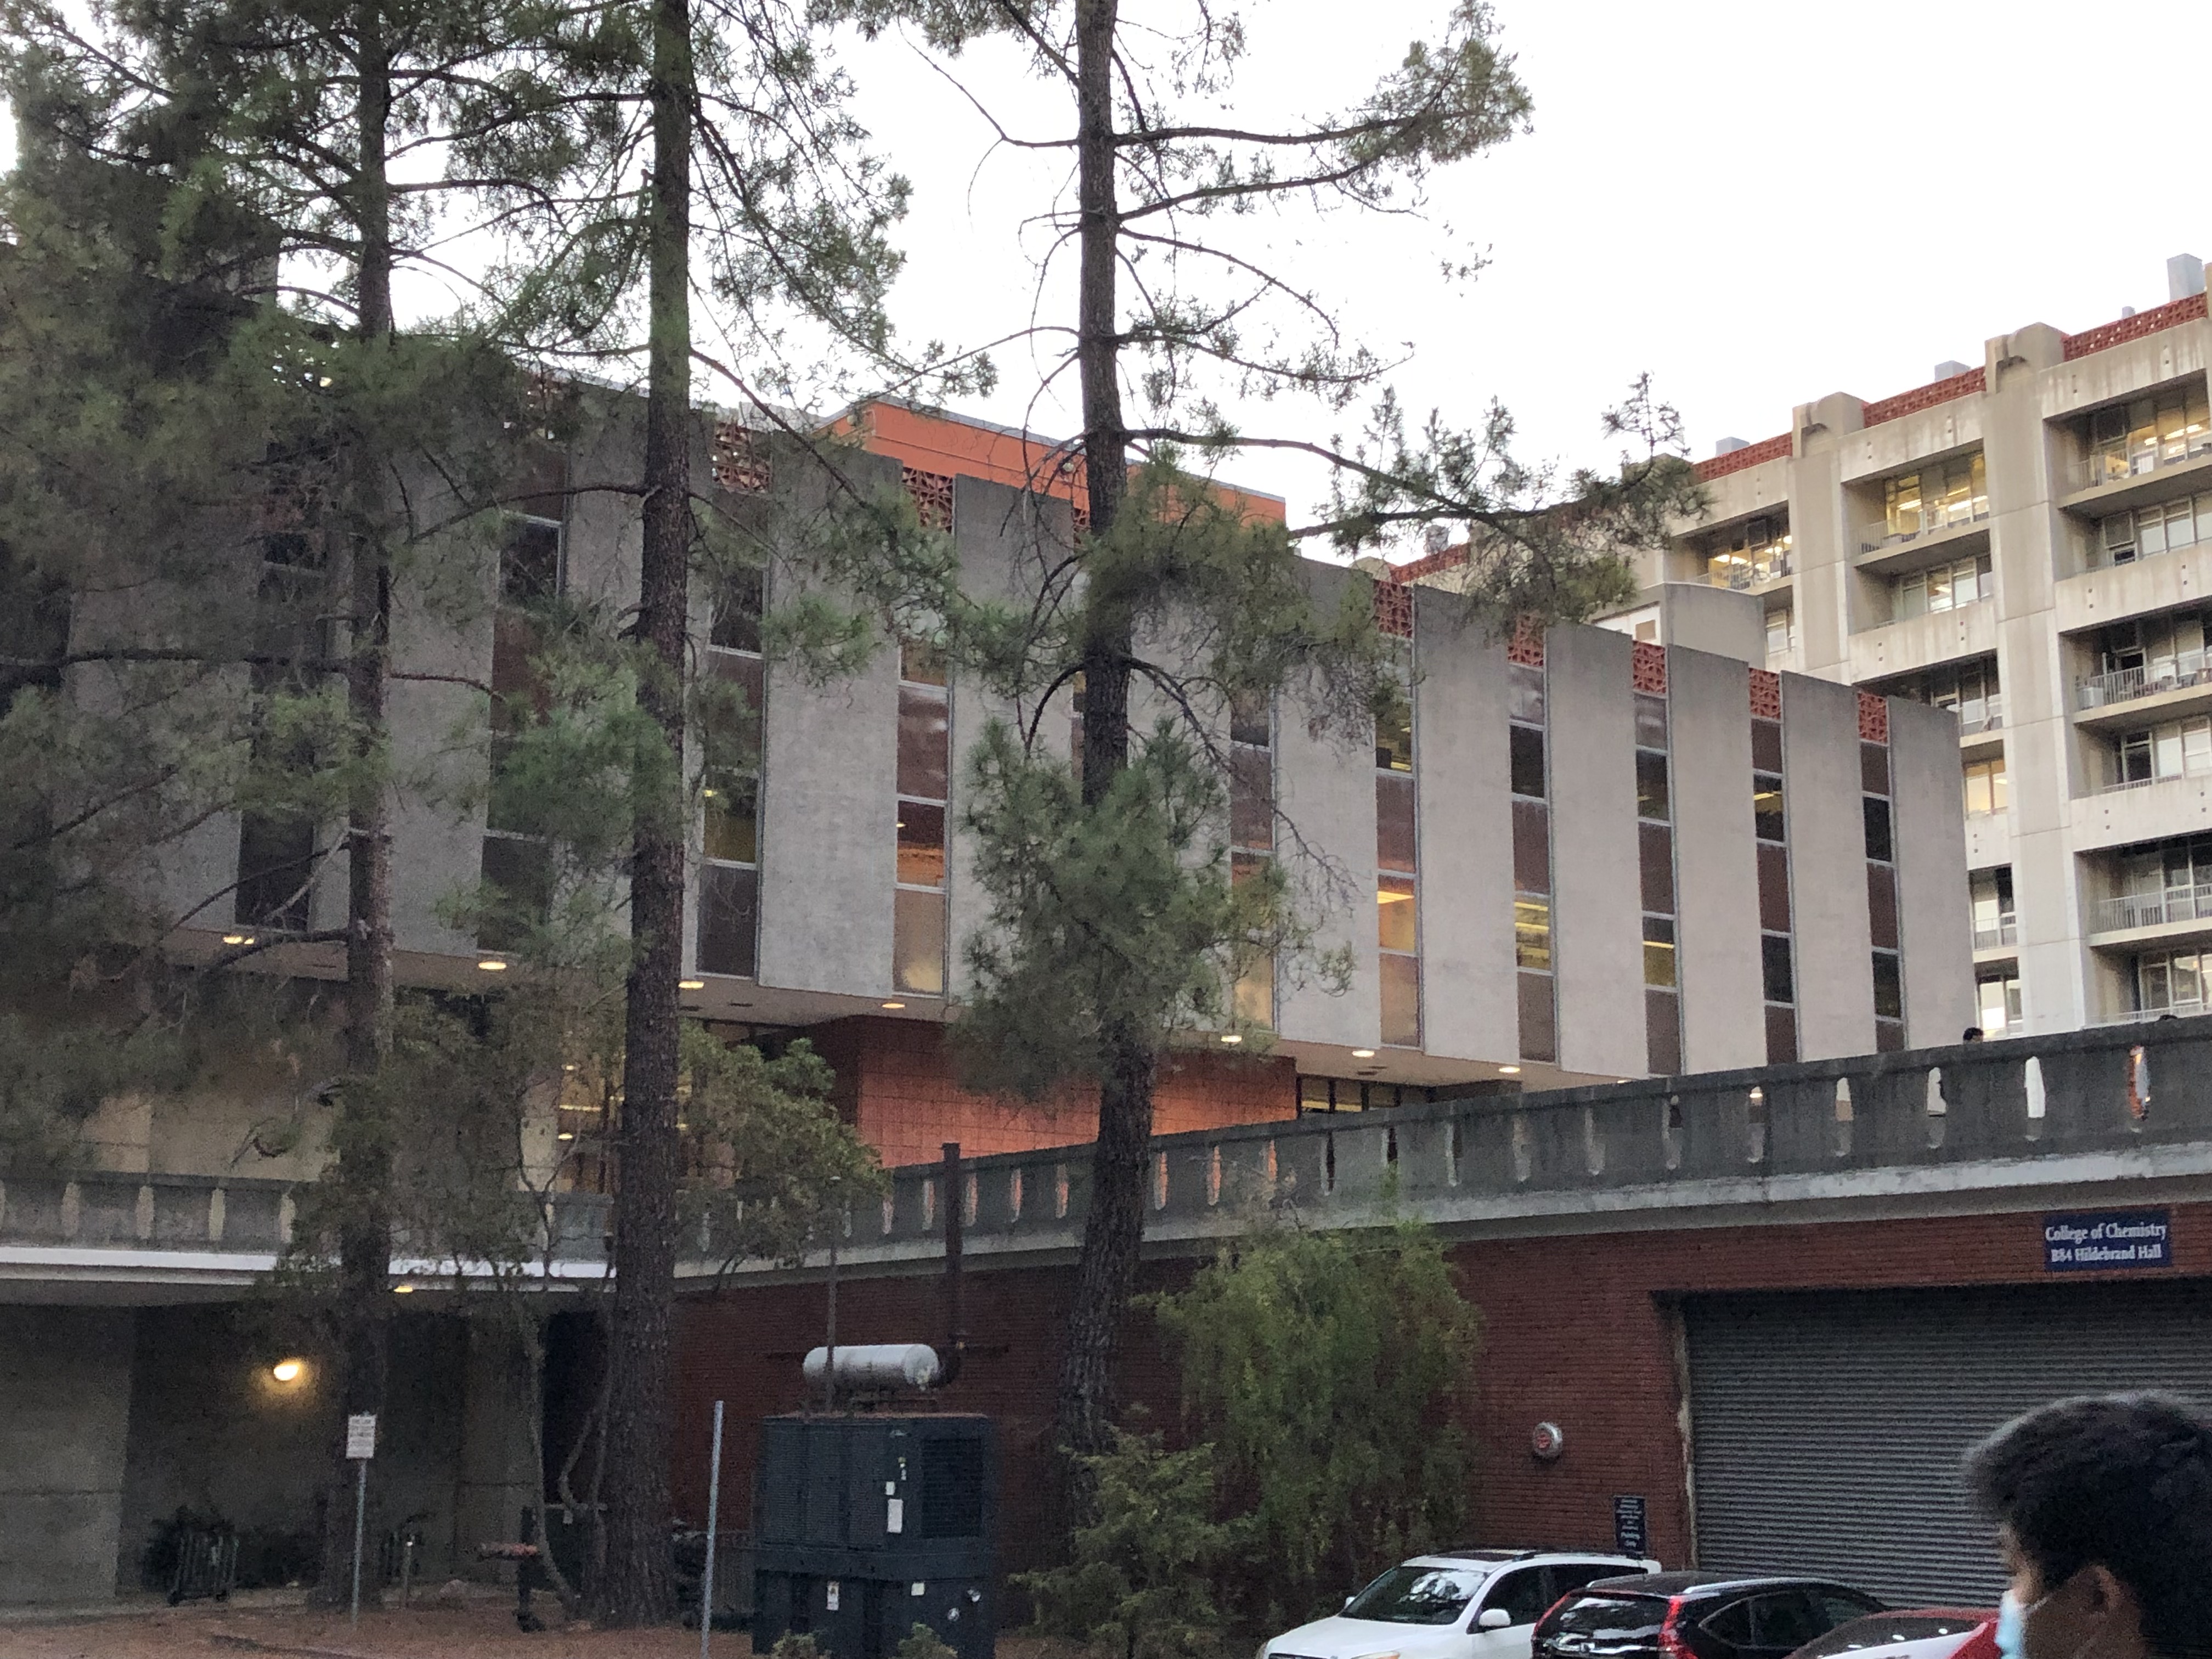
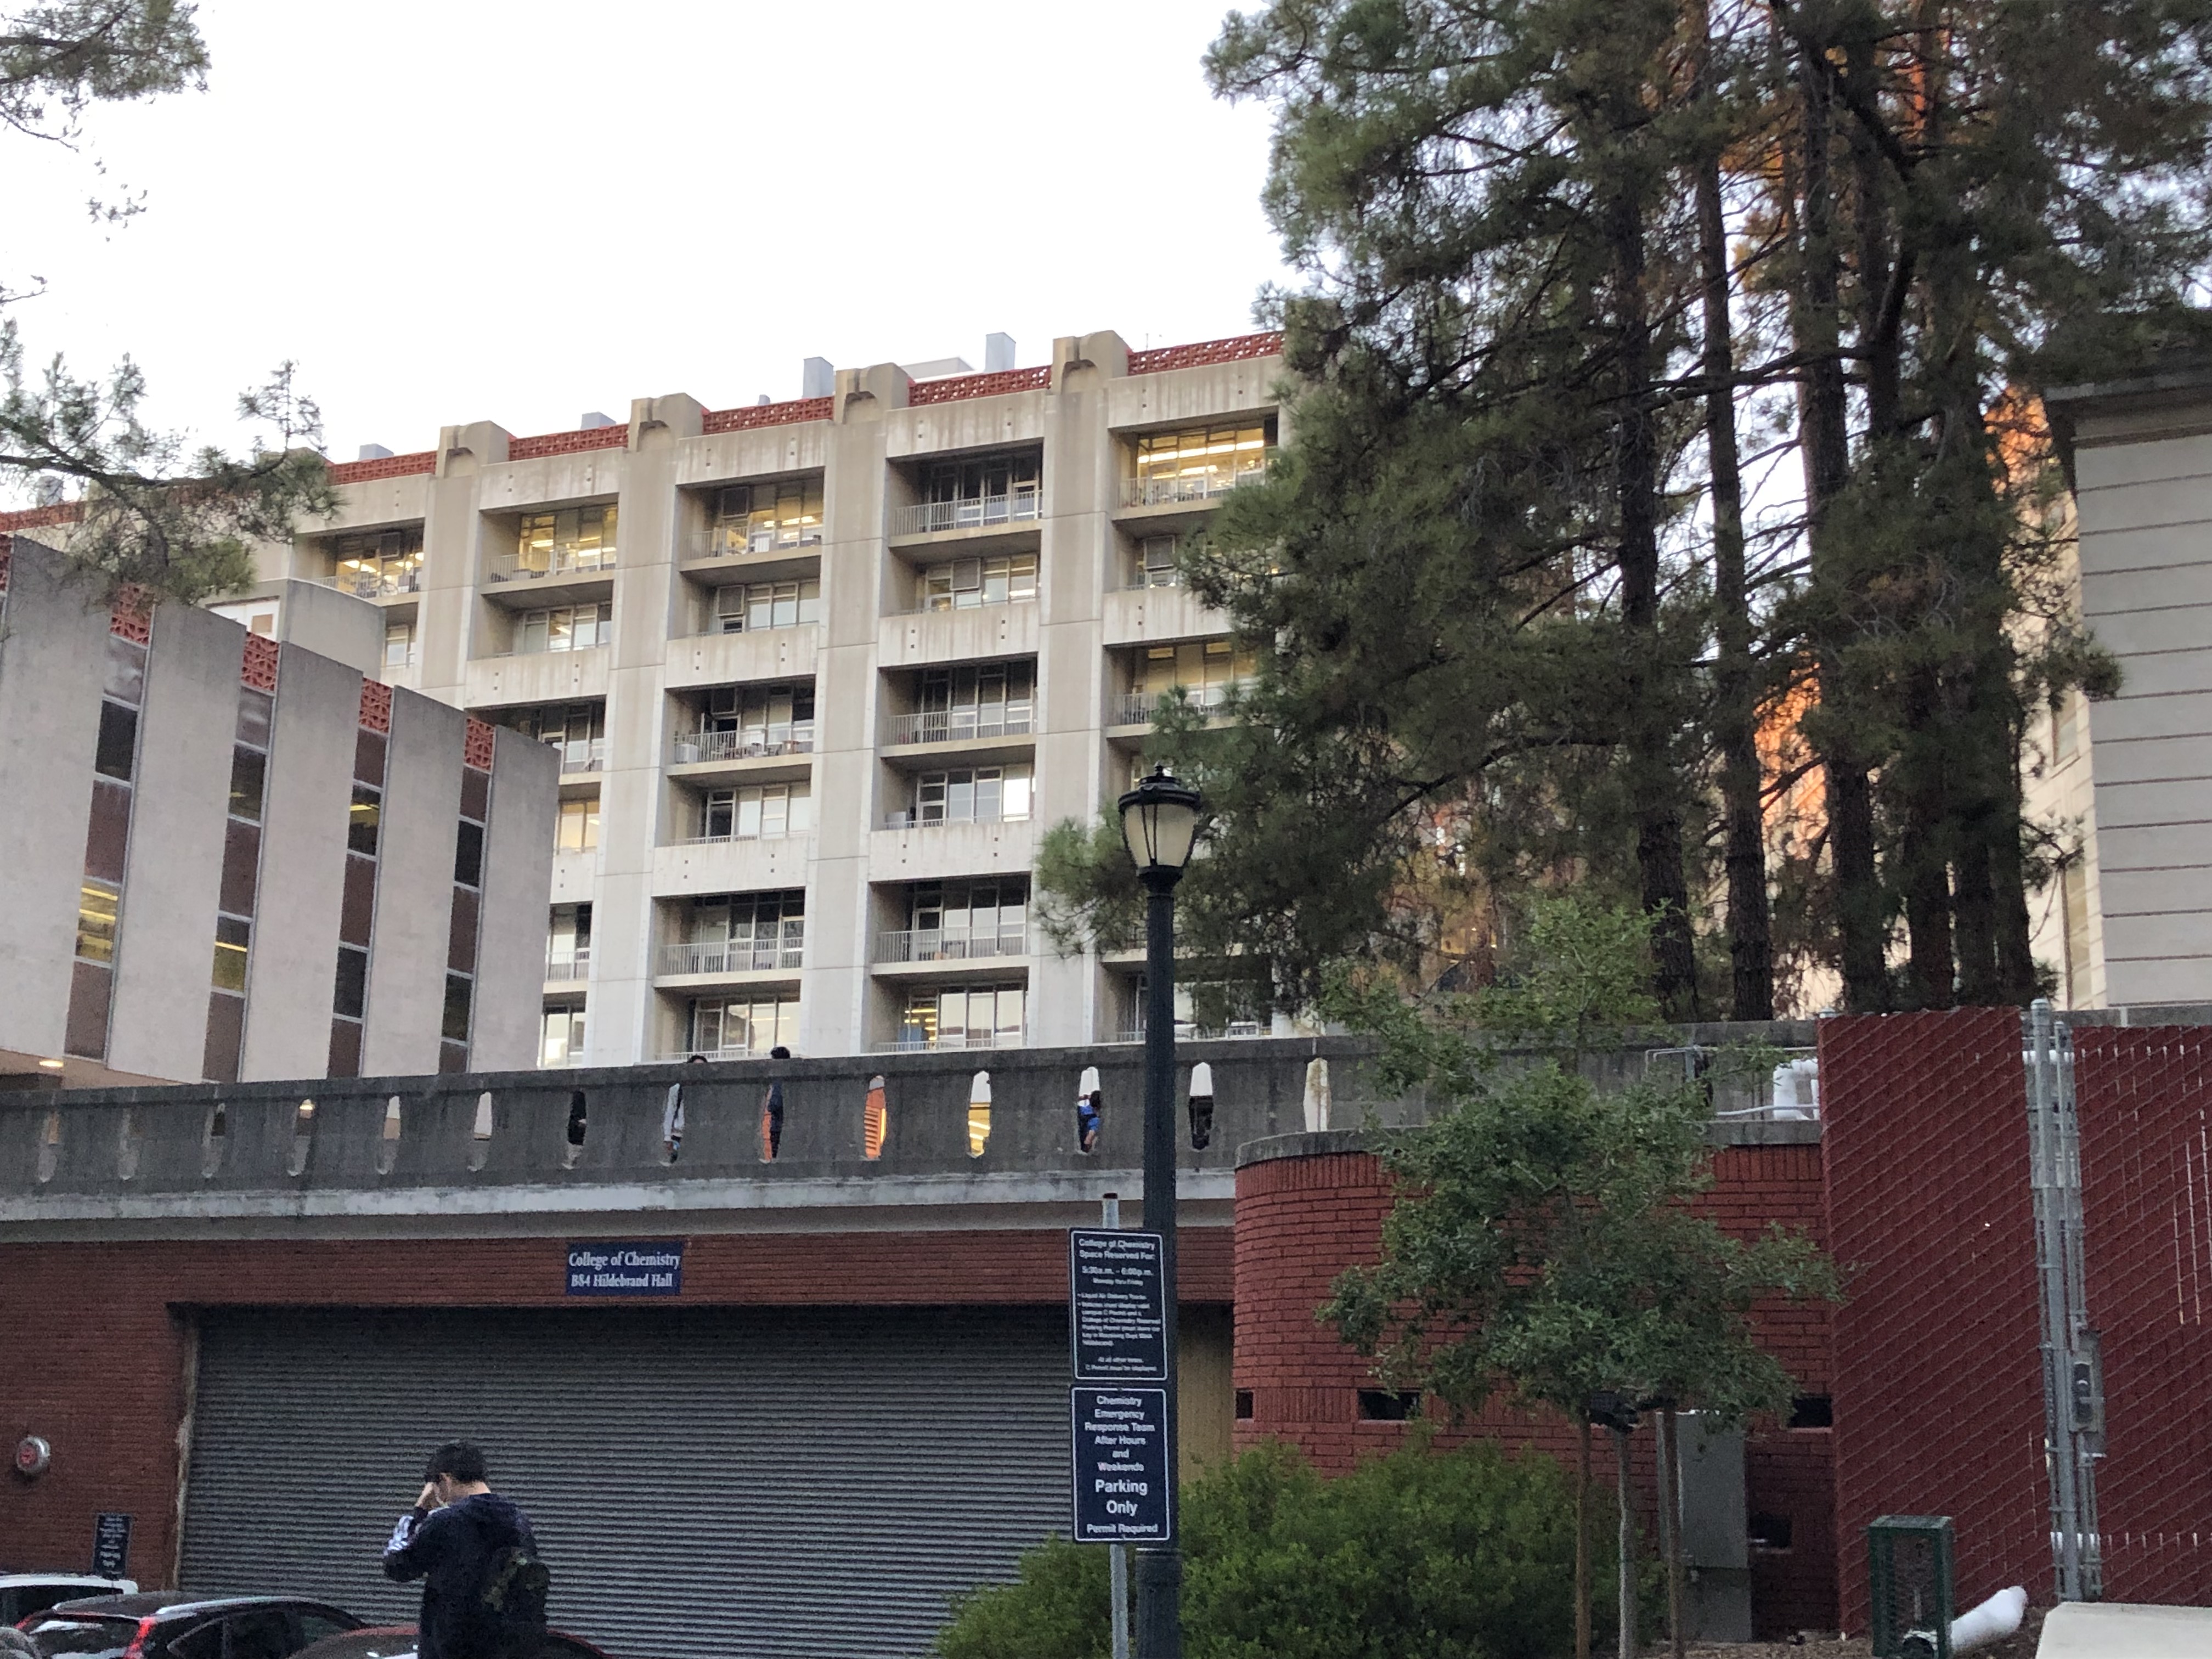
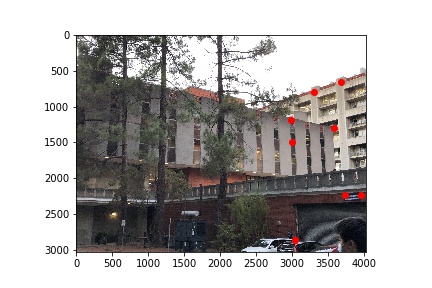
Haas building (and points of correspondence):
Warped and Blended image; Cropped Version:
Something that I thought was interesting and cool was that we could combine/blend images together very well. Particularly the cropped image can look like a single captured image. I also thought the image rectification was very cool and did not expect to be able to make an image look like it was taken from a top-down view from just a side image.