In this project, we explore capturing photos from different perspectives and using image morphing with homographies to create a mosaic image that combiens the photos.
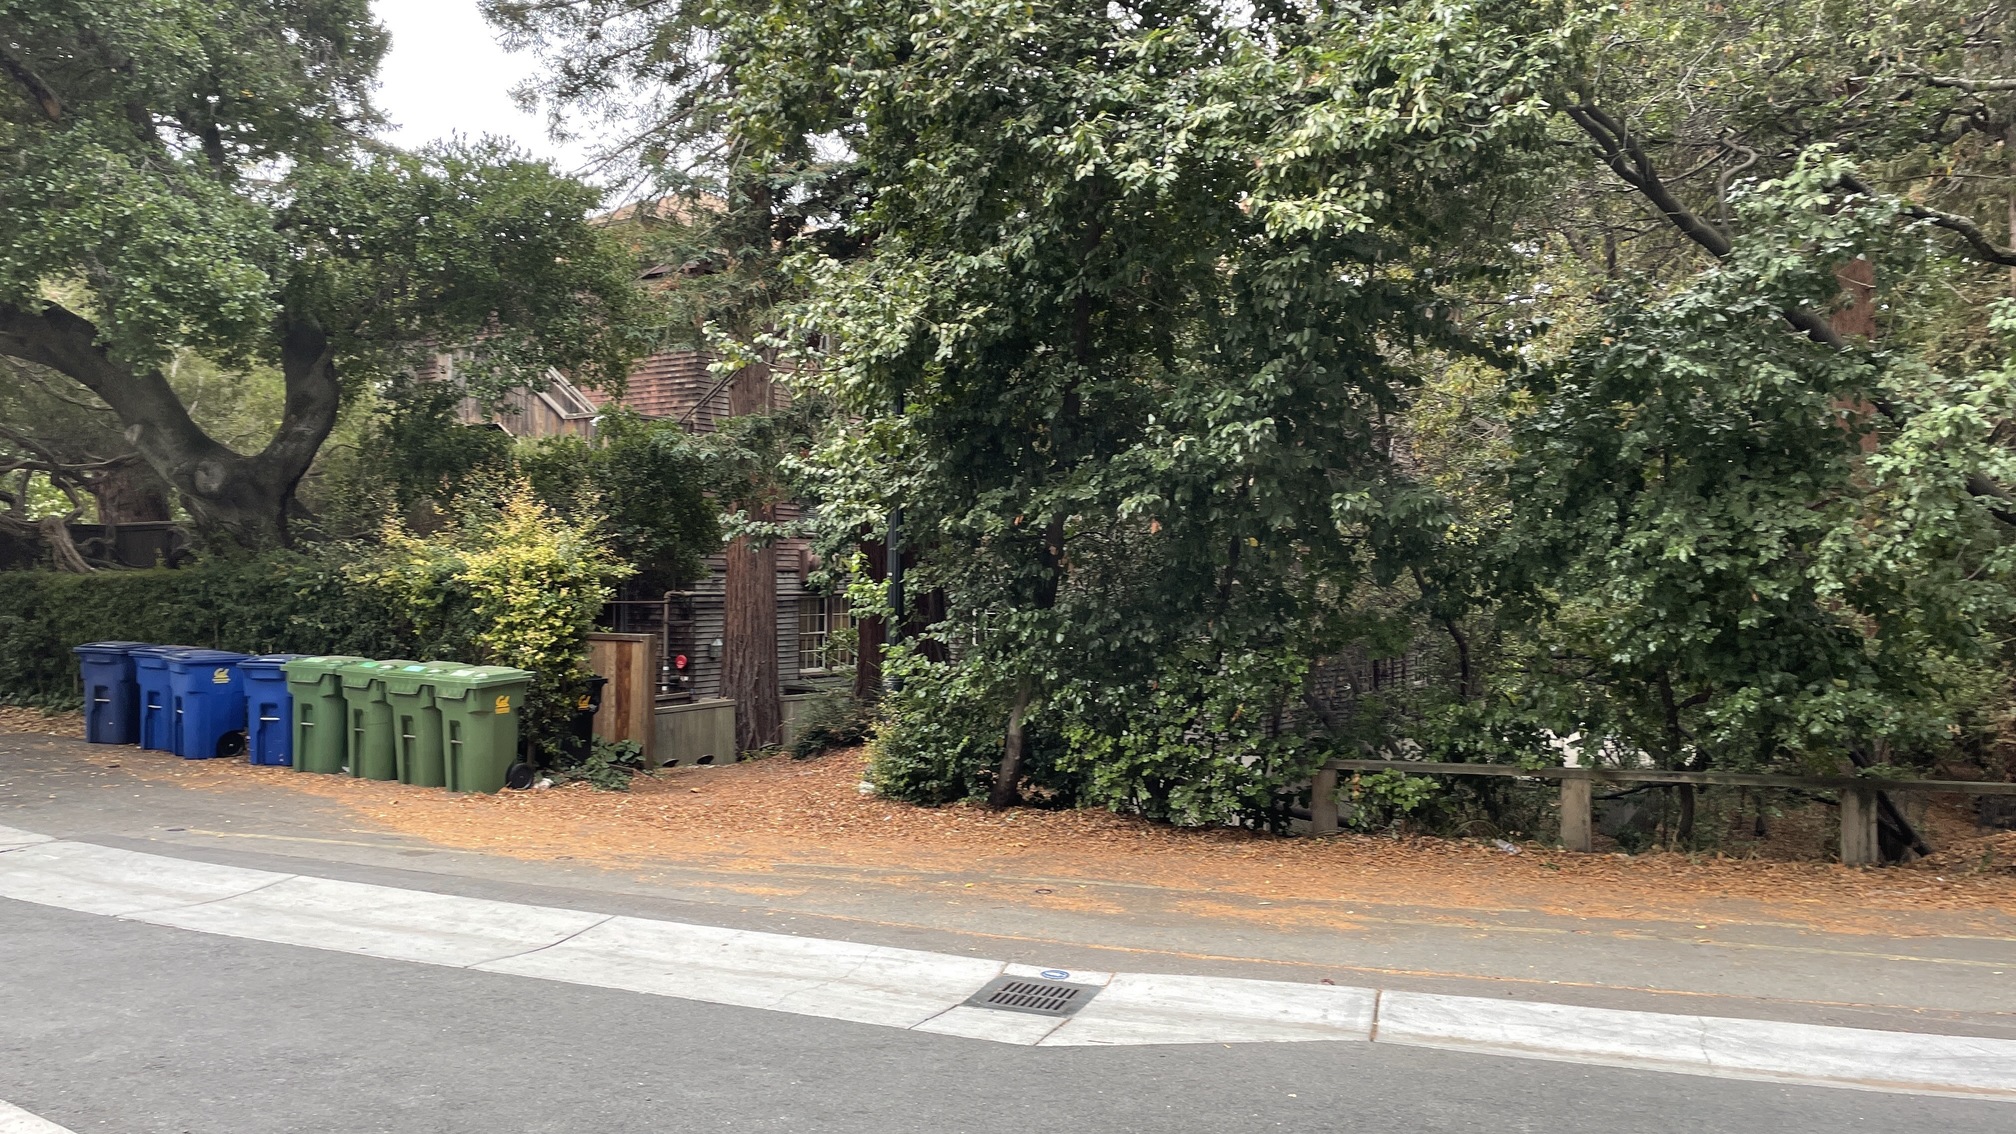
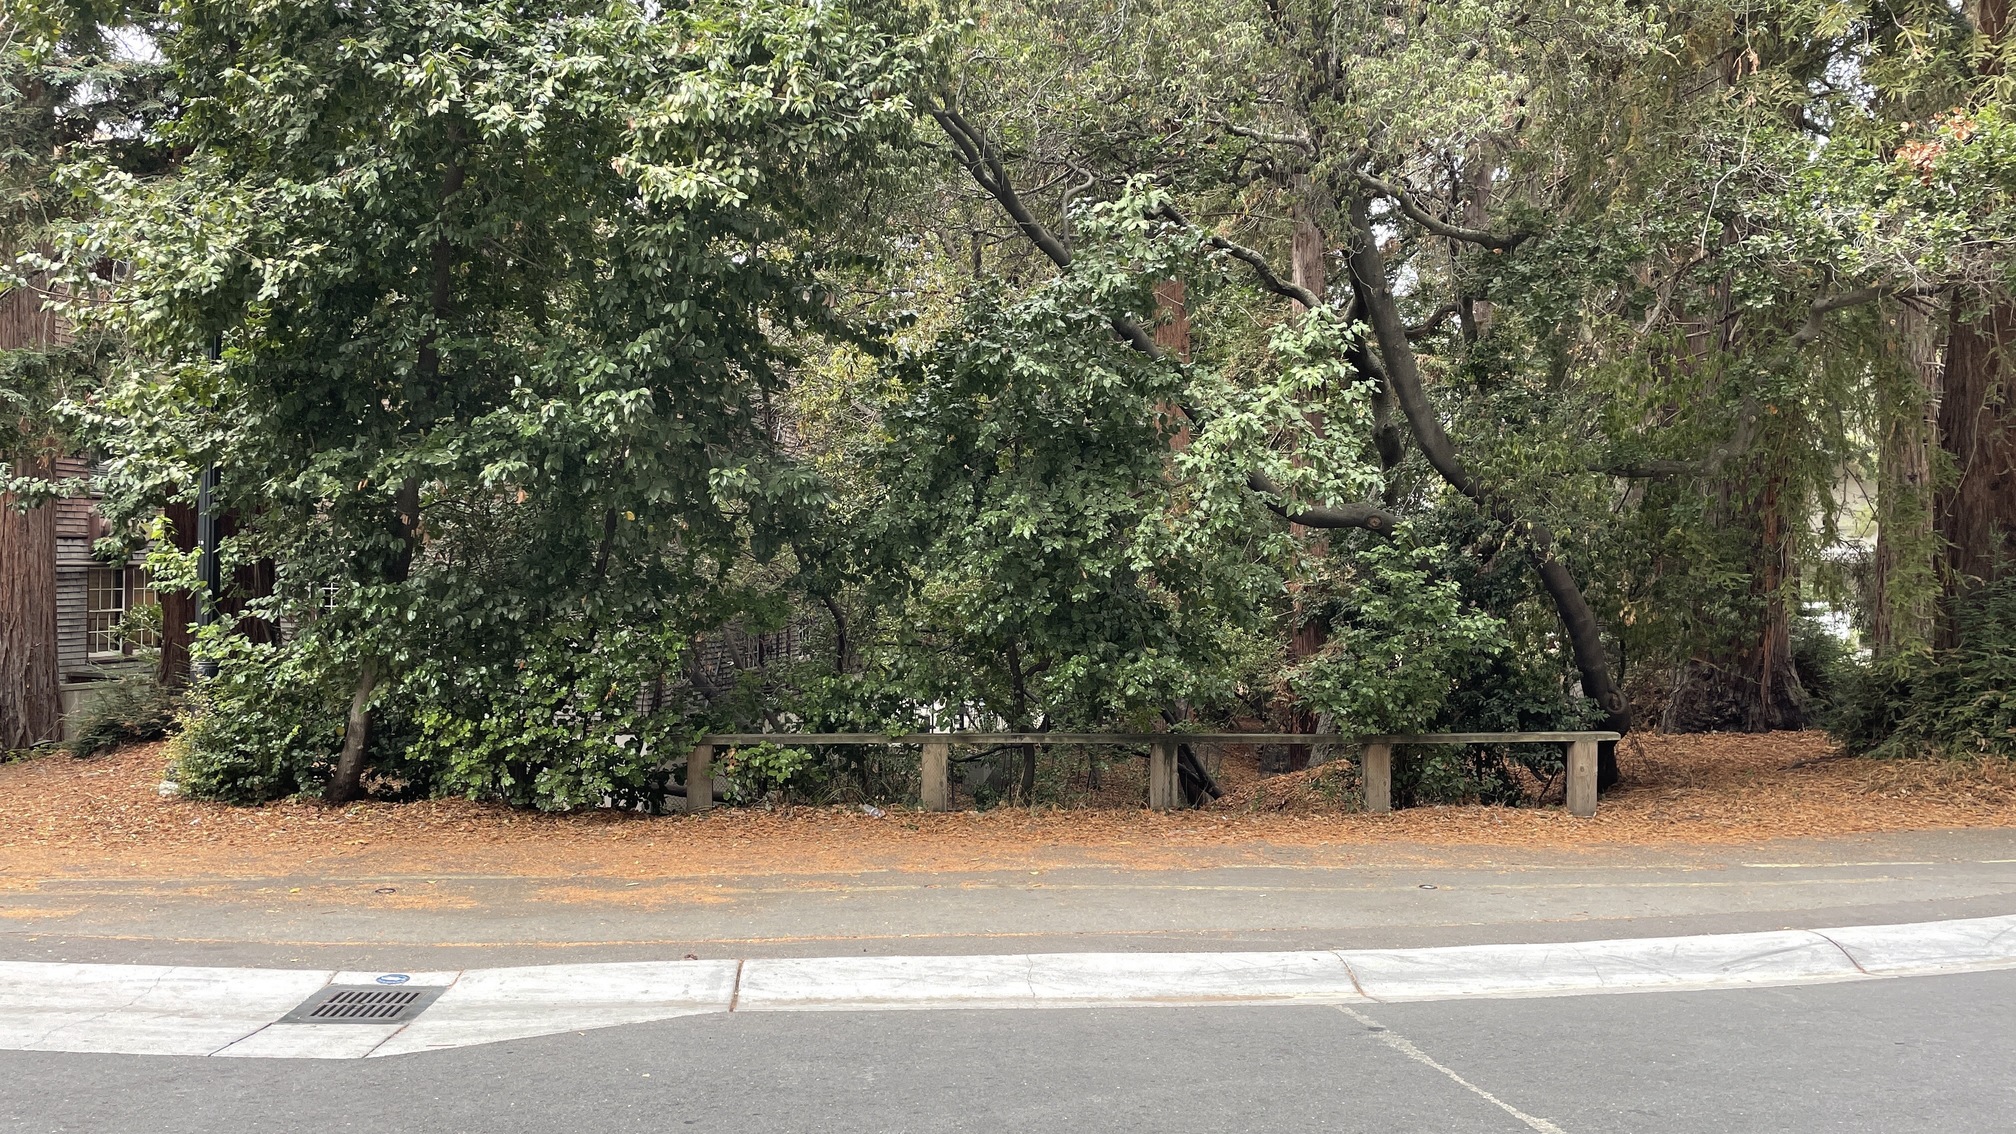
To take good photos for this project, I shot photos from the same point of view, but with different view directions, and with overlapping fields of fiew. My iPhone camera has exposure and focus locking and the photos were taken at the same time of day and location.
Before warping the images into alignment, we recover the parameters of the transformation between each pair of images. To do this, we are finding the homography matrix H such that p' = Hp. I computed the H matrix following the following images:

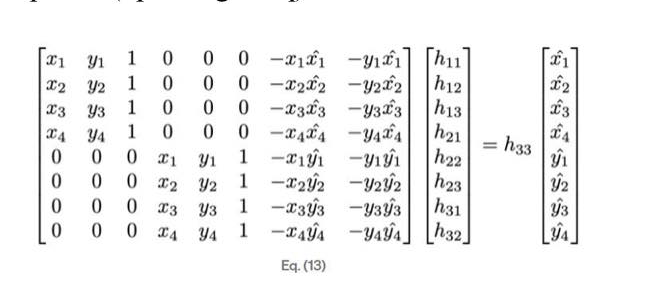
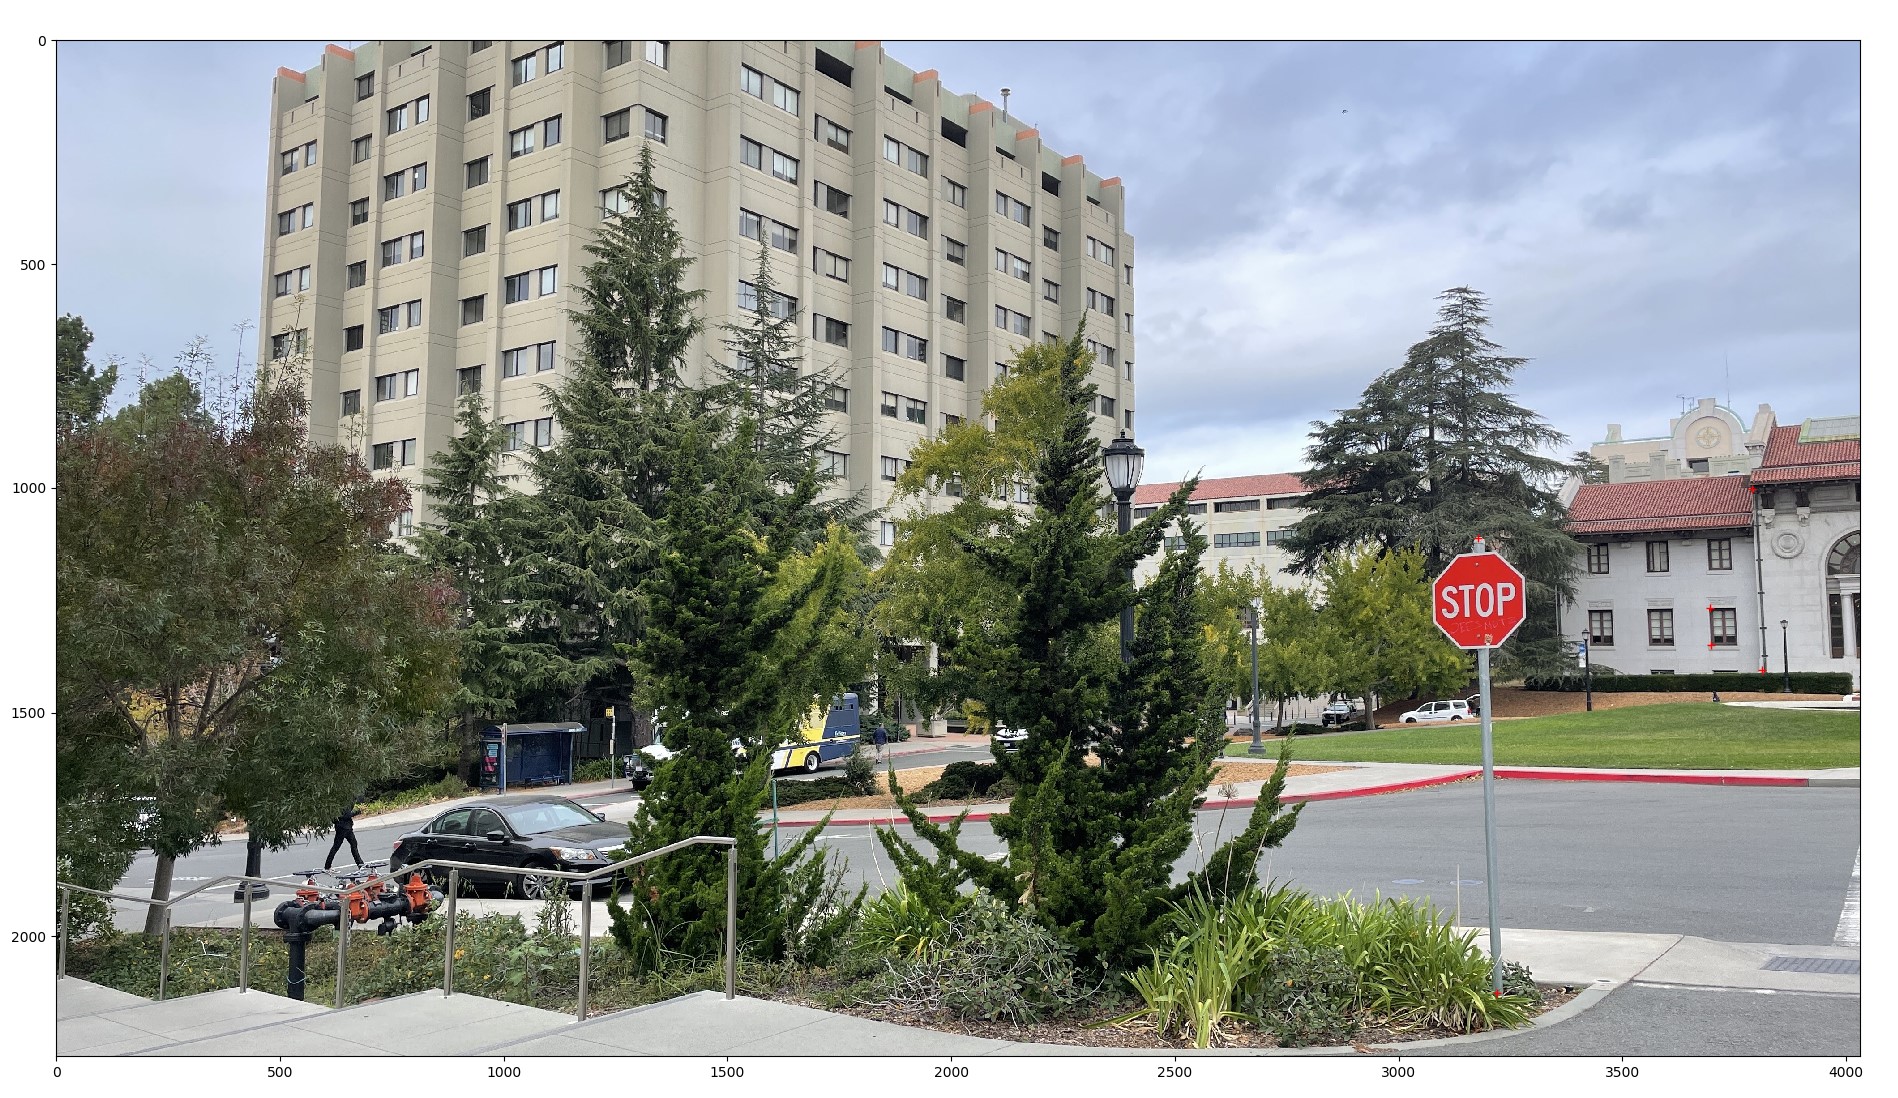
To find the homographies, I selected 6 corresponding points in each pair of images using ginput() as done in Project 3. I also verified that the homorgraphy matrix was calculated correctly through checking the values outputed by cv2.findHomography. (Red selection dots are very small on the image, sorry!)
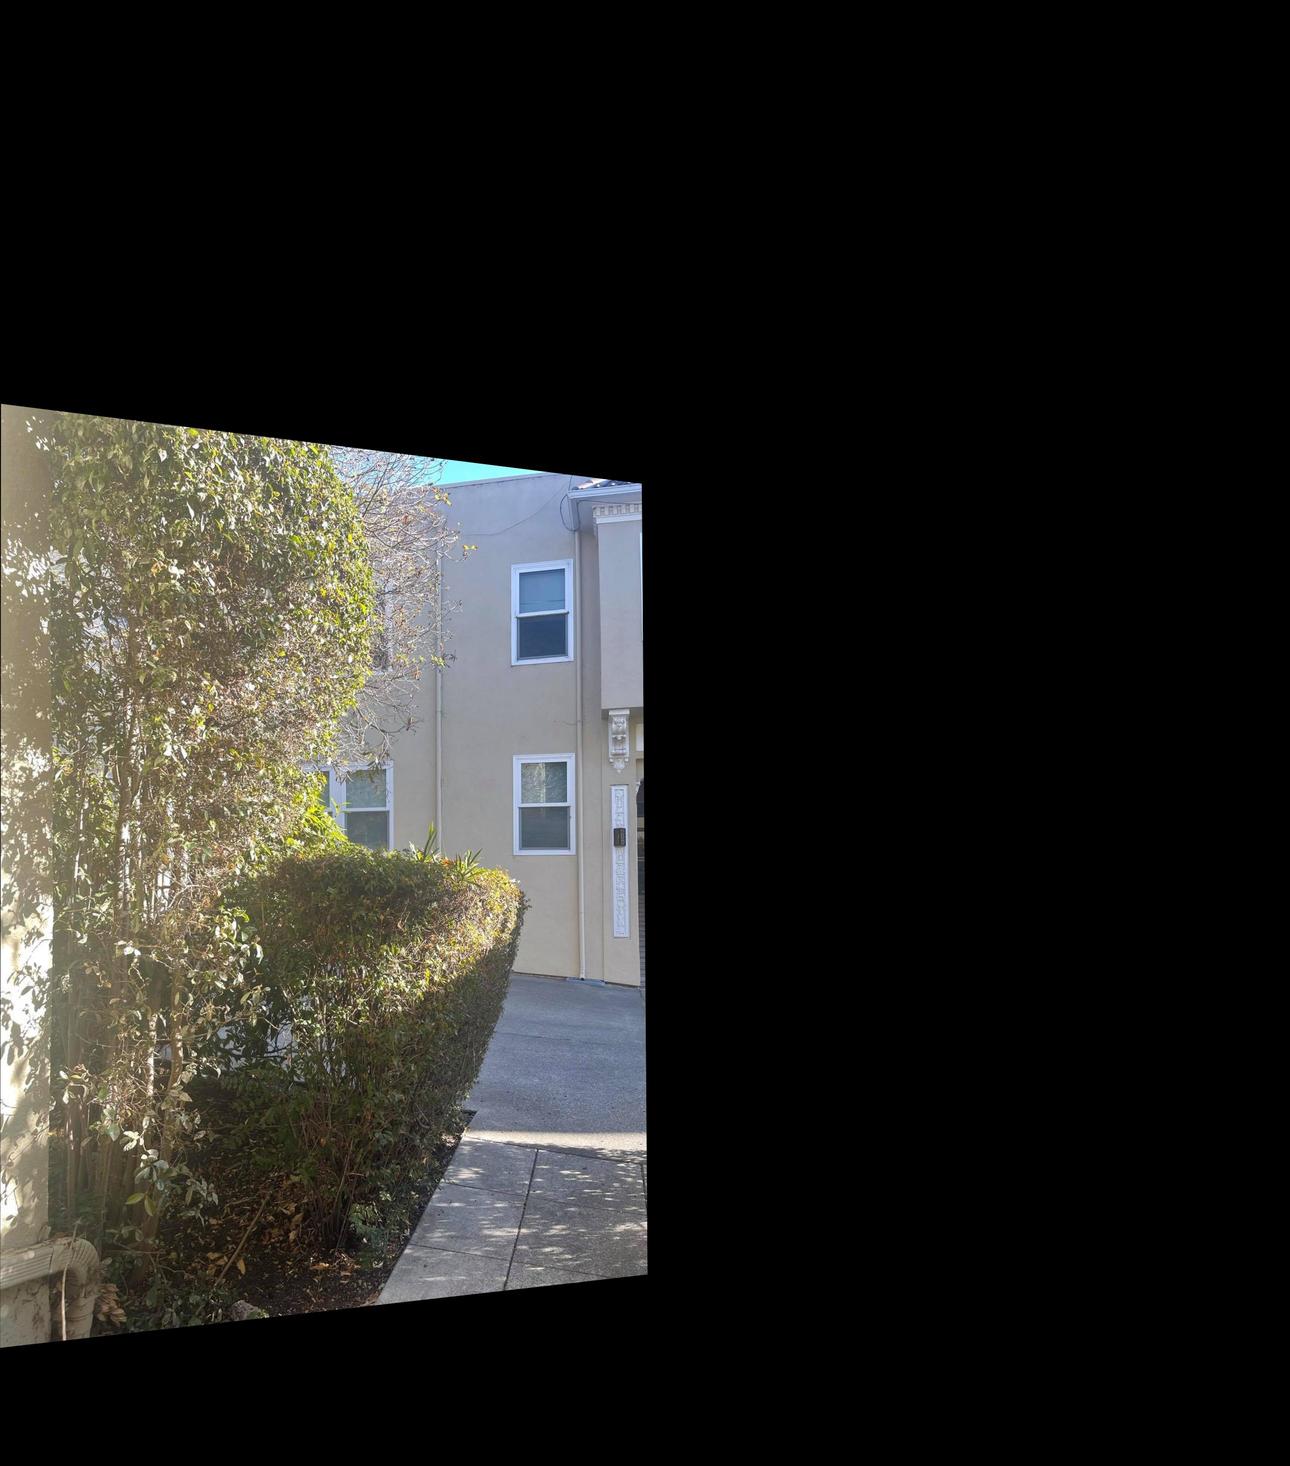
To warp the image, I used cv2.remap to map the source points of the image to the new locations. Following the documentation from this thread. The images are perpectively realigned so that theoretically, the corresponding points chosen lie directly over each other if the images were overlayed.
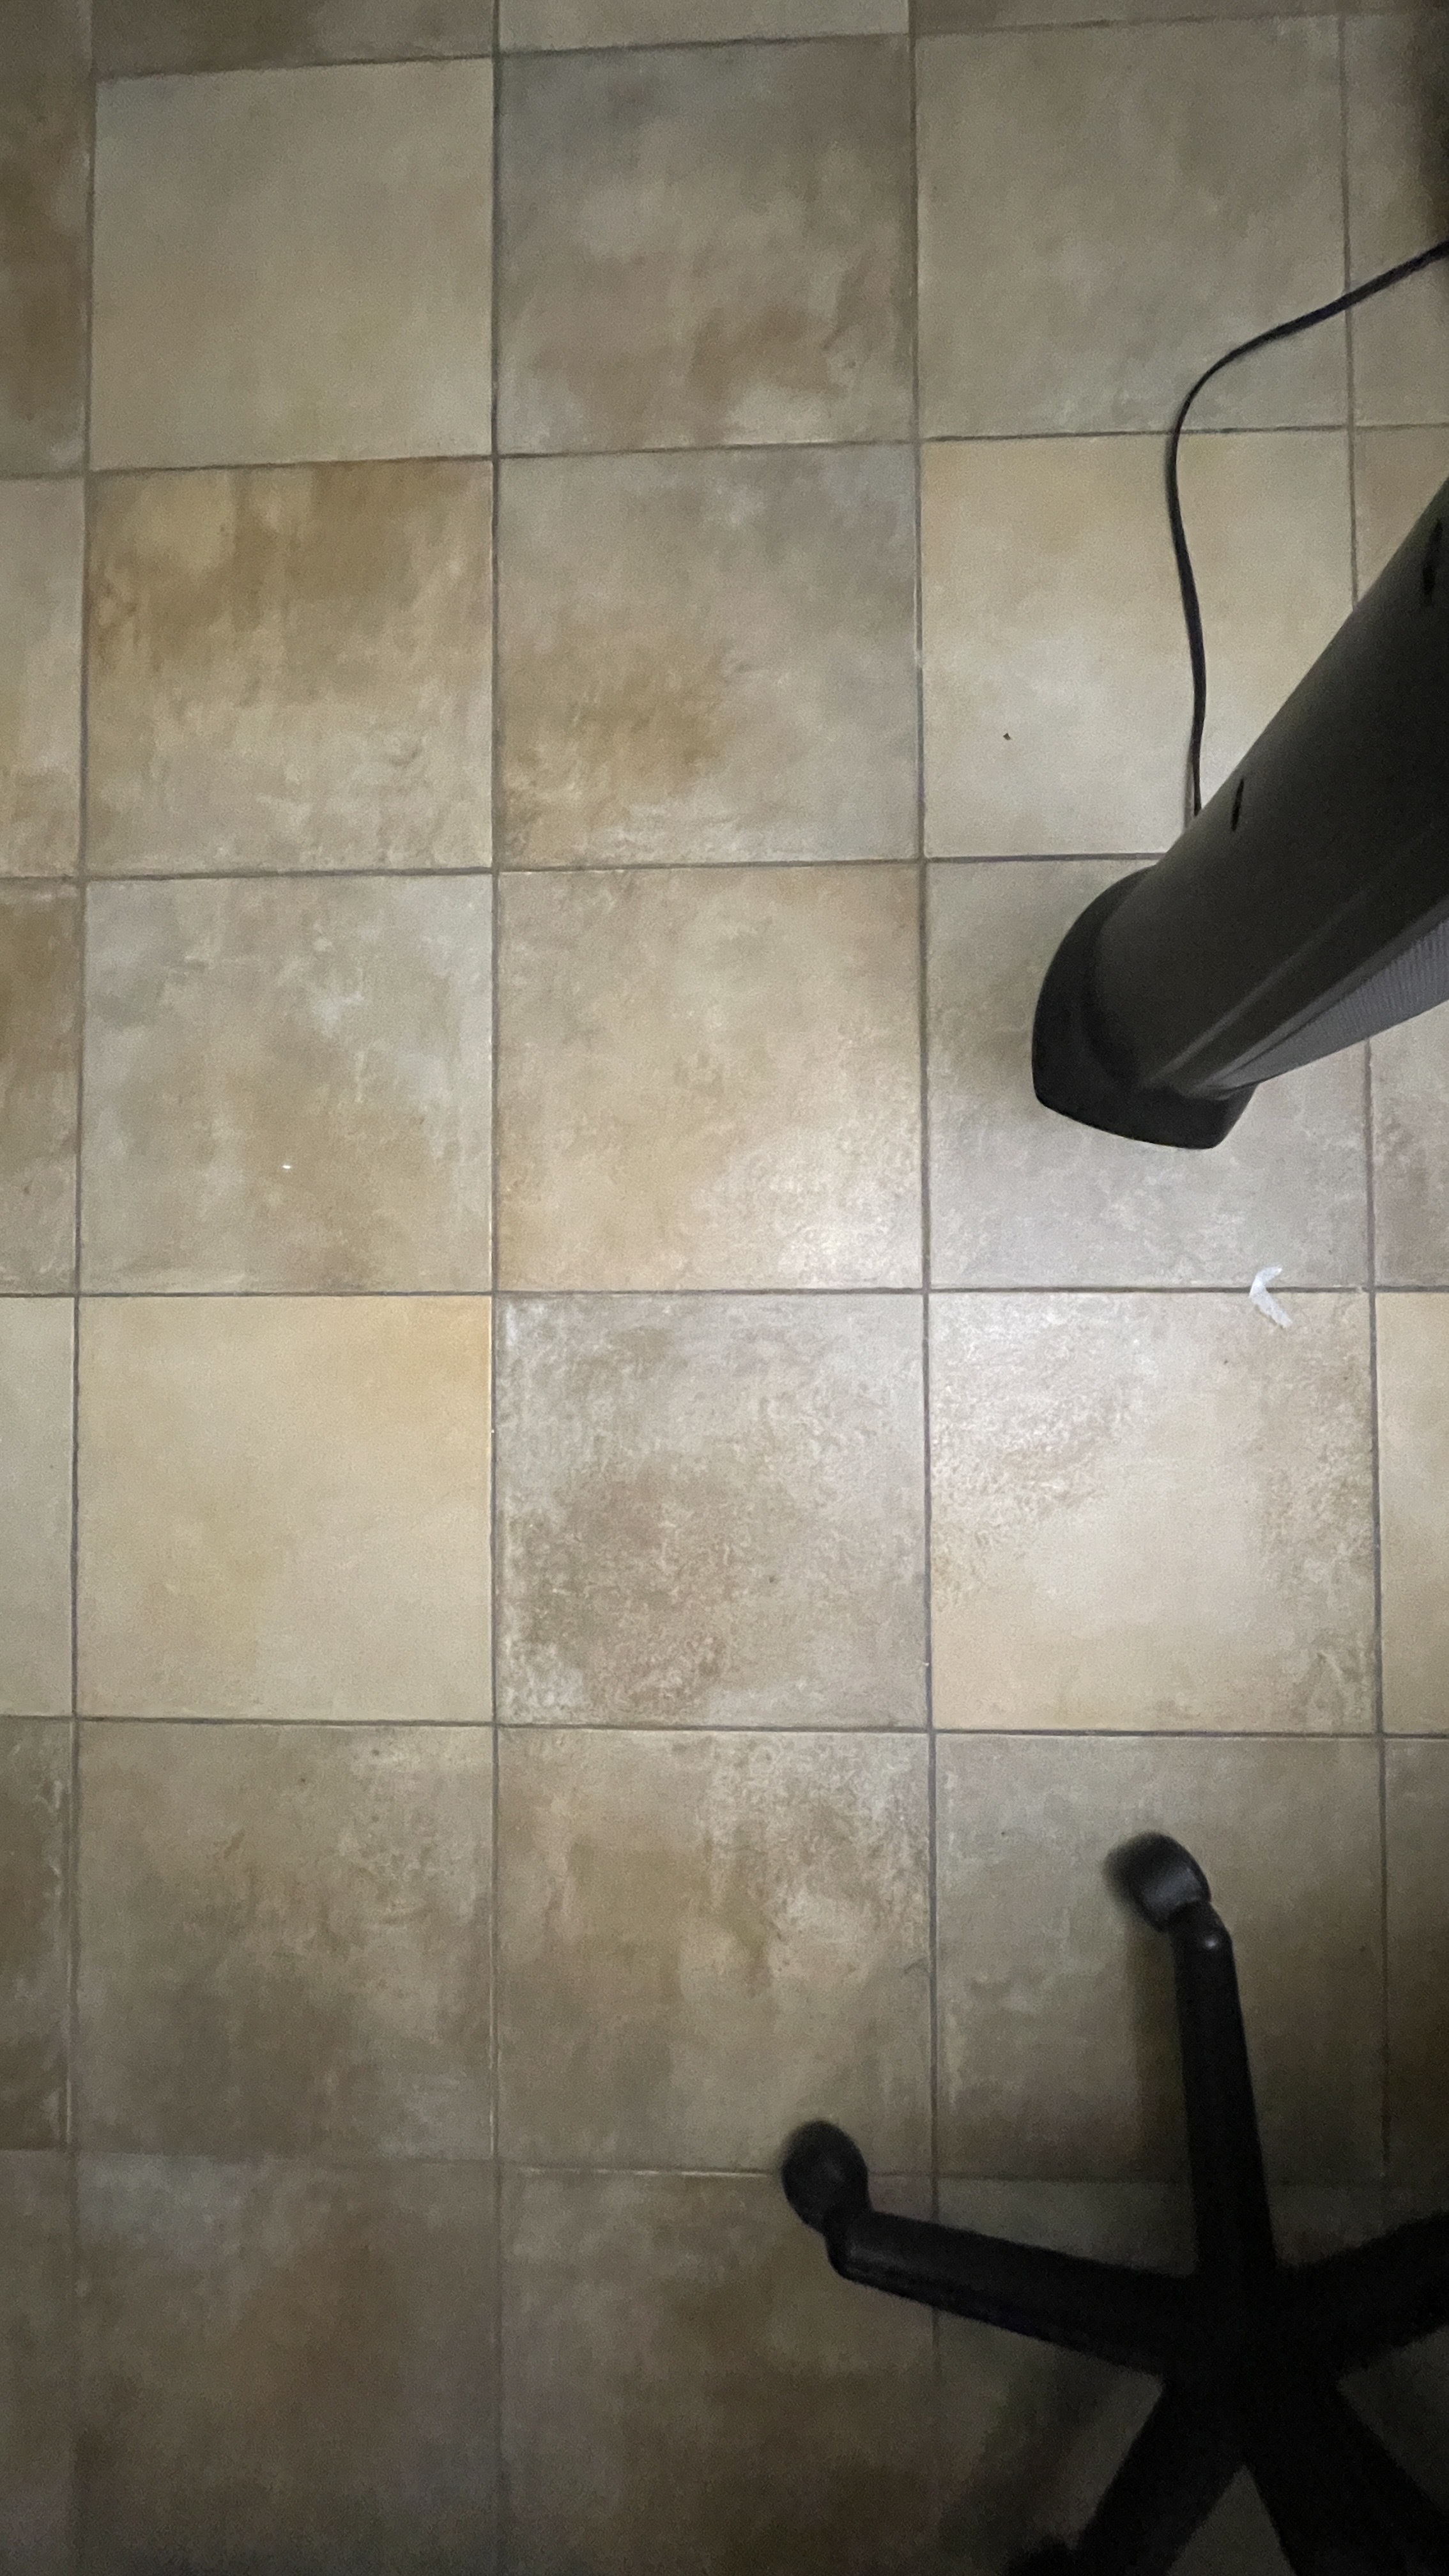
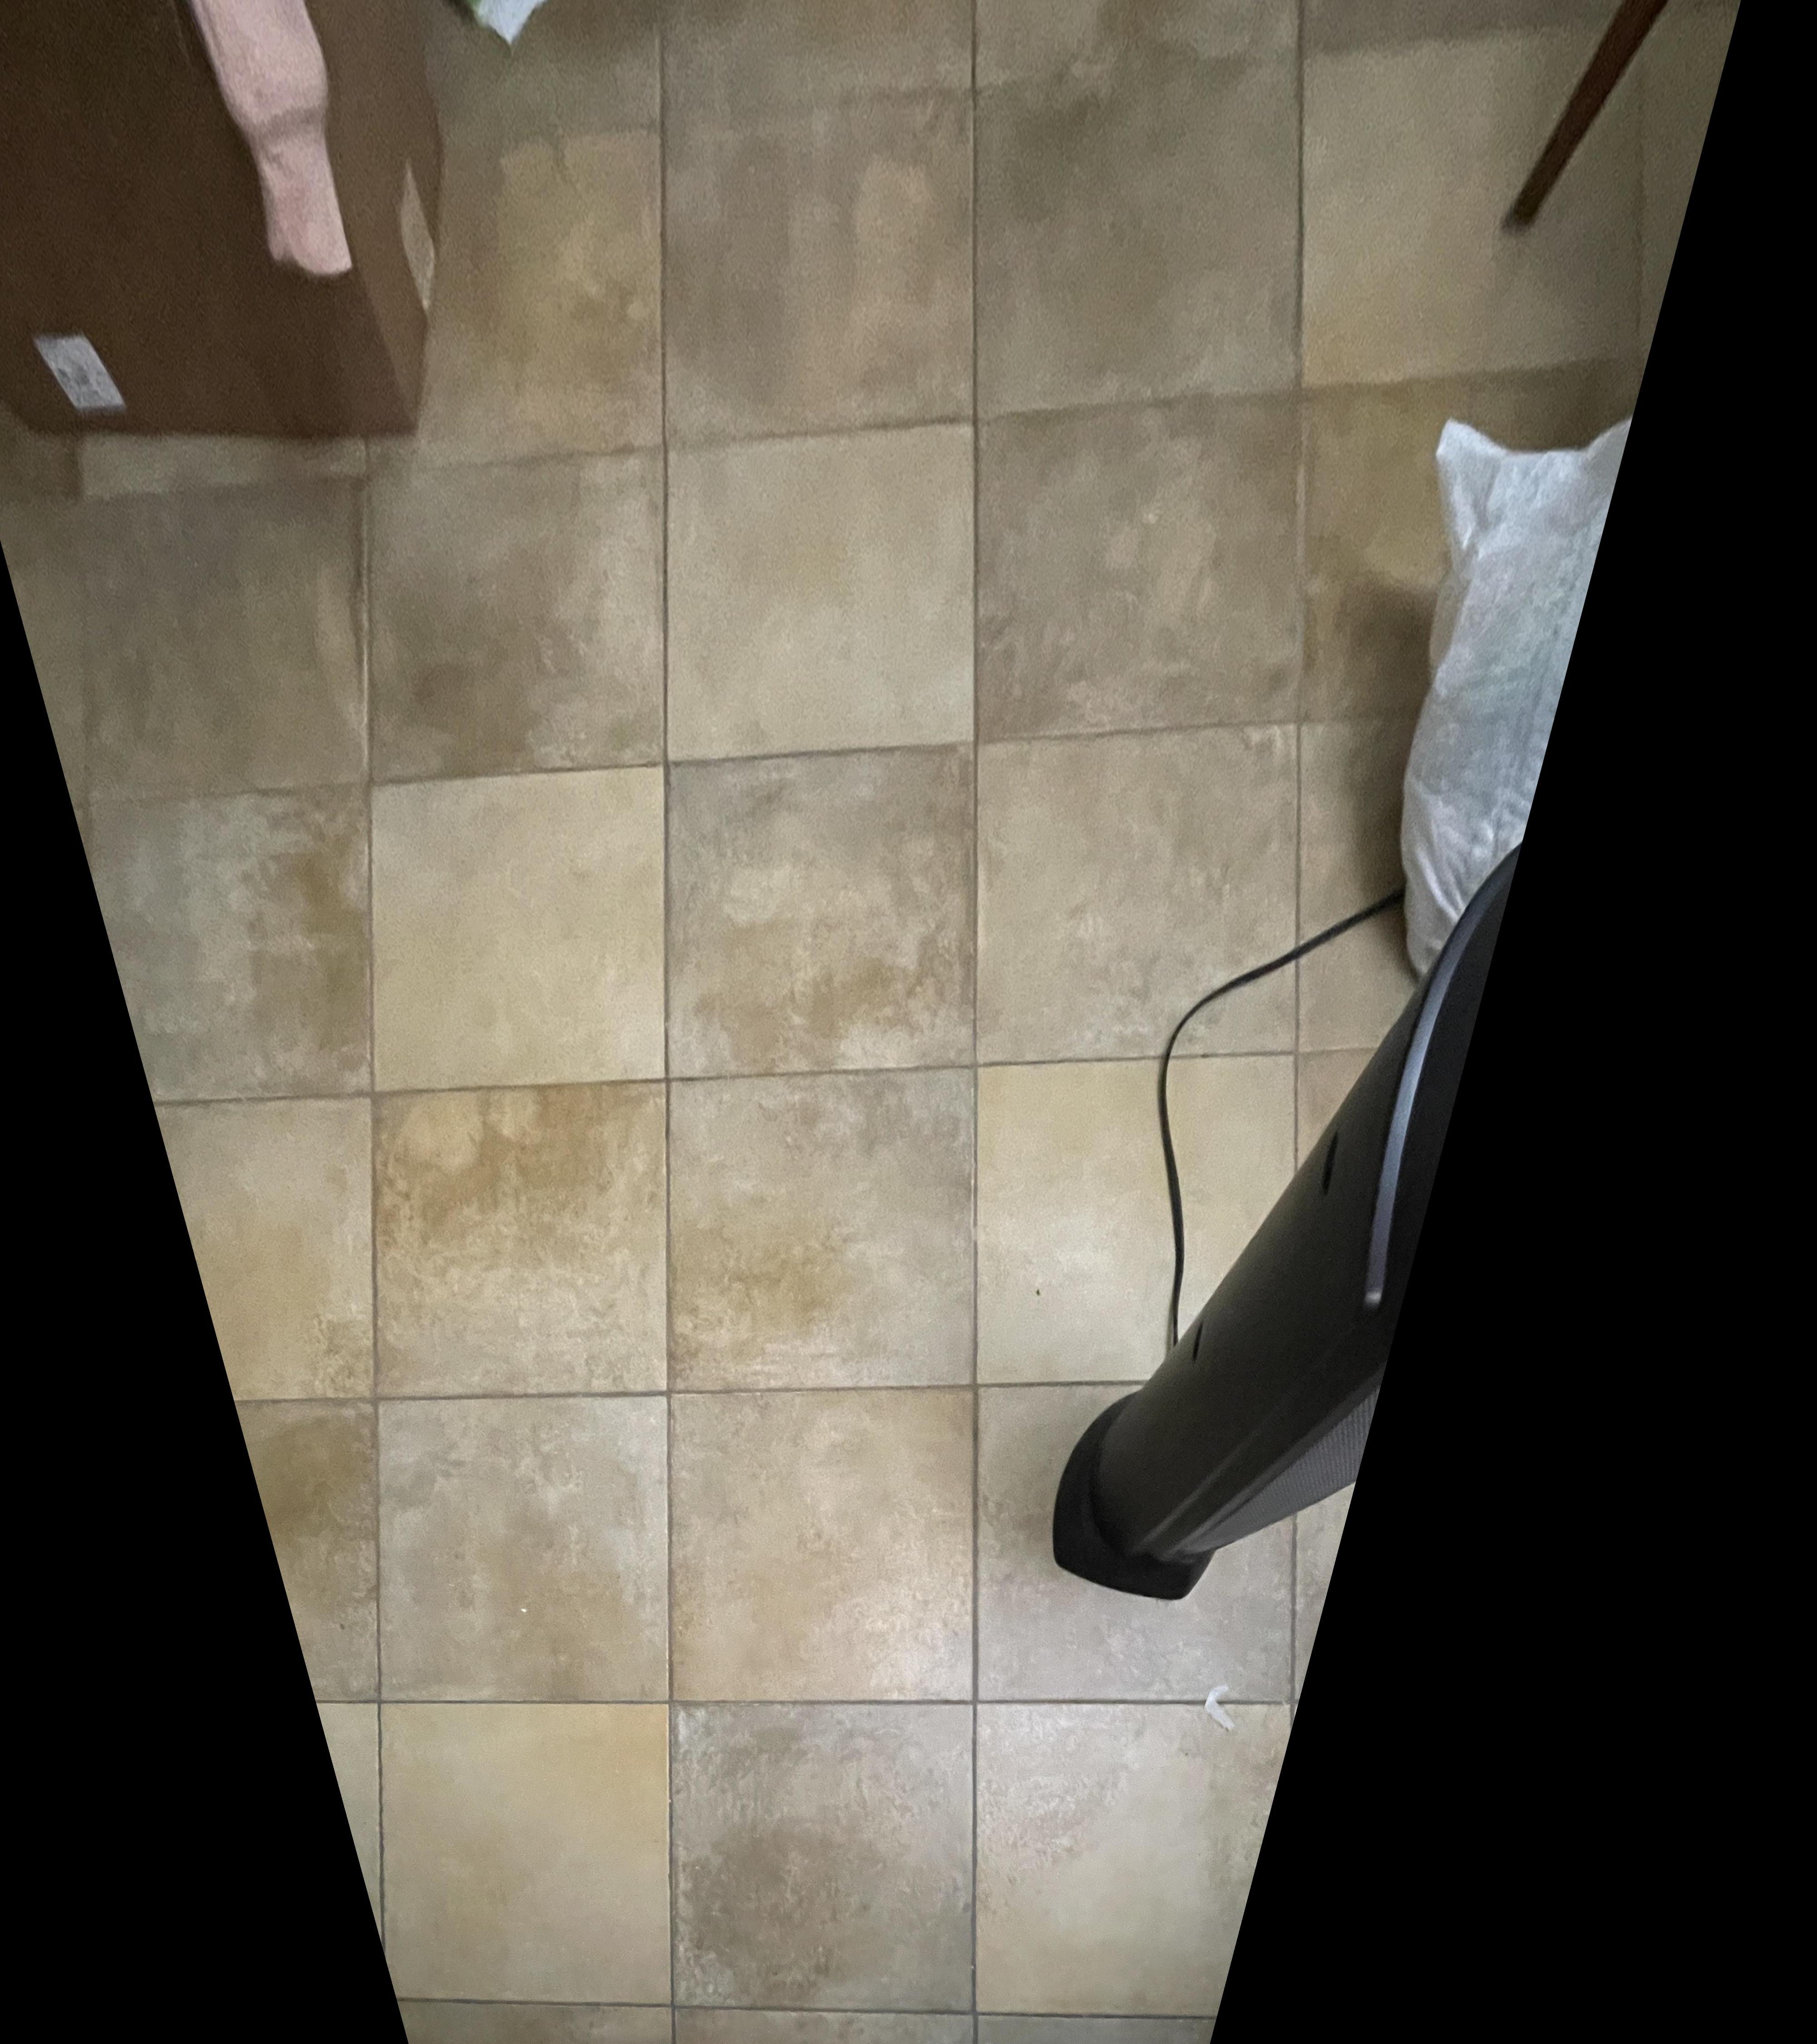
To verify my homography and warping functions, I took some sample images of planar surfaces and warped them so that the plane is frontal-parallel. I clicked the tiles of my floor and completed the same procedure as above.

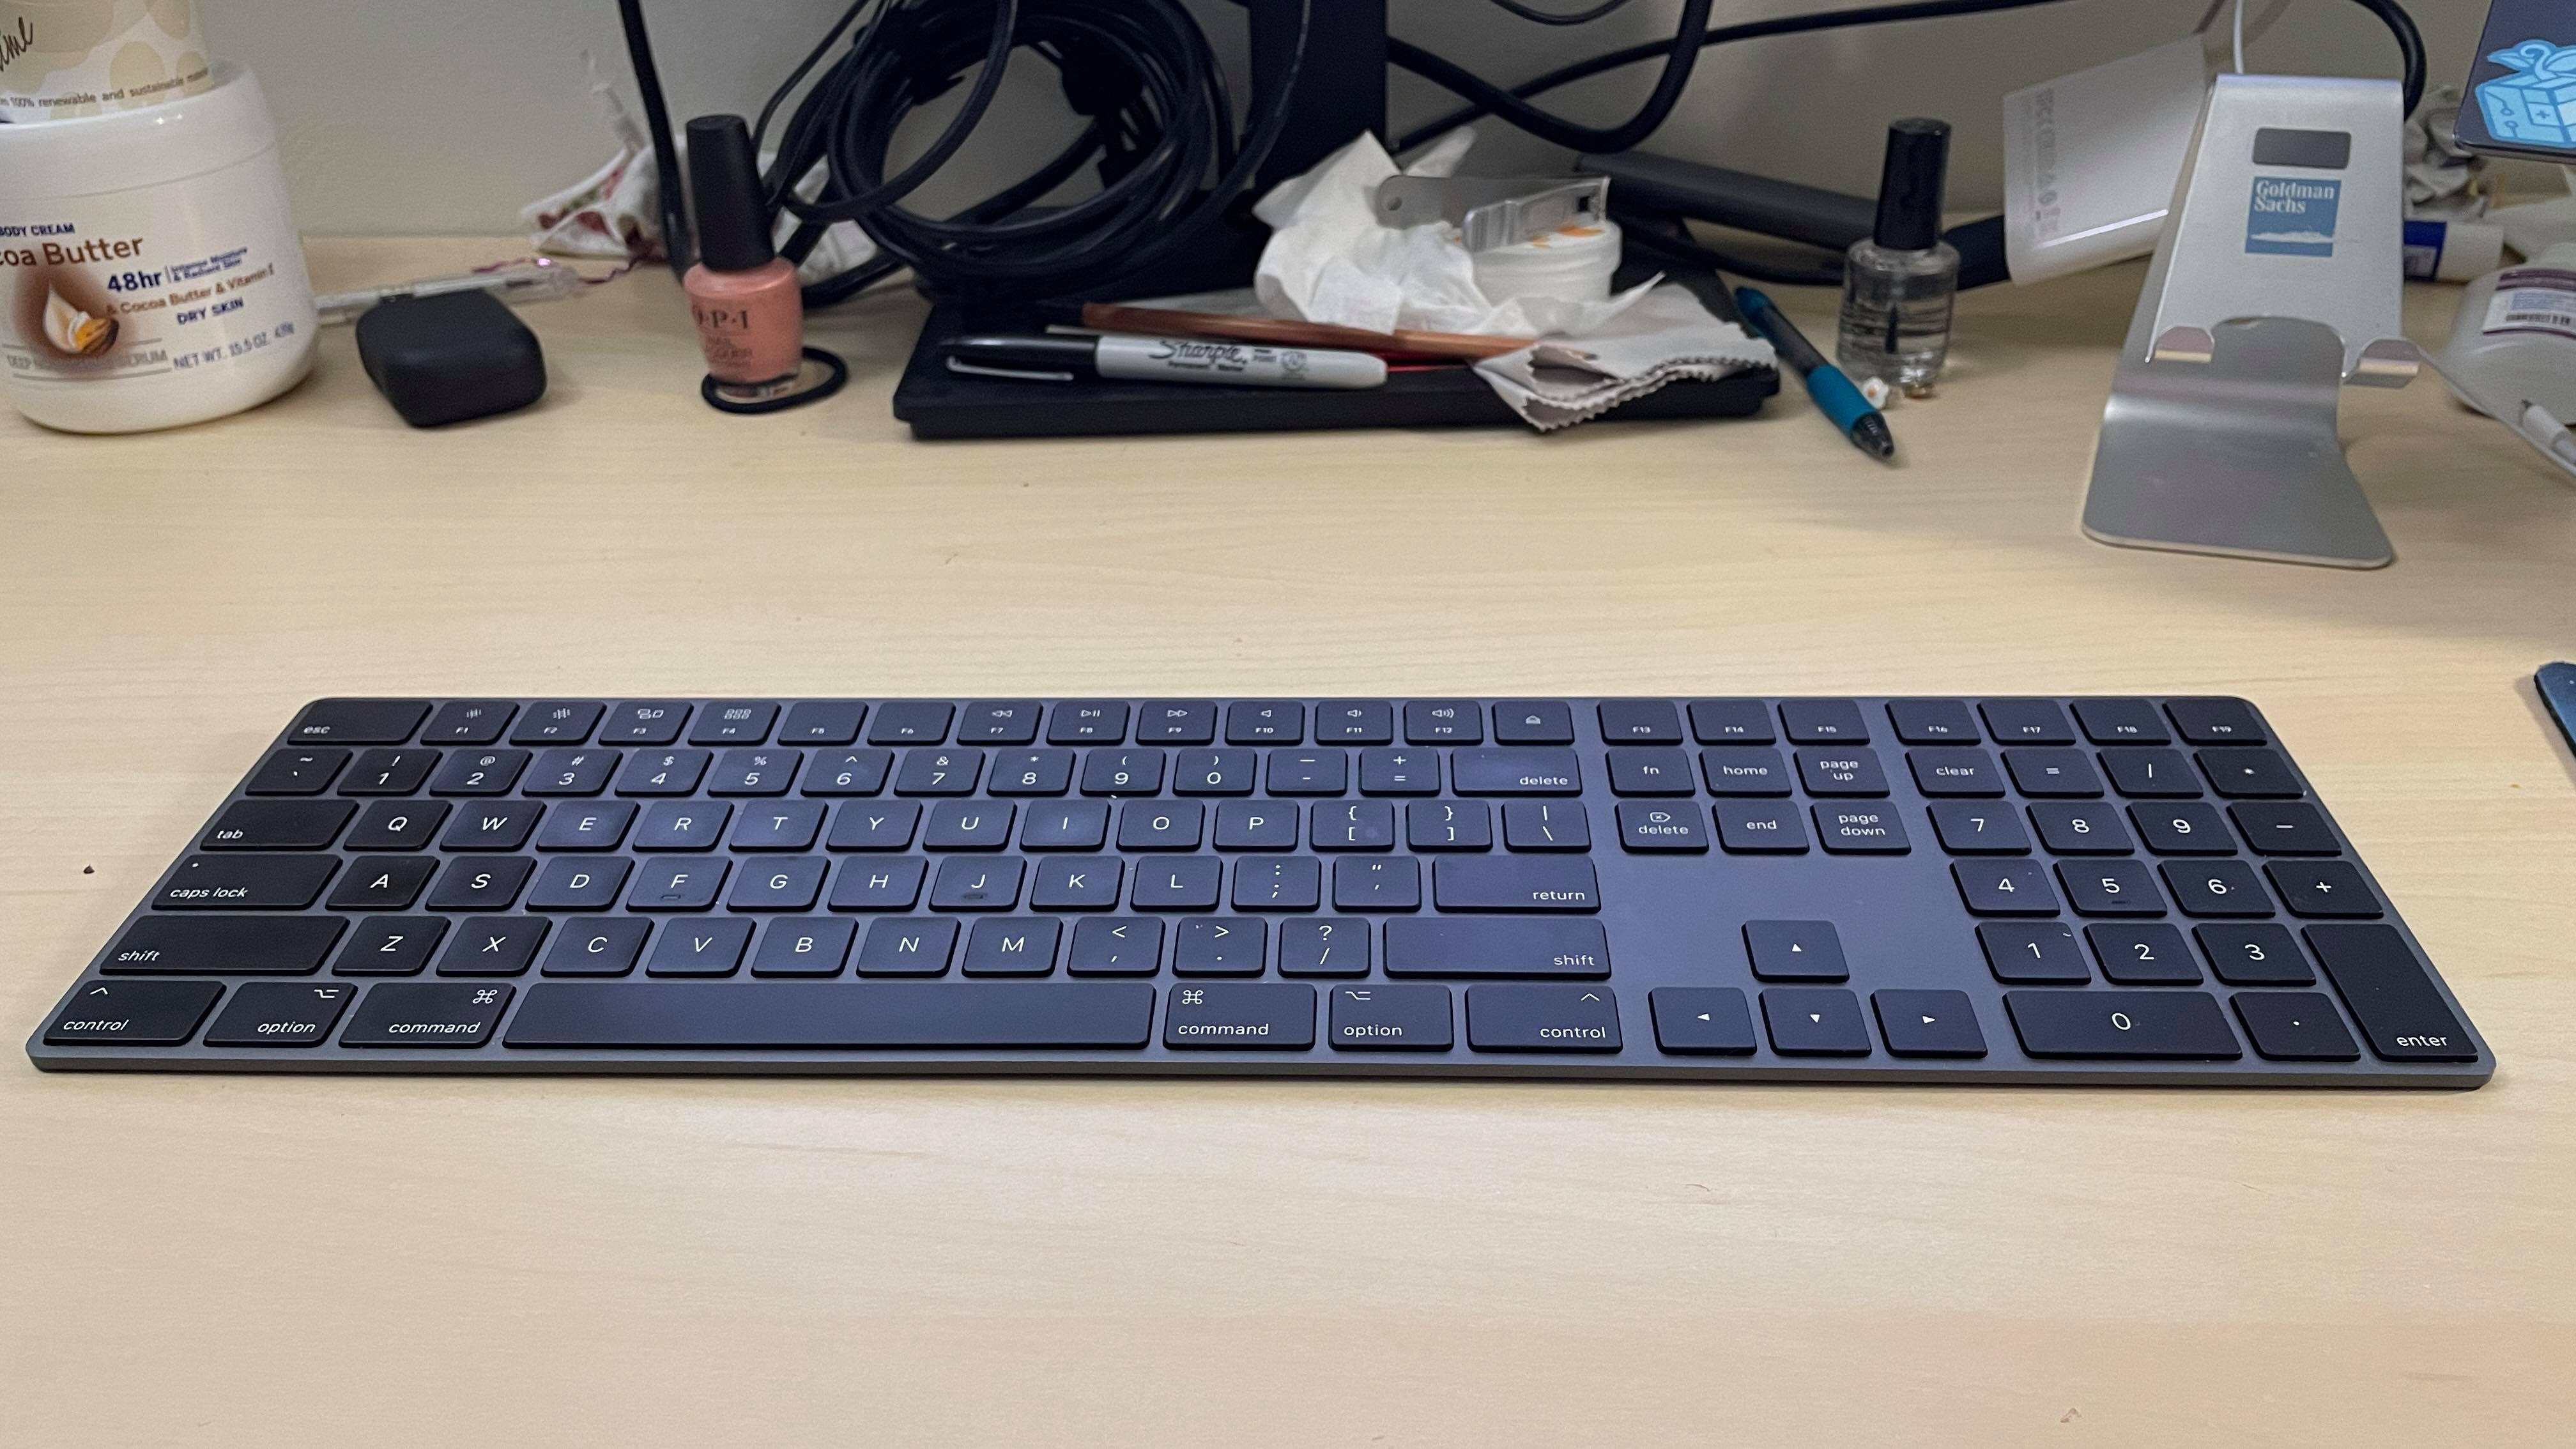
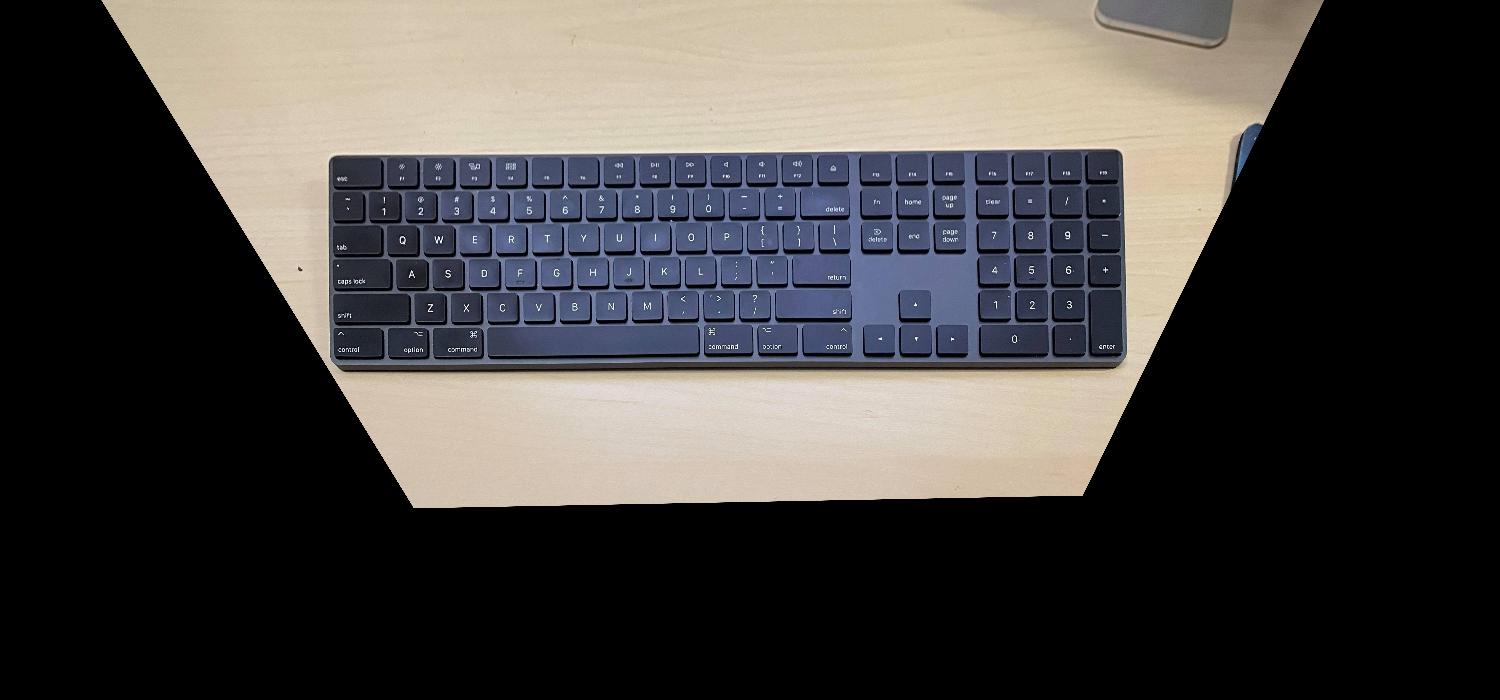
I also rectified my keyboard through picking a rectangle shape.
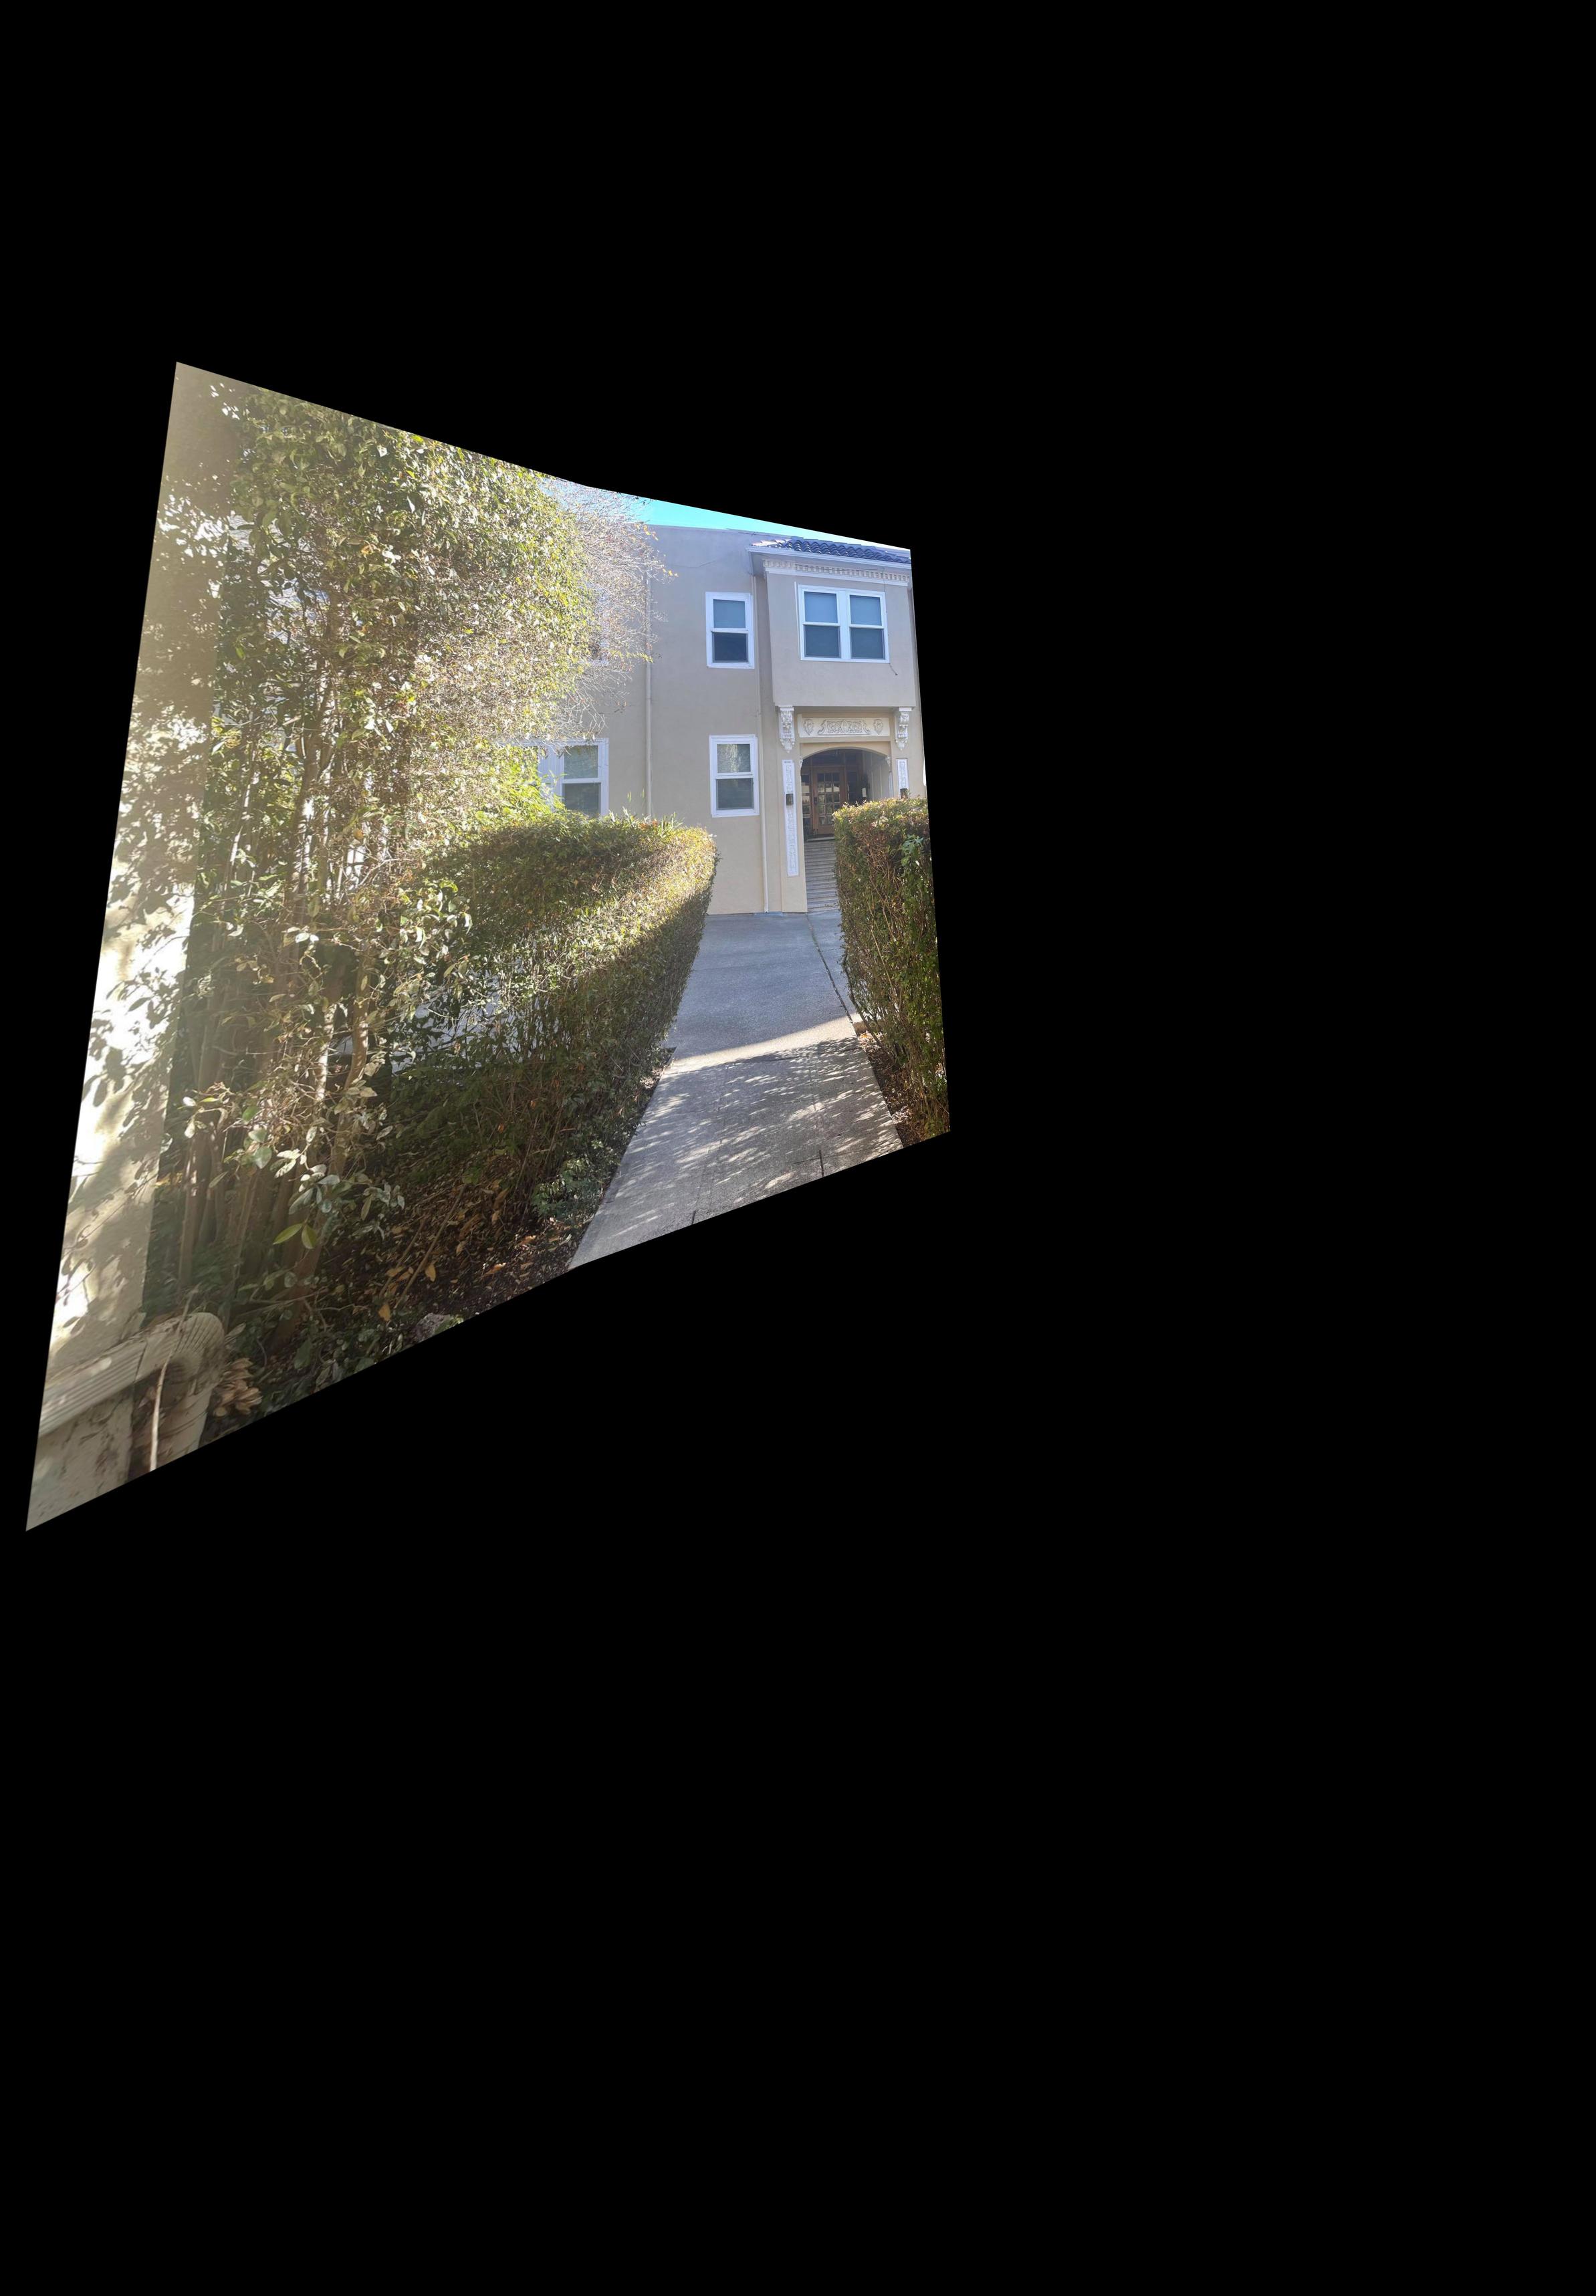
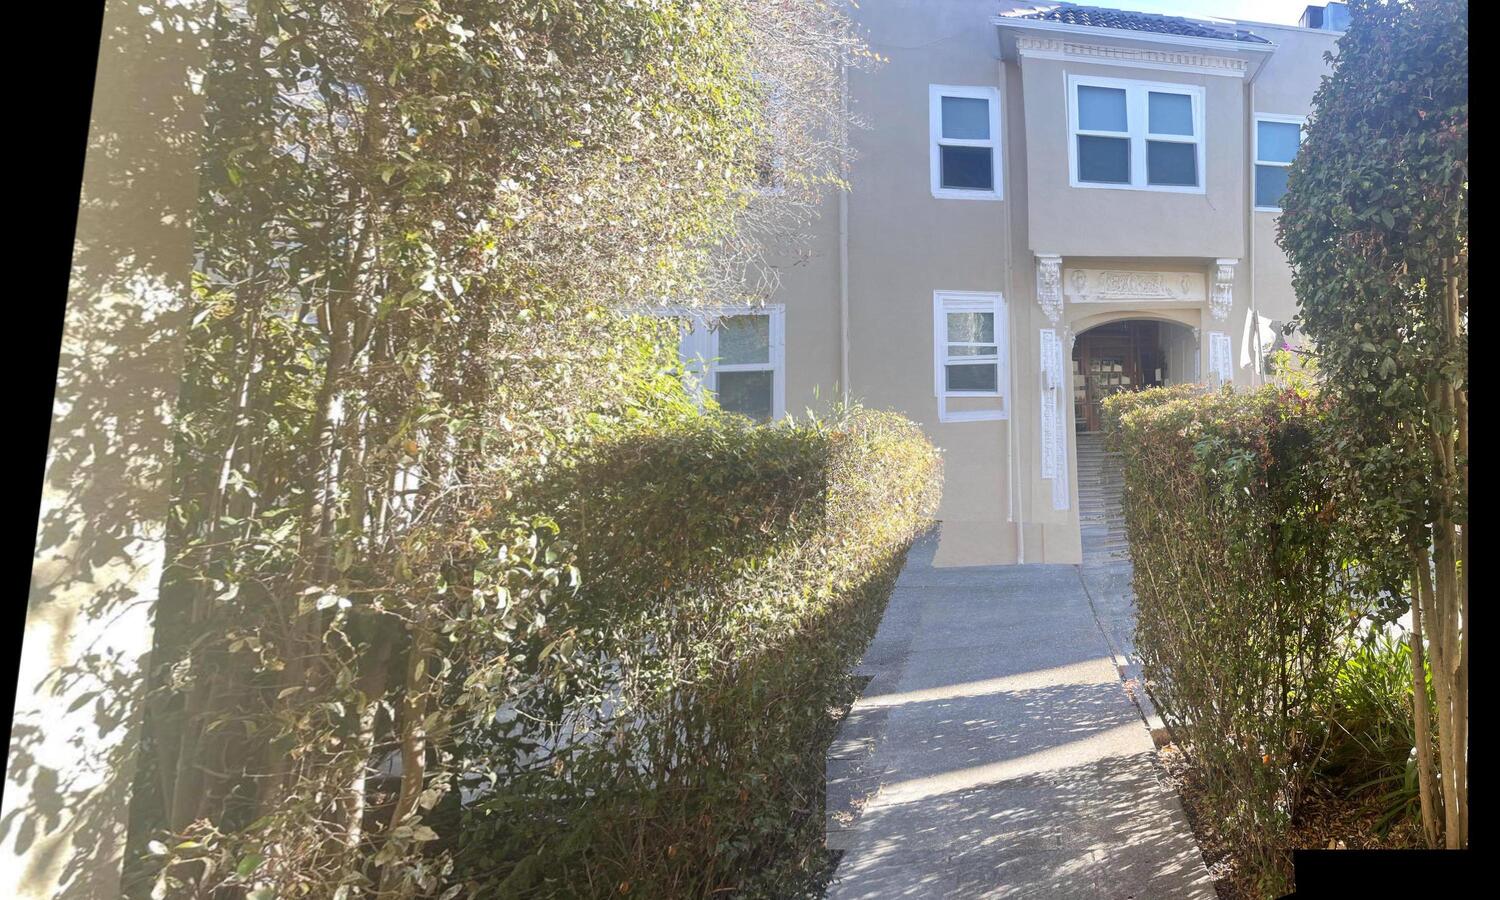
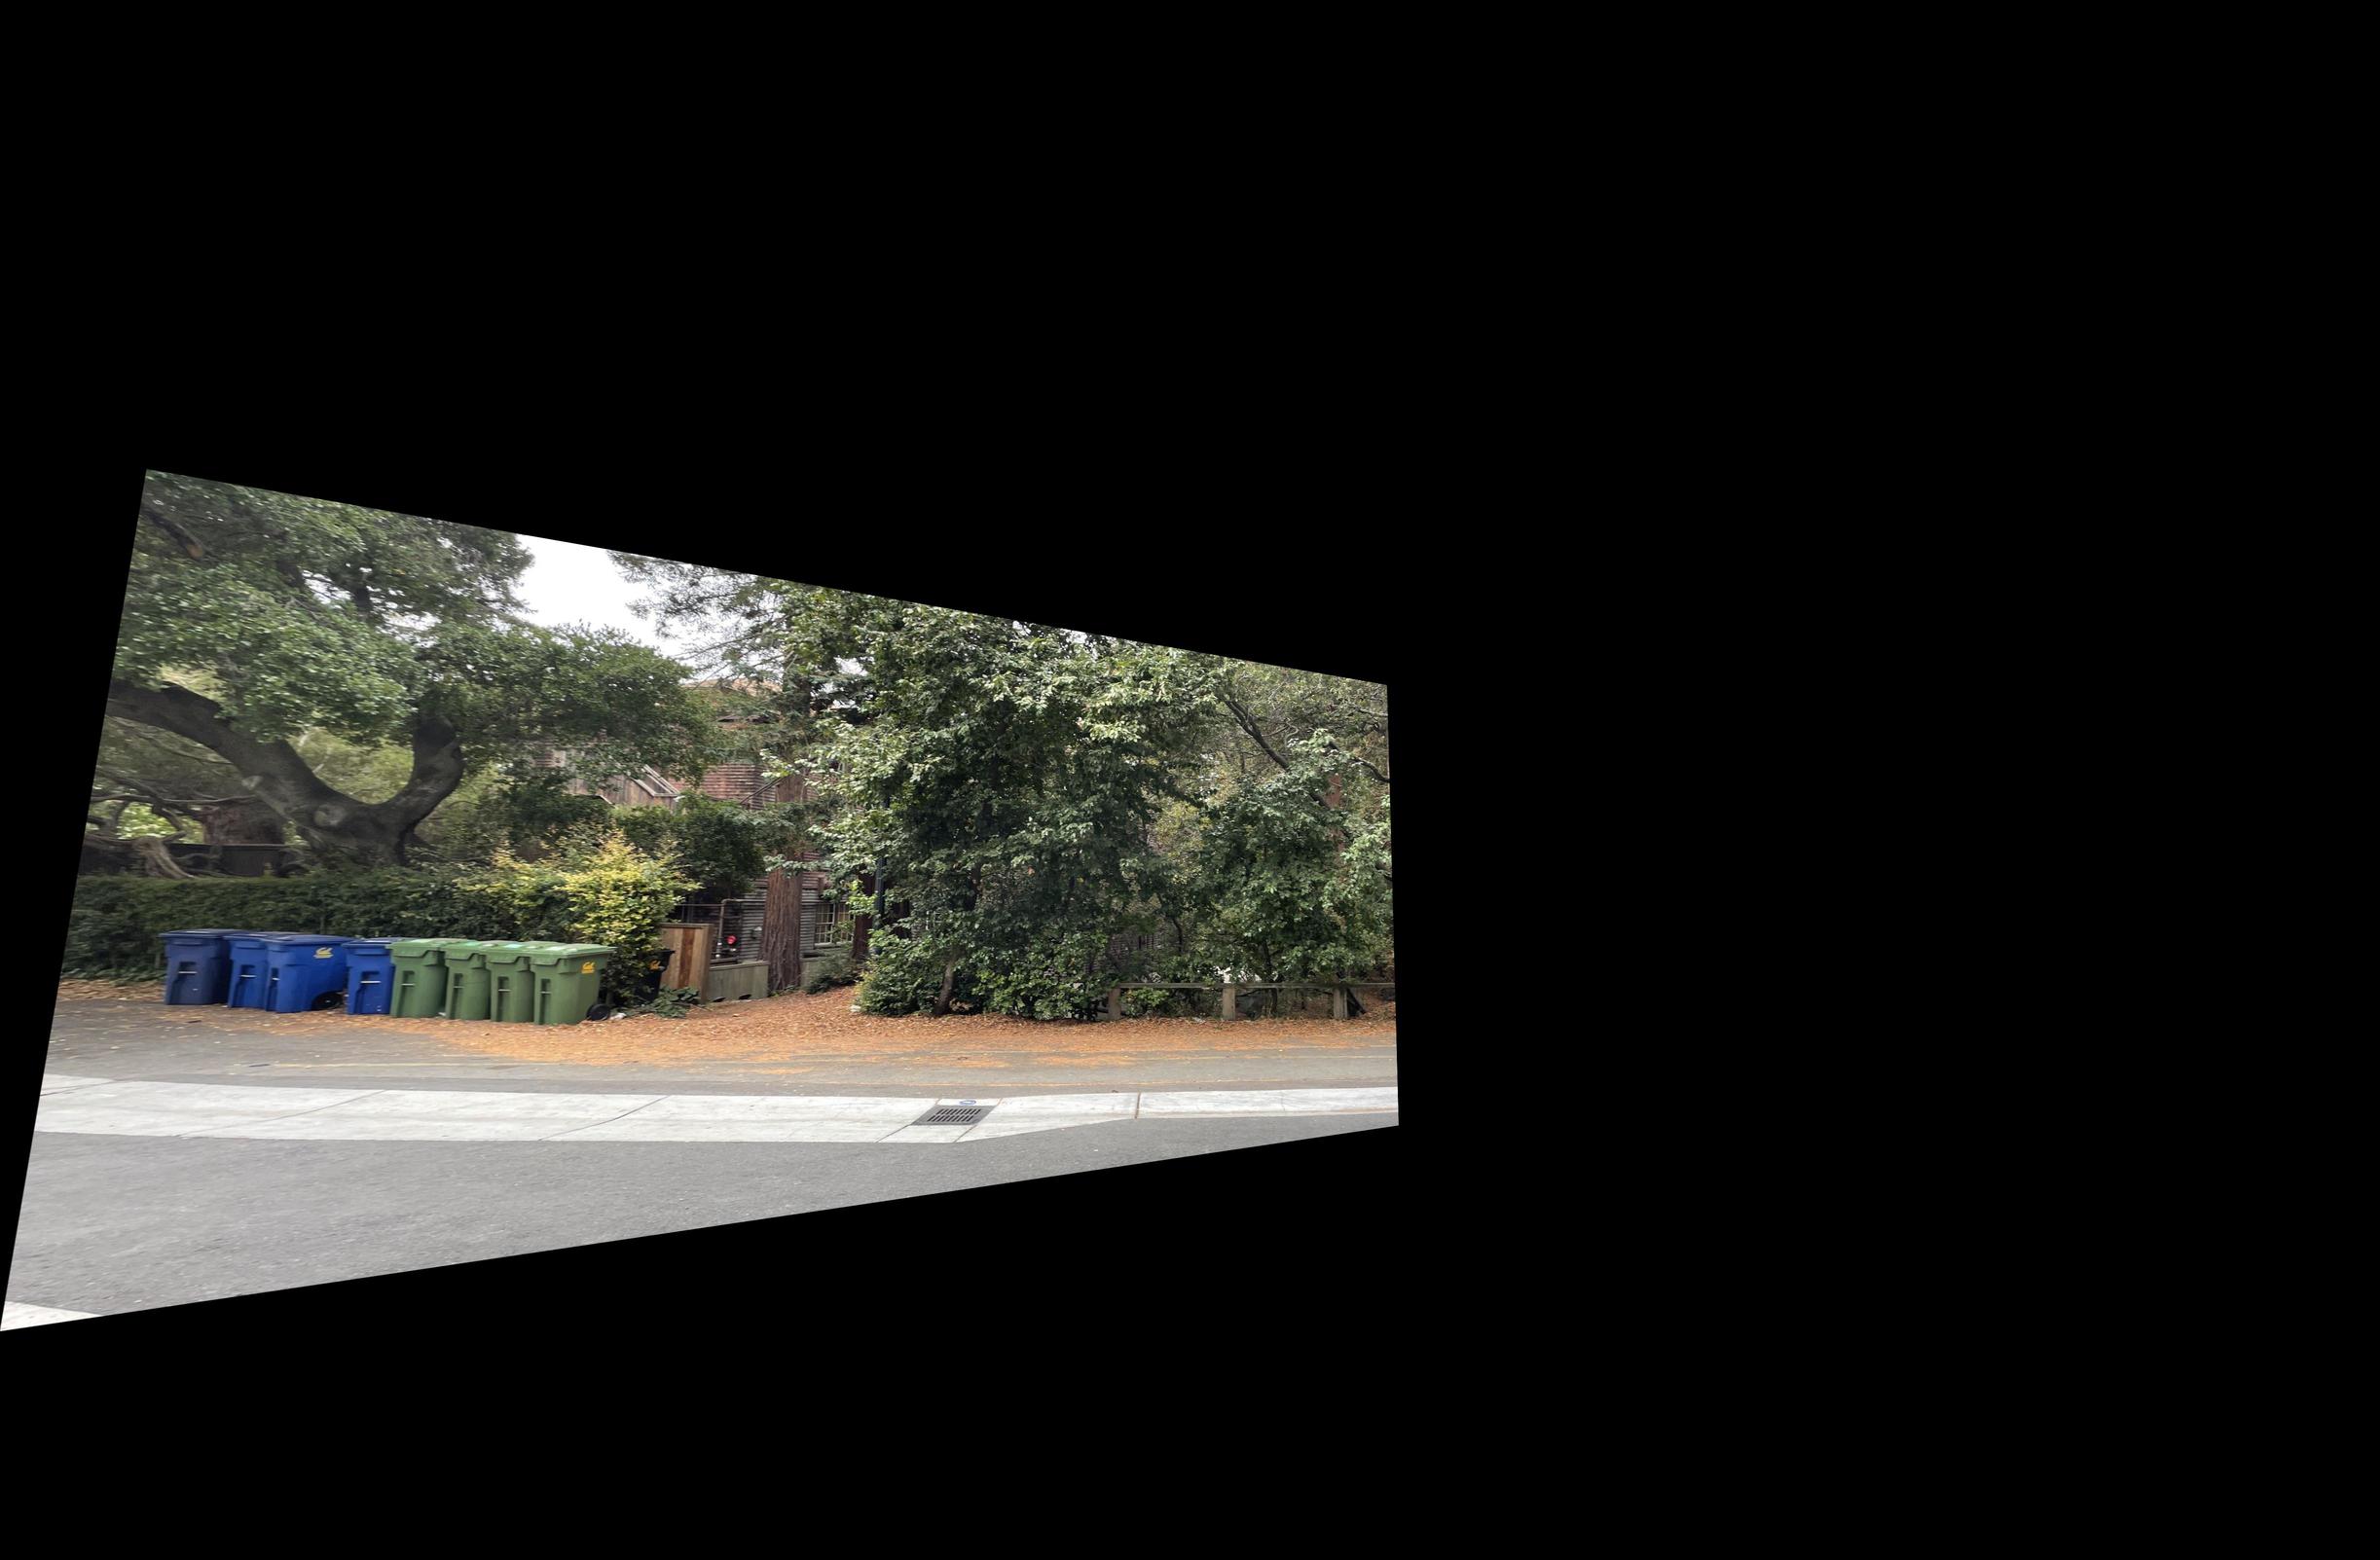
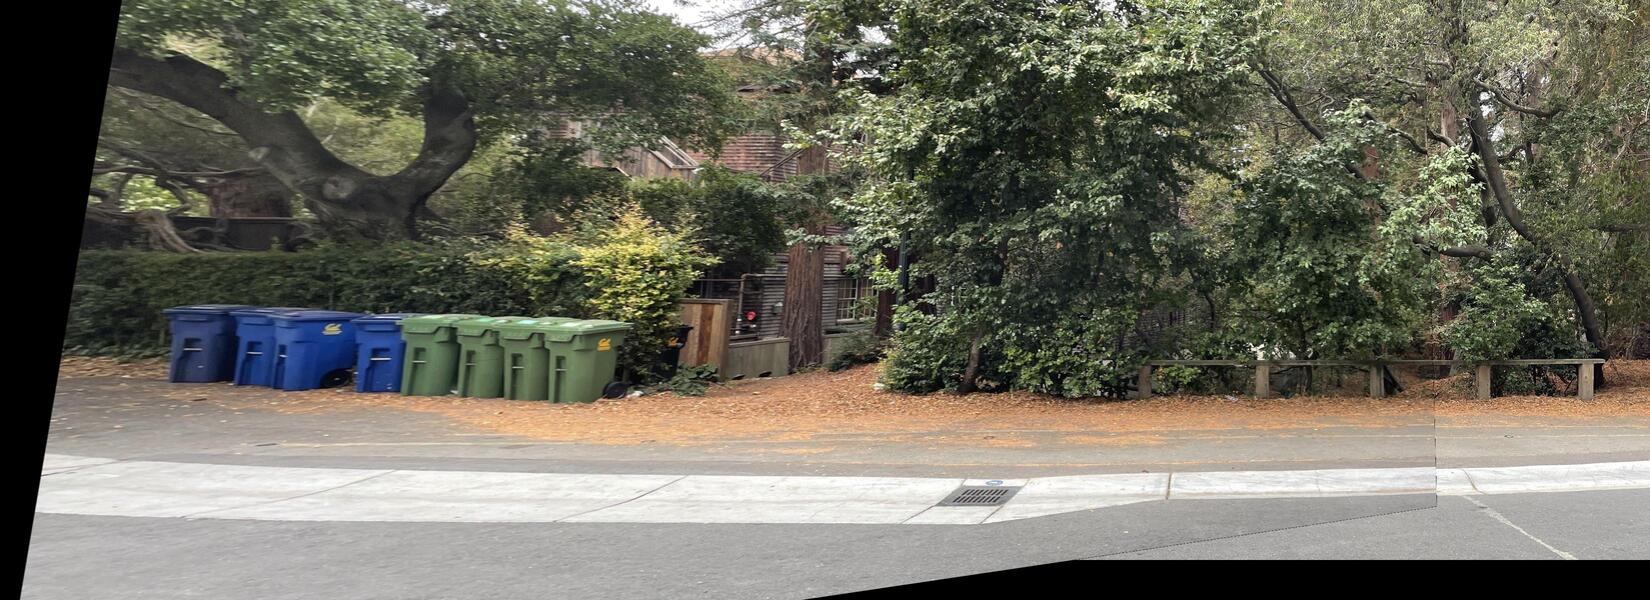
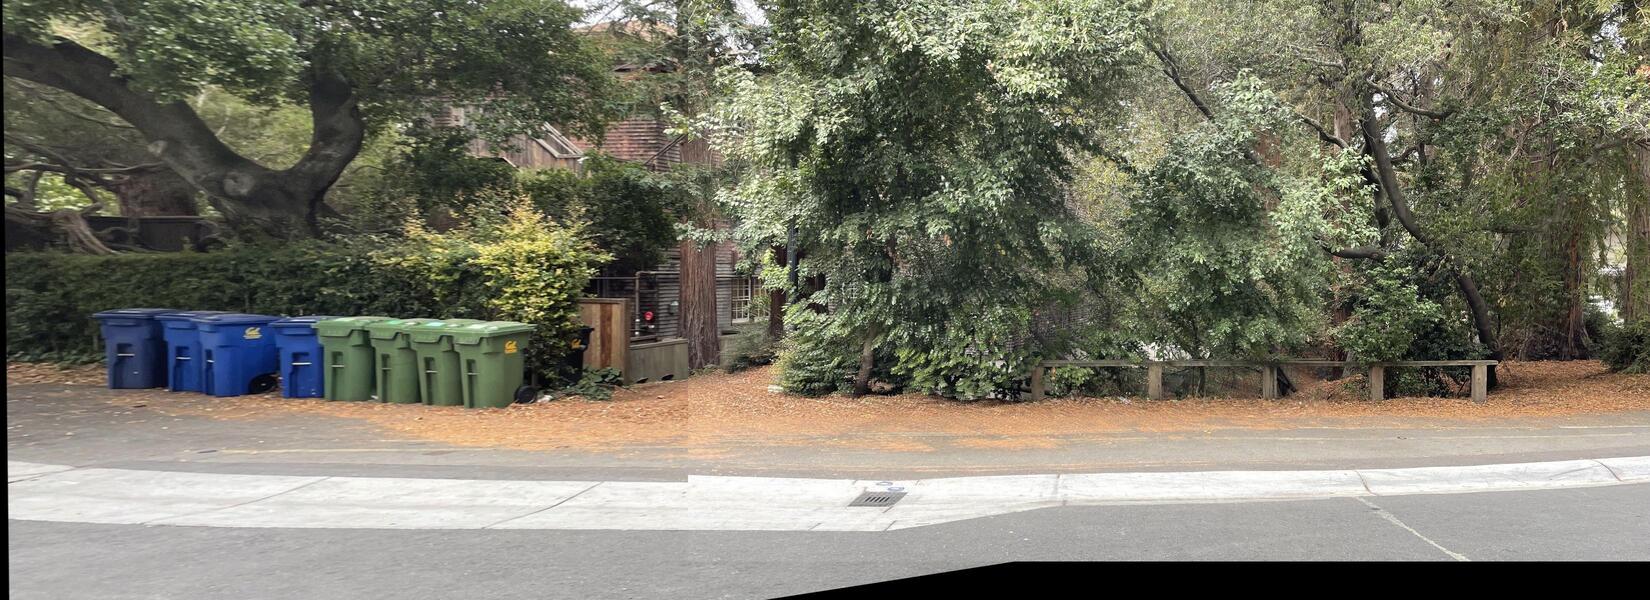
To blend the images into a mosaic, I warped every right image to the existing left mosaic. When blending the seams, I tried a couple different methods shown below. First, I created a mask of the intersection point and between two images, used only the intersection of one image. I called this a crude blending. Next, I tried averaging the intersection of two images. Finally, I tried getting the max pixel value of two images. While the crude blending resulted in clearer intersections, it also gave very clear lines of where the mask was found. Thus, for the rest of my mosaics, I used max pixel blending to have softer lines.
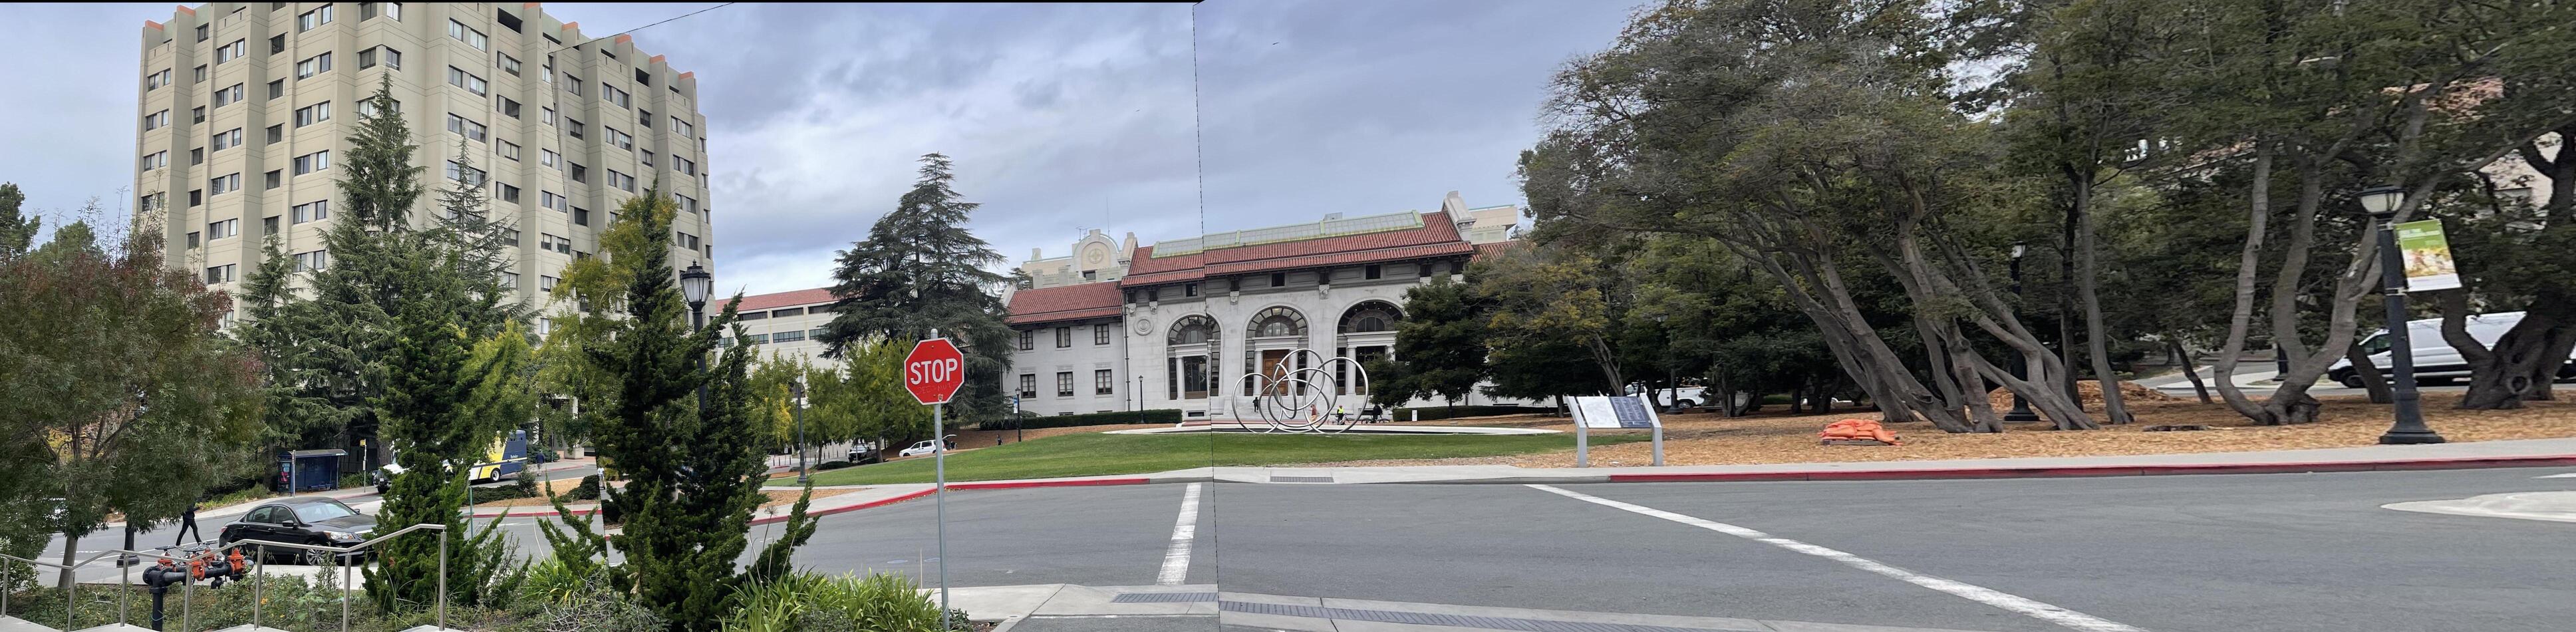
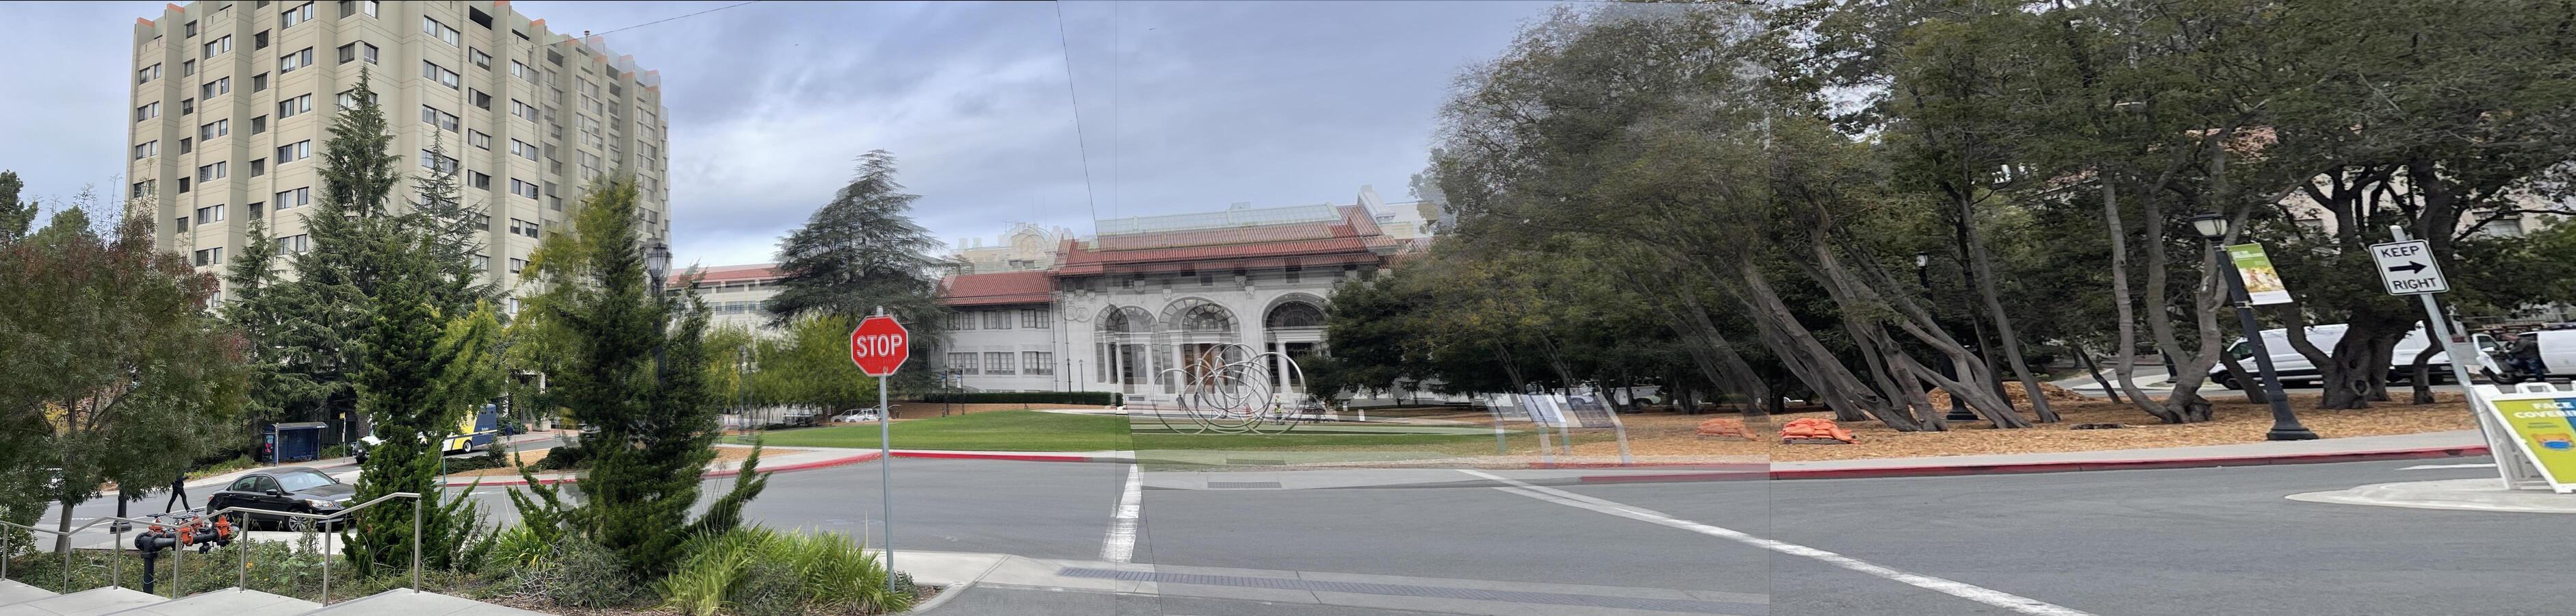
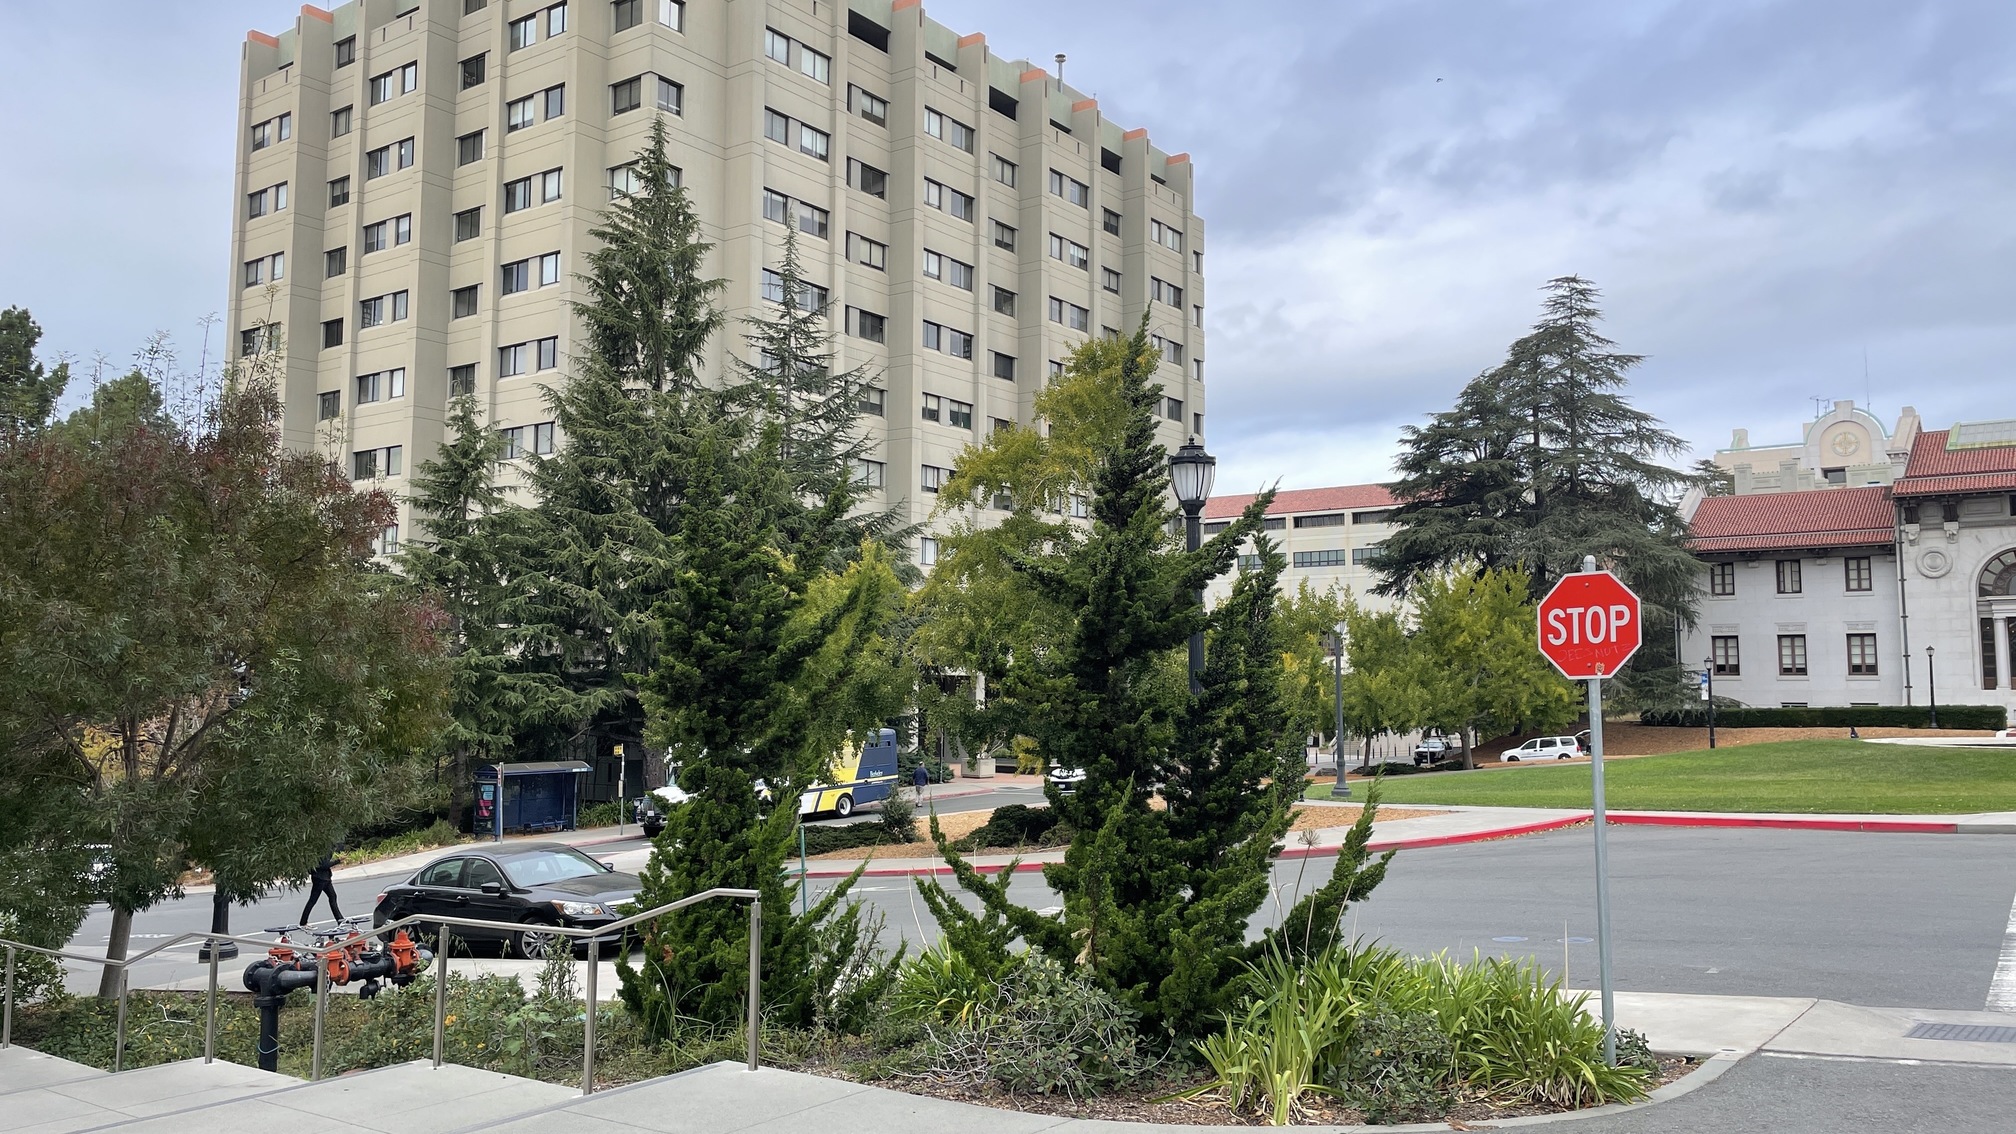
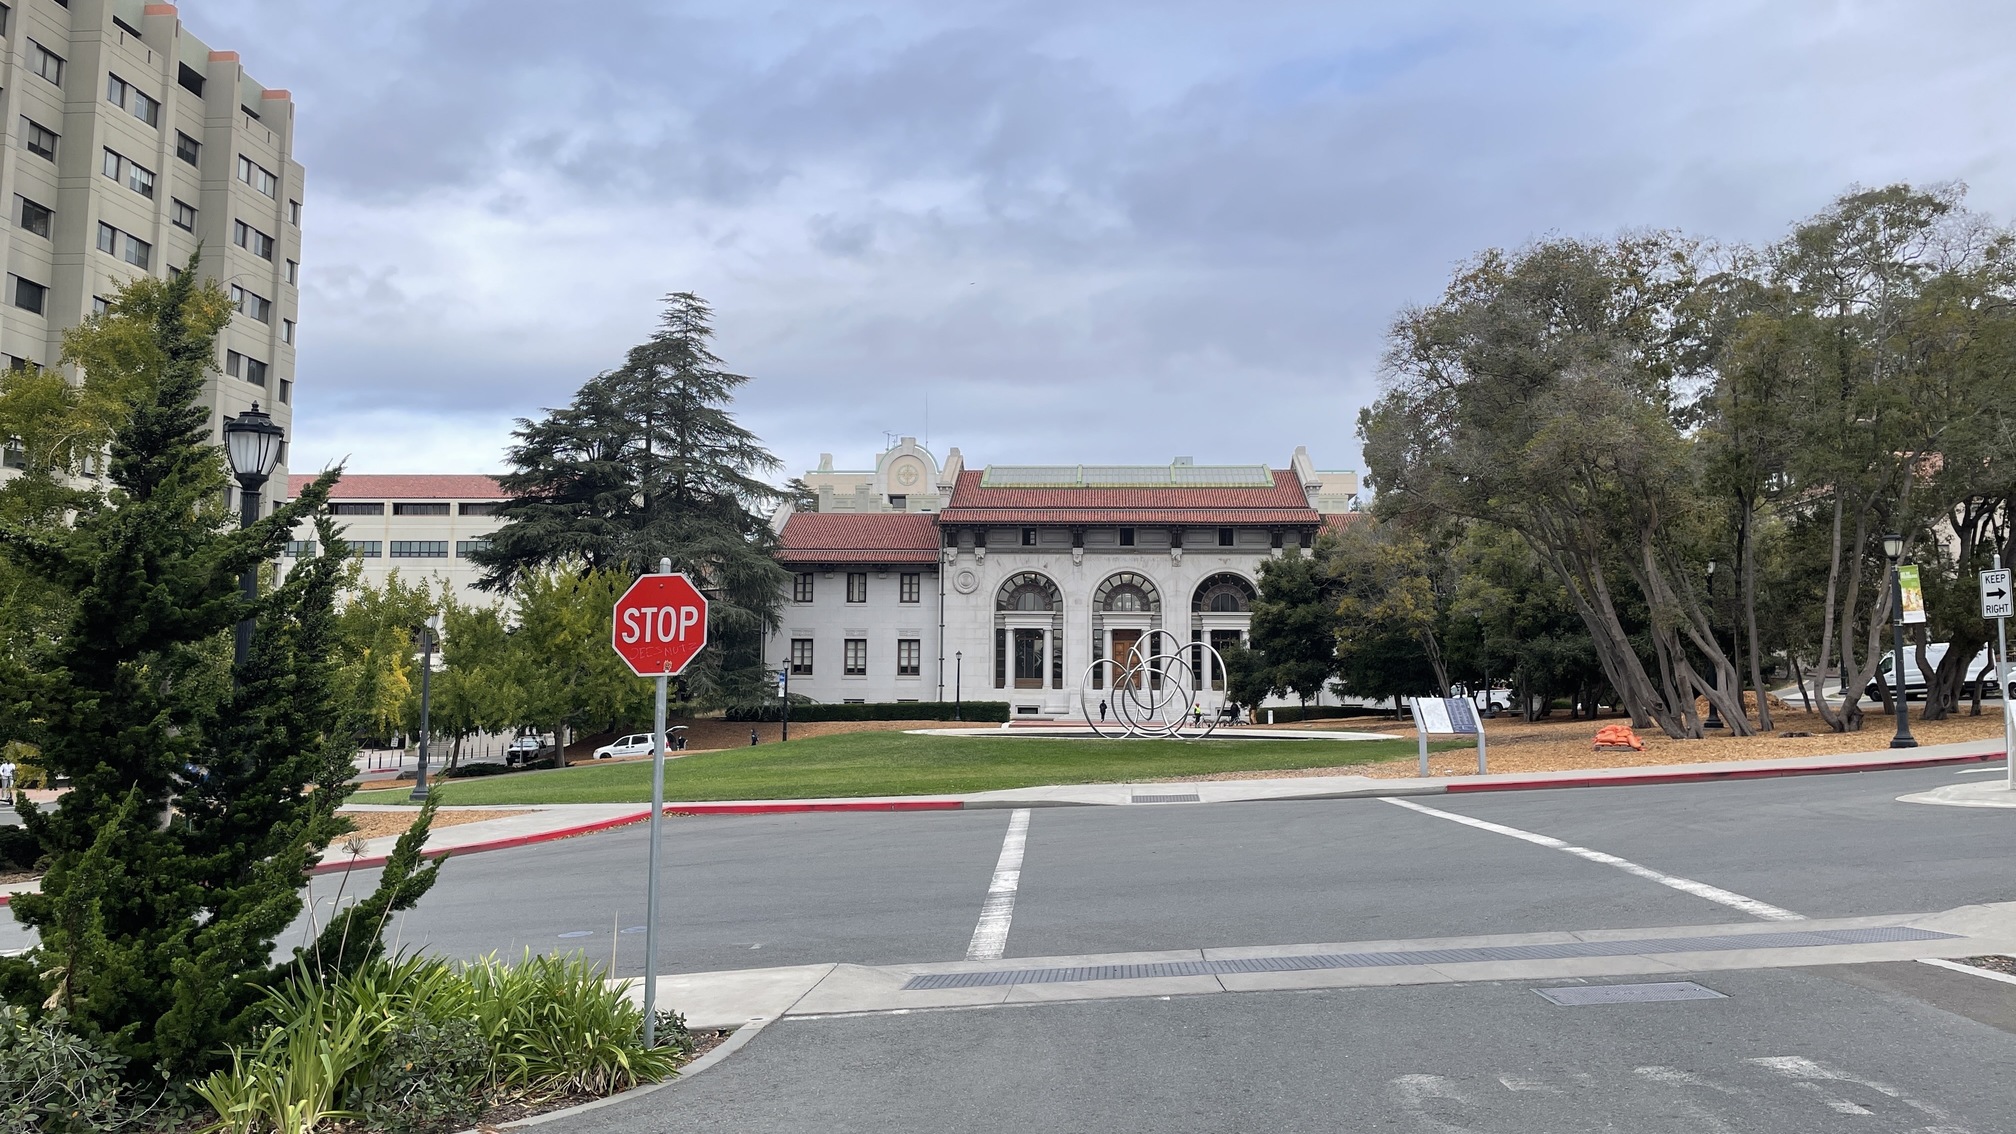
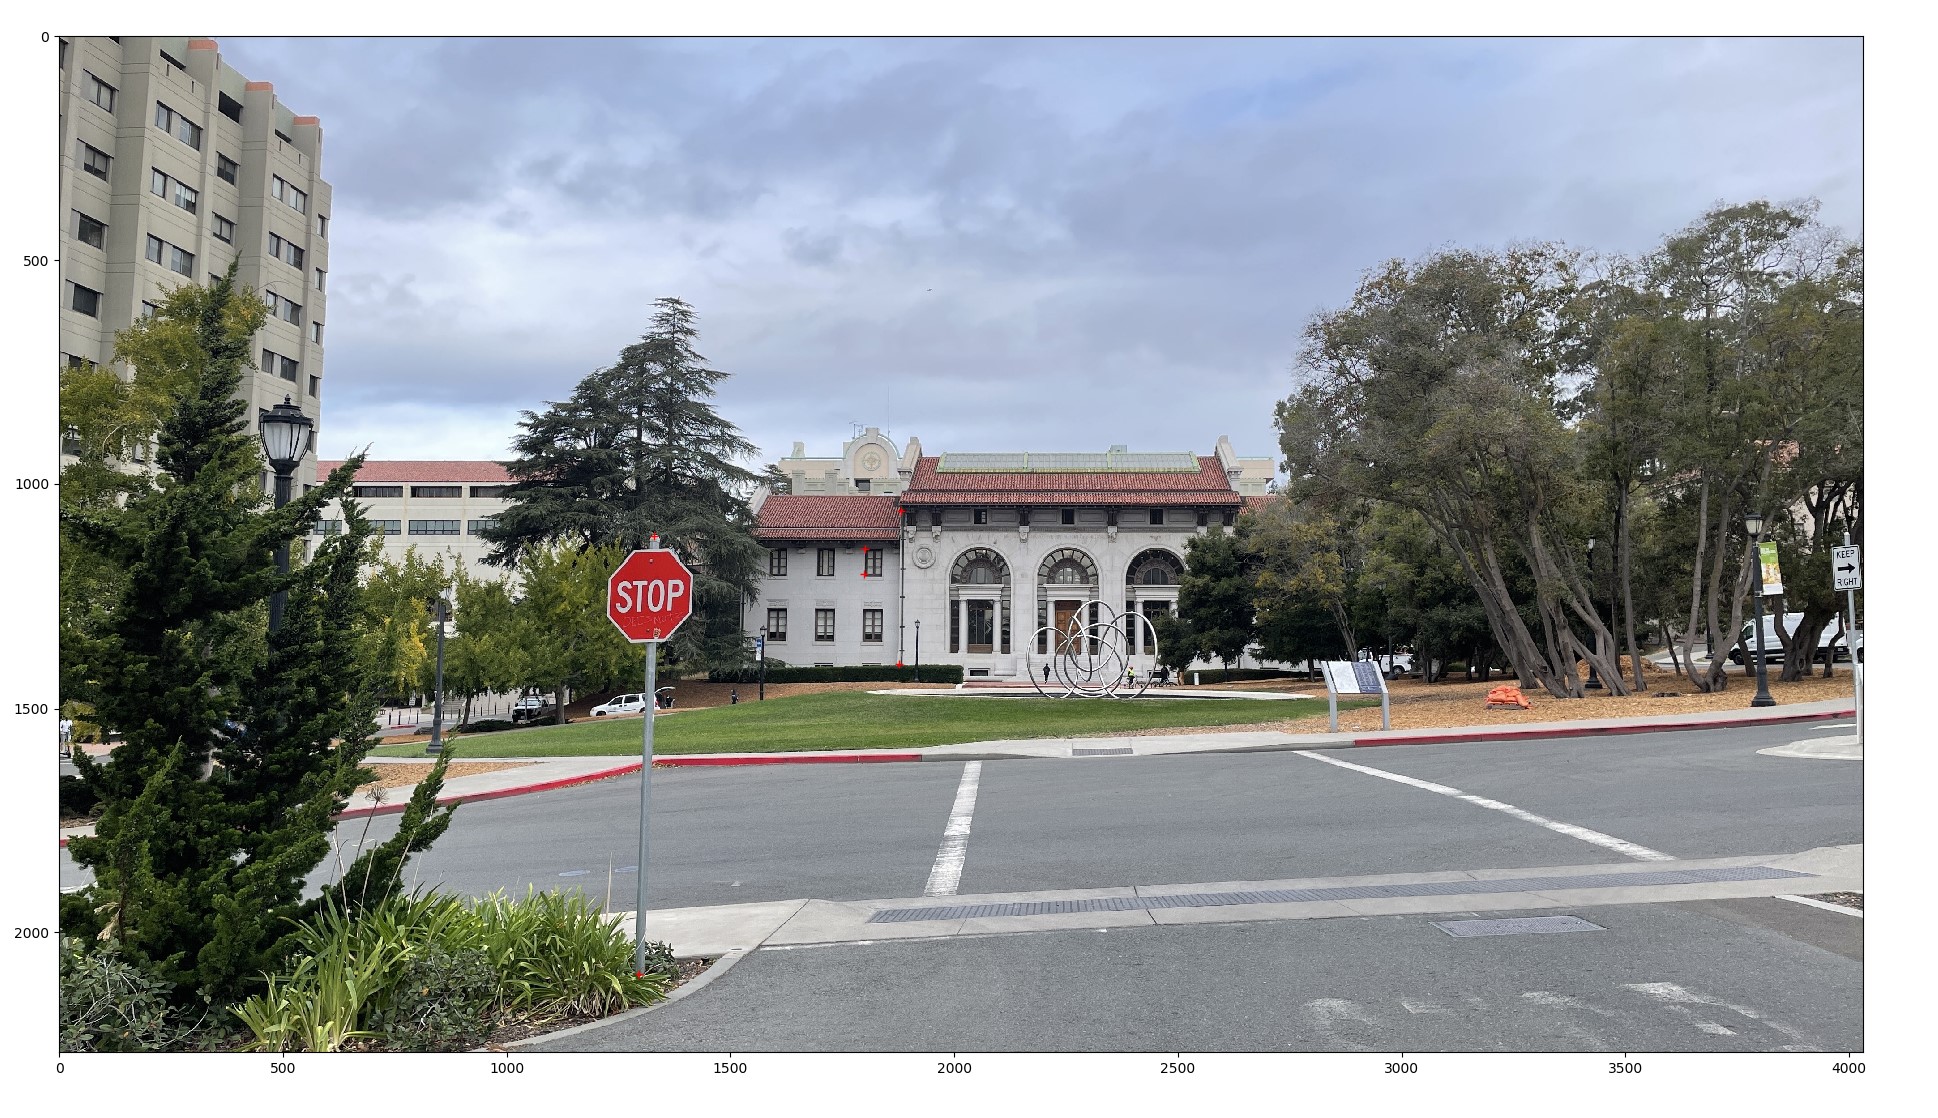
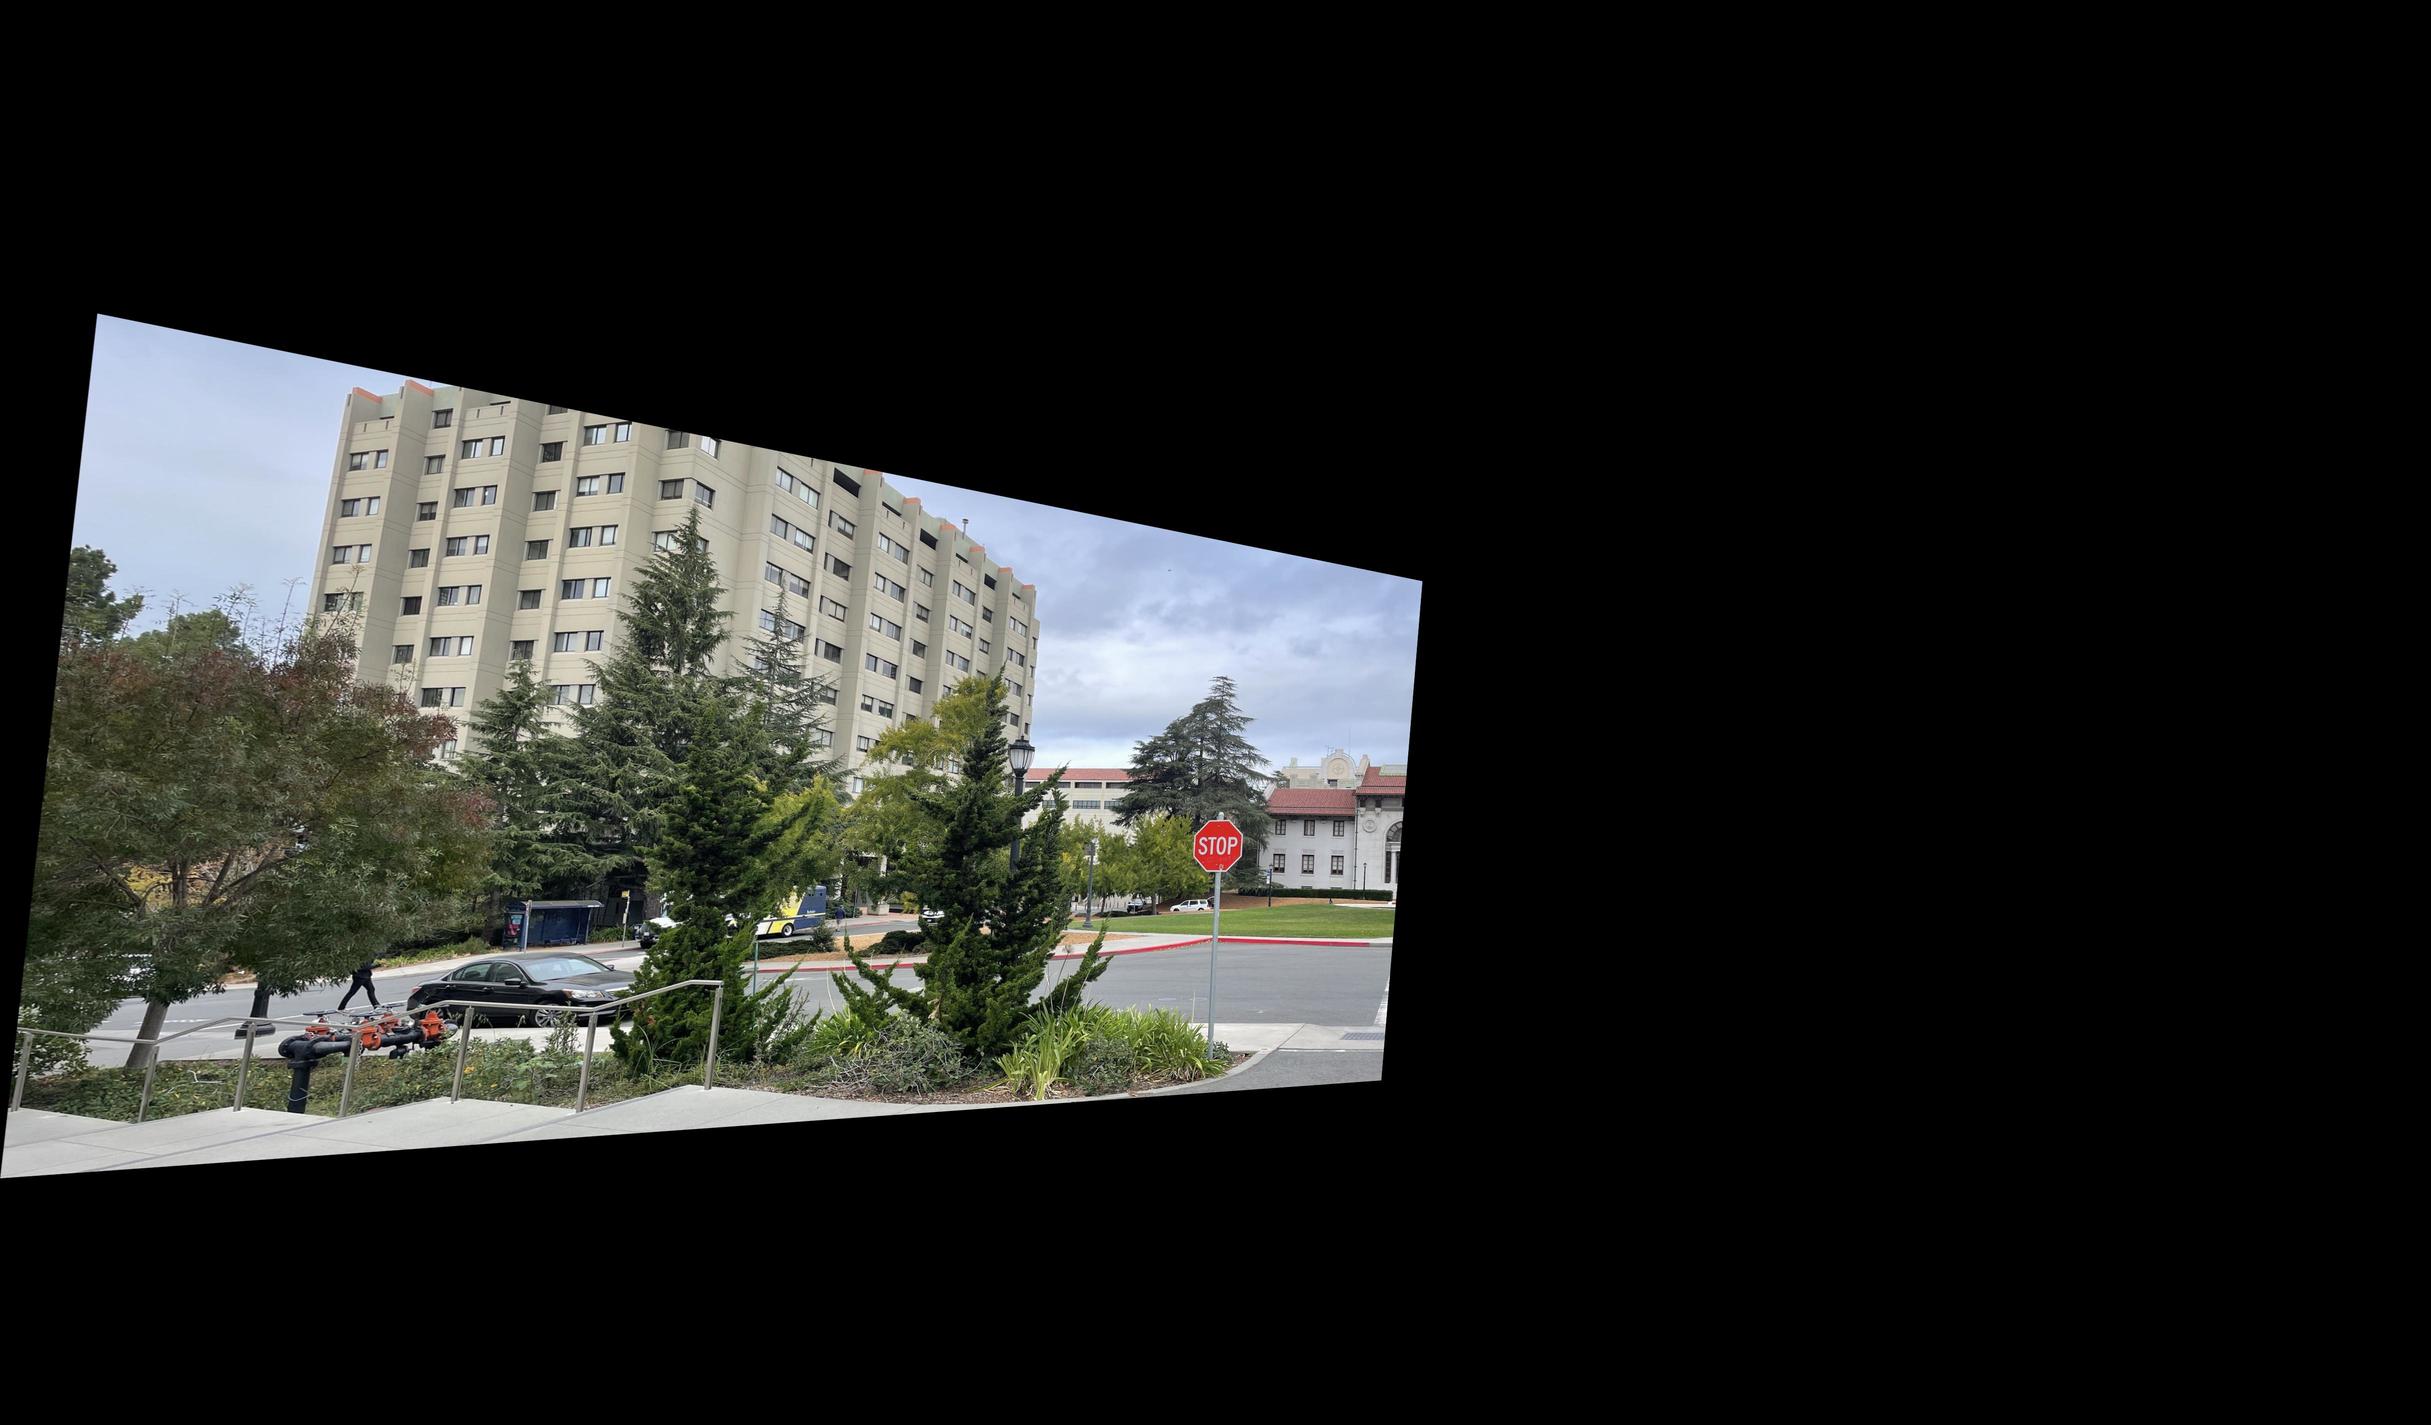
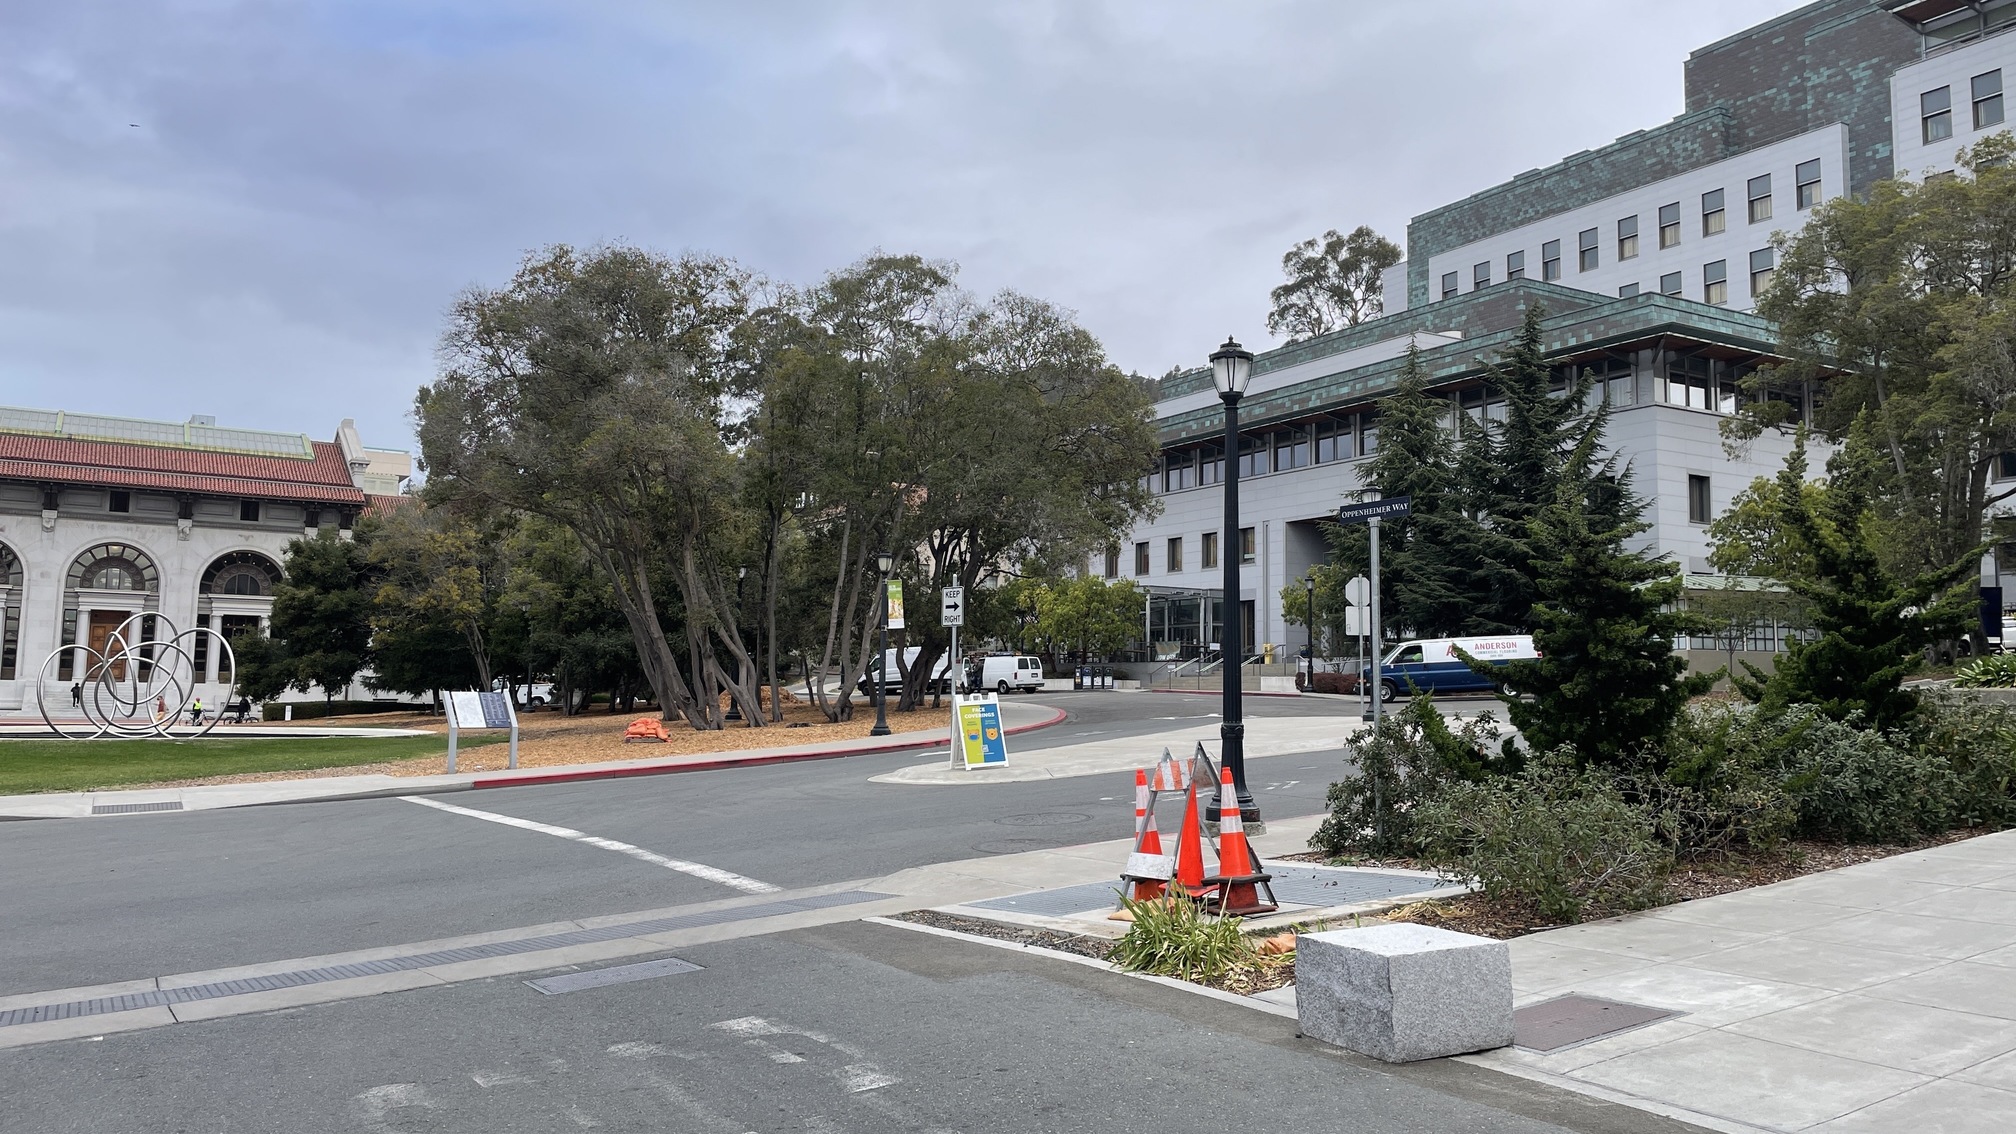
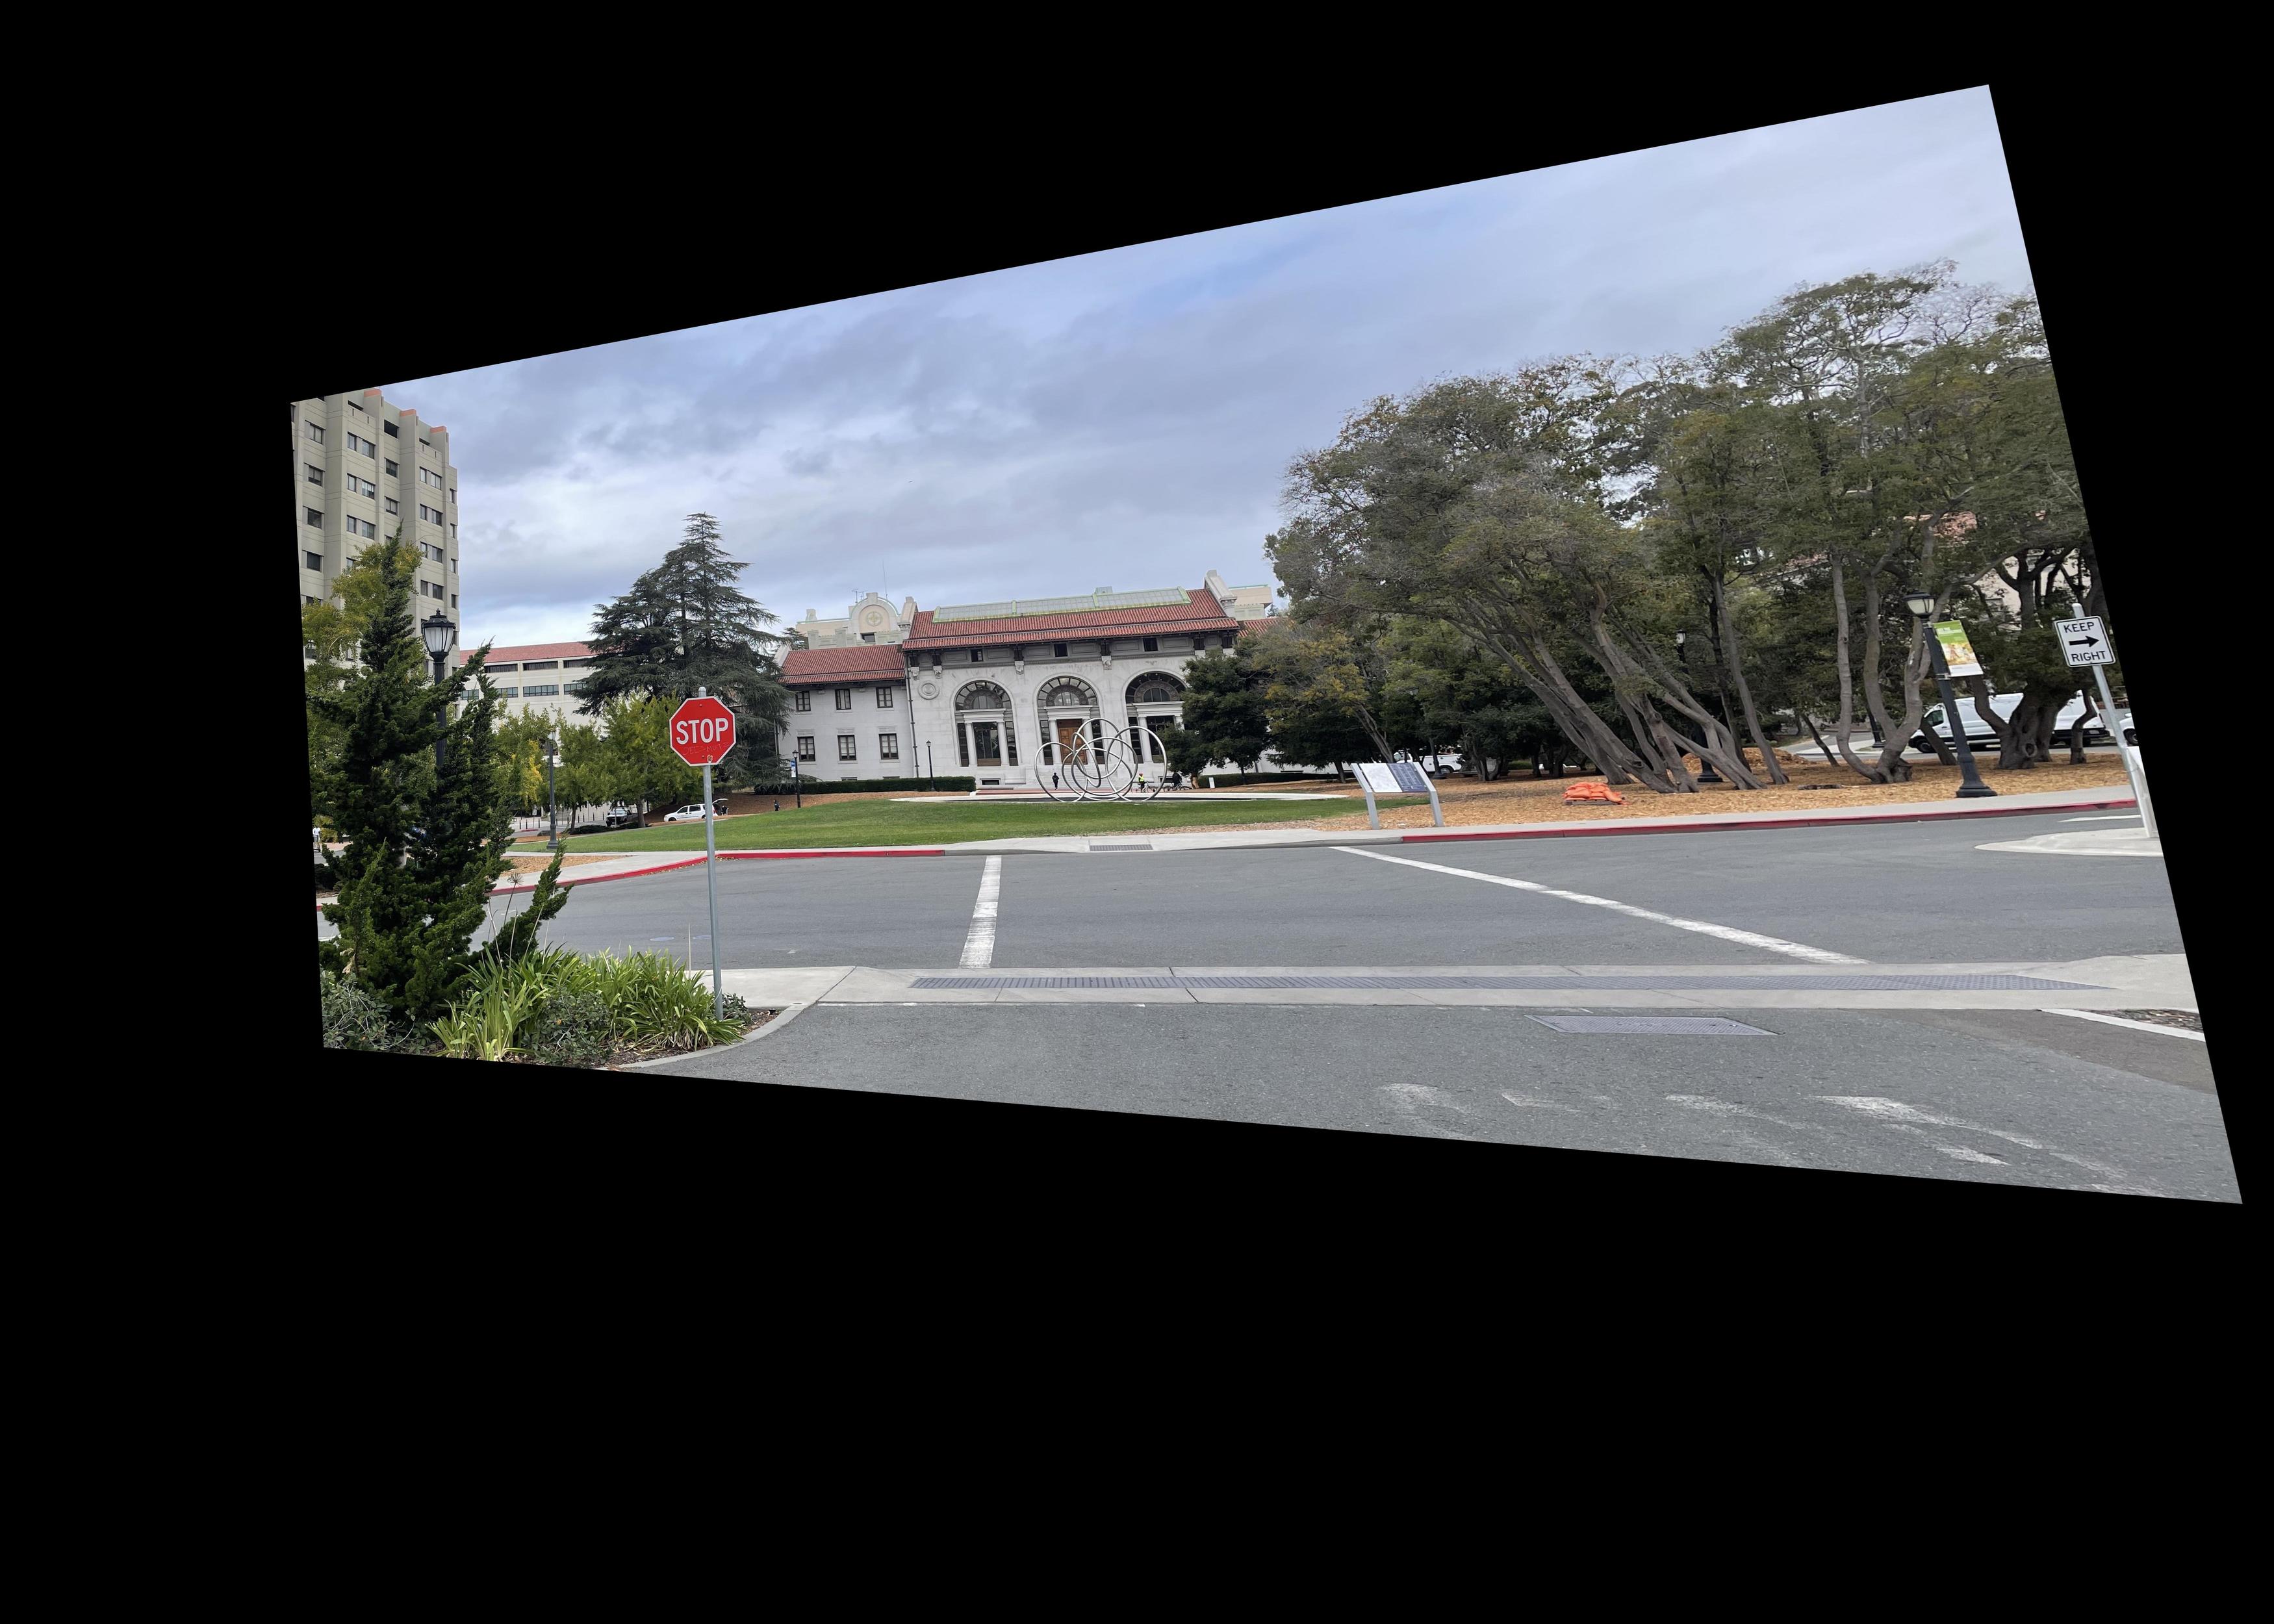
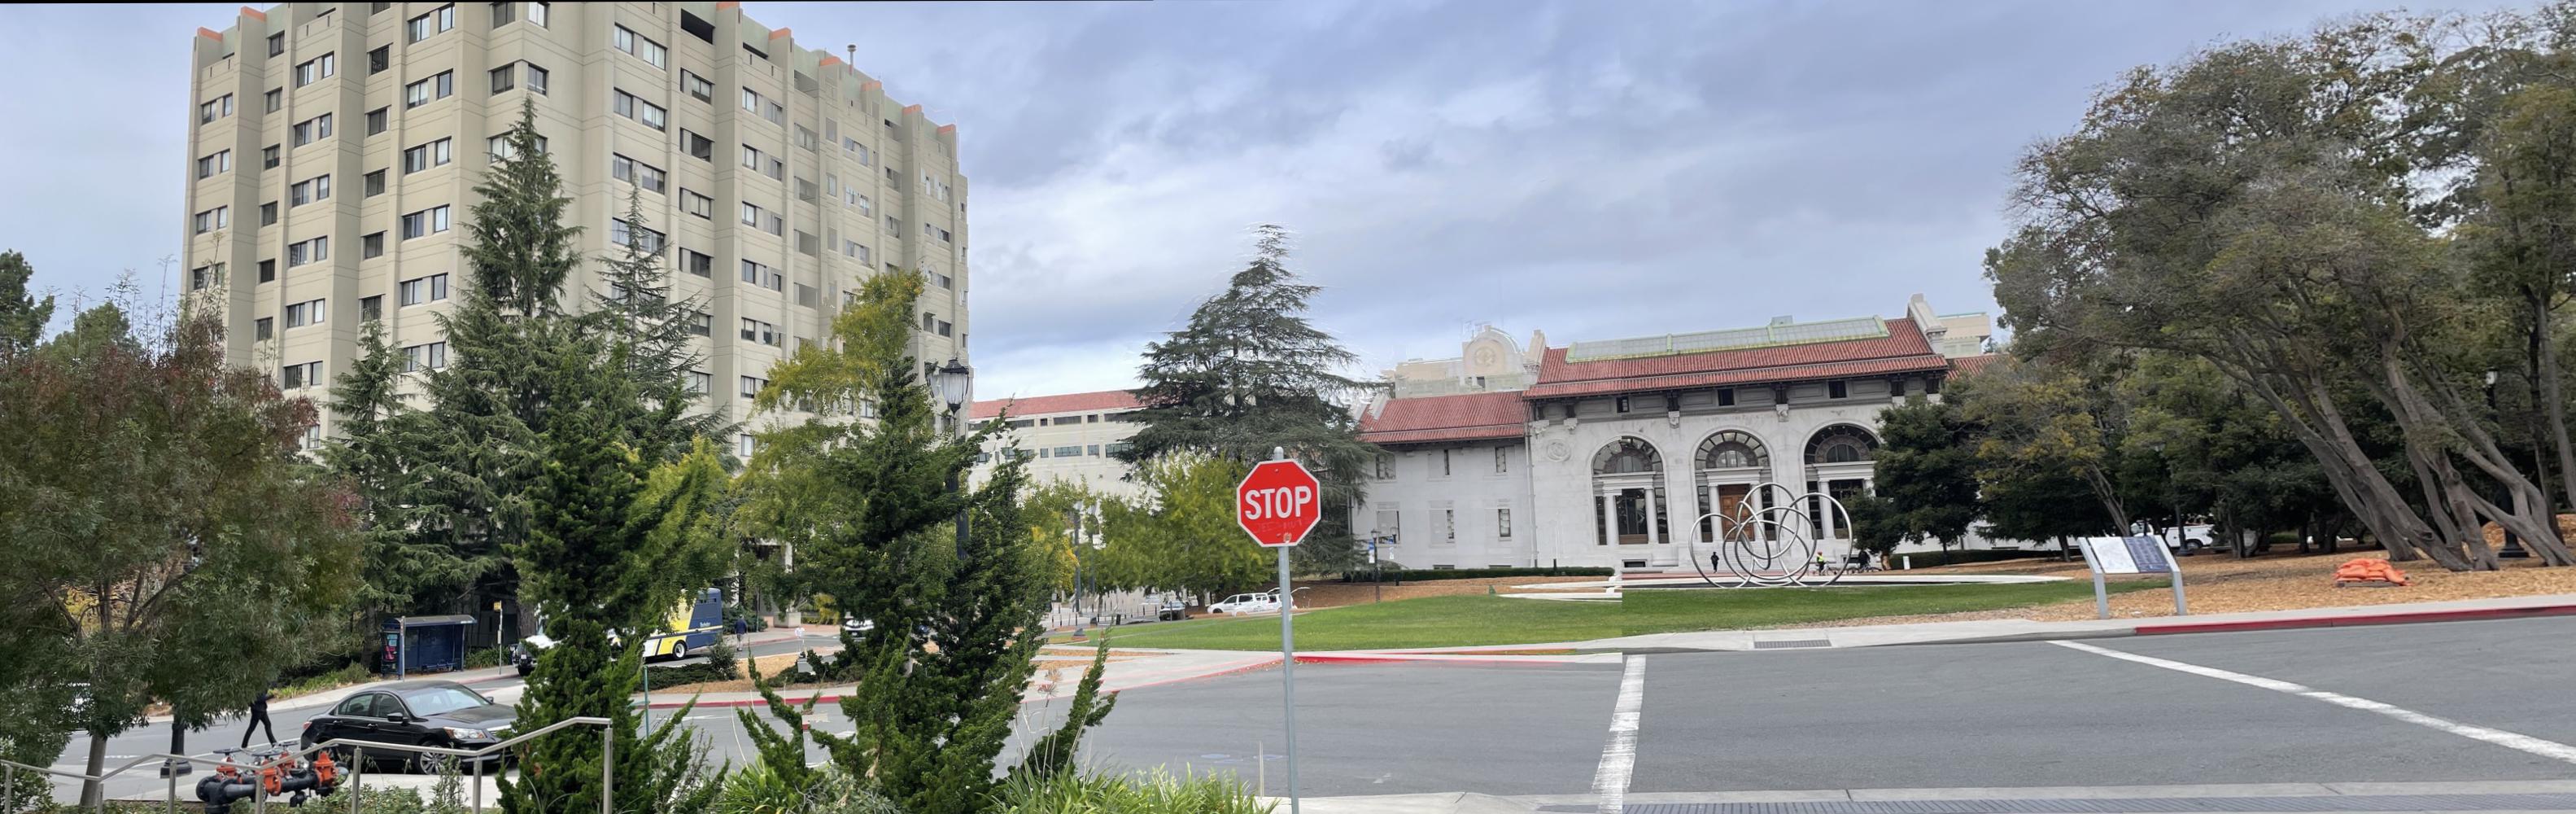
For the Hearst mosaic, below are the three images that were stiched together:
For the Front Lawn mosaic, below are the three images that were stiched together:
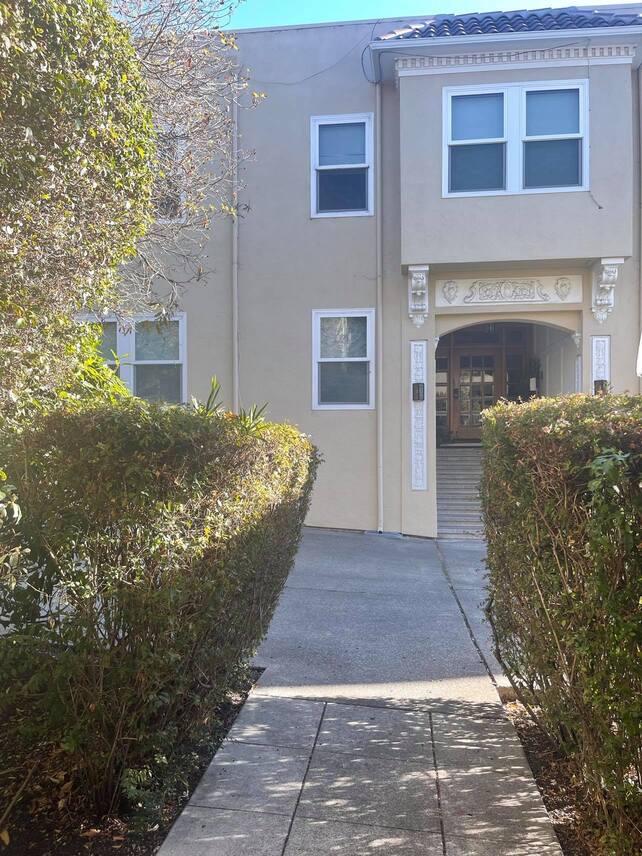
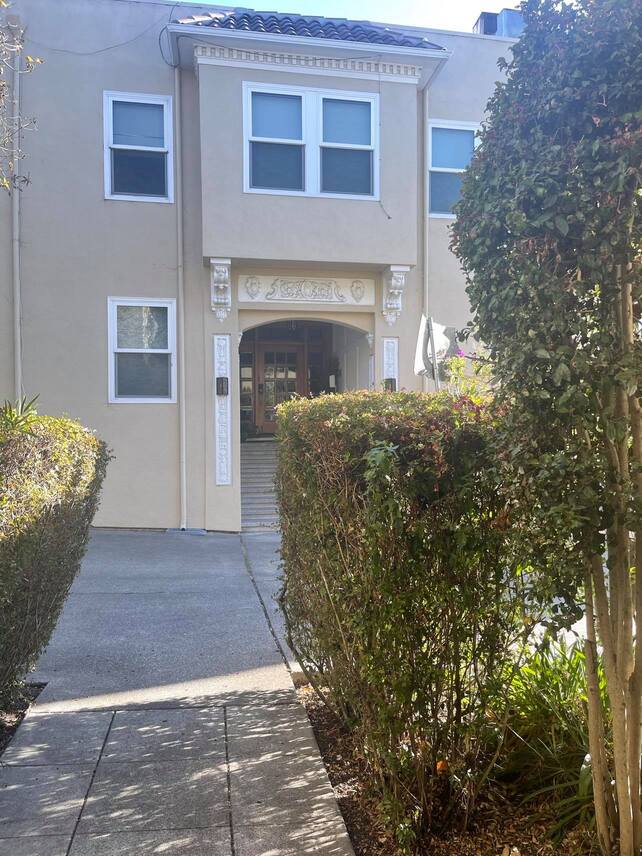
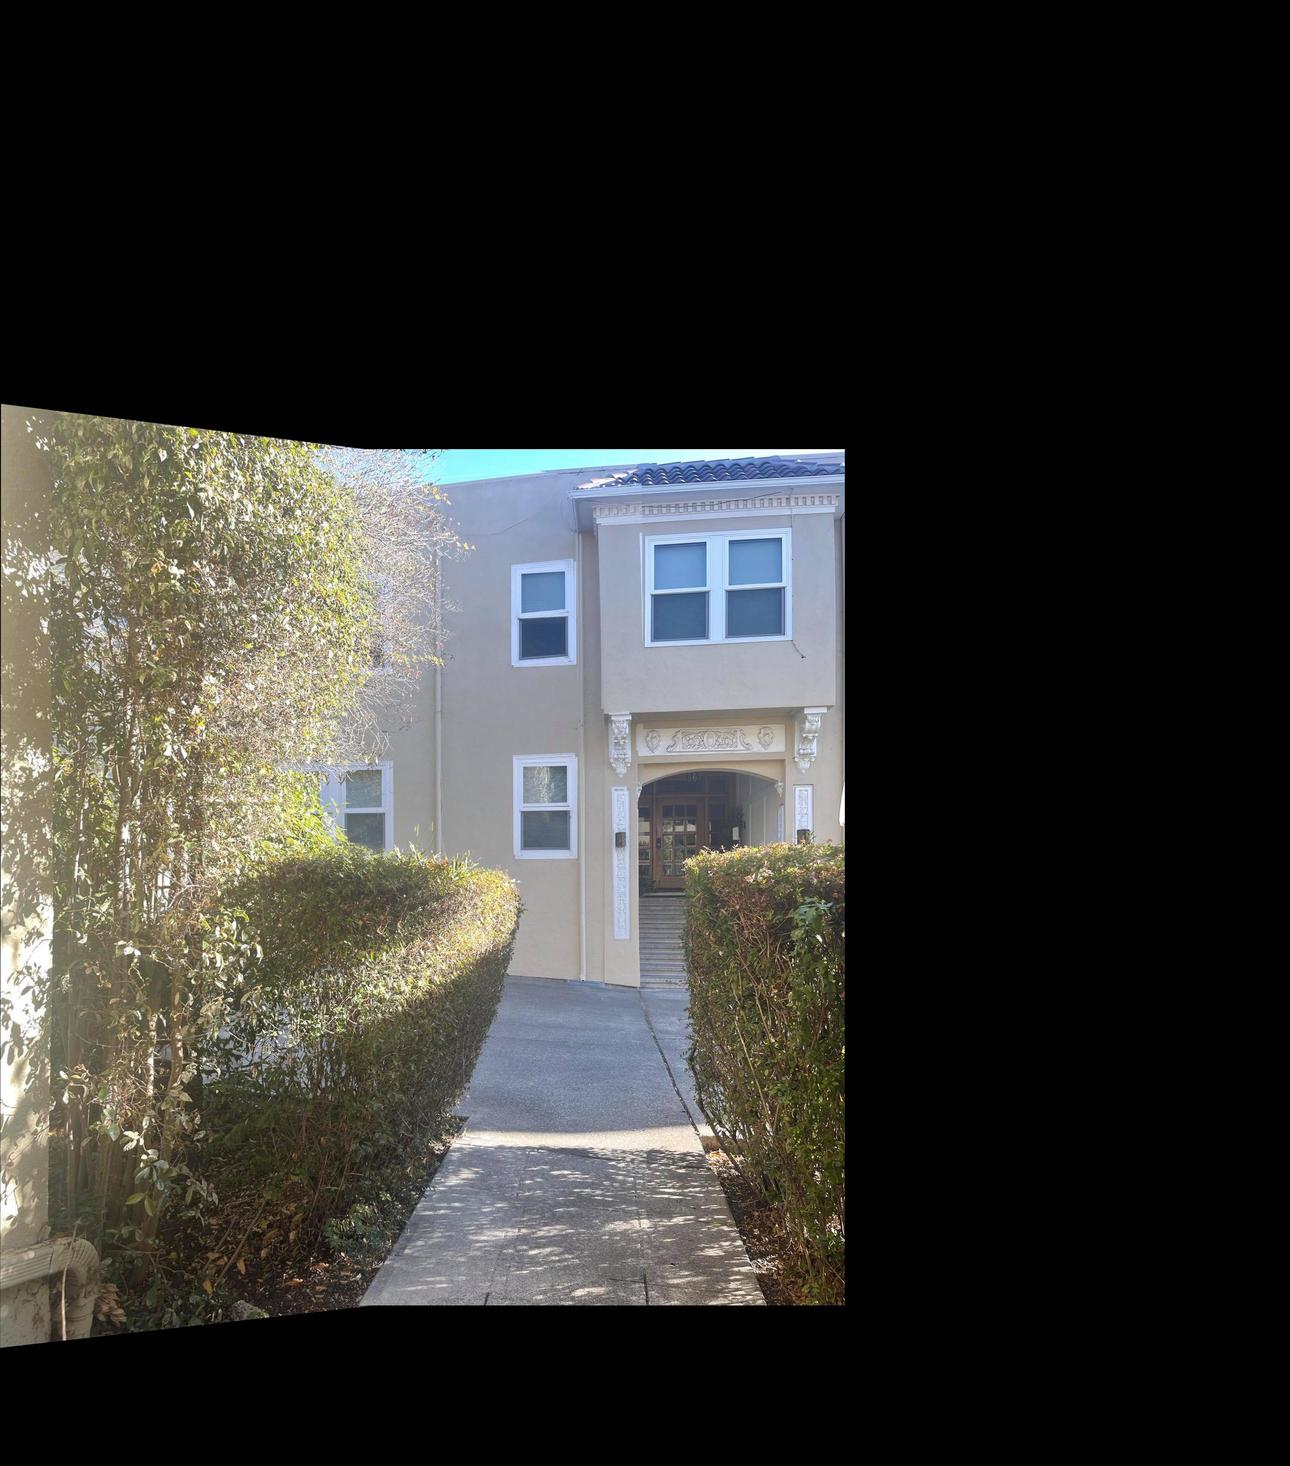
For the Haas mosaic, below are the three images that were stiched together:
The coolest thing I learned from this project is how to do different calculations in order to align the warped photos, create the correct canvas size, and tranform pixels from the original image. It was definitely challenging for me to picture how the images would transform and determine what mathematrical operations were needed to result in the correct transformation on the merged image canvas. Some of my image resolutions were also very large, which made stitching more challenging, and I also had to resize my images.