image1.jpg
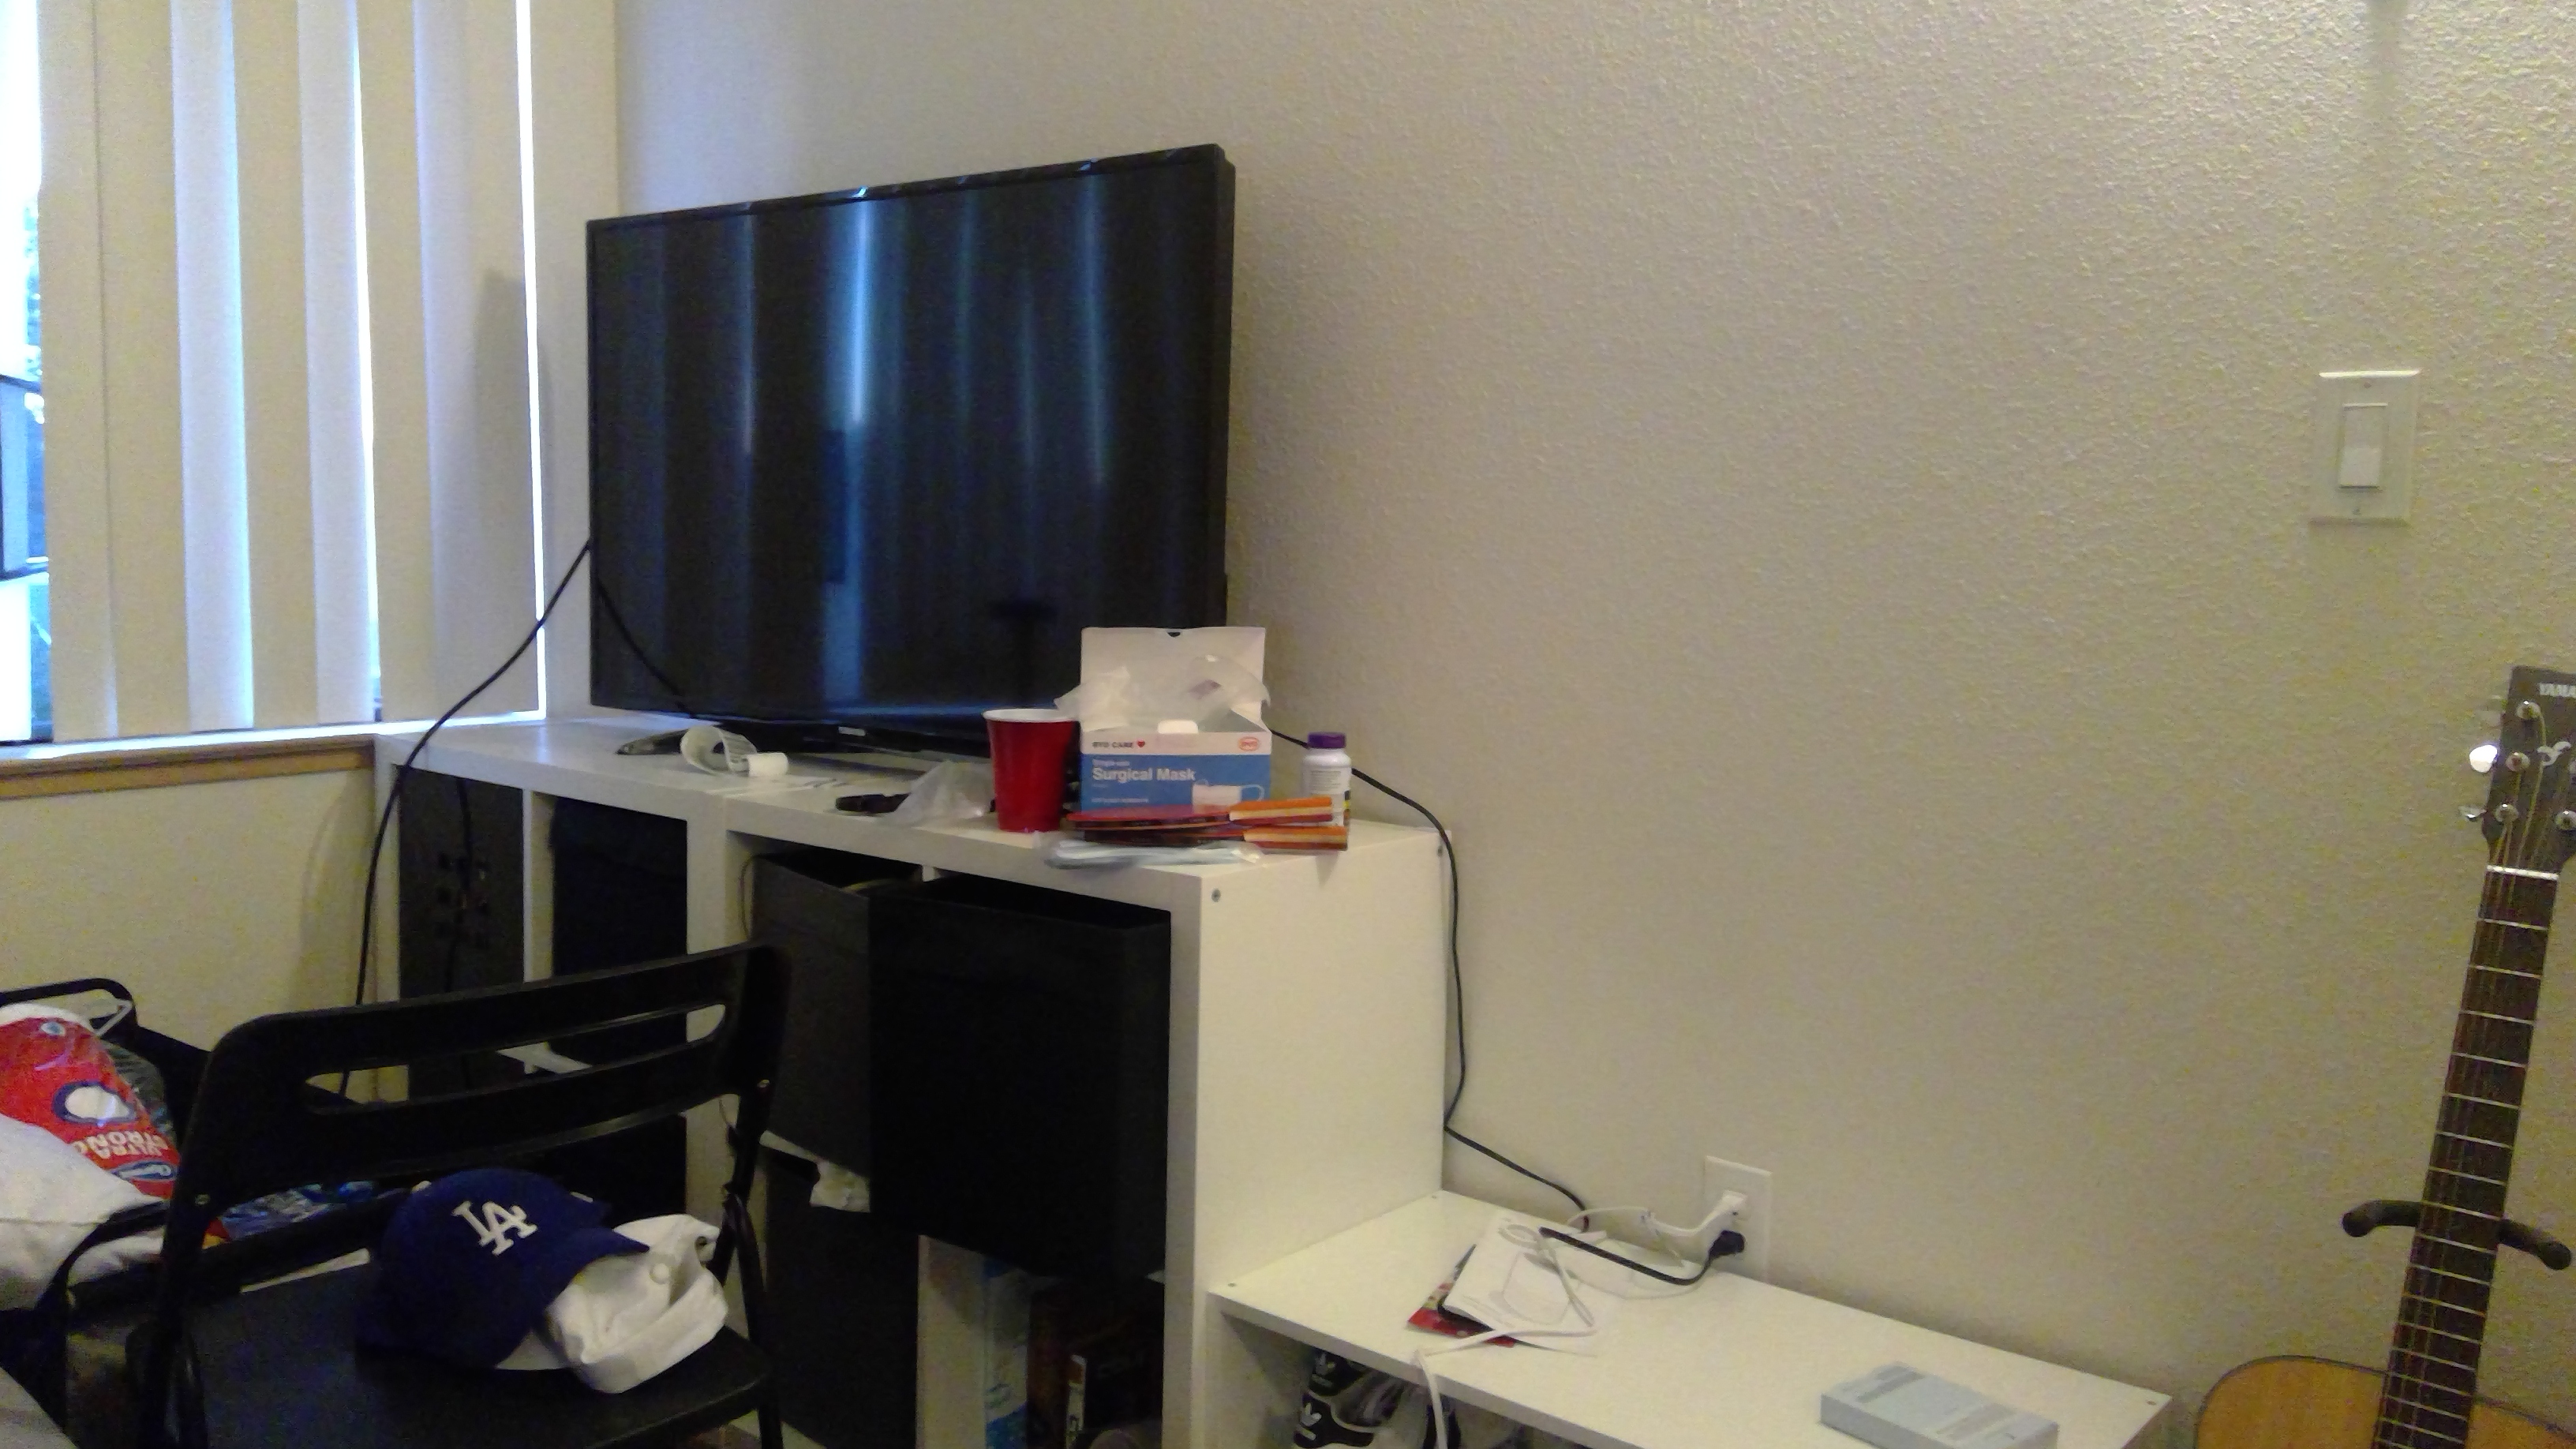
image2.jpg
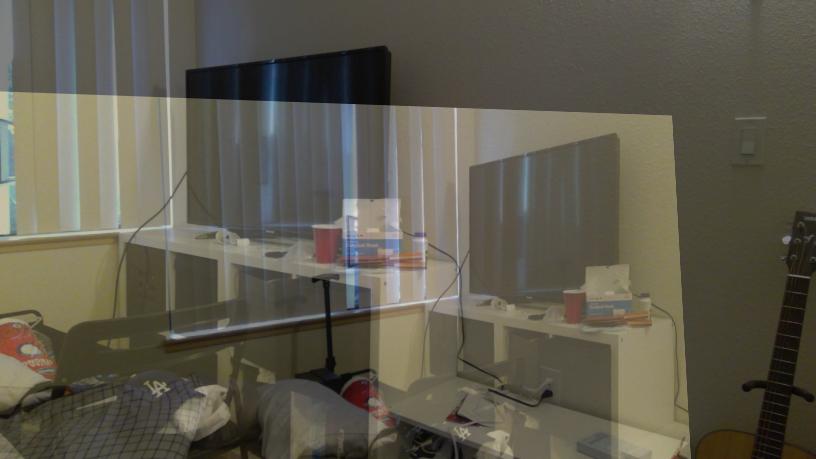
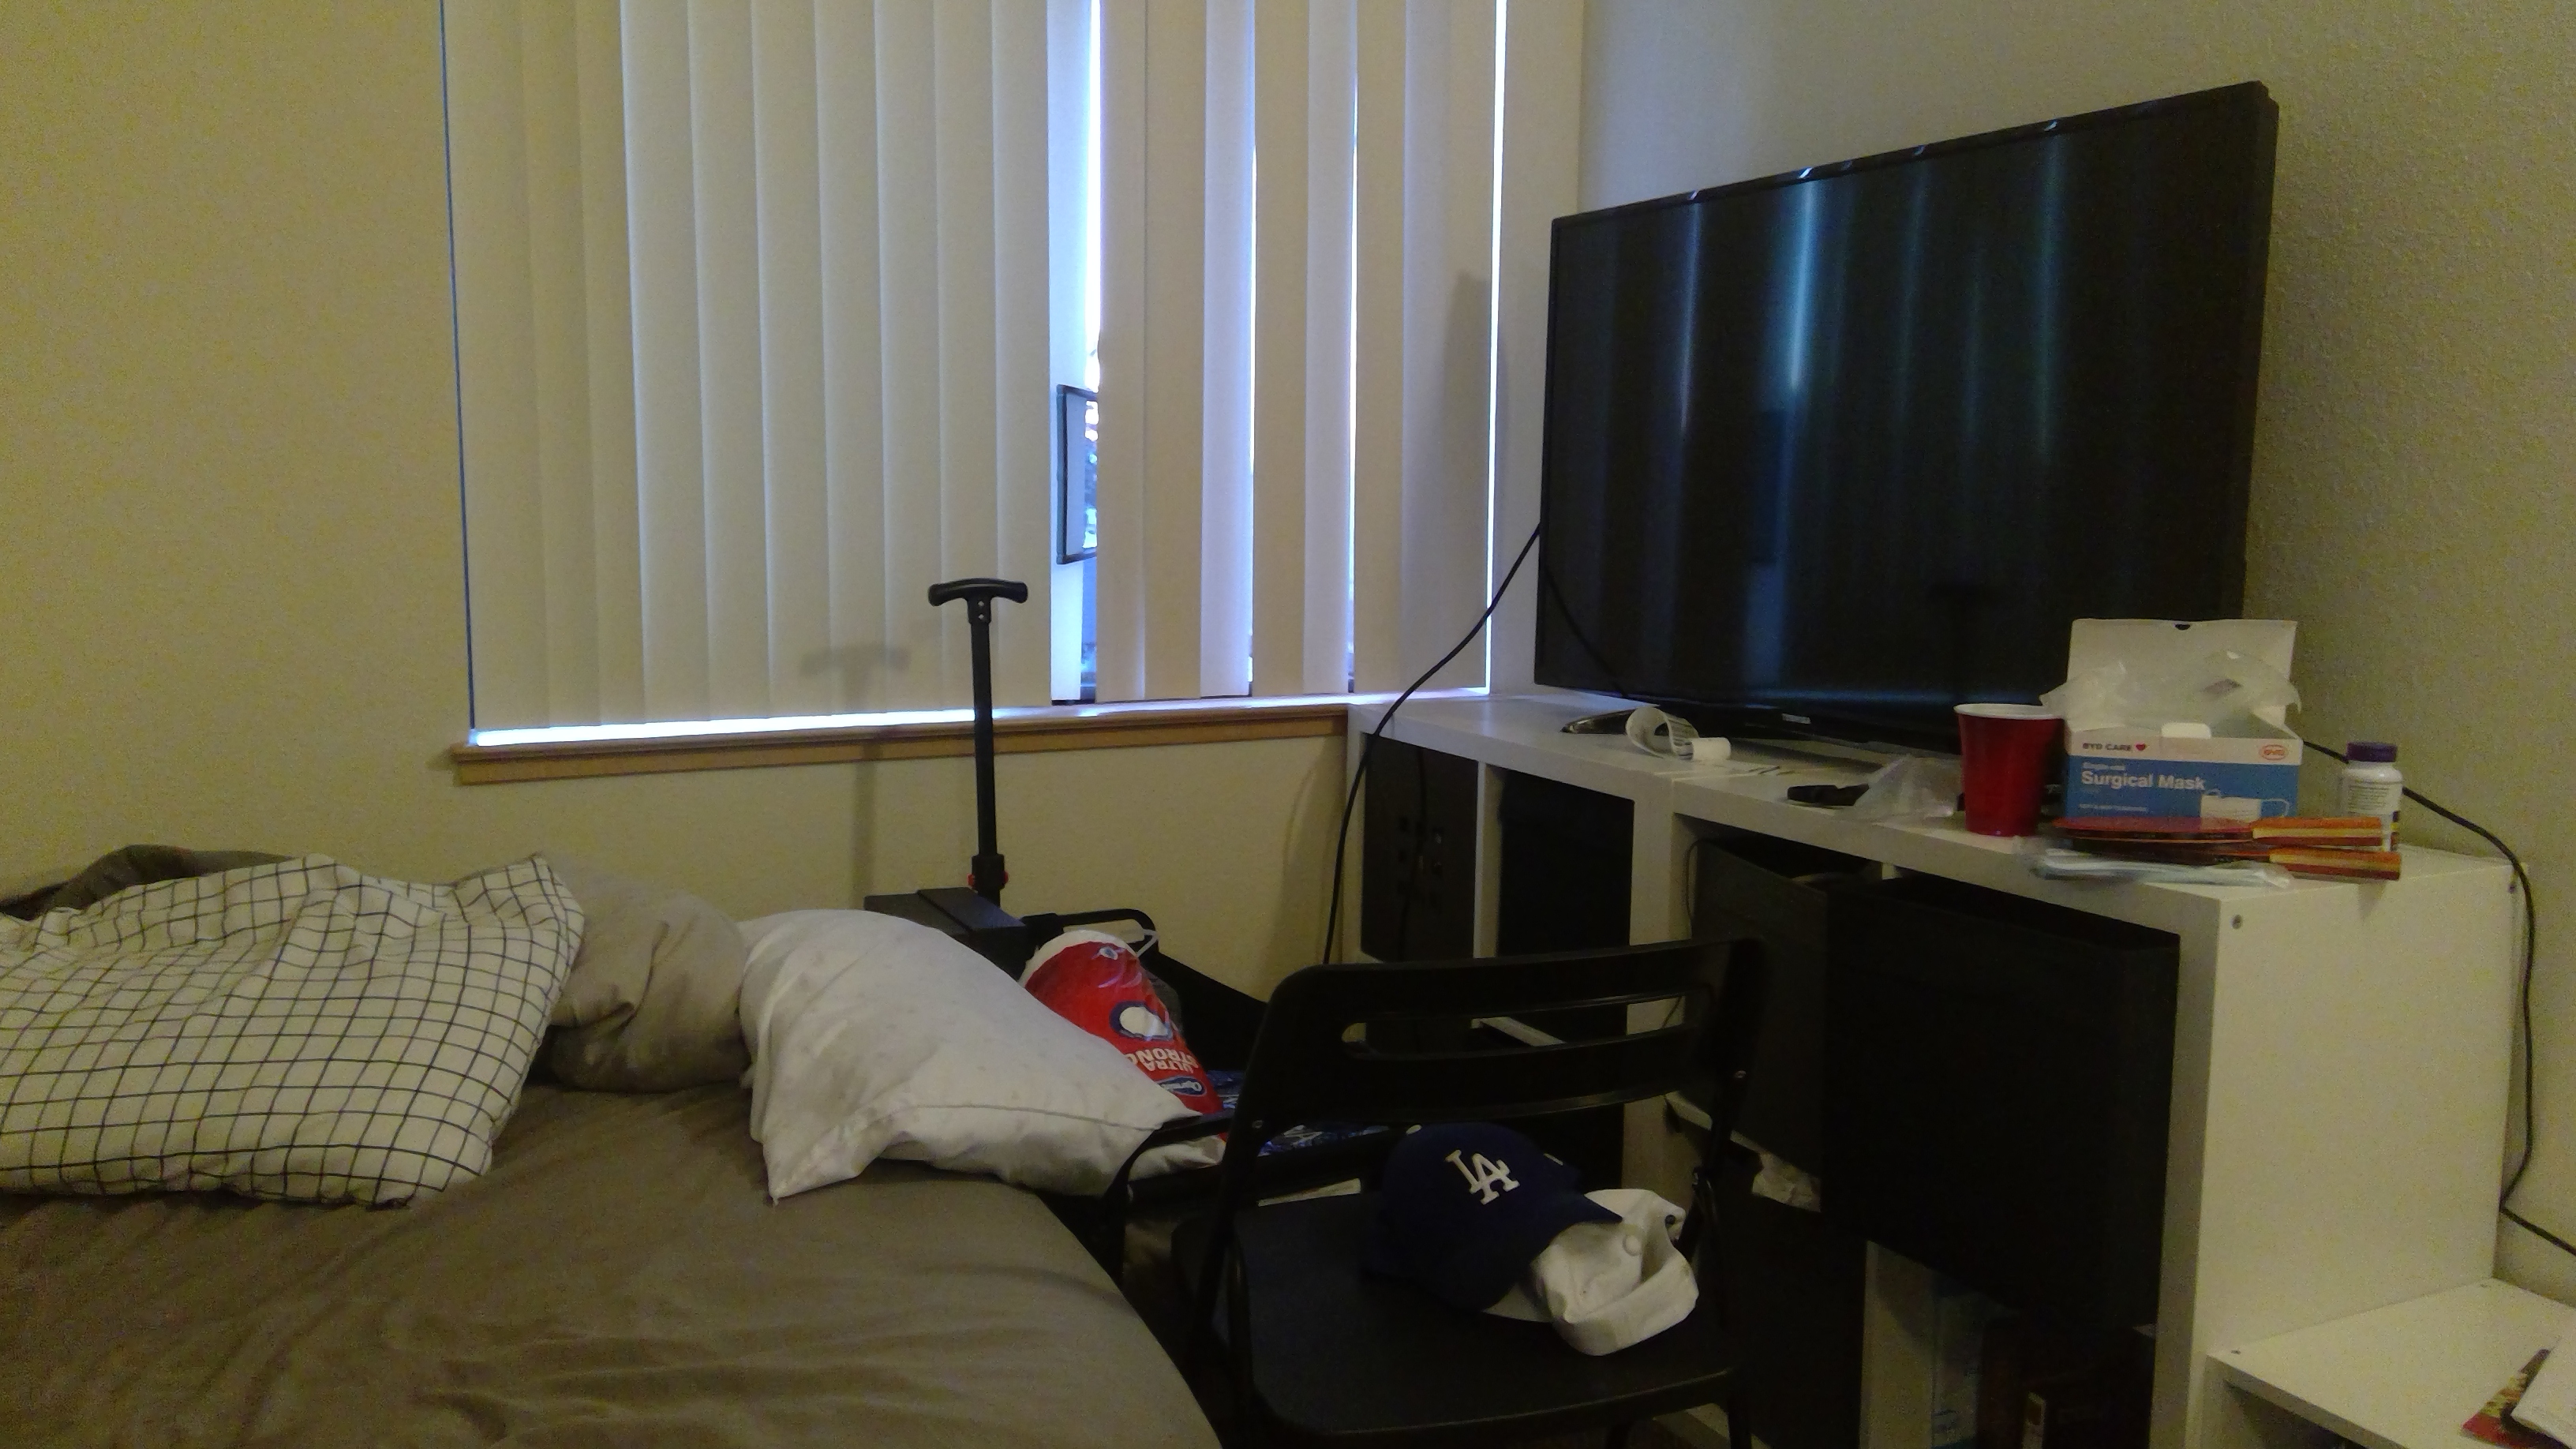
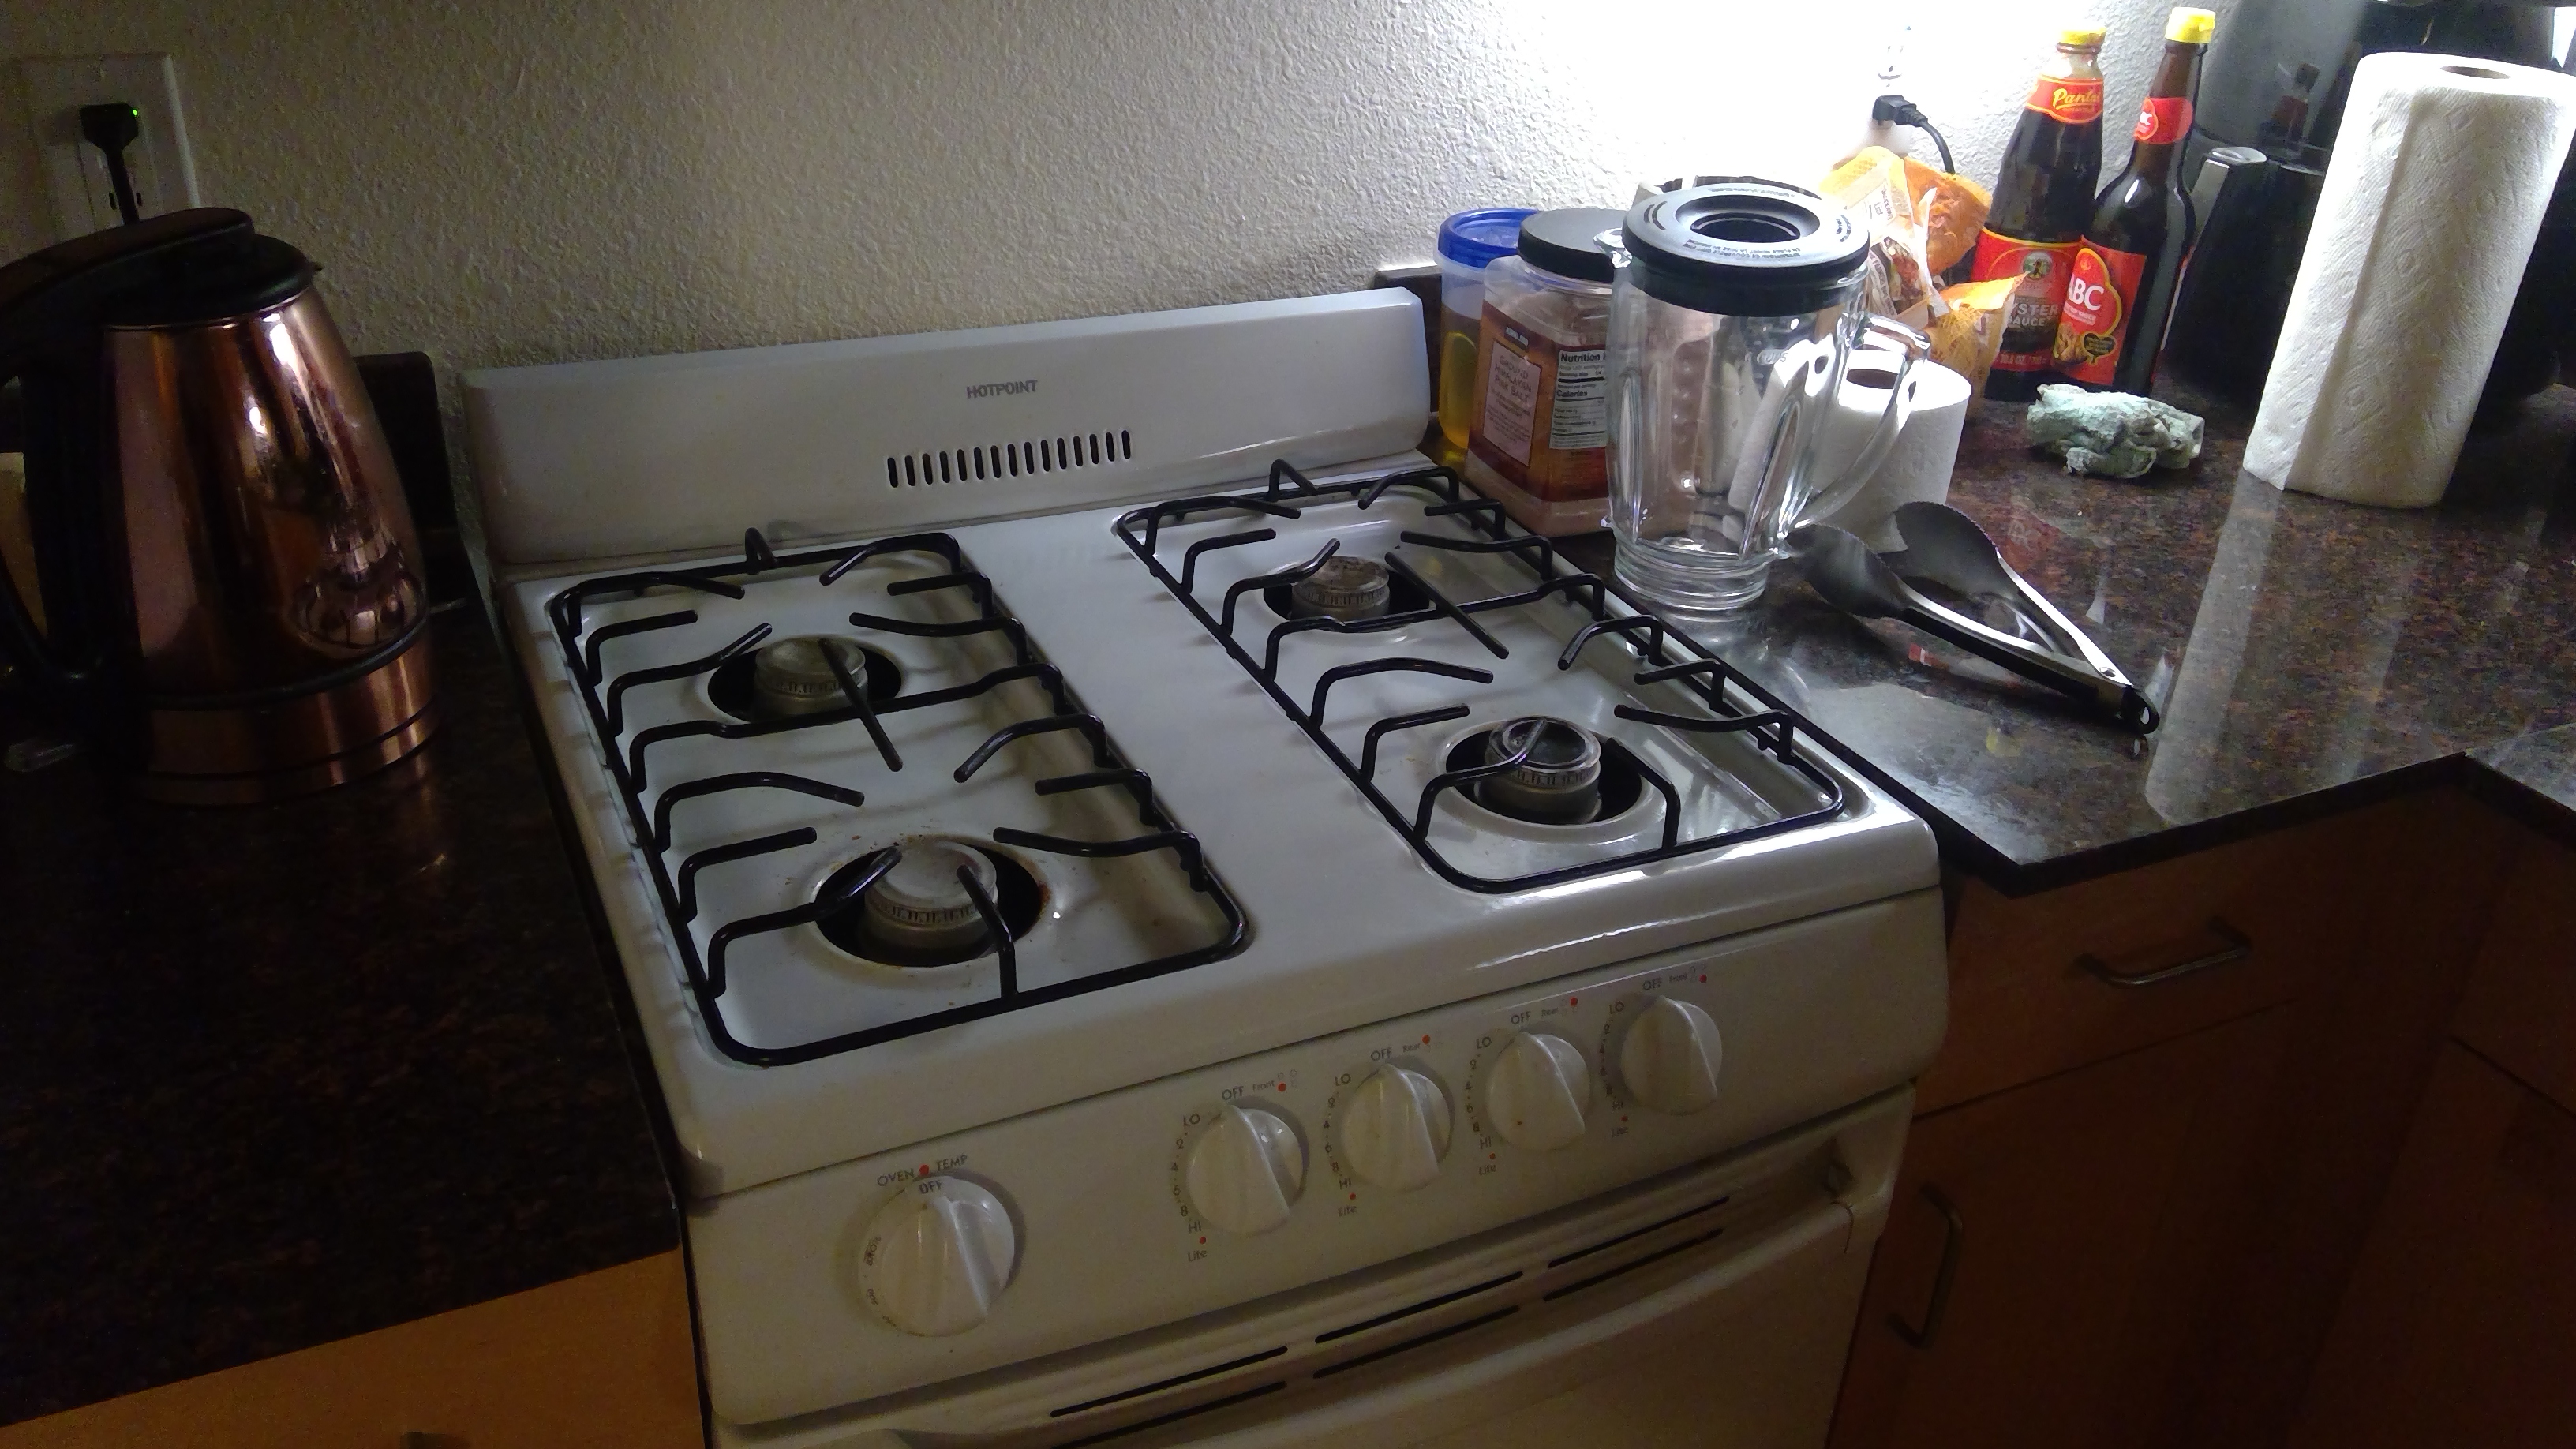
We would first take two pictures that are next to each other with overlap
image1.jpg
image2.jpg
Since these pictures are taken with the image dimensions of 1836 x 3264. We would first resize these images by a factor of 4 having them in dimensions 459 x 816. We would then use the ginput function to get the corresponding points between the two images.
We would first need to compute and find the Homography matrix H that transforms p to p' where p' = Hp.
Reference: https://towardsdatascience.com/estimating-a-homography-matrix-522c70ec4b2c
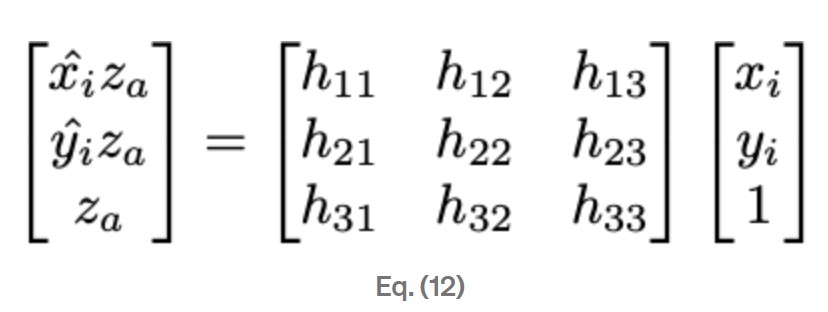
From this following equation, we could first do the dot product of the H matrix and the original points.
In which we would then get the value of w or Za from the diagram above. We could then substitute w or Za with this value and rearrange the equations to get the following equation.
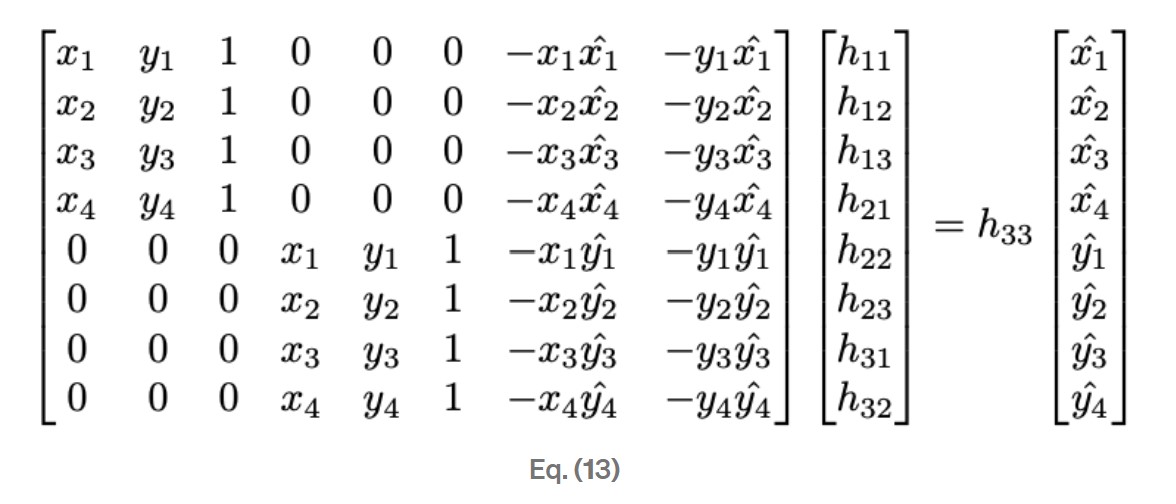
As this equation is in the form of Ah = b
We can then apply the least-squares to this equation to estimate the h by using np.linalg.lstsq
Thus we can now get the Homography matrix H.
Now we would like to warp the image by the homography matrix H. We would first find the bounding resulting image by applying the homography matrix H on the edges of the first image. We would then get the min and max of the width and height of the transformed image.
We would then take the inverse of the homography matrix and apply a translation to the homography matrix by the -minx and -miny. We would then get the indices of each point of the new image and apply cv2.remap to interpolate from the original image to the new warped image
image1
warped_image1.jpg
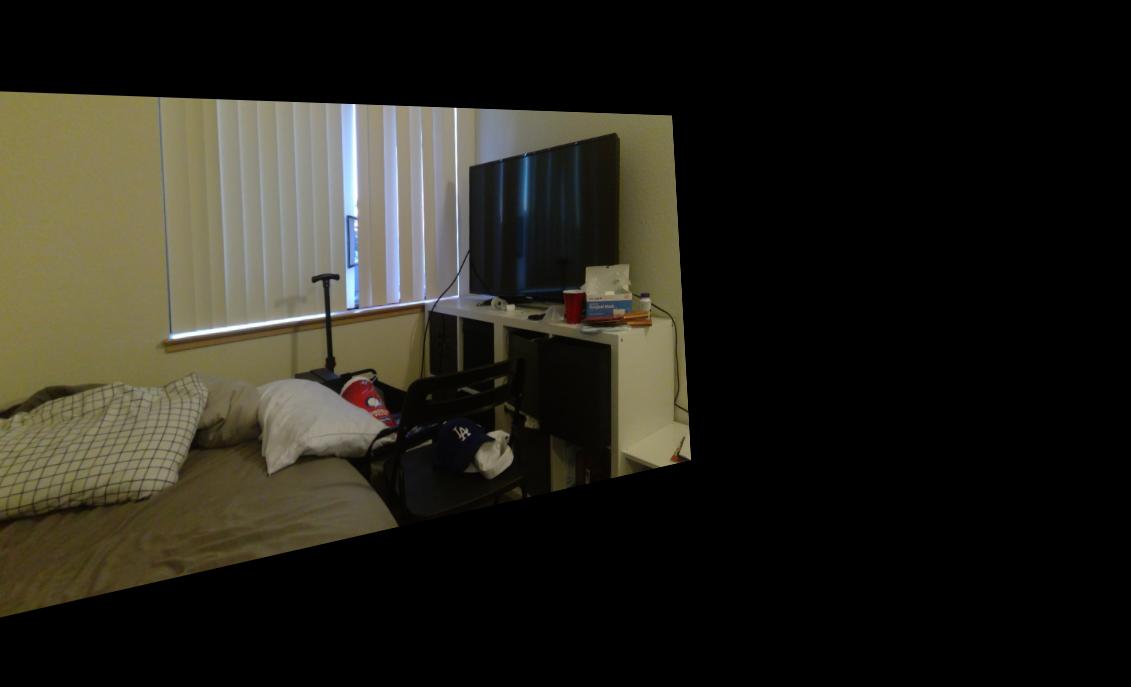
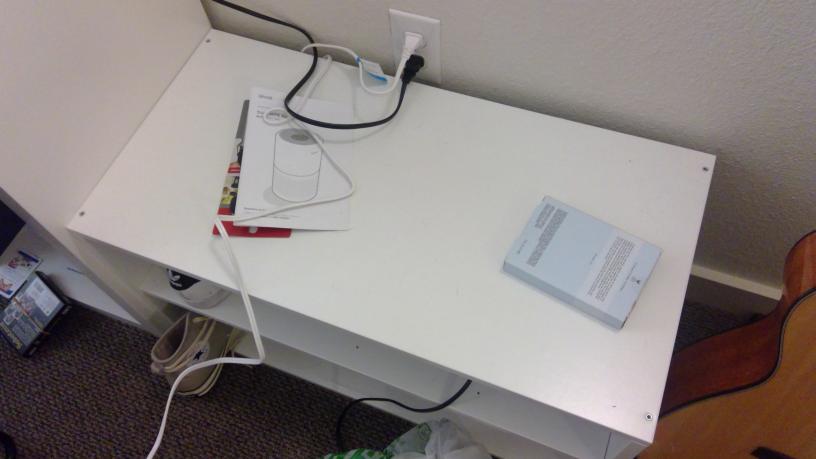
We would then test this warping on flat surfaces to rectify the surface. This is to test if we have the correct homography matrix and our warping is working well. We would first find the 4 points of the object or table and get 4 target points as a rectangle or square. We can then apply the warp on the source image to the target points
Initial table image1
Rectified table image1
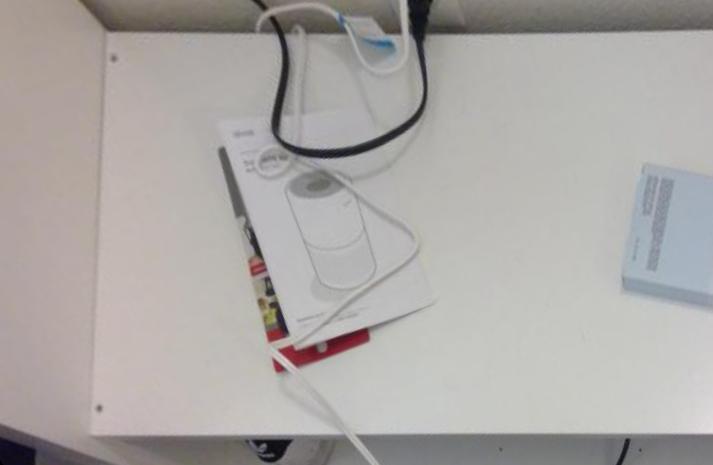
Initial table image1

Rectified table image2
We could then blend these two images into a single panoramic image. We can do this my cropping and averaging them together