Overview
In this project, I played around with different image morphing techniques involving warping
and interpolating colors to combine multiple images.
Shooting Images
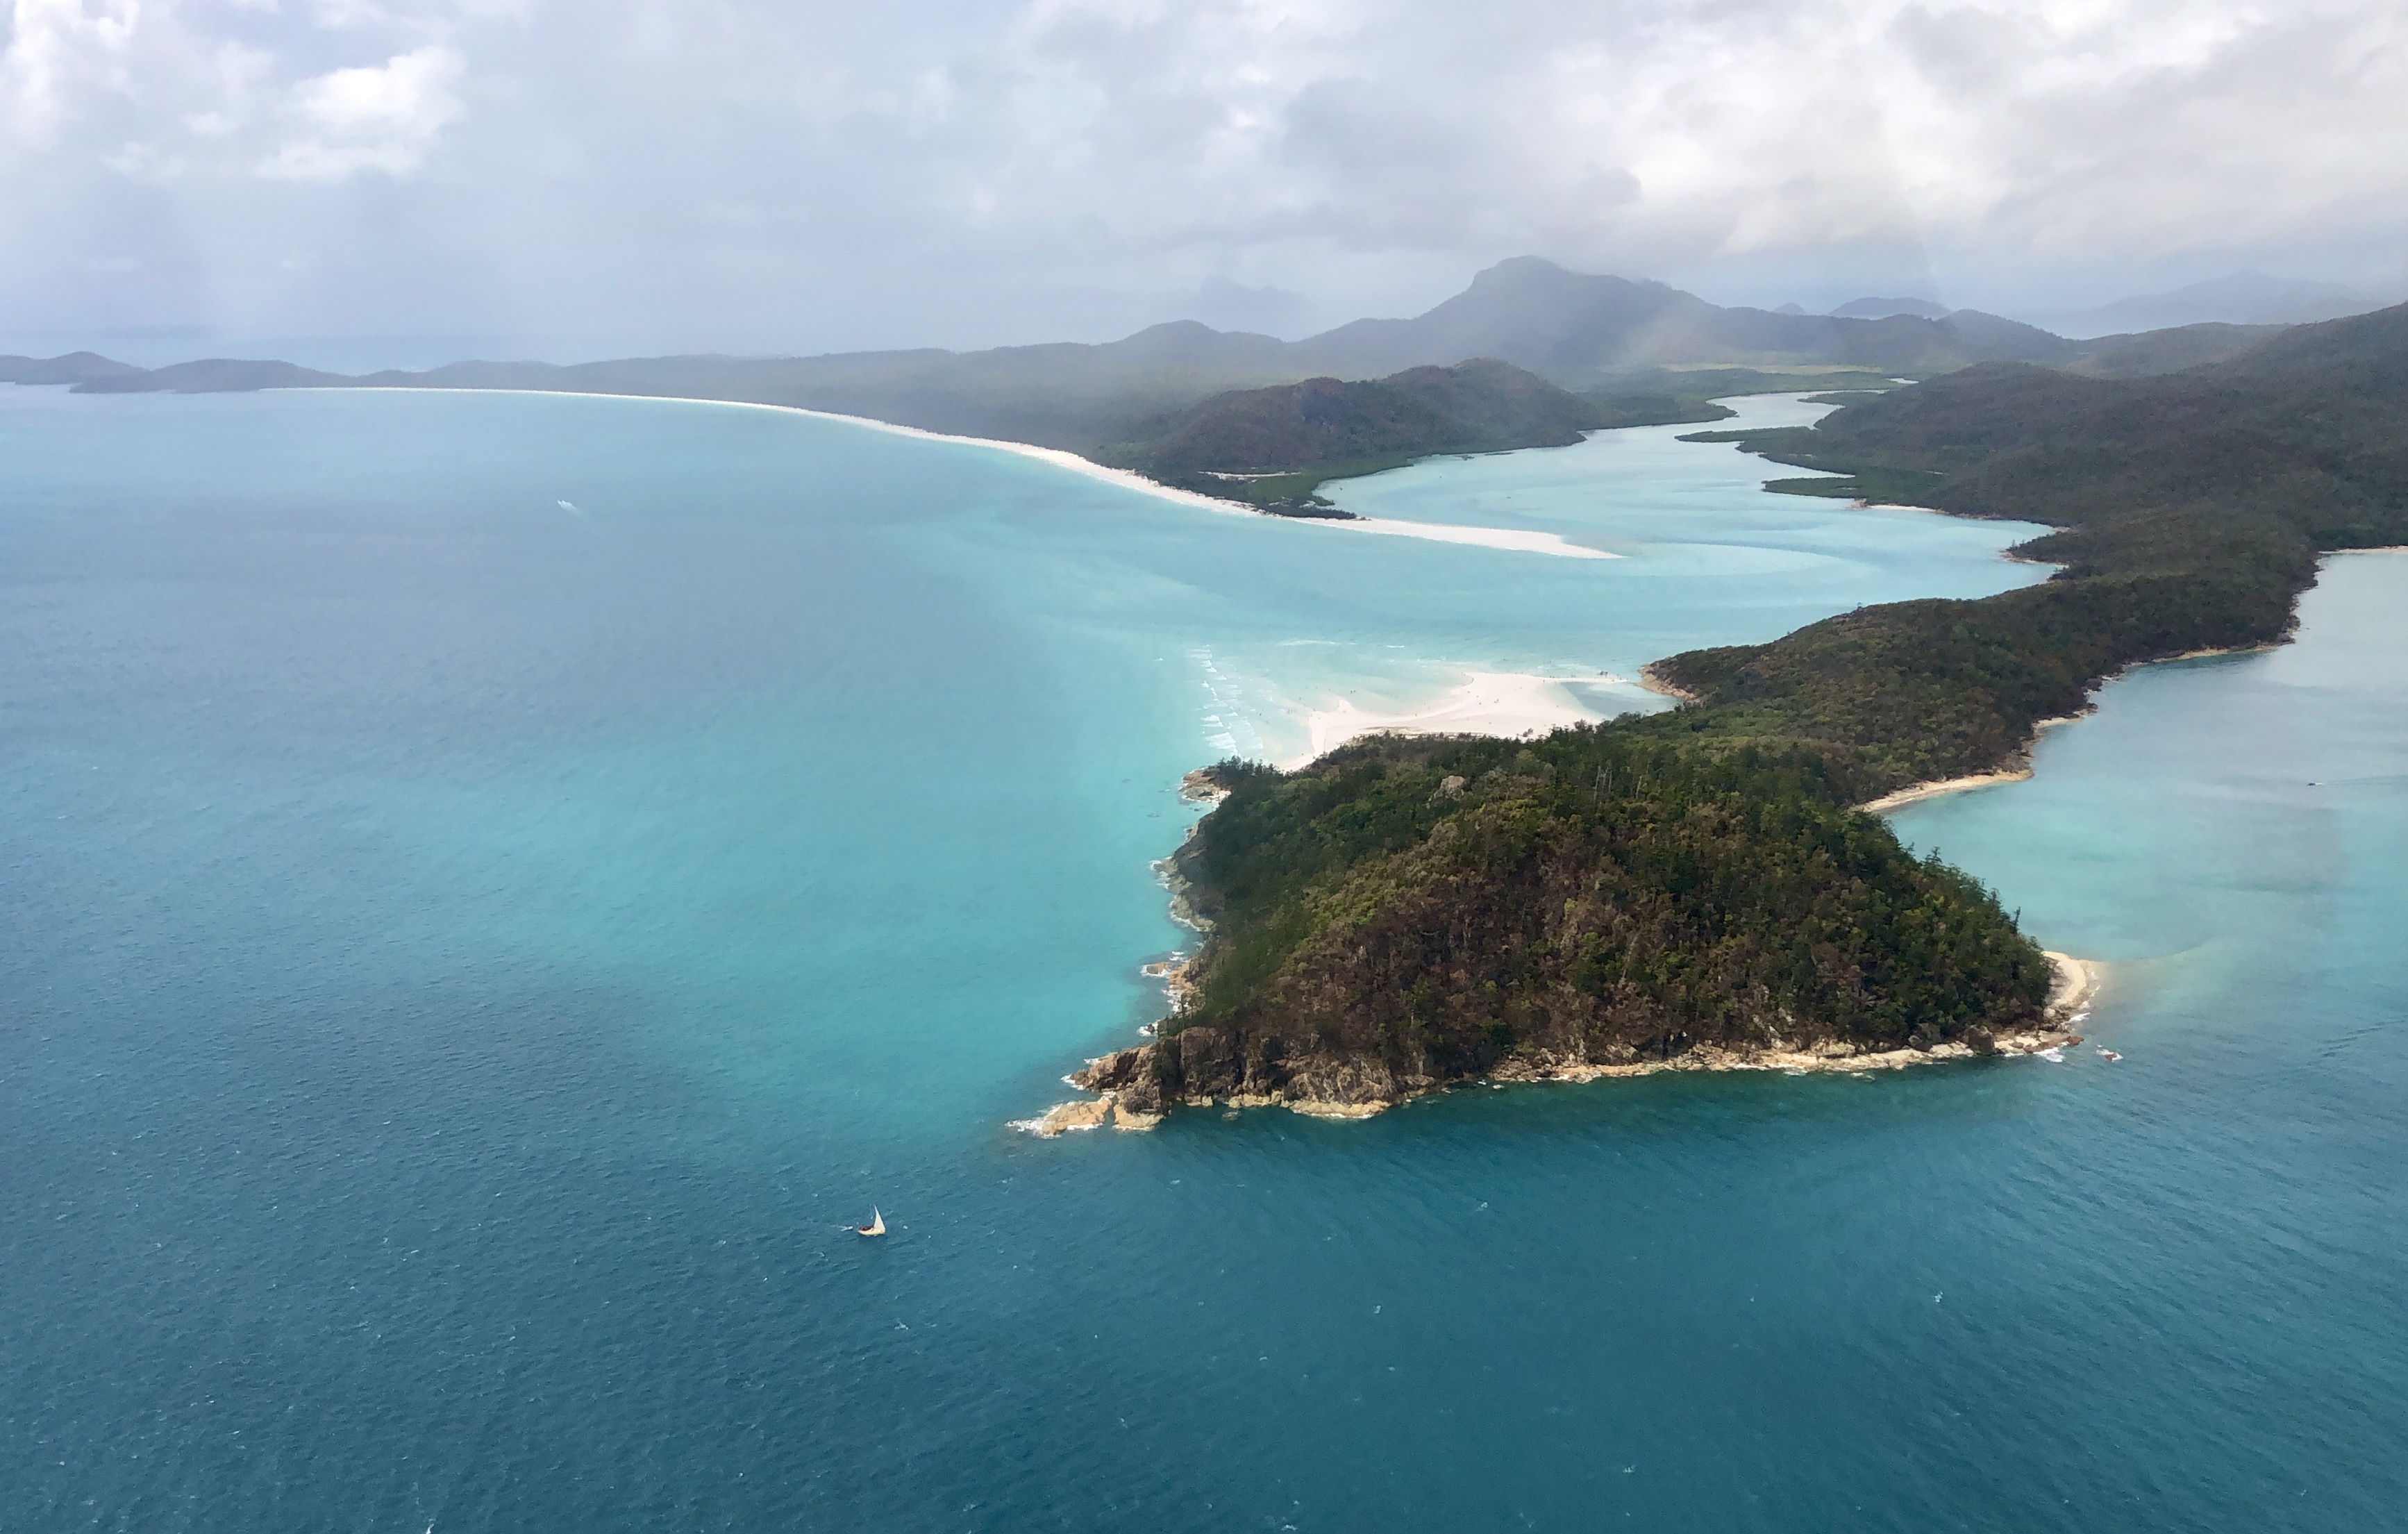
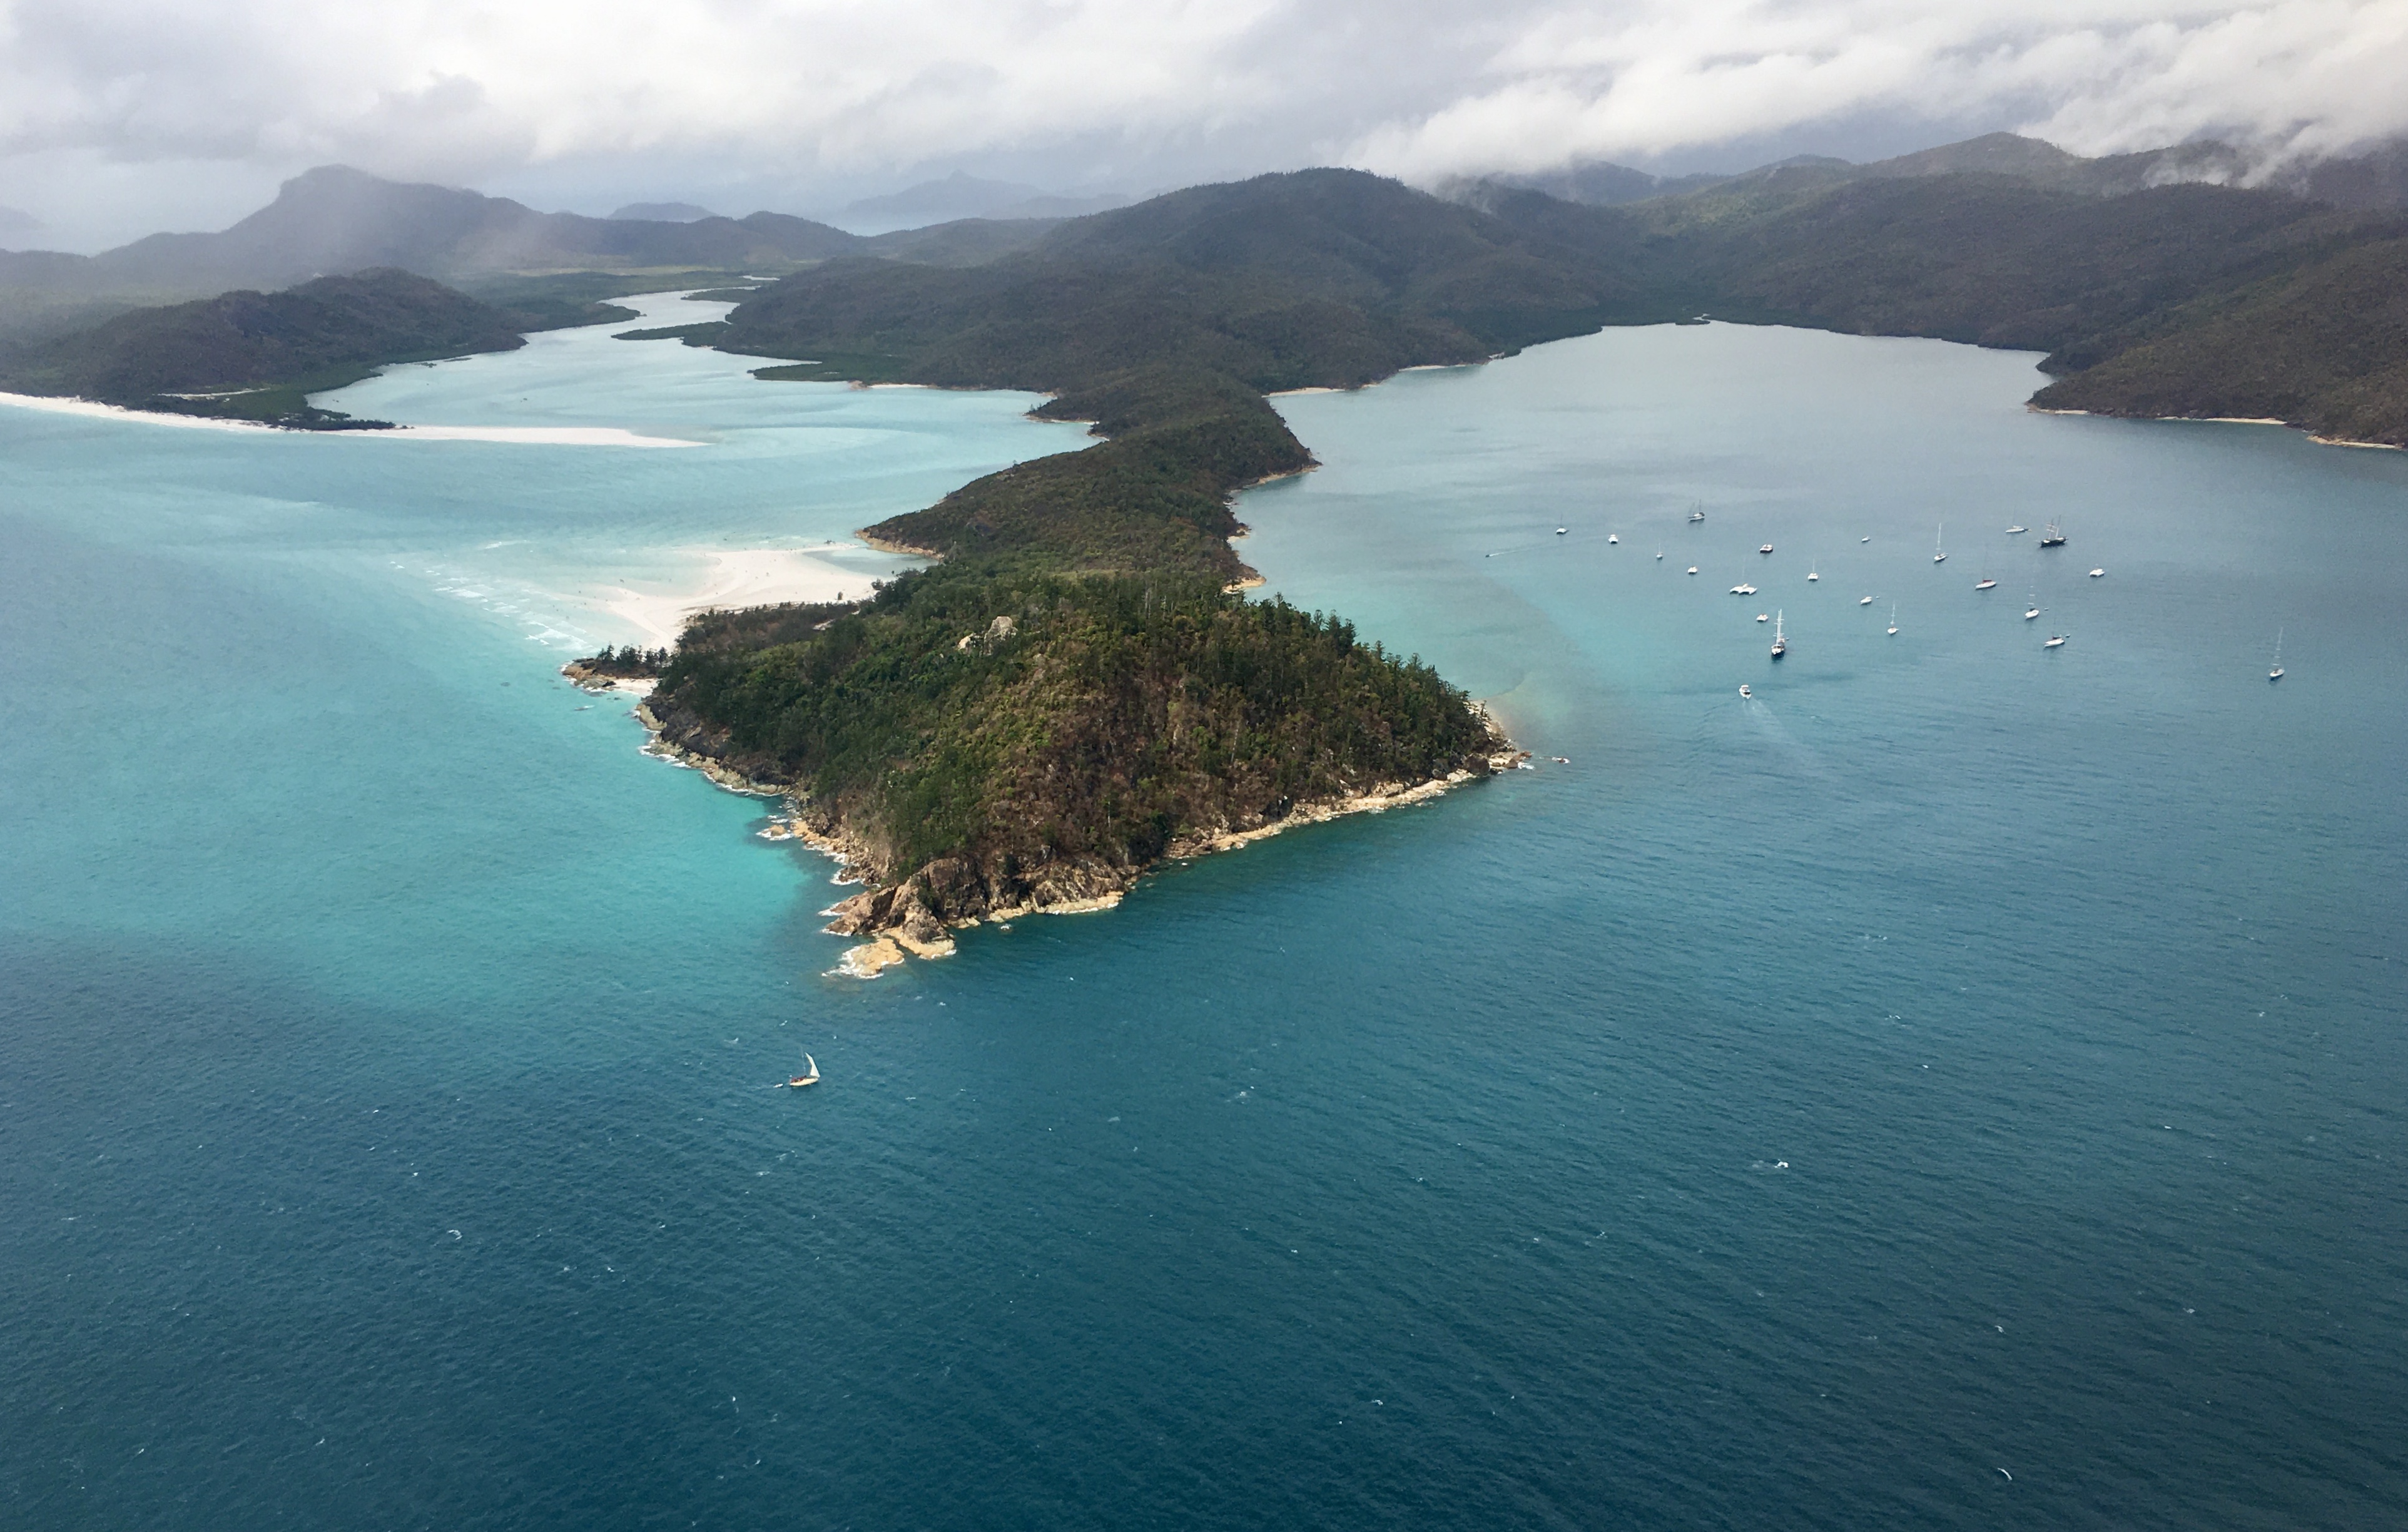 Whitsundays 1
 Whitsundays 2
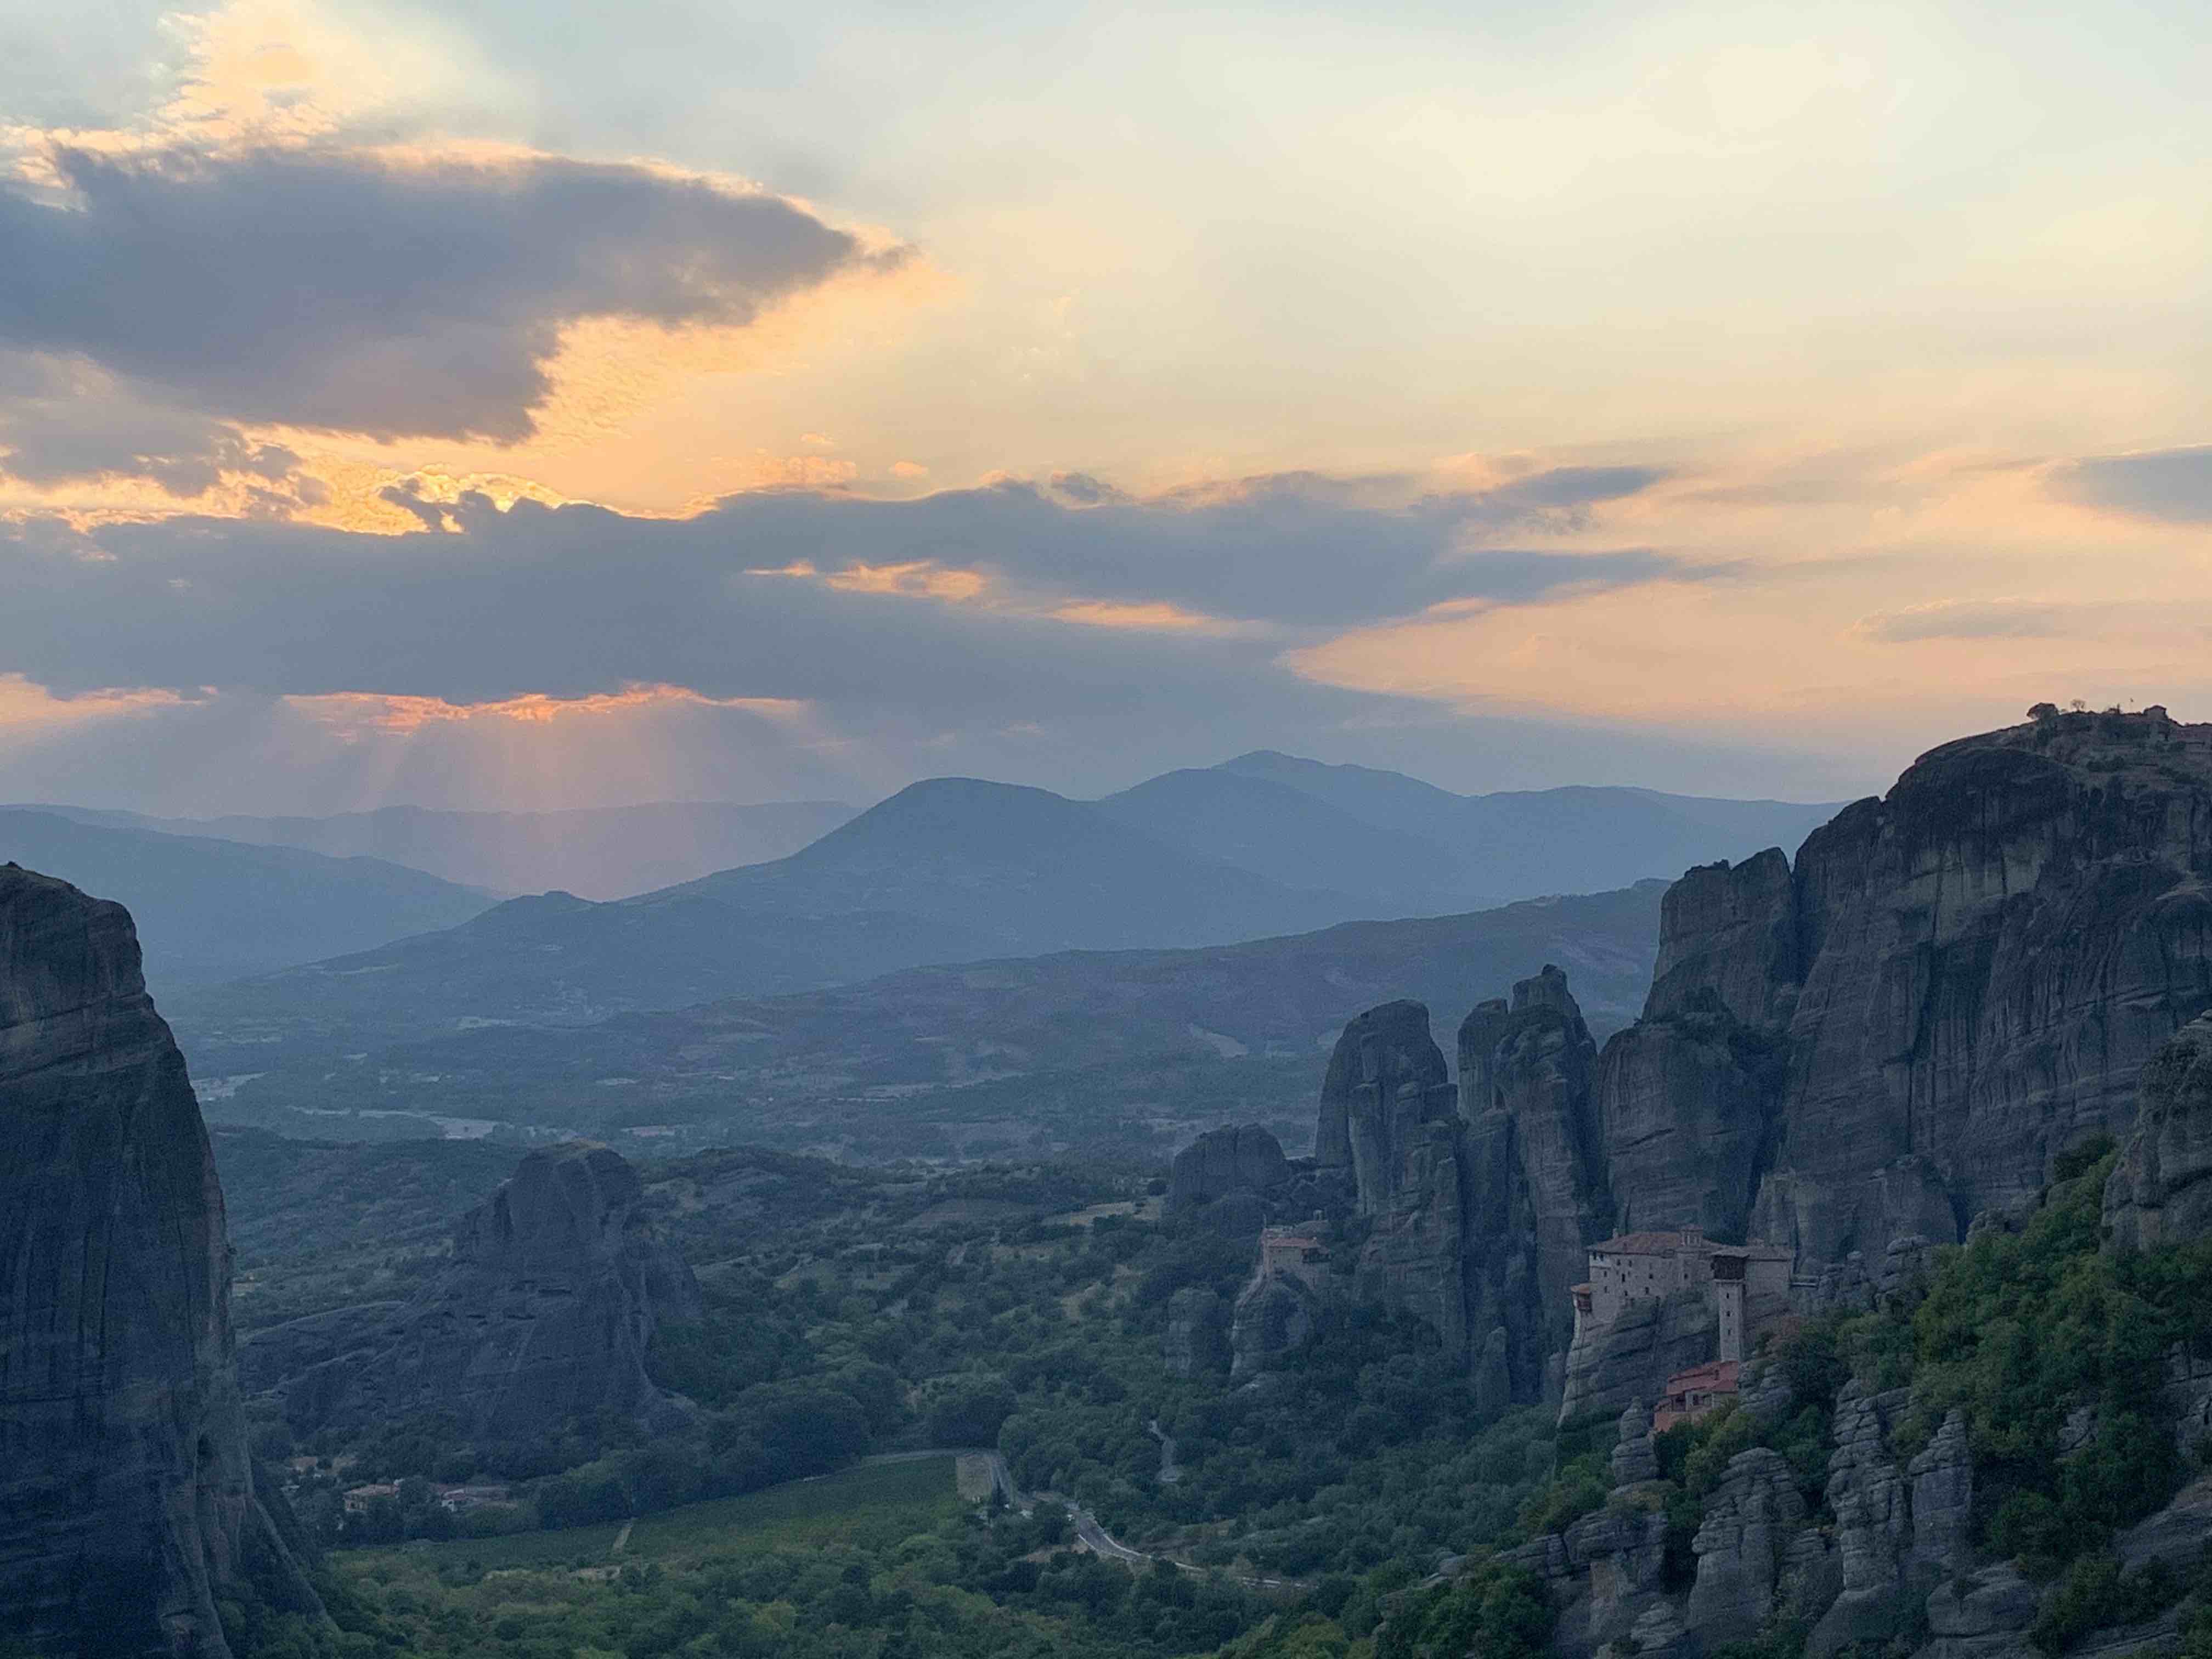 Meteora 1
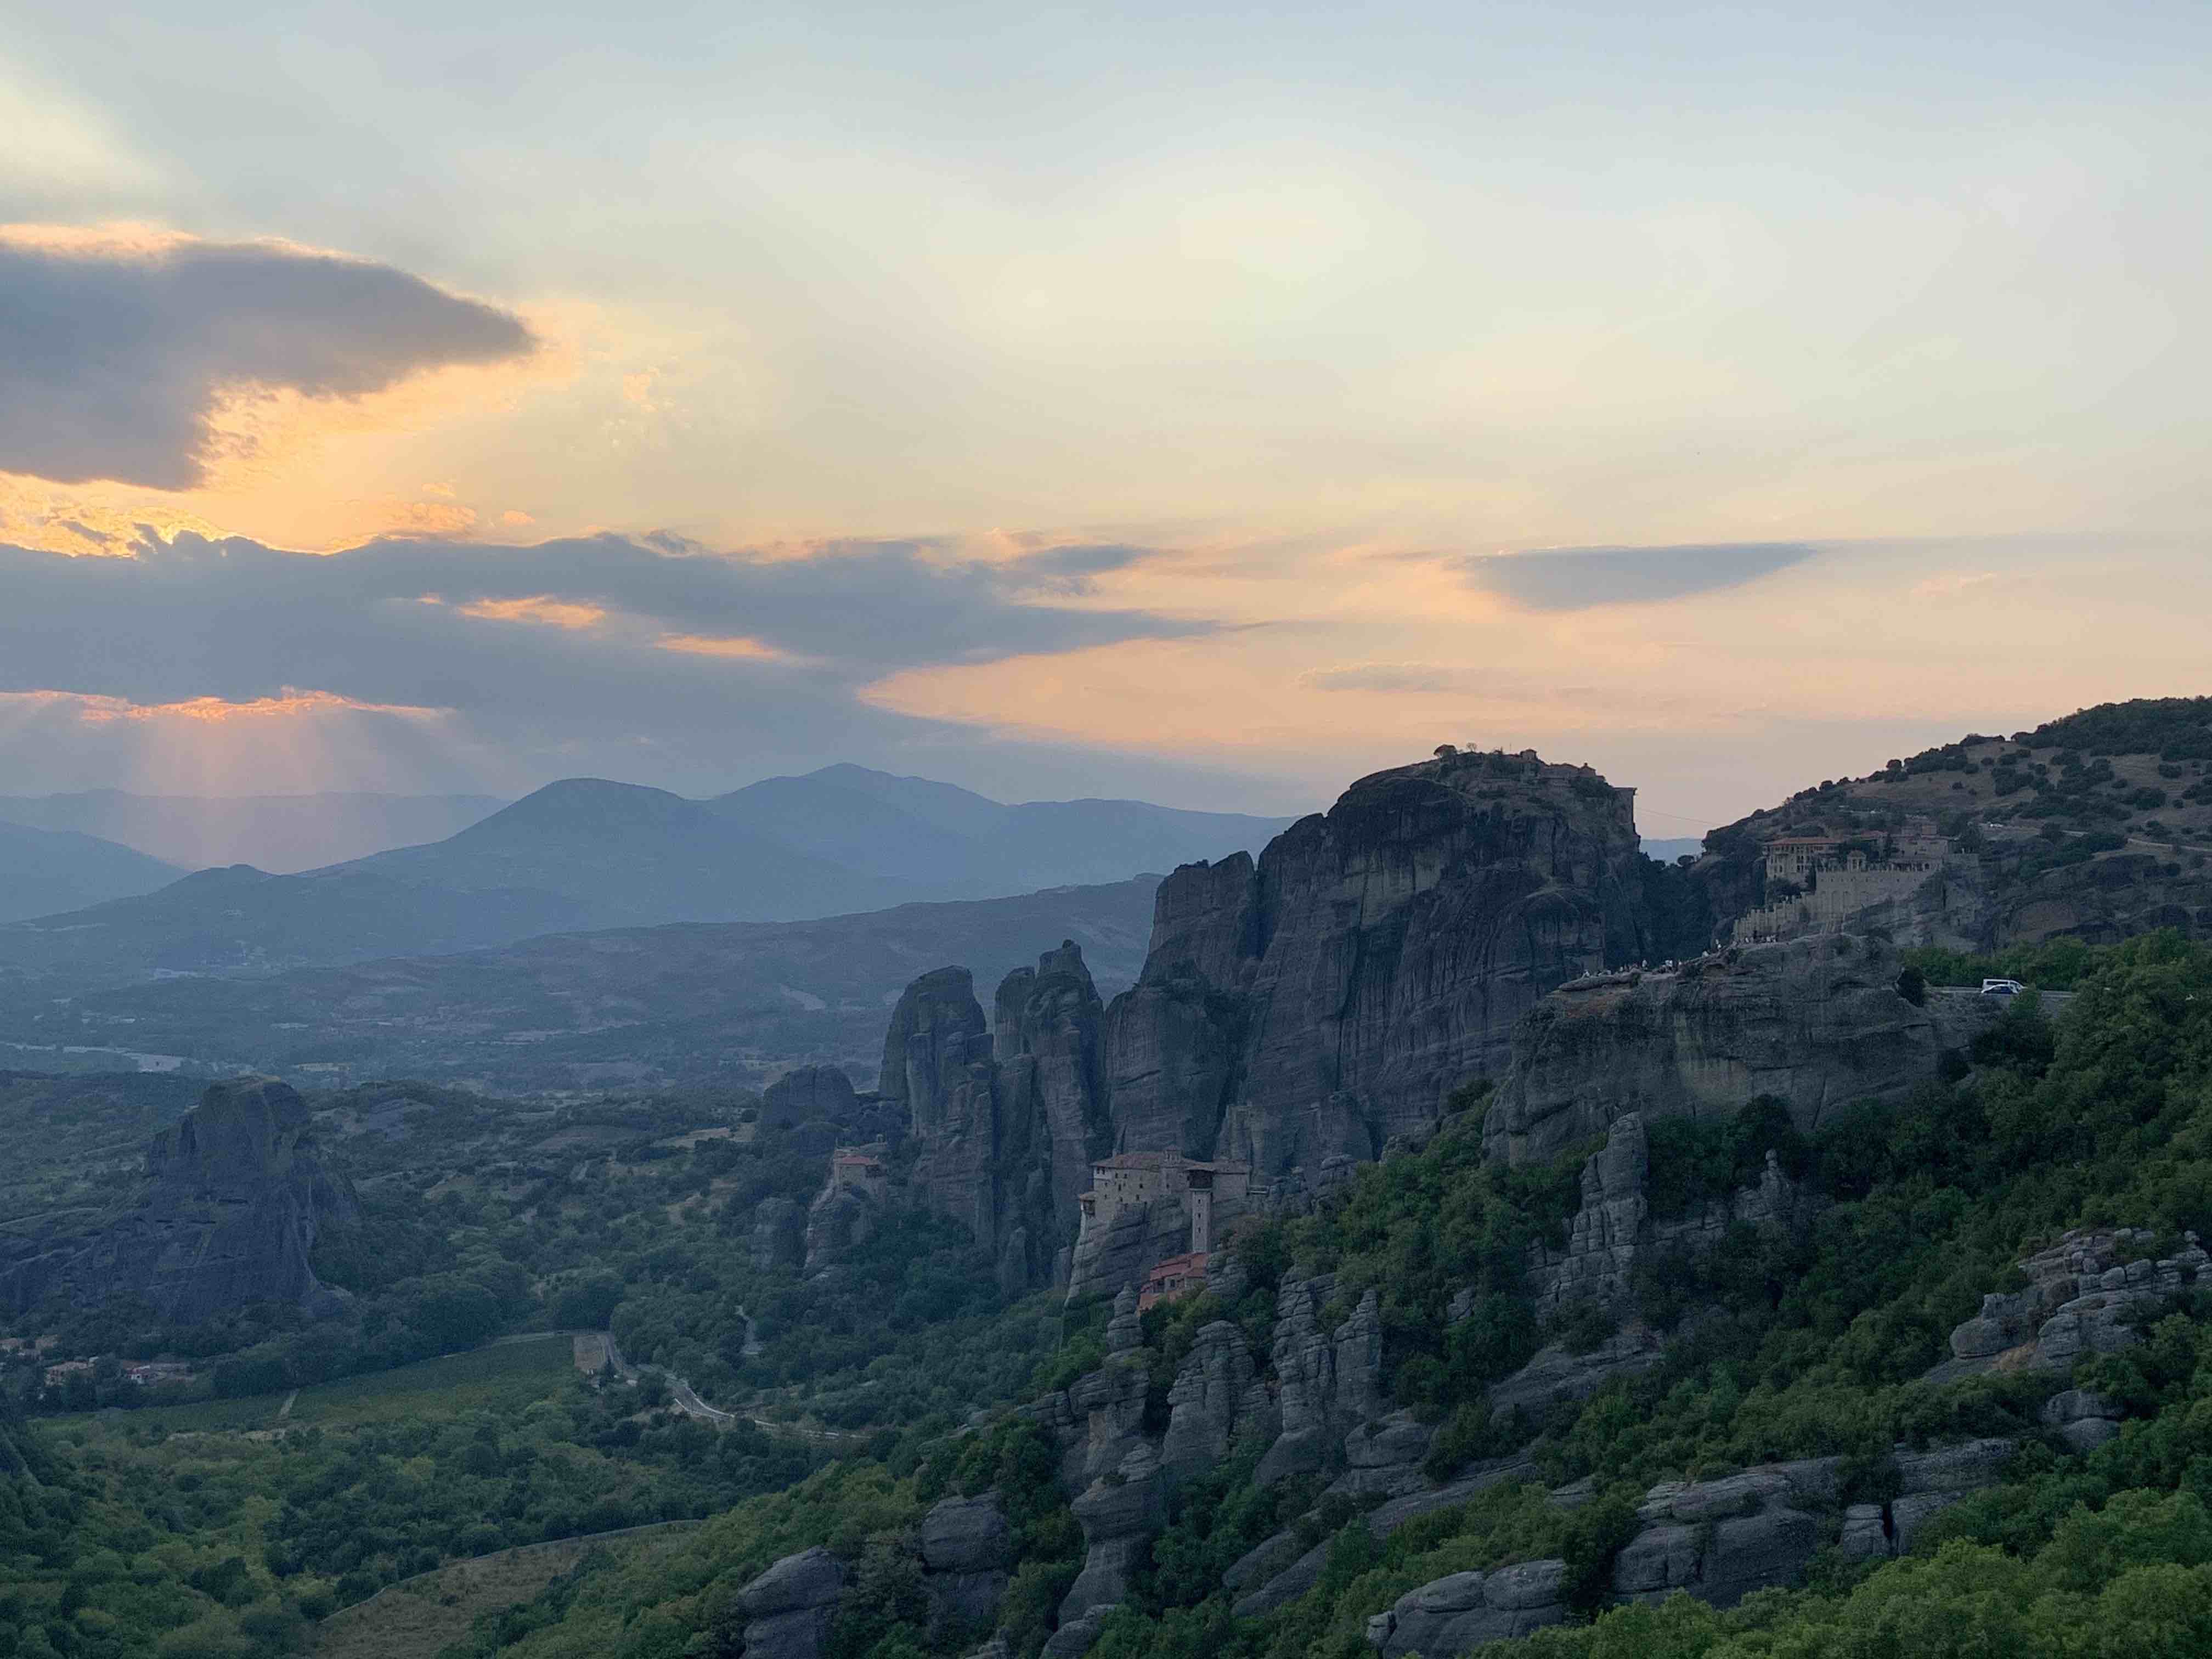 Meteora 2
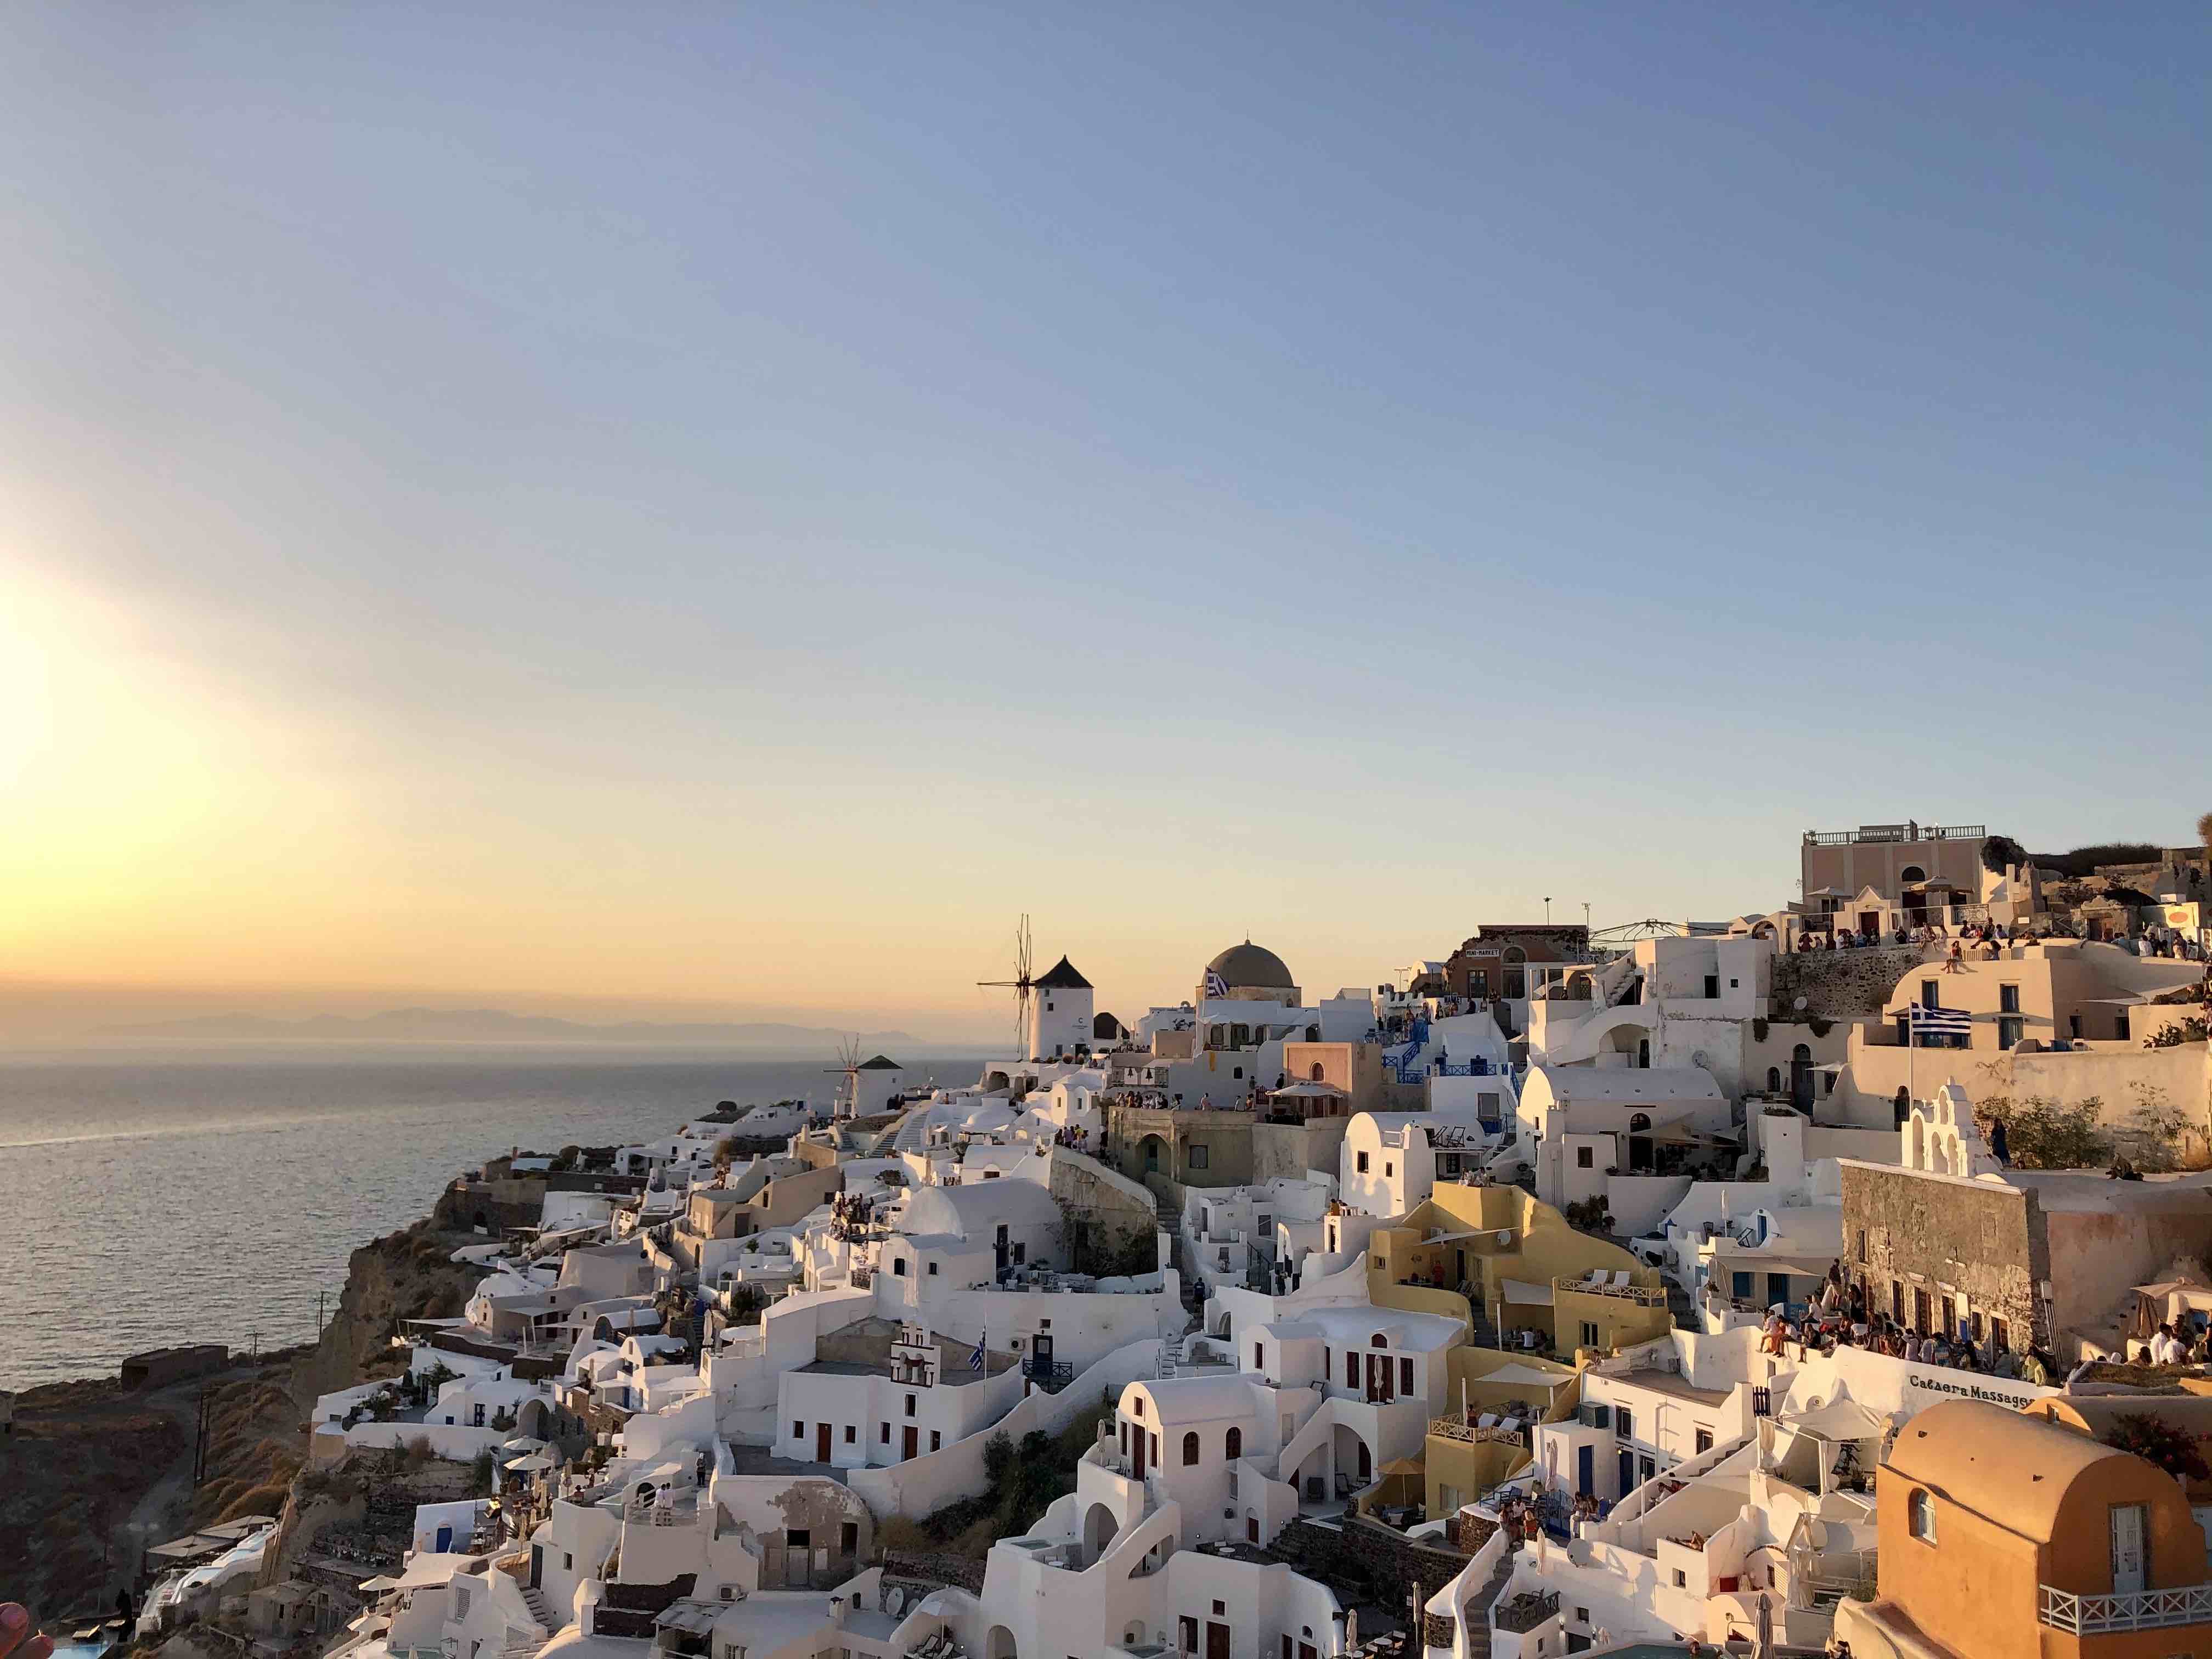
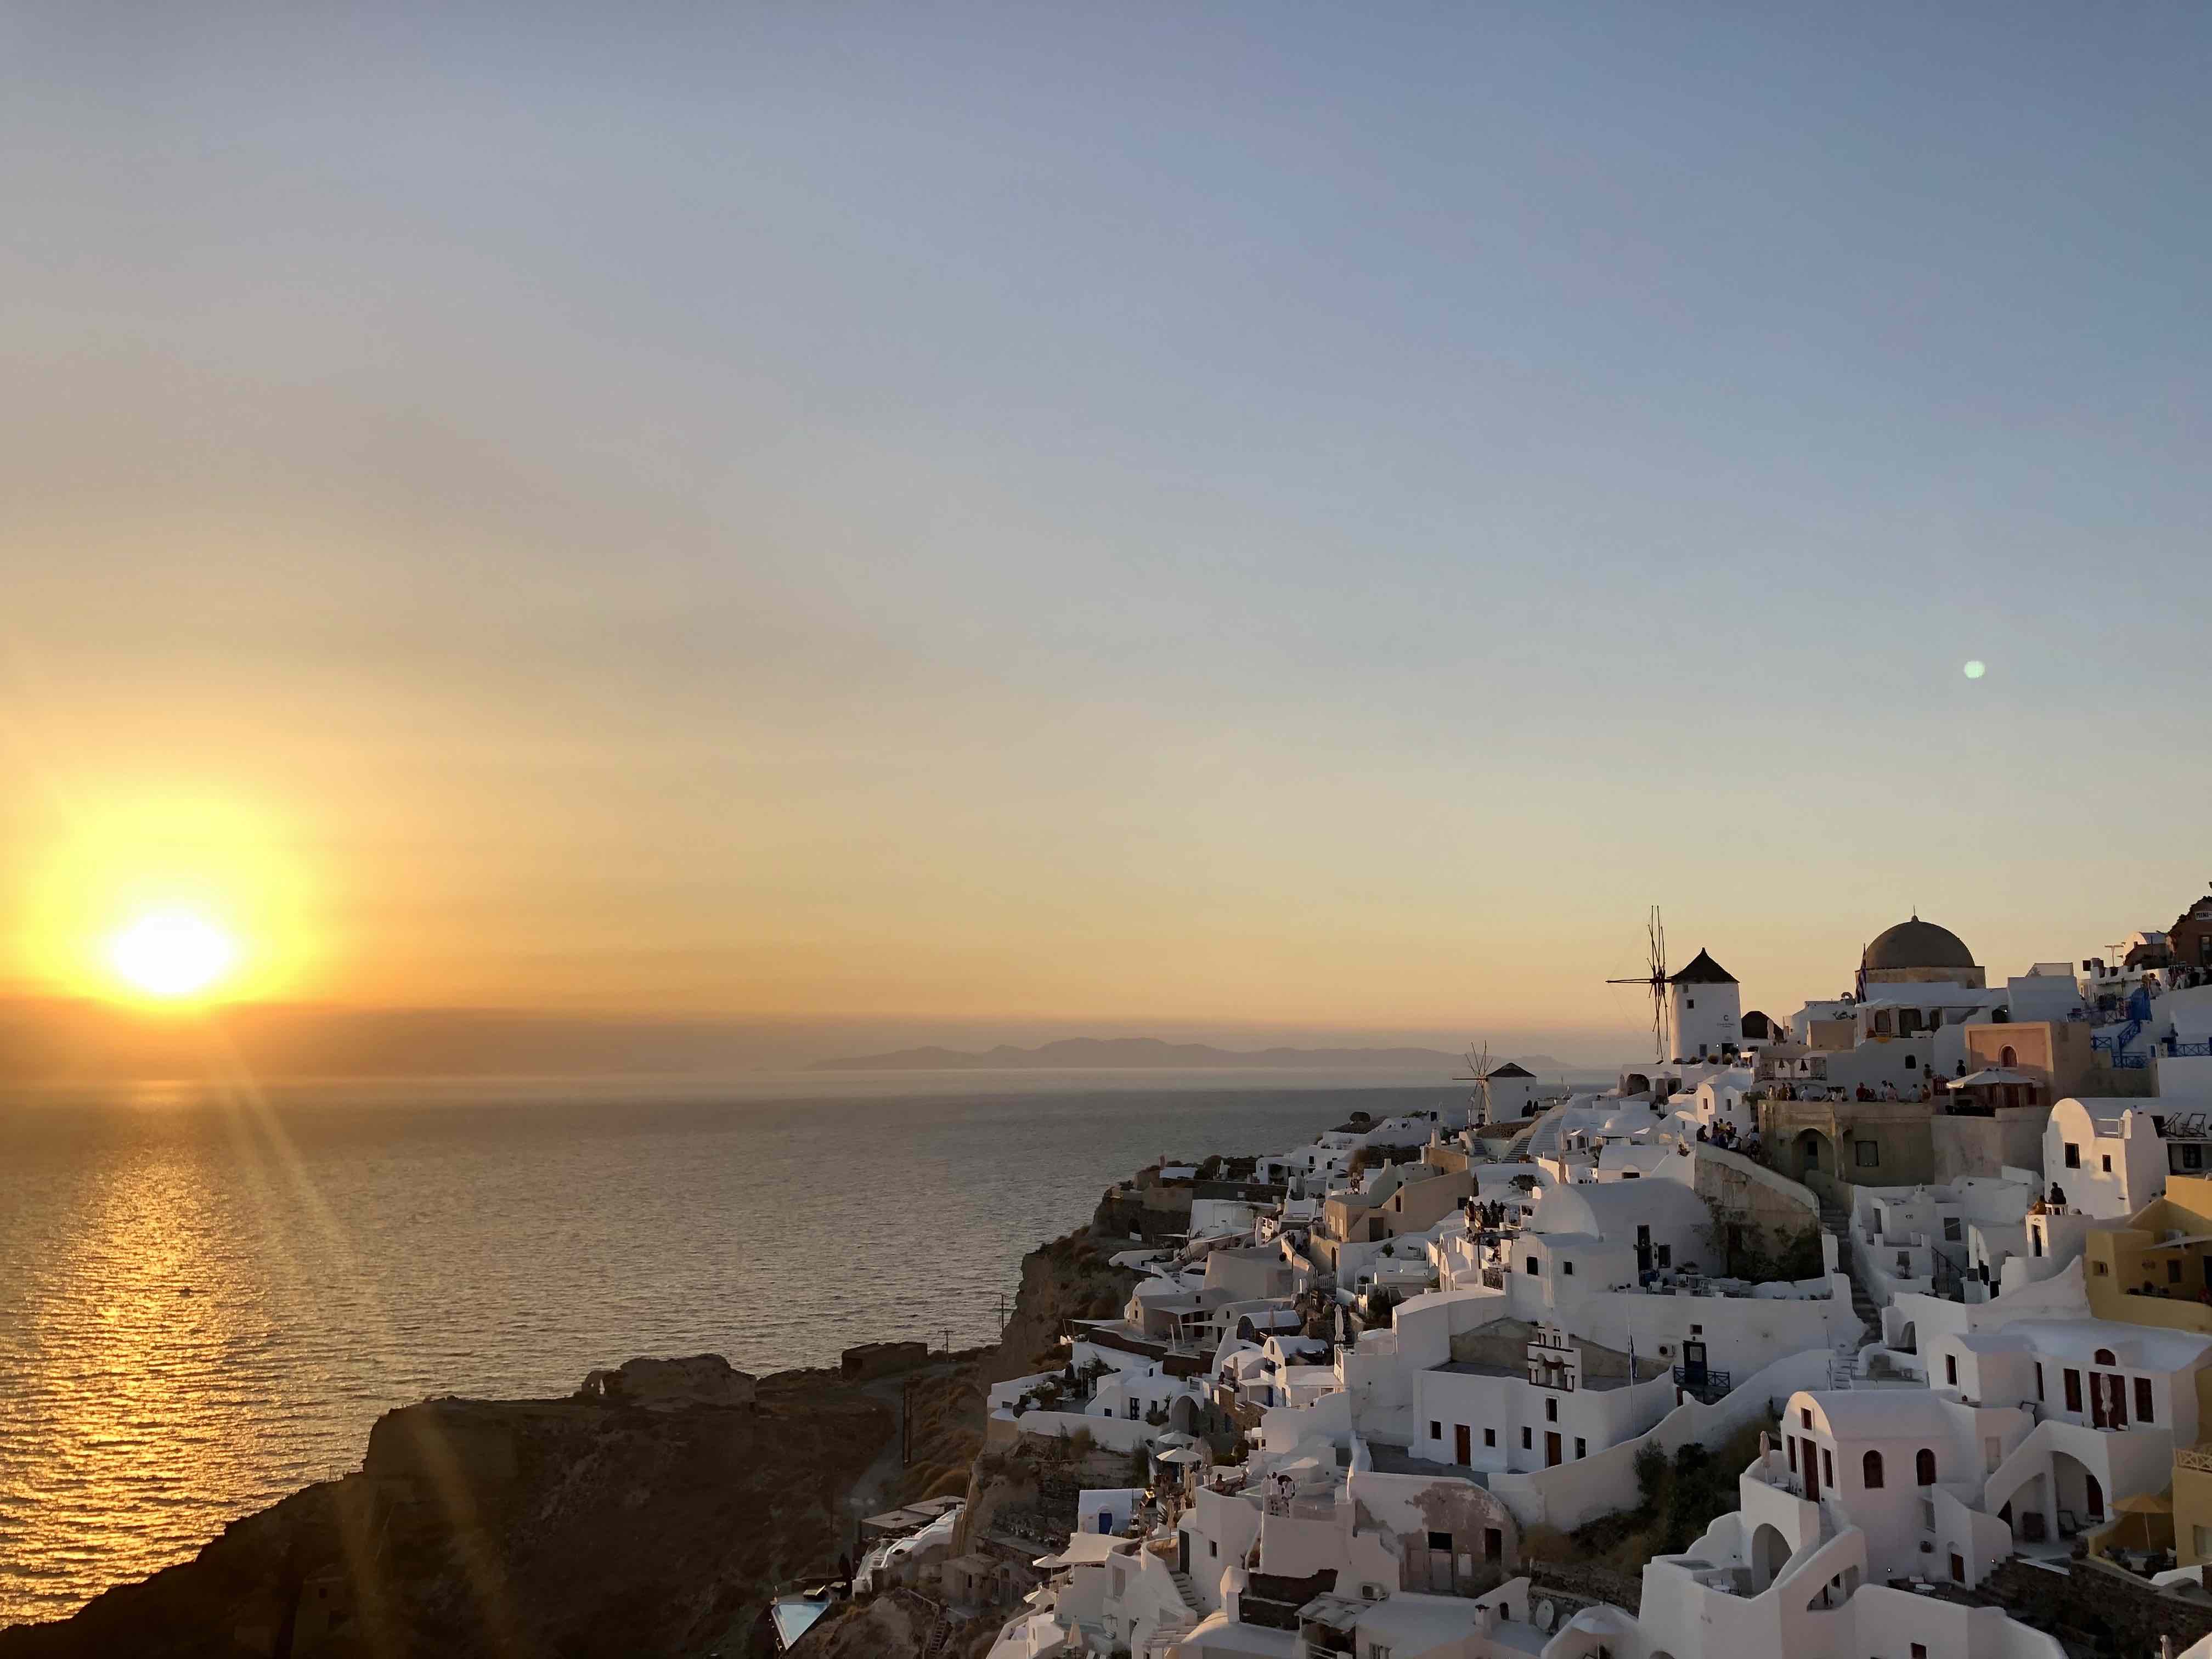 Santorini 1
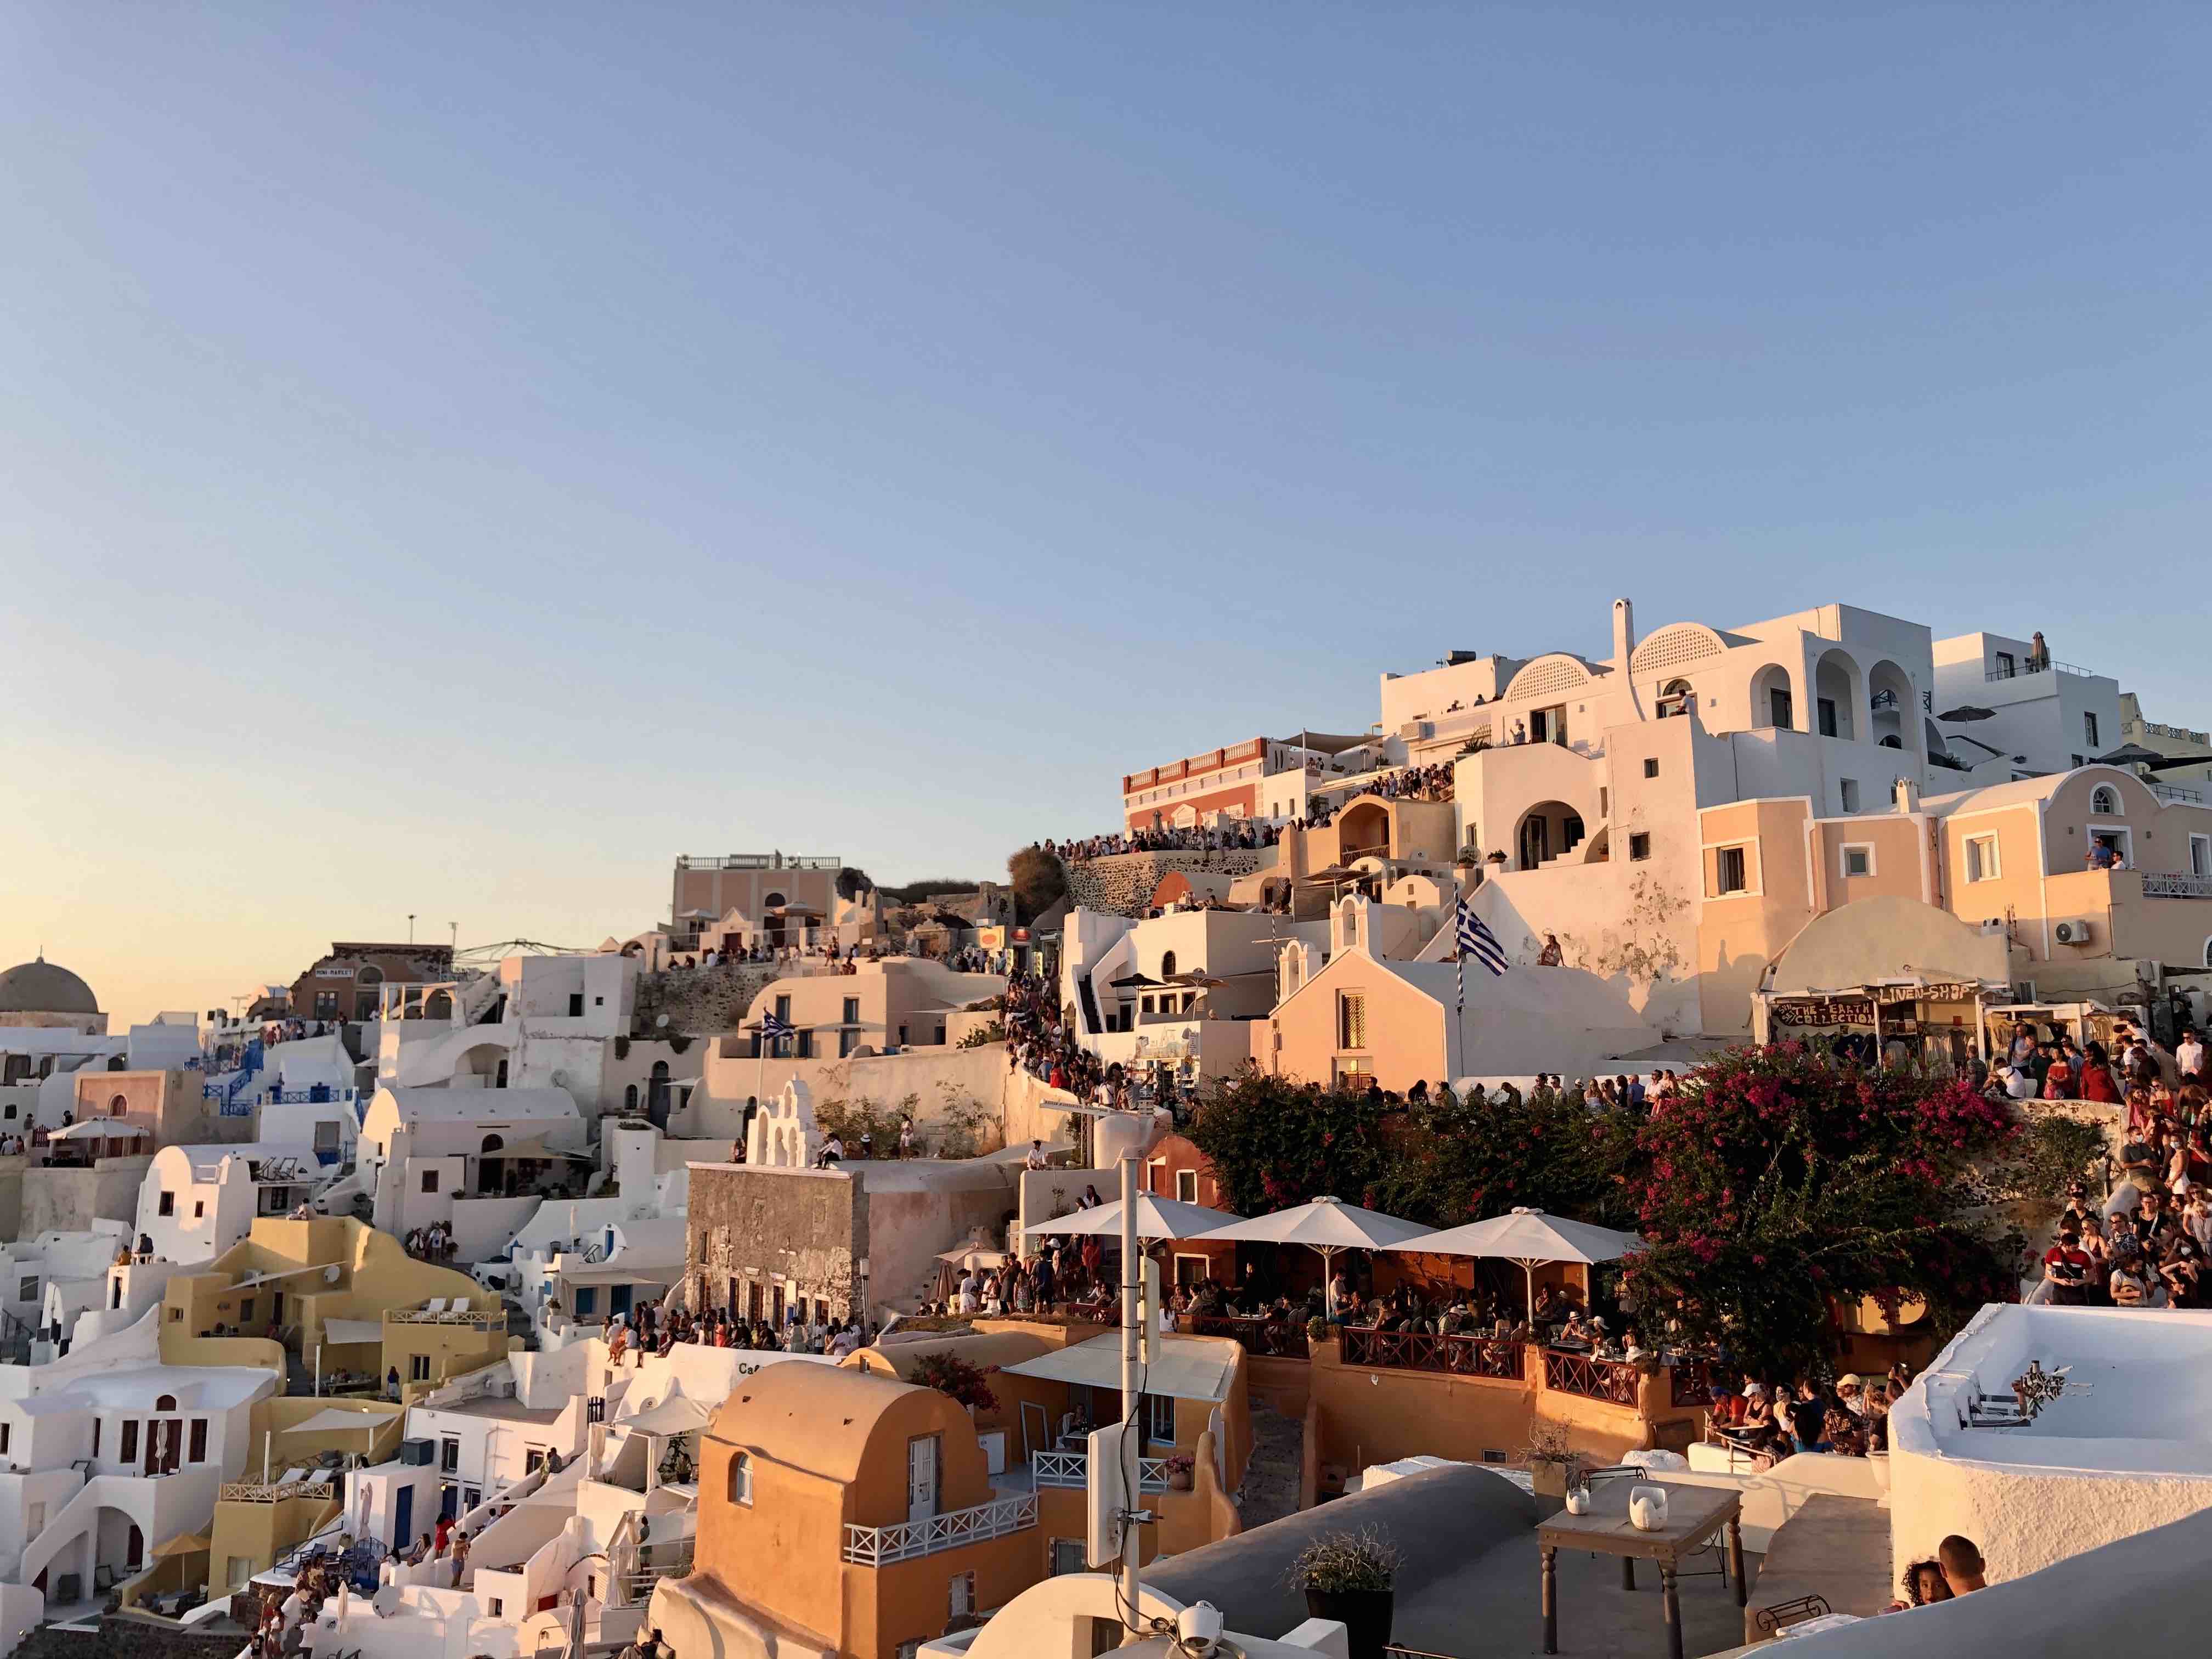
 Santorini 2
 Santorini 3
Here are the images I shot during some of my favorite vacations. Each of them shows a scenic
view from a slightly different perspective.
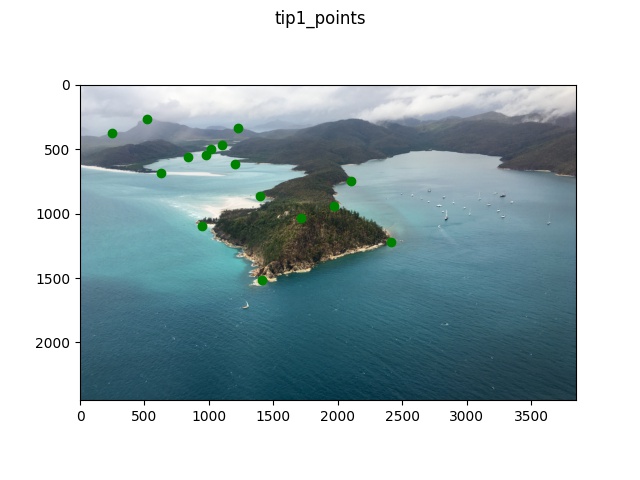
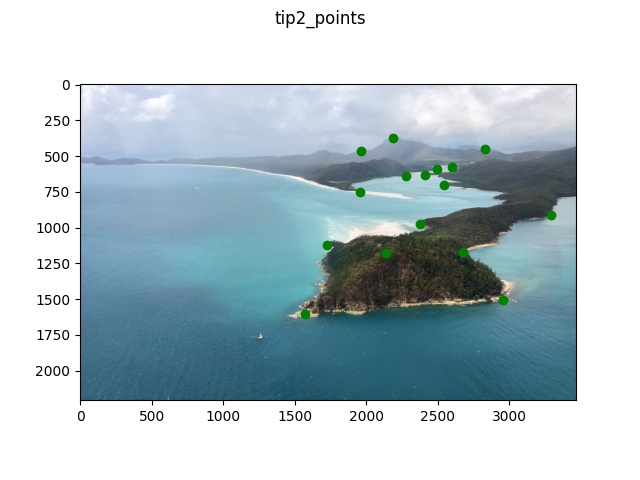
Recovering Homographies
Here are the point correspondences that I selected for the input images.
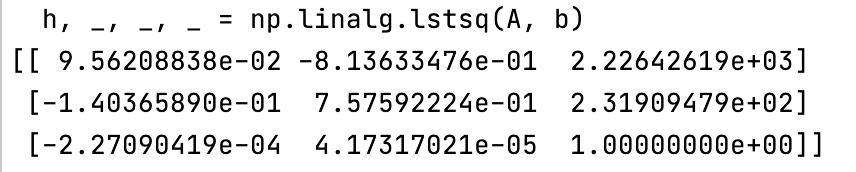
Using these points, I calculated the homography matrix. To do so, I set up a system of equations
where I created a matrix A and b and solved for the appropriate 8 degrees of freedom. The matrices I created looked
like the following where x and y are the points of image 1 and x-hat, y-hat are points in image 2:
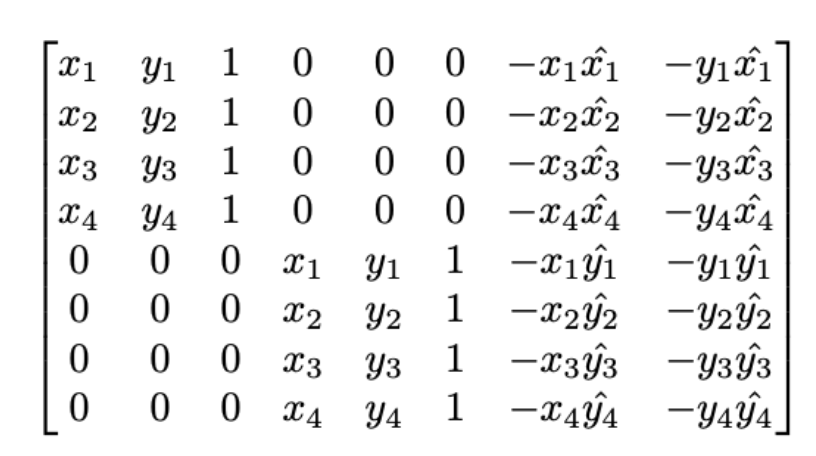 matrix A
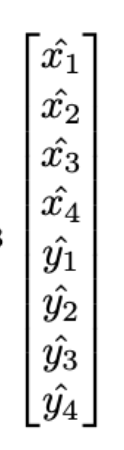 vector b
With these two matrices, I set up the system of equations Ah = b. Since I had a lot more points (> 8) than necessary, the
system of equations might not have an exact solution so I used least squares to solve for the best vector h. I then added a
final value of 1 and reshaped h to create the final appropriate homography matrix. The following image shows the resulting
H matrix which I created using the above two images and correspondence points.
Warp the Images
I decided to warp my second image onto the first image. To do so, I multiplied the coordinates of
my second image with the inverse of the homograpy matrix and then performed remapping/interpolation of the
image to project the appropriate colors onto the new basis. The result was as follows:
Original 1
Original 2
 Image 1 projected onto image 2's correspondence points
Rectify
For rectification, I chose two images I took at the Getty museum that were not completely
front-facing. The original images come at a slight tilt and I selected the edges of the potrait frame and ceiling window respectively
and projected both onto a straight rectangular region to make the image appear front-facing. The result was quite nice!
 Original image
 Rectified image
 Original image
 Rectified image
Blending into an image mosaic
Whitsundays 1
Whitsundays 2
 Whitsundays blended
Meteora 1
Meteora 2
 Meteora blended
Santorini 1
Santorini 2
Santorini 3
 Santorini 1 & 2 blended
 Santorini 2 & 3 blended
 Santorini all blended
Here are three blended mosaics that I created. In each case, I projected one of the images
onto the other image in order to have a stable point of correspondence to project upon. For the final
three-way blend, I also projected each image onto its neighbor iteratively.
What I Learned
I thought this project was super cool because it was very interesting to learn about homographies and image
projections as a method of warping. Previously, we had worked with morphing images which used smaller
projections of triangles but I thought it was very cool that I could actually use correspondence points to
warp an entire image into providing a new perspective just by matrix transformations. I also thought it was
really cool that I was able to use a lot of the knowledge that I learned in the last two projects with morphing and
transformations and apply them in a new setting where I was able to create cool blended images that stitched
together multiple perspectives.