CS 194-26 Project 4
name: Andrew Shieh
Background
One day in class, I wasn't really paying attention to the lecture until
I heard the magic word "homography." As it turns out, homography is an
extremely powerful tool that can enable all sorts of image warps and
transformations, such as stitching multiple pictures together. Inspired
by the power of homography, my interest in lecture was immediately
re-ignited and I found myself overjoyed to work on this project, which
is all about using homography to stitch together panoramas from smaller
pictures.
Shoot the Pictures
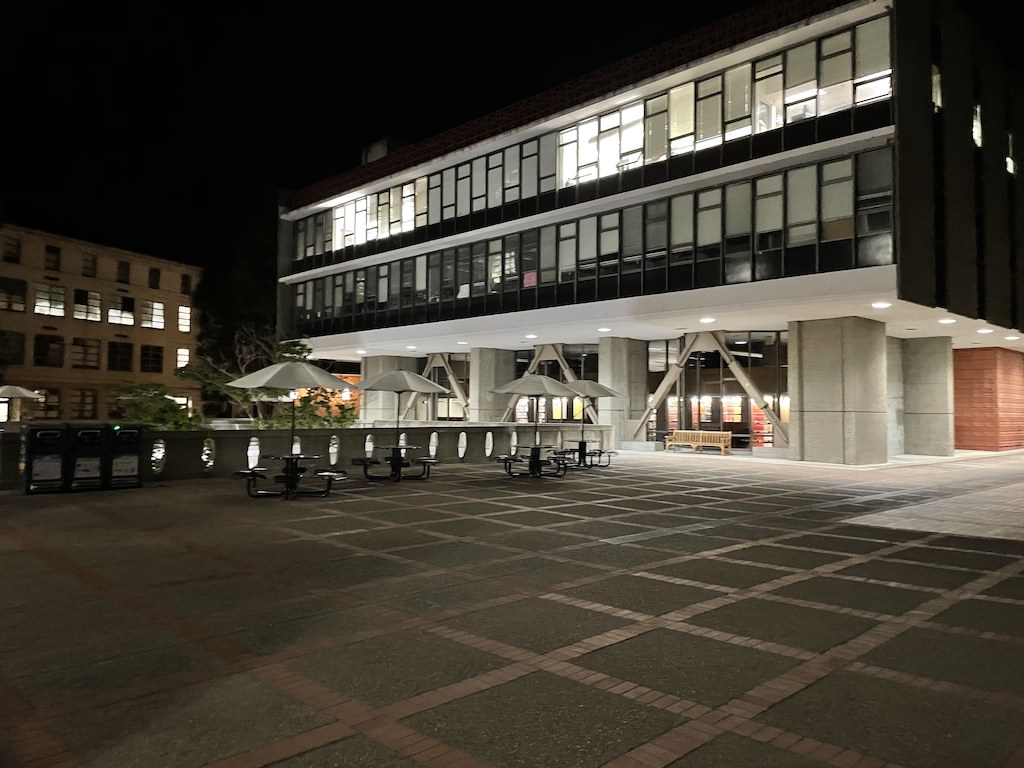
I started by taking some pictures around campus and my apartment. I used
my iPhone 12 Pro, which is marketed as having a professional-grade
camera but Professor Efros always calls them cheap cameras and I have to
say I am inclined to agree with the professor. I tried keeping the focal
length, zoom, and vertical position constant, but there were some errors
in this due to both human and technical failure.
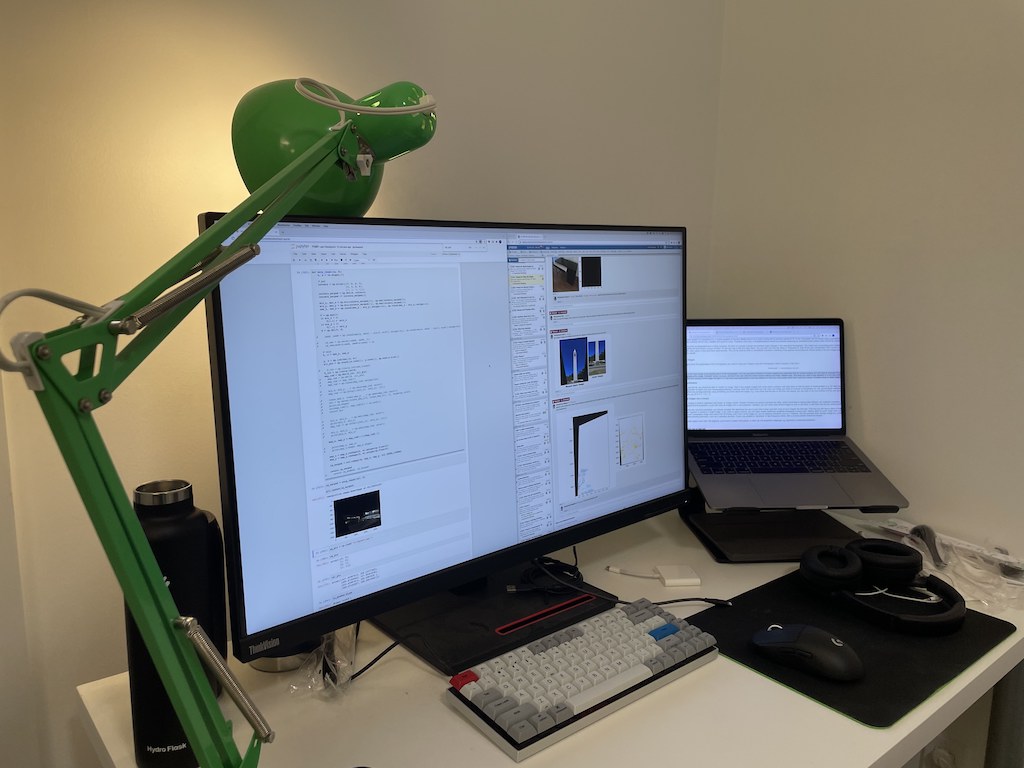
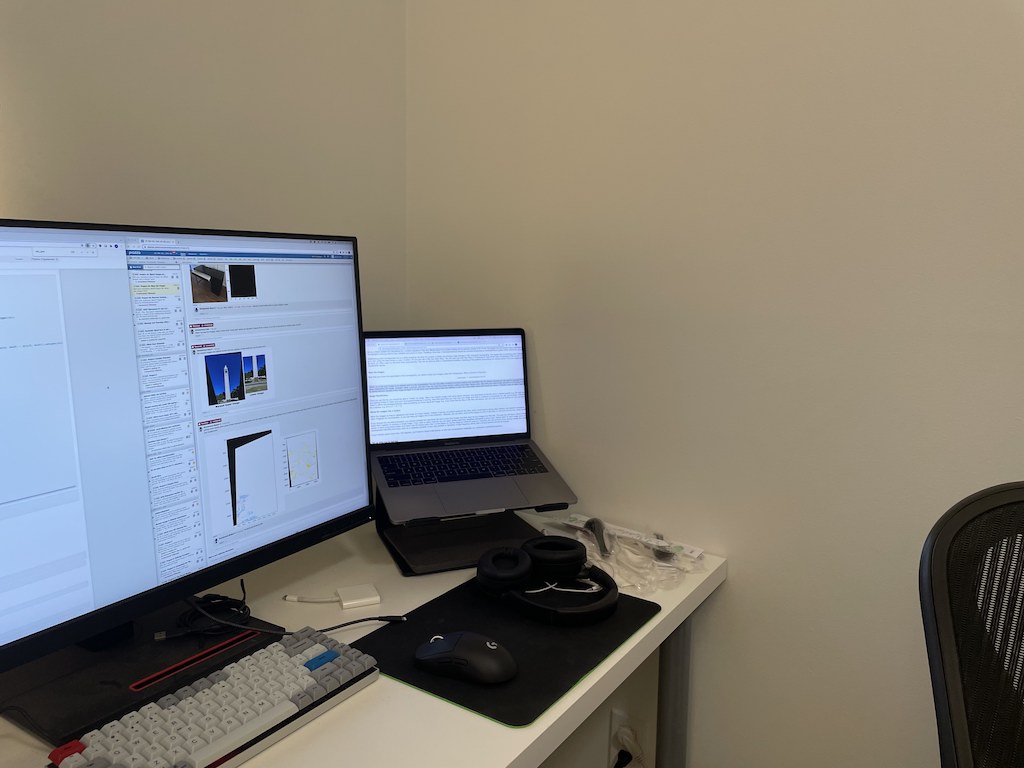
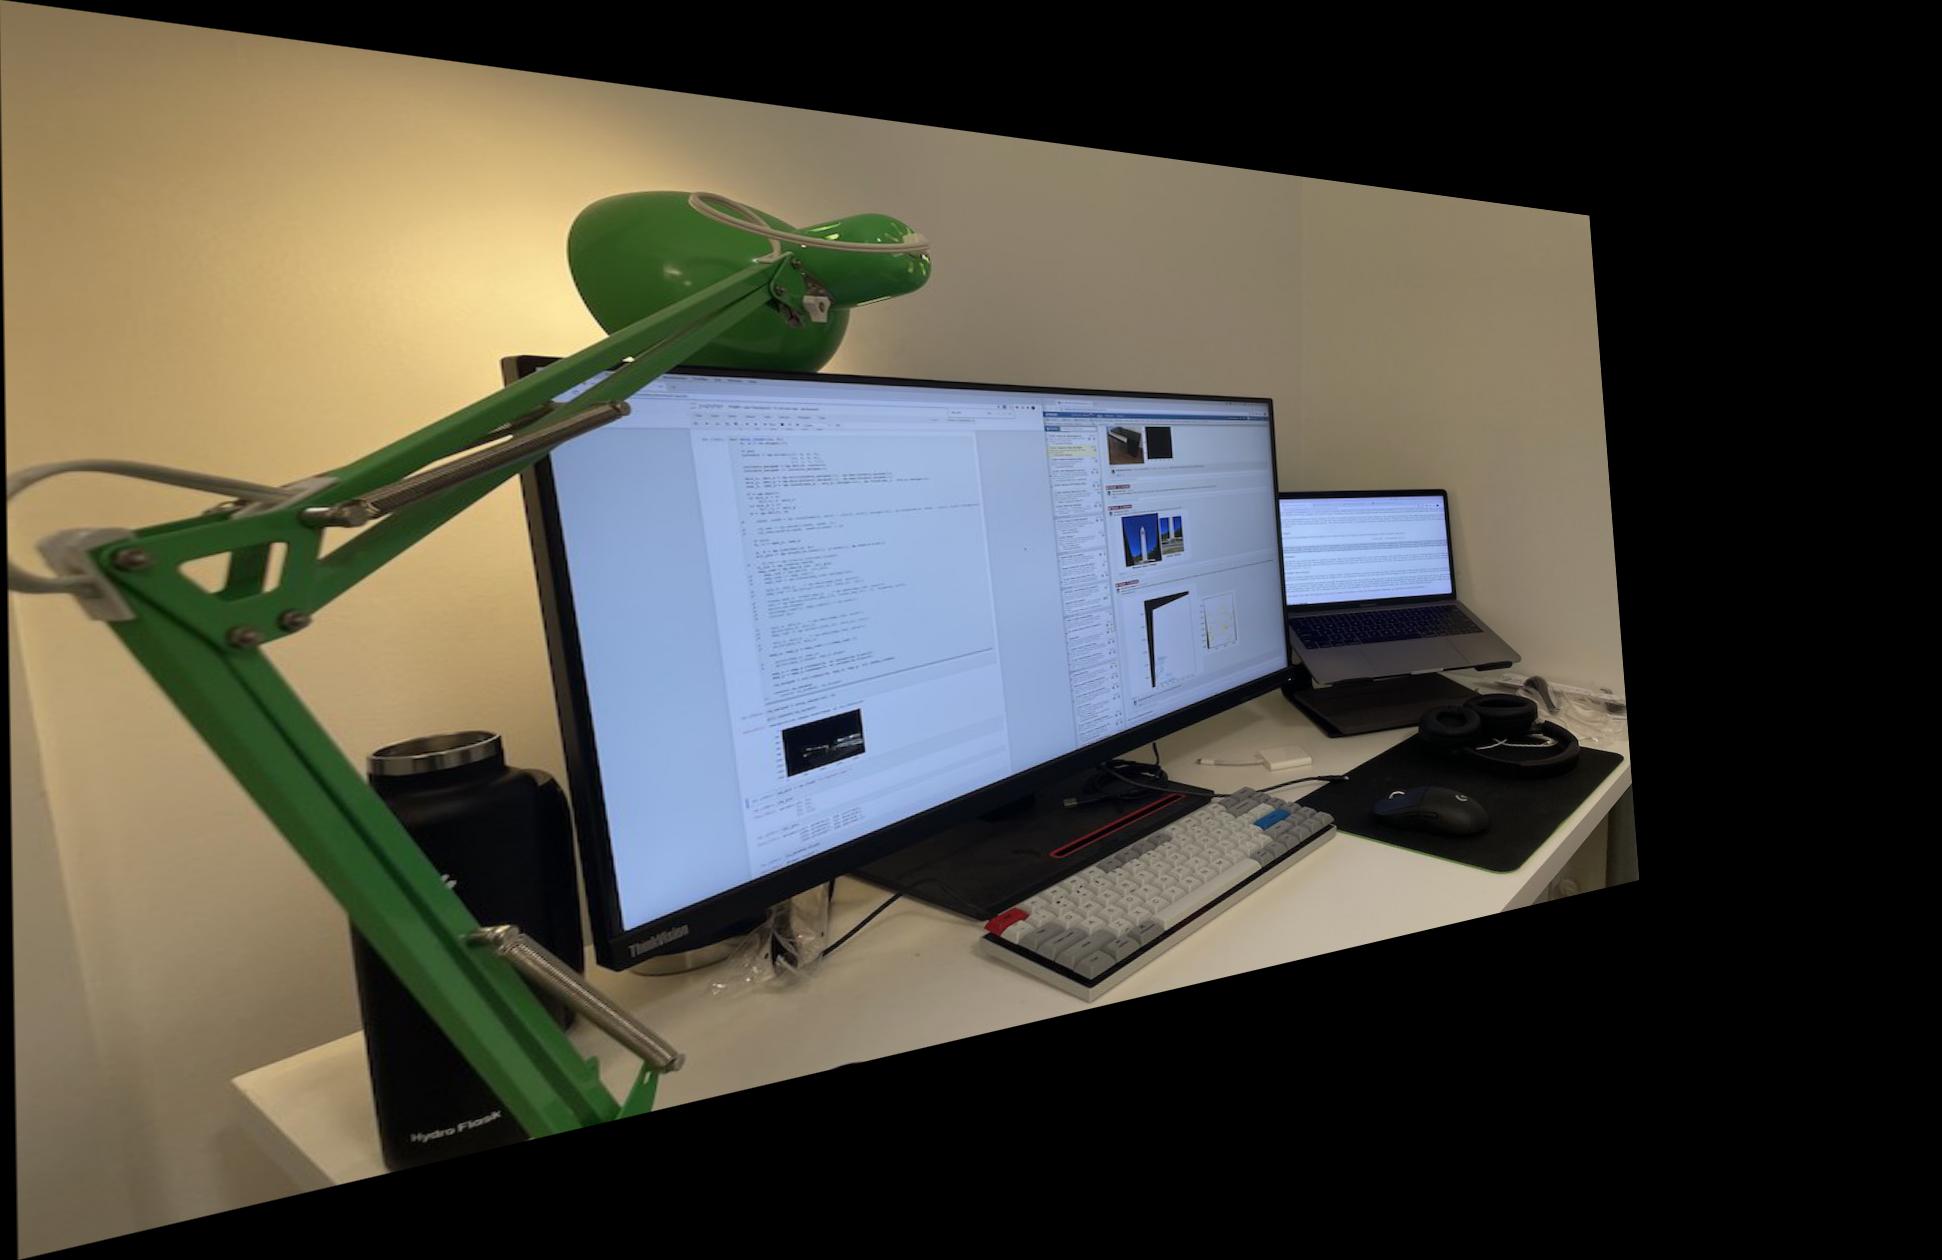
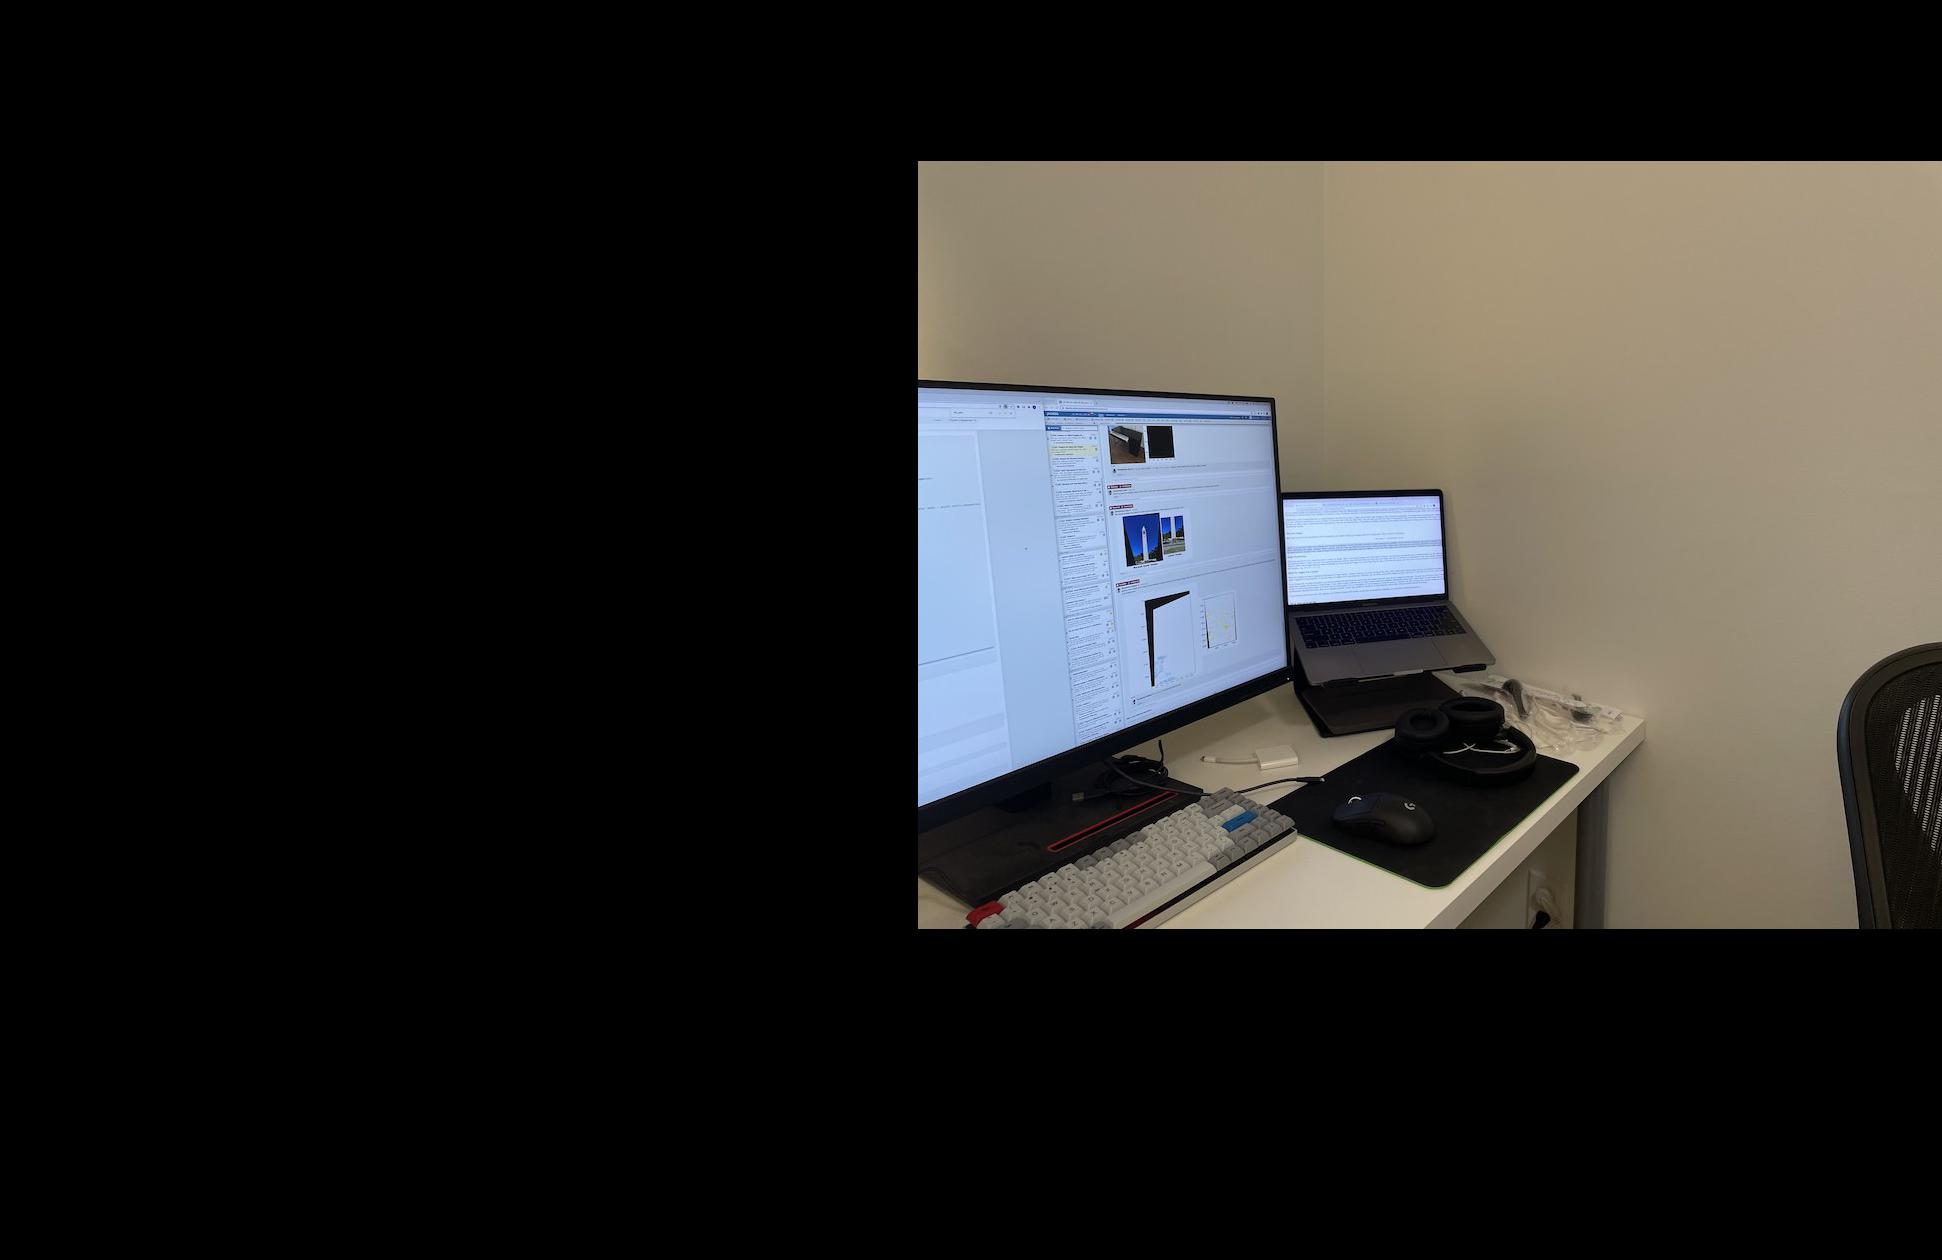
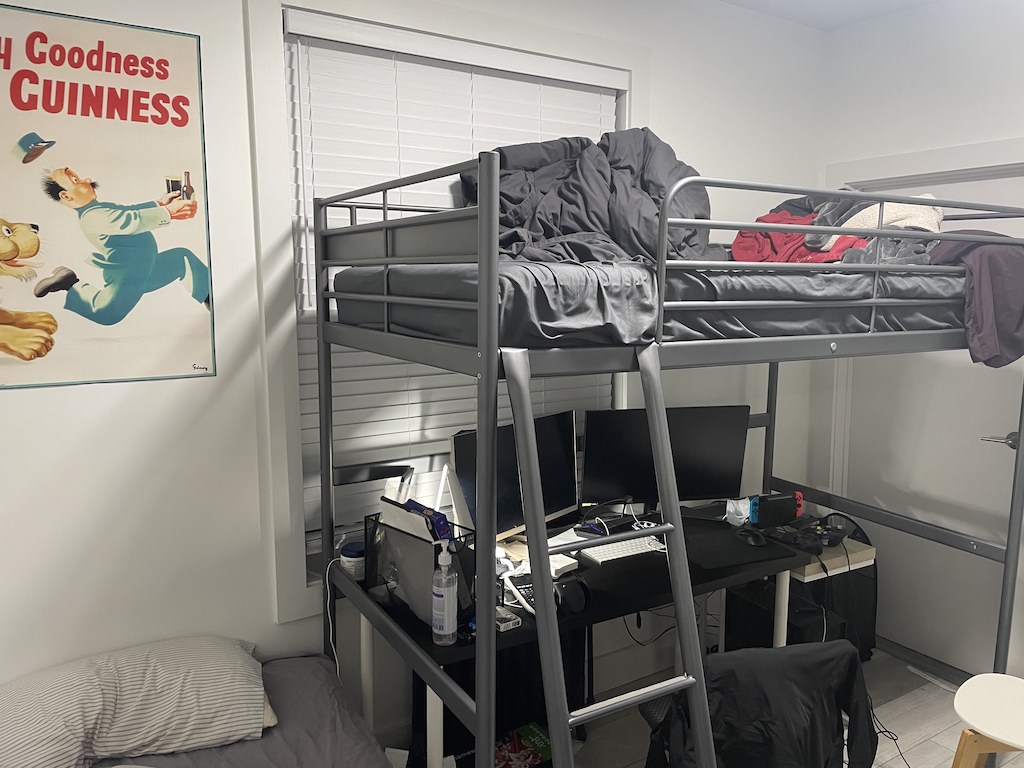
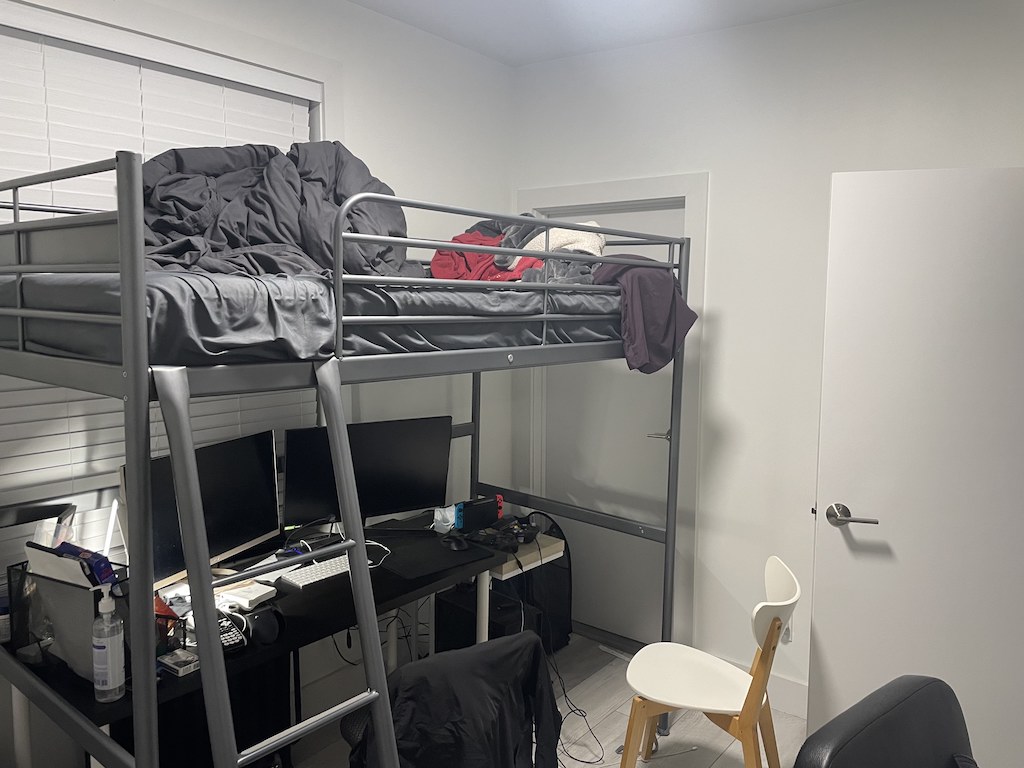
Then, I airdropped the files to my computer, converted them to jpgs, and
resized them to be smaller (1024x768). For example, here are two
pictures of my desk.
Recover Homographies
I love homography! To compute the homography matrix H, simply solve a
set of linear equations Ah = b for h (a length 8 vector), then reshape h
to be a 3x3 matrix H with a 1 in the bottom right position. The linear
equations come from a set of point correspondences I manually defined
with ginput in a nifty little program I made last project. You need a
minimum of 4 correspondences to compute the homography (8 unknowns, and
4 points is 8 variables), although more is better, and the
overconstrained problem can be solved with least squares.
Warp the Images
Now that we have the homography matrix H, I can warp my images with it!
Unlike last project where I needed to compute a triangulation then warp
each triangle, I can just use H and convert all the points at once.
The trickiest part of this was figuring out how to pad the resulting
warped image—it's oftentimes a much different size from the original
image so I needed to give it a larger canvas. To find the new resulting
size, I warped the four corners of the original image (0, 0), (h, 0),
(h, w), (0, w) with H to find their resulting positions then used those
as a bounding box.
But another issue I had to deal with was making it so that the whole
warped image would show on the canvas, instead of only a small portion
of it. Remembering a trick from lecture, I created a translation matrix
T (3x3 identity matrix with -tx and -ty at positions (0,2) and (1,2)),
then matrix multiplied it by H to create a new homography that would
both warp and translate the image.
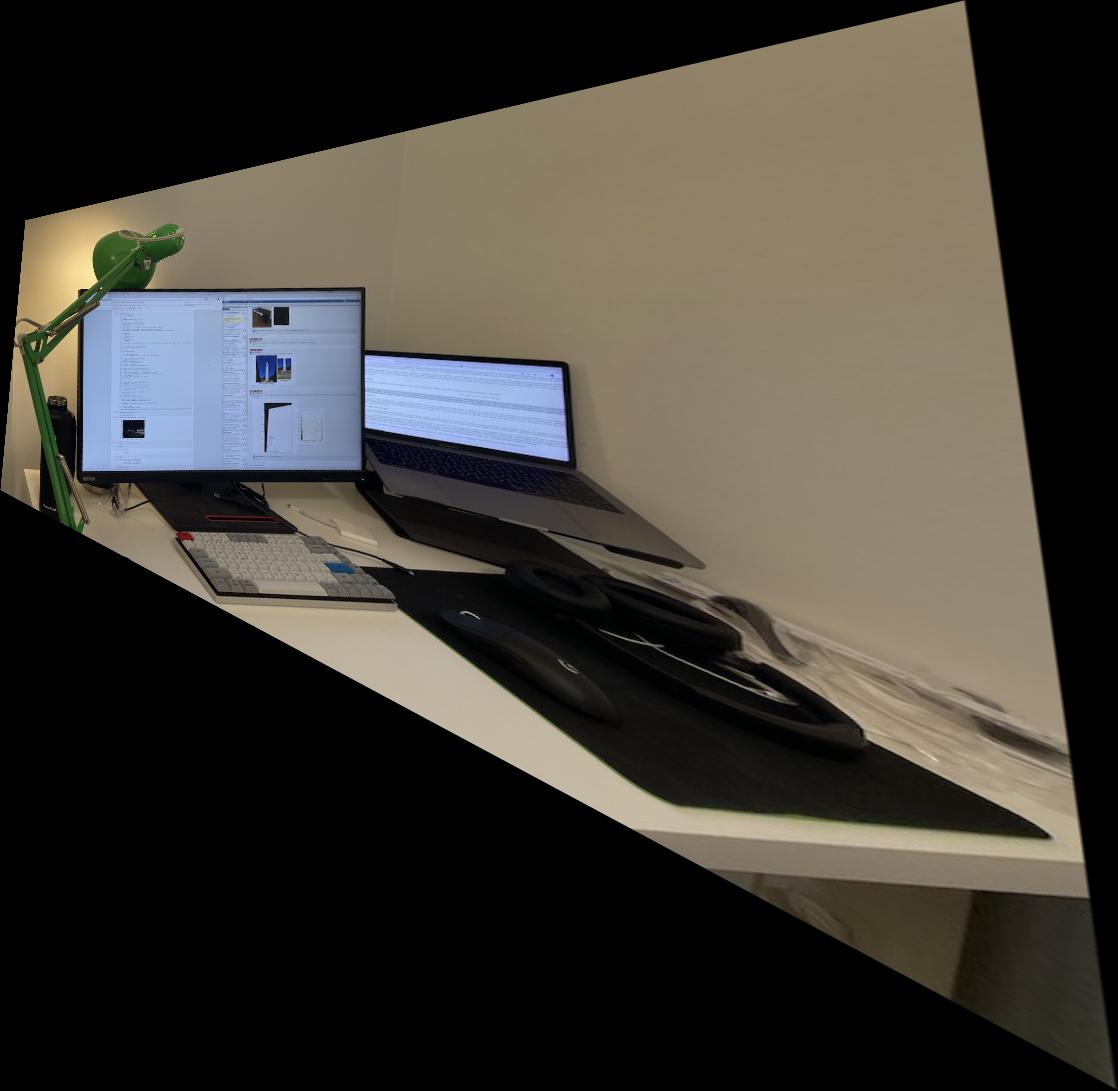
Then I did an interpolation using cv2.remap to get the final warped
image. Here's my desk, warped:
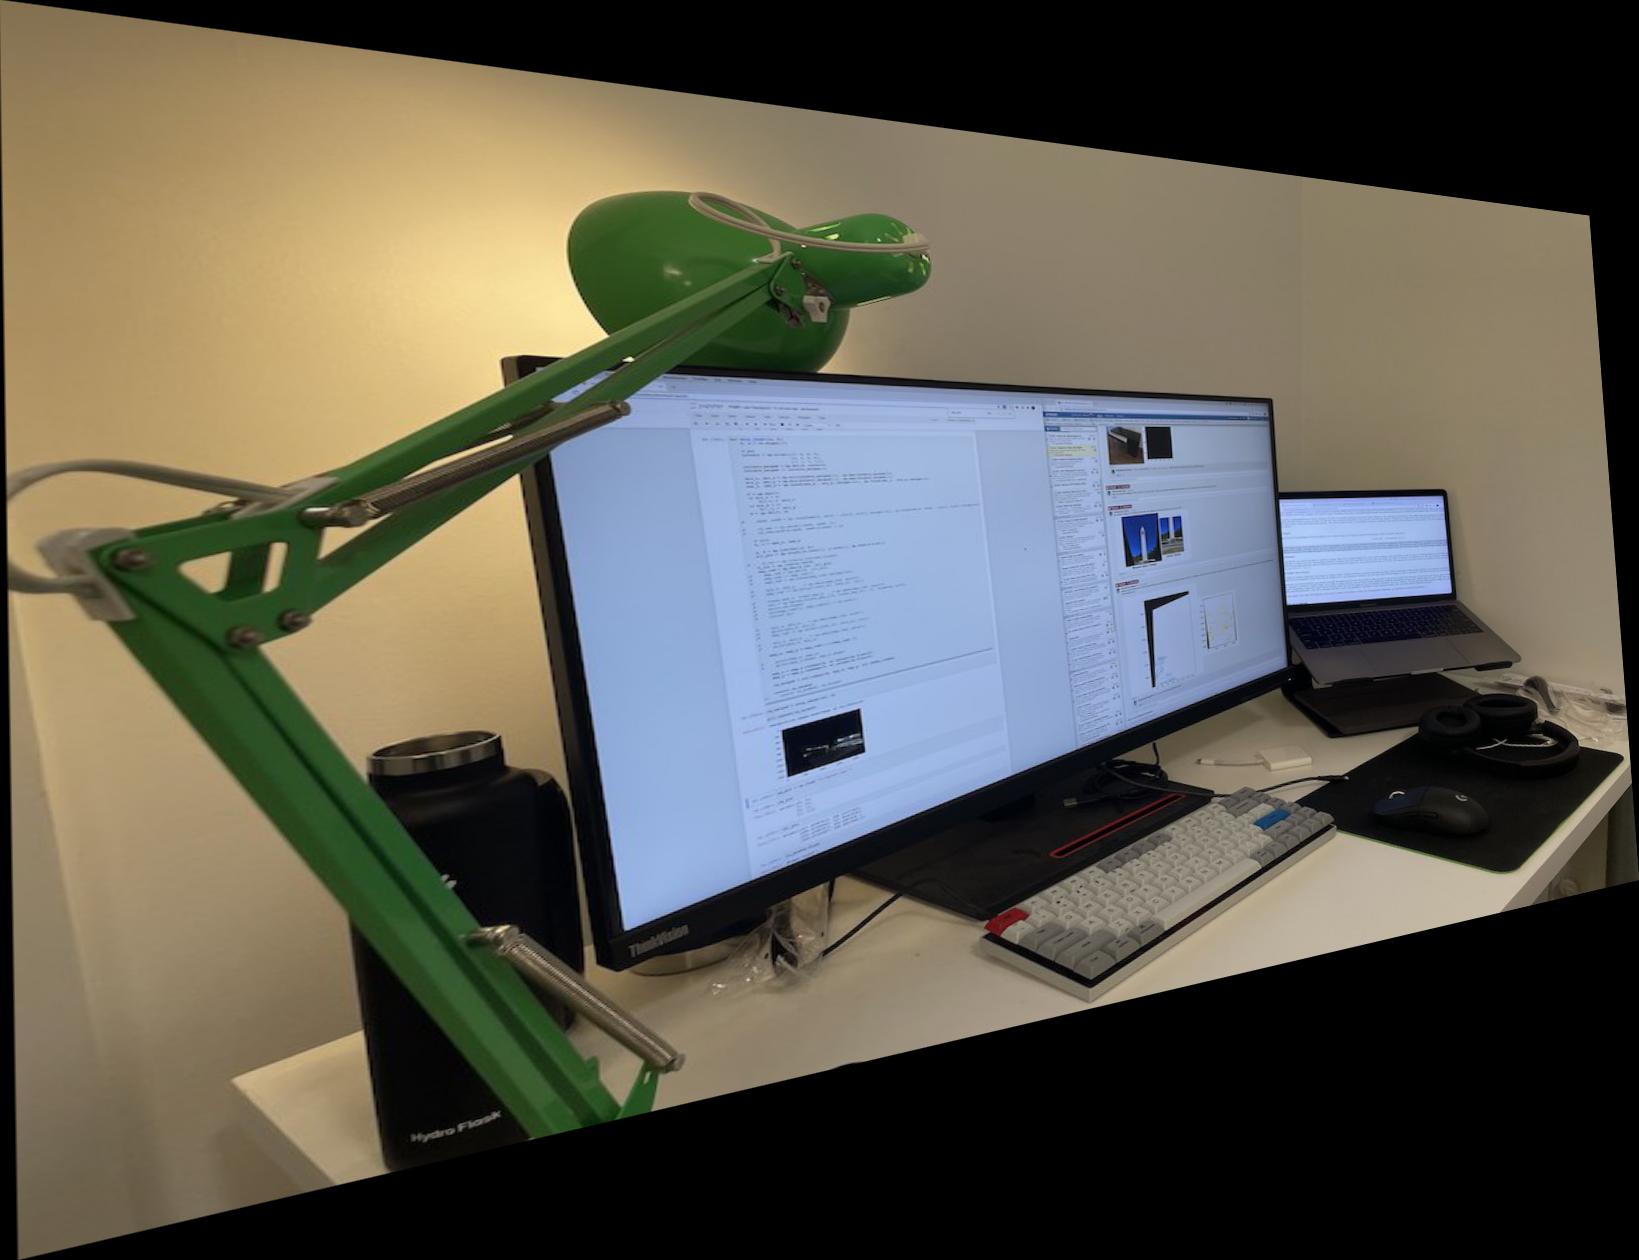
Image Rectification
Now that I can warp images, I can also rectify them to view them from
certain predefined angles. For example, this is a poster in my
housemates' room:
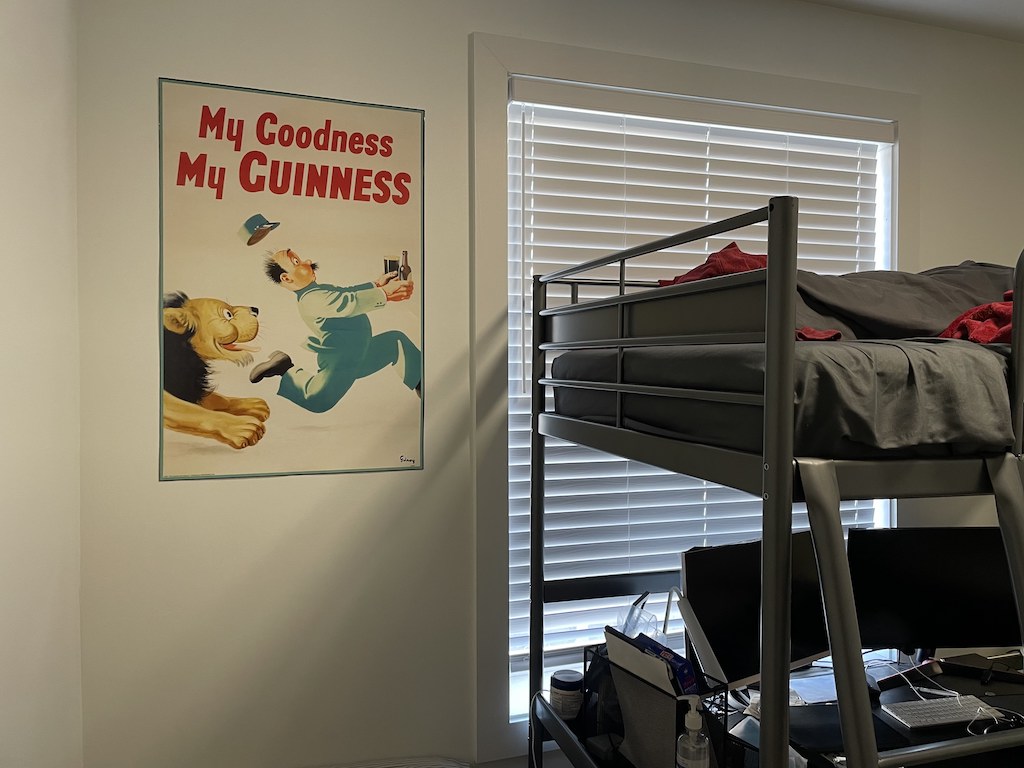
A little hard to read? Not really, but let's pretend it is for the sake
of this explanation. Since I know the poster is 24x36 inches (as
measured with my measuring tape in real life), I can manually define my
own point correspondences (0, 0), (240, 0), (0, 360), (240, 360) (or any
other points where the 24x36 ratio is preserved) to warp the image into
that perspective. By calculating a new H with the manual point
correspondences, I can rectify images and make them somewhat easier to
read (e.g. rectifying against the poster and my monitor).

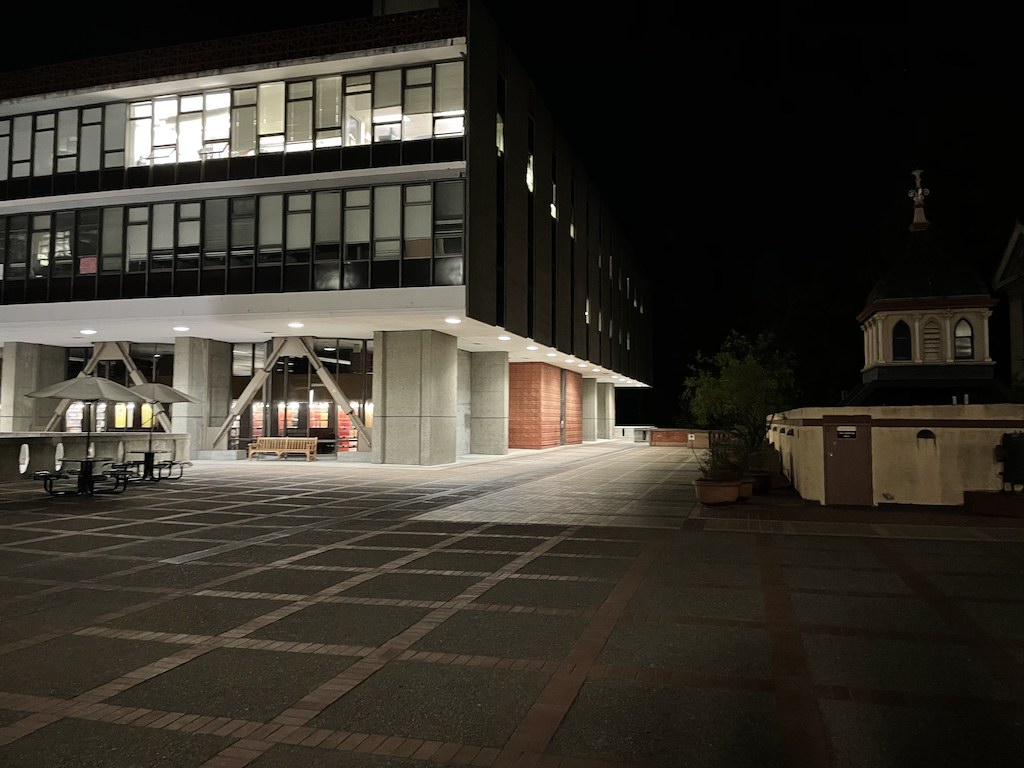
Blend the Images Into a Mosaic
Slight aside: This was the section that made me realize how important it
is to use a non-cheap camera from my phone, and why a DSLR is
recommended. The issues with focal length, zoom, auto-lighting, etc.
caused me to spend way more time on this part than necessary.
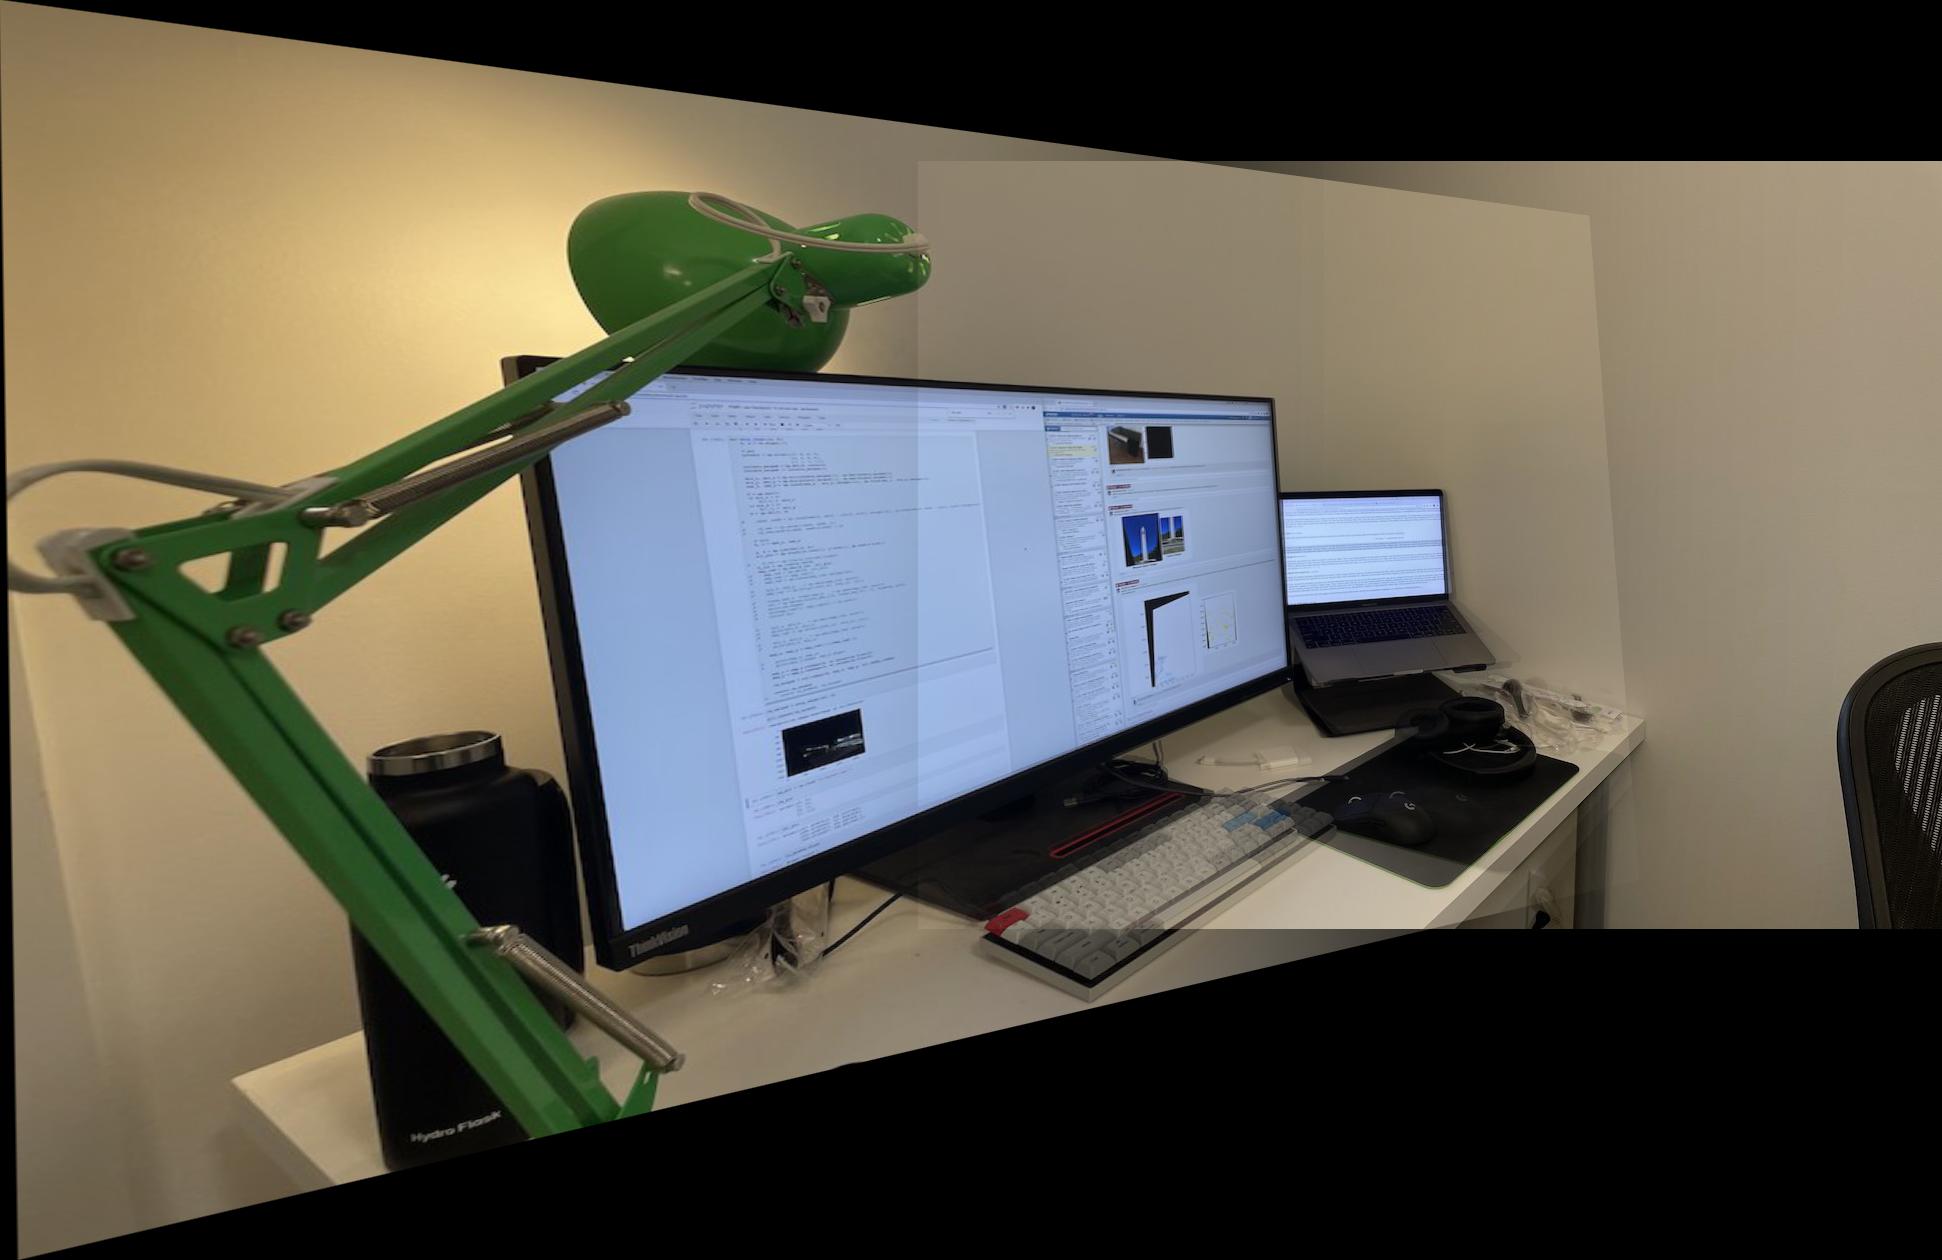
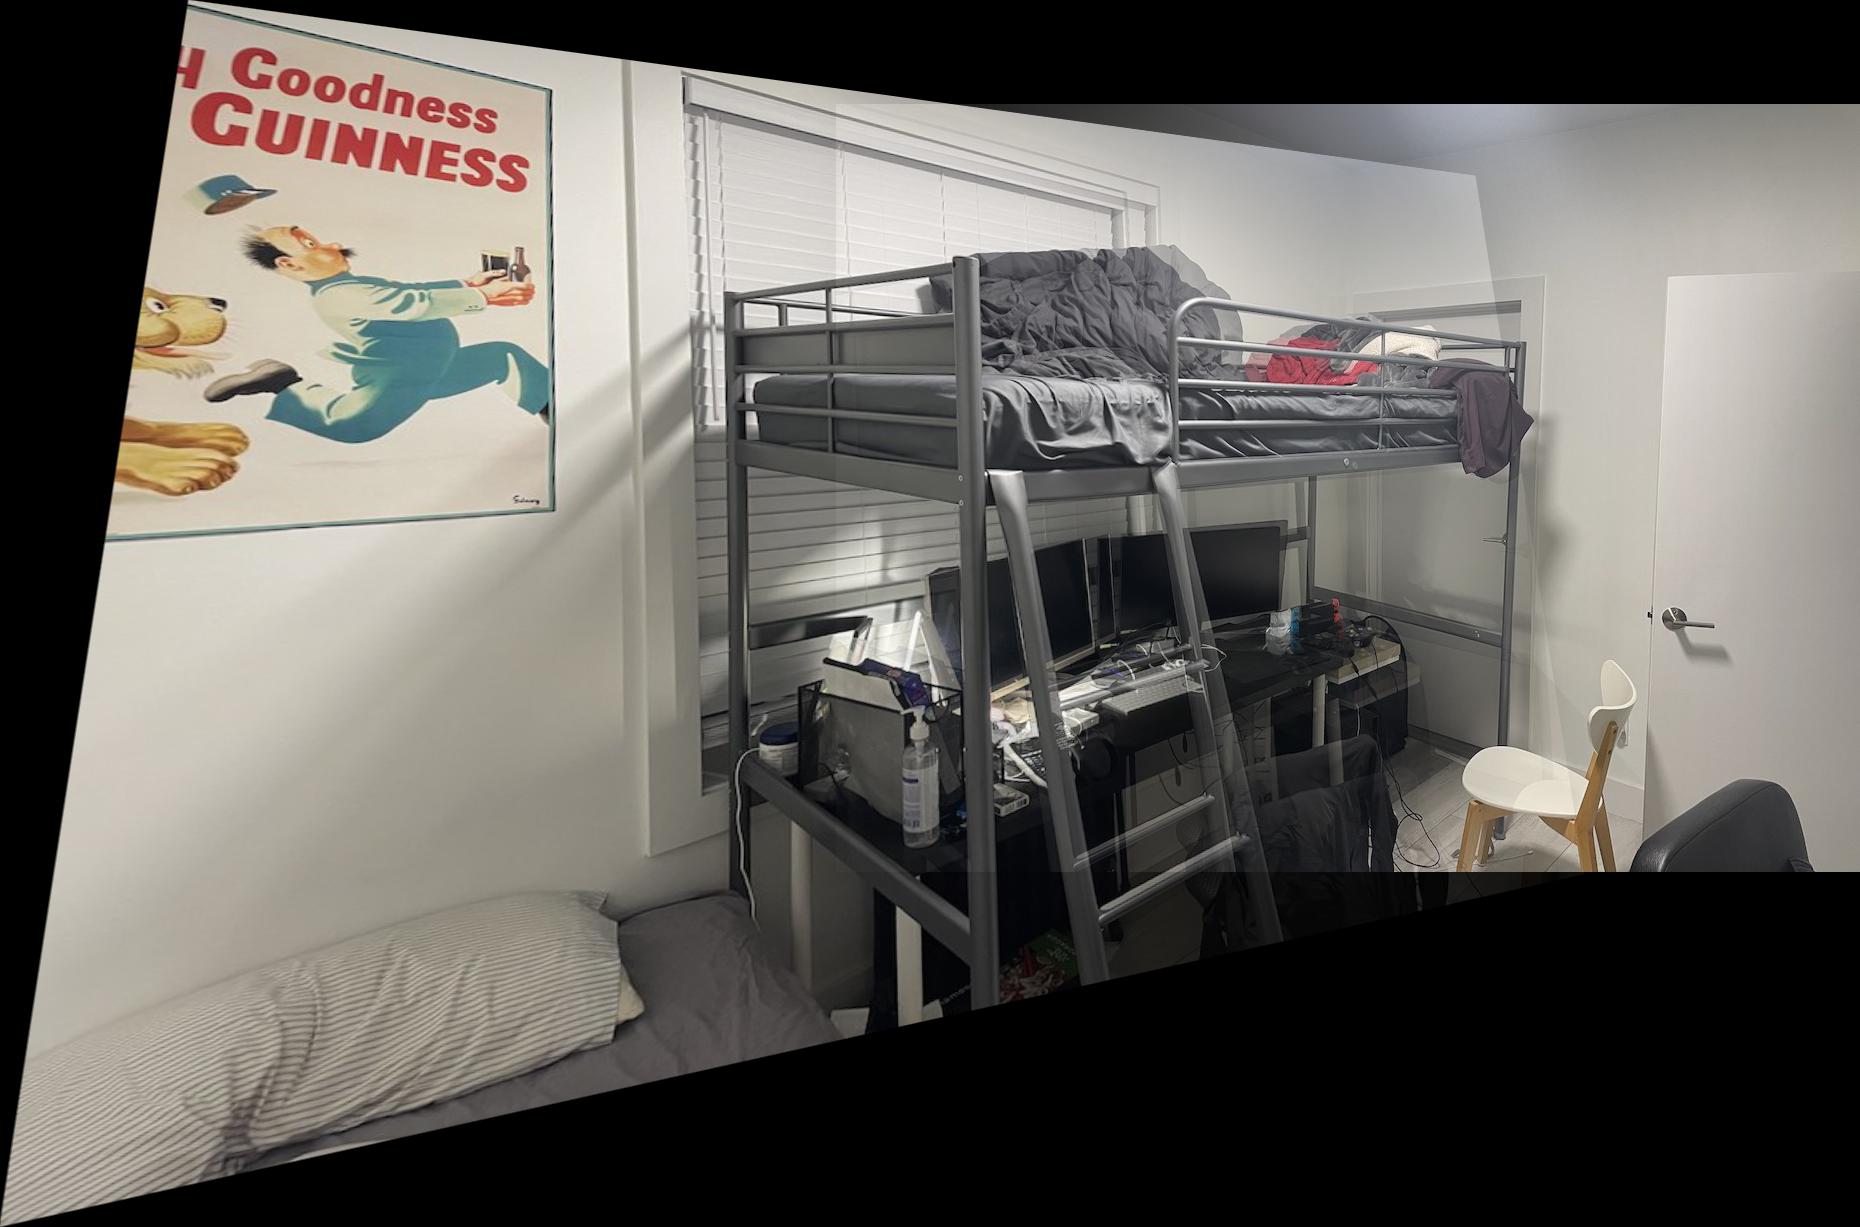
Now that I can warp an image to match the points of another, I can
stitch together panoramas/mosaics! Simply warp the first image to the
points of the second image, then offset them and blend them together. I
started first by making a canvas big enough for the whole panorama,
calculating the offsets based on the translation matrix I had from
creating the warp function. Here's how that looks for my desk:
As for blending, I wanted it to be smoother than just added the two
together. Remembering that Gaussian blurs always come in handy when I
have issues, I found a scheme to leverage them. First I calculated the
overlap between the two pictures, then I found the midpoint of the
overlap area and made a simple mask, and lastly applied a Gaussian blur
to the mask with a large sigma (~200-250) to create a an alpha masking.
In image form (left image is the overlap section, right image is the
alpha masking post-Gaussian blur):


And lastly, using weighted averaging via the alpha mask to blend the
pictures together yields the completed result:
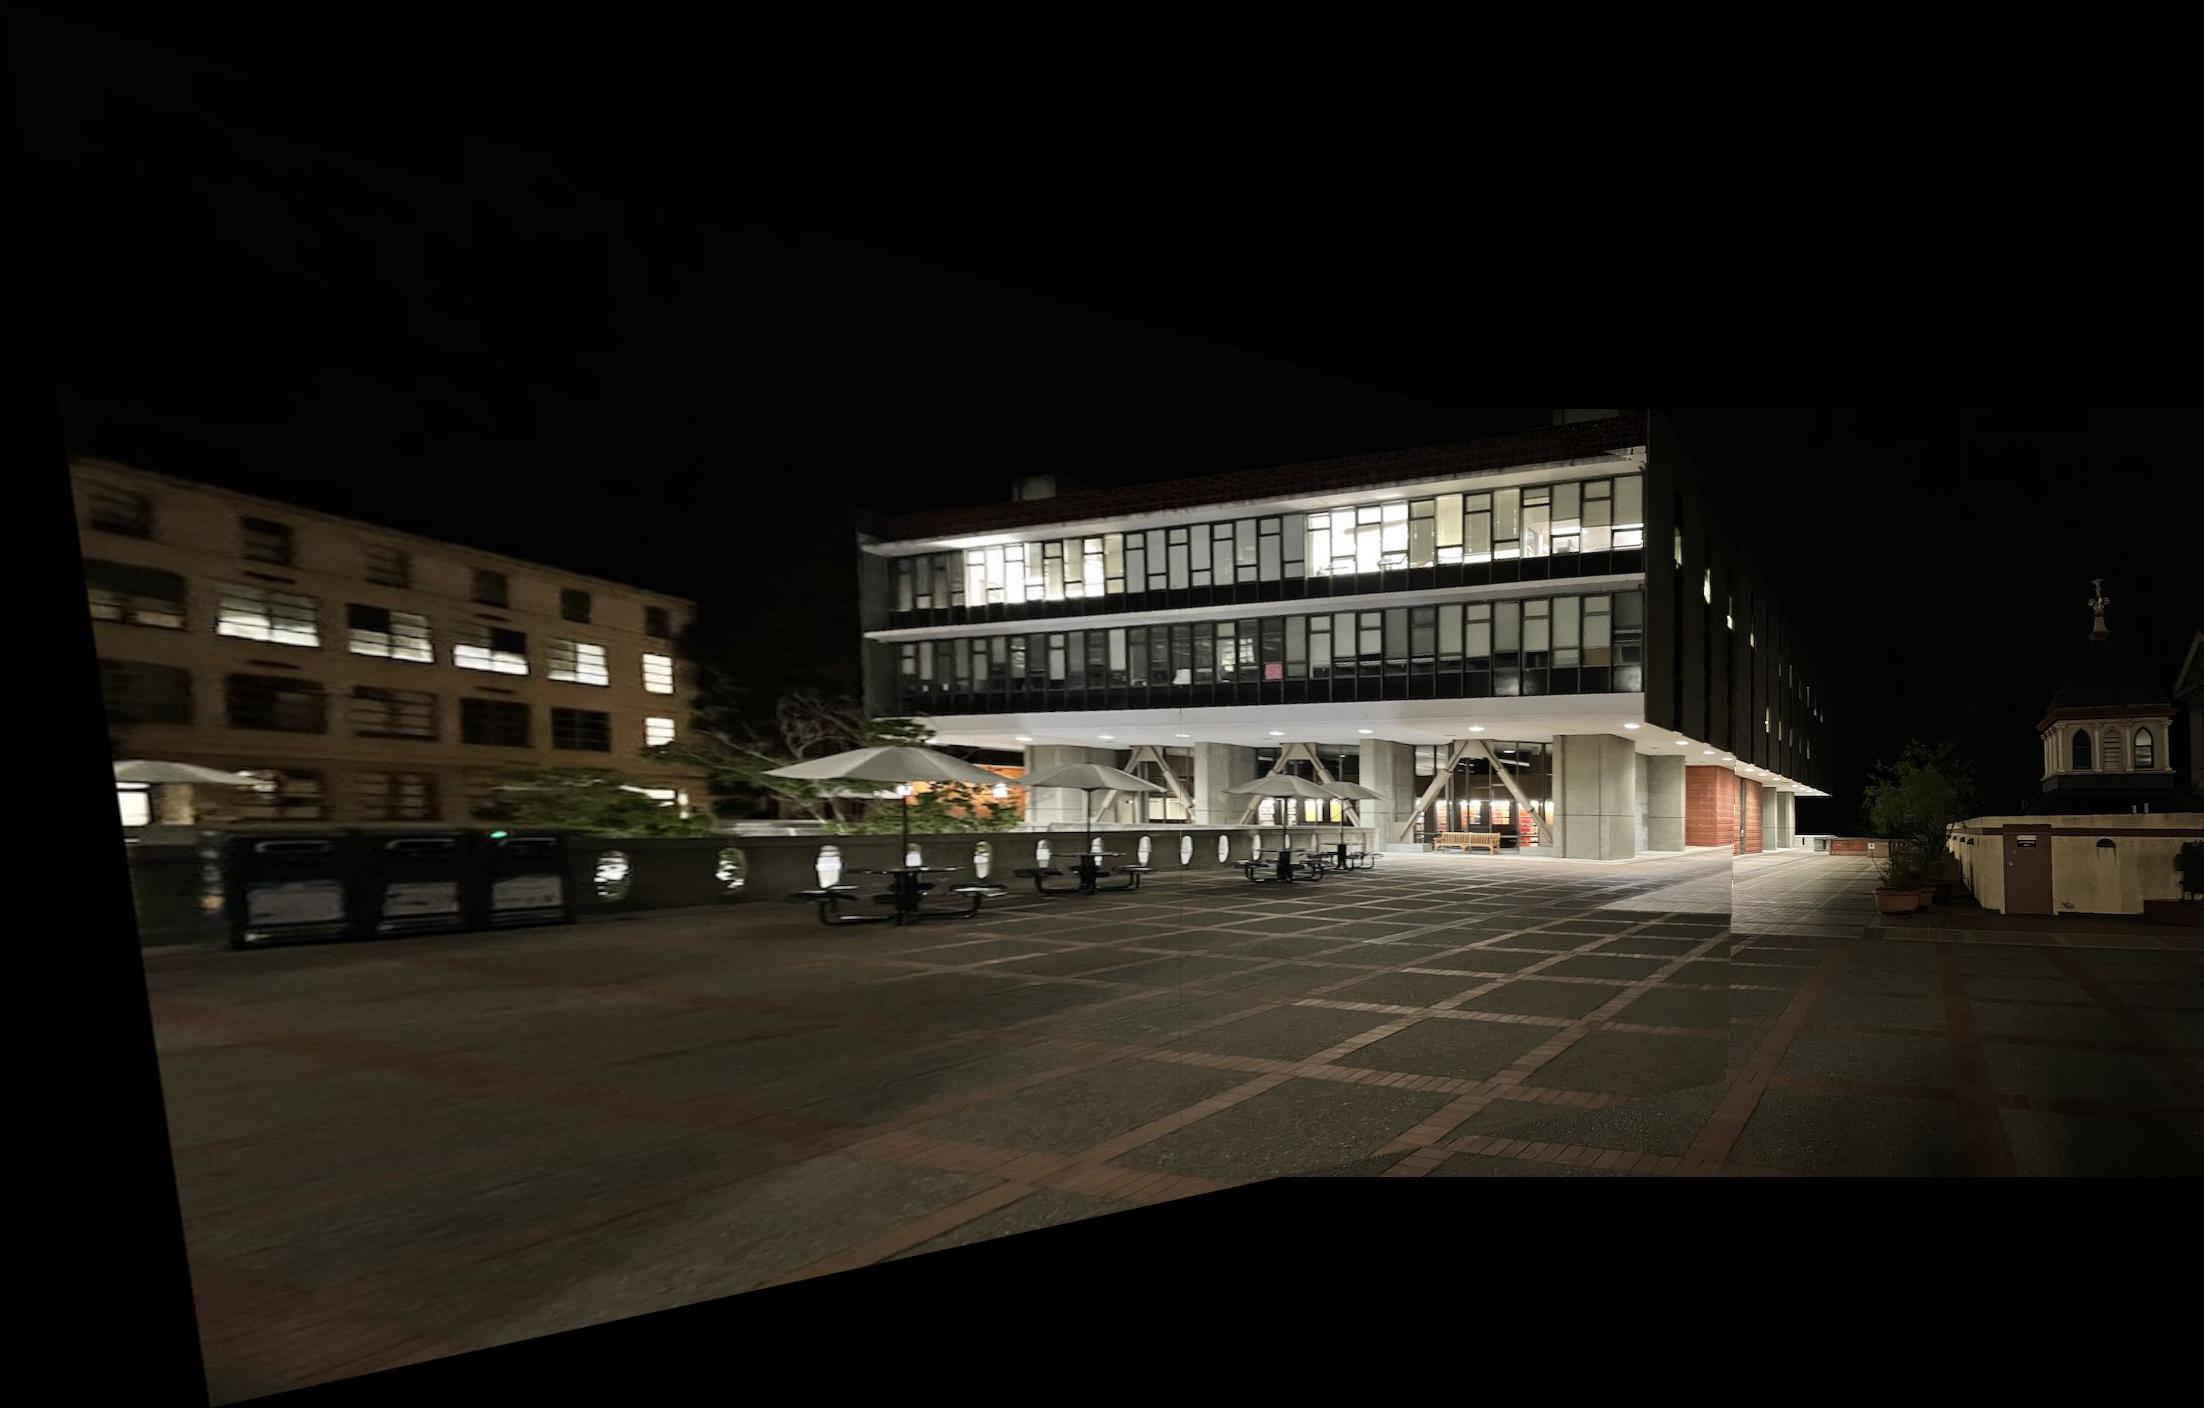
Observant readers will notice that the blends aren't quite as smooth as
they could be: this is due to both issues with my photos where the focal
length/zoom/vertical positioning/lighting weren't consistent as well as
errors due to having to manually select correspondences. However, the
overall results are pretty awesome!
Final Thoughts
I didn't like this project as much as the past ones as I wasted
significant amounts of time on issues that were about my pictures rather
than my algorithms. However, I thought it was super cool to play with
the powerful properties of homography matrices such as how multiplying
my translation matrix by the homography matrix yielded another
homography matrix.