Mosaic 1 Picture 1

My bedroom
Mosaic 1 Picture 1

My bedroom
Mosaic 1 Picture 1

My bedroom
In the first part of this project, we captured source photographs, defined correspondences between them, and then warped and composited them.
I took three sets of 3 pictures to make a final mosaic and two sets of 1 picture to rectify. I made sure that the camera settings did not change in between pictures and tried to make the center of projection (COP) not move as much as possible without a tripod.
Mosaic 1 Picture 1

My bedroom
Mosaic 1 Picture 1

My bedroom
Mosaic 1 Picture 1

My bedroom
Mosaic 2 Picture 1

My kitchen
Mosaic 2 Picture 1
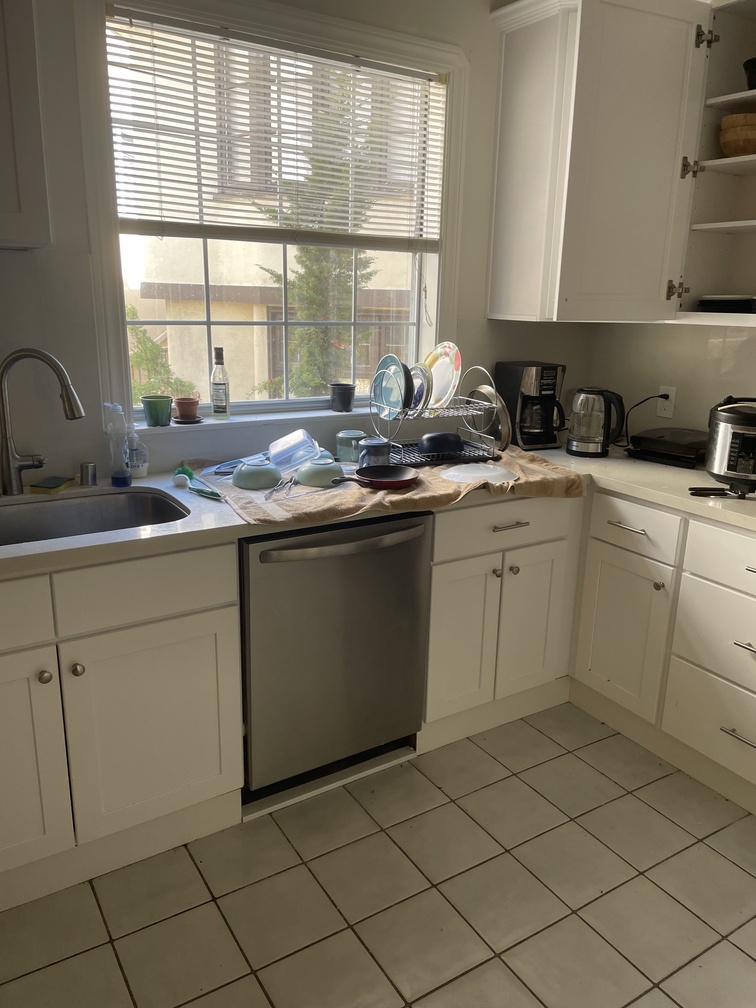
My kitchen
Mosaic 2 Picture 1
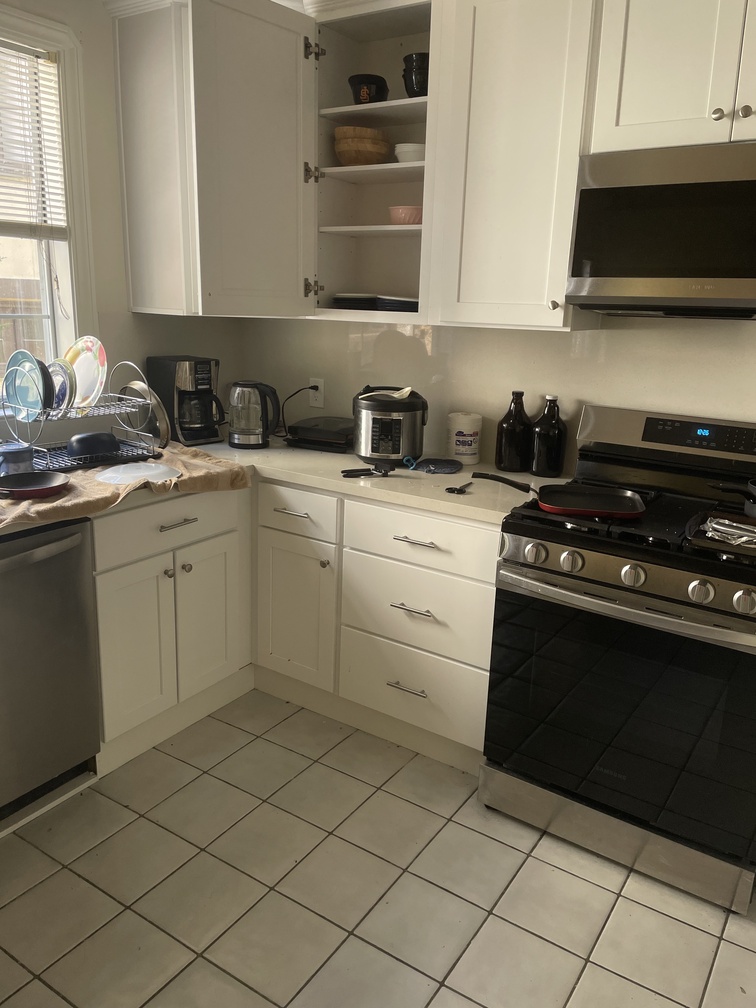
My kitchen
Mosaic 3 Picture 1
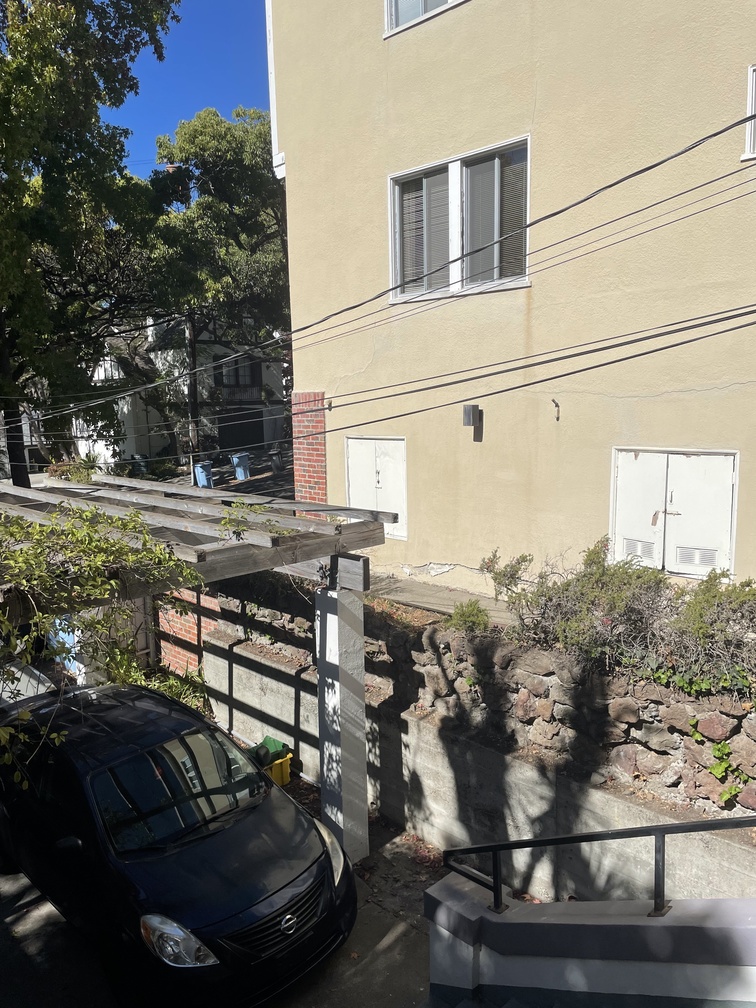
My porch
Mosaic 3 Picture 1
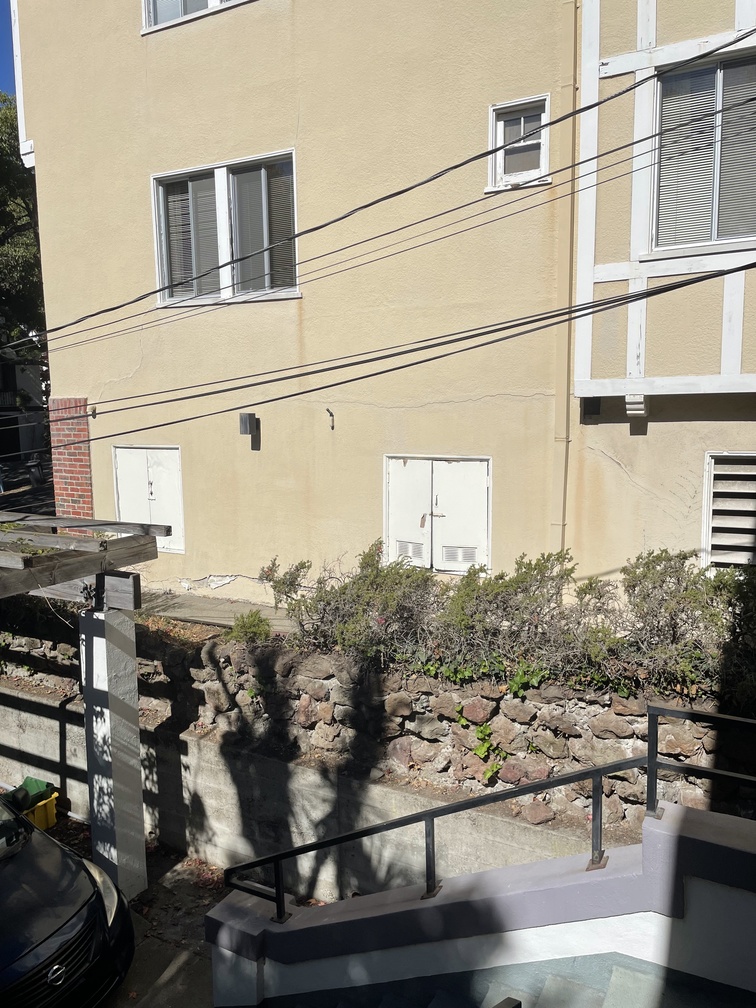
My porch
Mosaic 3 Picture 1
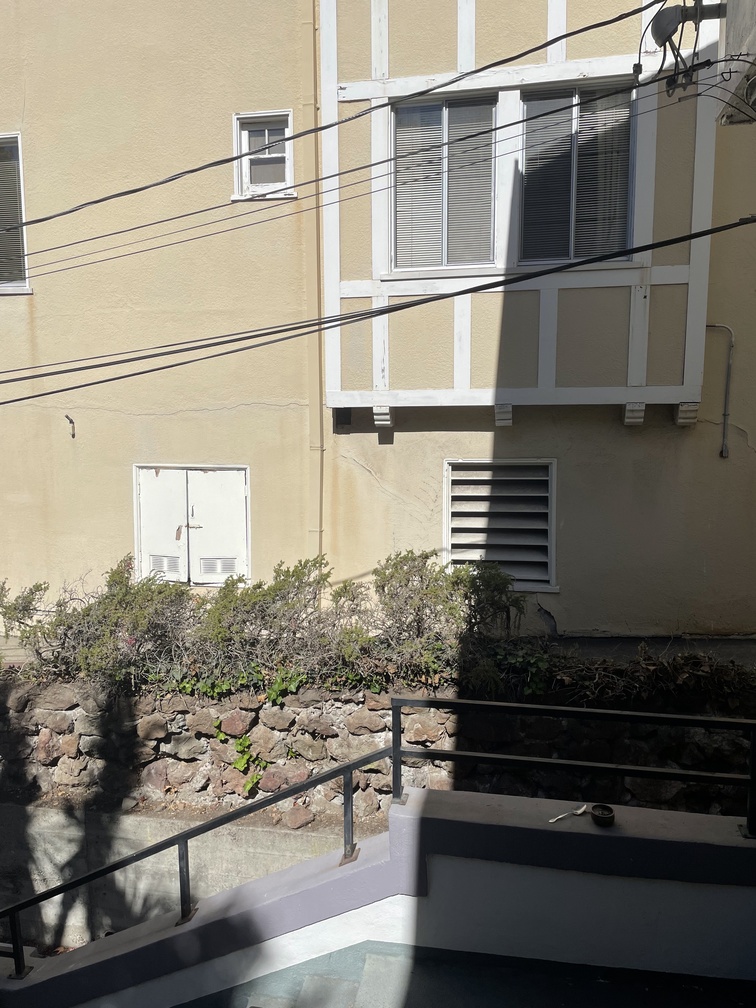
My porch
Pre-rectified Image 1
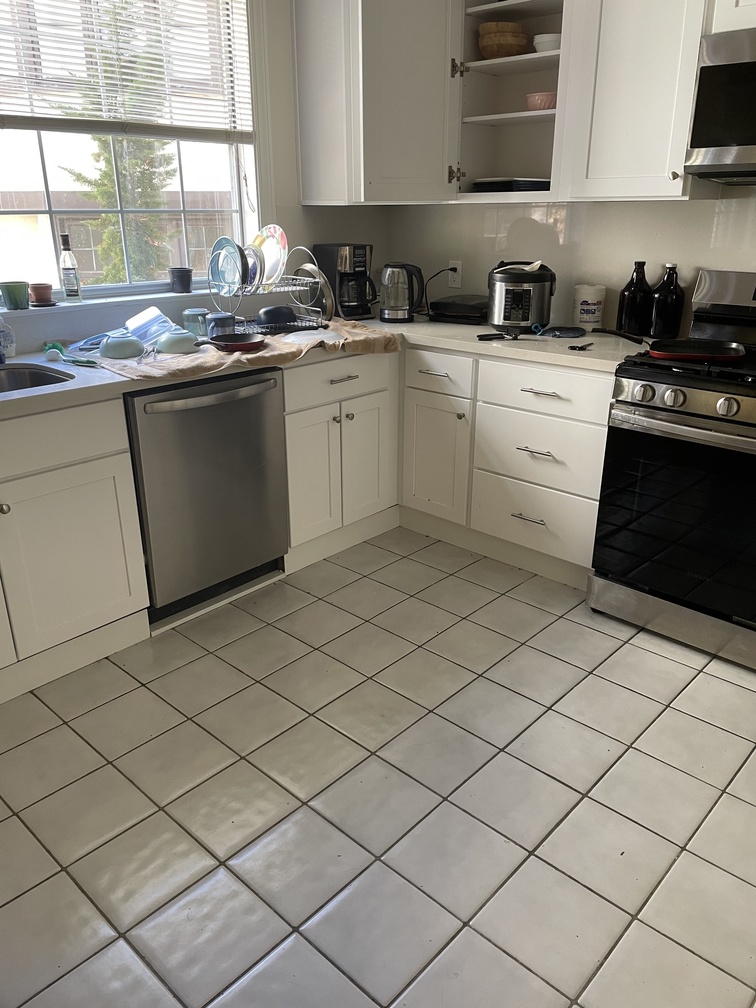
My kitchen
Pre-rectified Image 2
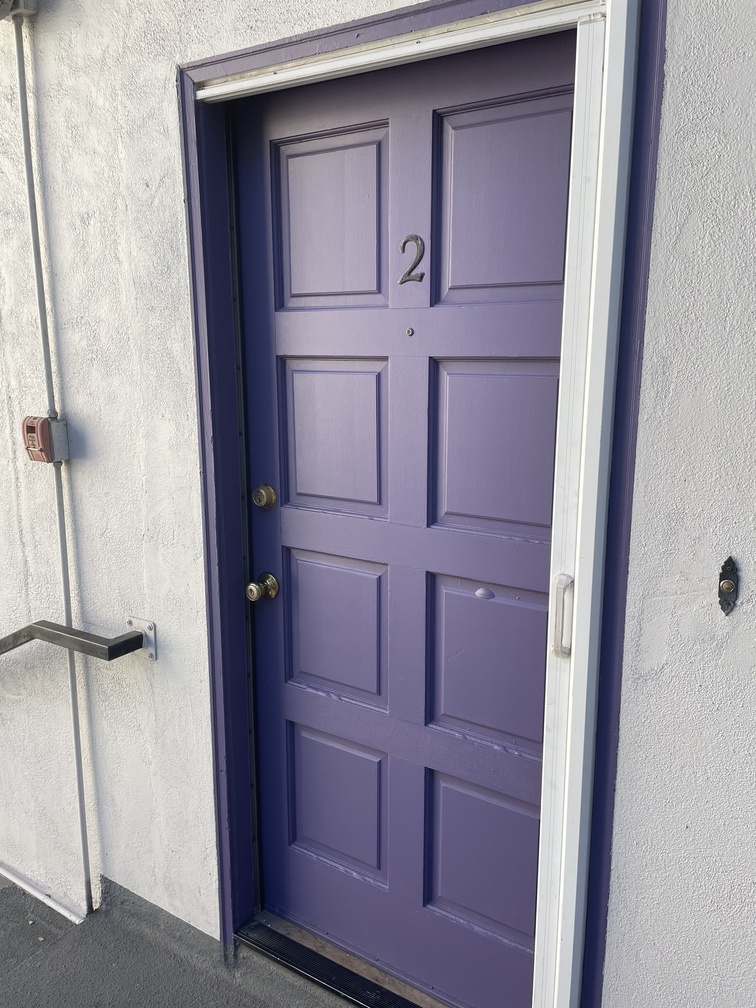
My front door
I manually found the correspondence vectors for each image by utilizing the ginput function and saving the vector as a .npy file so I don't have to repeat this process. Once the vectors were found, we could recover the homography (note: we need >= 4 points to solve for our homography matrix (can use least squares if > 4)). In the image below is the matrix formulation I used to recover the homography from my correspondence vectors.
Homography Matrix Calculation
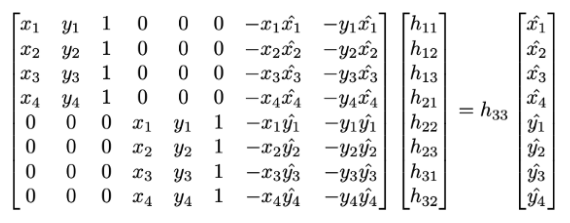
Solved this system of equations with Least Squares
After producing the homography matrices, we can warp all the images to our source image coordinate system. I used inverse warping to populate the color of the warped image. The tricky part here was calculating what the final image size should be which varies depending on the warps of each image. I managed to automate most of this but some images required a little manual tweaking to fit in the canvas. Here are what the rectified images look like after warping parts of the image into a square space.
Pre-rectified Image 1

My kitchen
Rectified Image 1
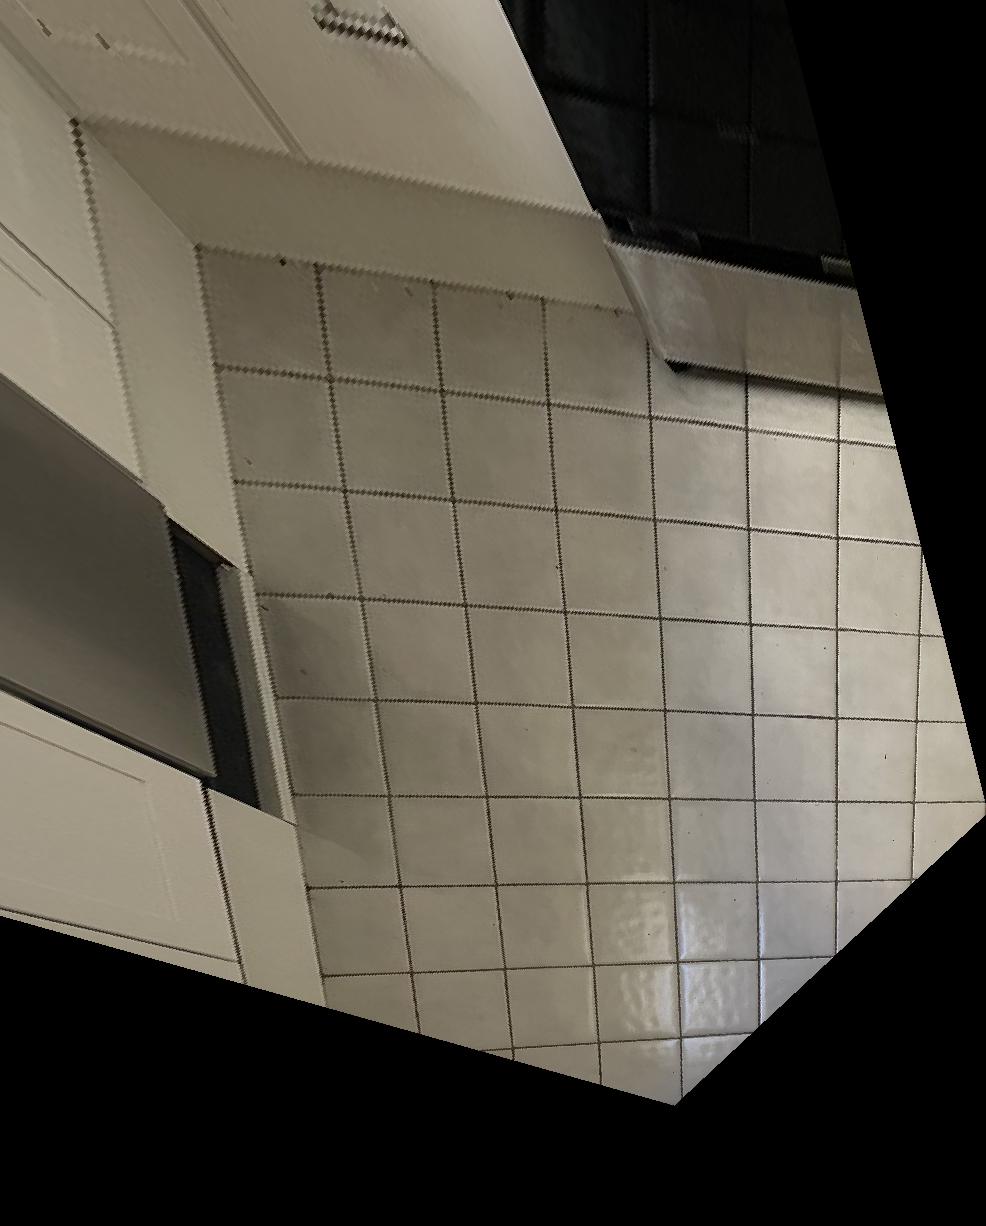
My rectified kitchen
Pre-rectified Image 2

My front door
Rectified Image 2
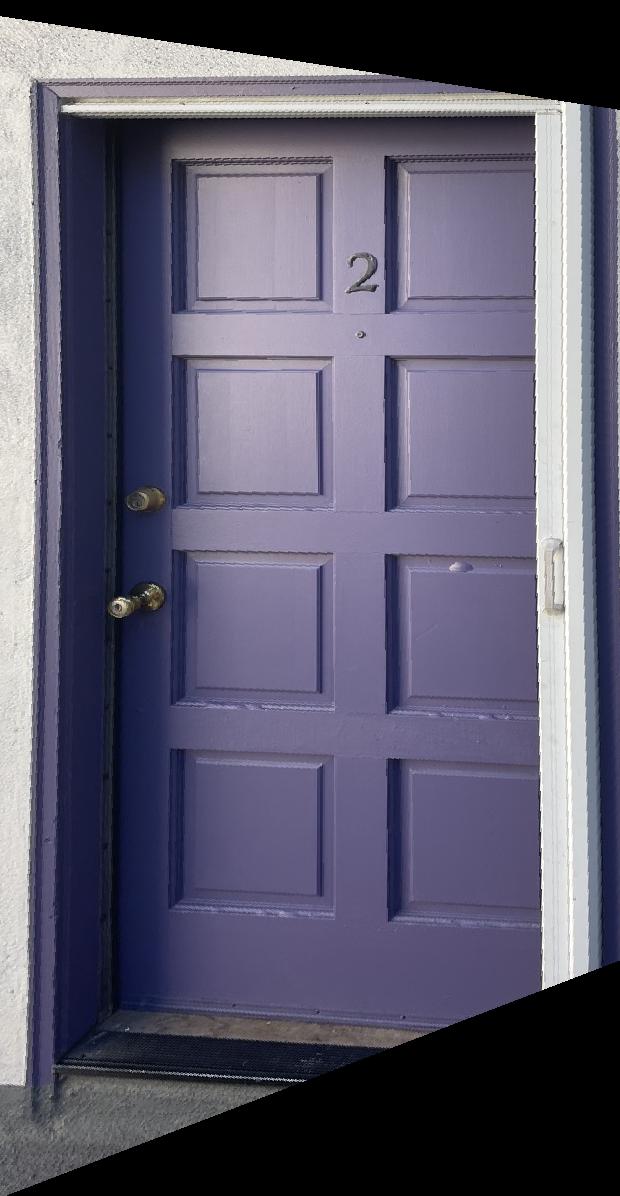
My rectified front door
After checking the warping and homography calculations were correct with the above procedure. We could move onto creating blended mosaics of an arbitrary amount of images put together. Calculating offsets, canvas size, and interpolation were the toughest parts here. I tried using the cv2.remap function for awhile but the documentation was not great and the image often came out cropped and small so I opted on making my own "remap" function, it may not be the best but there's no for loops and the images aren't cropped for the most part so I'm happy with it. Here are the mosaics:
Mosaic 1 Picture 1

My bedroom
Mosaic 1 Picture 1

My bedroom
Mosaic 1 Picture 1

My bedroom
Blended Mosaic 1
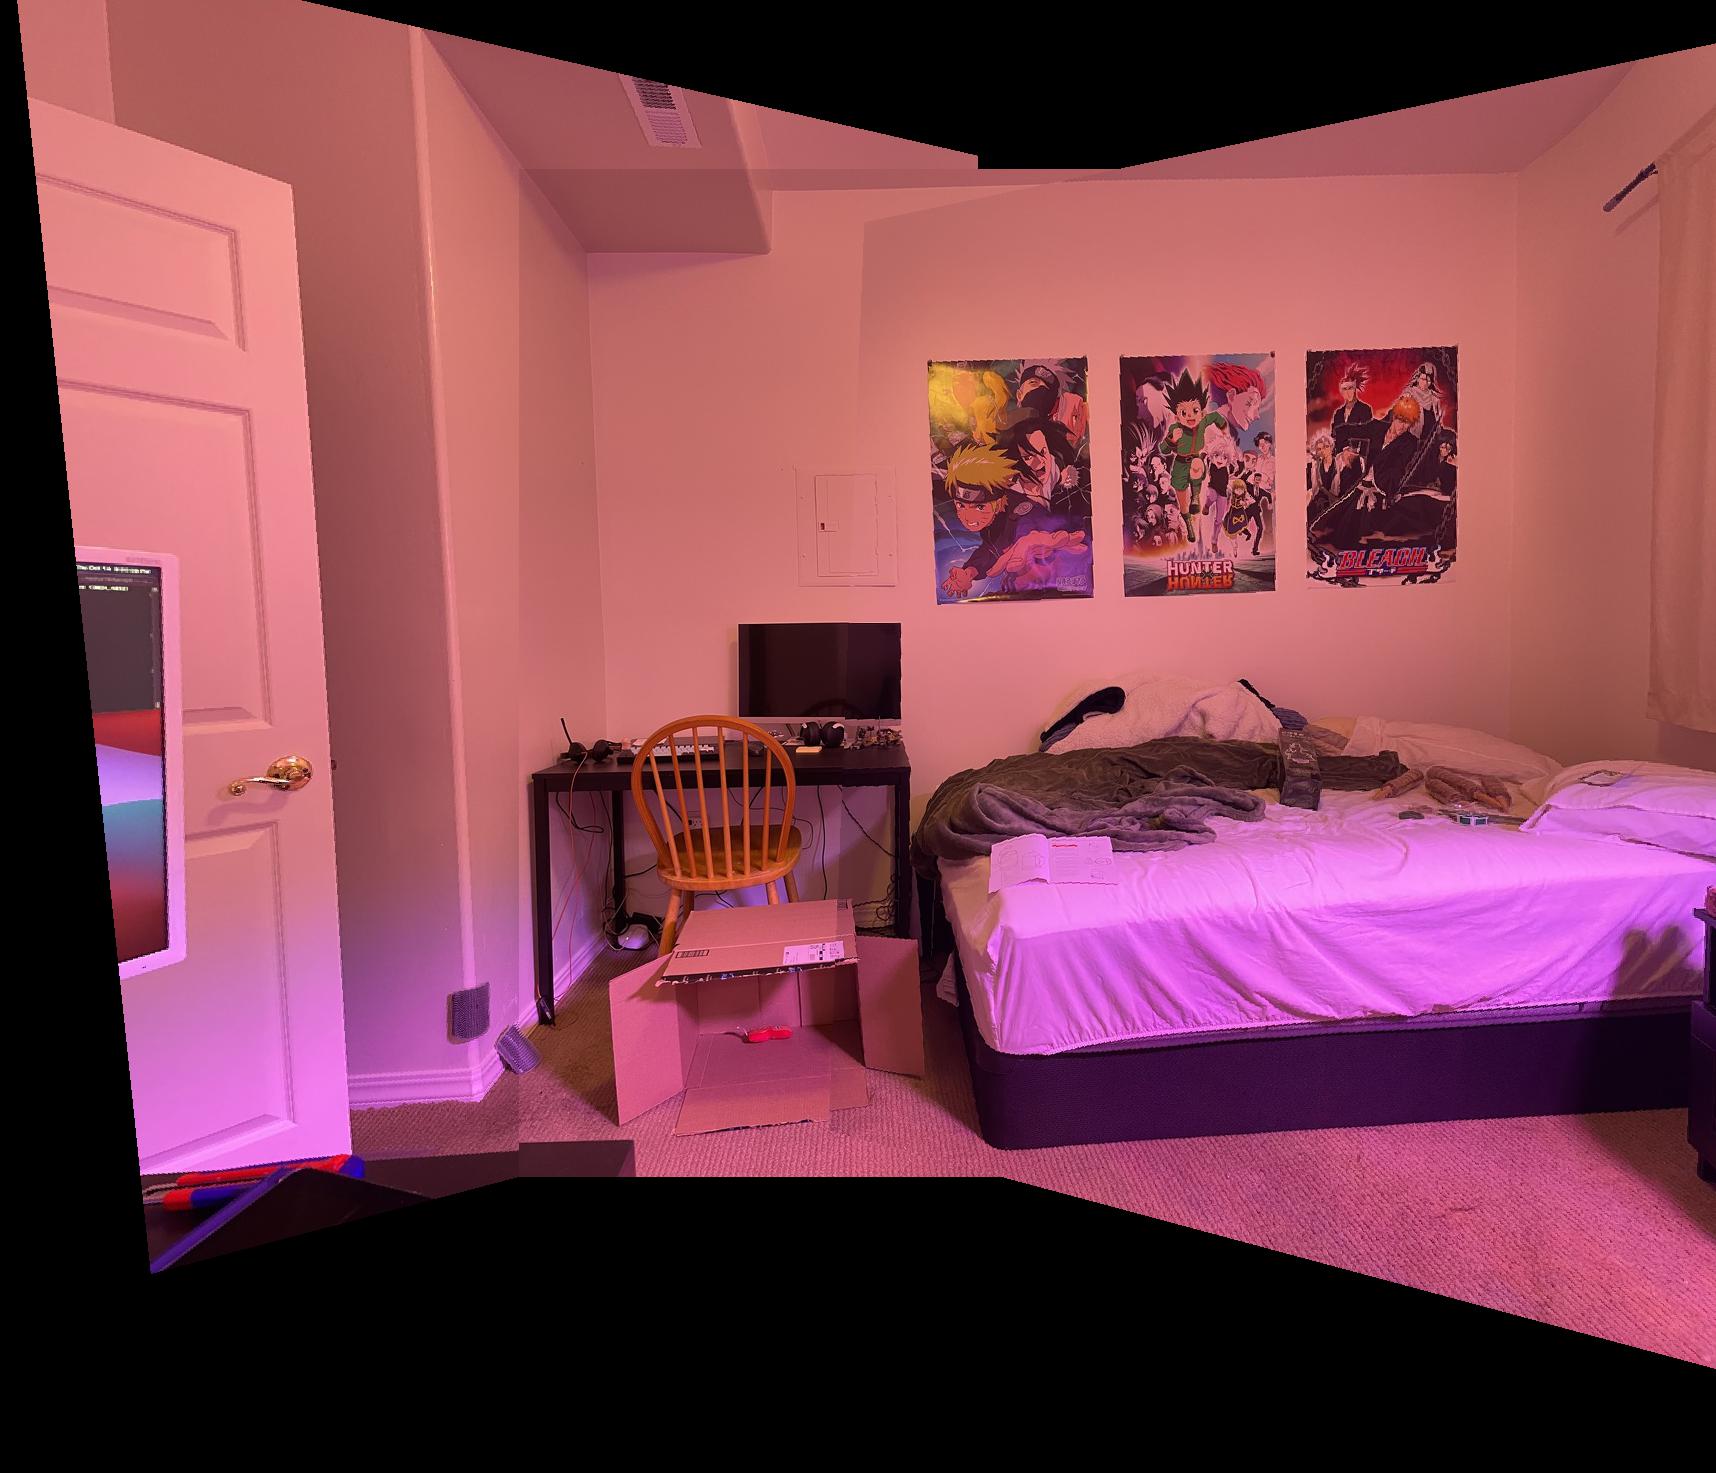
My bedroom mosaic
Mosaic 2 Picture 1

My kitchen
Mosaic 2 Picture 1

My kitchen
Mosaic 2 Picture 1

My kitchen
Blended Mosaic 2
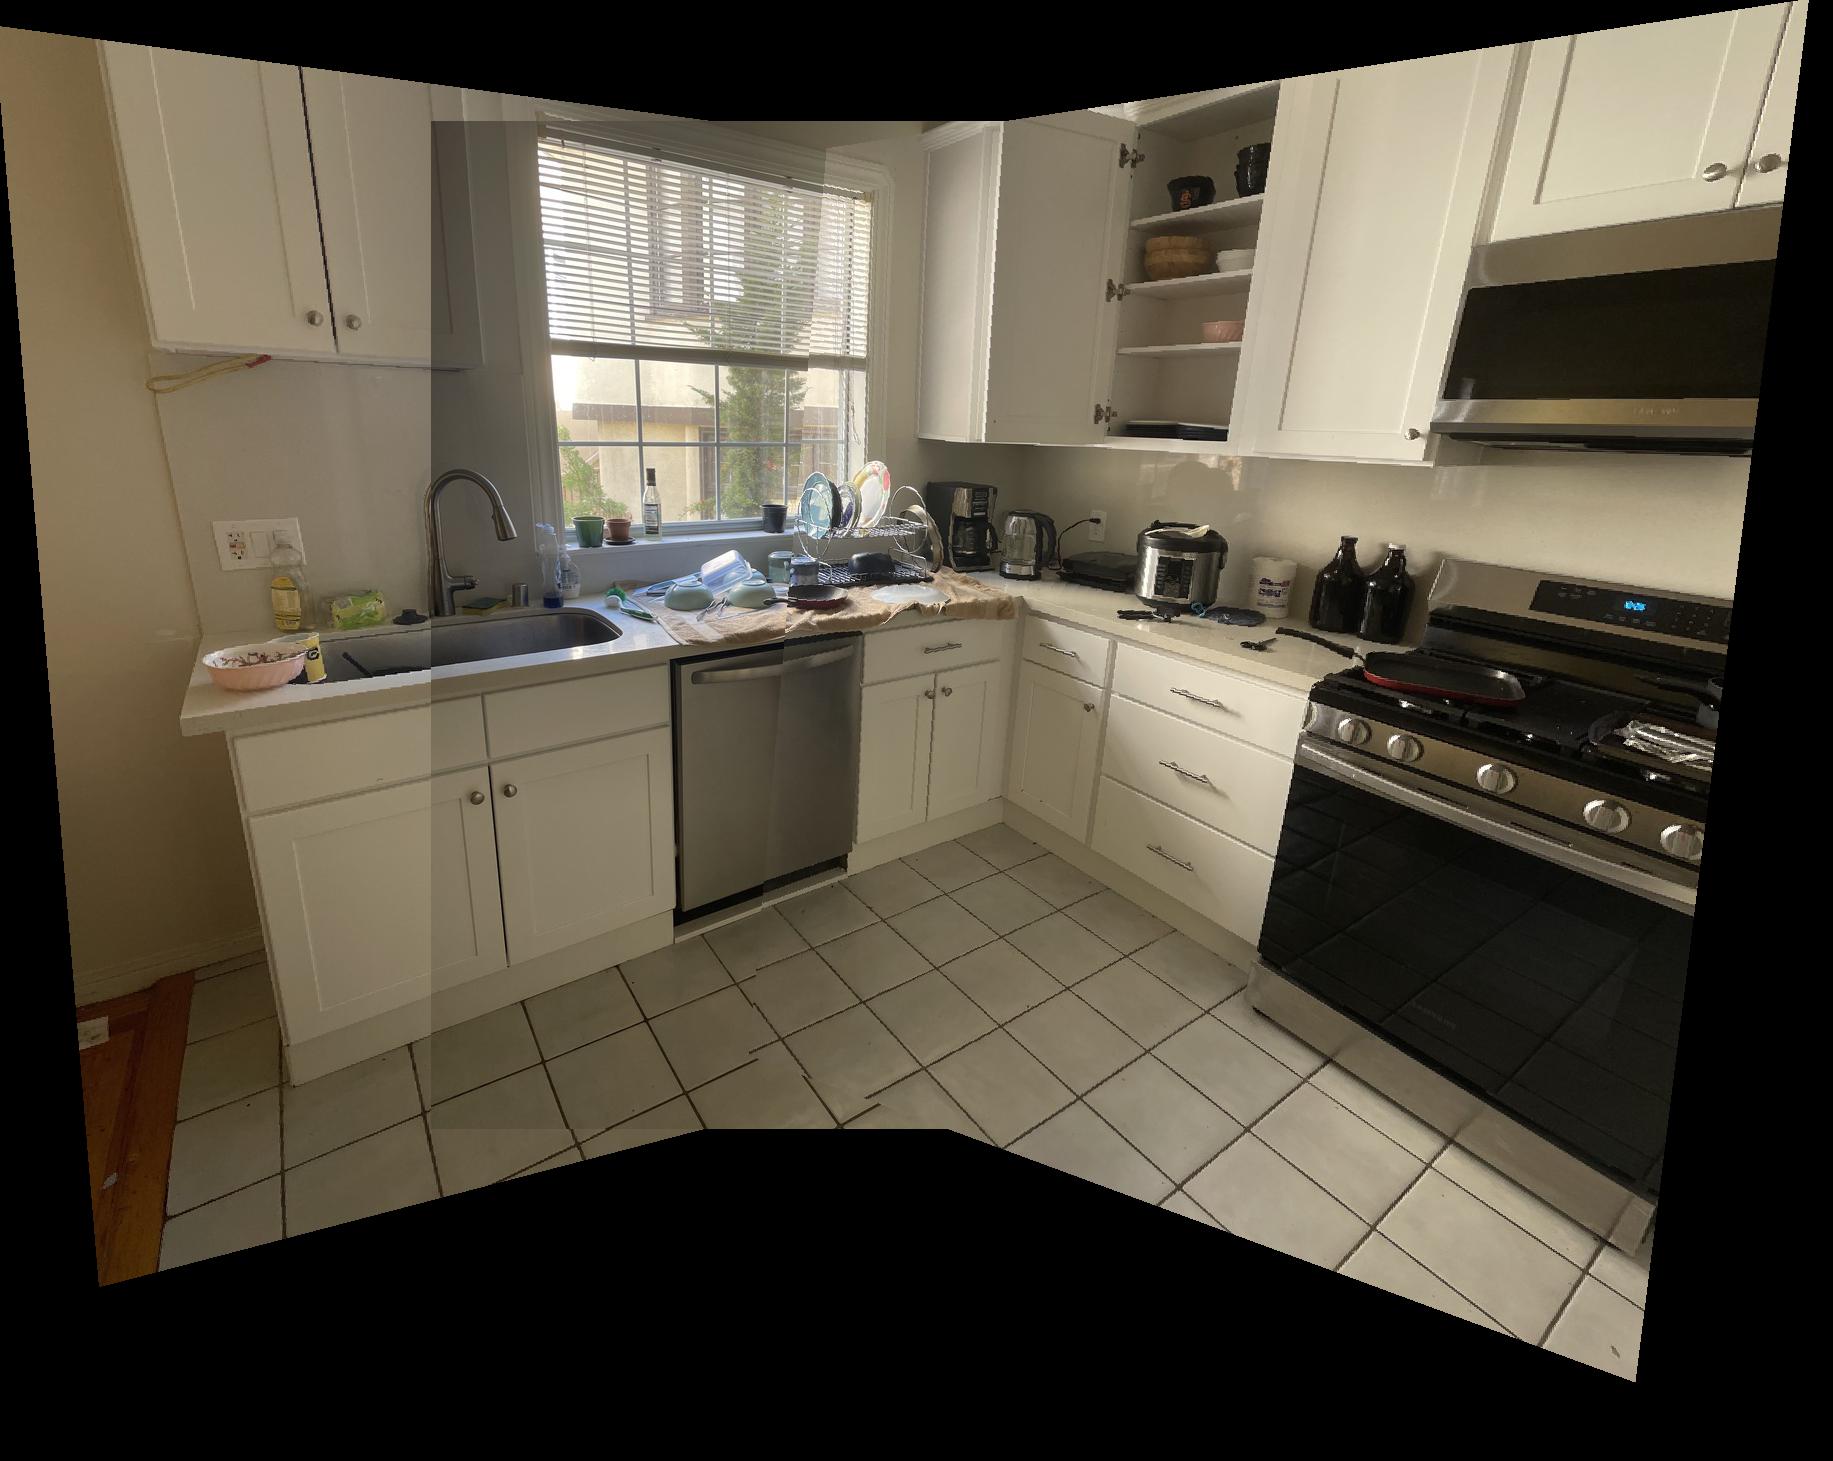
My kitchen mosaic
Mosaic 3 Picture 1

My porch
Mosaic 3 Picture 1

My porch
Mosaic 3 Picture 1

My porch
Blended Mosaic 3
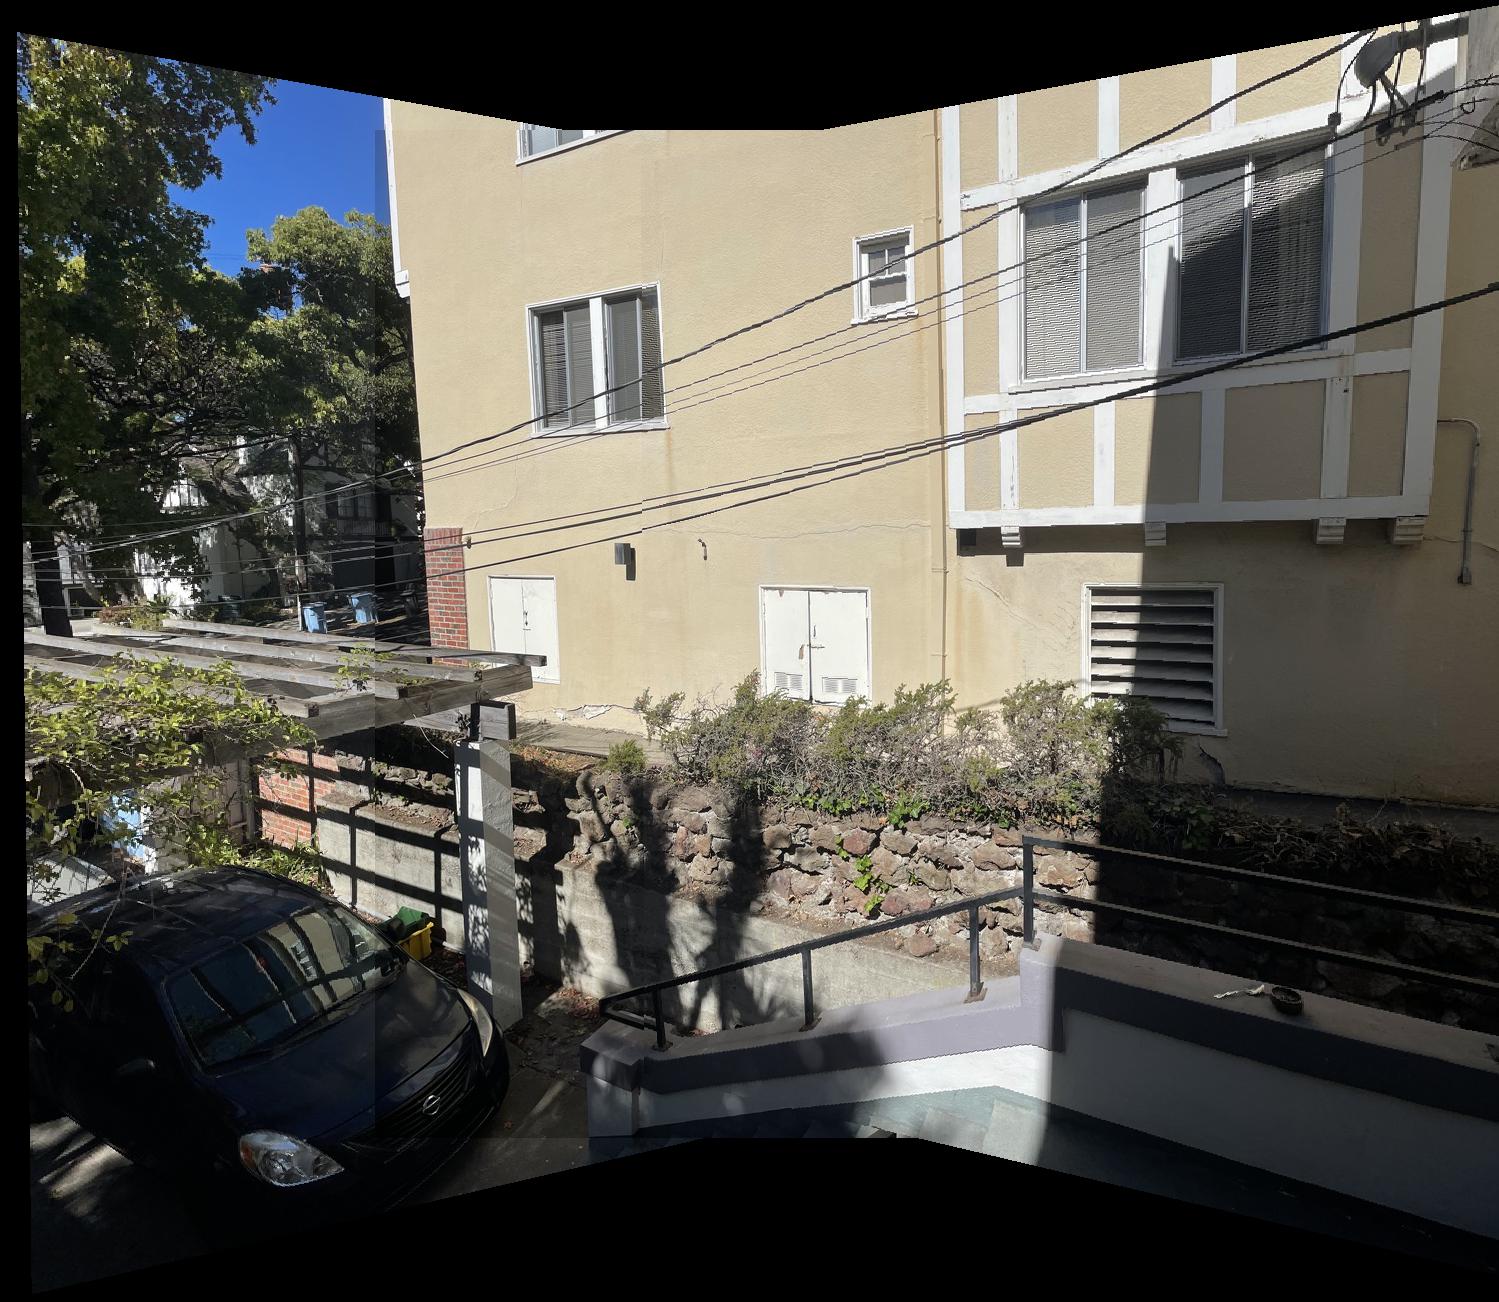
My porch mosaic
I learned a lot from this project. It definitely wasn't as "easy" as just appling the morphing from the previous project to this project. The homography calculation and inverse warping was actually the easiest parts for me. Calculating the bounding boxes, canvas sizes, offsets, and blending were the hardest parts but also rewarding. By not using the cv2 remap function, I had to get my hands dirty and do all the calculations myself which made me understand all the parts of the project really well. I went over all of the early parts multiple times to confirm that there weren't issues there so I could focus on the stitching aspects (the worst part :") ). The final result is really cool that we can take multiple different images and put them together in one image's coordinate system like a panorama.