In this project, we used image warping and stitching to rectify images into a planar form and stitch images together to create mosaics. First I recovered image homographies using 4 points in each image.
To recover the homography matrix, I realized I could perform an operation similar to that of the last project, wheree I figure out how to inverse warp from one image to another, and to do that I required 4 corresponding points between images. I created a largee matrix similar to the one in equation 13 in this article: https://towardsdatascience.com/estimating-a-homography-matrix-522c70ec4b2c. To do this, you construct a matrix to take you to the target image from the source image by first solving for the variable "z" variable (which is normalized out anyway) then vectorizing the homographies. Thus, we can solve for the homographies if we have 4 corresponding points in each matrix
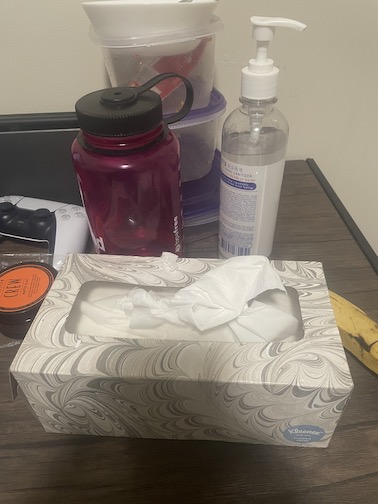
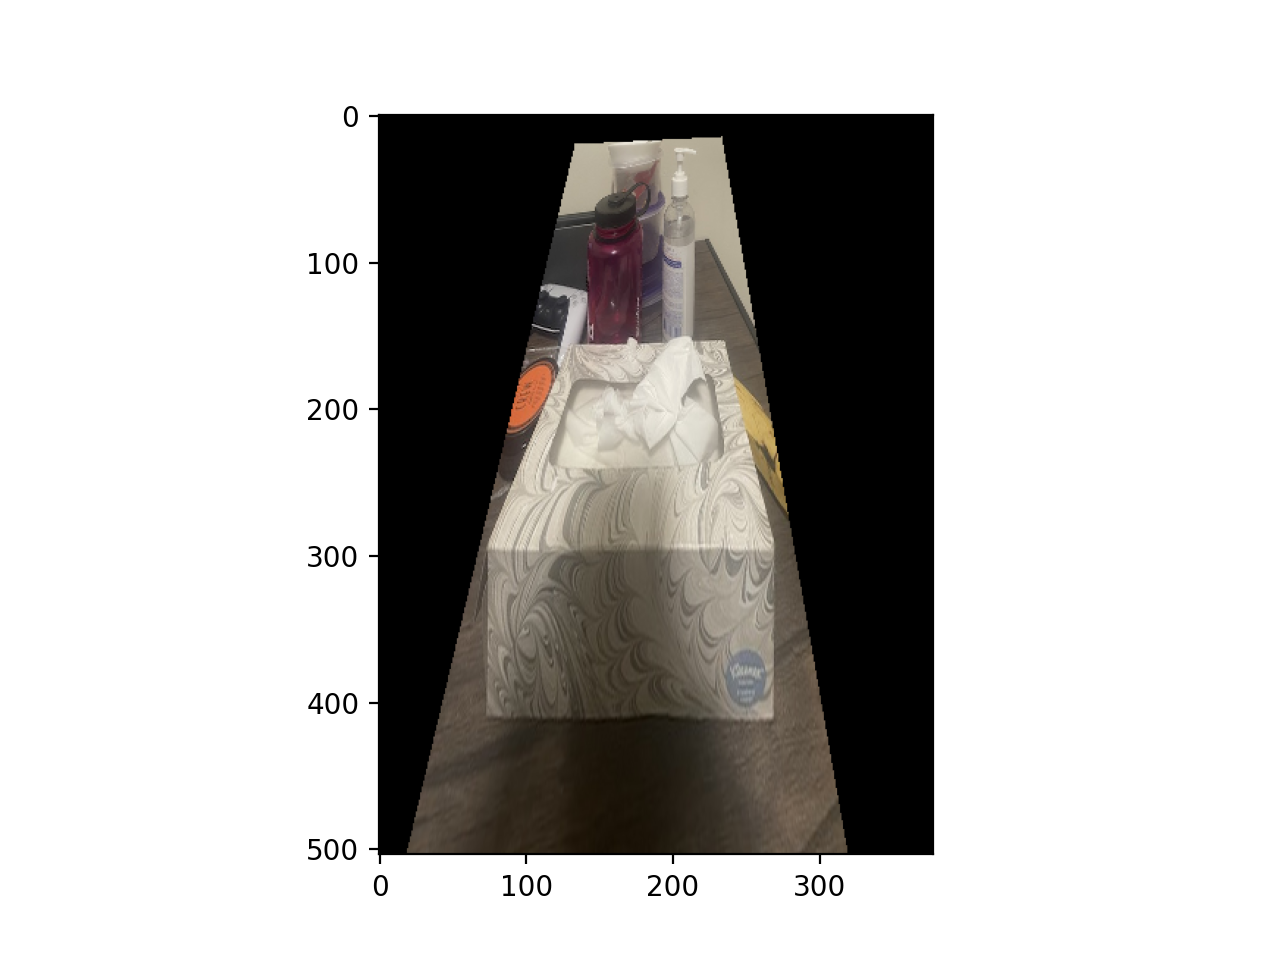
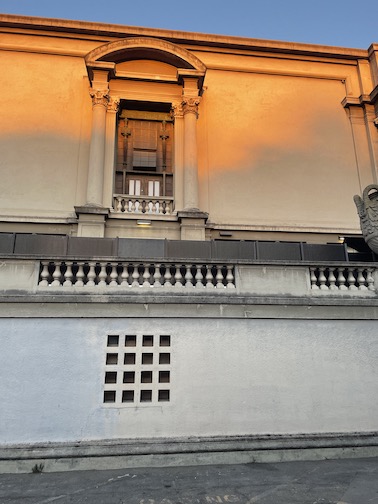
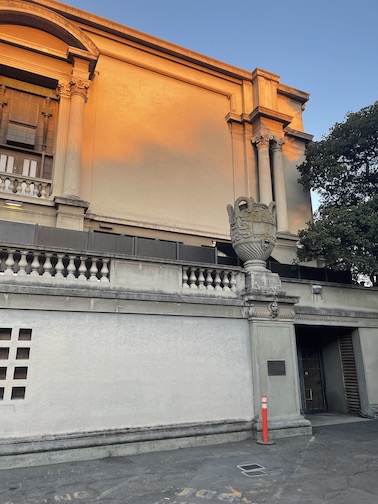
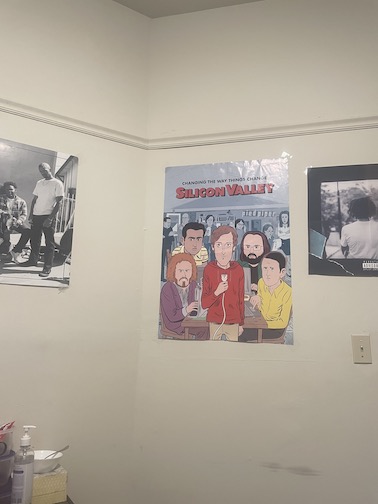
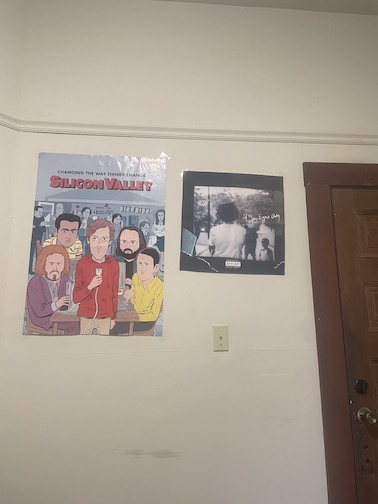
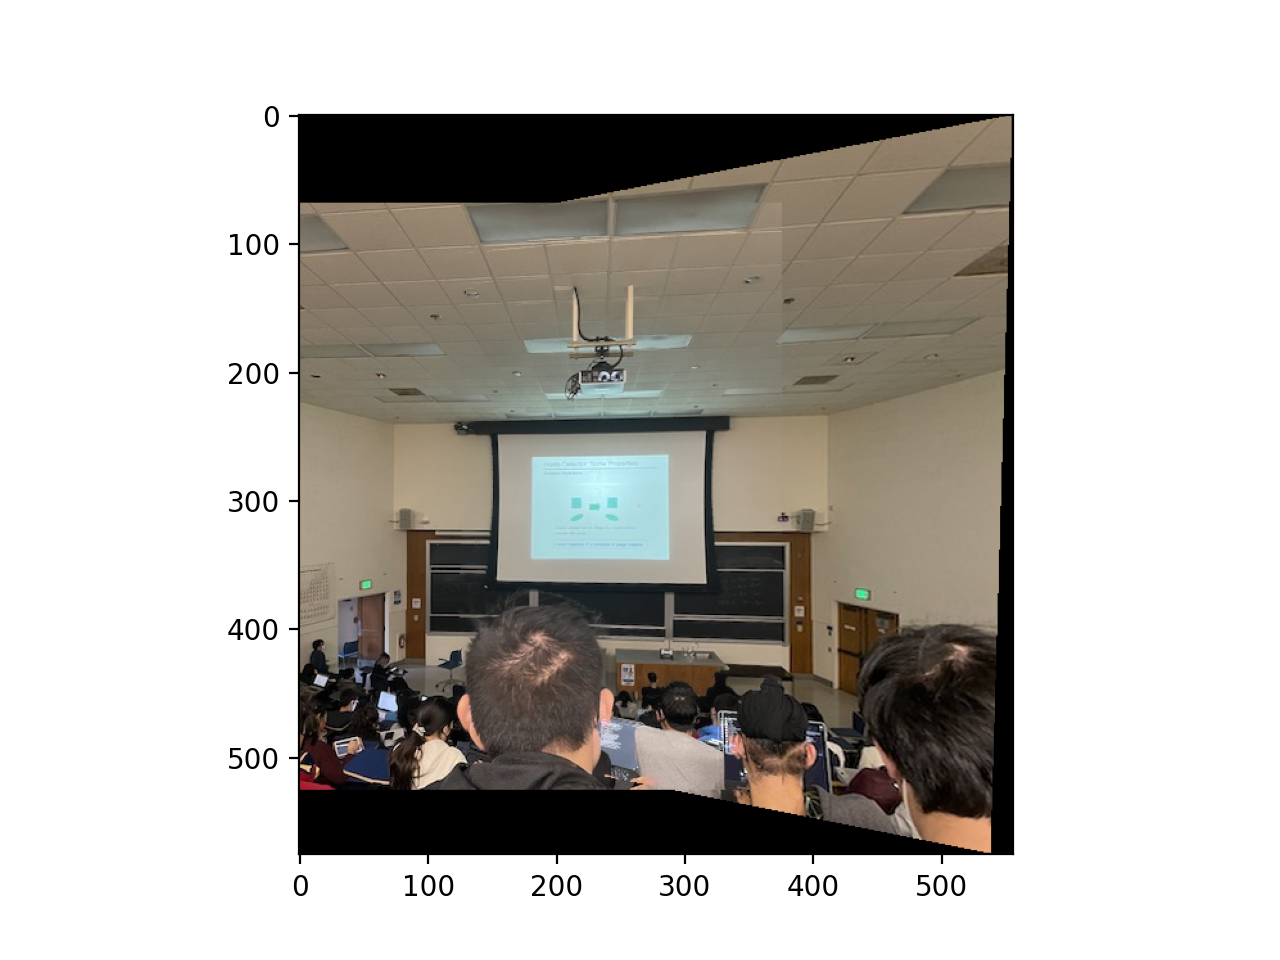
For this, I first calculated my homography matrix to take me from the source image to the desired coordinates as talked about above. I actually did it backwards in the code, but I inverted it during my calculations so it worked out. After I get my homography matrix, I warp the bounding coordinates of the source image with the homography matrix, and generate a polygon out of that, then clip out the coordinates that wouldn't fit in the dimensions of the image. Then I inverse warp to grab all of the polygon coordinates from the source image, and that's it! Some examples pasted below.

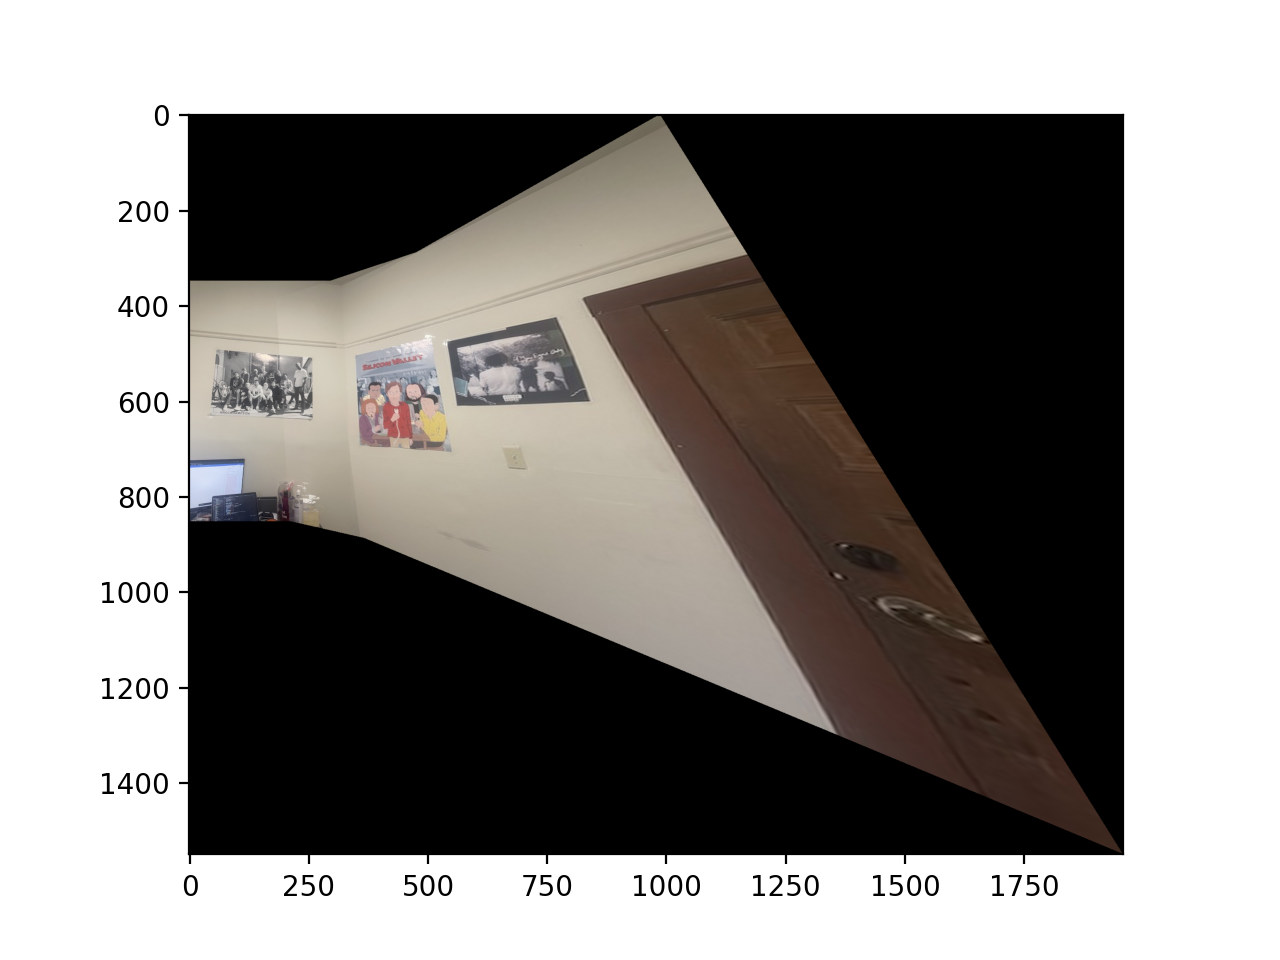
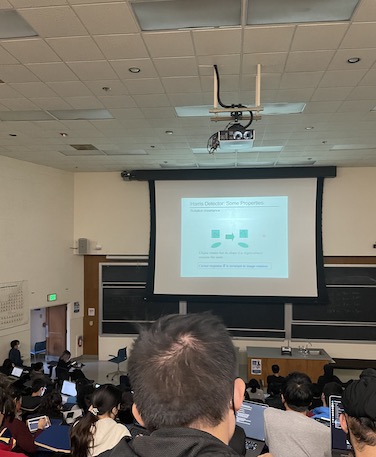
For this, similar to rectify, I calculate the homography matrix recursively to the leftmost image from the image to the right of it. I have to inveert it the same way for most of my calculations like above. This time, I don't crop the coordinates, generating the entire polygon and expanding my canvas as much as I need to fit all of both images. Then, to blend, I used a max blending, where I took the max of both images on the overlap of their masks (which I generated), which had mixed results. My blended image became my new leftmost image, then I'd blend the image to the right of it. Eventually I had my mosaic! One thing I noticed is due to the method I selected the warp got moree skewed the further right I went on the image mosaic. Some results below
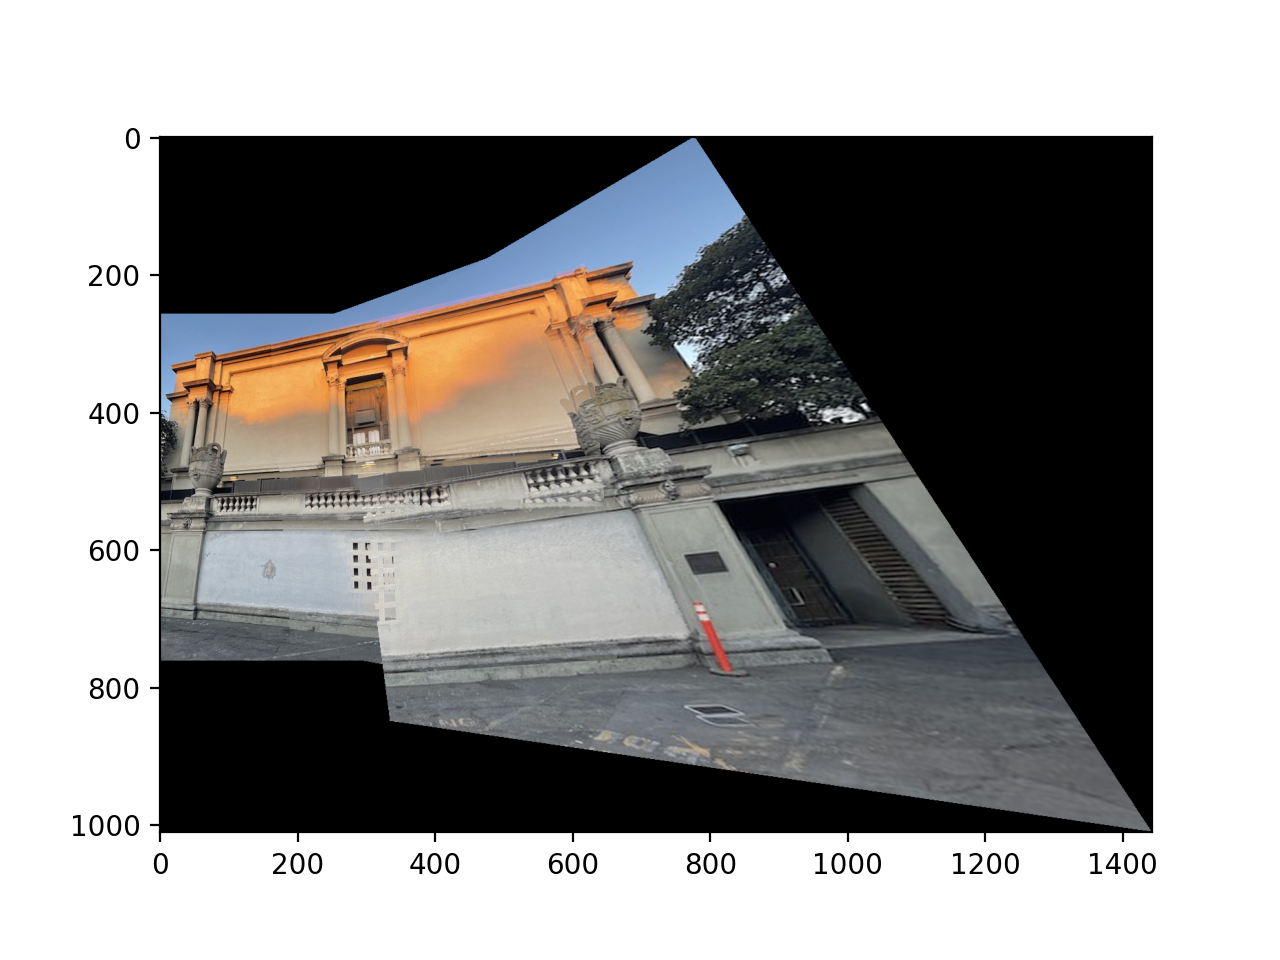

The biggest thing I learned was that finding proper coordinates to map is tough, and small discrepancies in labeling can cause your mosaics to be severely off. There are several artifacts in my blends above due to this discrepancy.