Project 4: Part 1 Image Warping and Mosaicing - Joe Zou
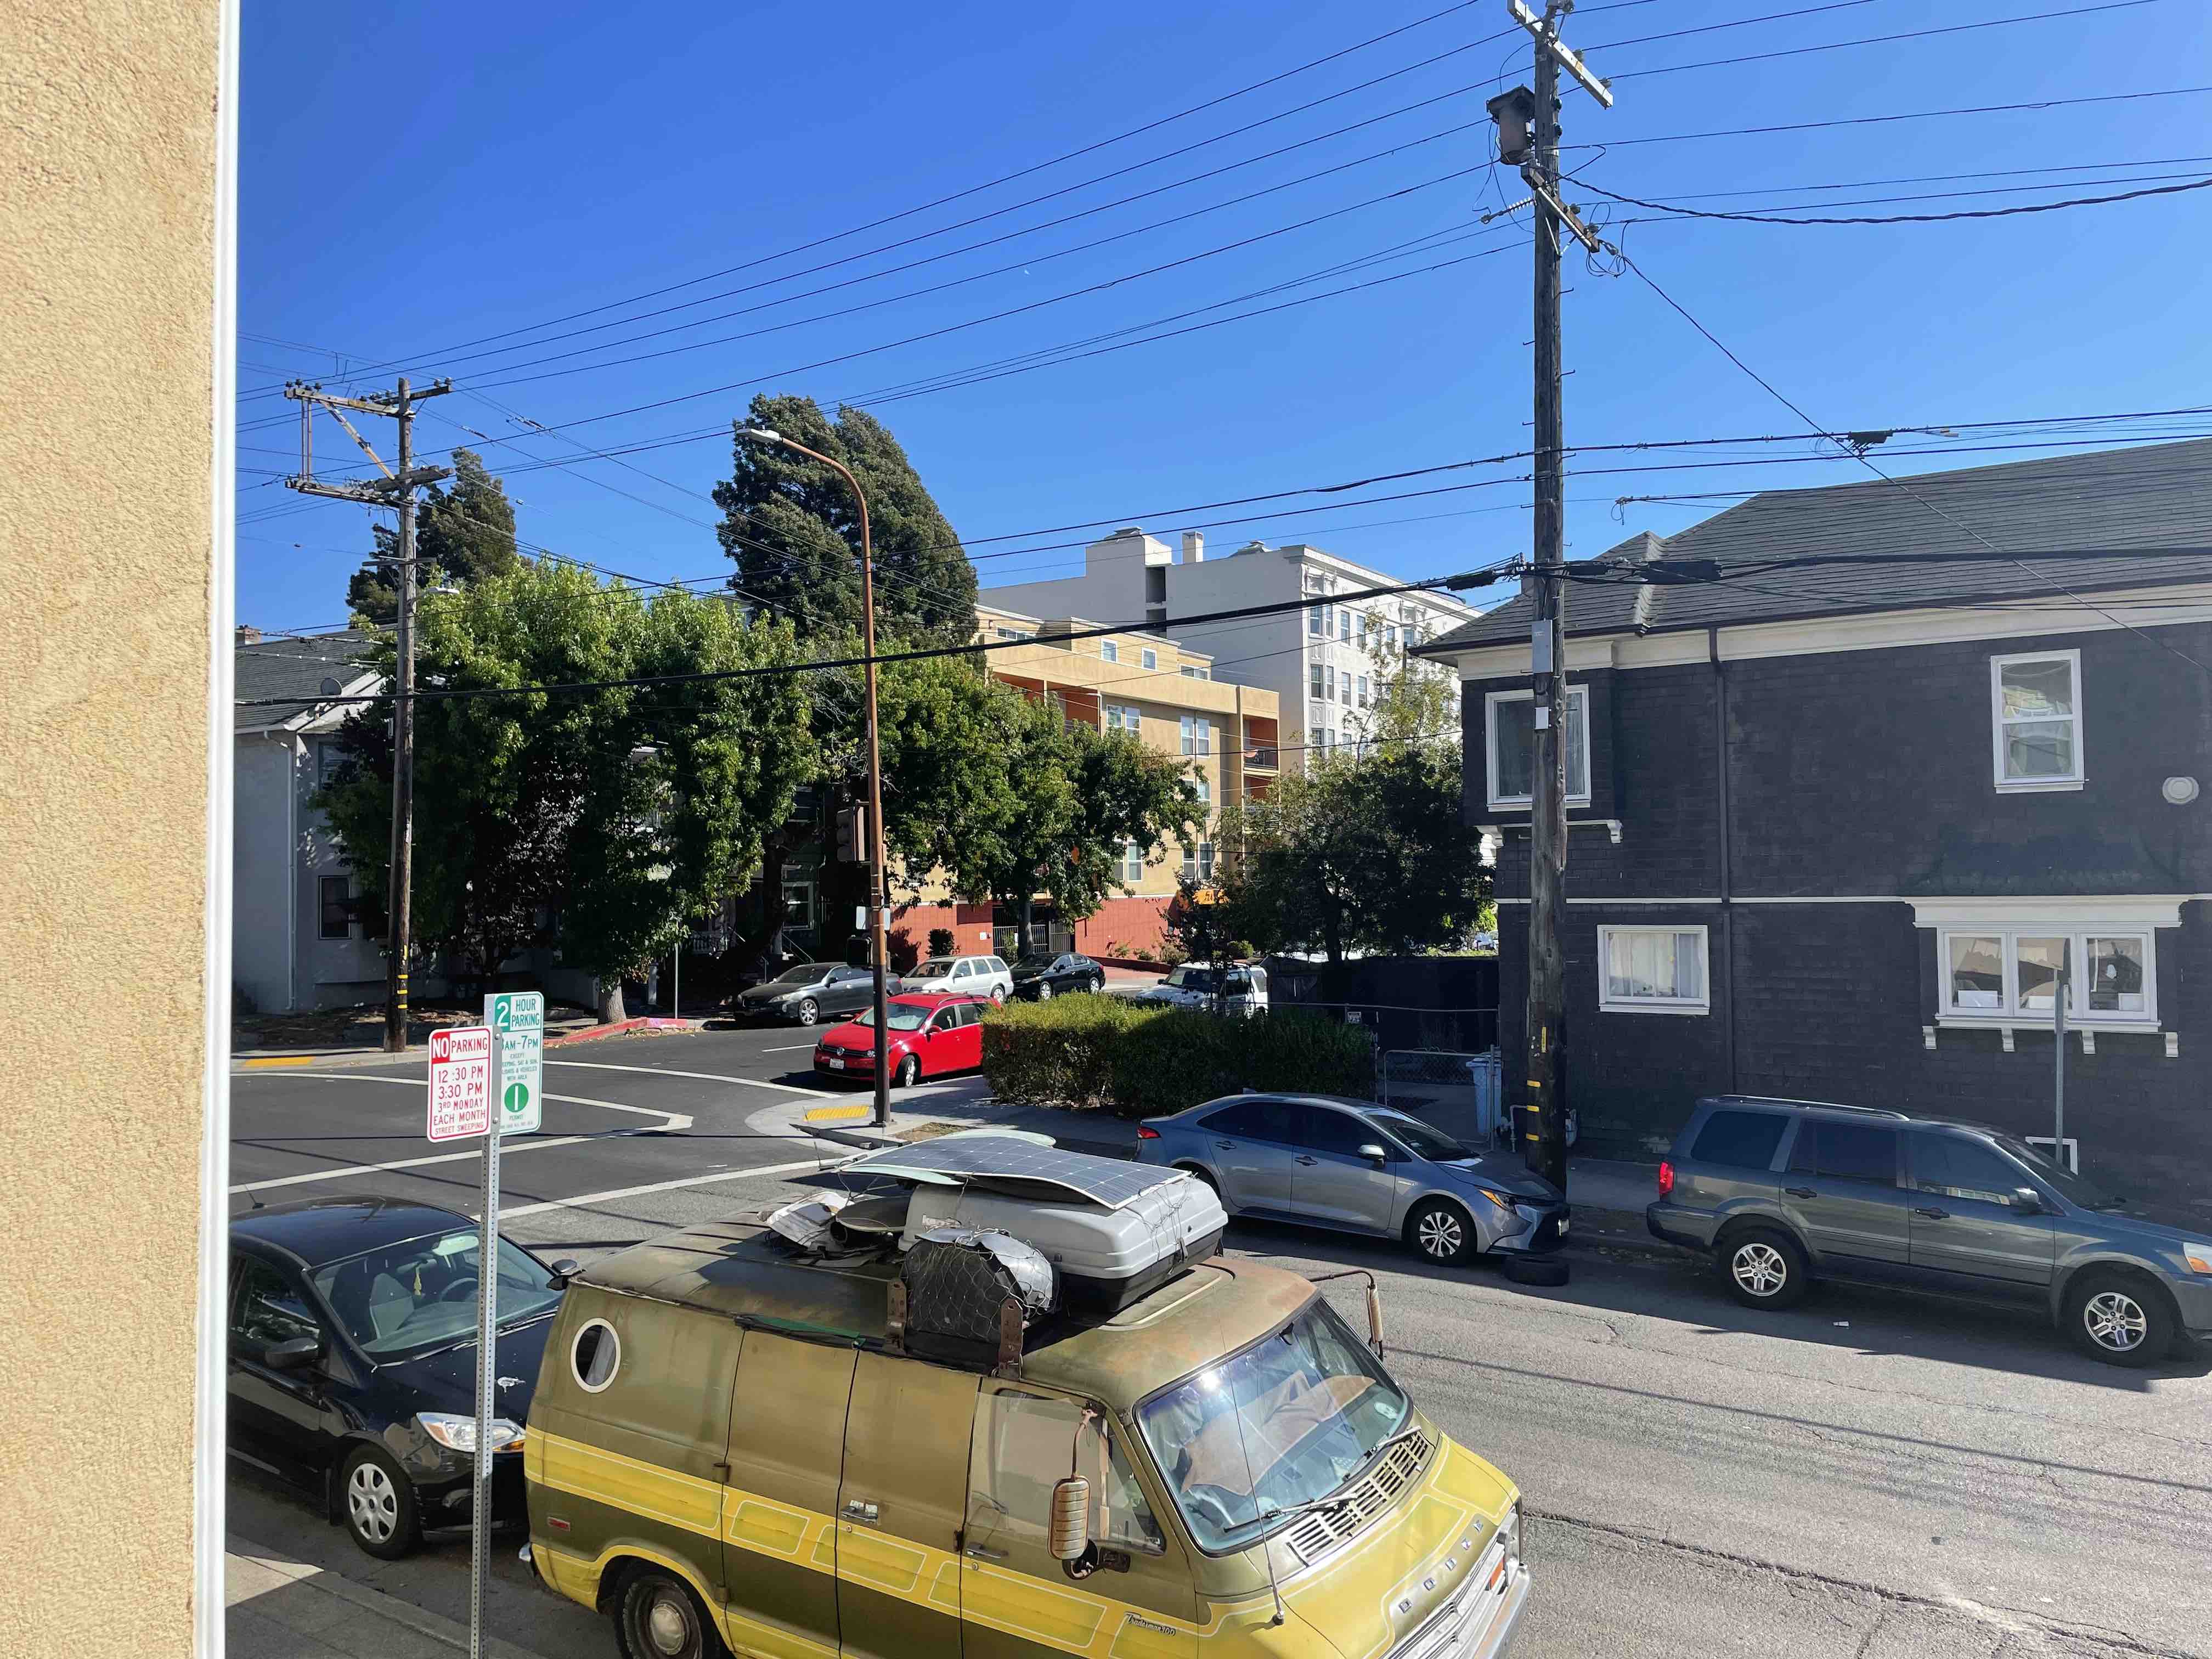
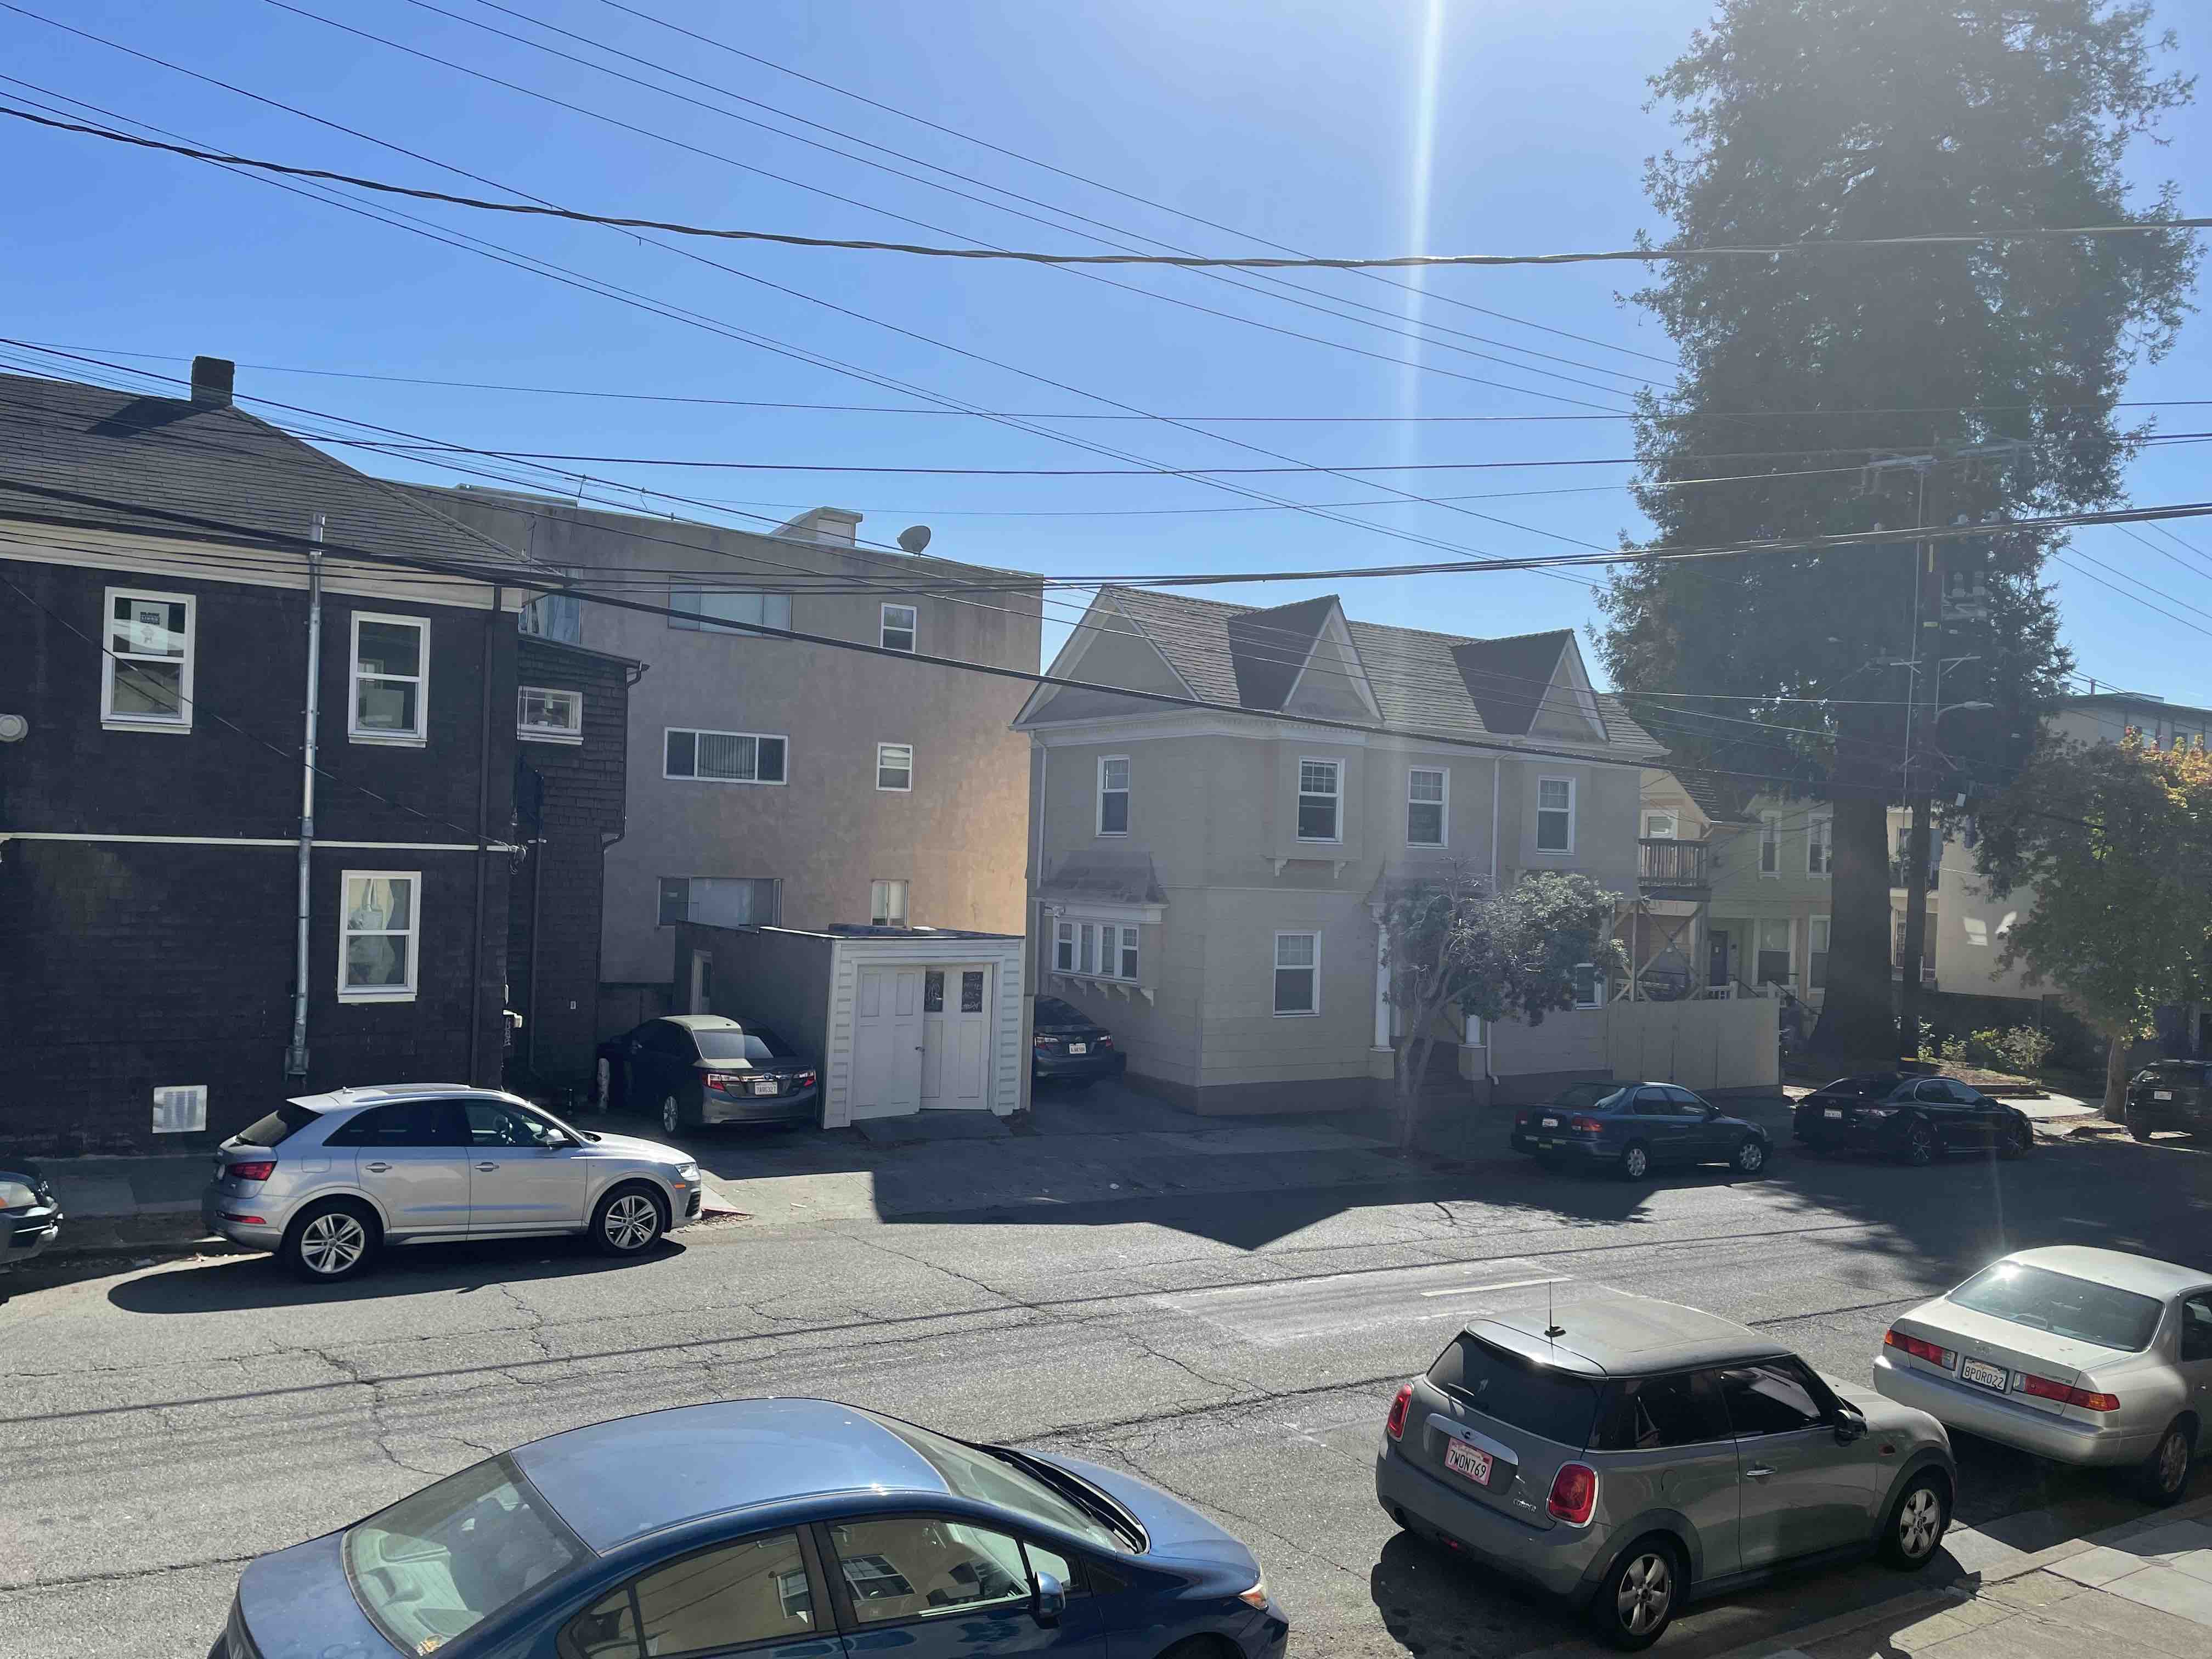
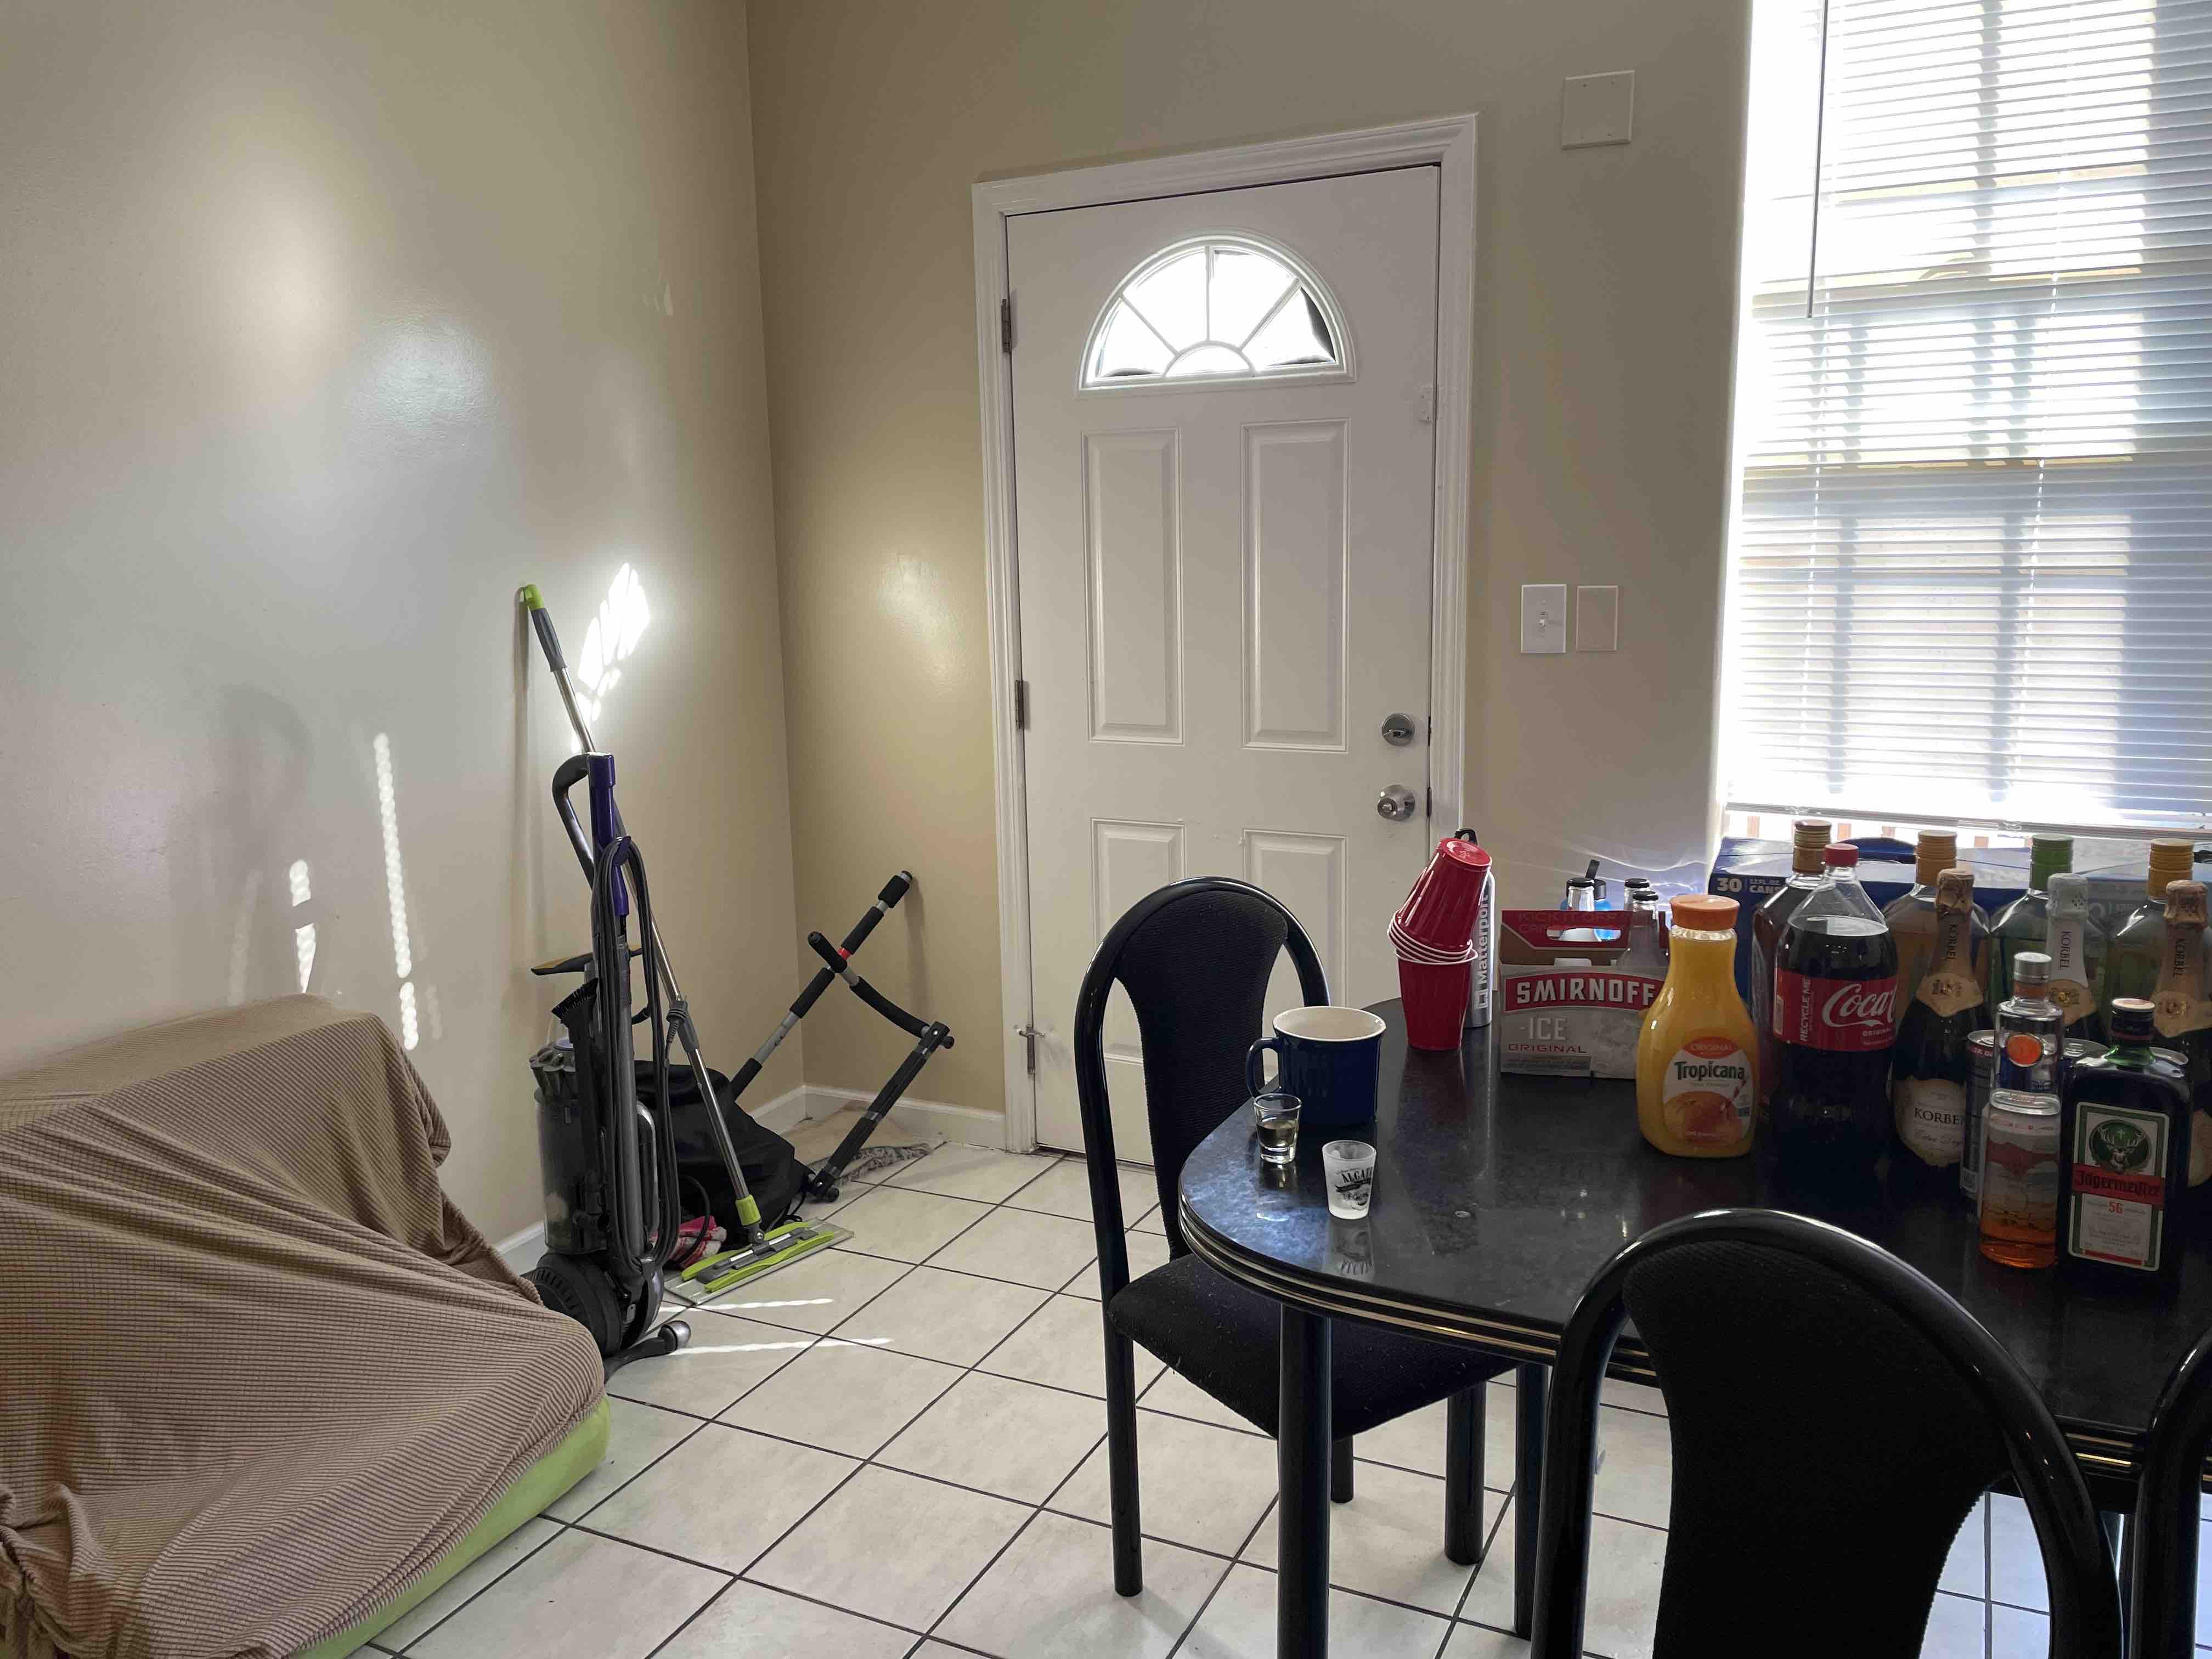
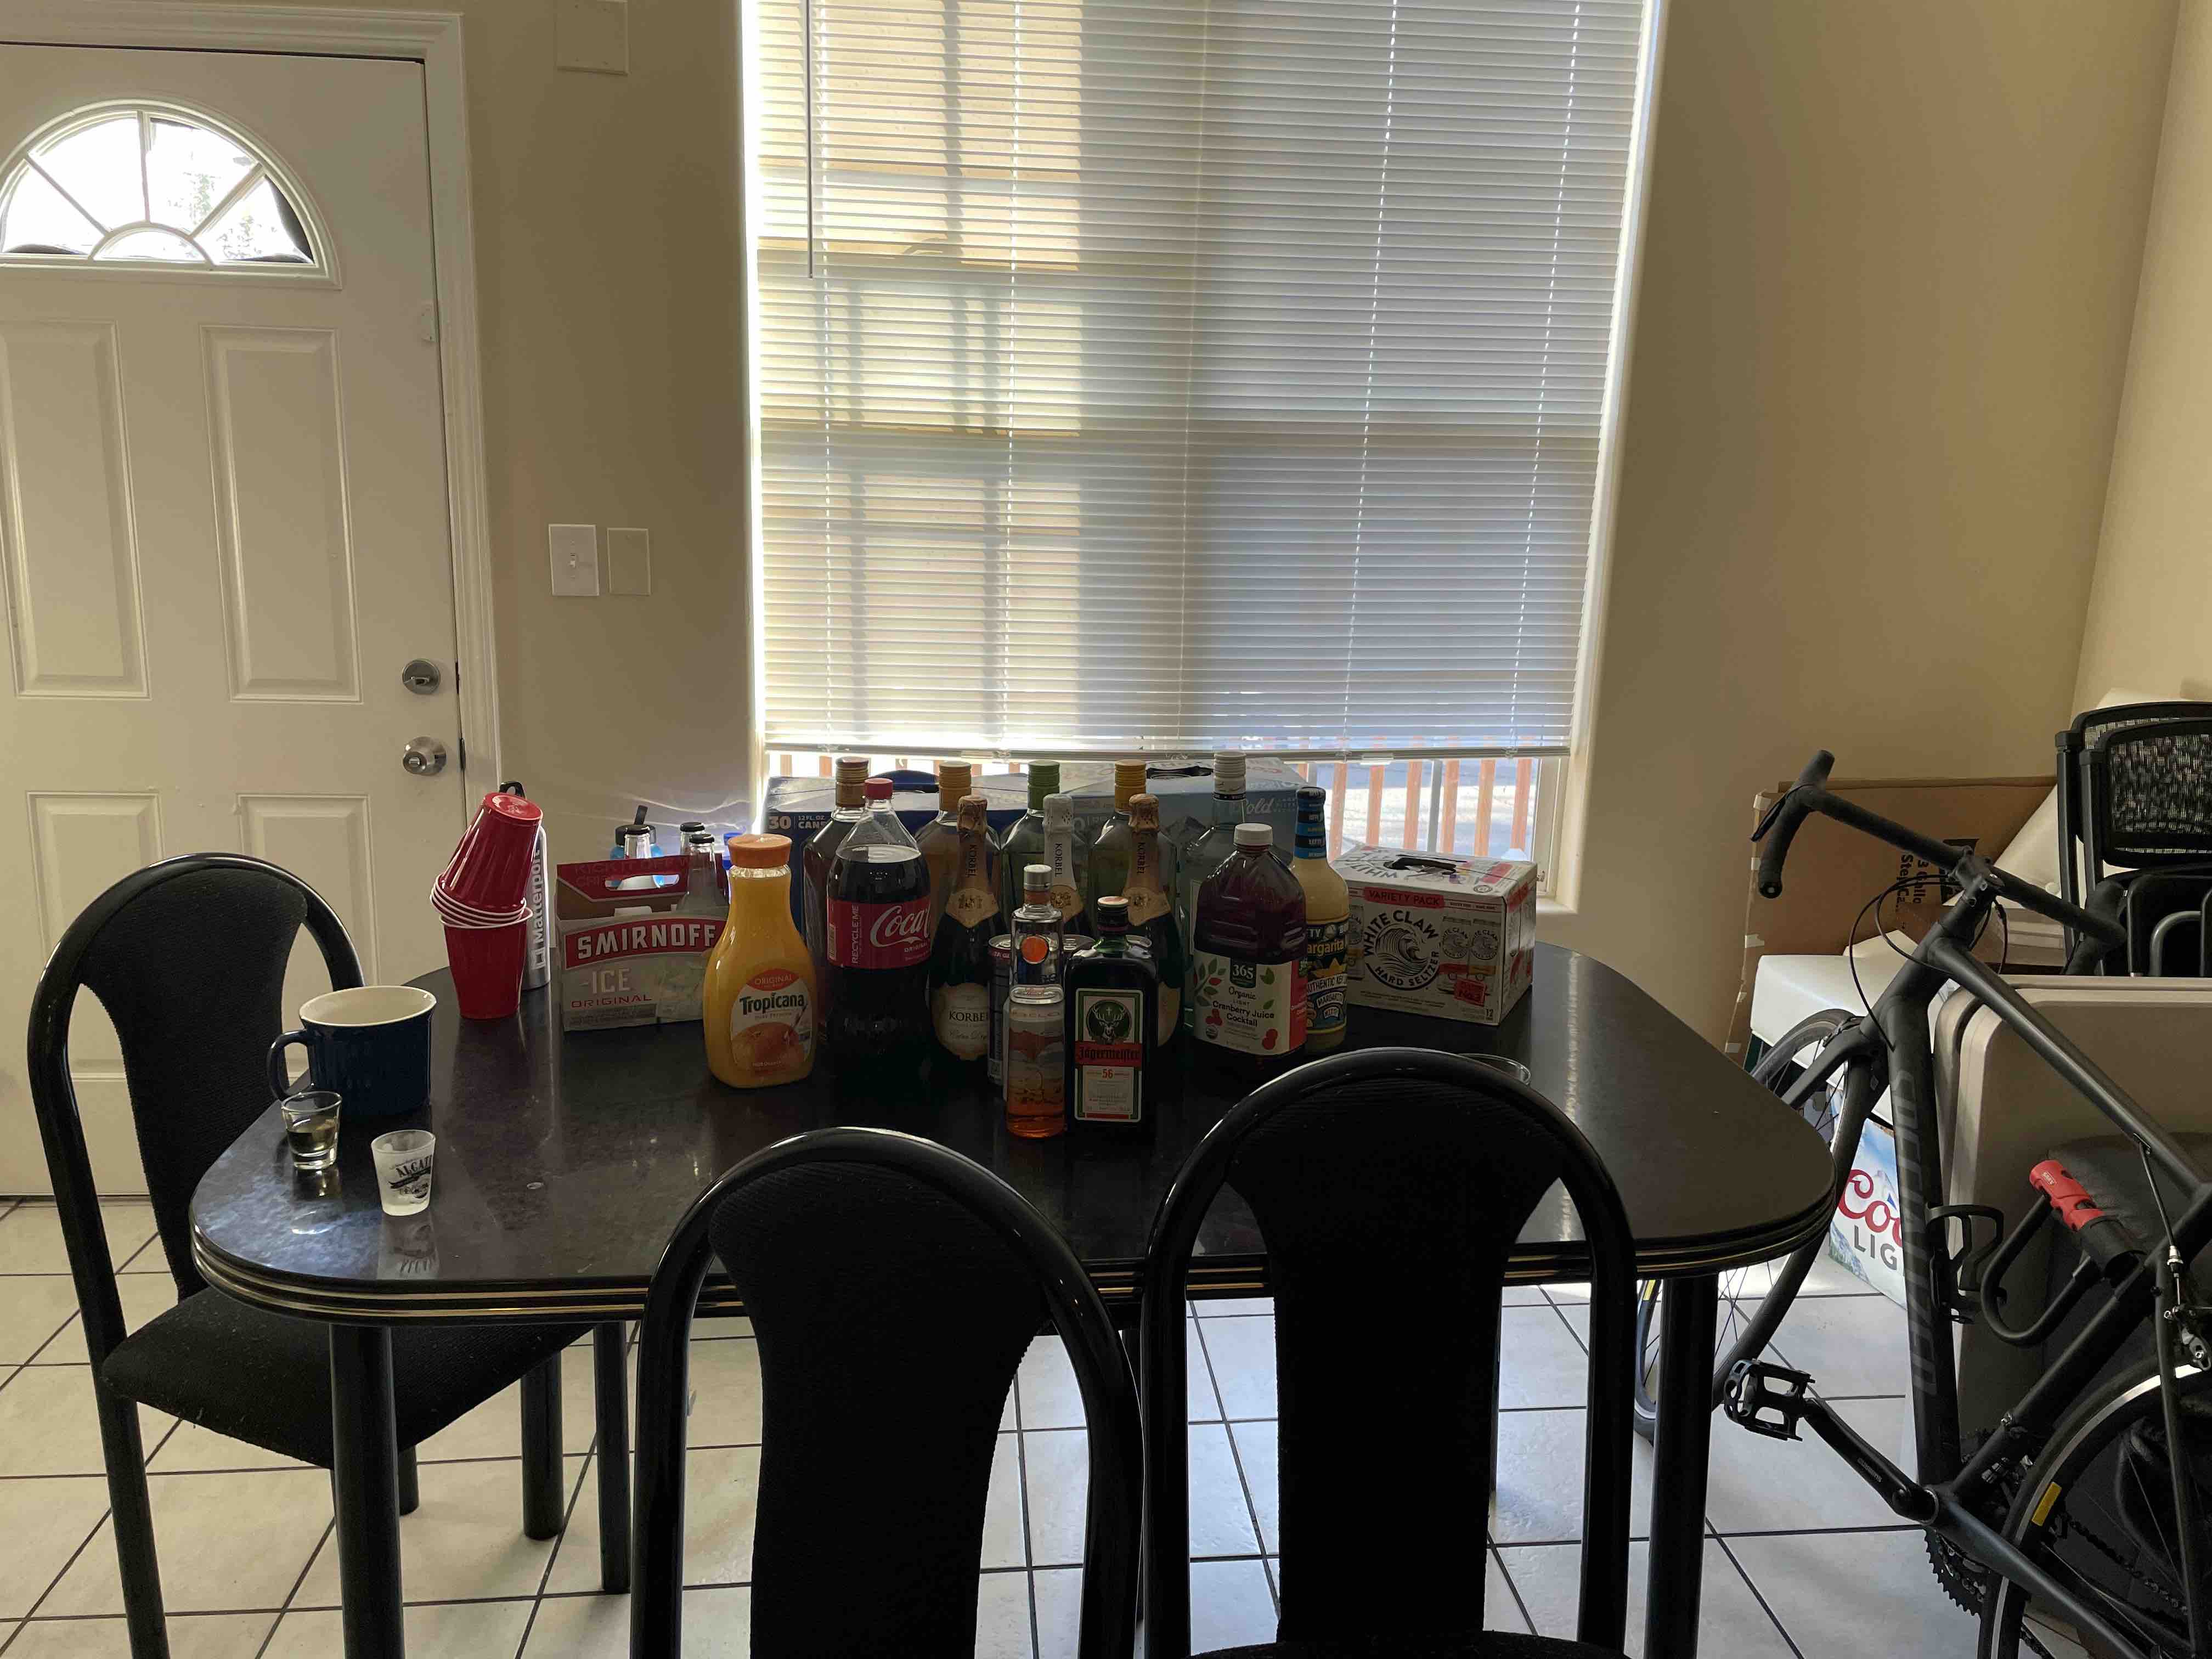
1. Shoot the pictures
Balcony Images

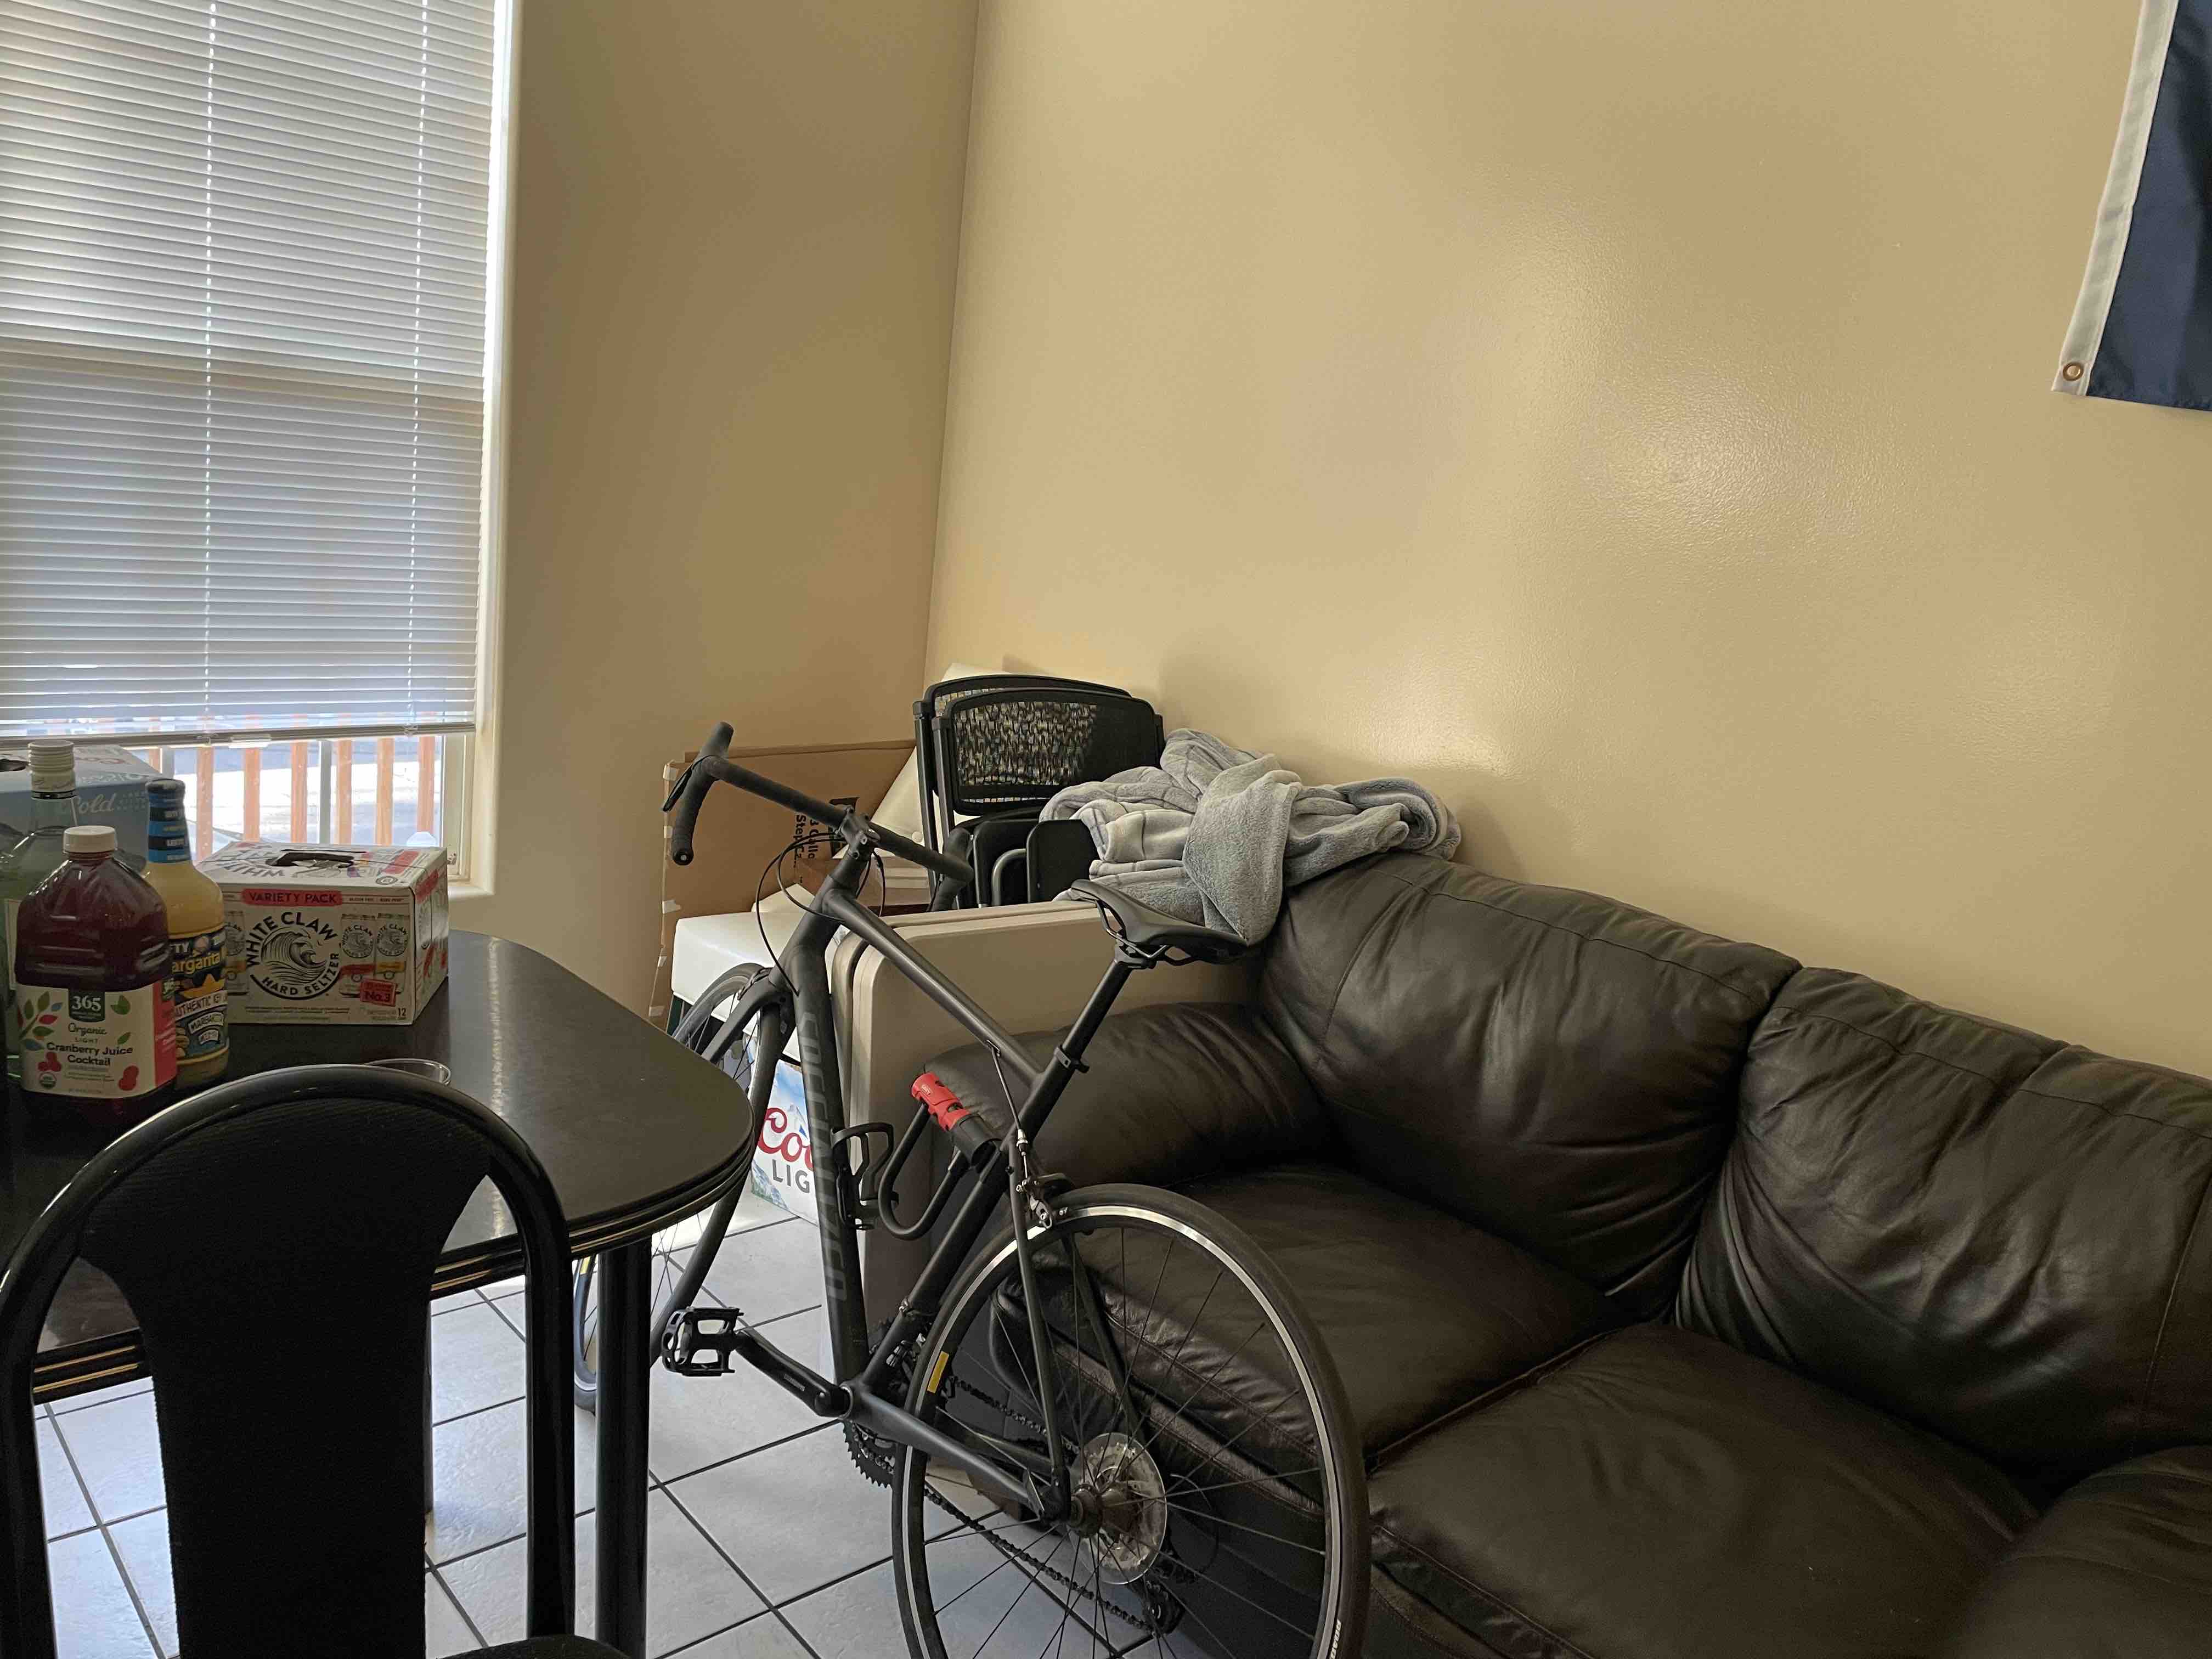
Room Images
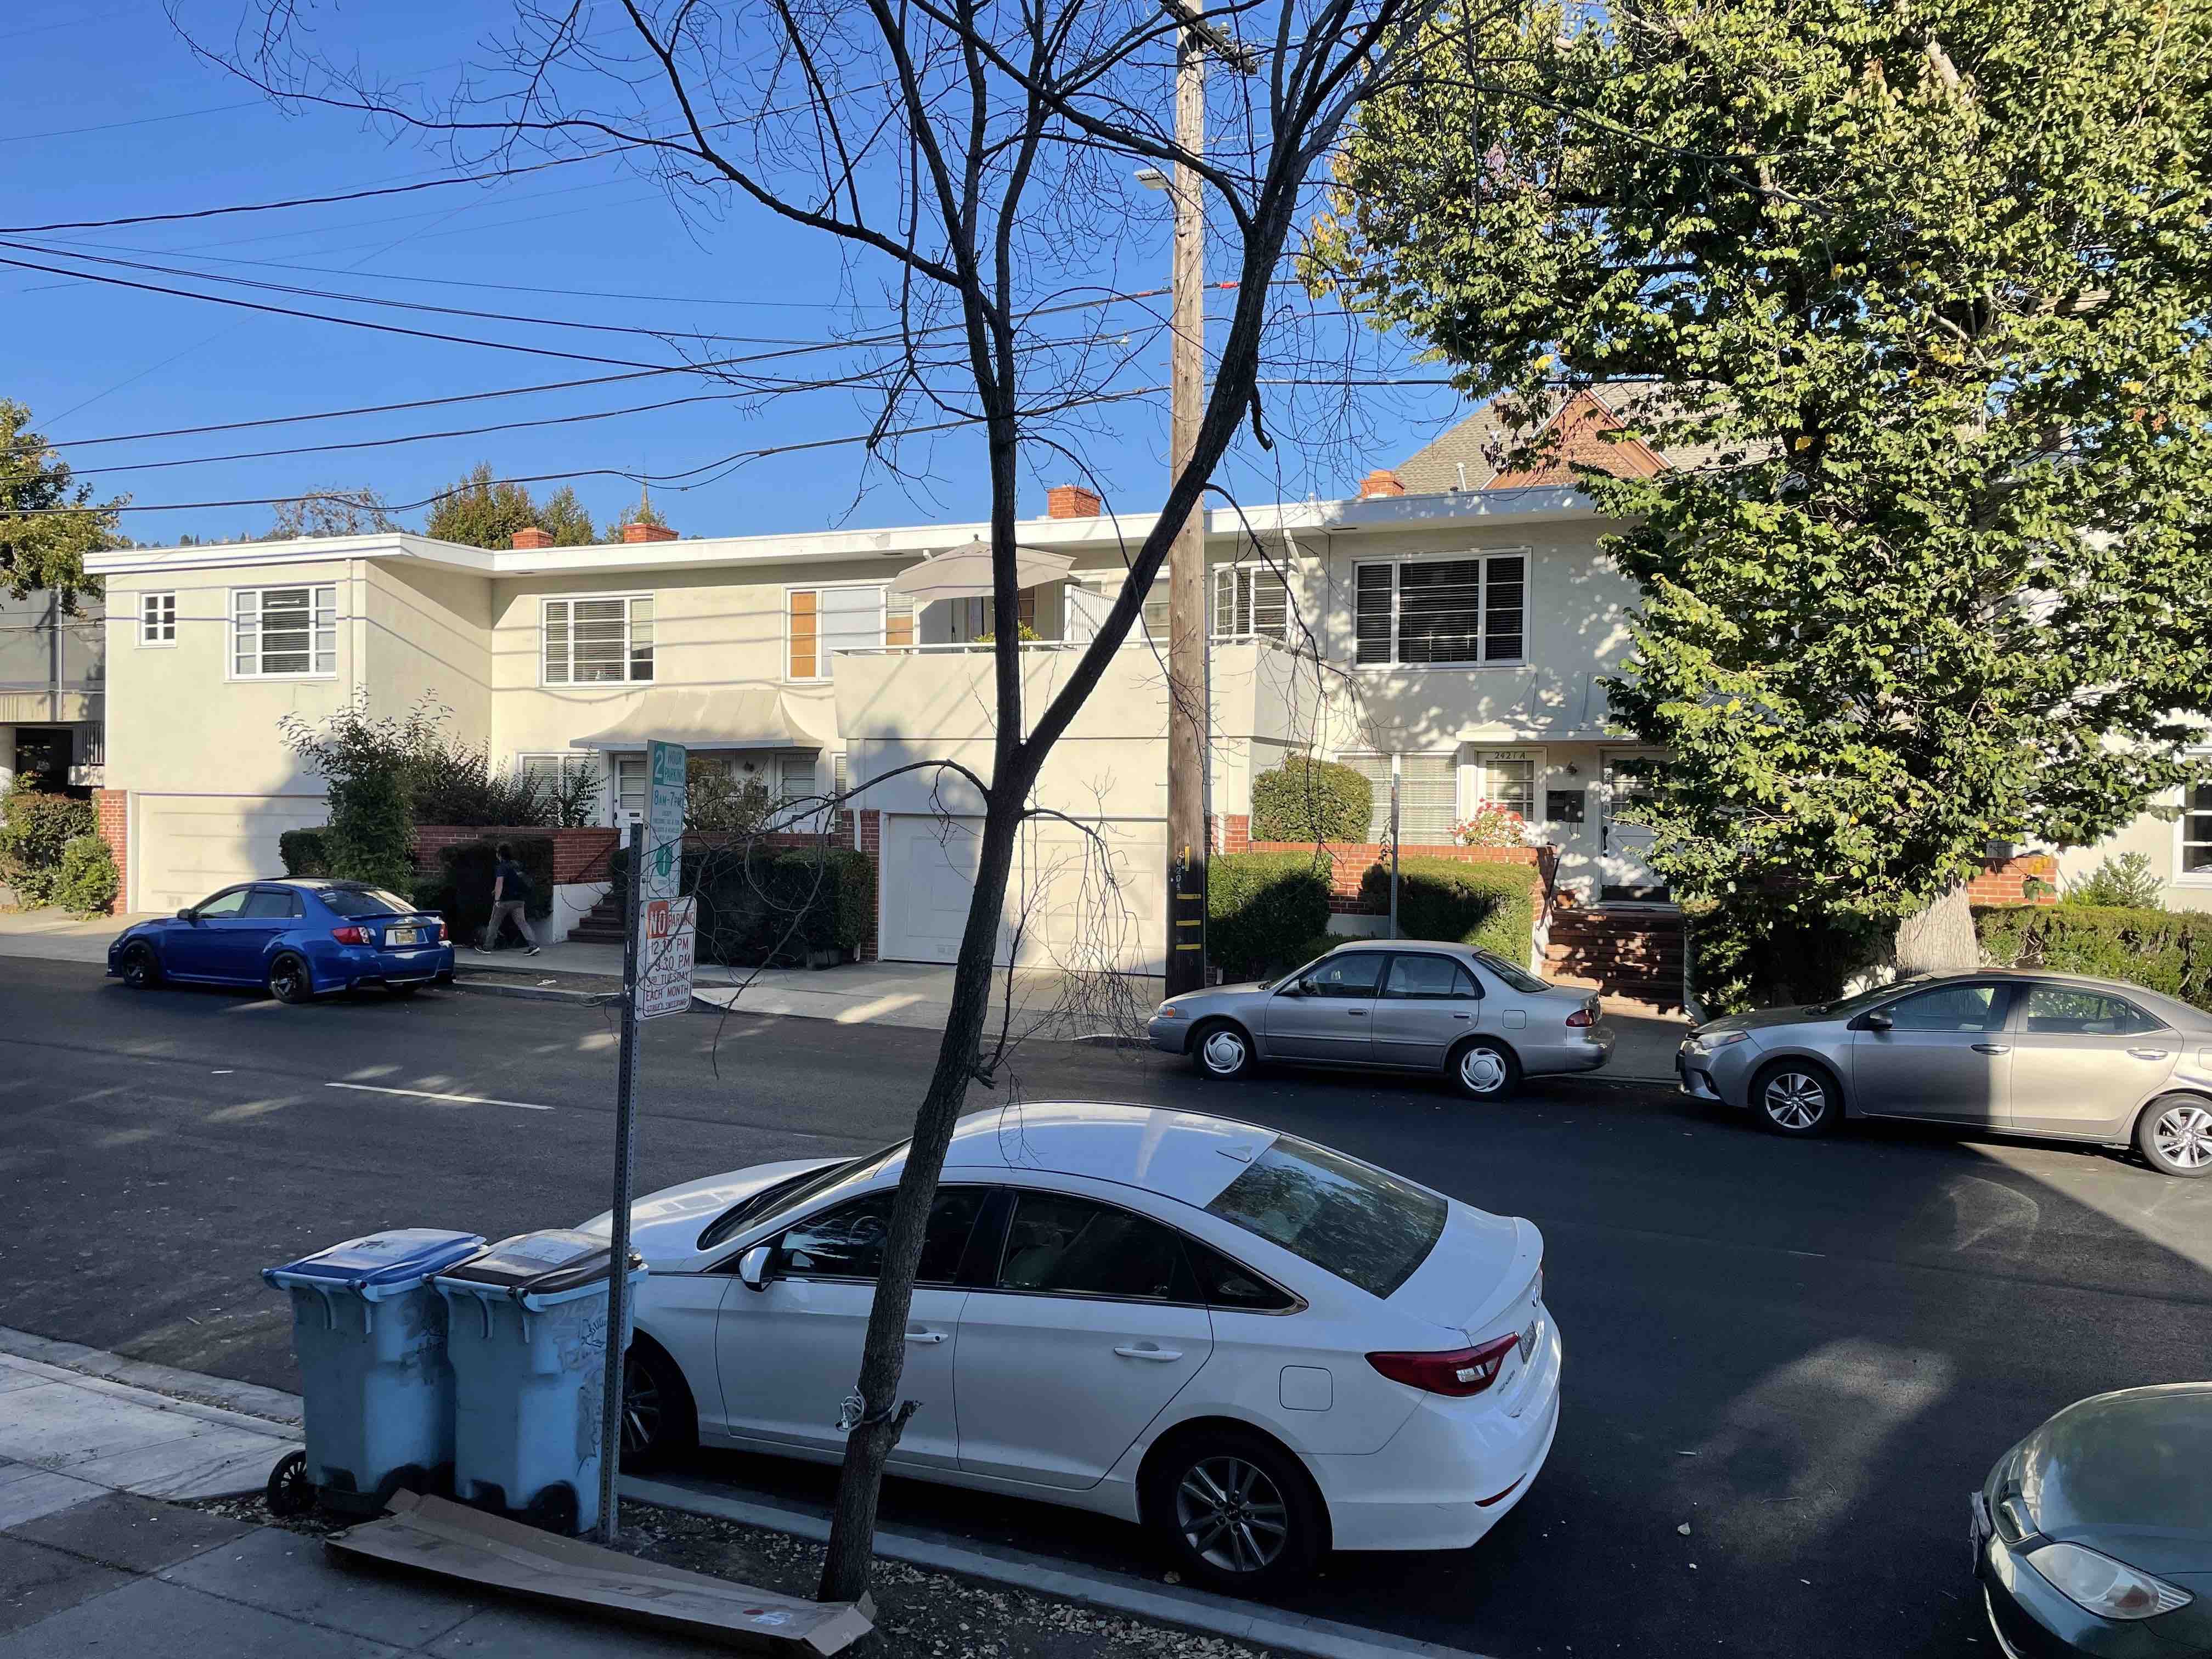
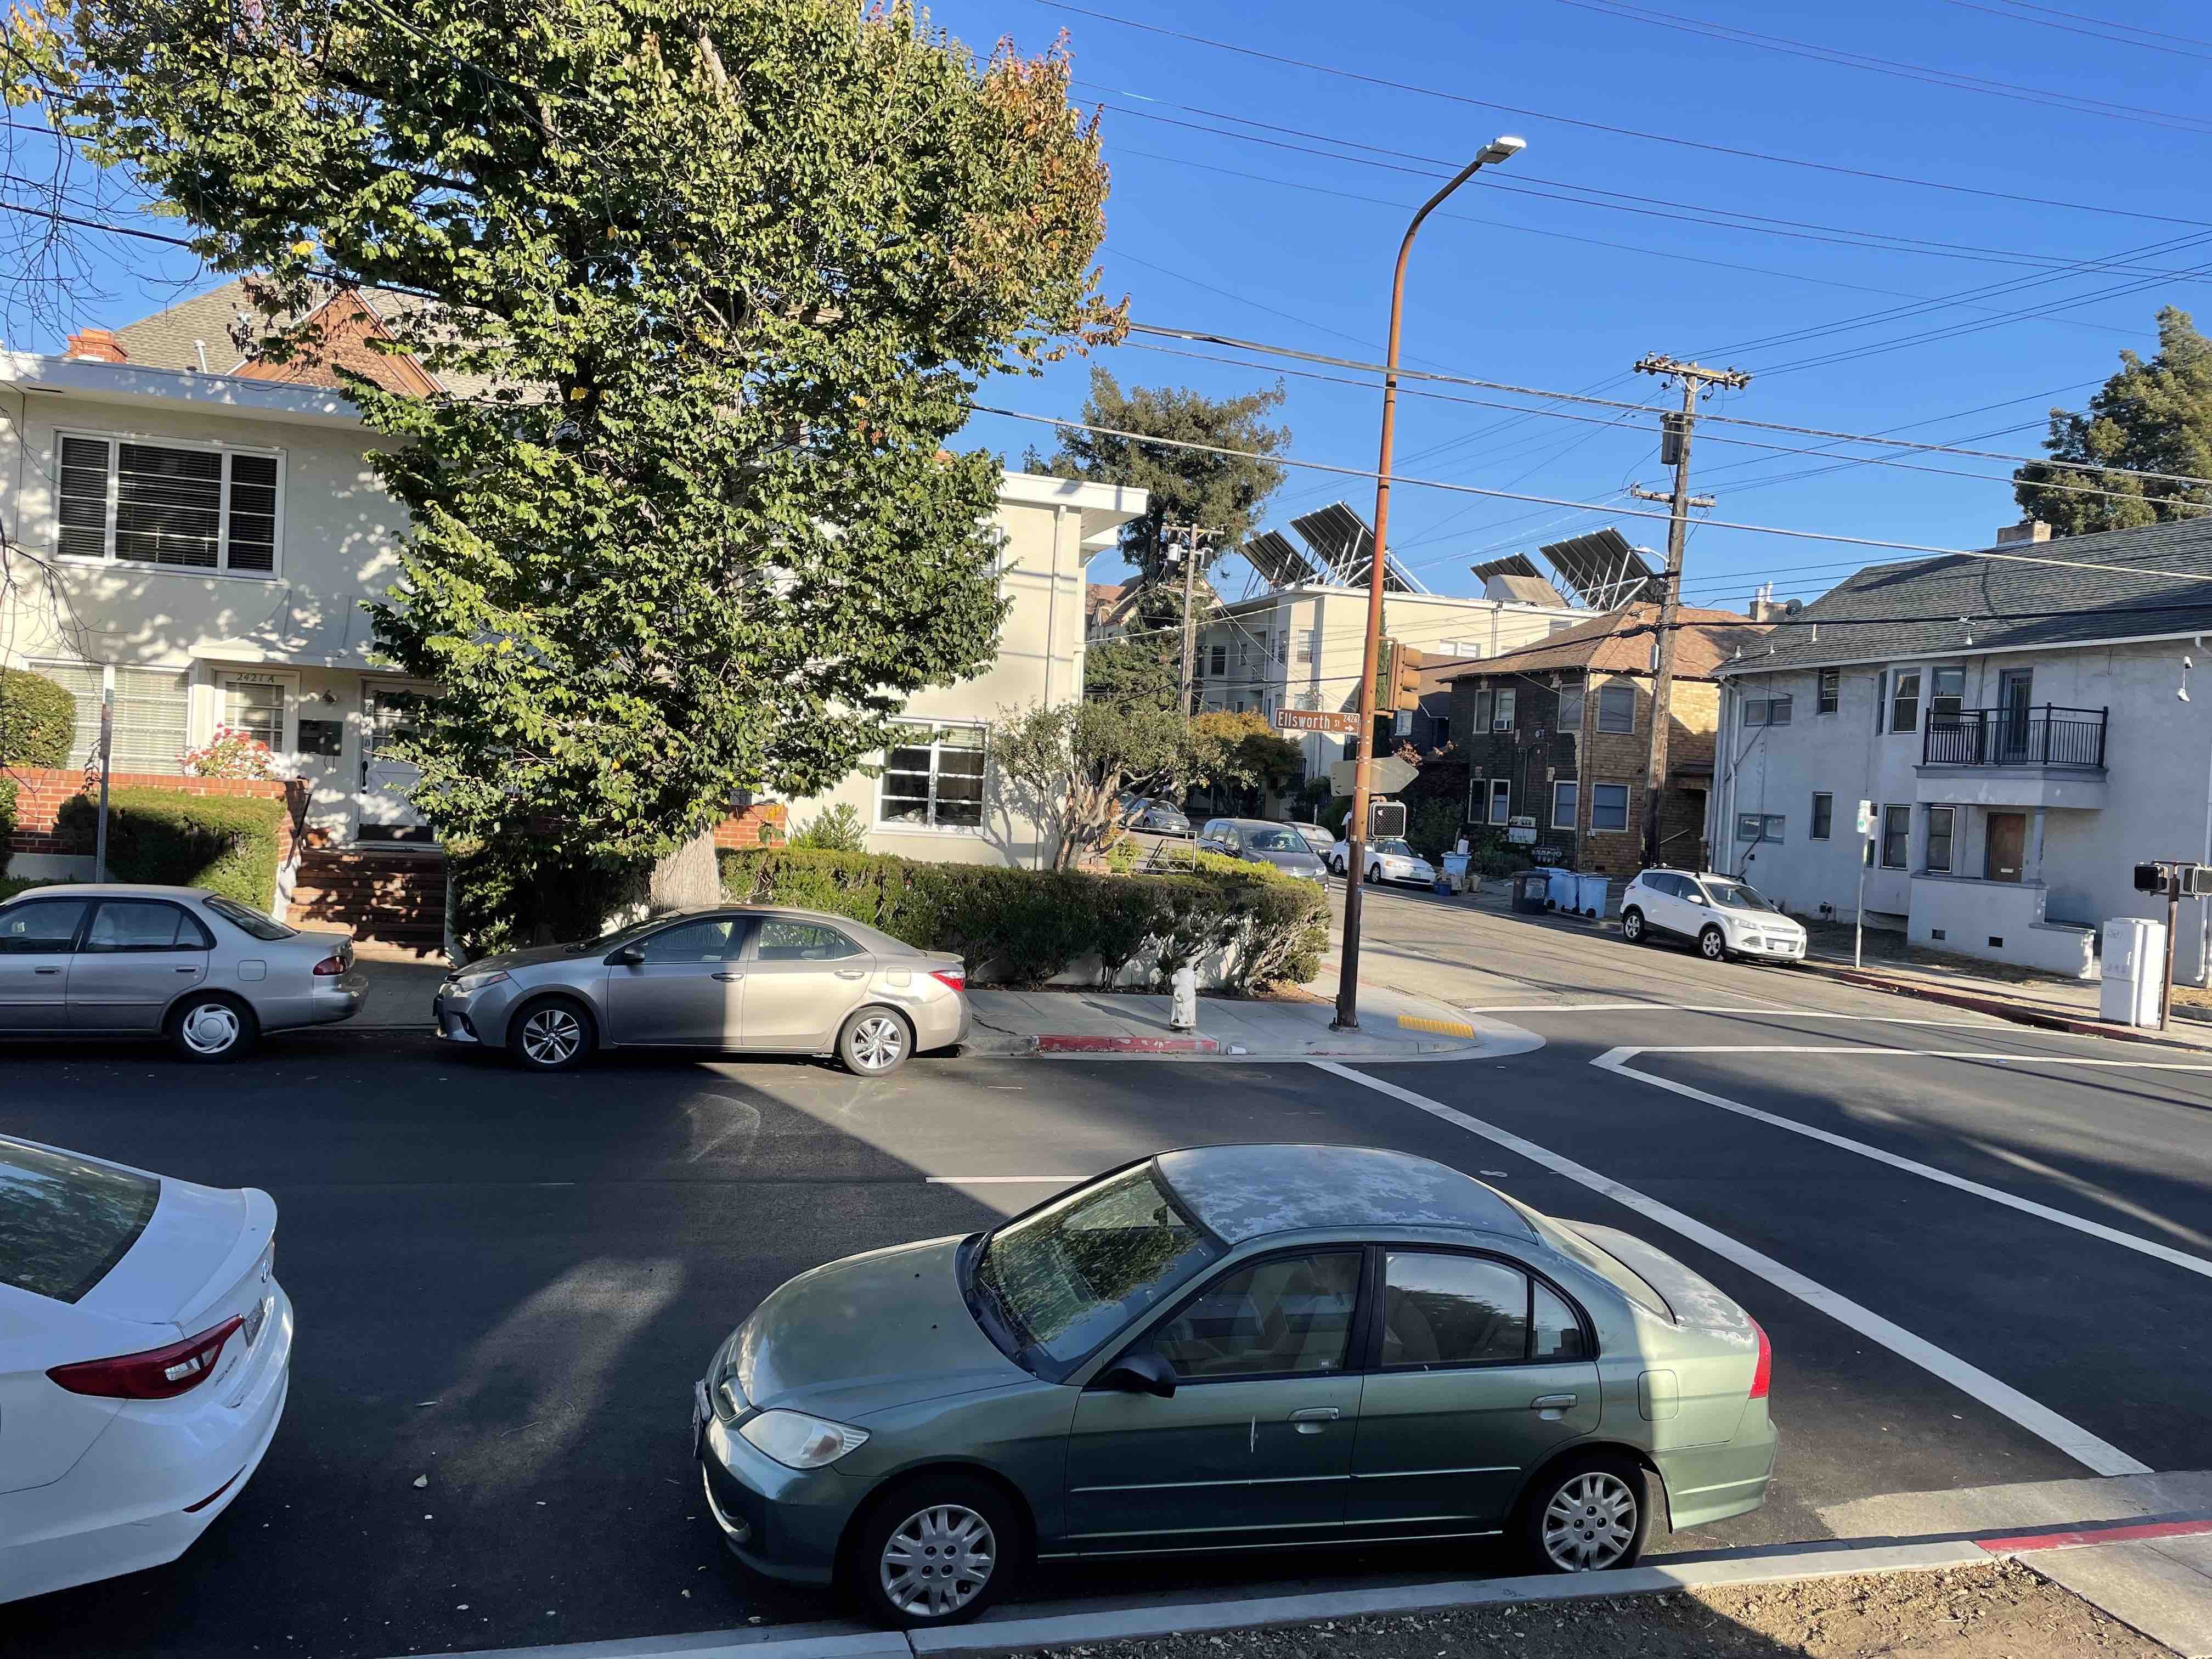
Frontdoor Images

2. Recover homographies
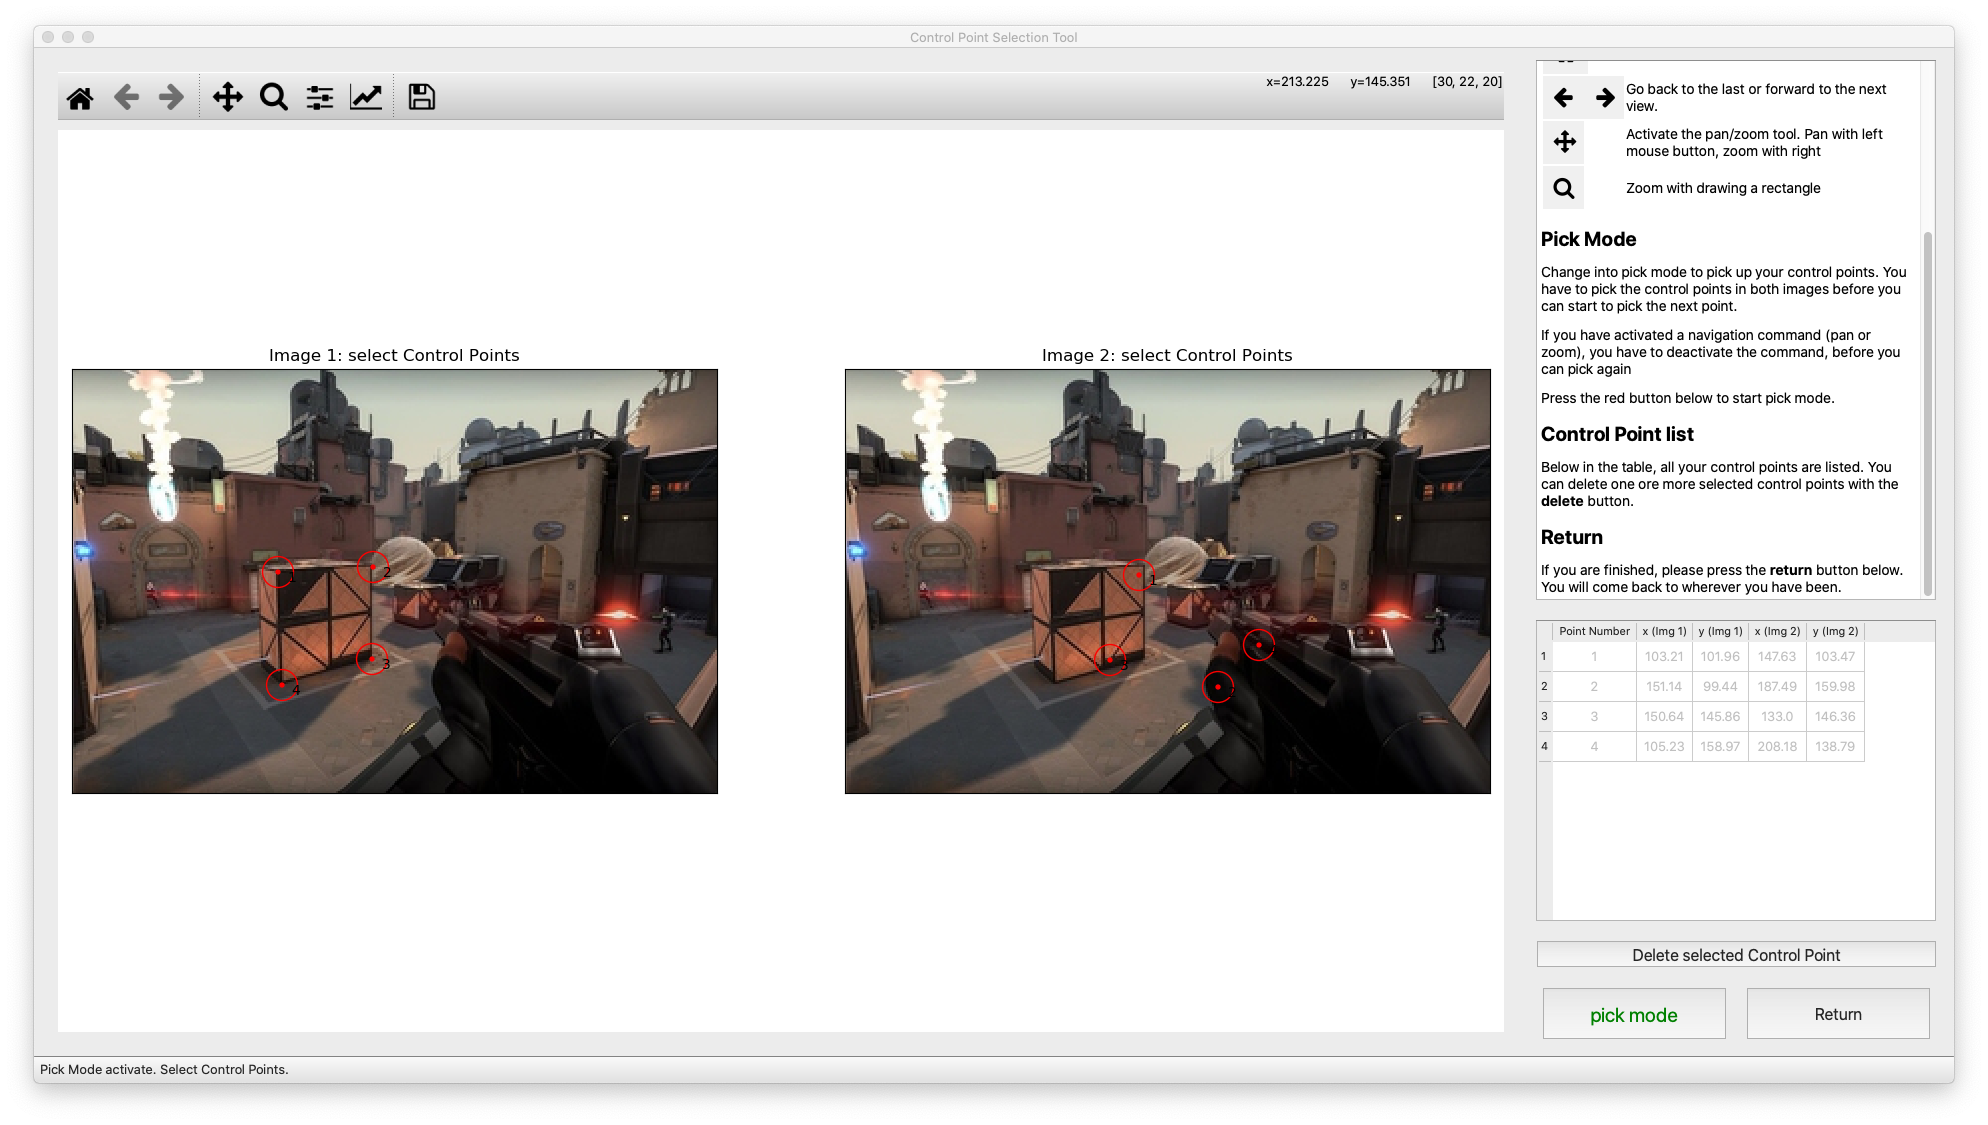
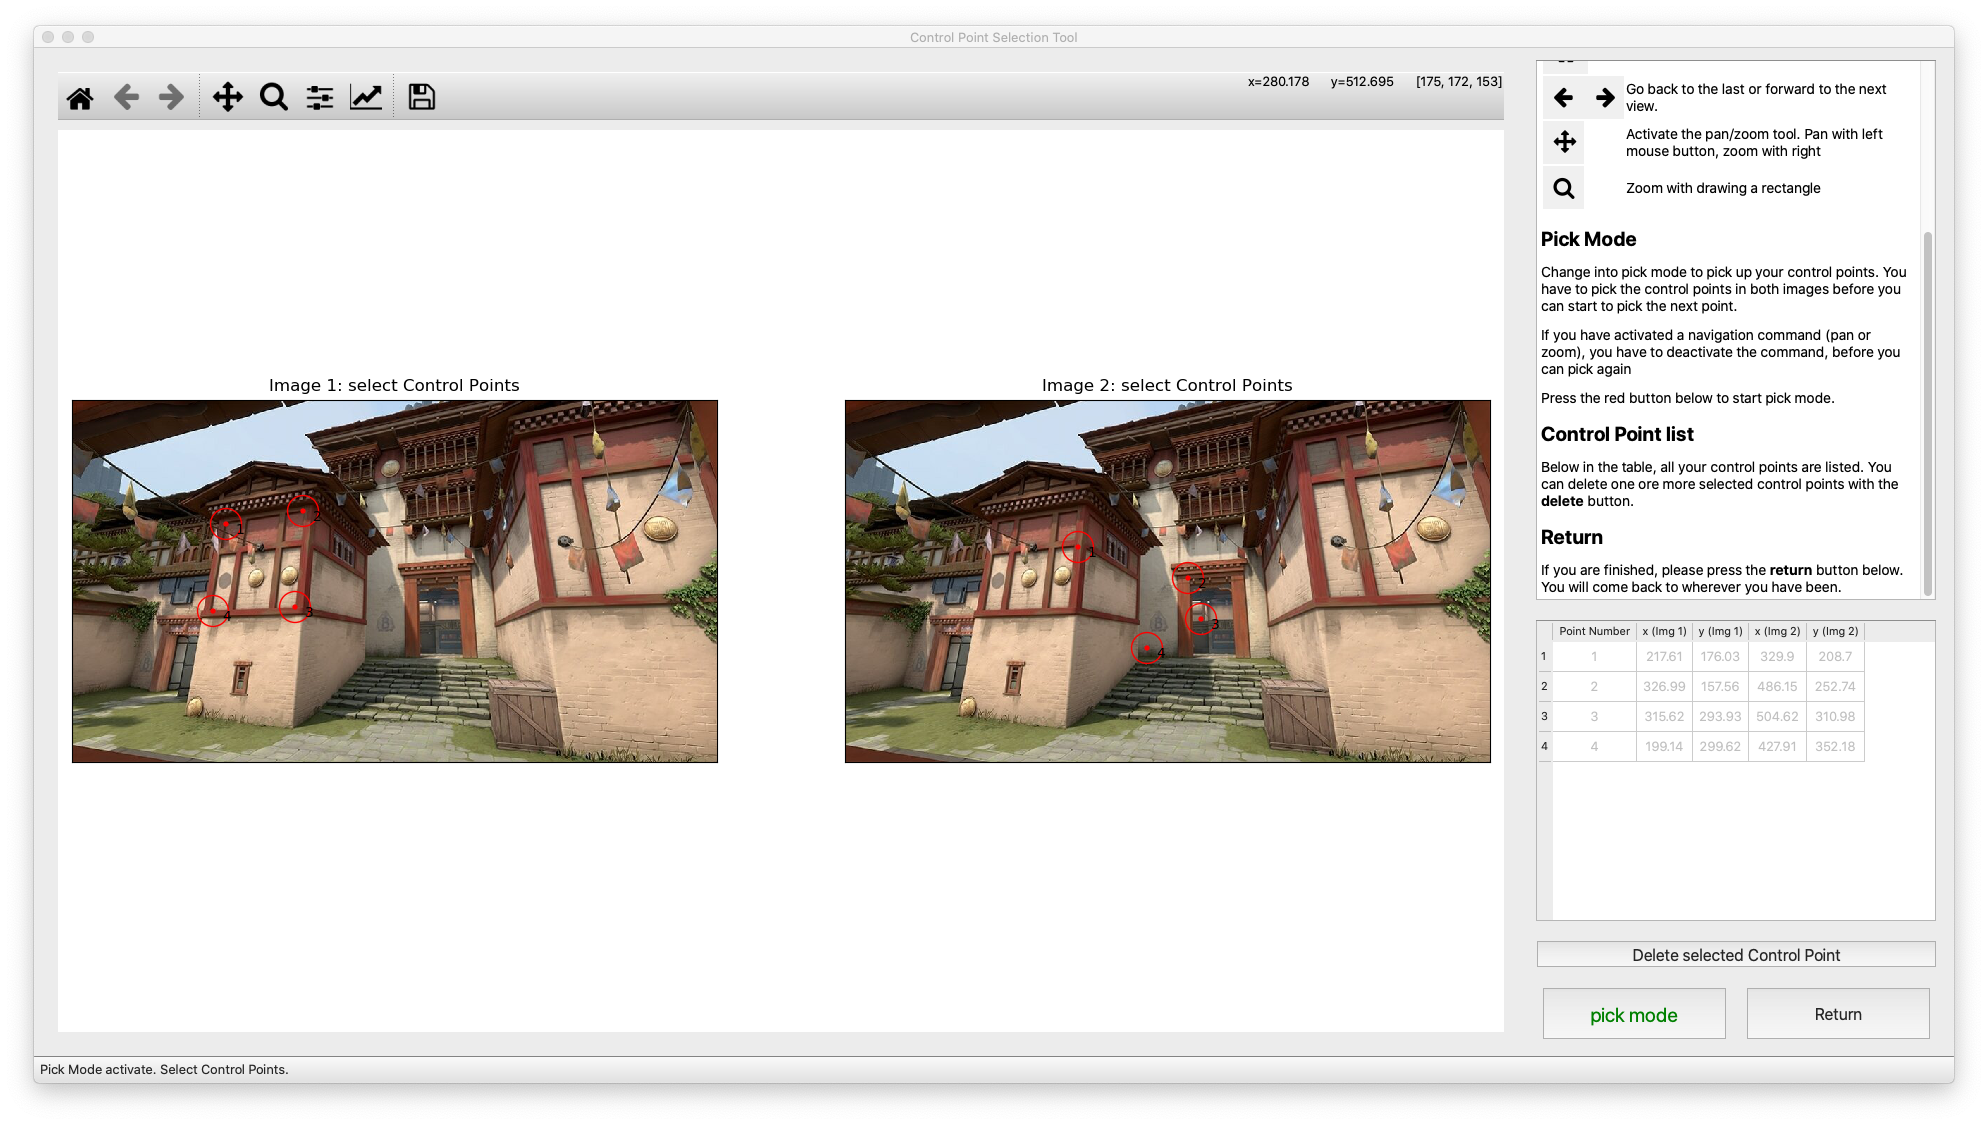
I first used the cpselect tool on pairs of the images to define corresponding points.
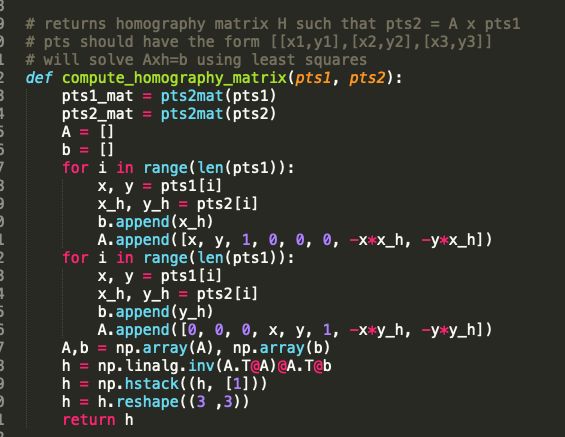
Next, I used the least squares method outlined here: https://towardsdatascience.com/estimating-a-homography-matrix-522c70ec4b2c to recover the 3x3 homography matrix using the defined corresponding points.
Since the image result from this section will be displayed in later parts, I've attached a code snippet of how I computed the homography matrices using the method outlined in the link towardsdatascience link above.
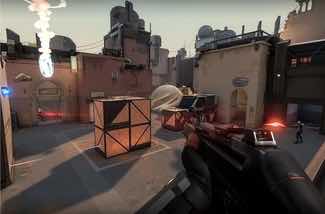
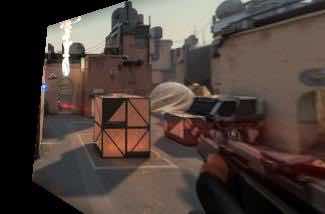
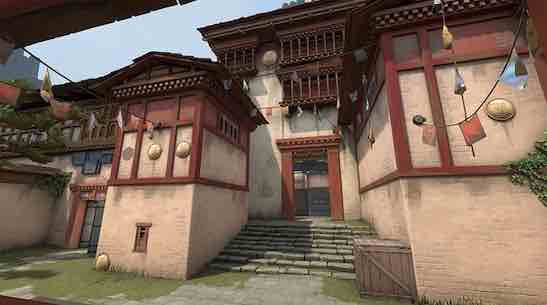
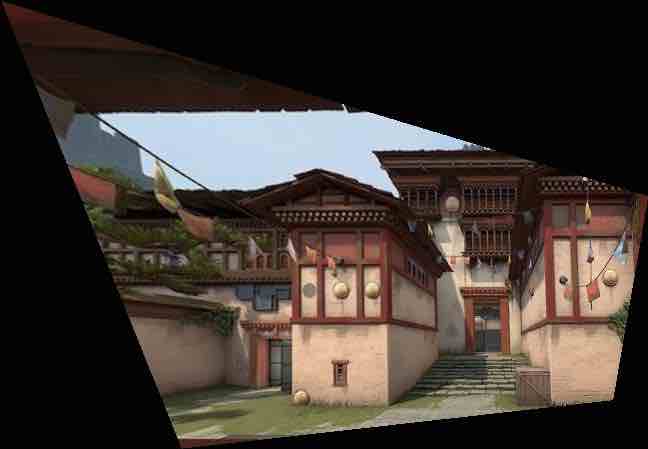
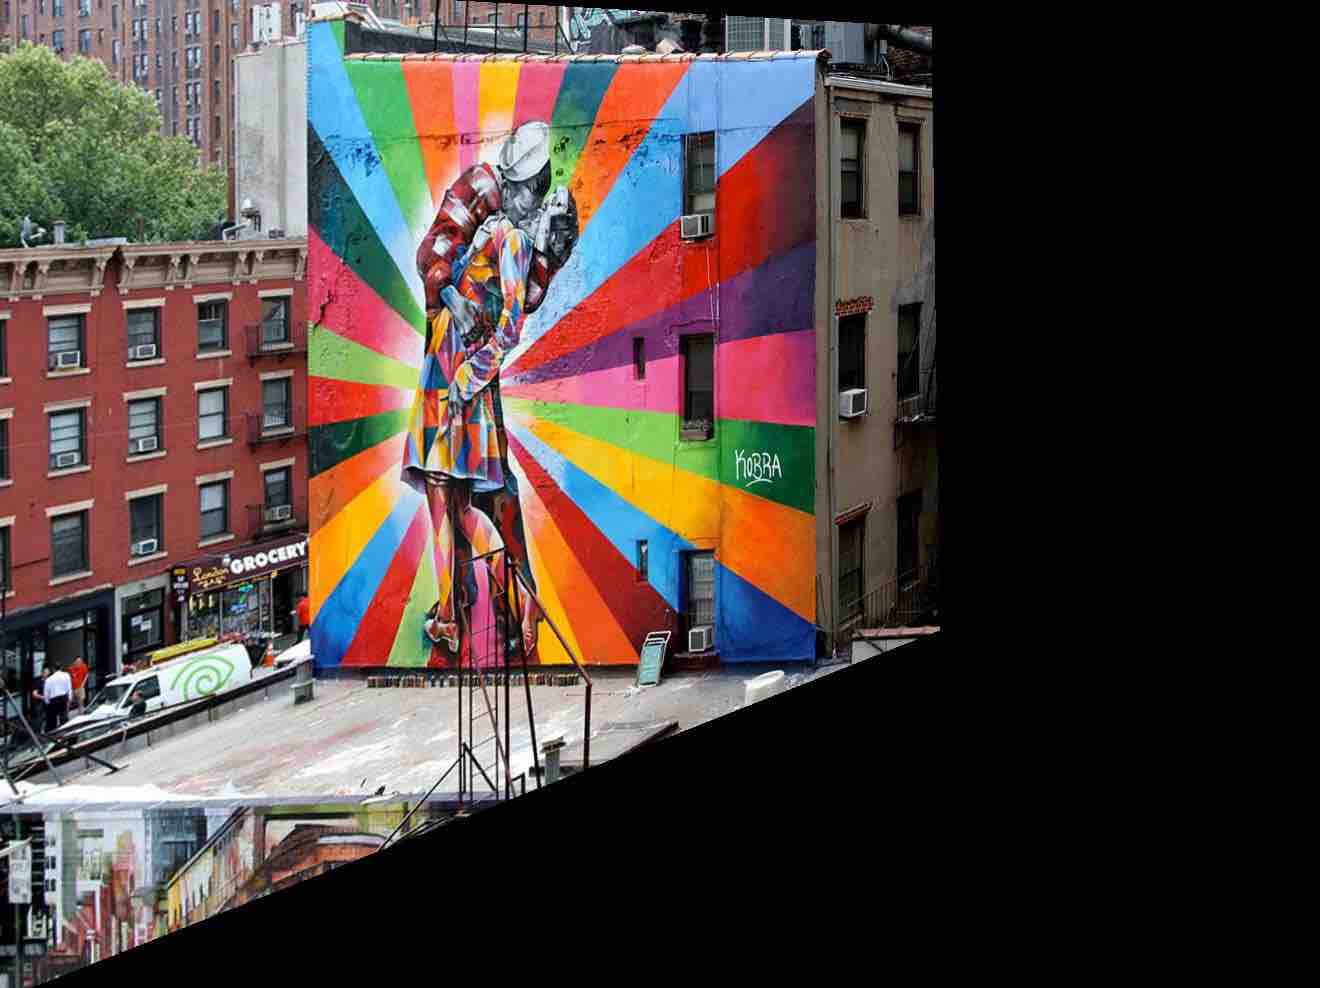
3. Warp the images and Image Rectification
For this task, I used the cpselect tool again, but just to define the 4 corners of a rectangular shape in one of the images.
Next, I defined a rectangle in the resulting canvas that corresponded to the 4 corners I had previously defined and used a homography matrix to project the pixels onto a different plane.
I reused a lot of code from project 3 in this part, especially helper functions to project pixels from one plane to another as defined by a homography matrix.
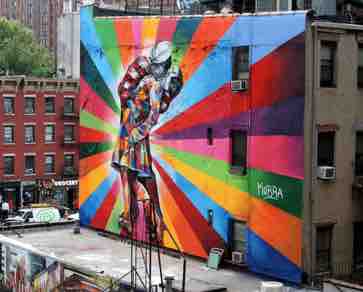
Here are some results of image rectification run on screenshots from the video game Valorant along with an image of a mural from google search.
4. Blend images into Mosiac
For this section, I used code from the earlier sections and then added on 2-band blending to form smooth transitions between images of the final mosaic.
I created alpha masks for each image by creating a bwdist layer mask for each image centered about their transformed center points, and then thresholded 0-1 based on the minimum value(minimum distance) between all of the images to determine where the masks were cut off. This essentially created a mask that cut off at a line that was equidistant to the two image centers.
Finally, I reused pyramid blending code form a previous assignment to perform 2-band blending of the images into the final mosaic.
Below I display some results on 3 mosaics as well as exploration I did on blending techniques.
Balcony Images
Transformed Images before blending:
Different Blending Techniques

2 Band Blending

Room
Frontdoor
Things I learned
First of all, the new iPhone cameras are insanely difficult to adjust so that the exposure is fixed. This can be seen by some of the clear color boundaries between blends of the mosaic. I unfortunately didn't have access to a non-iPhone camera for this project so I had to learn a harsh lesson there.
Overall, I felt this project was a cool demonstration of the practical applications to all of the projection/homography theory we had learned in class. I struggled with some parts of the actual implementation in code and had to figure out clever ways to create things like the alpha value mask using the bwdist command and some numpy manipulation.